Community Brag Posts

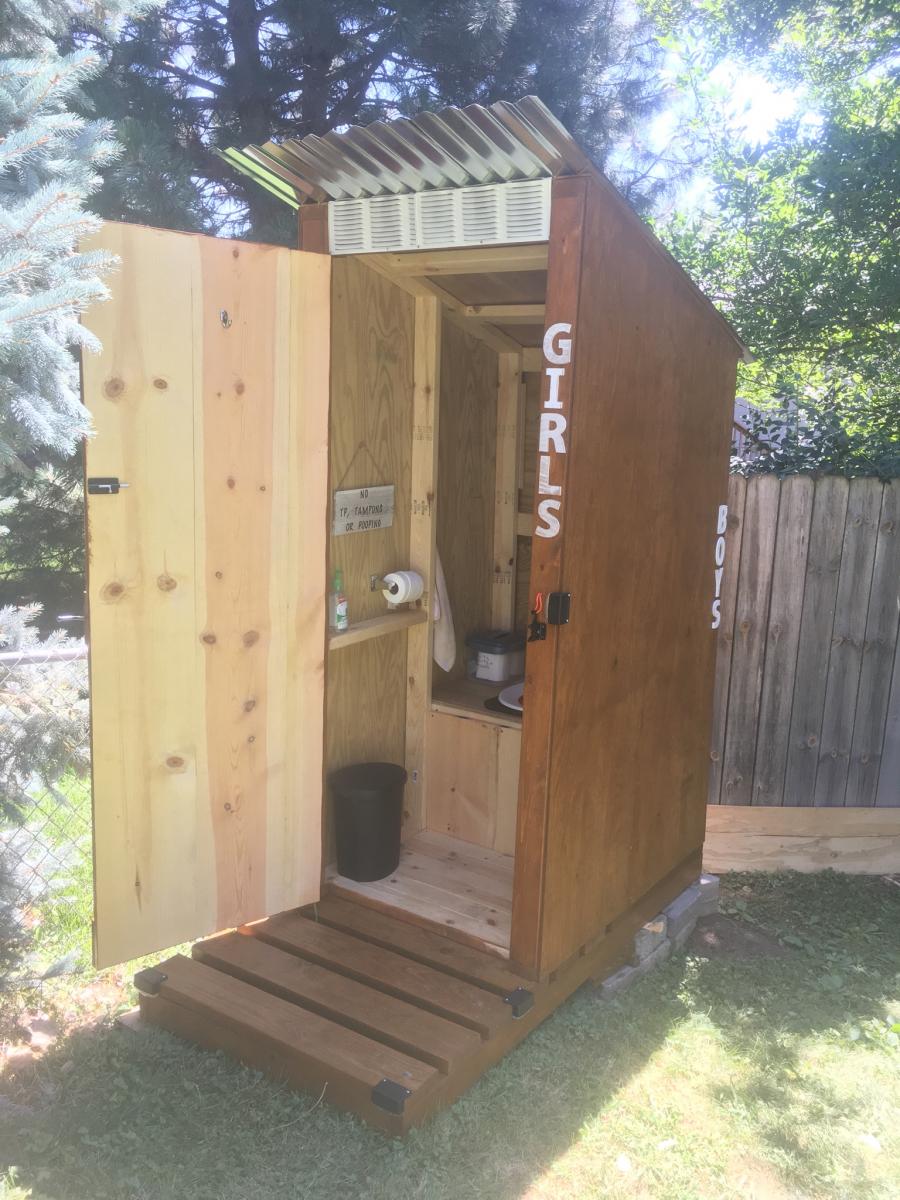
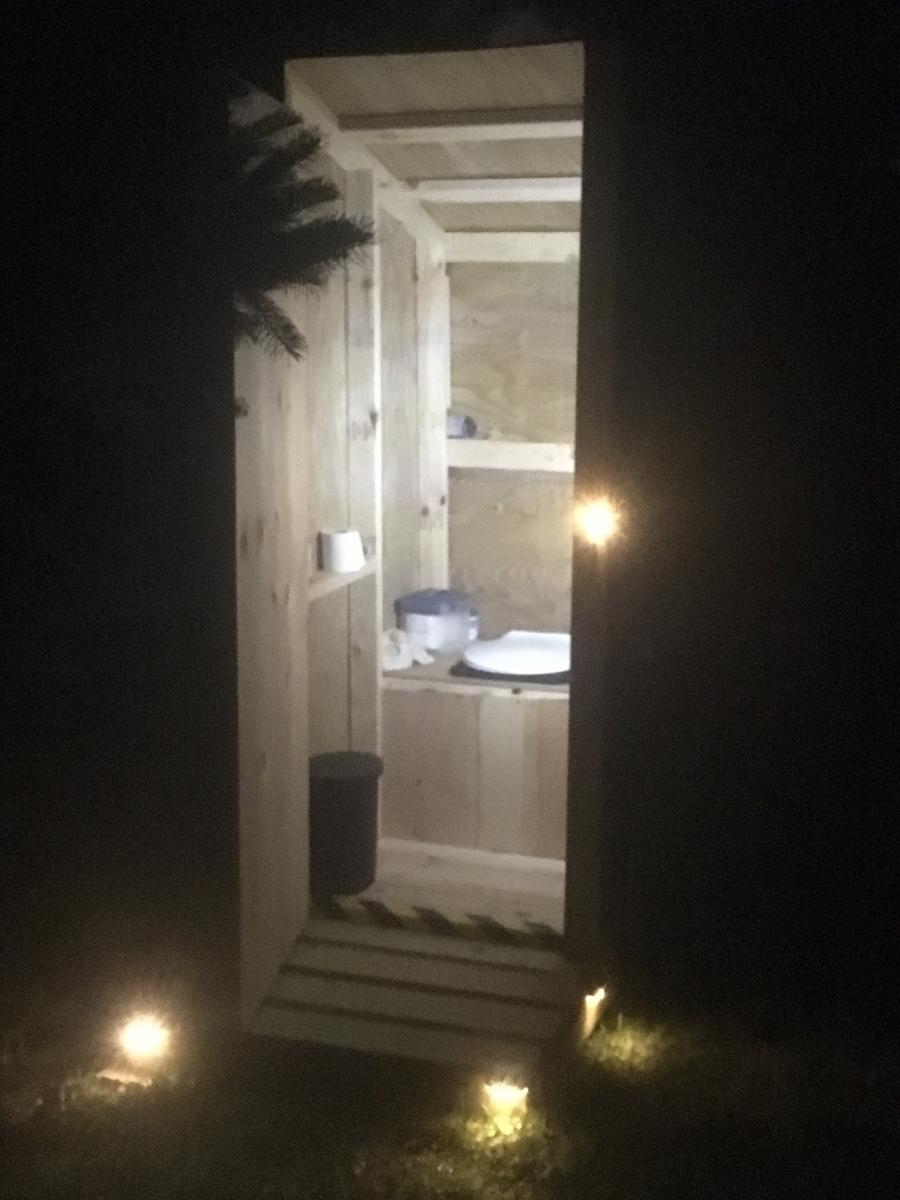
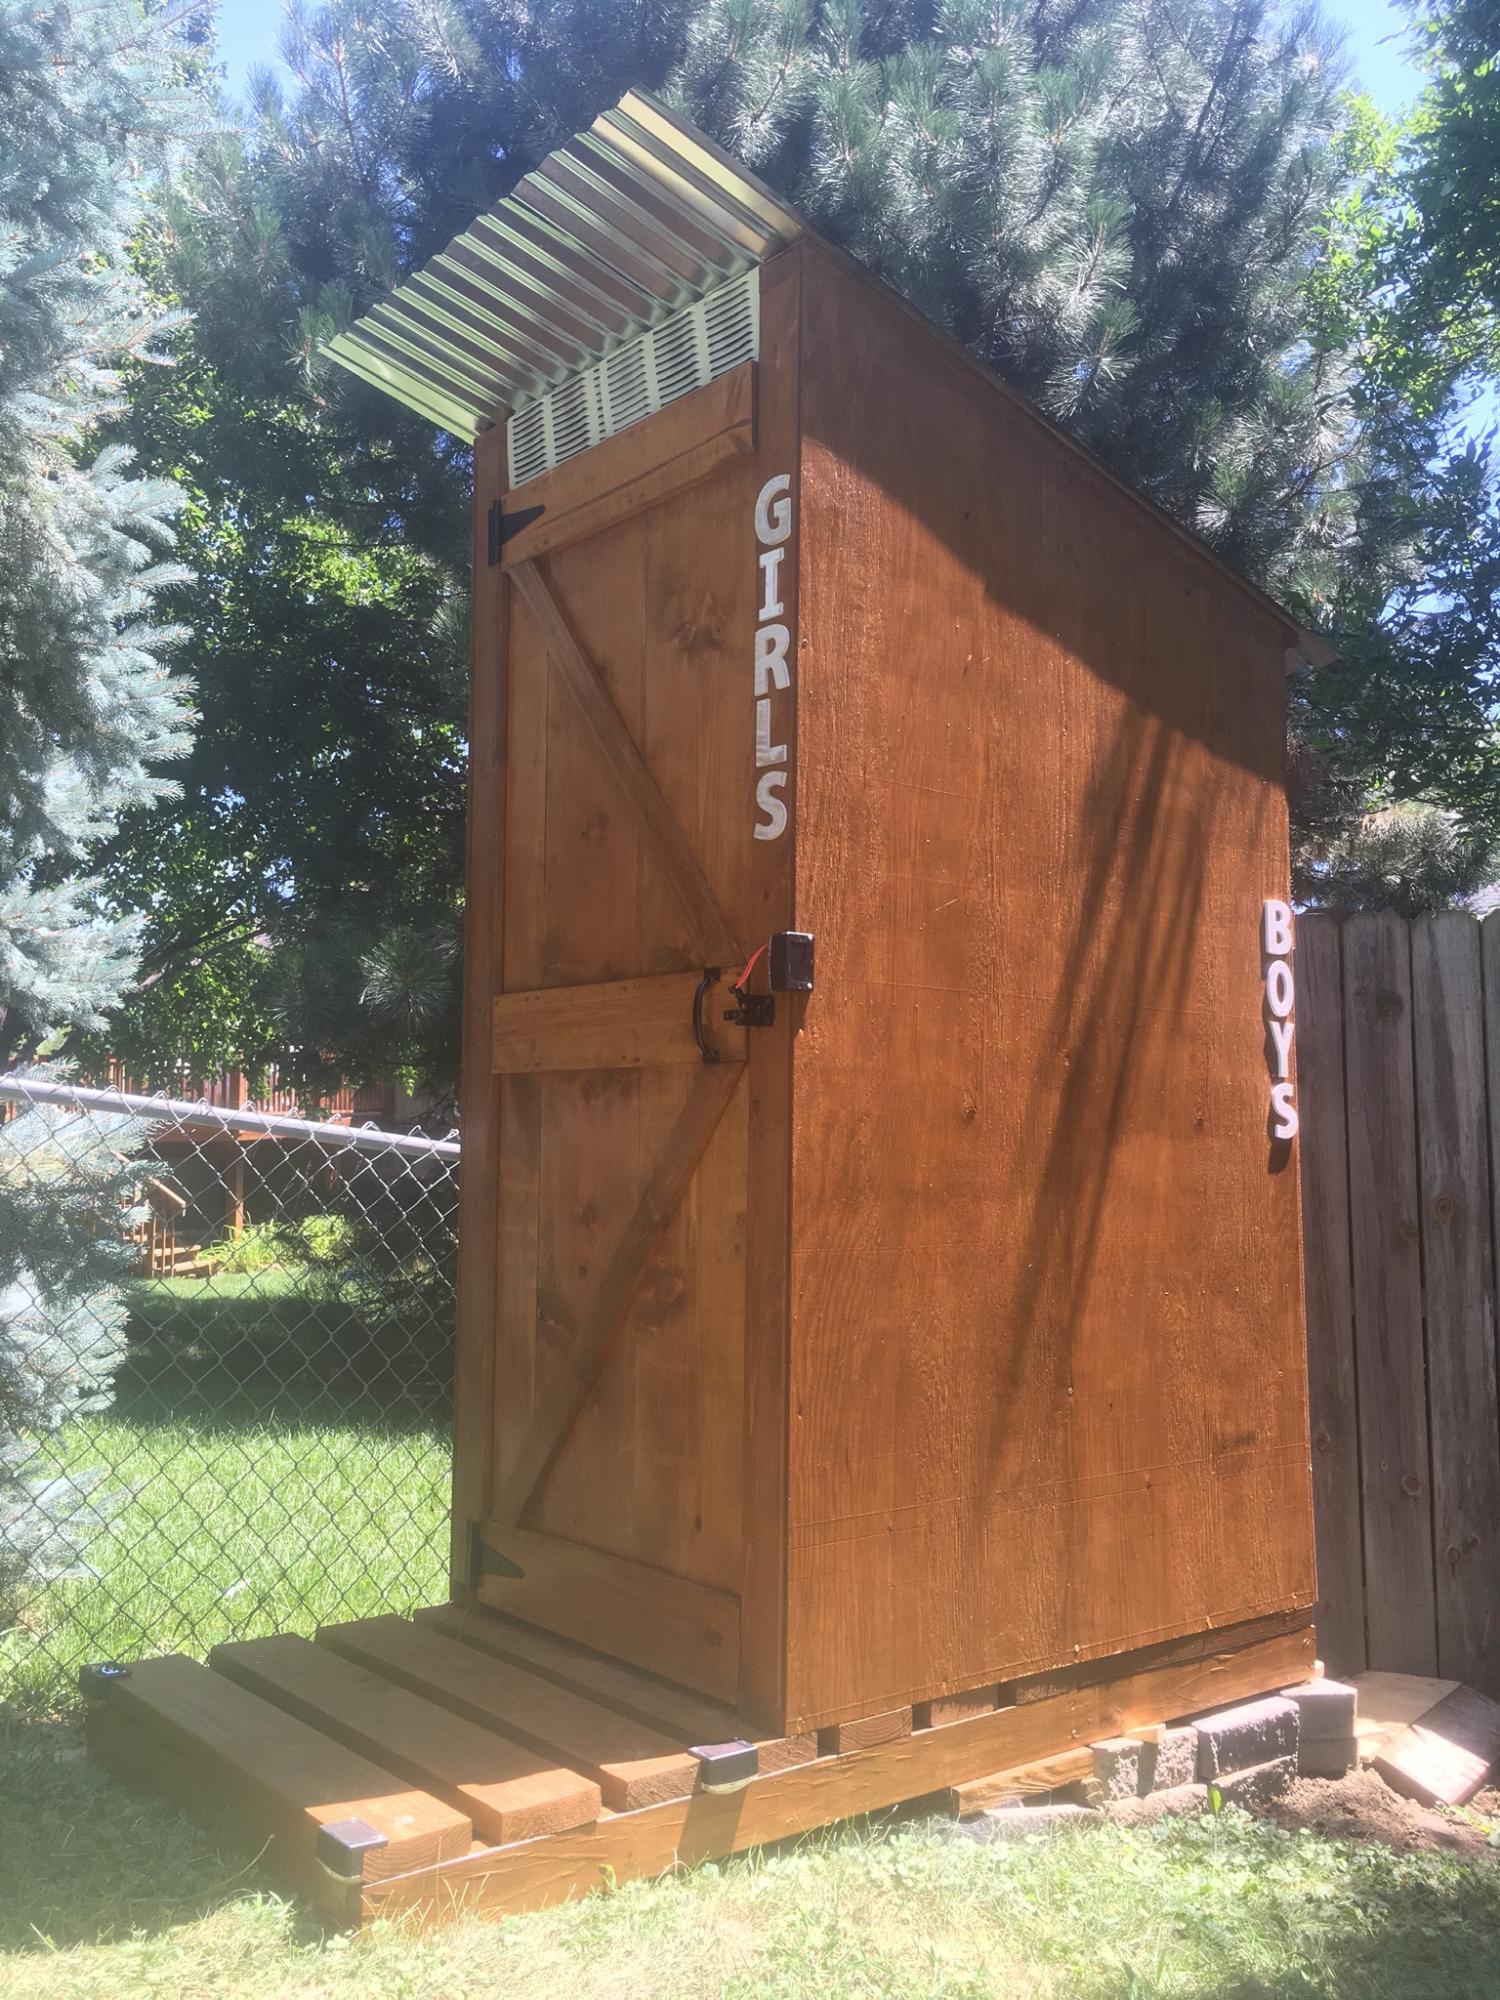
My simple Outhouse

Submitted by Anonymous (not verified) on Wed, 07/31/2019 - 17:14

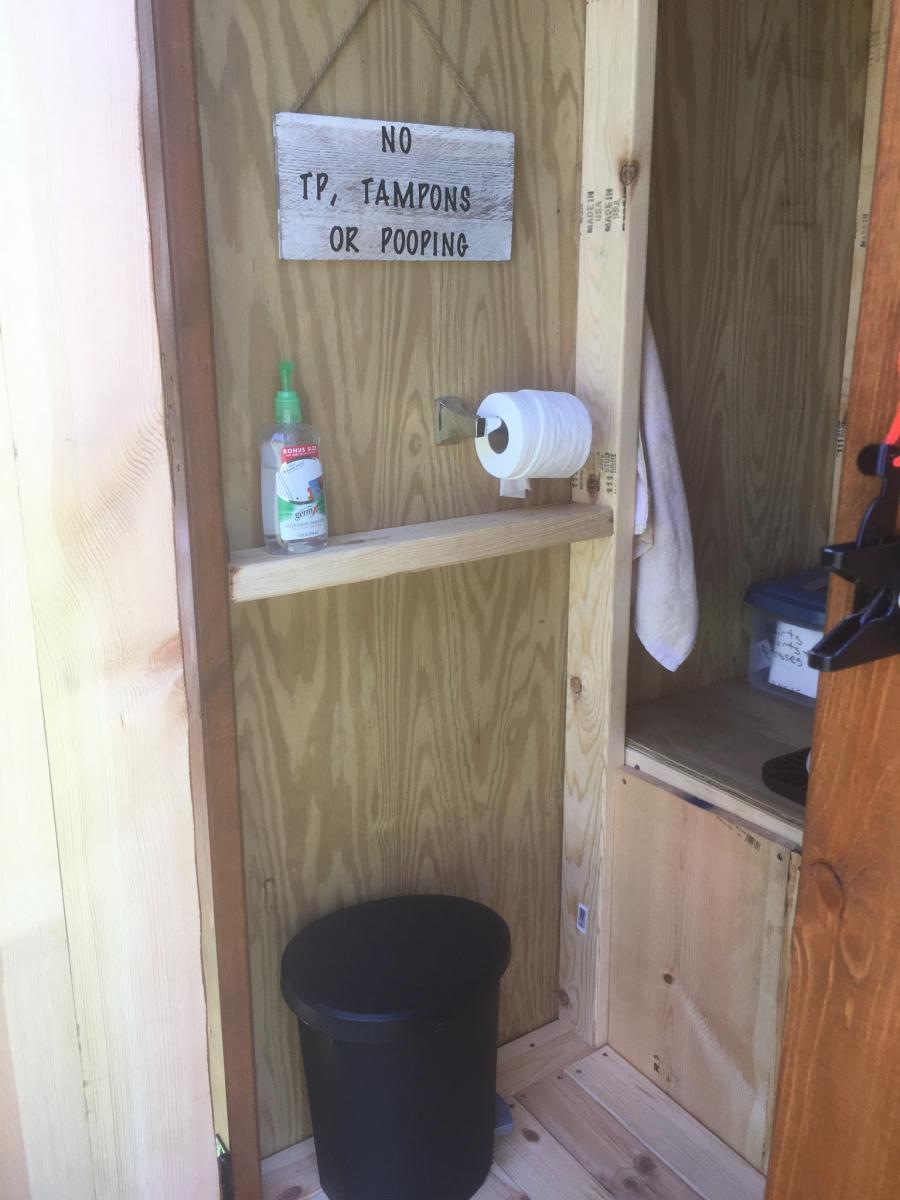
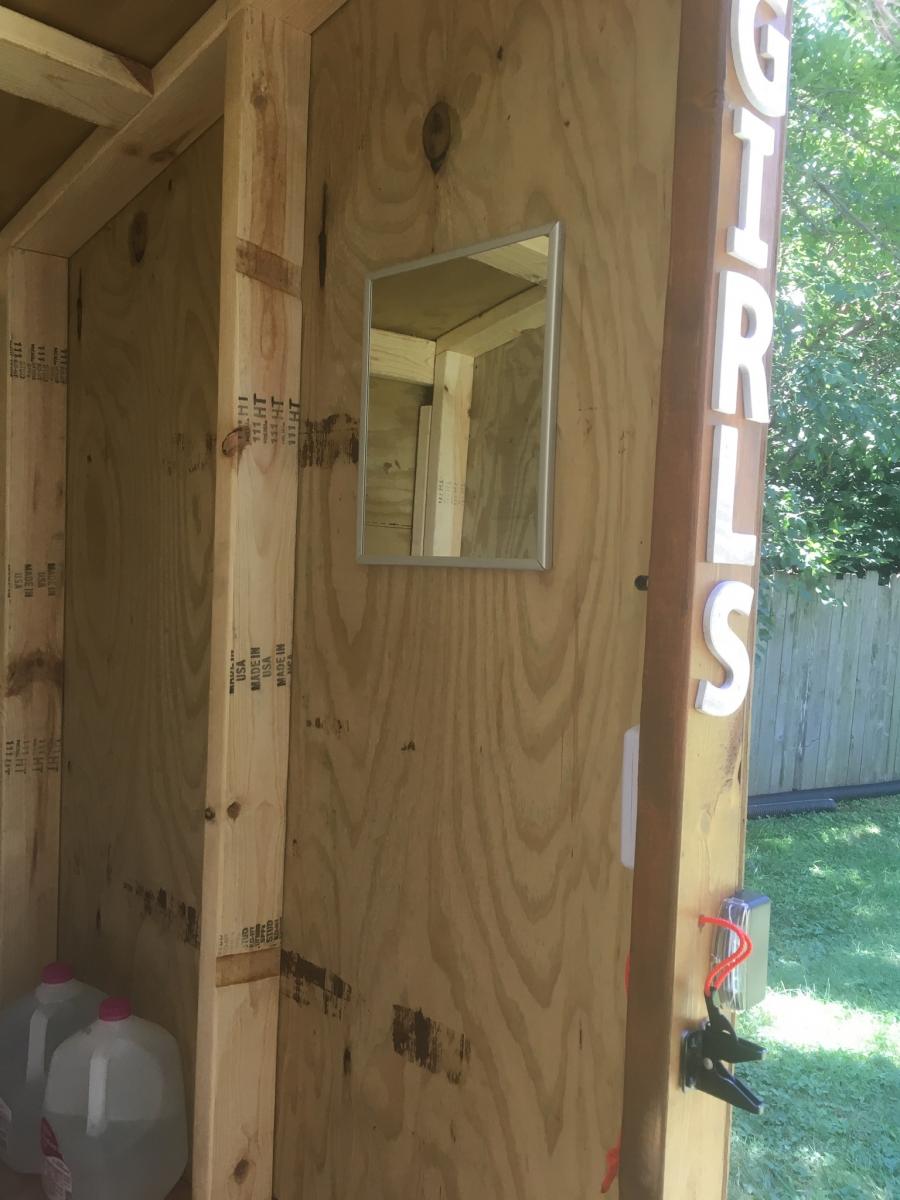
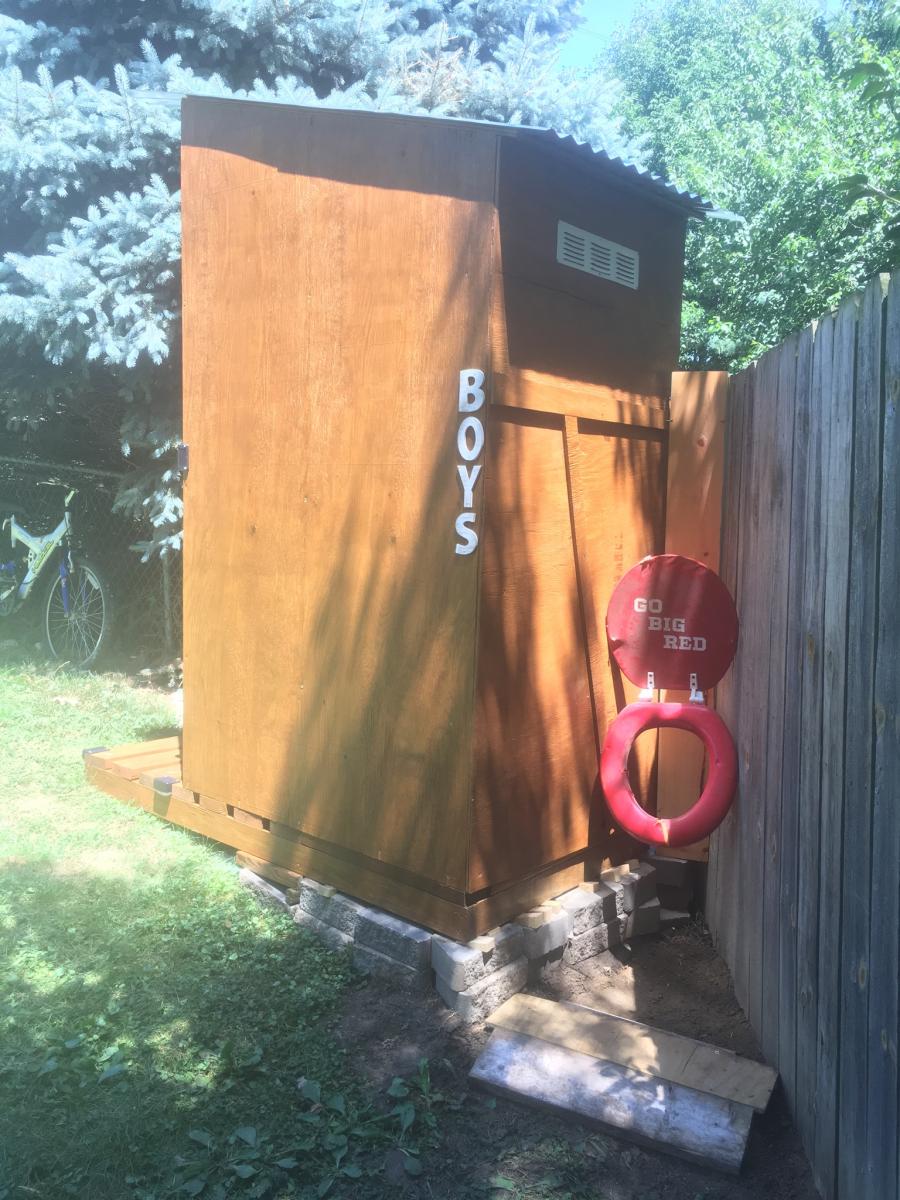
<p>I worked on this for about 2 weeks in my free time. I modified the original plans from this site to accommodate my needs. I just wanted a “#1” only place near my pool so I didn’t have to dry off and walk all the way up to the house. The trash can is for the TP and I will just toss it when I need to. I used a traffic cone as a pee funnel and attached&nbsp;tubing to the end of the funnel&nbsp;that I buried down along the slope of my yard against the fence line.&nbsp;I ended up adding an area for boys since I didn’t want the inside all gross. I added solar deck lights to the outside and a light inside too.&nbsp; It turned out amazing!!!</p>

Built from Plan(s)
Estimated Cost
$300
Estimated Time Investment
Week Long Project (20 Hours or More)
Finish Used
Varathane Premium fast dry oil based stain in the color “Ipswich Pine” and Varathane Ultimate Spar Urethane oil based in clear satin. One coat of each.
Recommended Skill Level
Intermediate

Comments

Mother's Day Ring Post

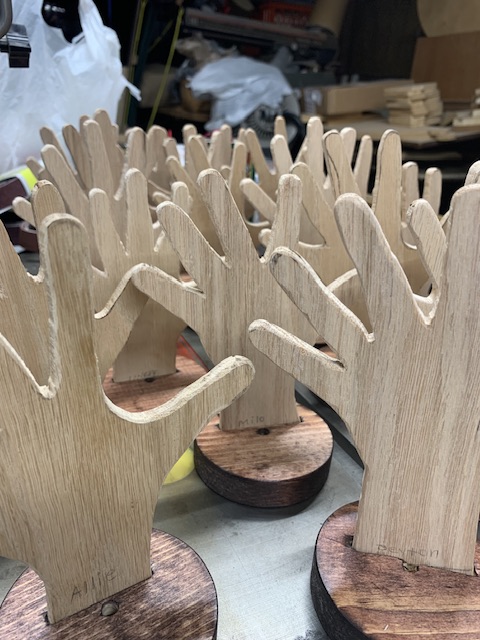
So, this project started out years ago with my oldest daughter. She was in daycare and frequently came home with her latest drawing or art. I wanted to make something from her art that would be a gift for mom and the grandmothers. Mother’s Day was coming up soon and we needed inspiration. Her mother said that she would like a ring post to keep jewellery on her dresser top so we came up with this. 

First we outlined the daughter’s hand and about 3 inches of wrist on a piece of white paper. (We had a similar example from Thanksgiving, the daughter brought home her hand outline on a paper plate decorated as a turkey). Took our outline to the printer and photocopied it. One of the nice things about a photocopy is you can place it face down on a piece of wood, then use a hot iron (cotton setting) and iron the image onto the wood. 

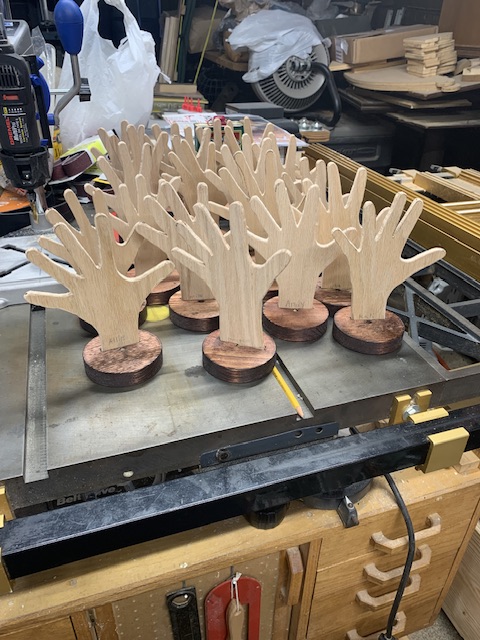
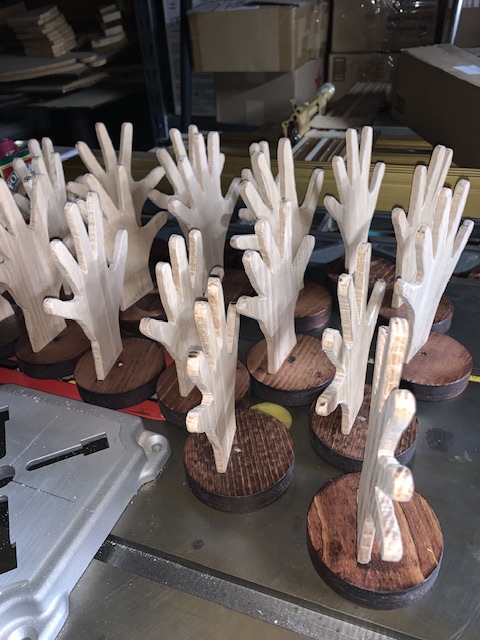
Once the image was transferred, we cut it out on the bandsaw, then sanded all the rough edges. As my daughter was very young, I did the bandsaw work and she did the sanding. Once the hand was ready, we needed a base which we found in the scrap bin. We cut out about a 3 1/2” circle and using the wrist end of the hand, we marked and cut a notch for the hand to be glued to the base. We cut it off-center to allow room for a message to mom. We found a local guy who could engrave a message make us a brass tag for our base.  The tag was large enough to engrave the child’s name below the Mother’s day message helped to identify the sweet little hand that made the gift. 

Again, more sanding and fitting the notch to match the sweet little wrist followed by staining and finishing. 

We left the hand natural and used wipe-on polyurethane (2-3 coats), then glued everything together with a piece of felt for the bottom. It was pretty tough keeping the project a secret until Mother’s Day, but somehow we managed. The grandmothers and mom loved their new ring post which has a place of honor on their dressers. 

Fast forward 30 years. My son is a kindergarten teacher with a class of 20 or so looking for a great project for Mother’s day and this is what we did. It took a bit of work to get everything ready so the kids just had sanding to do. Attached are some pictures of the ring posts dry fitted and ready for the kids to finish. 


Can’t keep secrets from home in daycare, but you can have great surprises. All the moms love their new ring post and all the kids are proud of their work. Since the completion of this project, we think we have a great idea to adapt it for a dad gift as well. 
Mail organizer

Submitted by lbadger on Mon, 01/02/2012 - 12:58

I came across the mail organizer brag post based on Ana's Numbered Cubbies plan and thought it was a great idea. Also, I had some new Annie Sloan Chalk Paint that I was very eager to test out!
I have to say, I love my new process for creating furniture in the house:
1. Cut boards
2. Give them to my 2 & 4 yo daughters to "whack on"
3. Invite the girls to paint
4. ENJOY!

Thanks Ana for all you do!
p.s. Note "Industrial Chic Reclaimed Shelves" in last photo, thanks again Ana!

Built from Plan(s)
Estimated Cost
~$10
Estimated Time Investment
An Hour or Two (0-2 Hours)
Finish Used
Annie Sloan Chalk Paint. If followers of this site haven't checked out ASCP, you should! I've just started using it and love it! It is amazing for painting furniture - no prep, sanding, priming etc. required. Very unique finishes can be created. For this piece I used a combo of Old White, Paris Grey and Duck Egg Blue, followed by clear and dark wax.
Recommended Skill Level
Starter Project

My Amazing Gallery Wall, thanks hubs!

My husband built this for me while the government was shut down and he was furloughed. He rocks. The frames are from ikea.

Estimated Cost
45
Estimated Time Investment
An Hour or Two (0-2 Hours)
Finish Used
Trim Paint
Recommended Skill Level
Beginner

Interior Wood Rack

My brother just bought house and has a large living room with a large fireplace. He needed something that would hold firewood and also was decorative. We came up with this plan after I built the Grandy Sliding Door Console. Instead of putting in shelves or doors, we put a bottom on and a back on and add the x (2x4's) in the center. We didn't know what to expect, but after finishing it and delivering it to his house, it turned out great.

Built from Plan(s)
Estimated Cost
$75-$100. Depending on what paint/screws you have on hand. If you have to buy all paint, stain, and screws, probably closer to $100. The back we used leftover ply wood from the Grandy sliding door console.
Estimated Time Investment
Weekend Project (10-20 Hours)
Finish Used
Minwax, dark walknut for the top. Then 3 coats of poly. The base is a white paint, distressed with a small amount of dark walnut stain. The base was sealed with Minwax Polycrylic.
Recommended Skill Level
Beginner

Comments

Paulodbe323

Sat, 02/06/2016 - 20:49

Thanks for the comment. I have made many other projects from this site. I need to upload them all soon. 

Paulodbe323

Mon, 05/30/2016 - 00:02

I do not have the full plans exactly. I originally built the grandy sliding media console from this site. Then I got the idea to make this firewood holder with the same concept. The only thing I did different was I didn't add any shelving inside except the very bottom shelf, and I didn't add any doors. I just used 2x4s in the center for the x's. Sorry for the late response. Hope this helps. 

Bookcase

Submitted by Anonymous (not verified) on Wed, 08/21/2019 - 05:07

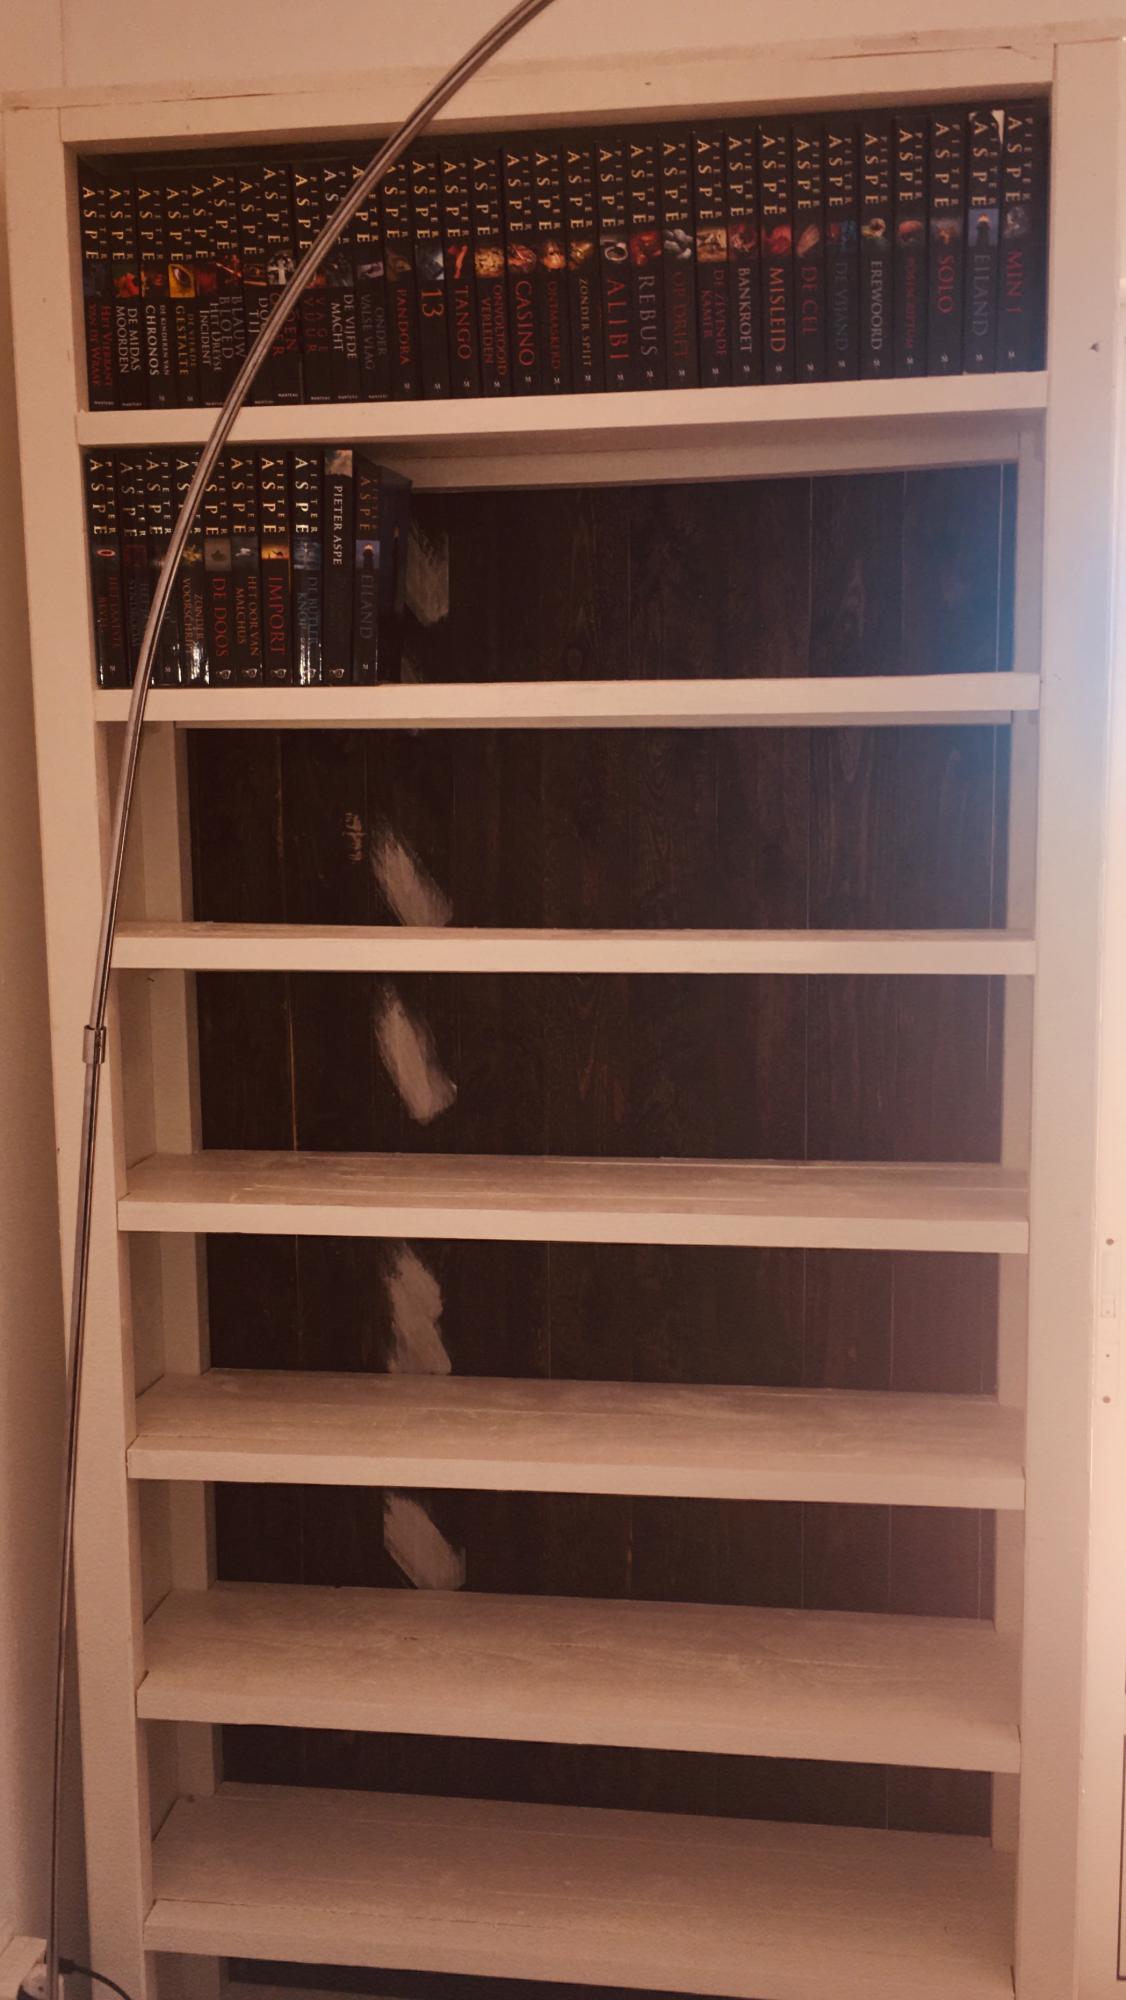
Bougth some furniture but no bookcase . So I started to make it myself; first time ever I worked with wood.
I used the plans of Channing bookcase but modified them a bit.
It fits completely with the other furniture: same color and structure , but most important, 5 times cheaper.
Thanks Ana White

Built from Plan(s)
Estimated Cost
70 €
Finish Used
old white paint
Recommended Skill Level
Starter Project

Storage Day Bed

Submitted by SophieW on Thu, 01/05/2012 - 07:34

My first project using Ana's plans. Quite a learning experience with a few rookie mistakes but all in all I think it turned out pretty ok.

I followed the plans to the T. Trusted my lumber yard to make most of the cuts since I was not really equipped and that was a HUGE MISTAKE. So I went out, bought some tools, recut some boards and whatever mistakes I made, at least they were mine.

I followed other people advice on this site and added some casters under the boxes after I screwed them together. Makes it a lot easier to move around.

Thank you Ana - your website is truly inspiring.

Built from Plan(s)
Estimated Time Investment
Weekend Project (10-20 Hours)
Recommended Skill Level
Starter Project

Comments

SophieW

Fri, 01/06/2012 - 07:35

Thank you:) I ordered the mattress online - Futon mattress - can't remember where from though... But for $118 I'm REALLY happy with it!

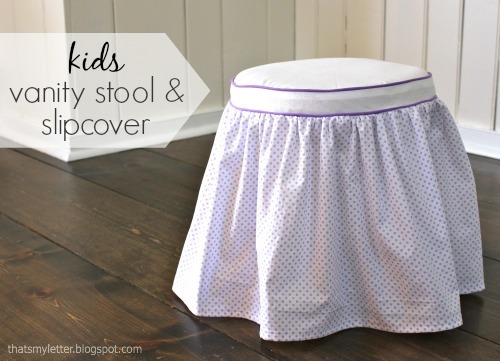
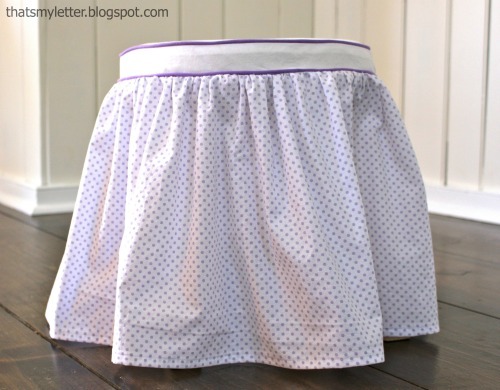
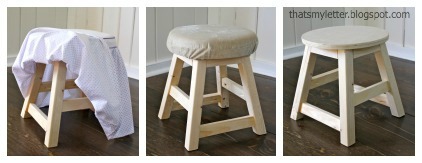
kids vanity stool & slipcover

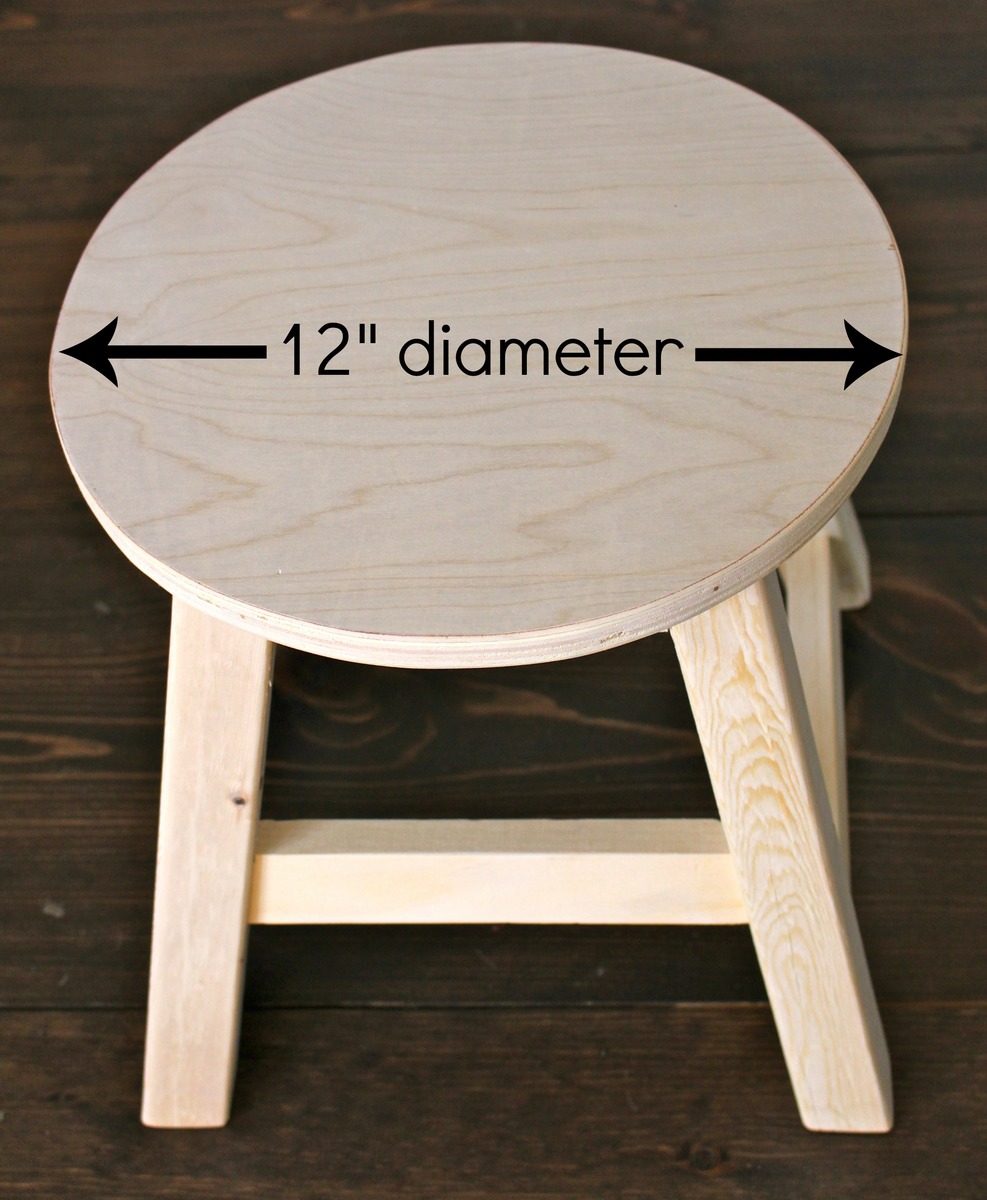
I used all scraps to construct the stool modifying the leg height to 12 1/2" and the seat to a 12" diameter to fit properly at the kids vanity. See the complete details on the slipcover in my blog post link.

Built from Plan(s)
Estimated Cost
$10
Estimated Time Investment
An Hour or Two (0-2 Hours)
Finish Used
no finish
fabric slipcover
Recommended Skill Level
Beginner

Wall Jewelry Cabinet

Submitted by Anonymous (not verified) on Sun, 02/07/2016 - 22:15

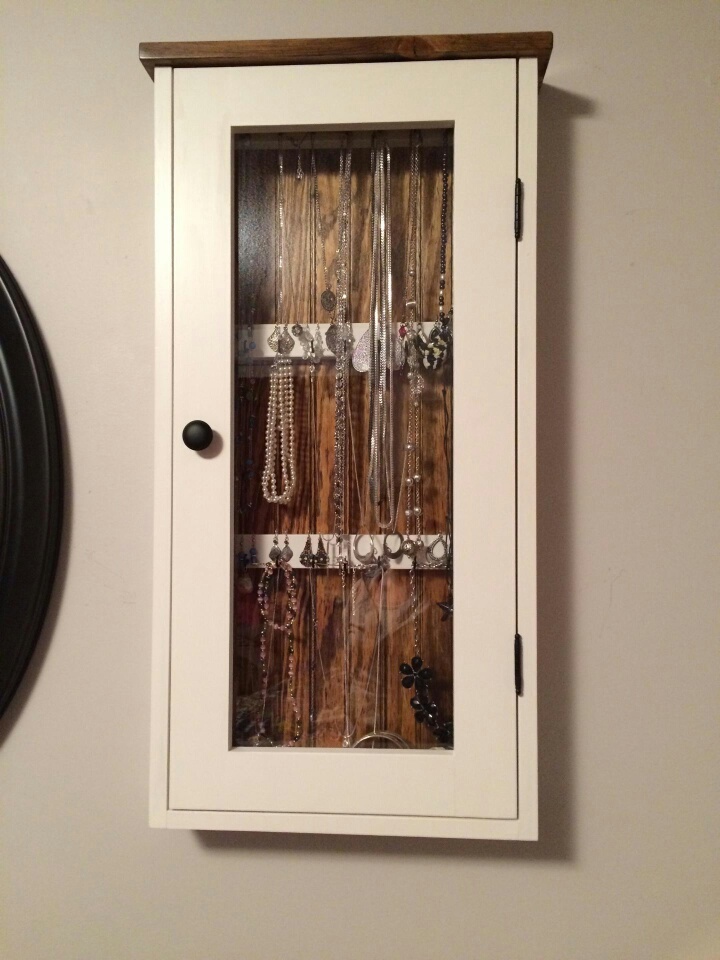
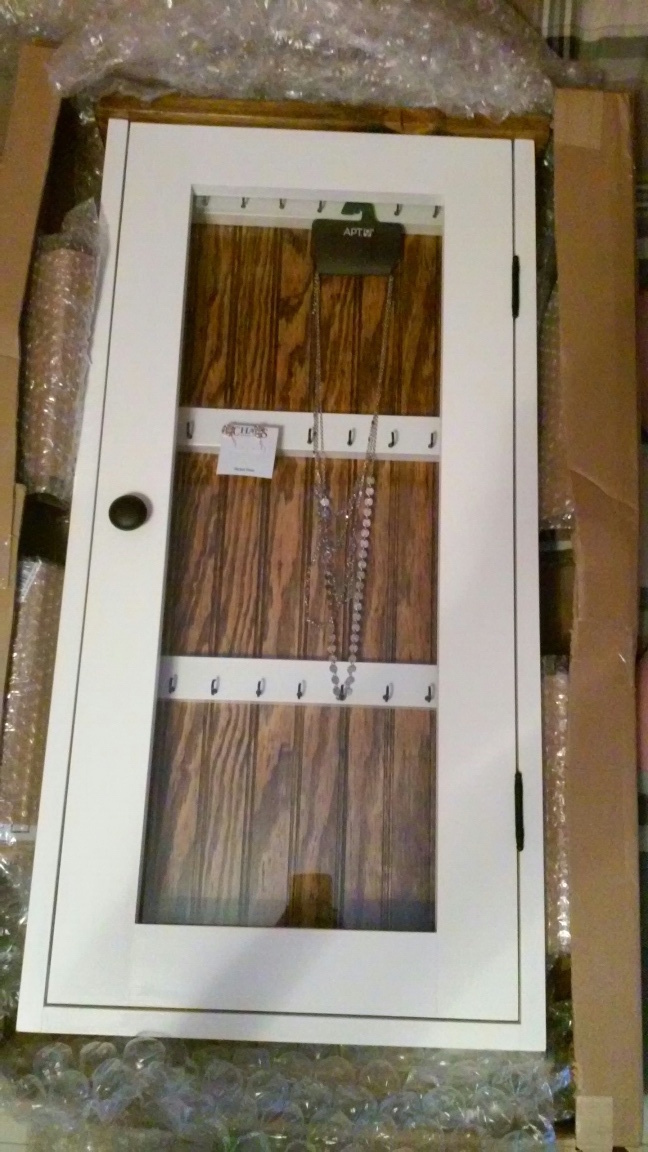
I built this for Girlfriend this Christmas. It was fun to surprise her. I put some jewelry in it, wrapped it, and put it under the tree. I think it turned out really nice. I installed a recessed bead-board back and 1/8" glass in the door. All black hardware and a two tone finish.  She loves it but she filled it up real quick. I guess I could have built it bigger! wink

Built from Plan(s)
Estimated Cost
$70-$90 including lumber, paint, stain, glass, and hardware
Estimated Time Investment
Weekend Project (10-20 Hours)
Finish Used
Swiss Chalk Paint and Minwax pre-stain conditioner, Dark Walnut stain and Satin Polyurethane
Recommended Skill Level
Intermediate

Fancy X Farmhouse Table

Submitted by Anonymous (not verified) on Sun, 09/08/2019 - 11:35

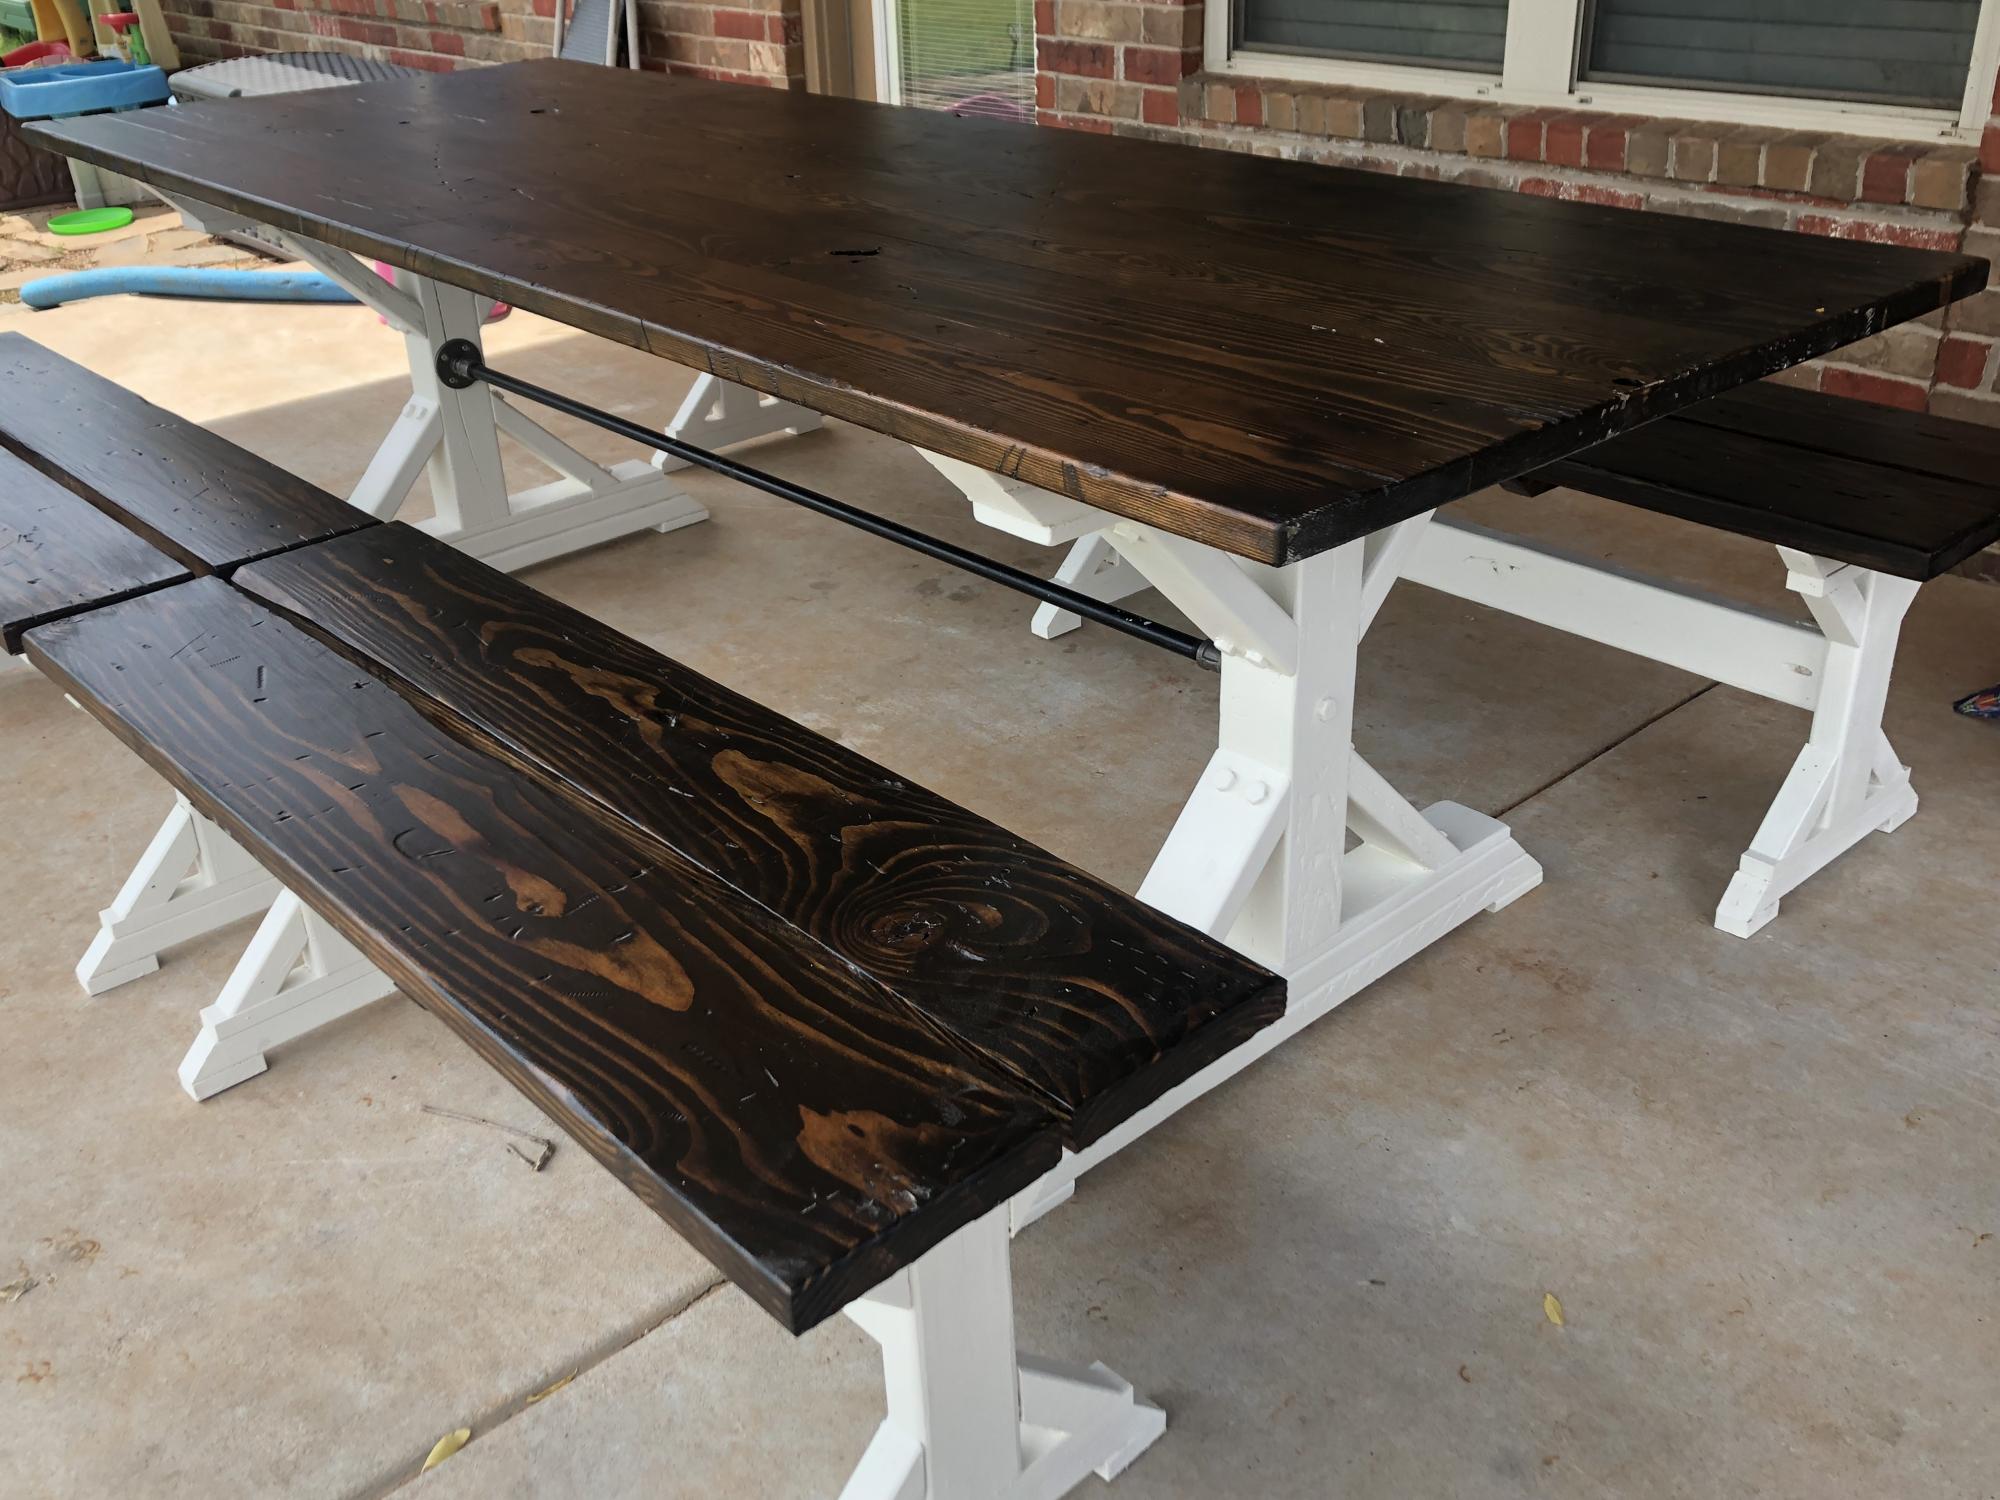
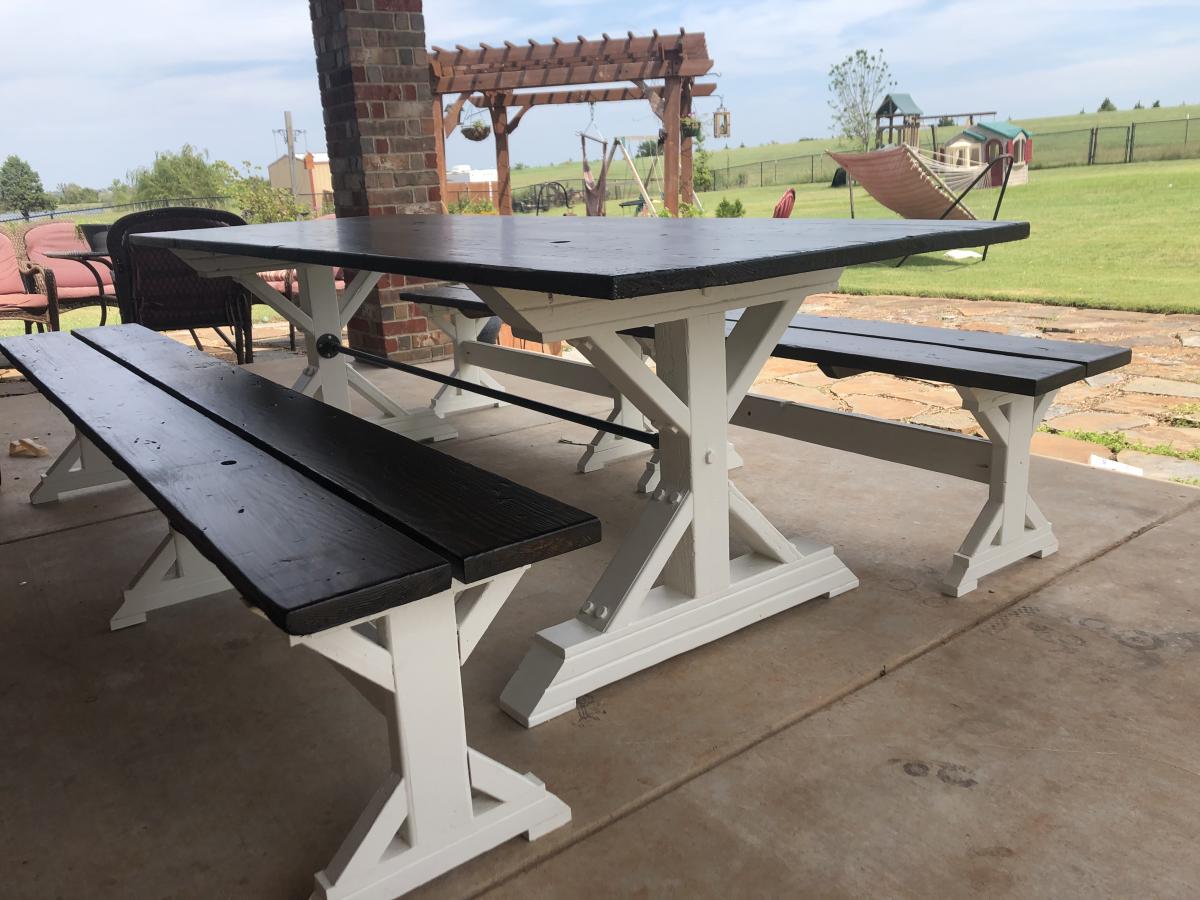
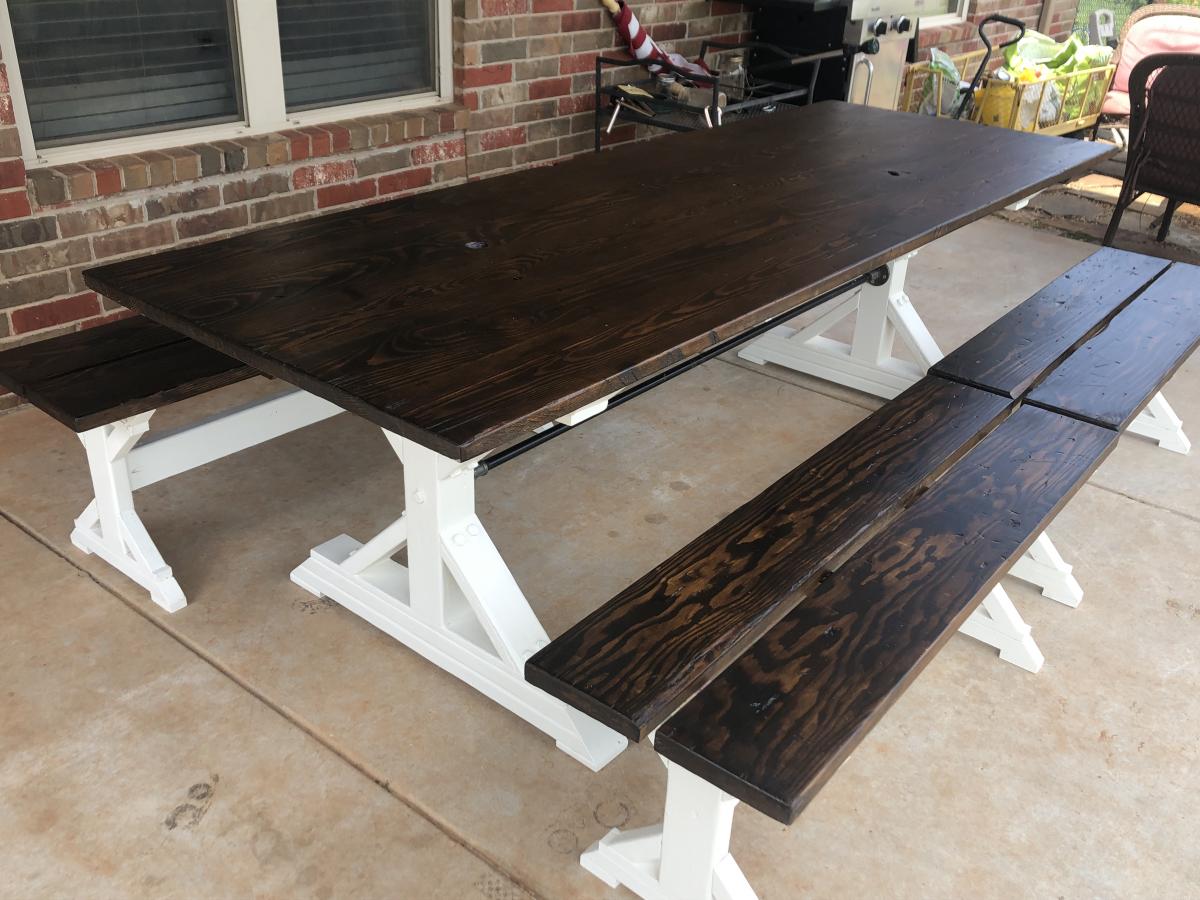
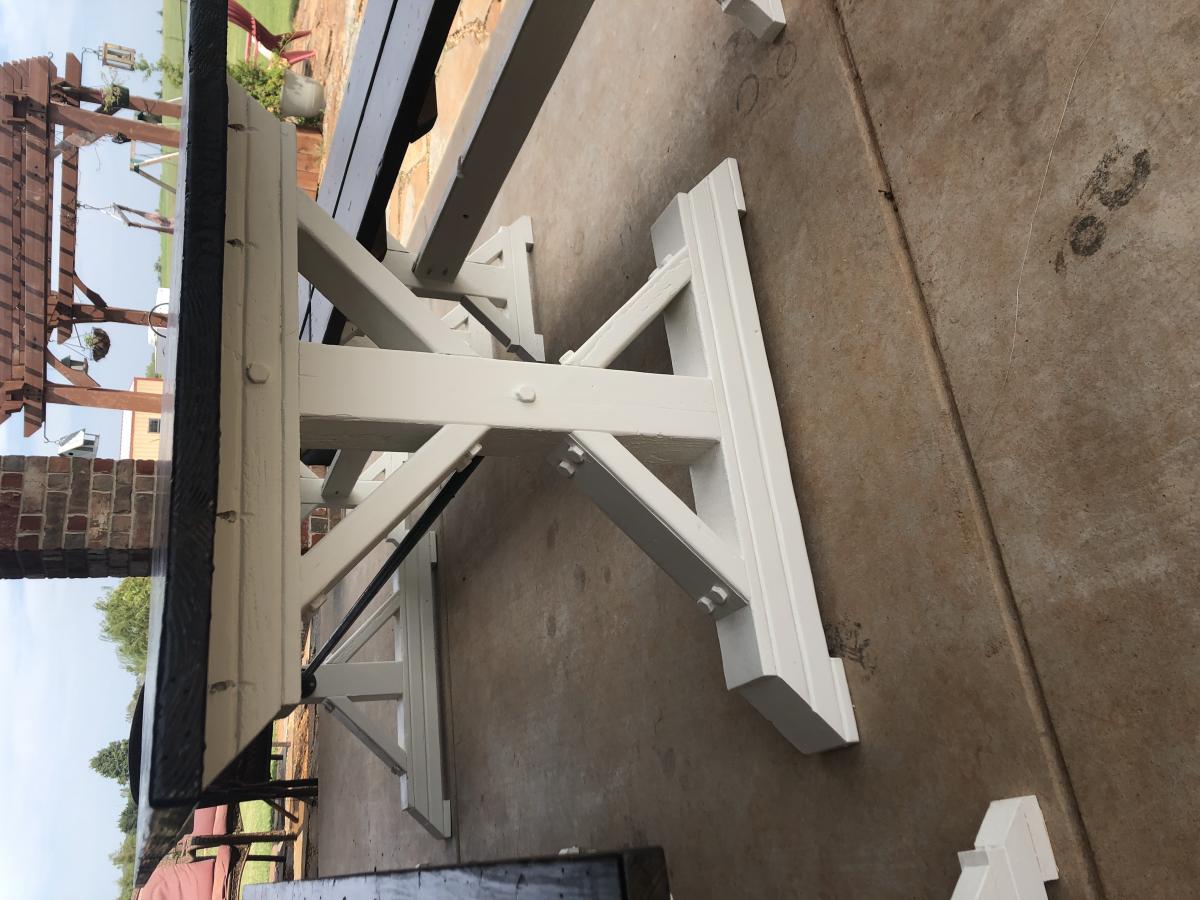
Fancy X Farmhouse table for the wife. Modified to 8ft table with 2x 4Ft benches and 1x 8ft bench. Used bolt screws to diagonal slats for looks and pipe horizontal support vice the 2x4. Top is Dark walnut stain and an egg shell Chalk paint with outdoor clear coat. Kids had a blast distressing the table and benches for an older look. Not a bad weekend project.

Estimated Cost
$300
Estimated Time Investment
Week Long Project (20 Hours or More)
Recommended Skill Level
Intermediate

My first chair

Submitted by Anonymous (not verified) on Mon, 05/15/2023 - 05:16

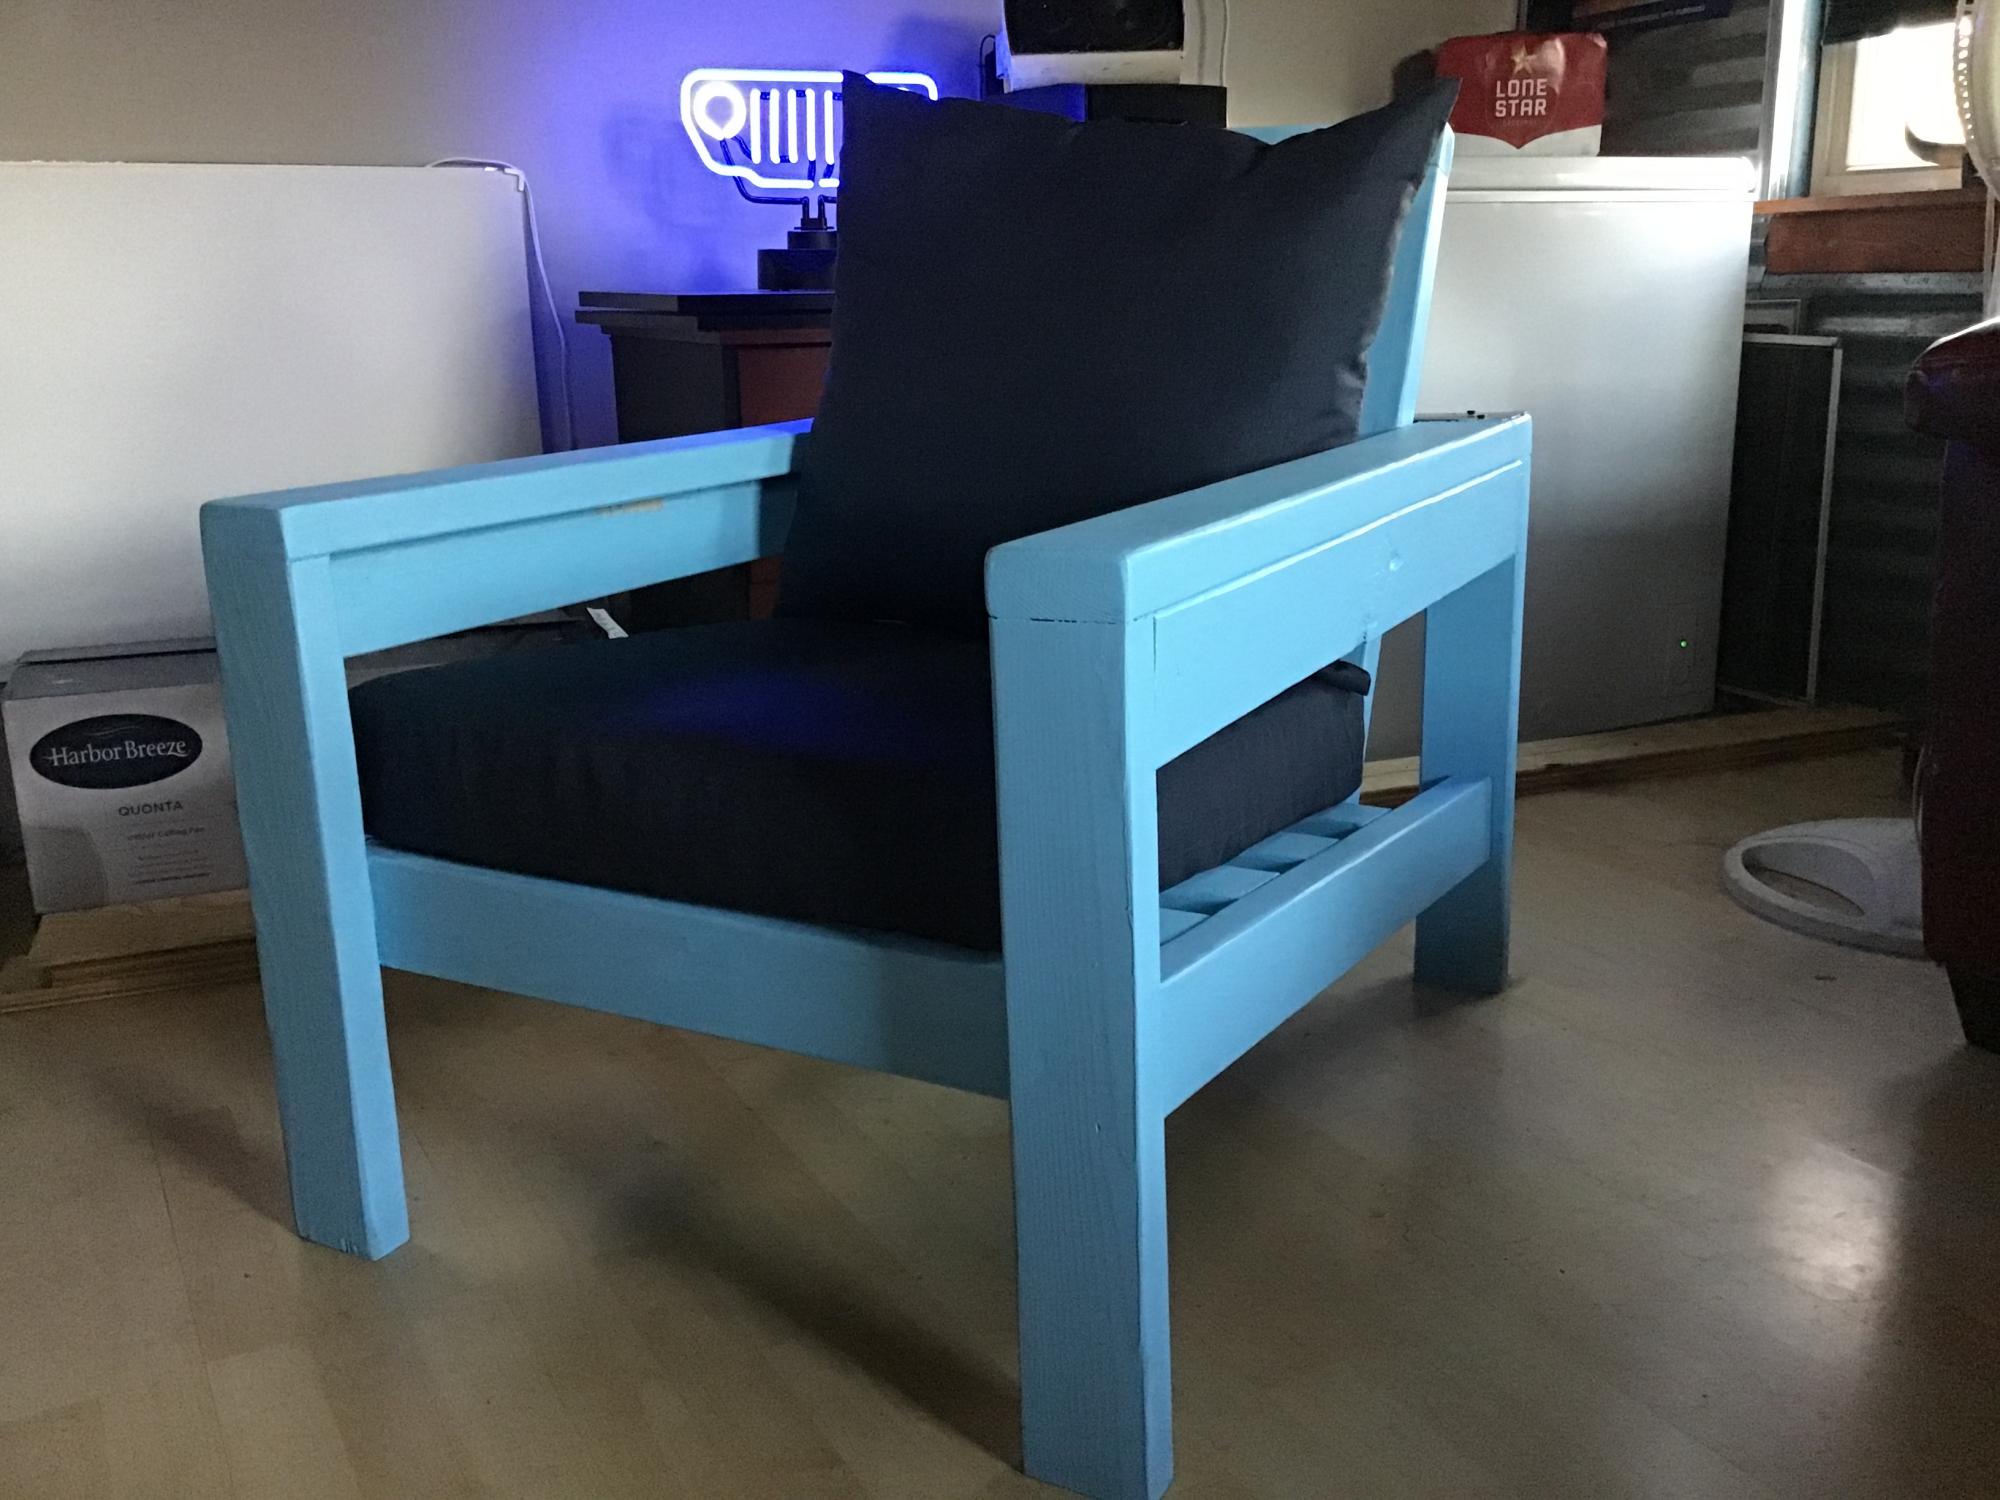
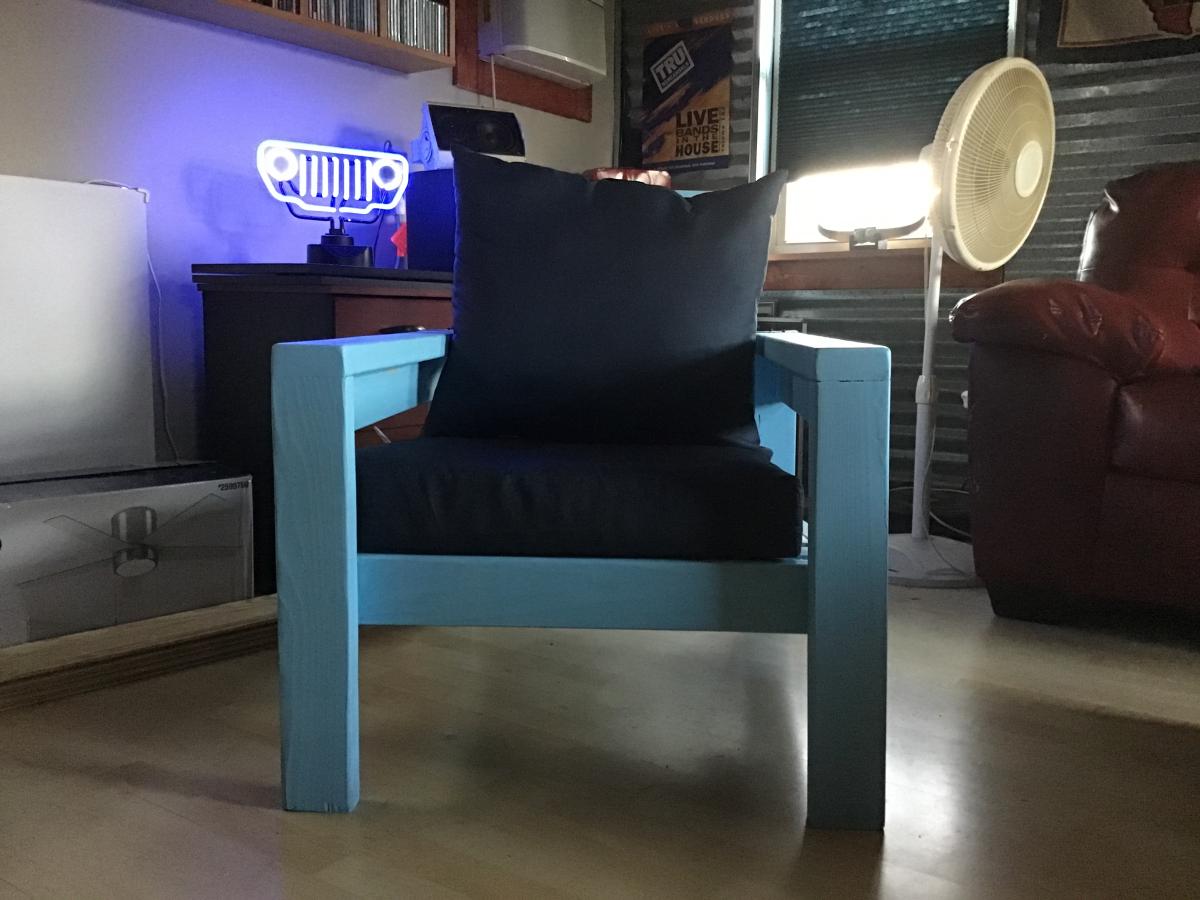
Thank you Anna for designing such beautiful plans, and making them available for free. My husband likes the chair so much he doesn’t want it outside! I guess I’ll have to make a few more for our deck.

Comments

Princess Castle Loft Bed

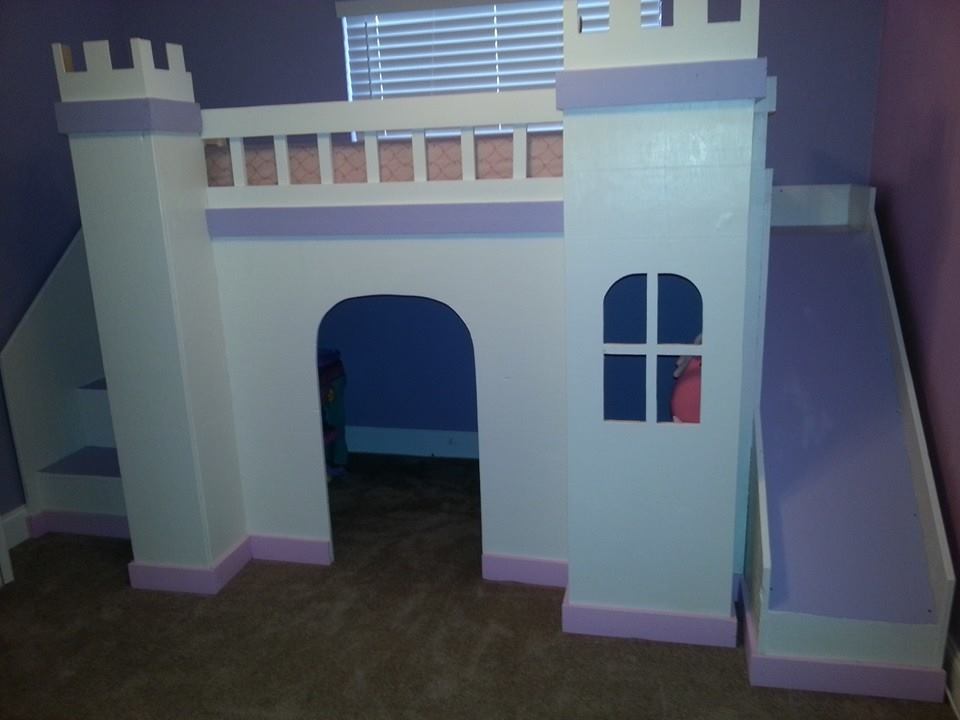
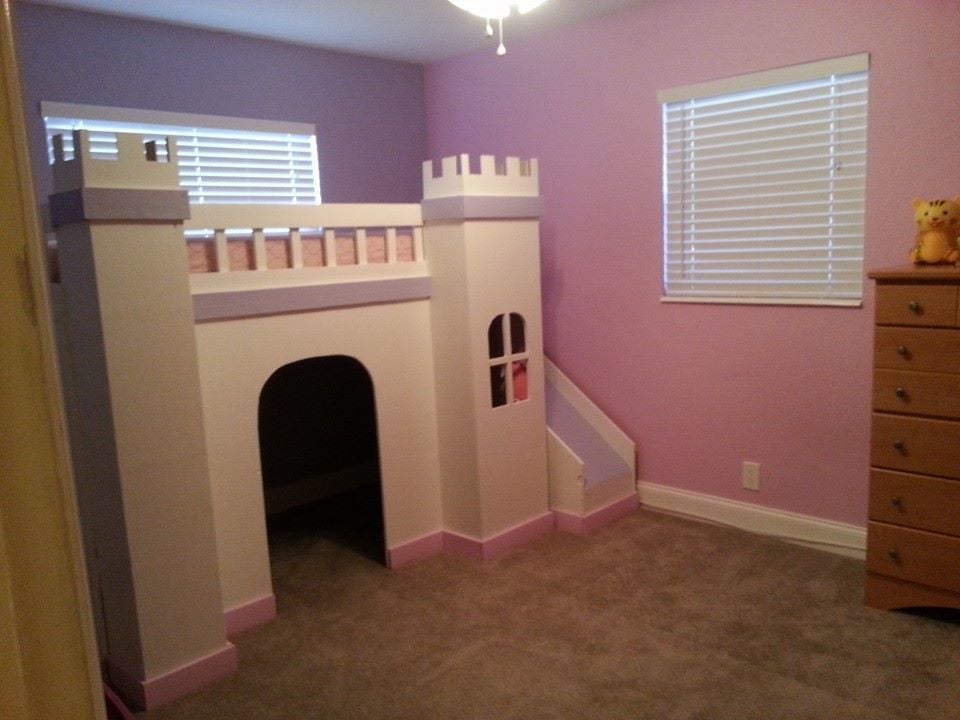
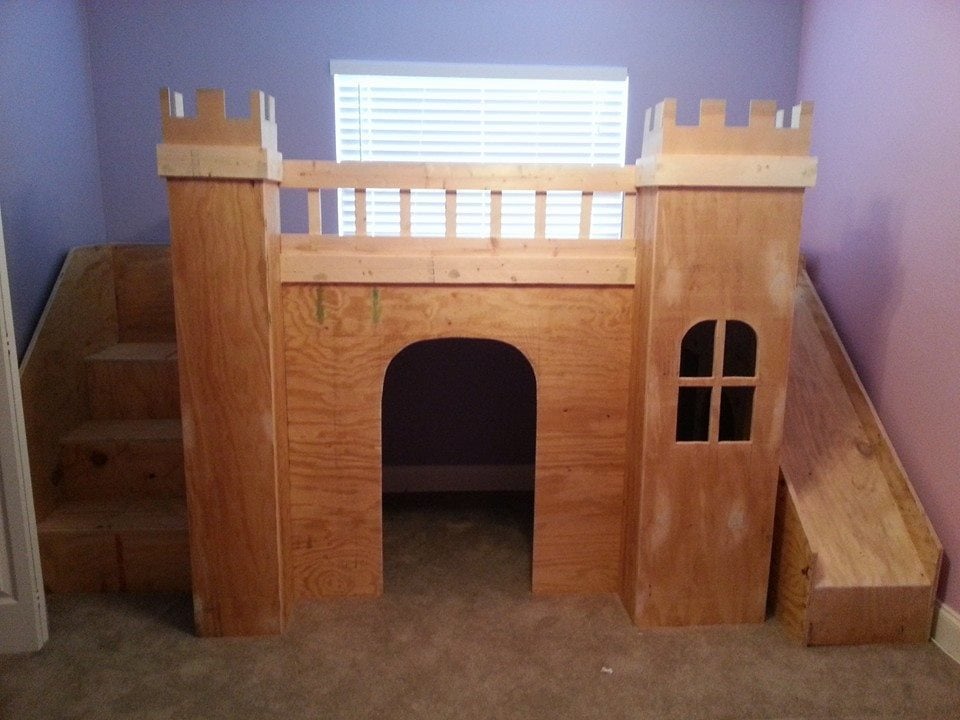
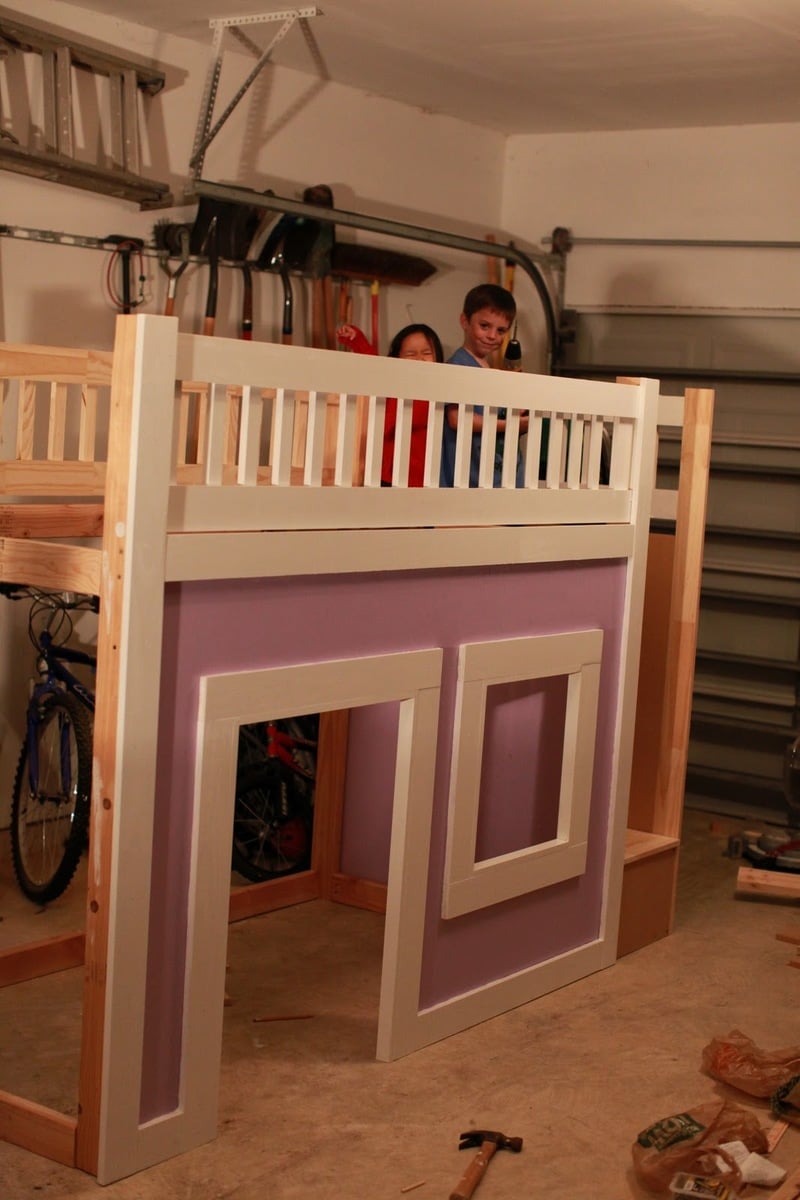
We used the plans from this site to build this for our daughter. We did however make the bed part a bit more sturdy to ensure that no one would get hurt and to make sure it could support any weight. We added 4 2x4s across the bed like rafters and screwed the slats on top of them.

Estimated Cost
$350
Estimated Time Investment
Week Long Project (20 Hours or More)
Finish Used
Paint
Recommended Skill Level
Intermediate

A princess castle bed

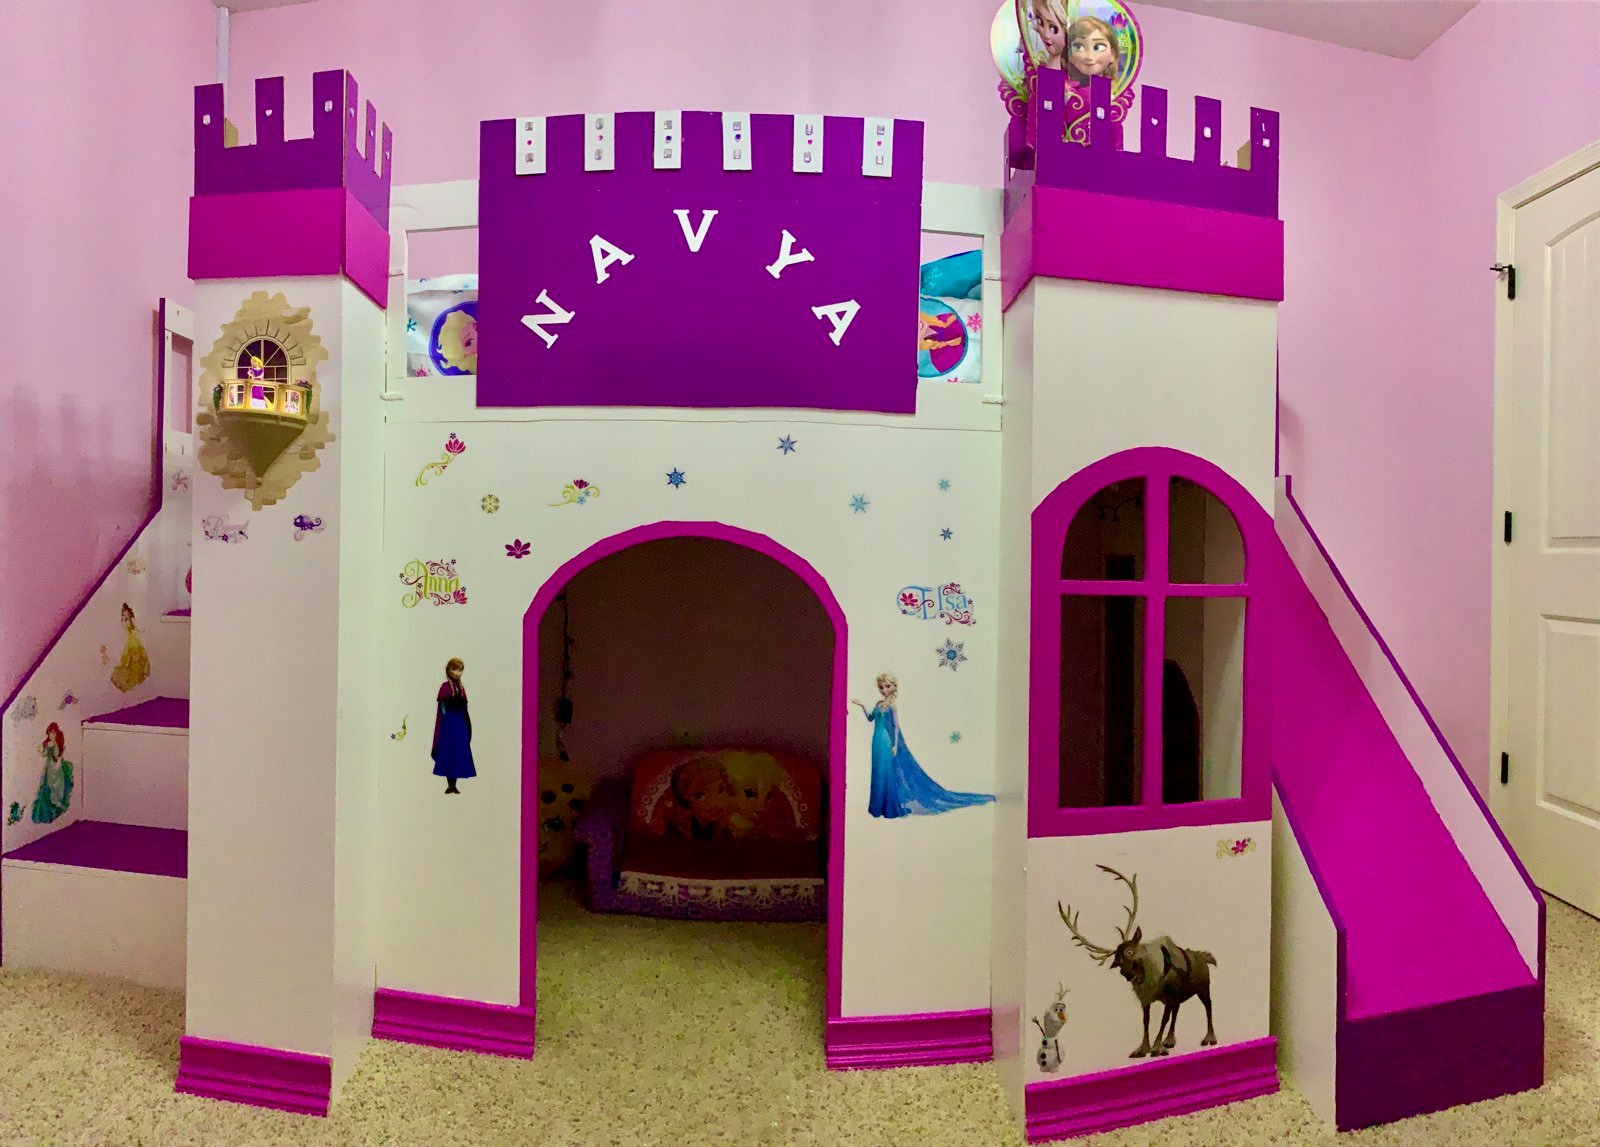
My first ever woodwork project! Thank you Ana white! 

Estimated Time Investment
Week Long Project (20 Hours or More)
Recommended Skill Level
Beginner

Comments

Bed built

Submitted by Anonymous (not verified) on Sun, 05/21/2023 - 06:47

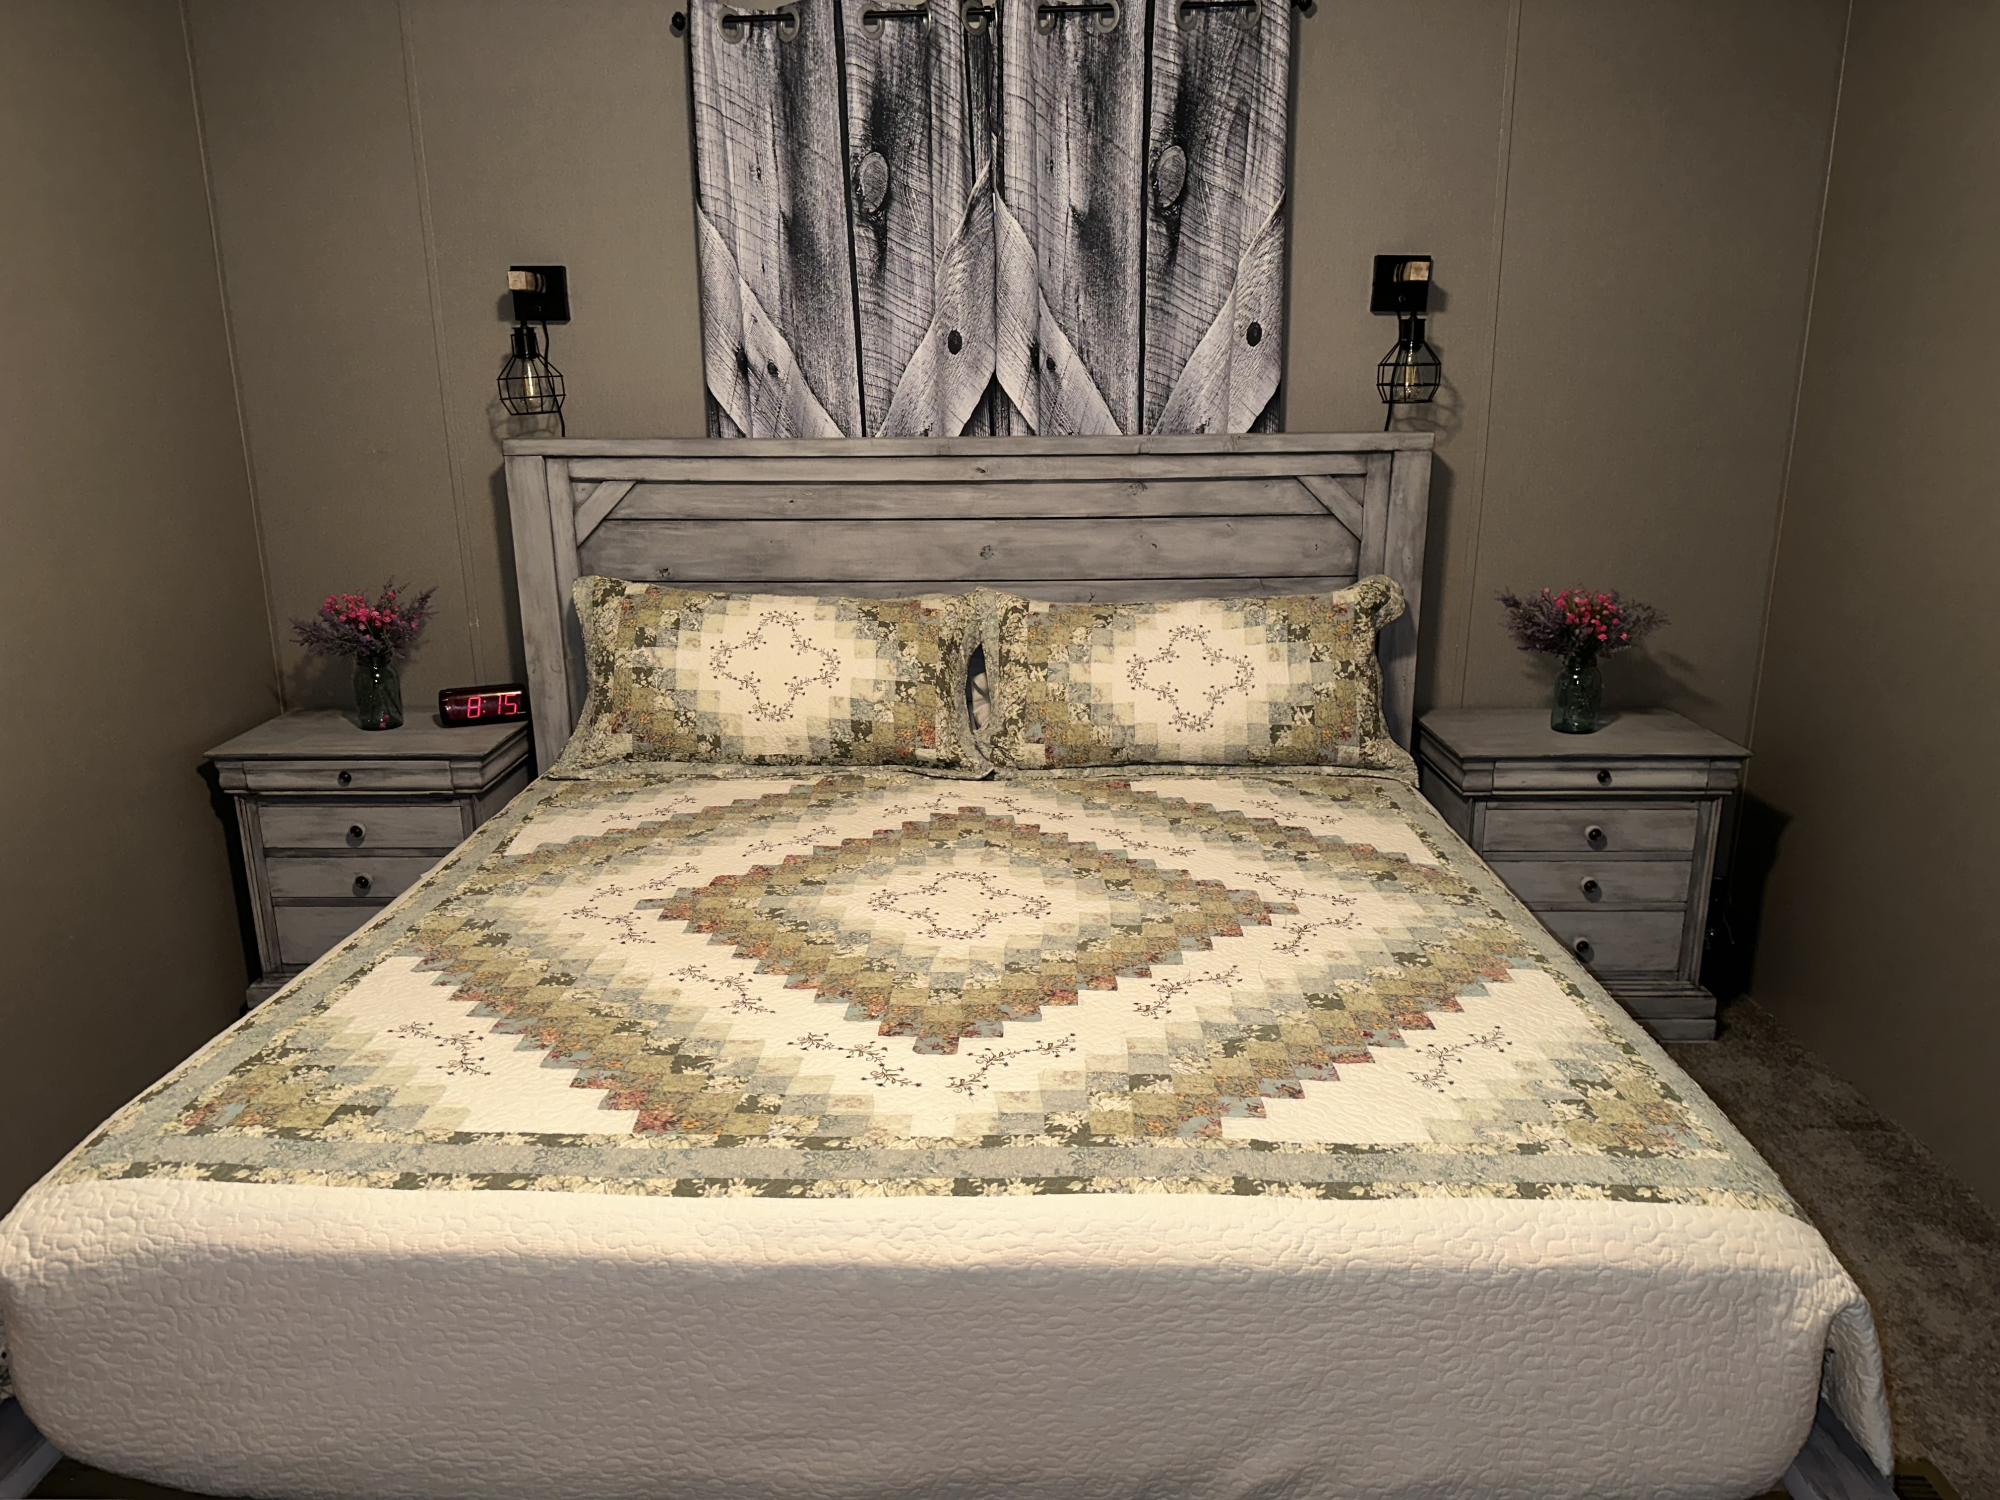
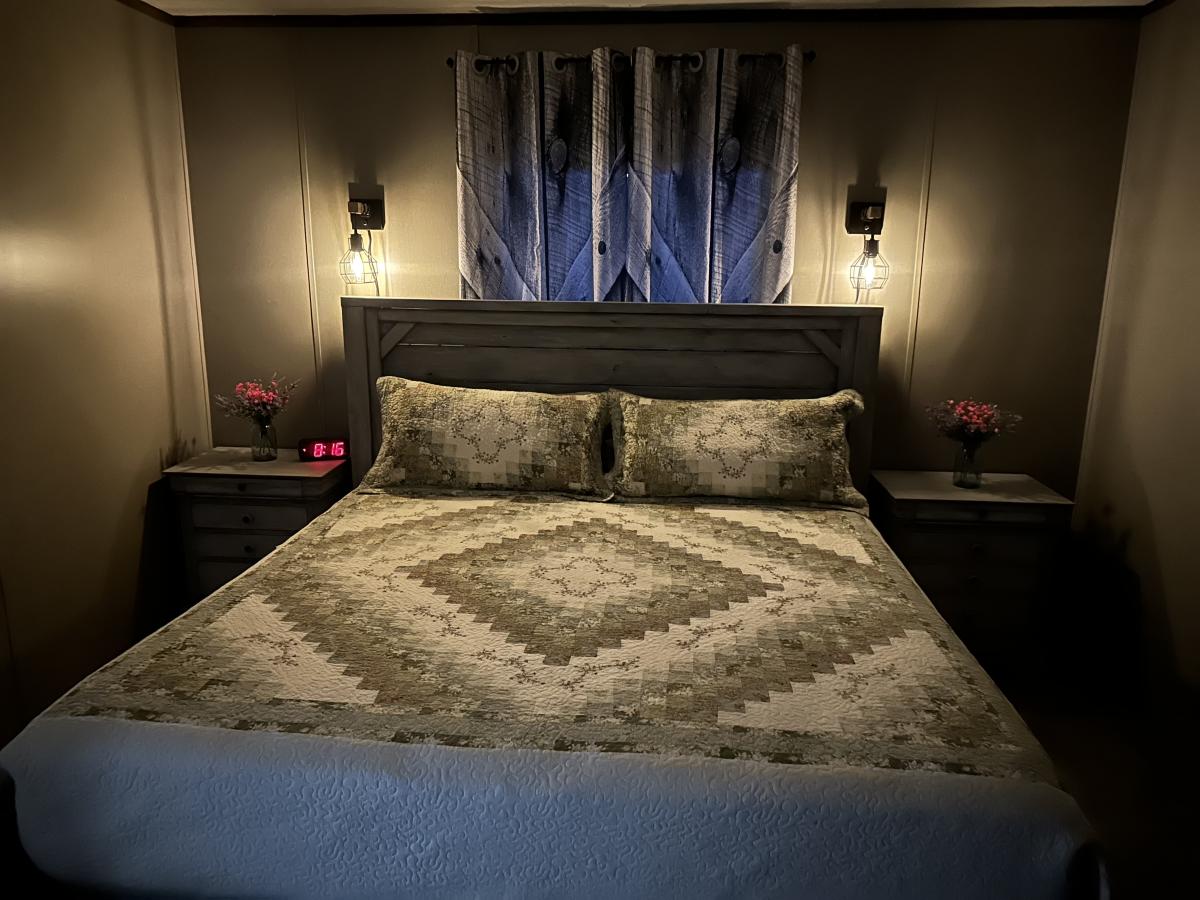
This is my second bed built it was build for my daughter. I enjoyed building it Great Plains I added a border around the headboard. For the paint we used chalked paint aged gray we also painted the nightstands to match the bed. Thanks to my wife for helping on the painting.

Built from Plan(s)

Comments

Princess Bed with Stairs and Slide

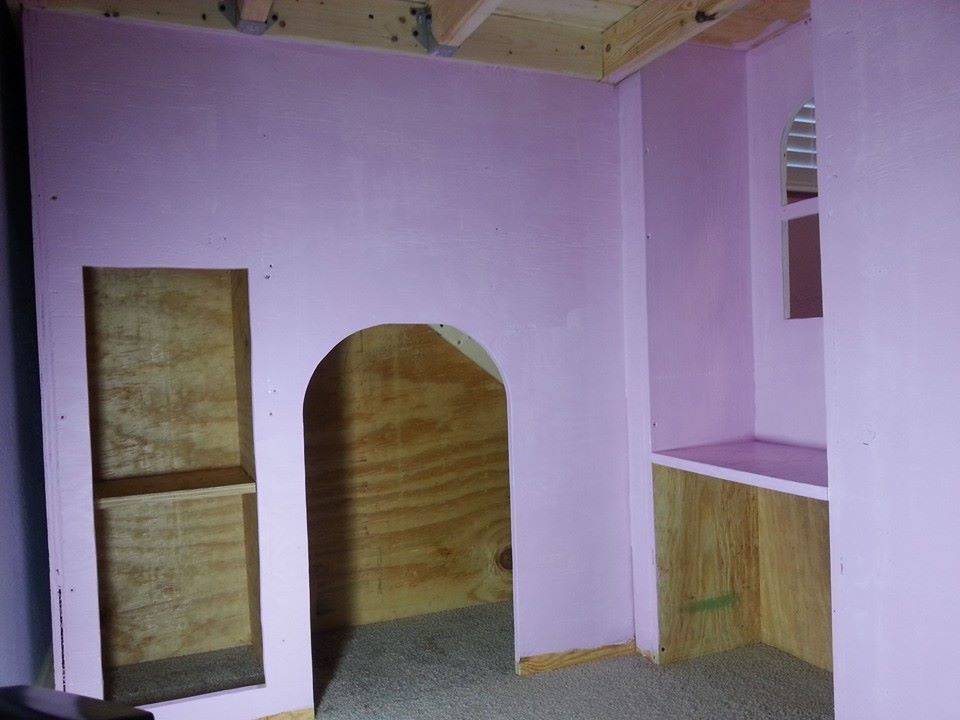
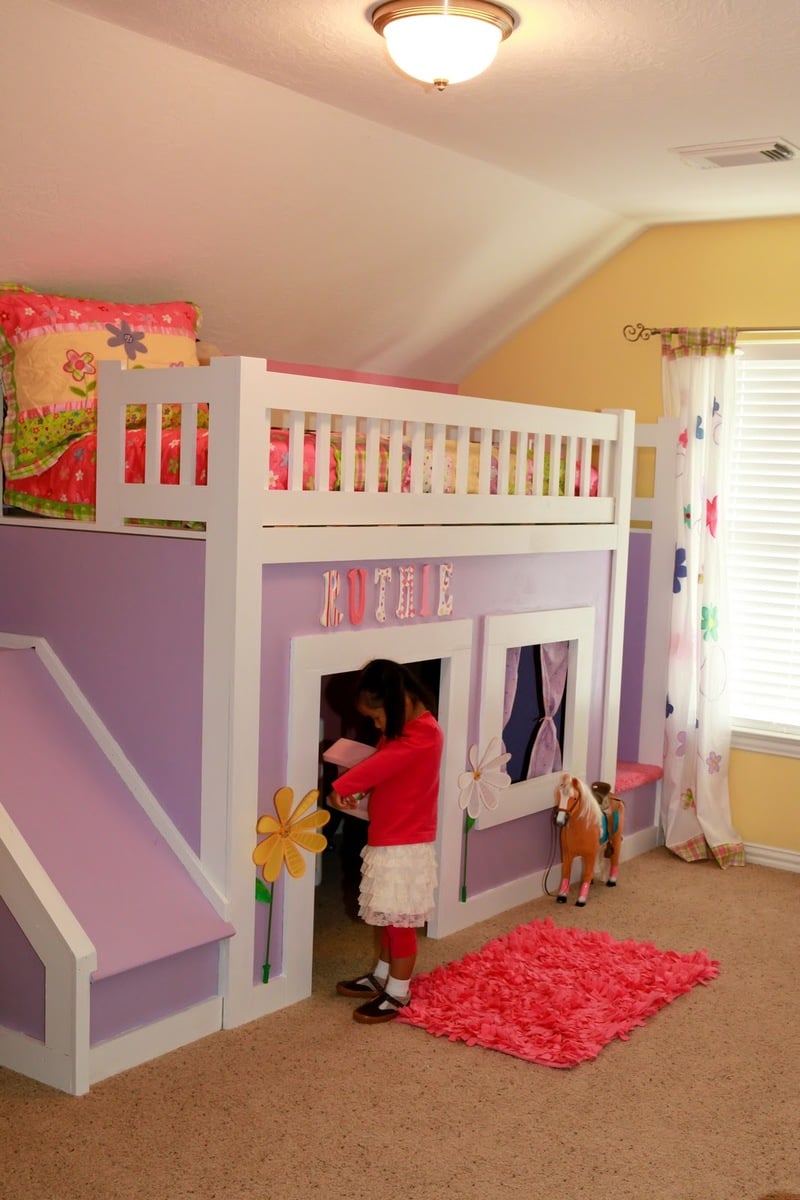
Made a princess bed for my little peanut. We adapted the idea of the stairs with storage and then added a slide. I hung LED Christmas lights underneath with a foot switch so she has light in her play area.

Estimated Cost
$350
Estimated Time Investment
Week Long Project (20 Hours or More)
Recommended Skill Level
Beginner

Comments

Guest (not verified)

Tue, 01/10/2012 - 19:20

Please tell me your roof pitch is 12:12 - we are building a house and I have already promised my children to build them both this kind of bed. But I'm fretting that I won't have enough head room - but seeing this picture gives me hope! Our roof pitch is going to be 12:12 and our house is 28 wide, witch will make the upstairs rooms about 20 foot wide I believe at the base of the wall....sorry for rambling....just excited to see your pic. Great job by the way:)

trenthenderson

Fri, 01/13/2012 - 07:17

I made another comment but forgot to hit reply. You can see it below this one. But the point at the ceiling-wall intersection you see in the picture is 72". Hope that helps on perspective.

Trent

trenthenderson

Wed, 01/11/2012 - 14:11

If our pitch isn't 12:12, it's dang close because it's steep on that side. The general layout can be found on Ana's site. I had to modify extensively on height and width to accommodate the room and the play kitchen and the slide. My dimensions are 67" high at the posts, 114" wide from outside slide to outside stairs, and 42" deep. With her mattress on there, she has 8" of railing to make sure she doesn't tumble out. Hope that helps.

If you have other questions, let me know.

Trent

Guest (not verified)

Sun, 01/22/2012 - 17:23

Can you post the plans and dimensions for the slide? I love this bed, and I'm planning to start on it for my daughter.

trenthenderson

Sun, 01/22/2012 - 18:24

I honestly don't know how to post plans here. My email is trent henderson at hotmail dot com. If you'll email me the request, I'll put it on a PDF or something and send it to you.

DIY Salvaged Mudroom setup inspired by the Fancy Hall Tree

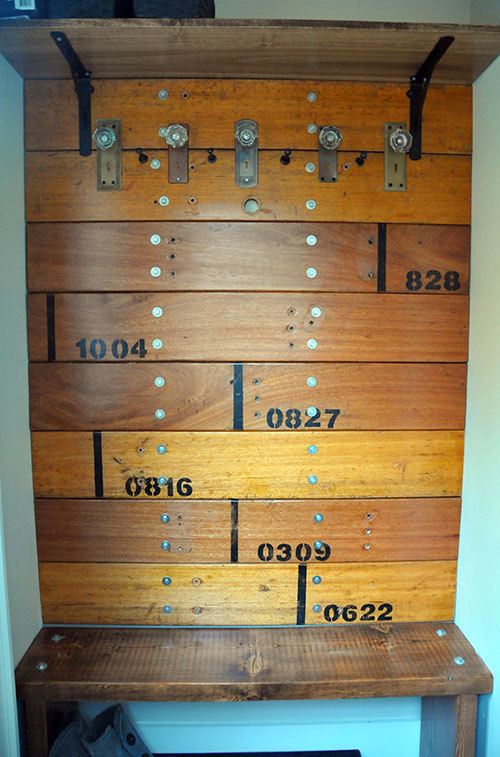
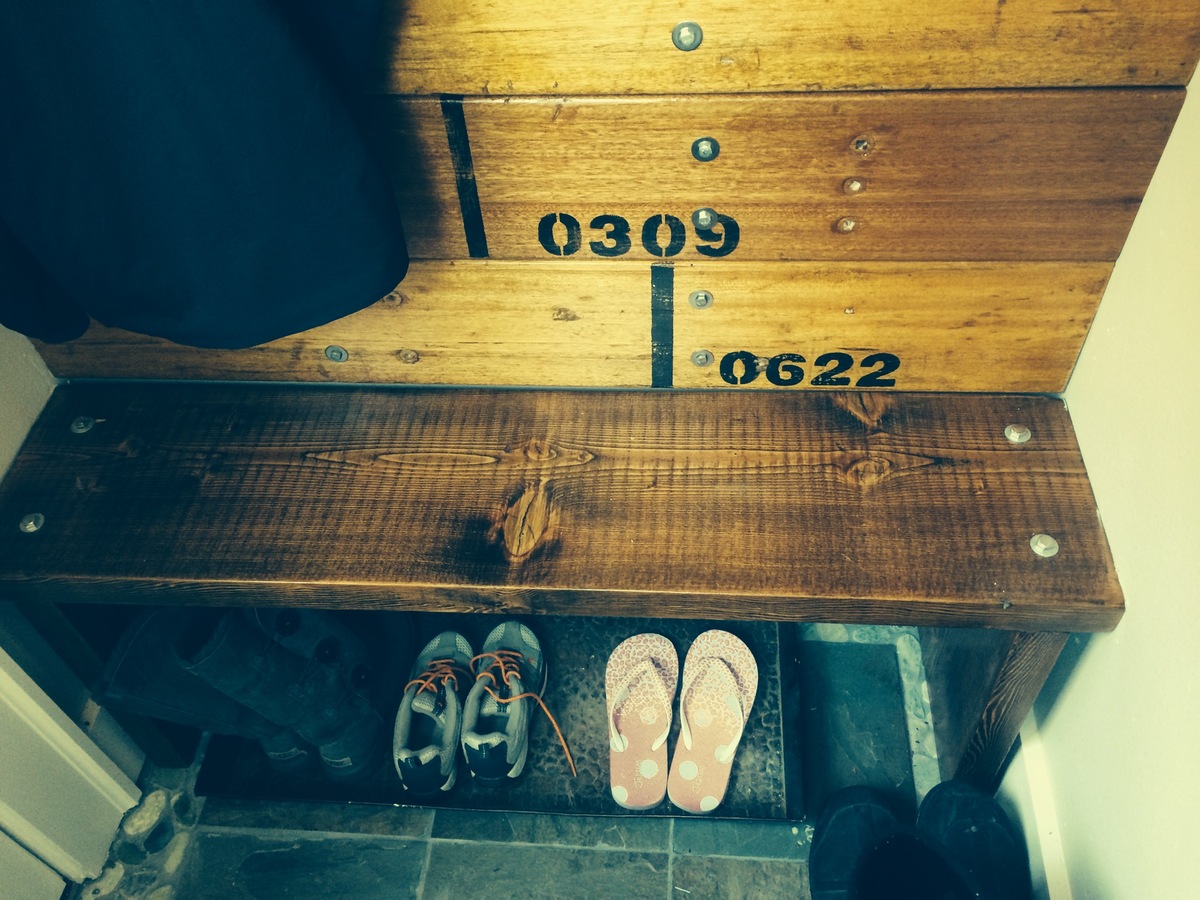
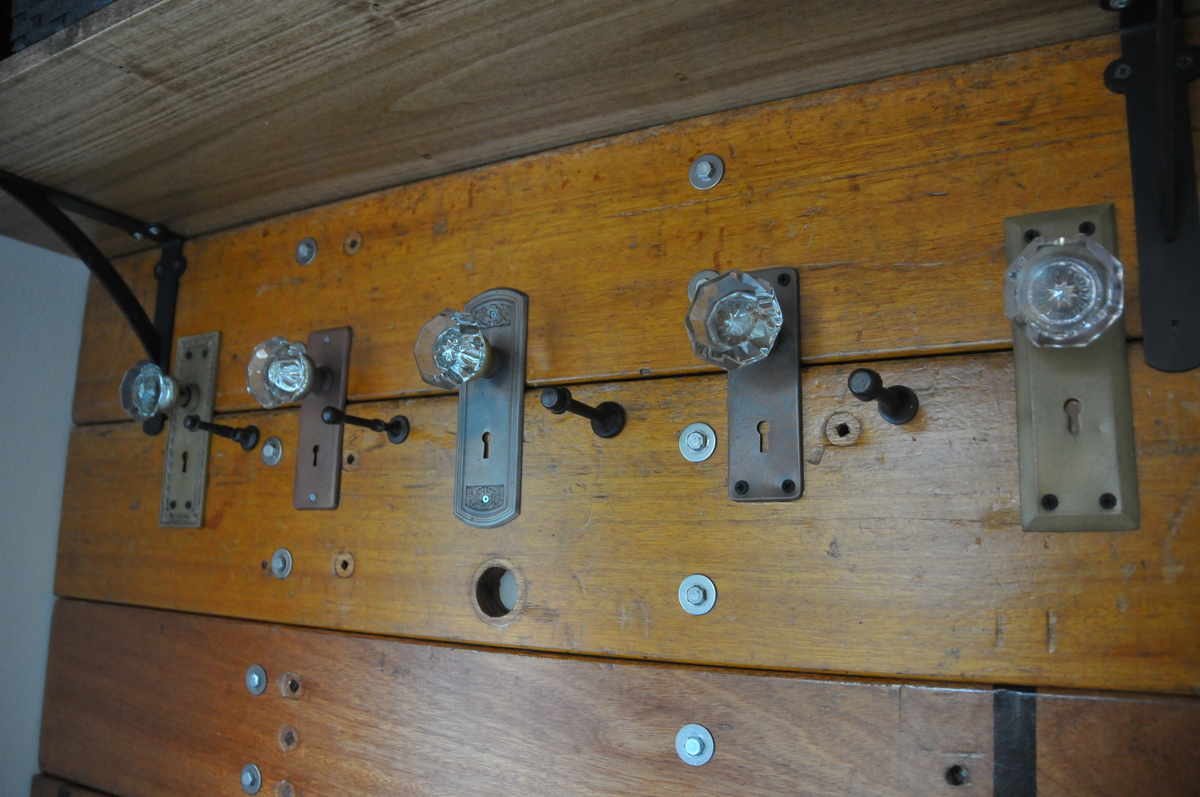
I was inspired by the fancy hall tree project, but what I made is a total modification/inspired by with salvaged materials, I loved the idea of having wood backing for the mudroom bench and hooks. I had some leftover vintage door knobs from our interior refurbish, so kept them raw metal (sandblasted the metal and clear coated it with polyurethane to keep from rusting). I found some amazing old mahogany bleacher boards from a local high school and a great slab of fir for the bench. I've been building several of Ana's plans and using some of the projects for inspiration when working with salvaged materials ;)

Built from Plan(s)
Estimated Cost
$175
Estimated Time Investment
Weekend Project (10-20 Hours)
Finish Used
used dark walnut stain on the bench, and on the wall/bleacher boards, I stenciled on numbers to look like "seat" numbers, finished all of it with 3 coats of water based polycrylic in semi gloss
Recommended Skill Level
Beginner

Who needs Restoration Hardware??

We have huge open walls in our new house. We needed something big! And like everyone else on here, we didn't want shell out $3-4000 for something we really wanted. These plans were perfect. I did make a few adjustments. The overall dimensions are 98"H X 63"W. I used some different trim. I custom made the bottom trim. I also added fronts to the shelves to cover the exposed plywood edges. Really happy I added those. Made a huge difference IMO. I really love it!

Built from Plan(s)
Estimated Cost
$350-400
Estimated Time Investment
Week Long Project (20 Hours or More)
Finish Used
2 coats of Minwax Driftwood and Hellmans Spray Poly
Recommended Skill Level
Intermediate

Farmhouse coffee table

Submitted by Anonymous (not verified) on Tue, 10/01/2019 - 18:11

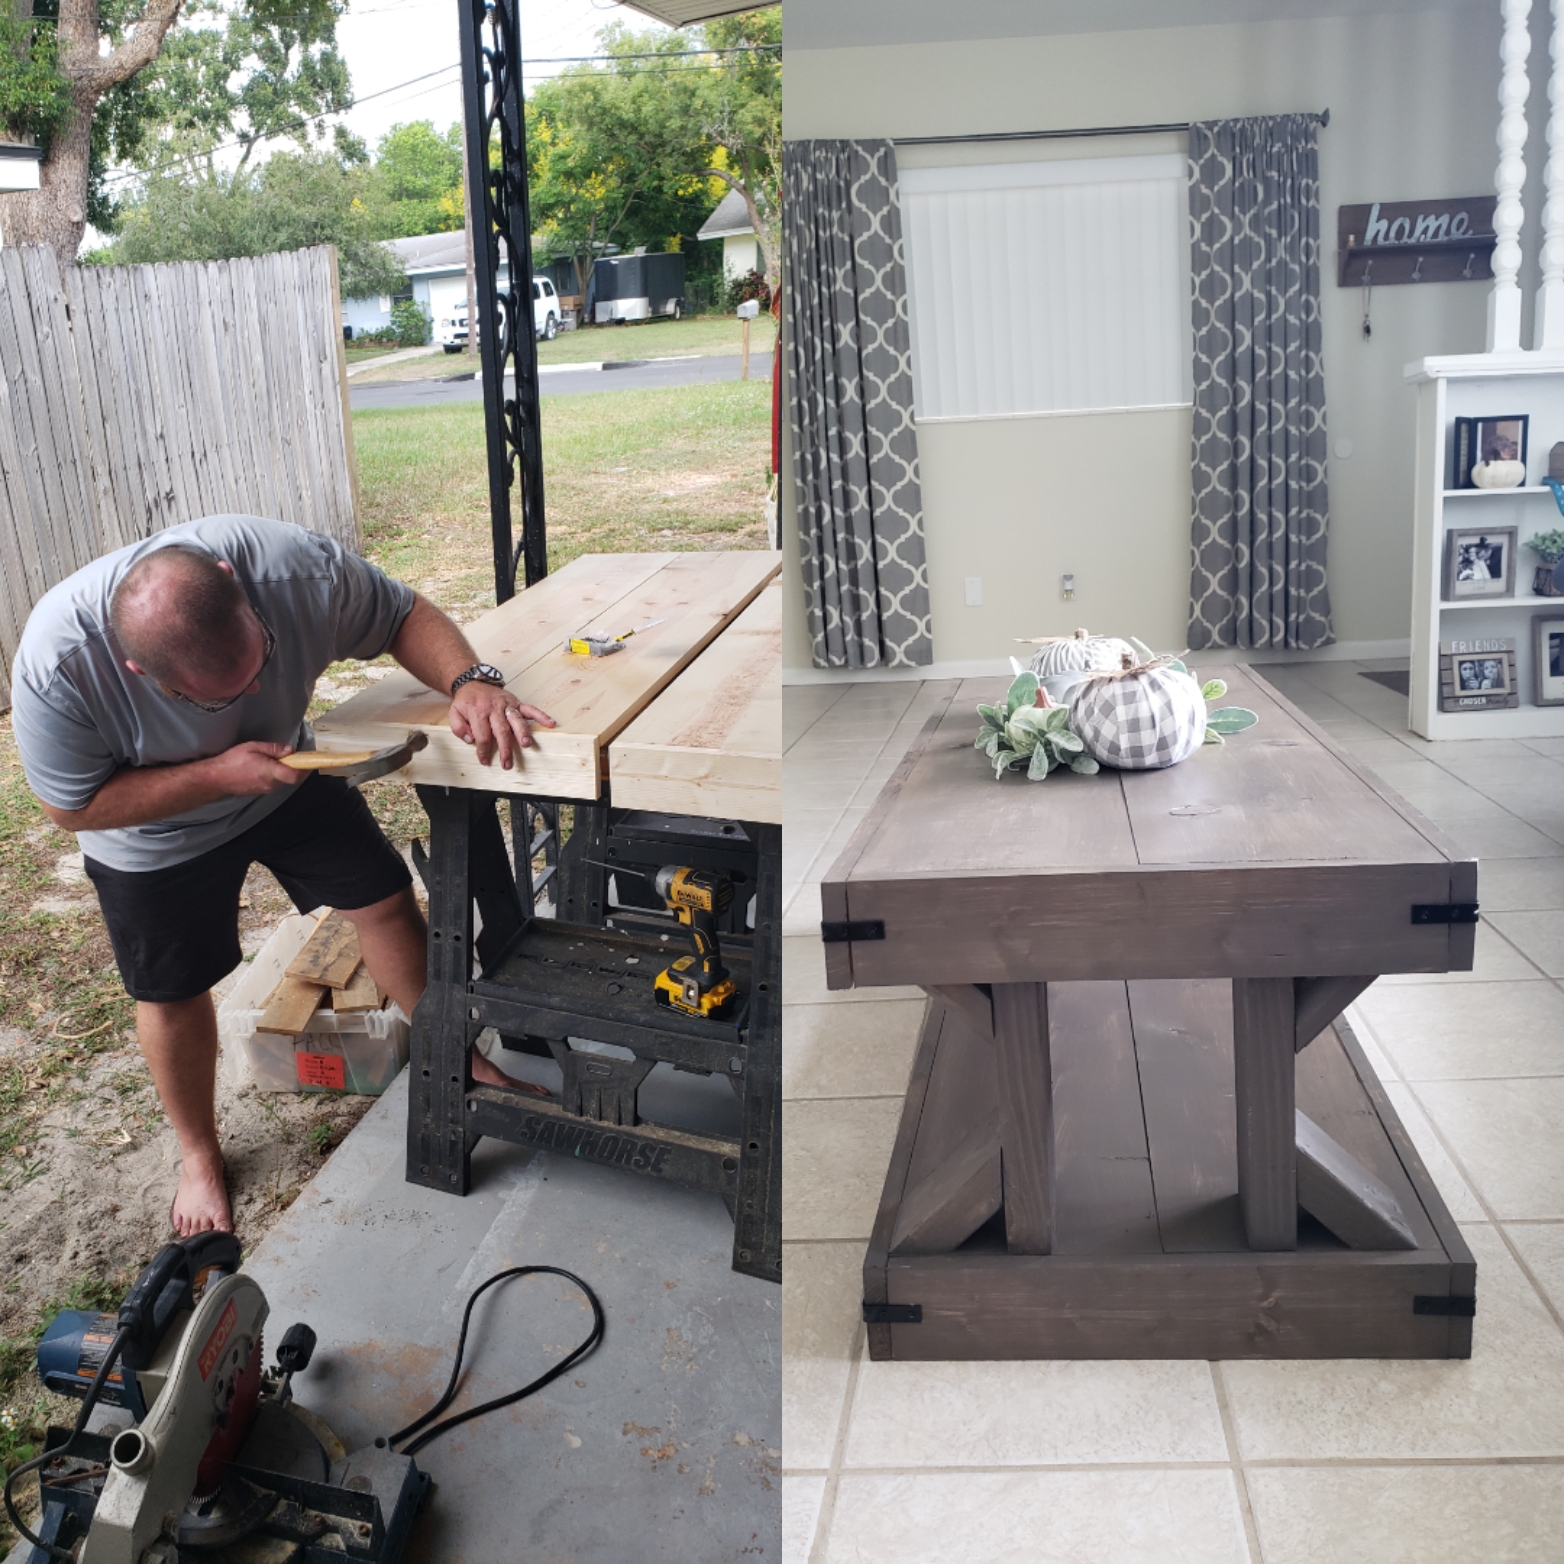
My husband and I have enjoyed building this coffee table together. This is our 2nd Ana white build together. So glad we found this website. Thank you for creating these step by step plans, we're excited to build more beautiful furniture for our home.

Estimated Cost
112
Estimated Time Investment
Afternoon Project (3-6 Hours)
Finish Used
Varathane Briarsmoke
Recommended Skill Level
Intermediate

Comments

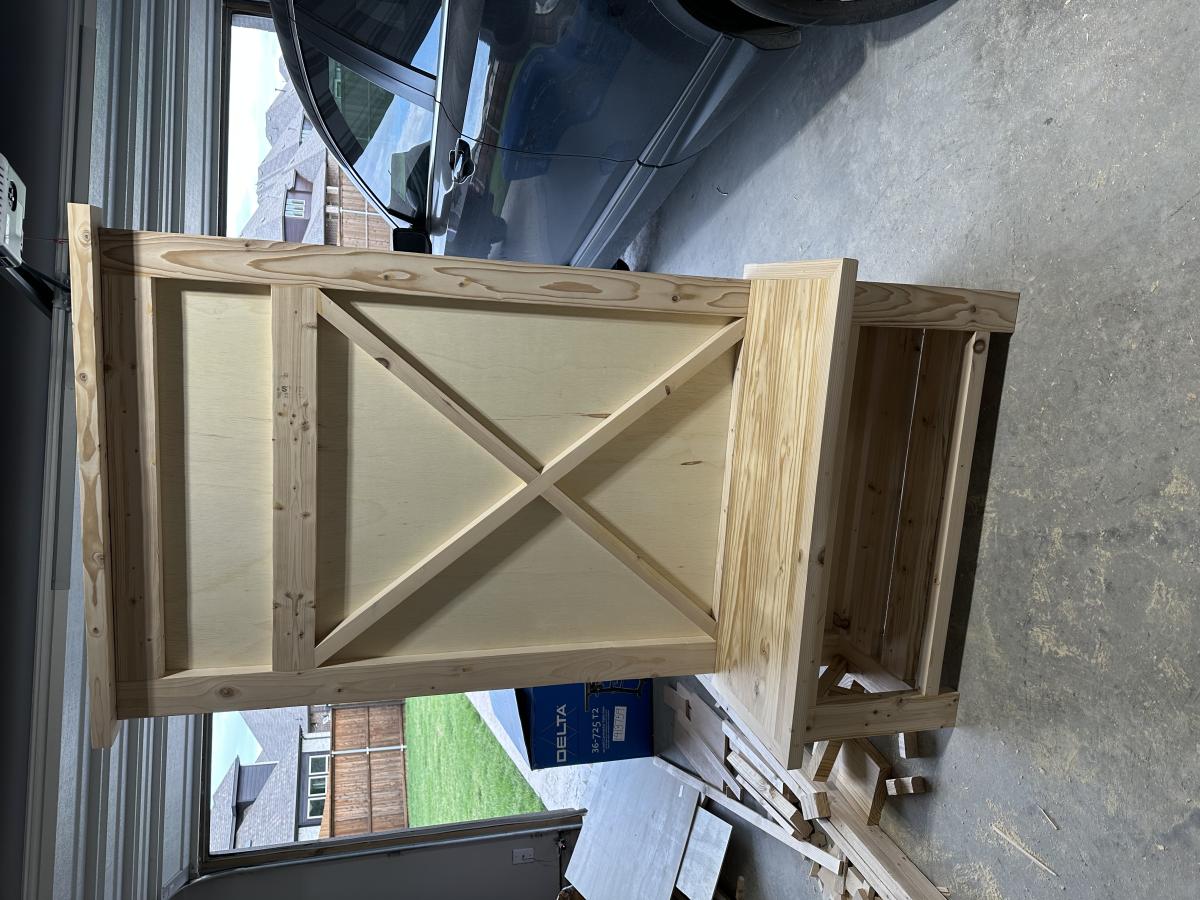
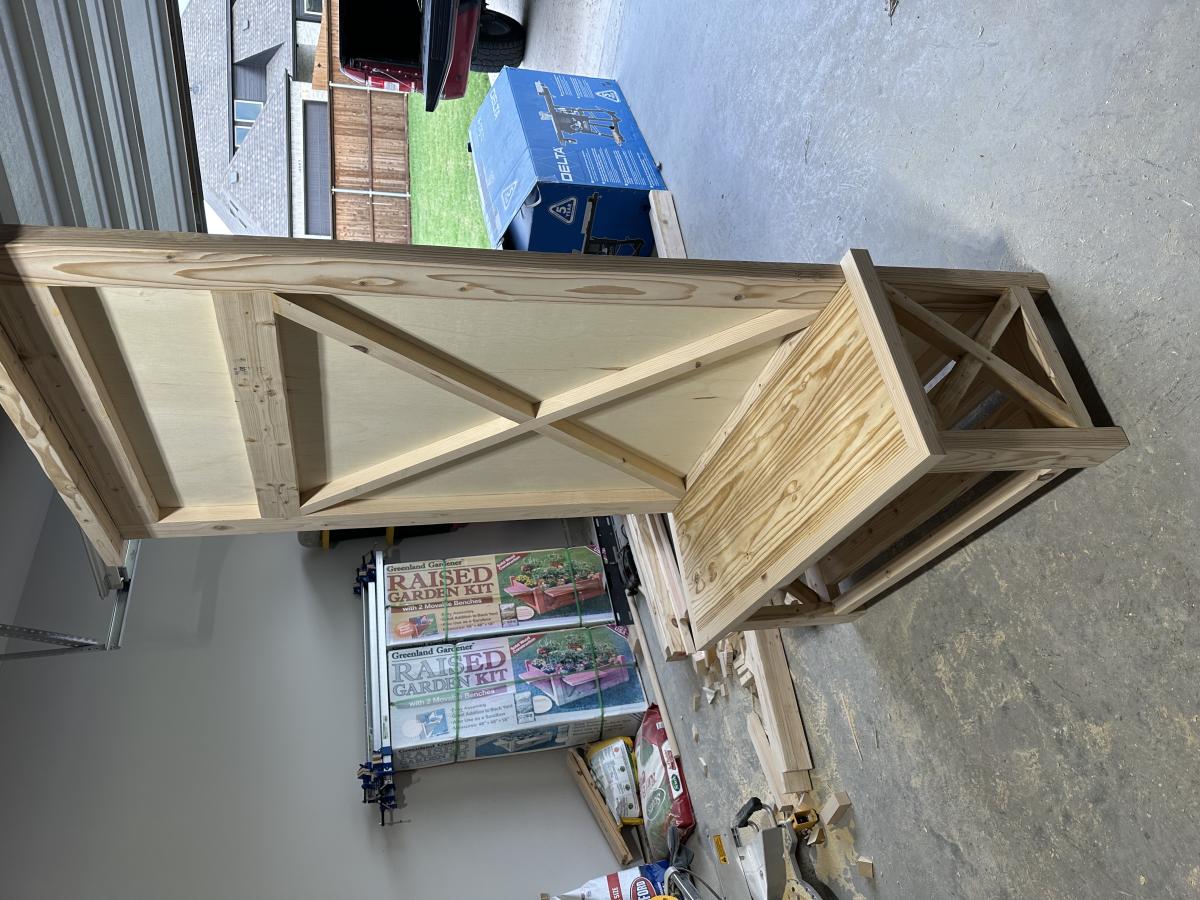
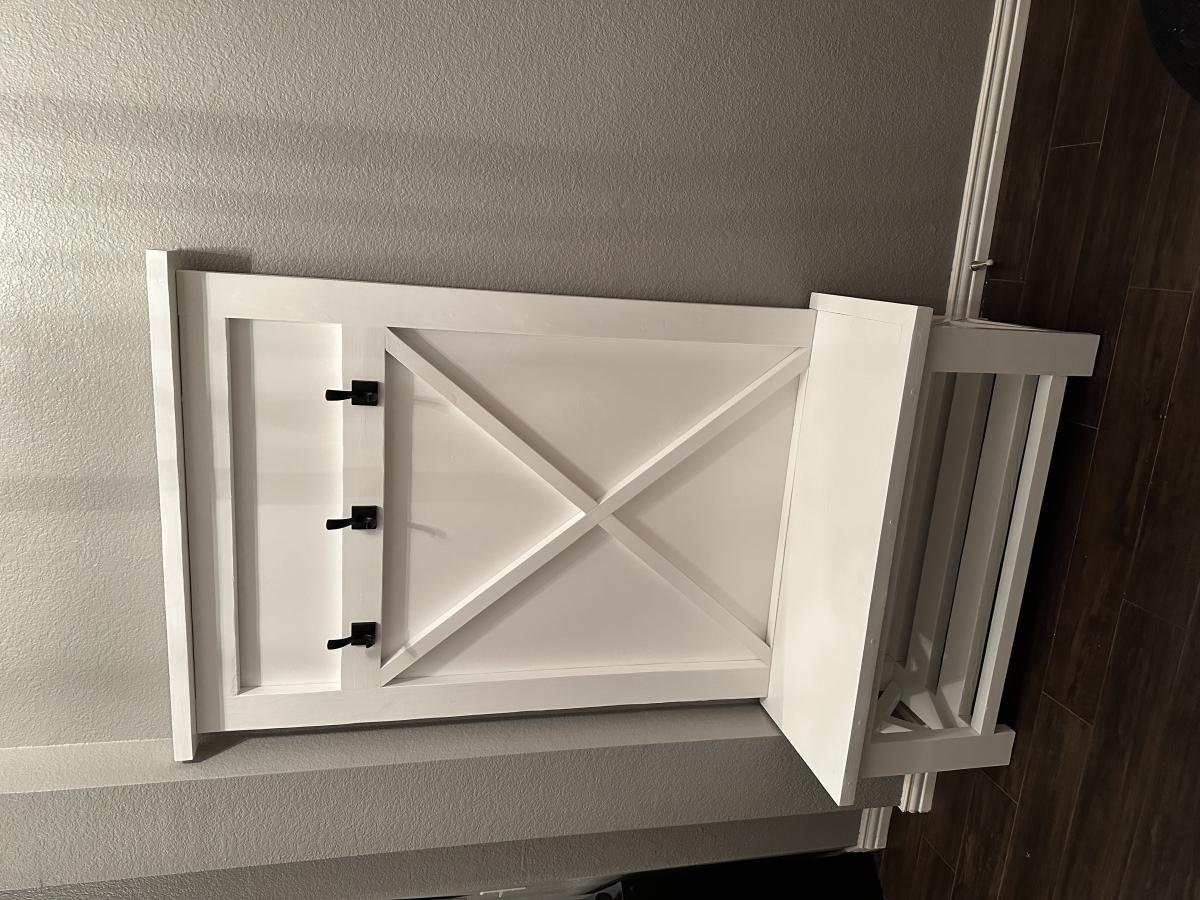
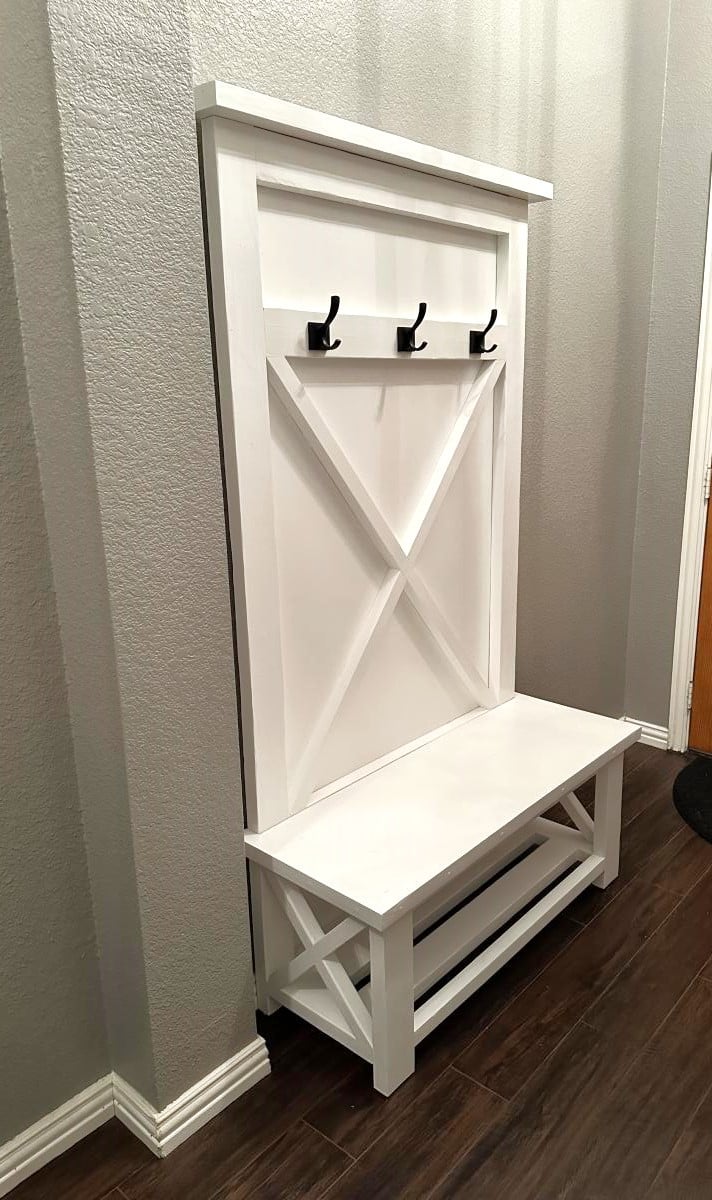
Rustic 3 X Hall Tree with 3 Hooks

Submitted by Anonymous (not verified) on Fri, 05/26/2023 - 07:42

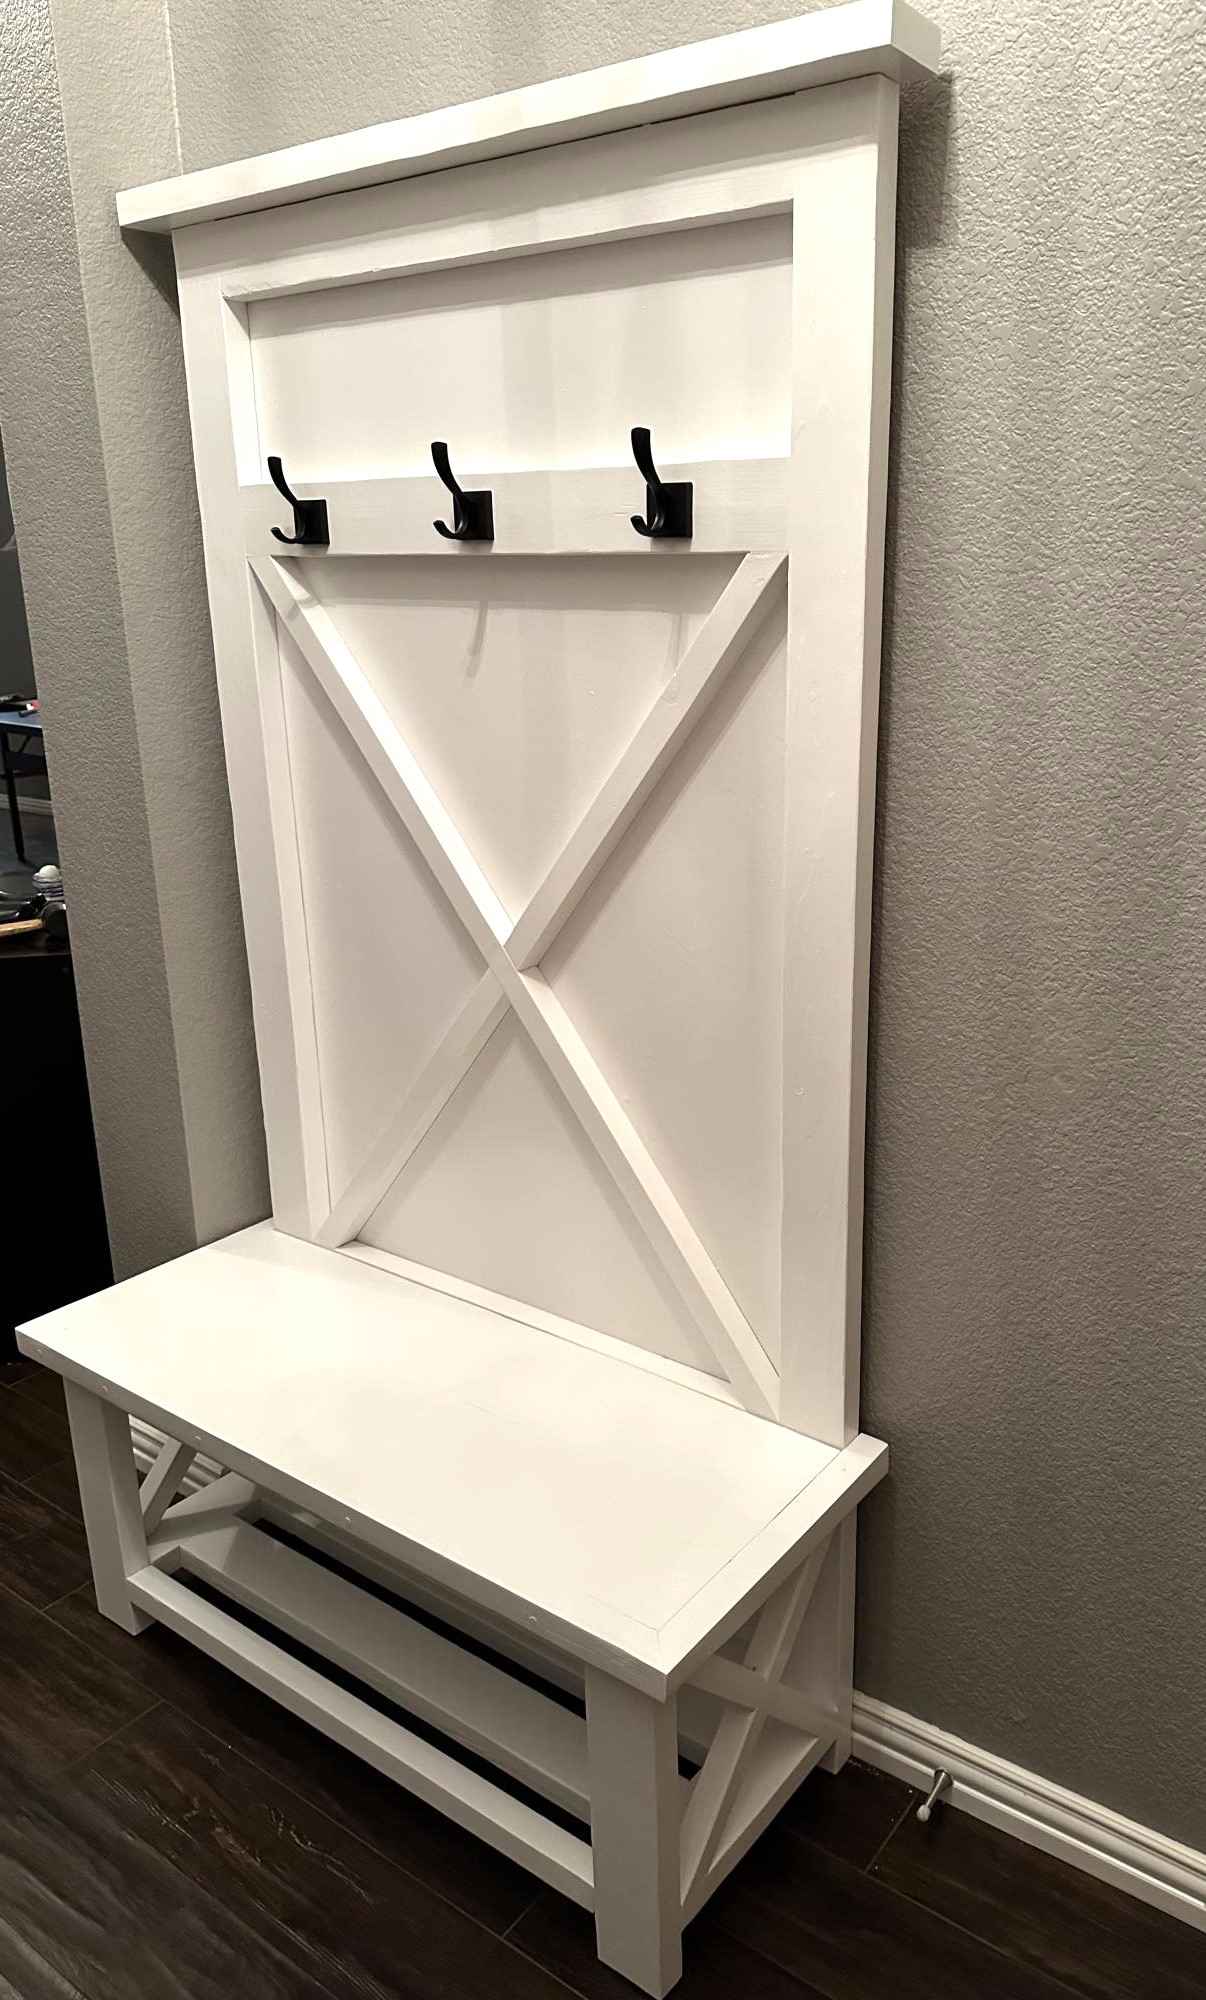
I started with the Rustic X Hall Tree plan and modified it to 43" width to fix the space. All X's are half laps cut on the miter saw.

Built from Plan(s)

Comments

Ana White Admin

Fri, 05/26/2023 - 19:38

Thank you for sharing! If you uploaded a brag post of 2 end tables, I was working on fixing the sideways photo and accidentally deleted it. If that was yours please reupload!:) Sorry!

XL Snack Cabinet

Submitted by Jarrah on Thu, 01/12/2012 - 18:13

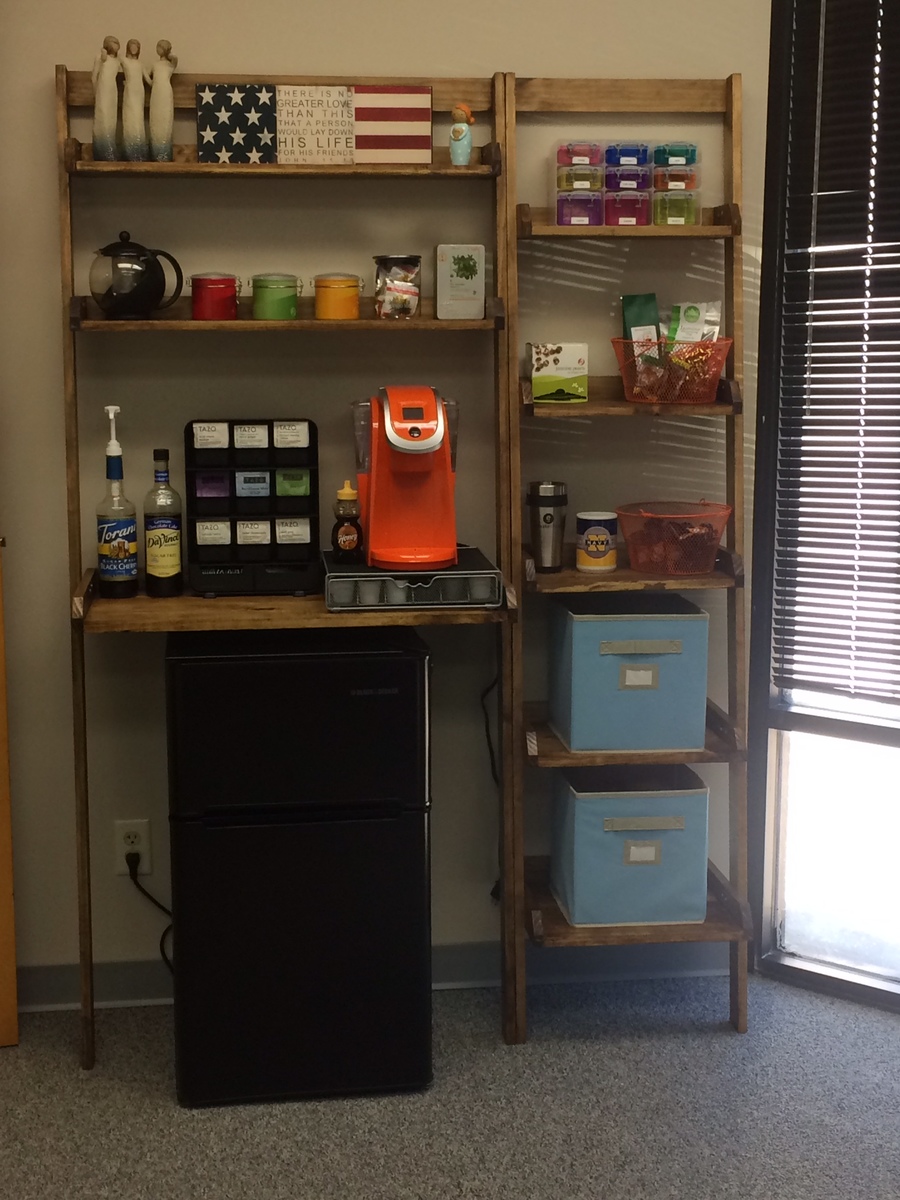
I built the Channing Snack cabinet as a Christmas present for my husbands "man cave". It's bigger than the plans outline in order to accommadate the larger "mini-fridge" I bought from Target. He absolutly loves it and it looks like a piece you would get at a real furnature store and not something I built in my barn at night.

Built from Plan(s)
Estimated Cost
75
Estimated Time Investment
Weekend Project (10-20 Hours)
Finish Used
High Gloss Bombay Mahogany
Recommended Skill Level
Intermediate

Comments

lalapizzaparty (not verified)

Sat, 01/14/2012 - 19:12

I love this! So fun. I love that you built this in your barn for your hubs mancave.
That makes you sound pretty cool!

woodtop

Sat, 01/14/2012 - 19:34

Hey..that amazing. I have a brother who own a mini fridge in his room. This will look nice for him to put his mini fridge. It will also look nice if can add a door to it.