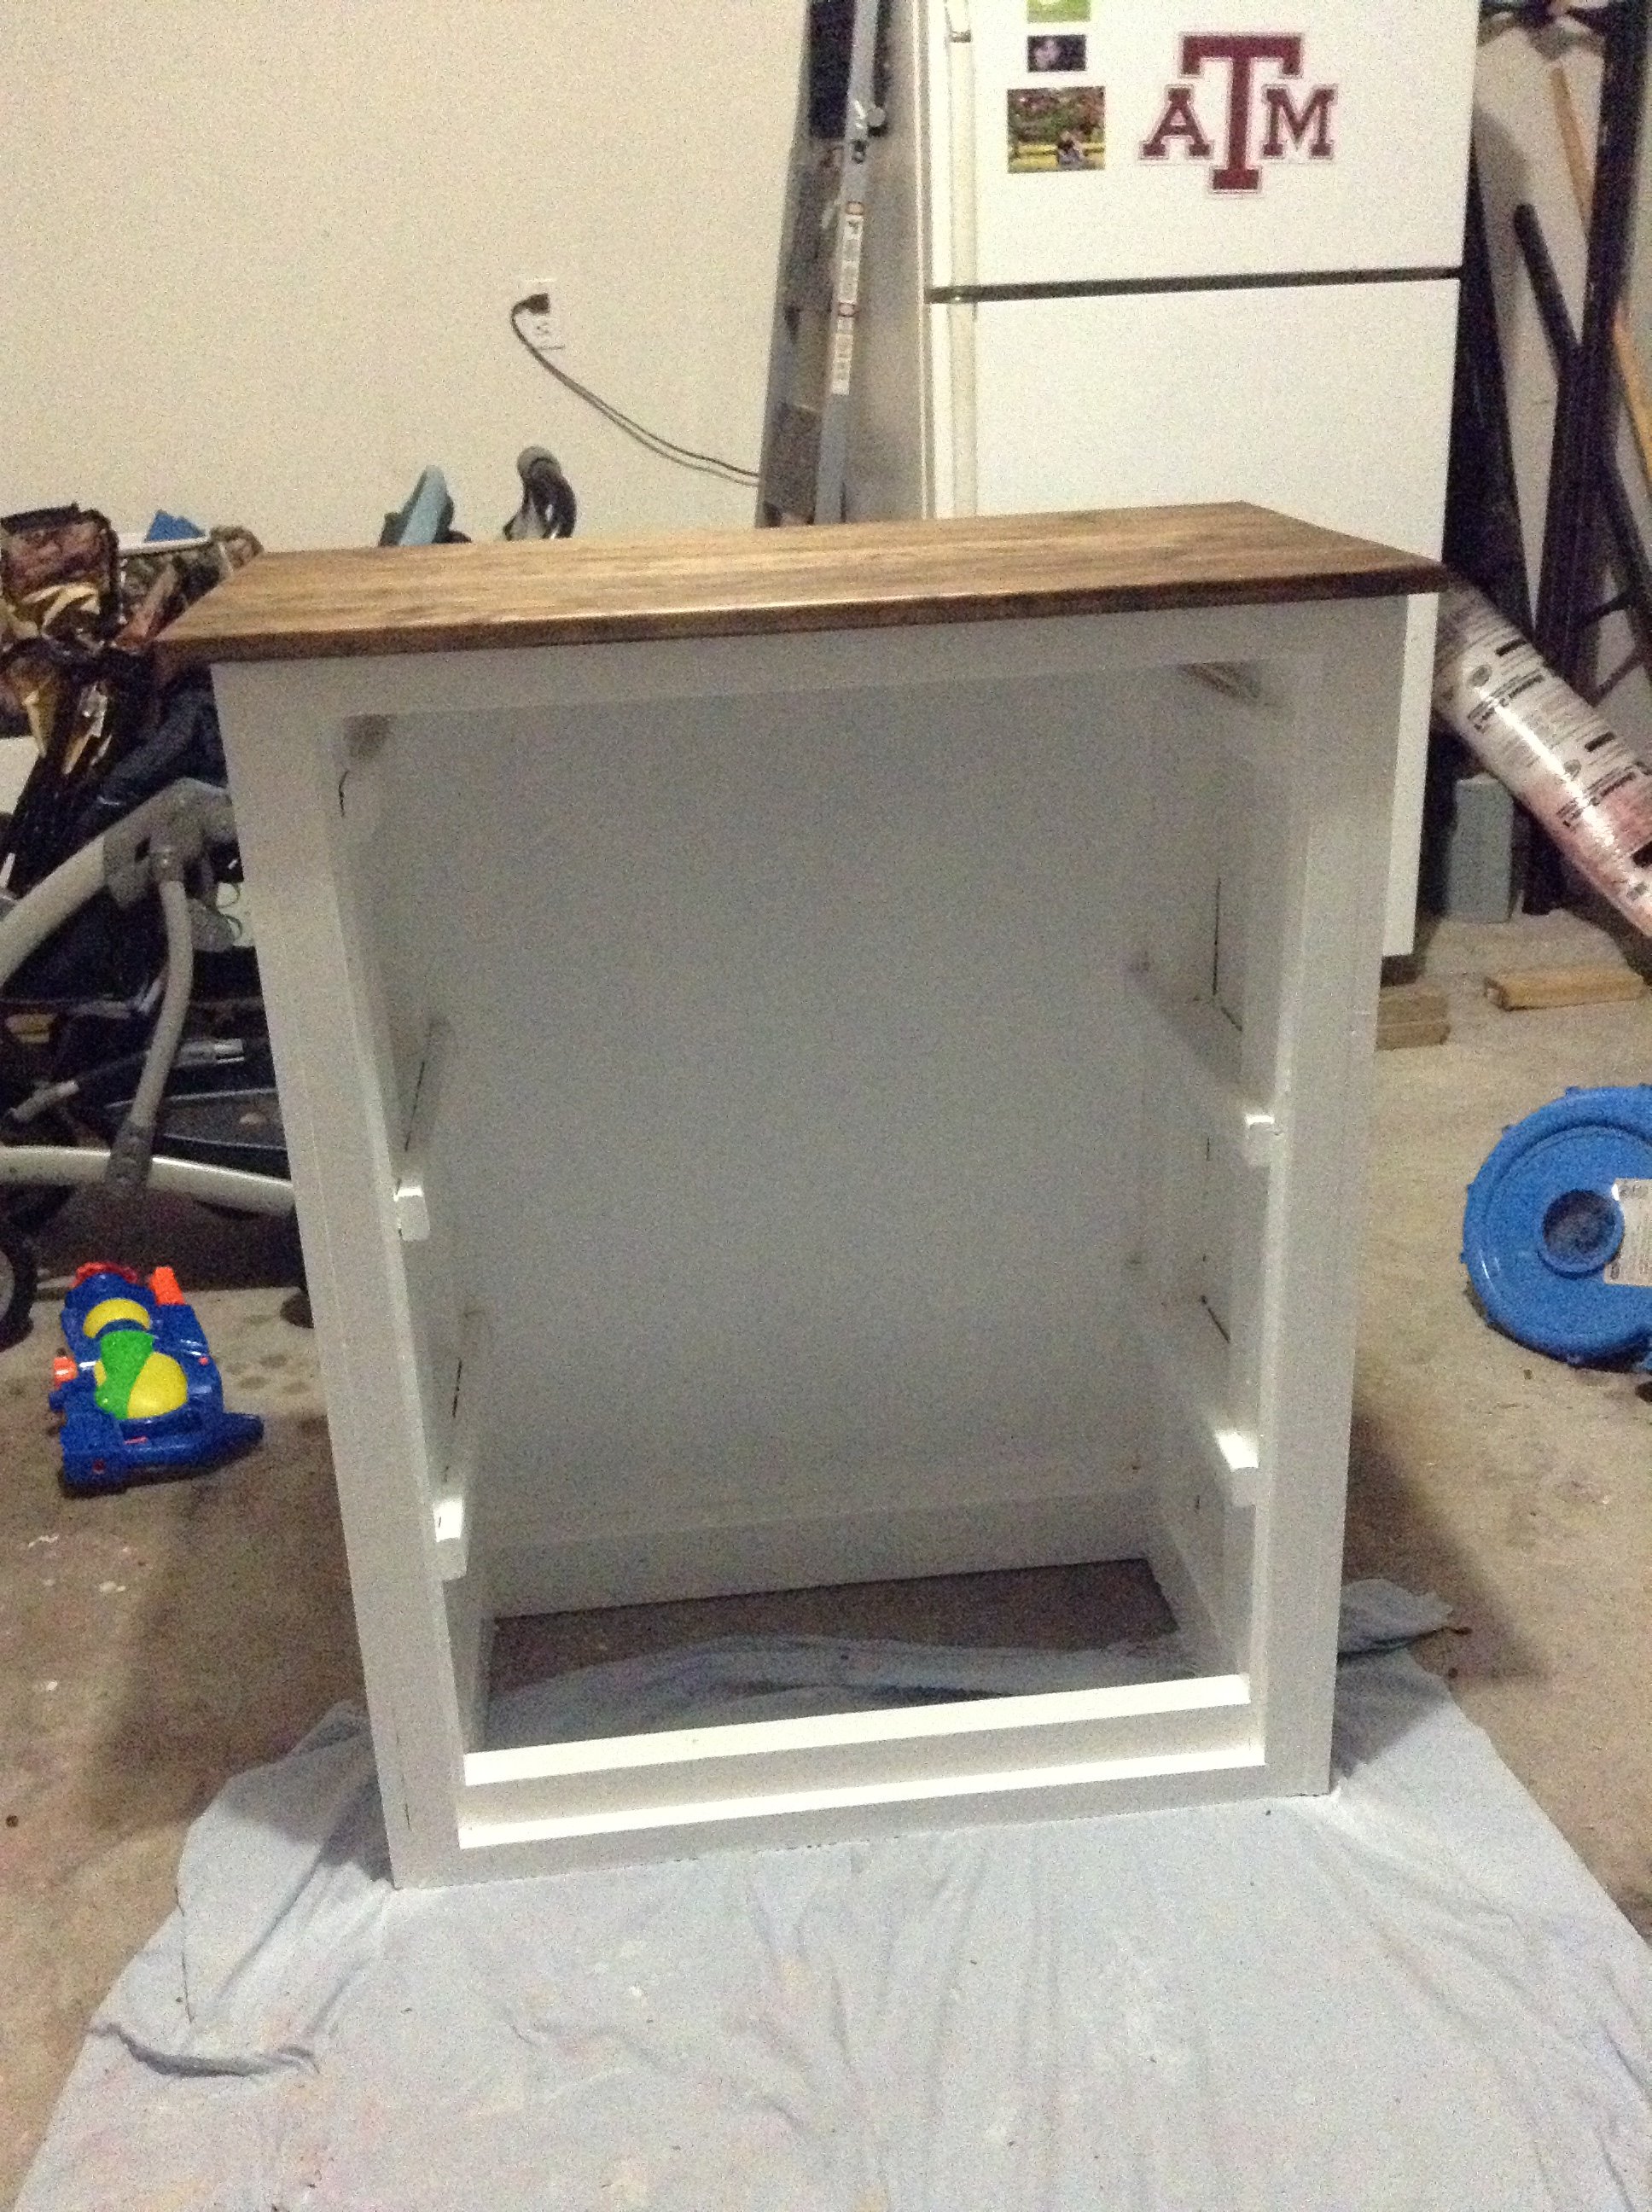
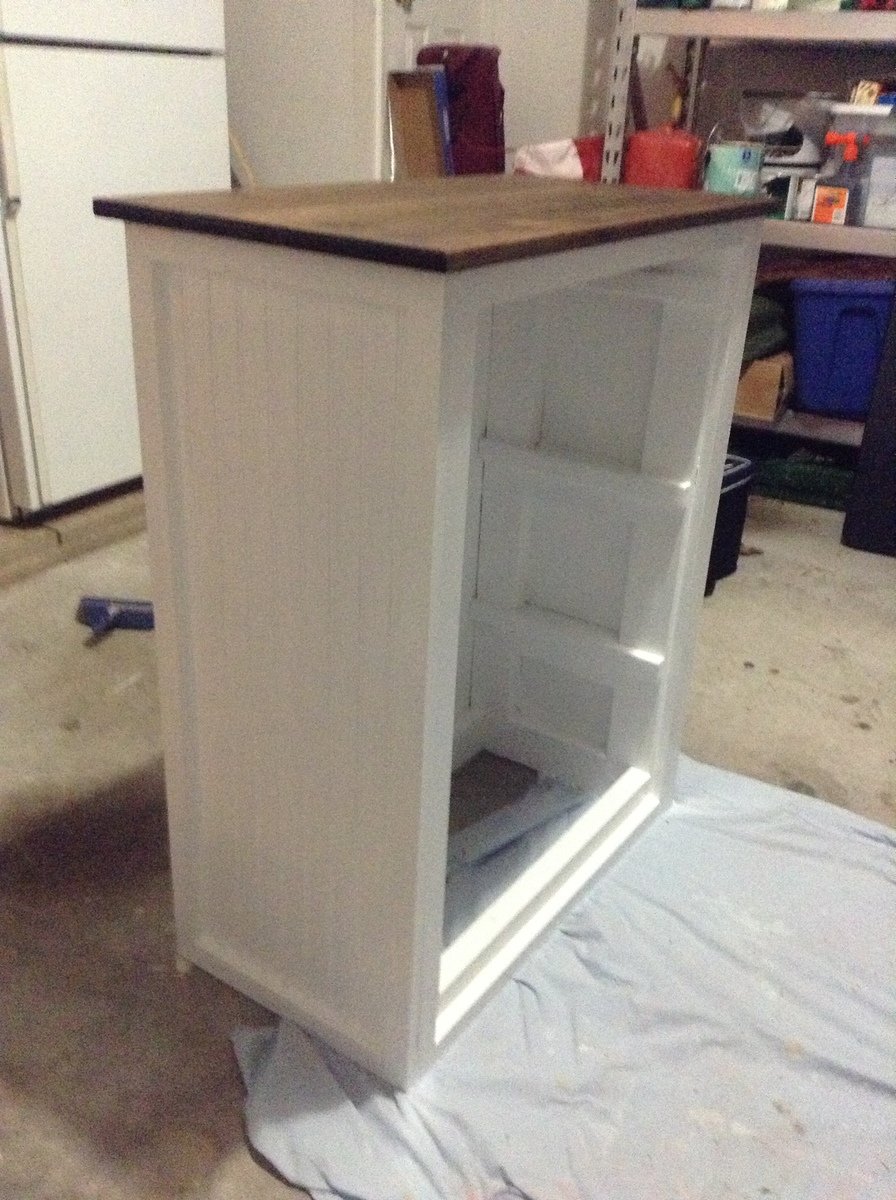
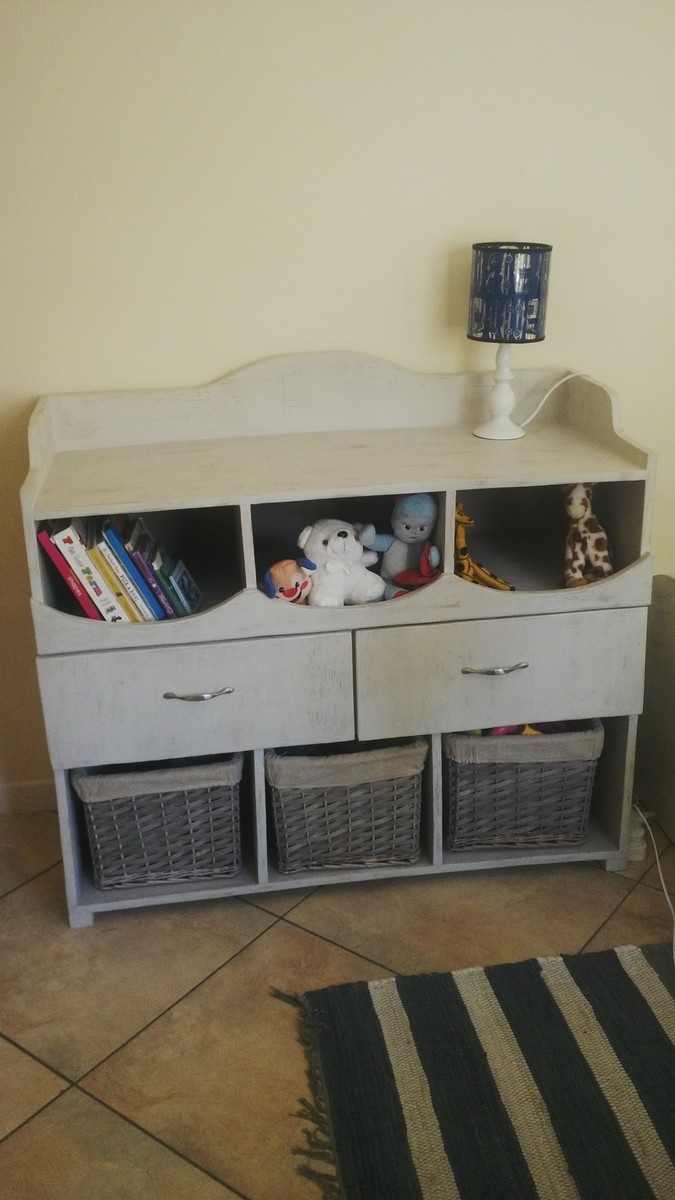
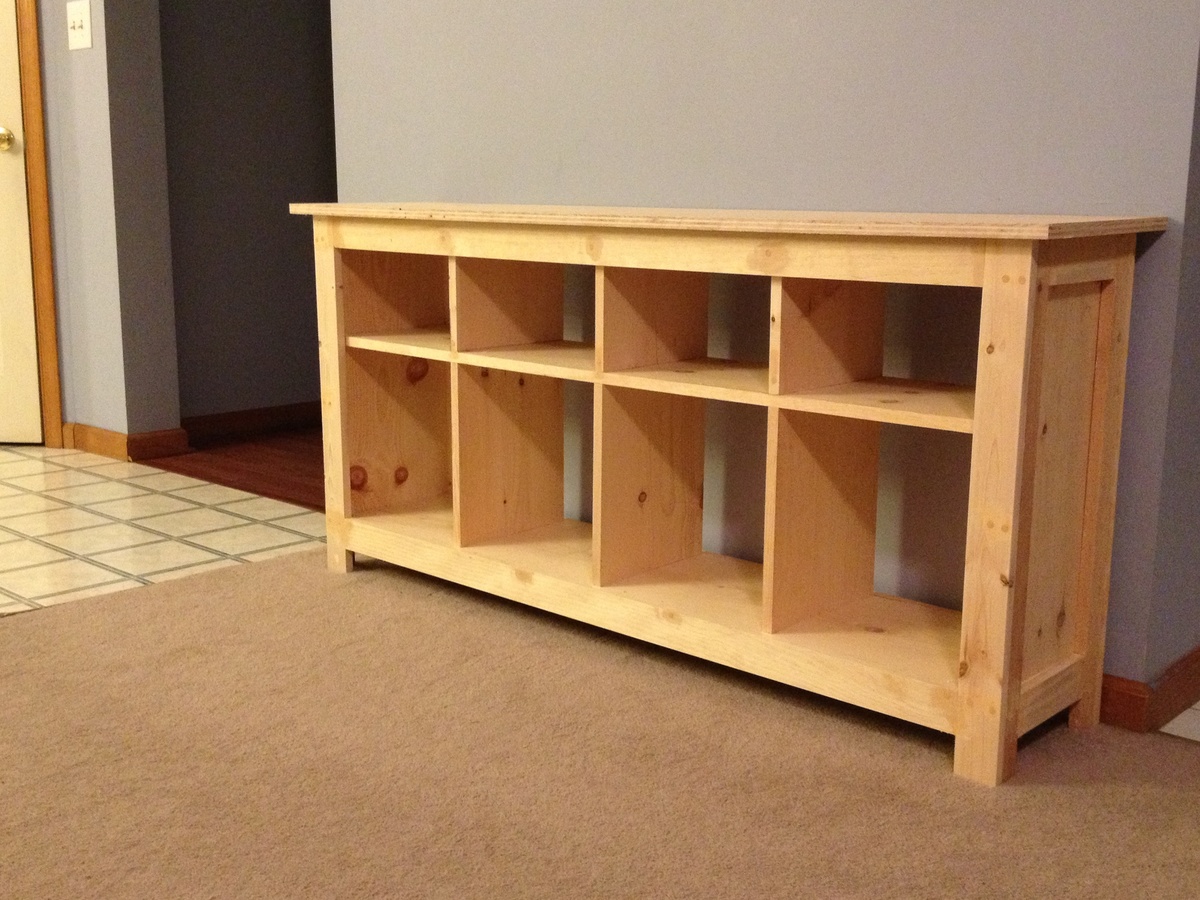
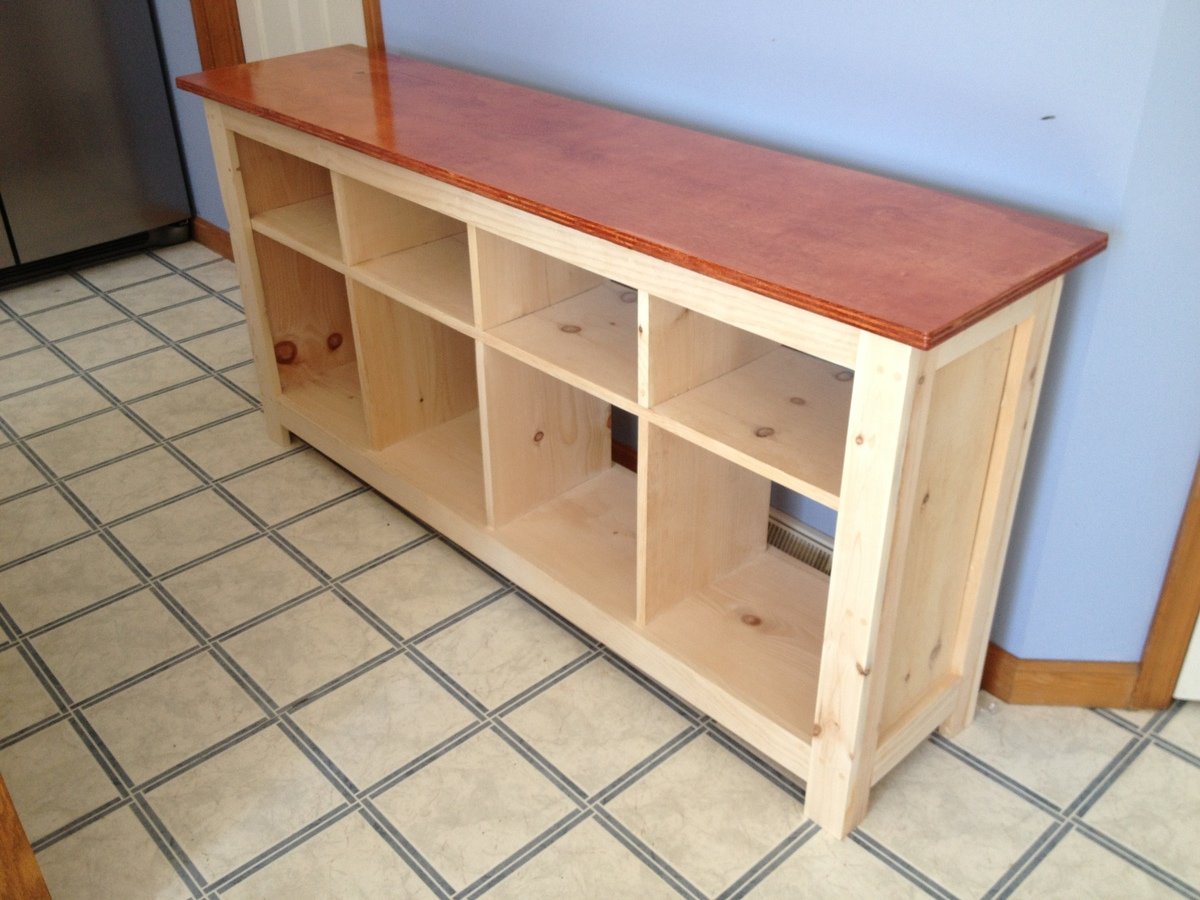
Laundry Basket Organizer
We have a laundry problem in our house. It piles up in un-organized piles and takes days to sort through and actually get in the washer. Honestly, we could do laundry every single day of the week and still fall behind. I guess that comes with the territory when you have 3 small boys in the house.
This organinzer is going to be great. We currently use it for whites, colors and "grown-up clothes". This keeps us from accidentally washing some of Mommy's more delicate items in the general colors wash which saves me money when we don't ruin her clothes.
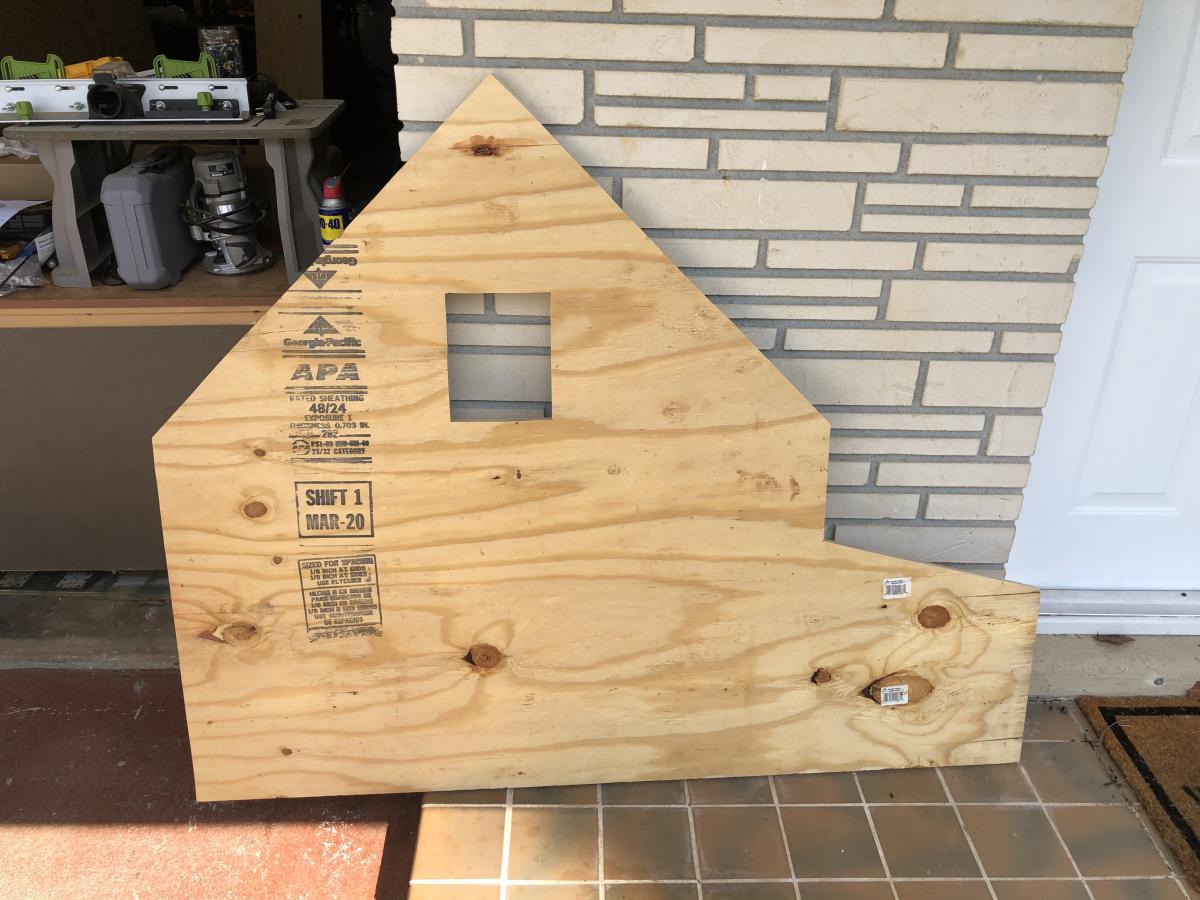
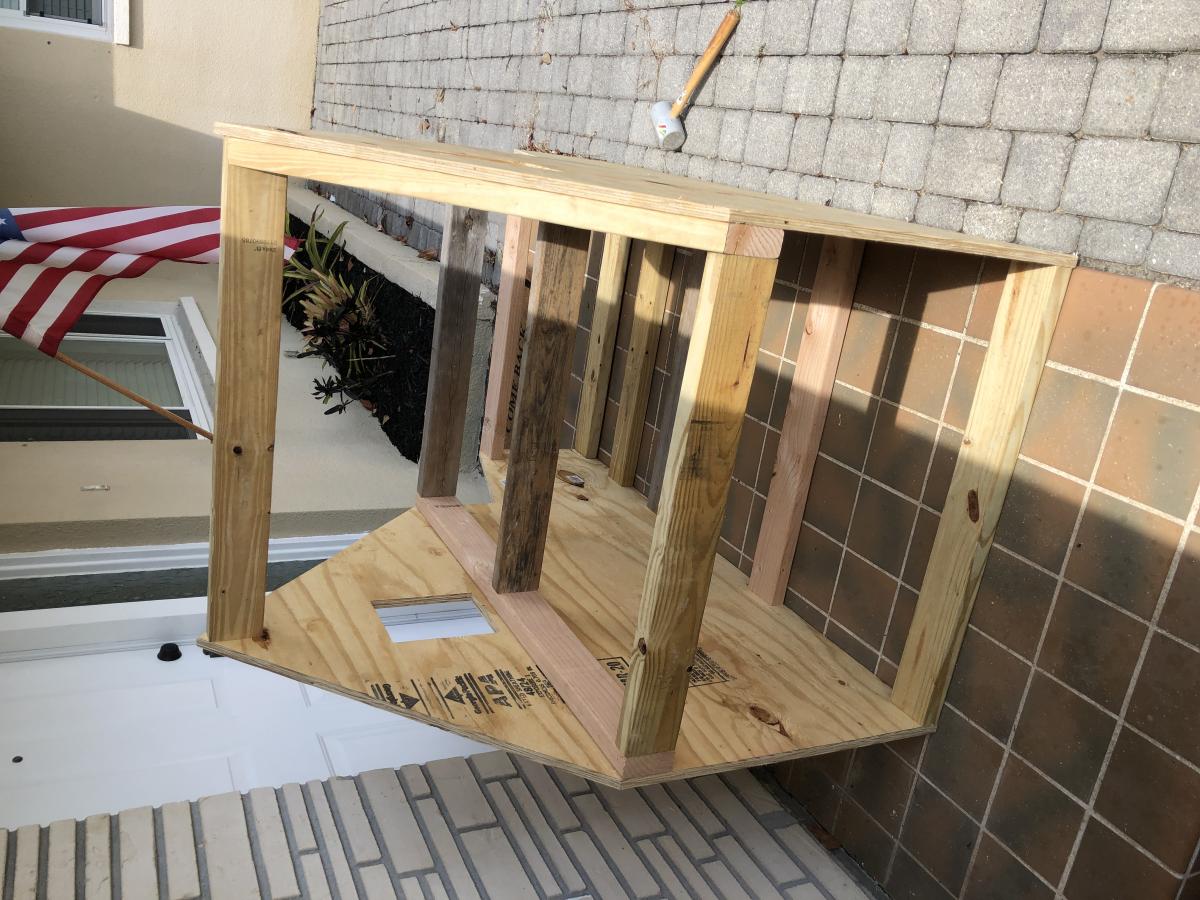
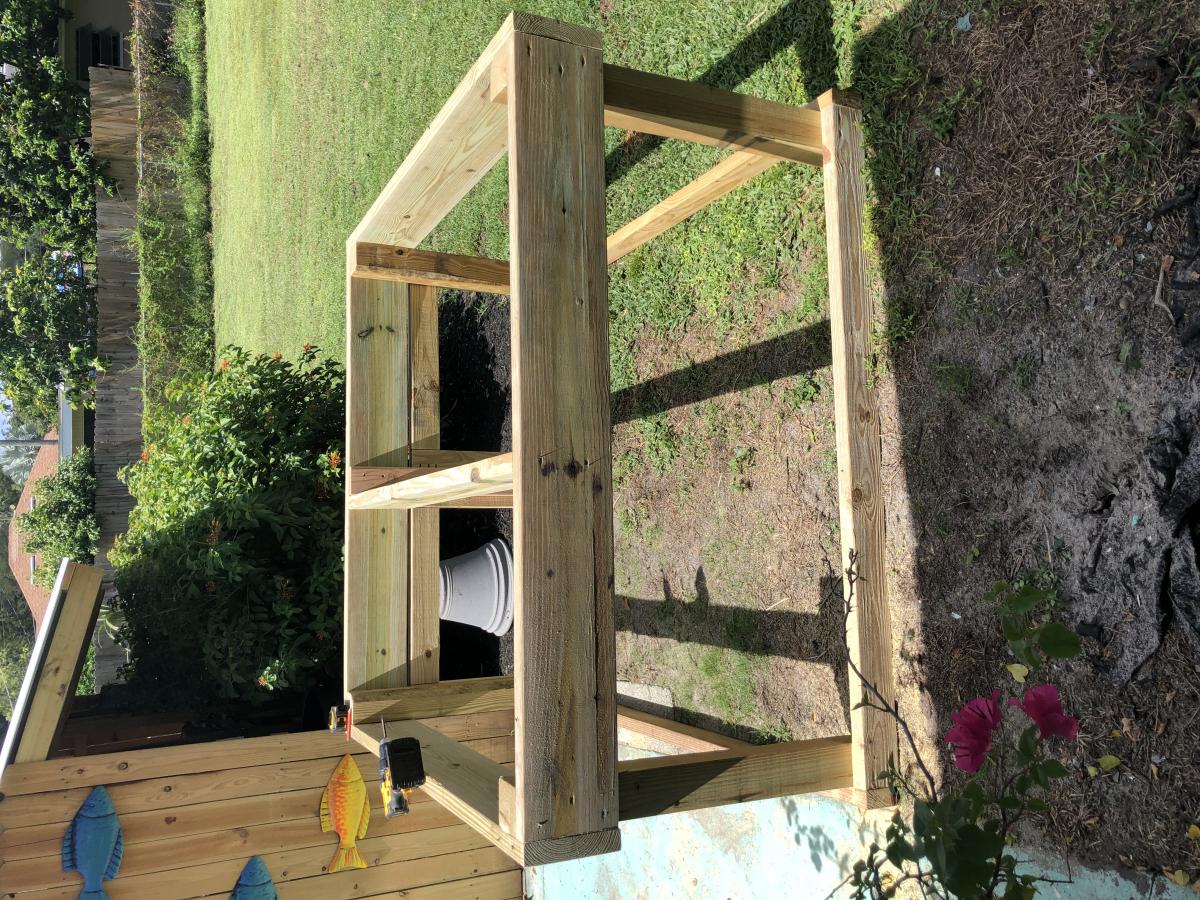
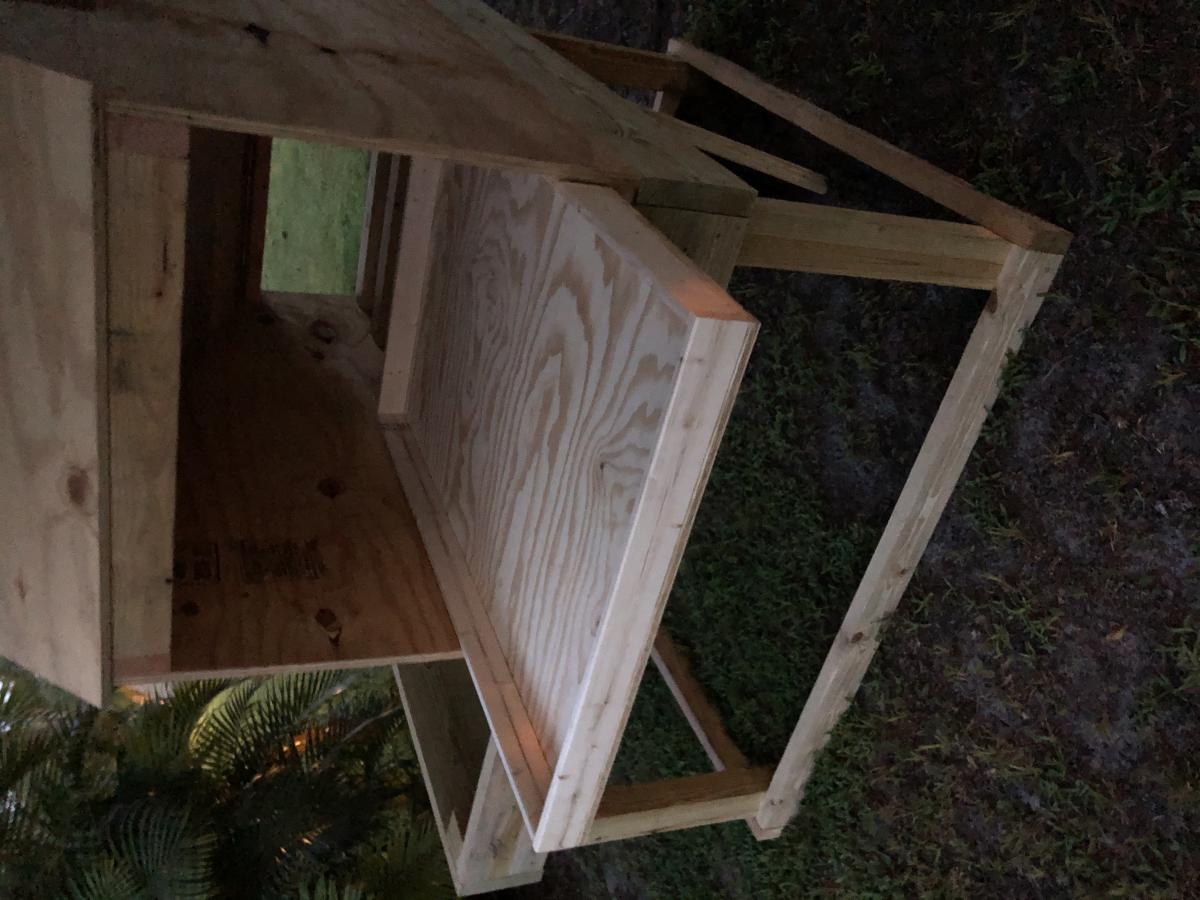
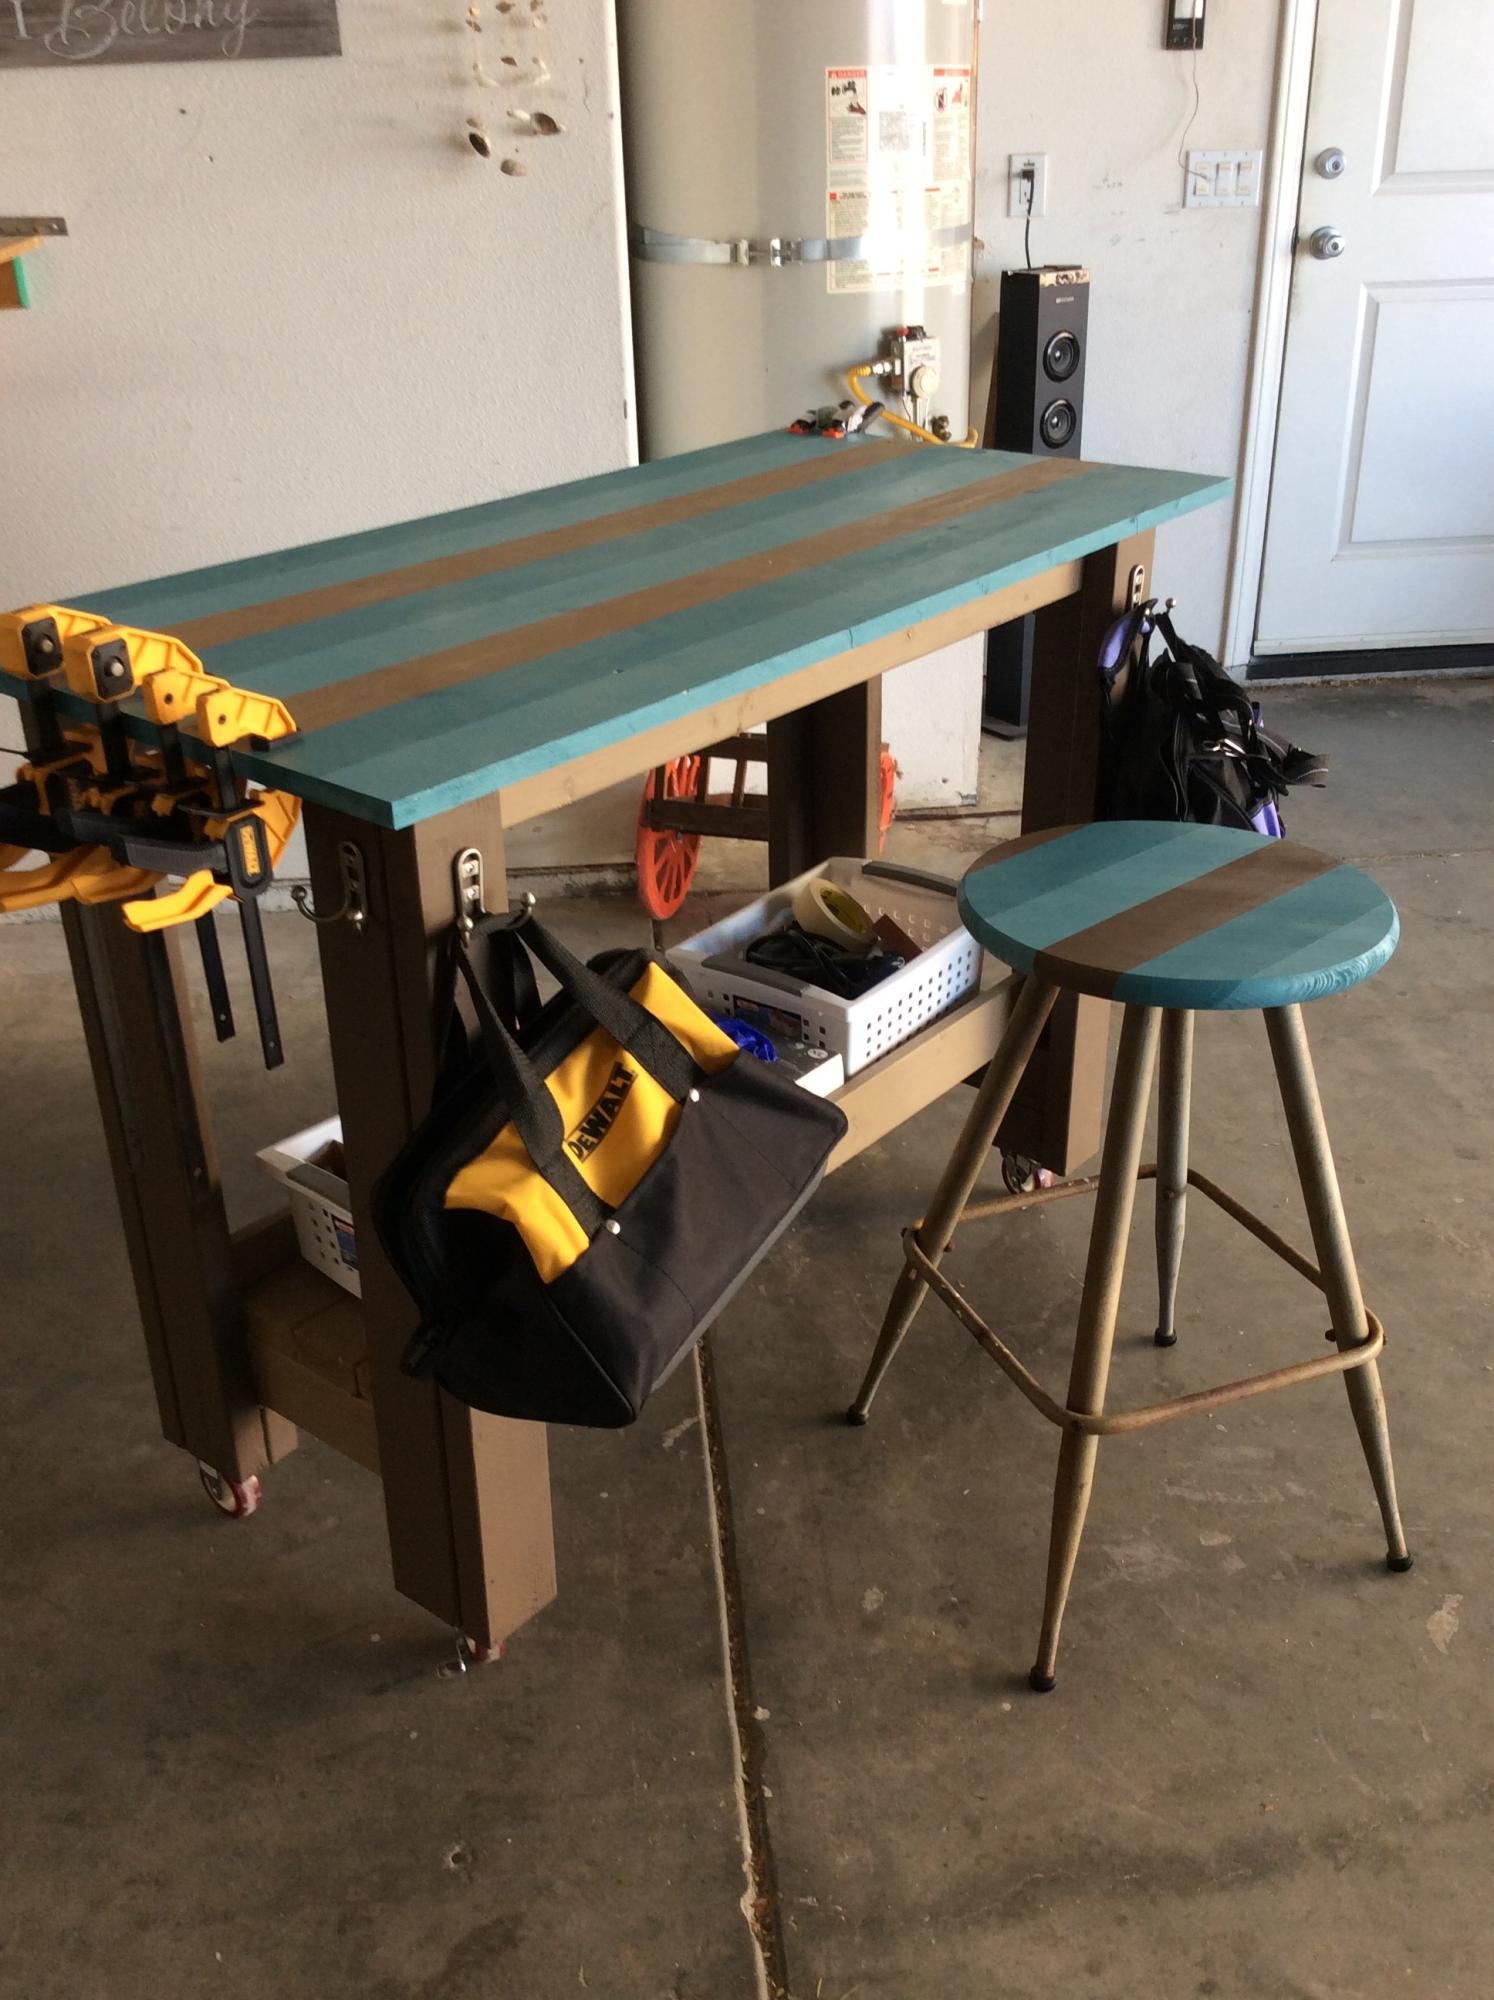
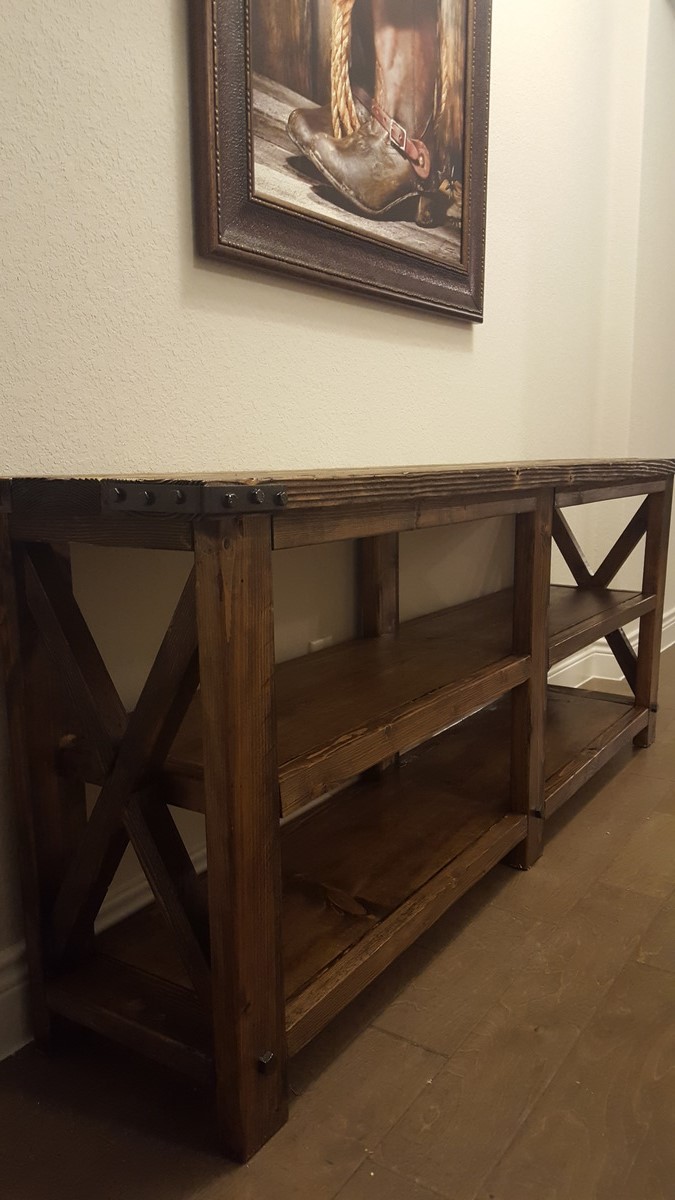
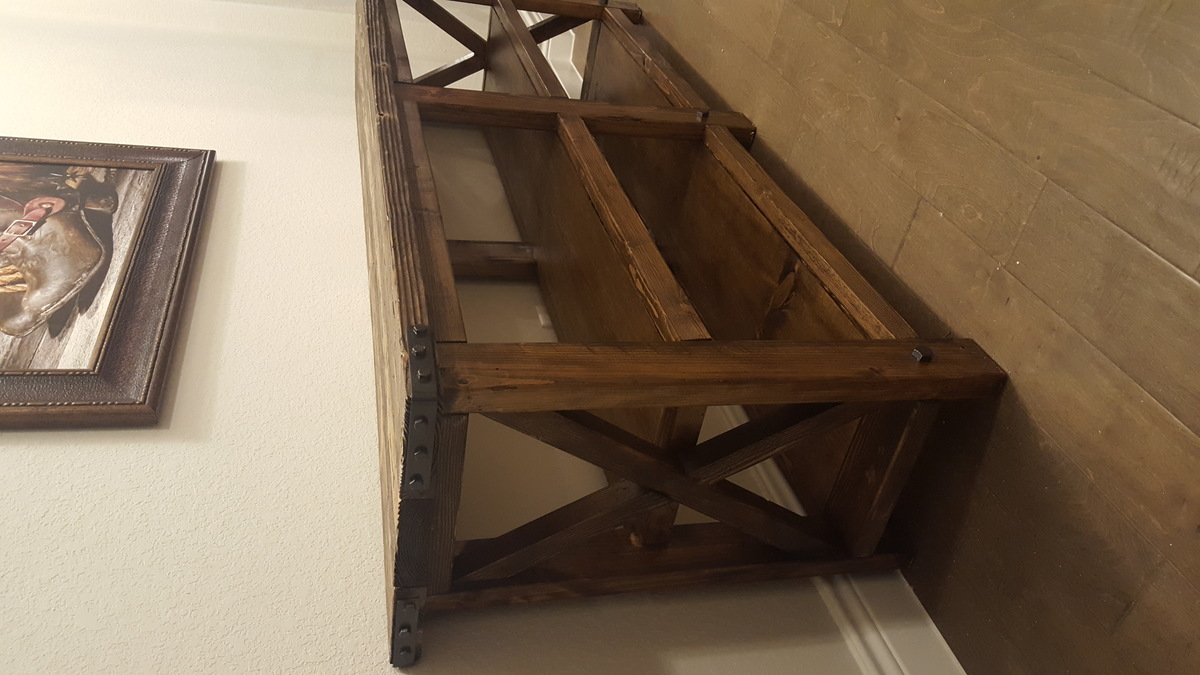
The plans call for the 1 x 16's, but I had extra 2 x 4's laying around so I just built a frame using my kreg jig. The most expensive part was the beadboard for the sides and I used some S4S 1 x 4's for the top. Overall the project tooks me months, but that was more a product of my "shop" time coming after 8 pm and general apathy.
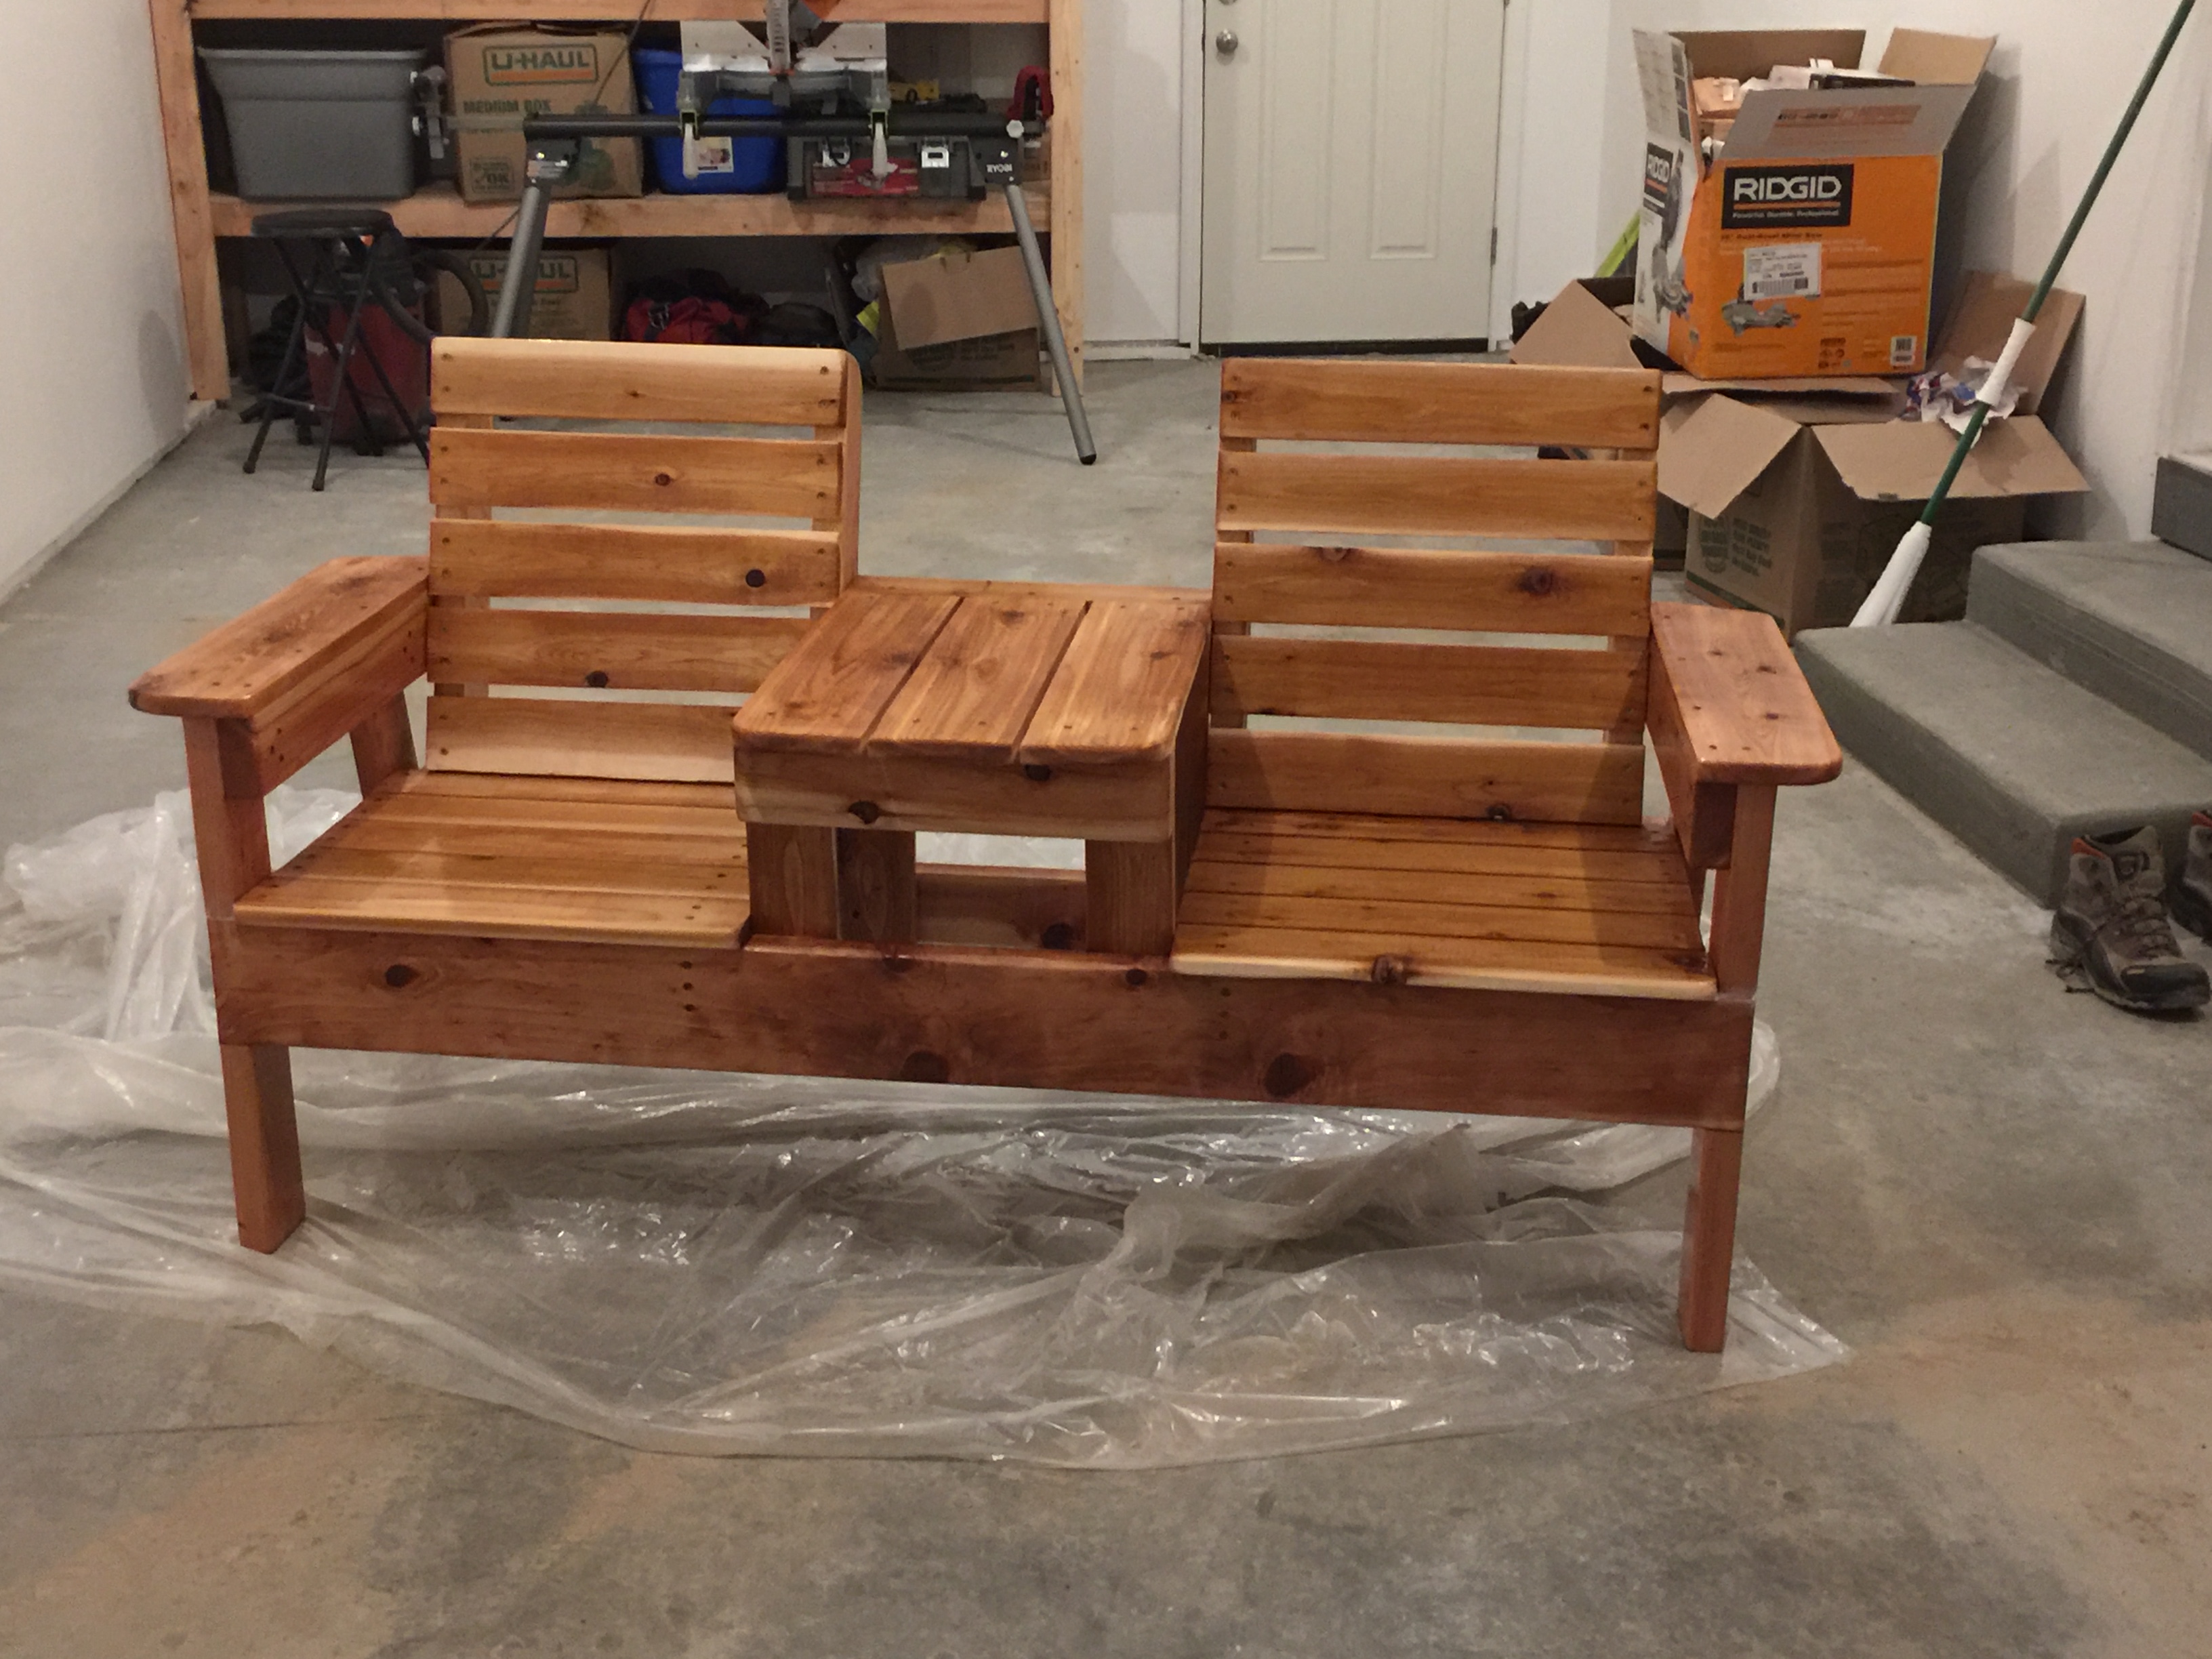
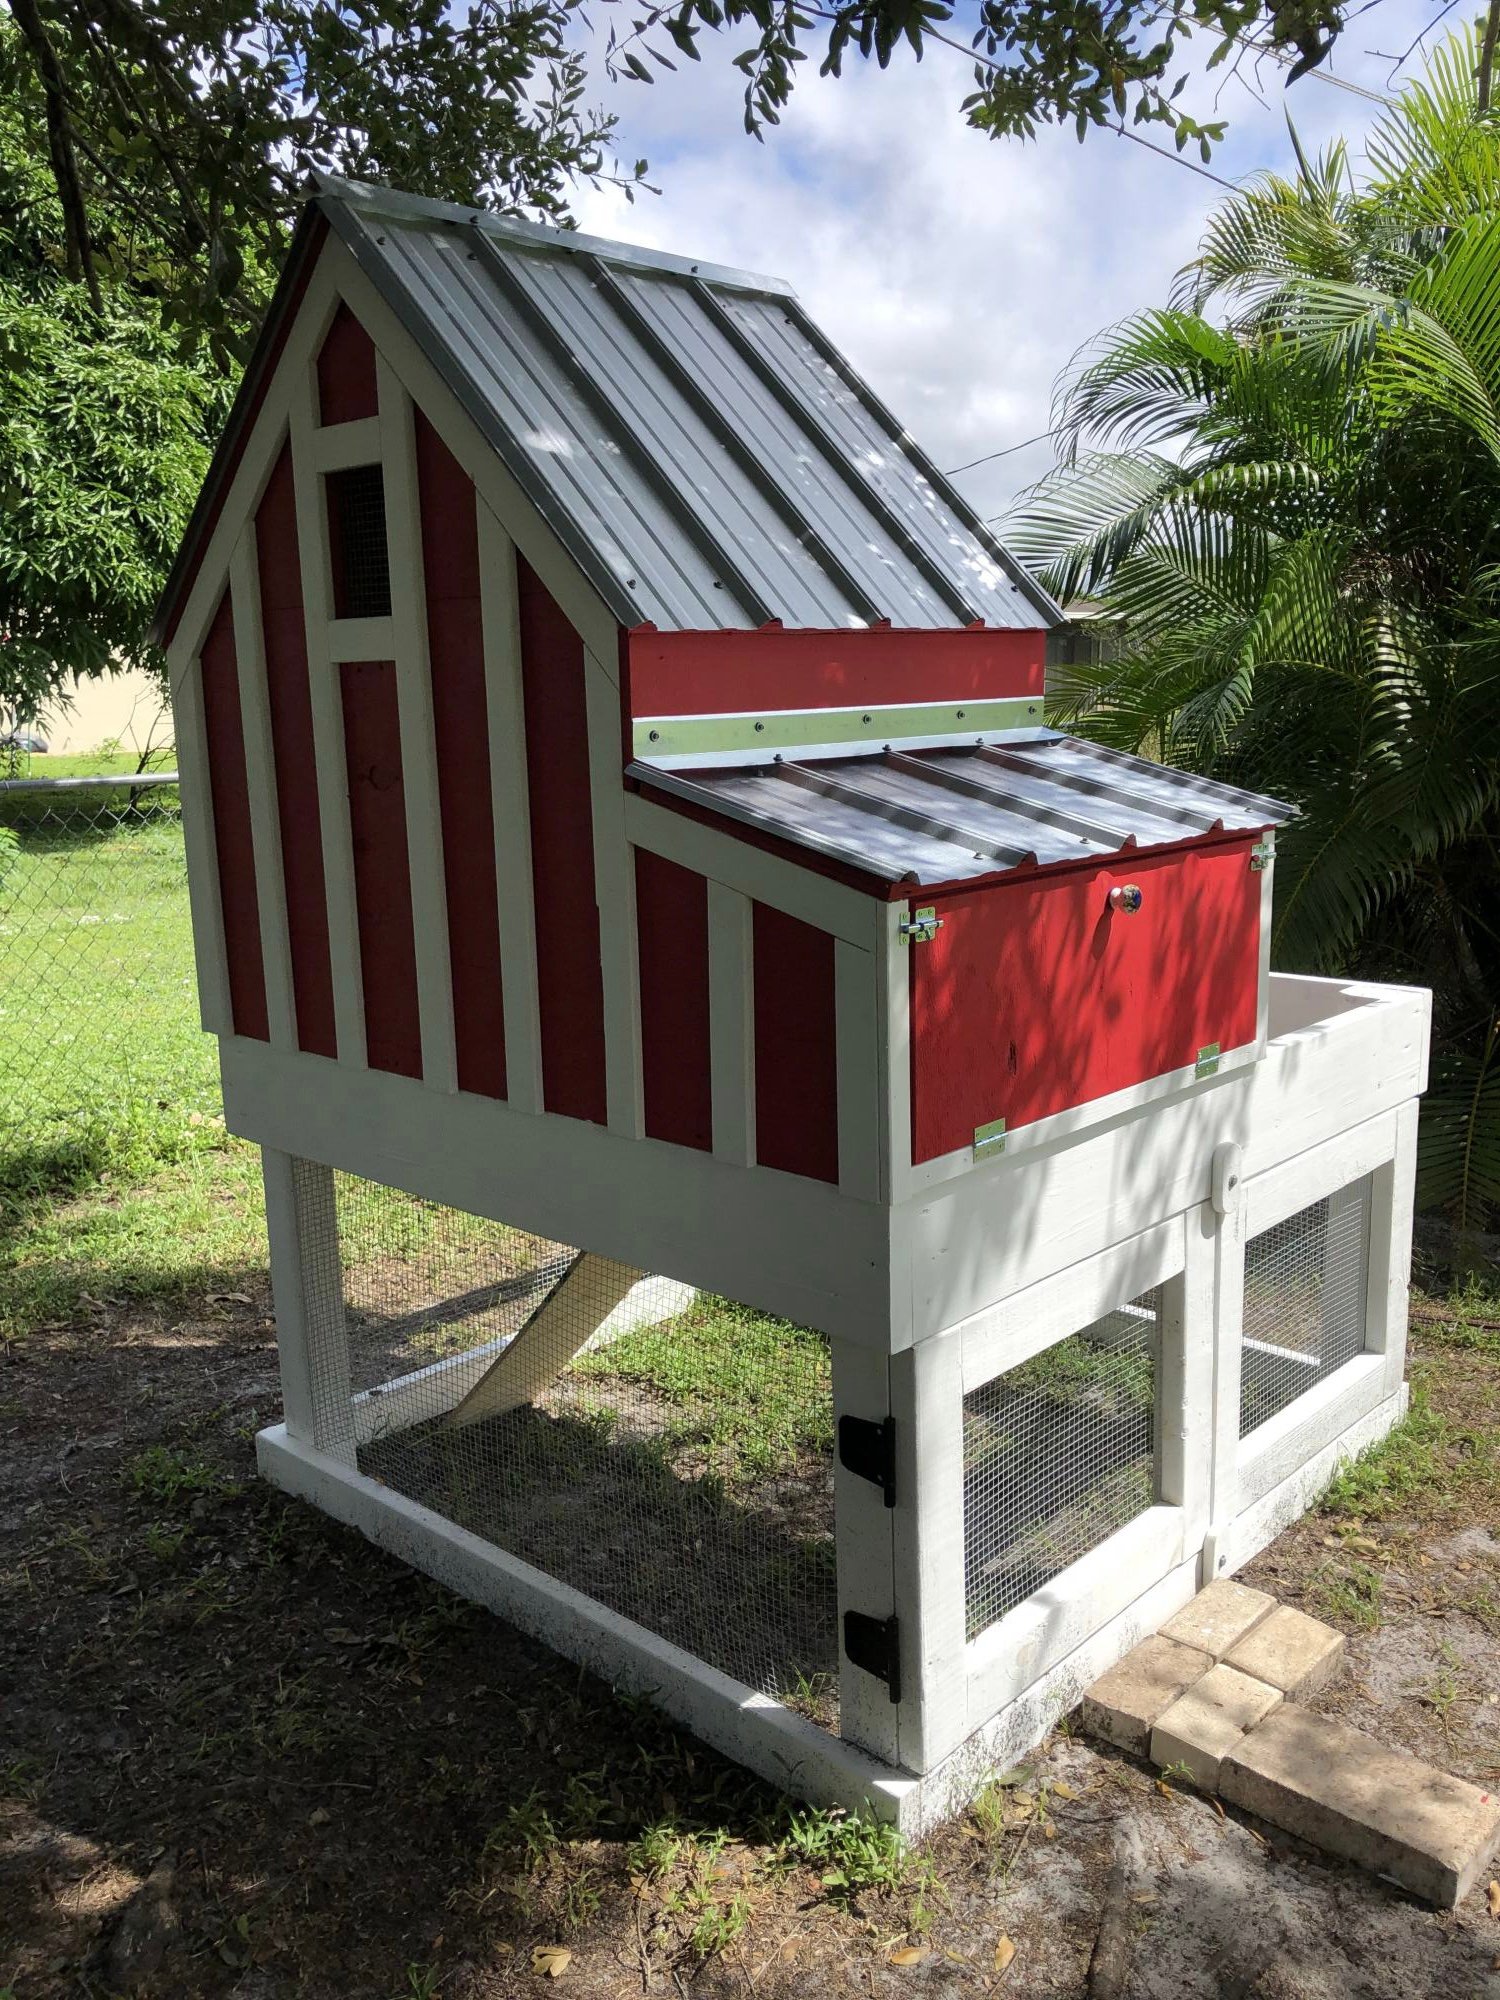
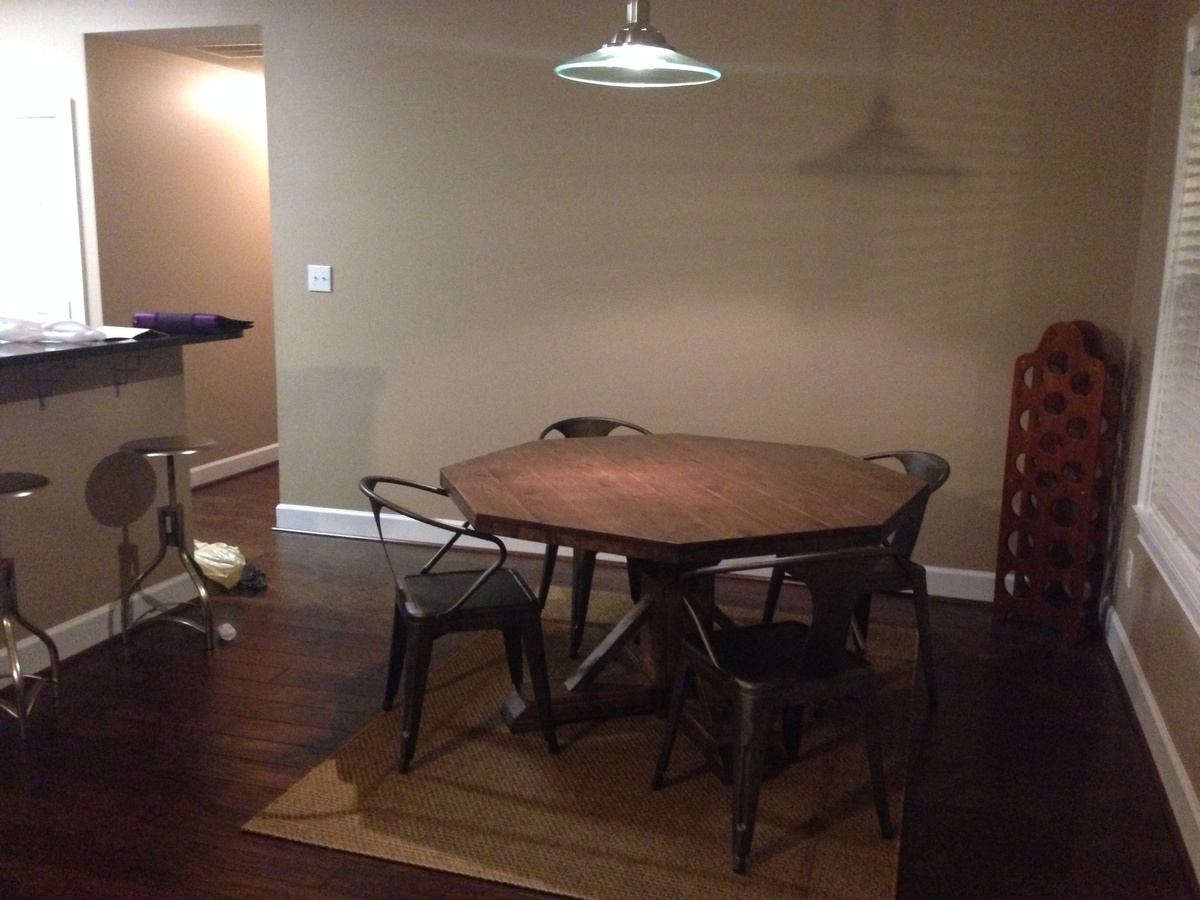
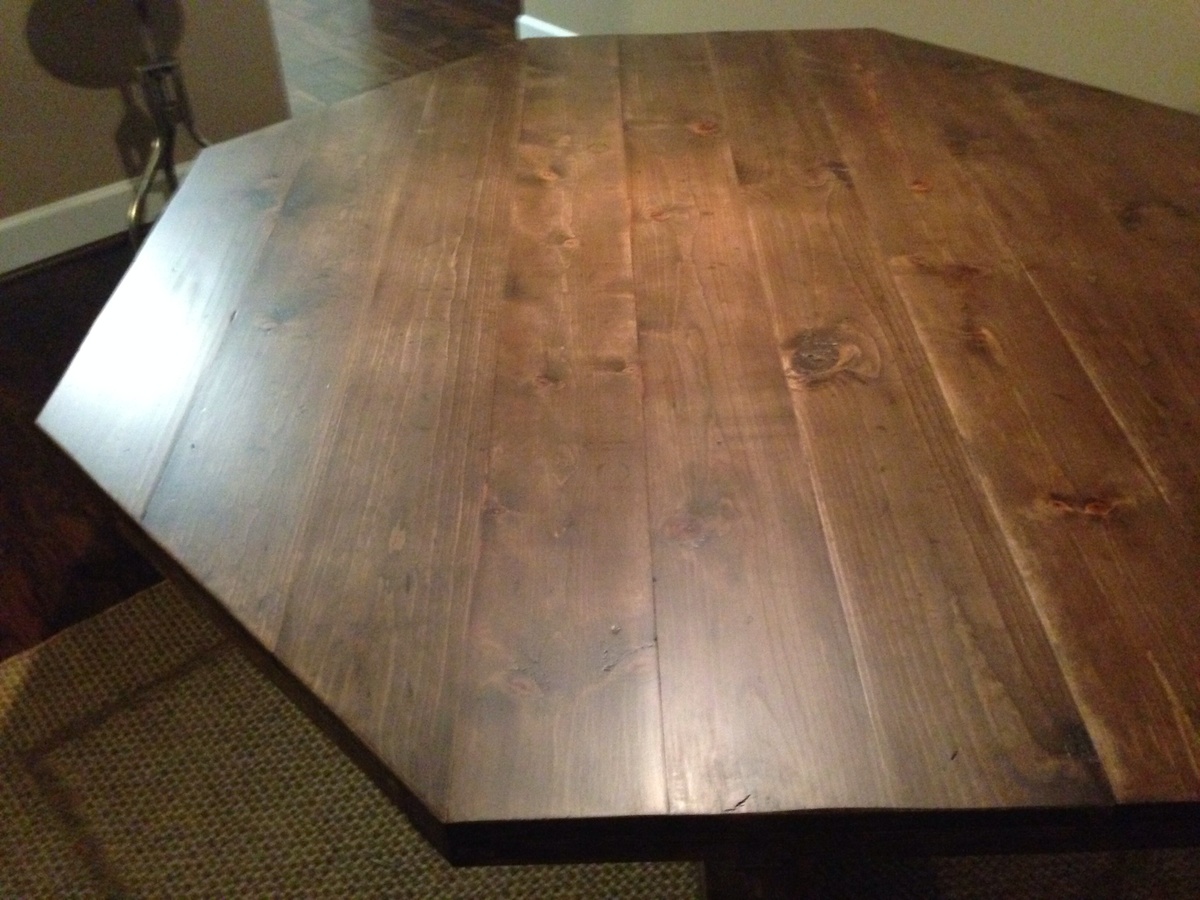
I definitely have the bug and have already starting a new project!


Comments
bhoneycutt
Fri, 01/11/2013 - 07:02
Nice
Good job it looks great!
smjohnsonmk
Fri, 07/17/2015 - 18:33
Plan
Do you have a shoping list or plans for this using the 2x4's?