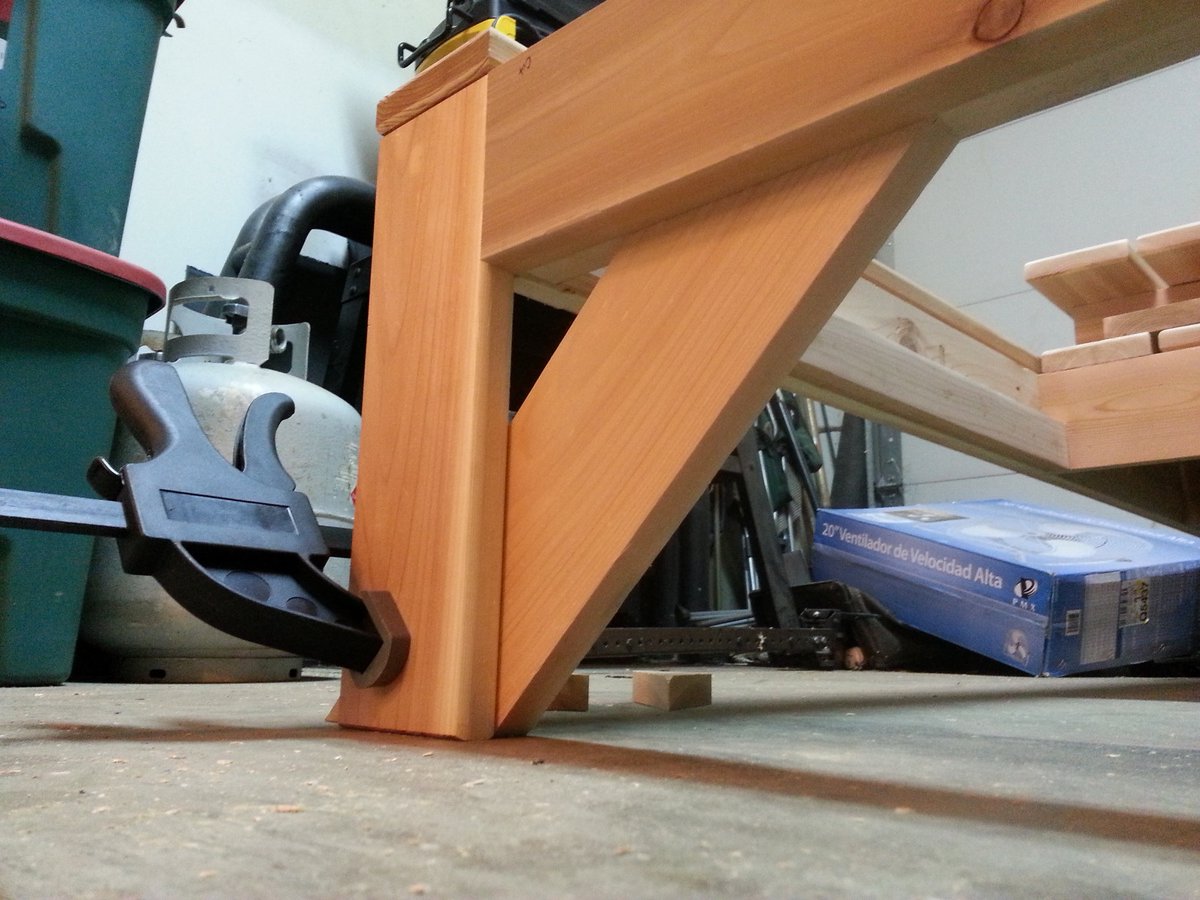
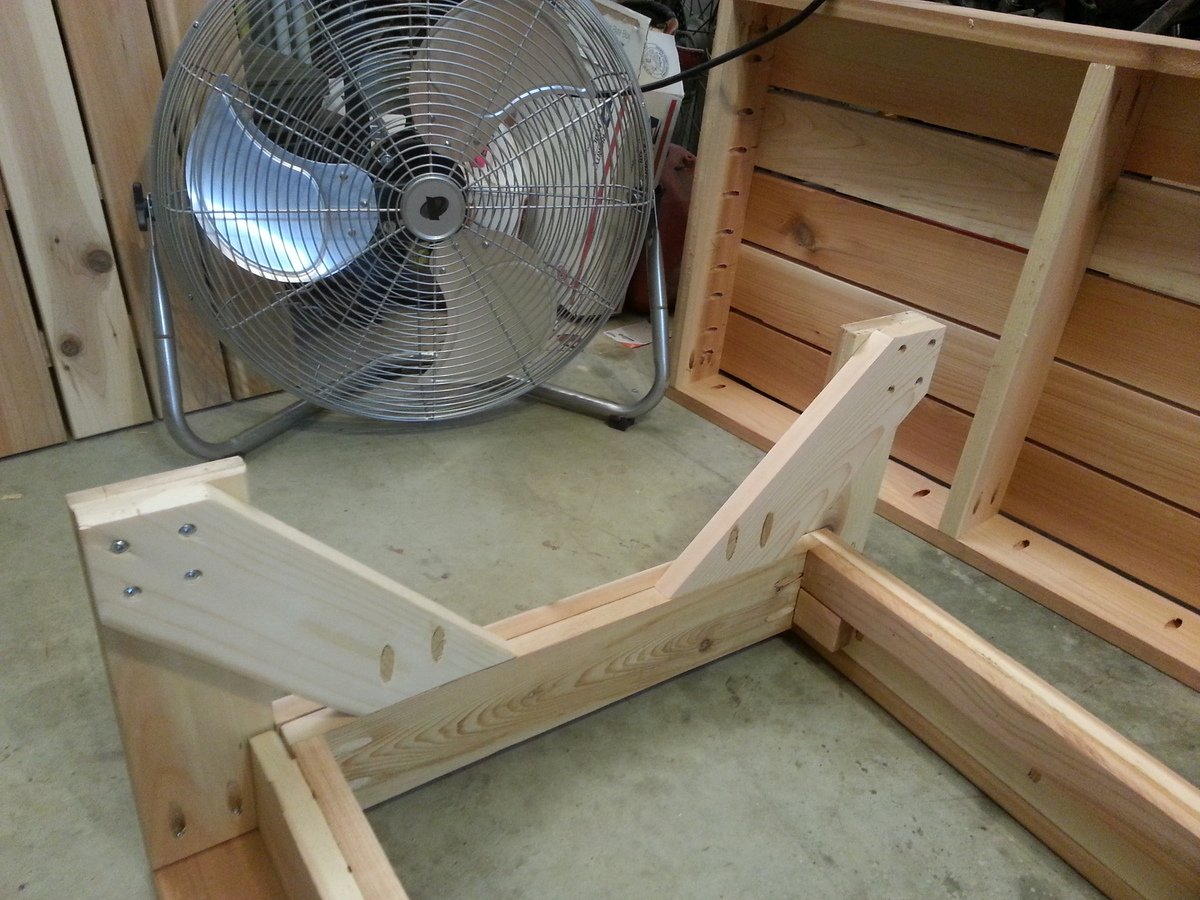
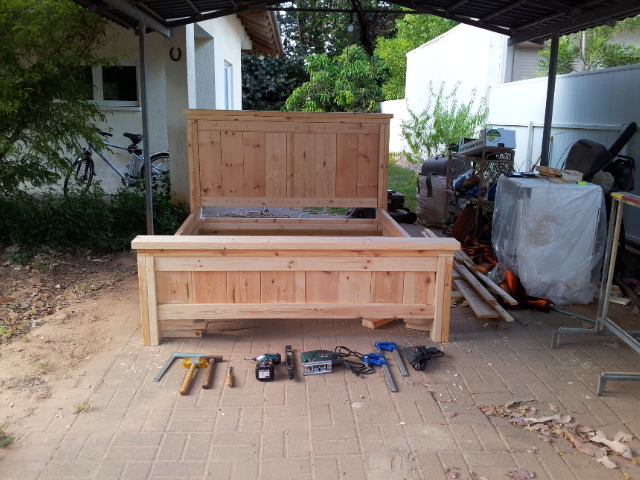
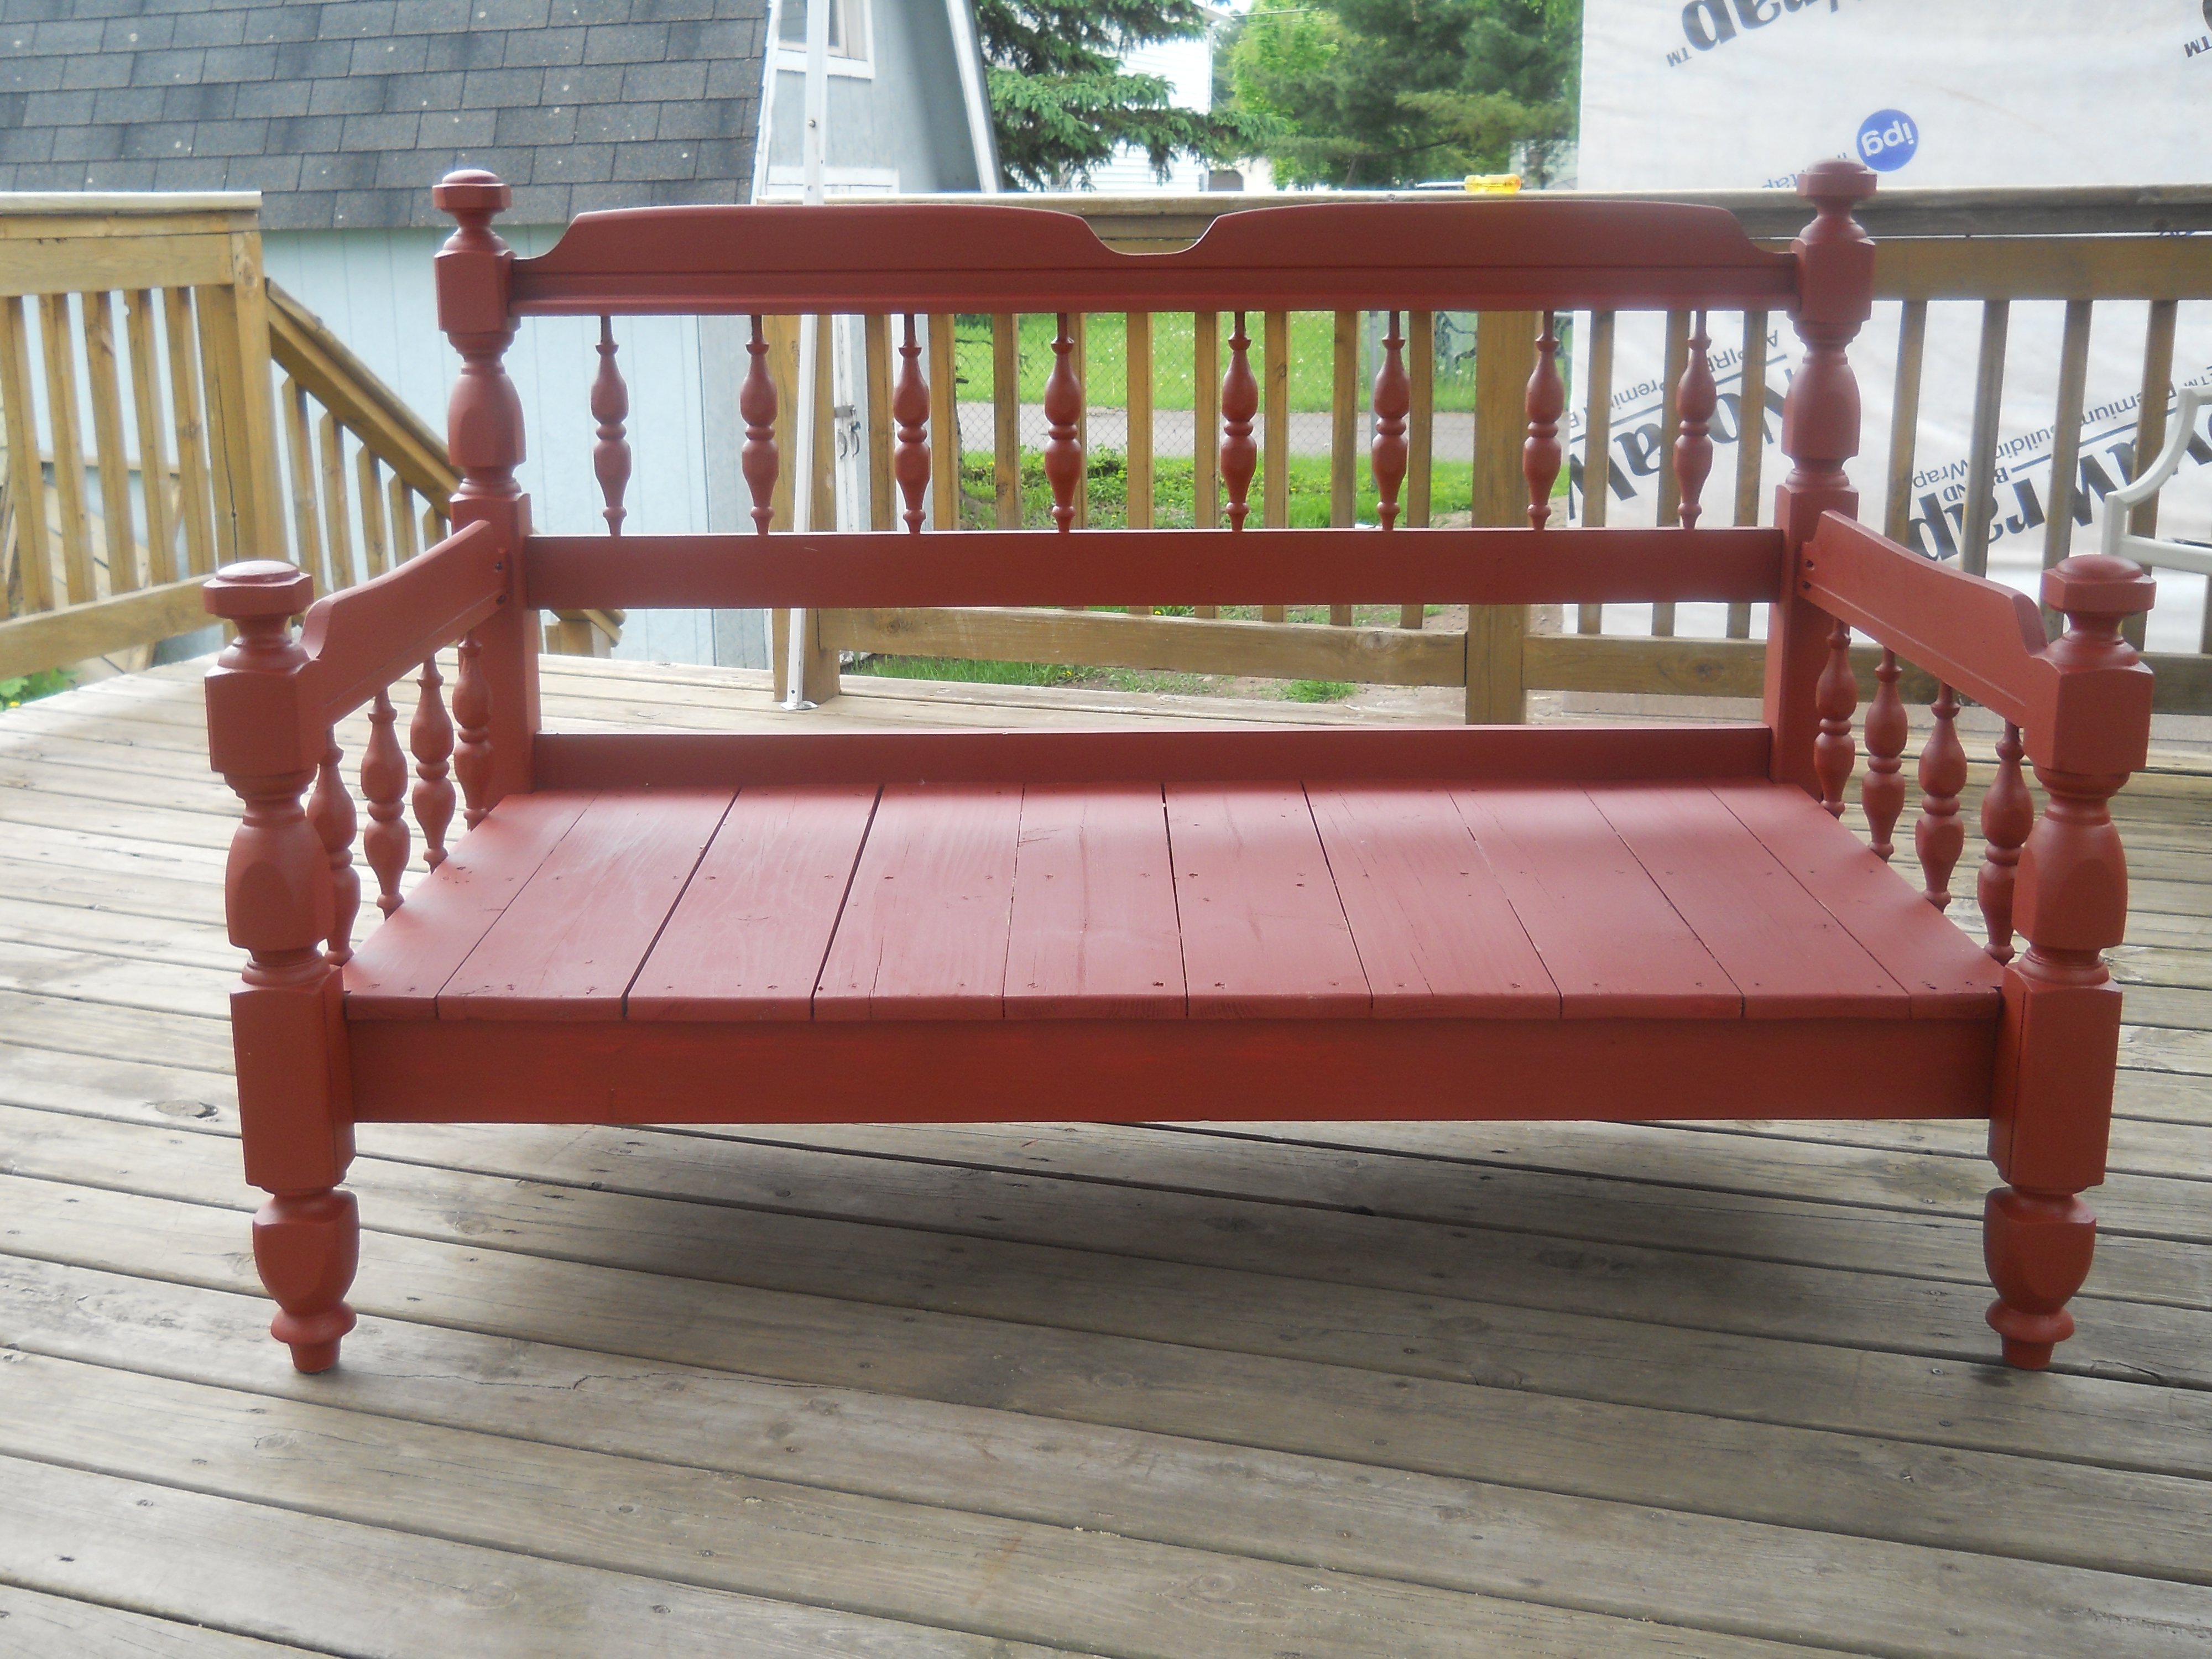
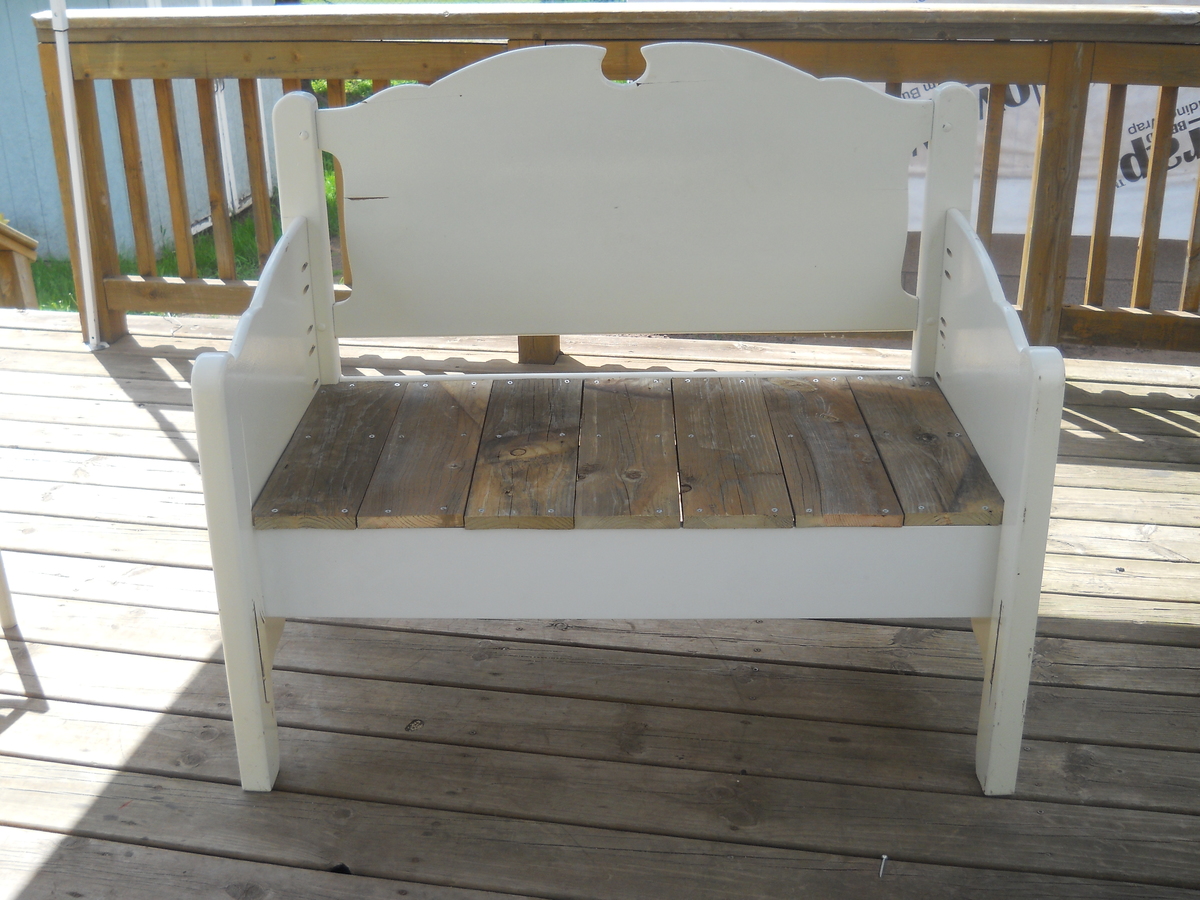
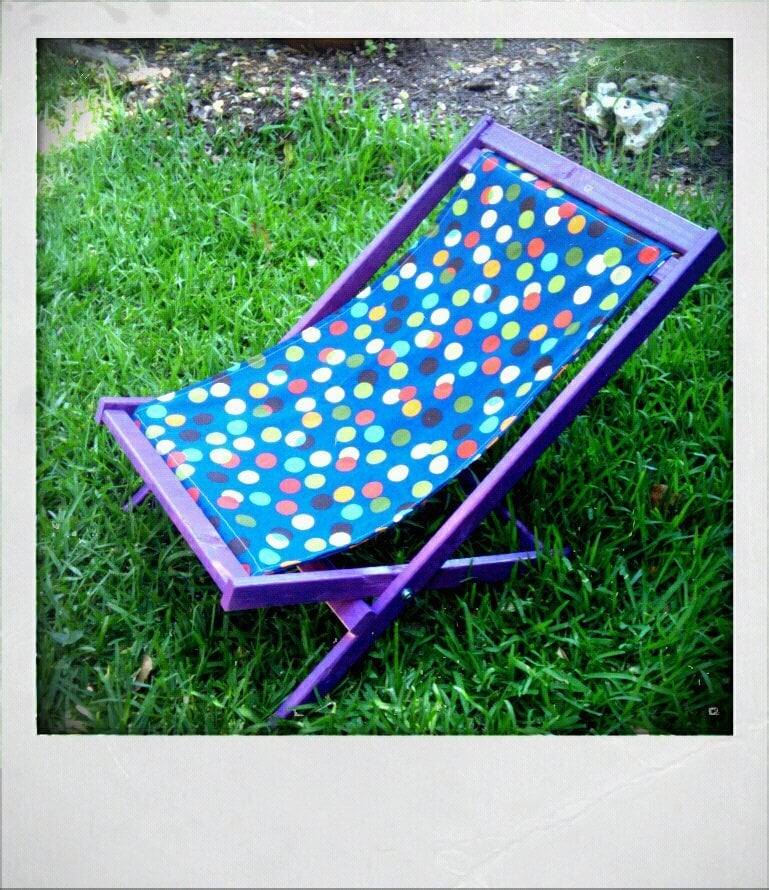
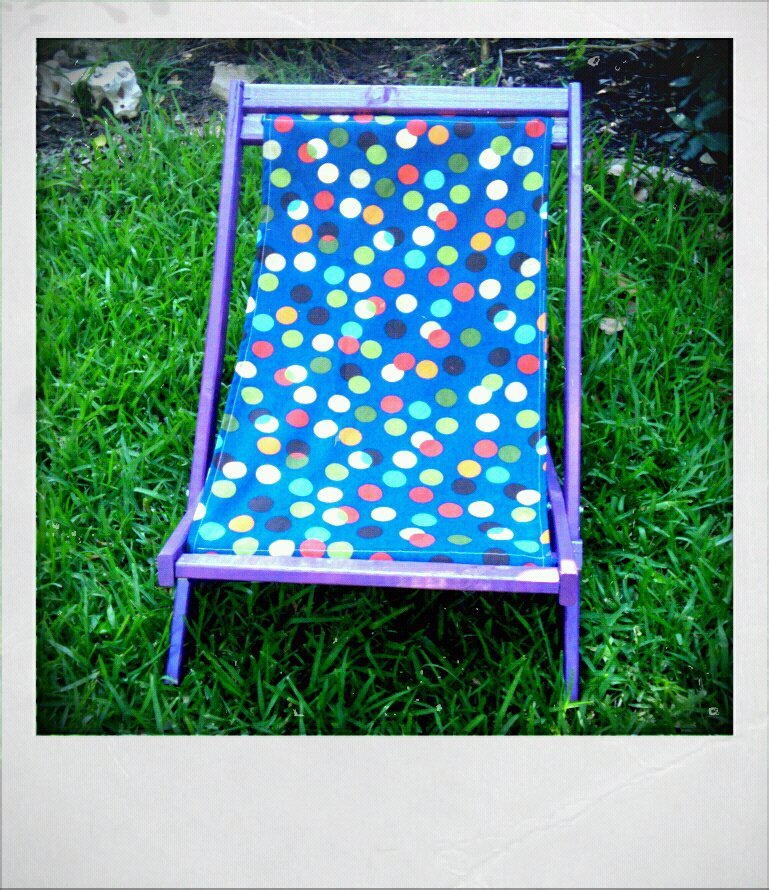
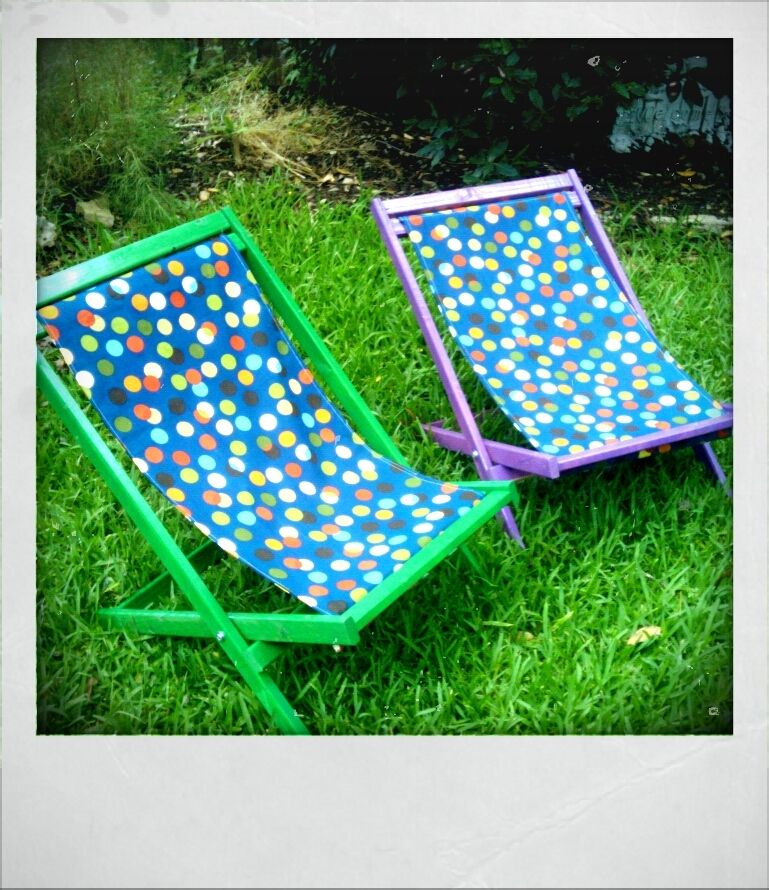
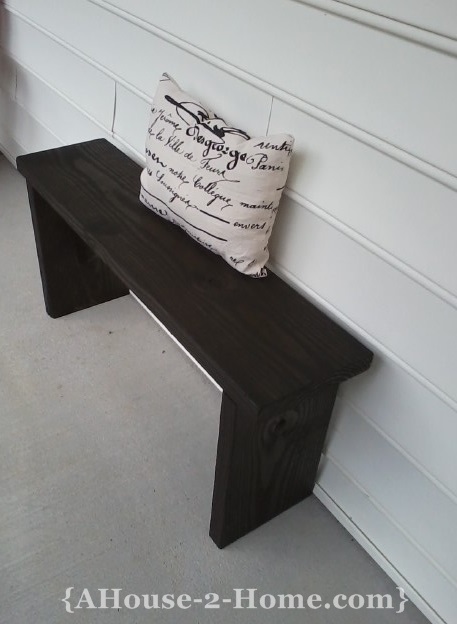
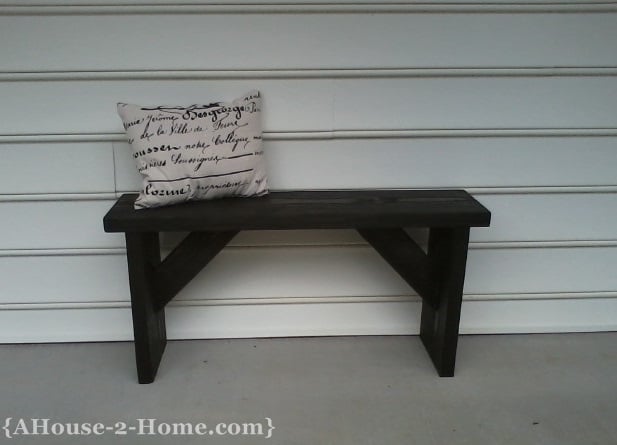
modified chaise lounge

These are solid cedar. They also have several coats of polyurathane. They both got wet sanded and buffed for final coat. They were also modified with leg braces amd braces along side decking. Enjoy!
Built from Plan(s)
Estimated Time Investment
Weekend Project (10-20 Hours)
Recommended Skill Level
Intermediate


Comments
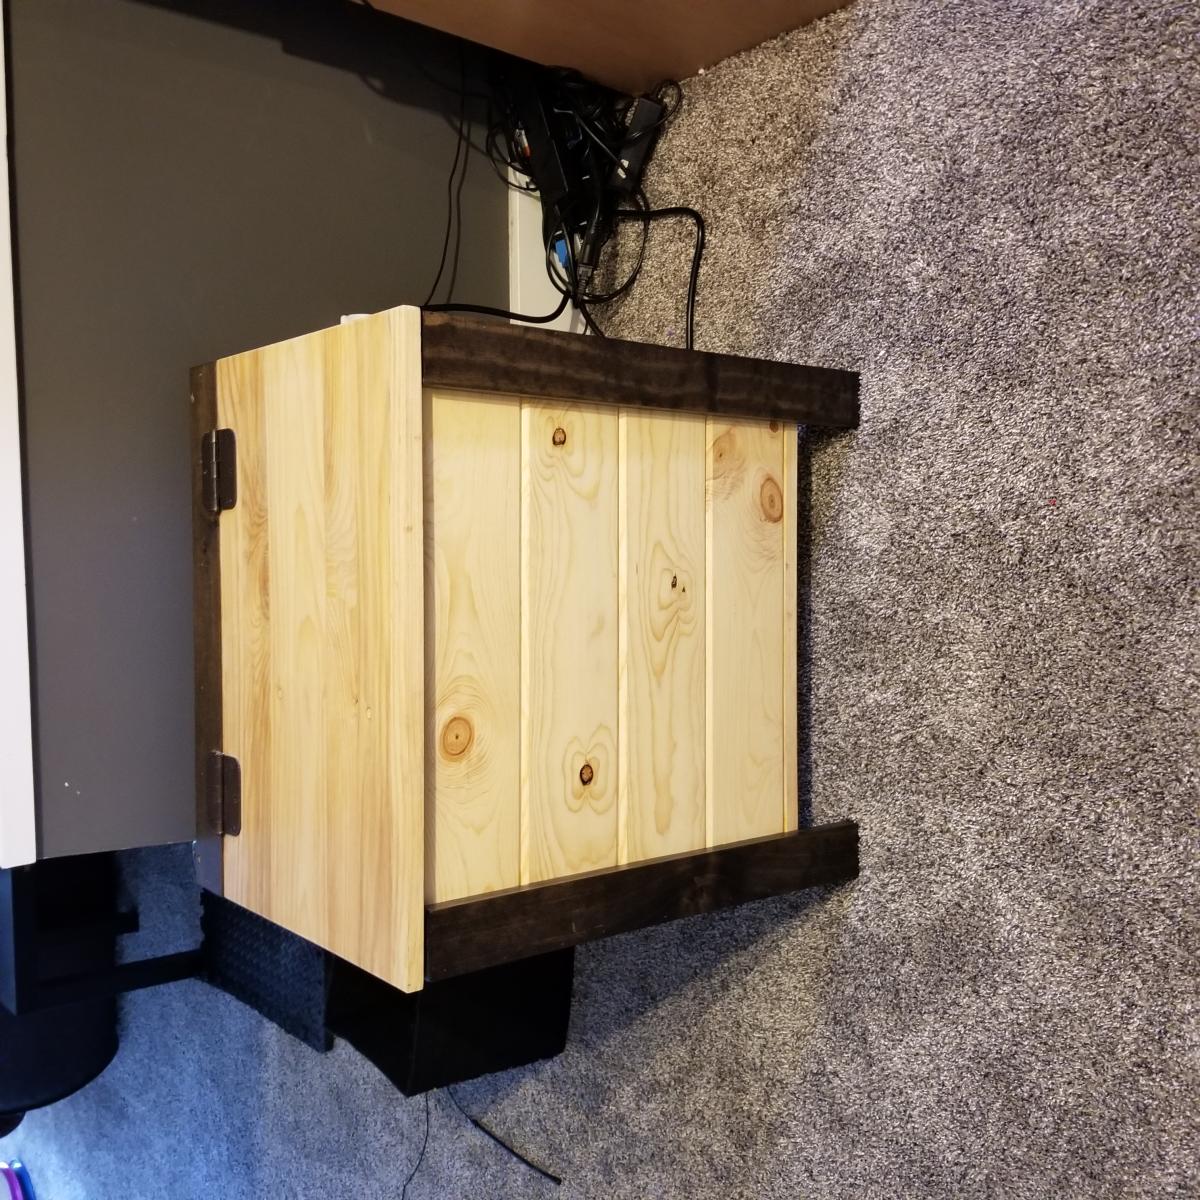
jrh413
Wed, 07/10/2013 - 09:38
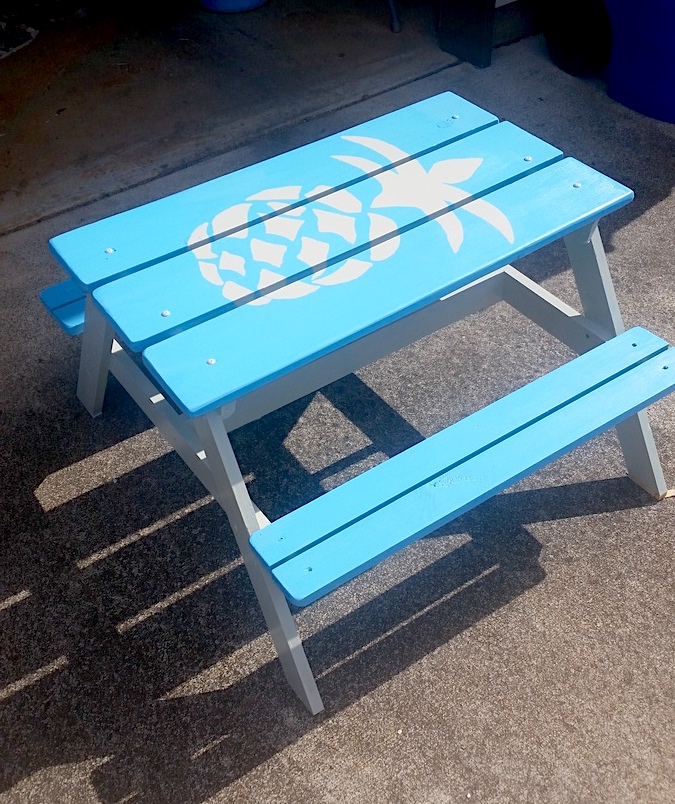
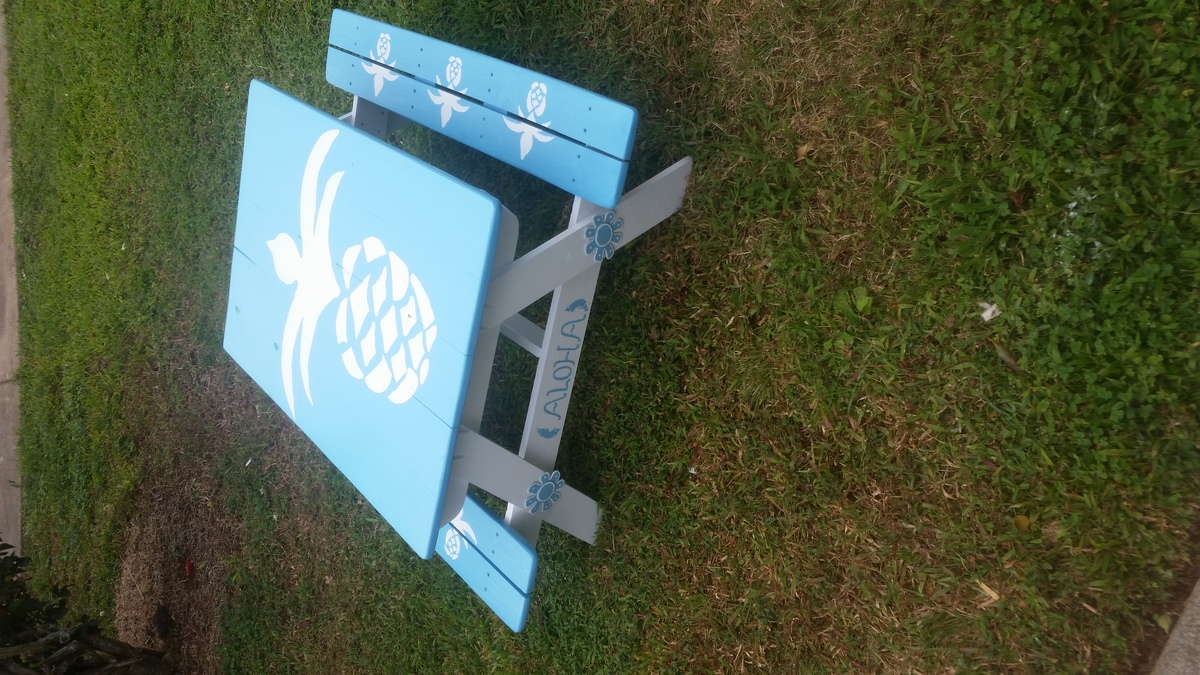
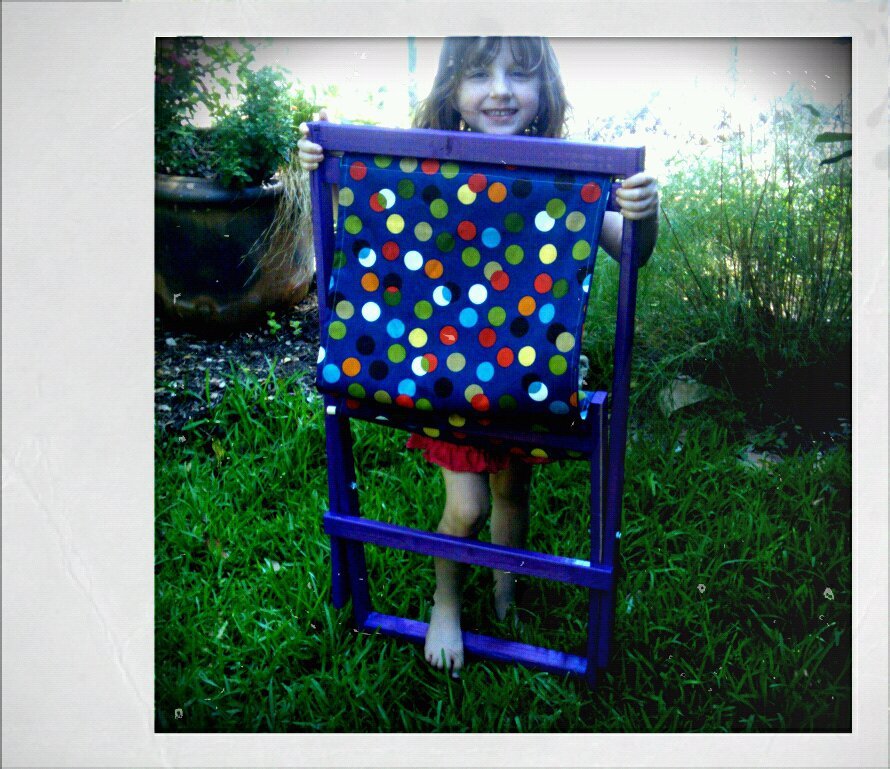
Sorry first pic got uploaded
Sorry first pic got uploaded upside down some how ? Instagram acct is jrh413 for anyone who wants to follow. Thanks!