Community Brag Posts

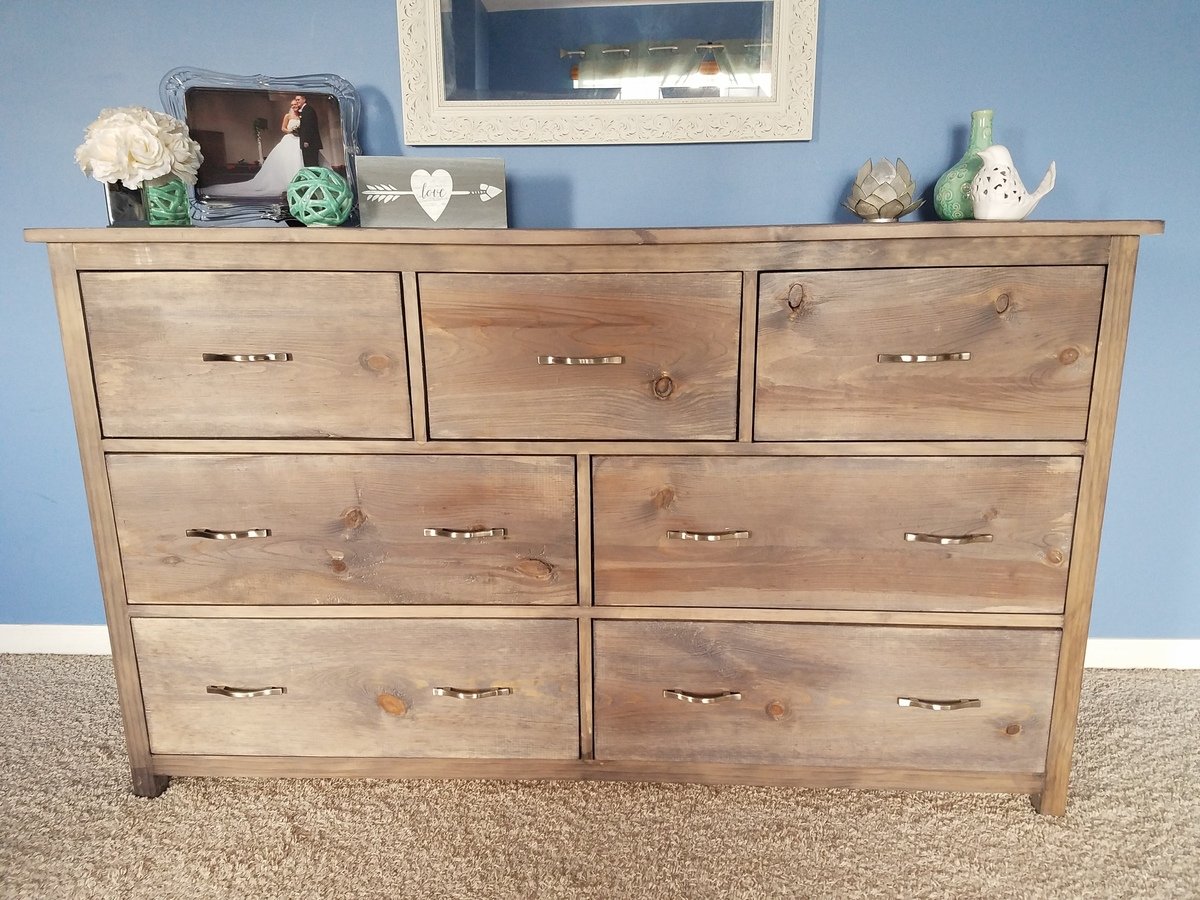
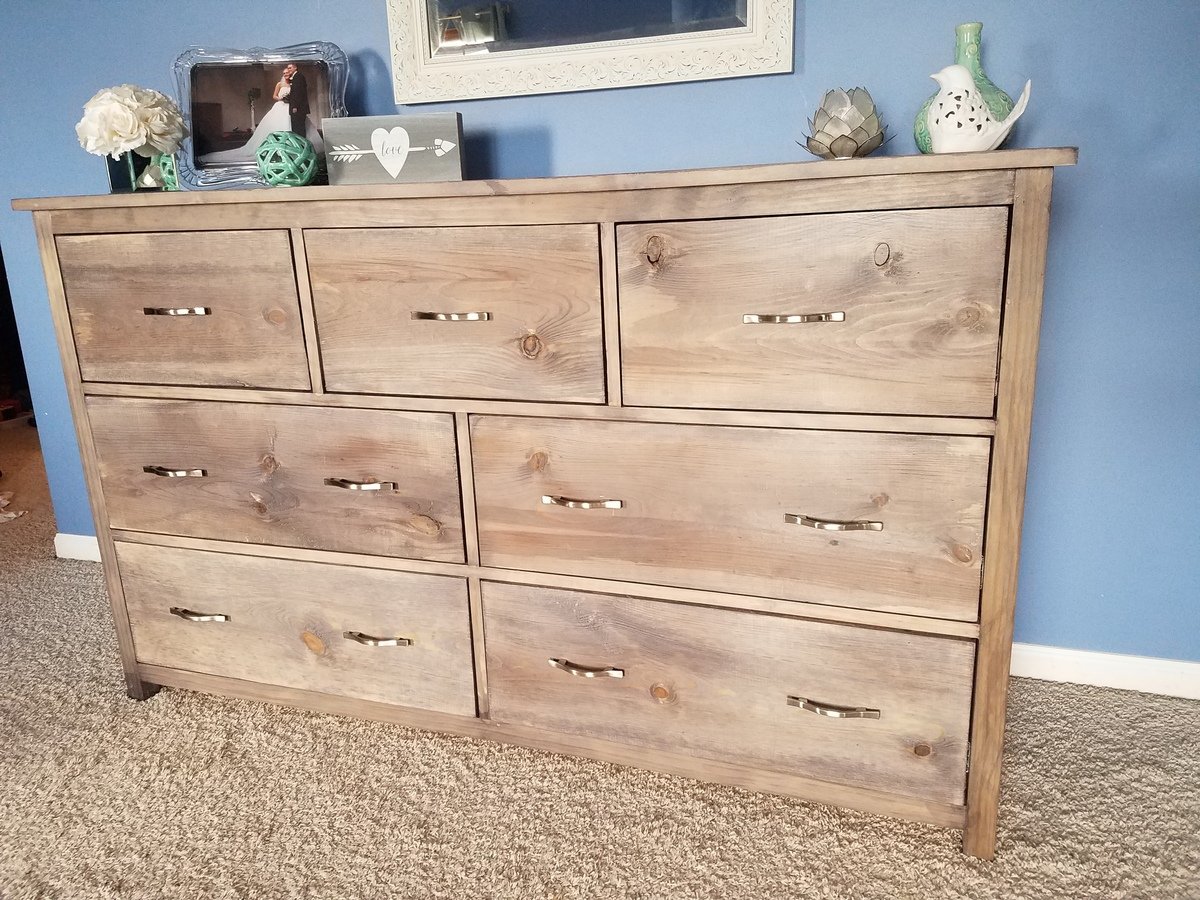
Bedroom Dresser

First time using drawer slides, and what a learning curve it was! The color is Varathane Weathered Wood Accelerator. This piece is huge and heavy! Absolutely love it and rebuilding other bedroom pieces to match this color. I also built a matching dresser which is taller and much more narrow. It can be found here: http://www.ana-white.com/2018/08/DIY_furniture/tall-bedroom-dresser

Estimated Cost
$200-$250
Estimated Time Investment
Weekend Project (10-20 Hours)
Finish Used
Varathane Weathered Wood Accelerator, Varathane Poly
Recommended Skill Level
Advanced

Comments

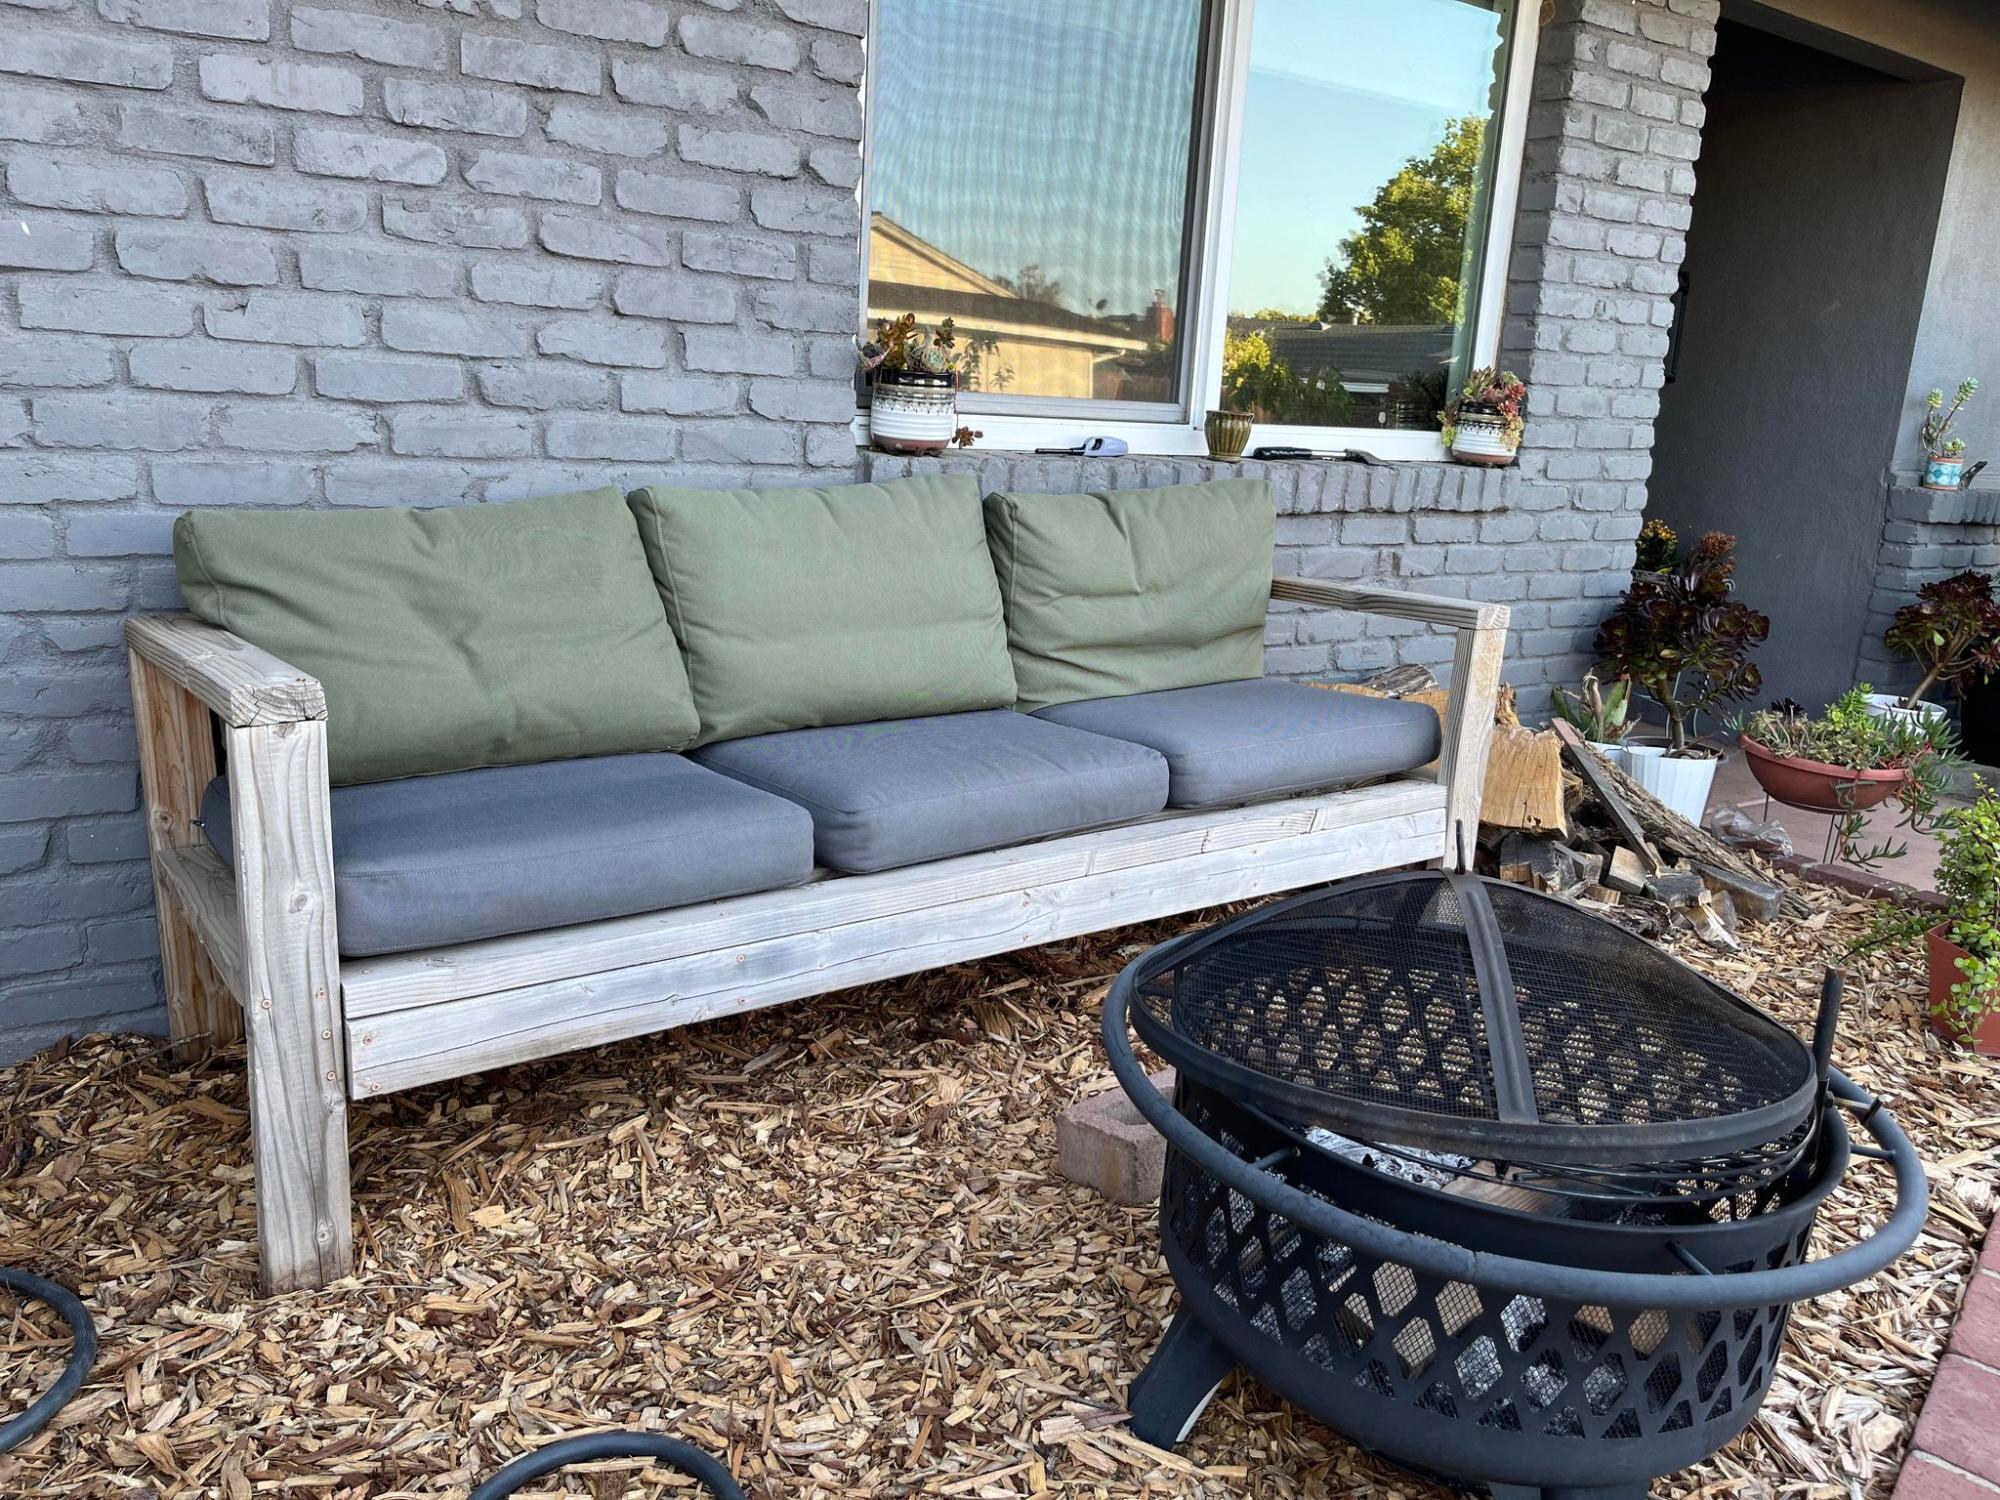
Outdoor sofa next to the fire

Submitted by Anonymous (not verified) on Sun, 05/22/2022 - 00:53

My husband loves seating on this sofa while reading his scriptures or sometimes to take a nap. I got the cushions and pillows from Ikea. I can't wait to build another one or two, possibly with my sister-in-law. Thank you for the tutorial :-)

Built from Plan(s)

Comments

My Black Board and Batten Wall

Submitted by canesa on Thu, 07/14/2011 - 20:39

Hanging the board and batten wall is incredibly easy and fast! It's when you decide to paint it black that complicates things!
You can check out the whole tearful/funny experience here http://isteppedoutofmycomfortzone.blogspot.com/2011/04/and-opened-can-o…

Estimated Cost
Under $20
Estimated Time Investment
Afternoon Project (3-6 Hours)
Finish Used
I painted the wall with Dark Kettle Black by Valspar and glazed the boards with Ralph Lauren Smoke glaze.
Recommended Skill Level
Beginner

Comments

1-Board Trinket Box from Cedar Fence Picket

Submitted by JoanneS on Fri, 08/16/2013 - 15:30

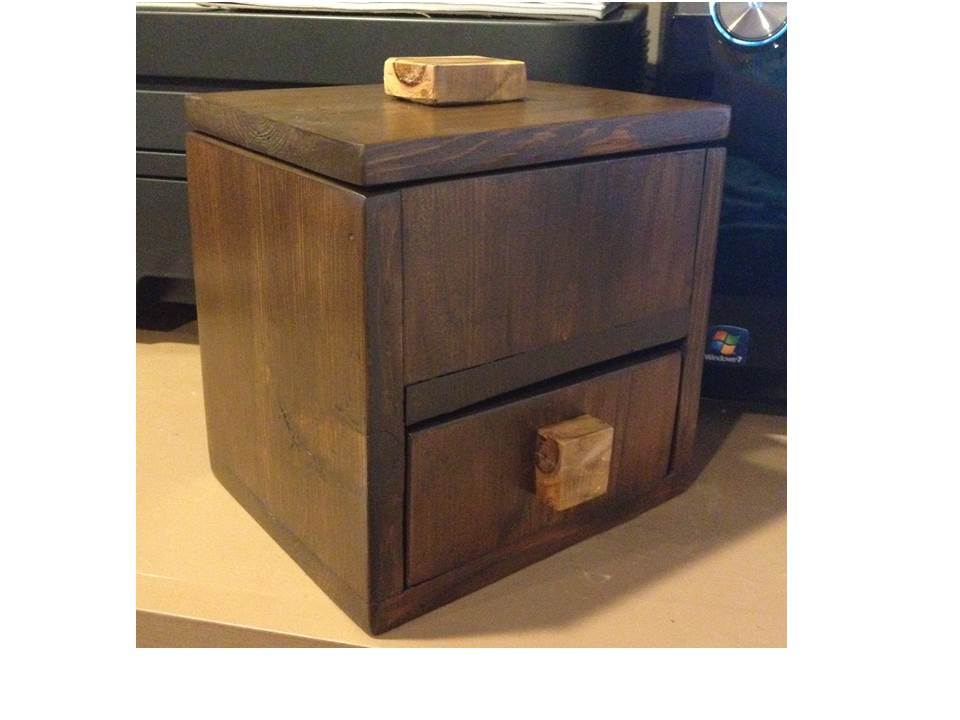
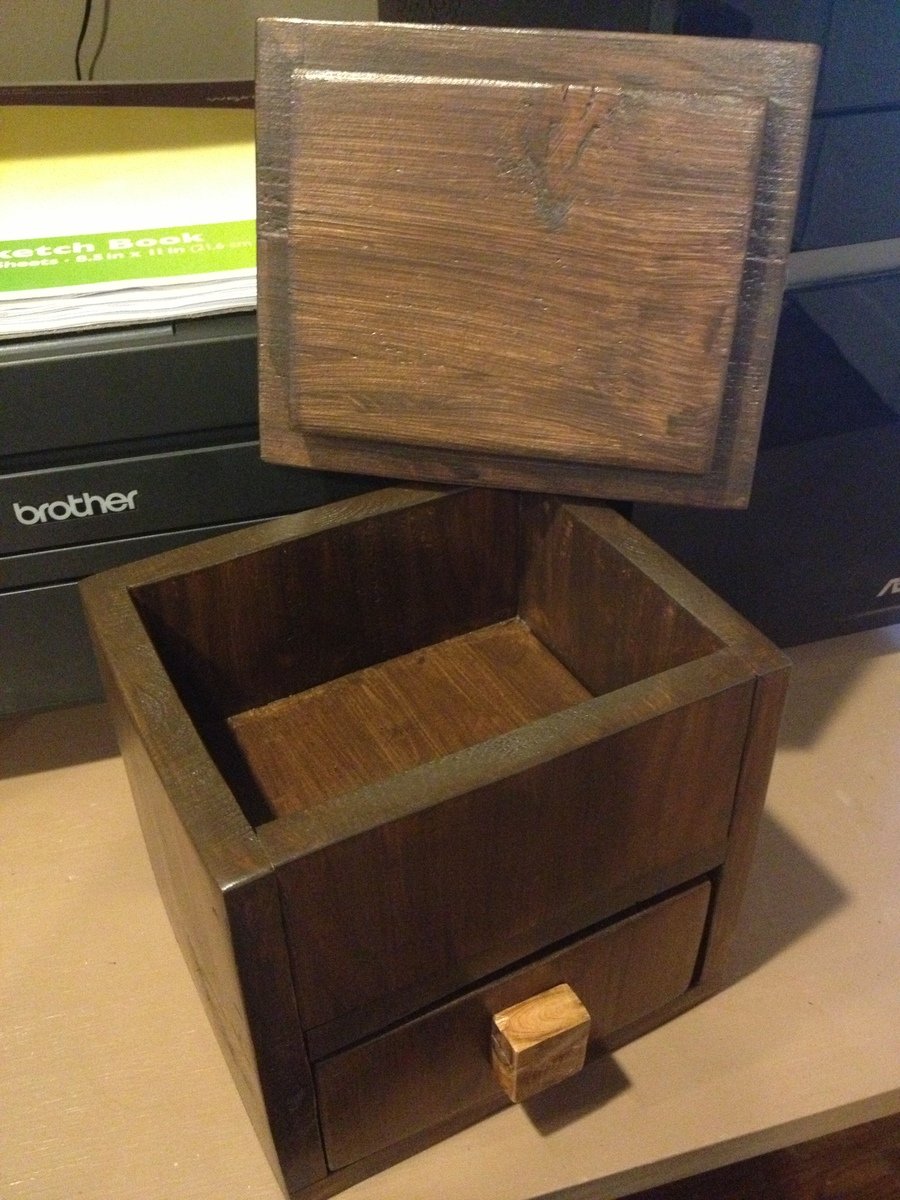
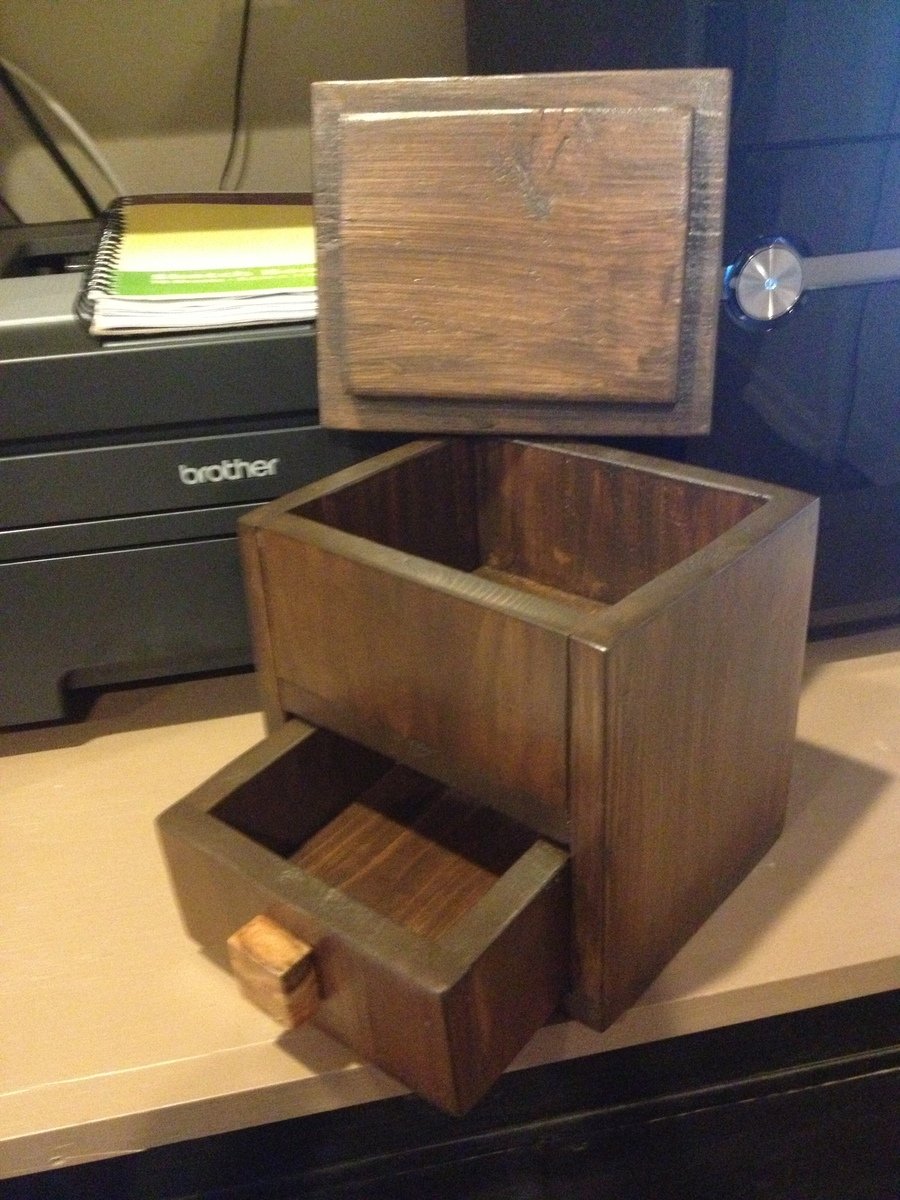
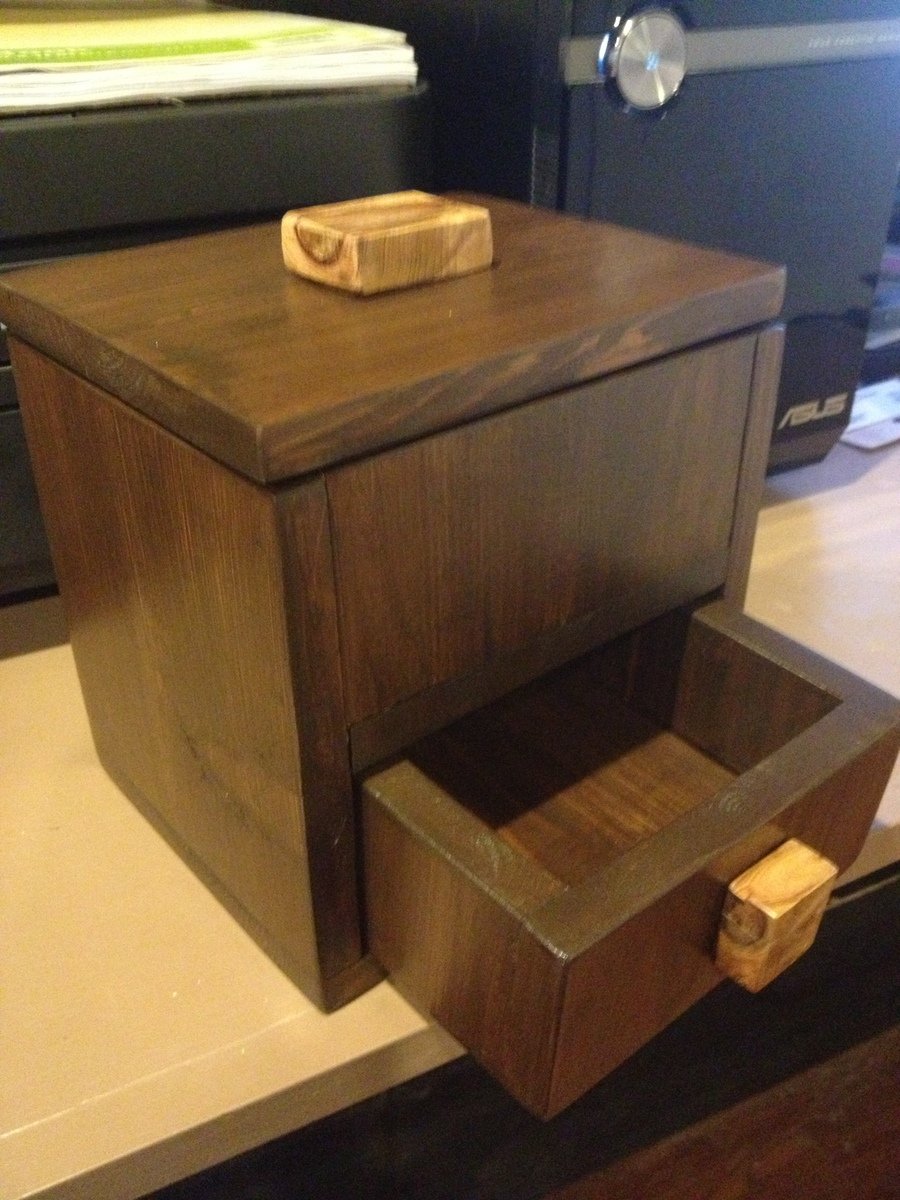
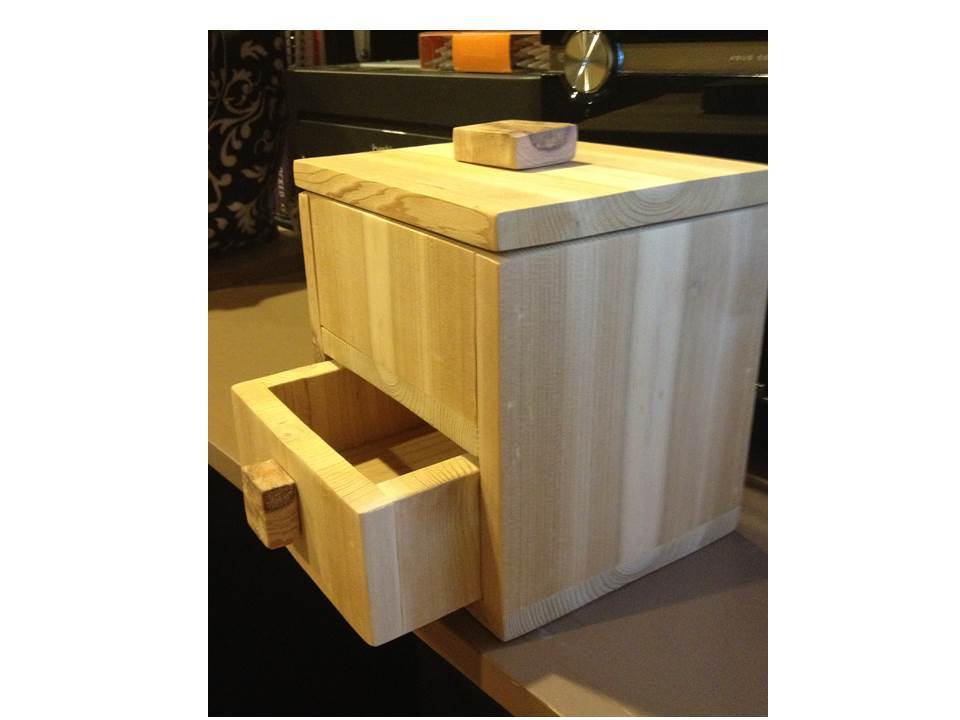
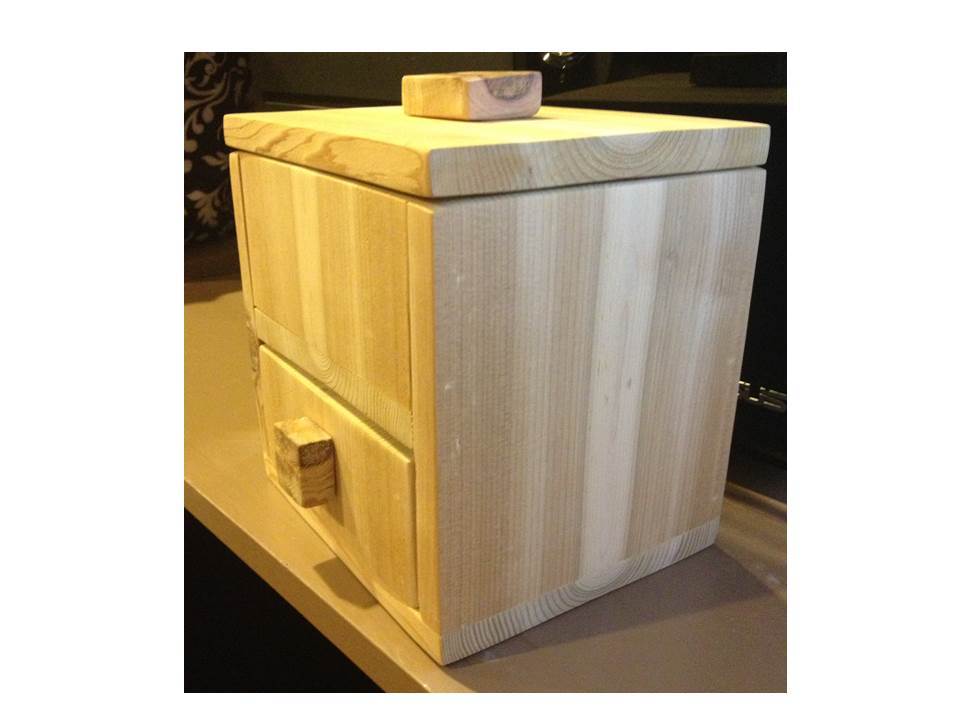
I built this as the prototype for the 1-Board Cedar Trinket Box plan. My goal had been to create something that would make a nice gift, only use 1 cedar fence picket (about $3 in wood), didn't require any special cutting or ripping, and could be made with just your miter saw and brad nailer (you could use regular nails and hammer too, but I love my nailgun!) Also highly recommend using a palm sander for this. (Love my power tools!)

As I was building I discovered the beauty of cedar, the imperfections of cedar fence boards, and the value of prototyping. I added some tweaks to the plan to identify the places where you should build the first part, then measure, then cut the next part.

This took about 2 1/2 hrs to build, which included a whole lot of sanding. I started with 80-grit, then 220 grit to get the board surfaces smooth. After the prototype was assembled and I noticed how much cupping there was in my fence board, I broke out the 60-grit and went over all the high spots to smooth them down. Next time I'll be much more careful to choose a board without much of a cup. It did give some real interesting grain patterns though, so it all worked out in the end.

For pulls I cut a couple of interesting looking knots from my cedar board and glued them on. The next one I'd like to try some strips of leather or maybe a rope knot for pulls.
Estimated Cost
$3 in wood + finishing materials
Estimated Time Investment
Afternoon Project (3-6 Hours)
Finish Used
I started to leave this one natural, but after trying the tutorial for the Walnut Minwax Express Color on cedar, I had to use that finish on this piece. I'm loving the walnut color! Topcoat is 1 coat of Minwax Oil Modified water based poly in satin.
Recommended Skill Level
Beginner

Comments

yurra-bazain

Fri, 08/16/2013 - 17:44

Joanne, I am so blessed to see how creative you are every day, how you approach your builds with others in mind, and how you work with the situations you encounter and turn things into functional and beautiful pieces! =D Thank you for sharing your creativity with passion and drive!

JoanneS

Sat, 08/17/2013 - 05:10

Thank you so much for your kind comments! I have gained so much from the experience of participating on this site, I am hoping sharing this might be helpful to fellow readers/builders. Building, and sharing it here brings me joy, and I want to share that!

Husky Farmhouse Table

Submitted by plainkelly on Mon, 09/14/2015 - 07:12

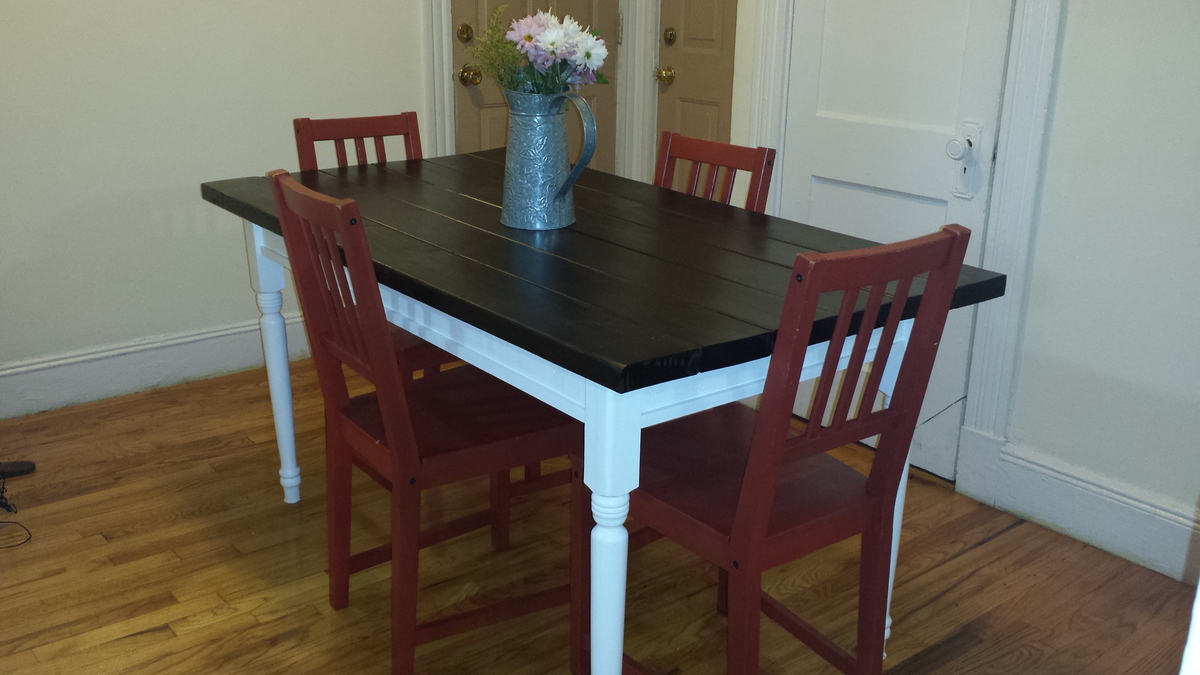
We scaled this table down to fit in a Boston apartment dining room, which also serves as an entryway. We used six 2x6's instead of seven, and cut them down to 5' instead of 6'. We also went with standard Home Depot table legs in the interest of cost. This was our first-ever Ana White project and the first furniture my dad has ever built - and it was great to be part of the process (I mostly attached the screws, sanded, stained and painted while he did all the hard work. I bought the chairs for $5 each off Craigslist and intended to sand and re-finish them to match the table, but I've received lots of compliments on the red! I absolutely love this table and eat at it daily.

Built from Plan(s)
Estimated Cost
$150
Estimated Time Investment
Weekend Project (10-20 Hours)
Finish Used
Espresso stain (two coats), satin white primer (three coats).
Recommended Skill Level
Beginner

Comments

Patio table from scraps

Submitted by Usmcmills on Wed, 08/29/2018 - 20:33

Daughters didnt want theyre bunkbed anymore that i build from this site.. So i took it apart and frankenstiened this patio table.

Super sturdy

Estimated Time Investment
Afternoon Project (3-6 Hours)
Recommended Skill Level
Beginner

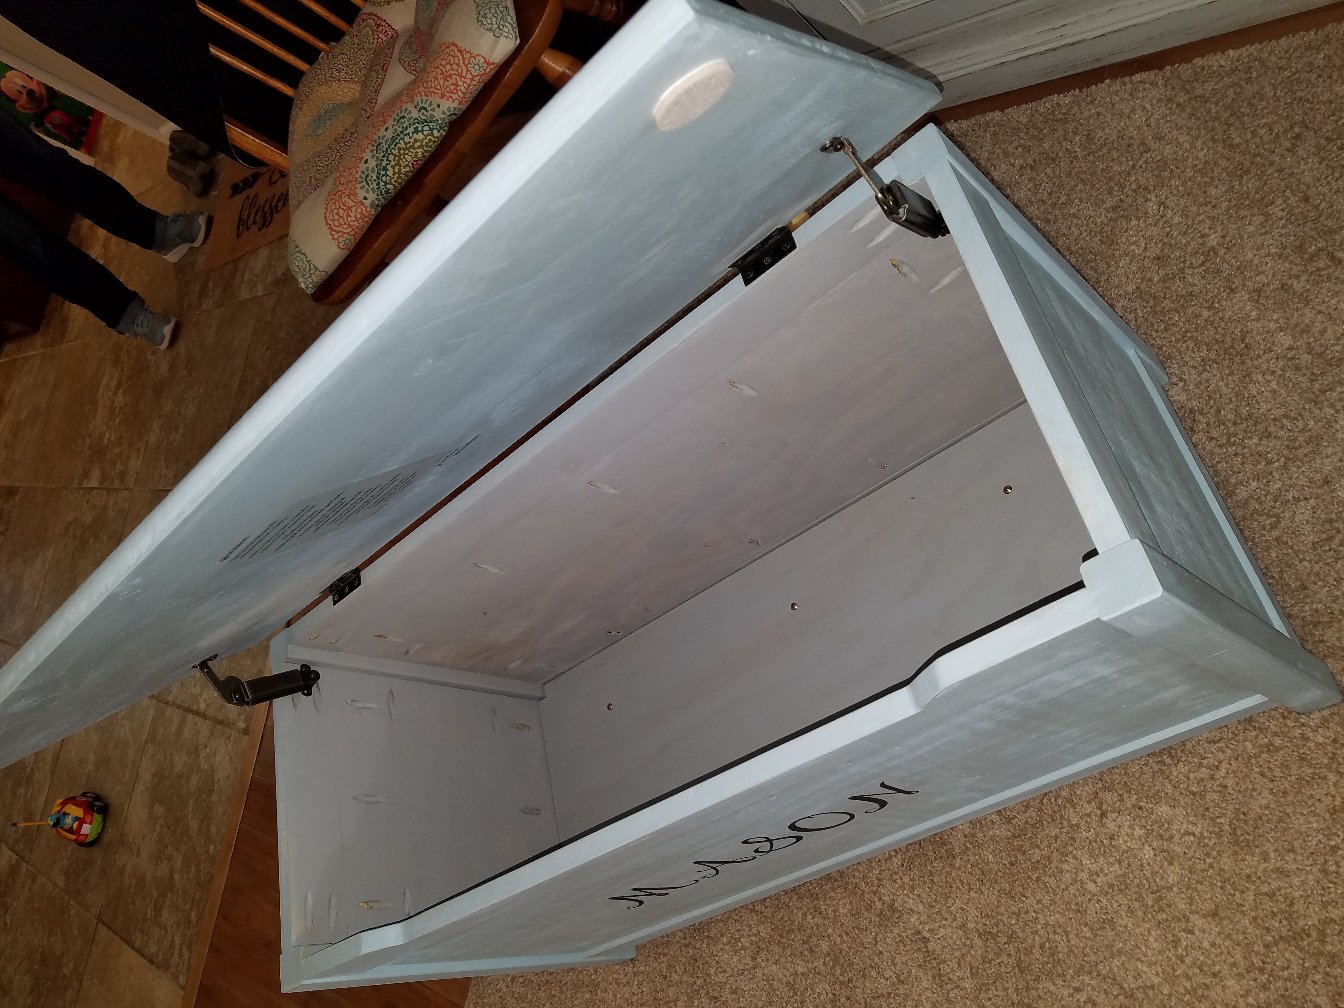
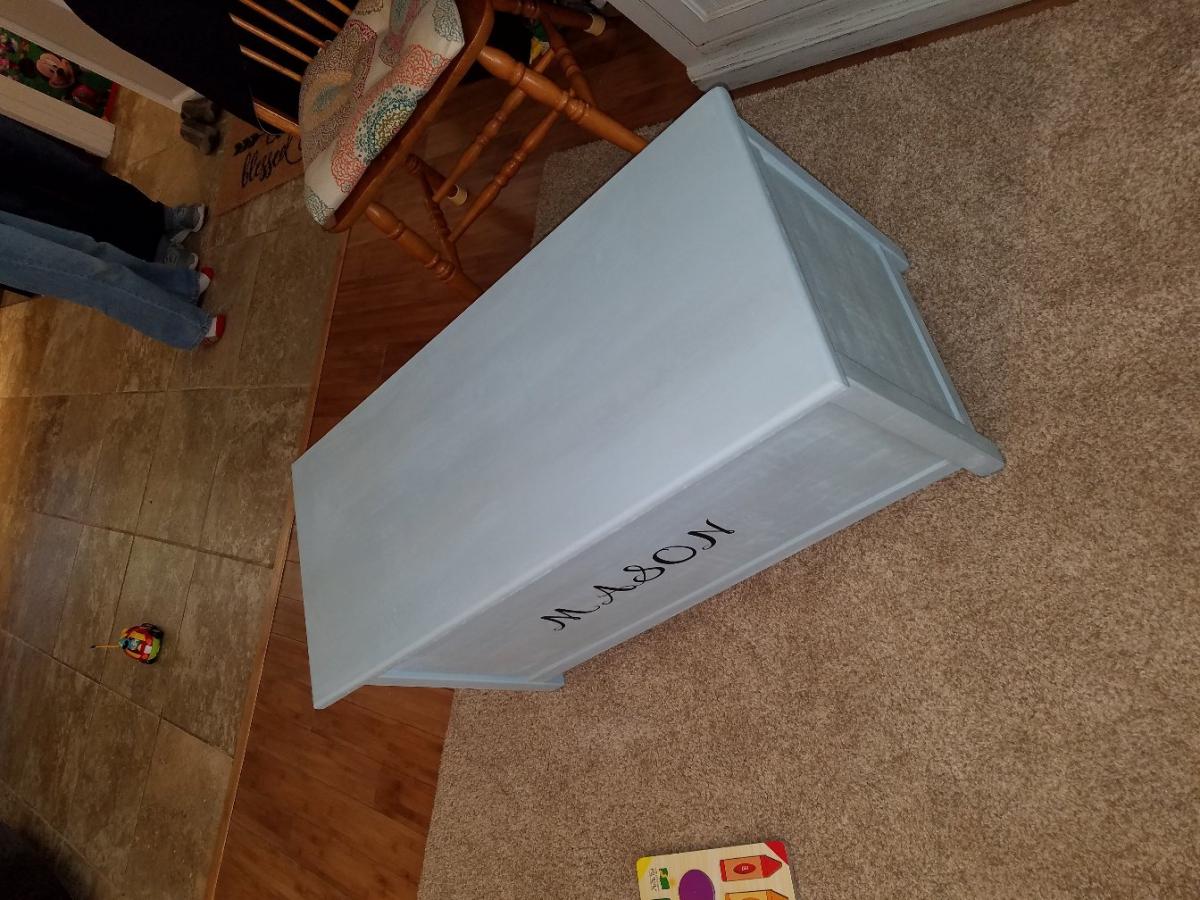
Simple modern toy box with lid

Submitted by Anonymous (not verified) on Wed, 06/01/2022 - 09:35

Loved these plans. I made this with your plans for our grandson.

Built from Plan(s)

Comments

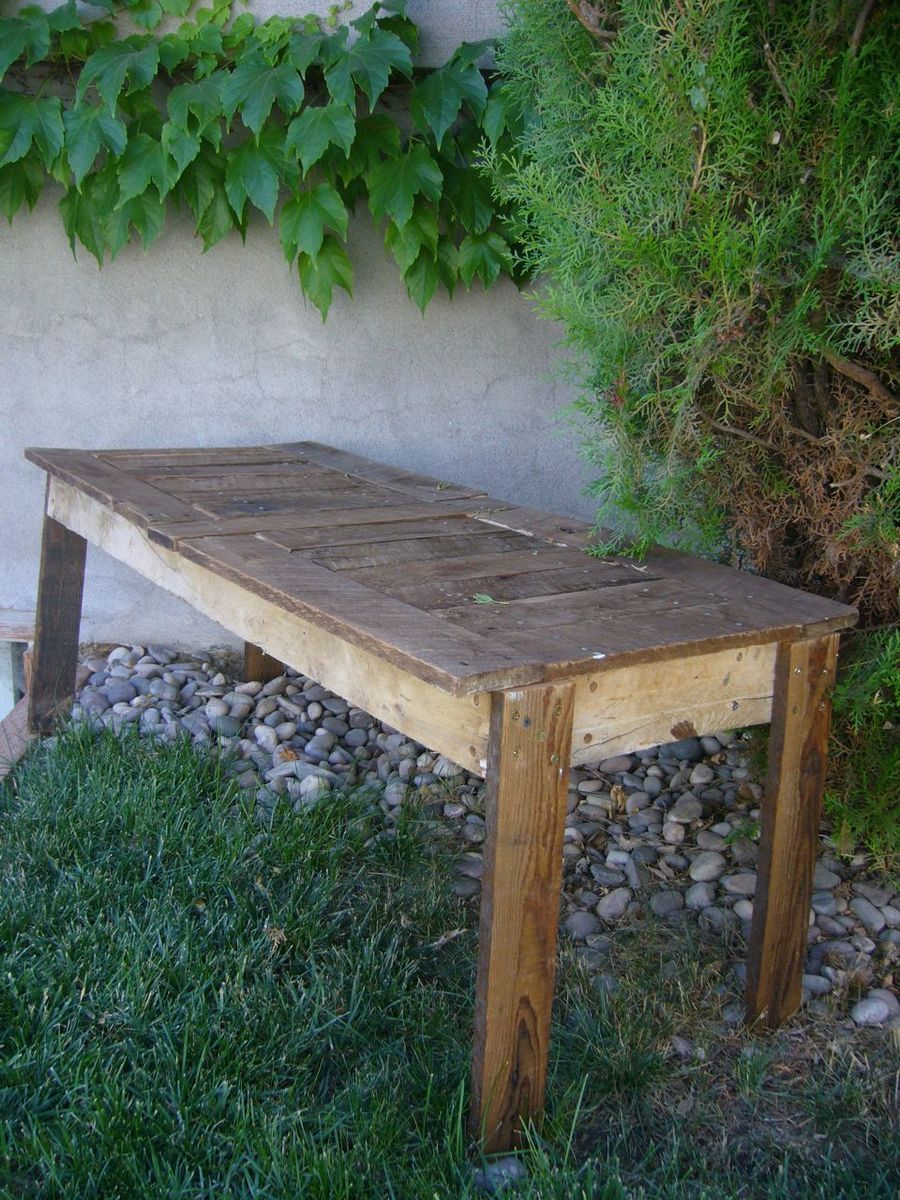
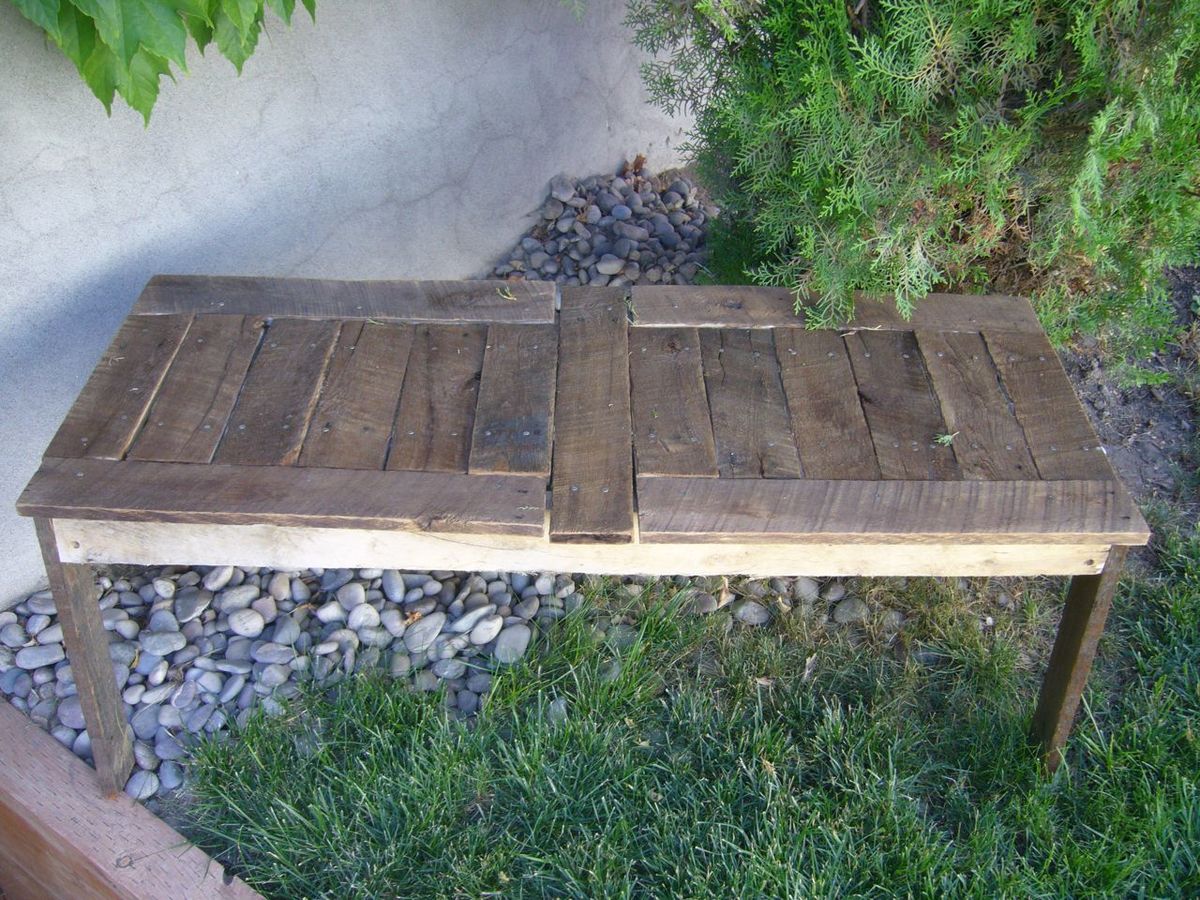
Rustic Garden Bench

Submitted by jazberg on Fri, 07/15/2011 - 13:29

The side of our house needed some character, and this pallet wood bench was the perfect solution. Very rustic, very worn, very out of square and poorly measured, yet cute, sturdy, rich and perfect. The weathered rough sawn oak pallet that we made this out of was so heavy it took two to carry out of the weeds it was found in. The bench probably weighs 100 pounds. The hardest part? Getting the 100 year old pallet apart. Bring all your muscles (or a saws all!). Perfect for decoration and if need be a quiet spot to sit and think.

Built from Plan(s)
Estimated Cost
Free! Yeah for free furniture!
Estimated Time Investment
Afternoon Project (3-6 Hours)
Finish Used
Stain. Lightly sanded (no short shorts on this bench!)
Recommended Skill Level
Intermediate

Rustic Wood Cooler

Submitted by Robinwood on Mon, 08/19/2013 - 21:47

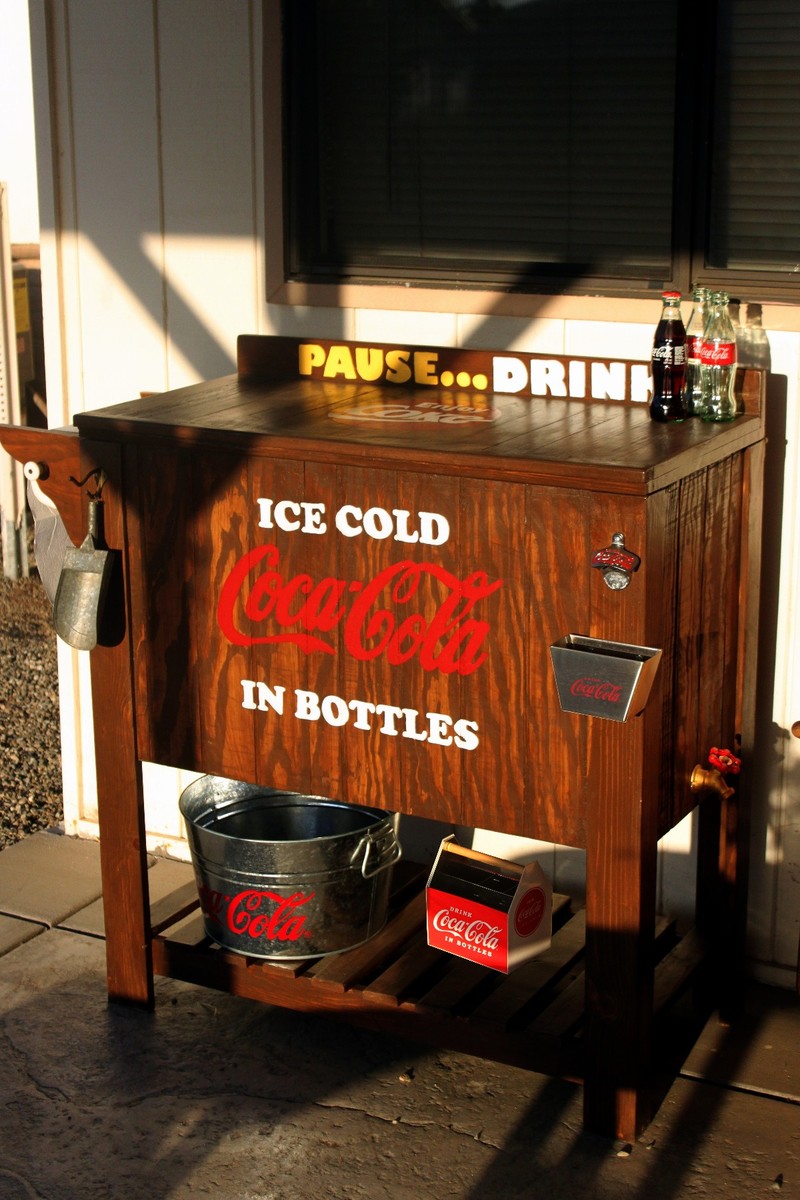
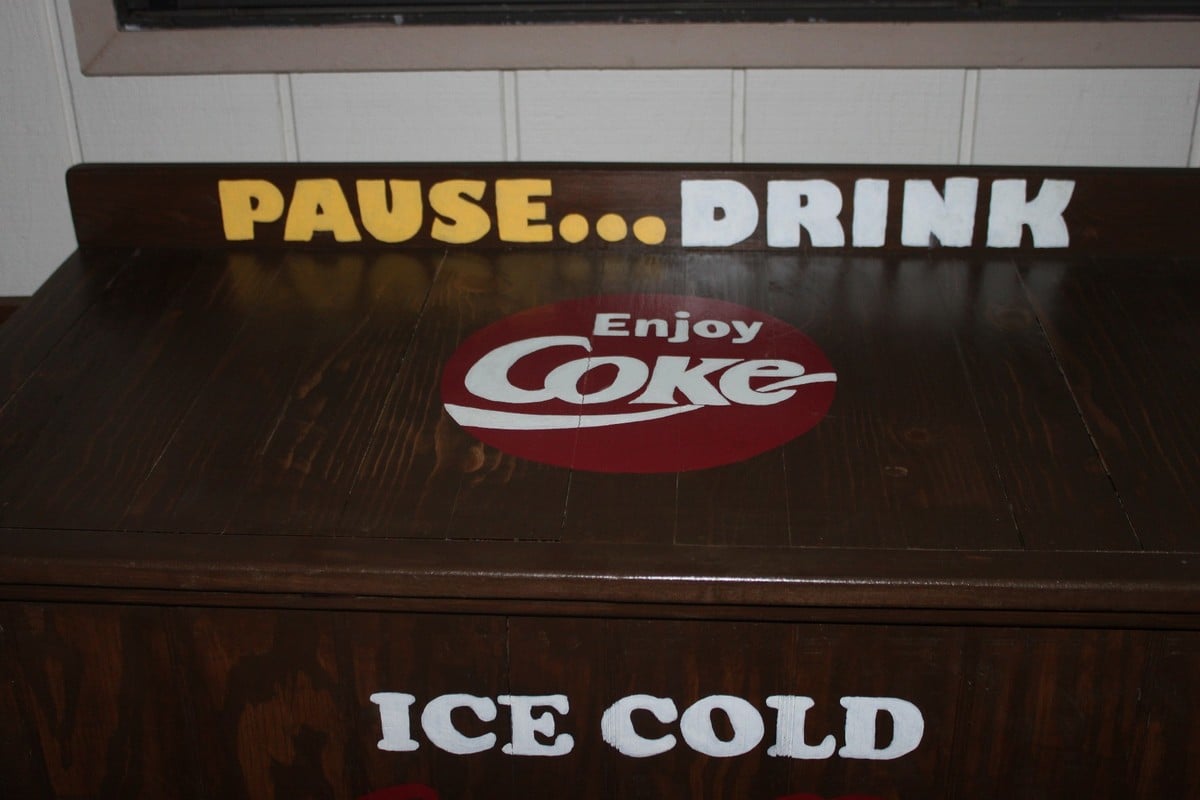
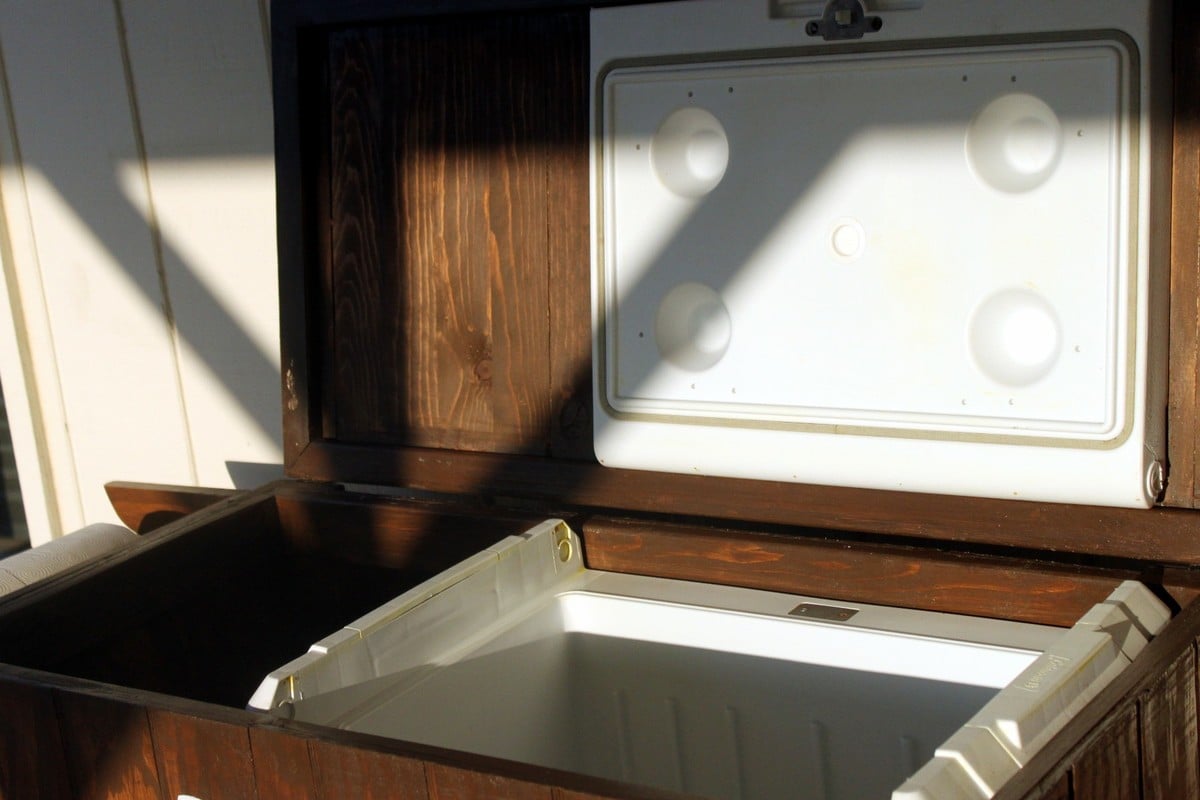
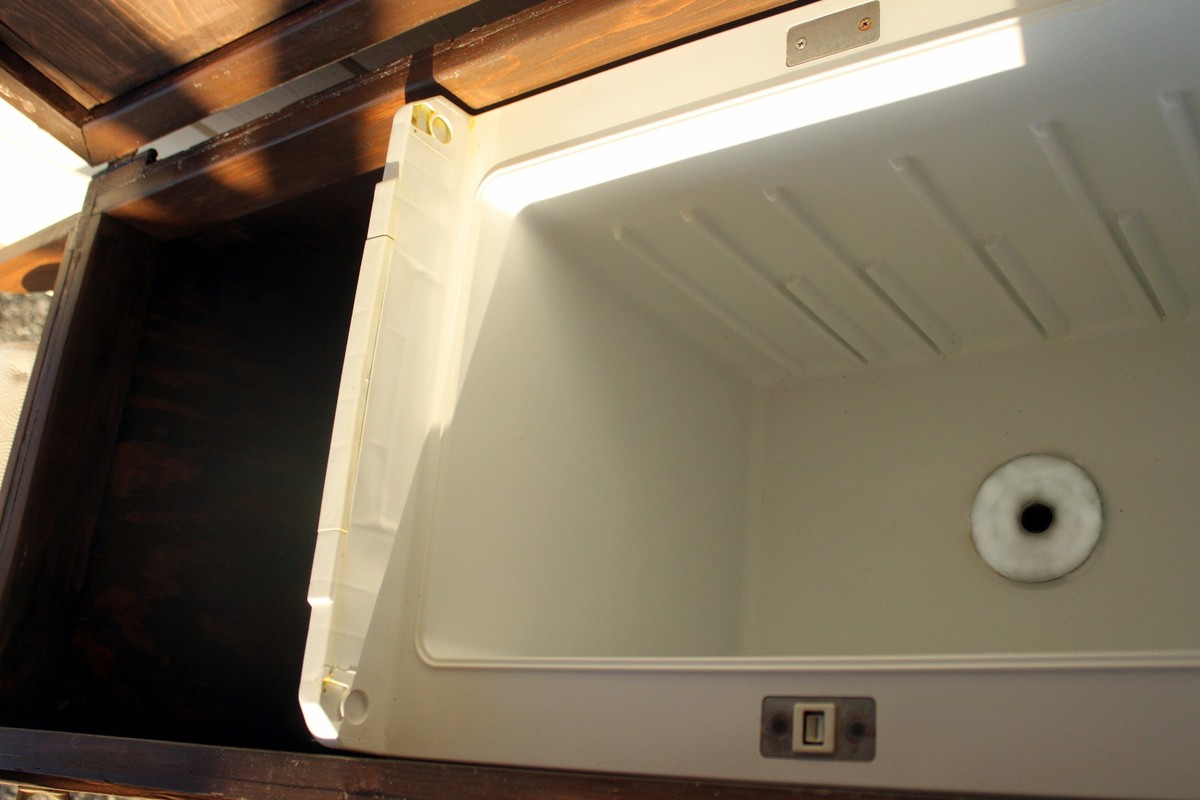
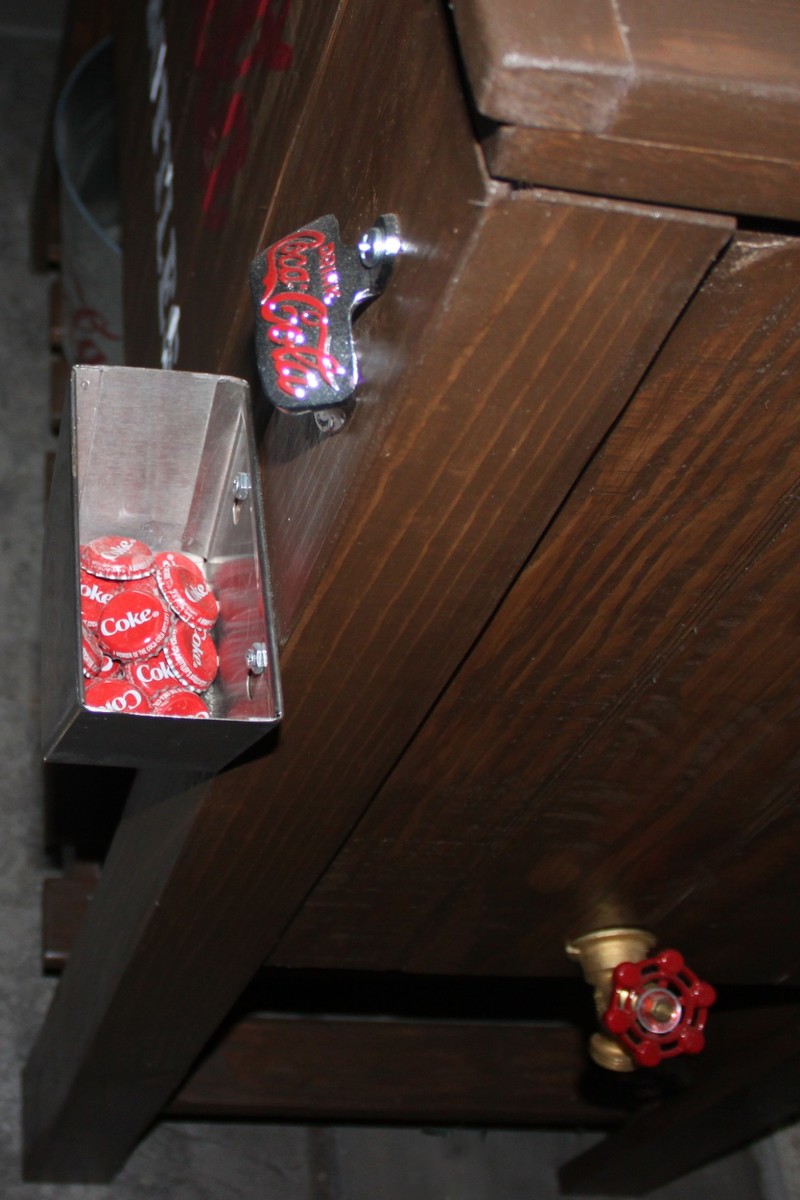
I went with my own measurements to accommodate my old cooler and leave a little room for storing extra water or whatever. As you can tell, I'm a Coca Cola nut...so I had to go with the Coke theme.

The cooler I used was actually a battery powered car cooler, so it didn't already have a drain. I just drilled through the bottom; added a drain and then ran some pipe over to a faucet at the end.

I glued some coke lids that I had been saving in the bottom of the "cap catcher" (not sure exactly what it's called), for special effects.

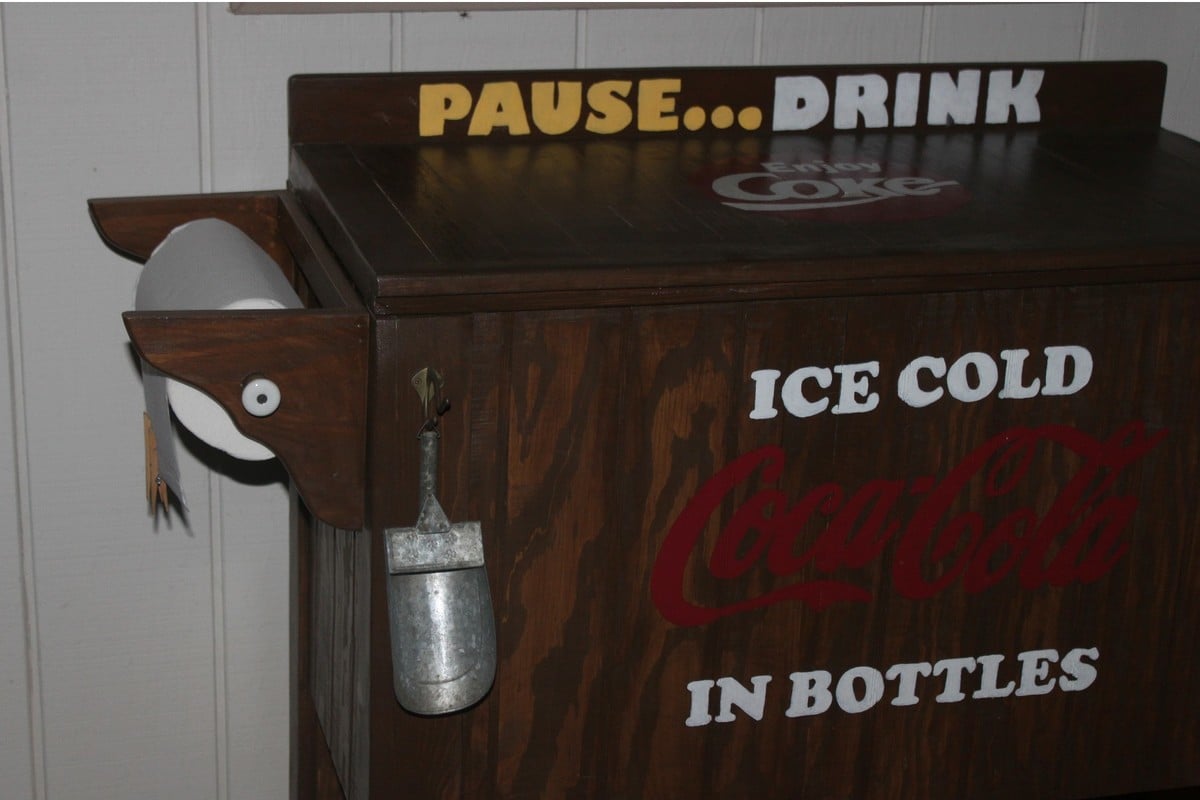
Because I'm always looking for a paper towel (I hate having wet hands); I added a paper towel holder on the end, instead of a shelf.

This was made entirely from scrap wood from other projects, so except for the faucet and of course my coke accessories, it didn't cost me anything and that's always a plus.

My husband loves it - every time he sees me looking at this site on the computer, he wants to know what I'm planning to build now.

Recommended Skill Level
Beginner

Trundle Bed for Niece

Submitted by jwieman on Wed, 09/23/2015 - 05:46

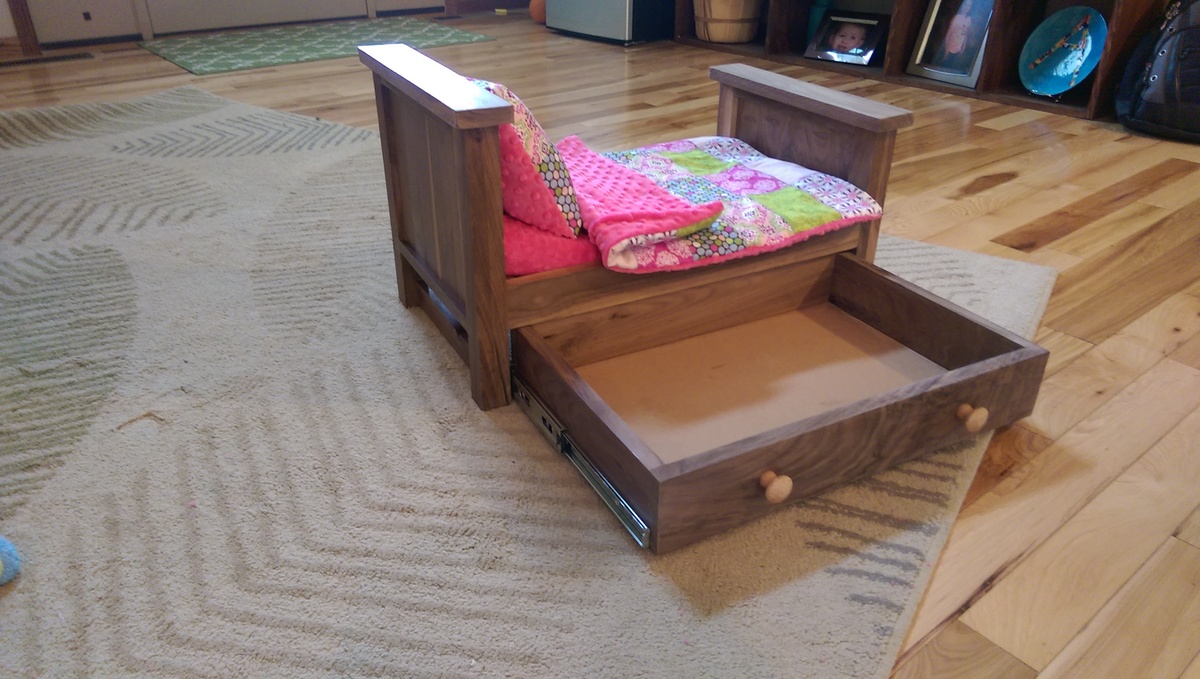
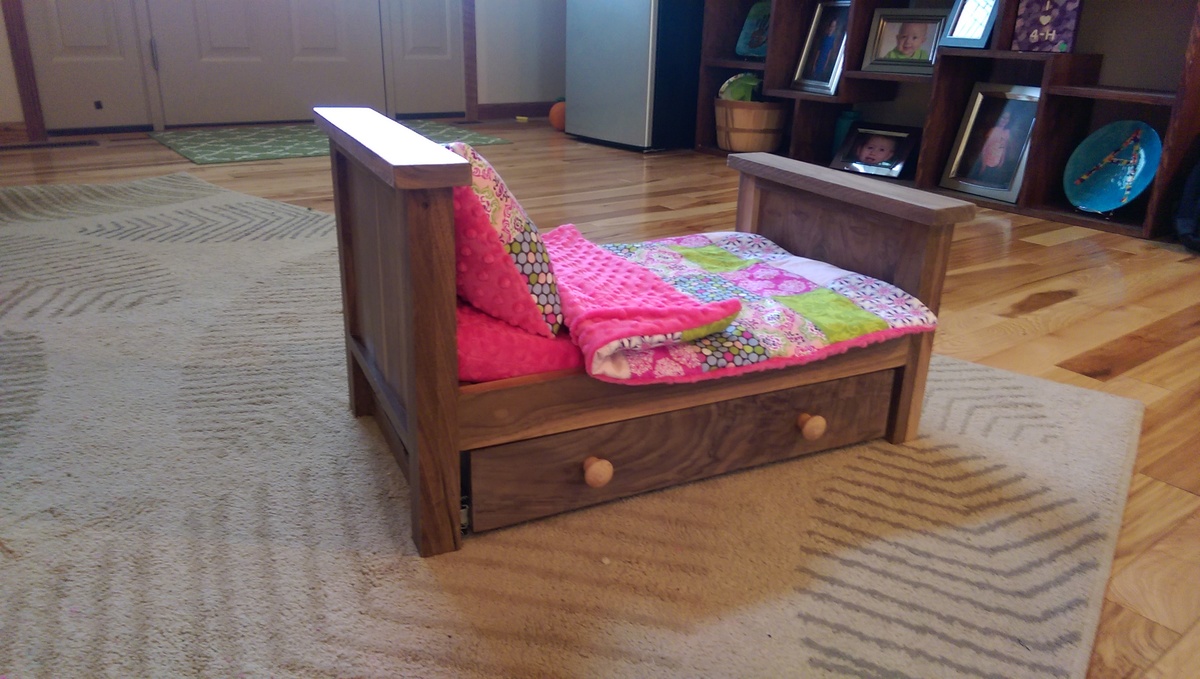
I used the trundle bed as a template to build this one for my niece as a birthday present. I used black walnut that I got as scrap from a hardwood mill and planed it down and cut it into usable material. My wife sewed the matress, quilt, and pillow for me. Im not very handy with a sewing machine!

Built from Plan(s)
Finish Used
Carver Tripp Poly
Recommended Skill Level
Intermediate

Hutch

Submitted by beebo2323 on Wed, 09/26/2018 - 13:55

Love , love, love building this hutch. Started off with plans from the Shanty Hutch and out my own twist on it. Finished with valspar chalk paint and aging wax. Total build took around 2 weeks (part time). 

Built from Plan(s)
Estimated Cost
600.00
Estimated Time Investment
Week Long Project (20 Hours or More)
Finish Used
Valspar Chalk Paint
Recommended Skill Level
Intermediate

Comments

Craftsman playhouse - in shades of blue

Submitted by richsea on Sat, 06/11/2022 - 21:58

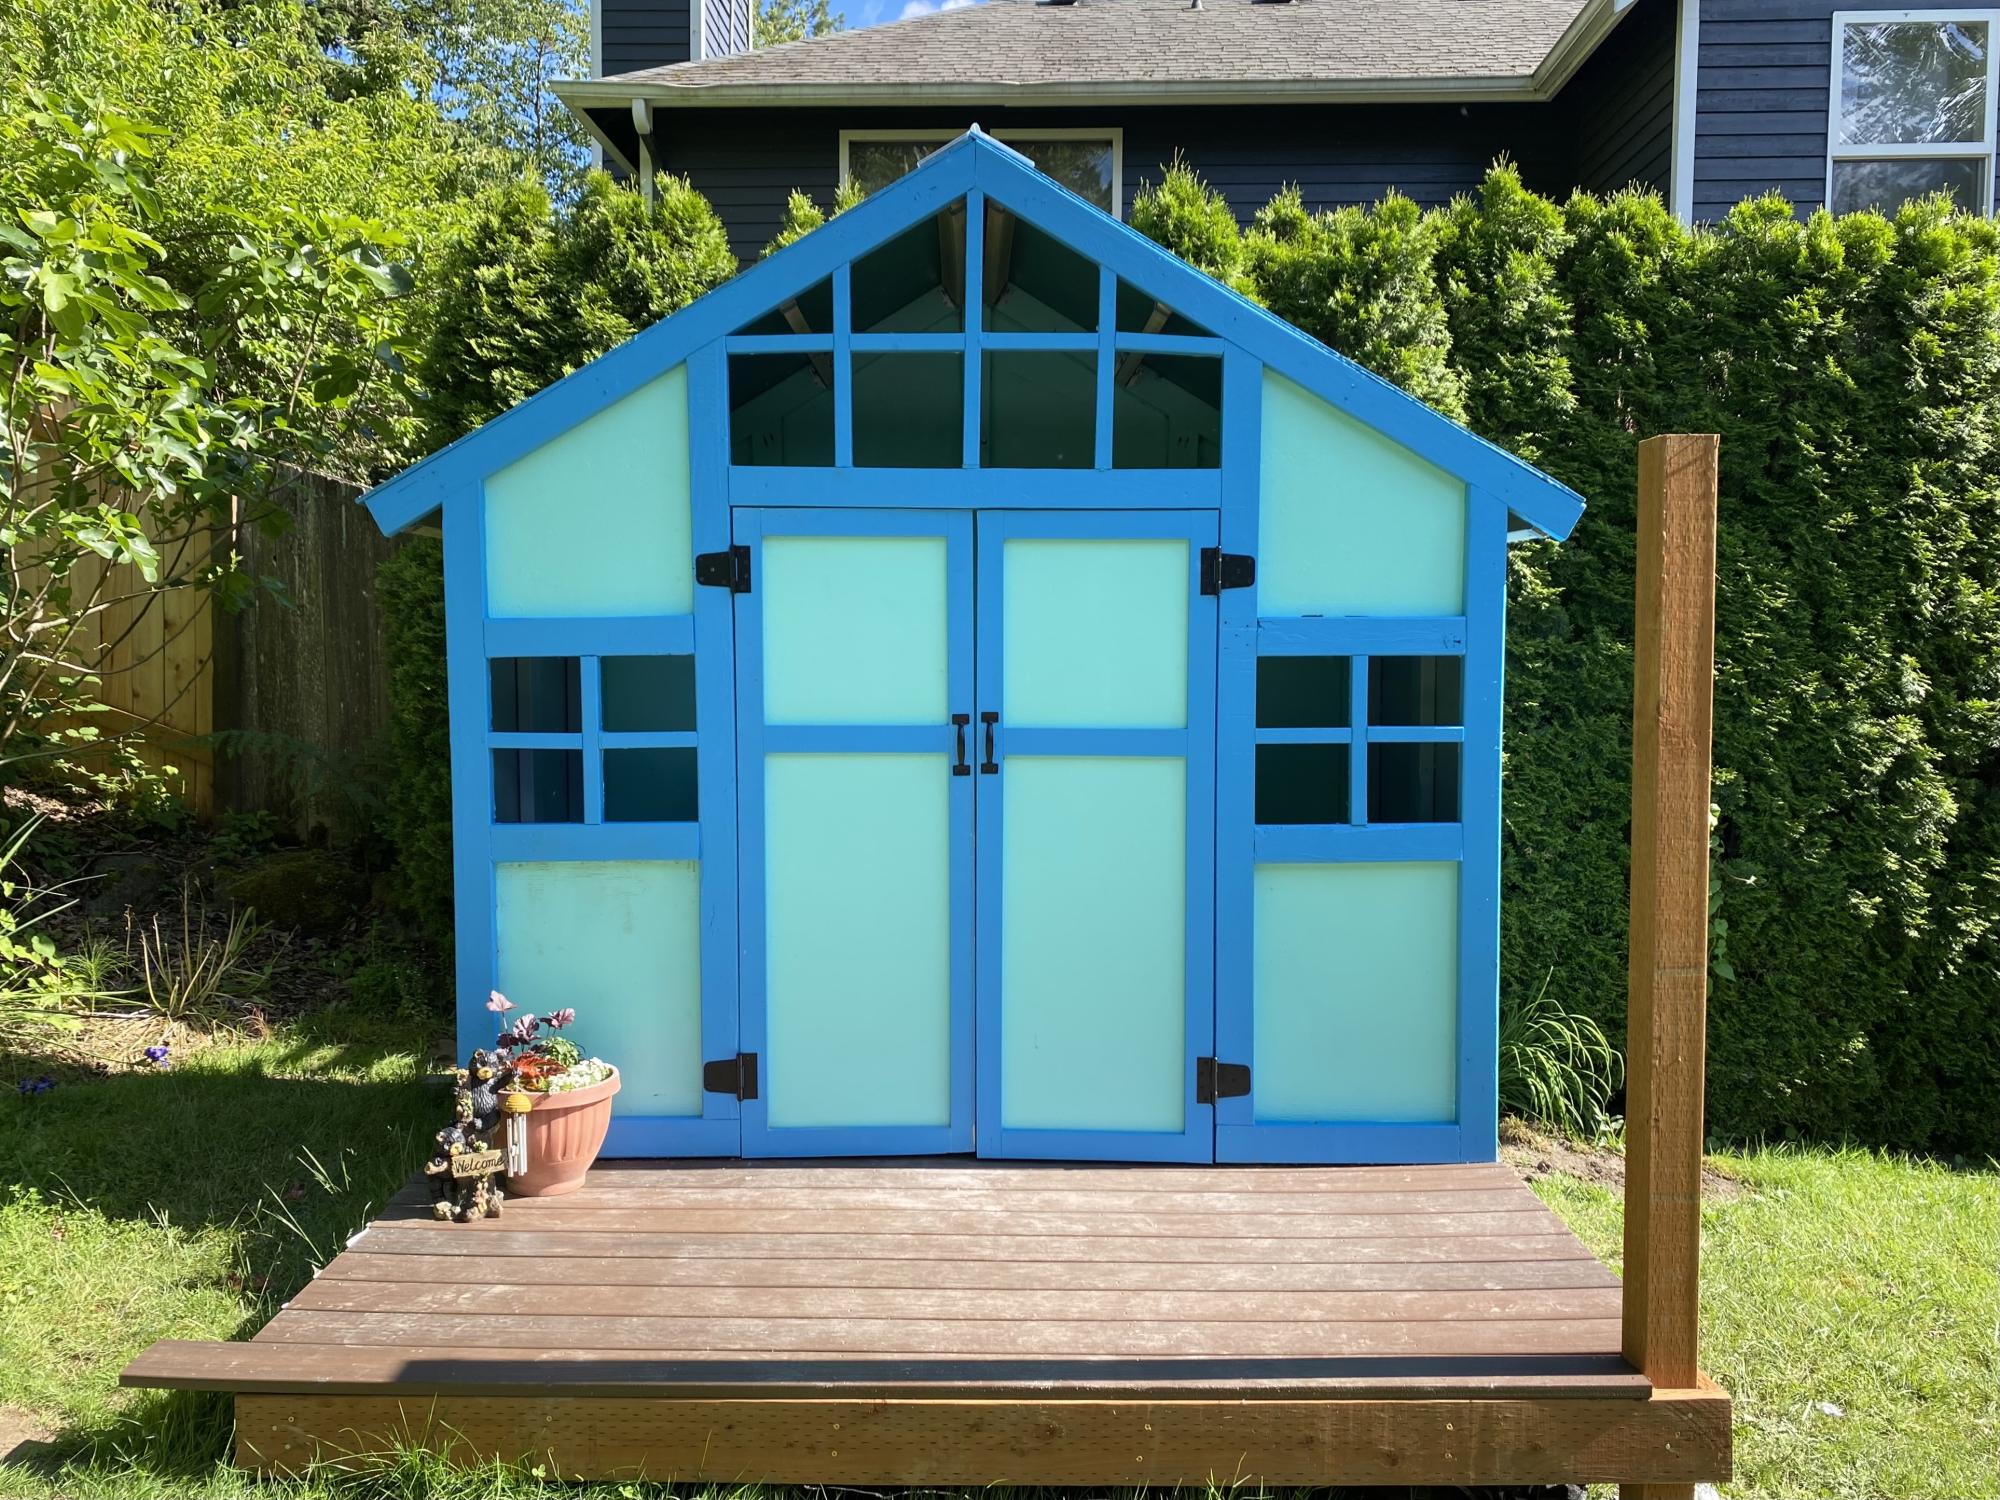
I’ve been working on building up to this playhouse for a while. Just got the doors on and am pretty pleased with what’s my first project of any size. Built on top of a modified version of the playhouse deck with a to be added (hopefully) swing in front. Color selection by the end customer (who’s 8). Modified to add 12 inches for a 5’ doorway. Thankfully I caught that at the last minute for the kiddo. Still a menace if I forget to duck. But super roomy once inside.

Comments

Seasonal And Holiday

Bathroom shelf

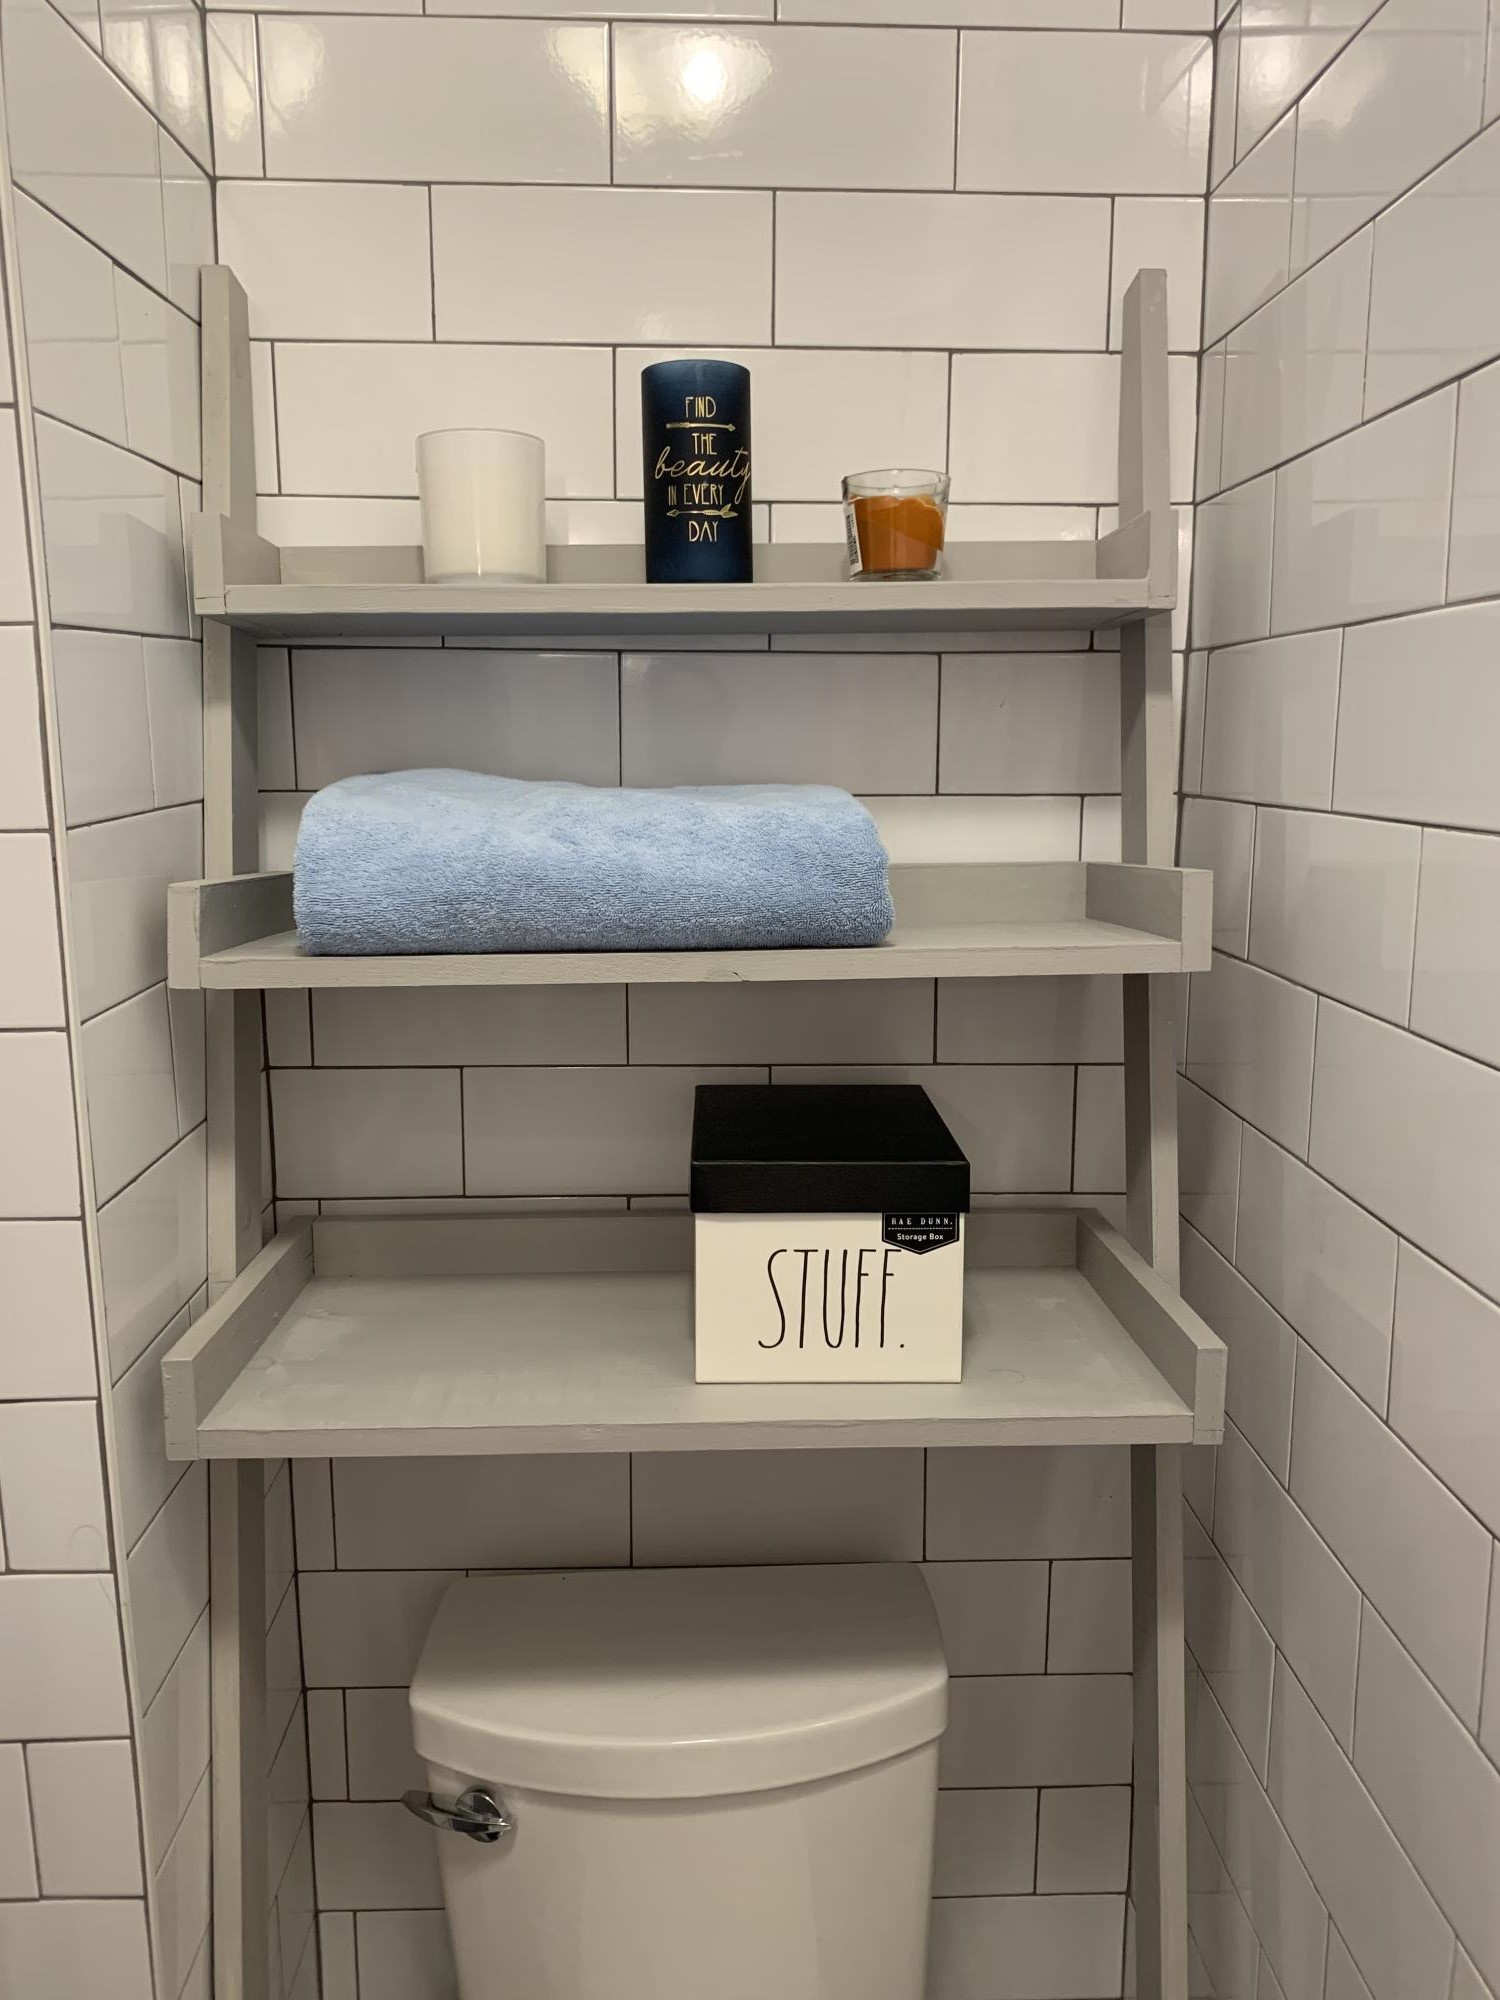
I needed a little shelf on our bathroom wall and I had lots of scraps hanging around. I made this loosely based on one of Ana's plans. I built it around the size of the baskets I purchased at Homegoods and the size of the four towels.
Built from Plan(s)
Estimated Cost
$10
Estimated Time Investment
An Hour or Two (0-2 Hours)
Finish Used
There is some blues in the tile work, so I decided to paint it blue (left over paint). I then distressed the edges with sandpaper and finally used Valspar antiquing glaze over the top. My new favorite top coat is wax, so I finished it off with one rubbing.
Recommended Skill Level
Beginner

Comments

Loft Bed for Renee's Room

This is the 2nd of two loft beds I have built using Ana's plans - they came out great and my girls love them! I did make some modifications to each, as the girls have different needs. It was a great project and I would like to thank Ana for the concise plans, cut lists, ideas, etc. You made it so easy!
If you are interested in seeing more about this project feel free to visit my blog at www.mothersmusings.net. See you there!

Estimated Cost
$150.00
Estimated Time Investment
Week Long Project (20 Hours or More)
Finish Used
I must say, if I had it to do again I might have upgraded on the wood, but I got the cheapest pine I could find. This led to using A LOT of wood filler and sand paper - and probably took me about twice the time it would have taken had I used prime wood. I used an oil based primer to make sure the knots stayed covered, and 2 coats of Behr high gloss white paint for the finish. Extra work...yes - but ultimately I think I cut my cost in half.
Recommended Skill Level
Beginner

Charlie's Big Kid Bed

We needed to transition our son out of his crib-turned-toddler-bed to free up the crib for the next spawn, arriving in November. We wanted something we could sit or lie on with him for the reading of bedtime stories, which ruled out most toddler beds and the inexpensive twin size beds. The choice was clear between spending $1000 on some out-of-the-box bed from a furniture store, using a mattress-and-springs-on-metal-frame from the mattress store (which lacks any sort of organized storage potential) or building our own awesome storage-friendly bed that will hopefully last until the kiddo graduates high school and gets his own place.  I love this plan because of the ample storage it provides between the under-the-bed cubbies, the cubbies on the "walled-in" side of the bed that can be used for off-season clothes and less-frequently-used items, even the space between the cubbies only accessible by sliding the mattress off and popping out the slats.  Also, my child is doomed to need glasses at some point in his life, so the headboard with space to stow the glasses, an alarm clock, a glass of water, a couple books ... this plan was perfect for what we needed and what we wanted. And custom-made by dad? Painted Elmo-red (the current obsession) by 7-months-pregnant mom? What could be better?  We are thrilled by the bed and are already planning the expansion we'll do (create a bunk? Just build a matching bed?) in a few years when the new little brother has outgrown the crib.  

We opted to skip pretty much all the hardware on this bed and, with the help of a few nails inserted via nail gun, put the bed together with copious amounts of wood glue and clamps. This bed is NEVER wiggling apart, no matter how much the kid jumps on it.  The exception is the binding of the headboard and footboard to the base itself -- this is done with cleverly placed screws so that the bed can be disassembled if it ever needs to be moved.  The project would've been a weekend project from shopping through painting except that we had to wait hours for glue to dry in between steps. As a result, it monopolized our garage for about a week.  

Estimated Cost
We had to buy quite a few tools, so our Home Depot trip for this project was pretty pricy! I believe we spent about $200 on lumber. We bought two quarts of BIN shellac primer but used brushes/rollers we had on hand and a half gallon of Elmo-red paint left from another project.
Estimated Time Investment
Week Long Project (20 Hours or More)
Finish Used
Shellac primer + satin-finish interior paint
Recommended Skill Level
Beginner

Rustc X Laundry table

Submitted by Anonymous (not verified) on Sun, 10/14/2018 - 13:16

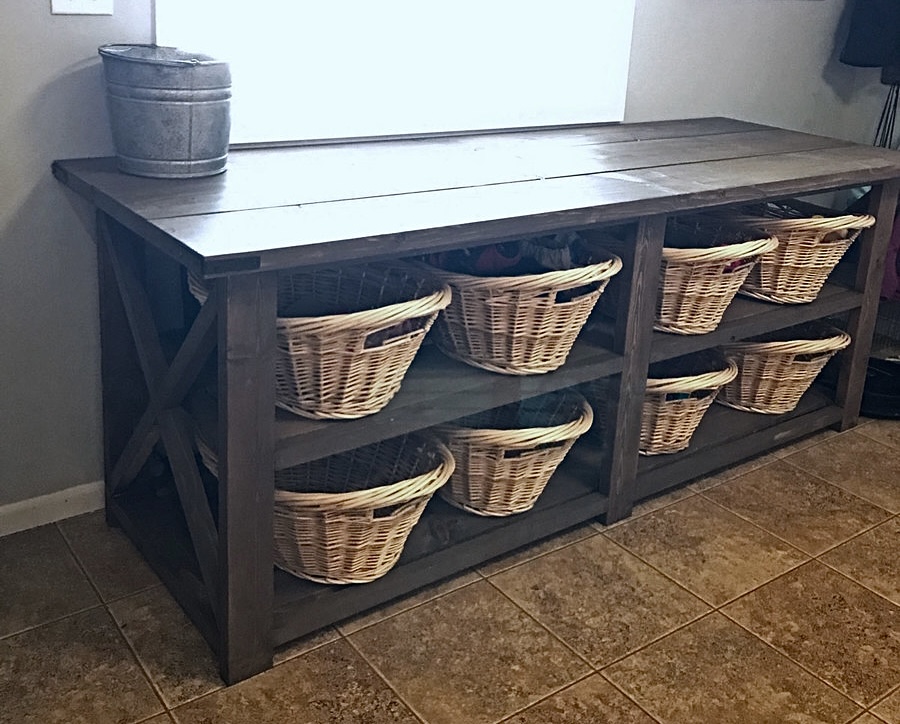
Customized this table to fit perfectly in my laundry room. It turned out exactly how I had hoped!

Built from Plan(s)
Estimated Cost
$150 for lumber and stain, $80 for 8 baskets
Estimated Time Investment
Weekend Project (10-20 Hours)
Finish Used
Stain color Briarwood
Recommended Skill Level
Beginner

Comments

Ana White

Sun, 10/14/2018 - 13:31

Wow, this is absolutely amazing!  What a perfect and lovely spot to fold and sort laundry!  Thank you so much for bragging.  

Bathroom Storage

Submitted by JMG on Fri, 06/24/2022 - 20:52

My daughter has a VERY SMALL bathroom and this was the perfect build to create storage! Thanks, Ana!

Comments

Farmhouse inspired table

Submitted by adidas30 on Mon, 07/25/2011 - 09:12

My first furniture project was Ana's Tryde Coffee Table. All along though, the goal was to learn enough to be able to make a dining room table. I love the coffee table, and I love Ana's Farmhouse table plans, but I was worried about getting food and stuff stuck in between the table top boards.

So I decided to embark on the adventure of learning how to make a solid table top that I could rest on top of Ana's base design. The result is below, and although it took about 6 months of learning, practicing, and prototyping, I am finally done!

Because I made a solid top, I was able to skip the support beams on the base, which hopefully reduced the weight a little bit.

I don't have a blog, but I added some additional comments in my Picasa Album.

Estimated Cost
$600 total -- The 2 inch thick ash was expensive -- and still half the price oak!
Estimated Time Investment
Week Long Project (20 Hours or More)
Finish Used
For the stain, I used General Finishes Medium Brown. It is similar to Minwax Special Walnut, which I used on my pine coffee table, but it looked a lot better than the Minwax on the Ash. For the finish, I used Minwax Polyurathane, thinned 50% with mineral spirits (Paint thinner), and wiped it on with old t-shirts. No brushing required (which means no brush strokes), but as it is thinner you need more coats. I have about 3 coats on the bottom of the table, 4 coats on the legs and base, and about 7 coats on the table top. After much research online, it seems that the general wisdom is that if you want a satin finish, you should use the gloss for all coats except for the last 1 or 2 coats, and that is what I did. 2 satin coats on top, and 1 satin coat on the base. The reason is that the satin has "flatteners" in it, and that if you do all coats with satin, it could get a little cloudy. Hope that quick summary helps.

I bought Minwax paste finishing wax, that I plan to run on the top within the next week. I was told that helps protect the polyurathane, and gives it a nice rubbed look. I tried it on a test piece and although it looks good, I didn't think it made a huge difference in looks.
Recommended Skill Level
Intermediate

Comments

Crystal_thenewgirl (not verified)

Thu, 12/22/2011 - 11:52

You said you prototyped and practiced, but what did you actually do to make it a solid top????

claydowling

Thu, 12/22/2011 - 13:53

He did was is known as a panel glue-up. They aren't terribly difficult once you've done one. The first one is exciting though. My technique is a bit simpler than what he used, but everyone needs to adapt a method suited to their available tools and knowledge.

If you want to try something like this, check local sawmills and timber suppliers first. adidas30, around here (Ann Arbor, MI), I can lay hands on a single slab of oak or walnut big enough for that table for half to a third that price. The bigger challenge is finding a friend with a big enough truck who is also strong enough to help me shift that beast. Still, what you paid is way less than what you'd pay to buy a table like that.

adidas30

Wed, 01/04/2012 - 10:46

Crystal: Take a look at the blog link in my post. It links to a picasa photo album that shows a few of the steps along the way. Clay is exactly right. Now that I have done one, the next will not be so bad. It took a long time to learn how to do it right the first time, but it was really fun and extremely satisfying.

Clay -- I'm jealous. I felt silly spending so much on the Ash, but it was half the price of the oak. I think the ash was around 4 dollars per board foot, and the white oak was 7.80 per board foot. Good lumber yards are hard to find in DC. I had to venture over to MD.

Farmhouse Table

Submitted by DSalvagni on Fri, 08/23/2013 - 09:34

This is my version of the Farmhouse table. I got all my wood at lowes. I notched the legs to recive the stretchers. One thing that I did not take into account is that the posts have rounded edges from the mill so that when I put the stretchers in the legs there were gaps.

Estimated Time Investment
Week Long Project (20 Hours or More)
Finish Used
Sherwin-Willams Antique White
Minwax Early American Stain
Recommended Skill Level
Beginner

Comments

Baby storage dresser

Submitted by amartin024 on Sun, 10/04/2015 - 10:42

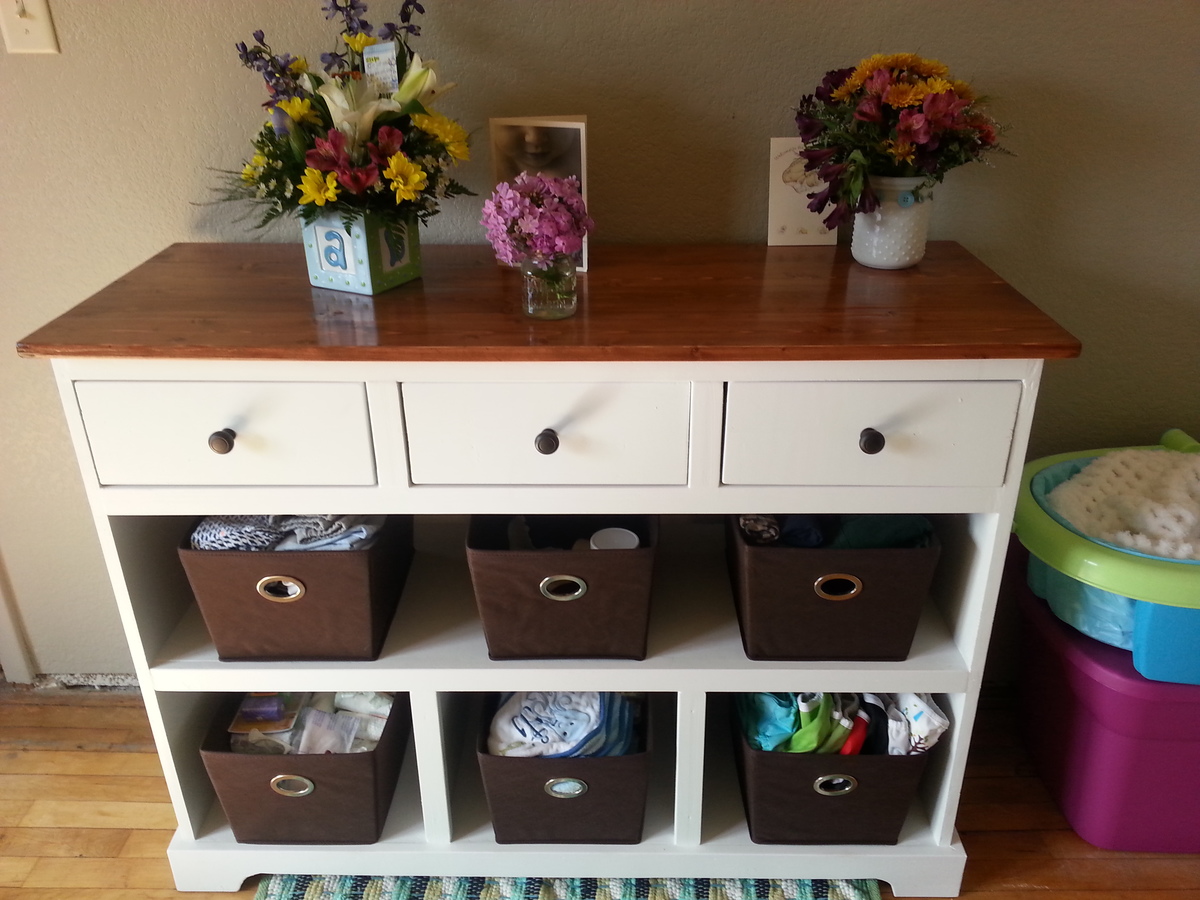
I decided to go with a different top for my project, in order for it to fit our home better. The top is just stock pine 1x4's from the local lumberyard. I ripped the edges off on the table saw for a tighter joint, and used the Kreg Jig and wood glue to join them together.

Finish Used
Cabot Dark Mahogany stain, and Cabot polyurethane.
Recommended Skill Level
Intermediate

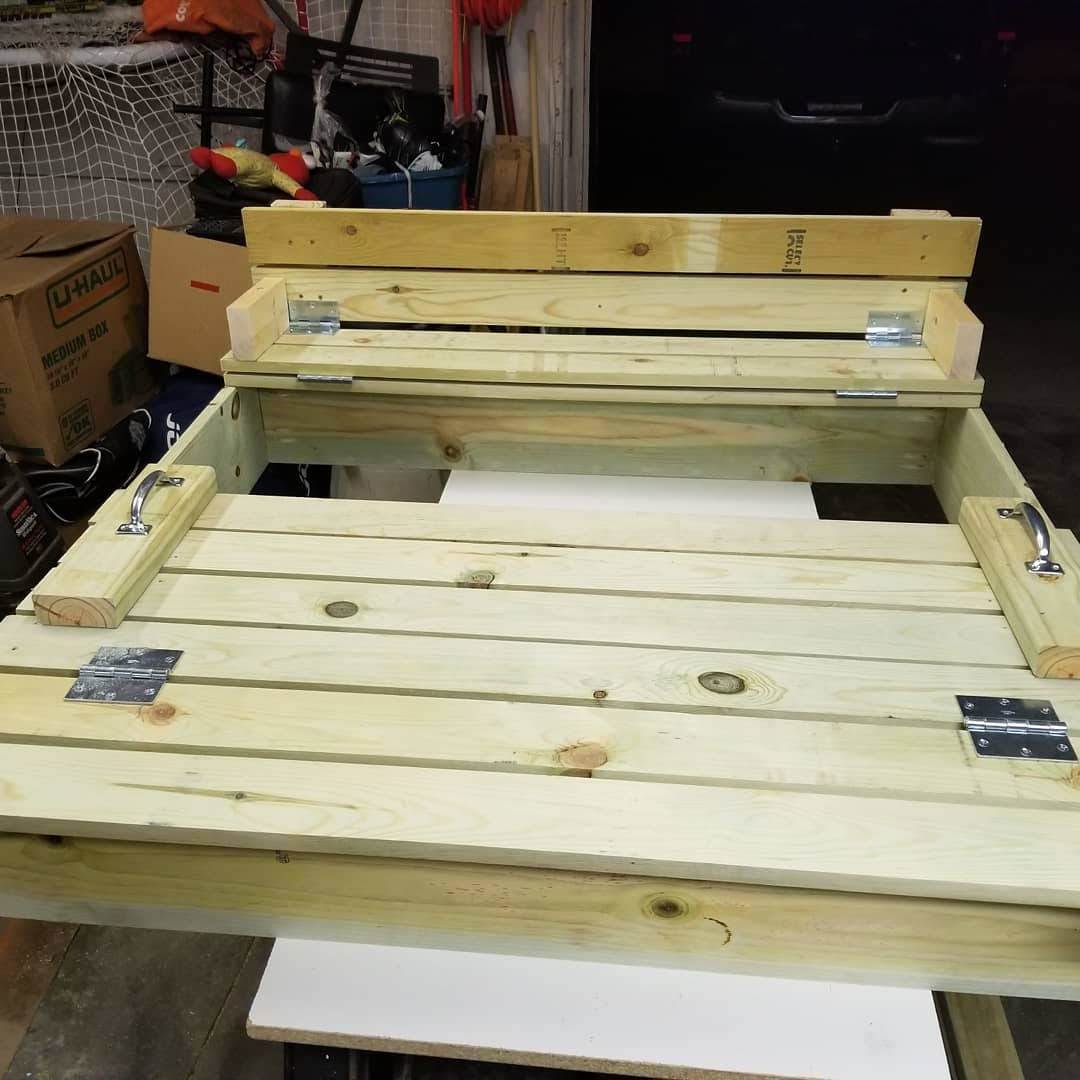
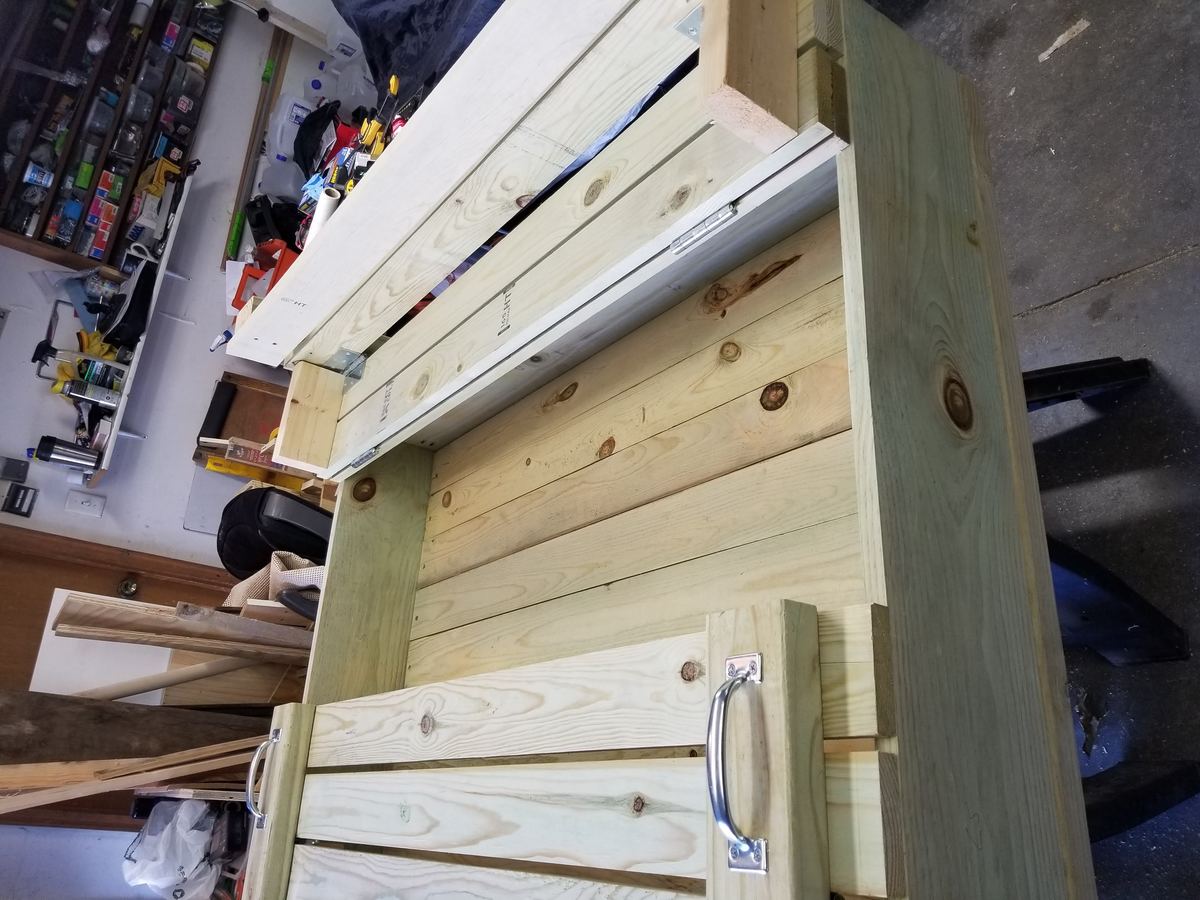
Built for a friend for her grandkids

Submitted by Anonymous (not verified) on Sun, 10/21/2018 - 08:02

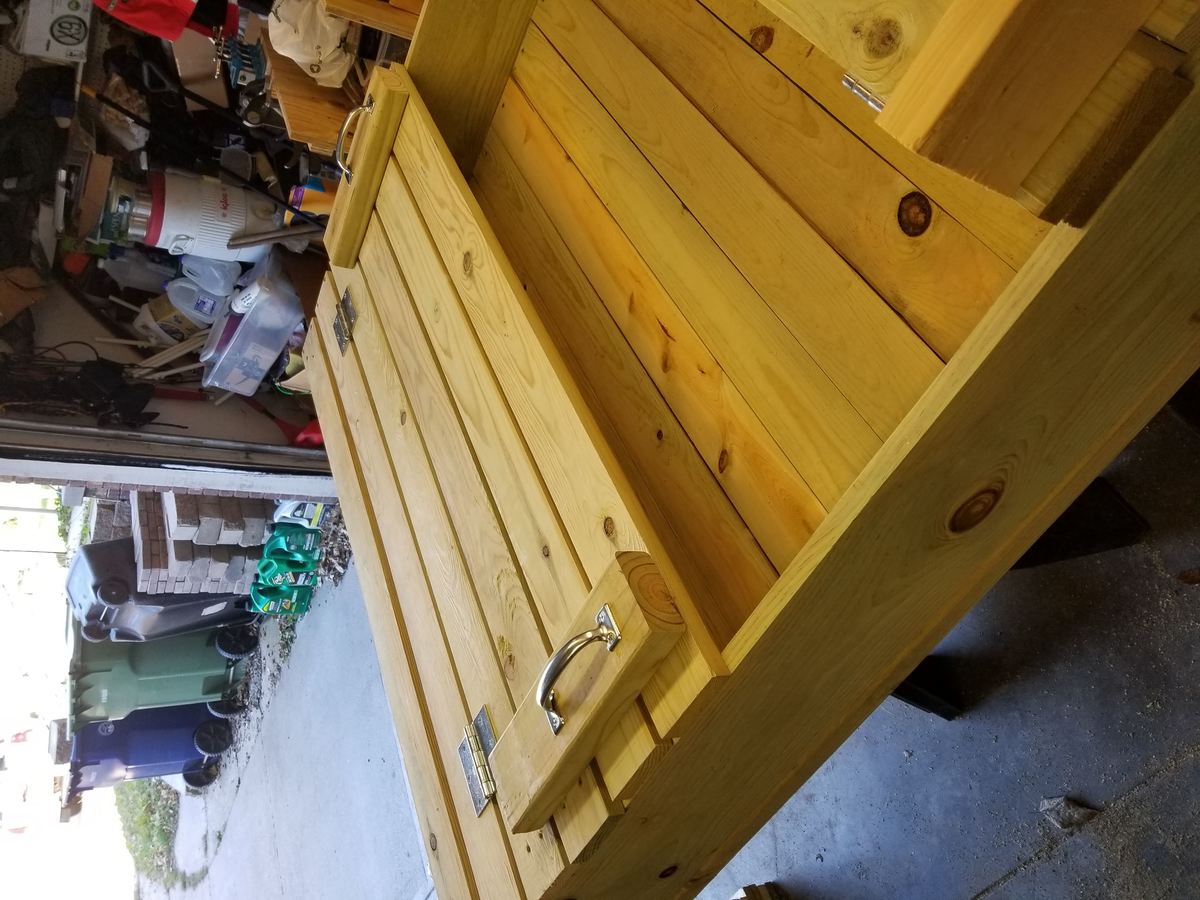
So took the plans and added a 1x4 floor on bottom and 2x4 runners on bottom for support and to keep off ground. The used landscaping fabric to help hold sand in.

Thanks for the plans was quick and simple and had done in about 4 hrs start to finish.


Built from Plan(s)
Estimated Time Investment
Afternoon Project (3-6 Hours)
Finish Used
not finished yet but will have outdoor stain applied in summer.
Recommended Skill Level
Beginner