Grandkids built Cedar Planter
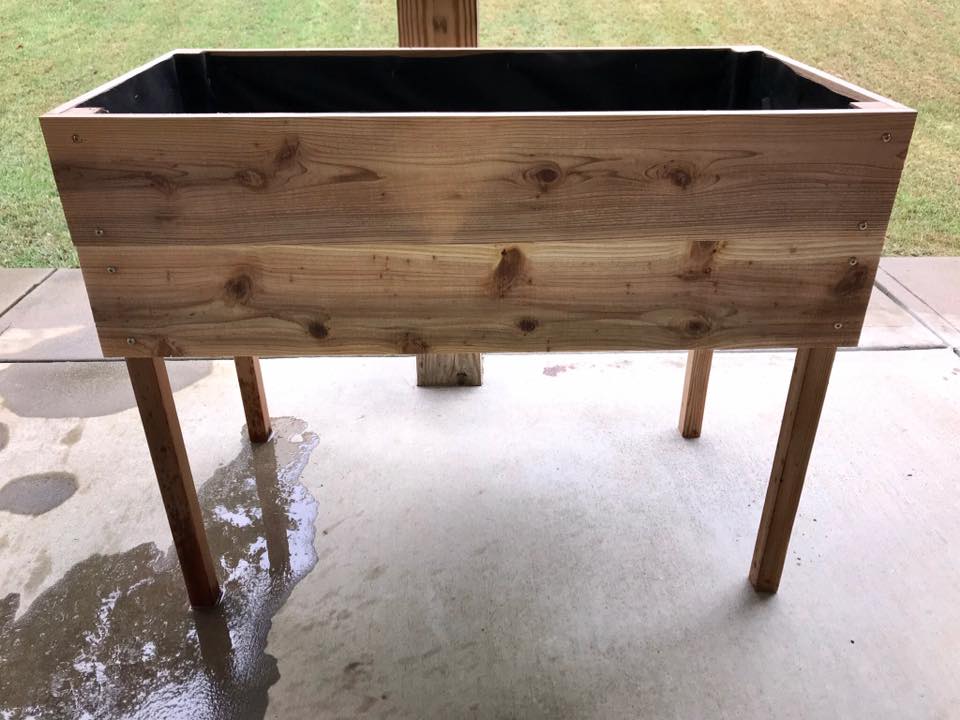
Two of my grandsons built this cedar planter after I did the cutting of the wood. They did all the measuring and put it together very nicely!
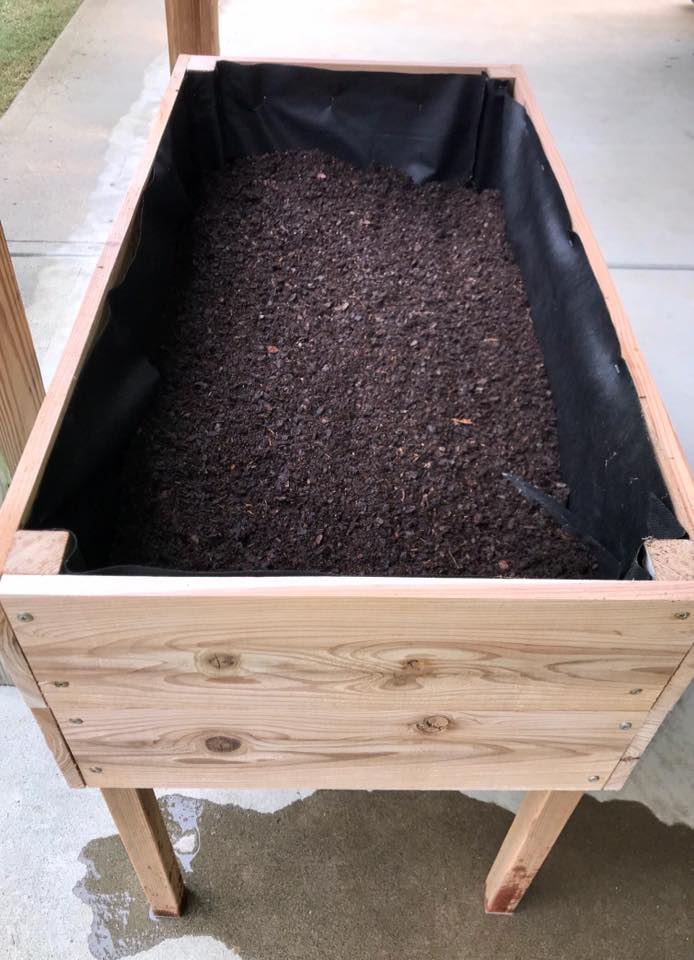

Two of my grandsons built this cedar planter after I did the cutting of the wood. They did all the measuring and put it together very nicely!

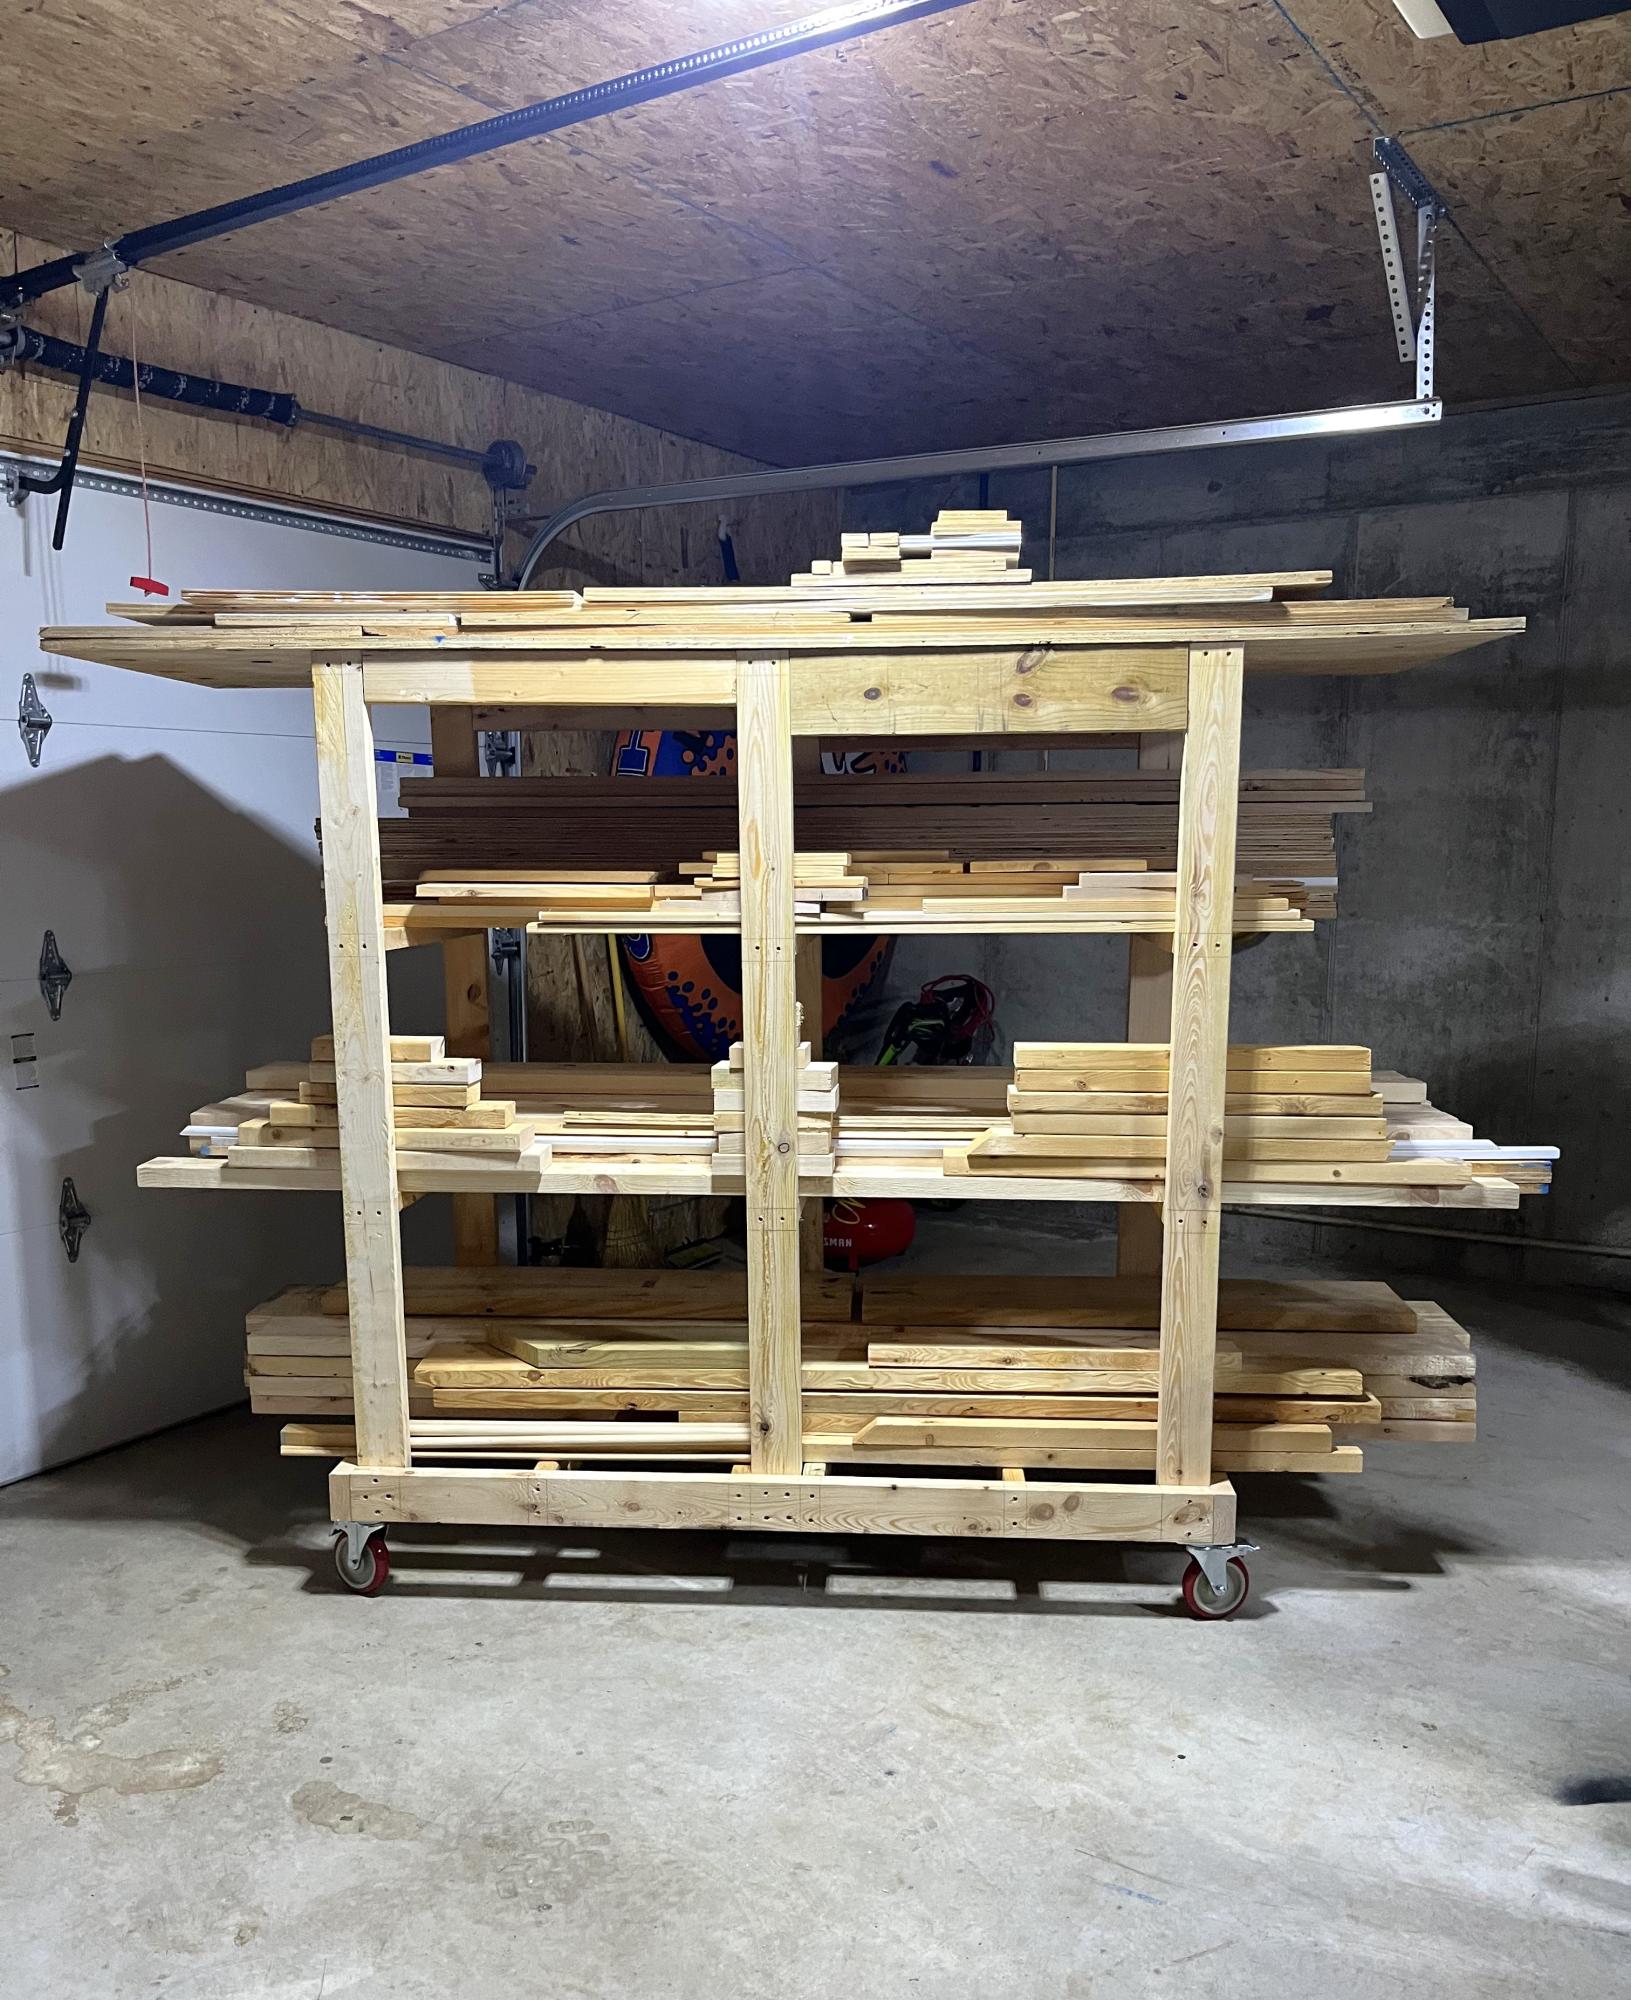
Built this wood storage for my garage! So much nicer than getting wood off the floor! Finished it in one day!
My only suggestion is don’t cut the four tie in pieces until you have the rest finished! Two of mine were too short. Thanks Ana, you have given this retired teacher a new purpose!
I wanted to make a table for our daughters birthday to put a spread of food on.
I went out in search for pallets and threw a quick sketch together and brought it to life.
Currently it is my computer table, but only for the next week then on to it's purpose.
Start to finish took 3 days
Fri, 10/05/2012 - 10:17
How many coats of the Polyurethane did you use? I just finished with my first build. I have painted, stained, and put 2 coats of the Polyurethane on it. The table is still very ruff and it just overall doesnt feel finished. Im not sure what I should do...
In reply to Finish? by jamielynntaylor06
Wed, 06/05/2013 - 18:35
So I forgot I had my account. My advice might be a little late but we used 3 coats on that table. We normally go through the grits prior to starting the staining process. 150...220...300 after every coat do a very light hand sanding till it is smooth but try and avoid putting too much pressure. Then give it a wipe down with a damp cloth and let dry before applying next coat. 3 is a good amount of coats for something indoors like this one. Again so sorry I did not get back sooner. I use pinterest more for putting up my project images.
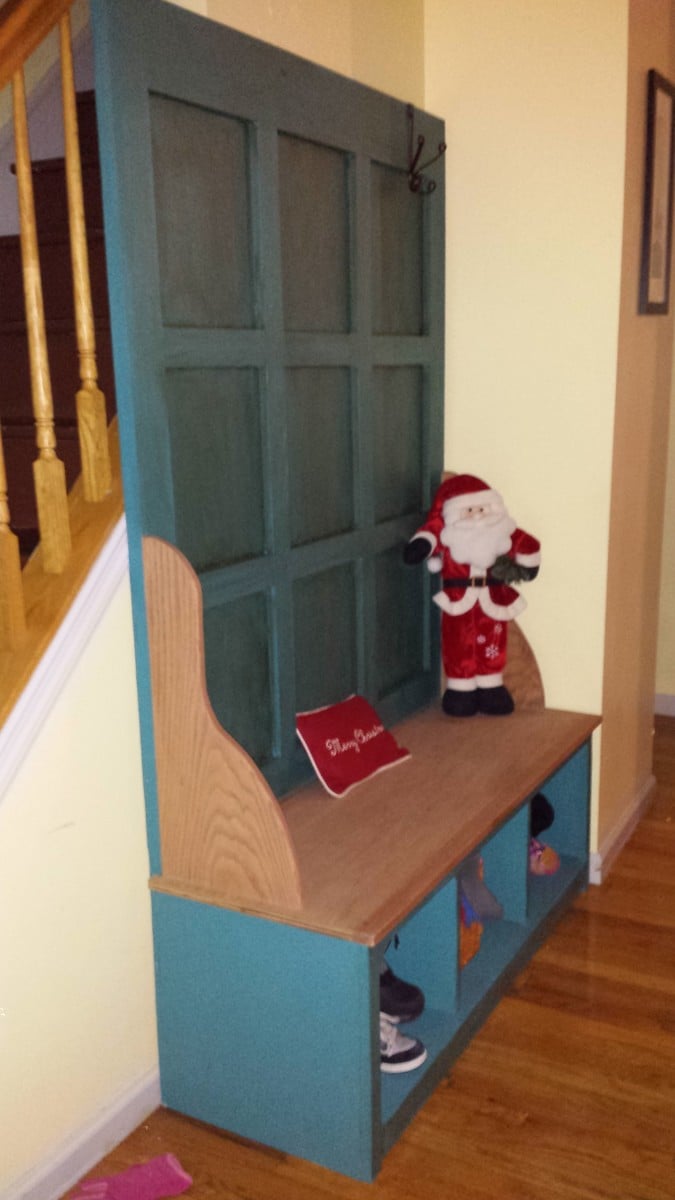
This was the first furniture project I have ever done. My wife seen this at Pier 1, of course it was all particle board and pine and "cheap feeling" but not cheap in price. She showed me the one on here and of course I was up for it. The deal was, I make it she paints it and of course I need a miter saw. Probably would not make this my first project because it was a bit challenging. Getting the long cuts square with a circular saw proved challenging and getting the squares on the back square was tough. With it being oak I learned that oak is not forgiving, especially without a nail gun. The pocket hole jig and their application are great and easy though. It did take me a while due to time constraints and the price to build may be off because I really didn't count as I bought things. All in all, I use this piece of furniture everyday. It is the first thing you see when you walk in the house and I am very proud of it, as is my wife. She did a great job with the finish and the glaze really gives it a nice look. The hooks are cast iron that we got at an antique store. This is the only picture I took, no in-process pics.
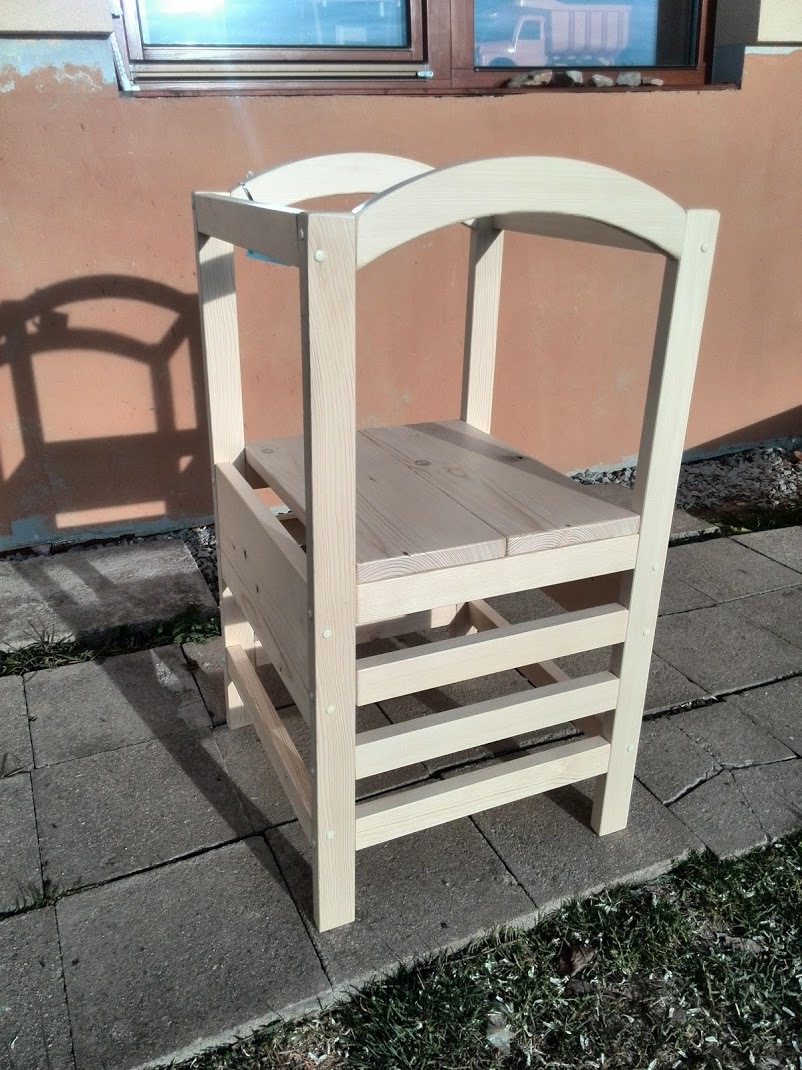
I built it twice for my son and nephew, both love it and use it every day.
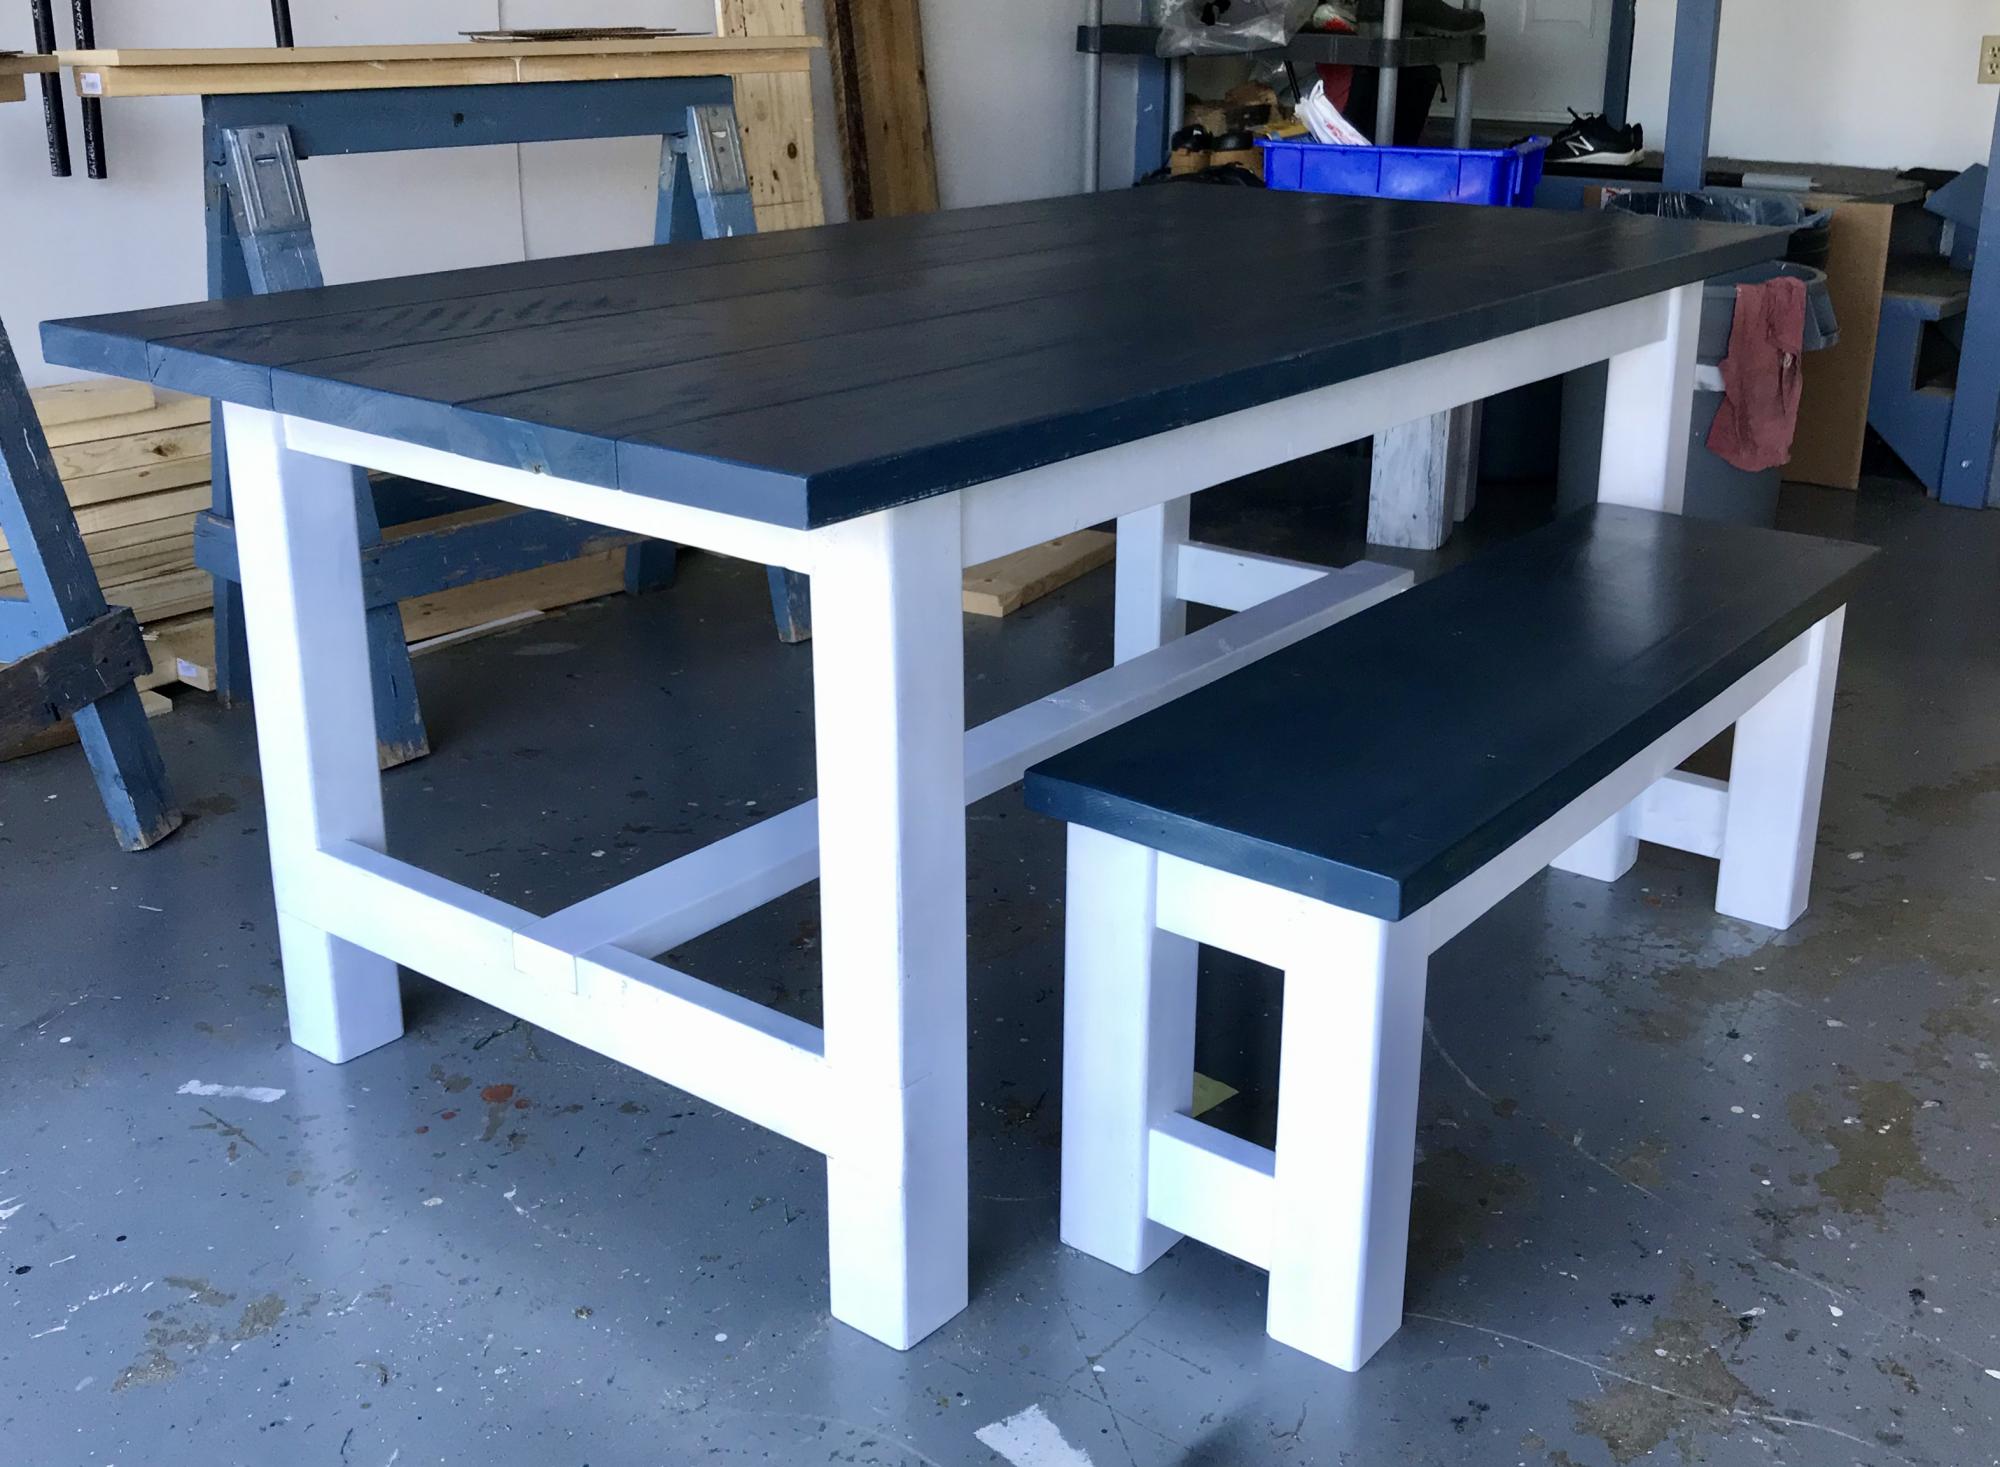
I've built tables from this plan several times. This one was a little different in terms of the colour wanted. I also beefed up the support in the table frame itself.

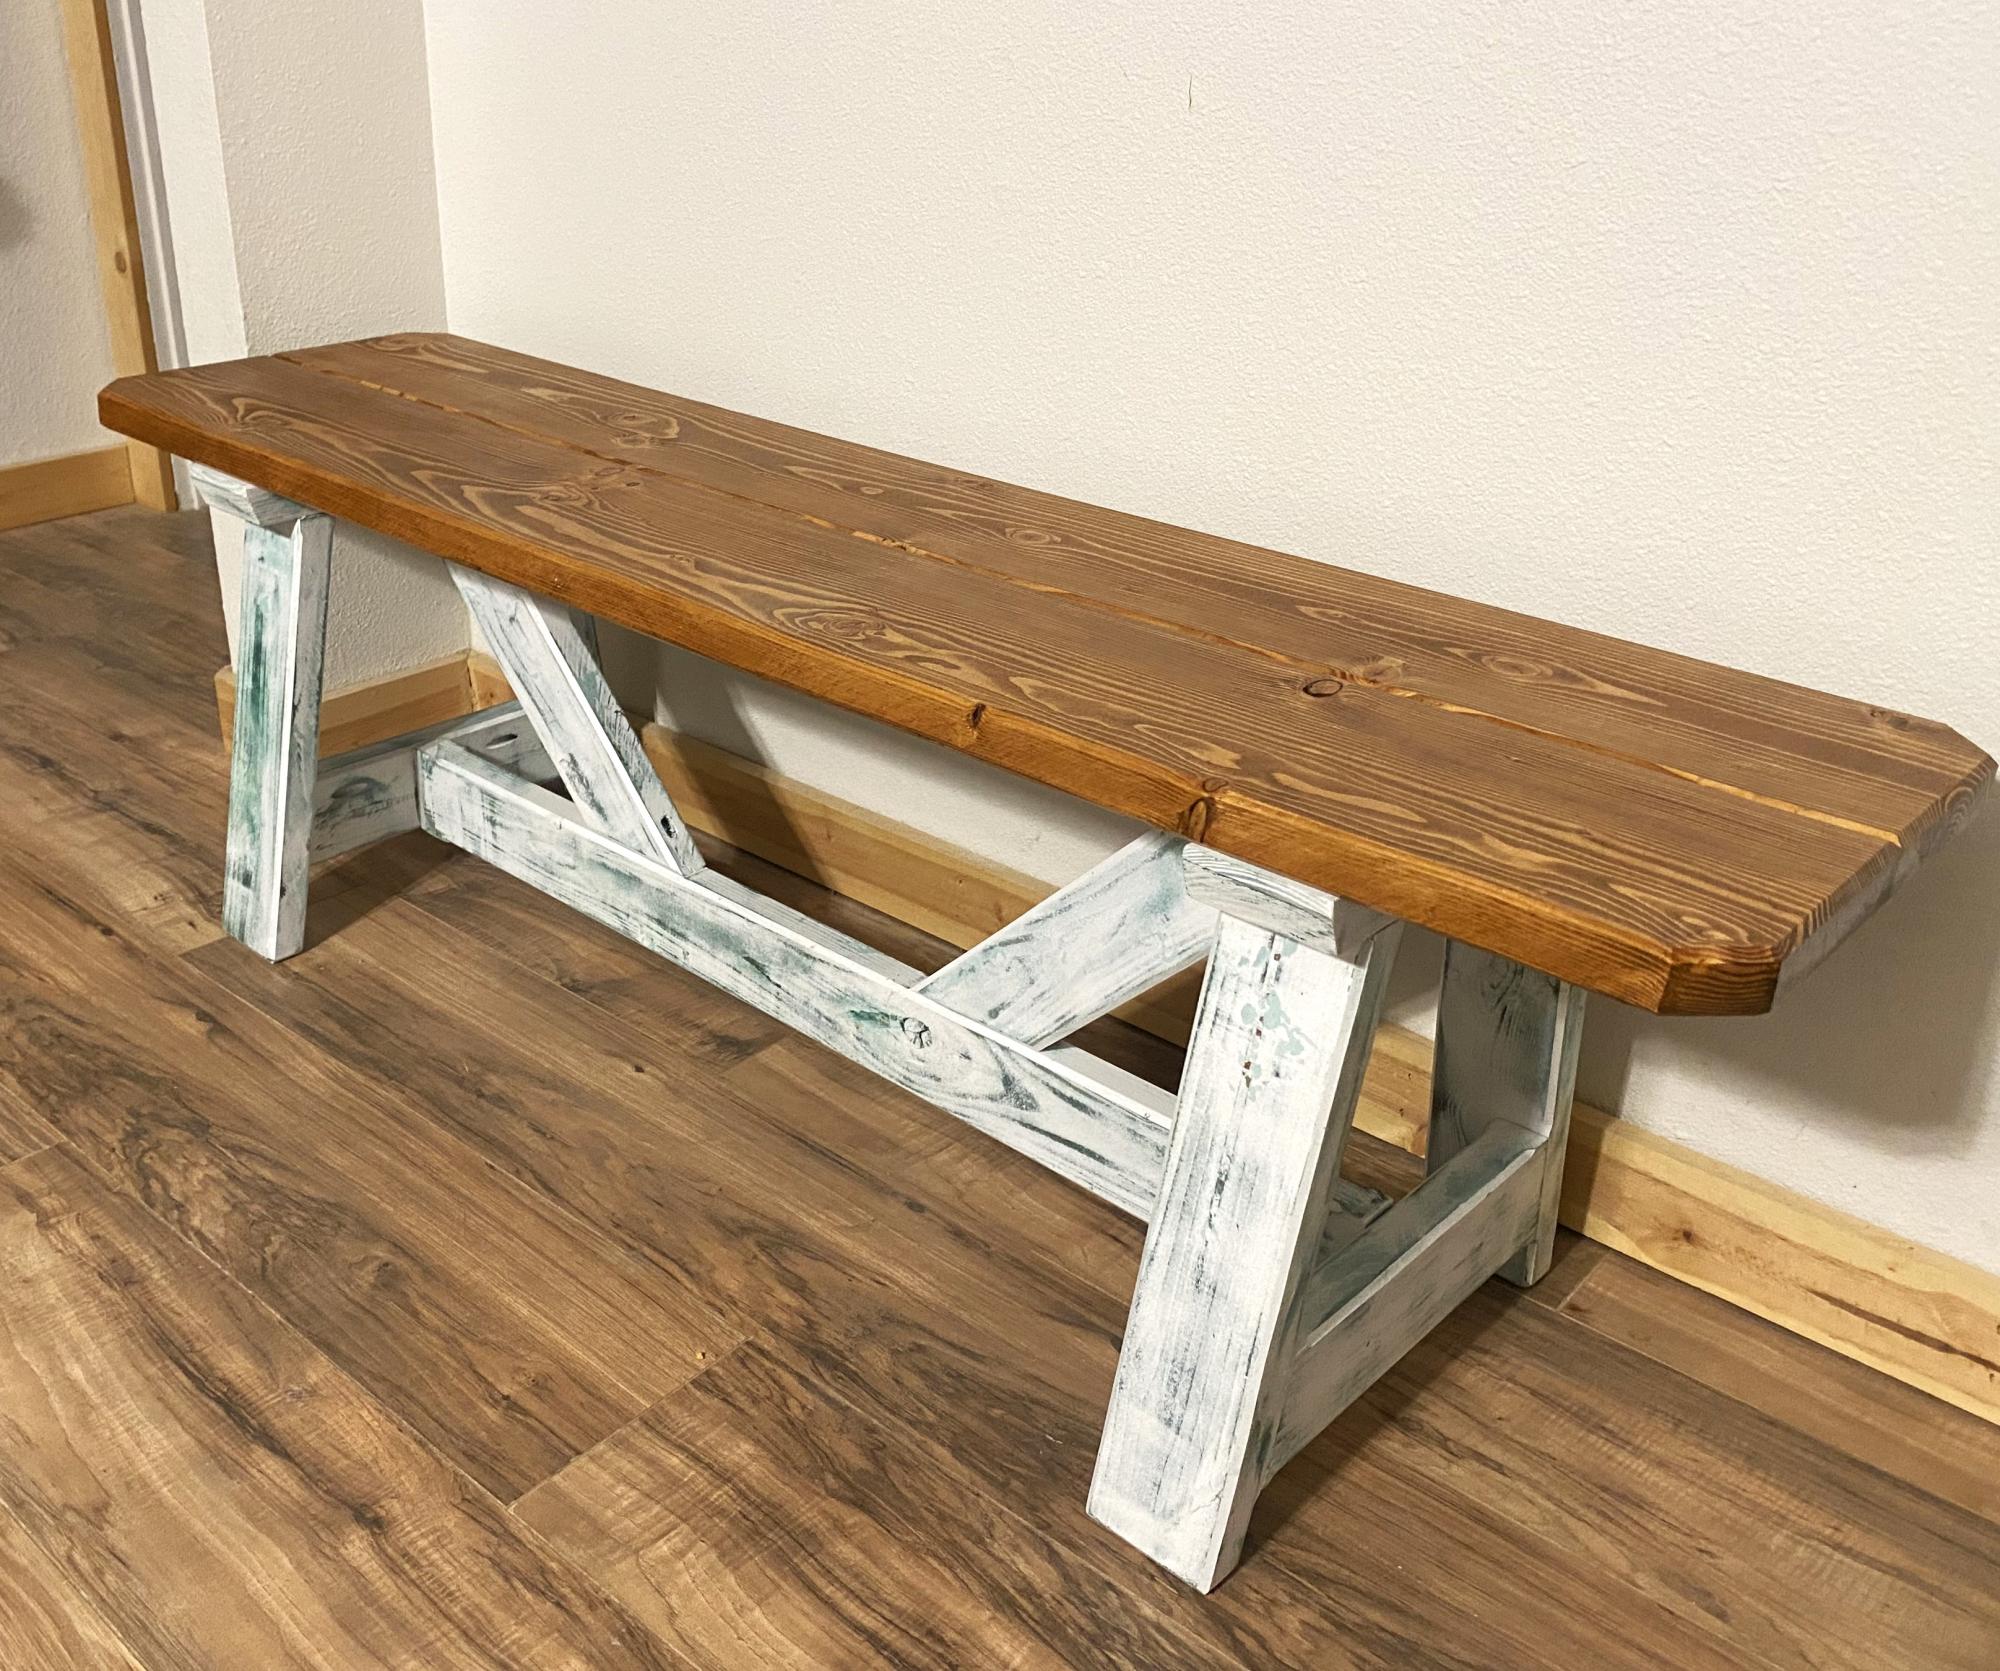
Fun build. Every pic looks like an optical illusion though 😂
Rockowoodworks
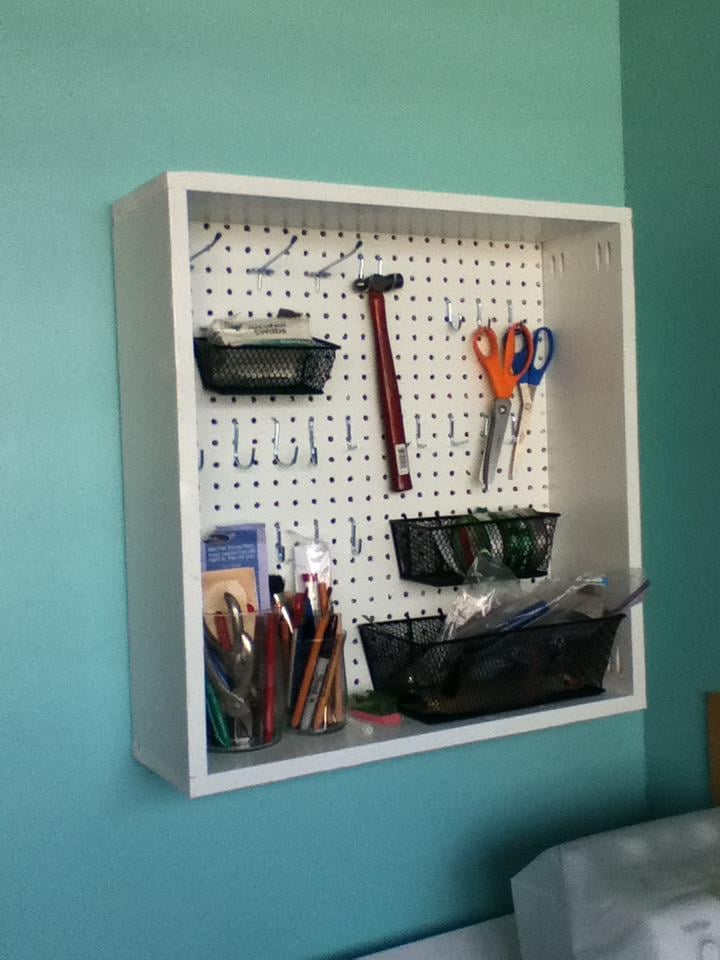
I have been needing to create more storage, while organizing my craft/spare bedroom. I had a piece of pegboard, and got some inspiration while pouring over Pinterest.
I decided to venture out and try something really new to me - routing. Bear in mind I only have a Dremel with the cheap router attachment - not the routing table thing. I'm happy to say it came out great! I have more pictures i'll upload soon of the actual routing. I did craft up a jig of sorts to keep my routing line (or whatever its called) straight. I did run into some math errors, which resulting in me having to cut things down a couple times. But now I know how things work when piecing together routed frames.
I had 2 pieces of 1x12x36. To keep the routing lines as even as possible, I did the the routing before I cut the pieces.
I used my Kreg Jig to join the sides. I assembled by attaching the 2 sides and the bottom. Then slide the pegboard in, and attached the top piece. Then since my routing line was a bit wider that the pegboard, I used caulk in the back to fill it in, keeping the pegboard nice and tight.
I plan to add doors to the cabinet at a later date. Right now it definitely fills my needs!
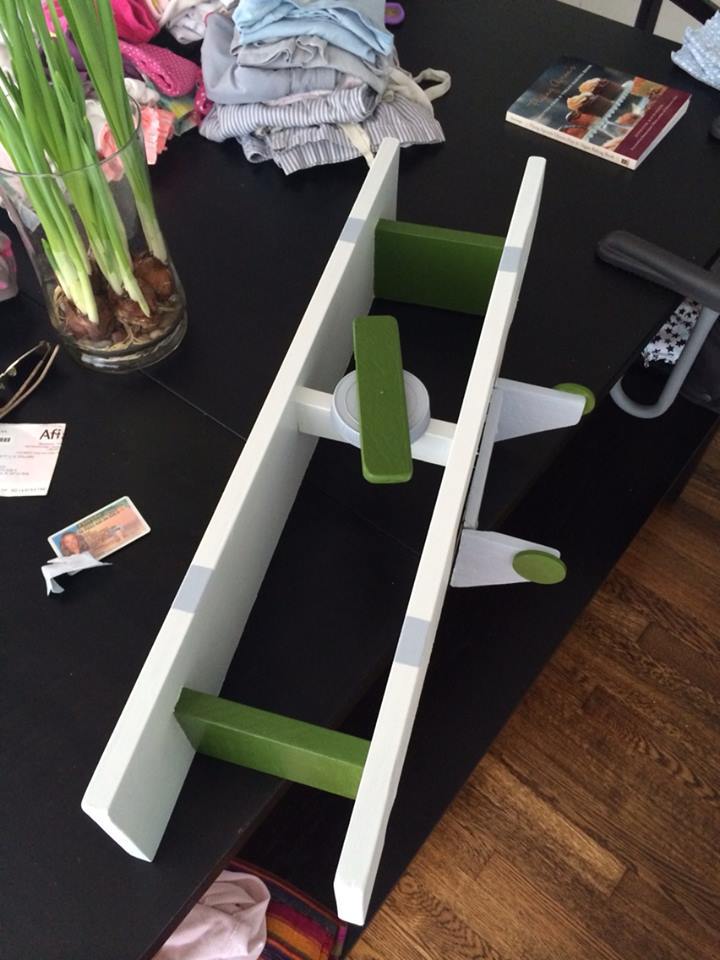
It was friends son's first birthday and had no idea what a could get a couple that didn't like gifts, or many toys for that matter. I search the site and stumbled upon this great addition to any little boys room, an airplane shelf! So it took me about 2 hours to make it with taking break for things to dry, and I didn't follow the exact directions just because I didn't have all of the items, in fact it was all from scraps I had around the house and the front round piece was actually the top of a peanut butter jar painted.
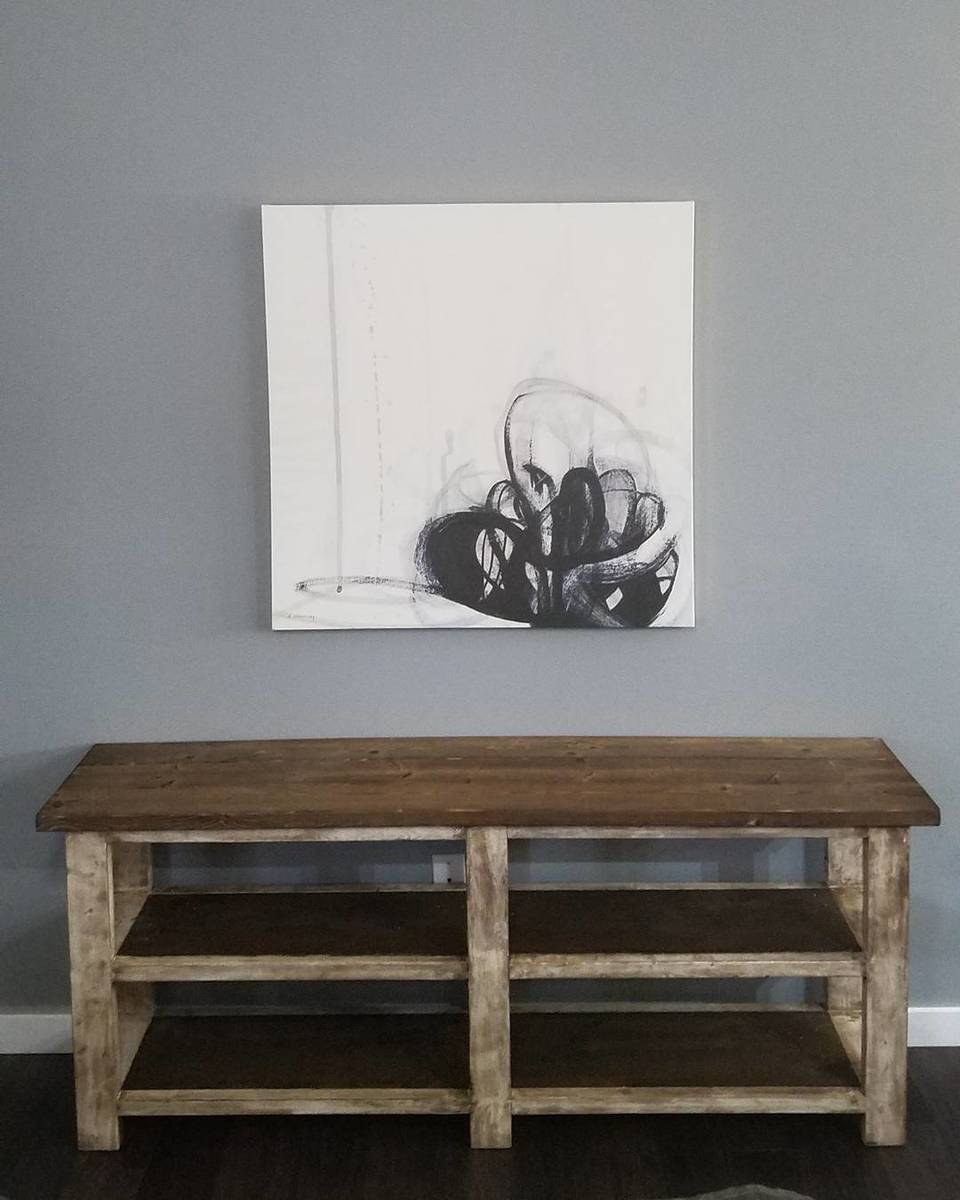
Used the plans for teh x-table, but left out the Xes and opted for 2x4 pieces on each side to fill the gap. Went "fancy" and made it two tone for added interest. Have developed my "signature look" of staining over paint for the base.
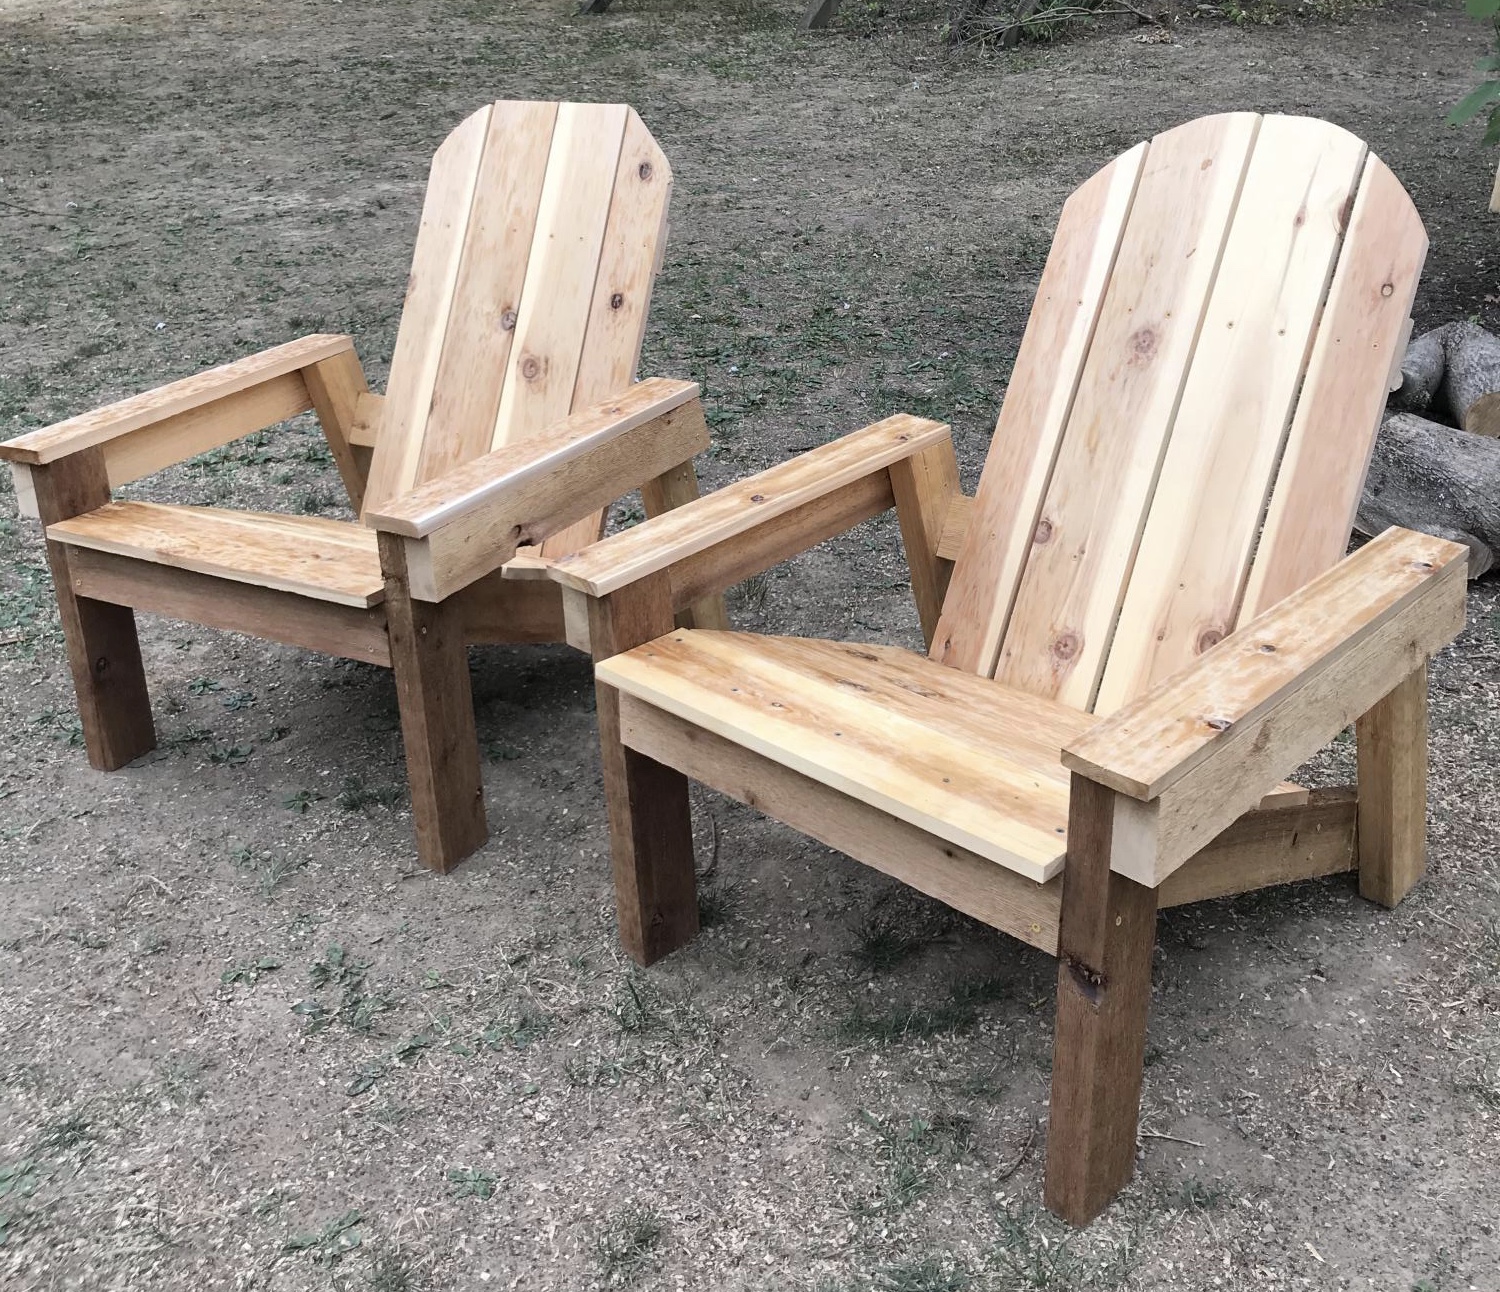
Hi from Pittsburgh! I’ve always wanted to make stuff from your site, and I finally did it — I made Ana’s favorite Adirondack chairs and man, are they comfortable! I made them out of cedar 2x4s and cedar shelving pieces for the slats. Very comfy and I hope they last a long time. Awesome instructions, Ana— I’ve directed my neighbor to your site bc he wanted to make some, too!
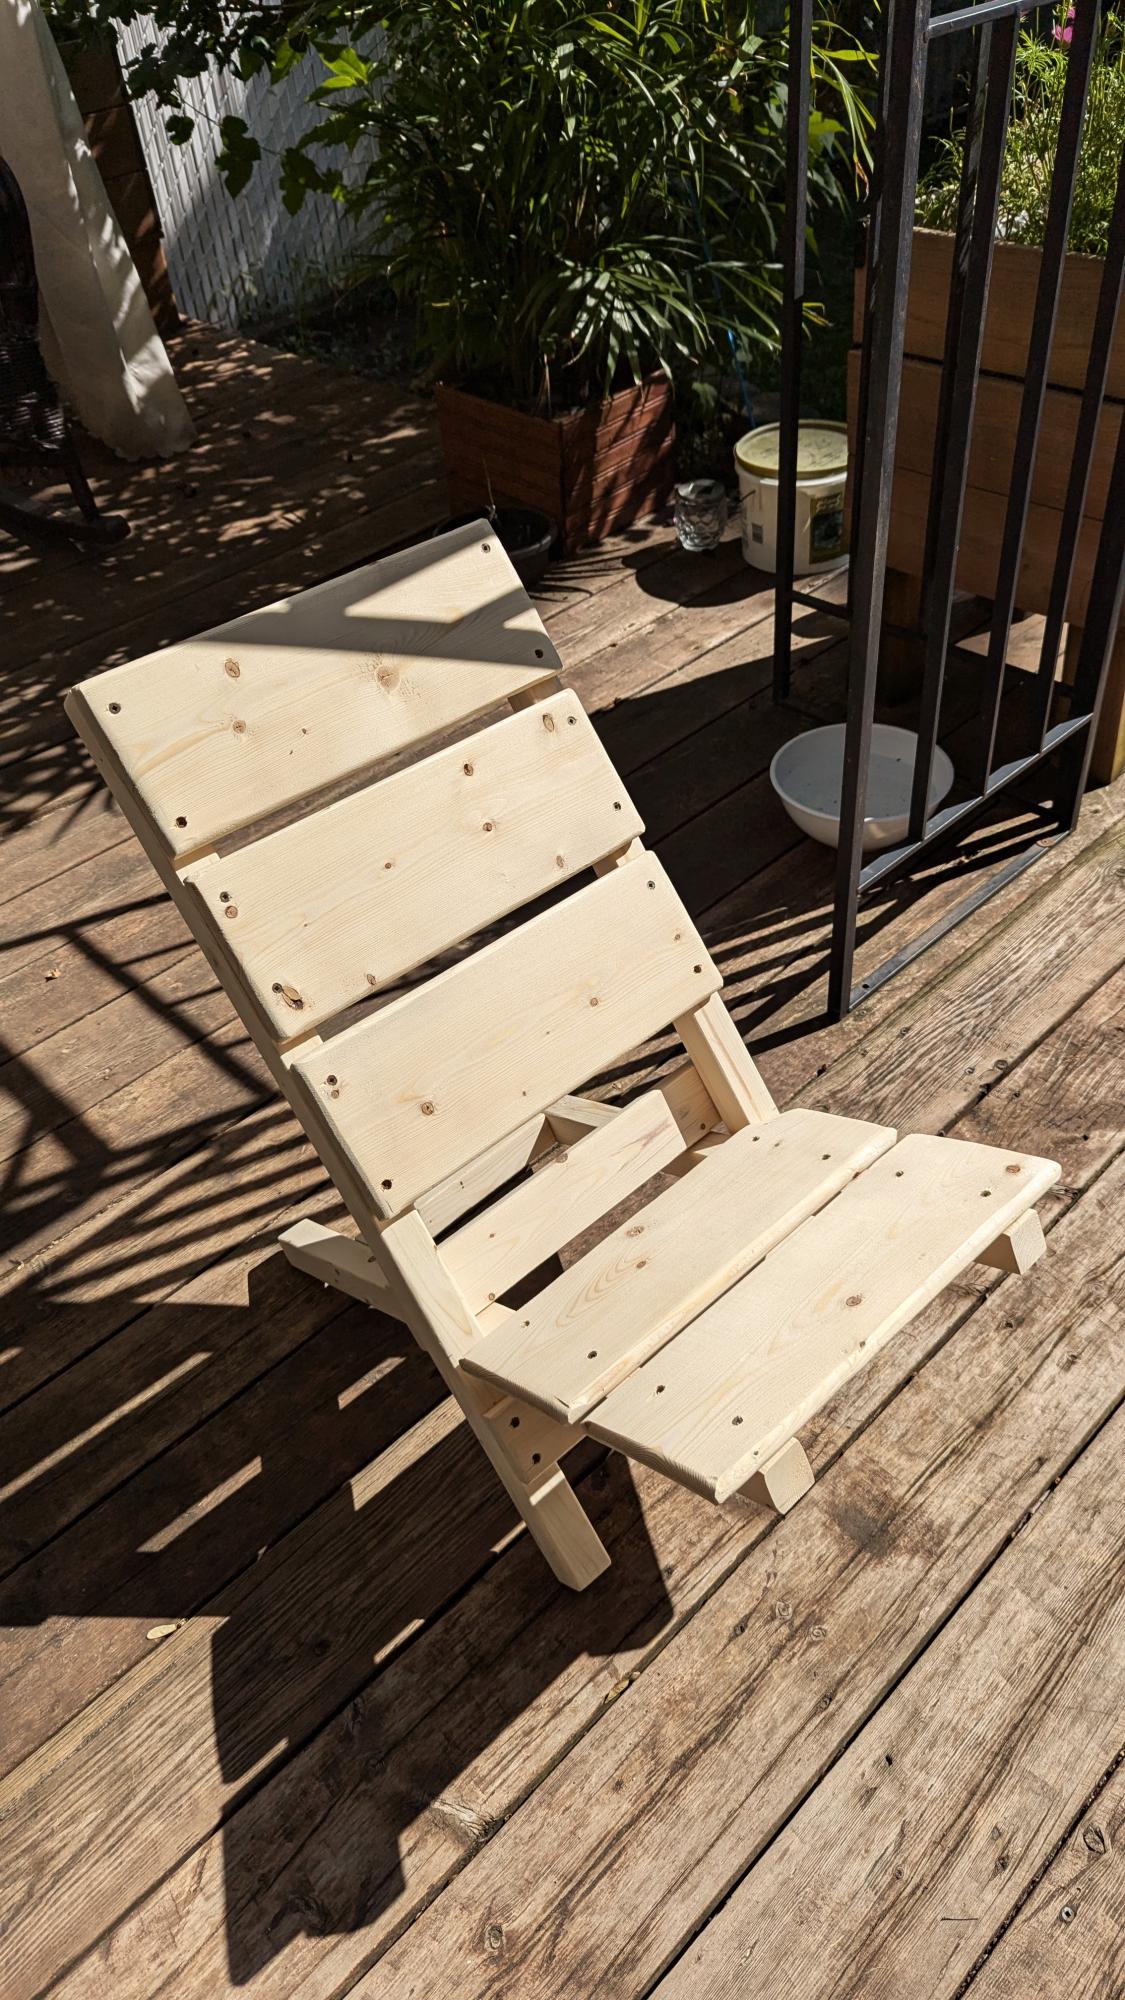
I did this project as directed, but rounded the edges of the boards with a palm router for a little extra finish. I love the result! I'm going to make another one with the backrest a little higher so I can rest my head on it.
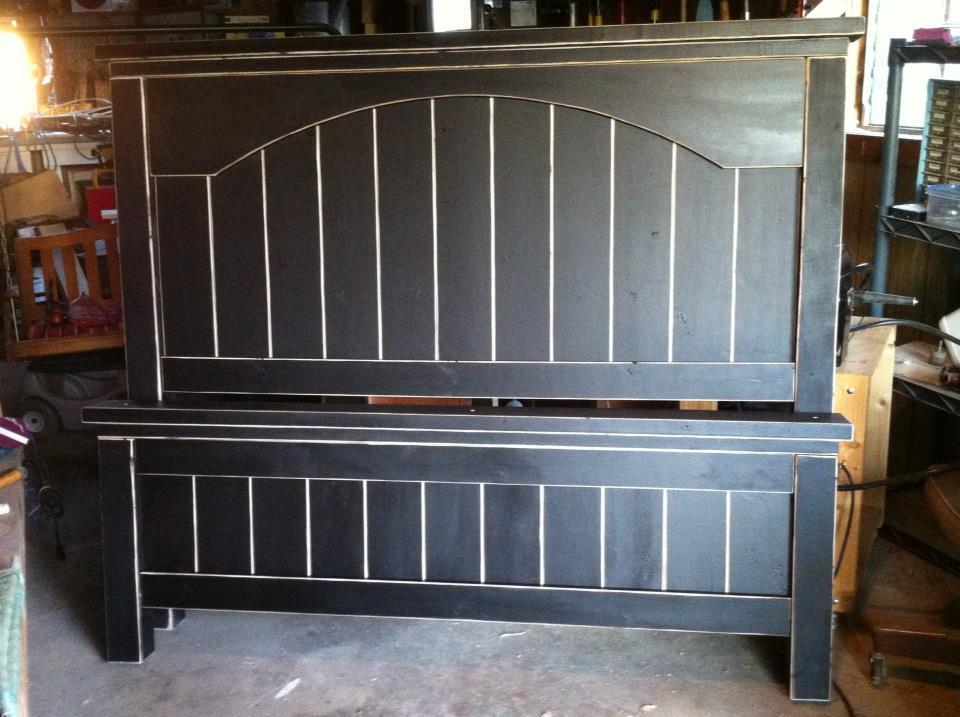
I made the farmhouse bed and I love how it turned out.
Sun, 10/14/2012 - 19:20
Thank you. I used Rust-Oleum flat black oil enamel. I have not actually attached it to the bed frame yet. When I do, I will add some more photos.
Toy box for our kids that someday will become a blanket box or something else around the house. Customized with the S for our last name. Use a piano hinge and folding lid support on one side. Made another for our friends with the West Virginia logo.
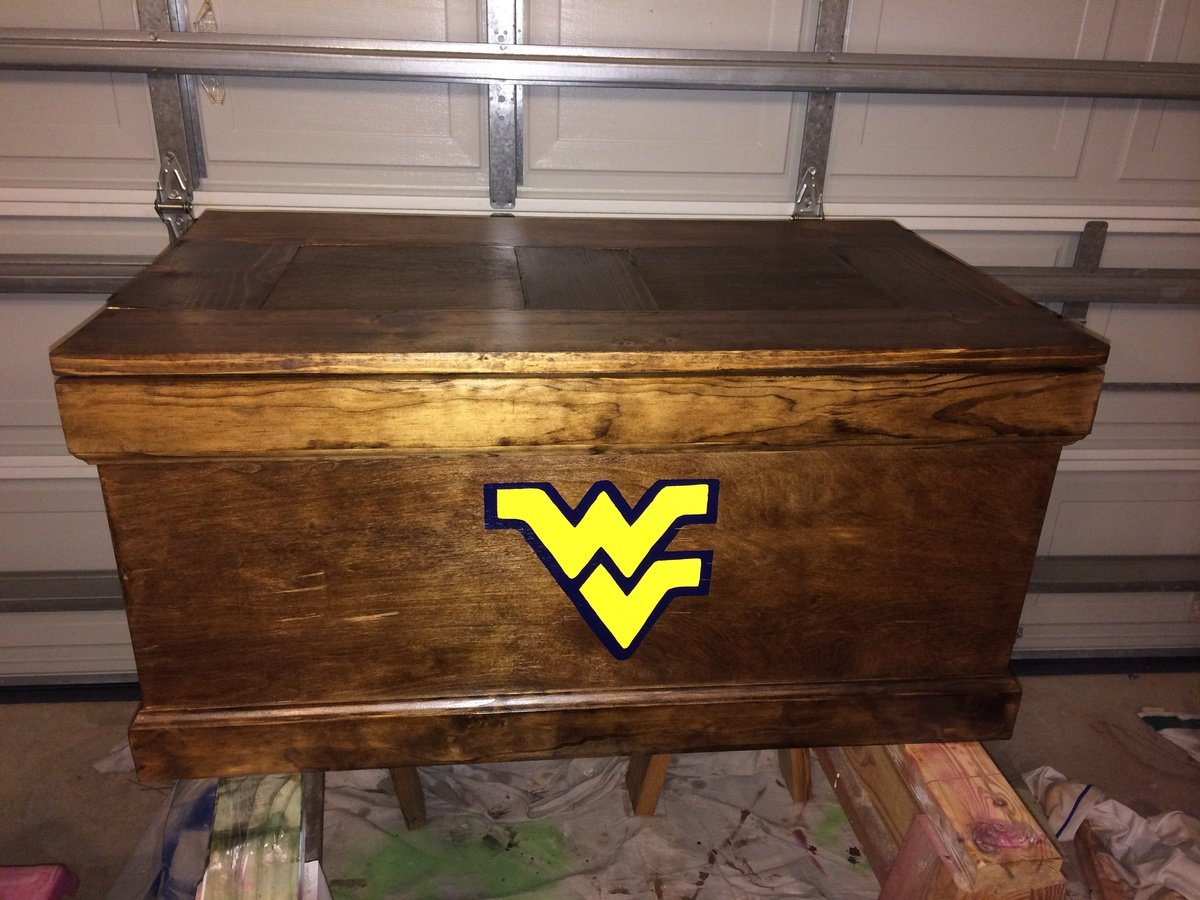
Thu, 04/16/2015 - 08:37
Hello, I just built this same trunk and it turned out great. However, I had a hard time finding a set of soft stay support hinges for the inside. Did you install any and if you did could you tell me what kind (brand) and also a picture of how your hinges look on the back of the trunk and when it is open. That would be great. I went to the original site and asked but they don't respond.
I built this for our laundry sorting needs using the Brook 4 tall and lengthwise plan. I modified the plan to take the baskets width wise, added a little more distance between baskets, and added guide rails above each basket (except the top one) to allow them to be partial pulled out without flipping out. I also beveled and slightly rounded the front of the guide rails just for looks. I think it turned out pretty good for my first woodworking project.
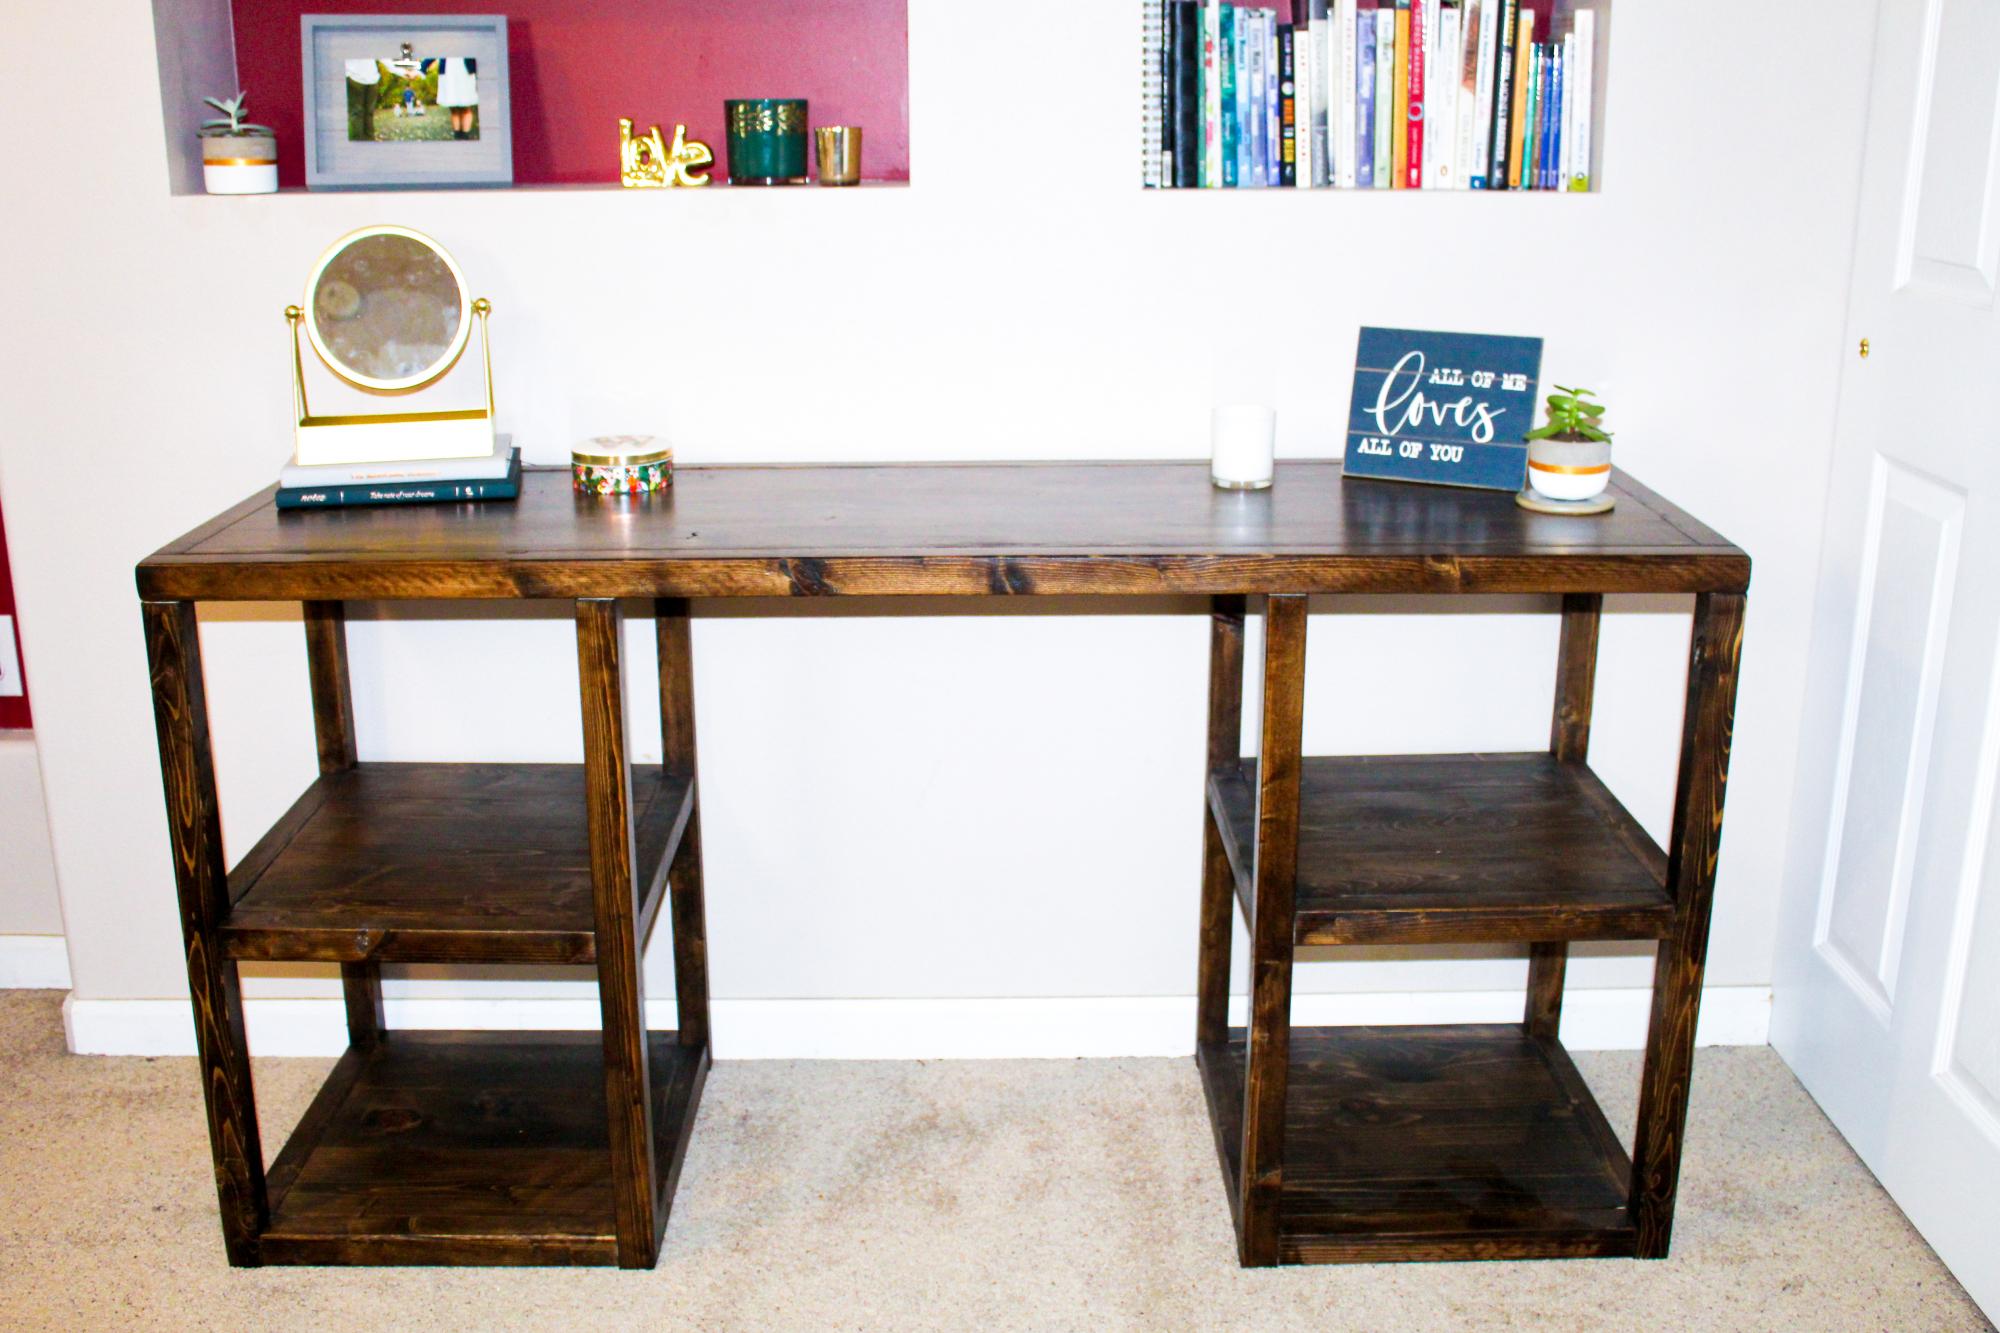
Built this desk for my wife a couple months back. Love how it turned out, plans were a huge help as I am new to woodworking.

I came across your plans Ana for this dress up Station. My Daughters 2nd birthday was this month and I thought this would be a perfect gift. Your plans were so easy to follow and it came out perfect...she loved it! I'll definitely be back for more do-it-yourself projects from you.
Thanks so much for the inspiration!


I gotta be honest, I'm kind in love with the farmhouse collection and when i saw this little bed i knew i had to build it for my 2years old and he loves it. It is so perfect for him, not too big and not too small. The bed was very easy to build, affordable and very strong ( trust me, my son makes me lay down there with him sometimes so he can go to sleep) . I changed the plans for a 28" wide crib mattress after reading all the comments, but it was really easy to do. I'm very happy how it came out.
Thank you Ana for sharing all the amazing plans with us and i'm looking forward to start building more furniture soon, my to-do-list is just getting longer and longer lol.
Thank You Ana XOXOXO


Wed, 08/06/2014 - 07:17
It's beautiful. :) You did a great job! I love the comforter.
In reply to It's beautiful. :) You did a by booksnotbombs
Wed, 08/06/2014 - 17:43
Thank you, i was looking for a Dr Seuss bedding and i saw this fabric, i made it myself, i think it looks nice.

My husband made this for my daughter and her friend to have stables at each house for their horses. We painted the roof with blackboard paint to making decorating fun and creative.
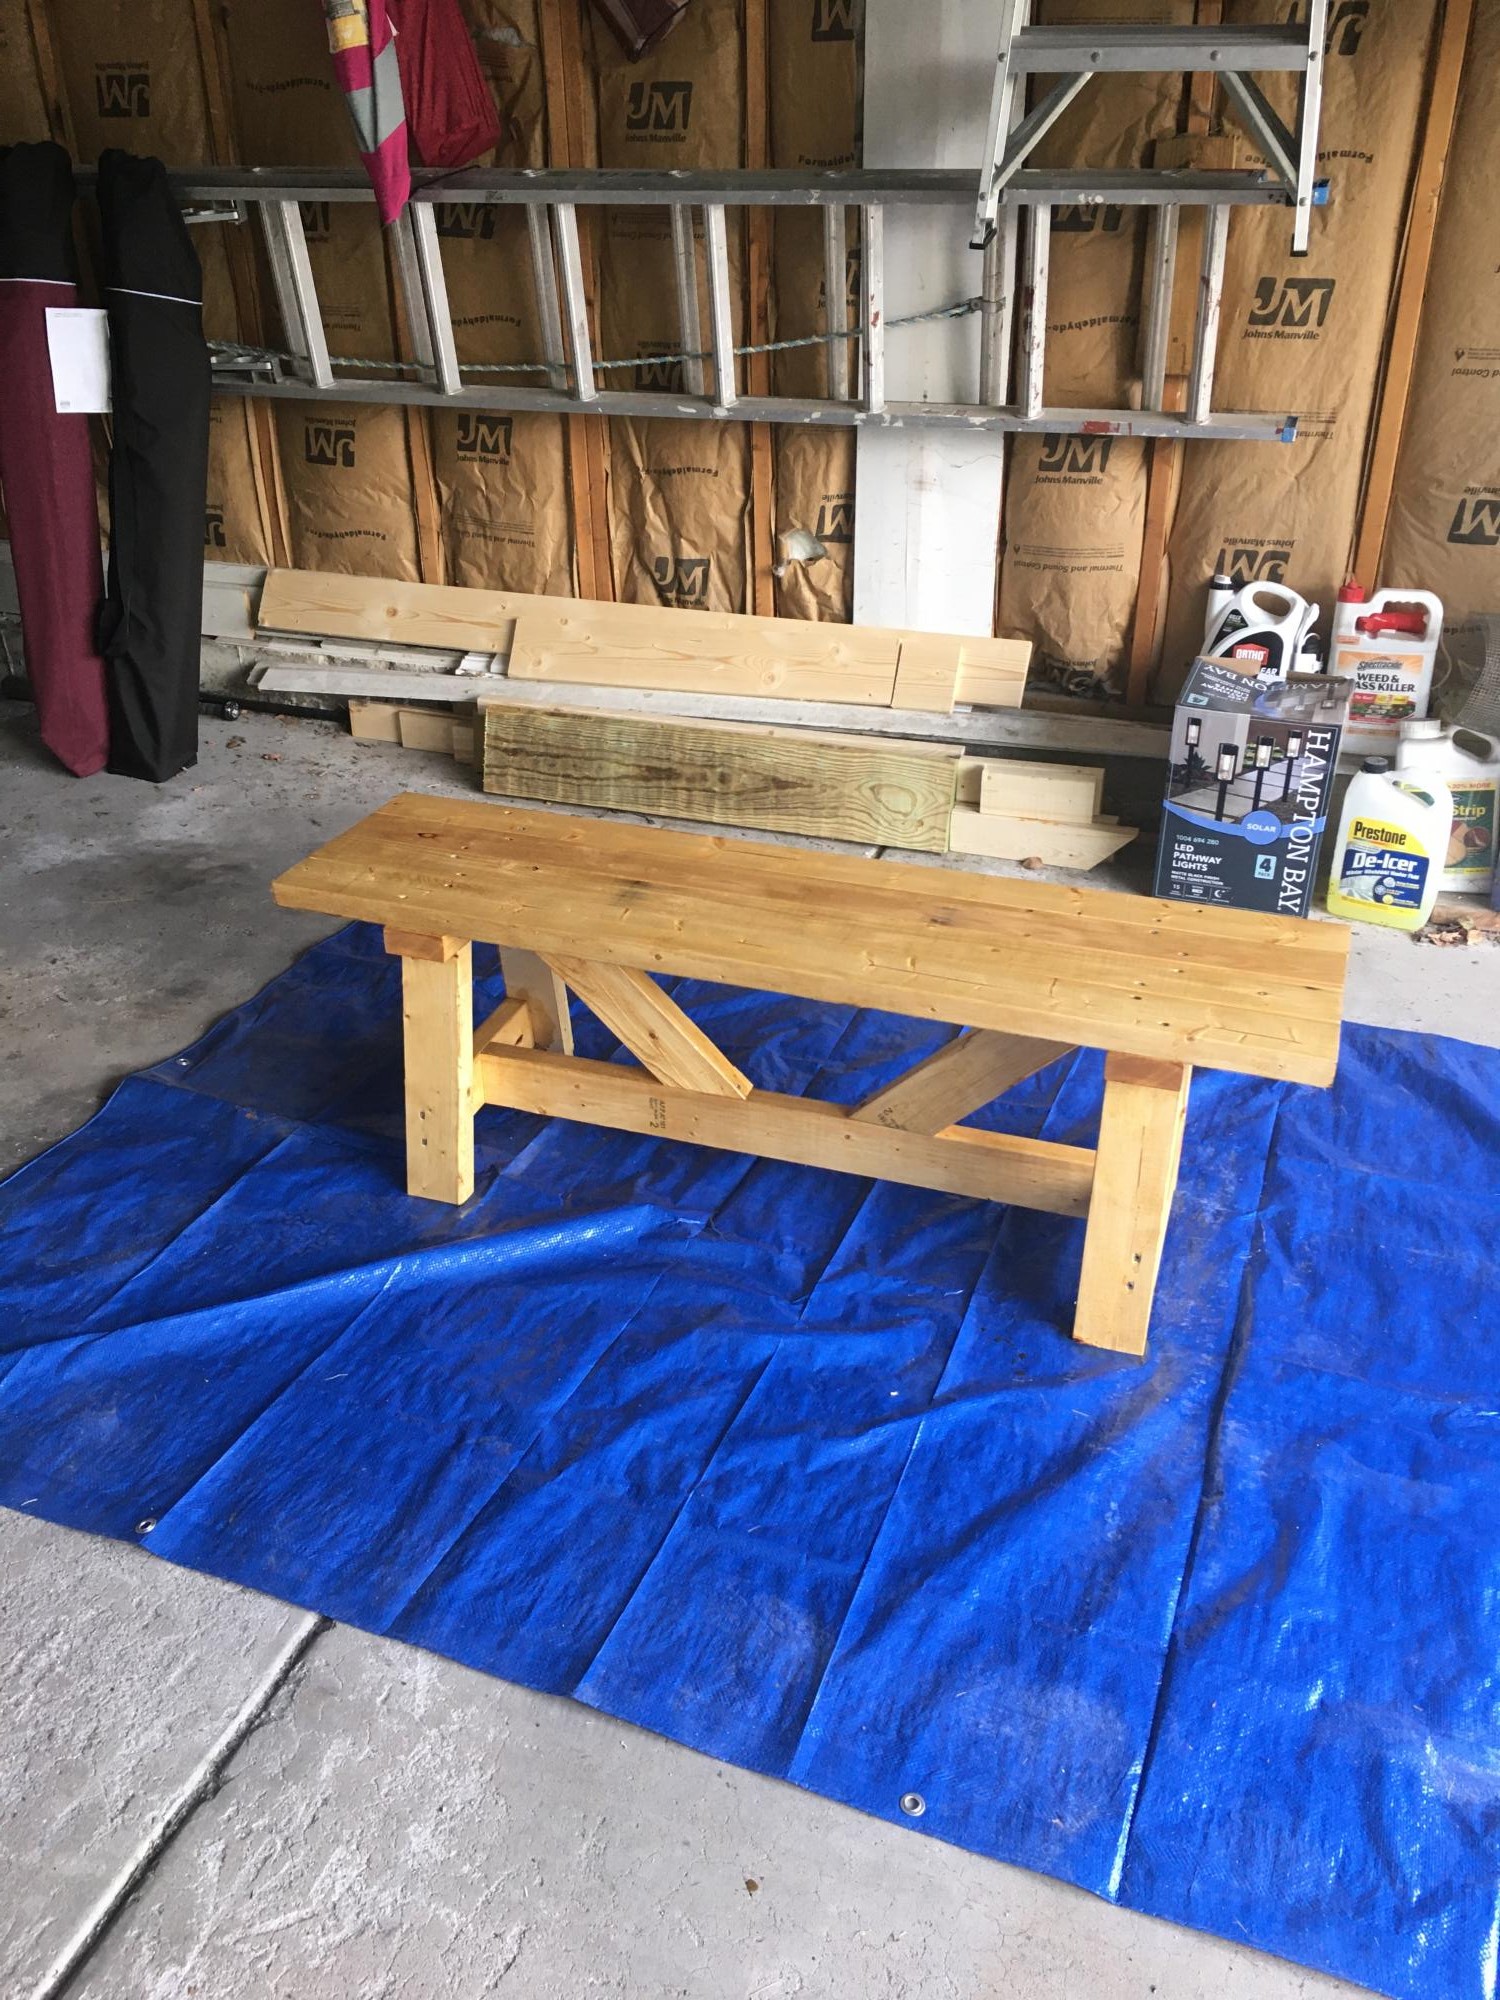
Second project after newly discovering Ana’s site
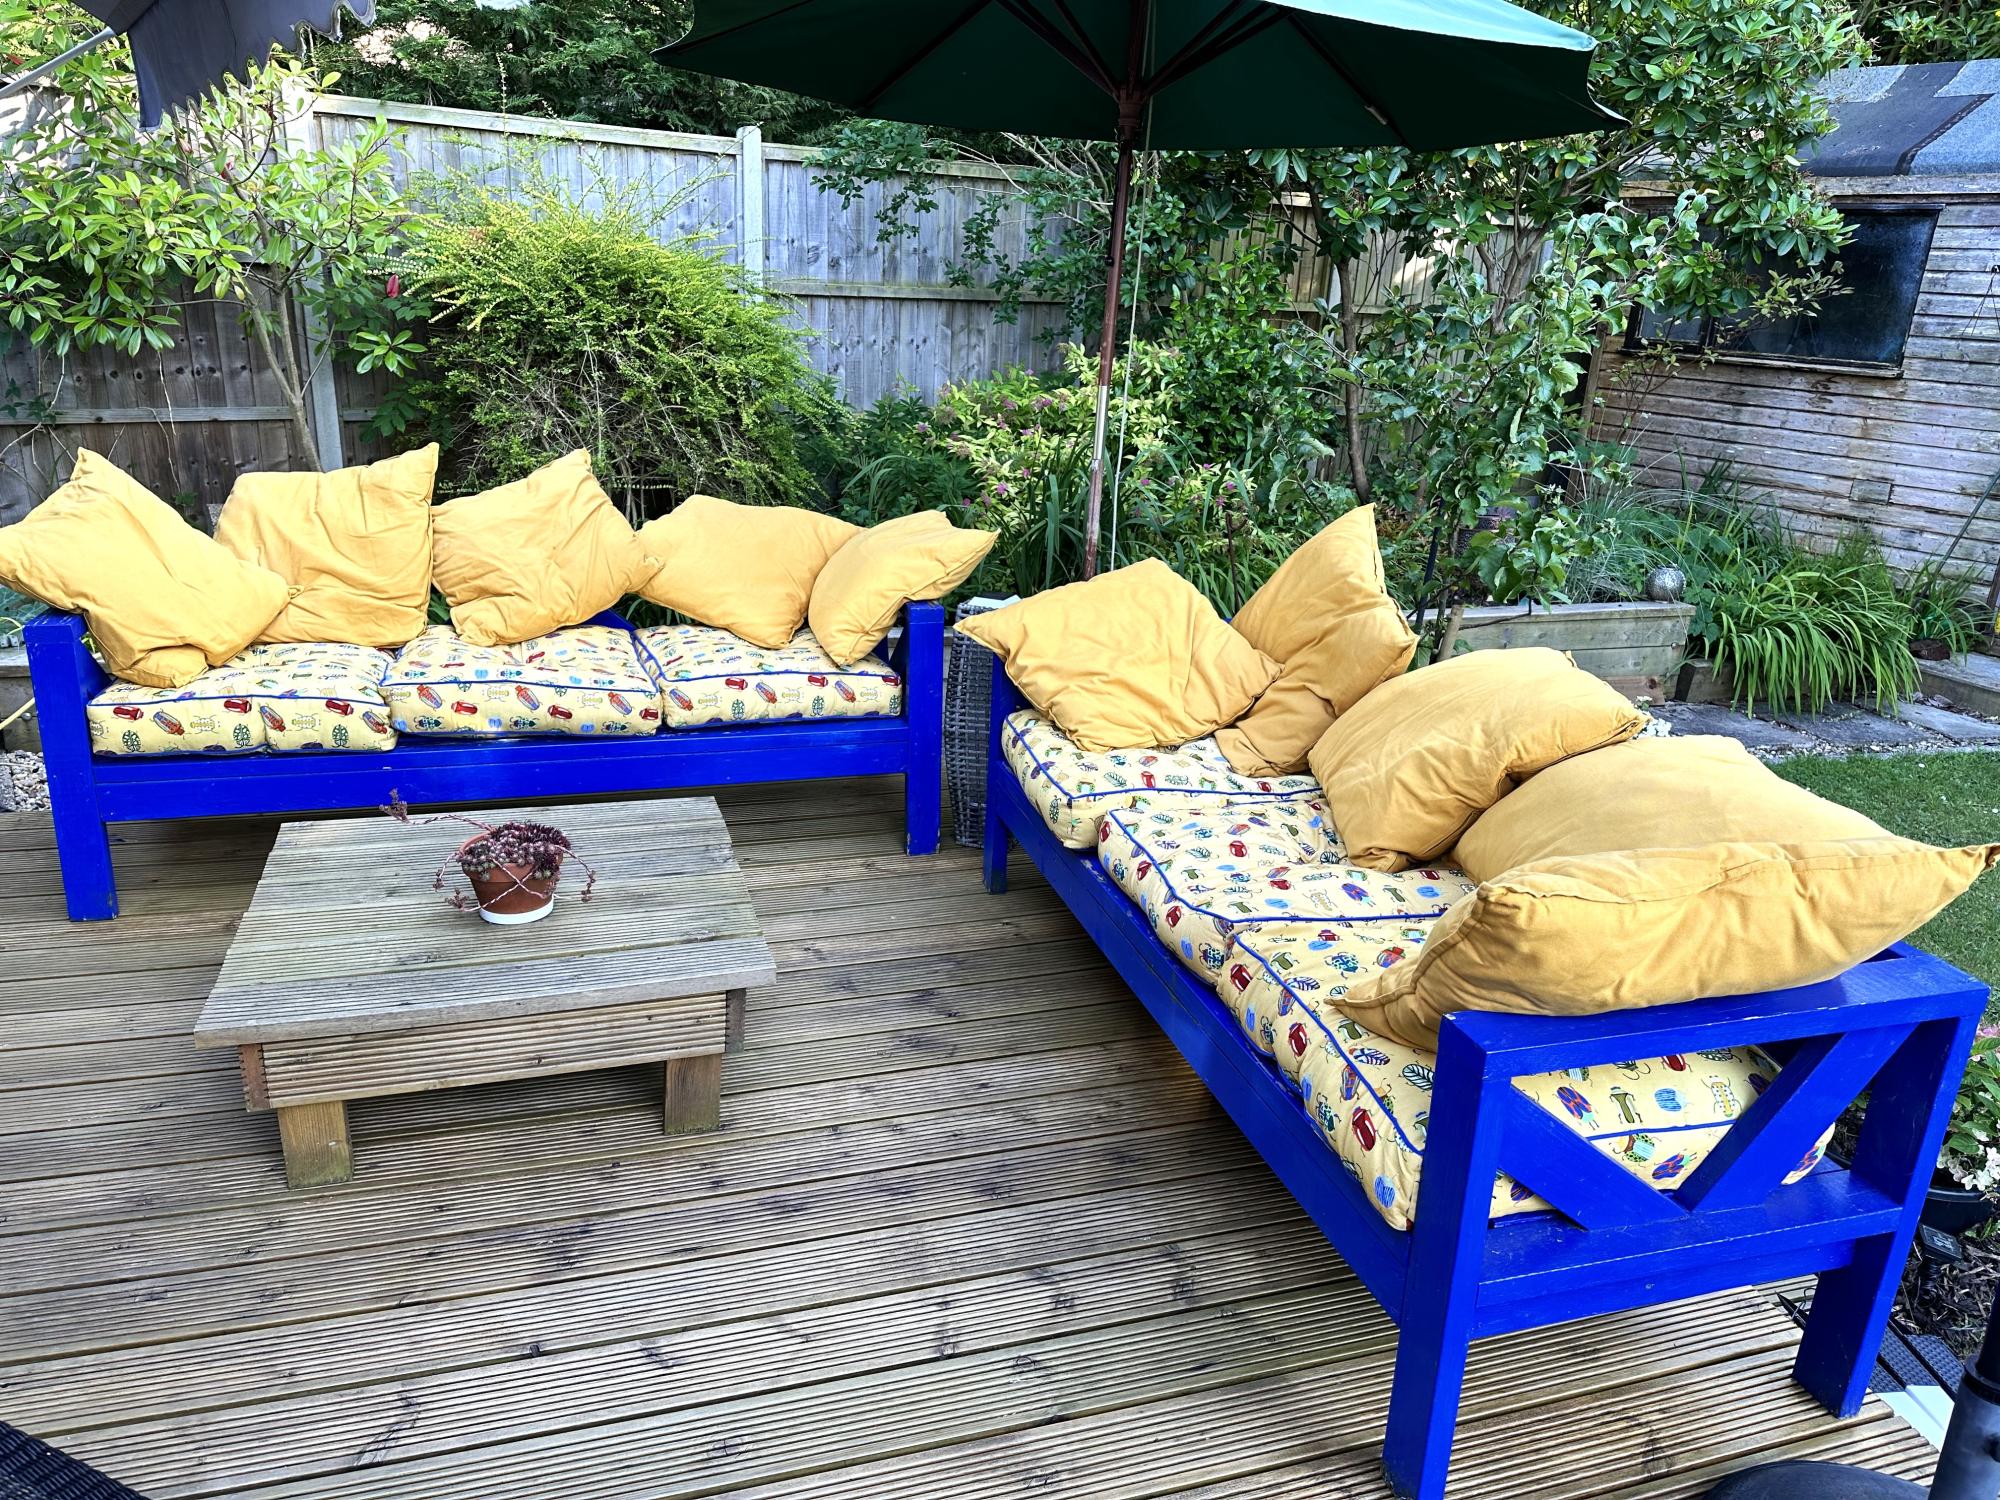
Had to adapt sizes slightly as timber in the UK is sold in metres, not feet -so the lengths are slightly shorter but really pleased with the result!
Tracey317