I think that the names of beds shouldn't be gender decided!! Just sayin' :-p
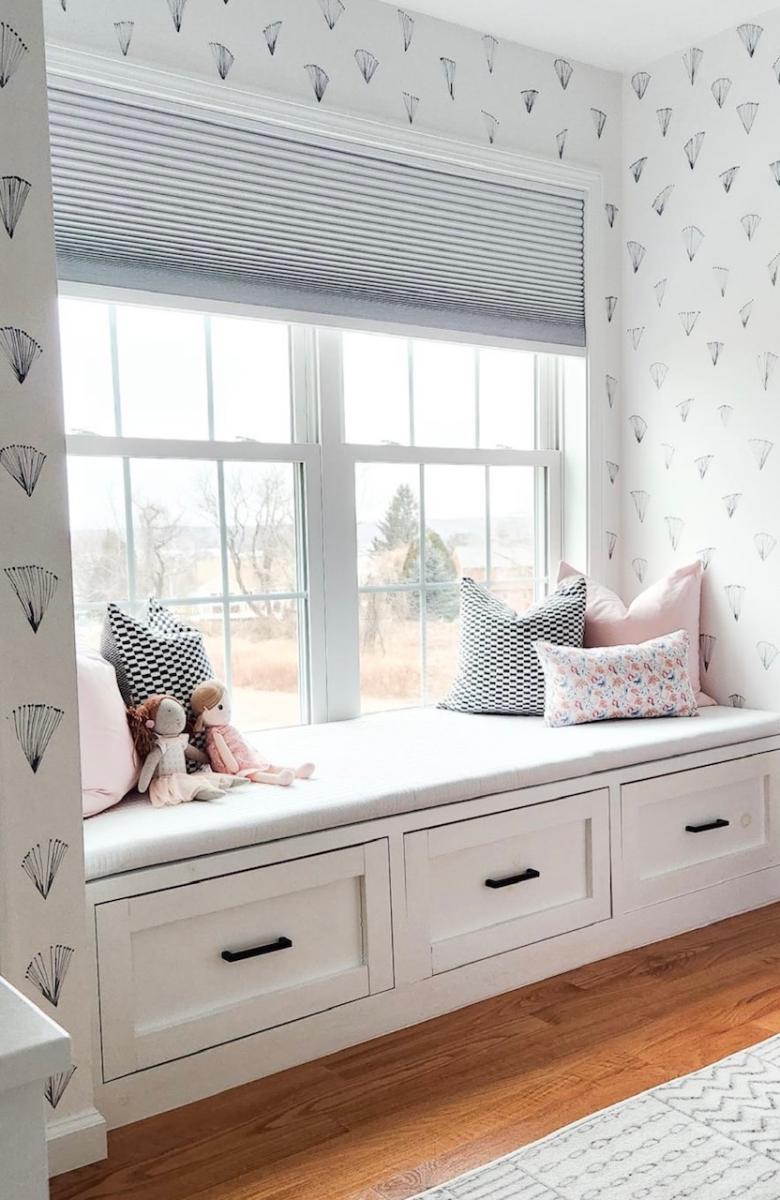
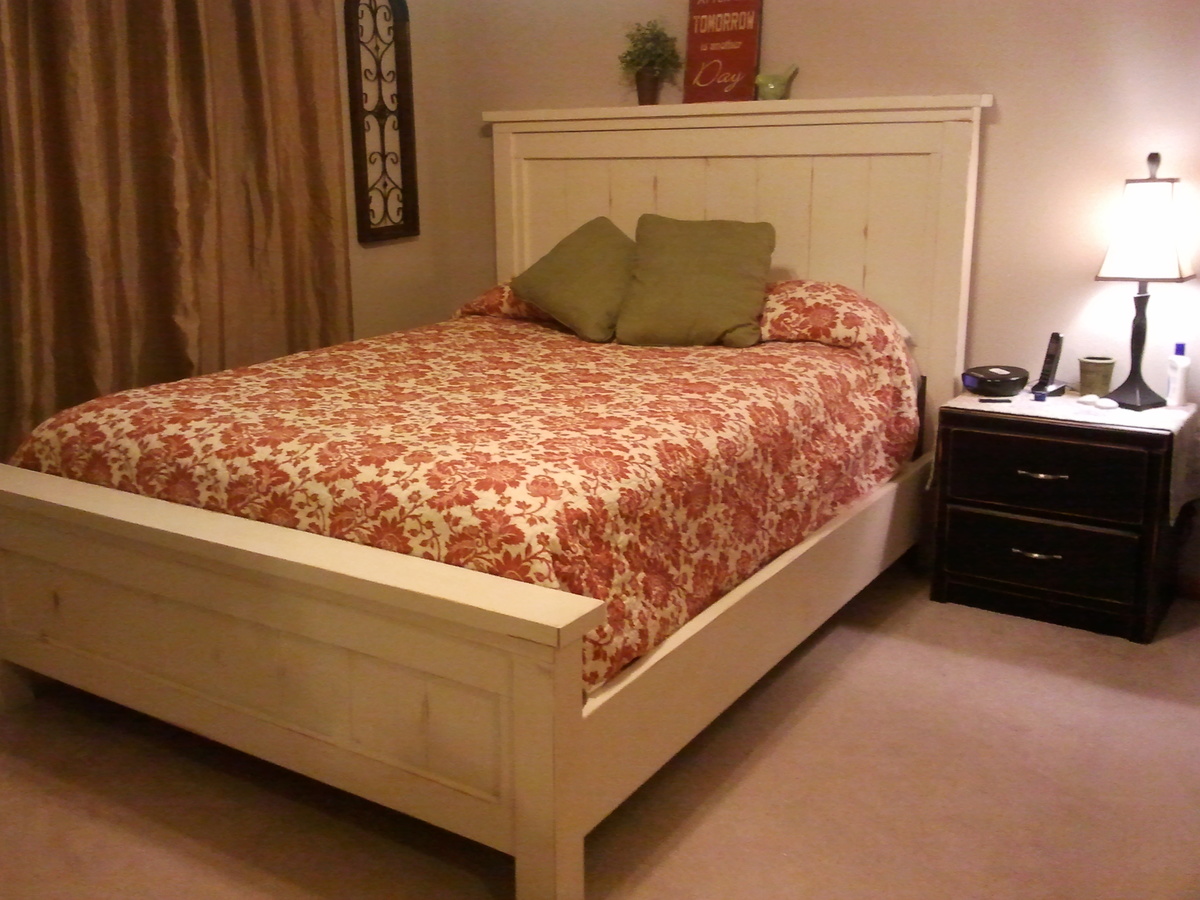
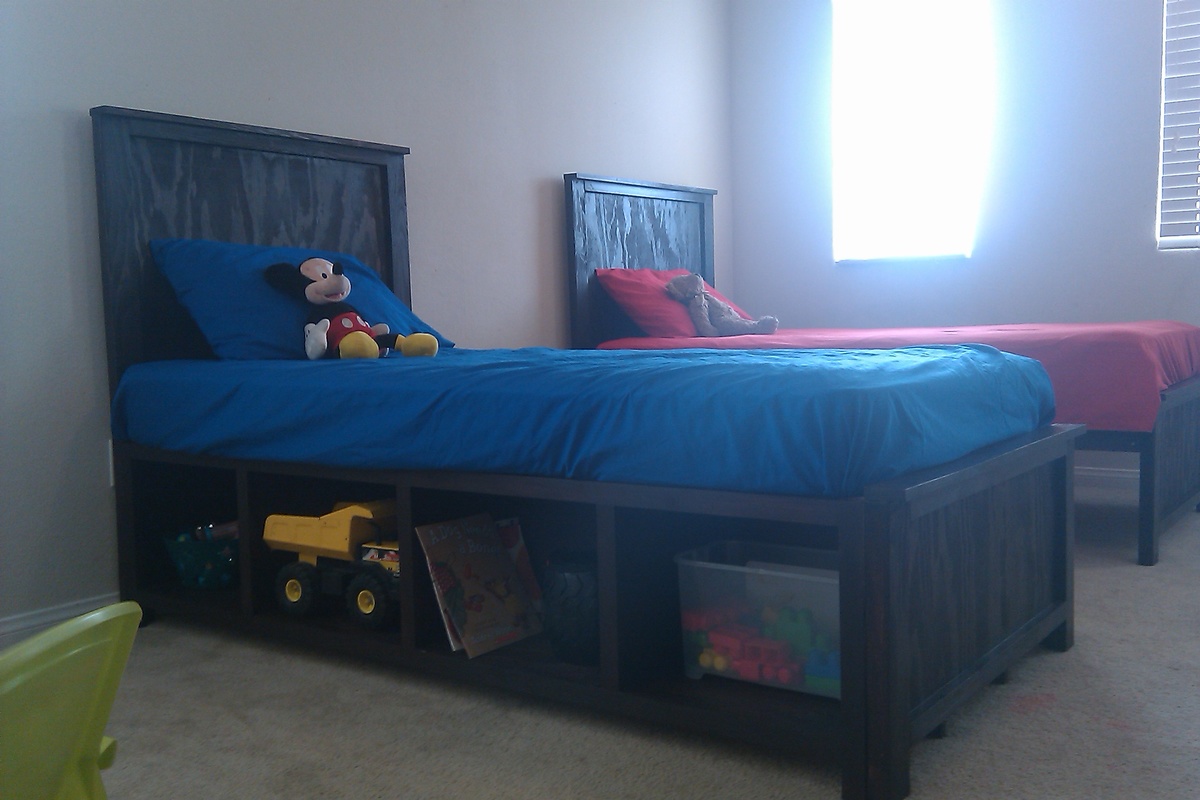
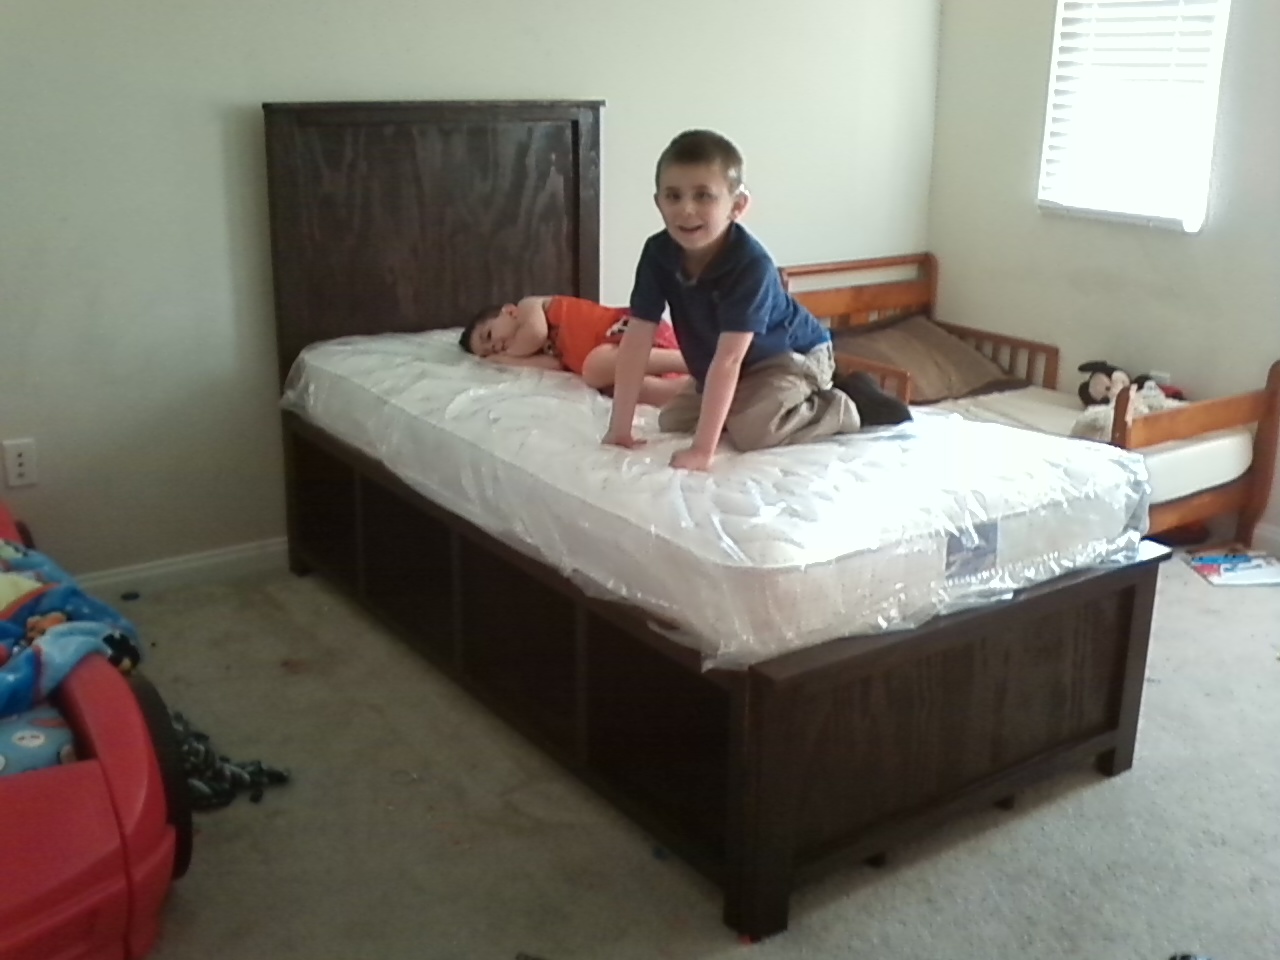
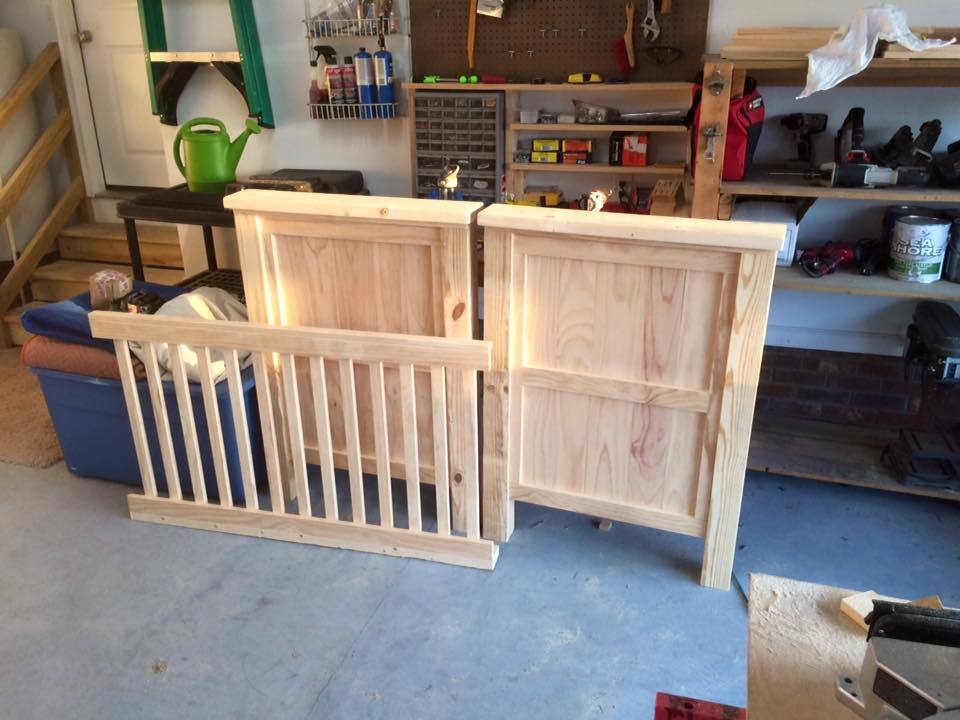
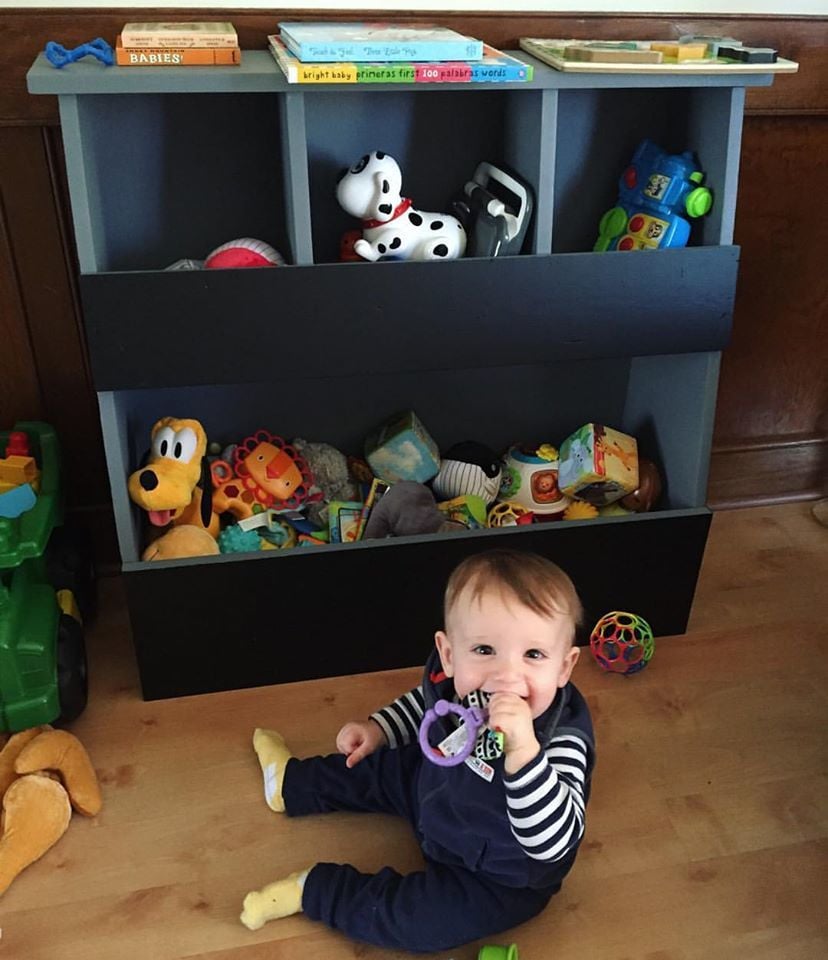
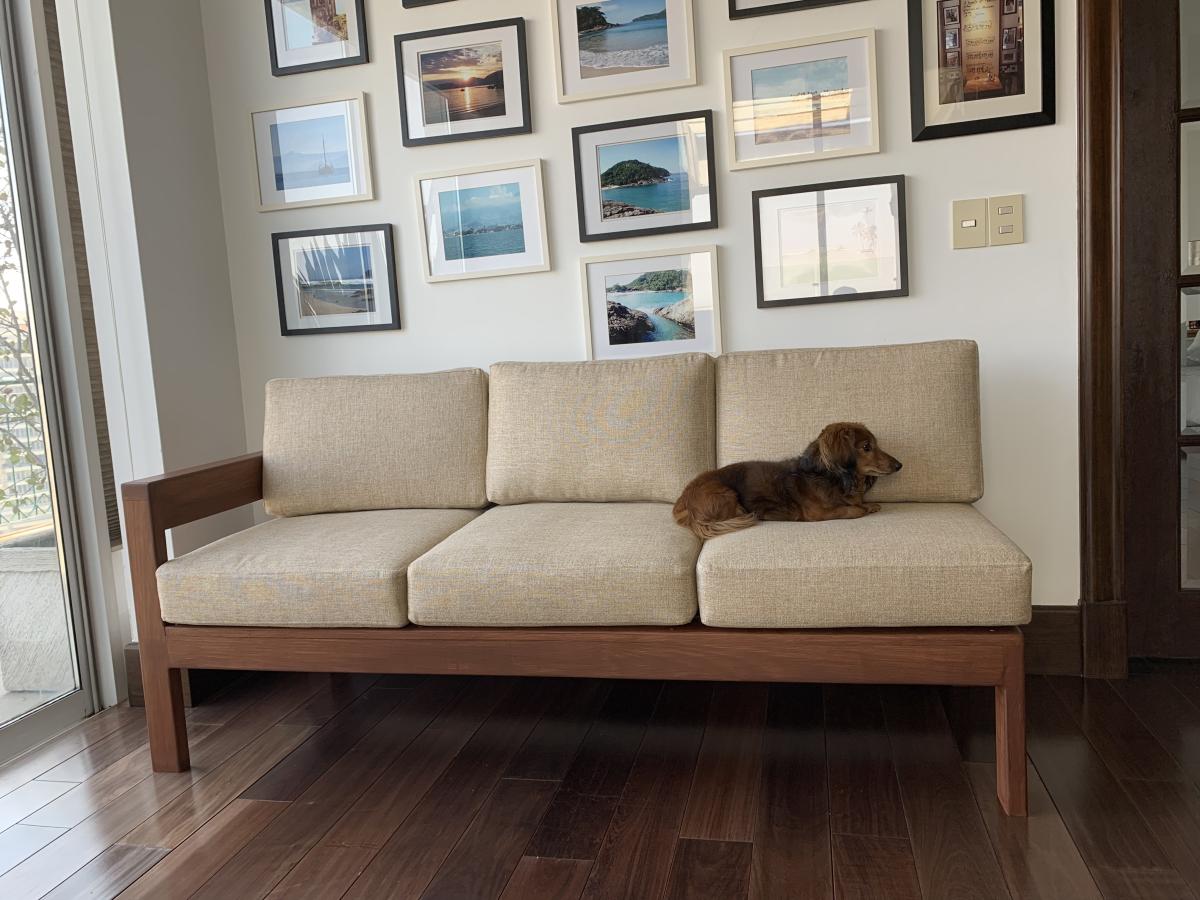
My sister wanted a Hailey storage bed for her son, but she really questioned if it would be too girly. Since I have girls, I hadn't really thought about it... but after looking at it for a few (VERY open mindedly, since all of the ones that have been built have been painted white, and made for girls), I decided that it wasn't a girly bed at all. Then I worked on convincing HER of that. I don't think she was convinced until she saw the pieces built...
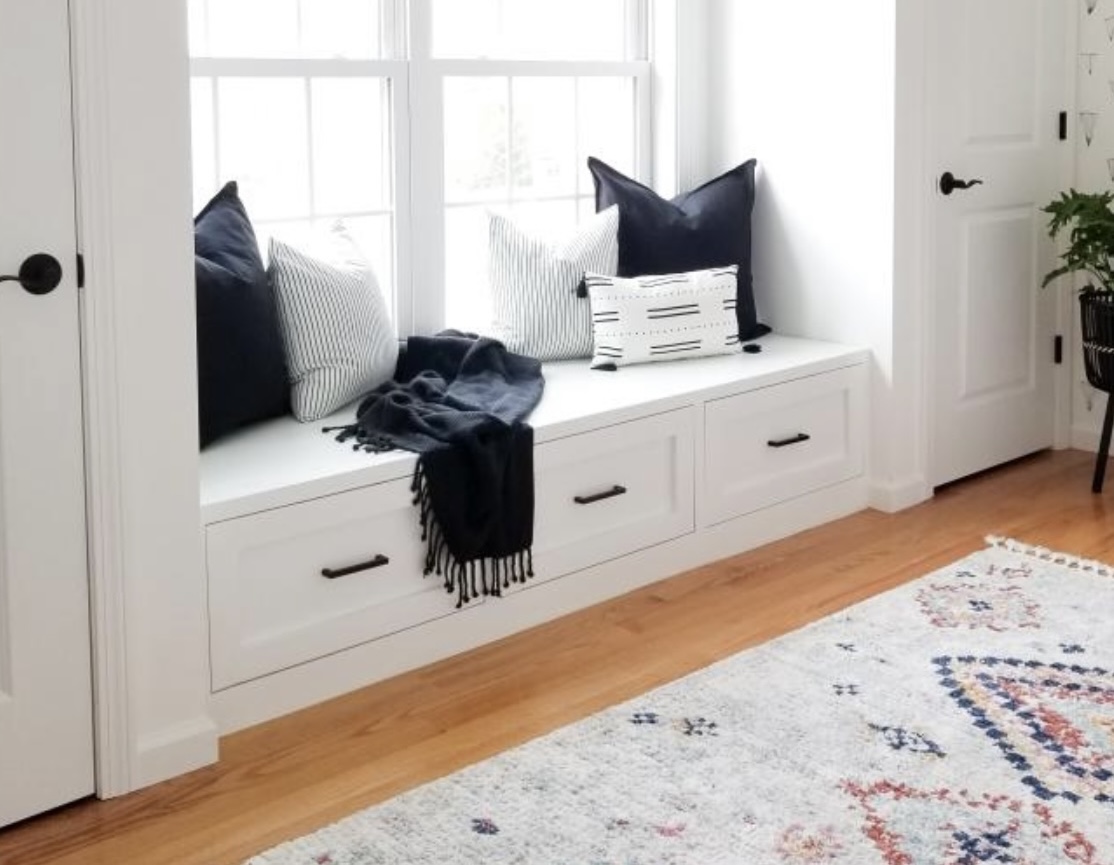
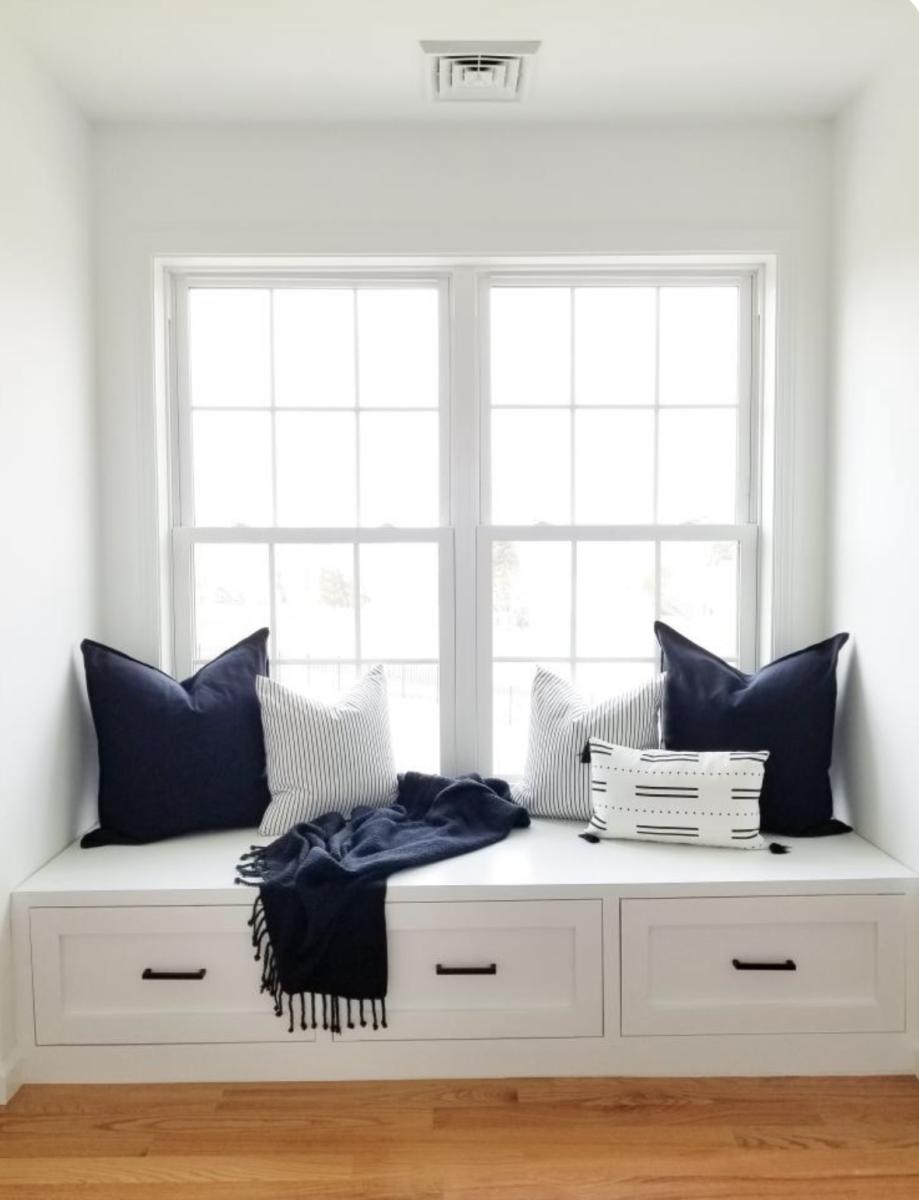
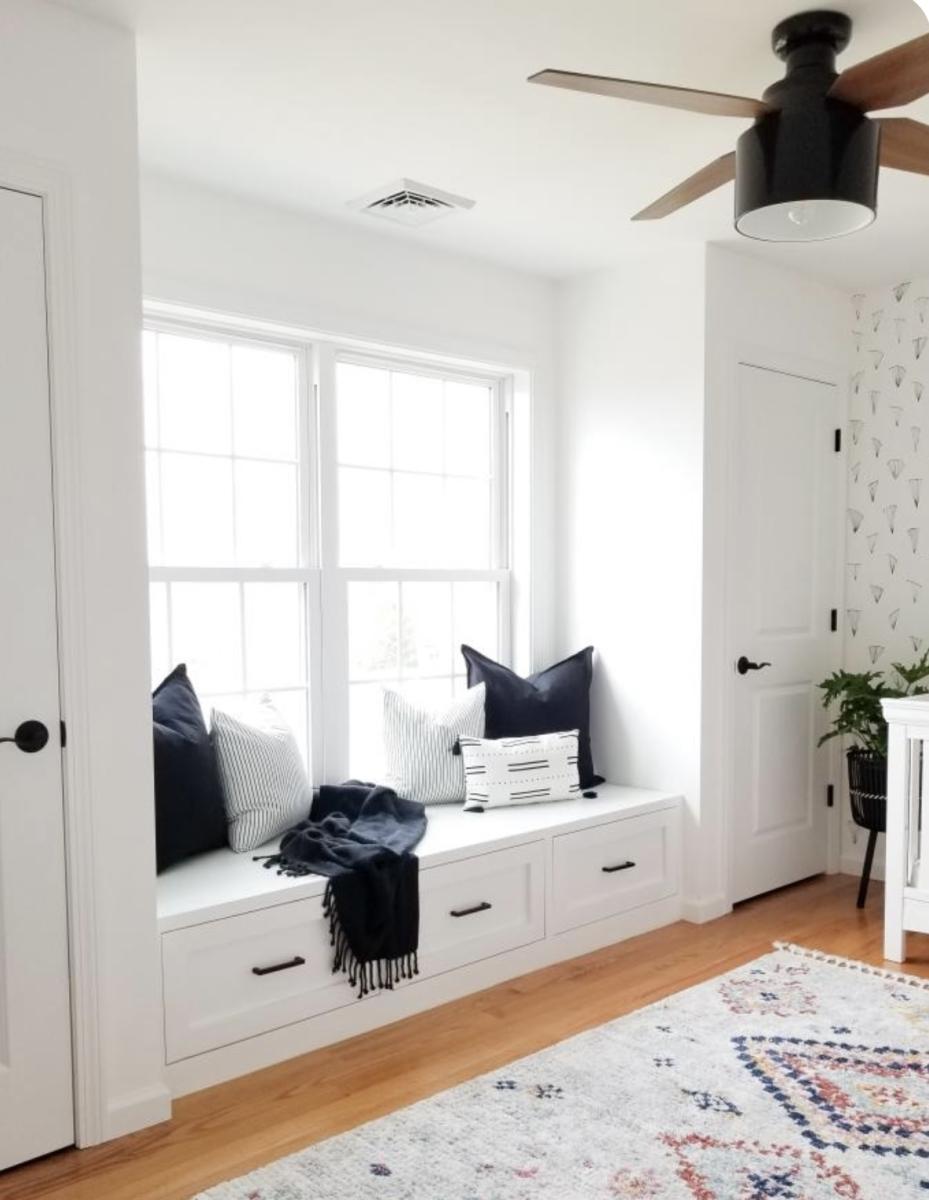
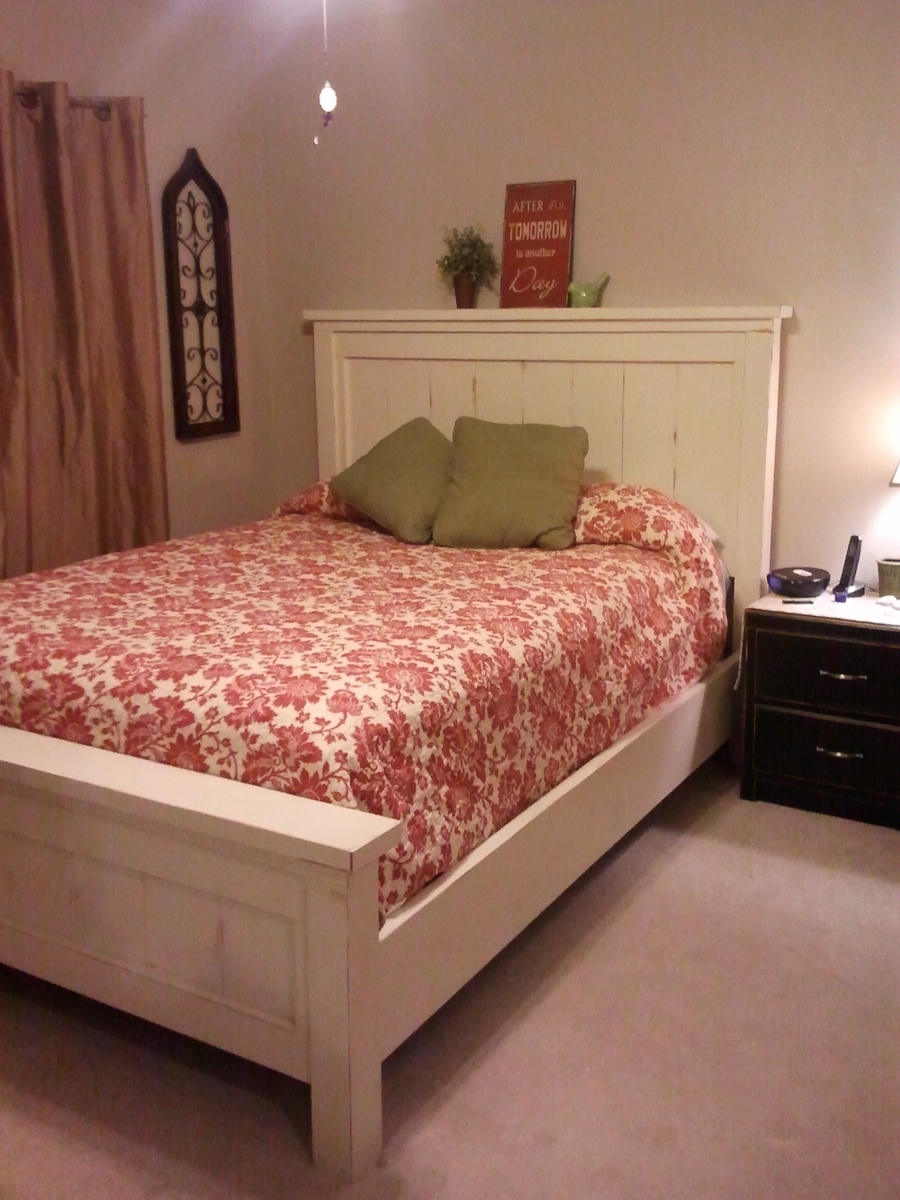
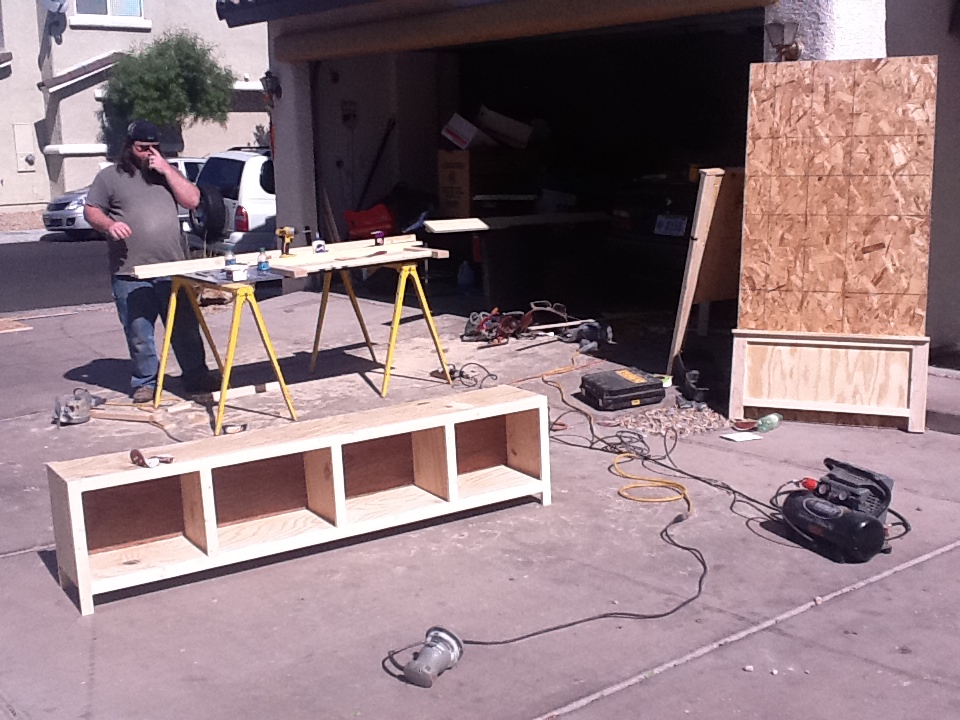
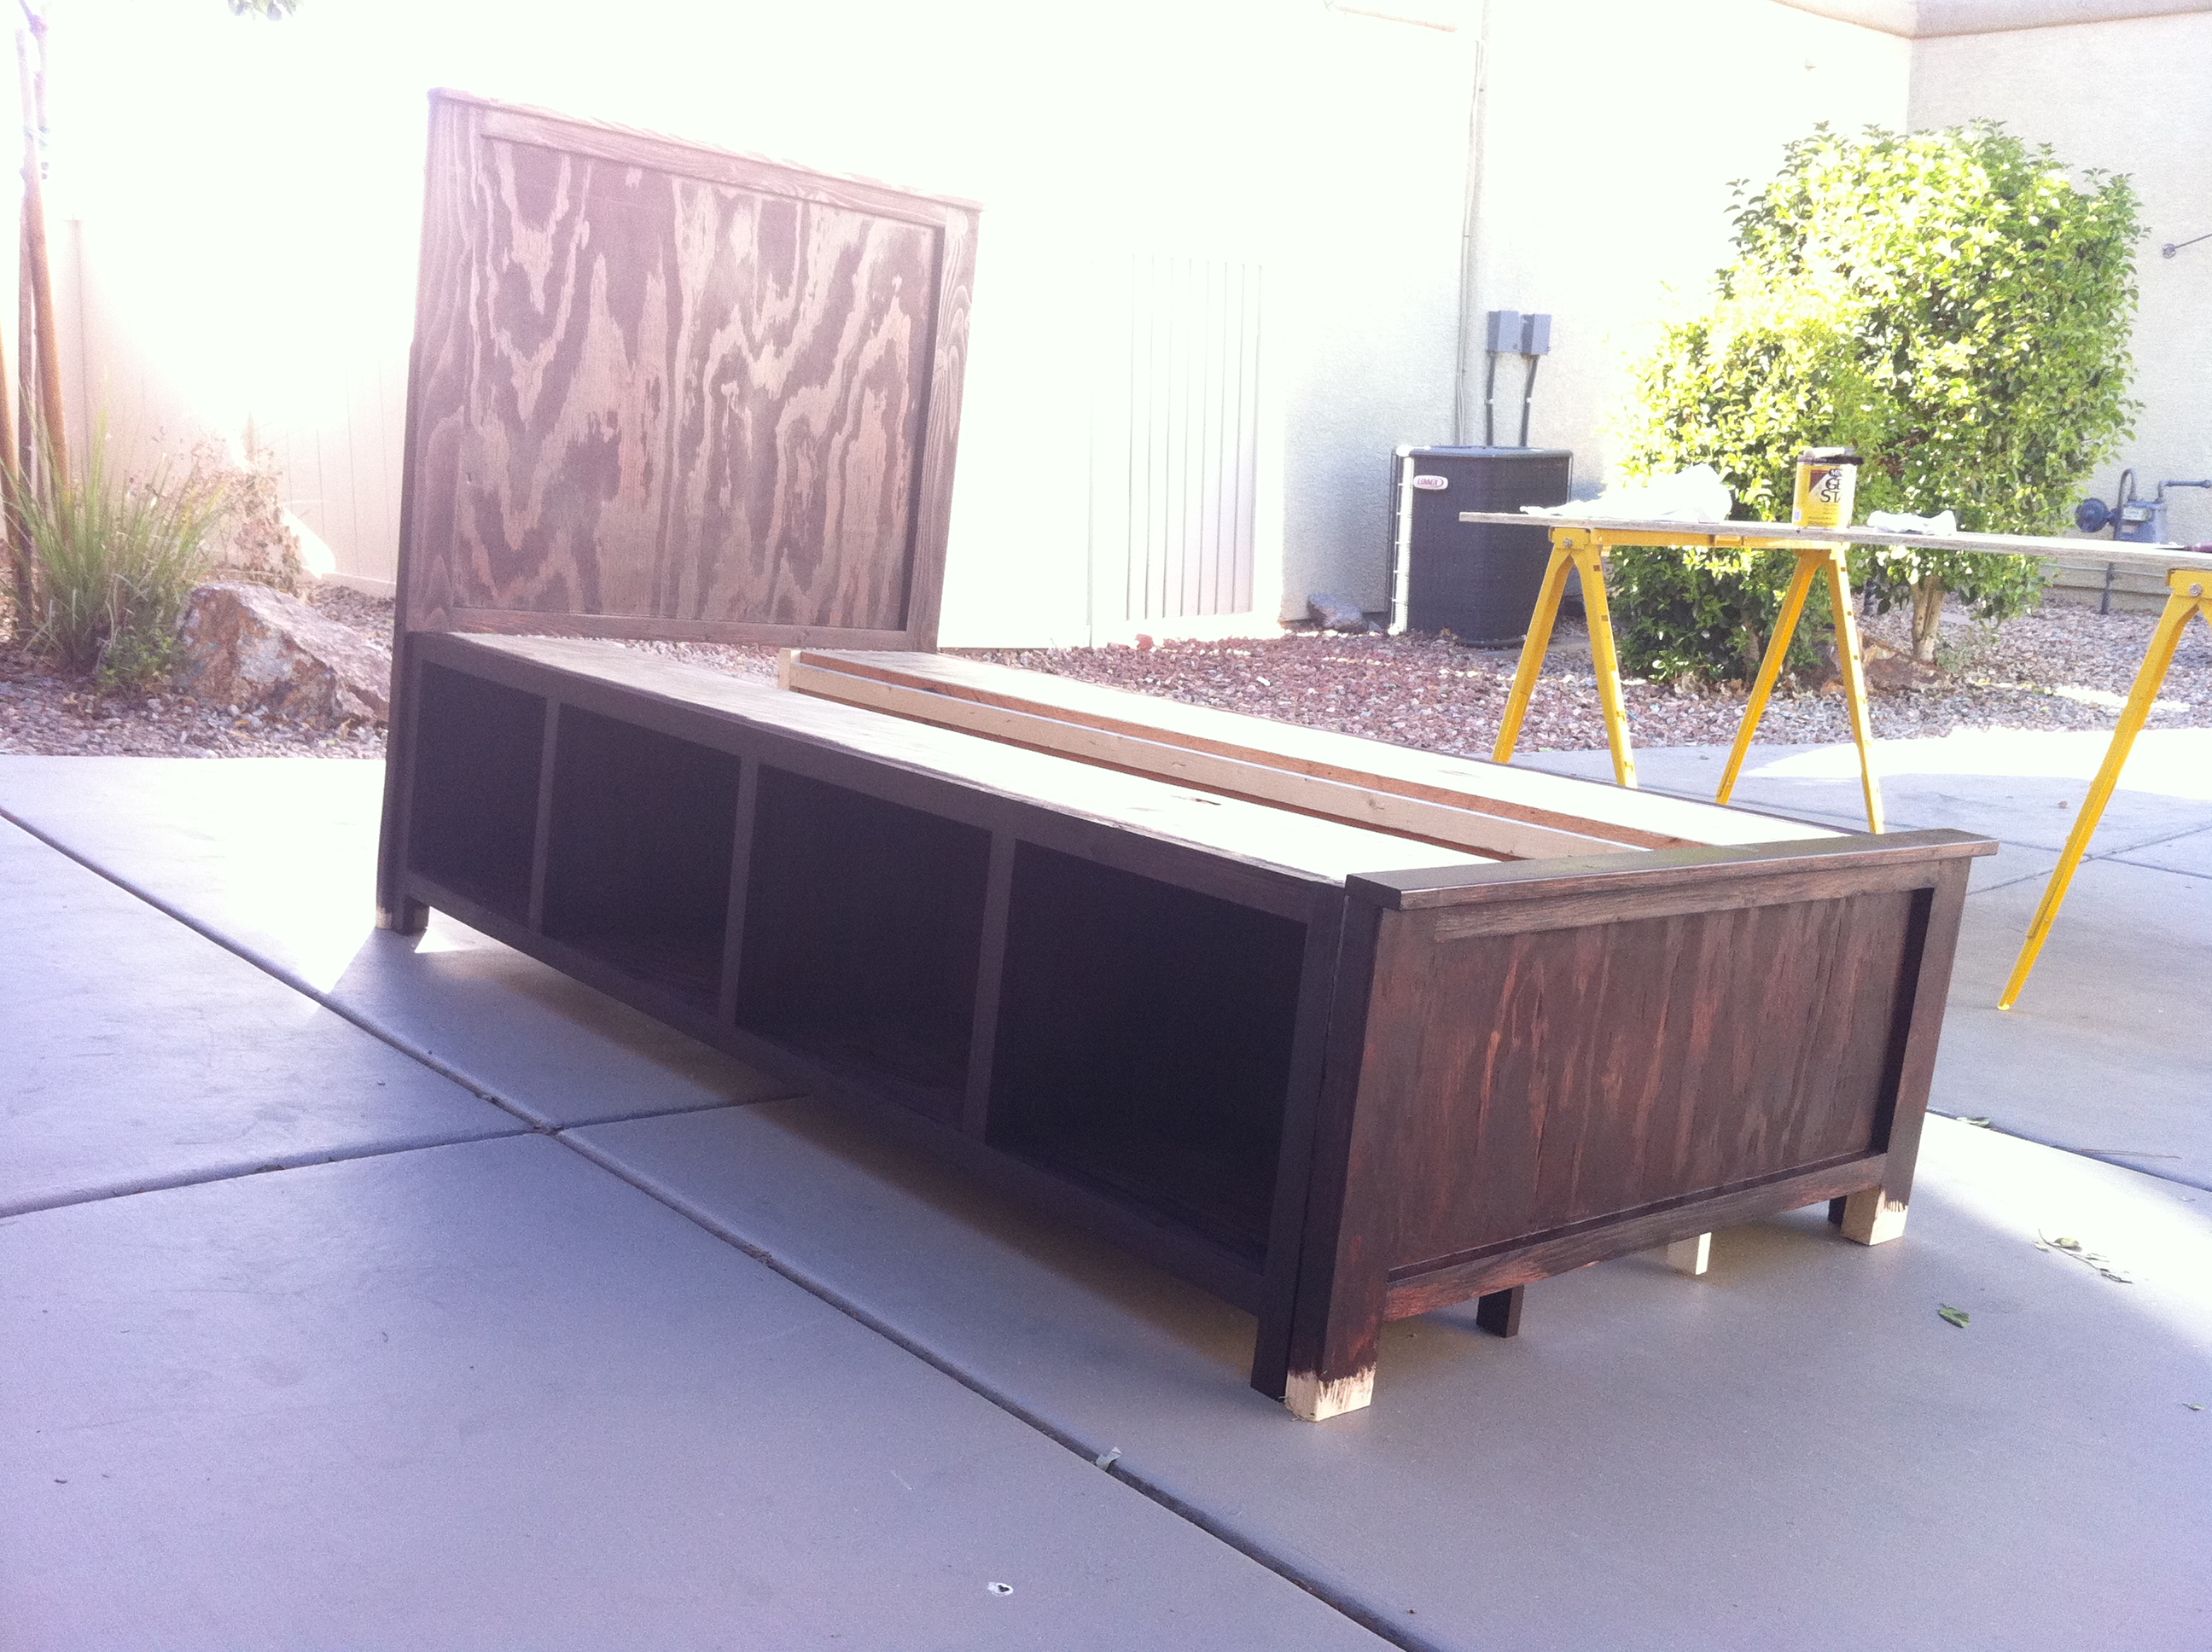
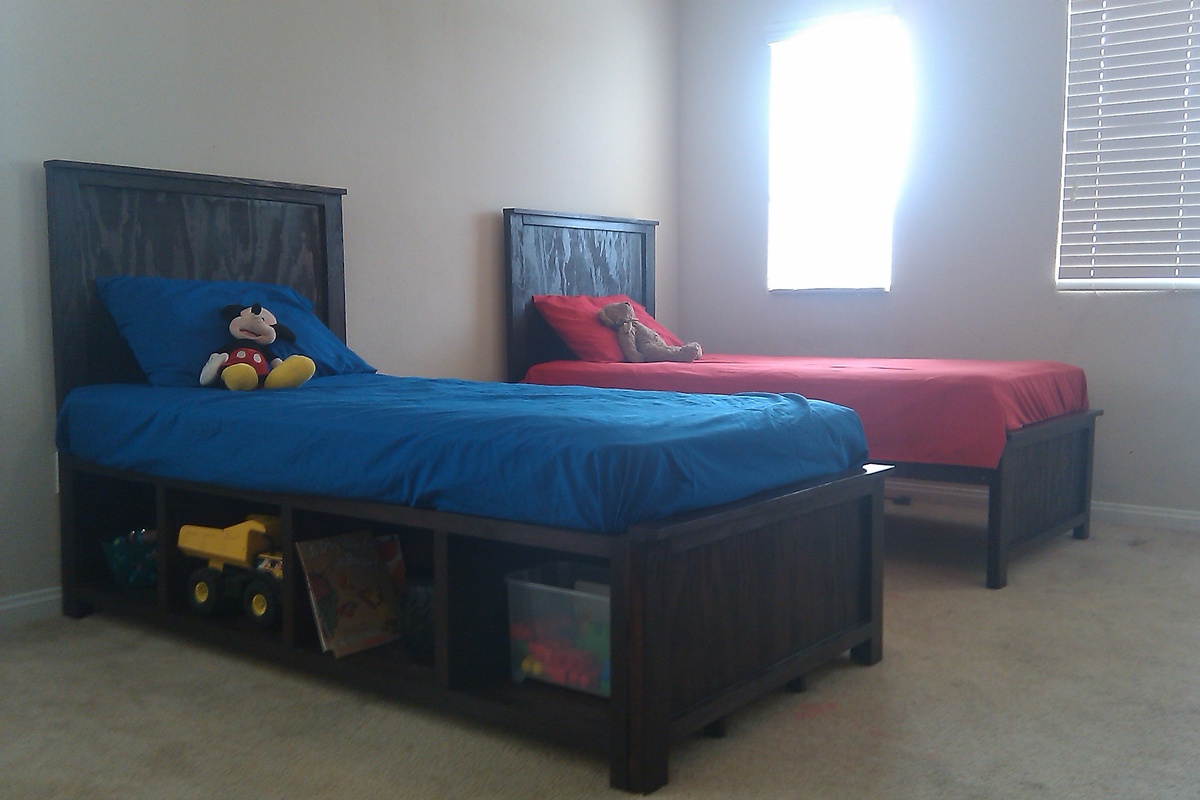
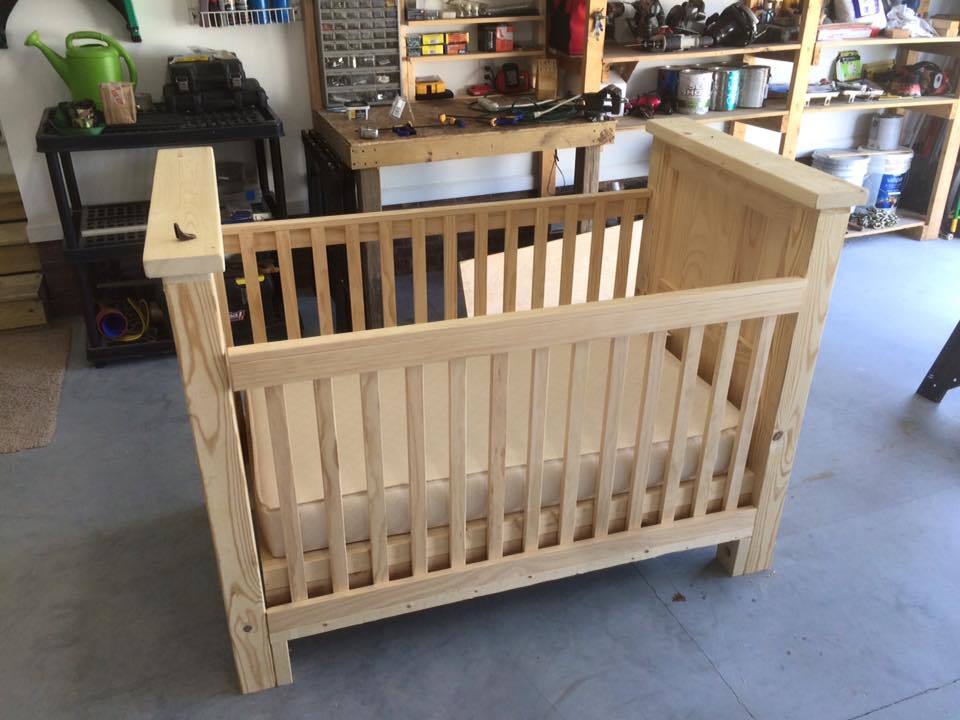
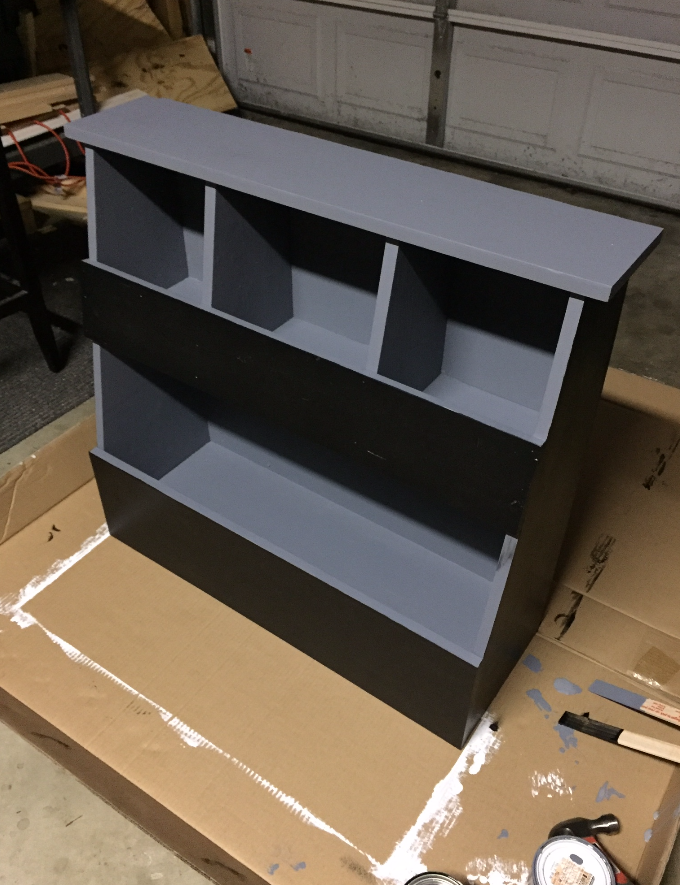
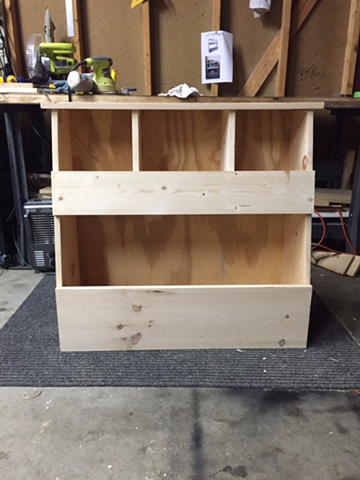
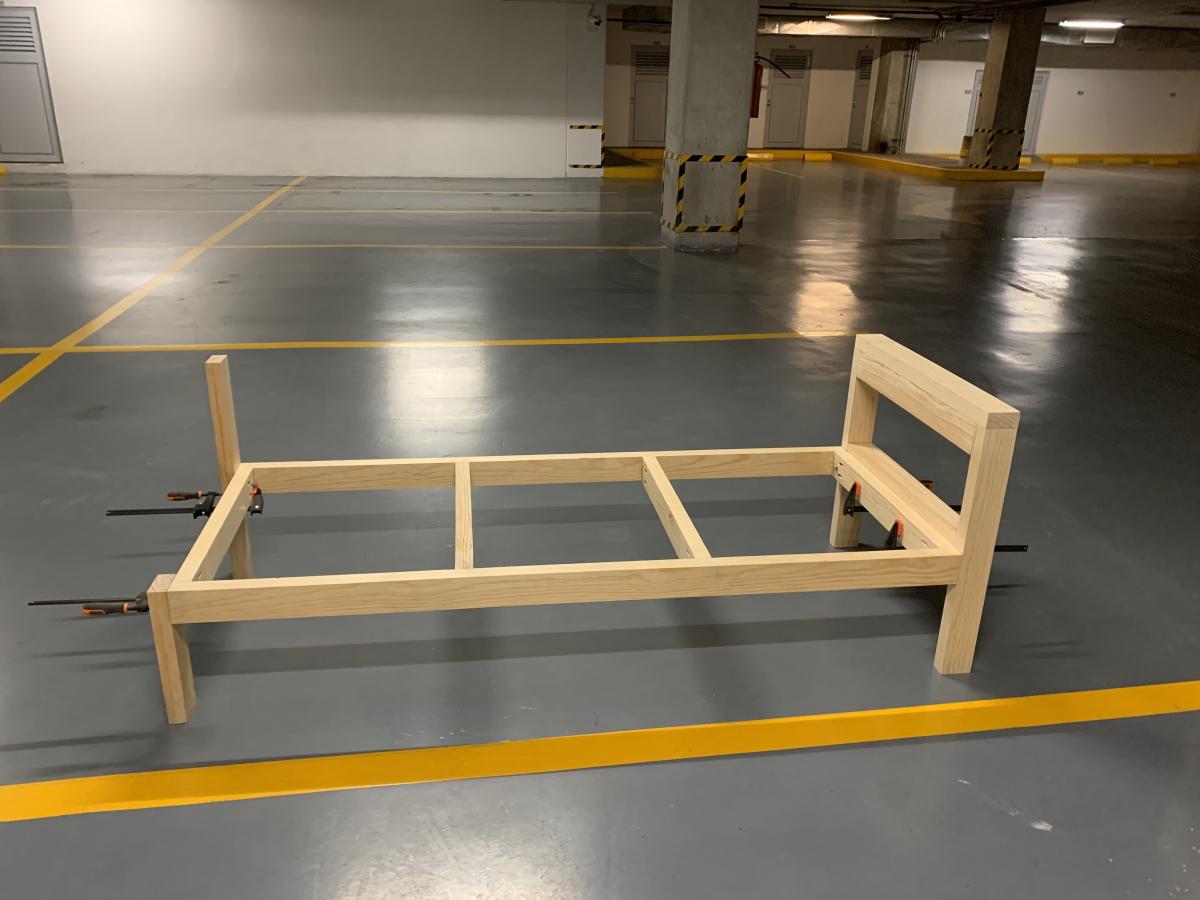
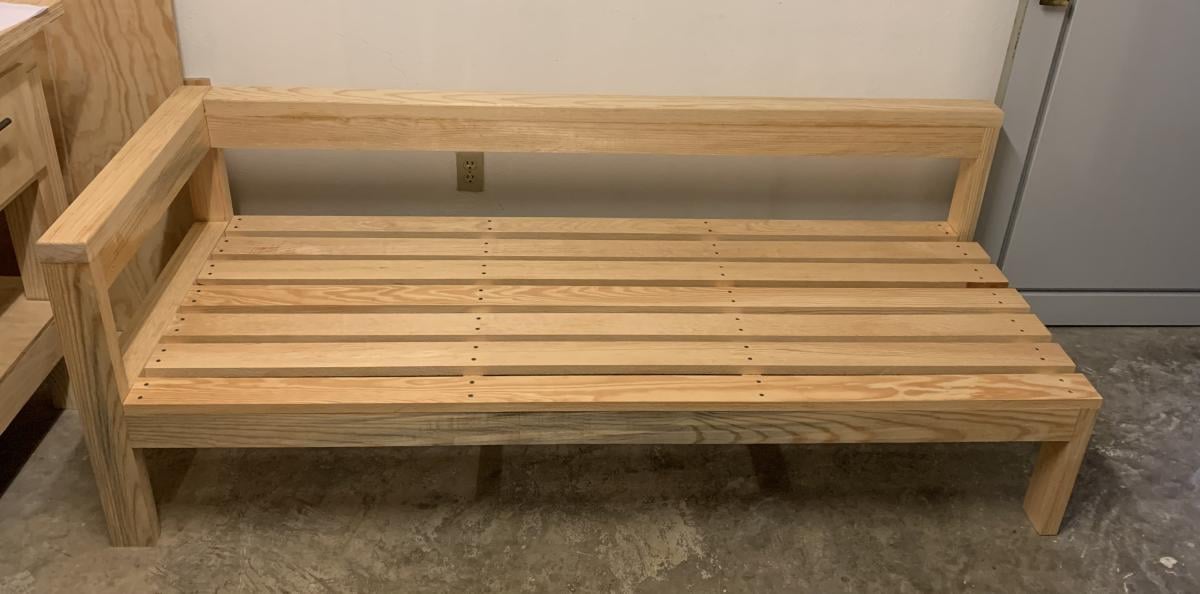
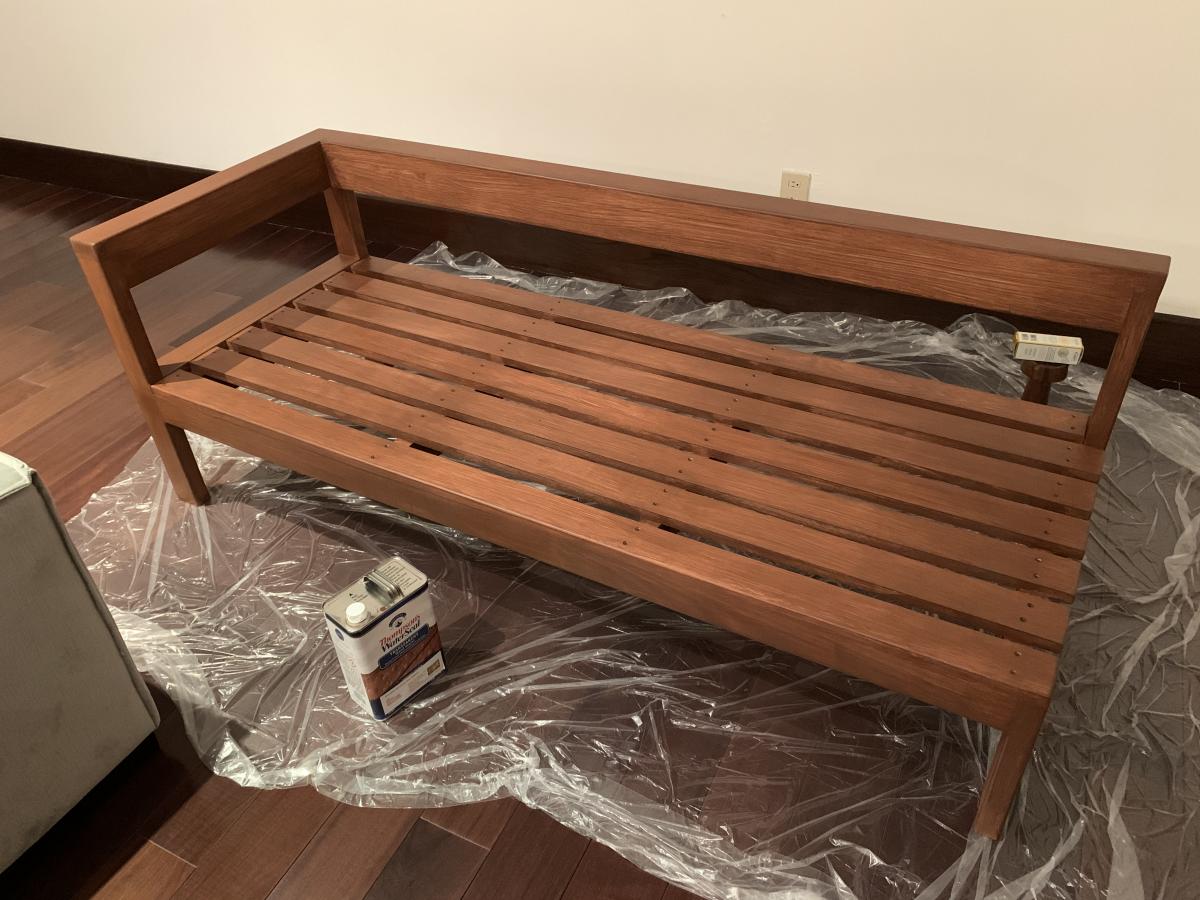
My step-dad (a VERY skilled carpenter) and I put together the storage bed with a few modifications. We used 1/2" ply instead of 3/4" (the price difference in Vegas was insane for the same grade ply). We also bought an additional sheet of ply for the head and foot boards, since my sister wanted it stained. After the first bed was finished, she asked us to do an identical head and foot board for another bed, but to put side rails instead of the cubbies. This turned out perfectly, since the additional sheet of ply had enough scraps for another full head/footboard AND to make up for the dividers that weren't accounted for in the plan.
We also bought an additional 1x2 to trim out the middle dividers, which was my own preference. I think it looks stupid without it. Not sure if my sister would have cared... AND... the last mod we made was to use 1/8" ply for the backs. It was super cost-effective, and does the job just as well as 1/4".
All in all, this was a wonderful experience for me. It felt REALLY great to be able to do this with my step-dad... intimidating as it was... And there were points where all 3 of us were outside working (my sister, step-dad and myself) while all the kids played in the driveway with us. I can't tell you how awesome that felt :-)