First Project: Storage Bench
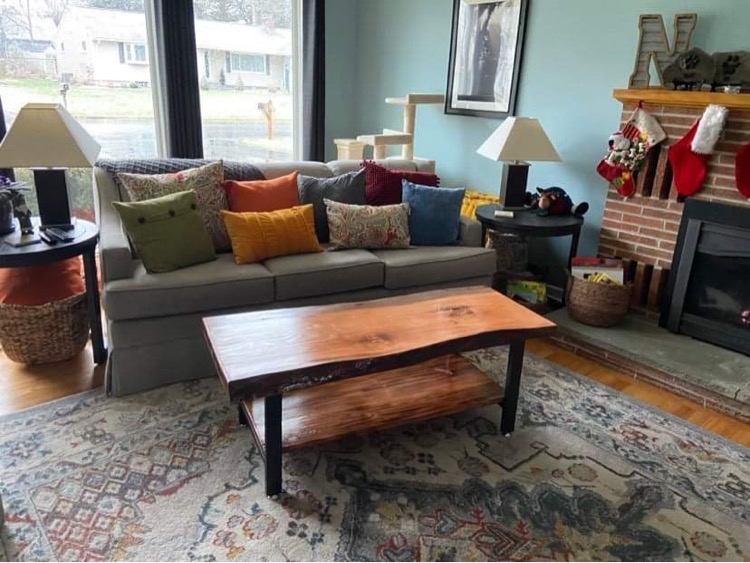
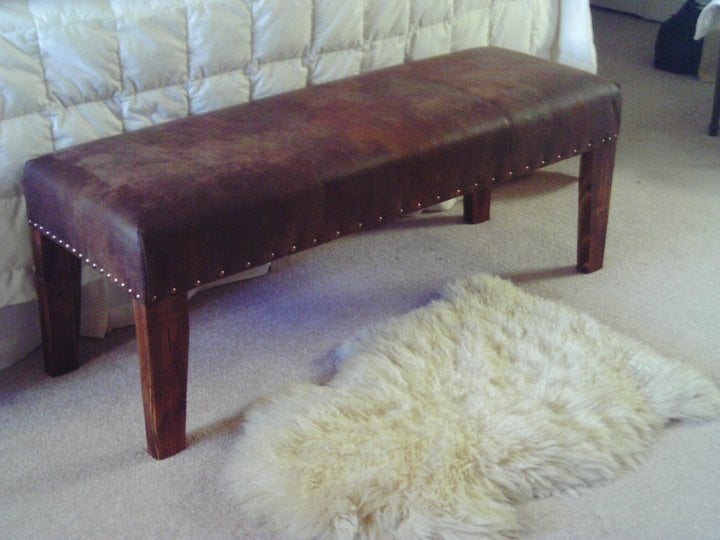
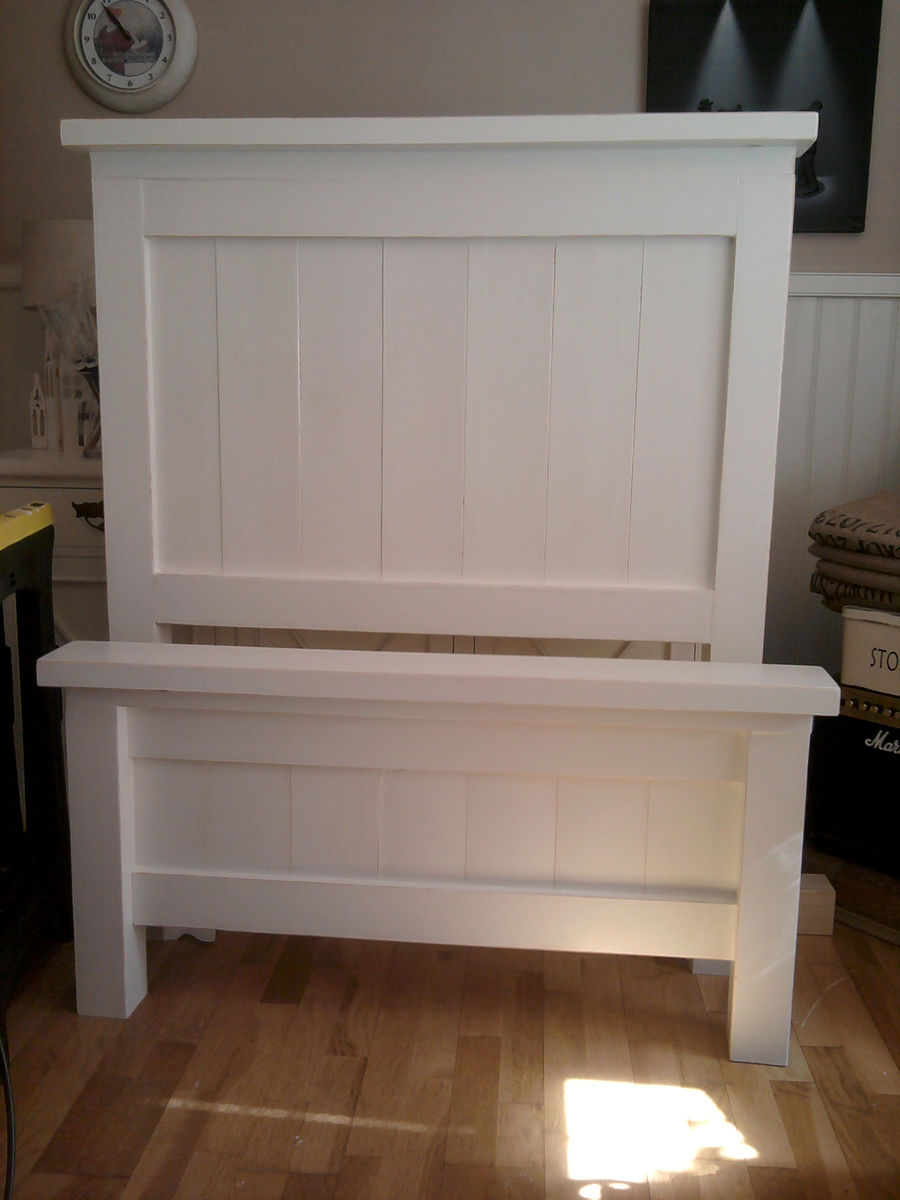
I finally got around to building the first project on my list. I needed more storage in my room so I built the storage bench from the plans. I did tweak it a little to make it a bit wider so that it will neatly match the width of my bed. I may get around to making a cushion for it but right now it serves as a nice tray to hold my wallet and other various sundries.
I had the guy at Lowe's cut the wood for me. Next time I'm borrowing a friend's saw, because the cuts were less than accurate.
Built from Plan(s)
Estimated Cost
30
Estimated Time Investment
An Hour or Two (0-2 Hours)
Finish Used
Minwax PolyShades [combo polyurethane and stain] in the Mission Oak color. I used two coats and rubbed it down with 00 steel wool between coats.
Recommended Skill Level
Beginner