Living Room Console
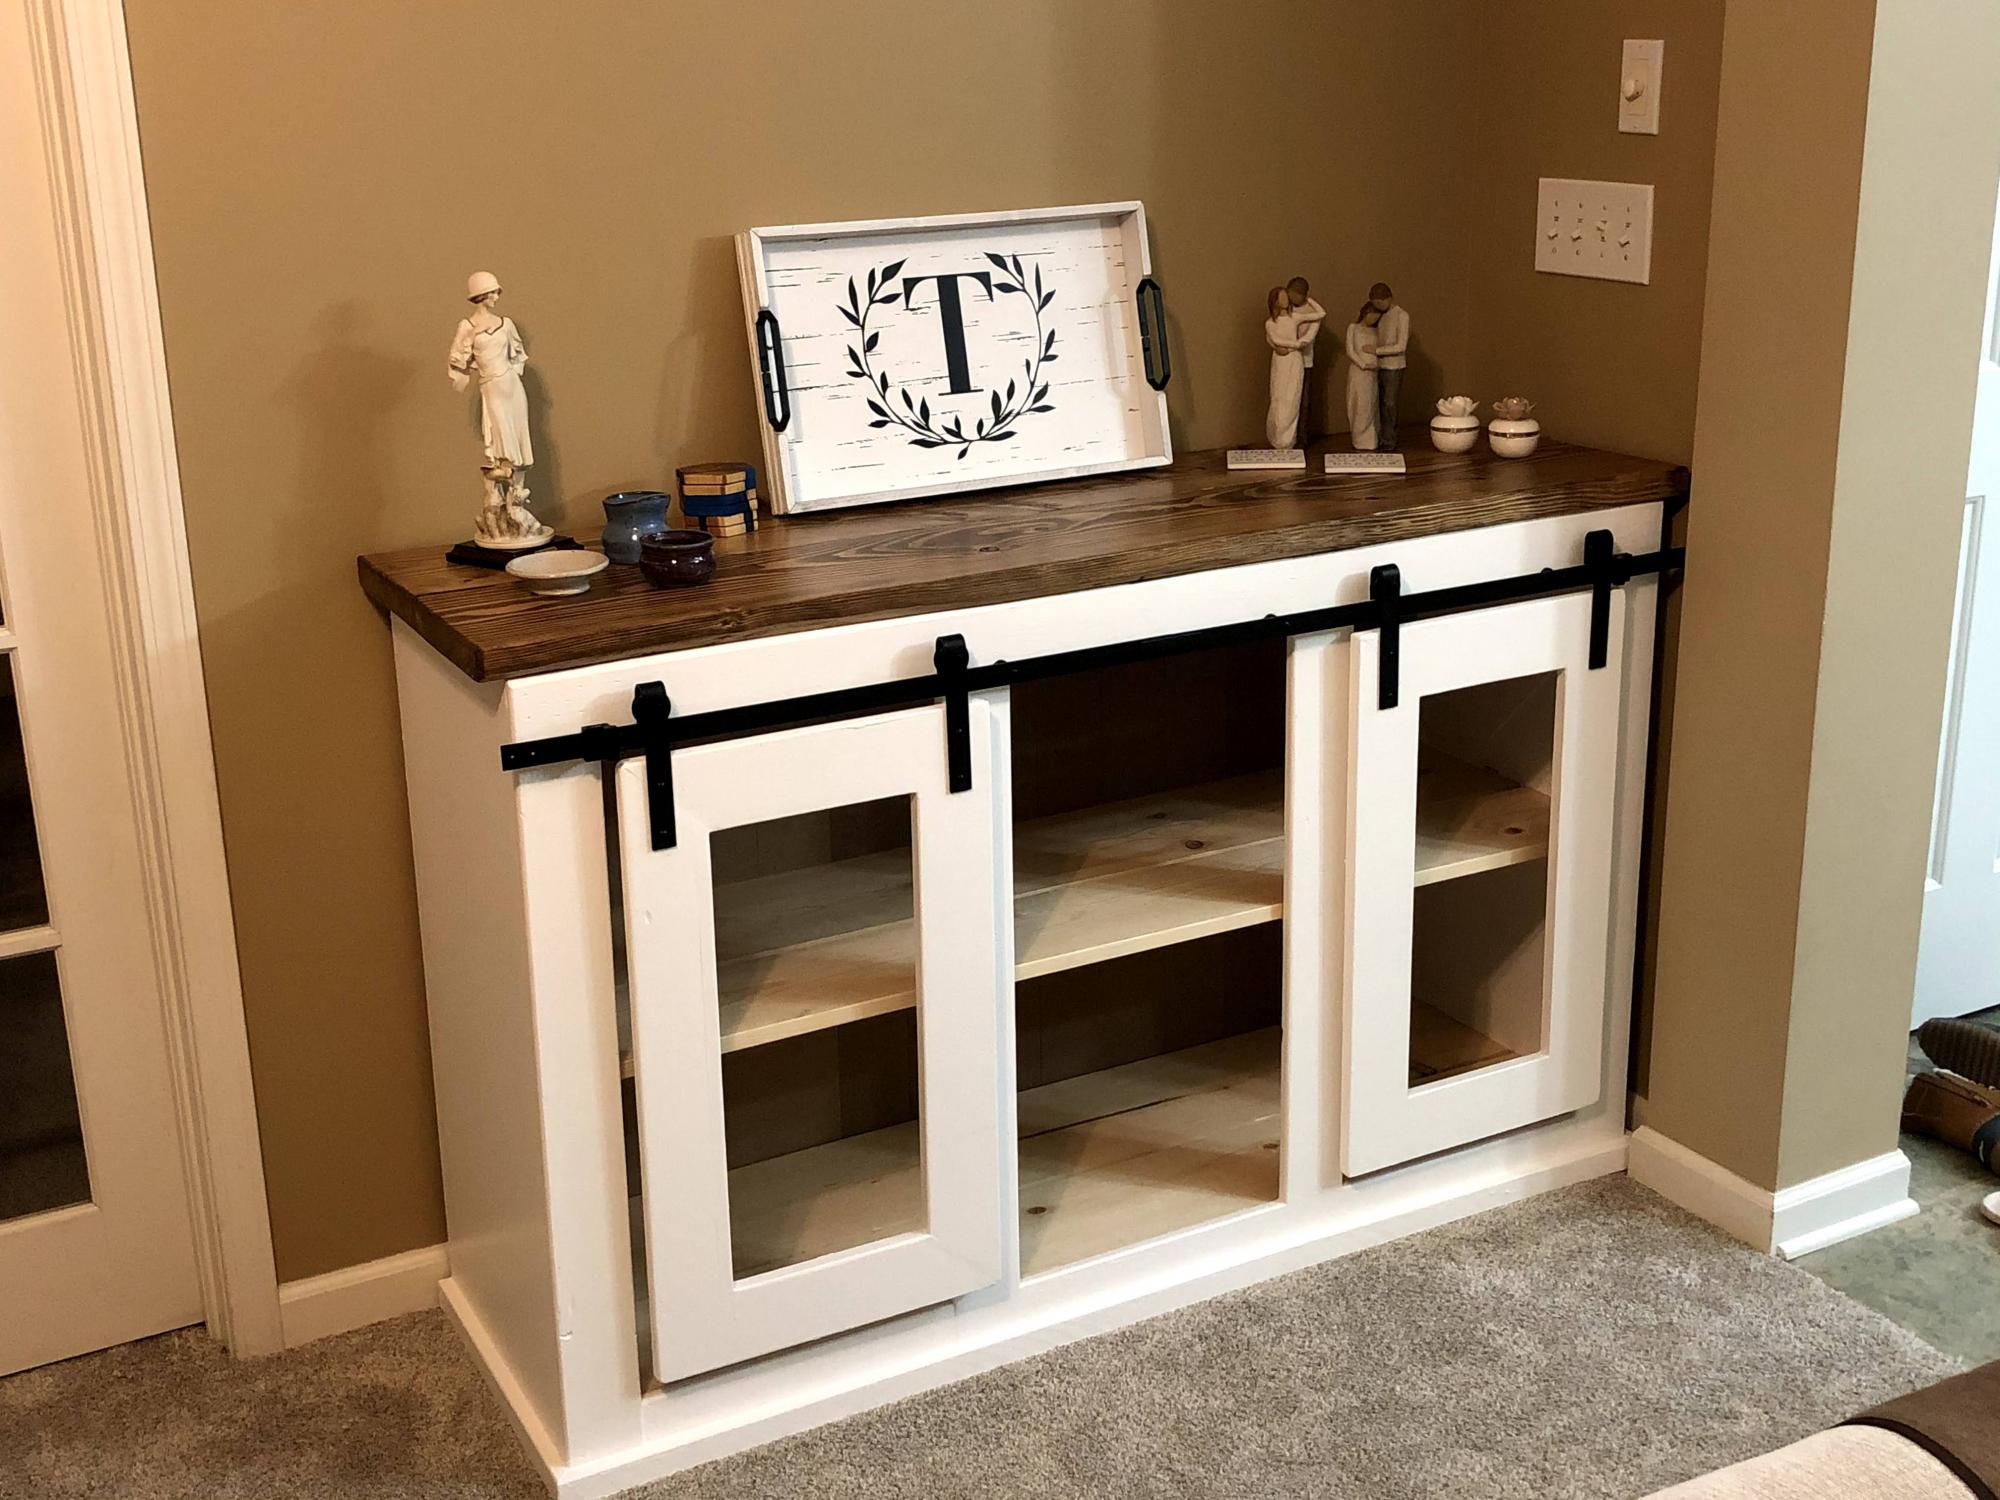
My first project completion based on Ana White plans

My first project completion based on Ana White plans
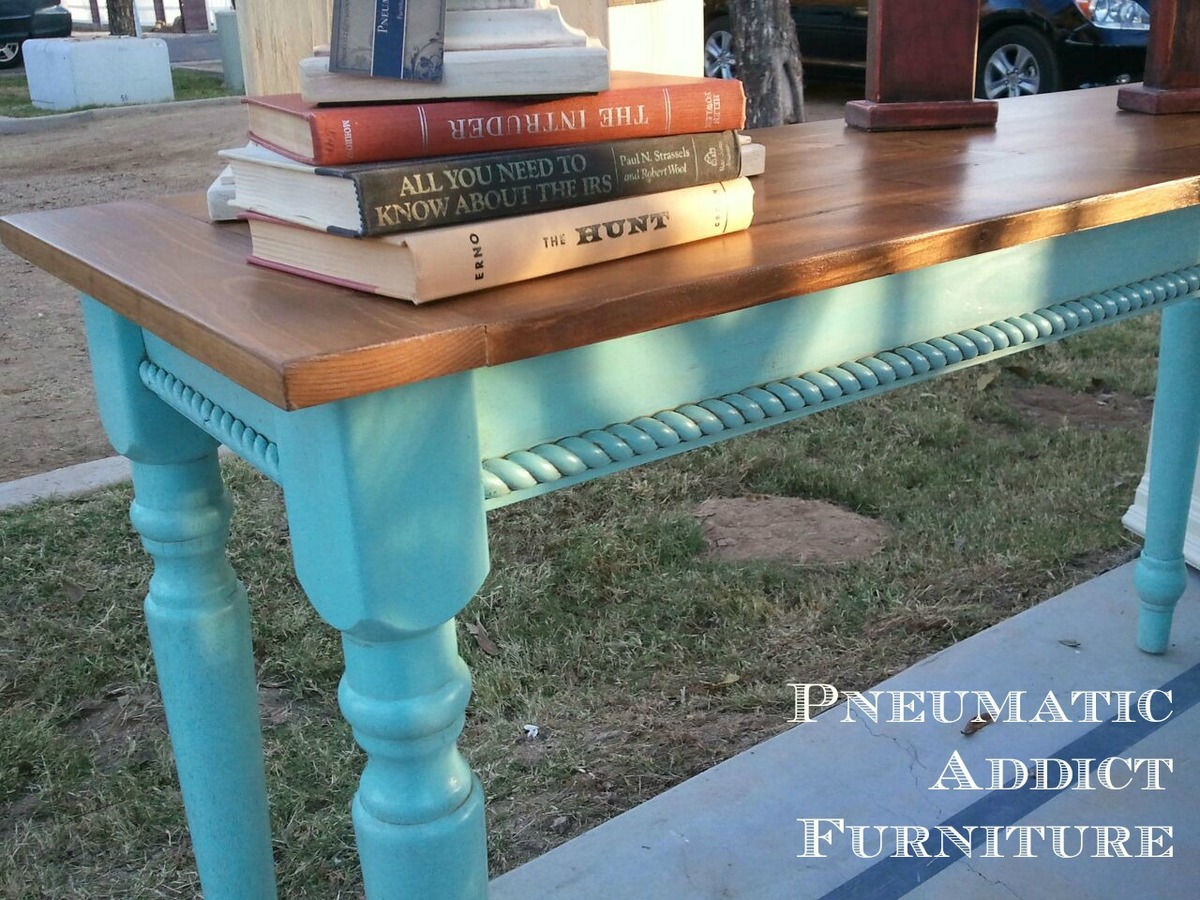
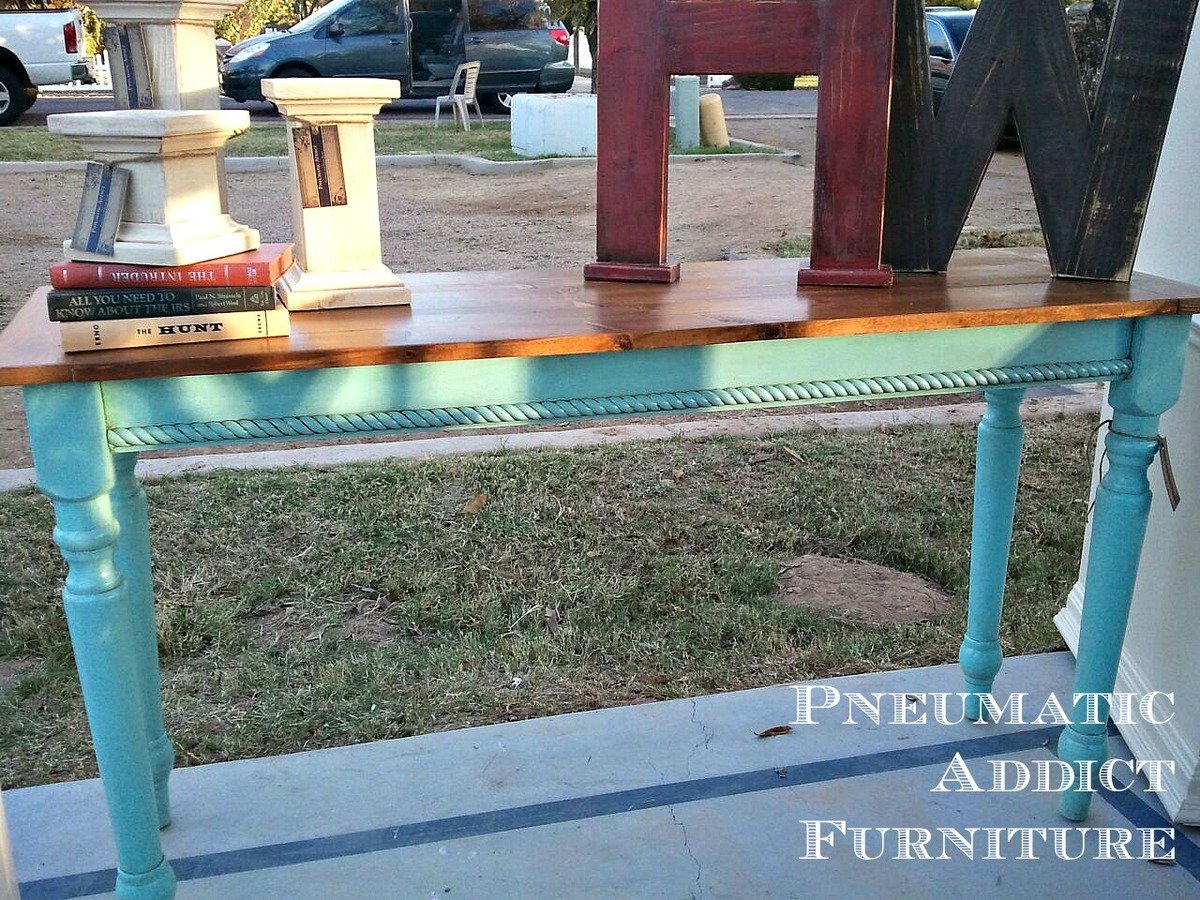
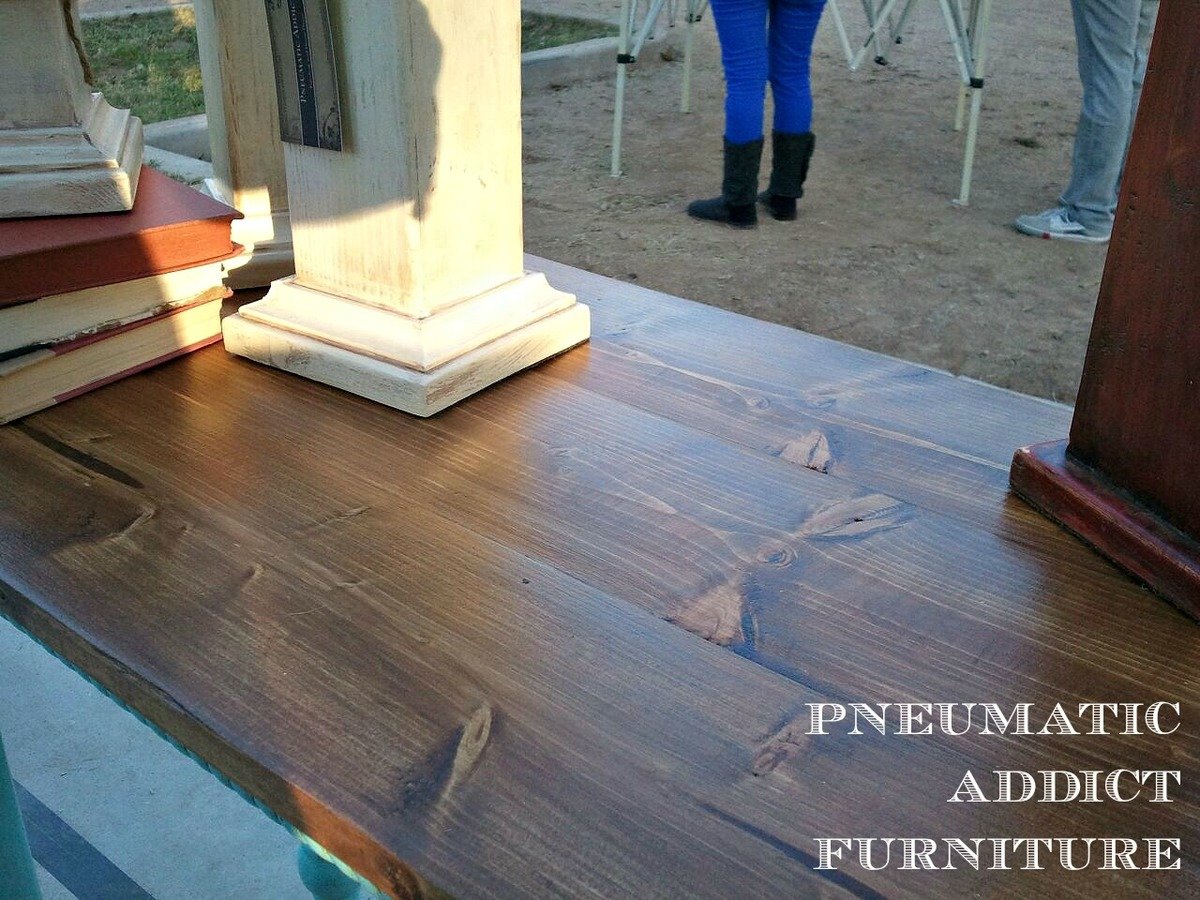
This is a pretty basic console table I built for a craft show last month (that's why I don't have better photos). I started with the top. Using my Kreg Jig, I pocket holed 3, 1x6's together and added some 1x4's to make breadboard ends. For the base I used reclaimed table legs from a table I bought at a garage sale for $5! The aprons are 1x4's, pocket-holed to the legs. I did add some diagonal support blocks in each corner to keep the whole thing square. Using pocket-holes once again, I attached the top. I then simply measured the aprons, cut the rope trim and attached with glue and 3/4in finish nails. I have a few more projects like this featured on my blog http://pneumaticaddict.blogspot.com .
Wed, 01/09/2013 - 09:29
Beautiful Job! Looks amazing! I love the stained top and the color on the bottom!

We made these toy chests for baby shower gifts. We followed the plan for the most part. We skipped the notching on the front of the chest, and opted to upholster the top. I added names to the front as well to personalize them a bit as well. Overall, it went pretty smooth, once we got going. The plans were clear and easy to follow. This was our first build off of plans from Ana-White, and I think they turned out pretty nice!
Tue, 11/04/2014 - 08:47
Such a sweet gift - made with love I can tell. Great job!

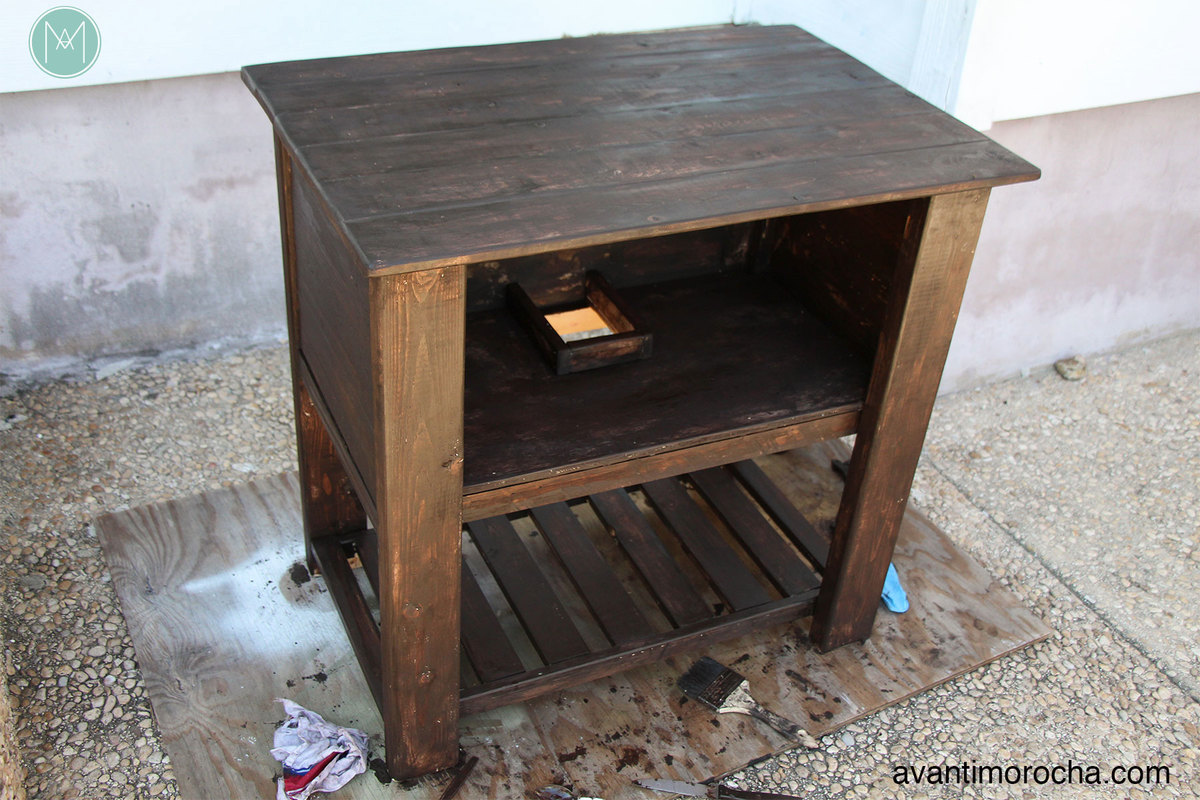
My husband and I decided that the best way to keep our guest bathroom makeover on a budget was to build the vanity ourselves.


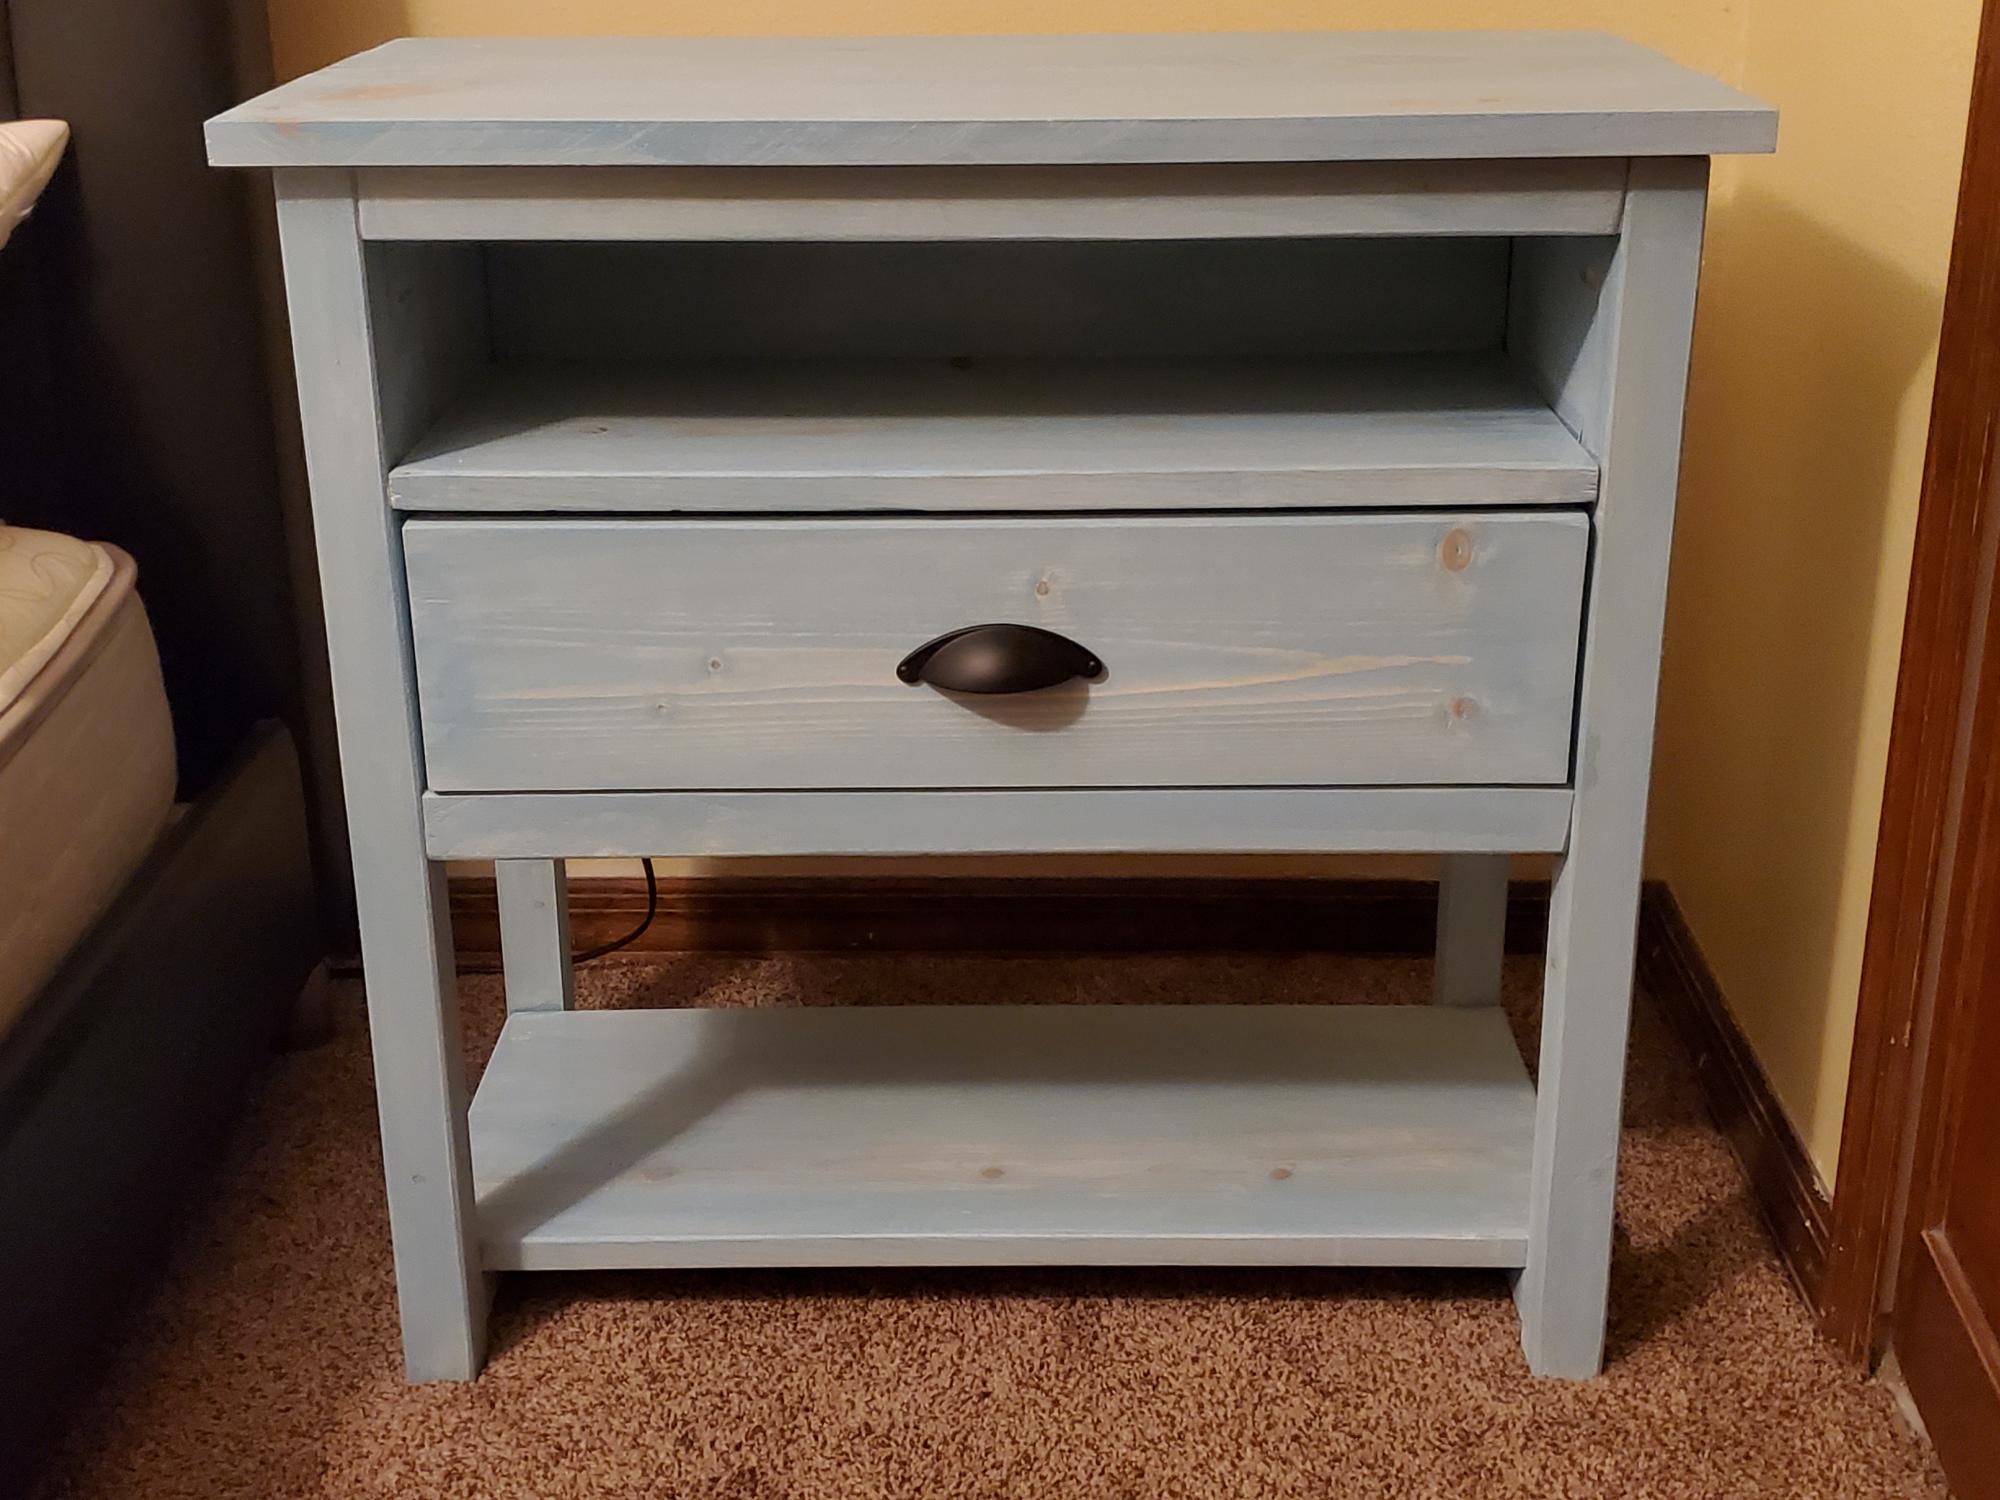
Add shelf between top and drawer. Also added wireless charging to the top.
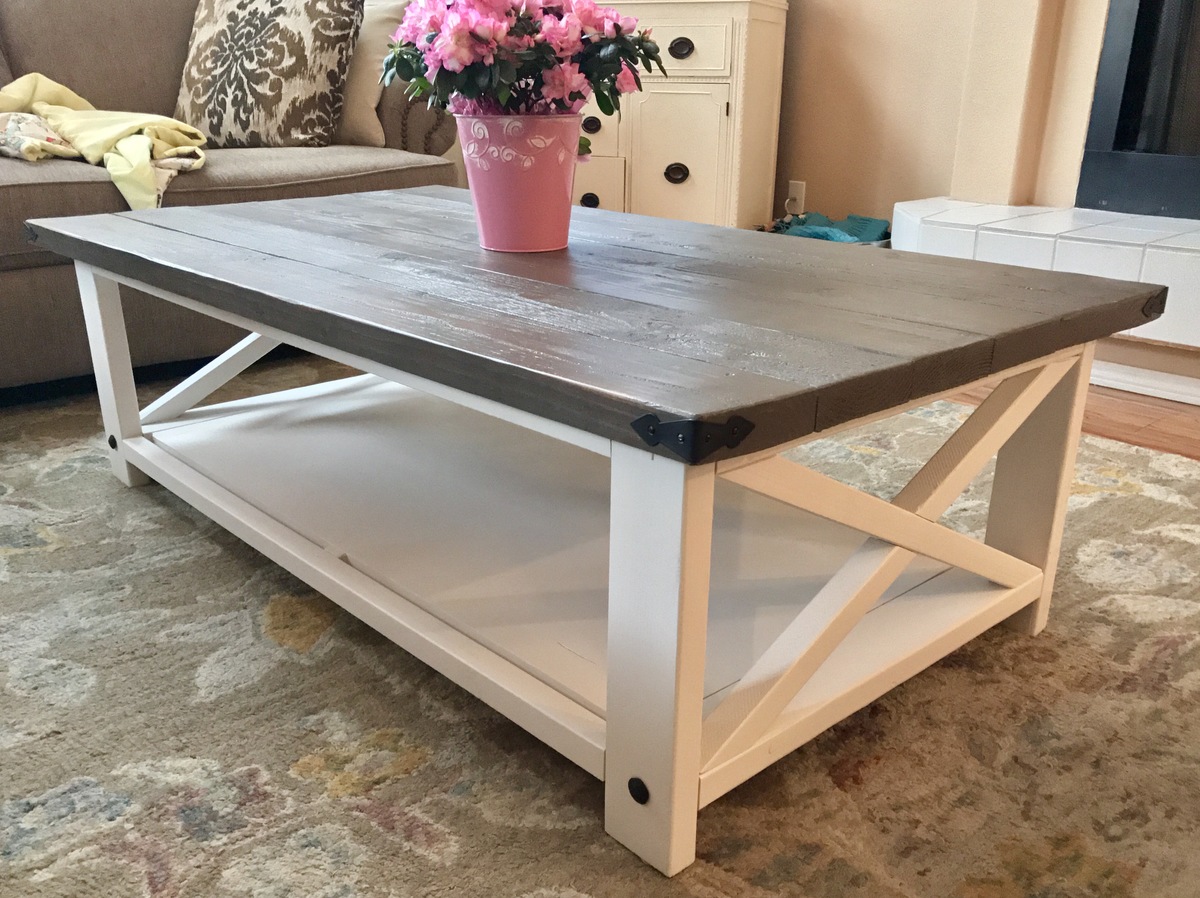
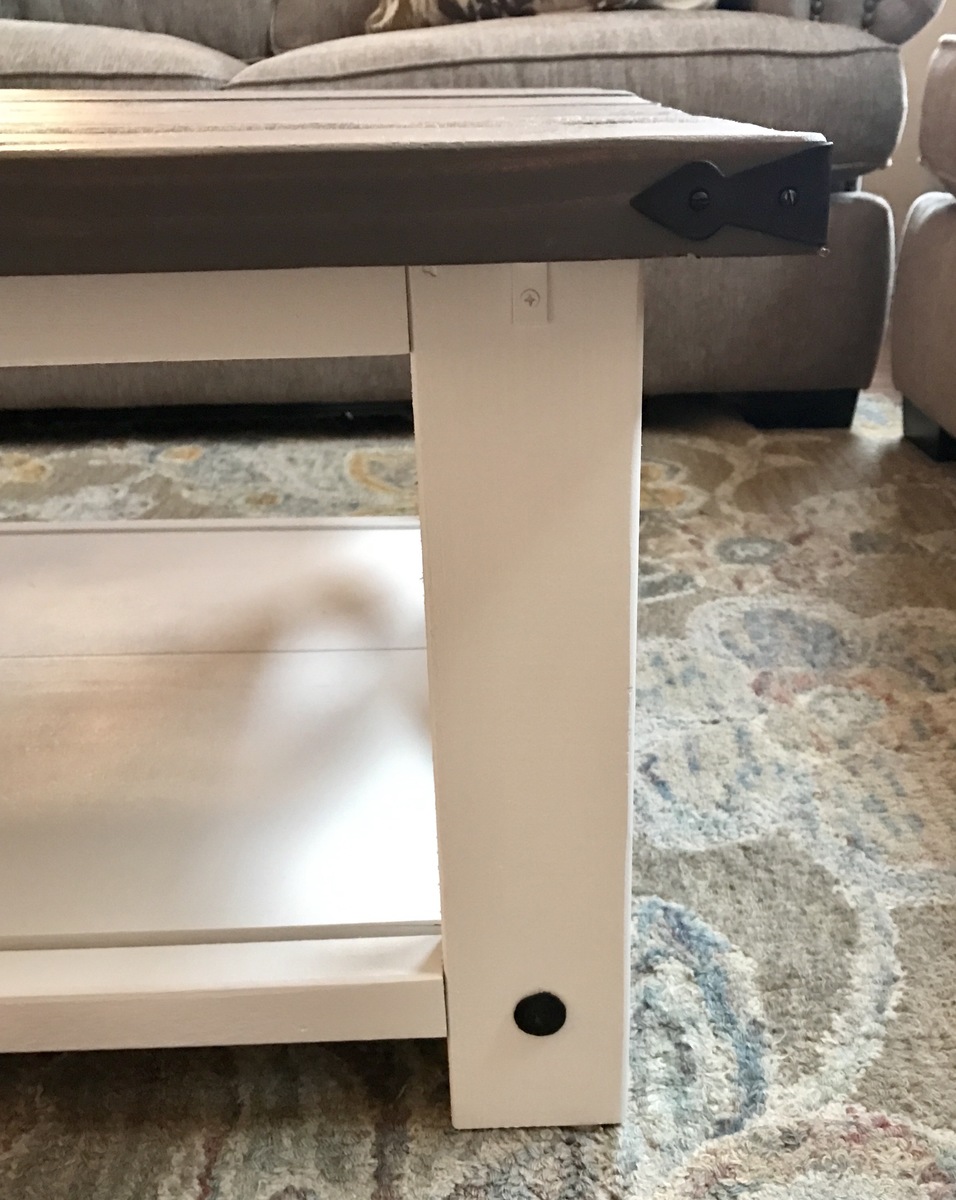
I used upscaled plans for the table that ended with a table top of 60" x 36" that helped match our oversized couches. Fun easy project!
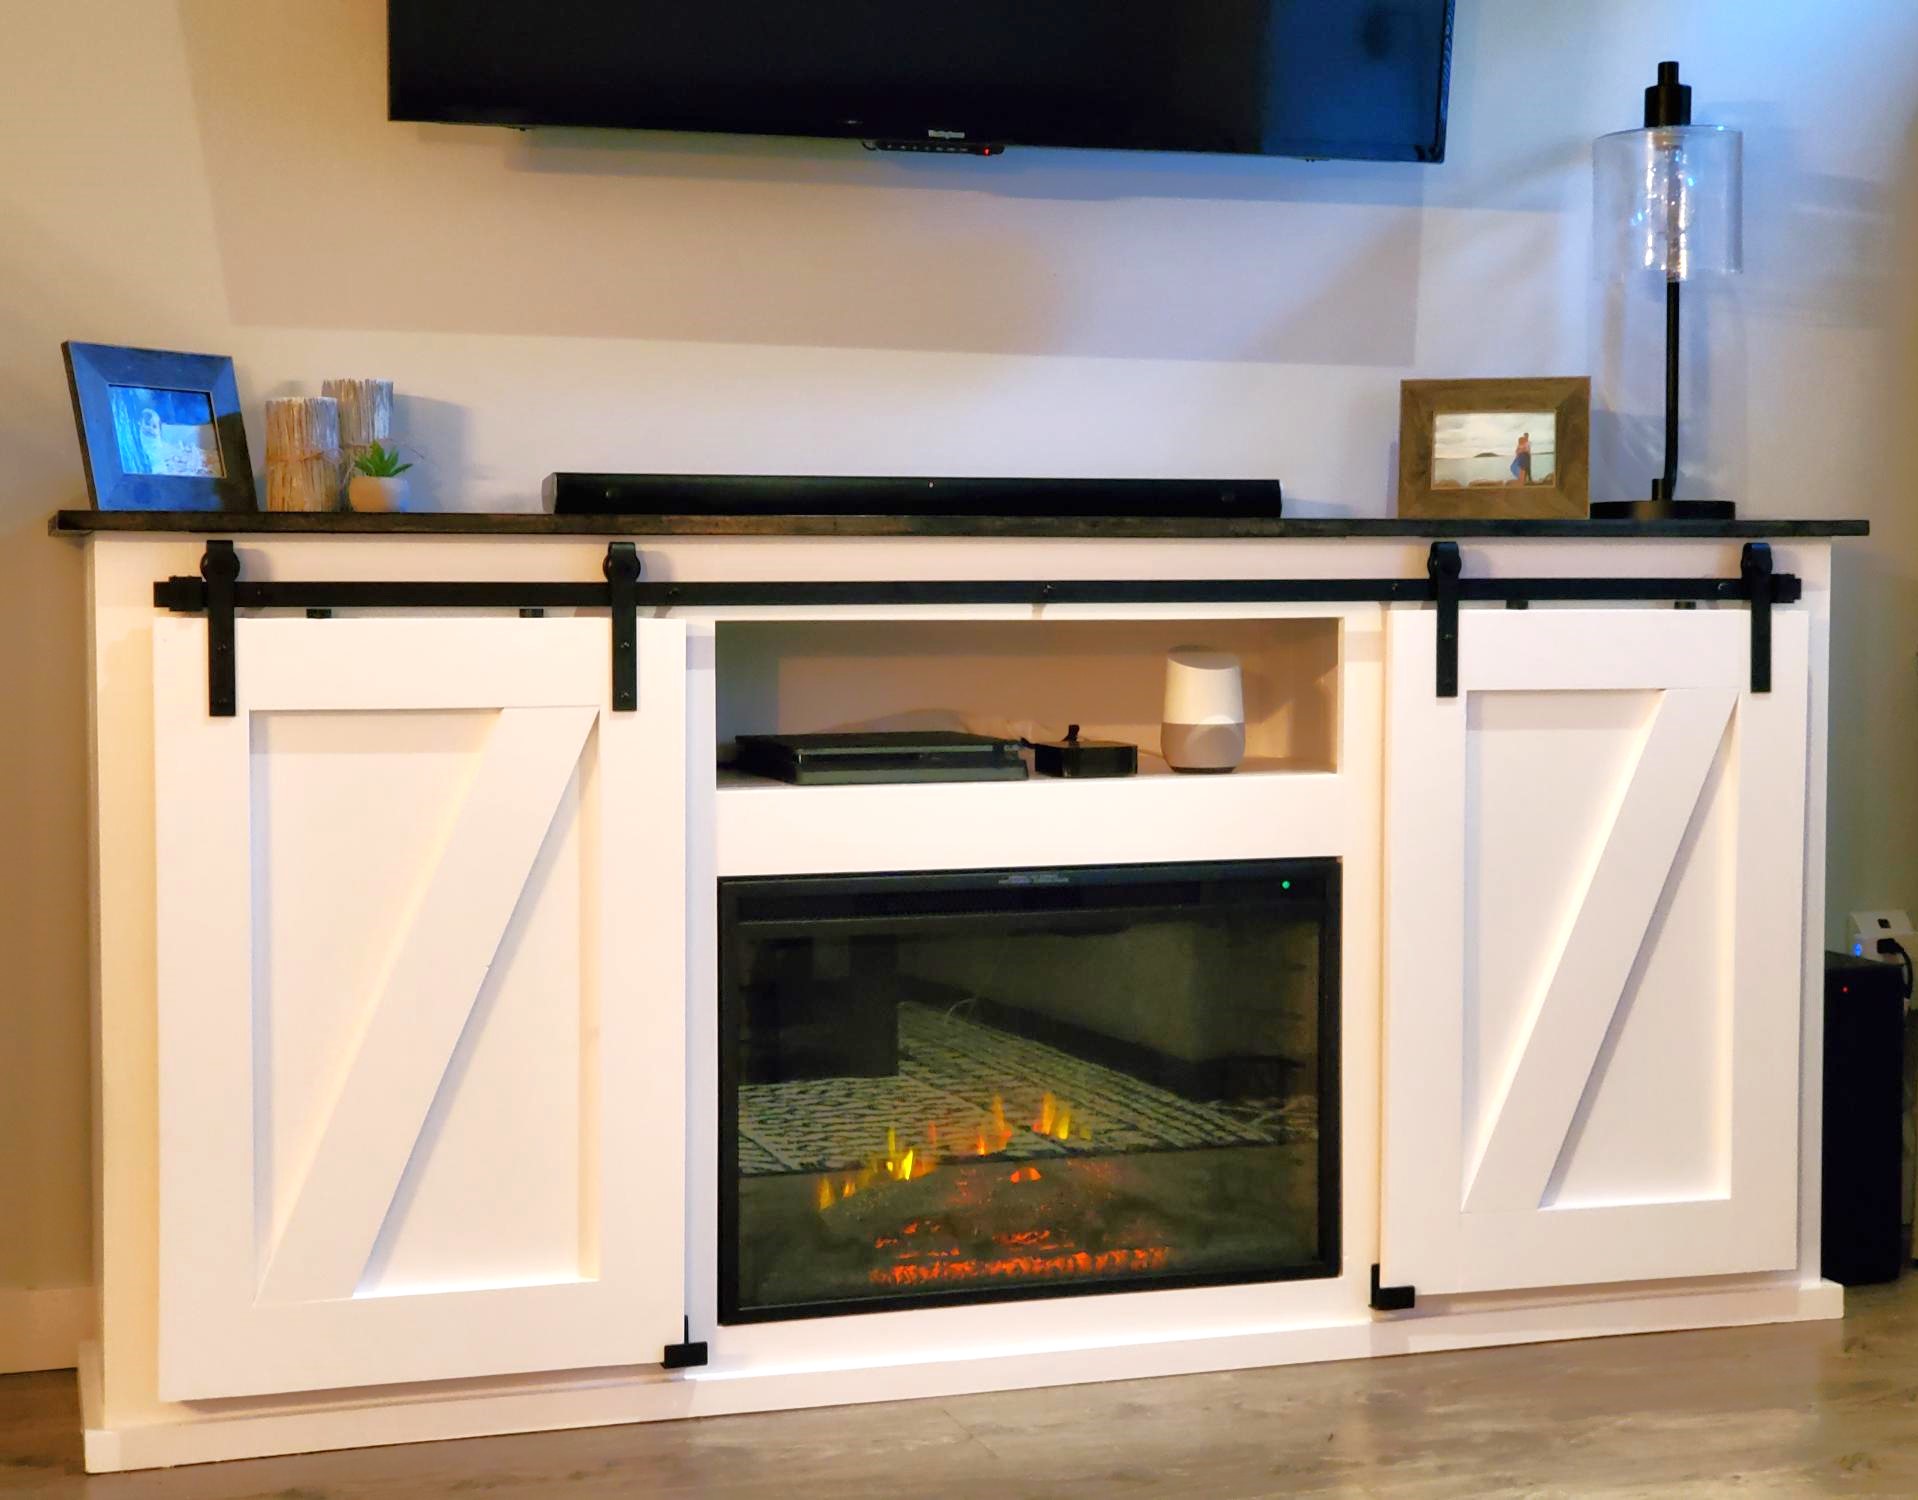
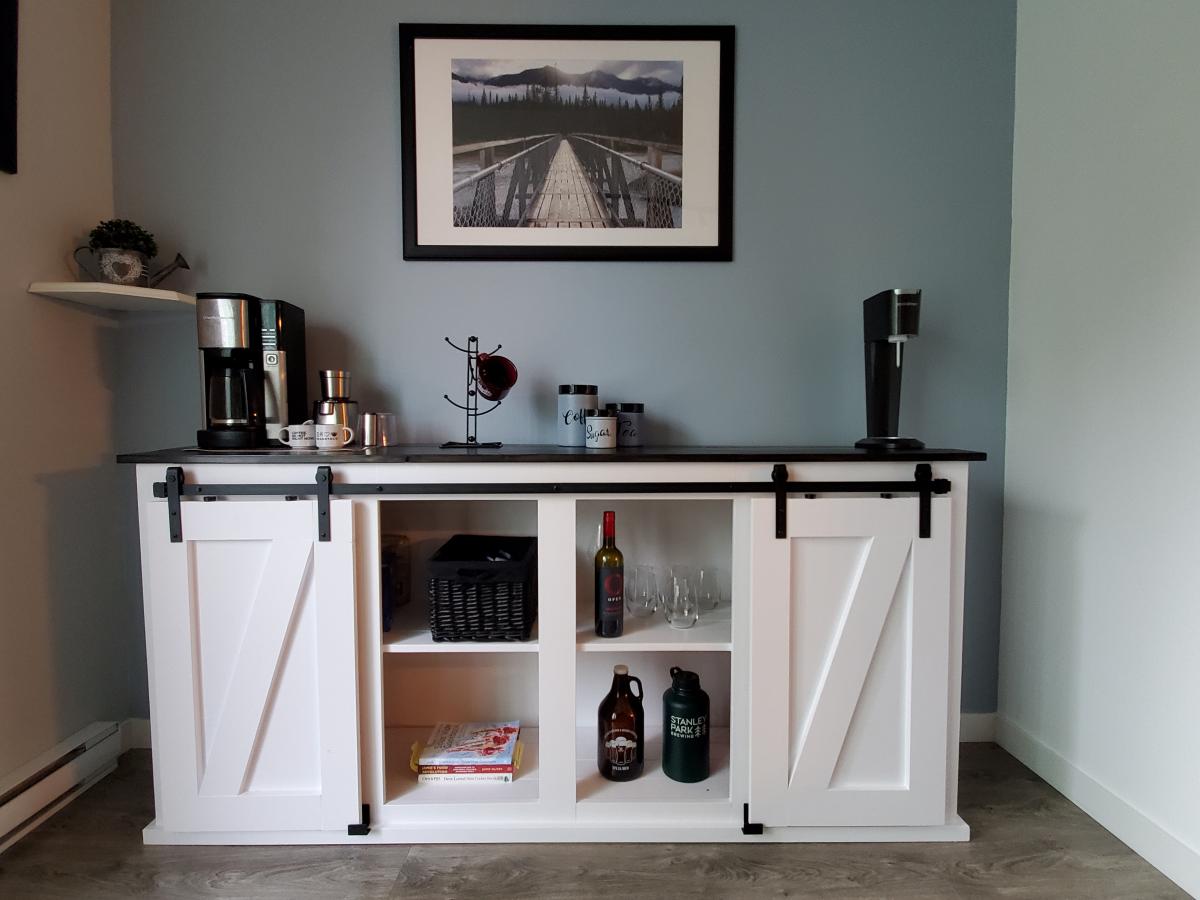
We originally built the original console a while ago as an entertainment unit for underneath our television. We enjoyed the console so much that we decided that we wanted to do another modified console with a fireplace in it and make the other one into a buffet/storage area for the dining room.
Both of these are fairly modified from the plan, however the basic concepts remain the same. One big thing that we did was use 1x4s as much as possible to reduce the different sizes of lumber we were buying to both reduce complexity and end up with as little as possible scraps.
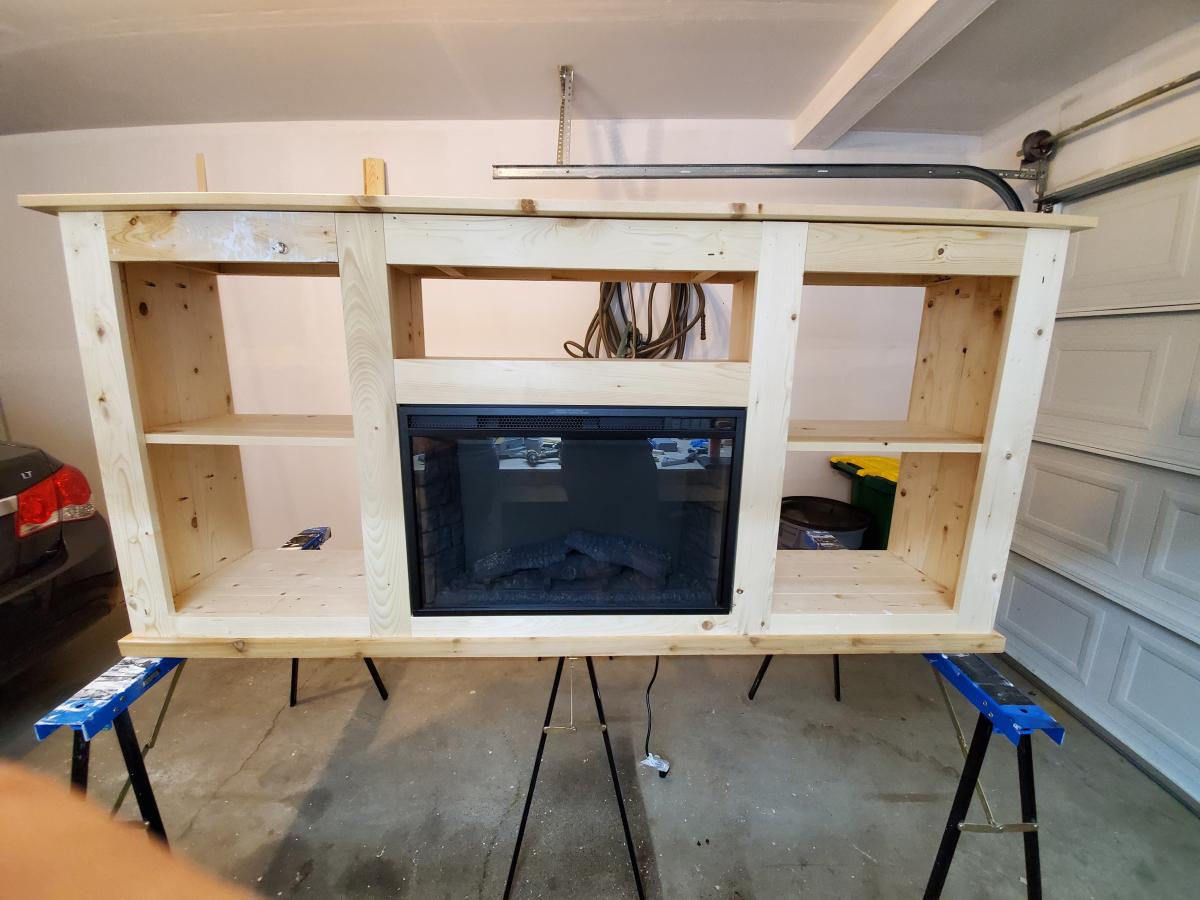
The frames are made of the 2x3s, The sides (4 deep), shelves, middle shelves and face frame are all 1x4s. The back and inside frames are scrap plywood. The top is 1x6s.
The addition of the fireplace was not difficult. What it did require us to do was to add the centre section and essentially create a box that is closed to the outside cabinets. If it were not closed off it wouldn't support the fireplace insert correctly. The important piece with the fireplace is to ensure you have enough clearance on the top and sides to allow the fireplace to mount safely without overheating. The nice thing about this setup is the additional shelf above the fireplace which we used for electronics. The wires go through the back of the cabinet and it looks very clean.
These are probably my favorite things I've built this year. They're simple to make and add a lot to any living space.
Tue, 01/12/2021 - 19:34
This is beautiful! Any tips on how your built the box around the fireplace?or pictures?
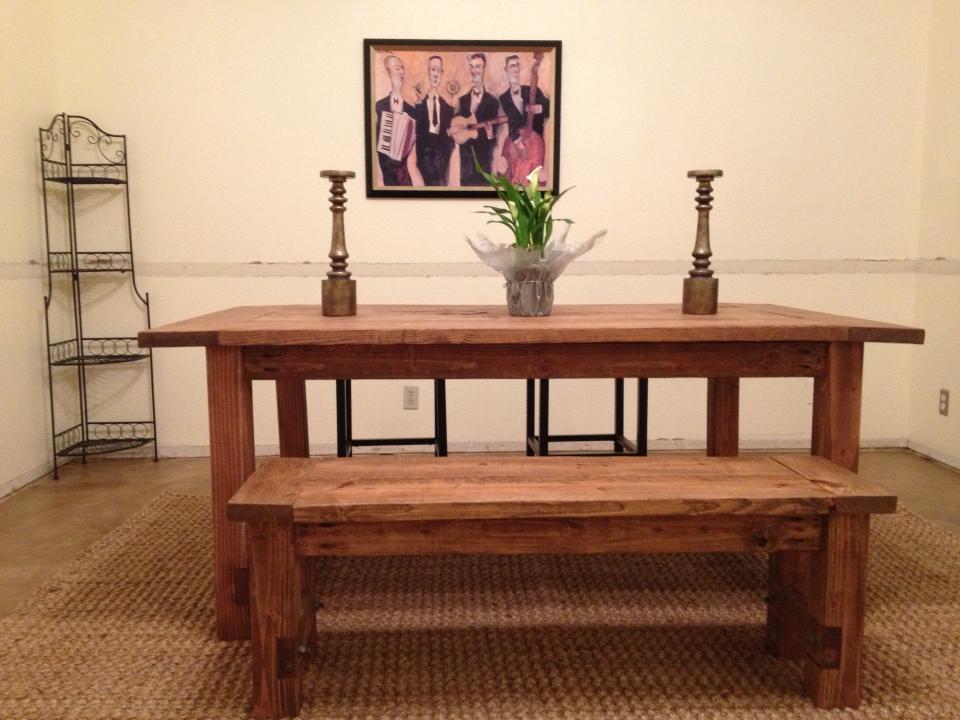
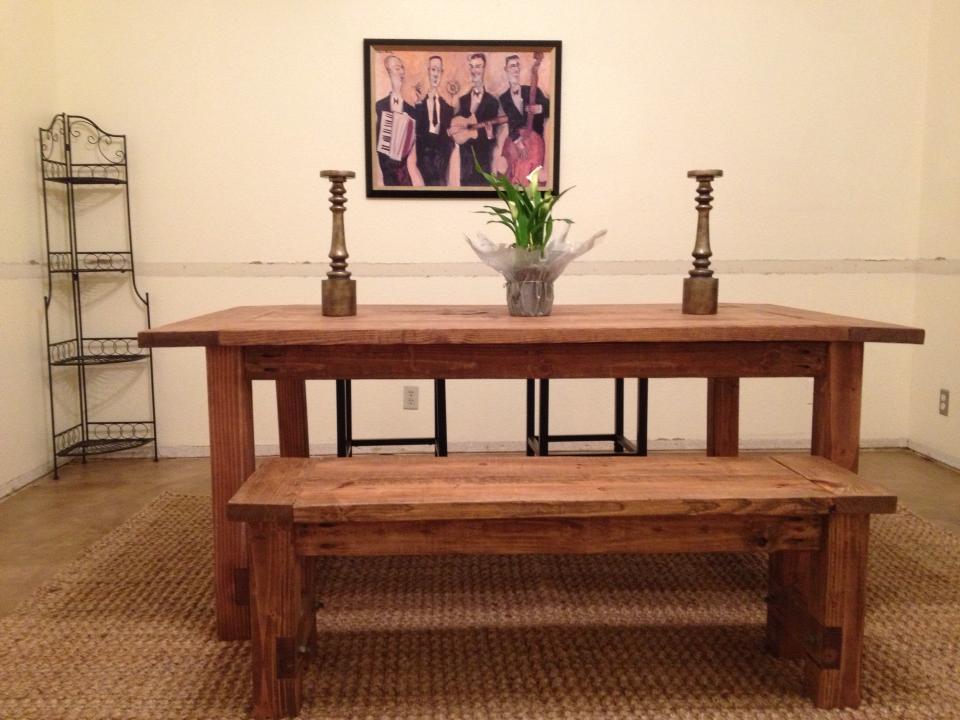
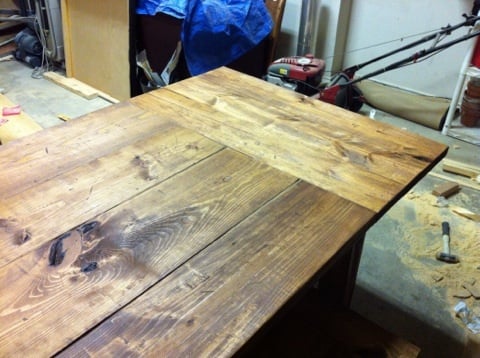
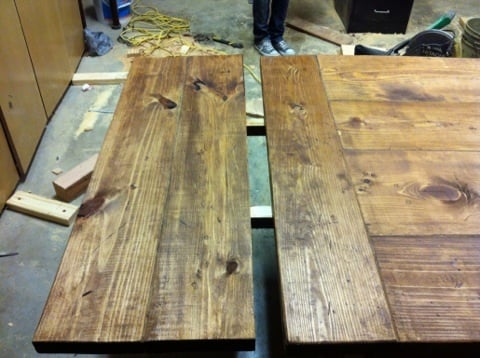
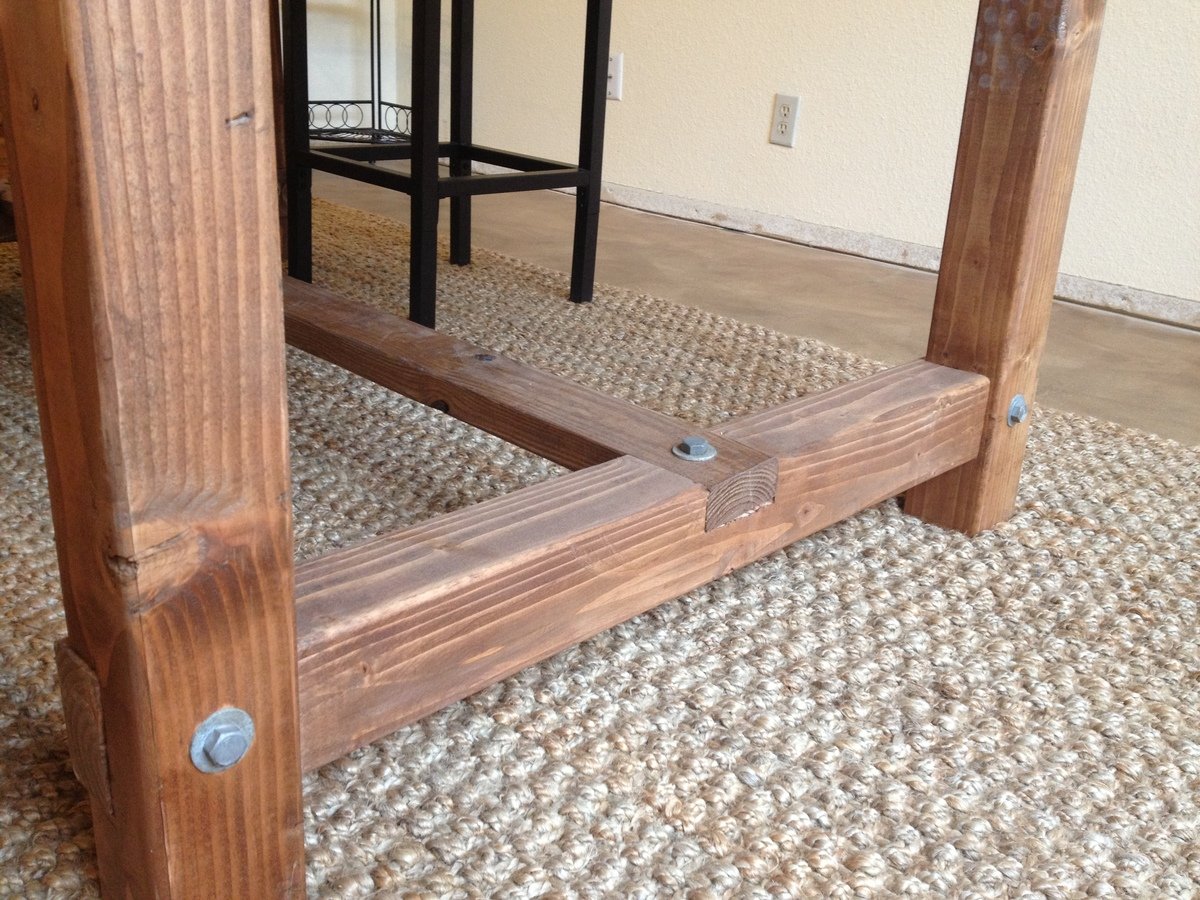
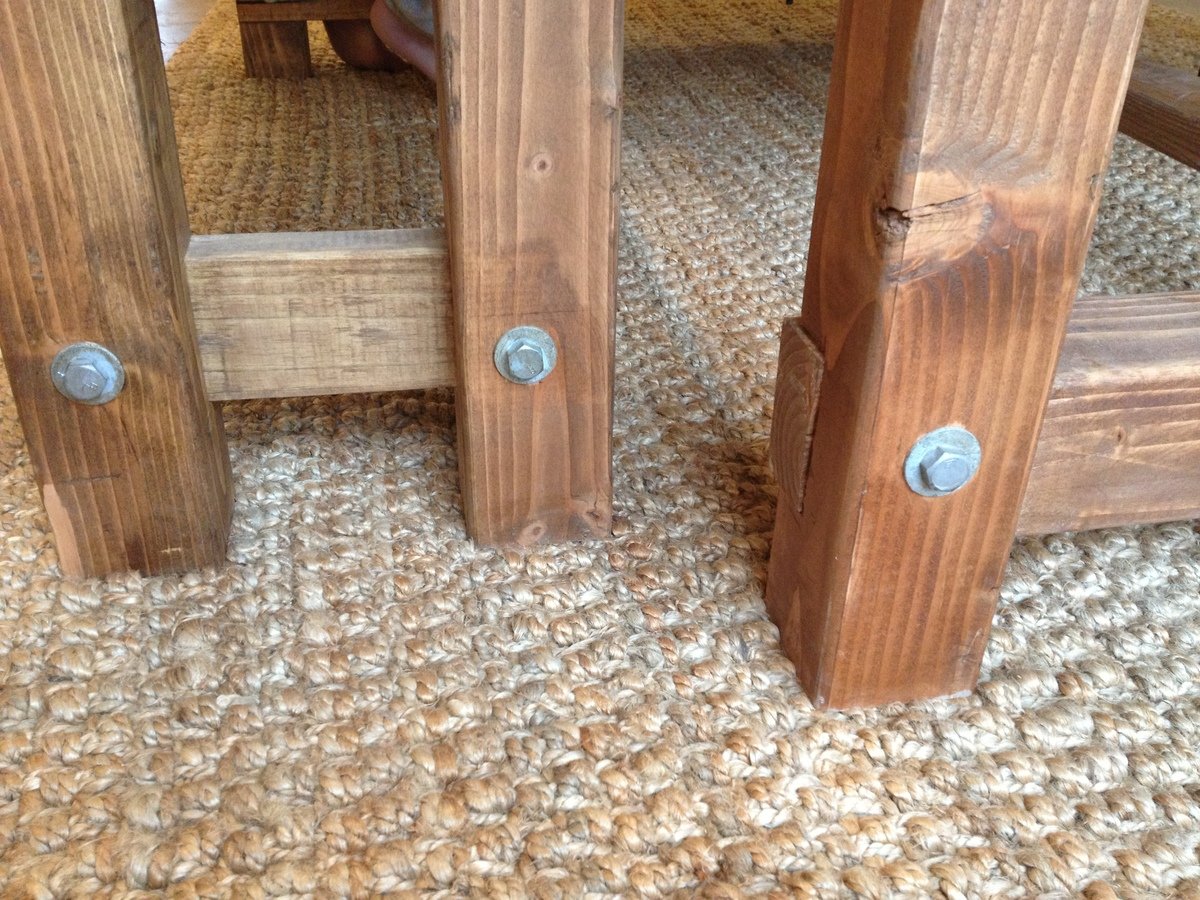
it was a great project i made a few mistakes here an there but i really like the table. and i love the lag bolts makes the table a little more interesting to me.
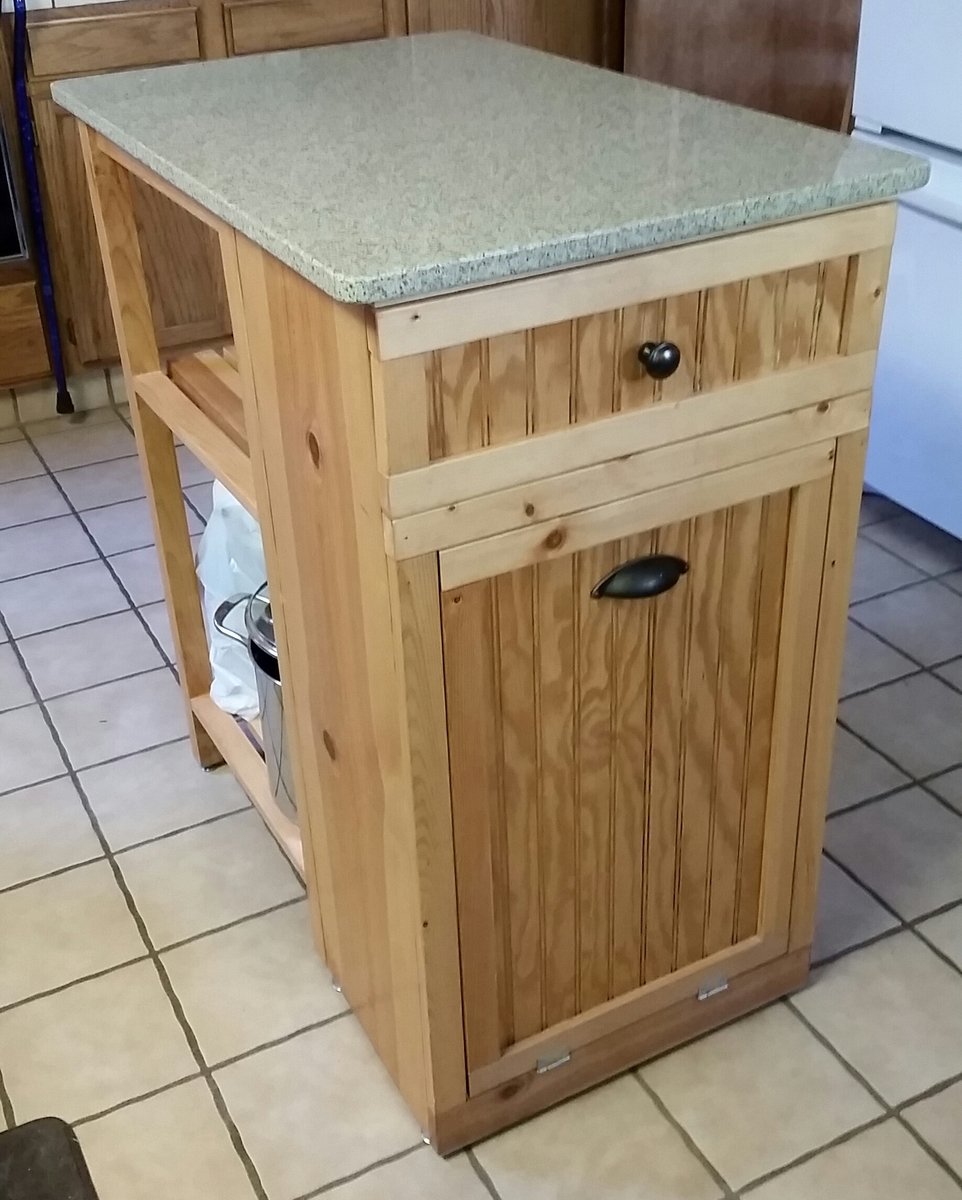
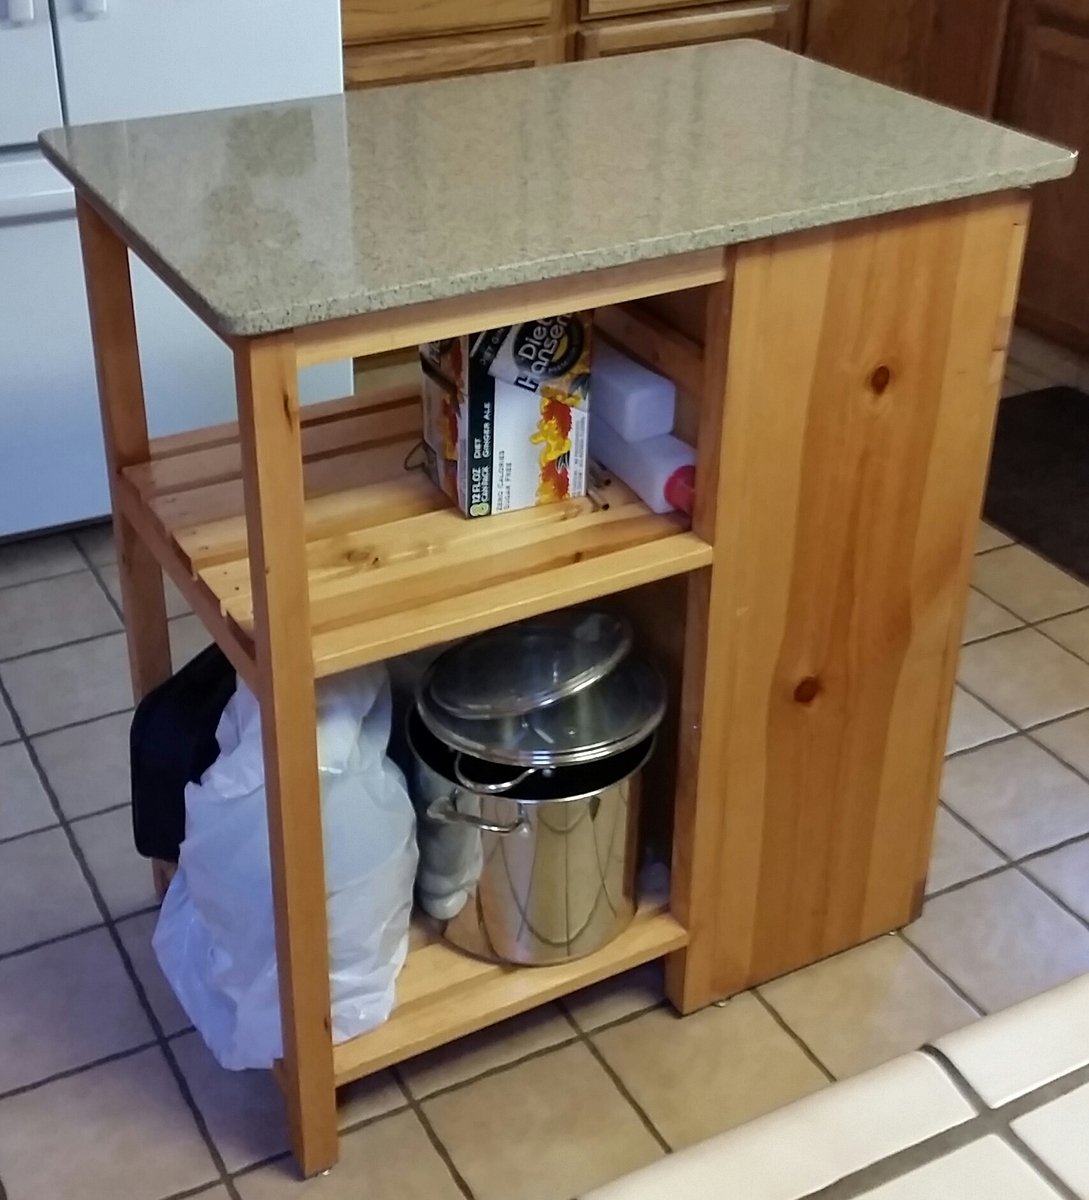
I built this for my mom to replace her small, rolling butcher block. I wanted to add in the tilt out trash cabinet, so I built off the back of it to give her some storage and a bigger work surface. I had a local countertop business custom fabricate the top out of a piece of scrap quartz (that was the spendy part of the project).
Following Ana White's Plan for a Farm Table, we were able to build our own and it turned out perfectly! We also re-purposed chairs to complete the look!

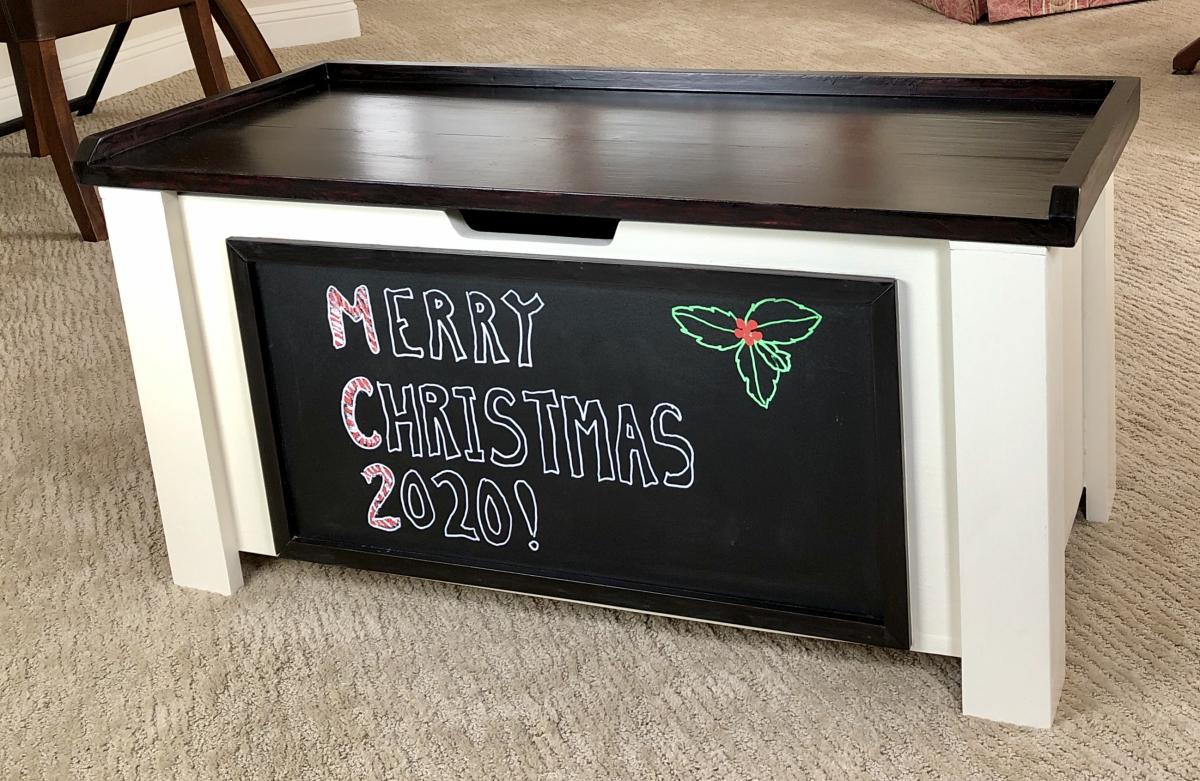
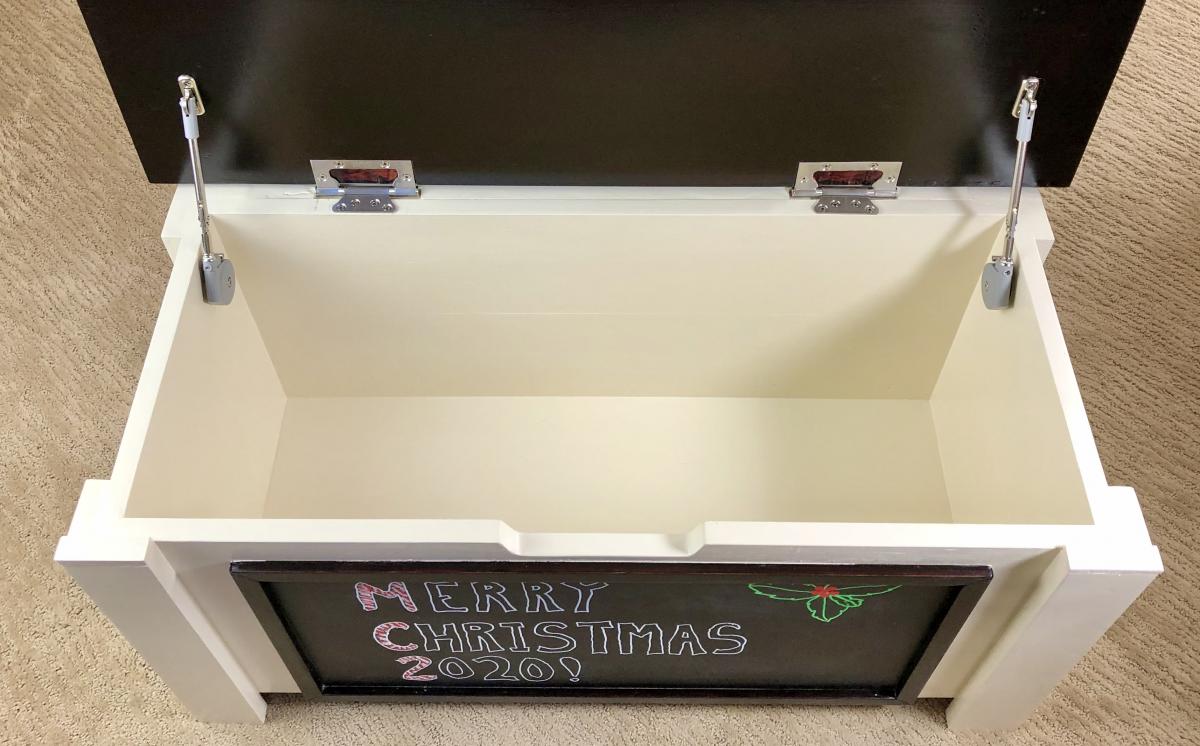
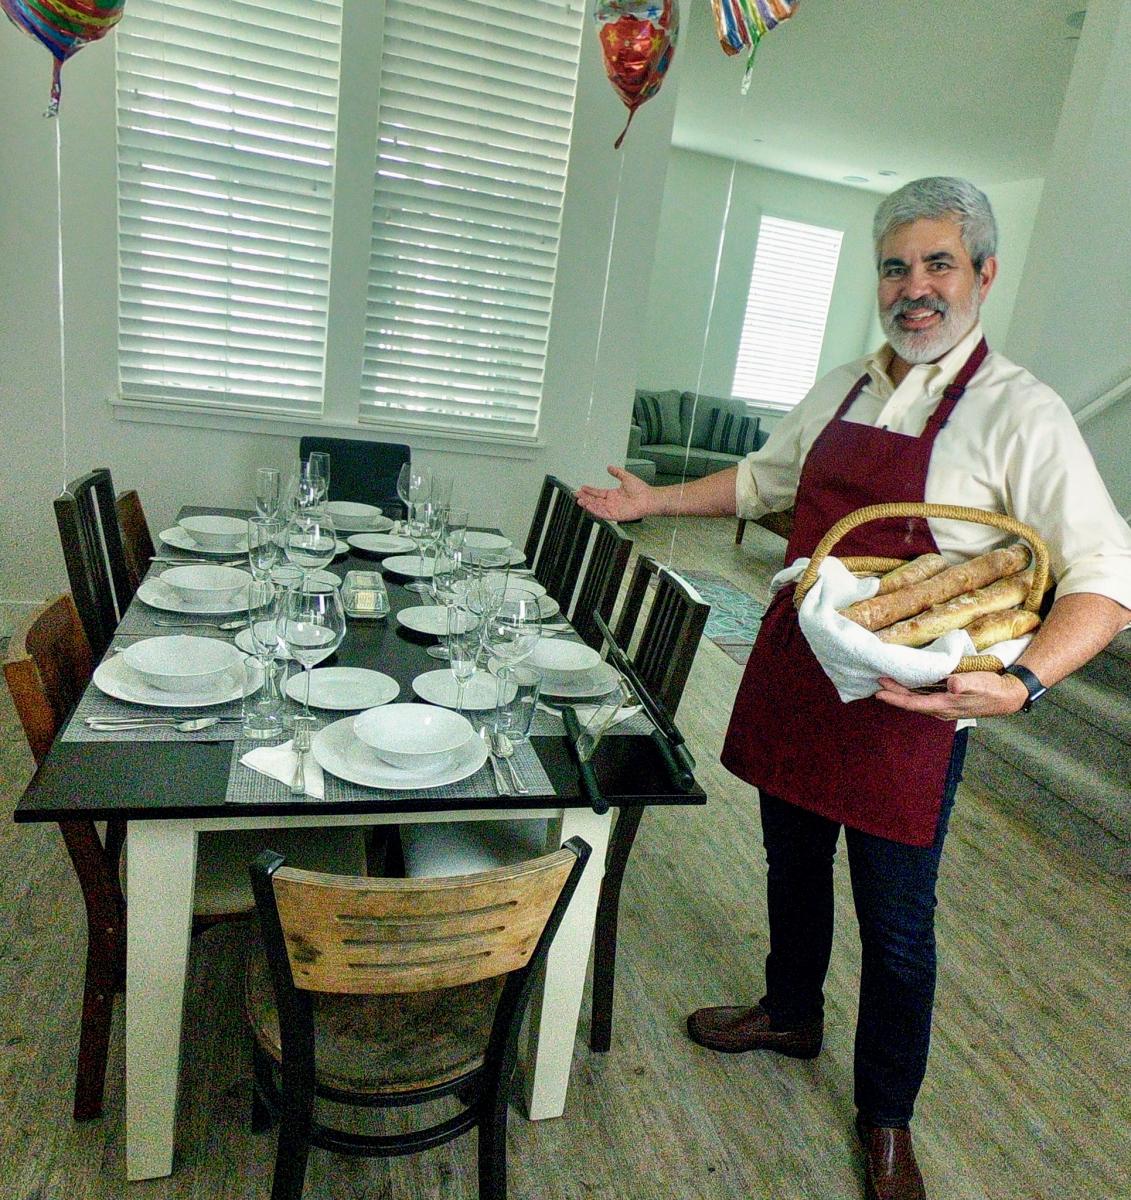
I’d previously made a farmhouse table for my son and his wife (photo below). They had a baby this past August, and I thought a matching toy box for the dining room would be a good Christmas present for our grandson. The design includes a chalkboard on the front. I wanted this to last for generations, and used birch for the project as well as dowel pins to join the boards. When the baby gets older, I’ll build a matching two-compartment cubby to stack this atop, so he can continue using the chalkboard.
Tue, 11/17/2020 - 13:31
The best gifts and they look great! Thanks for sharing and spreading cheer!
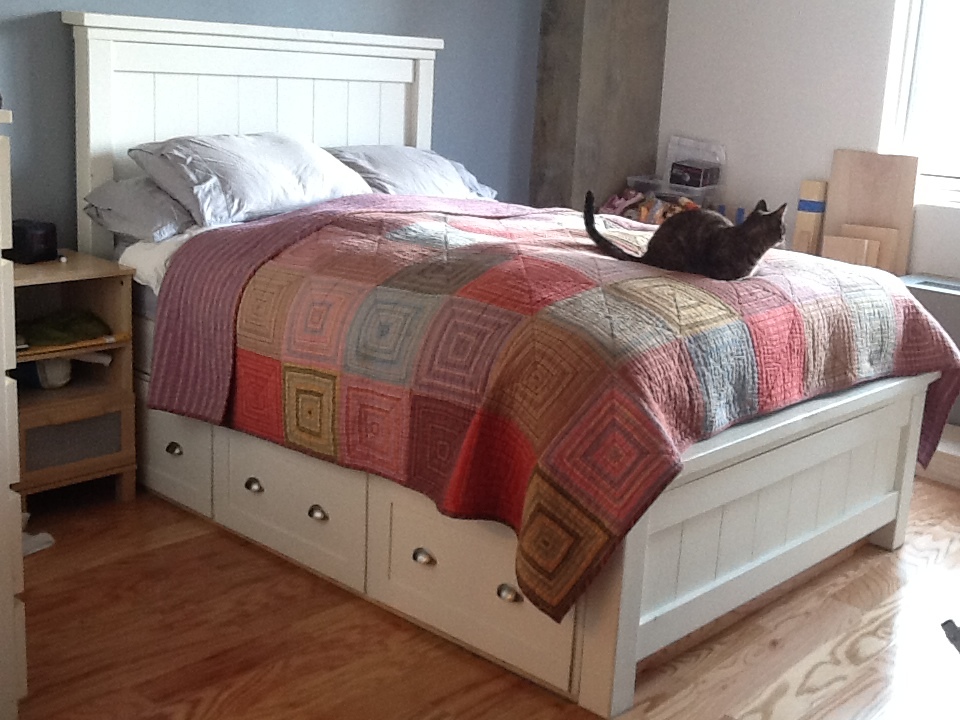
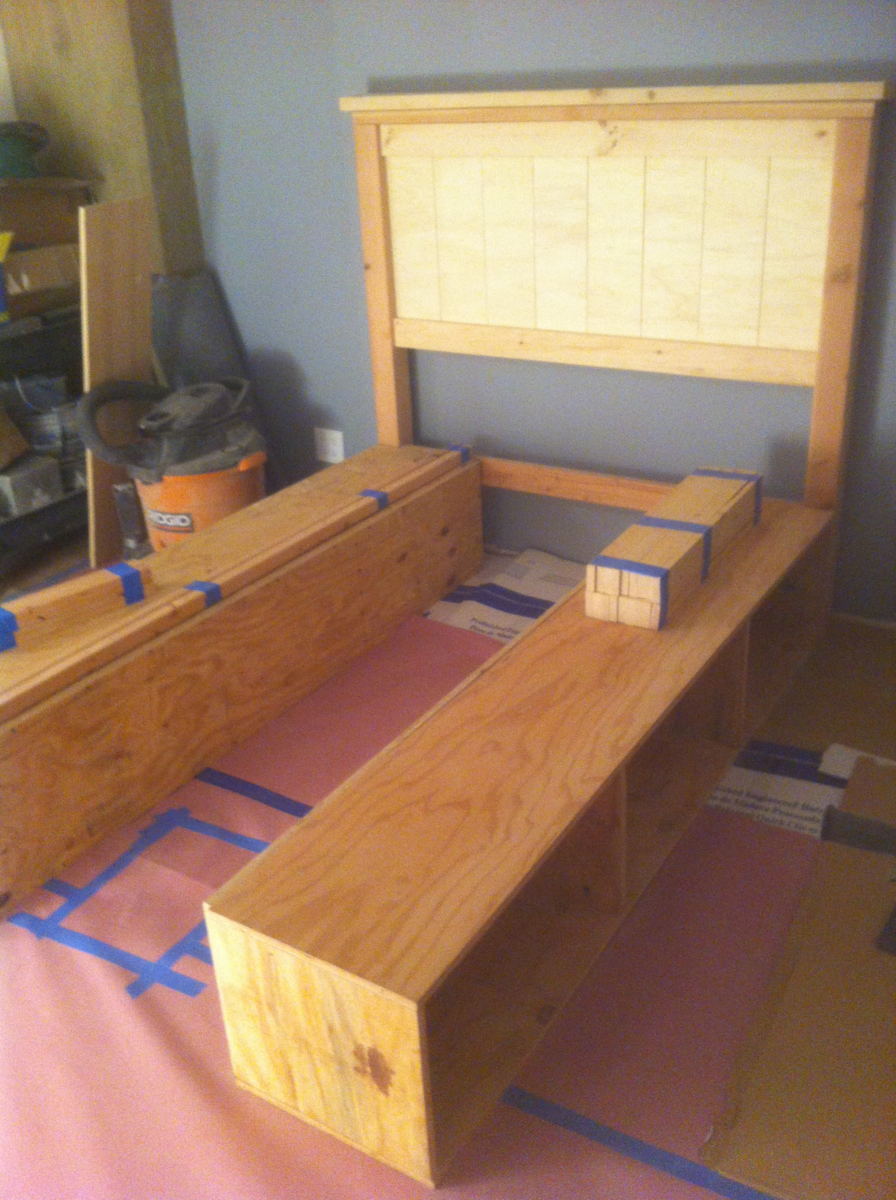
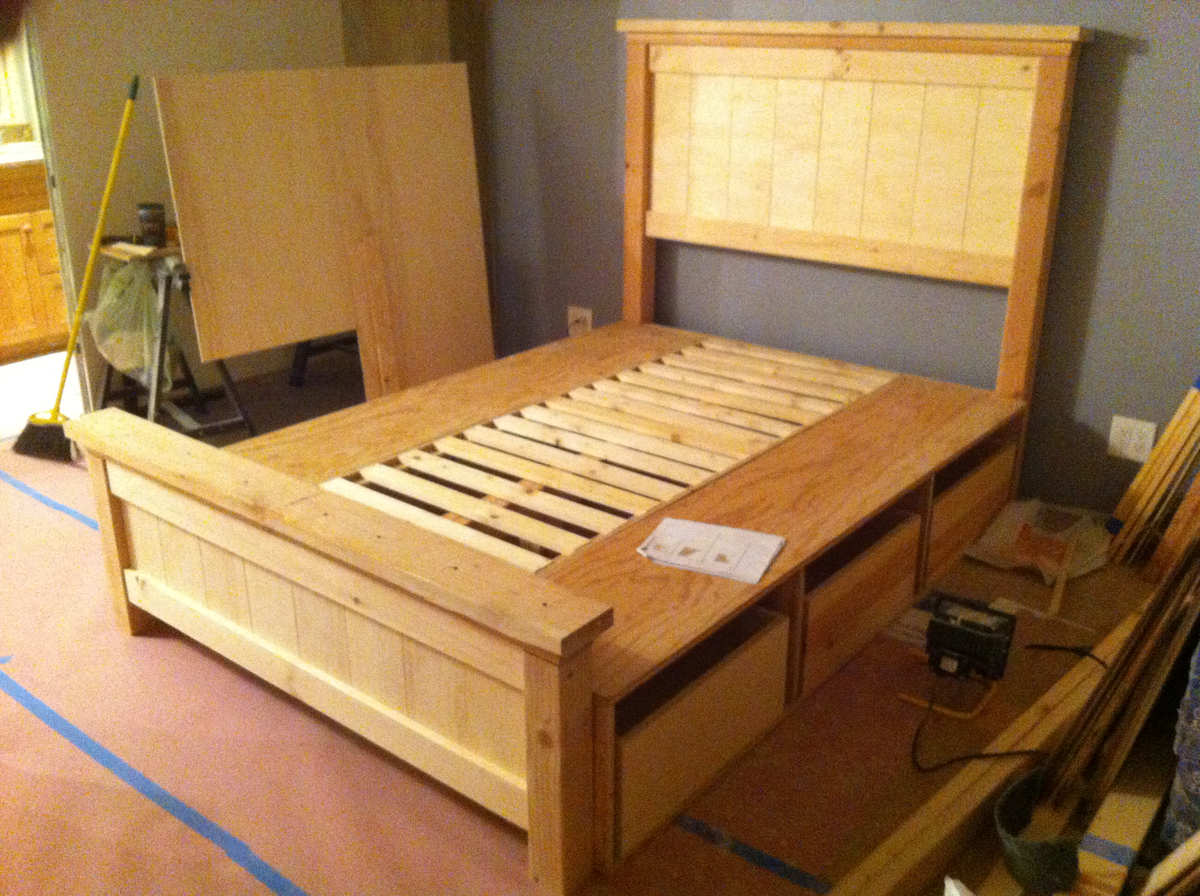
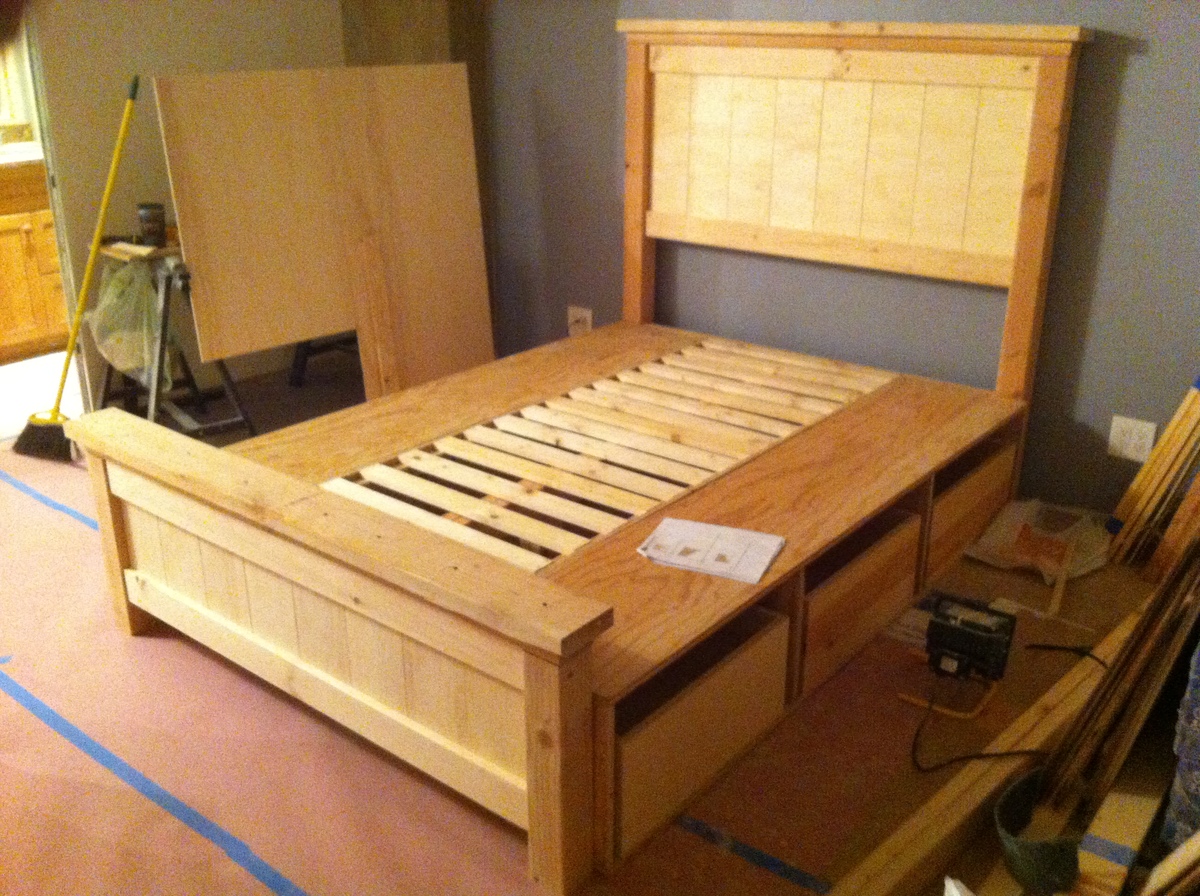
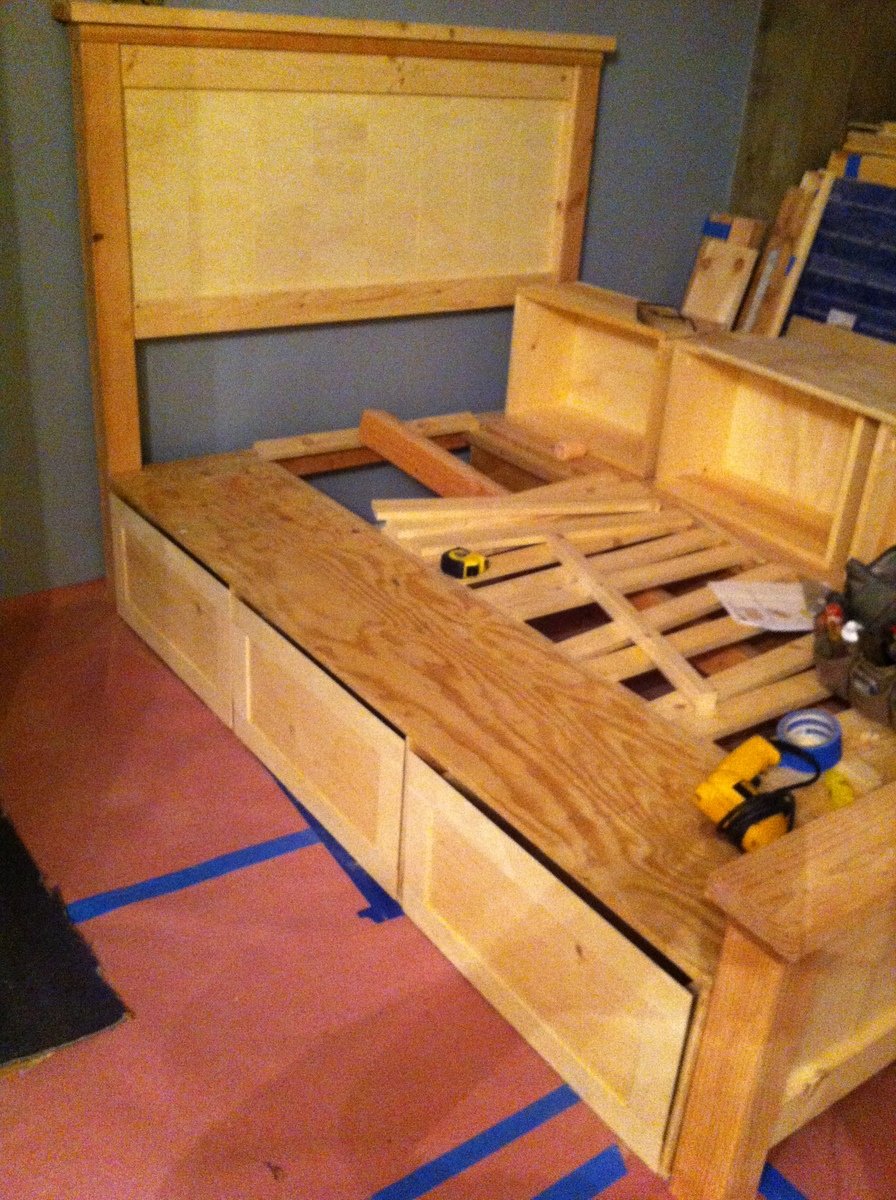
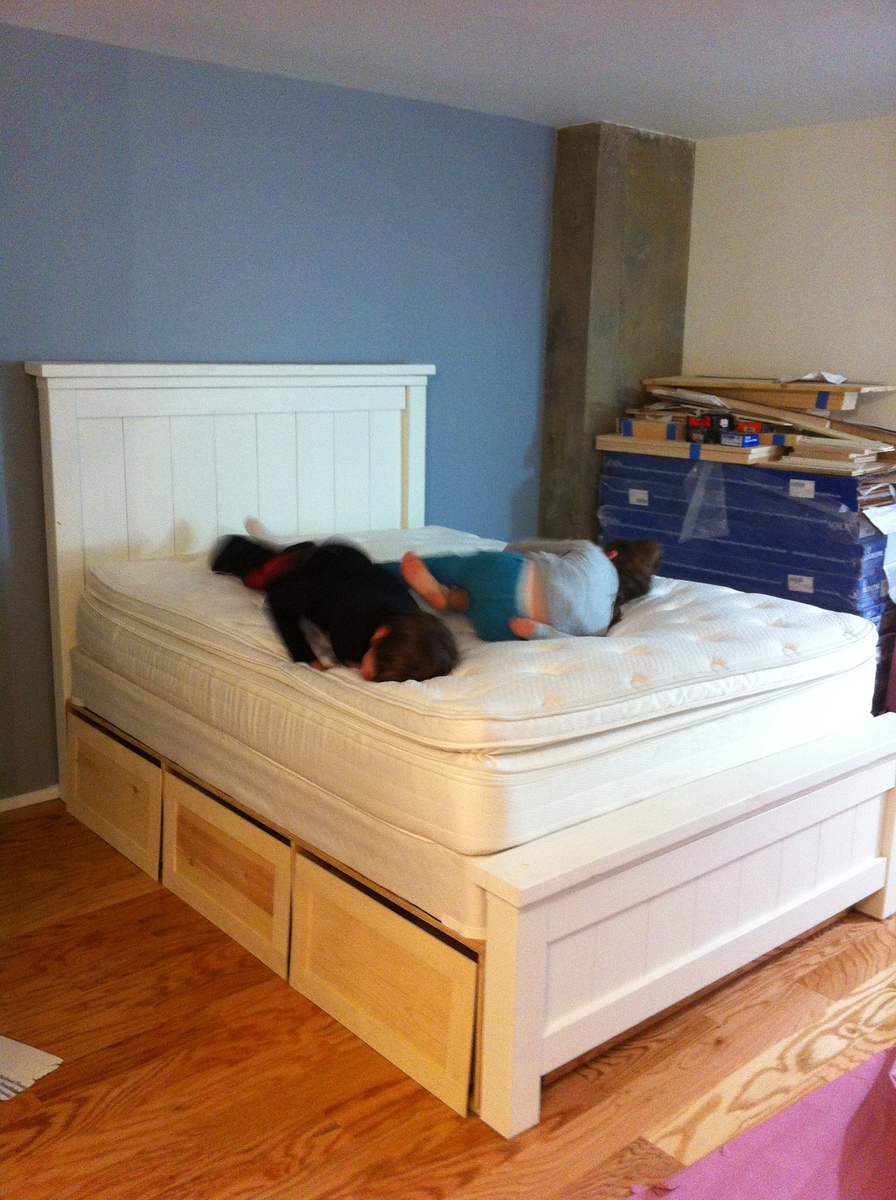
I followed the bed design posted for the Farmhouse Storage Bed, with some modifications to the base support. I have a queen waterbed and needed to reinforce the structure substantially. So I added more center support by building a simple 2X4 Header frame down the middle with 4 legs and beefing up the rails along the drawer boxes. I also included additional slat supports. I also placed the drawer boxes directly on the floor so that I would not have to buildup any additional legs. For the headboard and footboard, I did not have any beadboard so I ripped some 1/4" Birch-Ply into 6 1/4" strips, beveled the edges and nailed them with brads onto the 3/4" ply. I placed 1/16" spacers to create gaps between each and then just painted it. This gave me the look I wanted. It was a little more work, but well worth it in the end. I live in Manhattan so I actually had to construct this in my living room. Luckily I was undergoing a renovation at the time so the additional mess and dust was not too much of an obstruction. But now I'm hooked and want to build a lot more.
Thu, 02/14/2013 - 13:21
We just came upon the site and have been marveling at the people who "tweak" things a little. Great job!
Our master closet in our home was HUGE- but pretty horrible design wise prior to this DIY. 1 light bulb fixture in a 12 foot deep closet, horrible wire shelving running the whole wall, and a pretty much horrible use of space. As a surprise for my husband who was away for his job, I decided to create a dream closet for both of us!
I used Ana's master closet tower plans as a starting point and went from there. I modified the towers to be wider (24" wide each) and also taller so that they would go completely to the ceiling of the closet. I also modified the plans to allow for drawers and a pull out laundry bin on both sides of the closet, as well as shoe and clothing storage above said drawers.
For the project I used Home Depot cabinet grade plywood for the tower carcasses and then purebond 1/2 plywood for the drawer boxes, shelves, and drawer fronts. I purchased the Kreg Shelf Jig and Rip Cut guide for this project and both proved themselves invaluable until I get a table saw (HINT HINT Hubby).
For the trim I used 1 x 2 furring strips and 1 x 4 lumber for the decorative cut outs above the 4 tower units. I also used cove moulding to tie in all the sections of the closet with one another.
I painted the main towers white (as well as the wall to encourage the appearance of "built in) and then stained the shoe and clothing shelves dark walnut with a few coats of satin POLY to finish.
For the back wall I purchased target contact wallpaper and installed that- as well as a wall mirror so I don't have to balance dangerously on my bathroom tub to see if my shoes match my outfit anymore.
All in all, the project took about 3 weeks to finish. I was lucky that my mother was around the first few days of the project so that I could do the demo work and at least get the one side of the closet framed in, as the rest of the project was completed during "nap time" for my (NOSY) toddler.
In the end, we are both estatic with how this project turned out - I installed a valet bar and a pull out tie/belt rack for the husband and that add an even more "custom" touch to the closet...
I've posted many more photos to my blog detailing this closet reno- www.thesewchicmommy.com if you want to see a more "step by step" build.
Project cost: $750-800 ( including paint, mirror, wall paper, all hardware, lumber etc)
Time: 3-4 weeks
Wed, 11/12/2014 - 14:53
Love your closet, you did a beautiful job! Your blog link had some great pictures too. All the neat touches like the laundry pull-outs, decorative trim at the top, and the pull-out tie rack are brilliant!
Fri, 11/14/2014 - 13:53
Wow you did this RIGHT! Love the pattern on the far wall too!
Wanting to finally get rid of our hideous fake wood coffee table, I found these plans to make the Pottery Barn Benchwright Coffee Table. I am so pleased with the result! It's really heavy and sturdy. Took about 4 days total, and around $100. First time making drawers. Overall the plan was very doable. Looking forward to making a pub table and chairs, and built in bookshelves next!
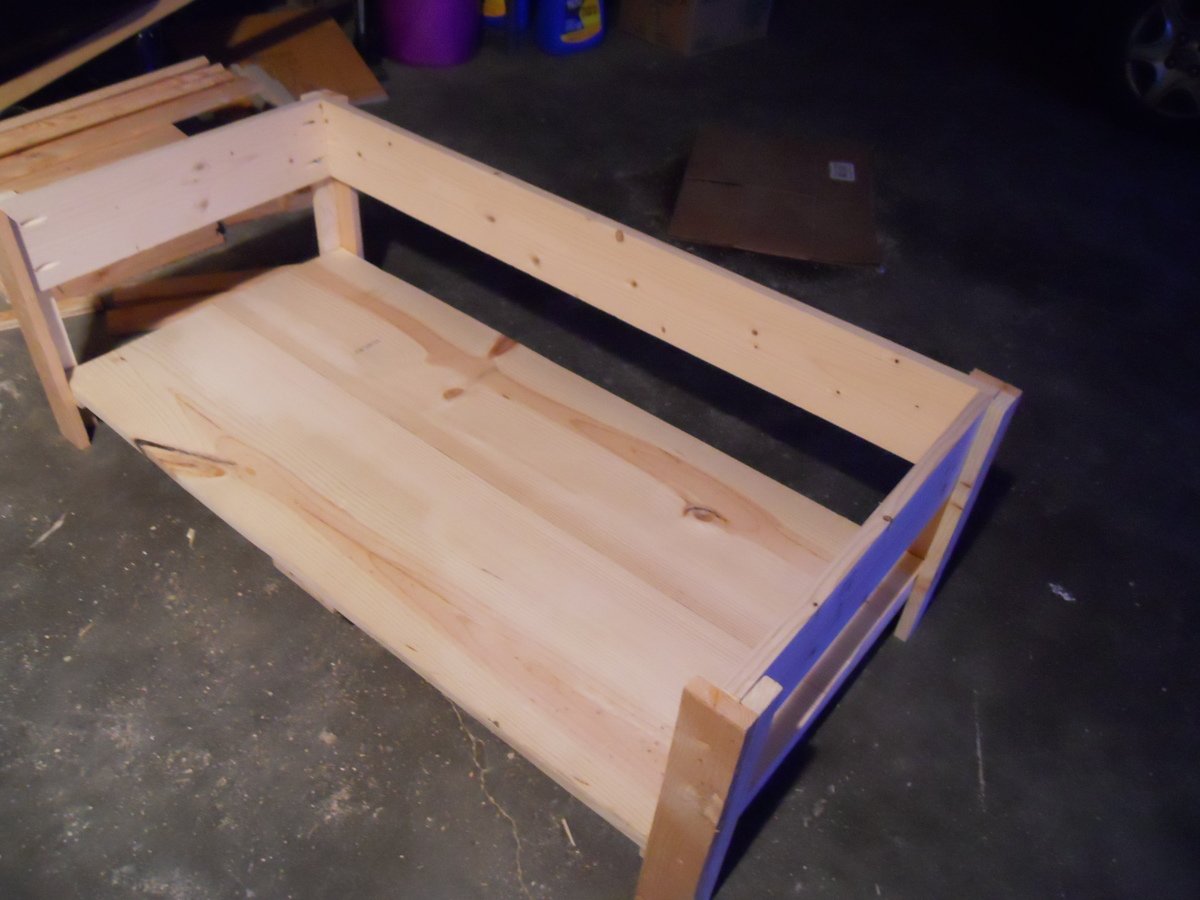
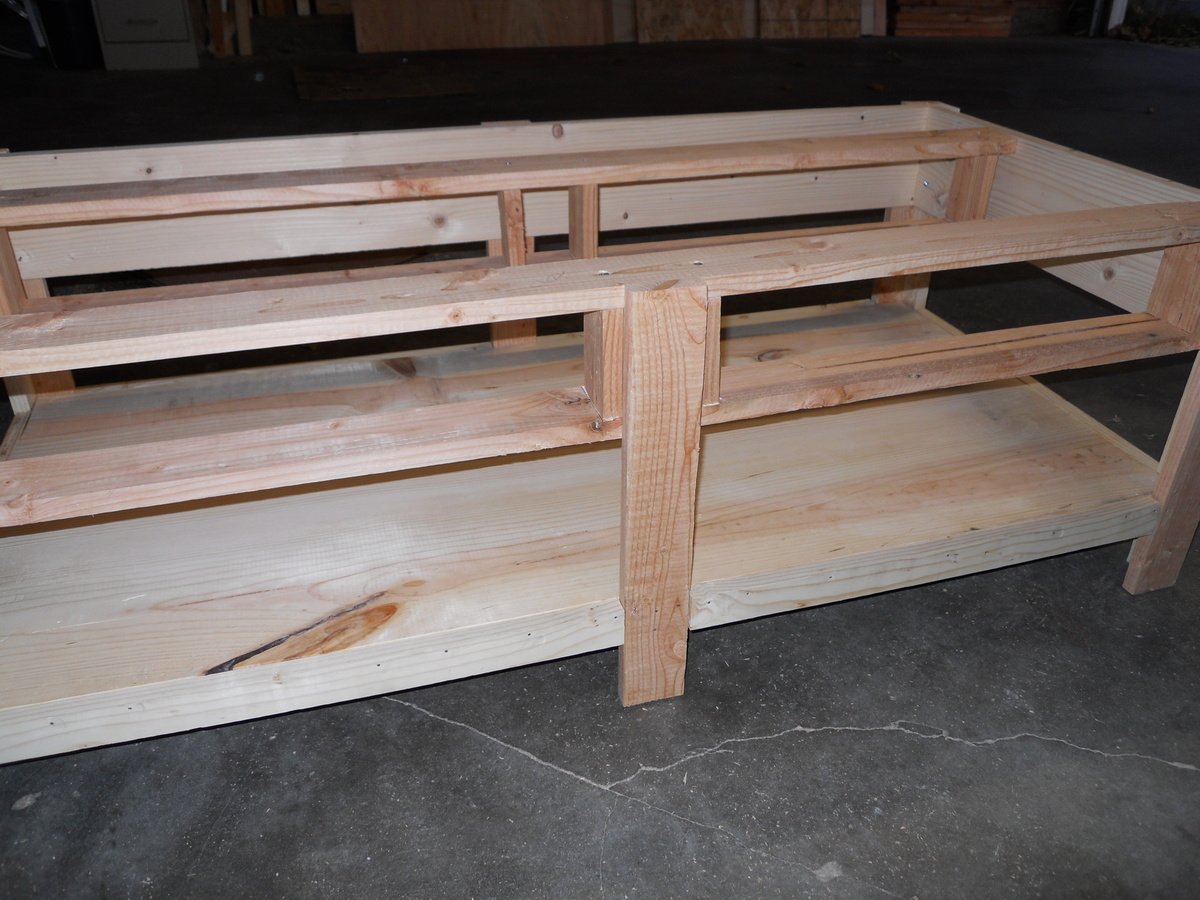
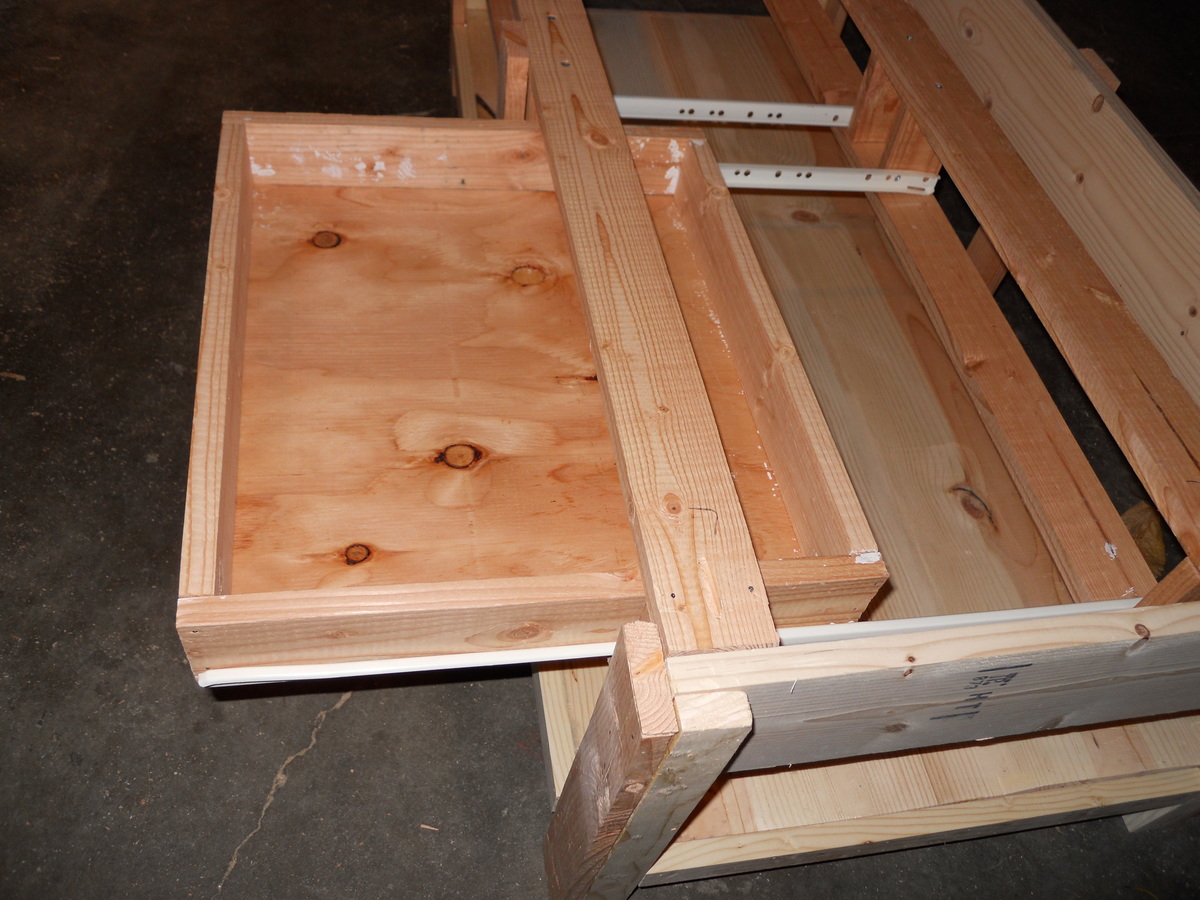
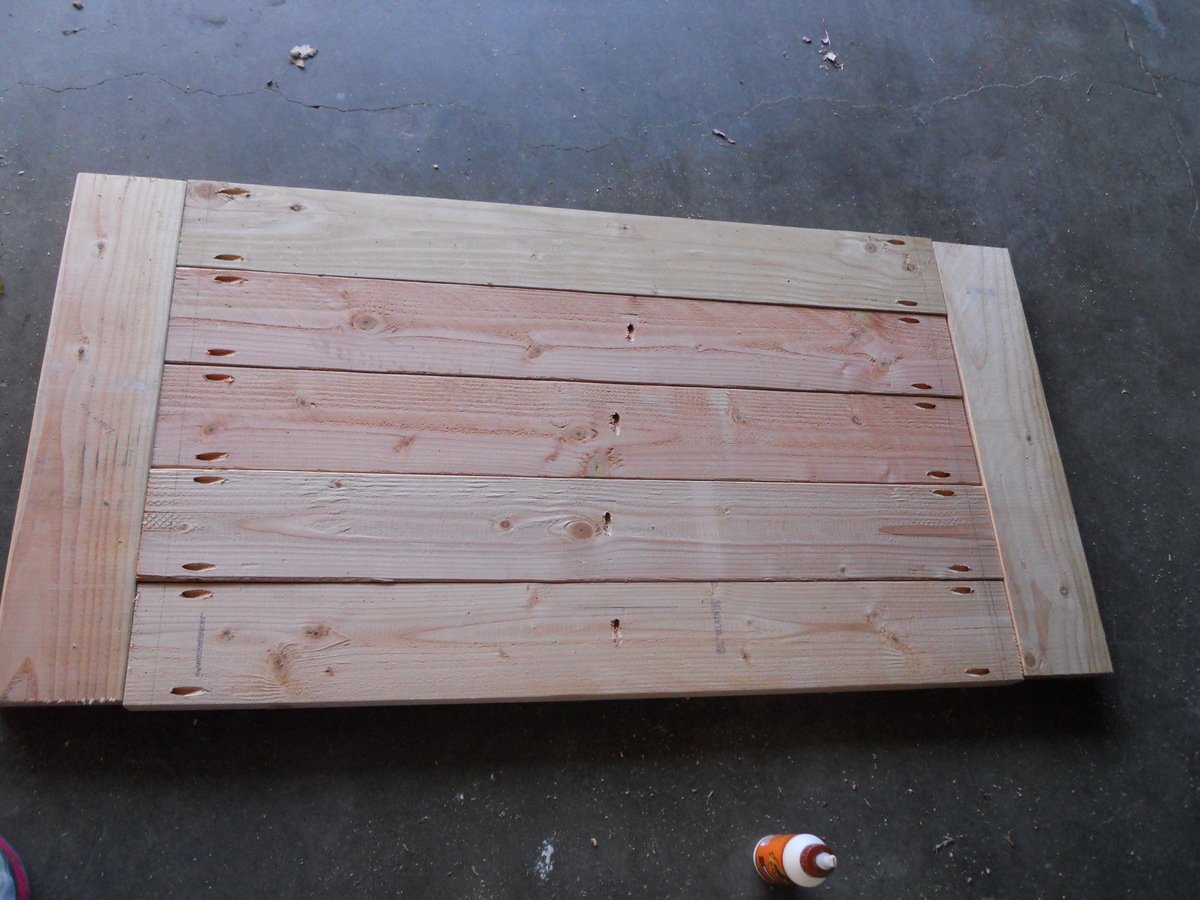
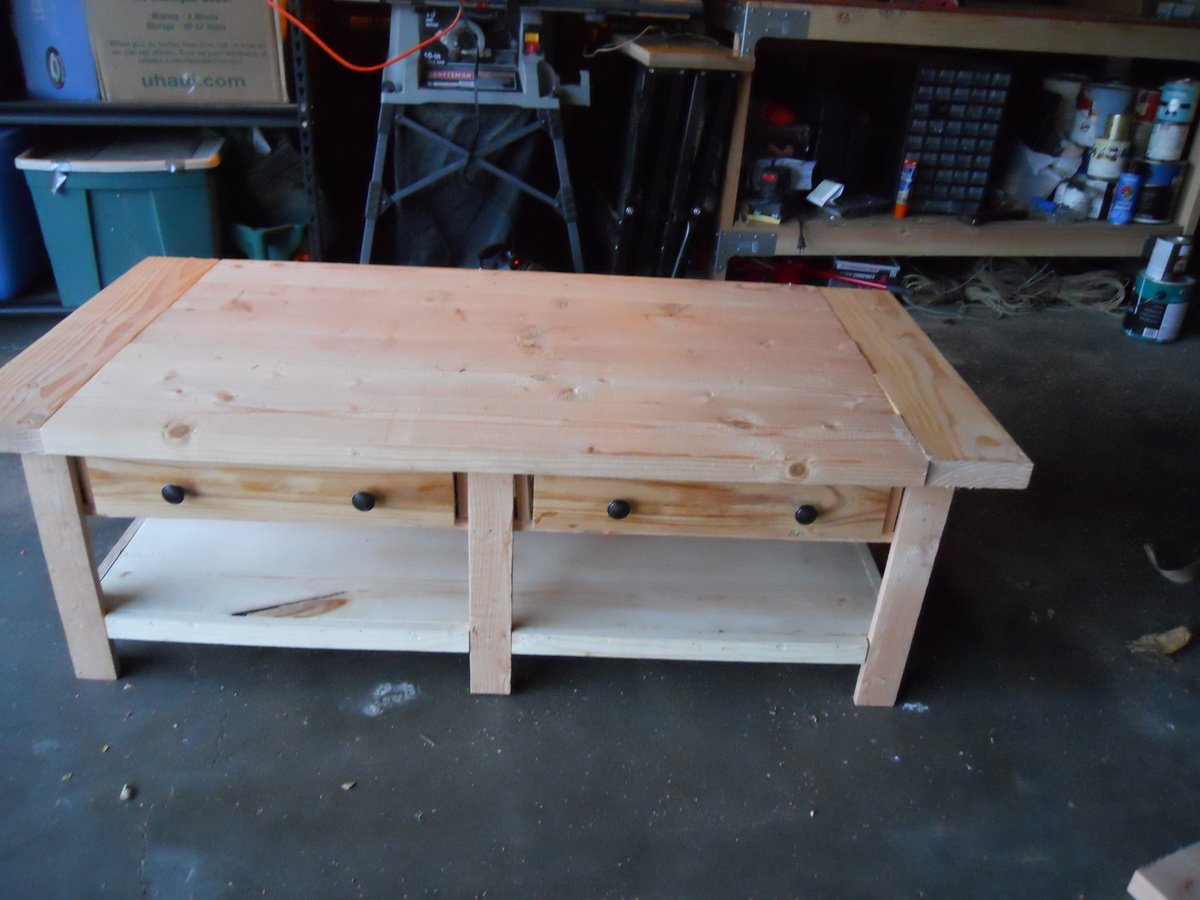
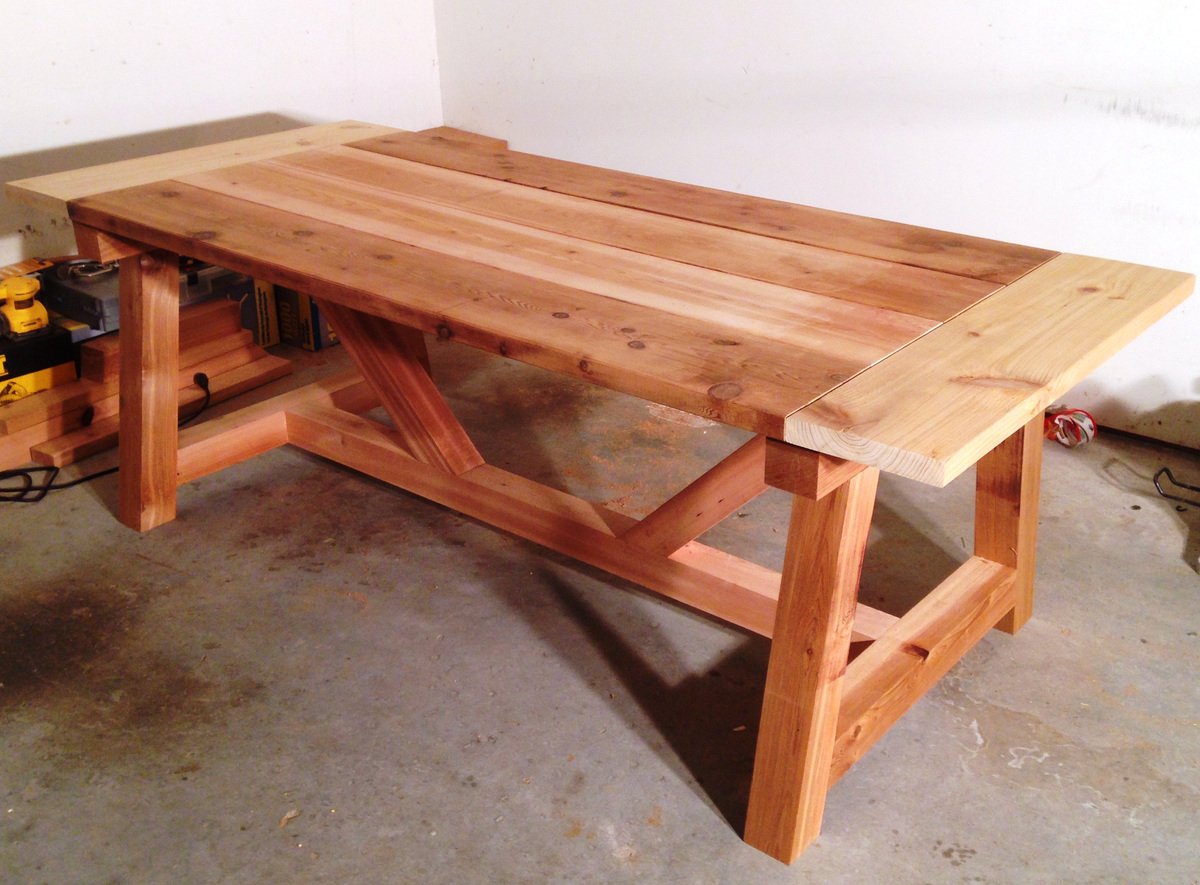
This was my first ever Ana White woodworking project. It was also my first time using a Kreg Jig. I had a ton of fun and can't beleive how great it turned out! I learned a lot while building it so I'm sure I will have even more success with my next project. I highly recommend this project for first time beginners looking for a huge feeling of accomplishment and personal satisfaction.
Thanks Ana!
Anthony
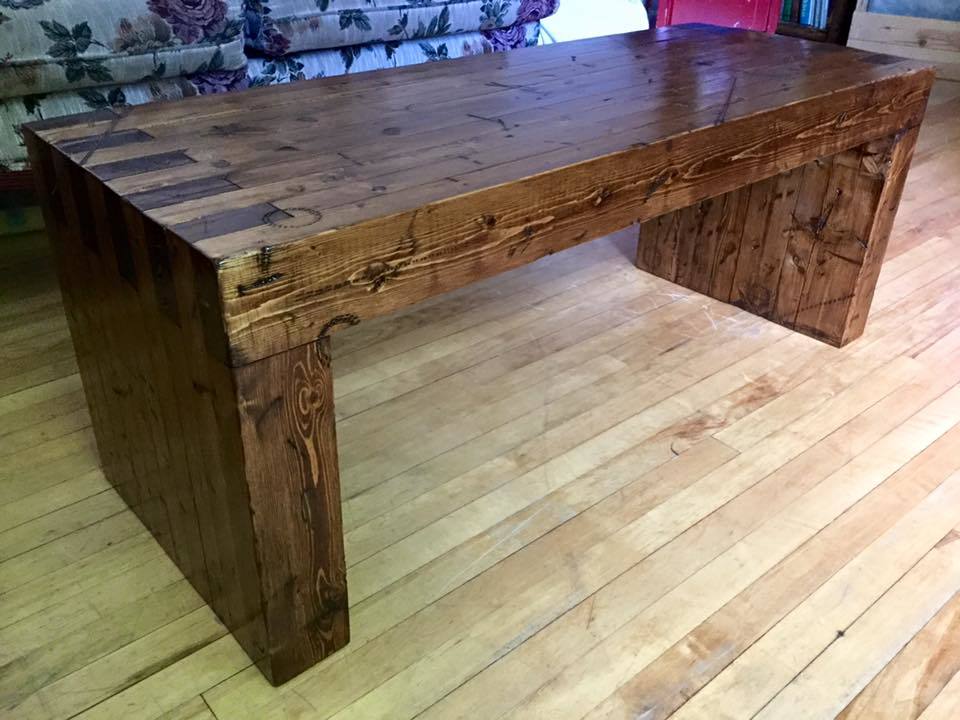
We had seen the modern slat bench before, and stumbled upon the plans on Ana-White, we did look further to see if we could find a style for us and had seen one made entirely out of 2x4's that also cam with plans, http://diycandy.com/2015/06/modern-williams-sonoma-inspired-diy-outdoor…
I thought I would share mine as it differs slightly, I opted to age my bench before staining as well as added adjustible feet so I can level it no matter where I put it. I am using mine as a coffee table, and if I have too many people over, I just use it as a bench to accomodate.
I hope that everyone enjoys the look of how my bench turned out. To reproduce the look of mine I described and linked the 2 products I used for the finish. But I also used the following power tools, Table Saw, Drill and Sawzall, belt sander and palm sander. I used the sawzall as I made a slight error and had some overhang that needed trimming. We used numerous items to get the outside beat up prior to the stain and sealer. The finished product looks amazing and I don't fear someone running away with it at 80lbs.
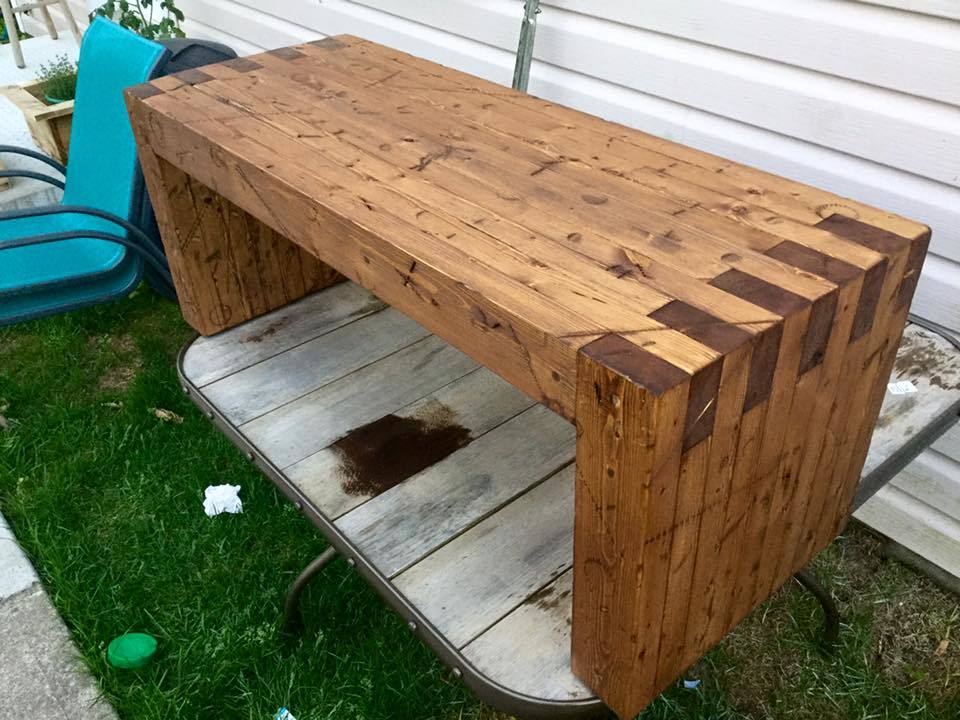
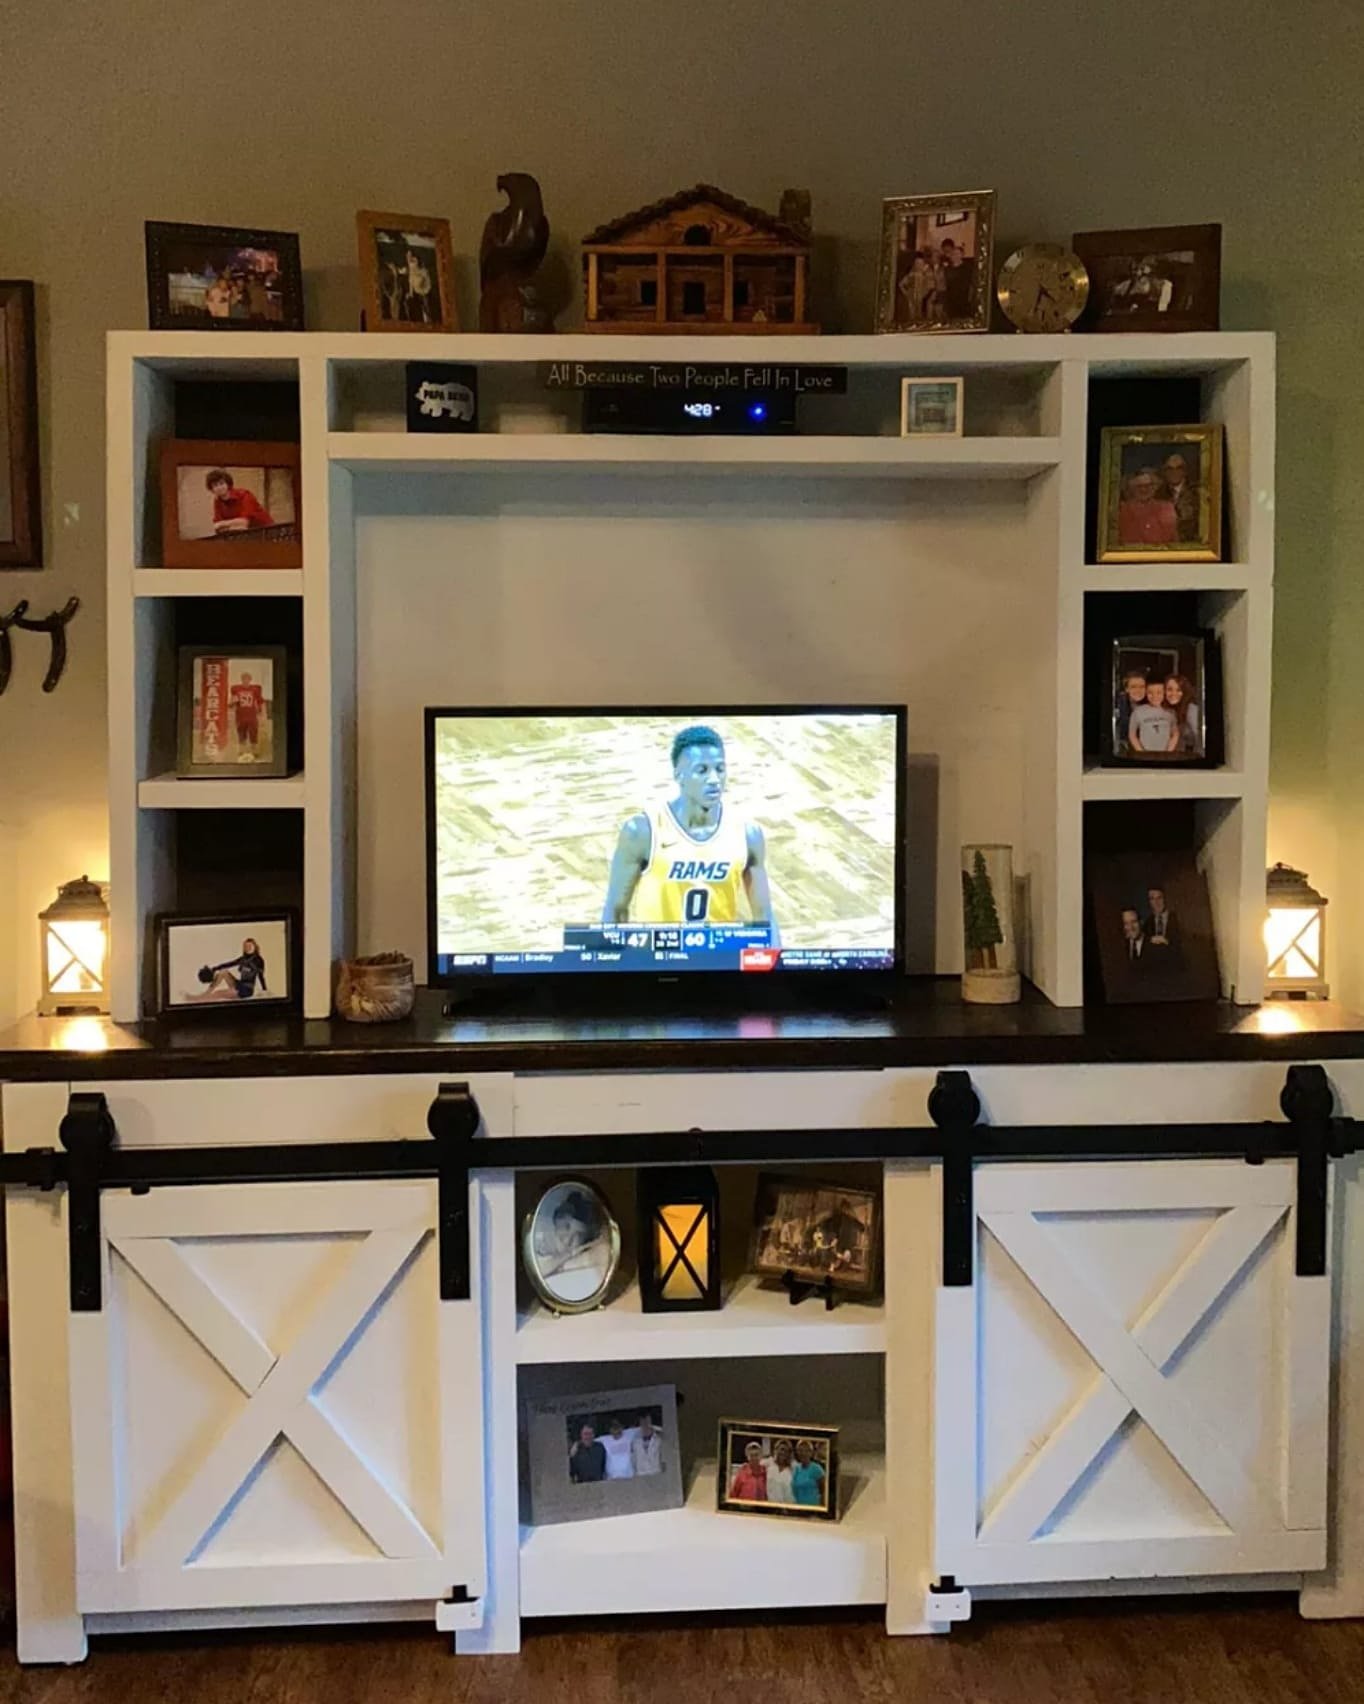
We've been doing the consoles for some time now and where excited to include the top shelving unit with this one..
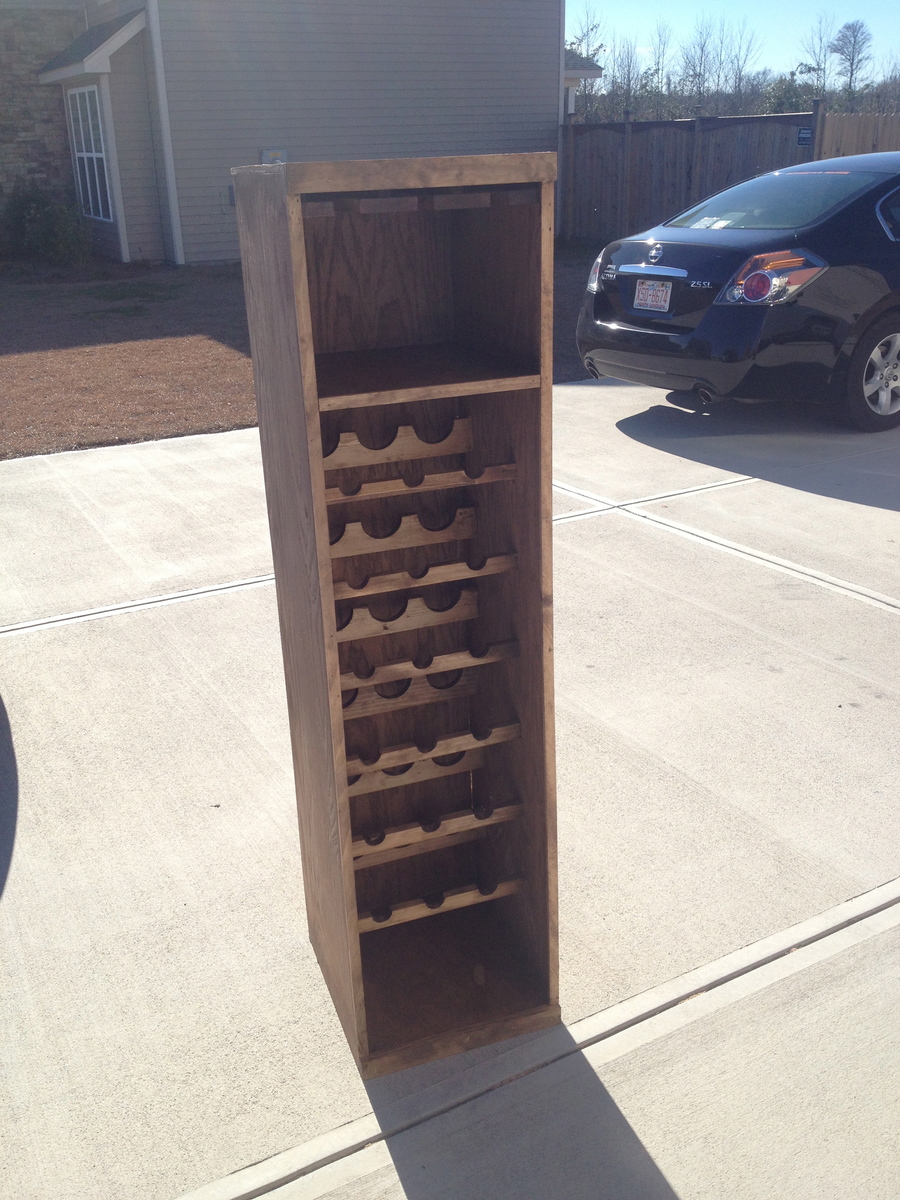
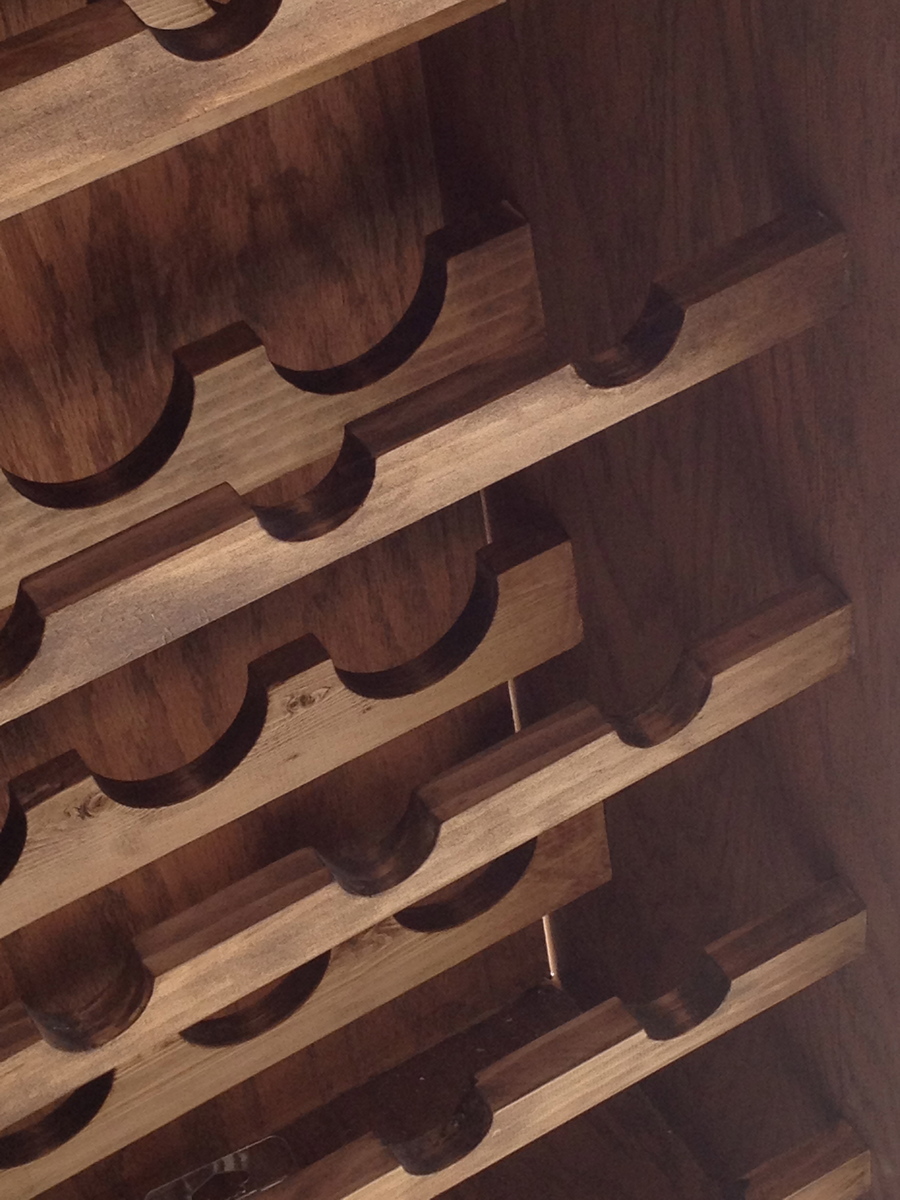
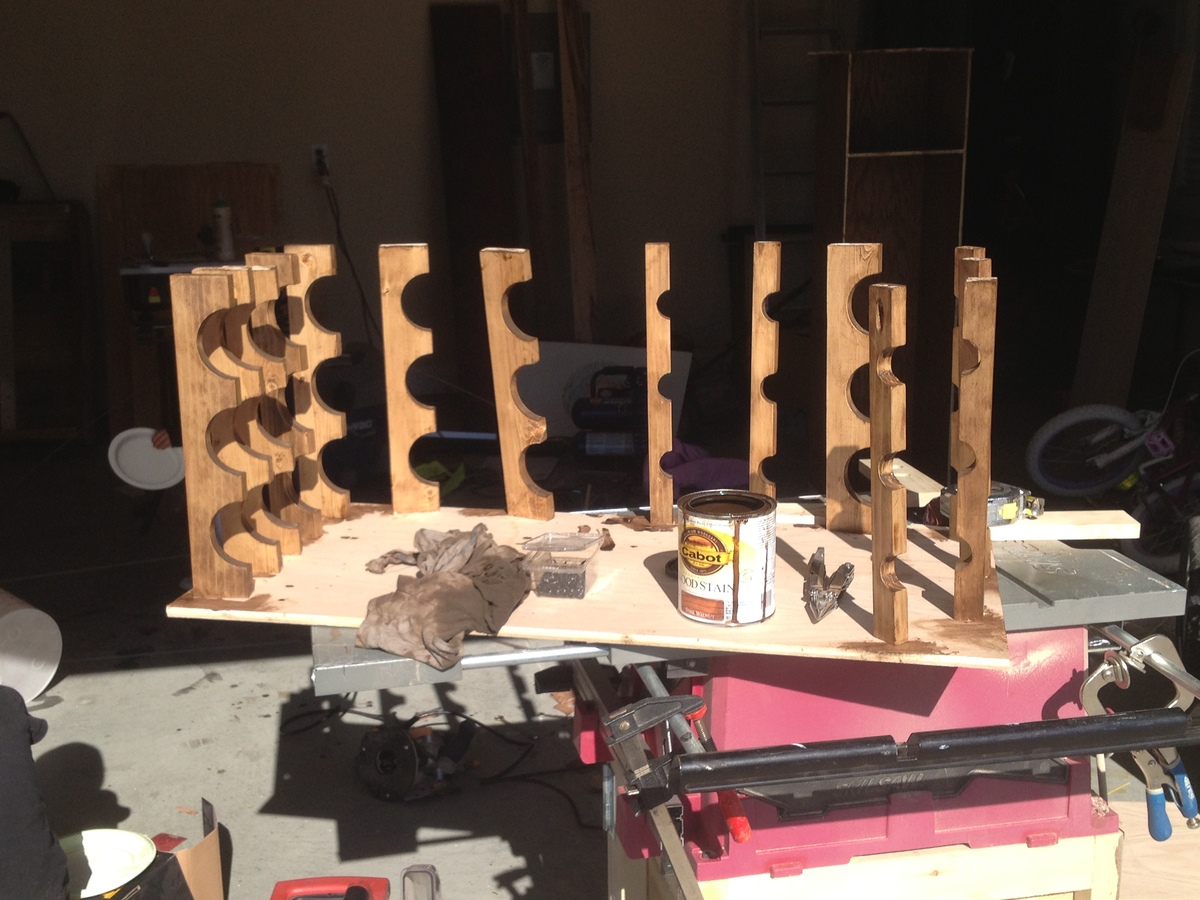
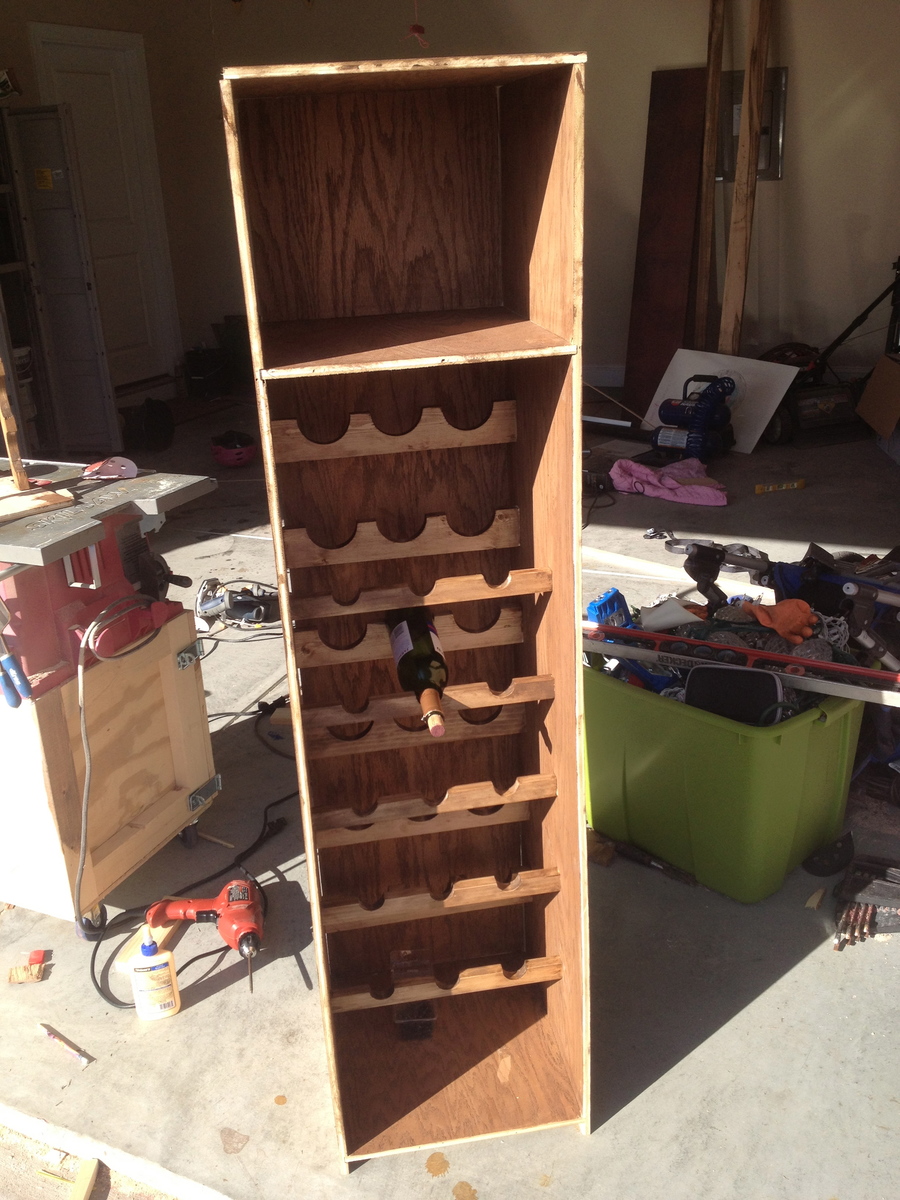
This is my first attempt at making a wine rack. It holds 18 bottles and 9-12 glasses. I made it from 1/2" red oak plywood and 1x3s. I used a drill press with a 3" hole bit and 1 1/2 bit for the neck supports. The one pic shows how I kreg jig the supports to a scrap piece of plywood so I could stain all sides of the pieces at once! Plus it allowed for a quicker drying time. I kreg jig all the supports from the back side with 1" PH screws and glue. I used my router and a straight edge to dado the top and bottom shelves to the side walls. This rack measures 5'Hx 15 1/4"w x 17" deep. The wine bottles do not stick out past the front at all. I stained it in a dark walnut to give it a country feel.
Comments
Ana White Admin
Tue, 11/03/2020 - 11:10
Great first project!
Very pretty, job well done!