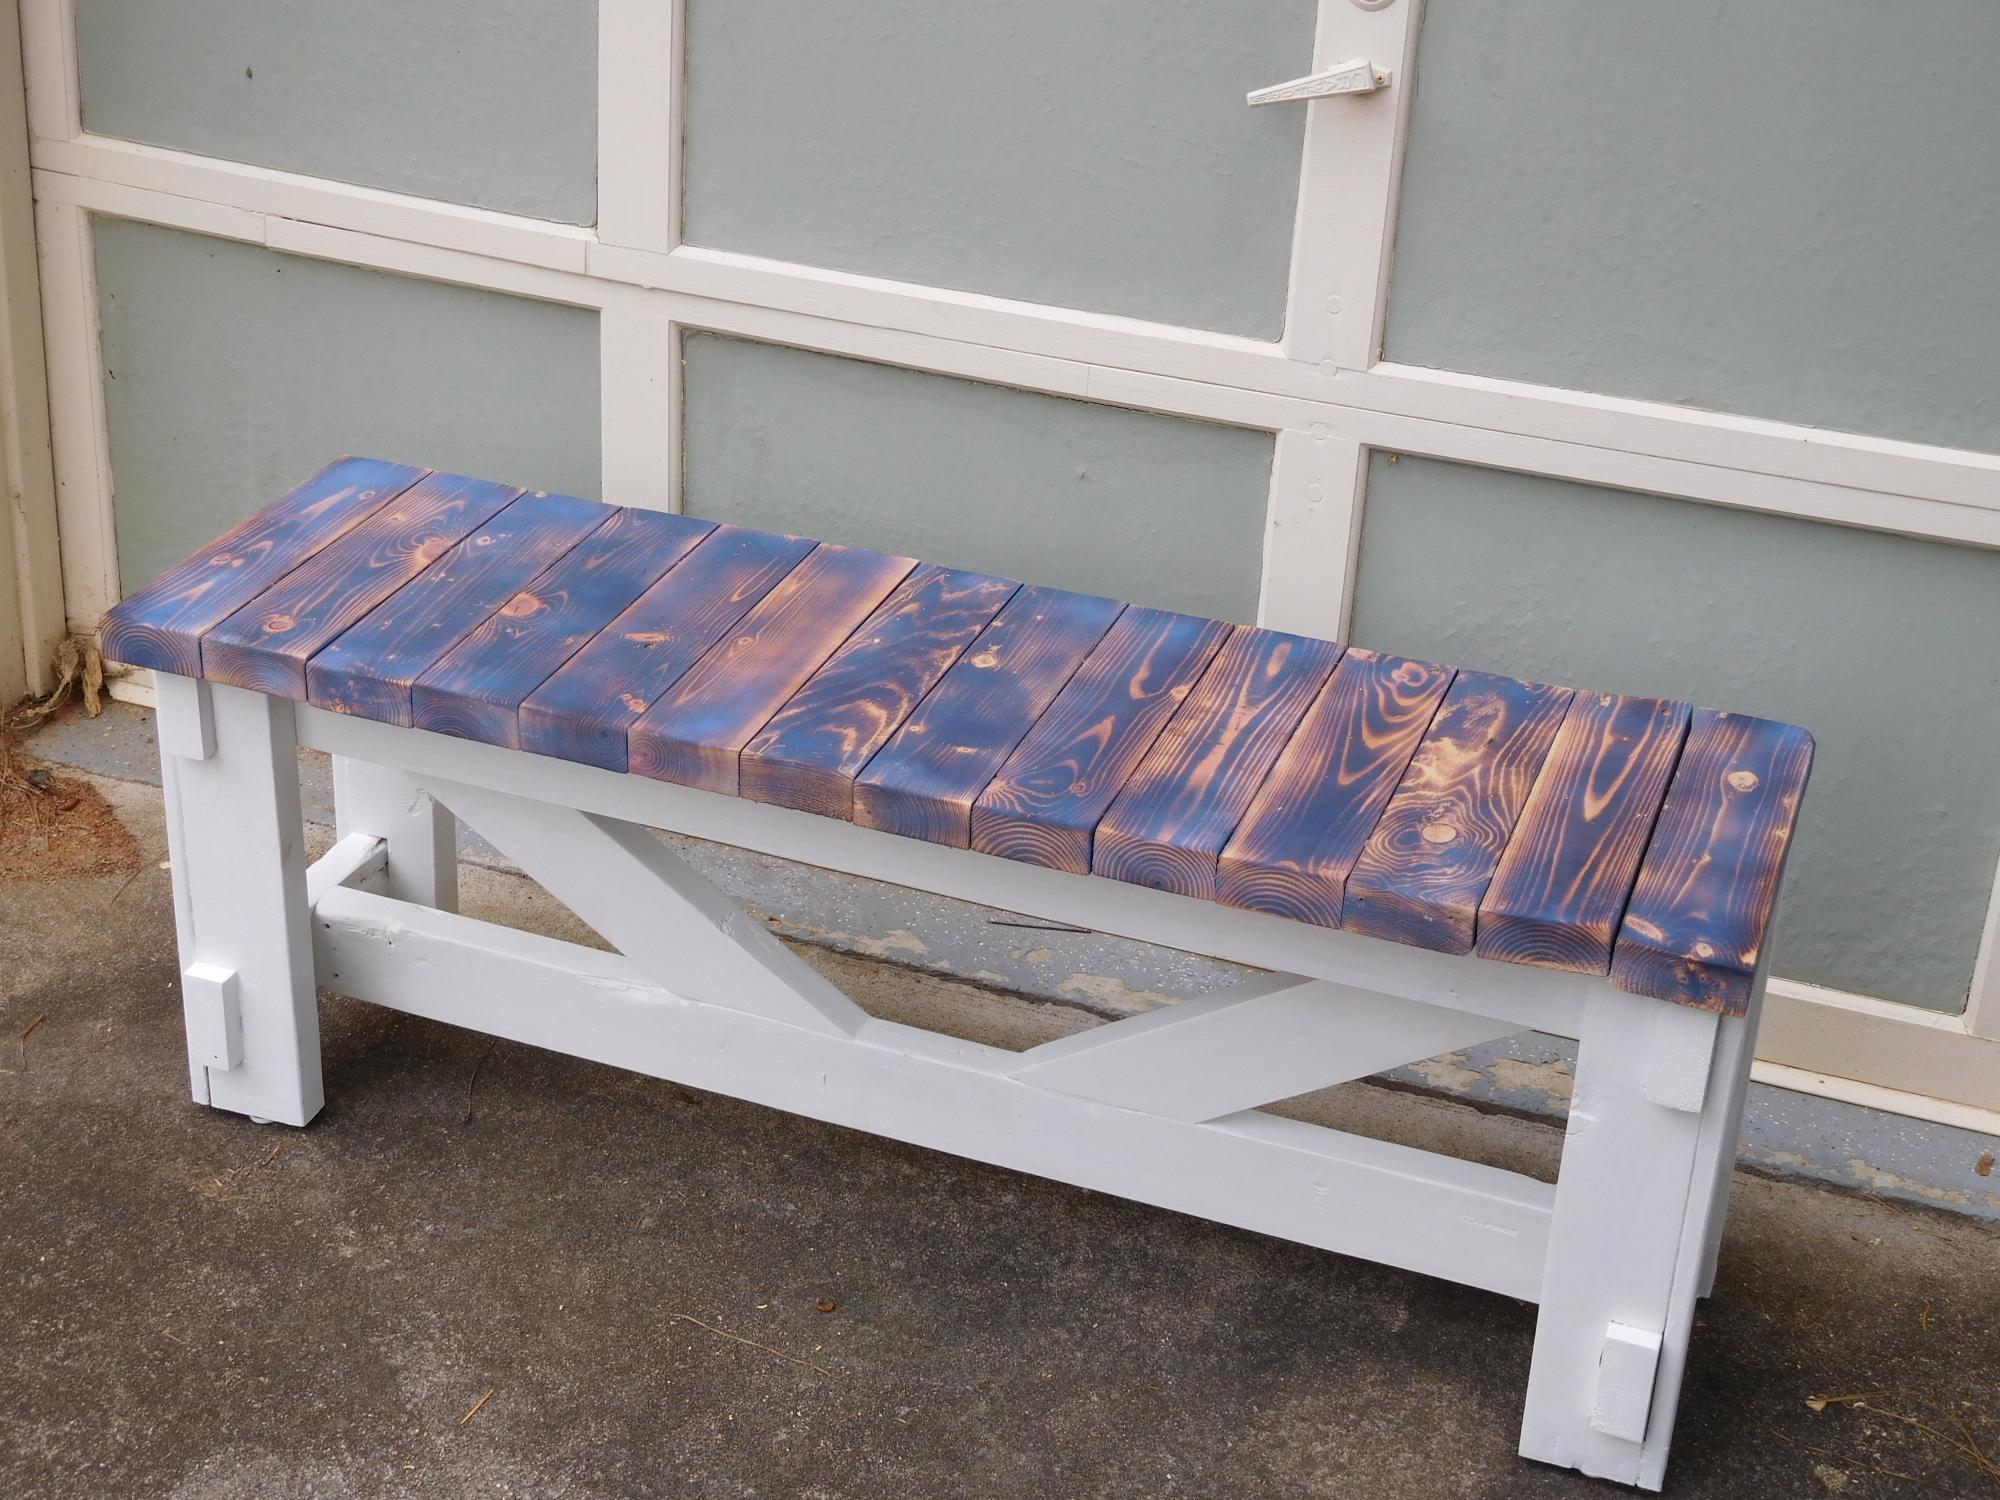
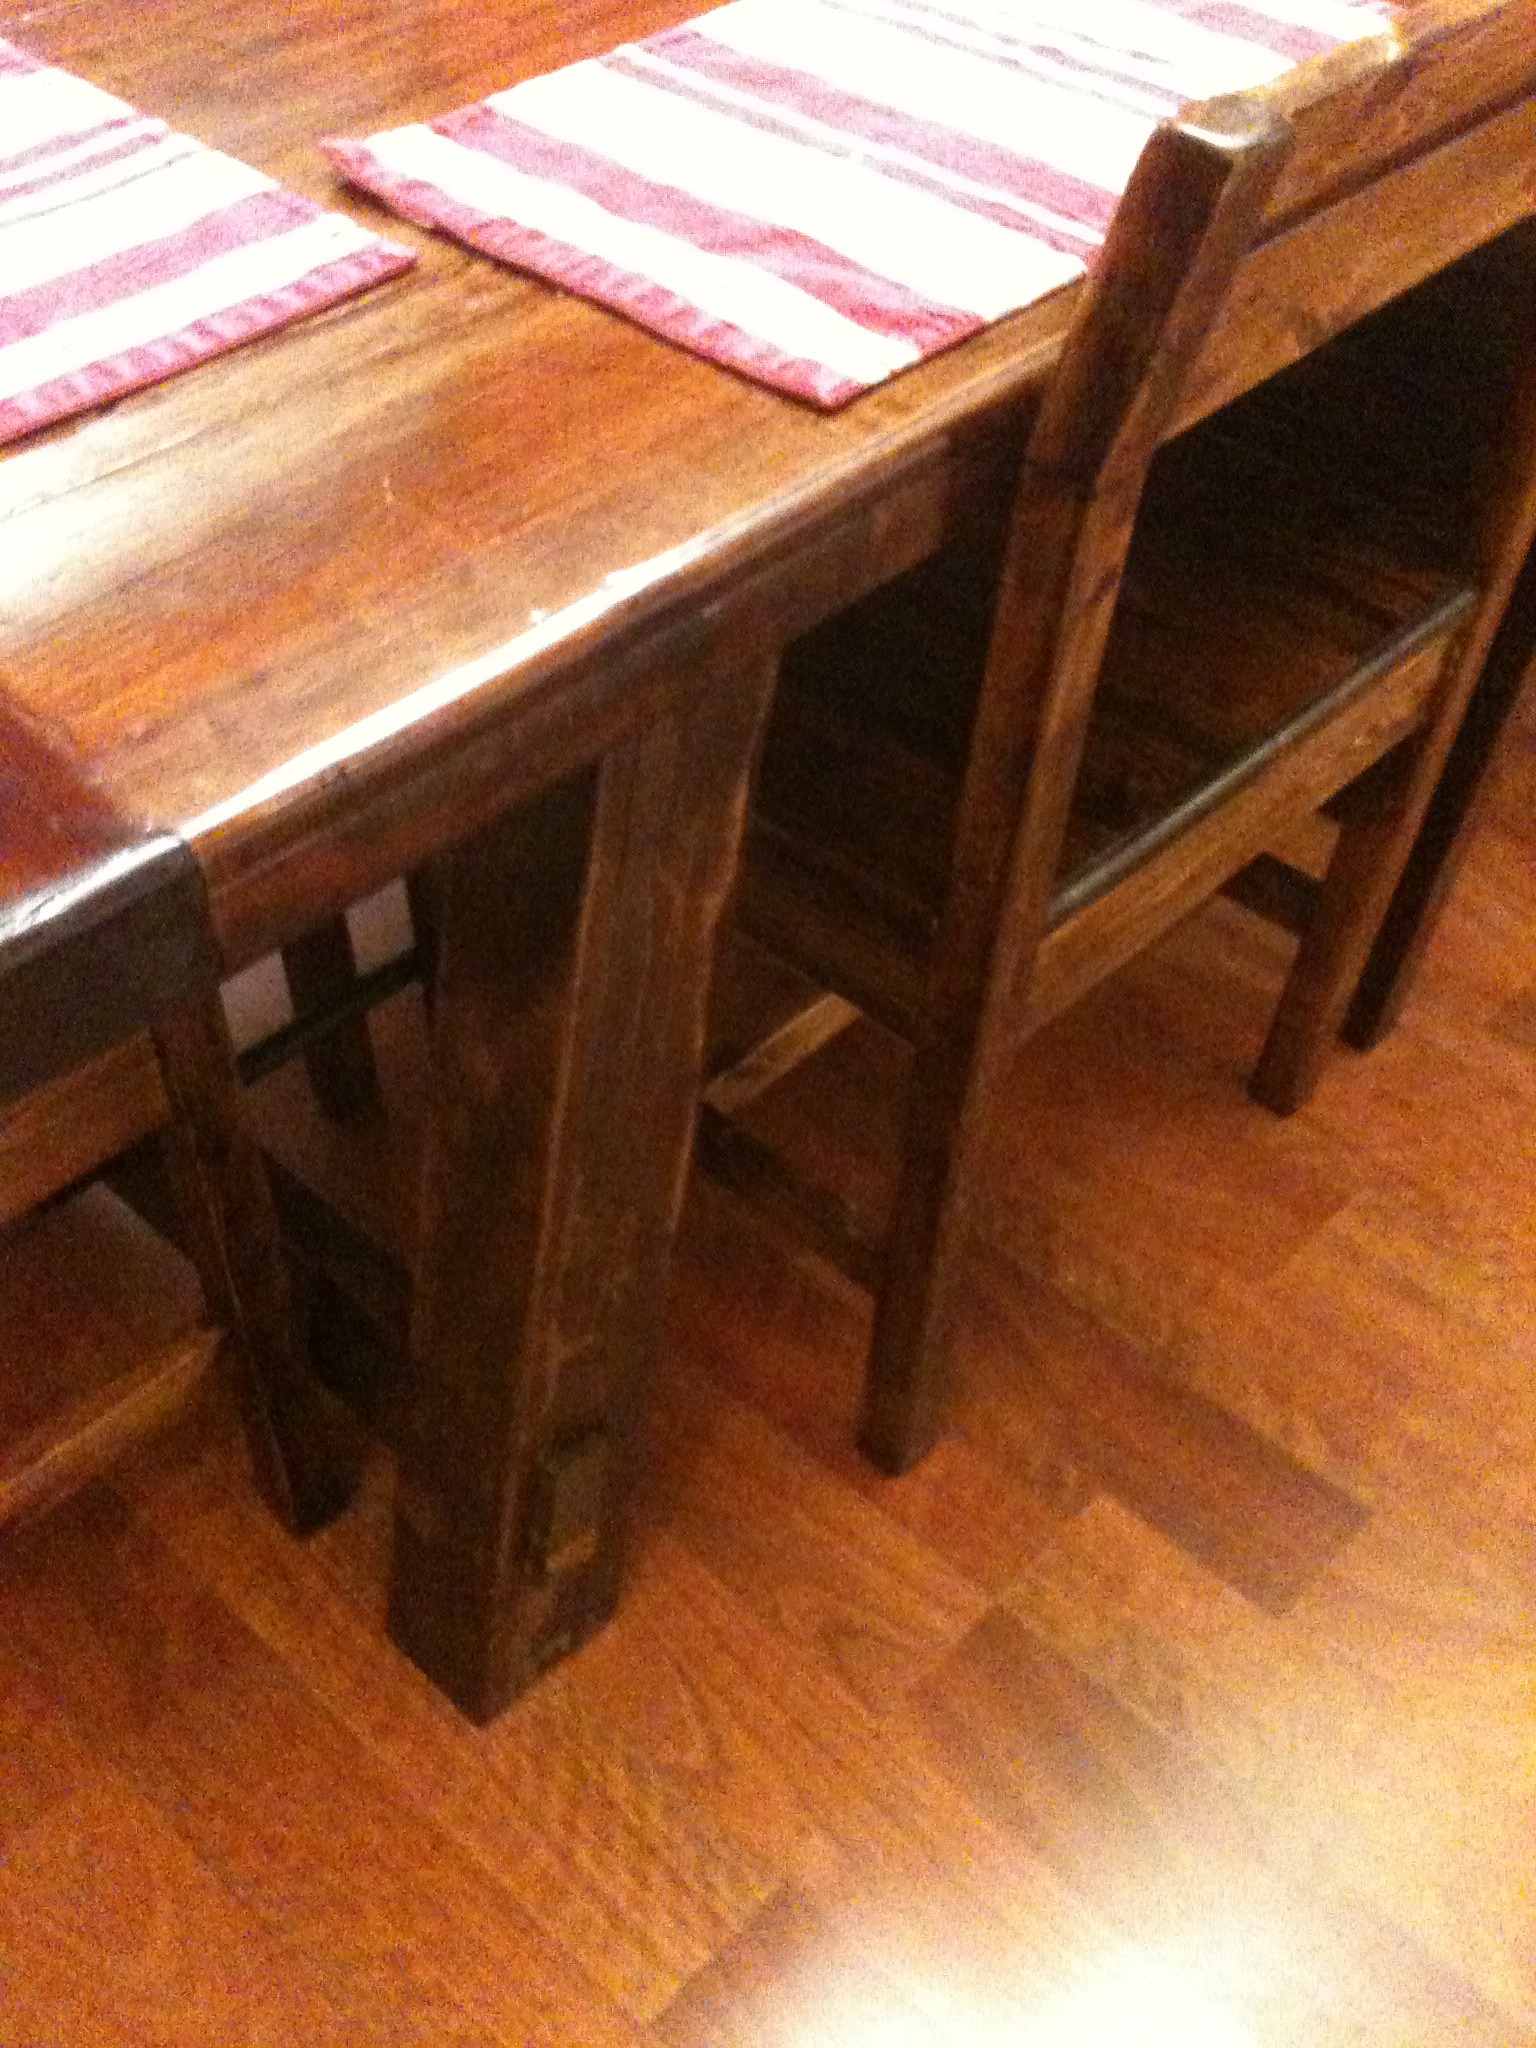
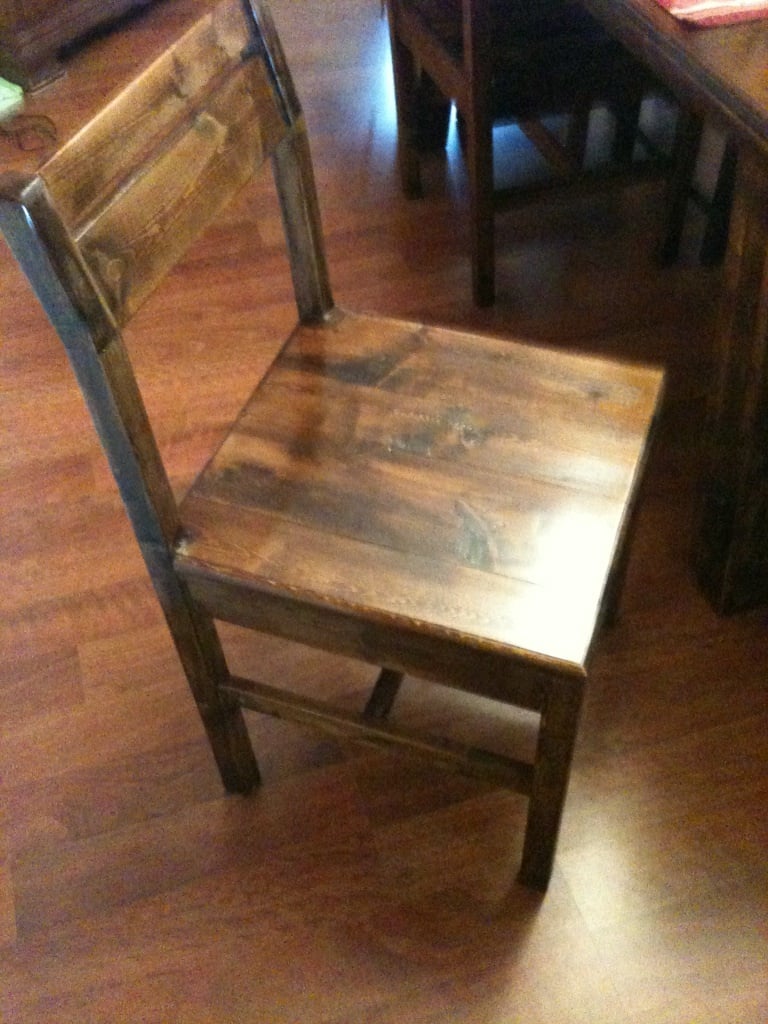
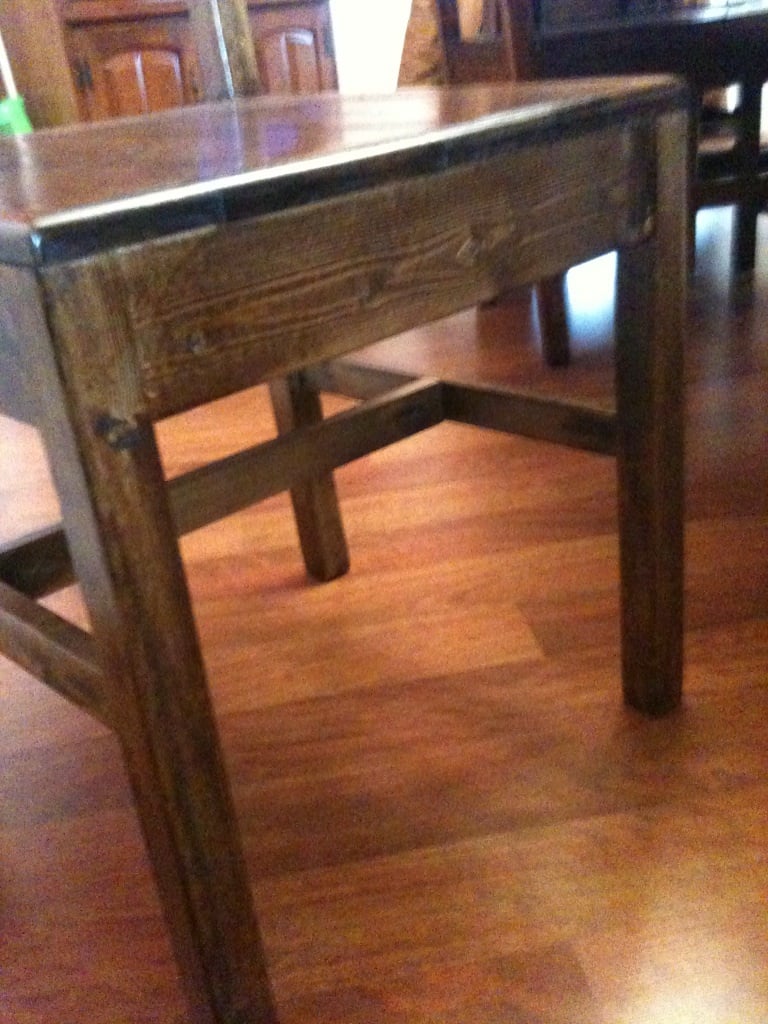
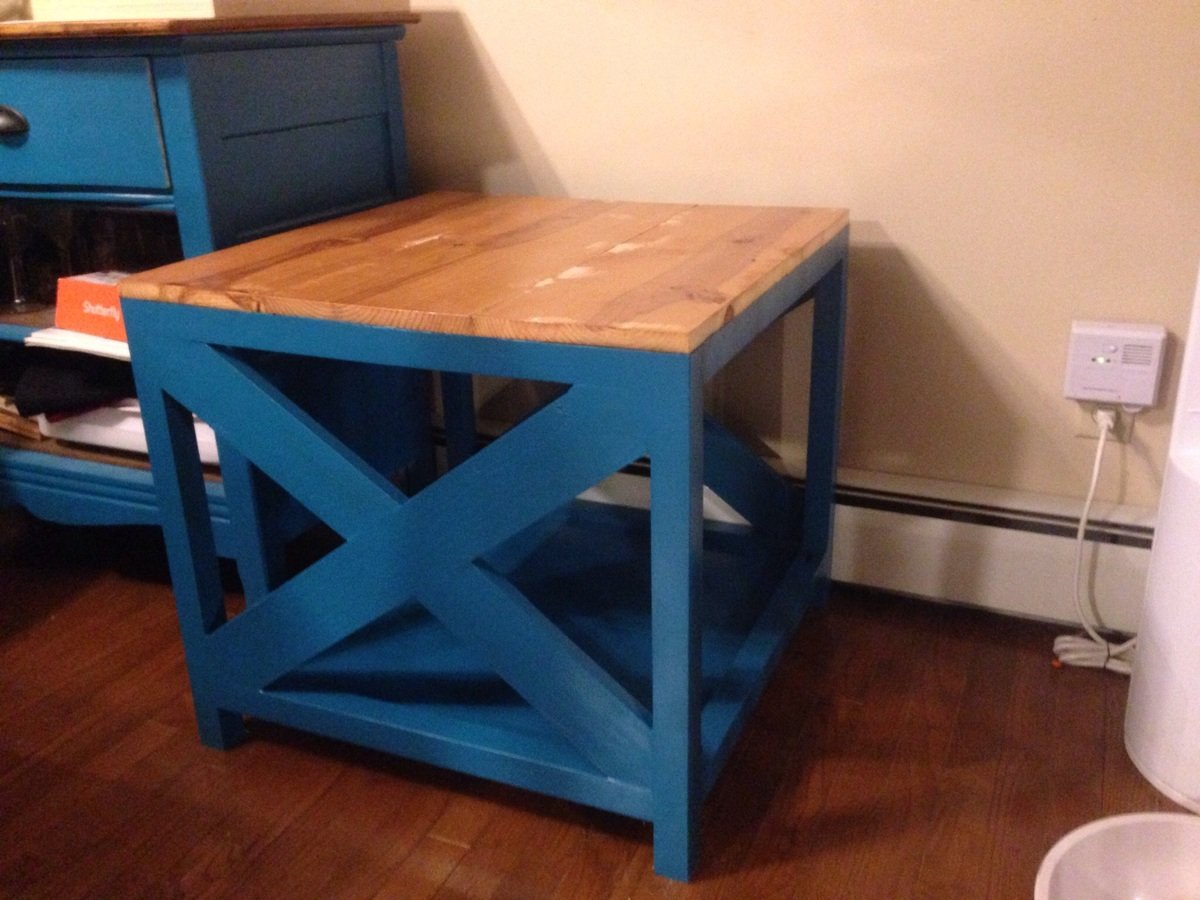
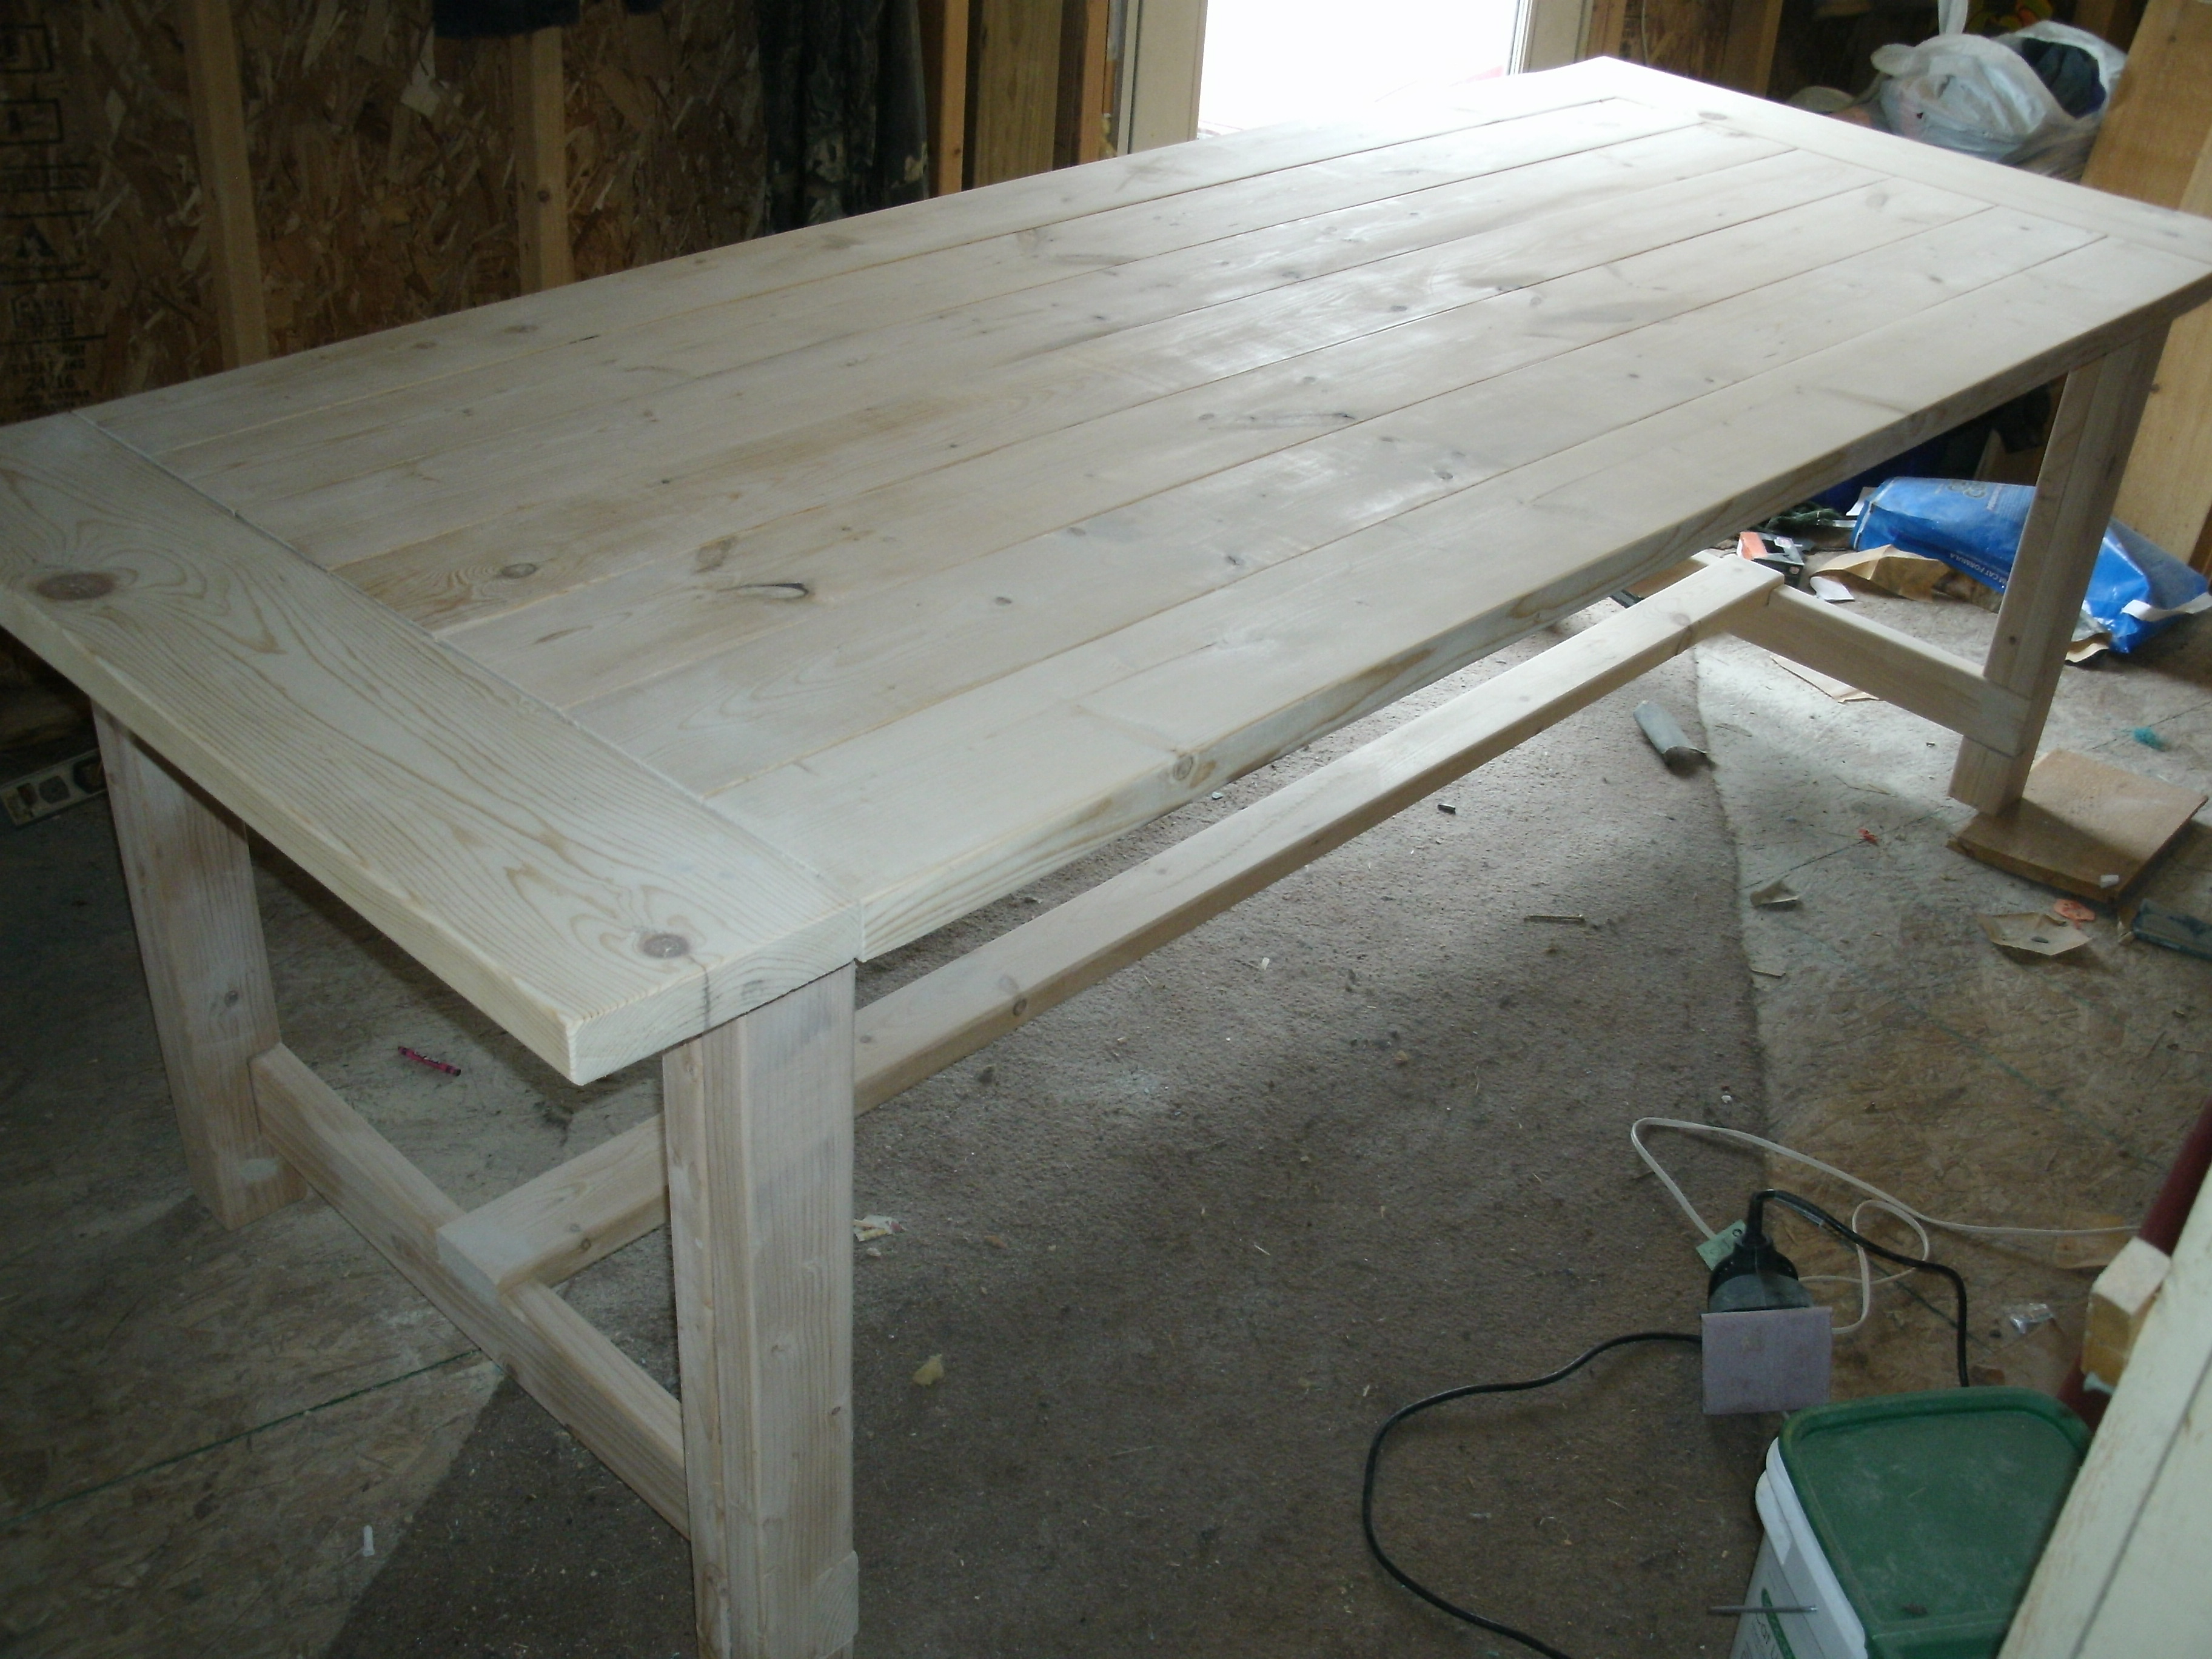
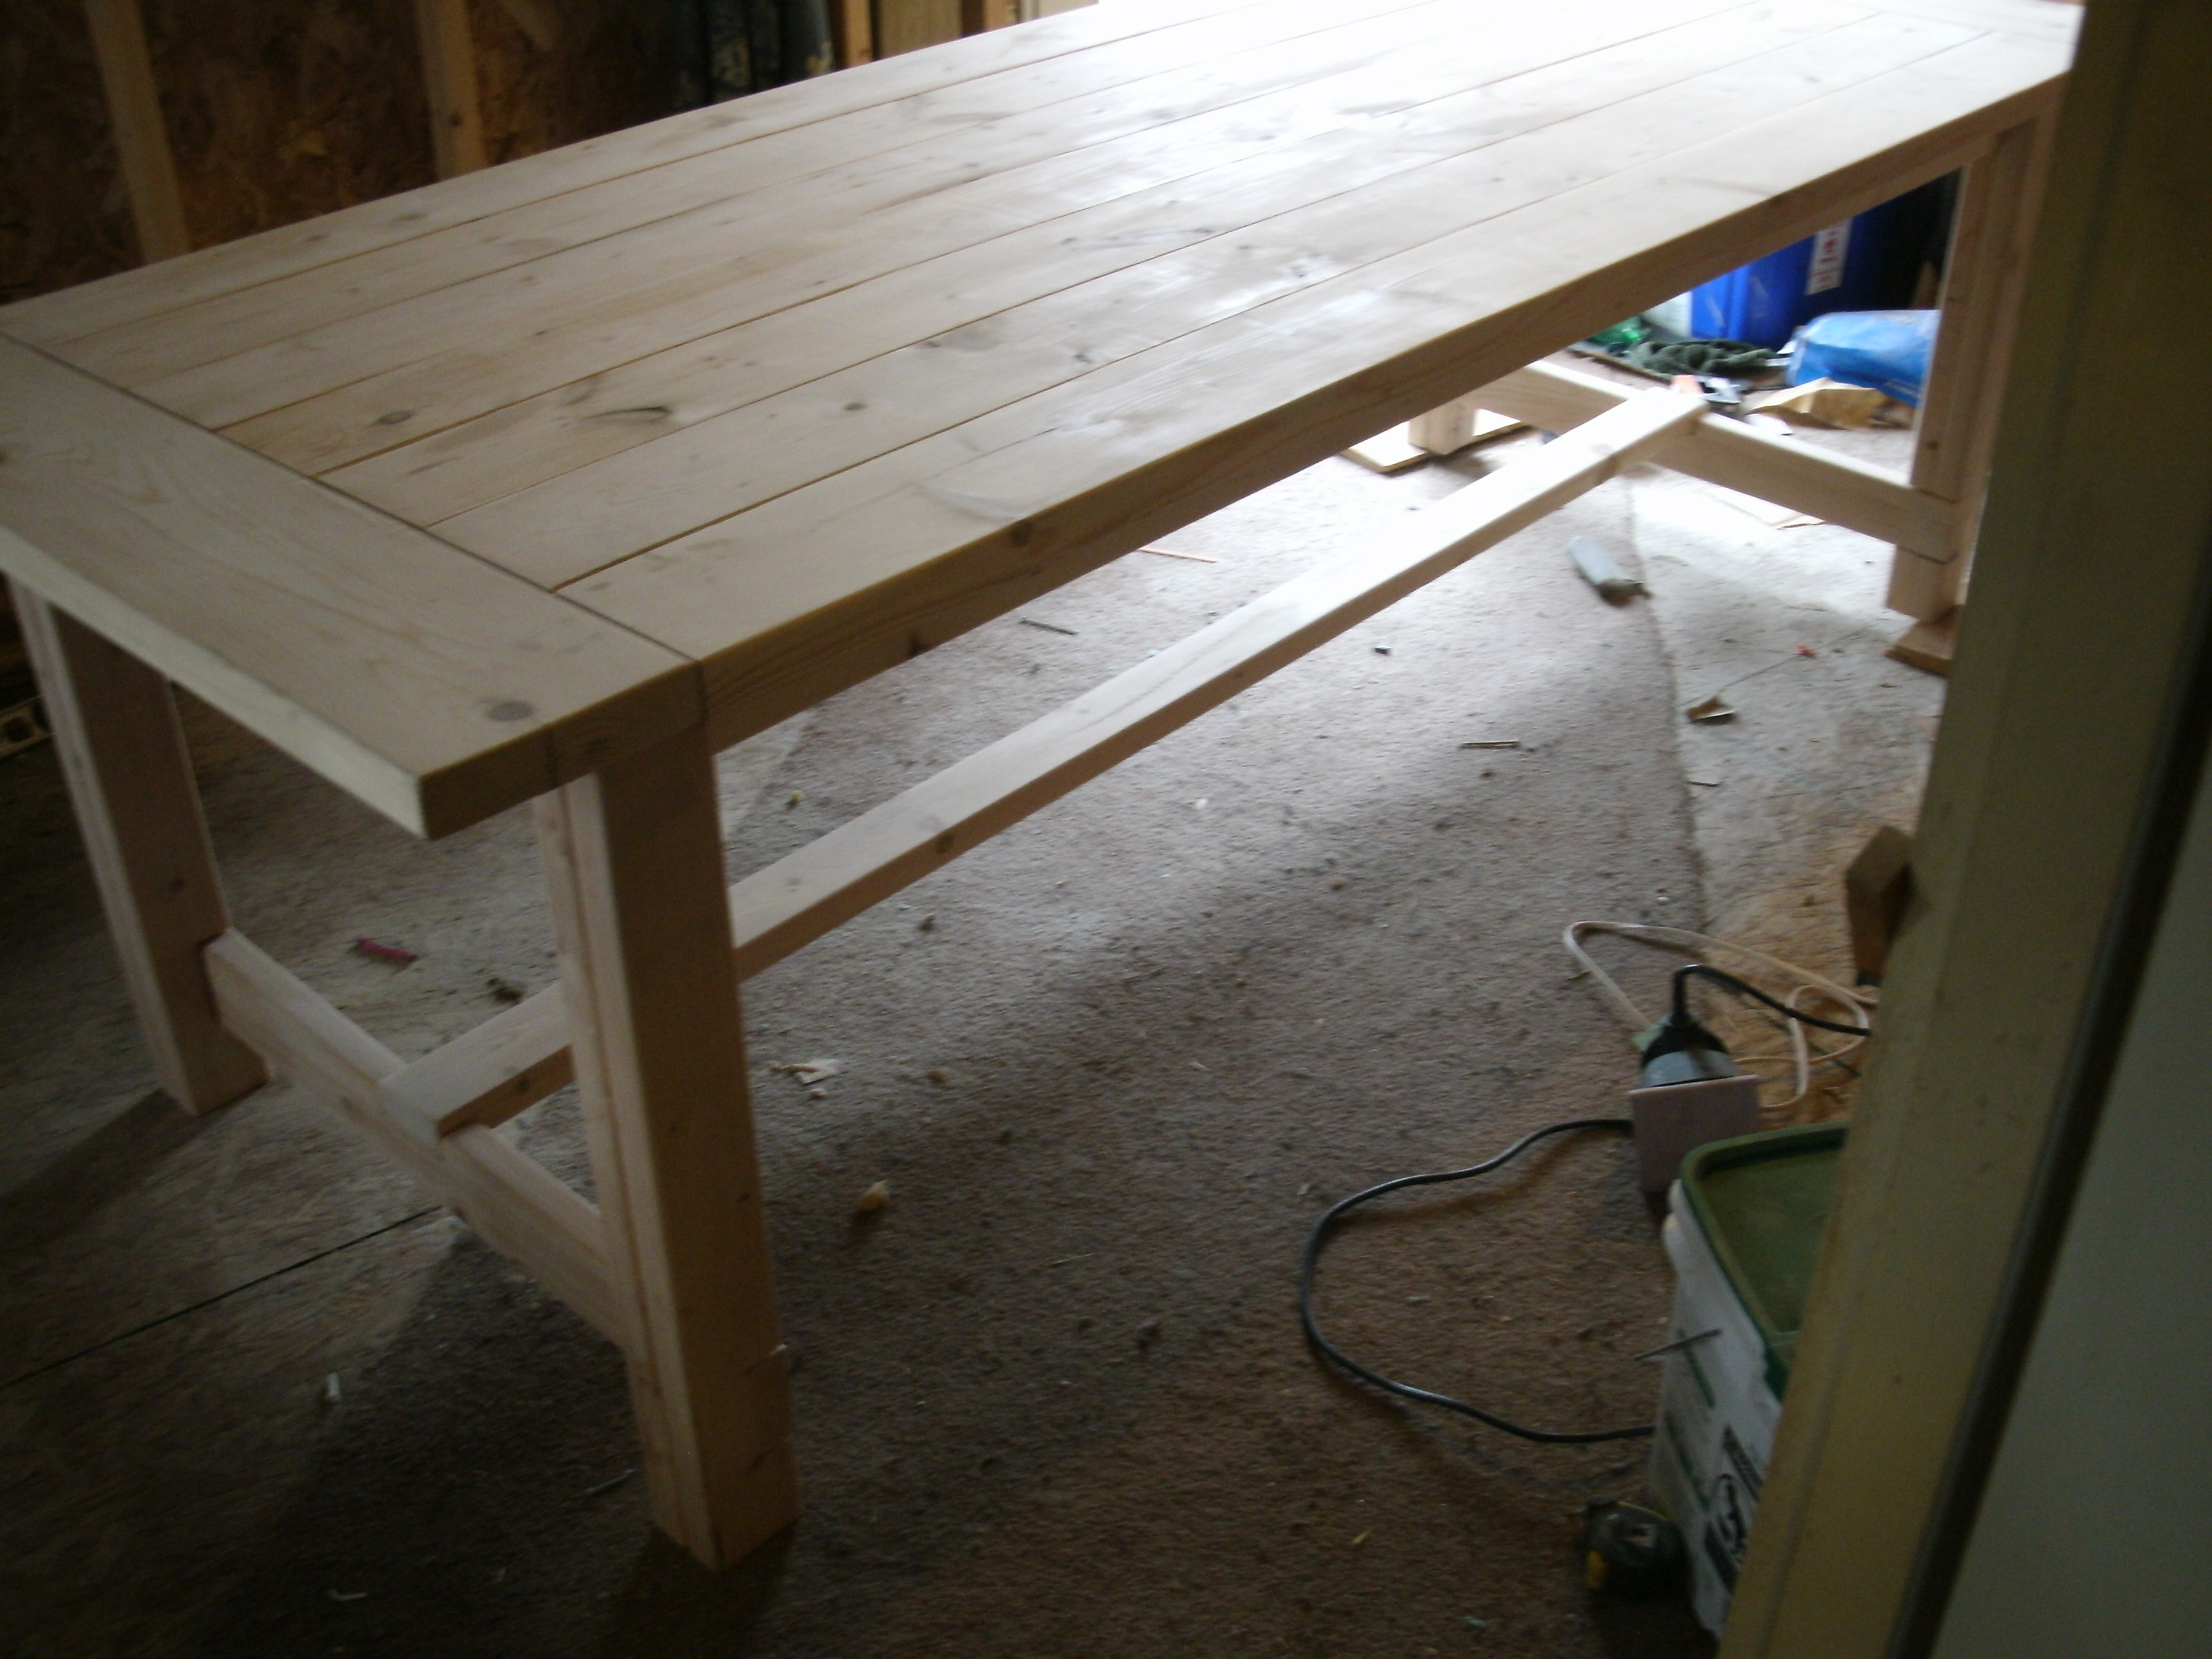
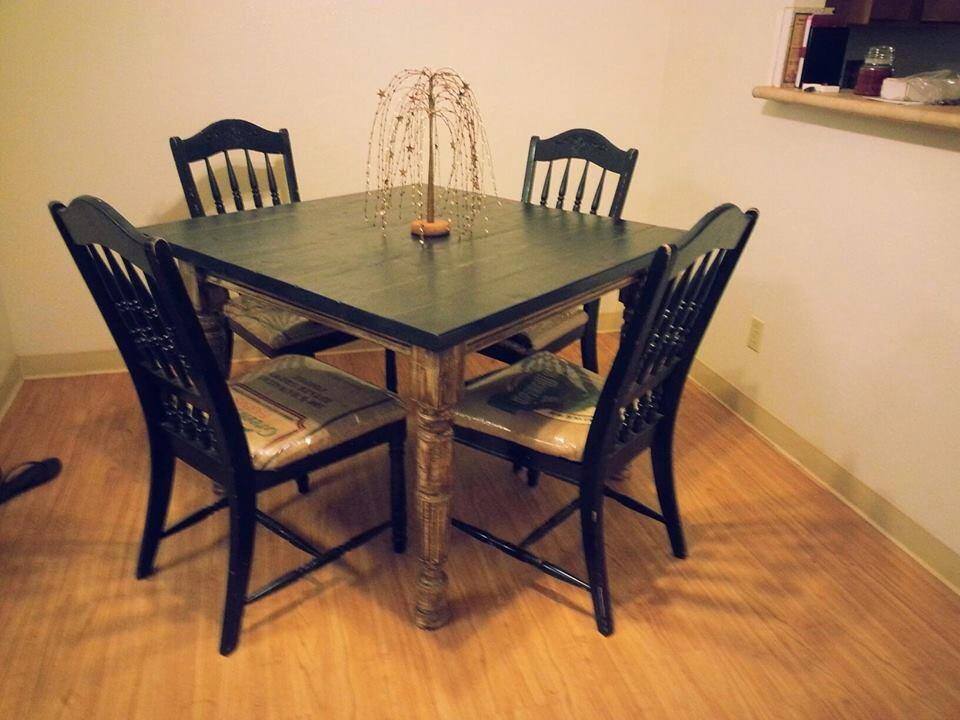
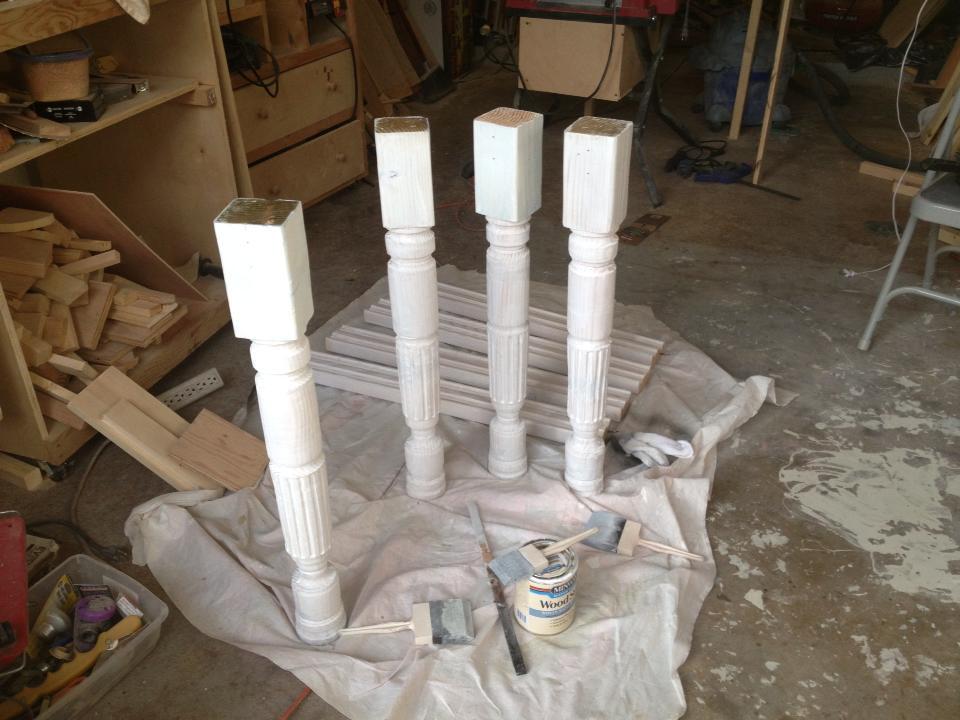
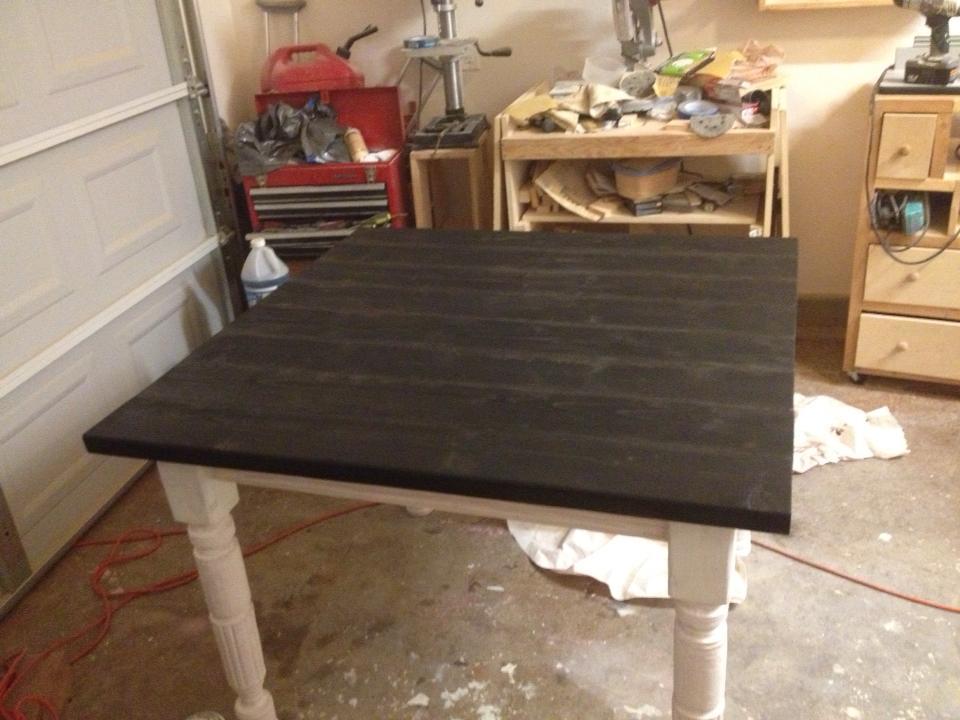
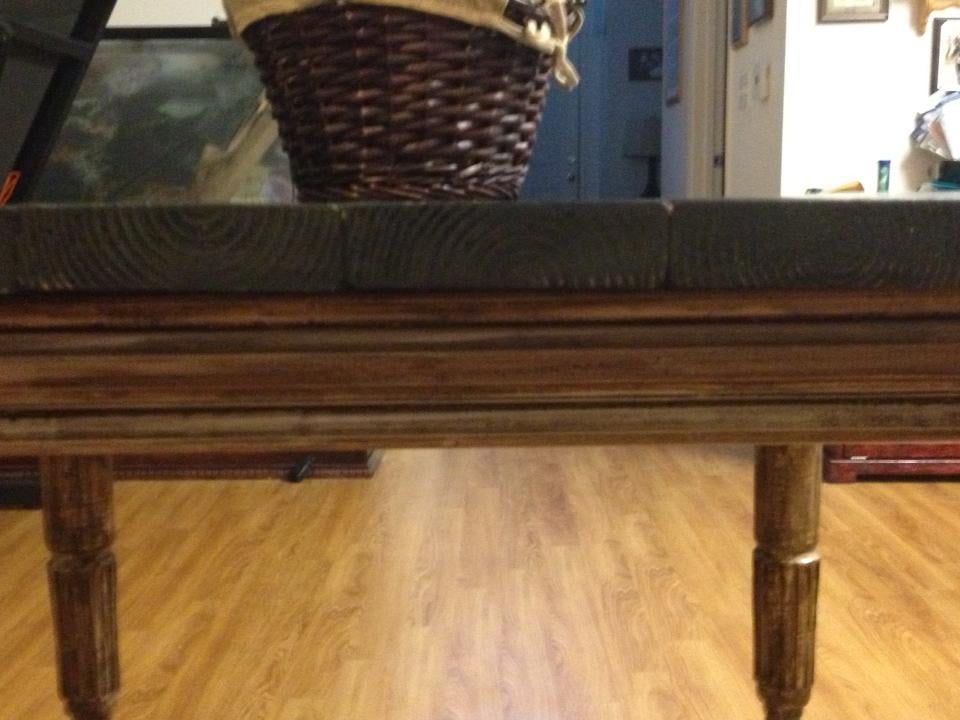
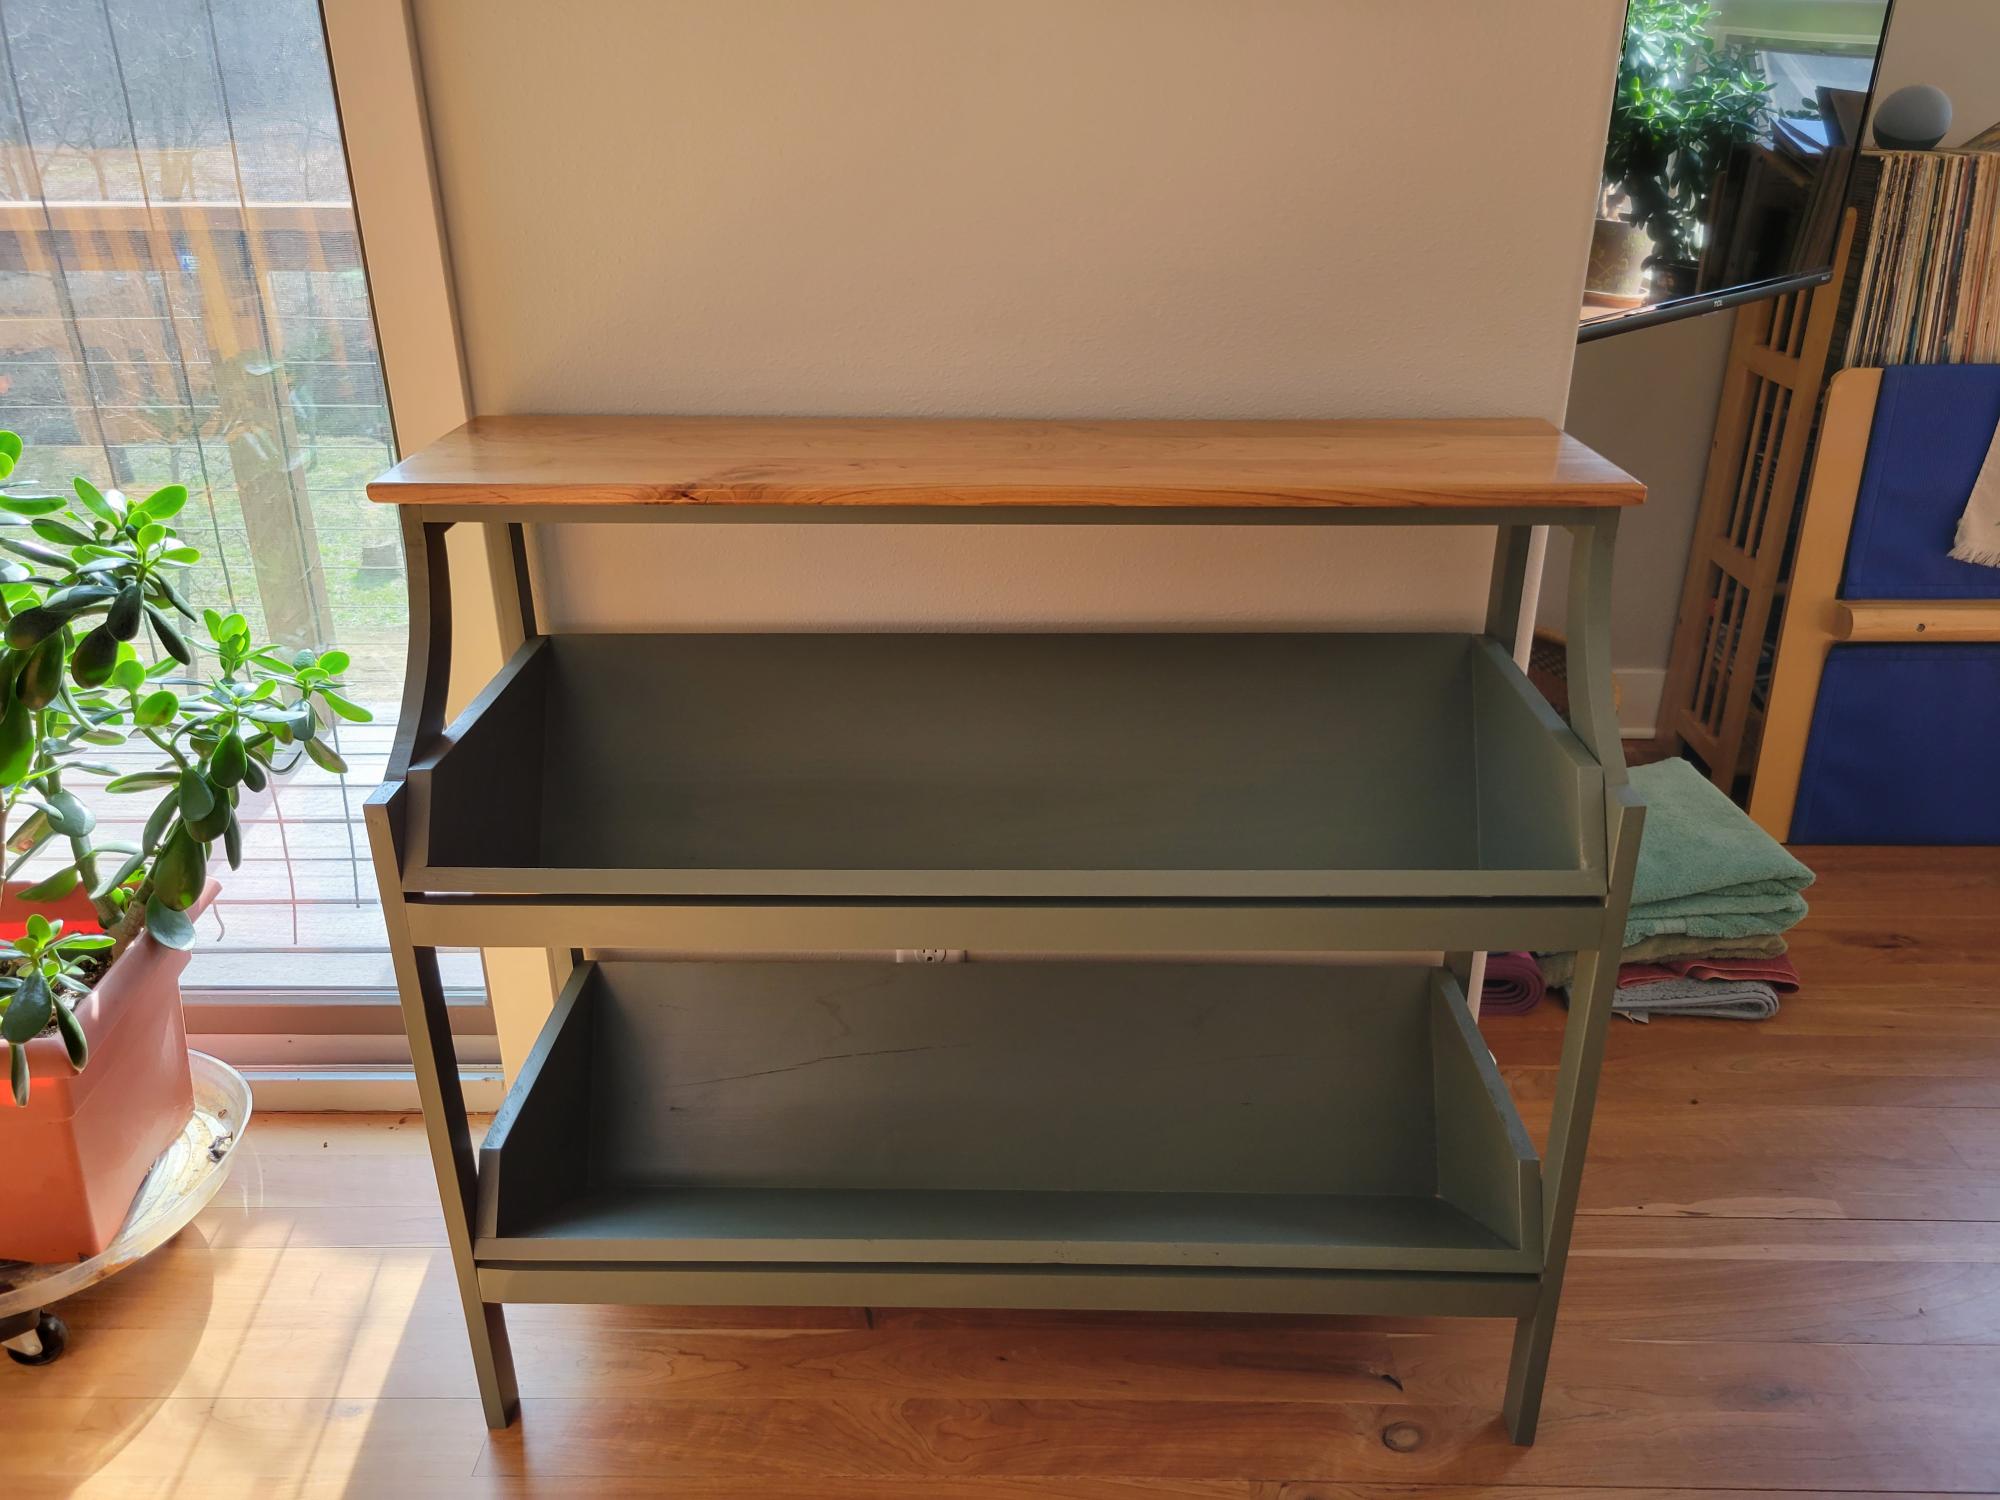
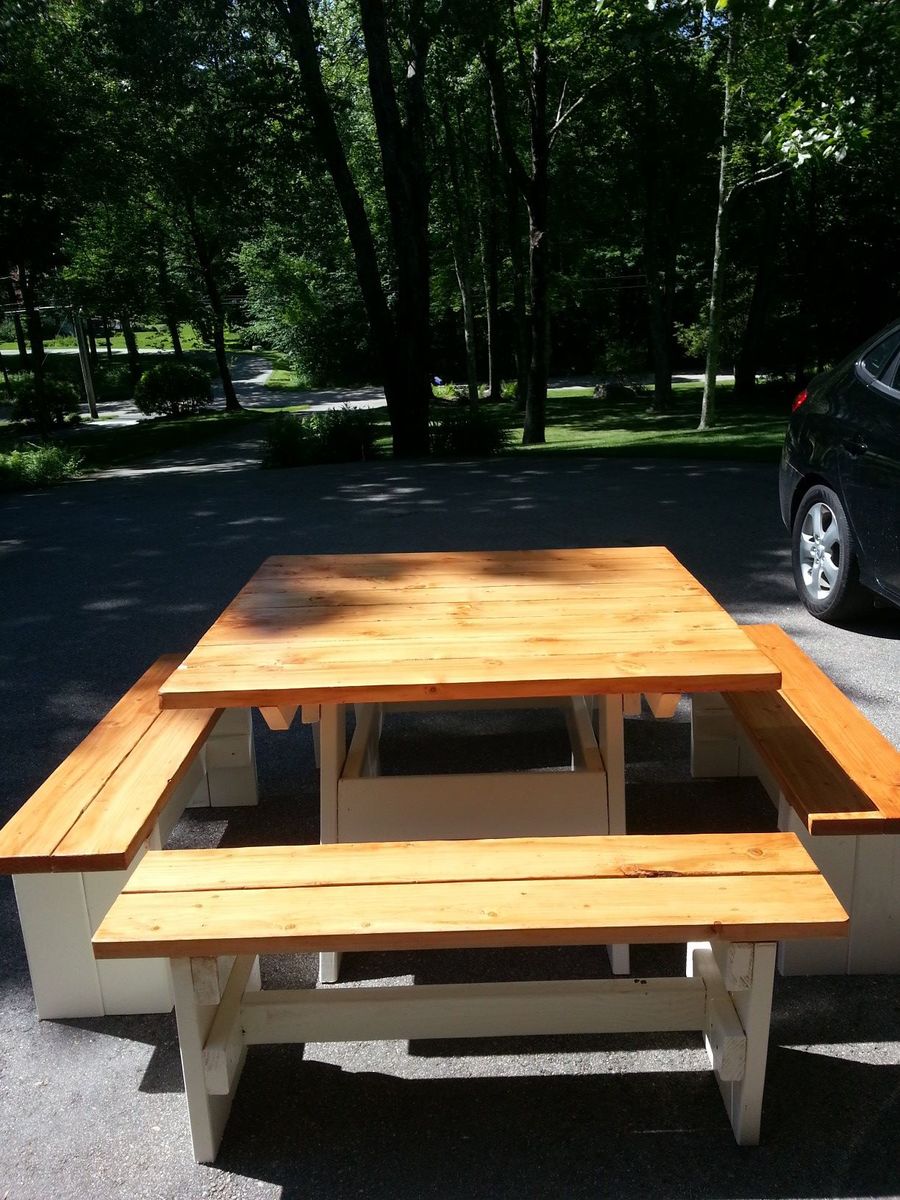
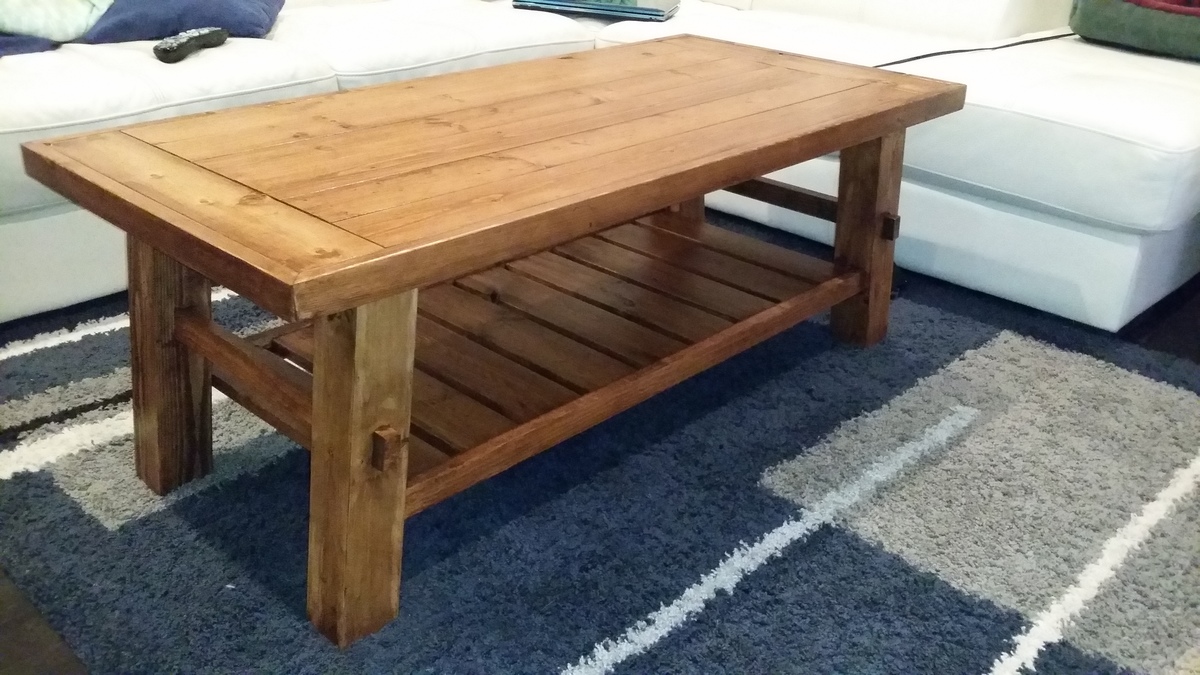
This project took me about 8 hours from start to finish over 3 days. I can't buy 4X4's here (unless they are treated or made of cedar ($25) or $60 each at the specialty store) so I made the legs out of 1x4's that I ripped down and then did a bevel edge and glued and nailed with my 23 gauge nailer so that they look like posts. I just followed the directions after that. I used little L brackets to secure the top instead of the figure 8 brackets in the plans. They worked fine. I also didn't put in the cross pieces. I tested the top without them and it was really solid so I didn't see a need for them. I wouldn't recommend cutting everything ahead of time like they say to do in the plans. Nothing ever works our perfect with wood so it's better to cut as you go to get the perfect measurement. For example, the end pieces of the top we supposed to be cut to 21". I needed to cut to 21 1/16th. It doesn't sound like much but when you are then trimming the whole top out with 1x2's it is really noticeable if everything doesn't line up. I sanded as I went. I find it much easier to do it as I go then trying to get all the nooks and crannies when it's all put together. I also stained and put on the poly before it was completley together. I did the frame seperate from the top and the bottom shelf slats. Once everything dried I put it together. It's hard to do sometimes because I just want to get the piece together as fast as possible but it is actually quicker in the long run if you sand and stain along the way.
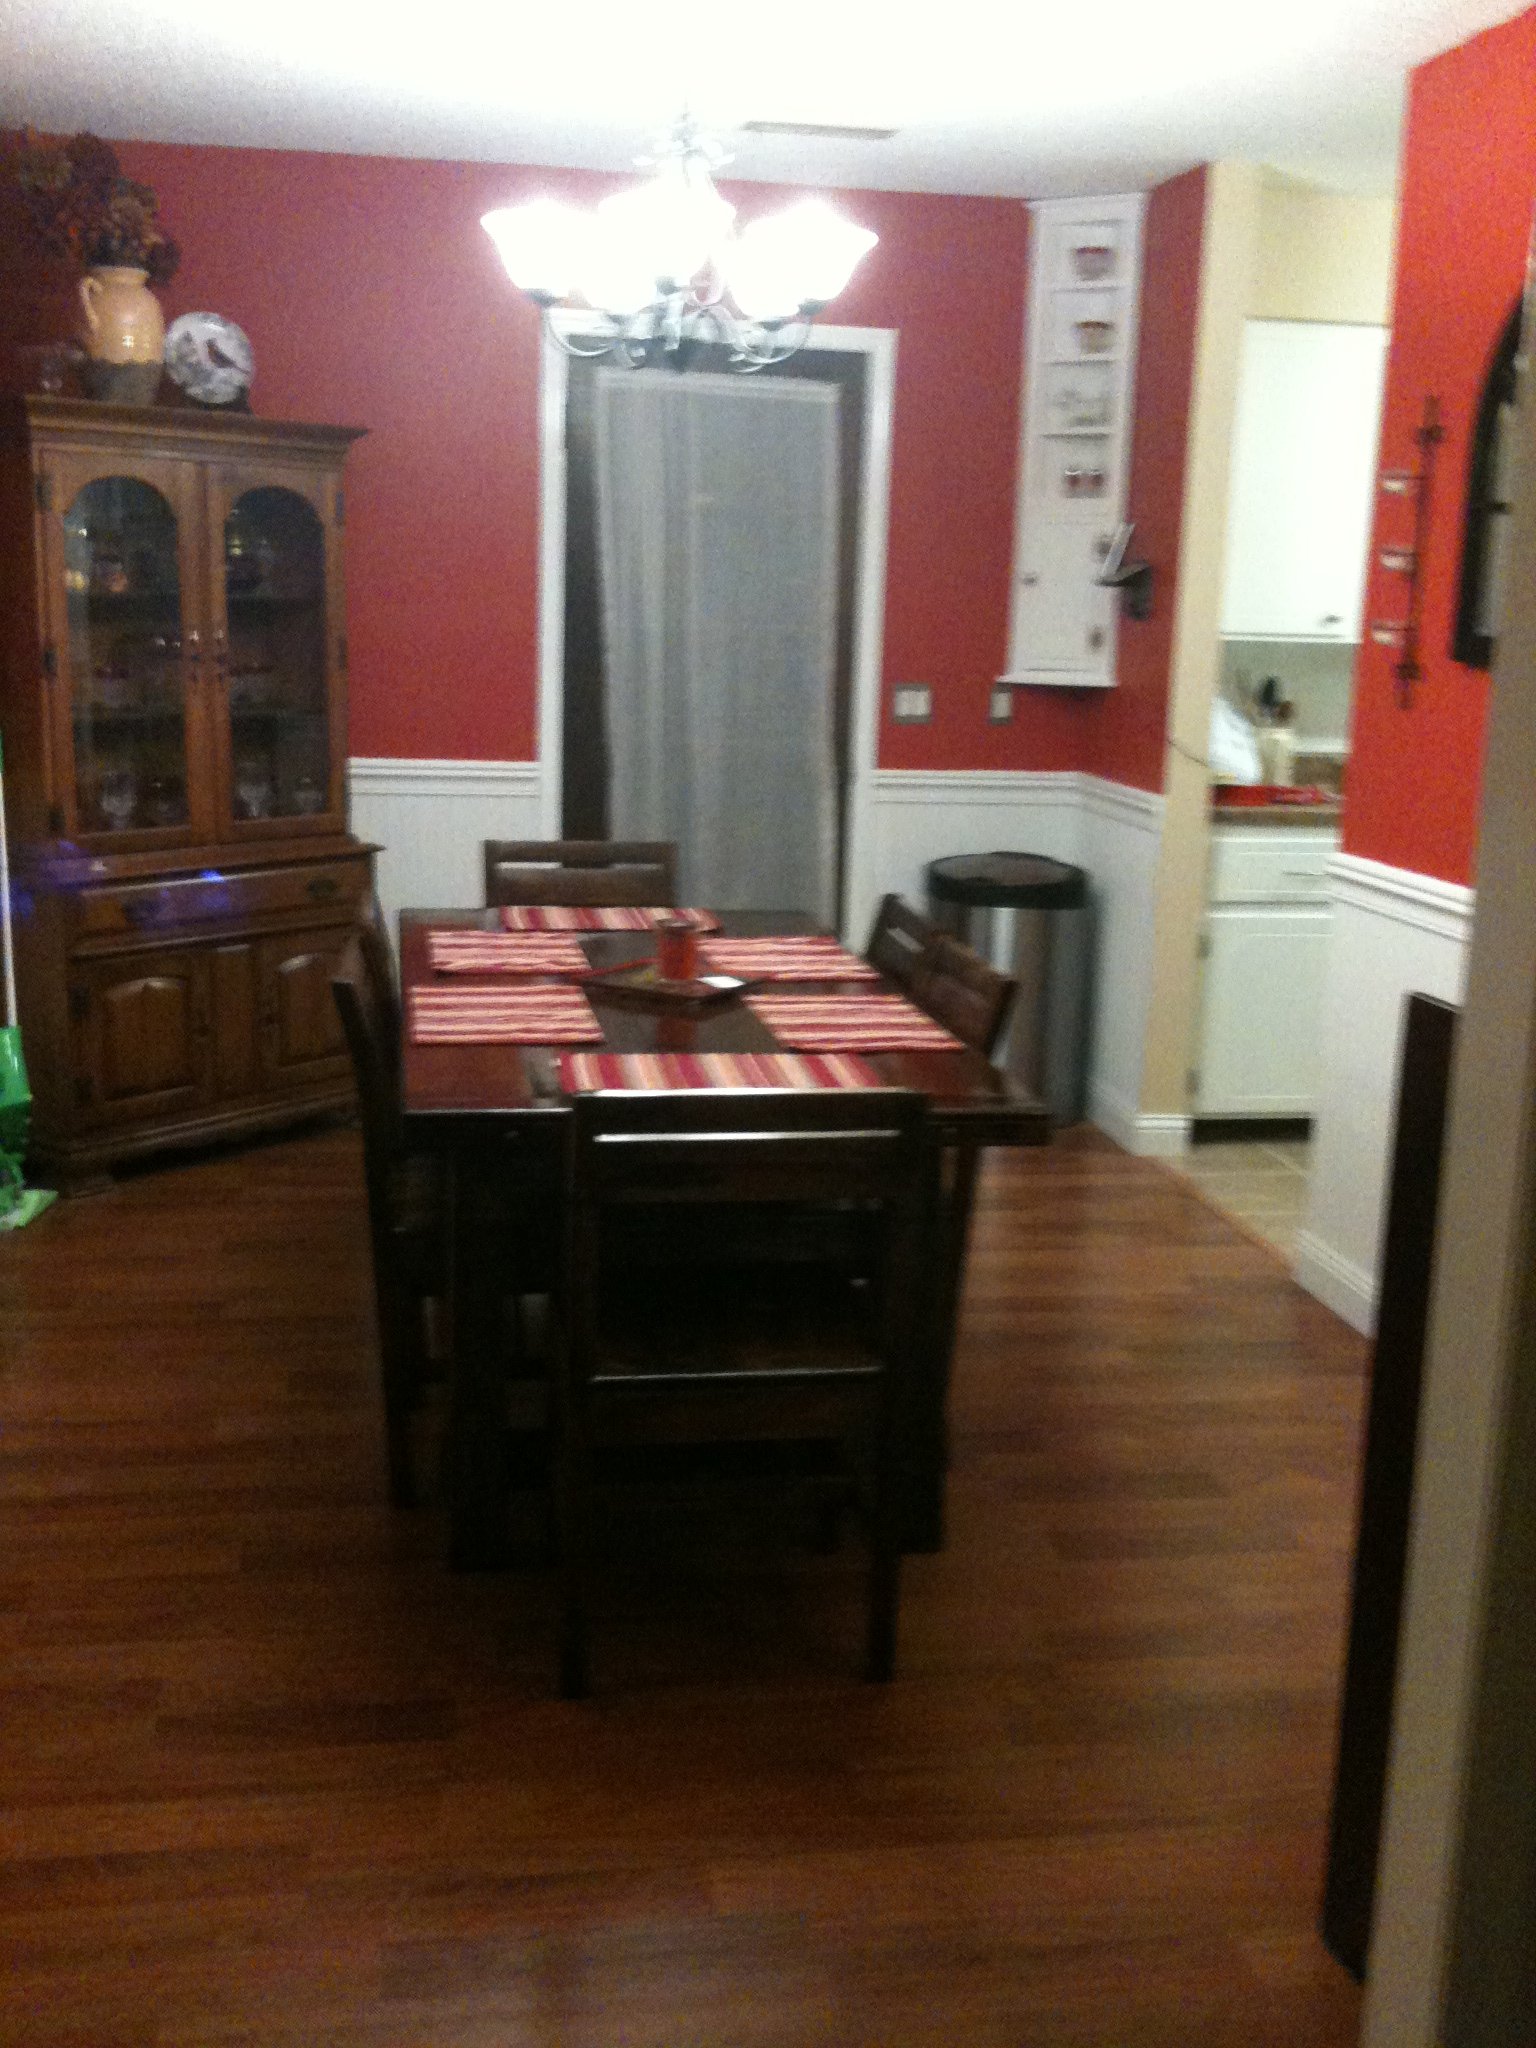
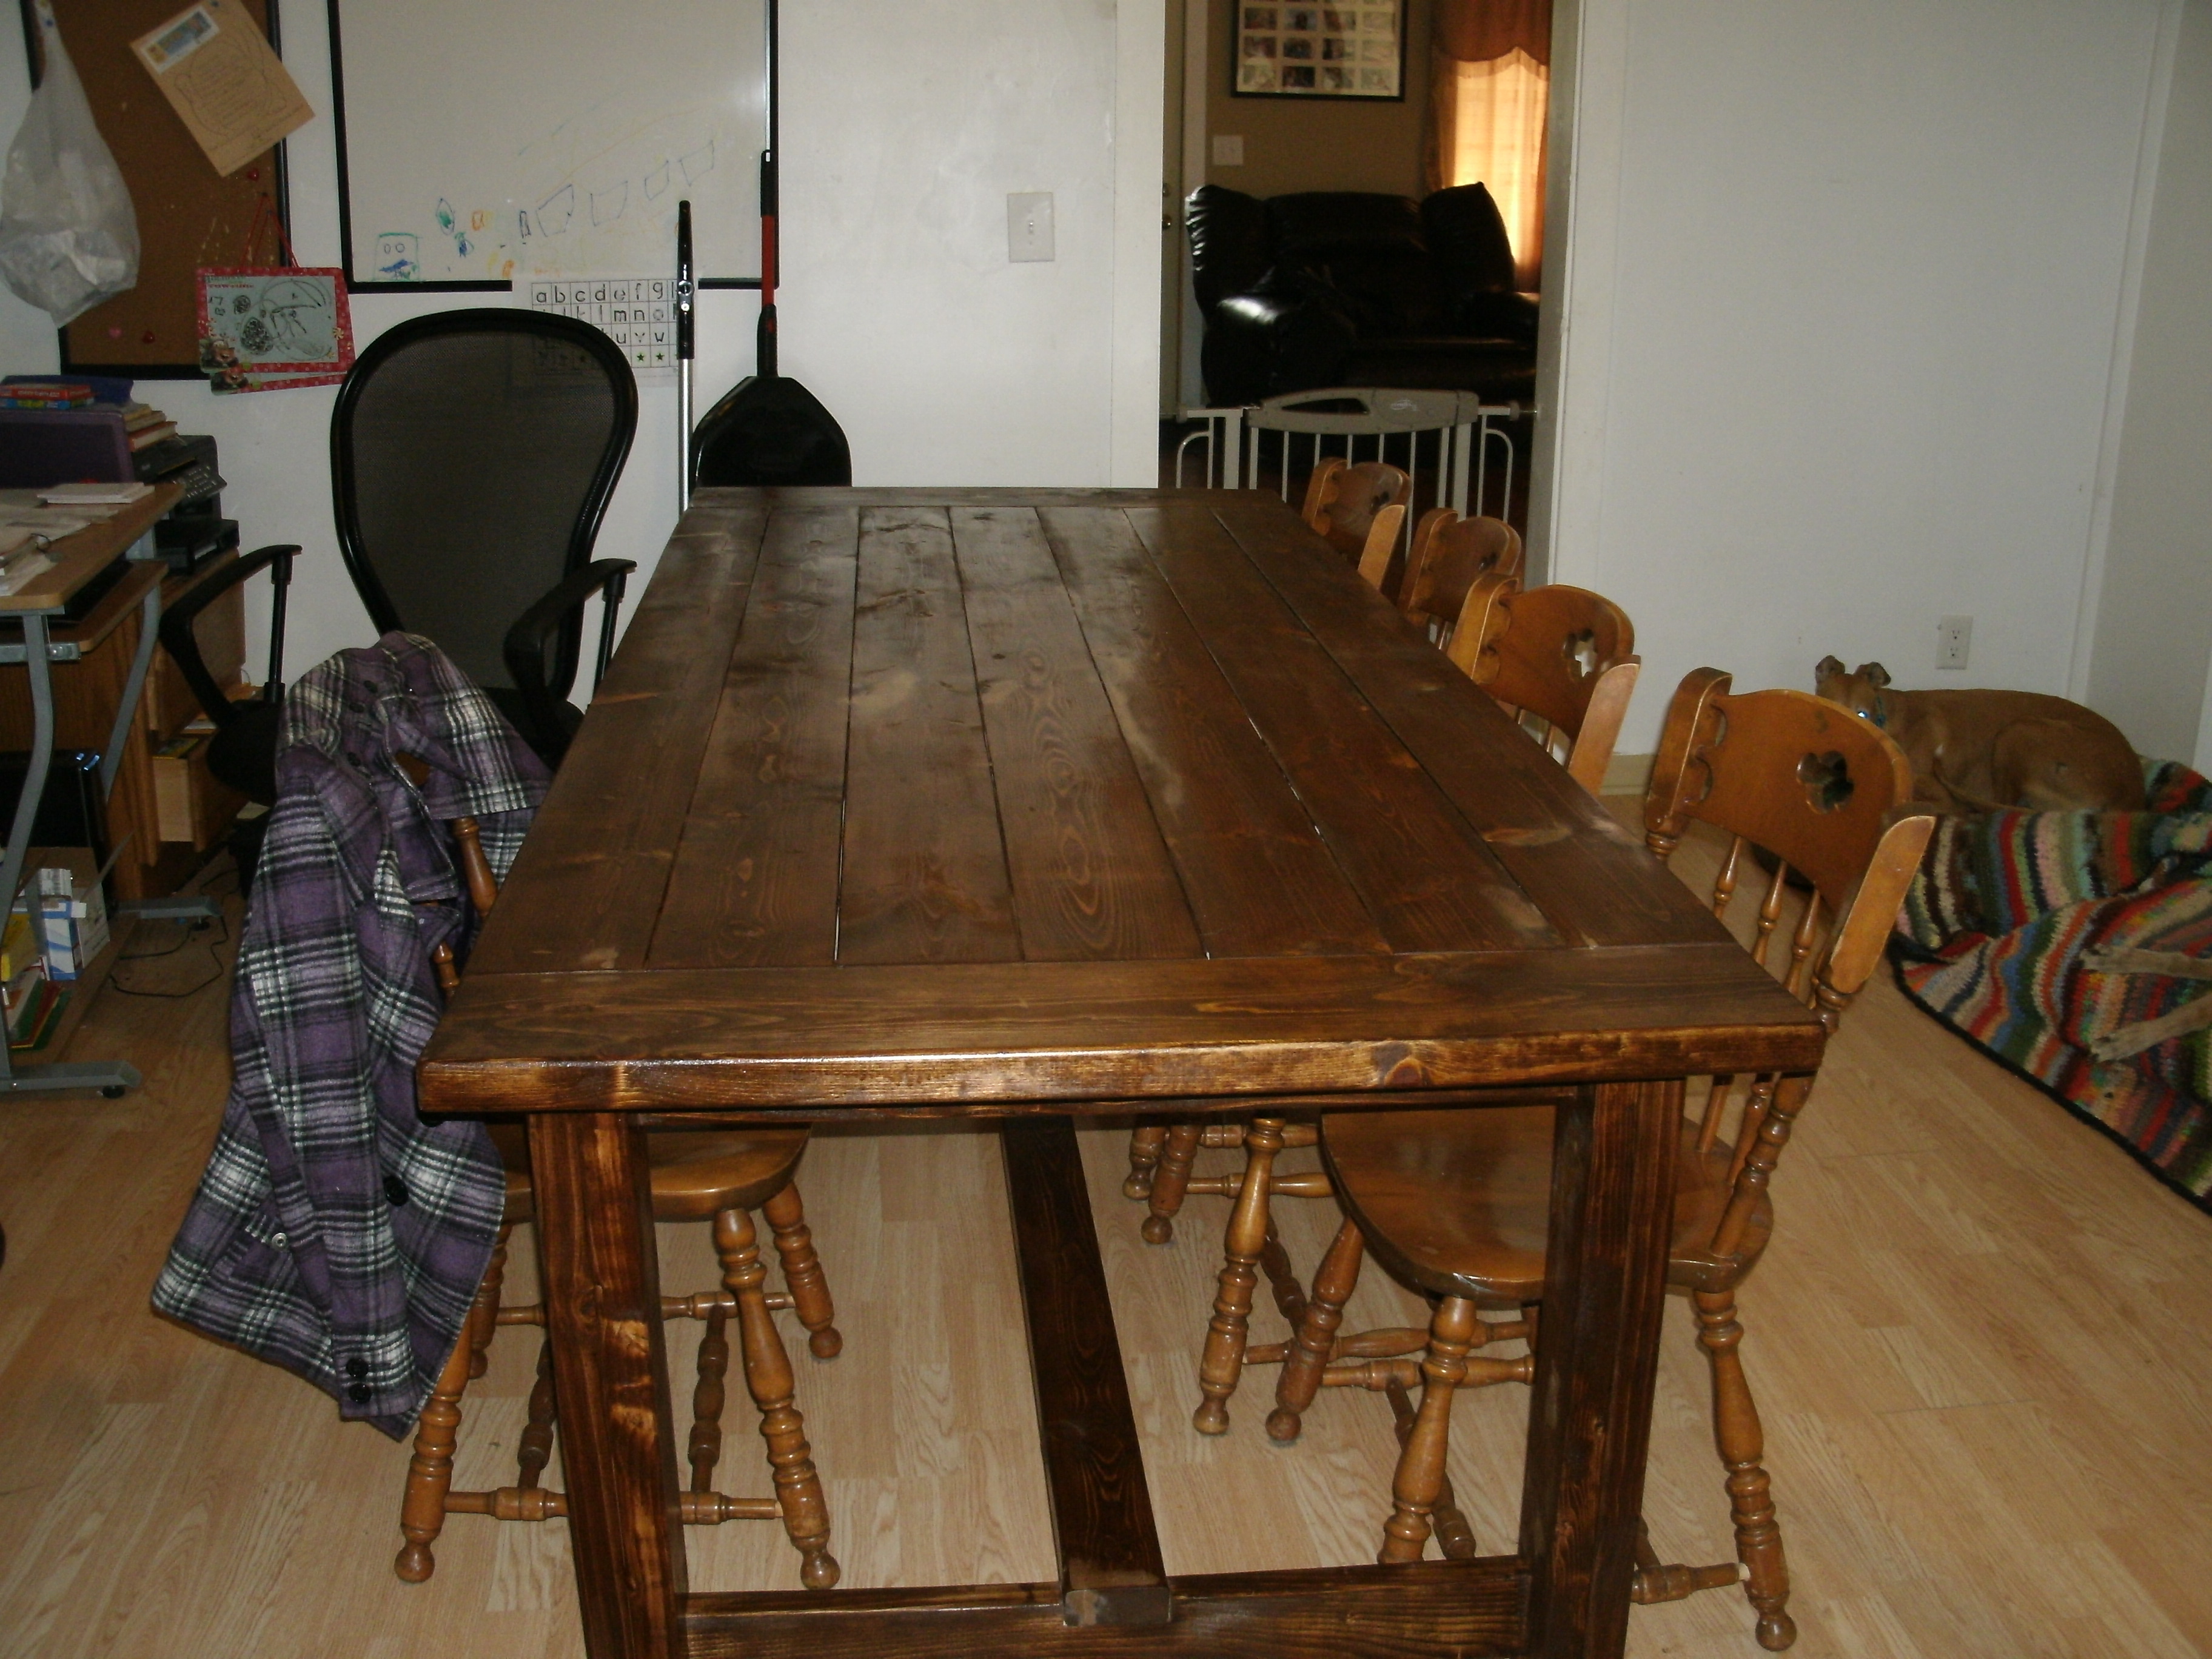
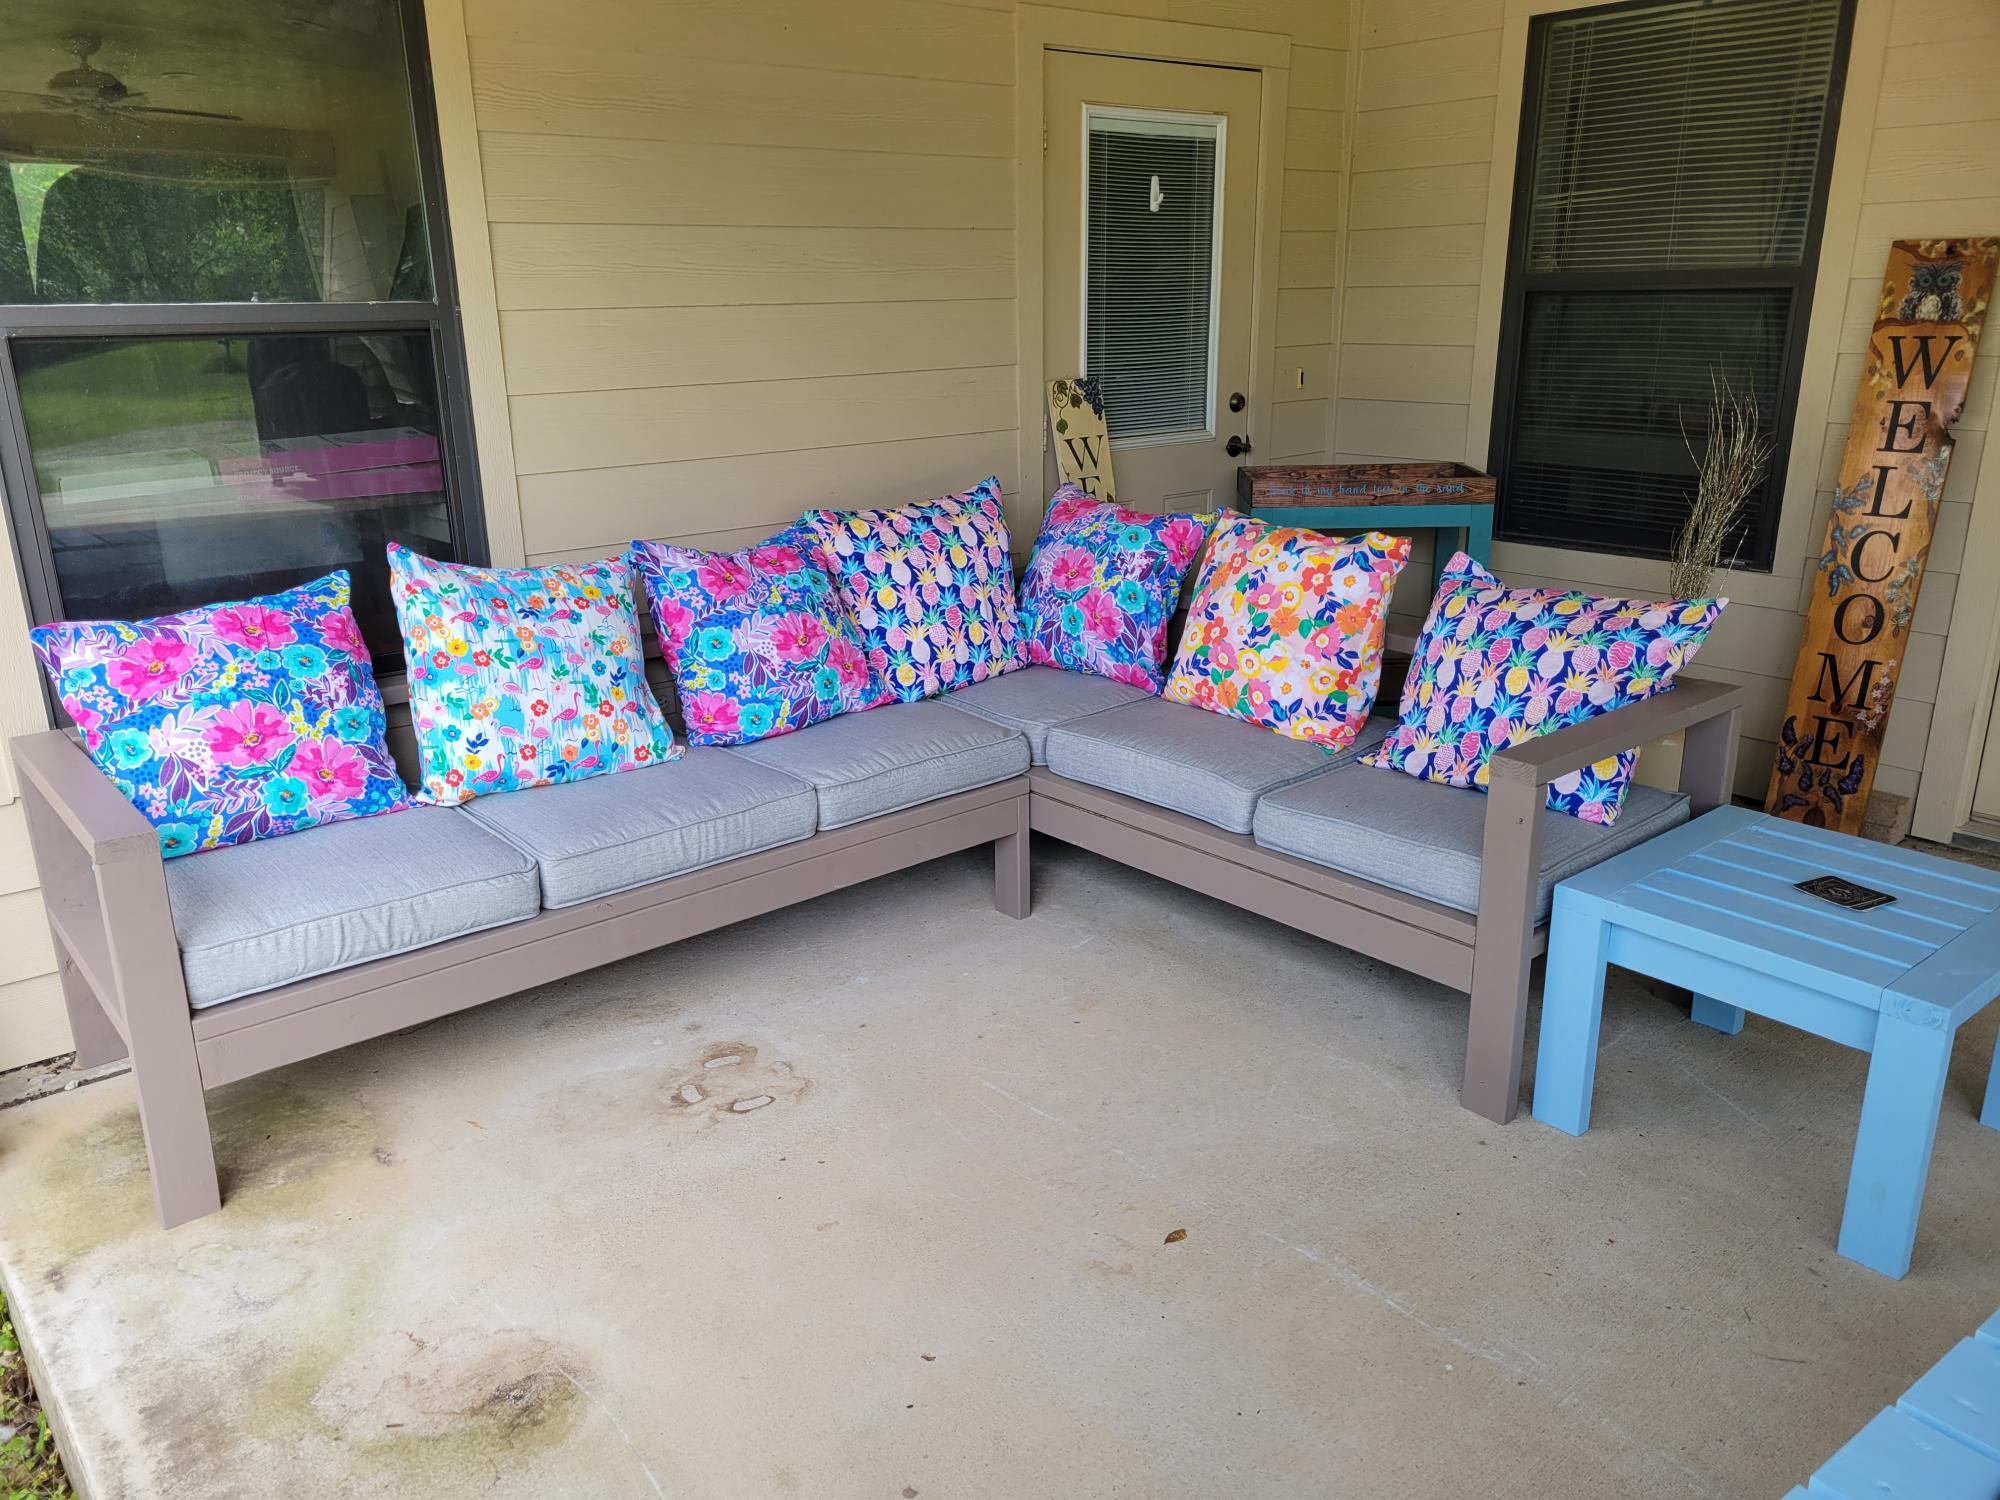
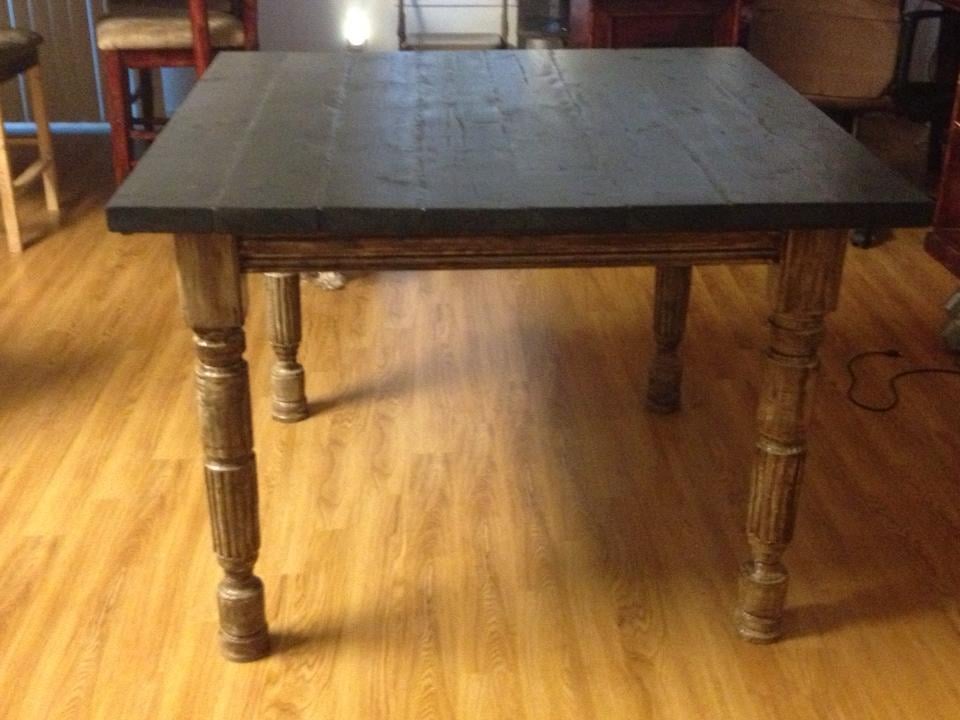
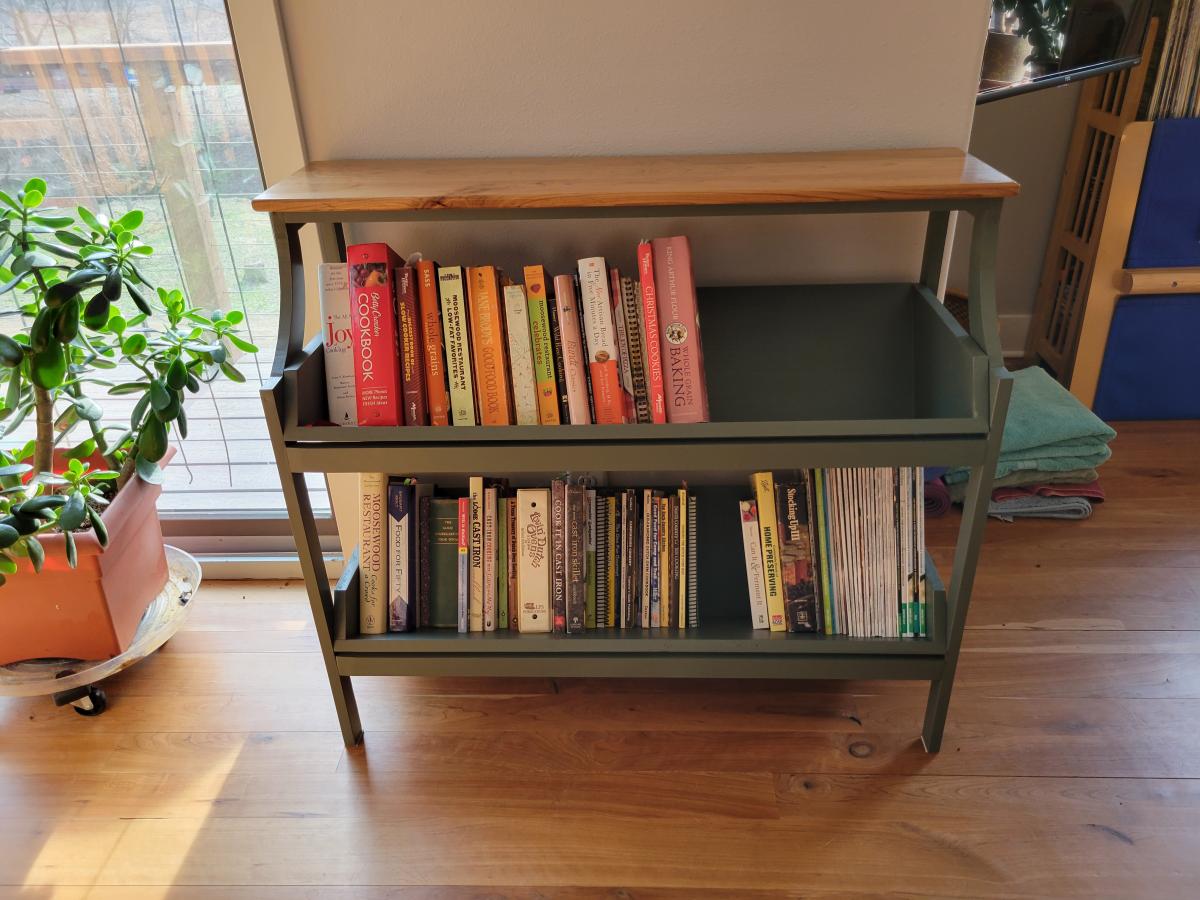
It will go at my rental house at the lake. I tried it out at my home. I don't need a coffee table but I may have a hard time letting it go. I really love how it turned out.