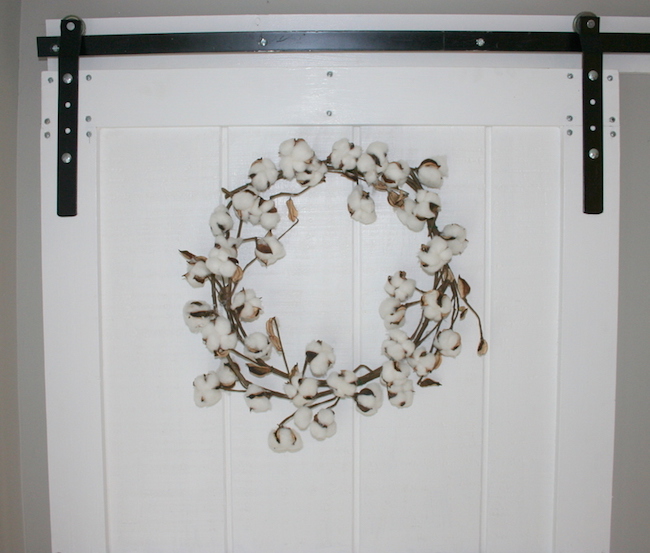
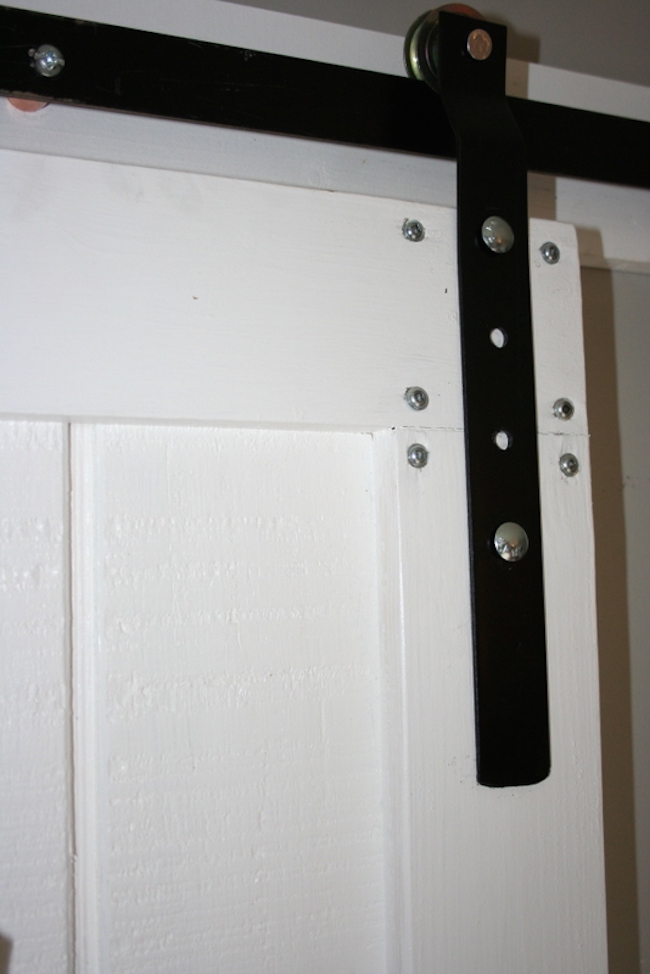
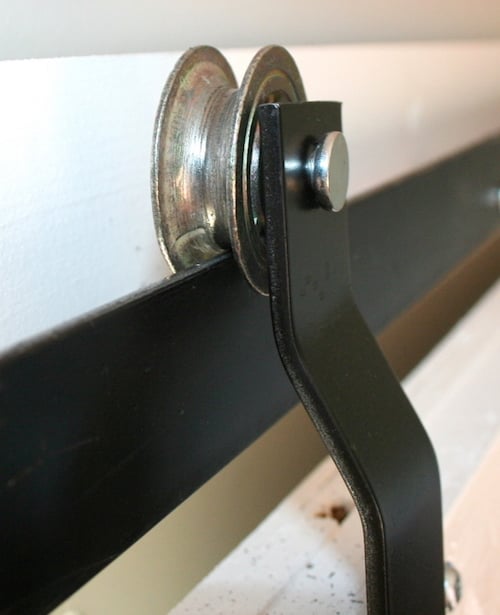
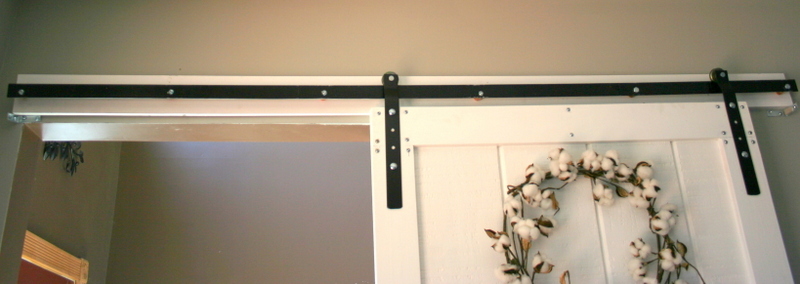
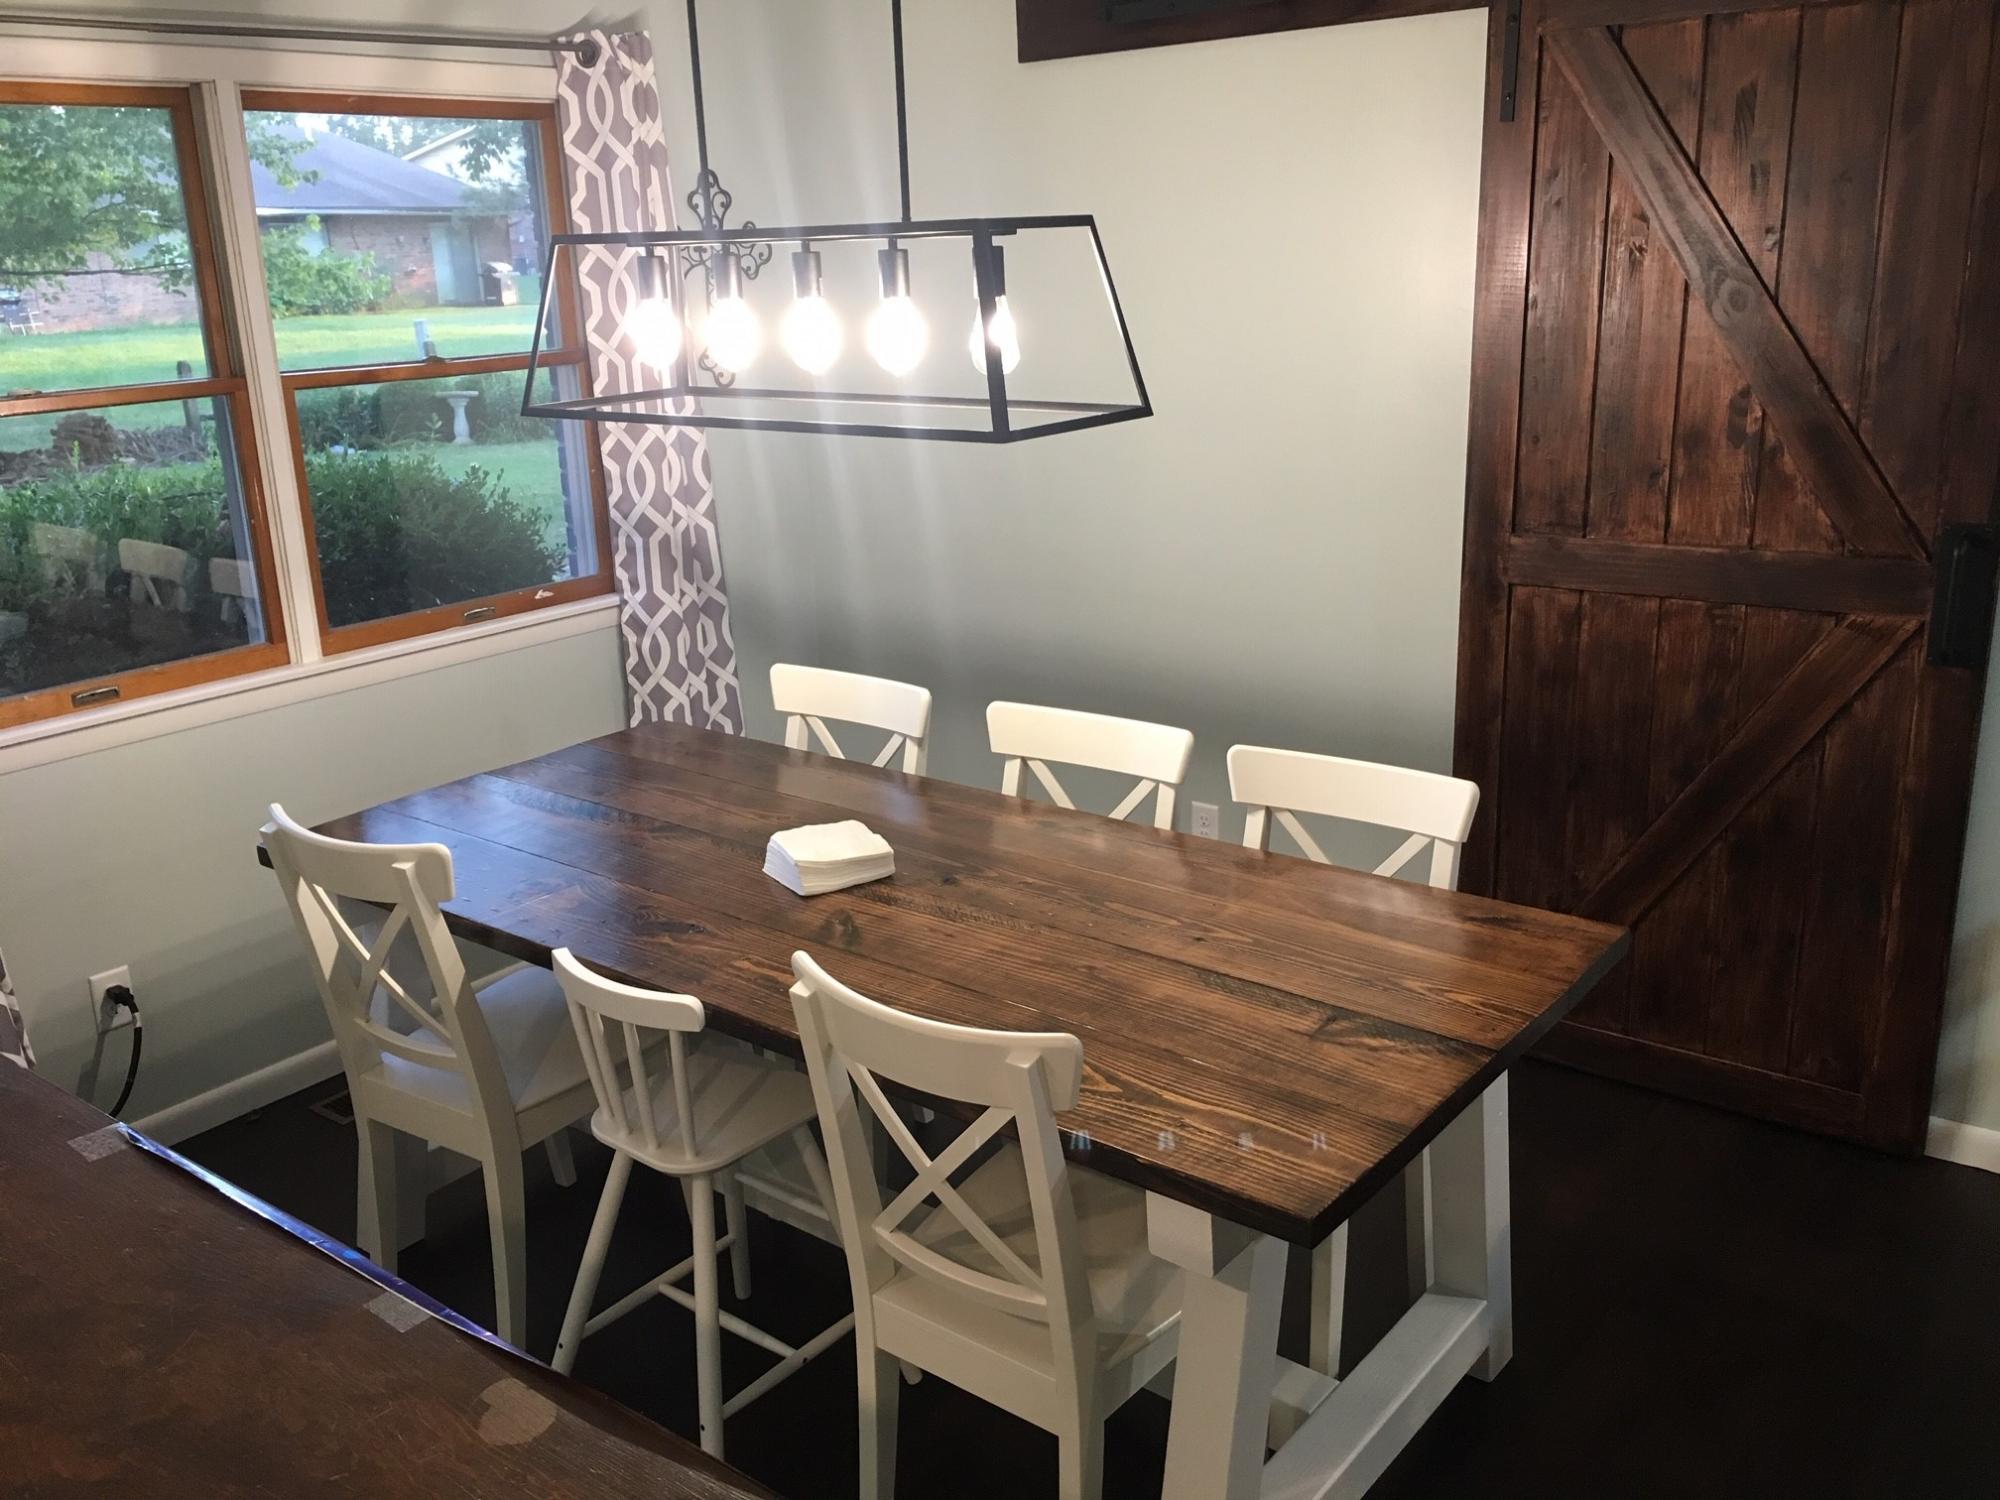
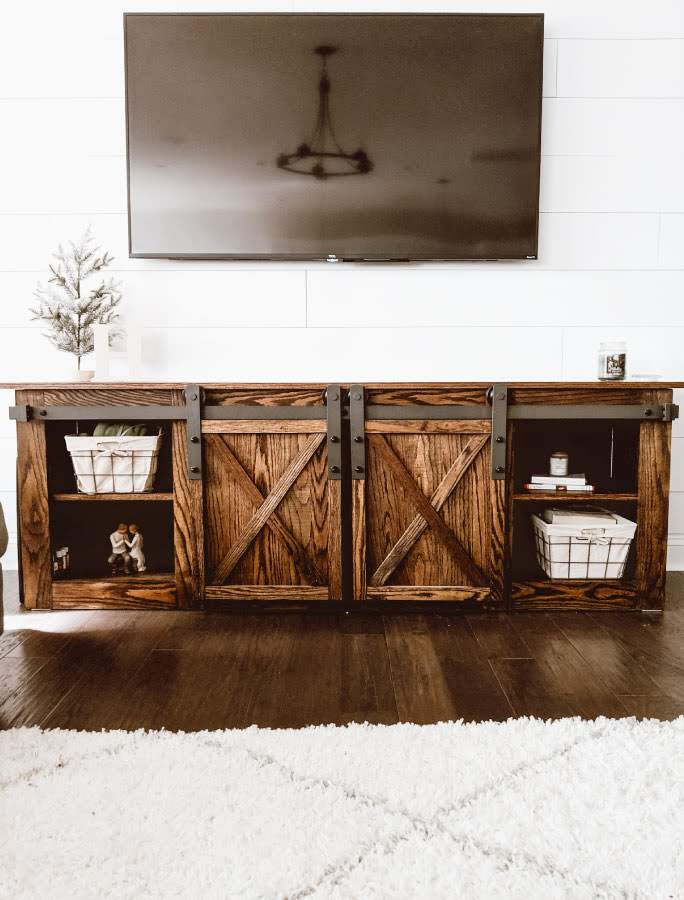
DIY Barn Door and Hardware for around $80!
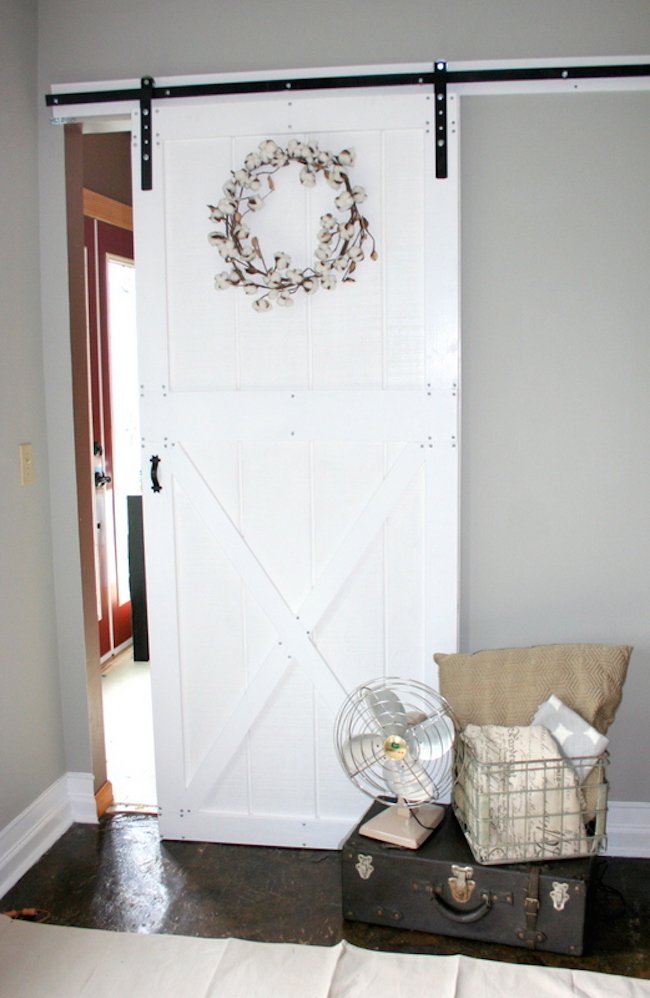
I really wanted to put a barn door in my husband's home office, but have you looked at the prices of the kits? No way was I going to spend that for a door. So I decided to fabricate it myself. For the rail hardware- I used a 72" steel rod, copper pipe fittings, and lag screws. For the door hardware, I used 12"ish, long pieces of steel, pulleys, and carriage bolts.
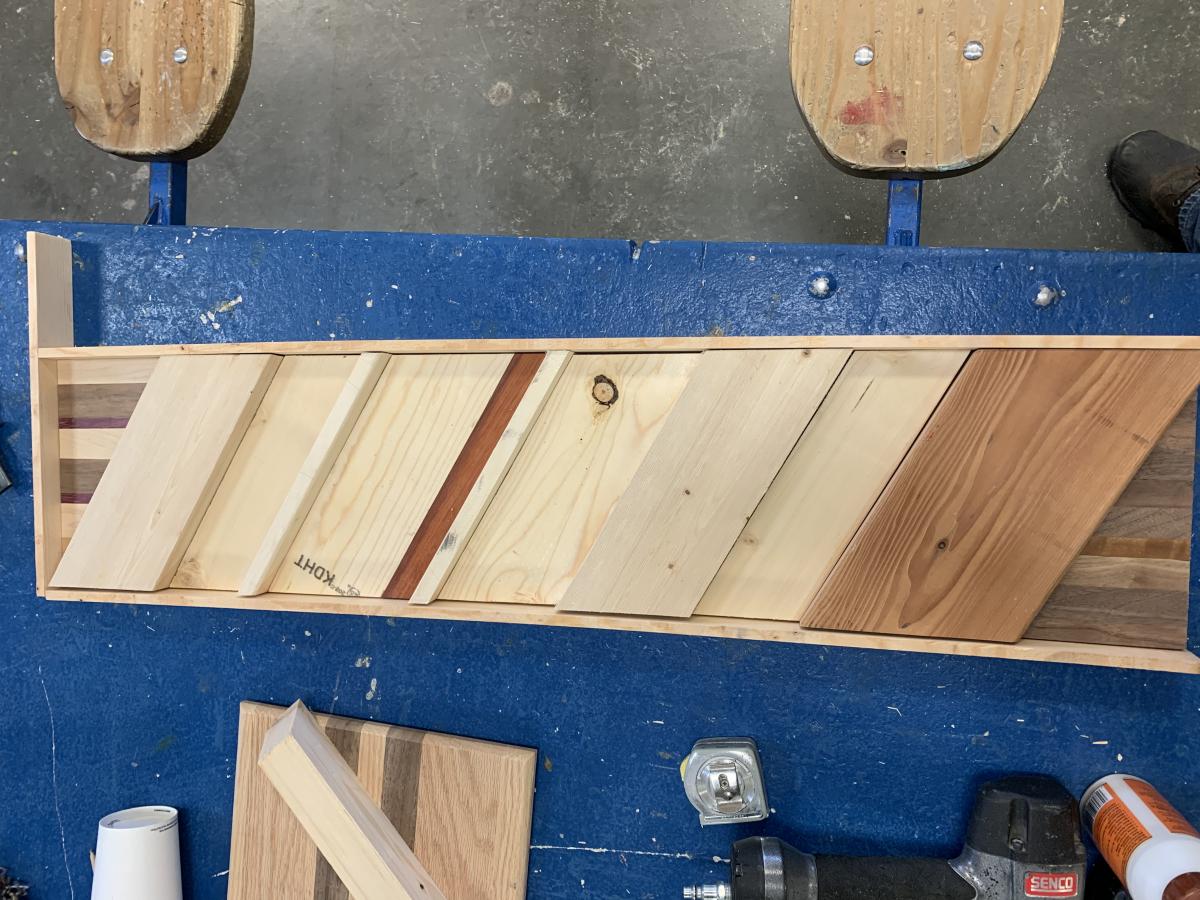
The door itself is made from plywood siding, 1 x 4's, 1 x 6's, and 1 x 3's. The entire door and hardware cost around $80 to make myself. It's functional and looks amazing! The entire tutorial is up on my blog!

Estimated Cost
$80
Estimated Time Investment
Day Project (6-9 Hours)
Finish Used
white paint
Recommended Skill Level
Beginner


Comments
DBrummetts
Thu, 07/22/2021 - 11:04
Barn Door
I want to build a barn door and really like this one.