outdoor sofa
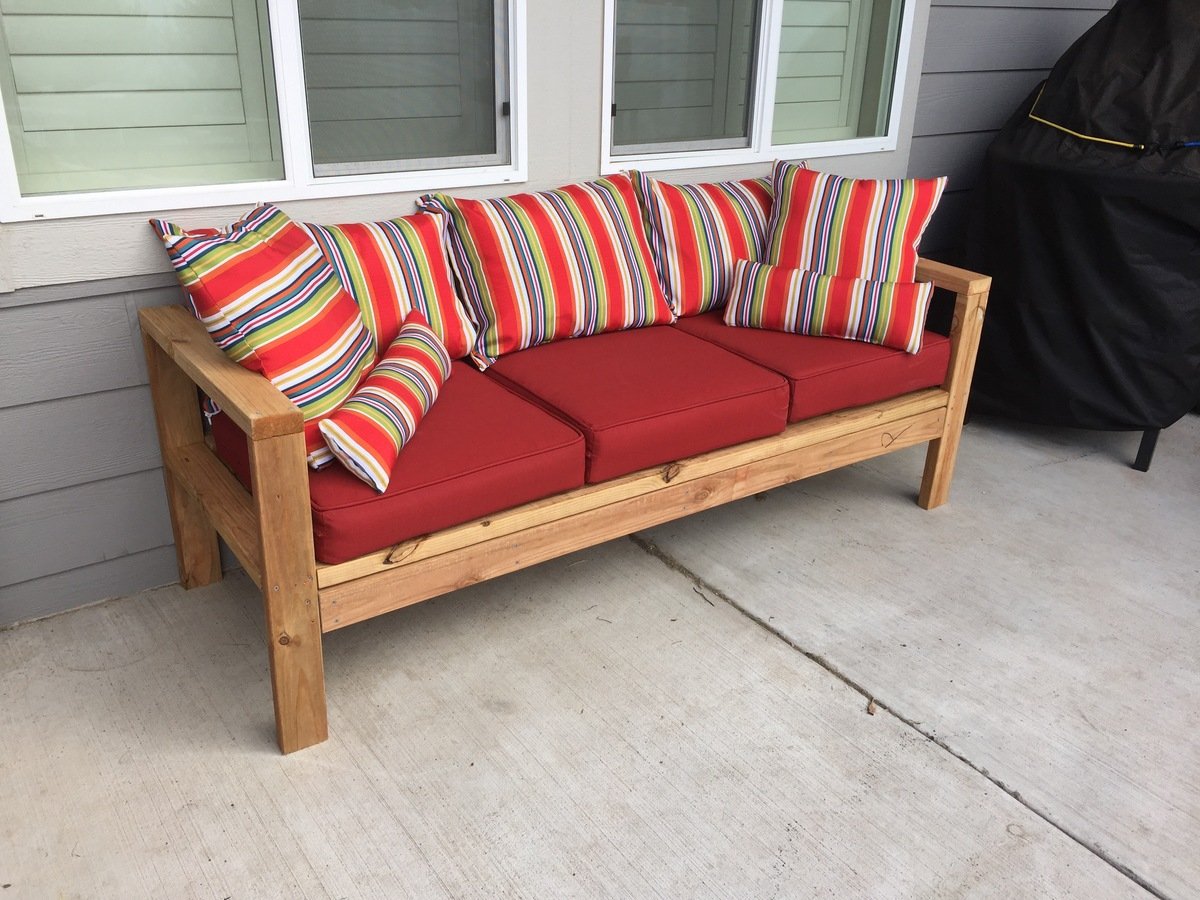
This is the first thing i have made using 2x4's. the plans were very easy to follow. it cost me approxmently $100.00. I made the stripe pillows from fabric i have had.

This is the first thing i have made using 2x4's. the plans were very easy to follow. it cost me approxmently $100.00. I made the stripe pillows from fabric i have had.
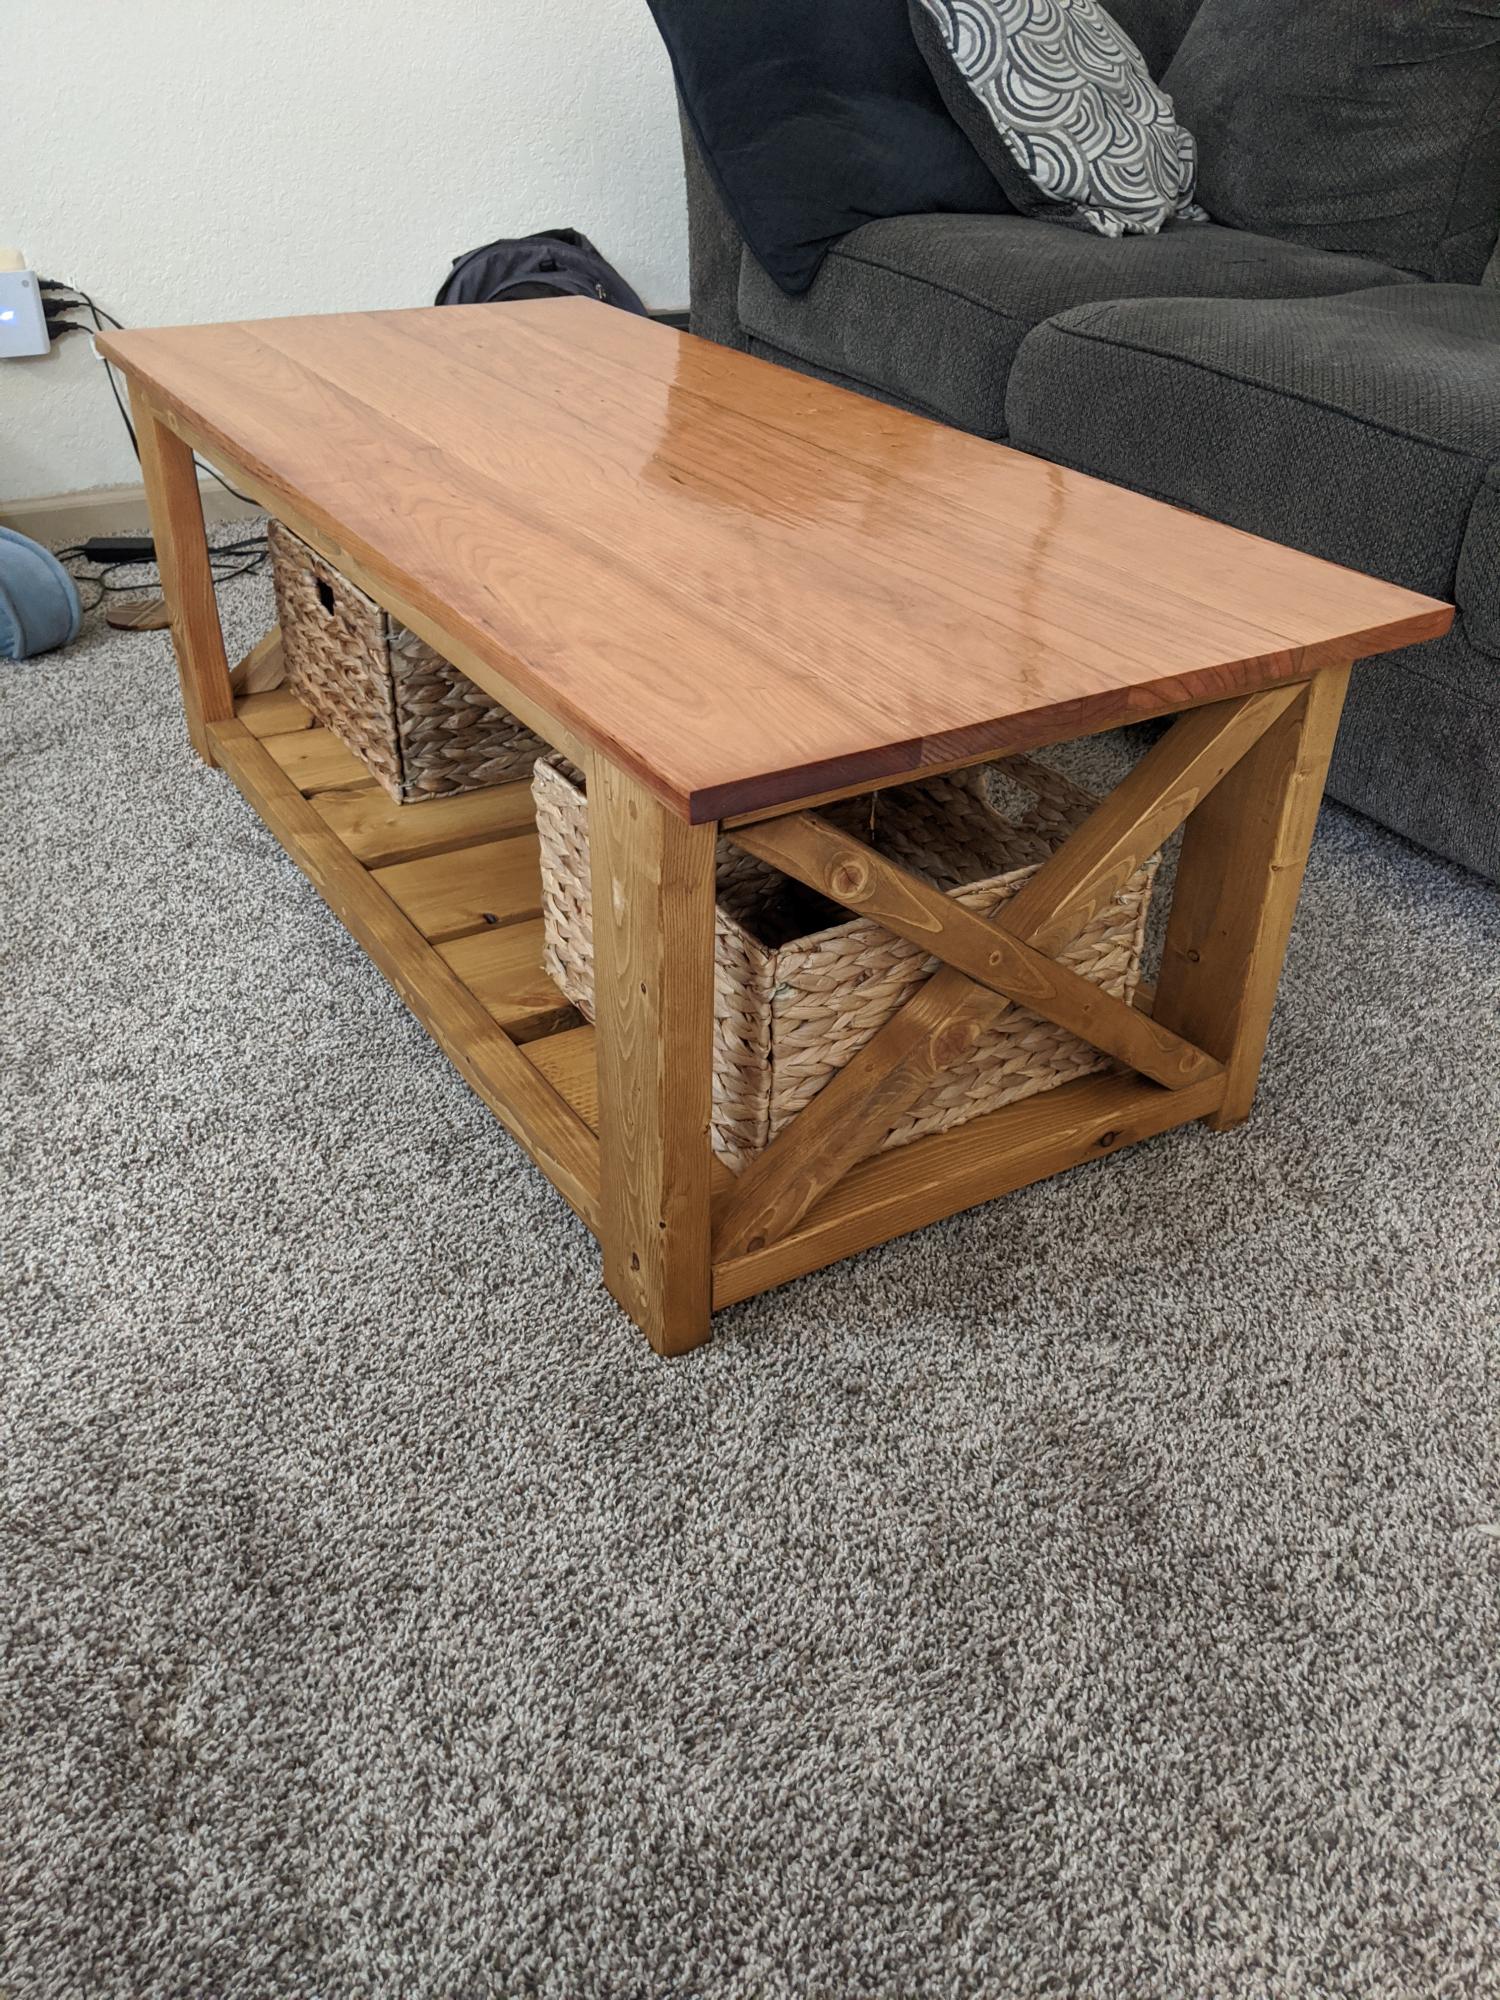
I built this table from the Farmhouse coffee table plans. I did a couple things different from the original plans though. I used Cherry 1x6 planks that I epoxied together for the top and I epoxy finished it as well. For the framing I still used regular construction pine and the golden oak stain. I also pre-drilled all screw holes that would show and plugged them. We also found baskets that look nice for decor and storage. This is the first piece of furniture that I have made and I am very happy with how it turned out! Small disclaimer this project did cost a bit more because of the epoxy and the cherry planks and it also too a considerable more amount of time because off hole plugging and epoxy process/ plank fitting.
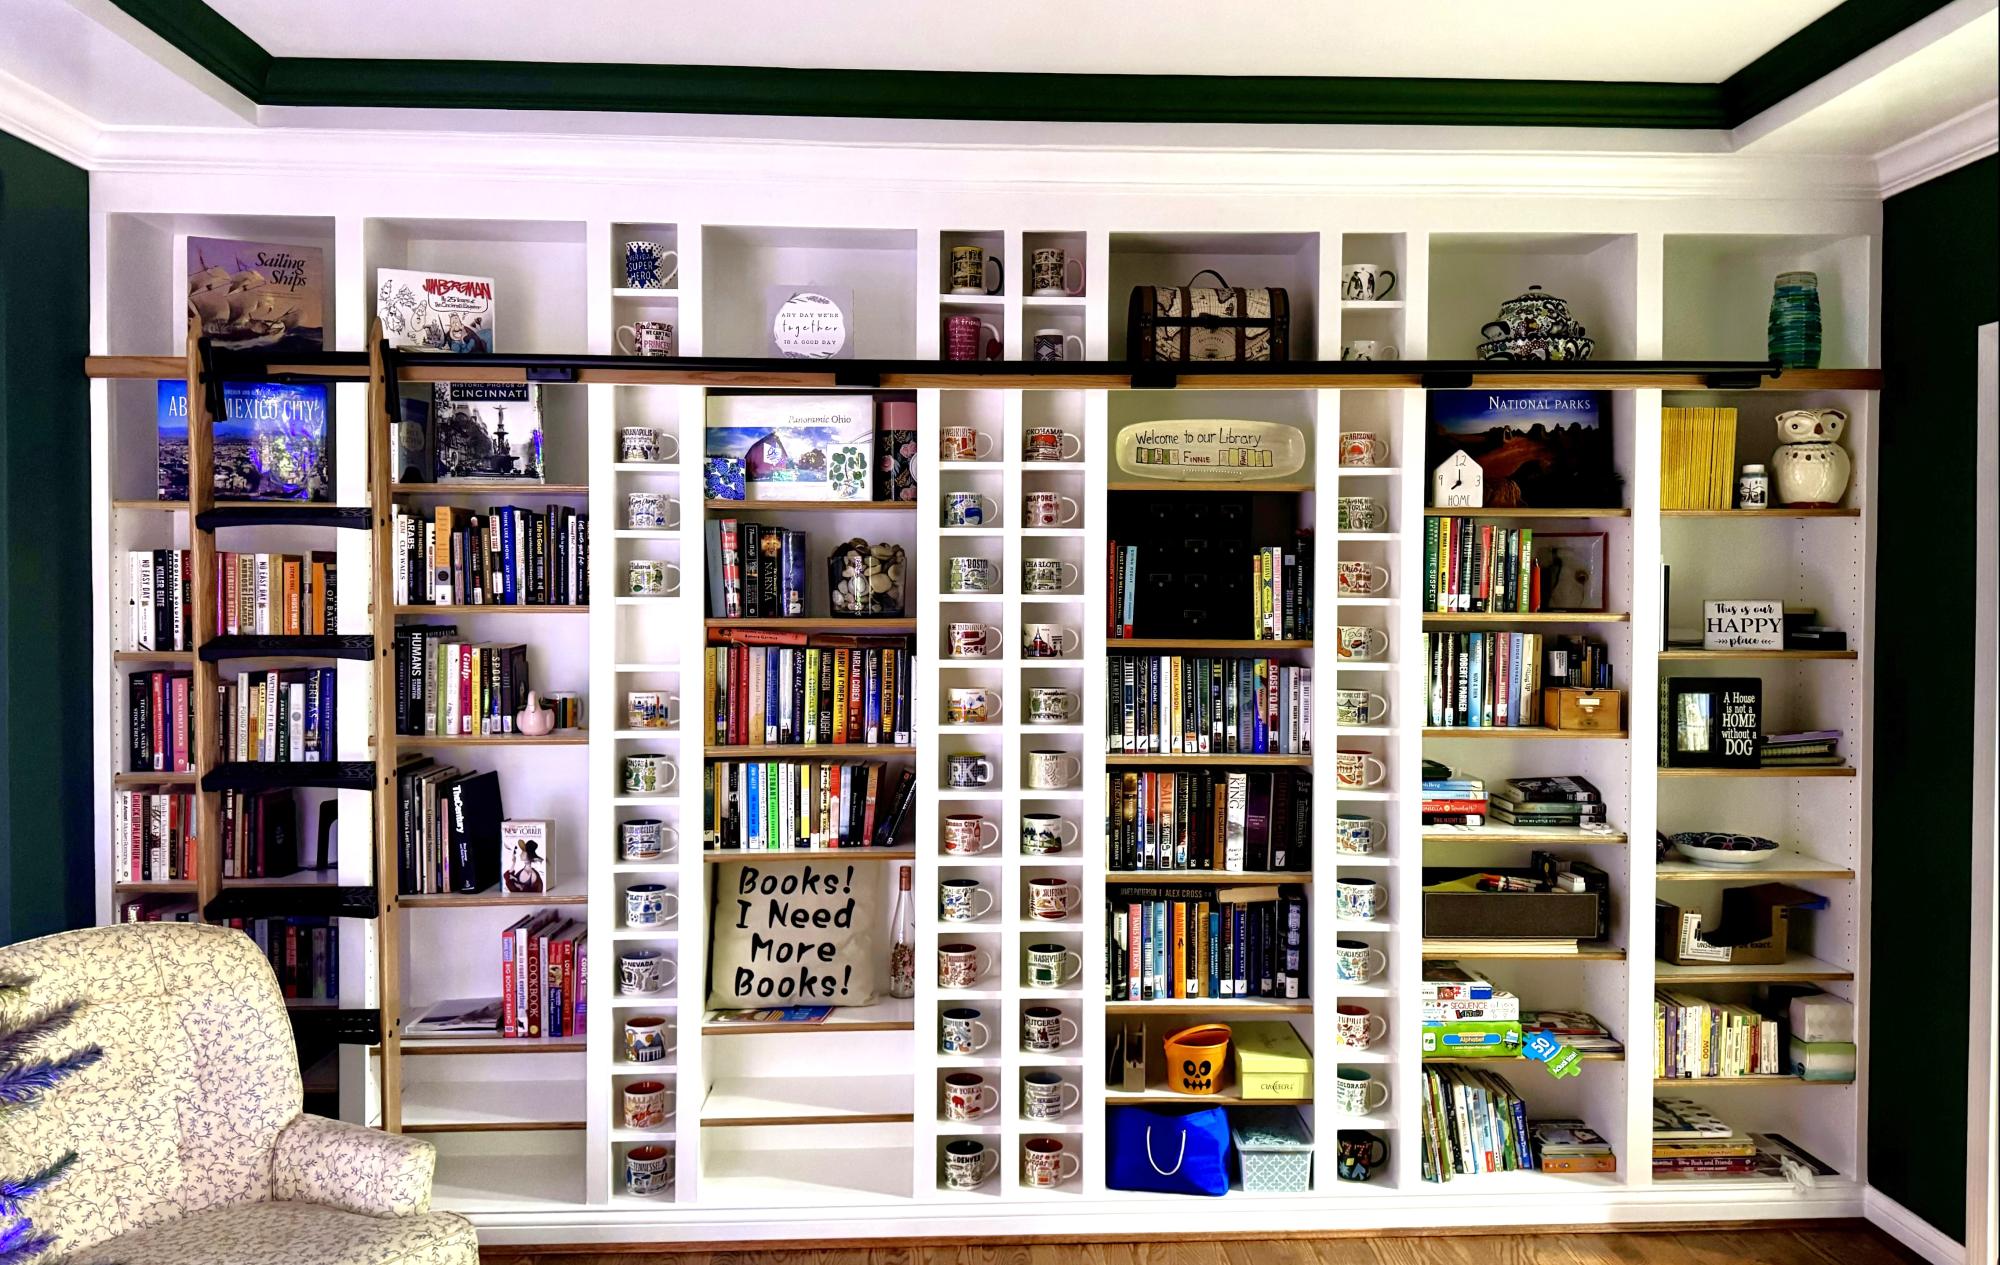
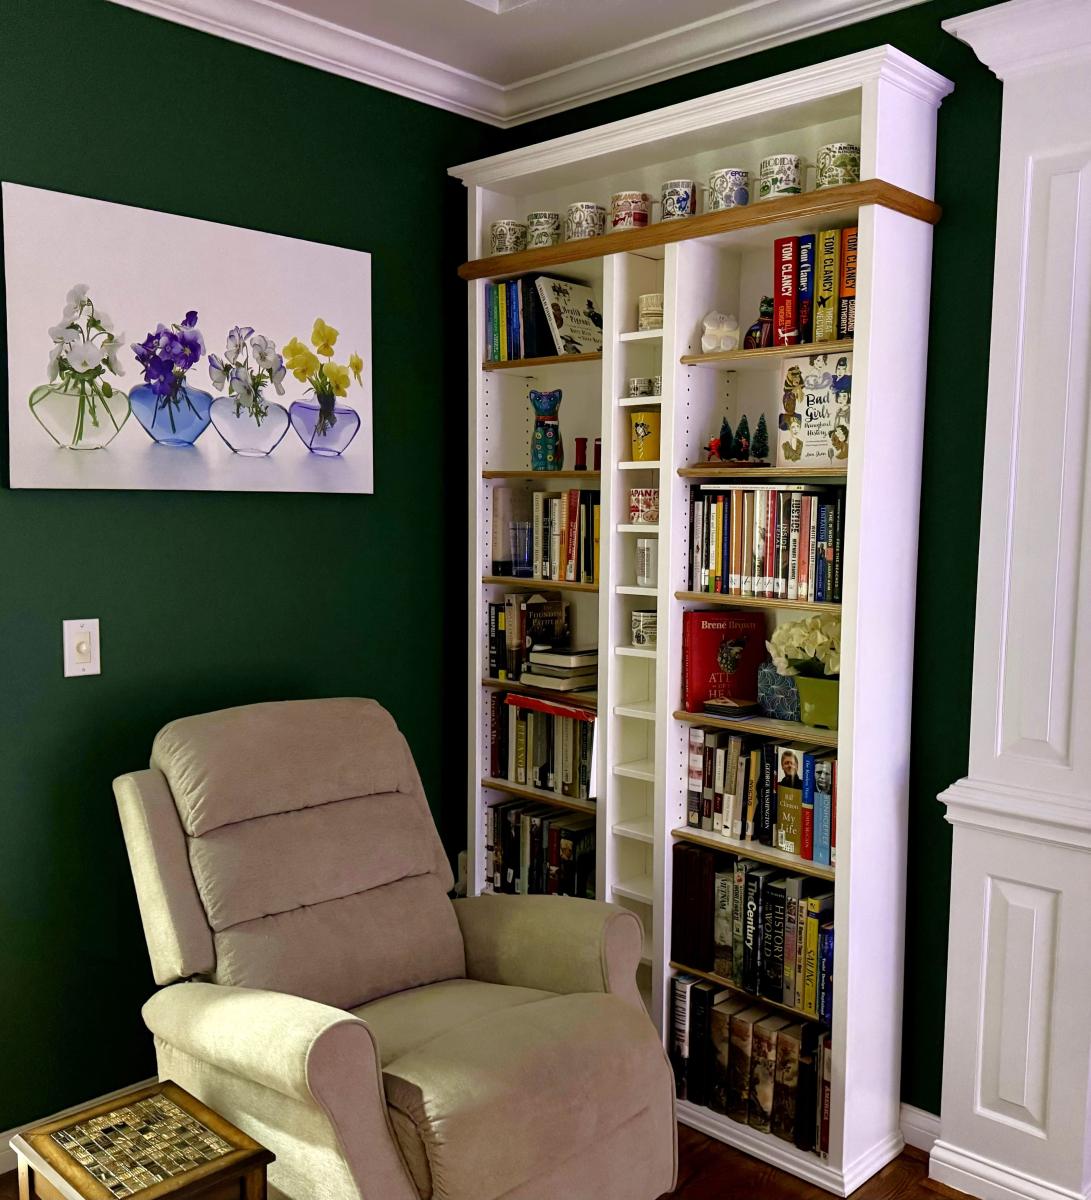
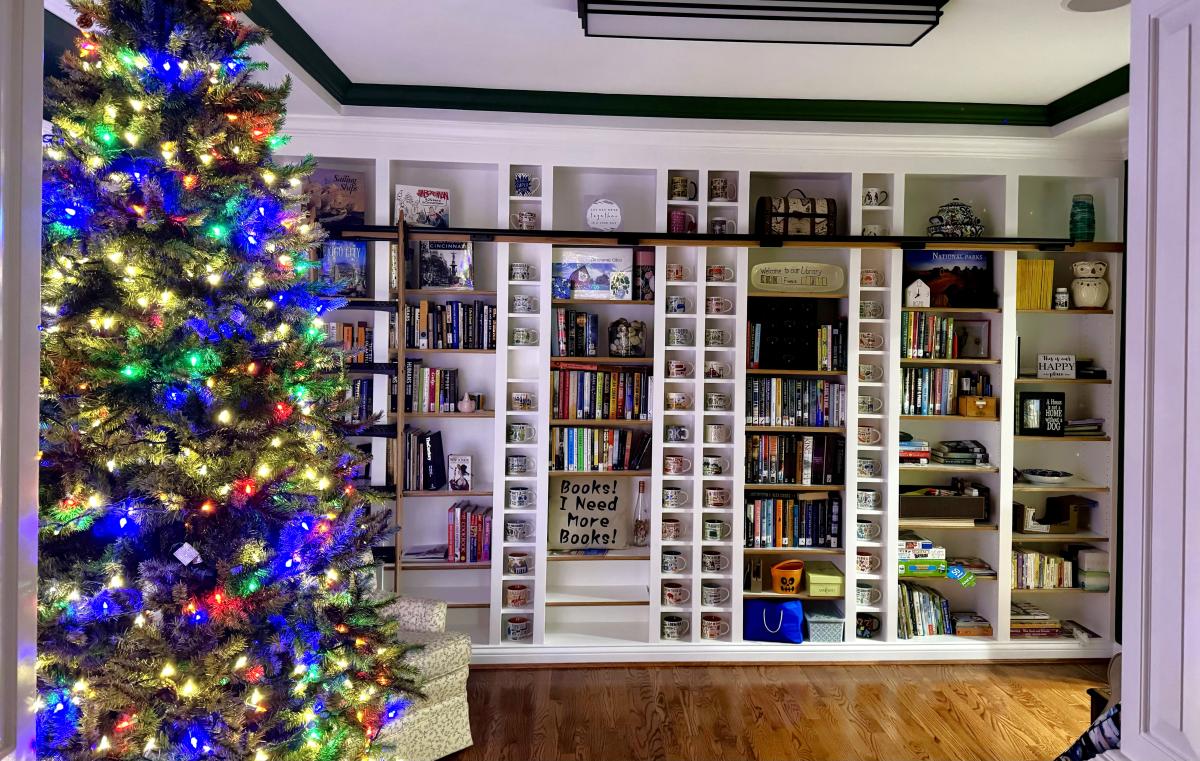
These bookshelves are modified from the Extra Wide Console Bookcase Plans from your website. They were constructed using 3/4 inch plywood for the bookcases, 6” MDF boards for the cup cubbies, and 1/2 inch plywood for the shelves. Purchased a jig from Rockler to drill the 1,000+ shelf holes and built the rolling ladder from oak using the plans and parts from Rockler. What began as a plan for a simple bookcase morphed into selling the dining room furniture and converting the room (which we had only used once in over 2years) into a library that we enjoy every day!
I was initially very intimidated by these plans due to the drawers, but I have a great, handy dad who offered to help with the drawers. The wood is all recycled, most of it my dad has been hauling around for nearly 40 years and finally had it all milled this past year. With the offer of free wood, I couldn't say no! The plans worked great. It took a very long time as I have limited hours to work on and my dad is a sanding nut! I am more into rustic, worn look and my dad more fine wood working...so I had to keep assuring him it was just fine like that, and move on already.
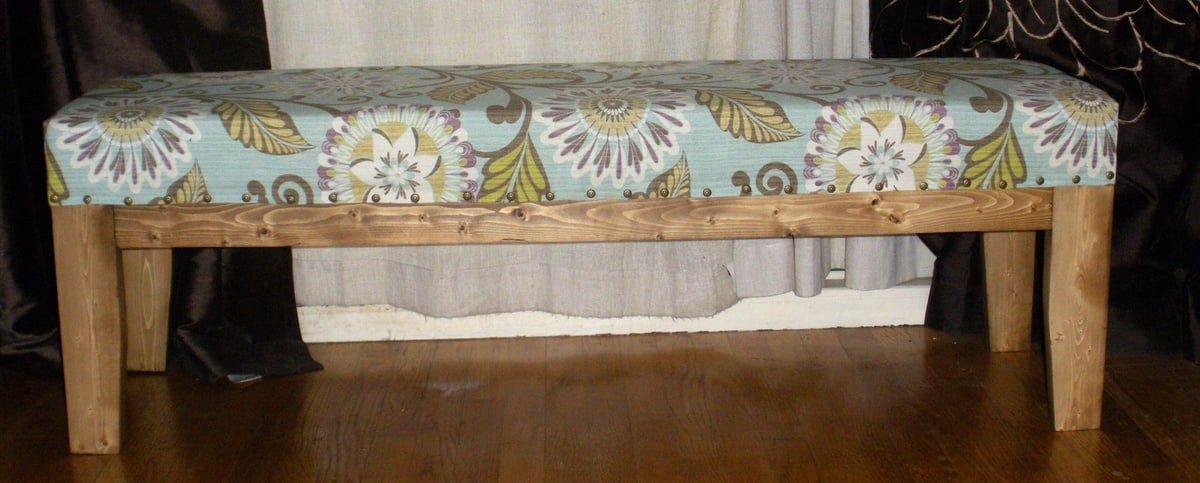
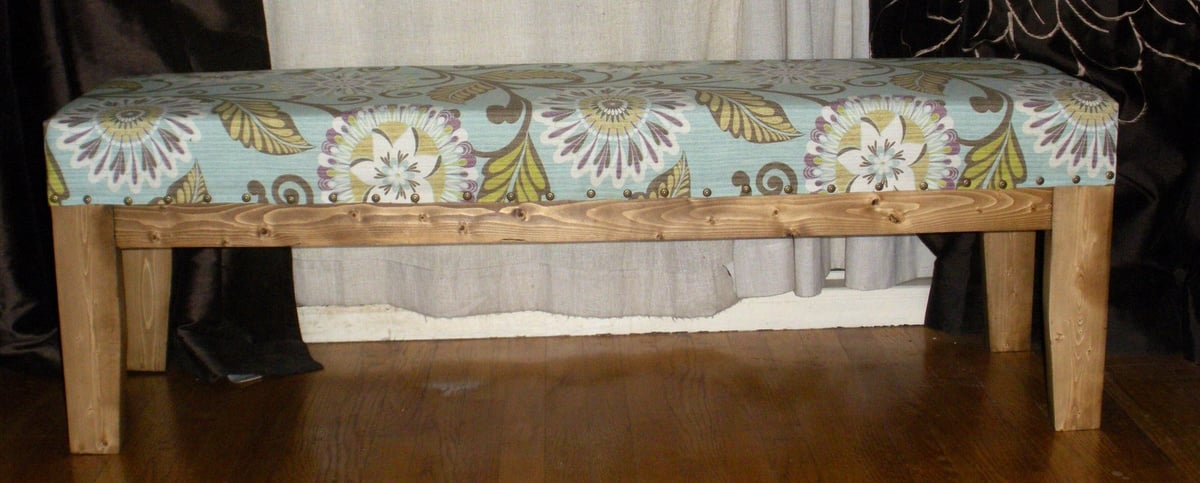
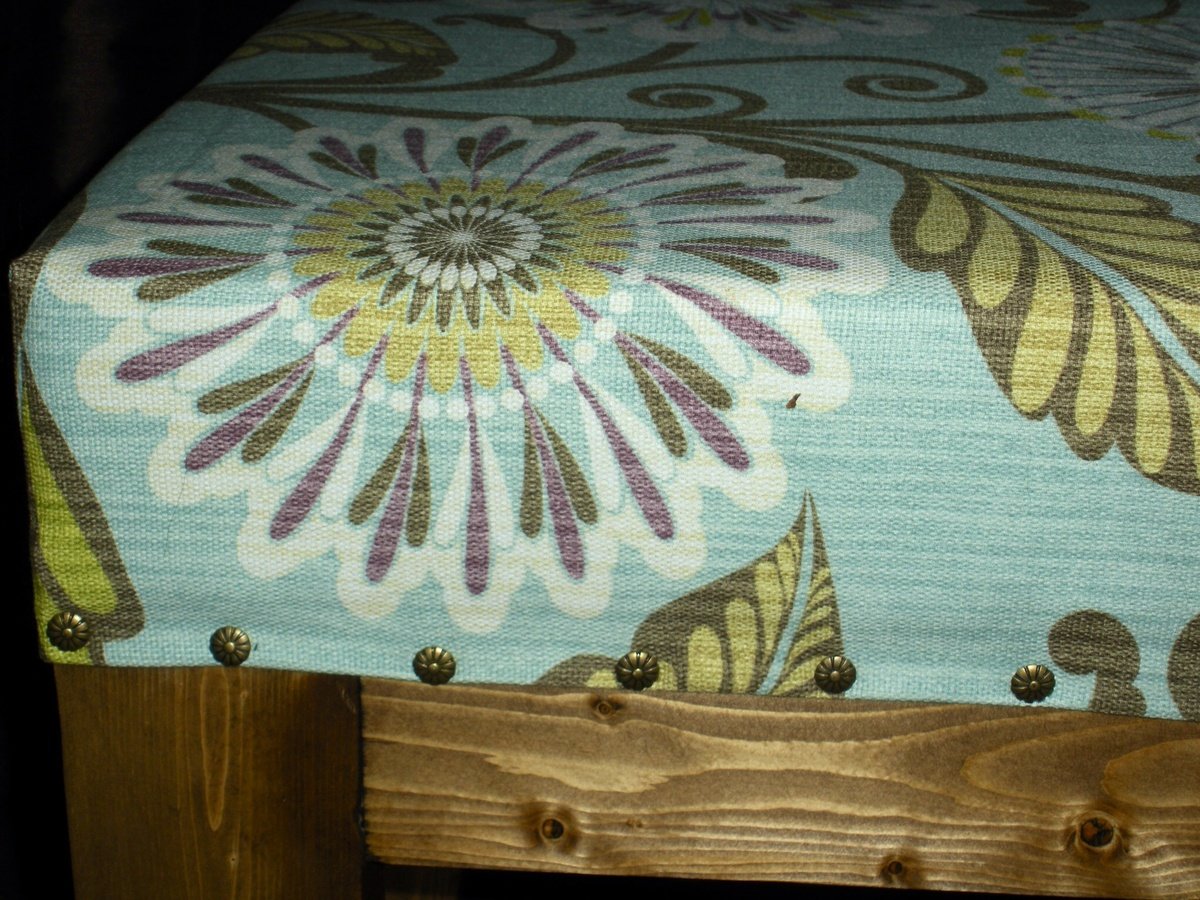
This was a very simple and fun project!!! One of my favorites!! Plus I learned two new DIY SKILLS......upholstery & tapered legs!!!
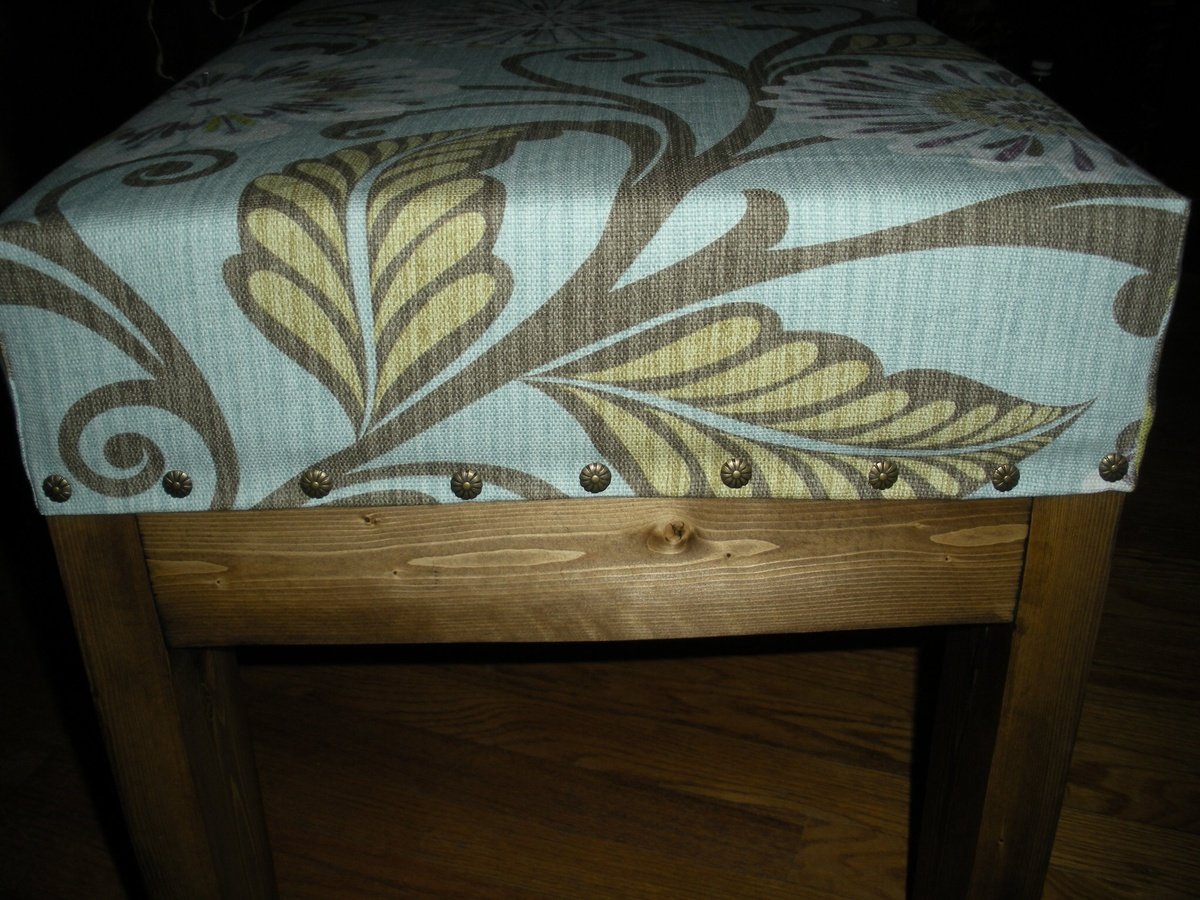
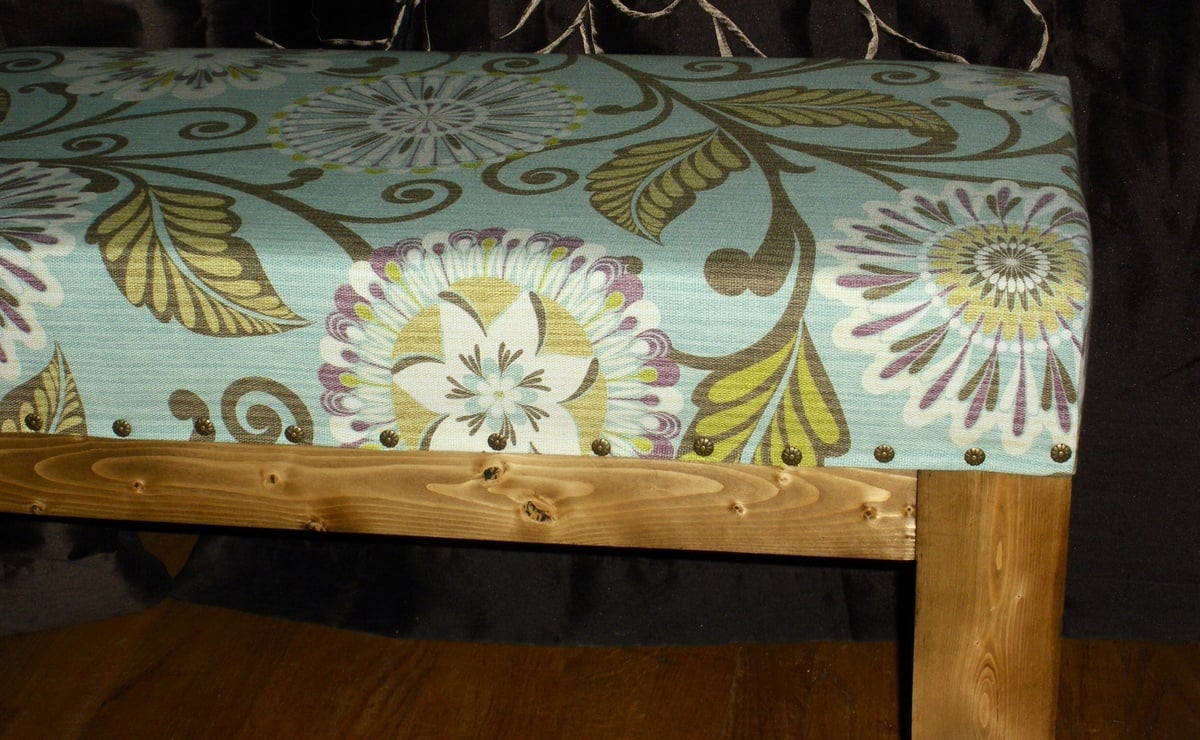
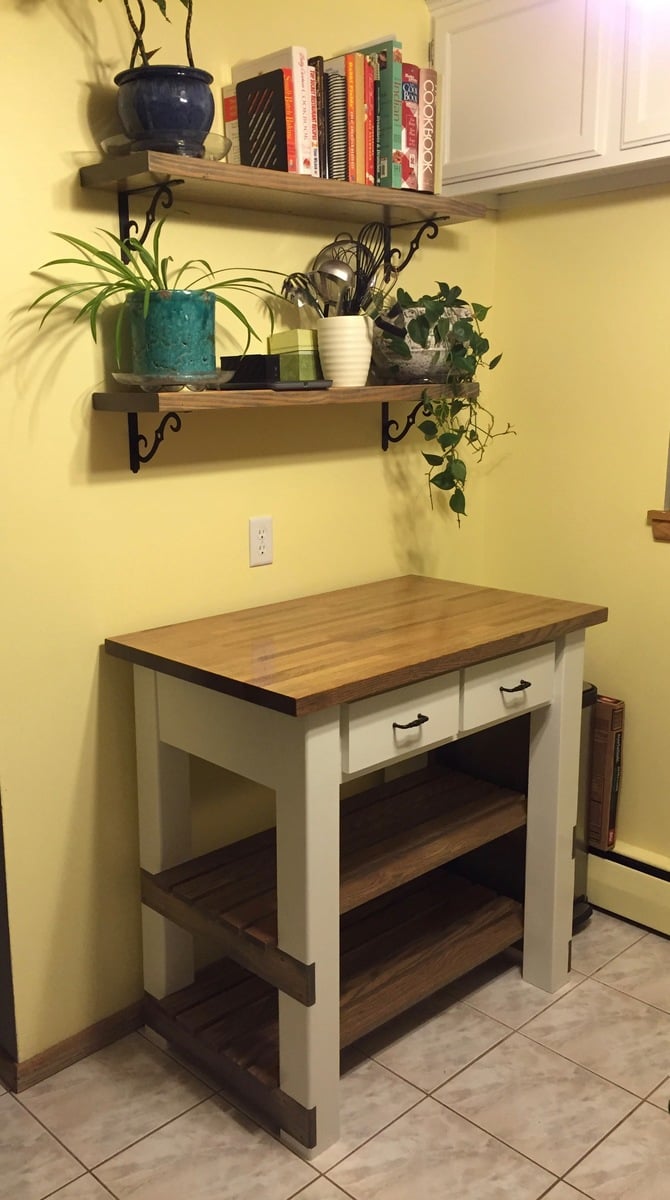
My wife and I wanted to replace an ugly metal wire shelf in our kitchen, fortunately Ana had plans for a nice-looking kitchen island! The two new challenges for me with this project were the notches for the shelf supports, and the drawers. I was able to figure both out and am glad to now have those skills in my toolbelt. The top was a pre-made red oak board from Menards. The other shelves are red oak, the rest of the frame is pine.
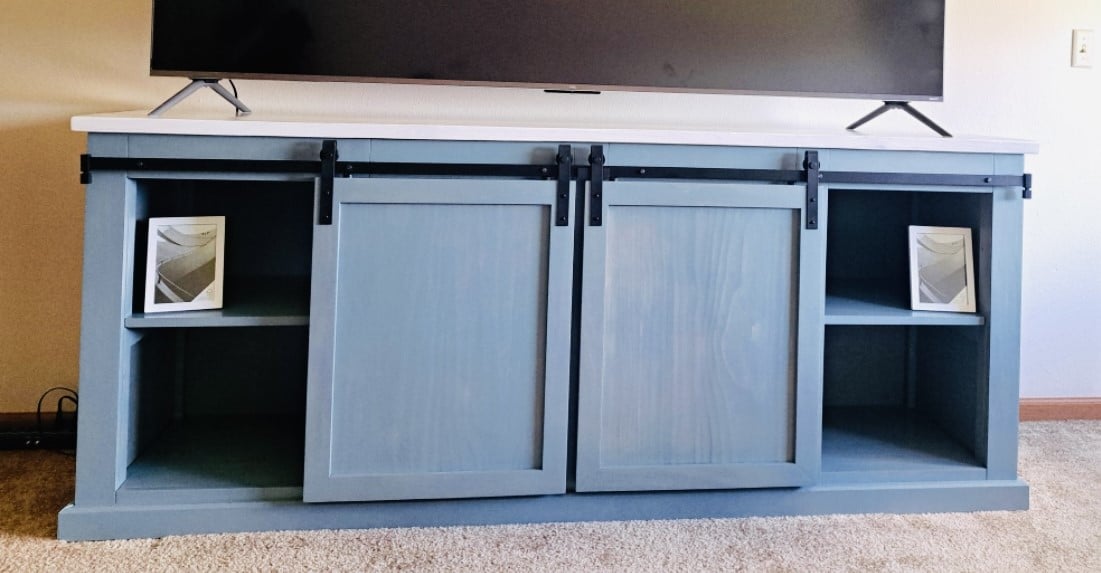
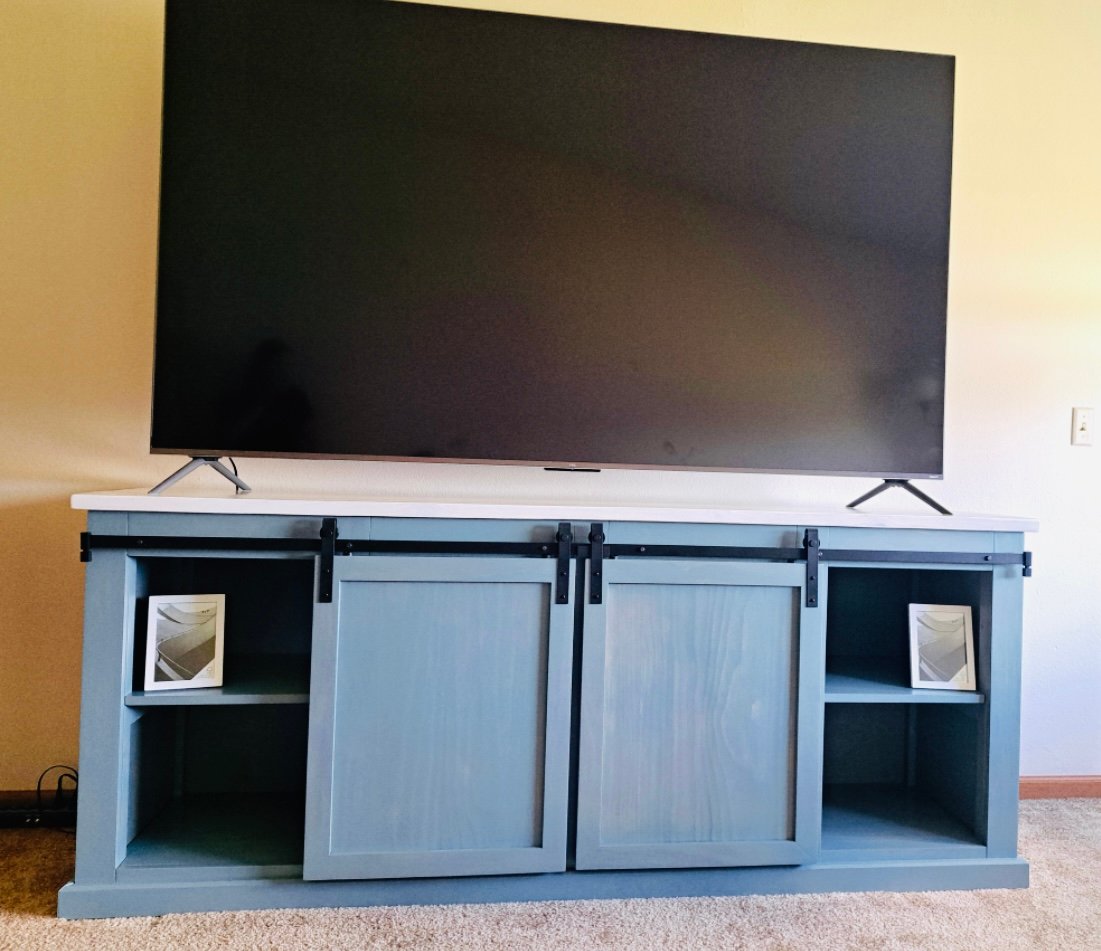
Our grandson needed a tv stand for his new apartment. They liked the plan from your website and this is our version.
Steve Mawhorter
Sat, 11/18/2023 - 13:31
Love your finish choice, it looks amazing! Thanks for sharing.
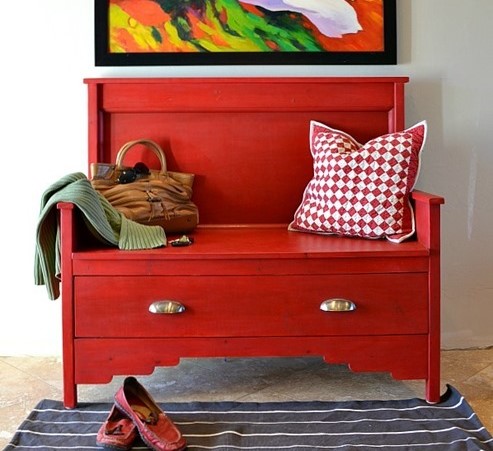
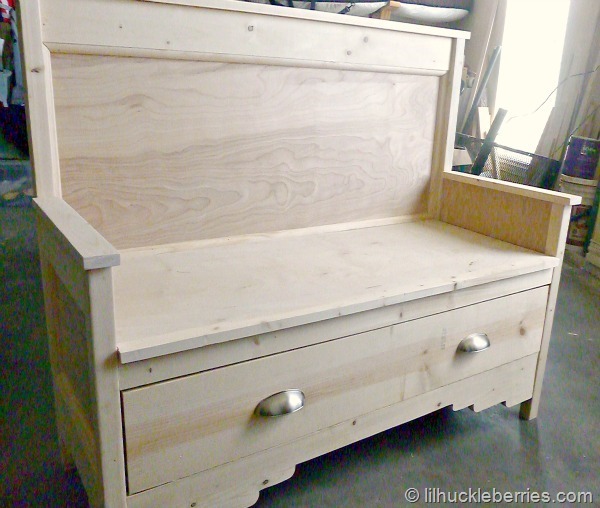
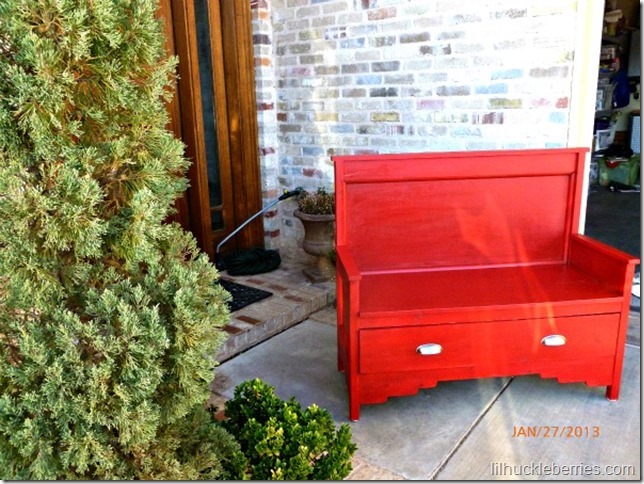
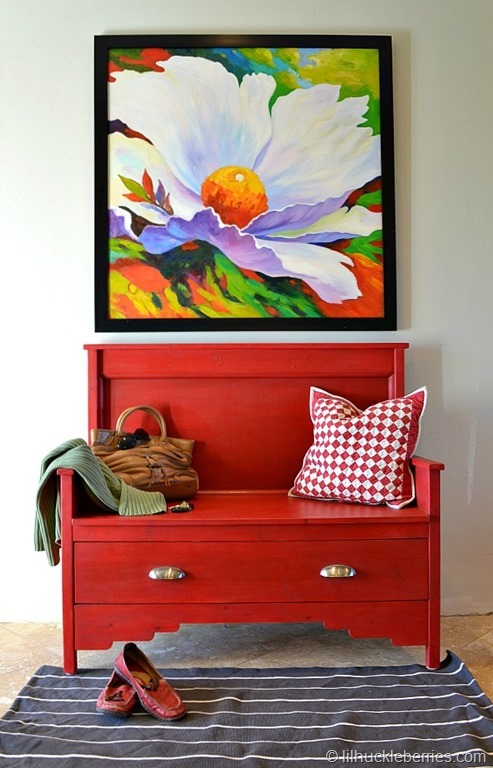
I needed additional seating for my dining room table and wanted something a little unusual. When I saw the vintage pew bench, I loved it. After looking at the plans, I determined I could alter the arm height so we could use it at our dining table. Now that we have moved, we no longer need it at our dining table, so it now sits in our entry. It has been a great multifunctional piece.
Mon, 03/24/2014 - 13:25
Thanks Ana! It is a painting. I bought it in South Korea while we were living there.
I may be able to track a canvas down for you, though. You would have to get it stretched...it would be too large to ship. I have a friend who is living there now. ;-)
Tue, 03/25/2014 - 10:15
Thanks for the reply, what a great find. I just had to comment on how striking it is!
Sun, 09/20/2015 - 16:44
What's the new arm height? I'm going to TRY to adapt this to a 60" bench with two drawers, and the lower arms.
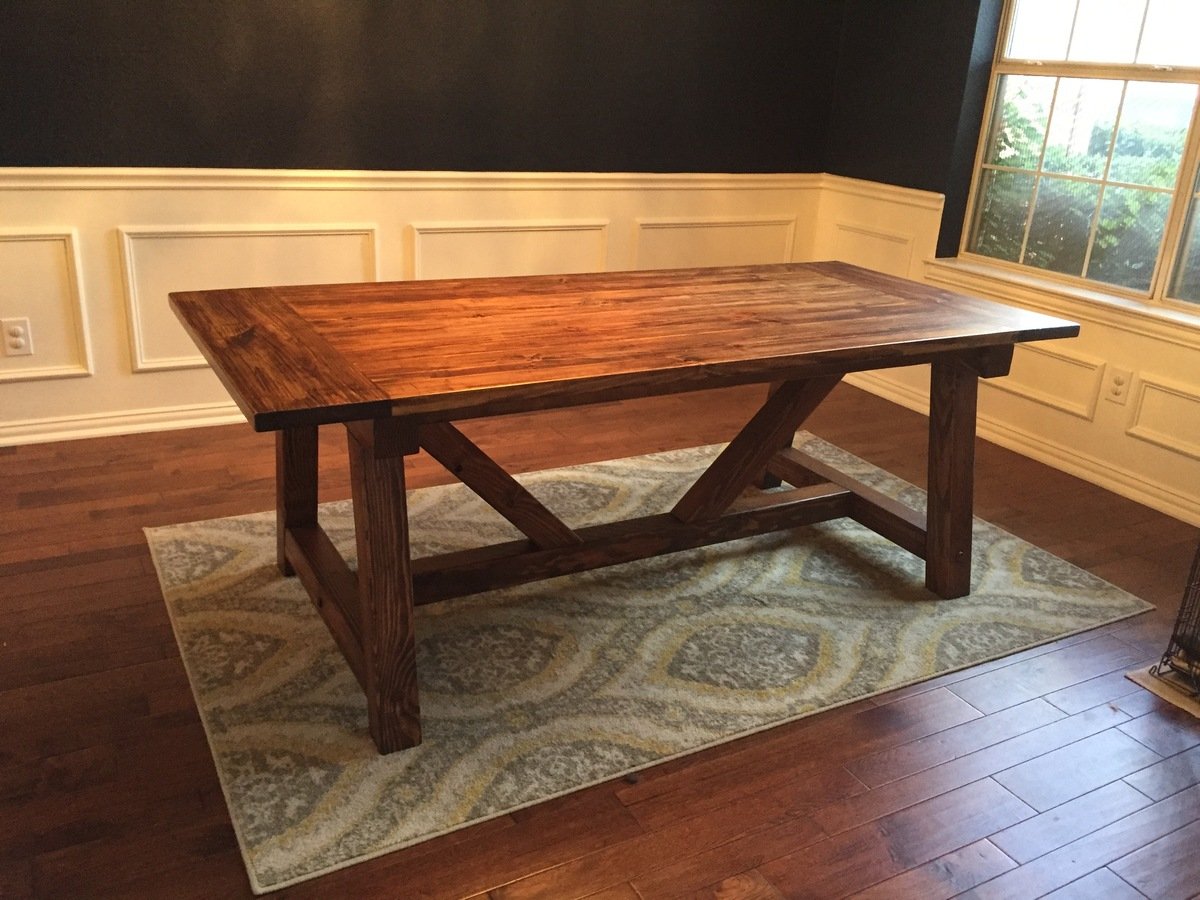
Slightly lengthened from the plan, used 6" exposed lag bolts for a sturdier frame, covered the bolts on the sides with a dowel cap over the bolt to mimic a dowel construction.
I saw the plans for this and I had to have it. It was the first project that my husband and I completed together. I think we did a pretty good job. It just needs handles and it will be complete. If we can do this in the hot Texas heat then anyone can do it. I'm proud of us!
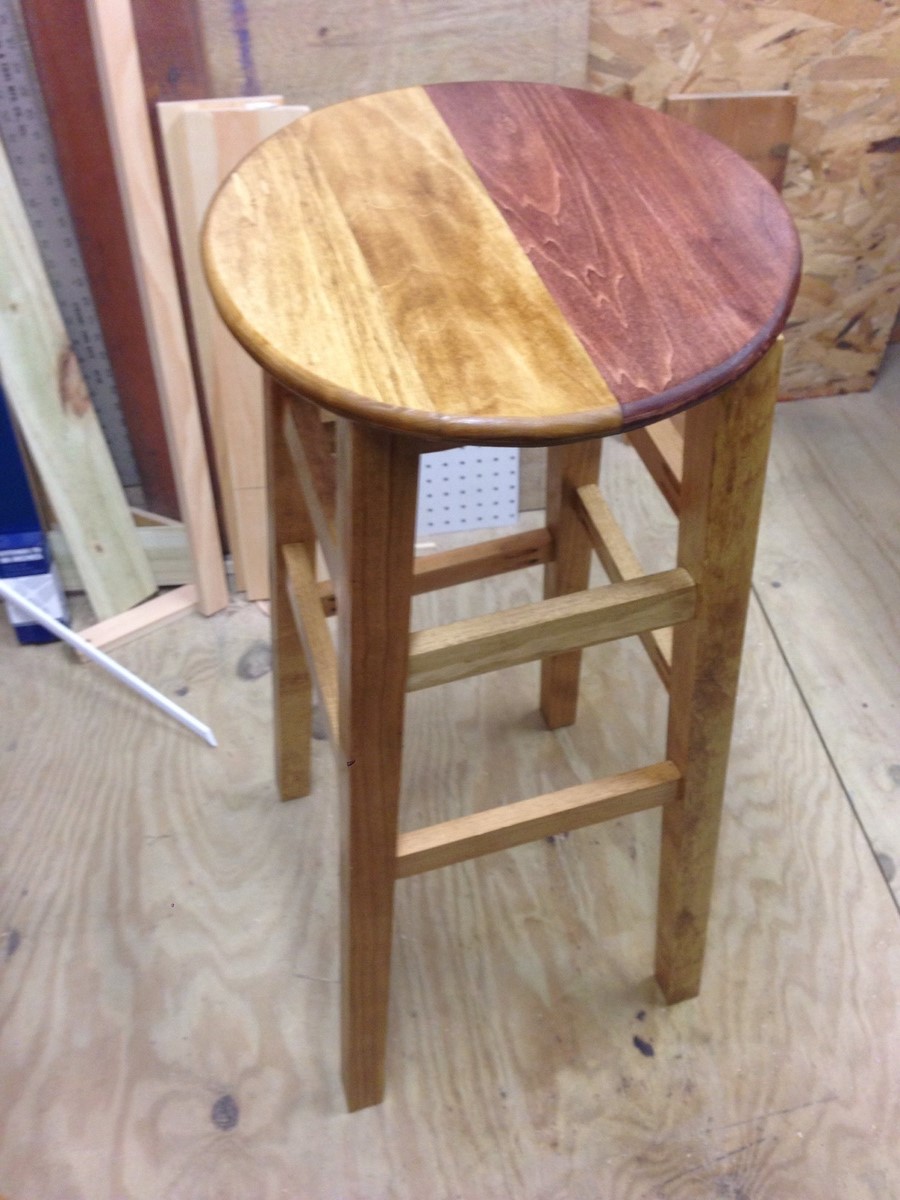
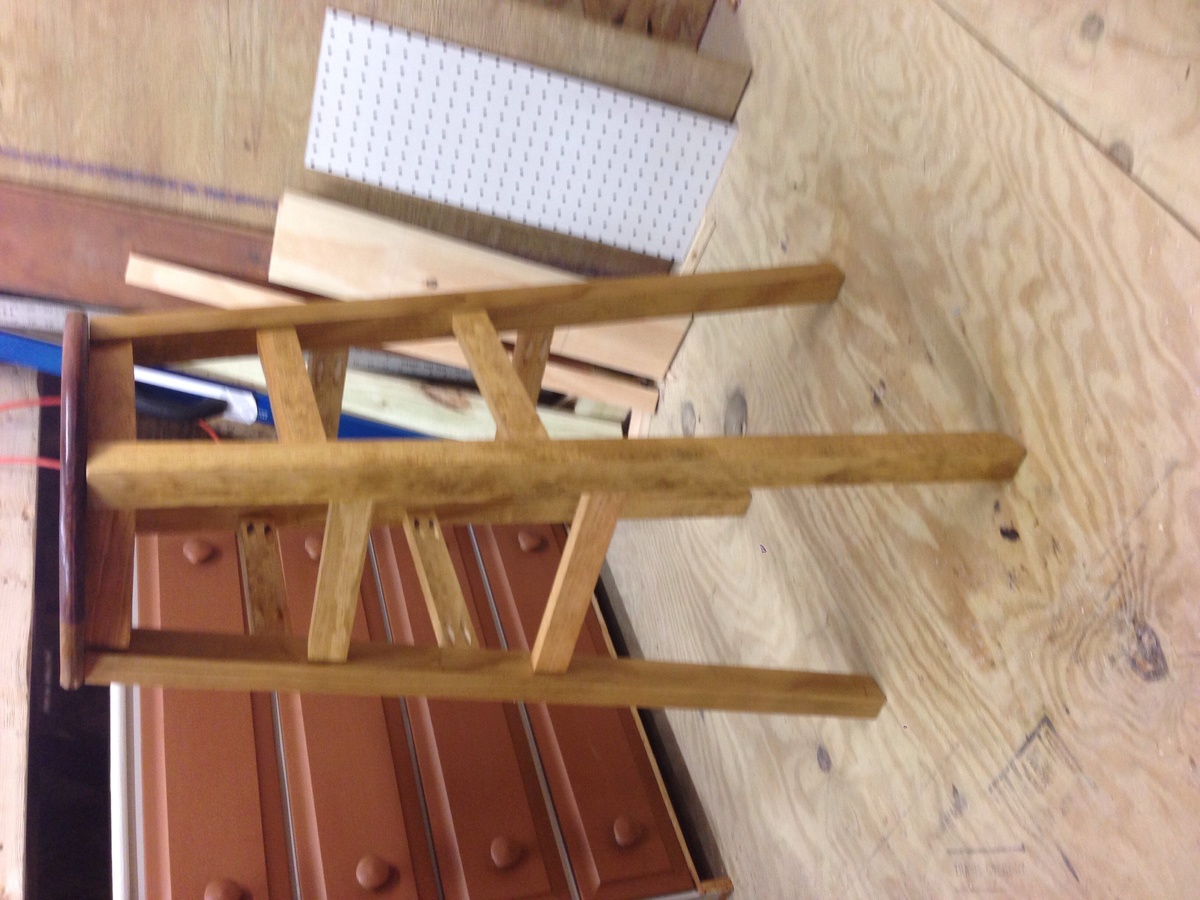
I modified the height to 36 to work with my workbench height. I also used 1x4 poplar in four pieces for the seat. I stained half golden oak and half cherry. I made the seat 14 inches around. I had trouble getting the pocket hole bit into the last leg of the stool once the full box shape was assembled. The top smallest pieces I had to tighten by hand. Also the seat even when larger than 12 inches shows some of the base 2by2. Otherwise it looks great. My height is what I needed and the stain and clear coat are perfect. I will be looking for more projects on this site.
My gal loved the way this bookshelf turned out. It was my first time building it and if/when I'm commissioned to build another one, I'll likely use wainscotting for the back instead of knotty pine which is 3/4" thick. just made the back a little bulky for my taste. I also would've taken the time to put the pocket holes where the shelves were going to be so I didn't have the different tint of stain on the plugs. Would've been an easy thing to do, but I wasn't thinking ahead at that moment, I guess.
Great plan, Ana. Thanks for the resource!
I built this from the Ana White Console X Table plans and specs. I originally had planned on a rustic style like on your blog, but once my wife saw it she liked it and decided she had the right spot for it providing I painted it.
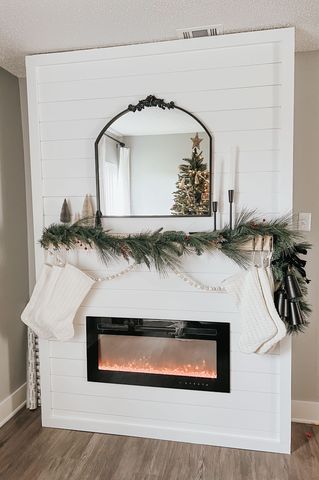
"I still can’t believe my mom and I built this beautiful fireplace.” - Megan Shaffer on Instagram
This one I can’t take complete credit for, the base shelving unit was left behind in our basement & was just beyond belief disgusting. I cleaned it up stripped it apart, stained it & put new hardware on it. The house is older & whoever “modernized” just didn’t do a spectacular job & place the cupboards in an odd way instead of utilizing the space properly. Anyway as I’ve mentioned in other projects, this is another odd corner, actually it’s not so odd because it’s supposed to be where the the fridge goes according to our landlord but it’s sized for a really small fridge & our big monster double door twice the size of this cubby, it is now in the mudroom which isn’t too inconvenient because it’s right off the kitchen & because we shut the vents in there to keep the heating cost lower in the winter the fridge doesn’t have to work too hard to keep cold. Anyway I wanted to utilize this space & found that the shelf fit perfect next to the garbage can that was there so I just made a top to fit the space & then we now have a microwave stand/coffee prep area.
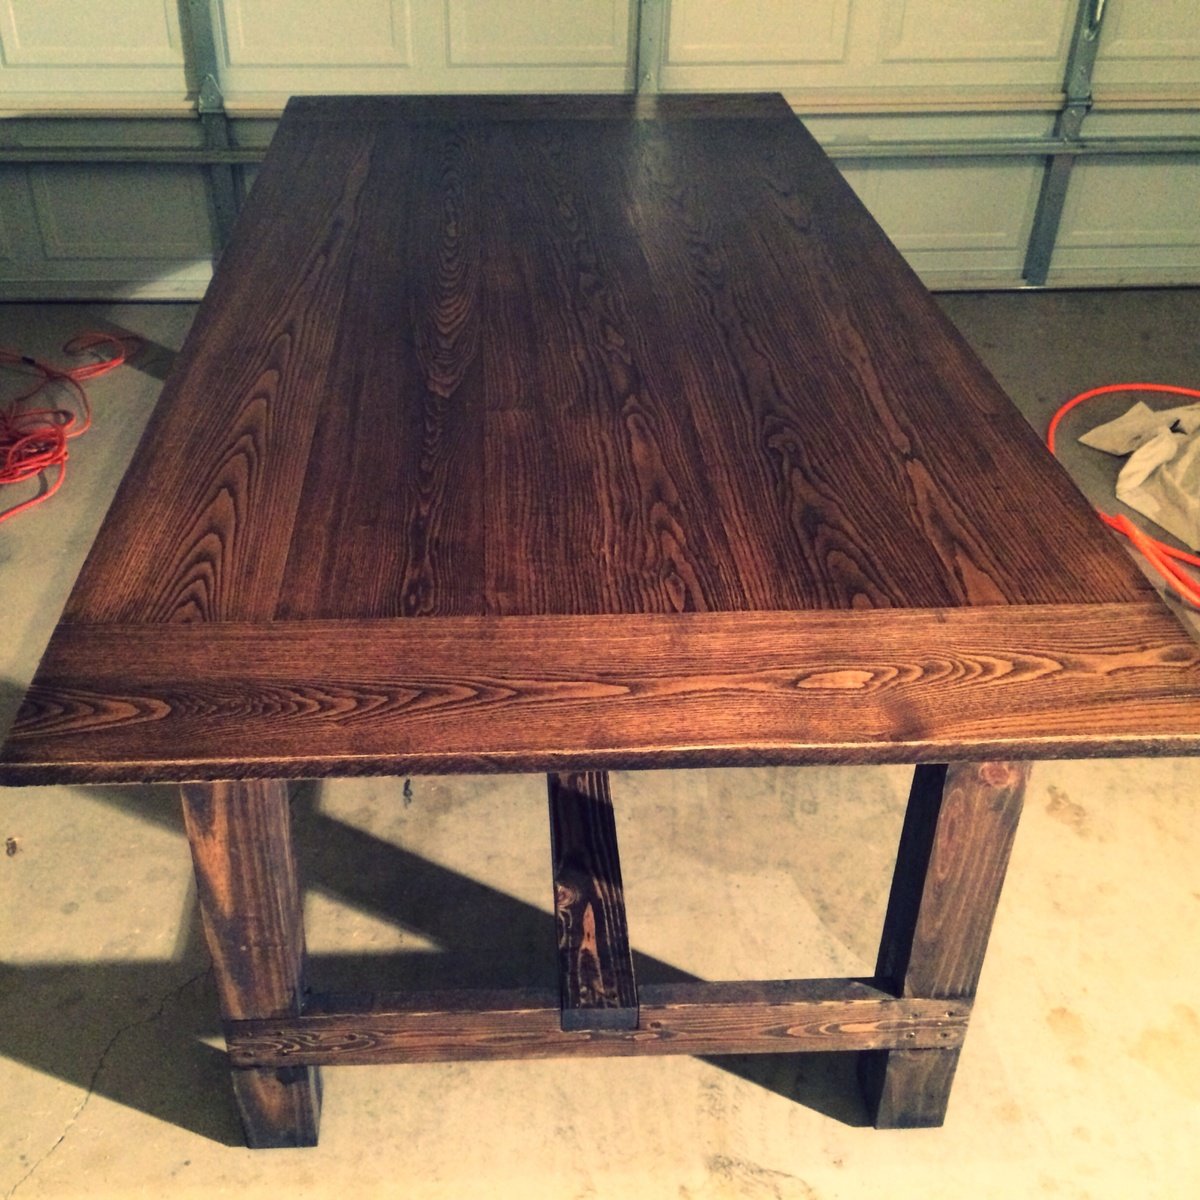
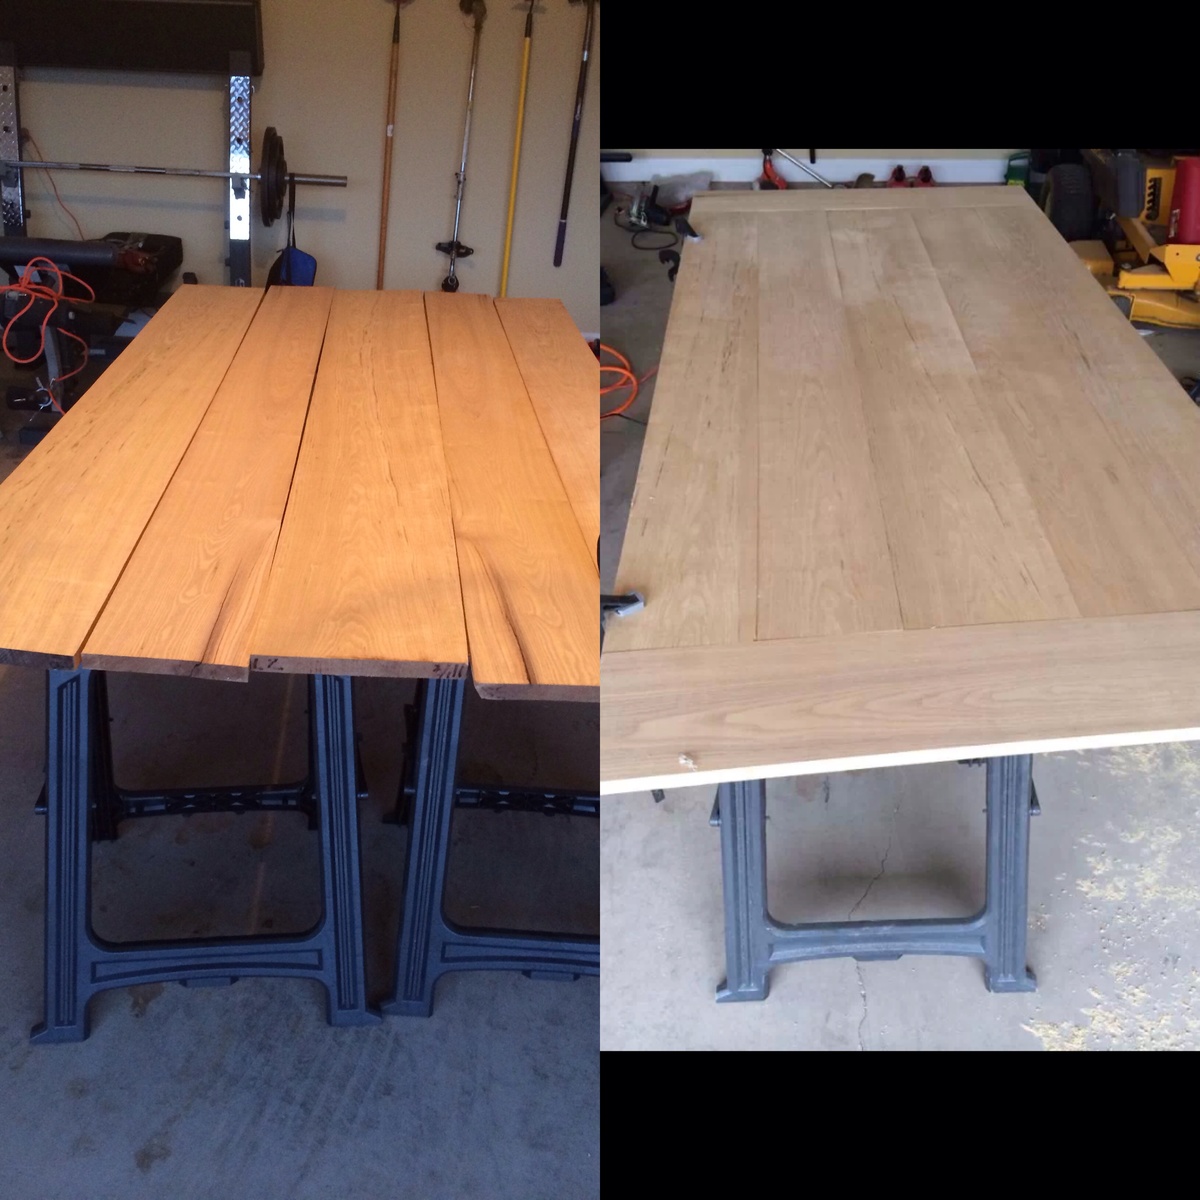
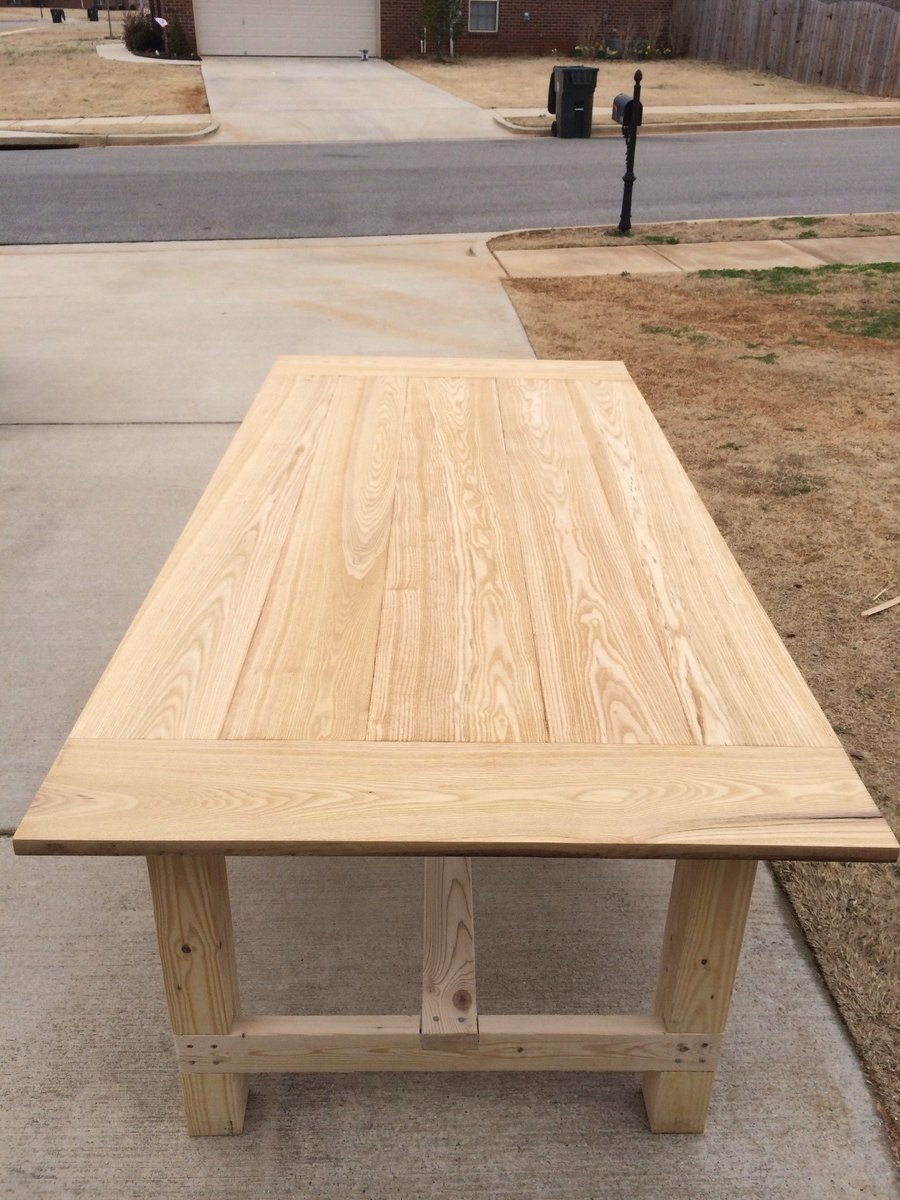
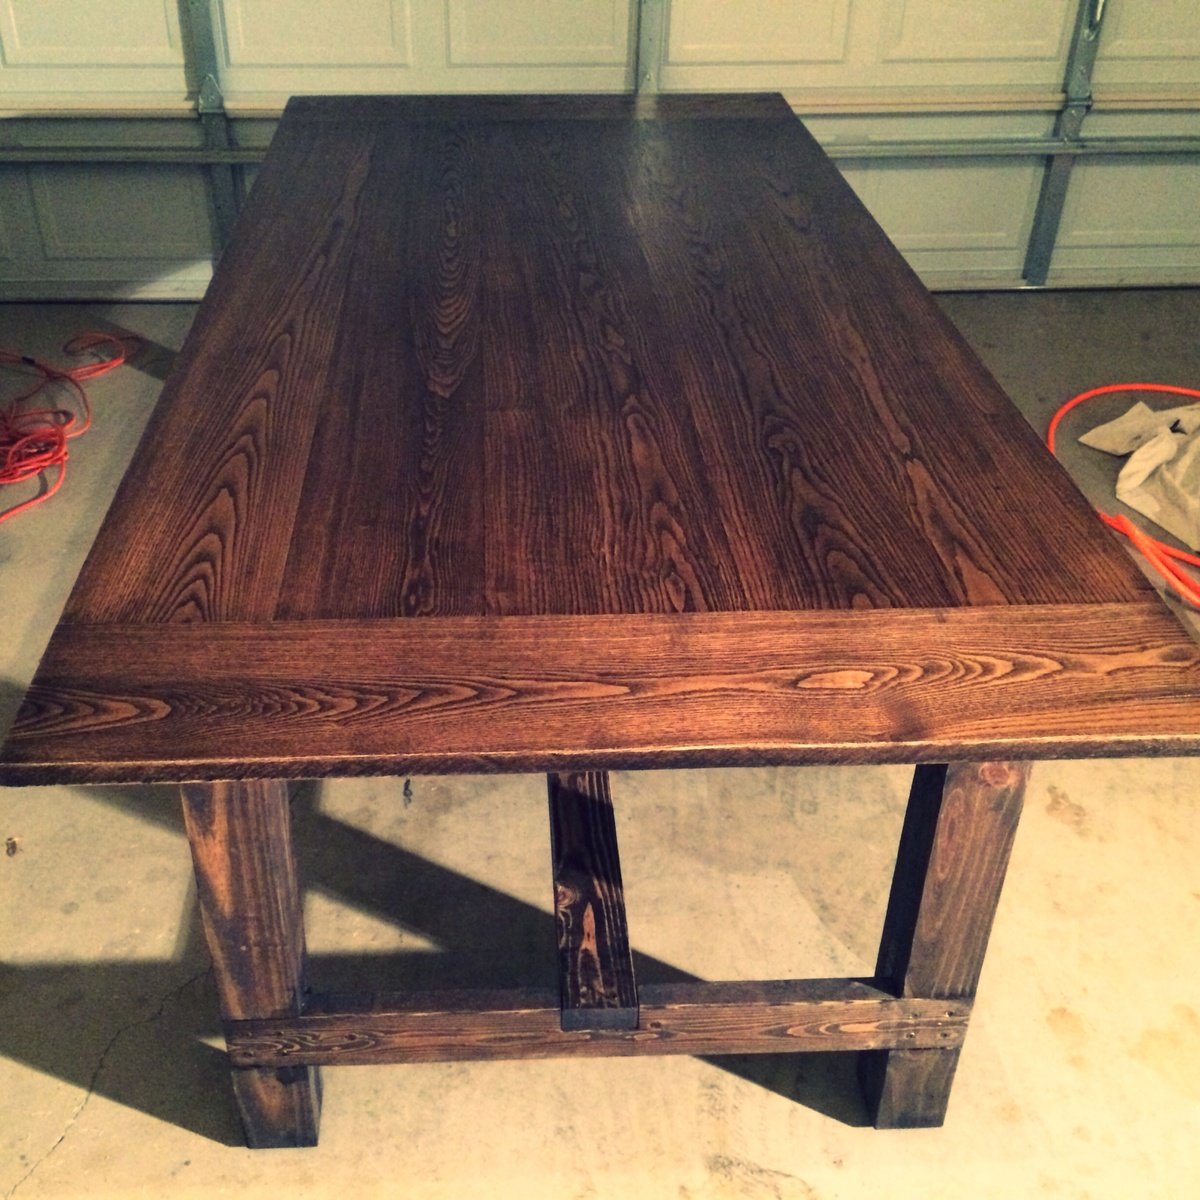
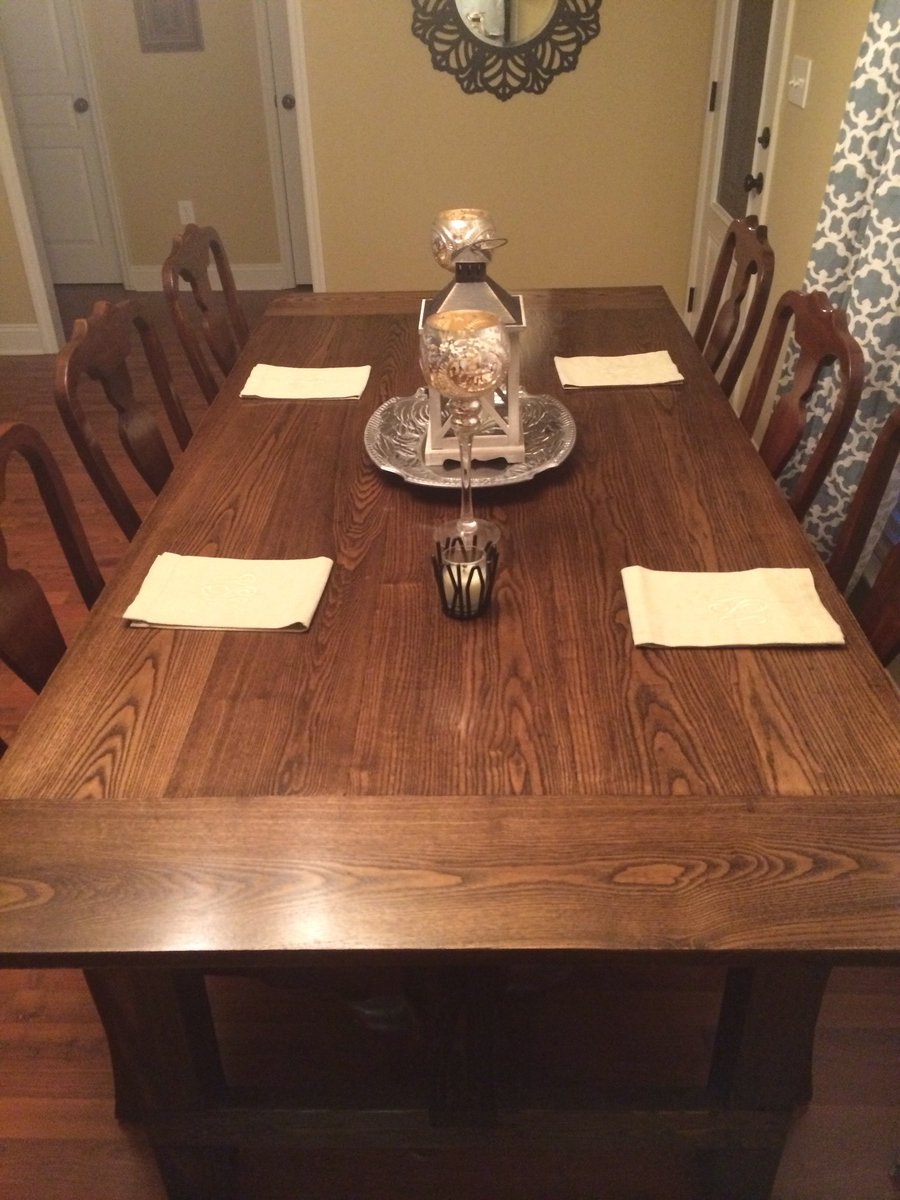
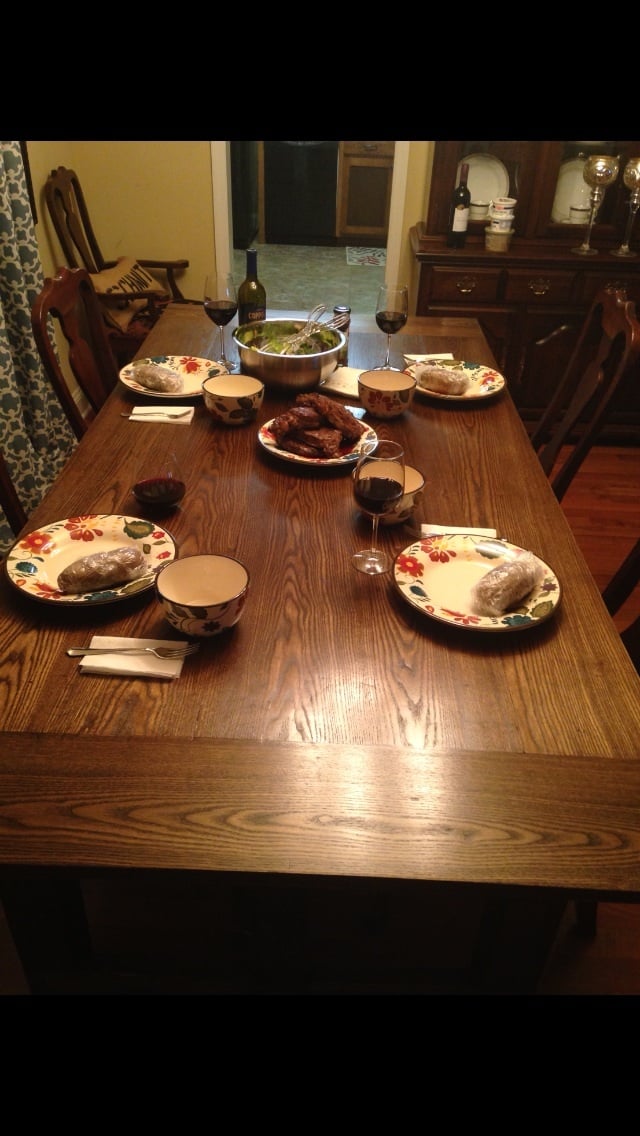
My first DIY project. I went a little different and built the table top out of sassafras lumber that I bought from a local sawyer. The plans were foolproof. The only tricky part about this project is the finish. I stained the table with Minwax Dark walnut and 4 coats of polyurethane (2 parts poly to 1 part mineral spirits) to get the finish I wanted. Of course I spent the most time sanding this table. It turned out wonderfully and my wife is one happy camper!
Fri, 04/04/2014 - 10:14
Your tabletop is impressive ... i like how you show a before and after, that shows how much work it takes to get that thing flat and seamless.
In reply to Your tabletop is impressive by bclute
Sat, 04/05/2014 - 21:13
Haha you hit the nail on the head! It was a TON of work getting the boards squared! I bought the sassafras boards and none of the sides were square so I ended up having to take a true and straight edge of a piece of plywood and tack it to the underside of the sassafras boards (overlapping about an inch) and run the plywood down the fence of a table saw thus giving me a straight edge to work with on the sassafras! I also spent hours (literally) researching and youtubing different techniques on finishing. I'll have to say that the woodworking bug has bit me and I will be starting a coffee table project before too long! Thank you for your compliments!
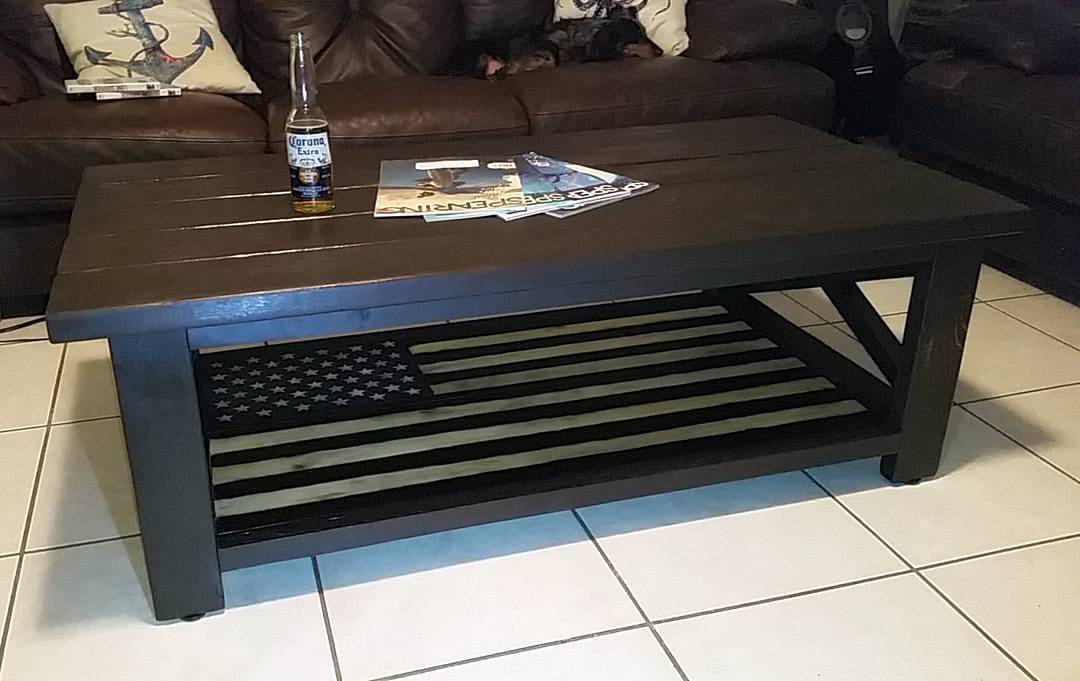
Loved the design of the coffee table and needed something in my living room to make it feel a little less empty. As I was building the table I realized that the bottom shelf was roughly the size of a flag that I've built in the past and decided to add one to it to bring a little patriotism to my living room. I used a torch to burn the flag onto the wood. Love the way it turned out!
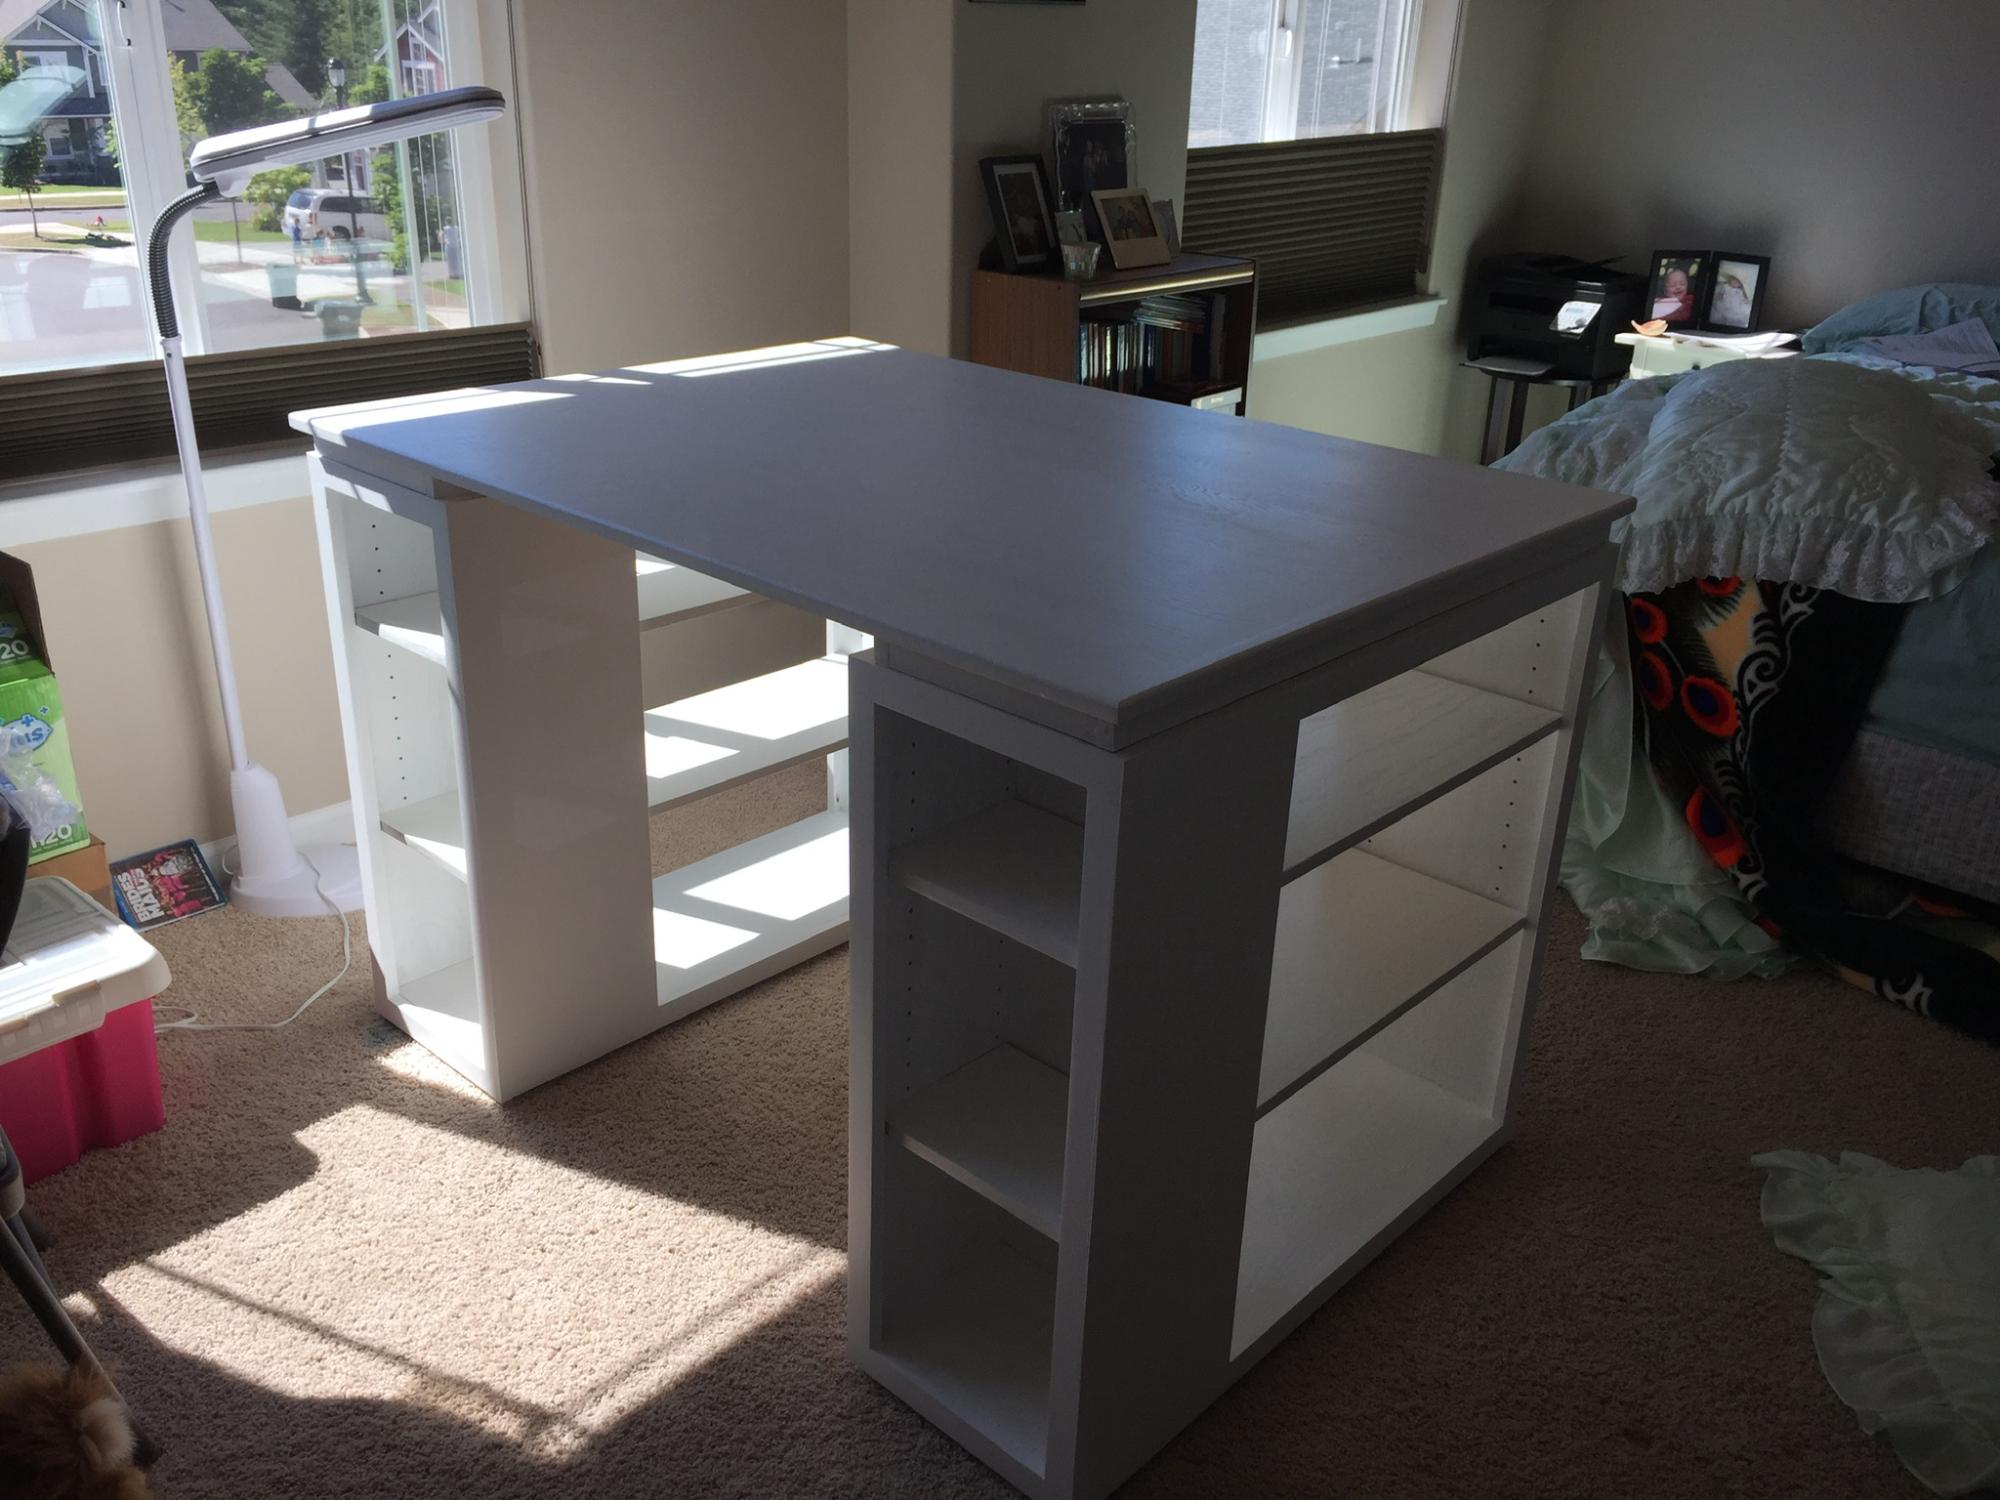
I actually built this back in 2015 and just never got around to posting about it. I guess I was just so excited to get it done and set up for my wife I forgot. Anyhow, I did it all with a worm drive saw and a piece of plywood set on saw horses...would’ve have been so much fun aside with a table saw (still haven’t convinced the vamps that I need one of those 😏)

Farmhouse side table by Home with Jules

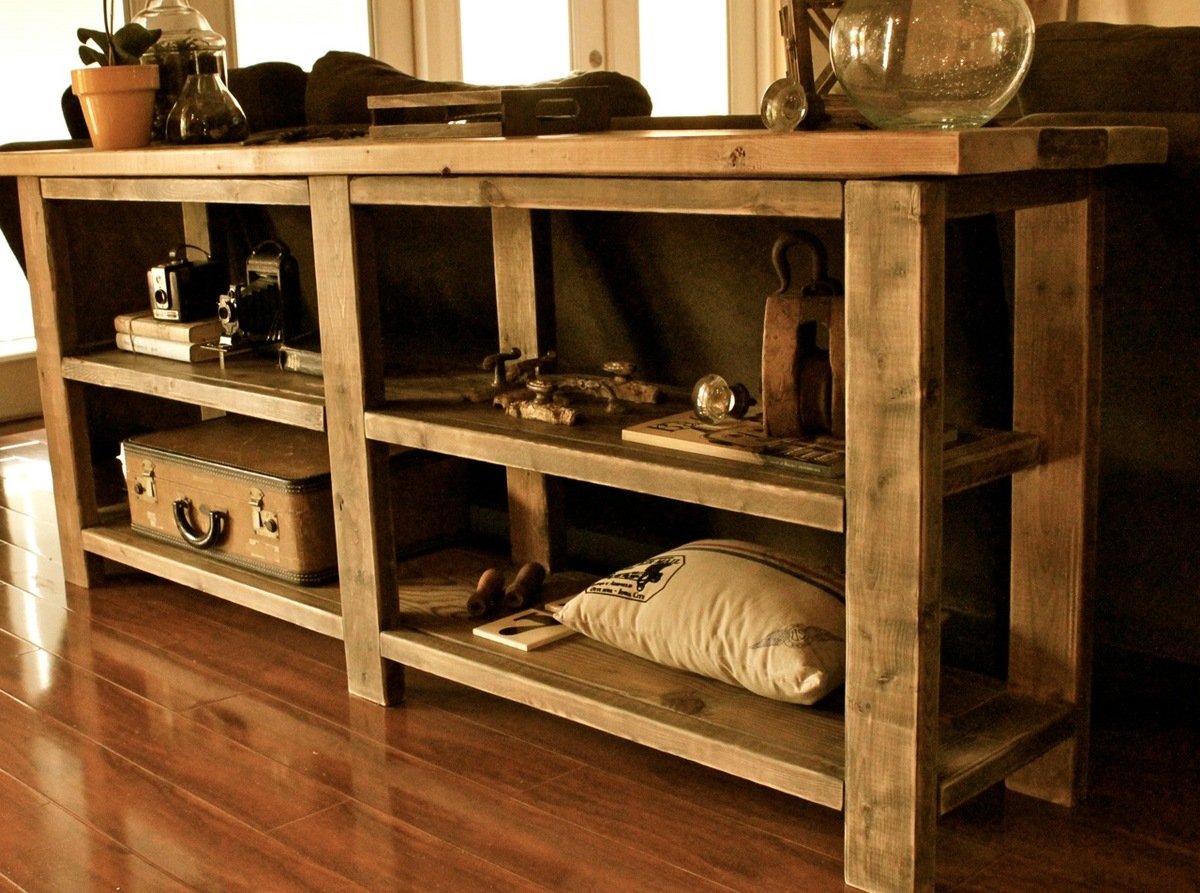
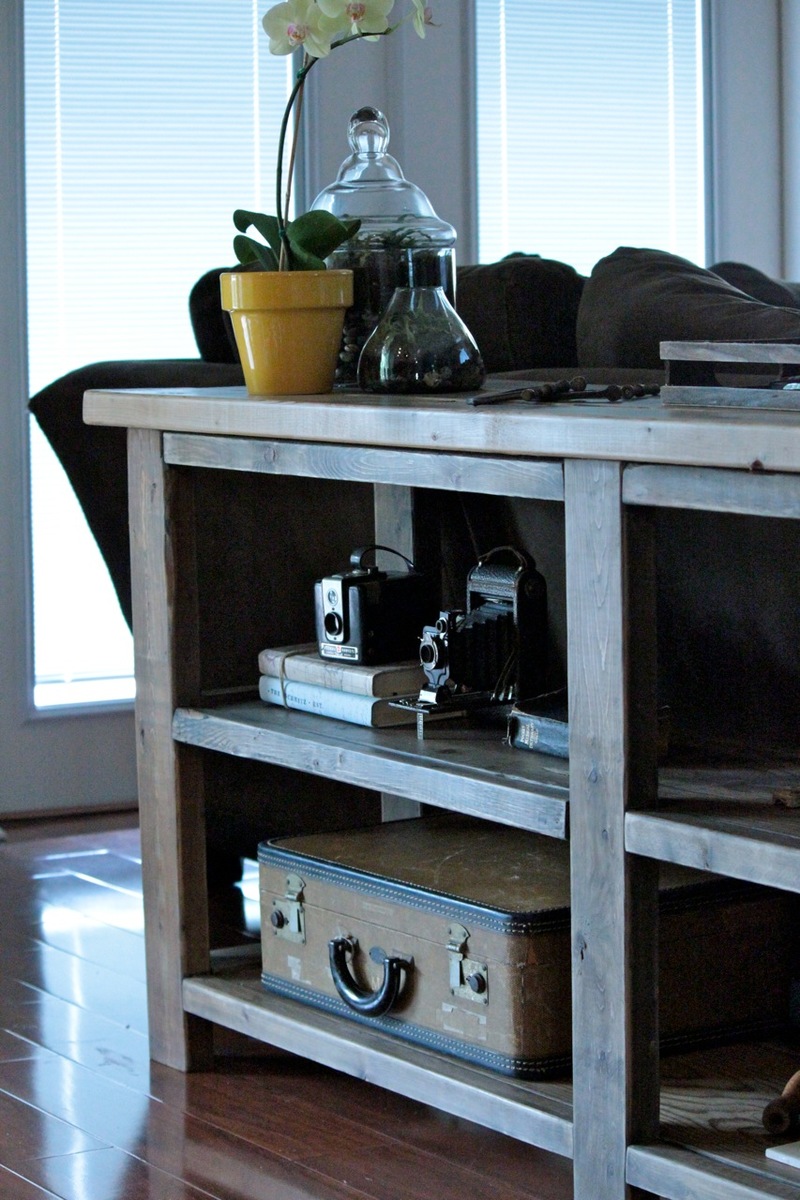
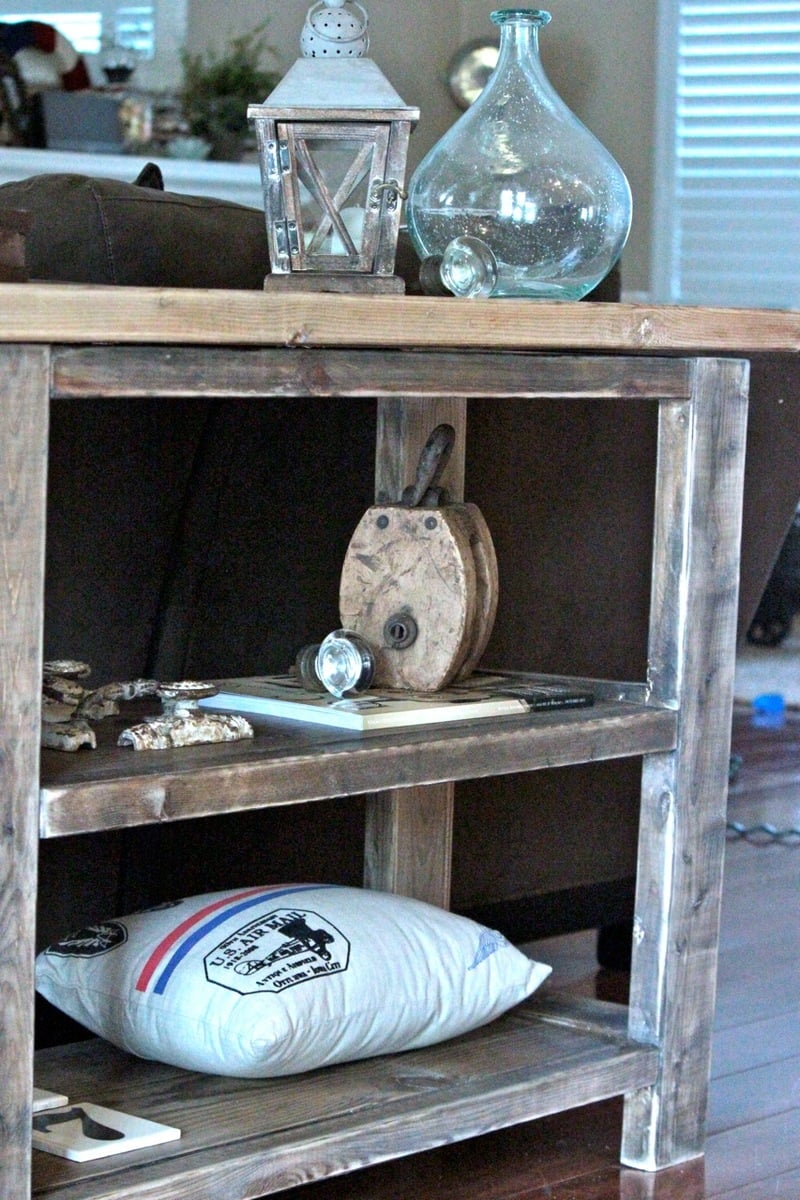
This was my first time building something big :) and im sooo happy with the results. Had been looking for a sofa table/console for so long but couldn't decide on what I wanted , when I saw this on the first page I fell in love. It was fairly easy to build. Took me 2 days, one day sanding, cutting, staining it and the next putting it together. I love how it turned out.
I didnt make the side 'X' bc I want to do something different than the original plan, just trying to figure it out what exactly.
Oh! And I still need to add the decorative hardware, I have it, just need to remember to do it.
Thank you so much for the plans.
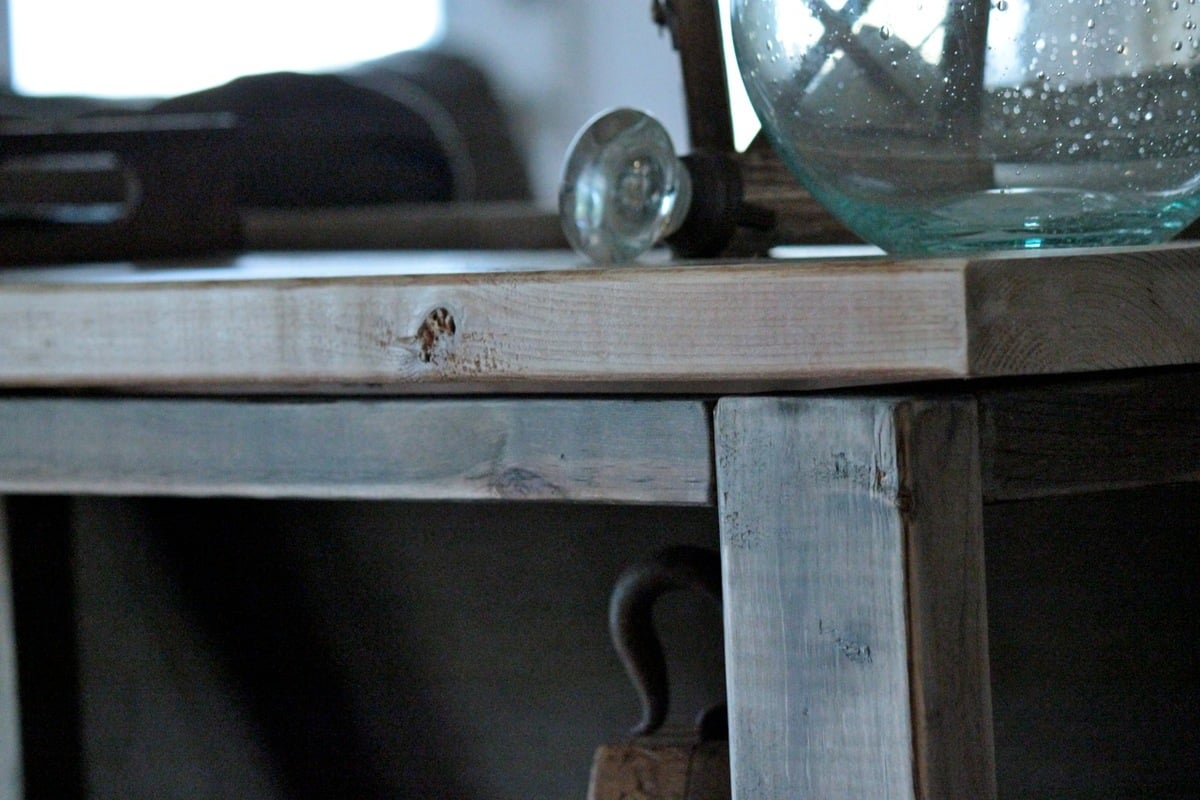
Sun, 06/10/2012 - 22:06
One of my favorite things about building is being able to build it however you want. Xs or no Xs -- it is gorgeous. Great work! And it you staged and photographed perfectly. Really, really beautiful.
Mon, 06/18/2012 - 14:44
What kind of tea did you use ? And what do you mean by white wash ?
Fri, 06/22/2012 - 10:07
I used regular walmart brand black tea, let it dry and then applied the vinegar/steel wool solution after that i sanded a bit and diluted white paint in water and applied it all over with a lint free rag, you need to work on small areas and follow it up with a slightly damp cloth. hope that helps :)
Sat, 08/18/2012 - 23:06
Beautiful job!! Looks like a picture out of a pottery barn catalogue! BE PROUD!
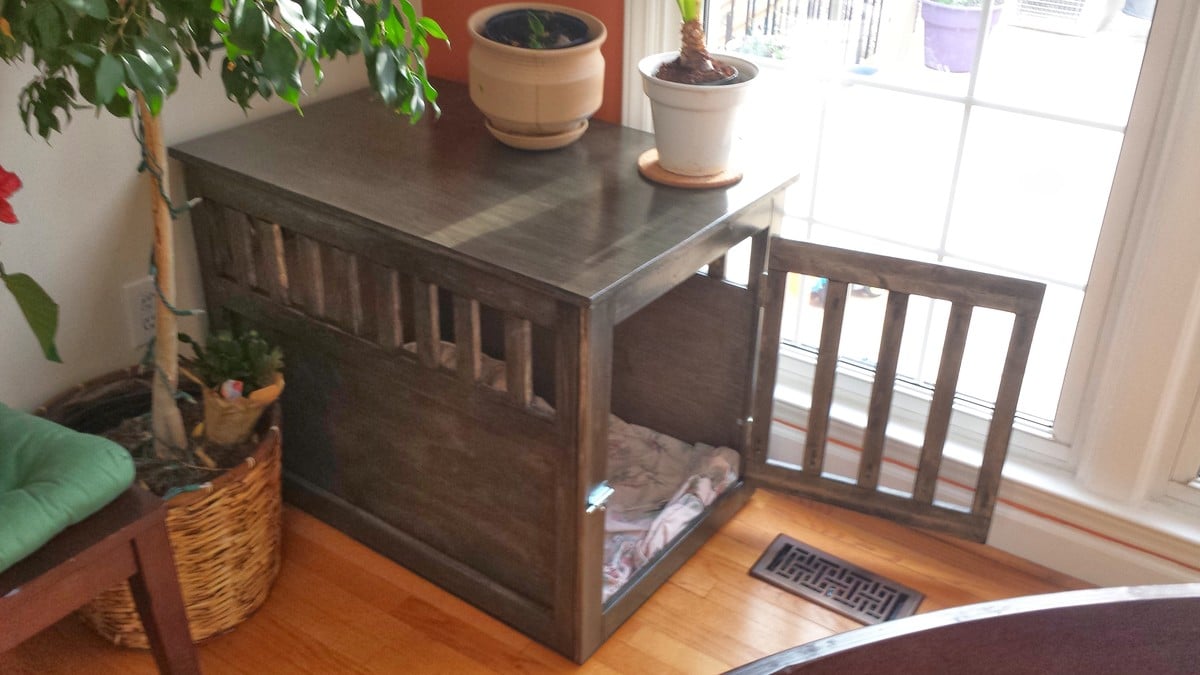
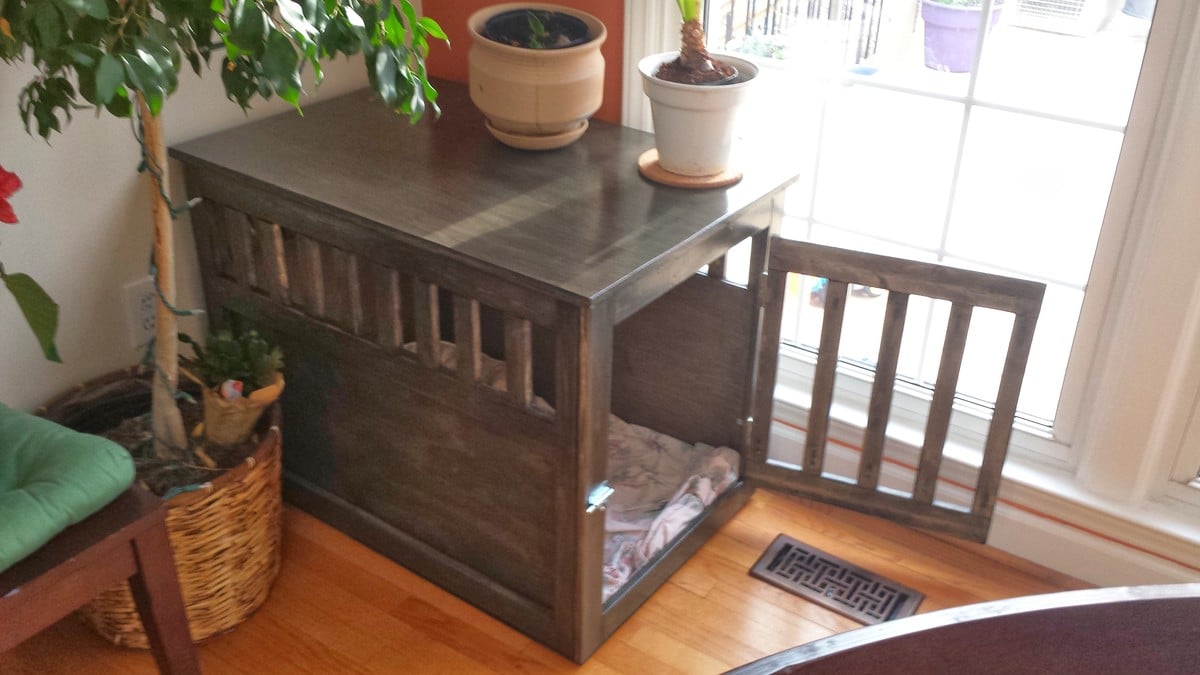
That was fun. Got a new dog, built her this for double duty. A crate and a table. The finishing was the lengthy part, by a LONG shot. Can't wait to start a new plan.
Fri, 04/04/2014 - 14:04
Good looking work! And yes, ugh, I hate the finishing part. I'm building a couple of pieces for my sister-in-law on the condition that SHE gets to finish them ;)
Fri, 04/04/2014 - 16:19
Beautifully done, and I love the finish. You did a great job!
Comments
kajasmin
Tue, 06/11/2019 - 05:24
Where did you buy the bottom…
Where did you buy the bottom cushions?