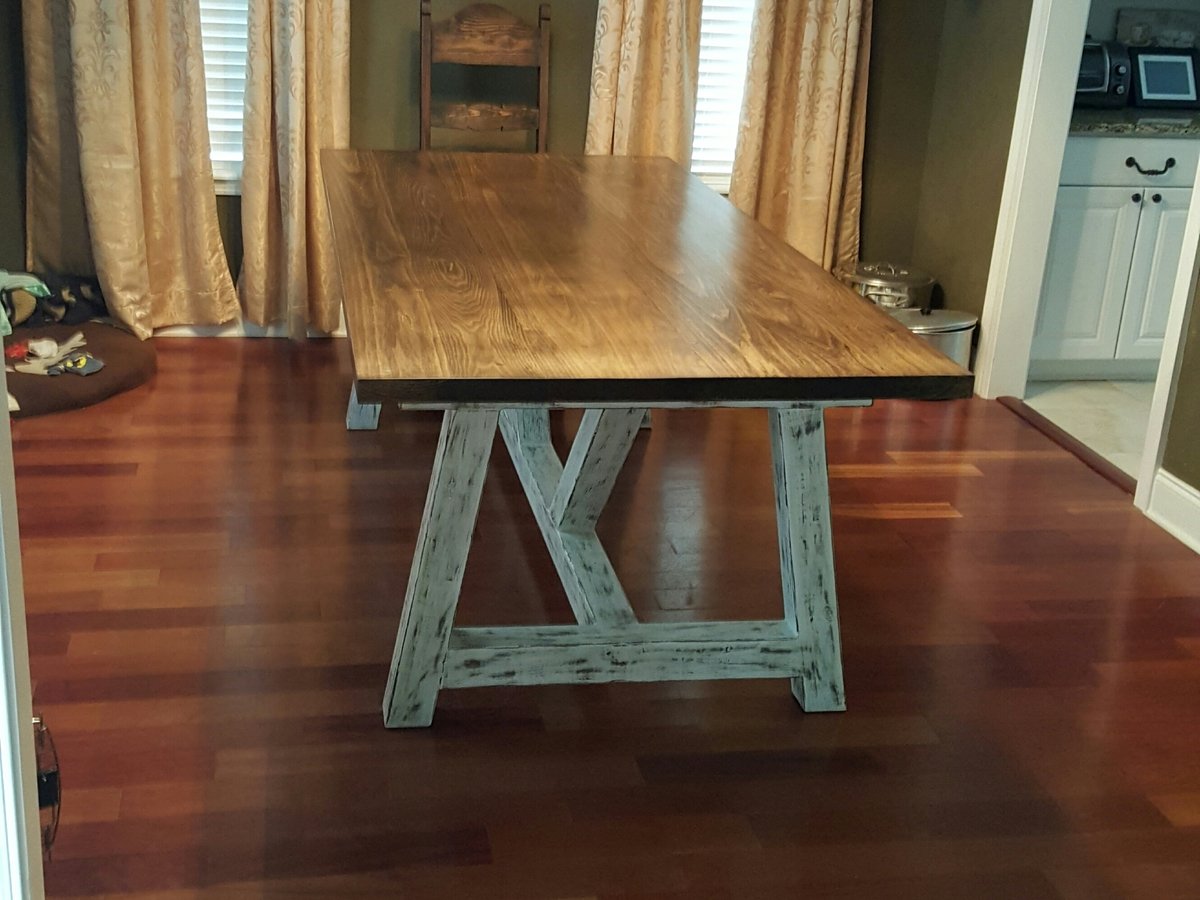
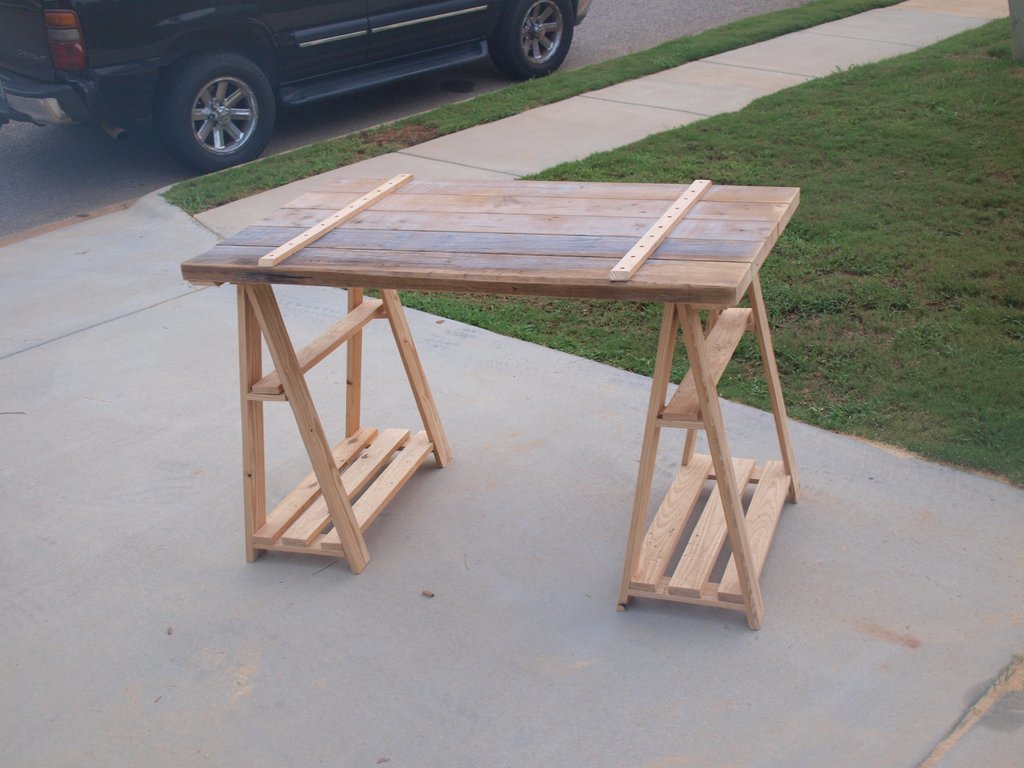
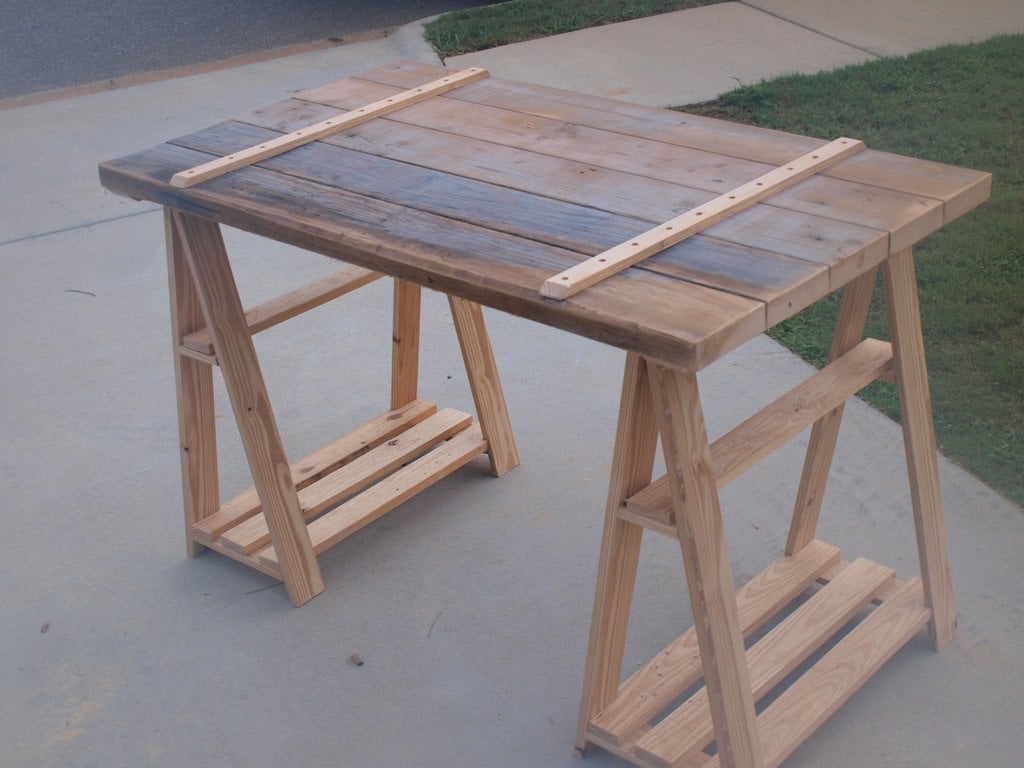
4x4 Truss Beam Table & Bench
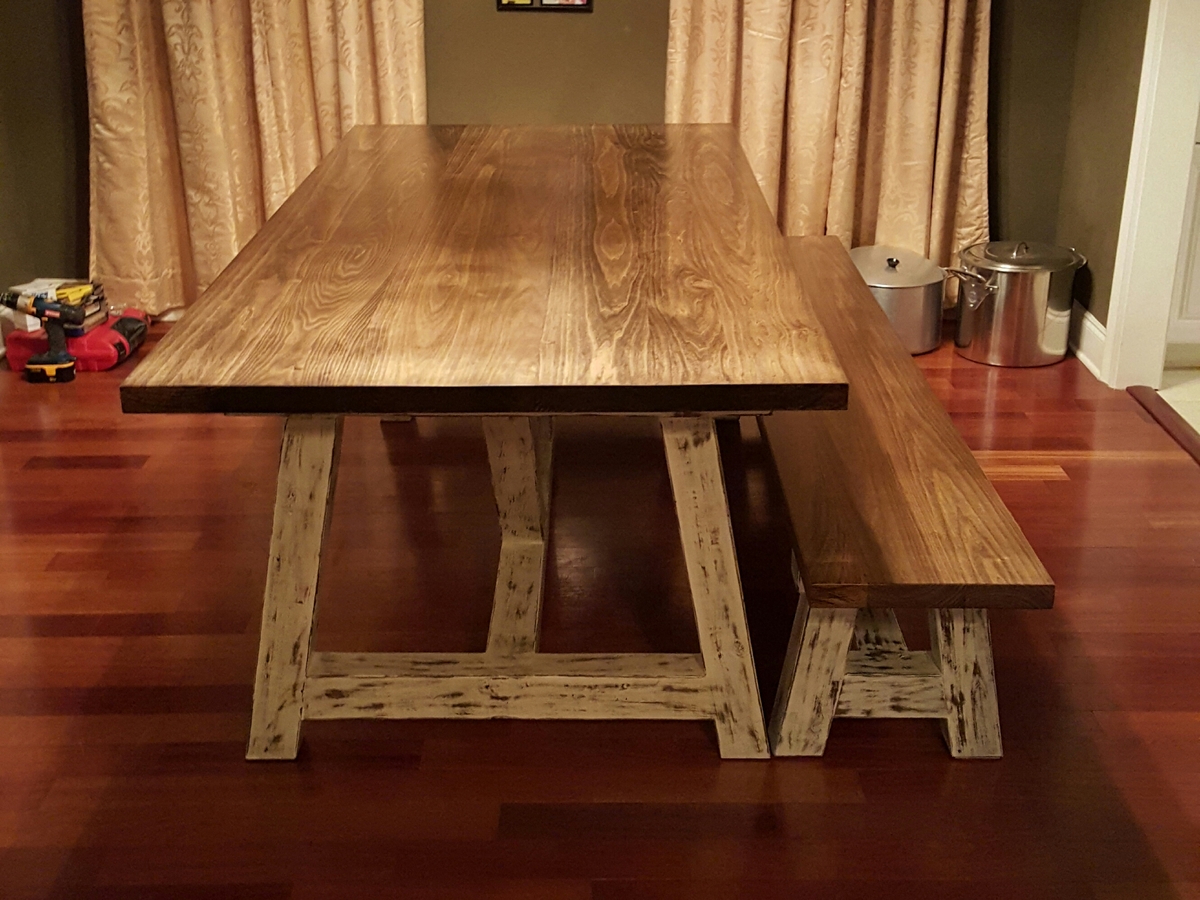
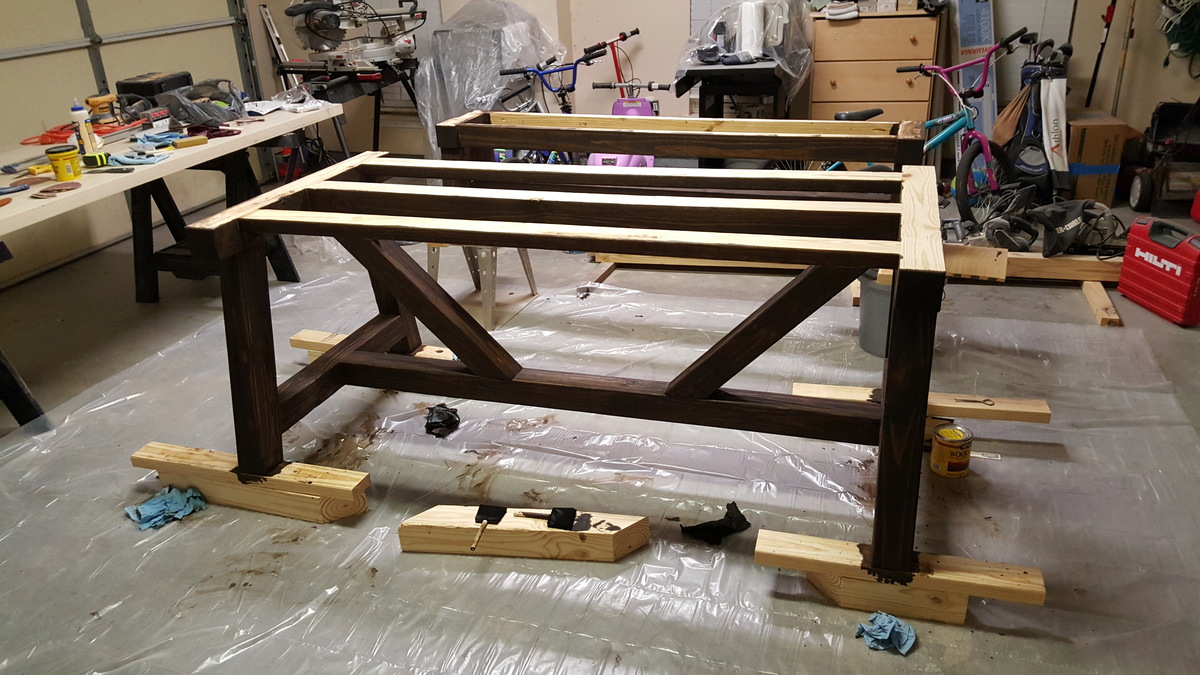
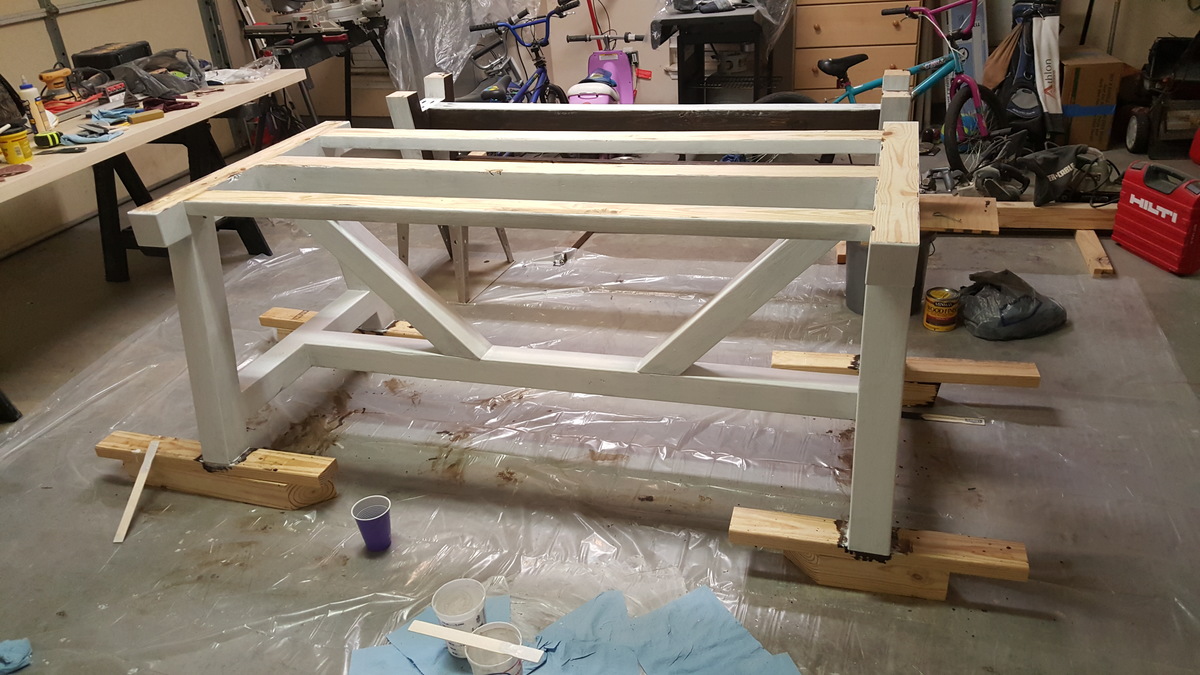
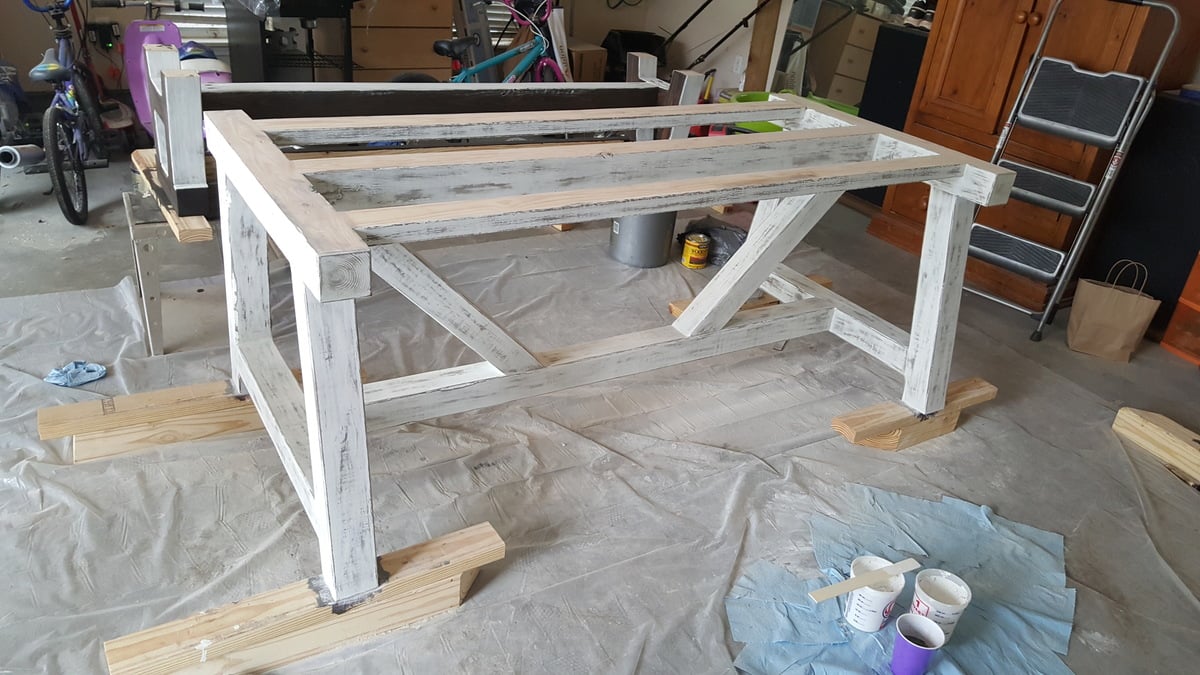
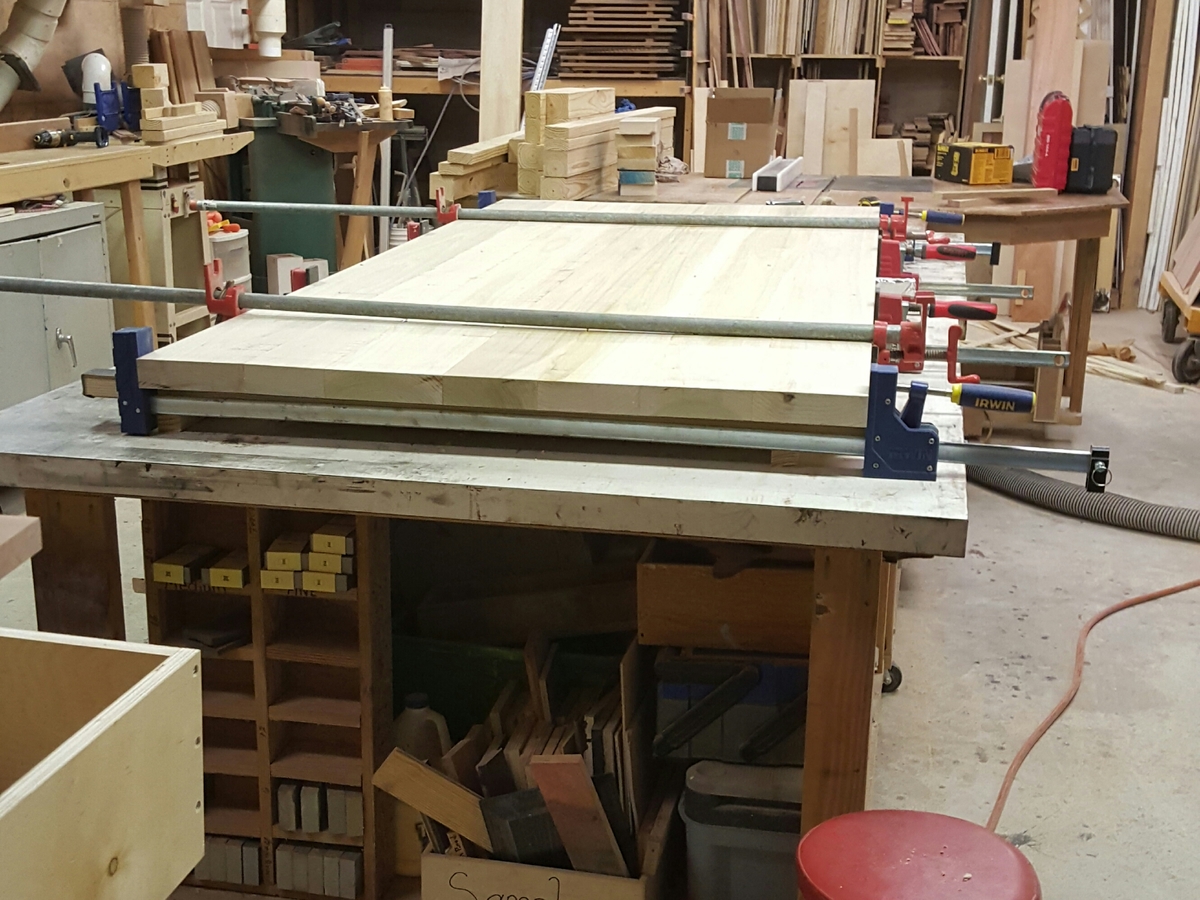
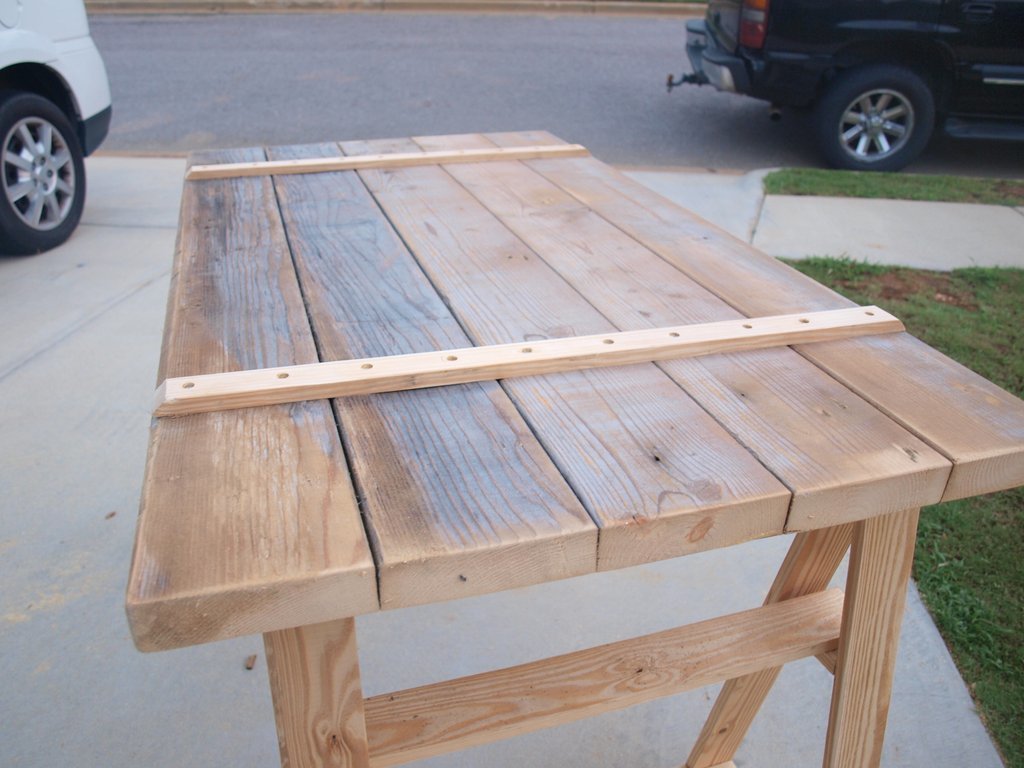
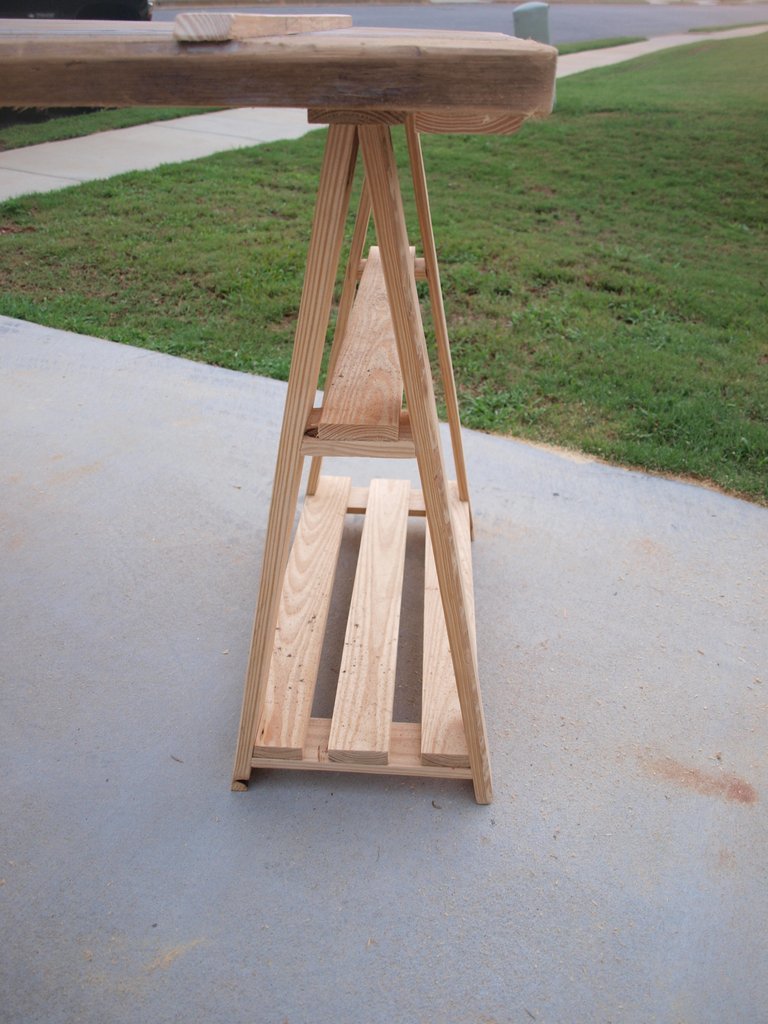
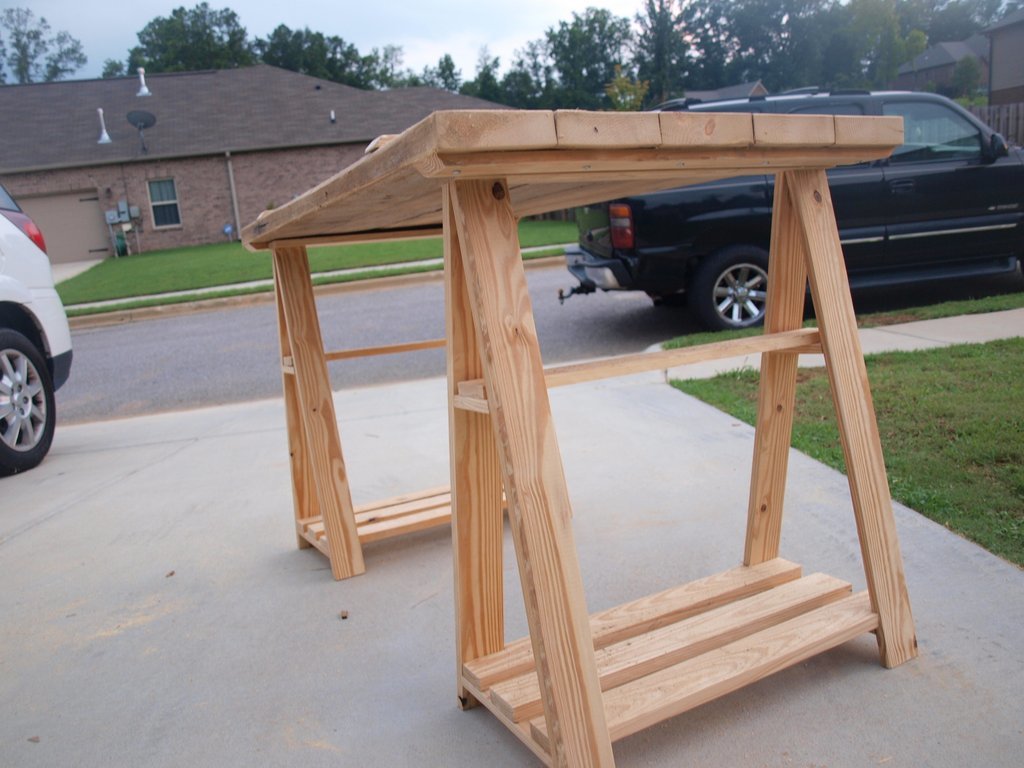
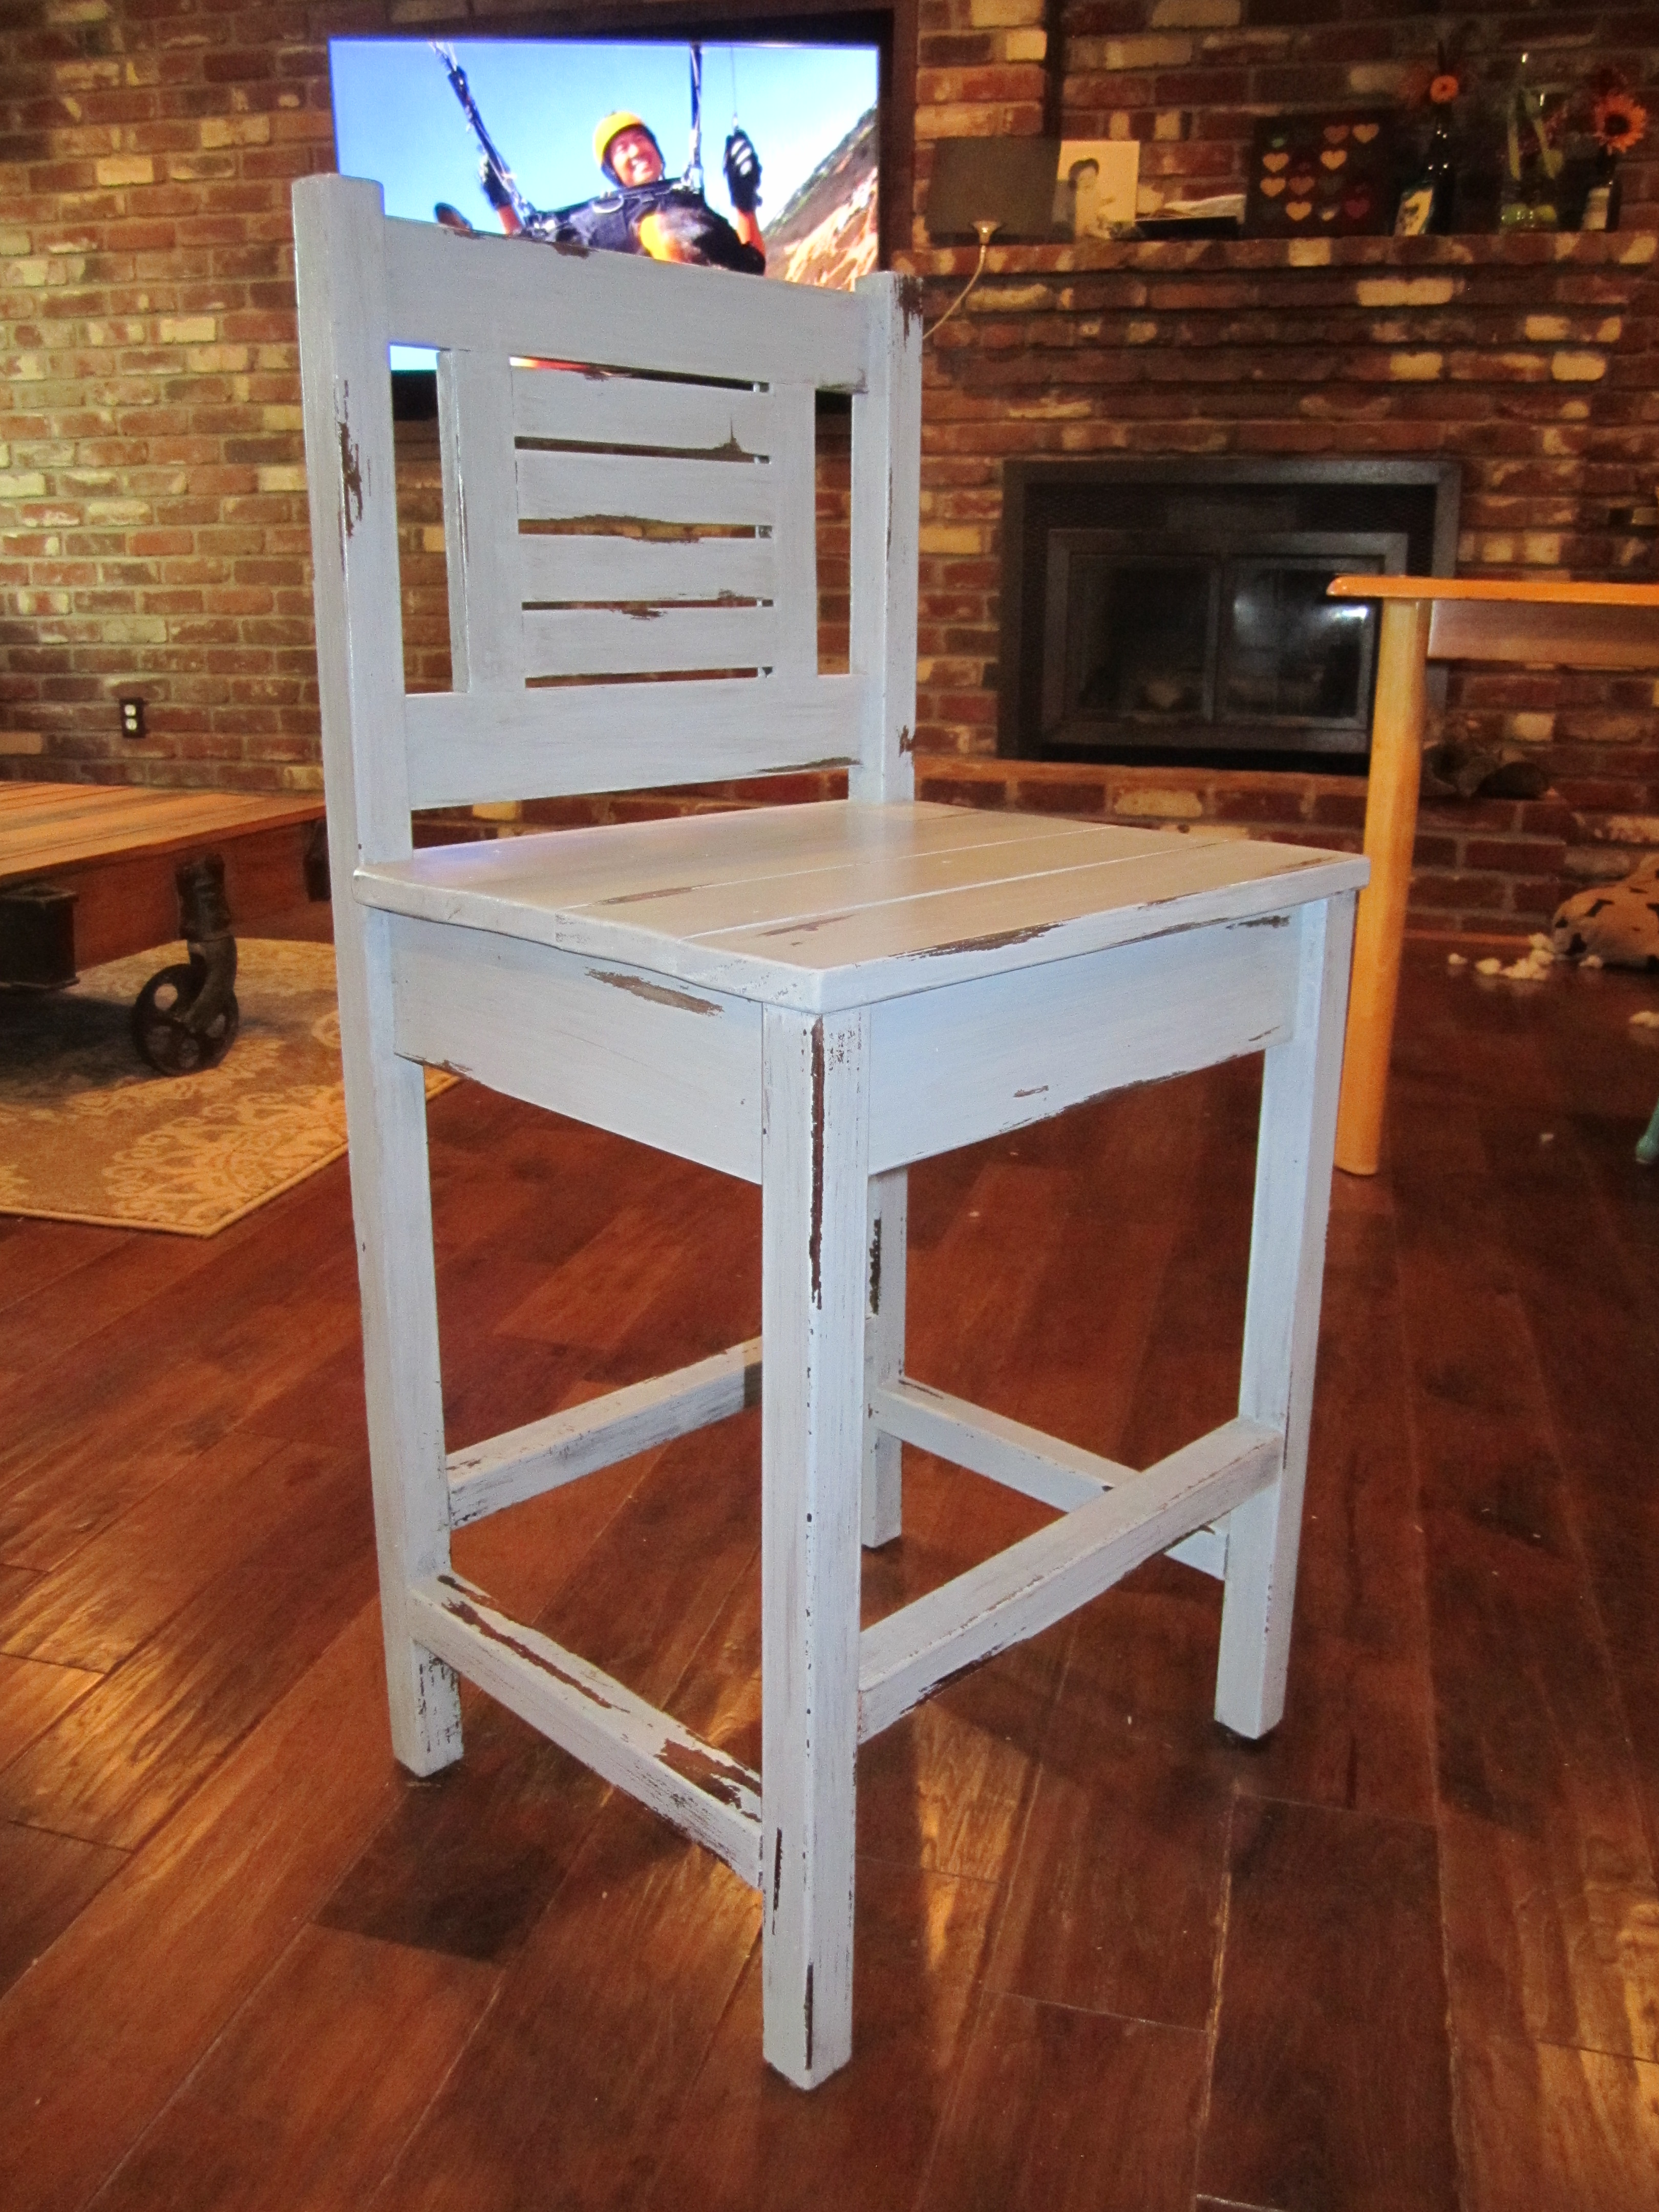
When my wife and I moved we sold our old table and was in need of a new one. We've shopped around and didn't like anything we were seeing. She insisted that I build one but I never had any time due to my job. In the past it would've been easy because that's what I did was woodworking. So she researched and came across ana's plan and she loved it. Keeping the wife happy I made time. I made my material list & cutlist but was concerned with using construction grade lumber for the tabletop due to over time it likes to cup and warp in the right conditions. Instead I went with 8/4 Poplar which will make a solid tabletop and last forever. I was only able to work weekends on the project so it was finished in a month which I added the total hours & it equaled 1 week. She loves her new table and is now shopping for 5 canvas chairs to go with it. With her posting on social media I now have requests to build more. Where will I find the time?