Farmhouse table

Farmhouse table and benches


Farmhouse table and benches

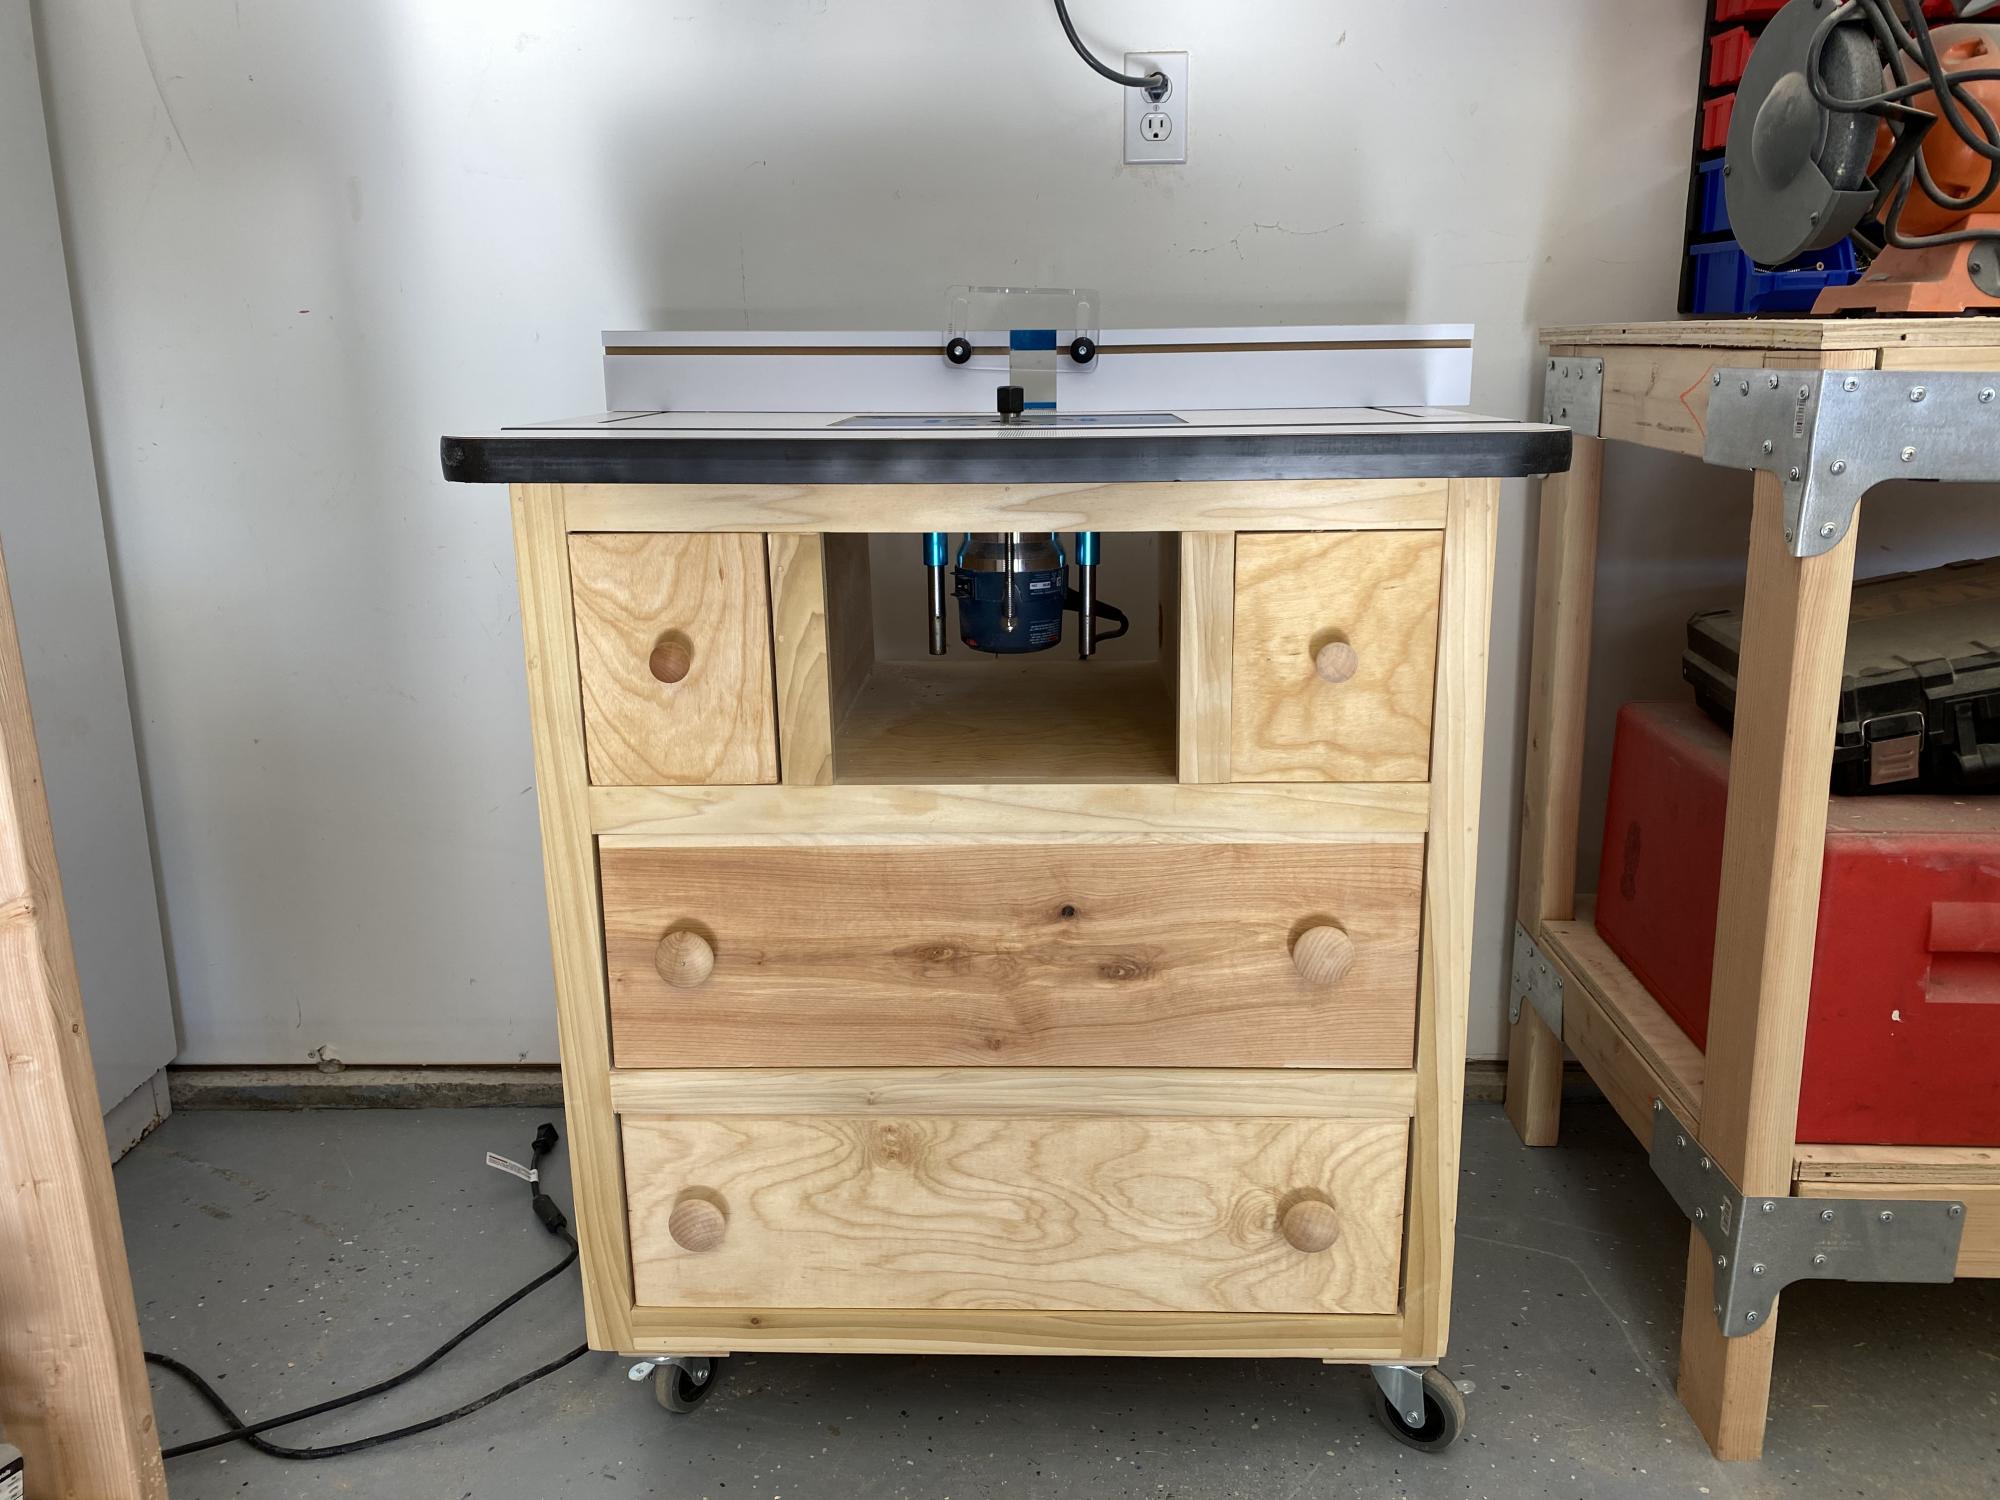
As a beginner woodworker I was searching for a router table project and came across this one. I constructed it entirely out of birch plywood. I will admit is was a challenge for me as I had never done drawers before. The biggest challenge was the small drawer for bit storage. I used a Rockler table top and it worked perfect. Overall I’m pleased with the way it turned out and have already used it in several projects
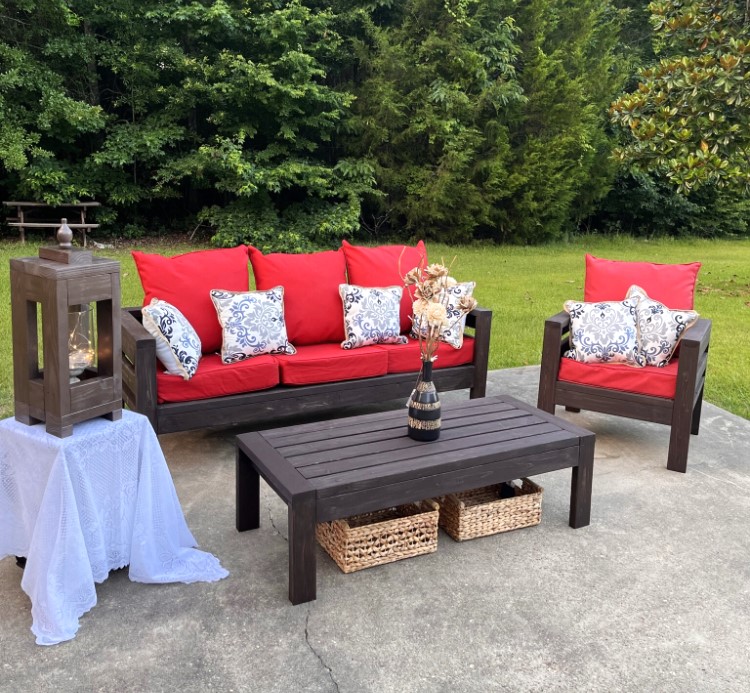
Reader Build
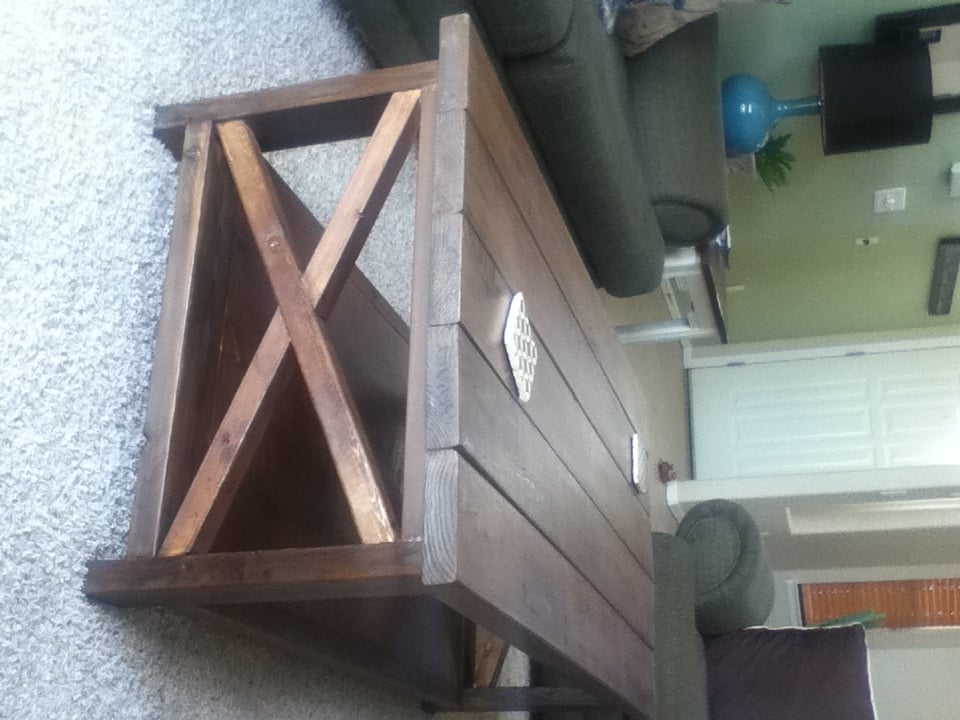
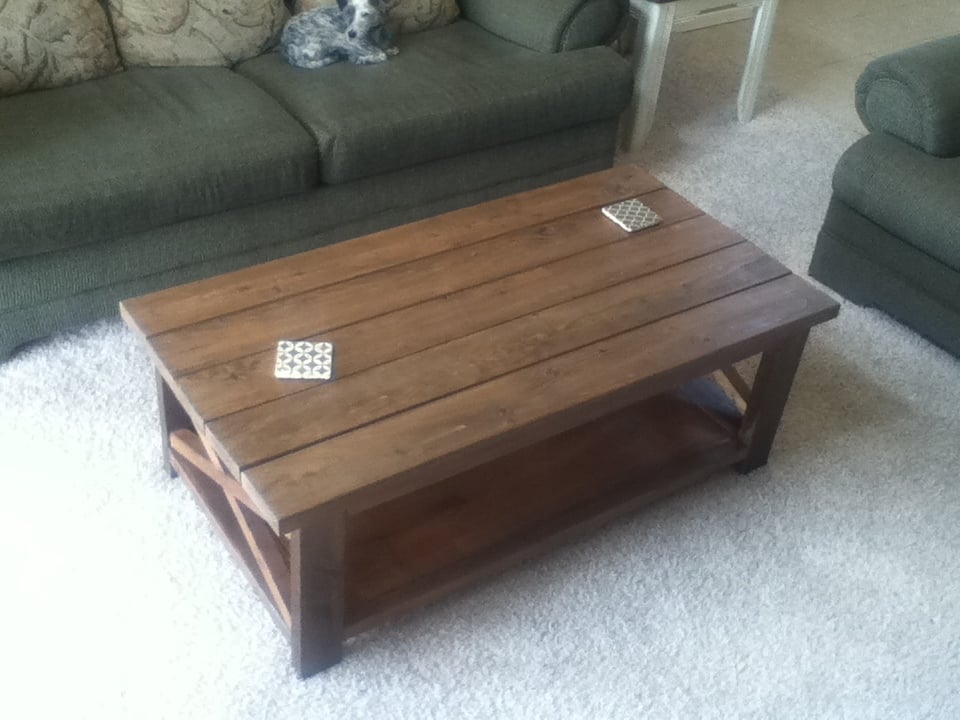
This table was super easy to make and is solid as a rock! I'm very happy with the way it turned out. It is the first piece of indoor furniture I have made. I did need 3 2x2x8's instead of two though. I don't know if it was my inexperience or what, but that is the only thing I had trouble with.
I finished it exactly like Hillary did, with the steel wood vinegar concoction, but mine came out much more brown than hers did. It wasn't exactly what I had planned, but in the end I'm happy with it. I guess that's one of those things that can't be controlled.
I can't wait to build the end table to match!
Mon, 08/27/2012 - 22:41
Gorgeous, Meagan! It did come out a lot more brown than mine. That is so strange. I guess with oxidizing you never really know what you're going to get! I go a bit crazy with scraps before I oxidize and I experiment with more or less vinegar to tone down the effect. Anyway, yours is really beautiful and looks super square and sturdy. You did a great job.
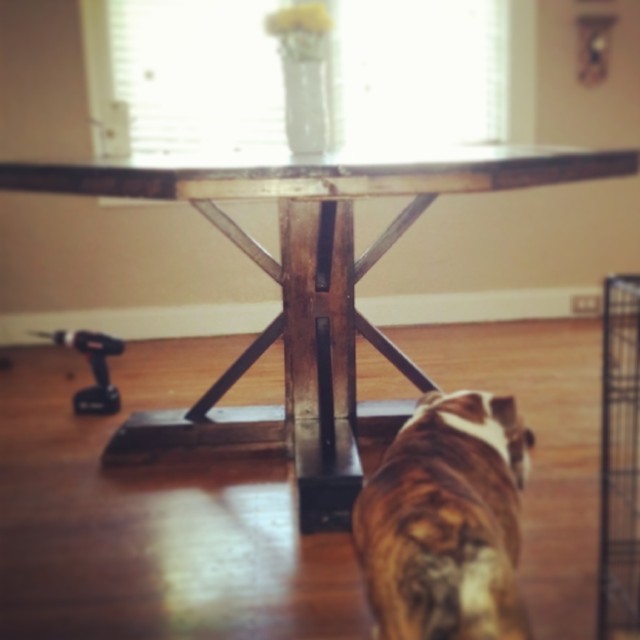
This is my first major DIY project and was relatively easy if you follow the instructions (I have done the crate coffee table and turned an old coffee table into a bench).
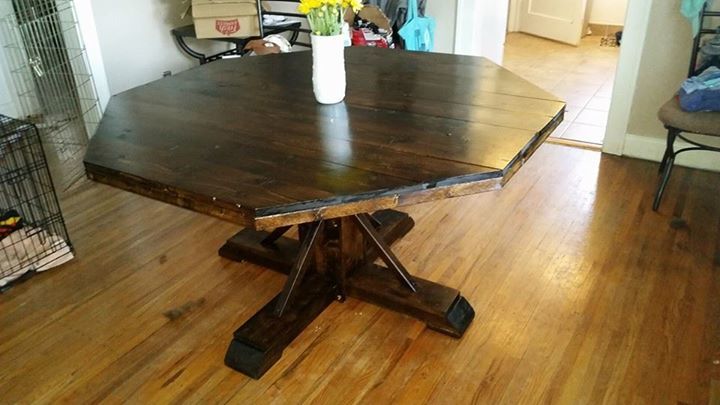
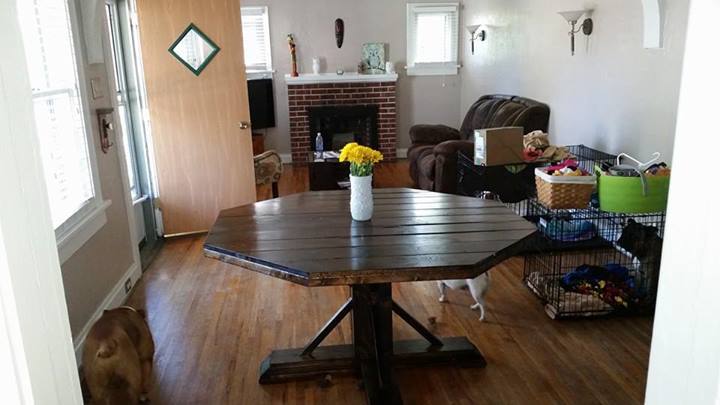
This was my second bigger builds. It came out beautifully and I am so proud to have built this for my husbands very first Fathers Day. Easy to build.

Happy Easter for the grandchildren. Your post inspired me....thankyou. I was happy with my
outcome.
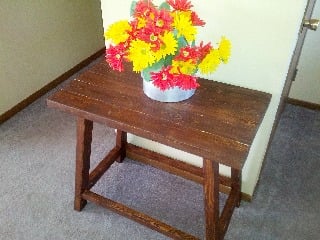
I had trouble with this project. I wasn't sure of the terminology, off square and such. It went well, I ended up not putting the truss part on due to not paying attention when cutting the wood.

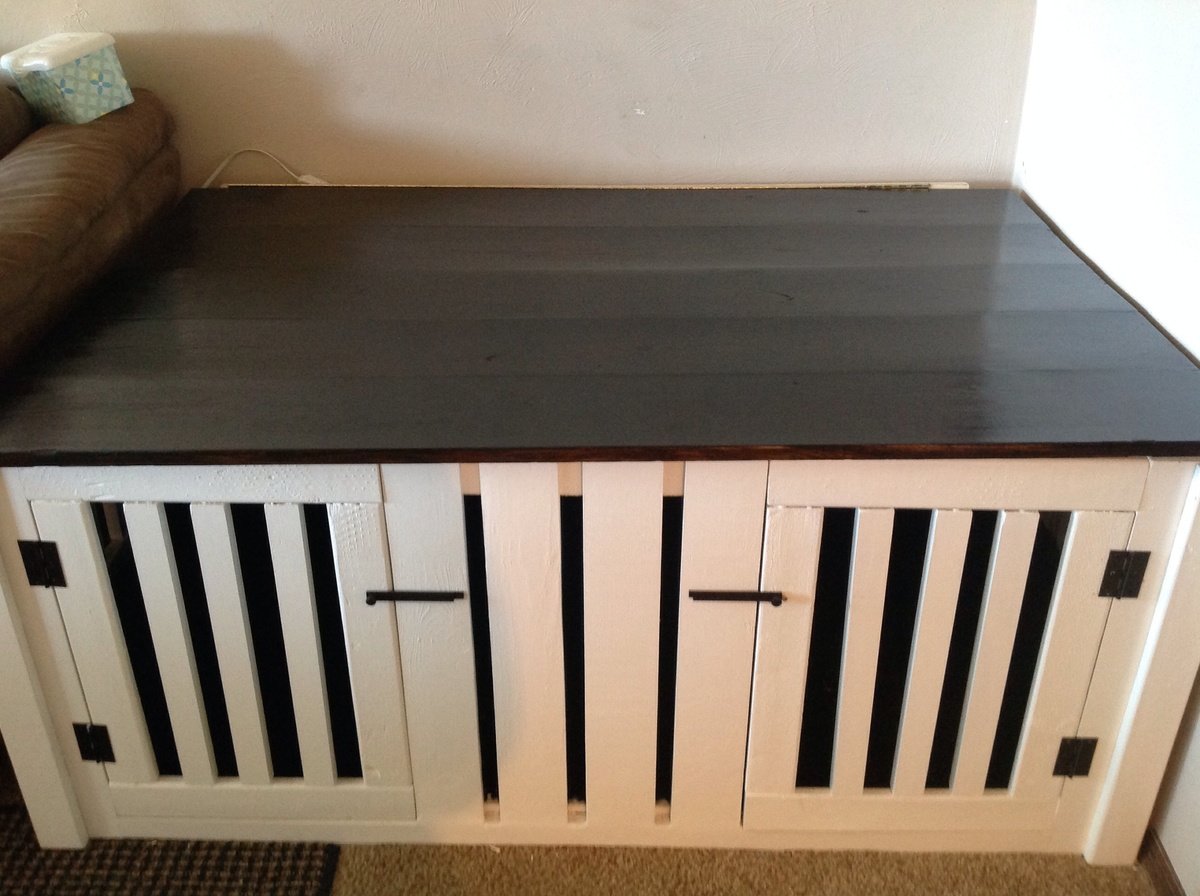
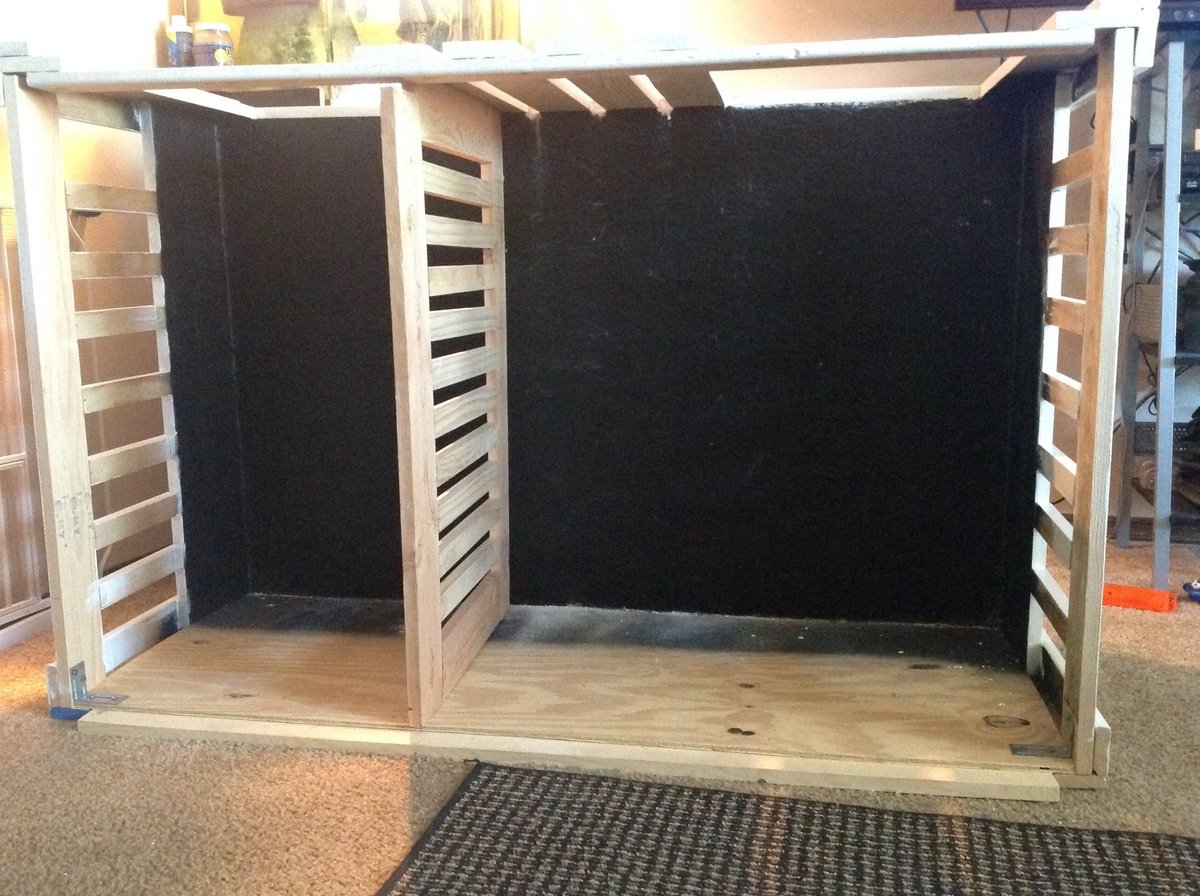
I LOVE the way this turned out! I used truck bed liner for the floor and the sides because one of the dogs is still a puppy and truck bed liner is TOUGH and waterproof (in case of accidents)! I made one side of the crate huge and one side small to match the size of our dogs. The really nice thing is that you can't tell by looking at it that it is two different sizes inside. This looks so much better than those ugly wire or plastic crates.
Fri, 01/23/2015 - 08:44
I plan to do a crate/table similar to your design - how big are your dogs and compartments??
Thanks a lot!!
Misti
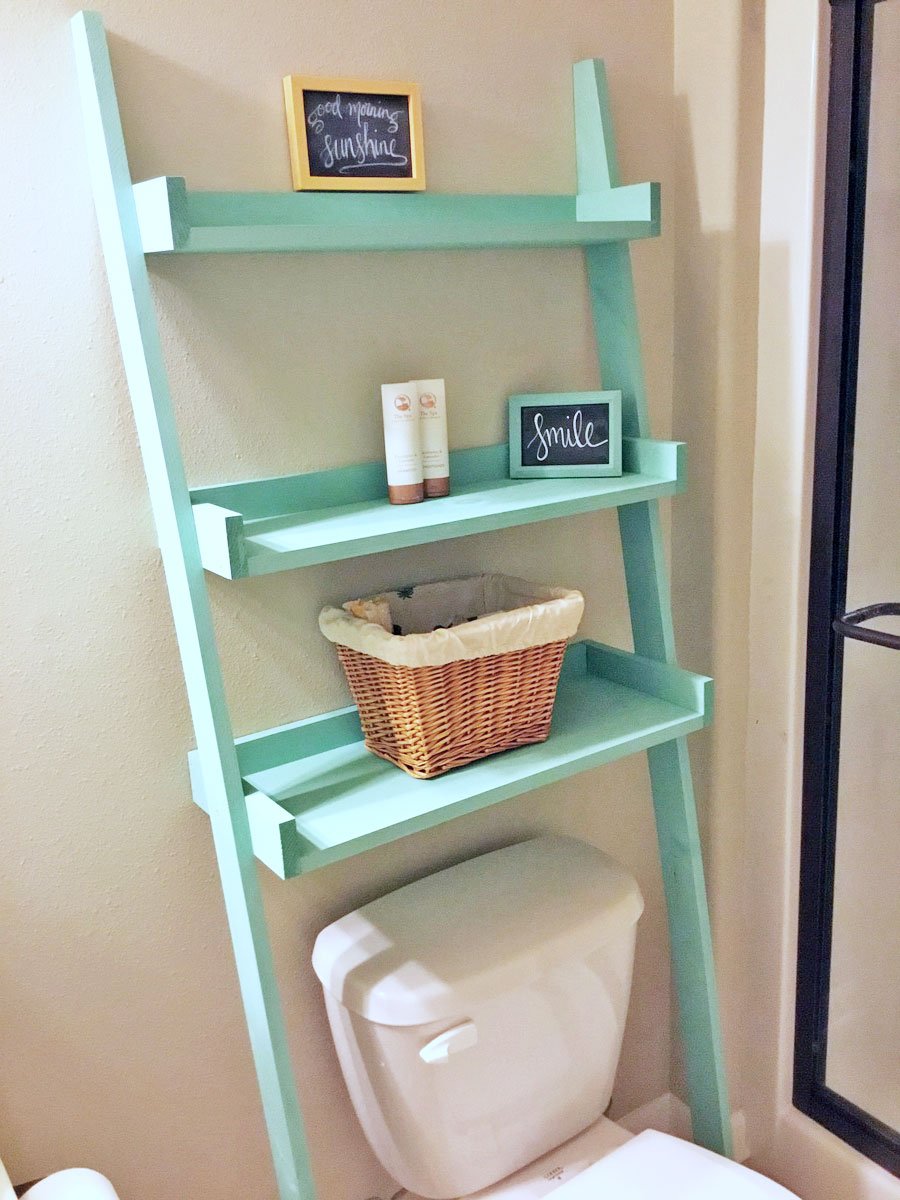
I saw this plan and immediately decided to make it! My mom had been telling me for a while I needed a shelf in the bathroom she uses while visiting. She was coming the next day so decided I needed to hustle to surprise her. I left the lumber store at 8pm and finished painting the assembled shelves by 11pm. The next morning I moved shelves to the bathroom and when she arrived later that day she was so surprised! She loved it! Thank you so much for the idea!
Wed, 06/19/2019 - 17:01
This is amazing! Three hours! I'd be surprised too!
Thank you so much for sharing a brag post, much appreciated!
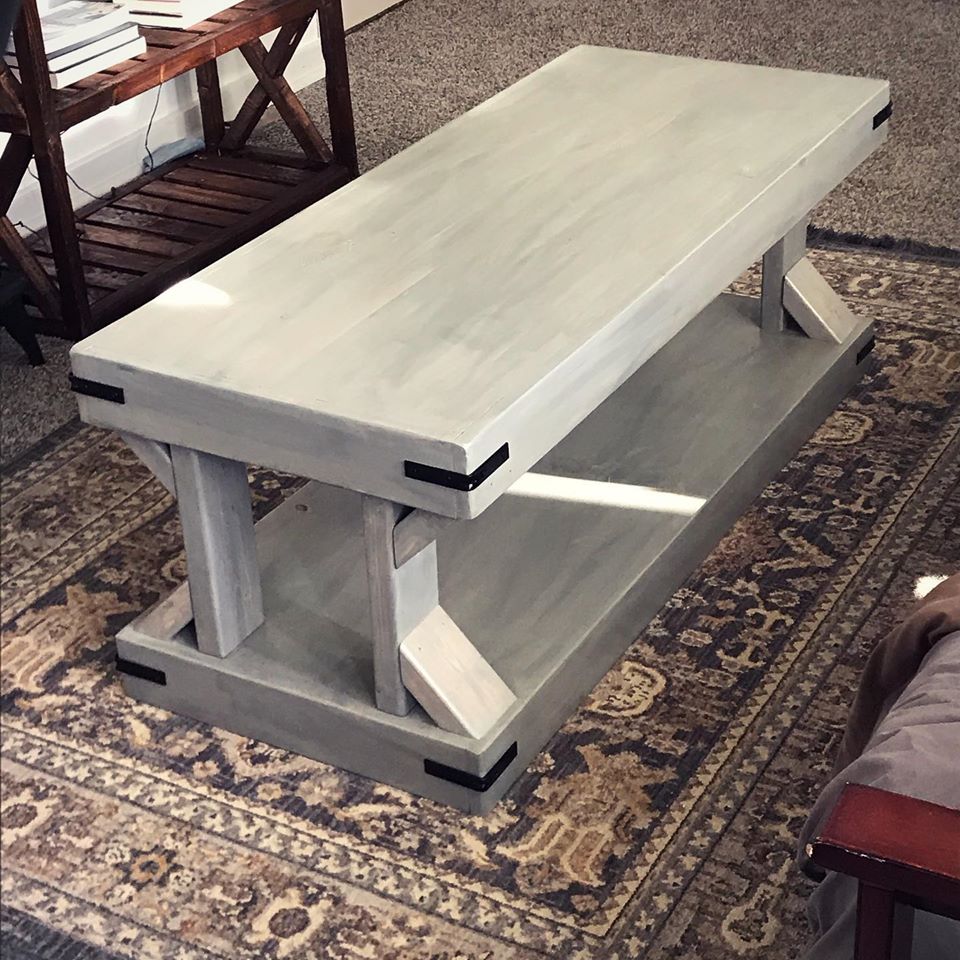
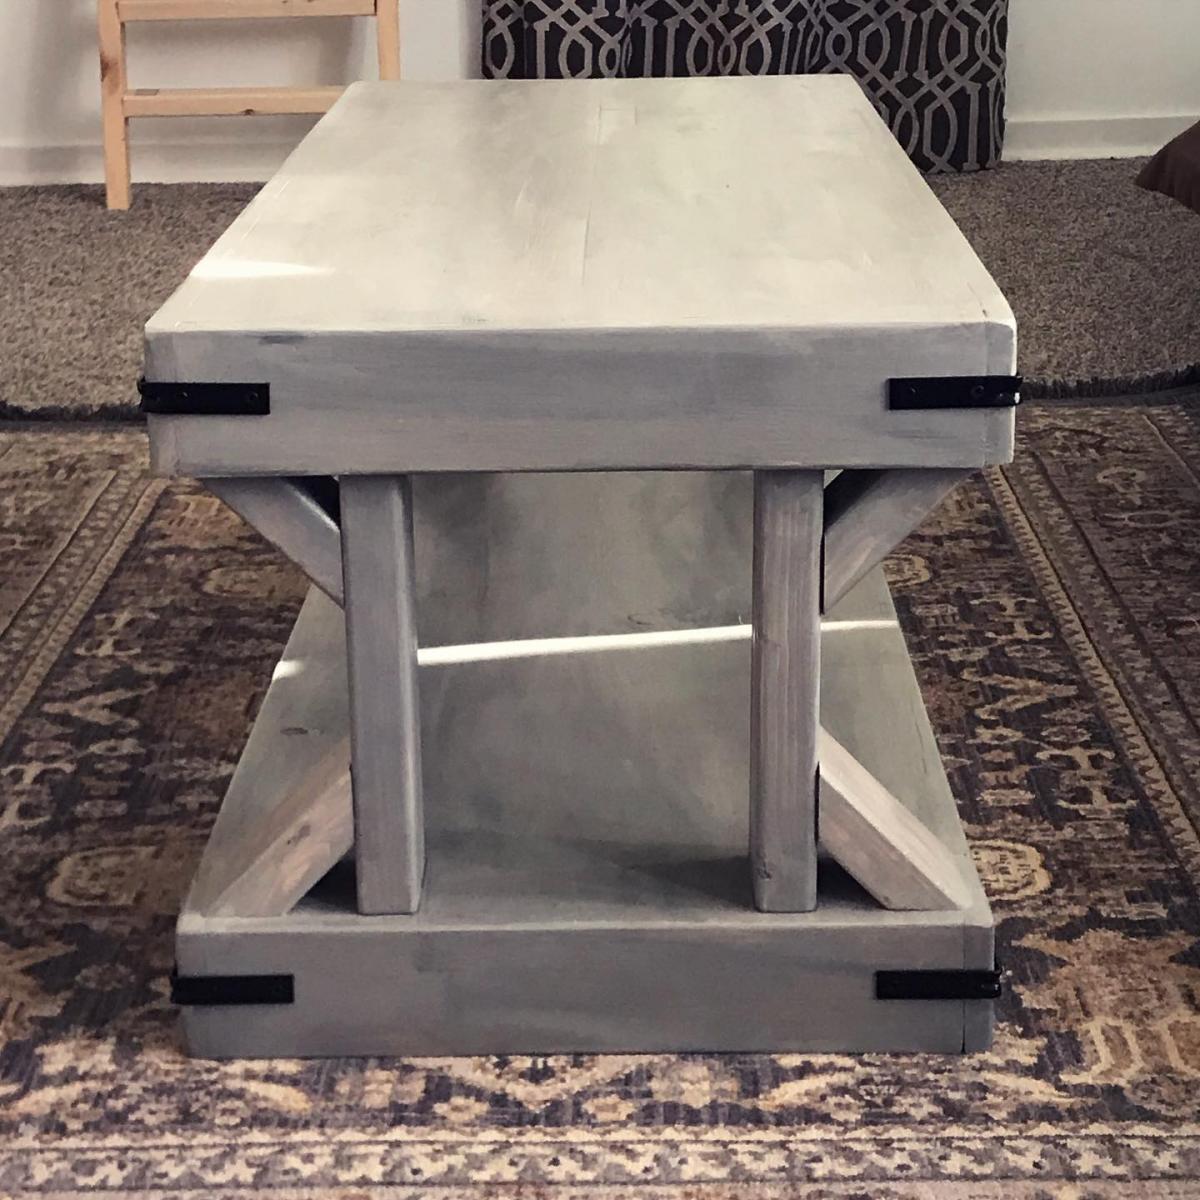
I built this coffee table with off the shelf lumber and finished with Varathane Sun Bleached and Weathered Gray Stains, and Minwax satin polyurethane. I applied a fairly even coat of the Sunbleached Stain and added a few streaks of the weathered gray. I used 1 ¼" pocket screws instead of the brad nails. I used a hammer and a couple of finishing nails for the braces.
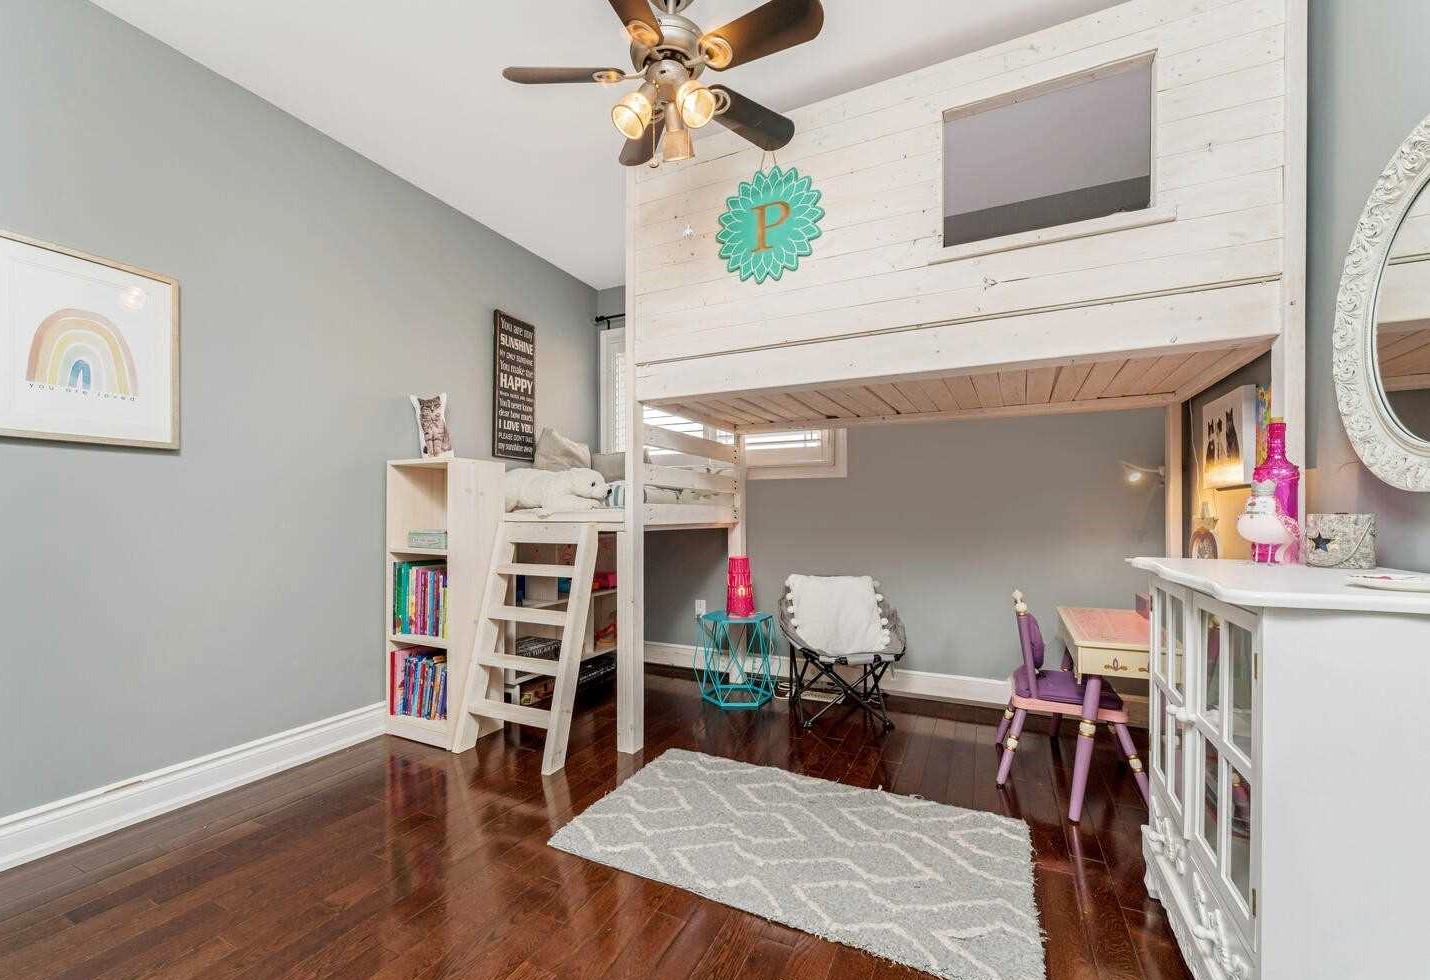
I built this bed a little higher so it will last my daughter a lot longer.
Such a great way to get back all that floor space! The 2x4 frame makes it super strong as well.
Diane
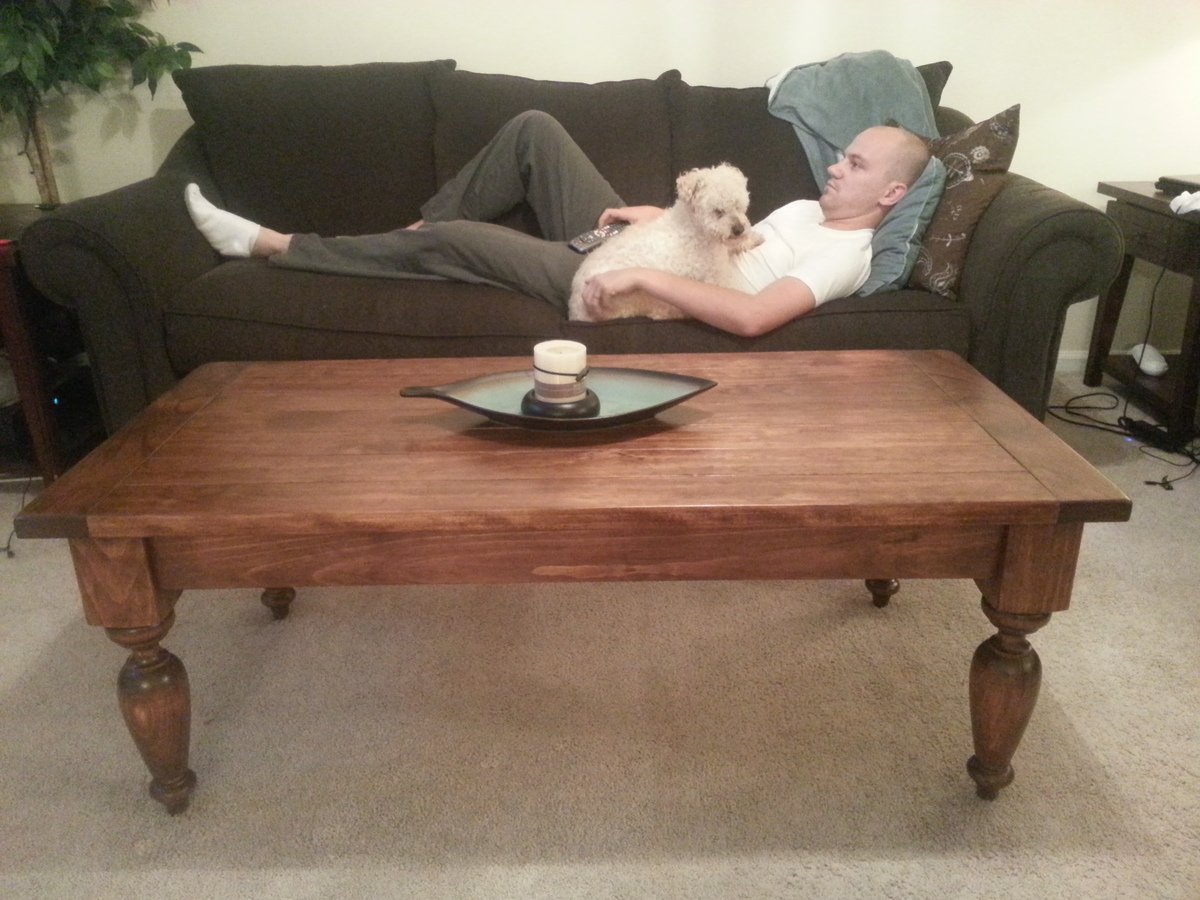
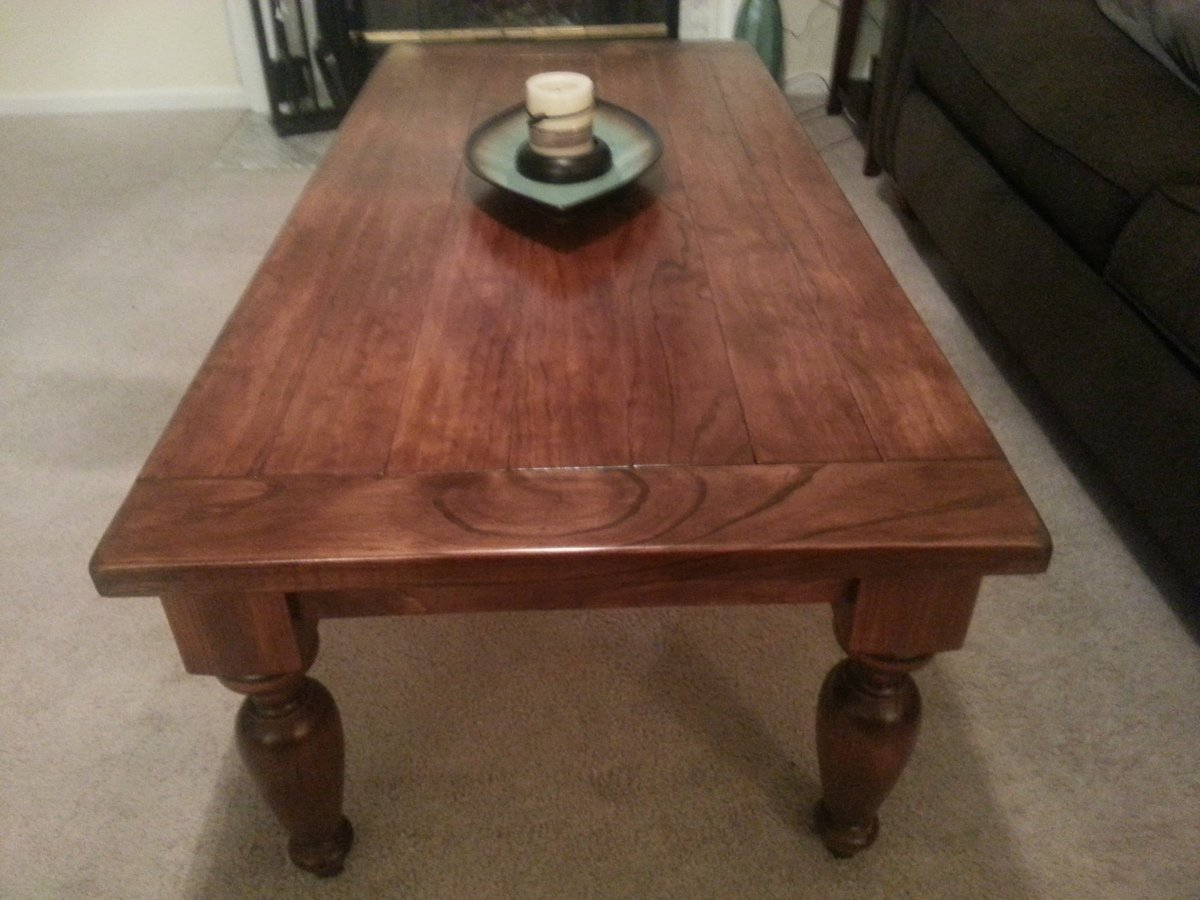
Okay, don't mind the husband and the pooch in the background there! I fell in love with the Pottery Barn version of this table (actually, I've fallen in love with everything from Pottery Barn, if we're being honest here), so I've been wanting to make this coffee table for quite awhile. I found the legs on ebay for a really low price, so I splurged and bought premium 5/4" thick pine planks for the table top to make it look more substantial. This table was so easy to assemble using pocket holes. My husband and I both love how it turned out!
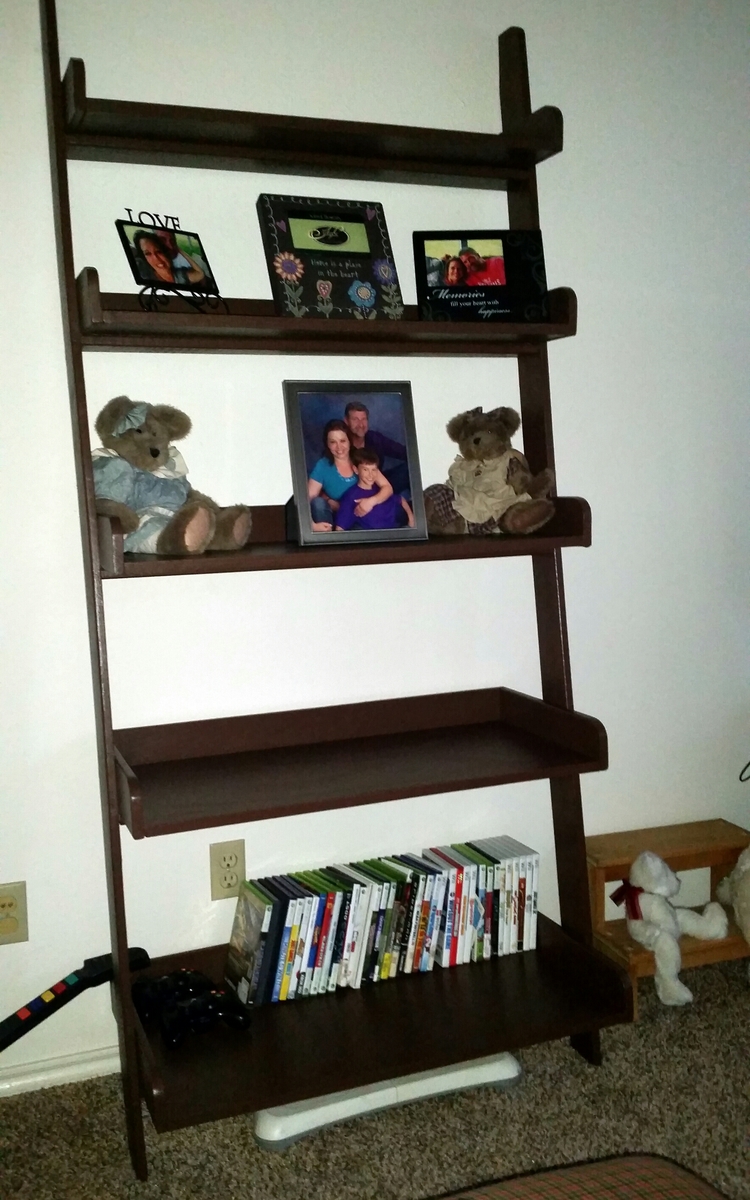
This was my first project and we think it turned out great..Thank you for sharing your plans and showing that anyone can do this.
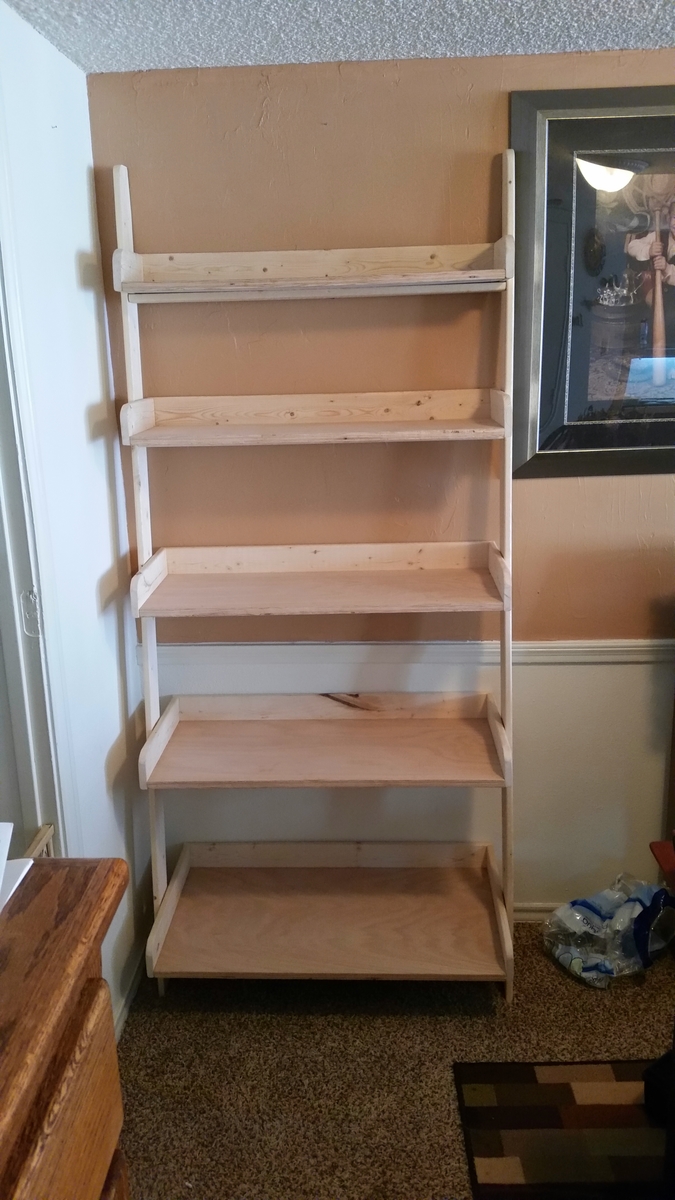
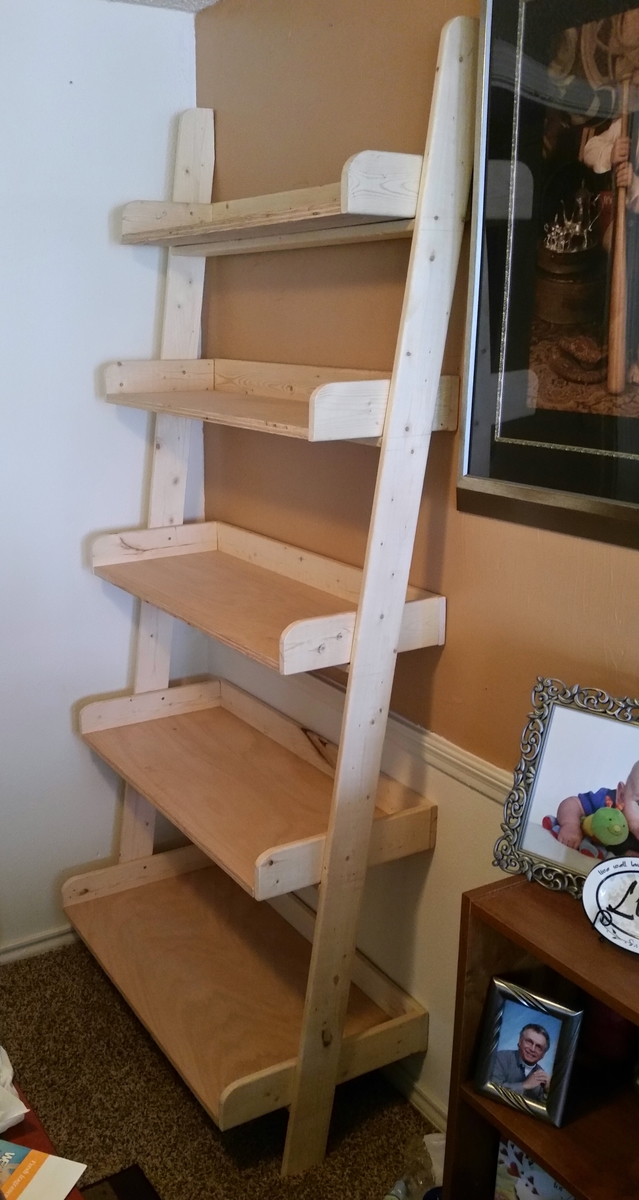

I am so thrilled to share this. My very first build and I am so happy with it and so excited to share the build. My very first ever build of any kind whatsoever. I am inspired and buying a new home. Thank you for all the plans that will be so helpful to me with the upcoming house.


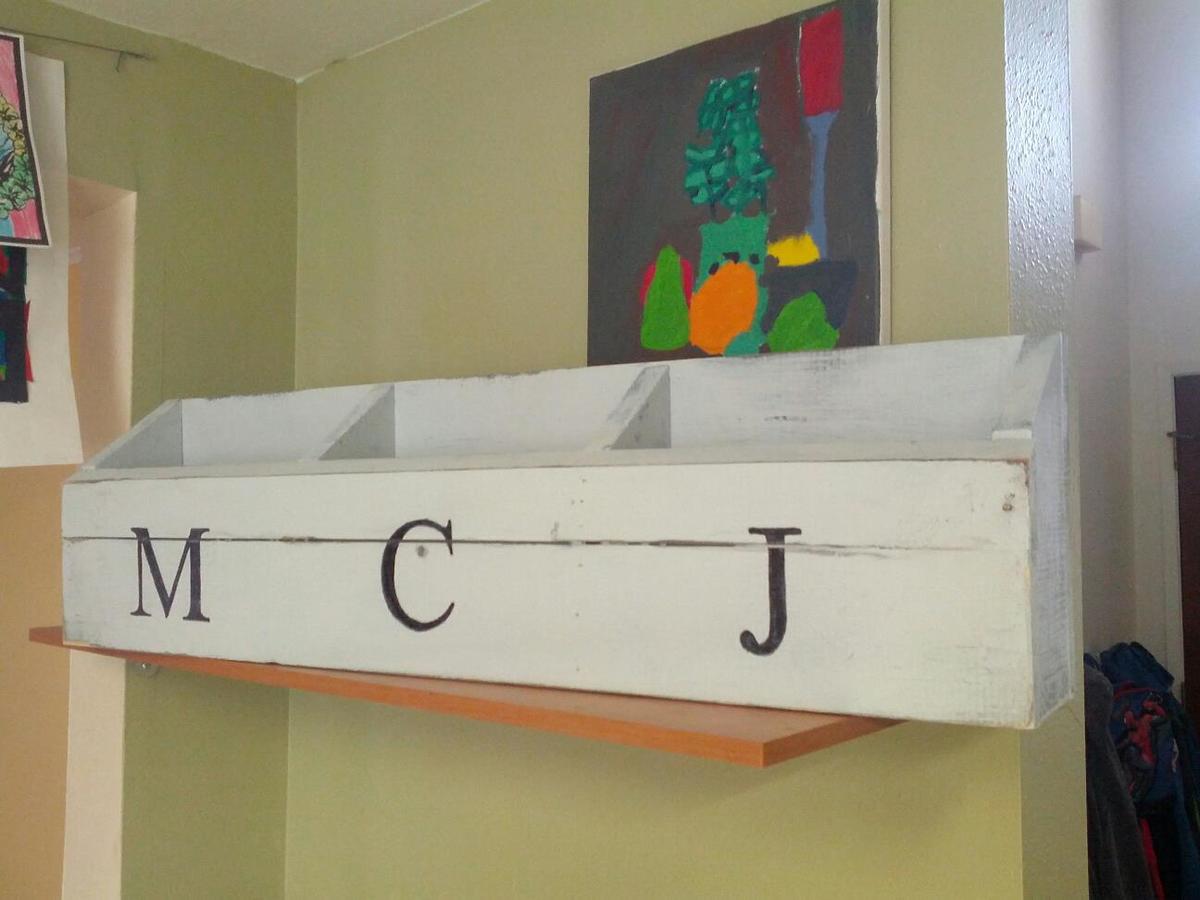
I'm trying to revamp our family "launch pad" in time for the start of school and was hoping to have a box for each kid to drop off their school forms and stuff. The "numbered cubbies on the wall" plan is just not practical for us -- I don't need a lot of little cubbies, just a few big ones! So I modified it to work for us. The letters are each of my boys' initials.
Also, I used scrap wood and leftover paint. So basically the cost was almost nothing, just a few nails and some wood glue.
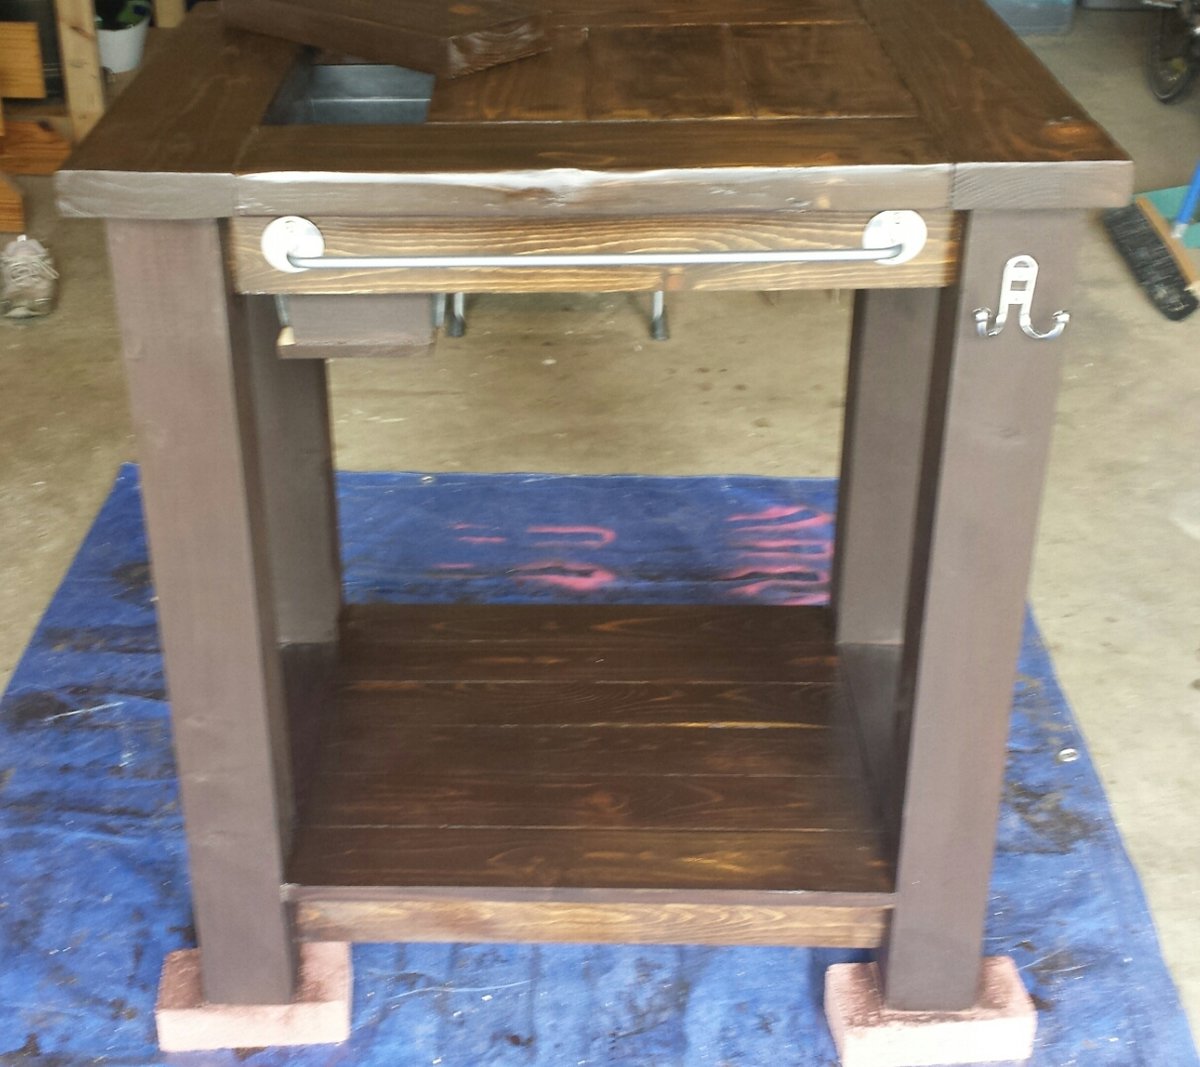
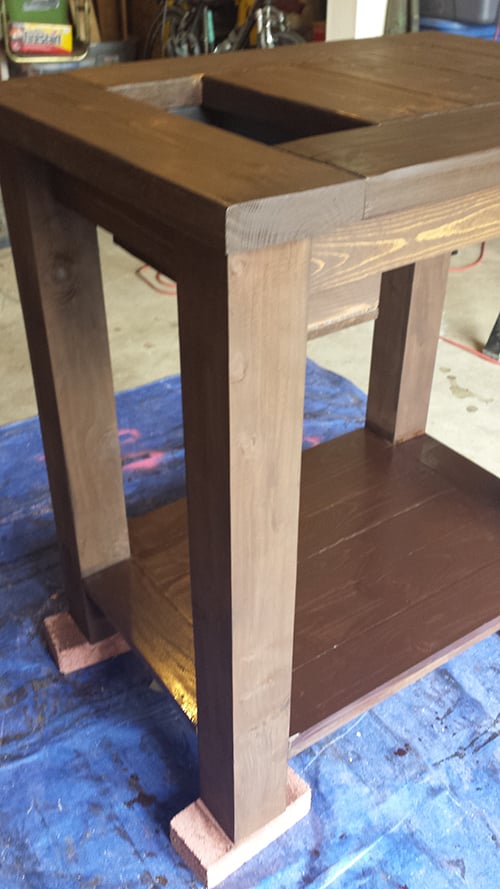
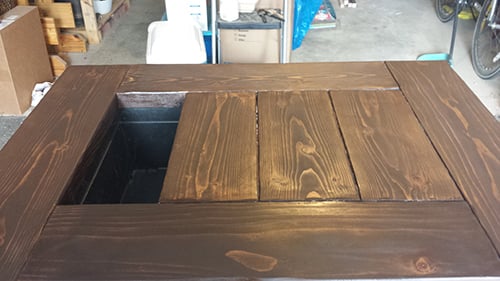
I made this for my father for Father's Day. I wanted to do a grilling prep table with a built in cooler. The cooler part is not really just for drinks but also a place to store barbeque utensils while in use.
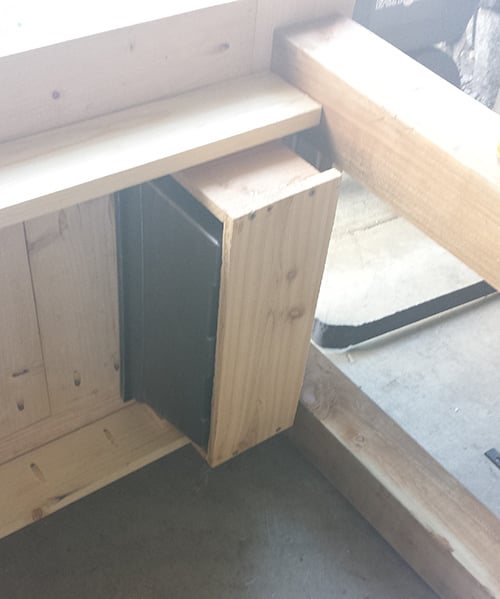
Height is 36 inches. Made out of 2x6s, 1x4s, and 4x4s. Because the table is so short, the planter slides in and out from the side underneath the table top. I had cut the top before buying the planter which lead me to do a few changes to my initial design on the fly.
Thu, 03/12/2015 - 10:50
I love to grill and would love to build one of these. Do you have any other details on your design? Cut lengths or anything? I'm too new to building to deviate to far from plans right now haha.
Thanks!
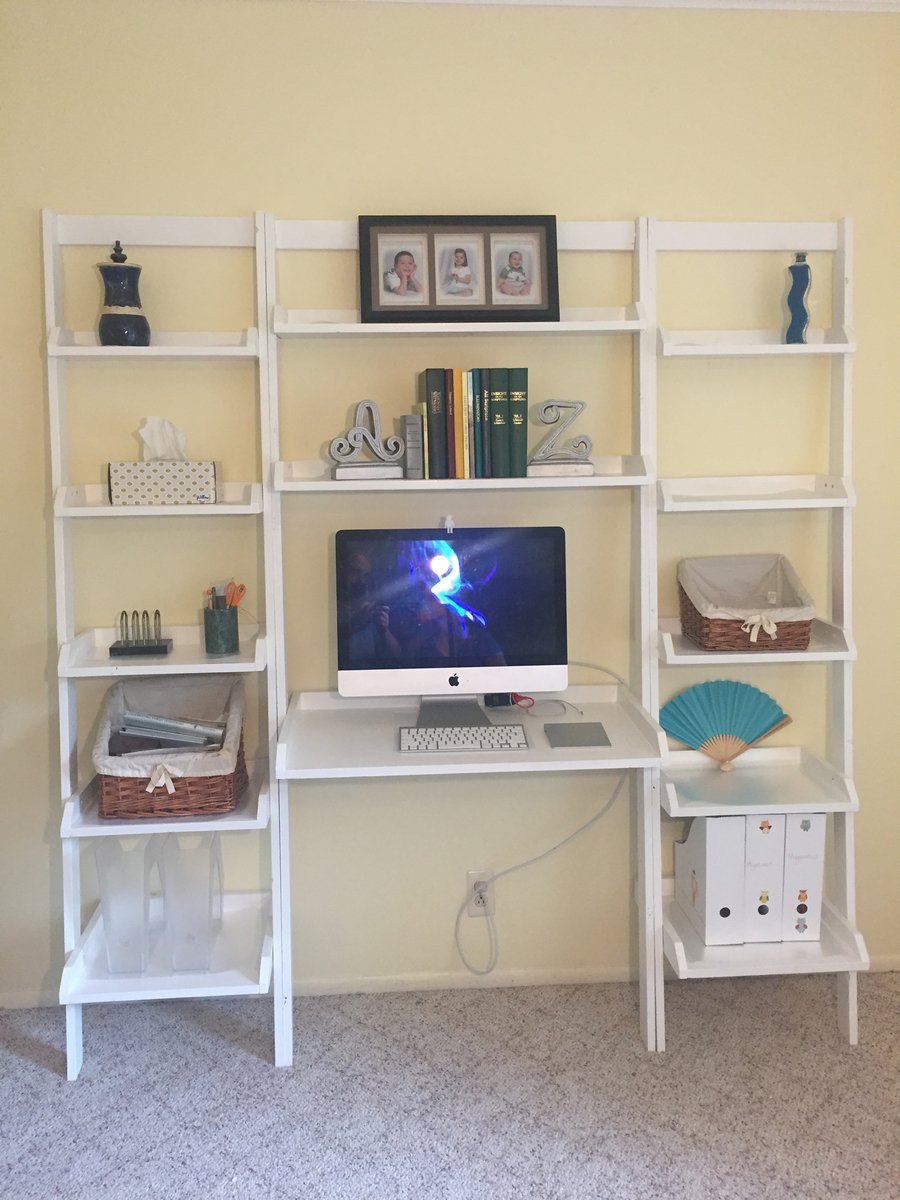
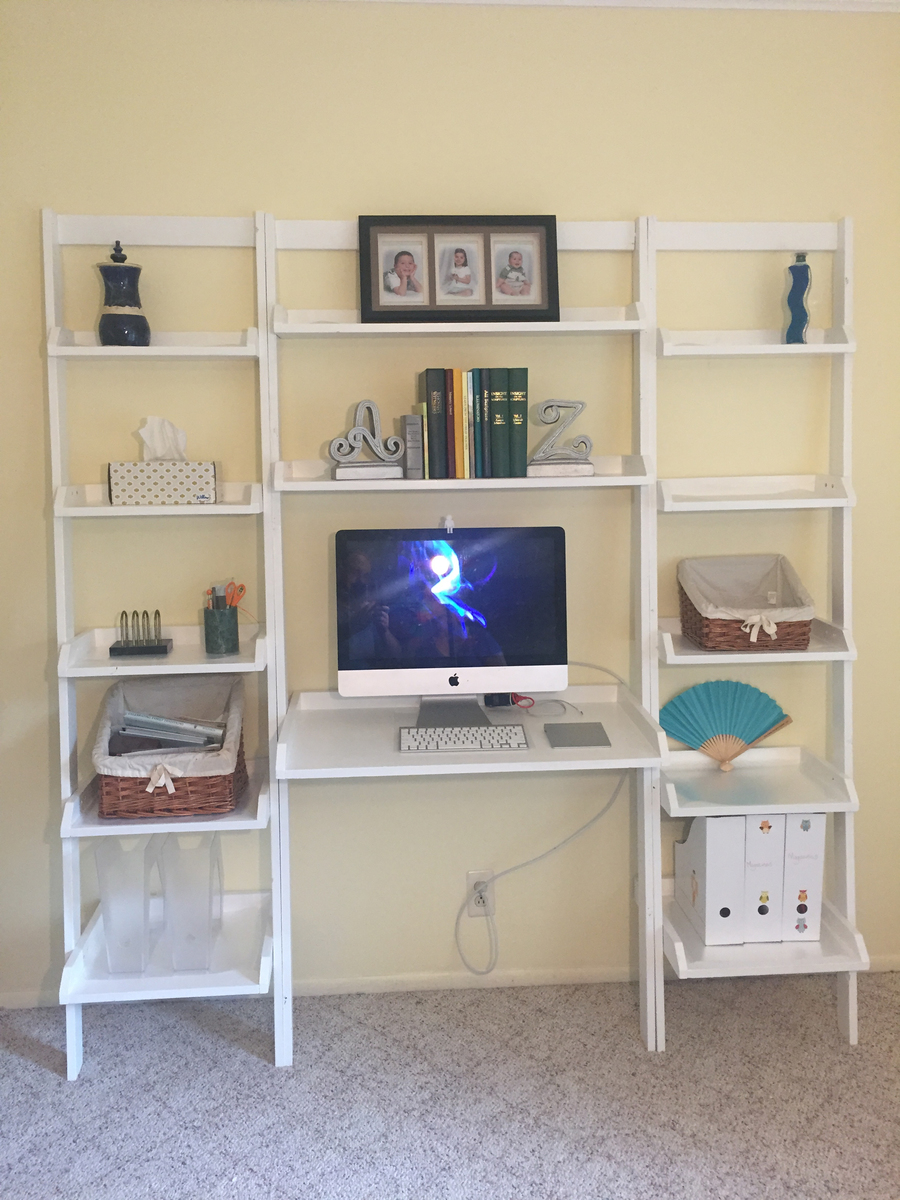
I followed your plans, with the exception of the computer desk. I mede it just a bit deeper, 1.5" or so. If I were to do this again, I think I'd go a little deeper still, maybe. Anyway, great design.
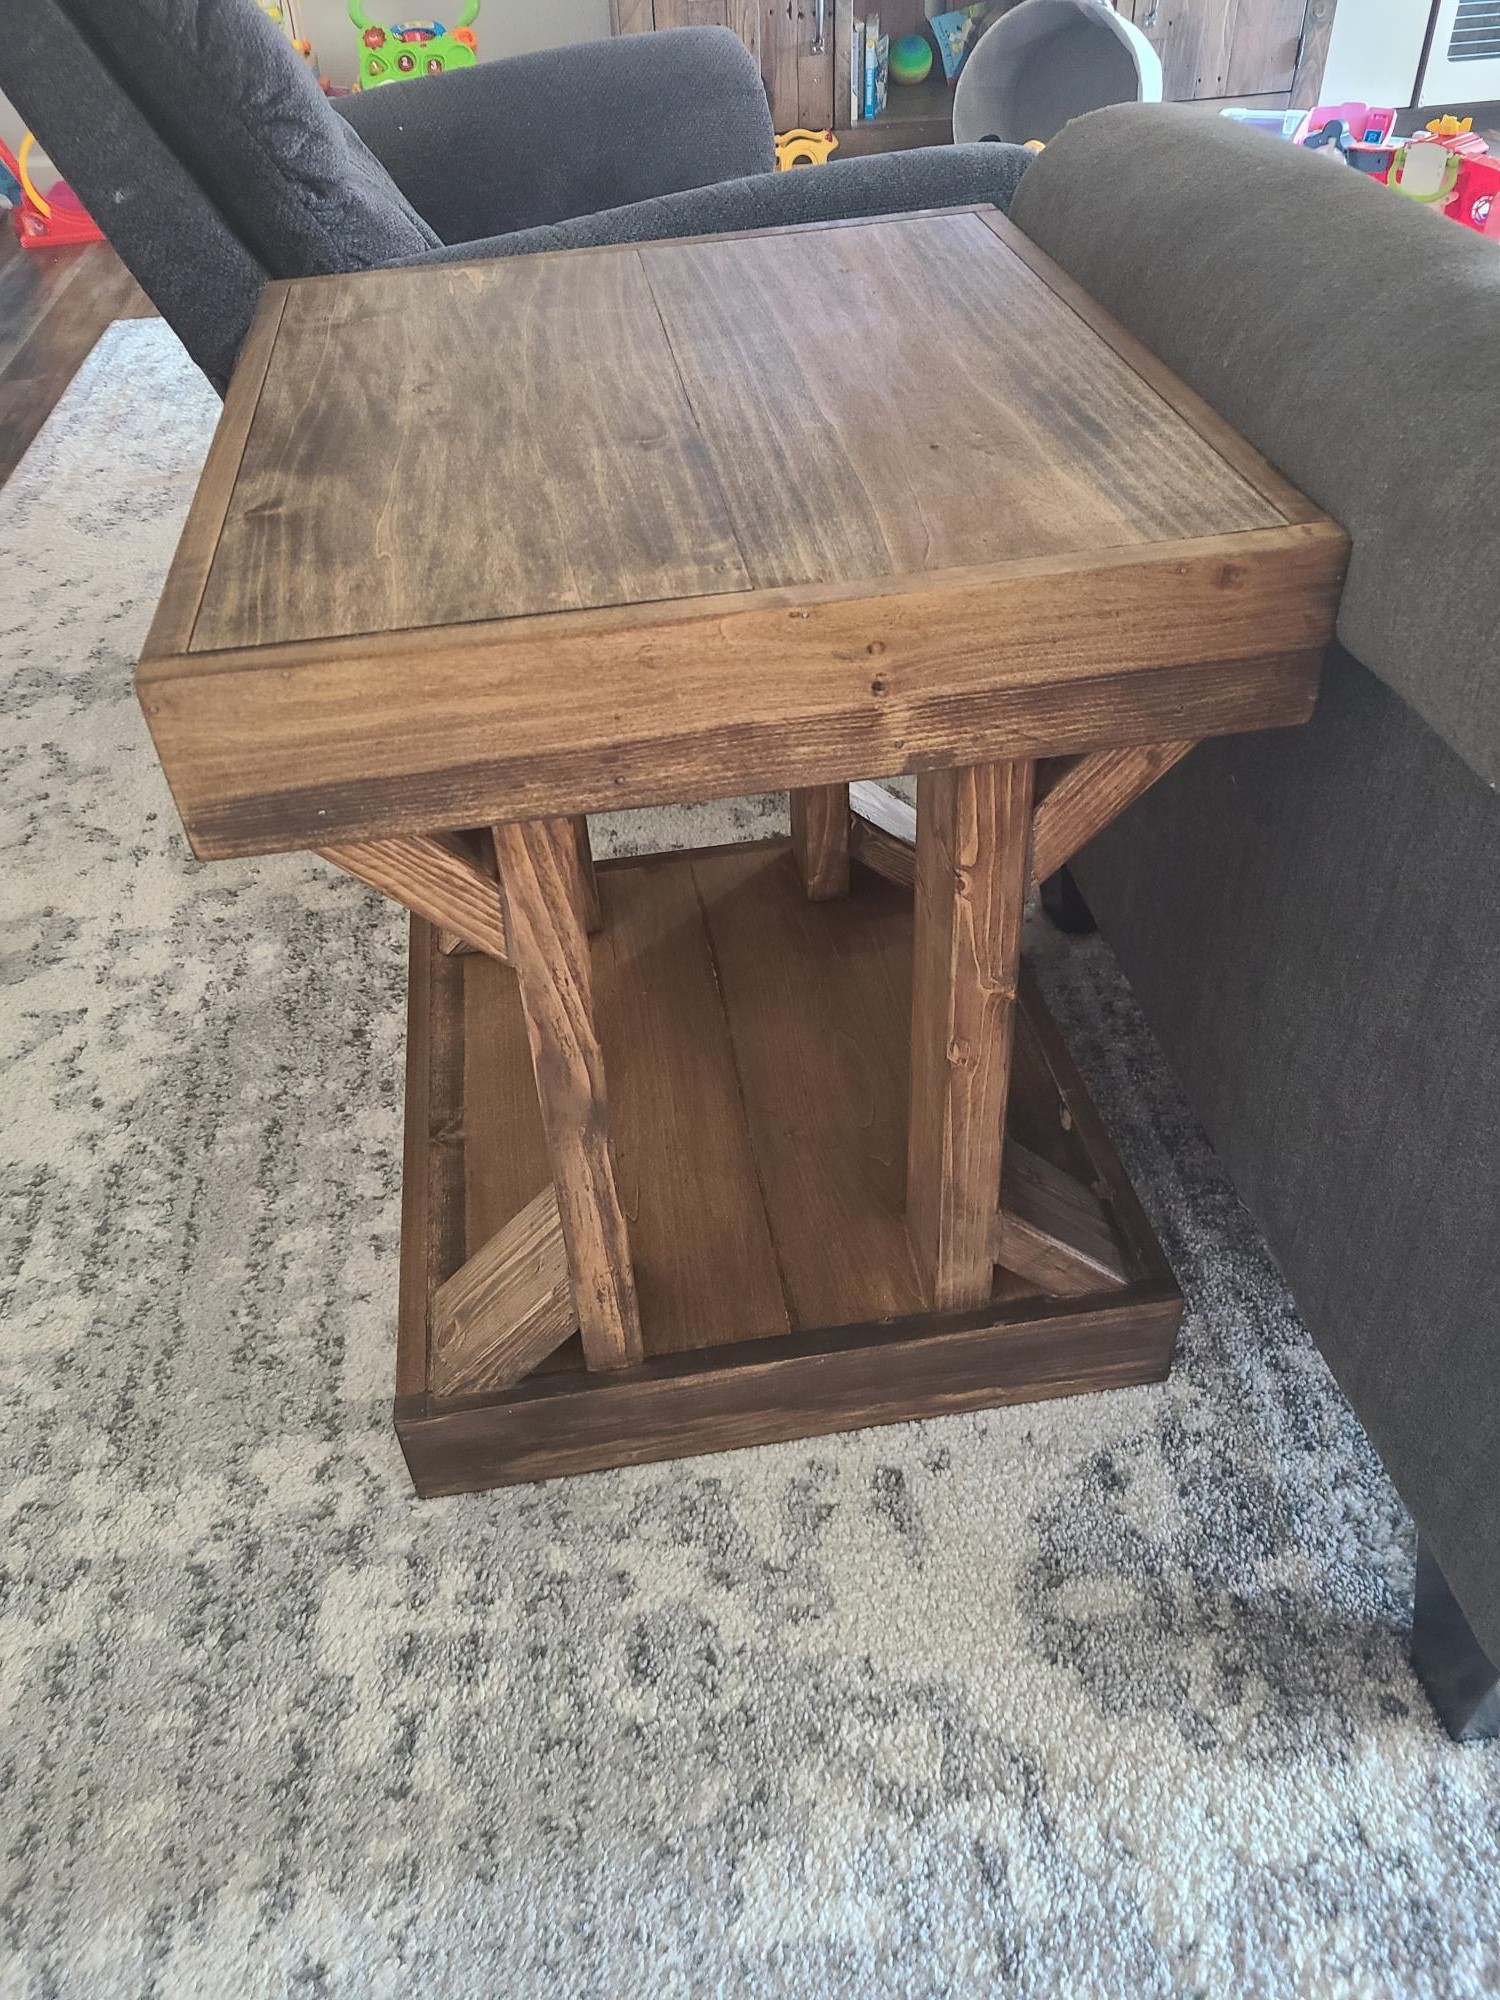
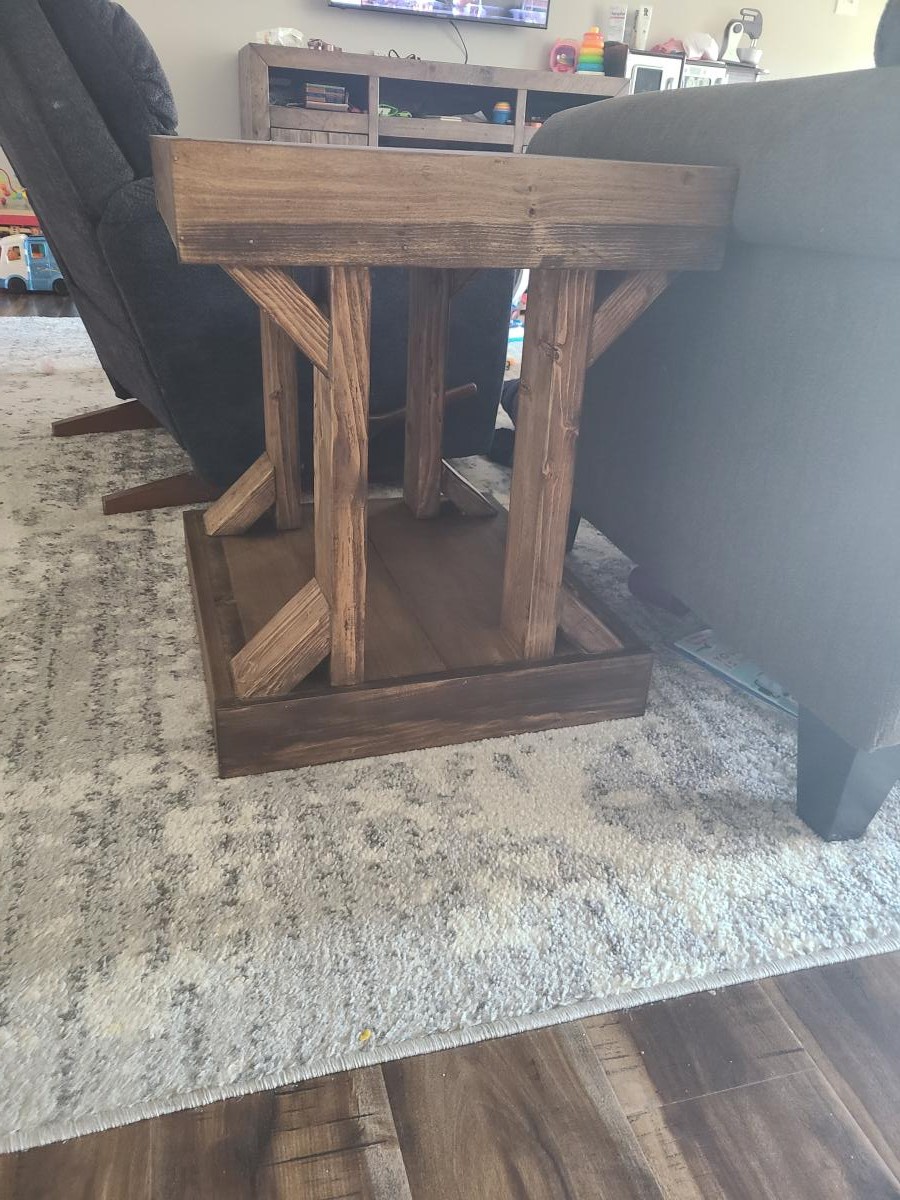
My first project since getting a miter saw! I'm so proud of how they turned out. We needed sturdy side tables so our toddler can't pull them down onto herself & these fit the bill. I dont have a brad nailer so had to pound in the nails by hand, which made it take a lot longer.... overall for me was a week & a half long project with 2 littles to care for at the same time. I used walnut stain, 2 coats. Can't wait to do another project!
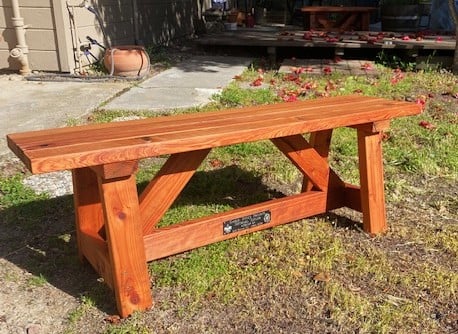
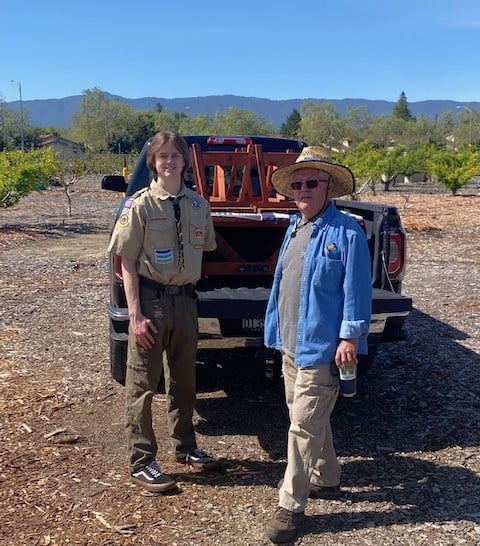
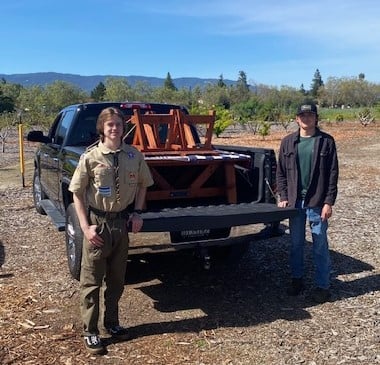
We found your great plans and site online. My son, Michael made 6 Garden Benches for his Eagle Scout Service Project and donated them to the local Master Gardener’s Association.
They turned out beautiful!
Thank you for sharing your plans. We’re looking forward to building more of your projects!
The Taylors

Comments
Lunar2
Fri, 04/21/2017 - 13:22
Table
Nice!