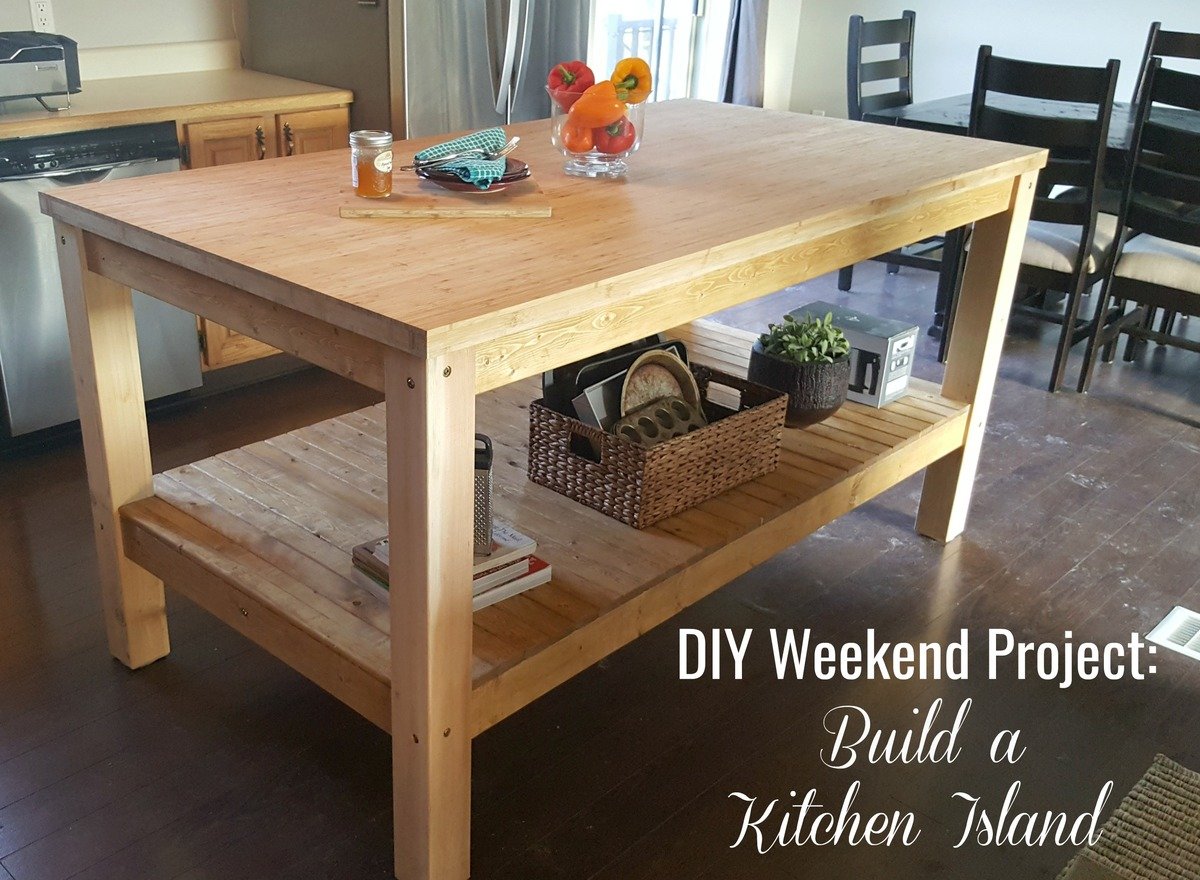
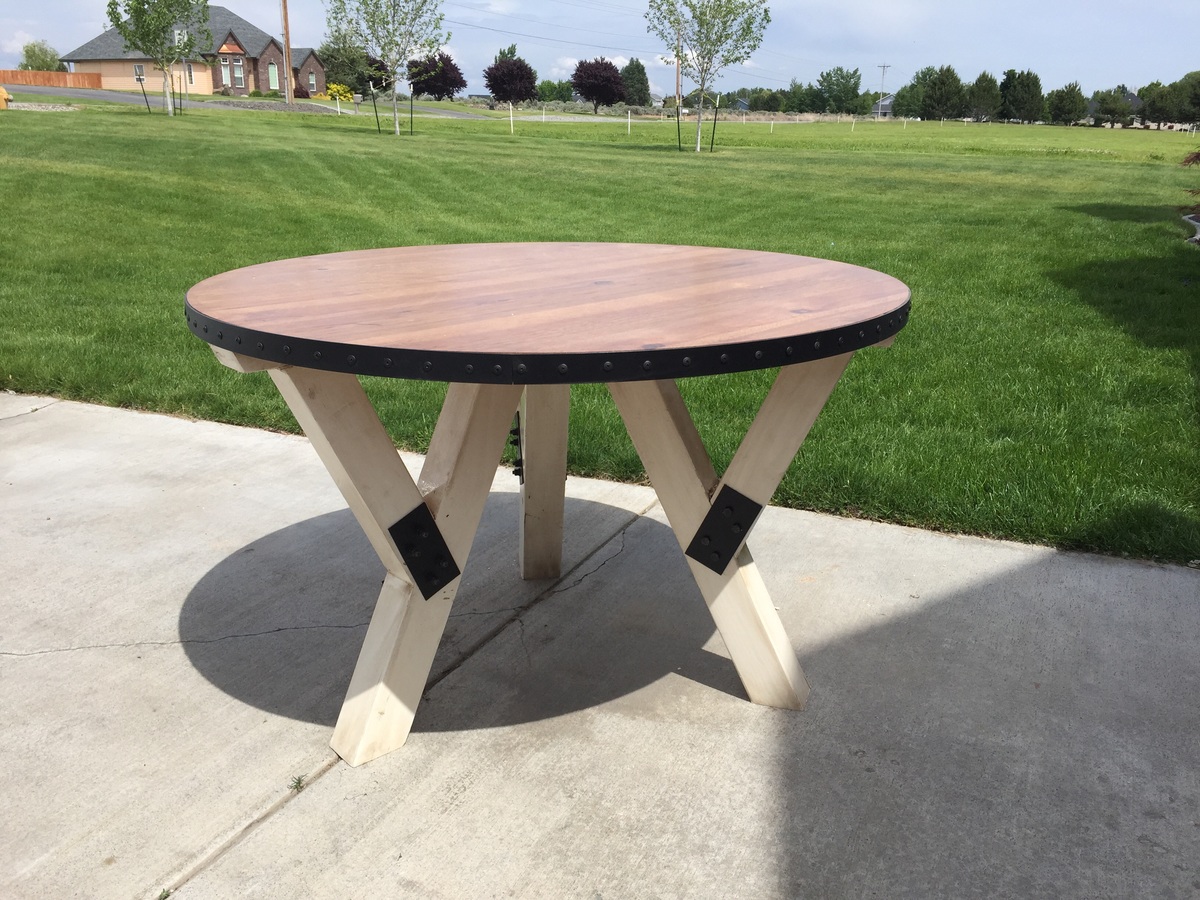
Vanity Made From a Rescued Trash Board.
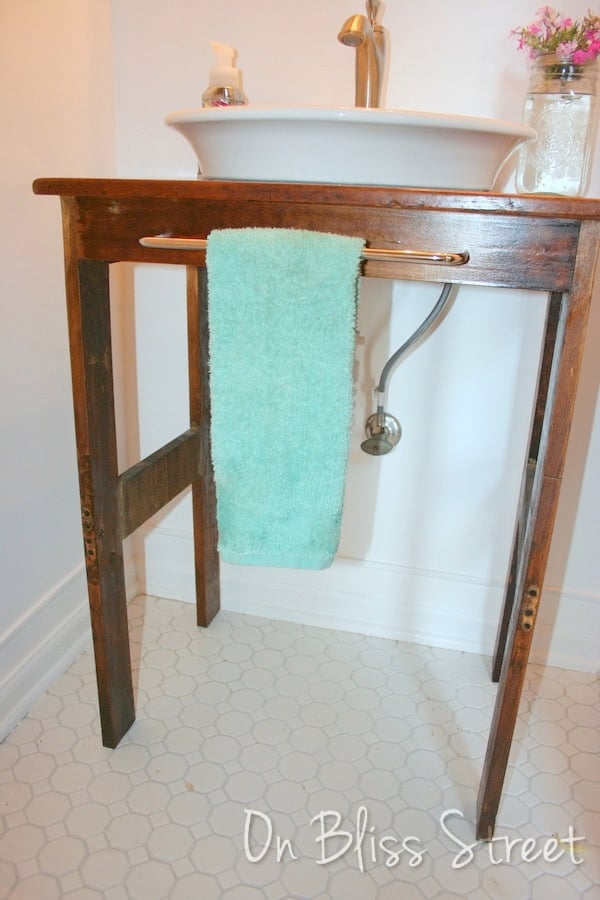
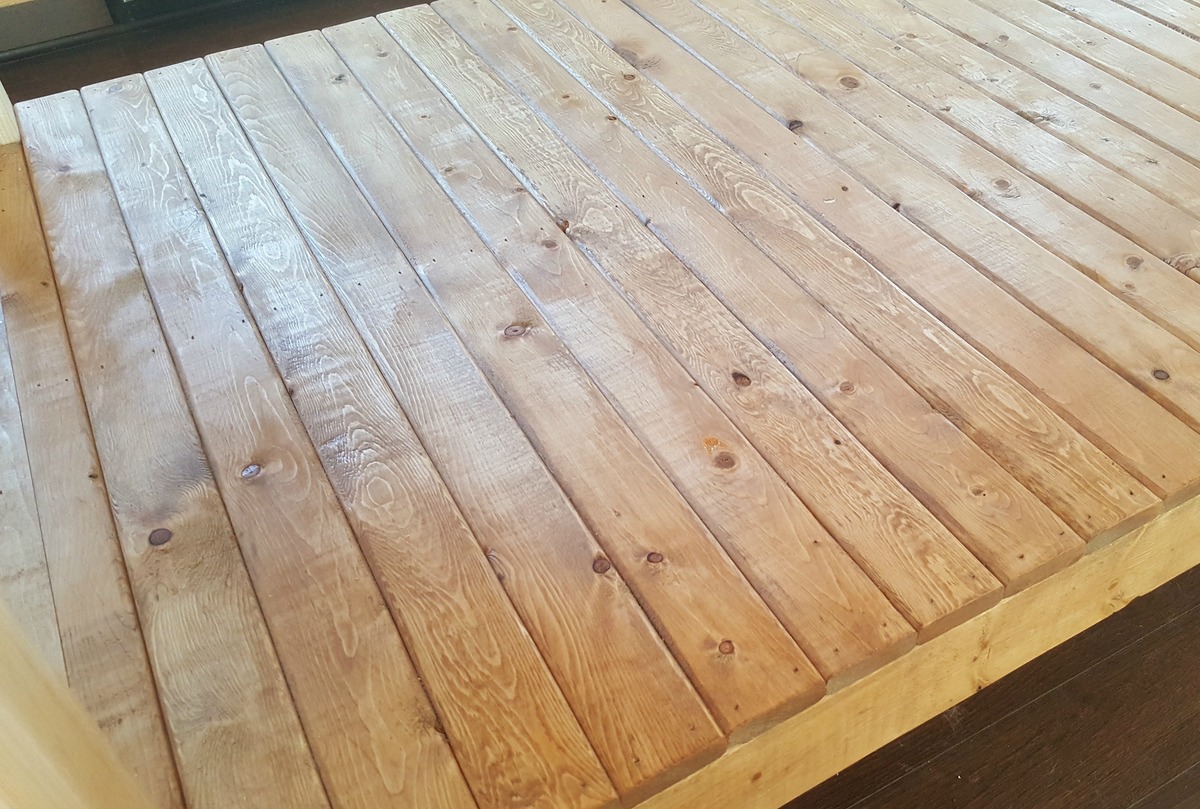
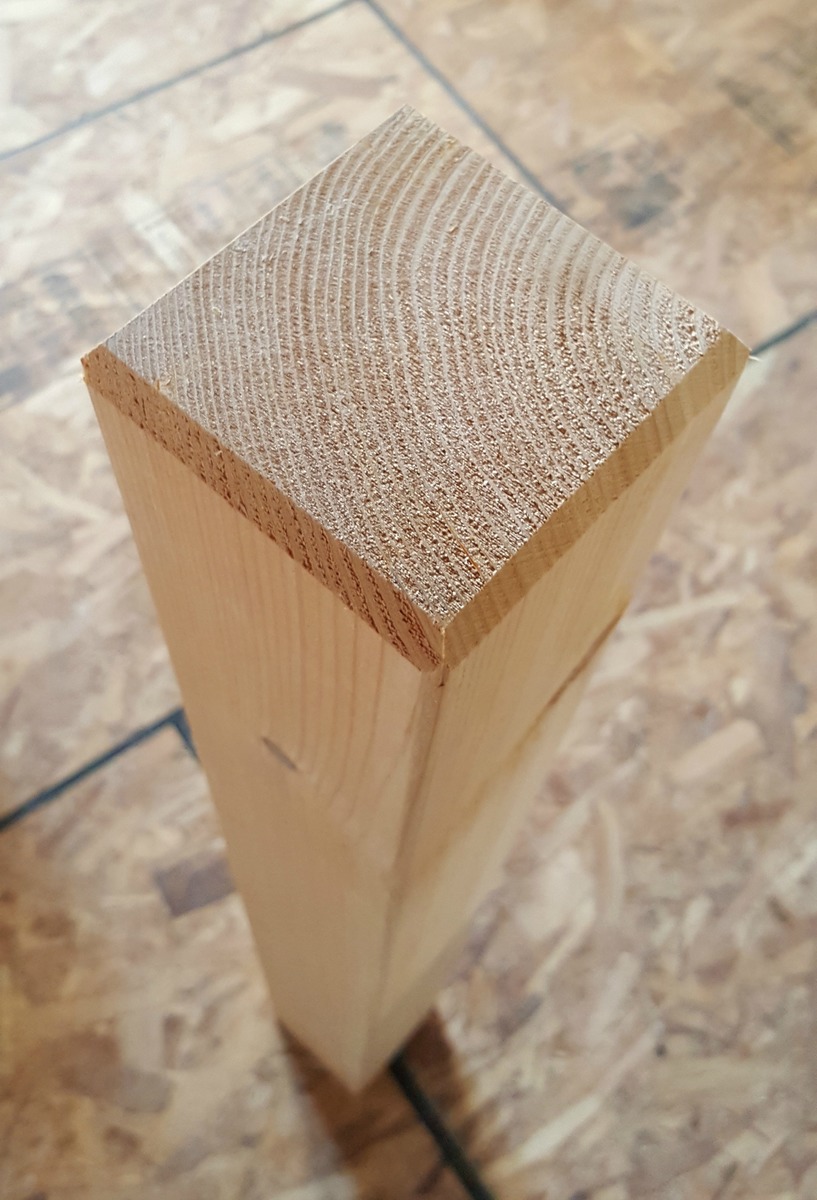
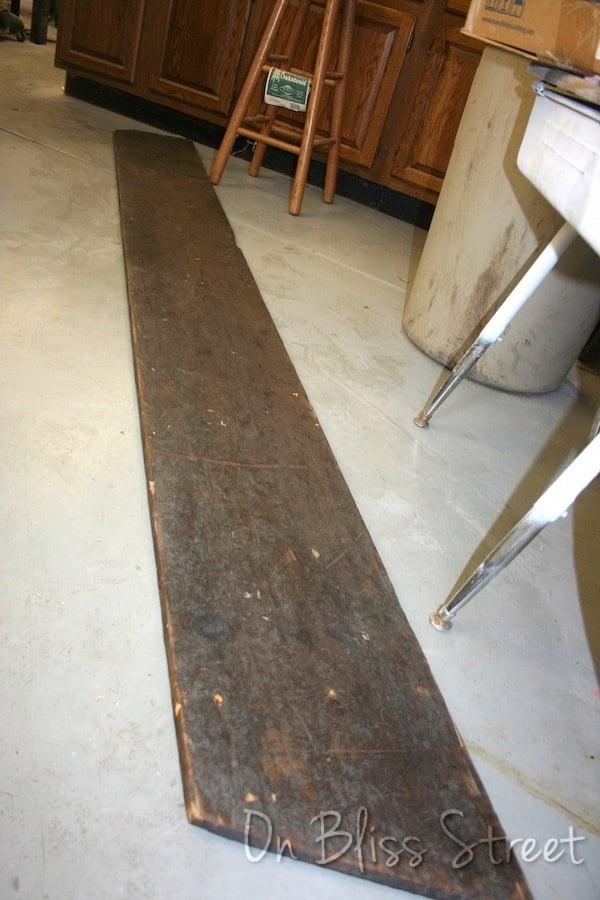
With the remodel budget for my powder room only being $300, I needed to get creative with the vanity. The room is tiny, so the vanity needed to fit well in the space and allow us to still move around. I had rescued this board from the dumpster at church when it was being remodeled and kept it in my garage until inspiration struck.
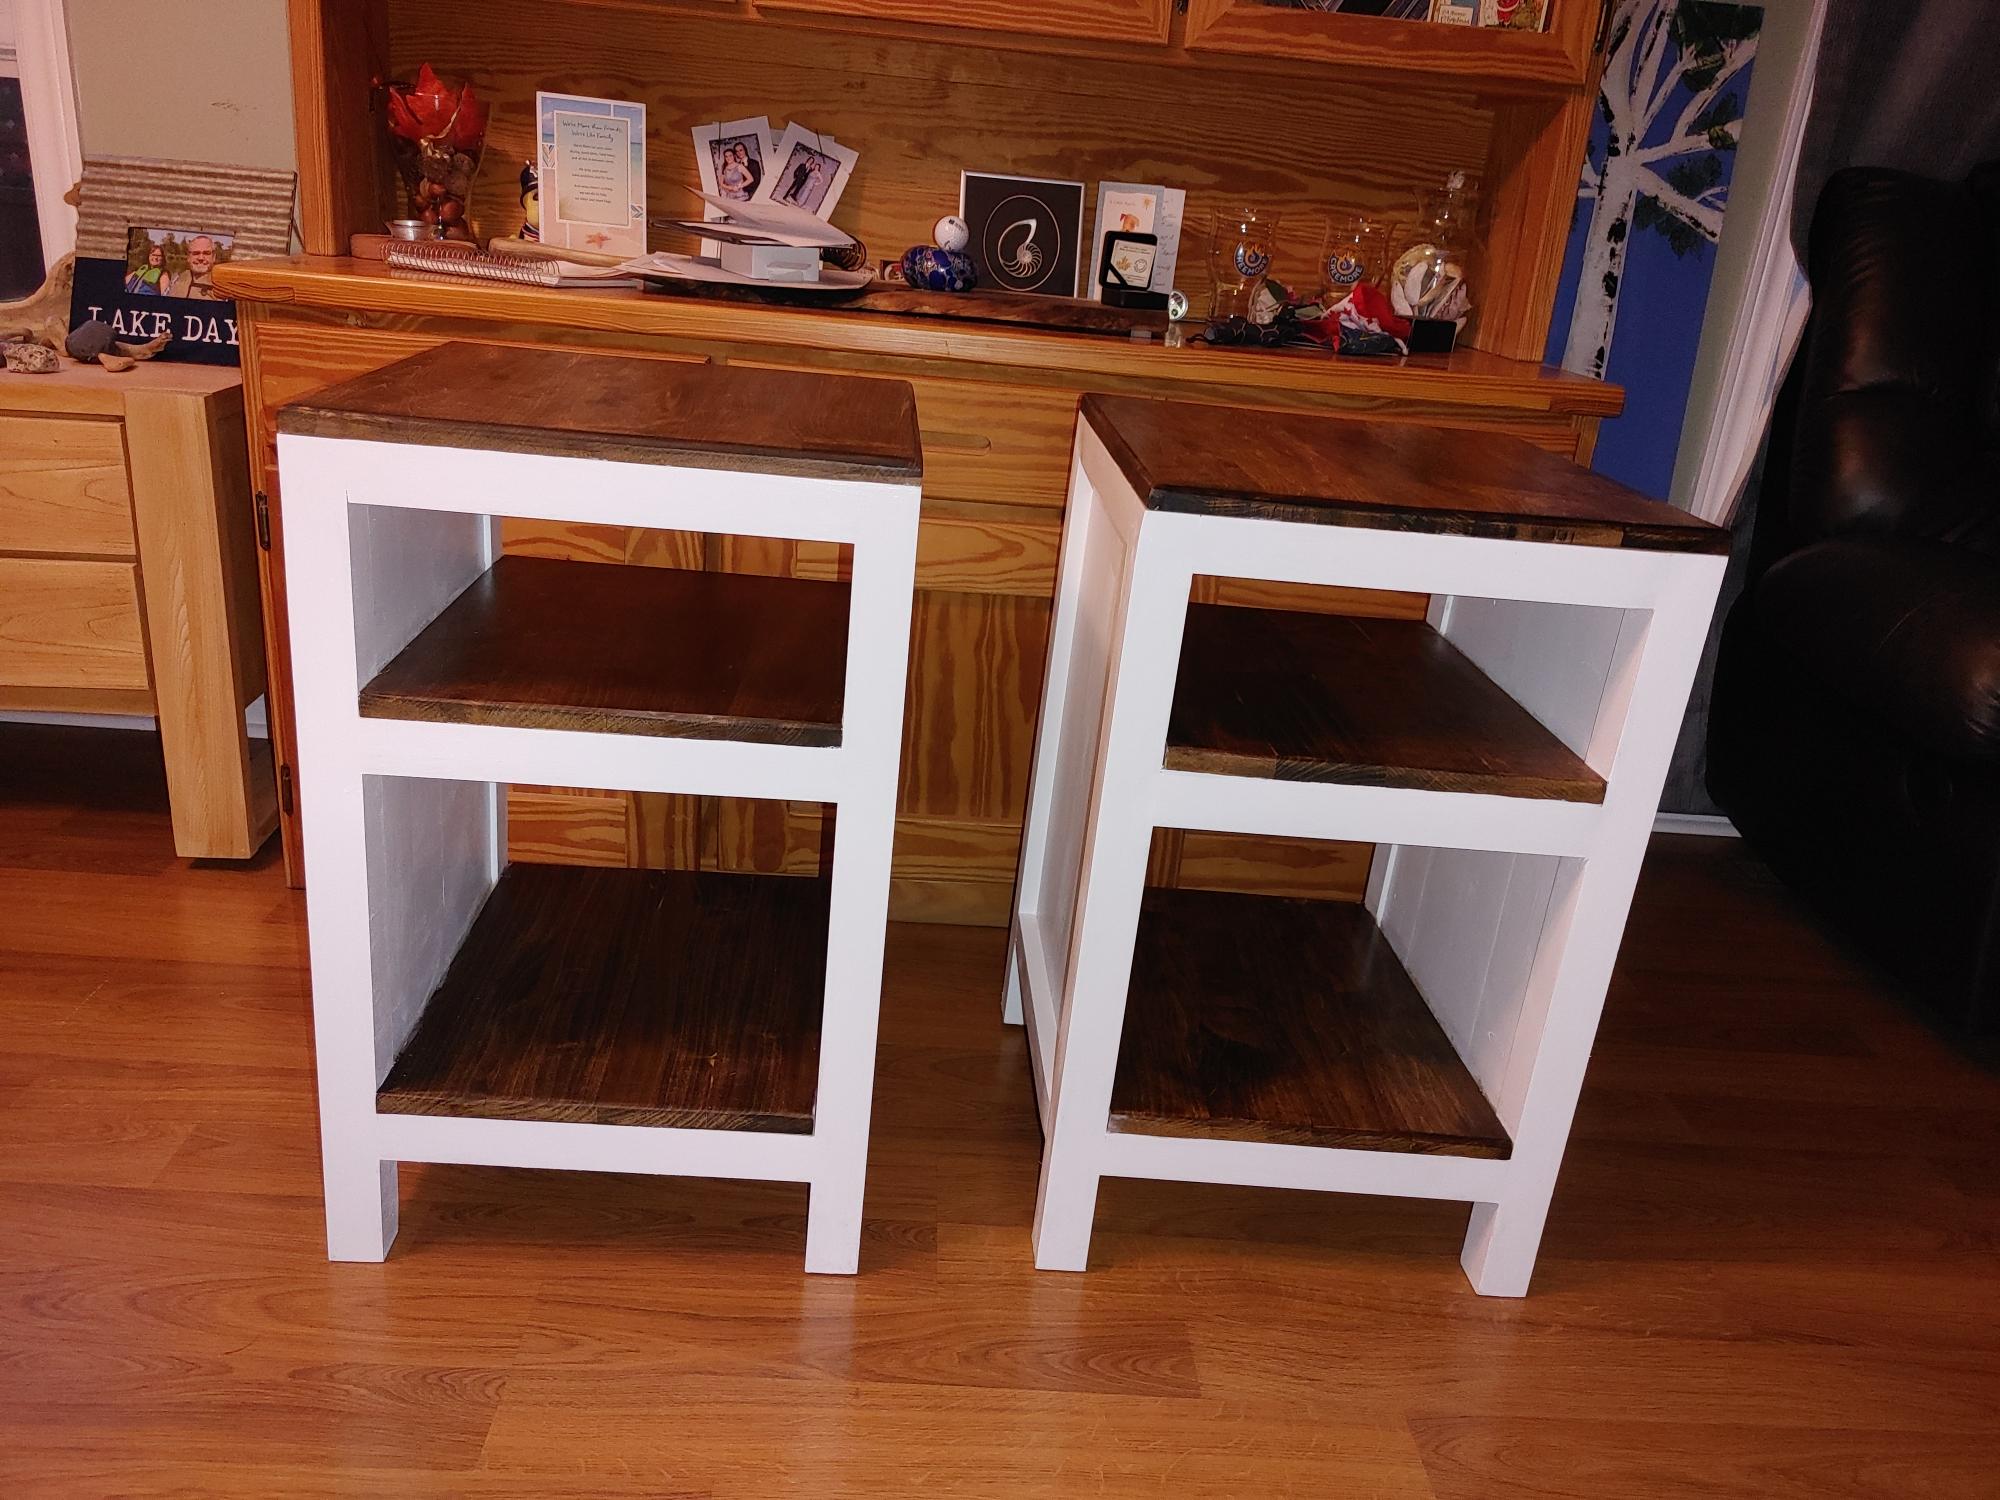
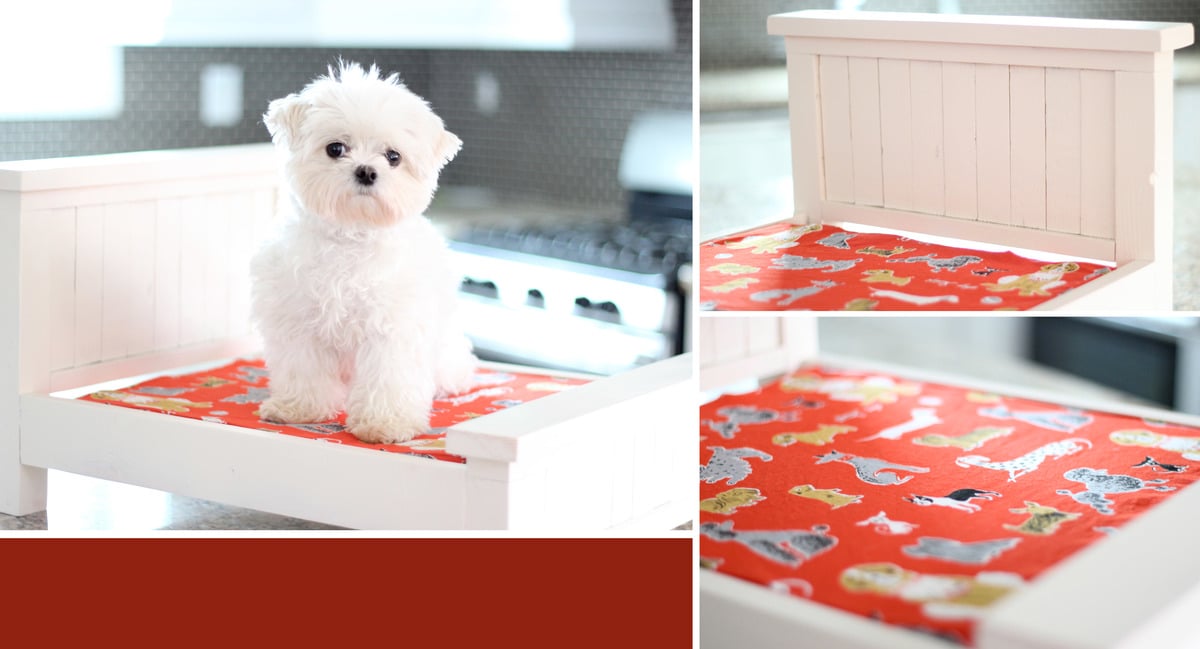
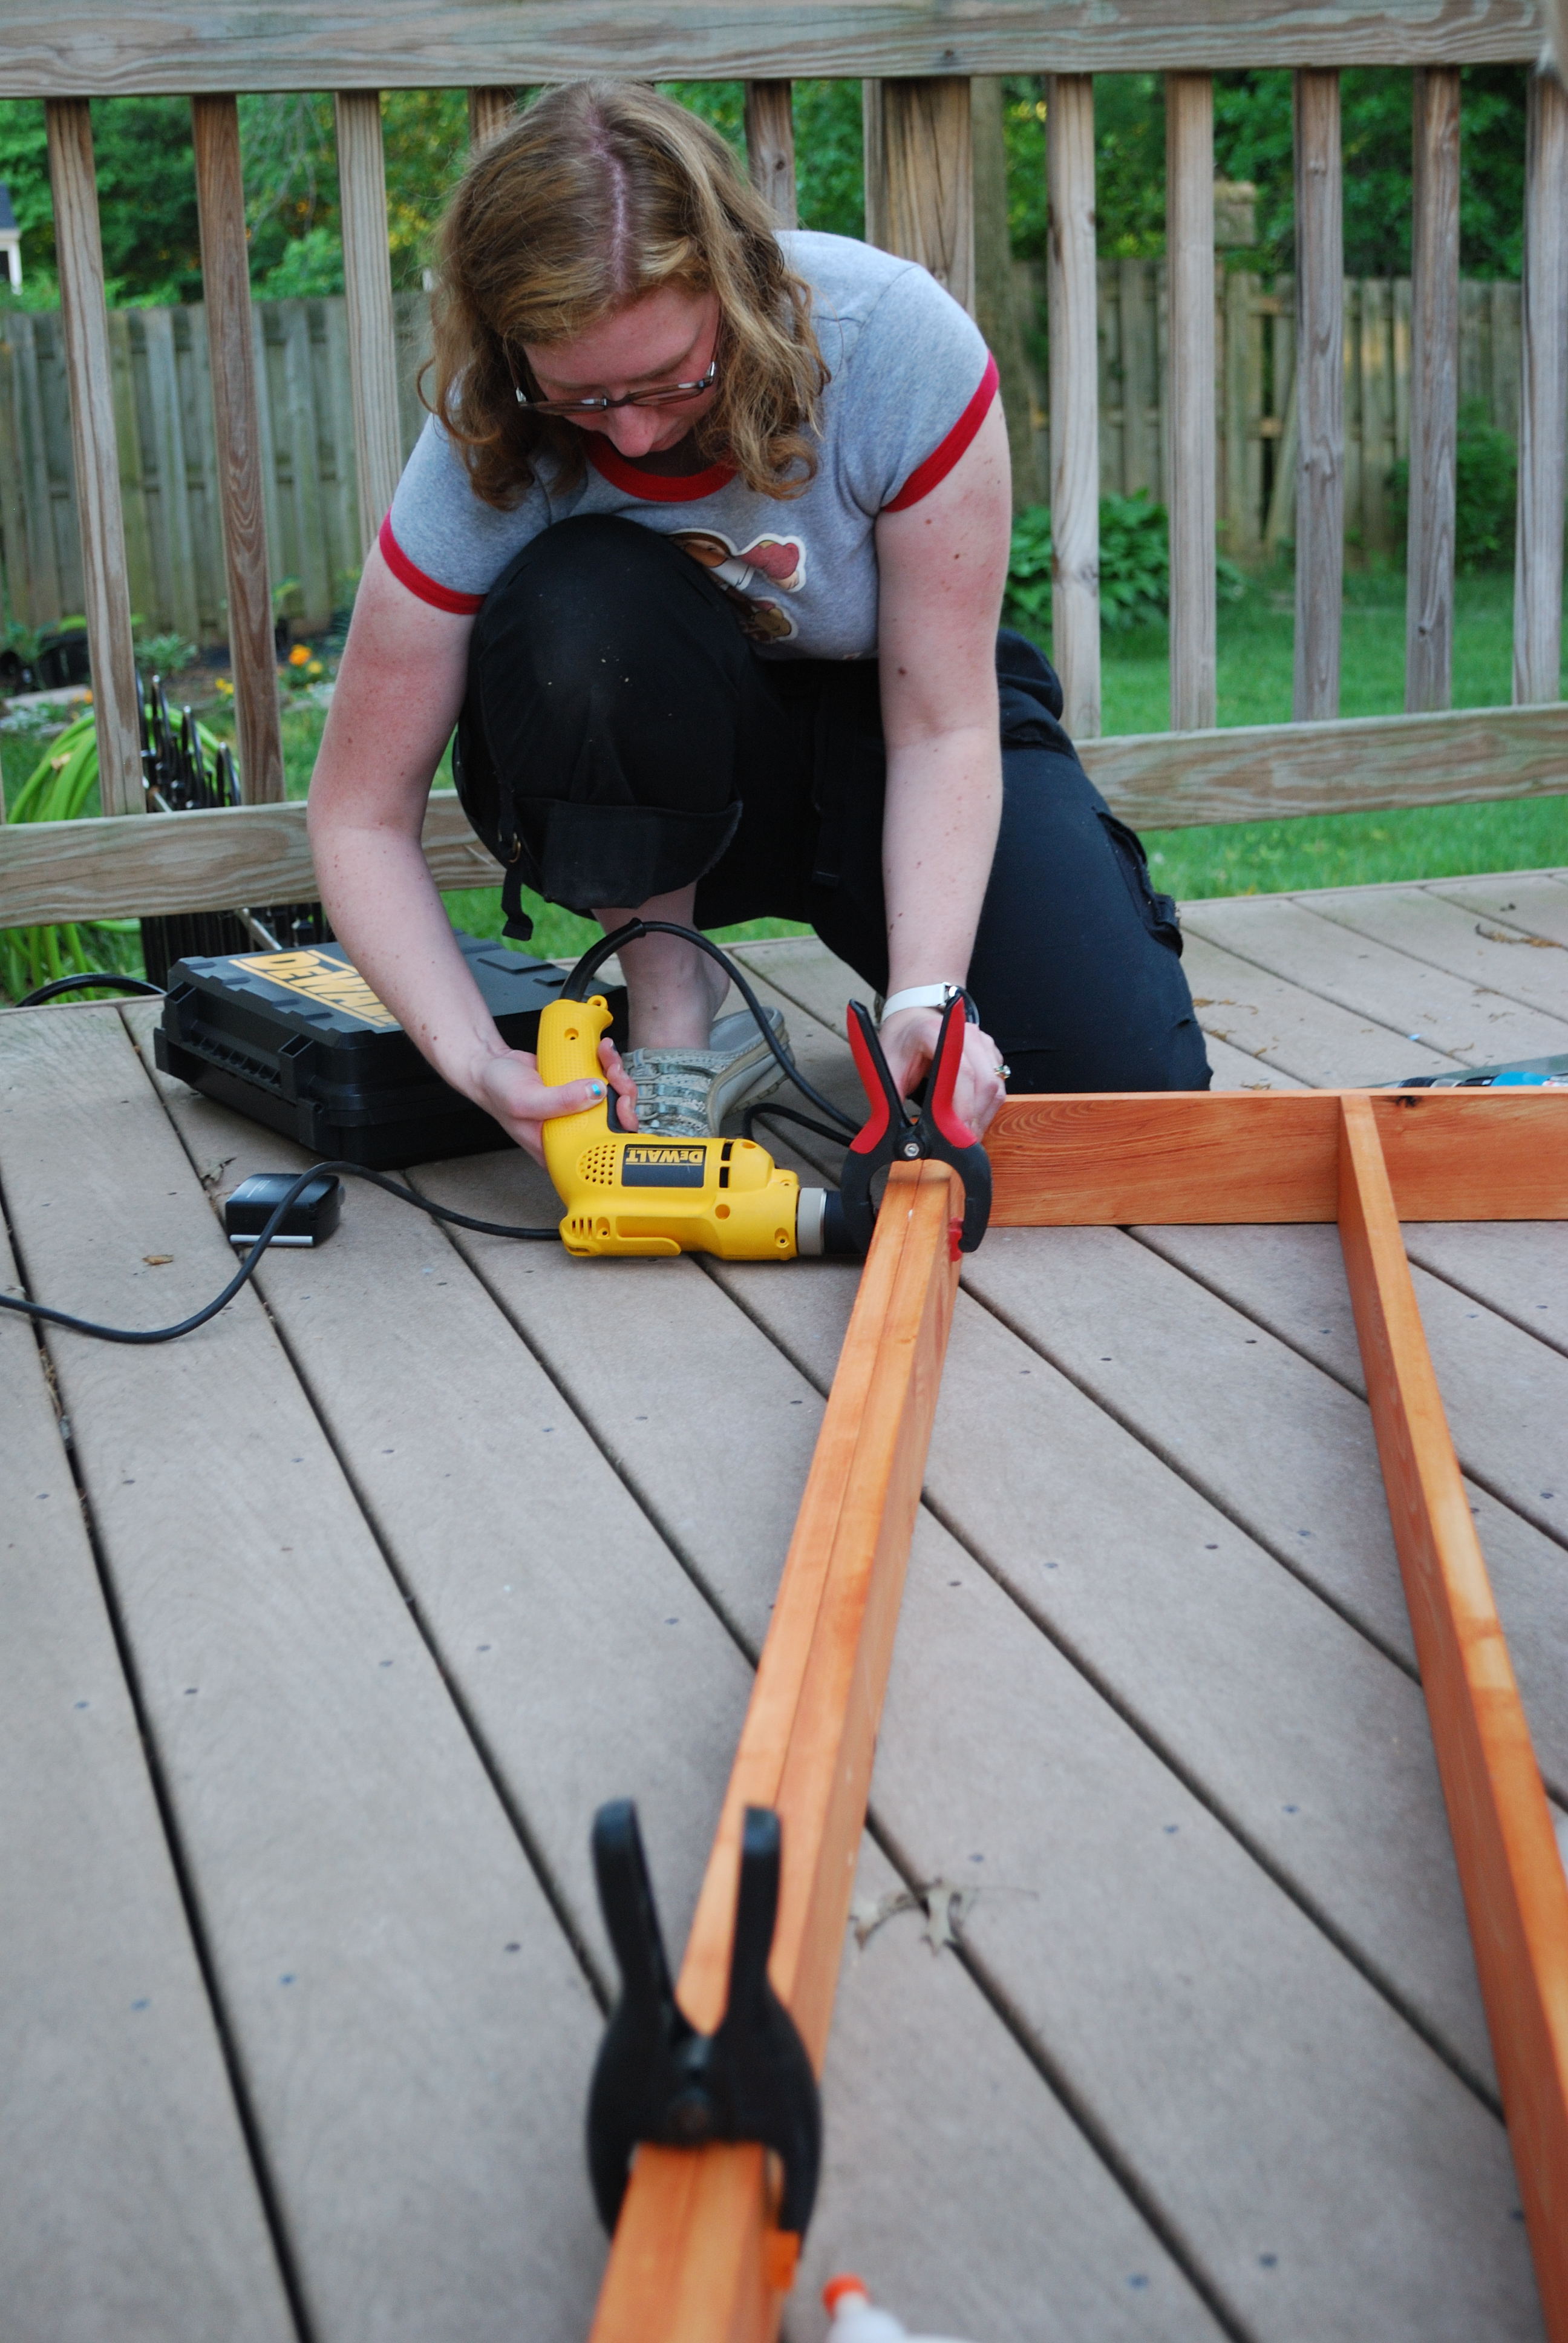
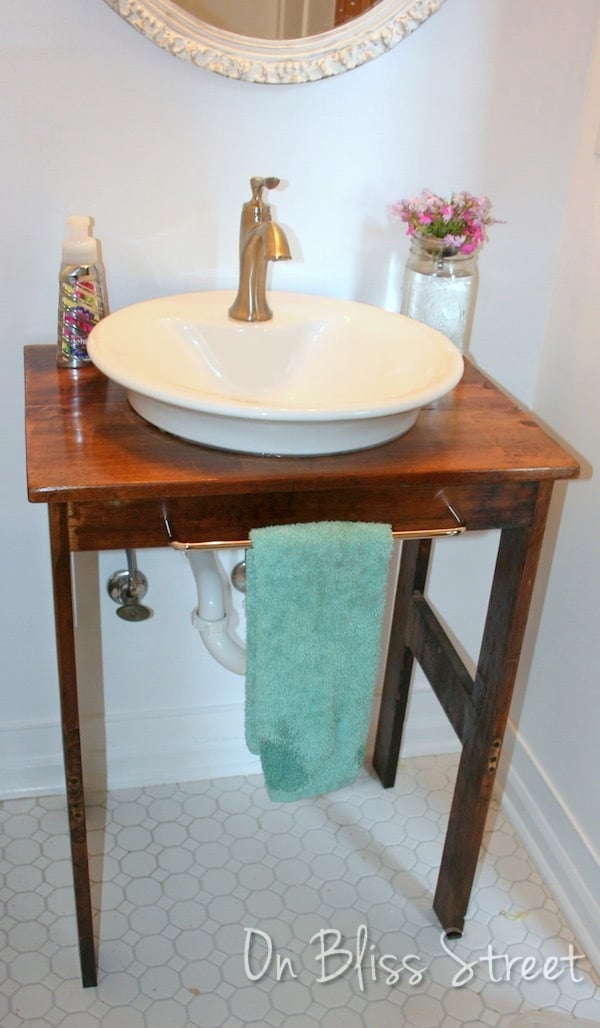
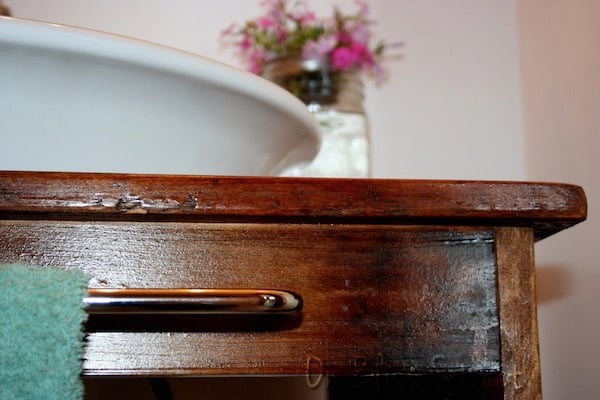
I'm not a carpenter, I try and I'm learning as I go, but the vanity turned out great for me. I made it to fit the $15 Craigslist vessel sink and the little nook in the bathroom. The towel bar was $1 at my local restore. It's nice and sturdy attached to the studs with "L" brackets.
For the tutorial on how I built it using one board, visit my blog.
Estimated Cost
The vanity was free to build except for a few screws and glue.
Estimated Time Investment
Day Project (6-9 Hours)
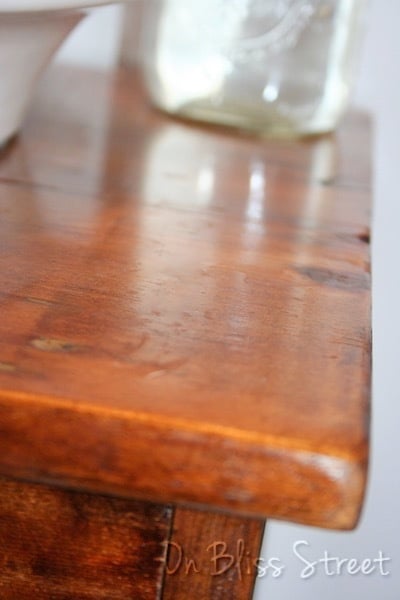
Finish Used
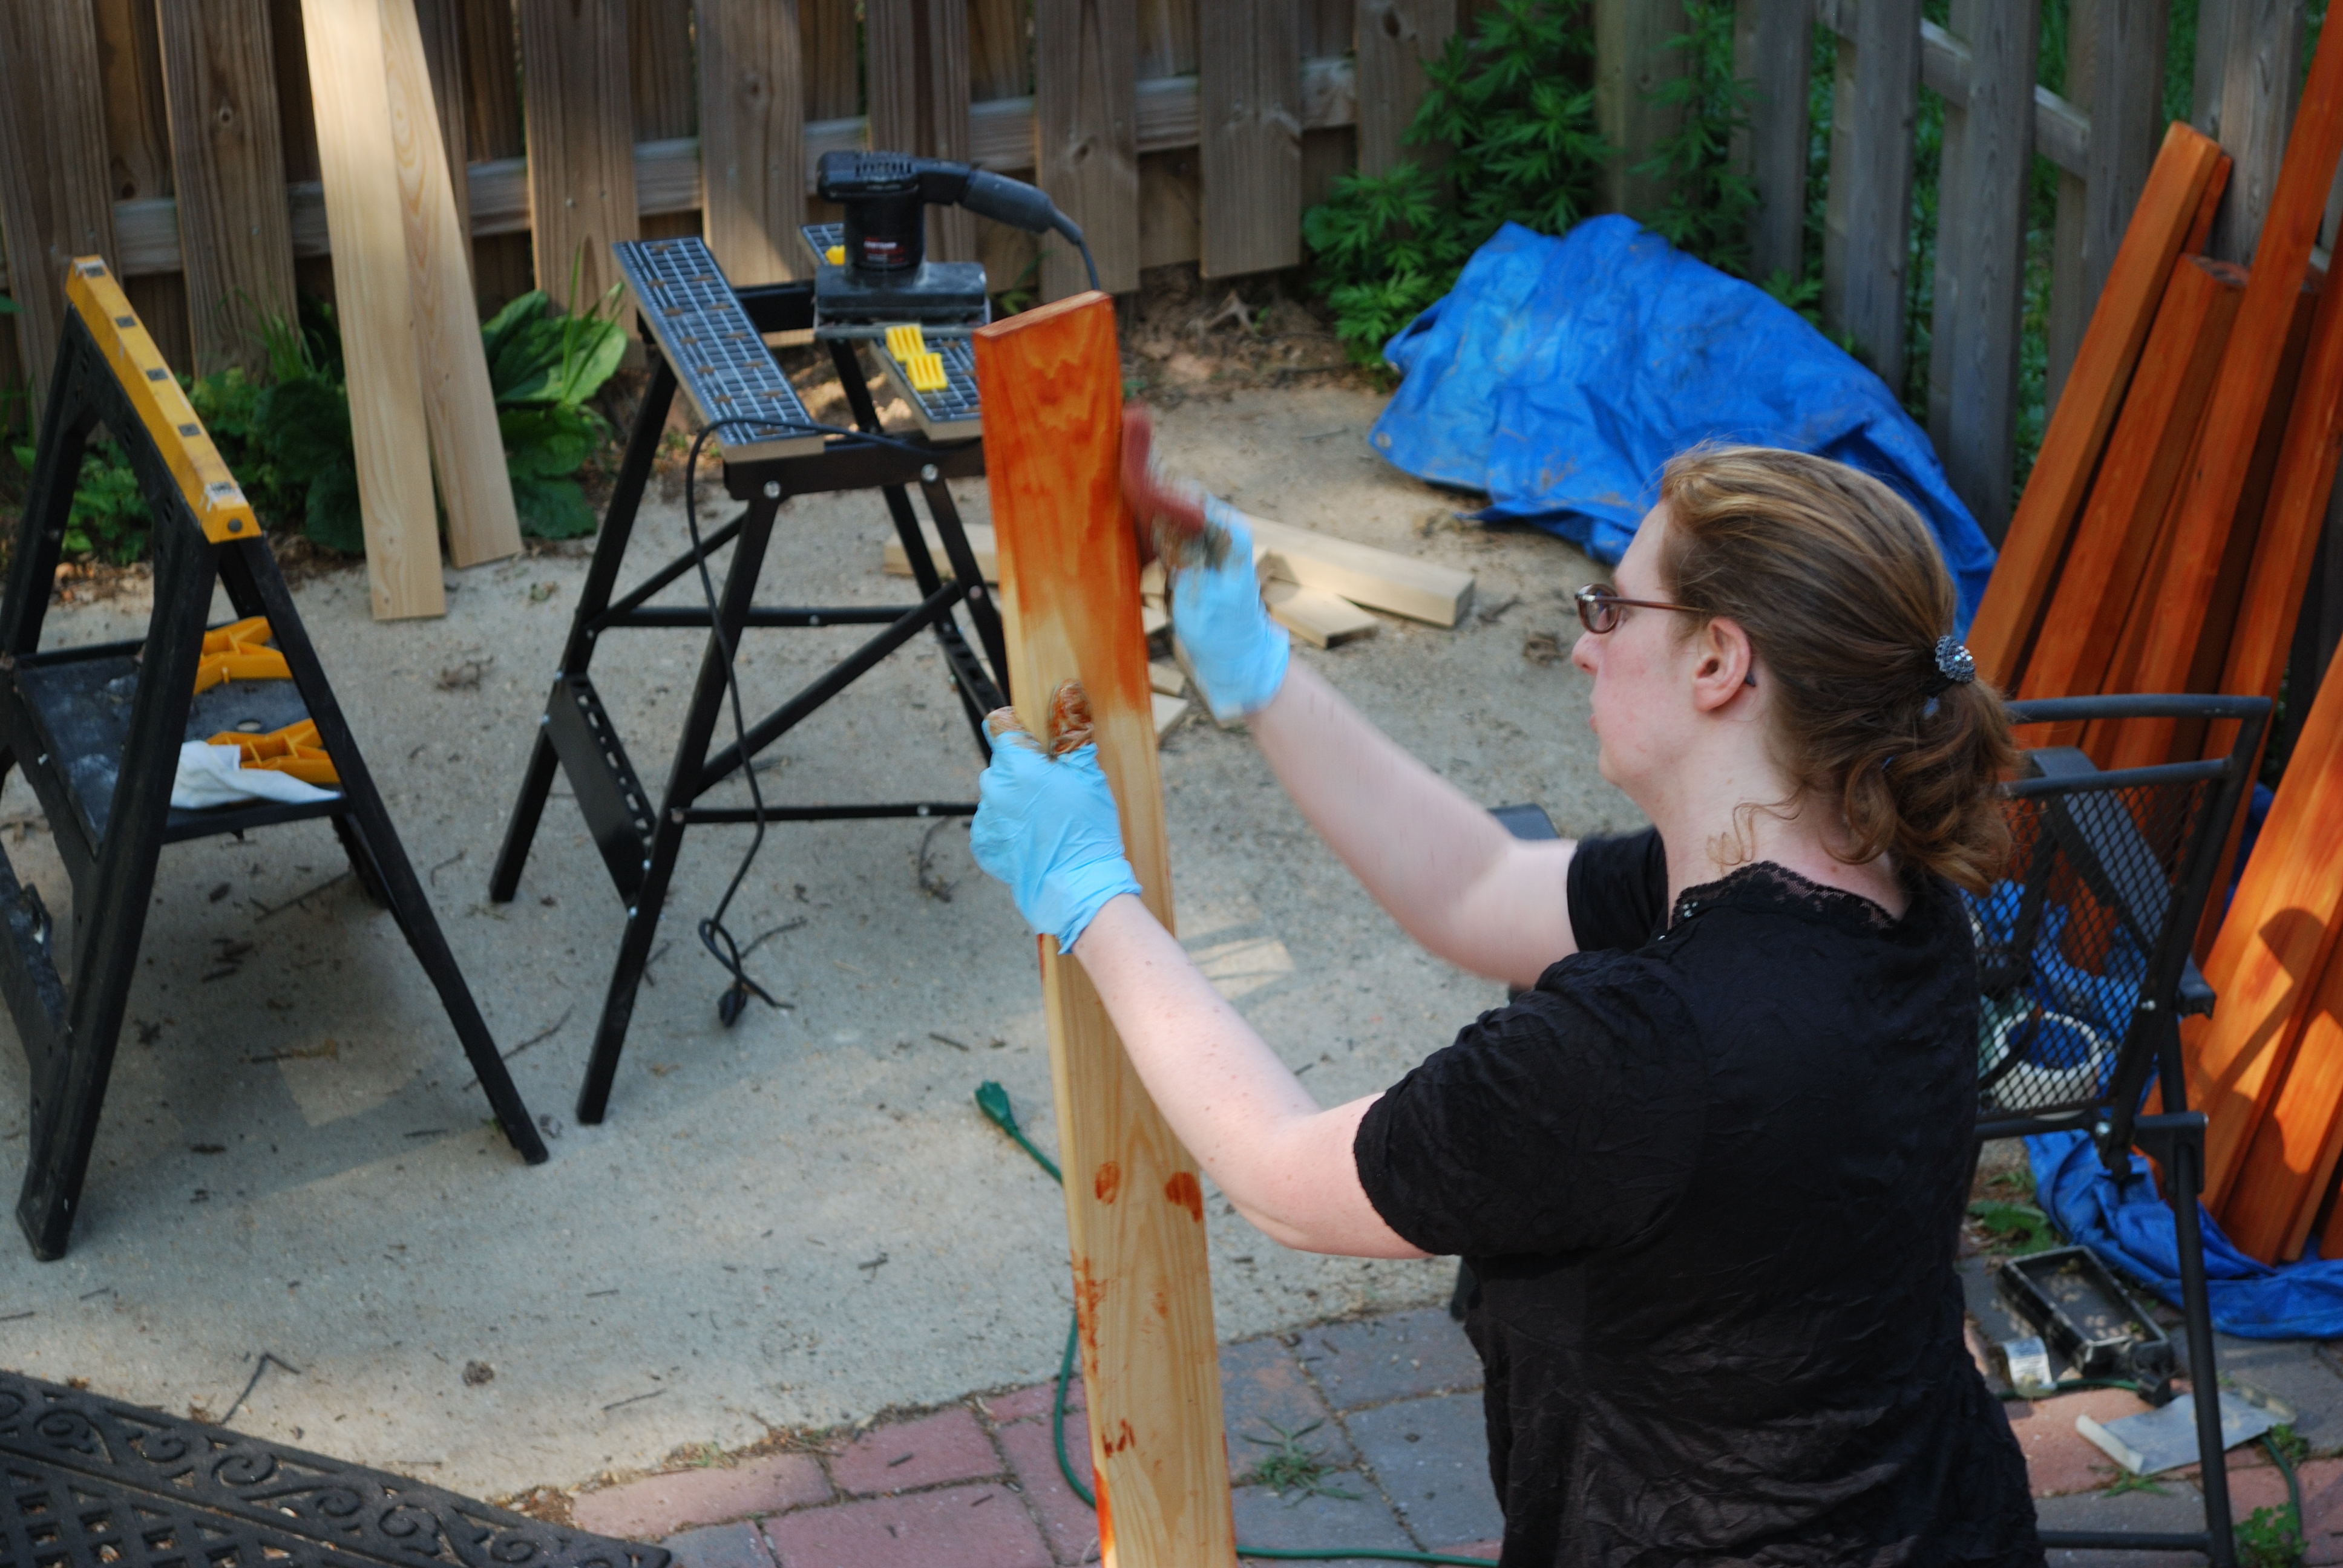
Sanding, a coat of Minwax Provincial Stain, 3-4 coats of Minwax Wipe-on Polyurethane.
Recommended Skill Level
Beginner