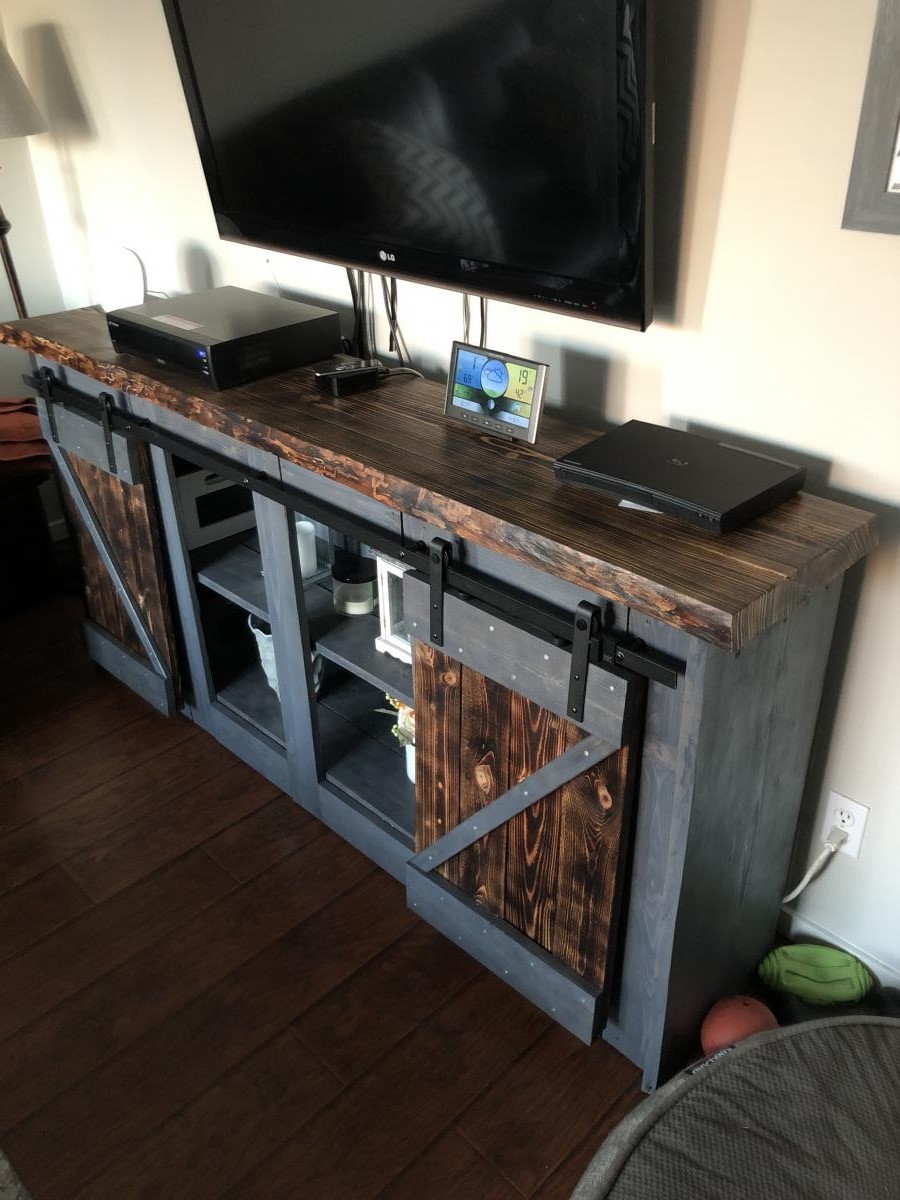
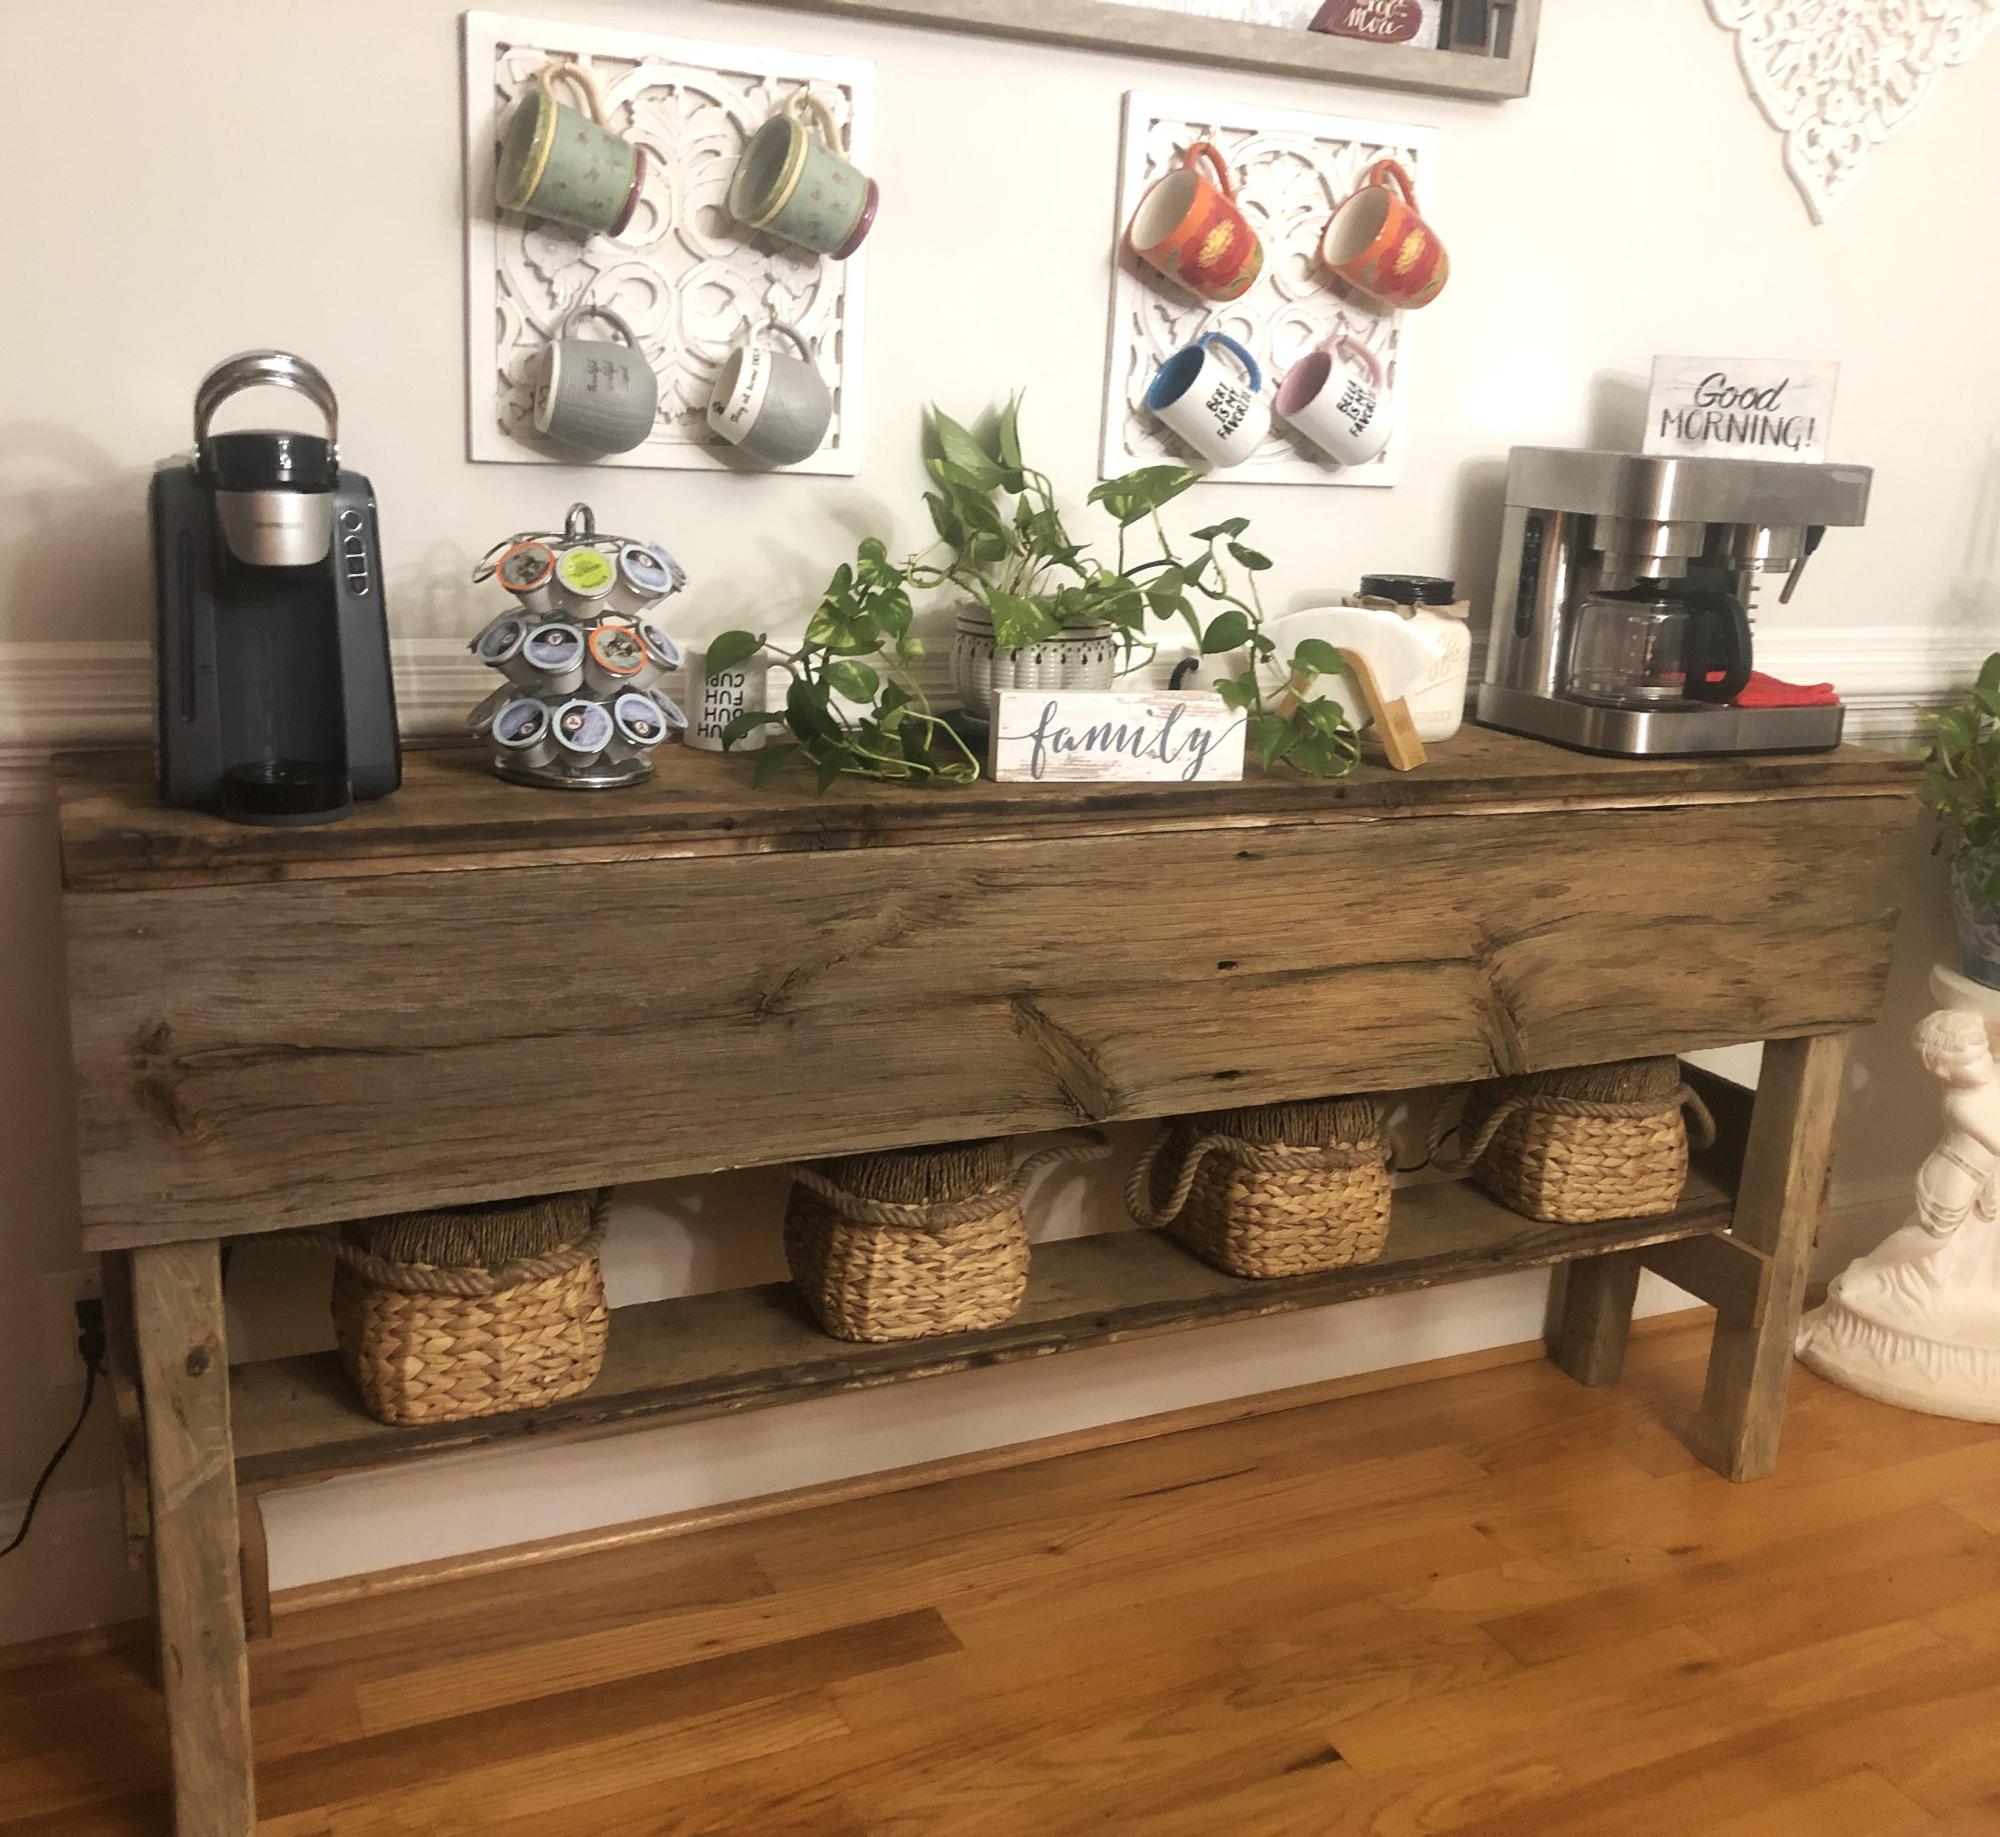
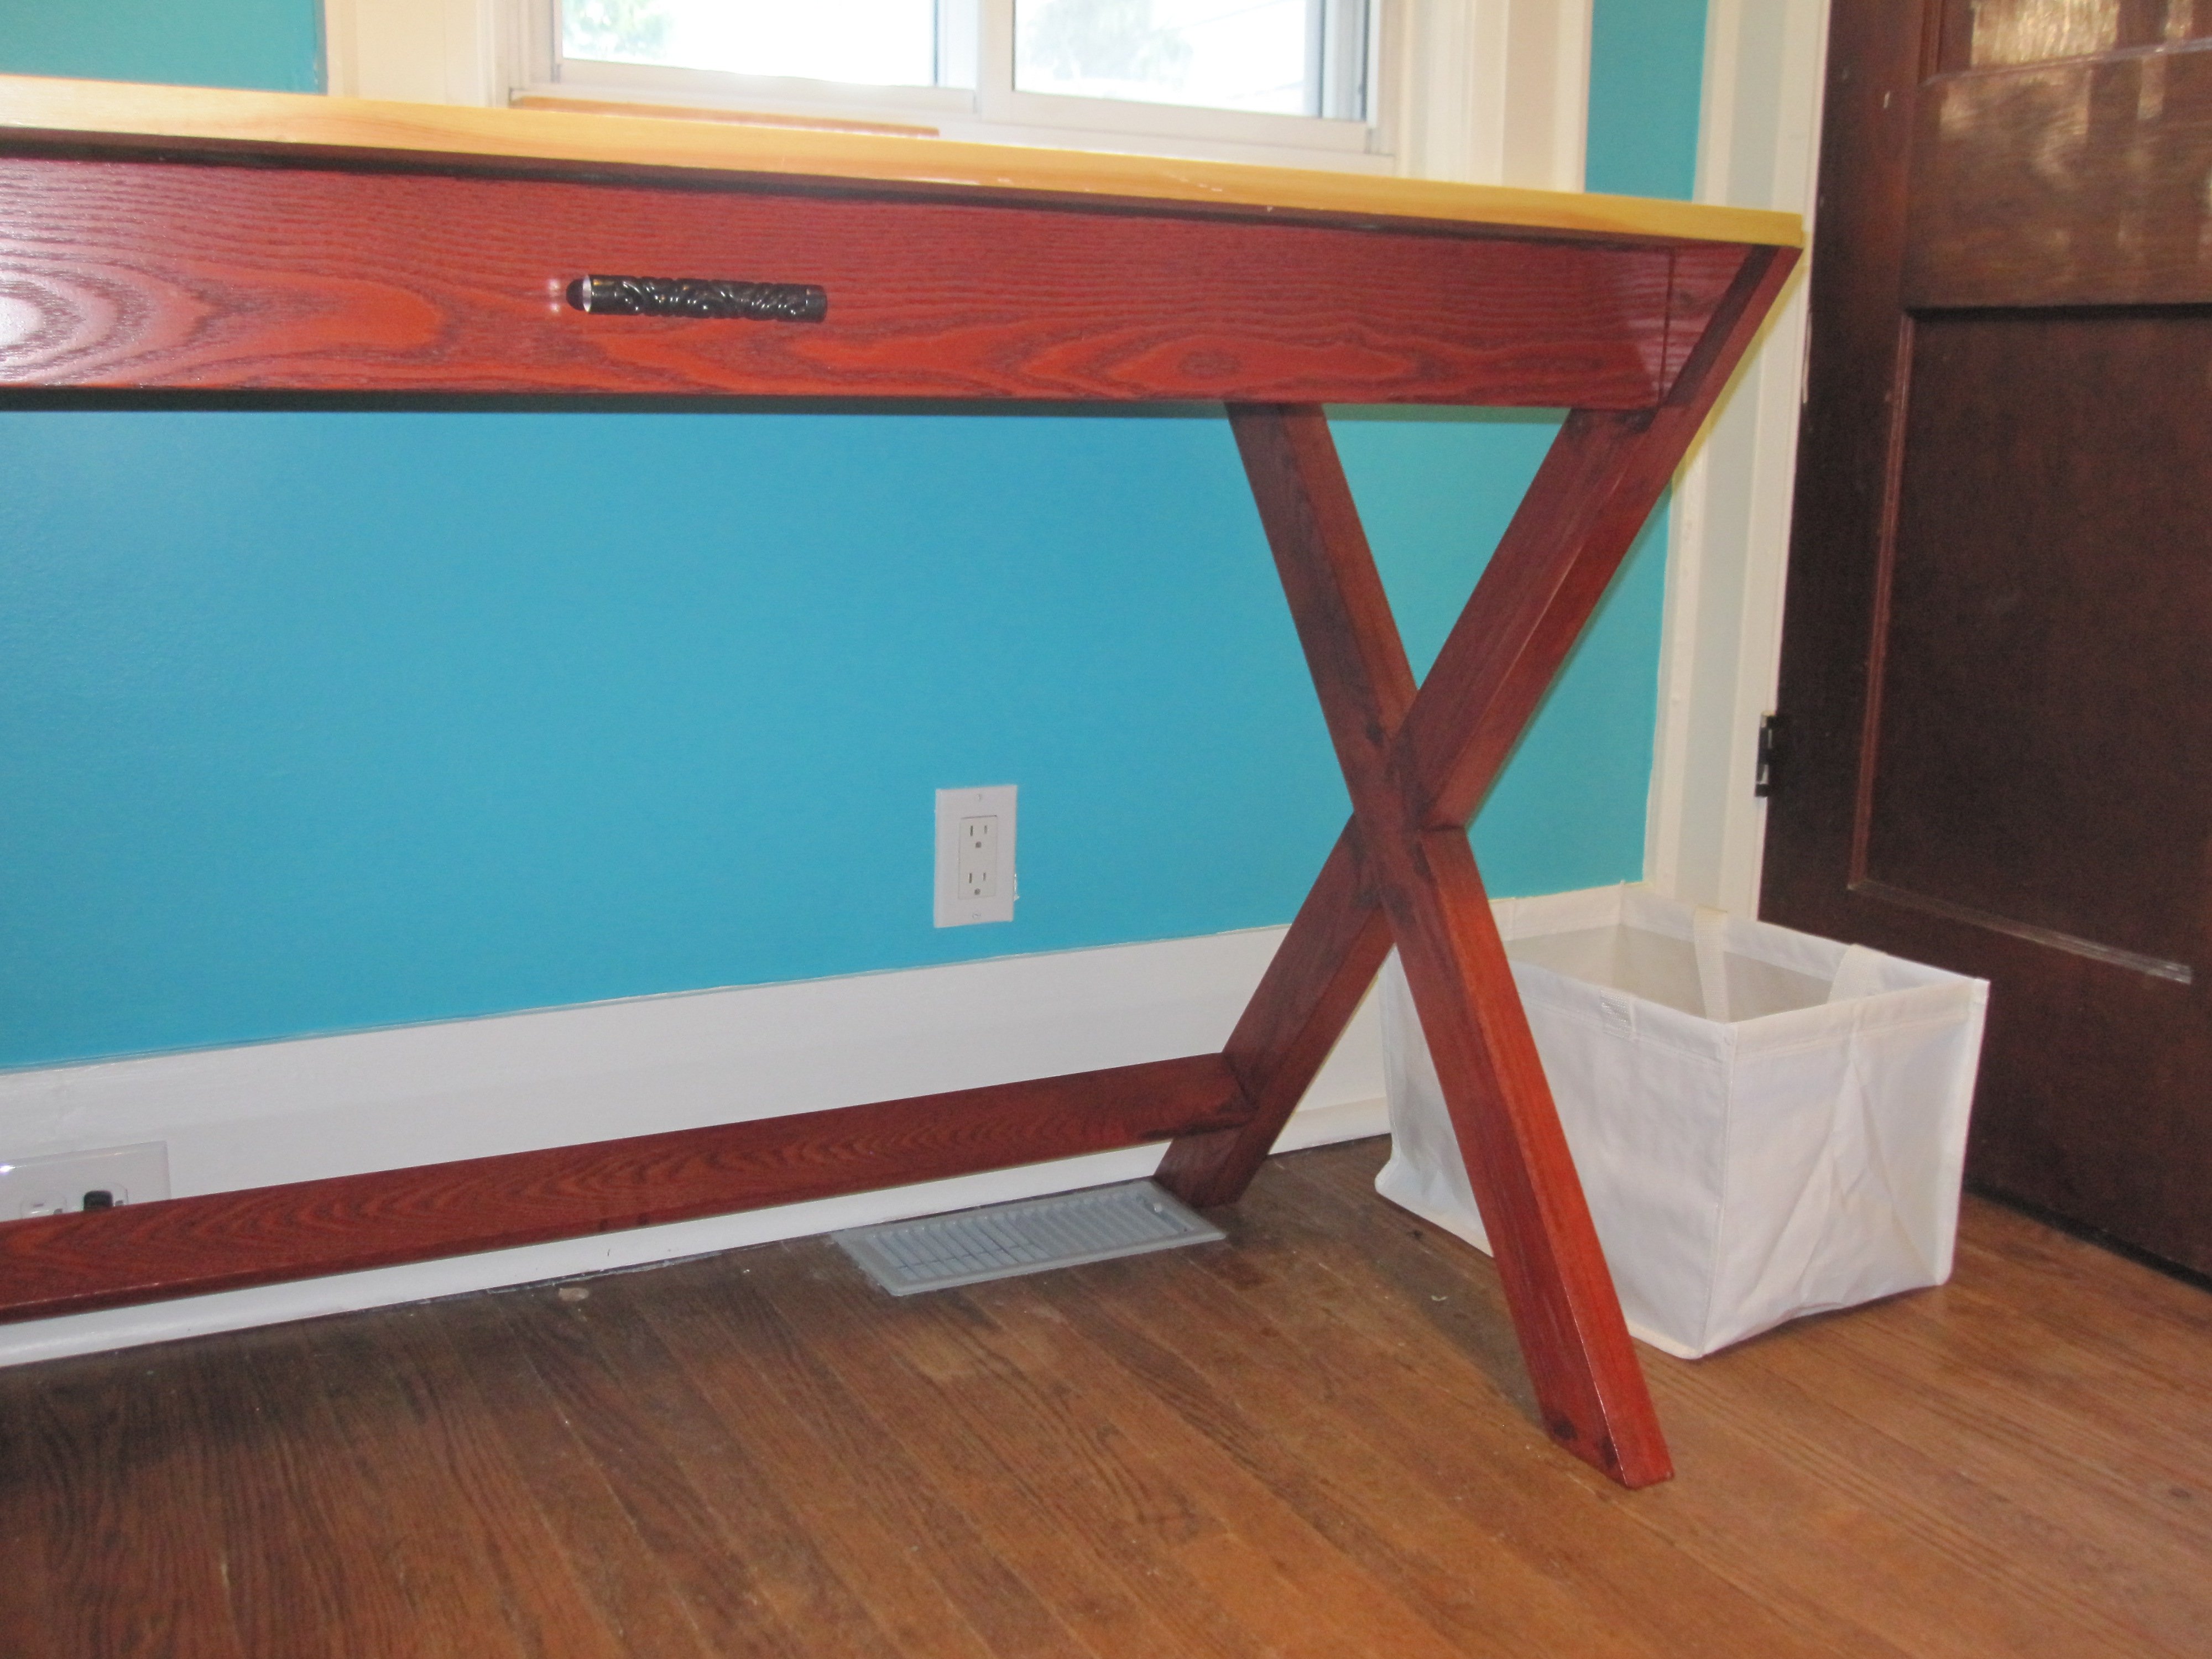
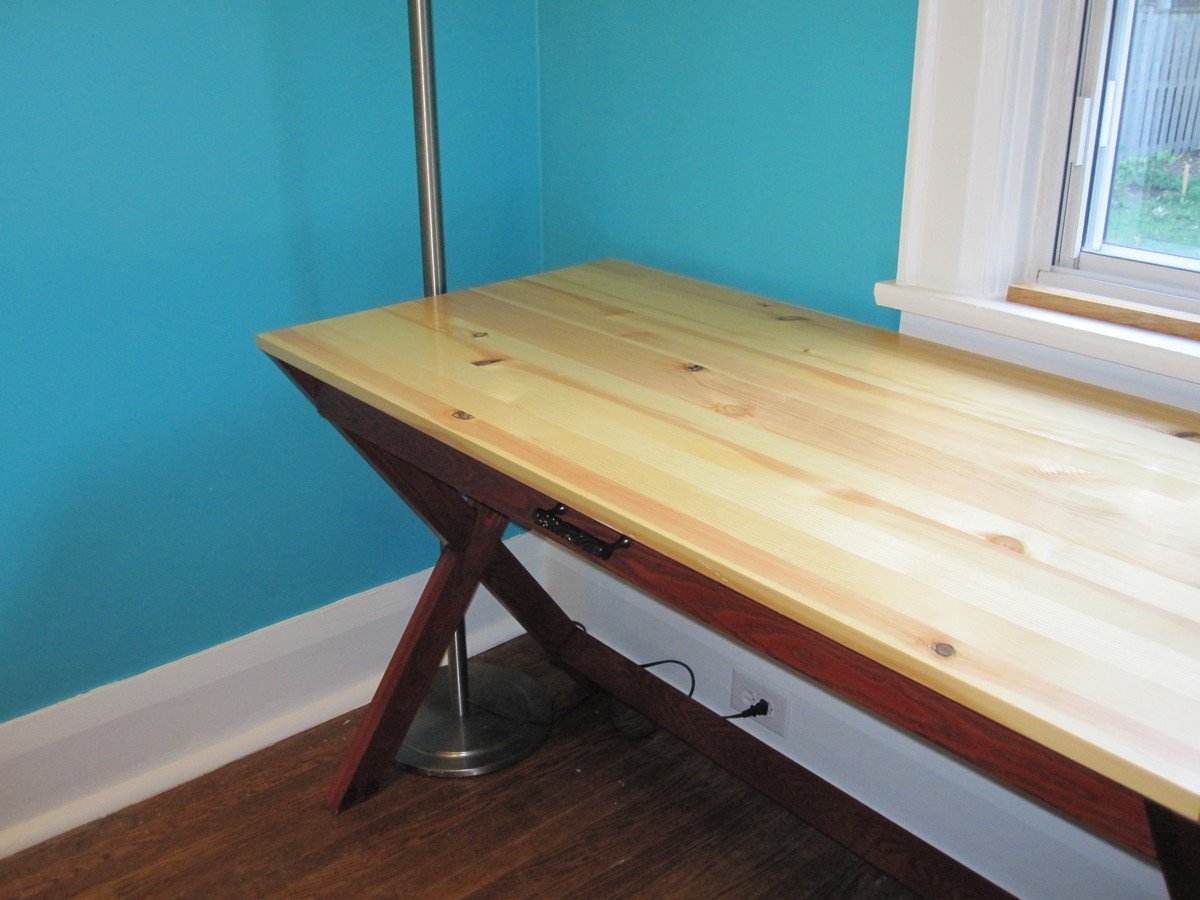
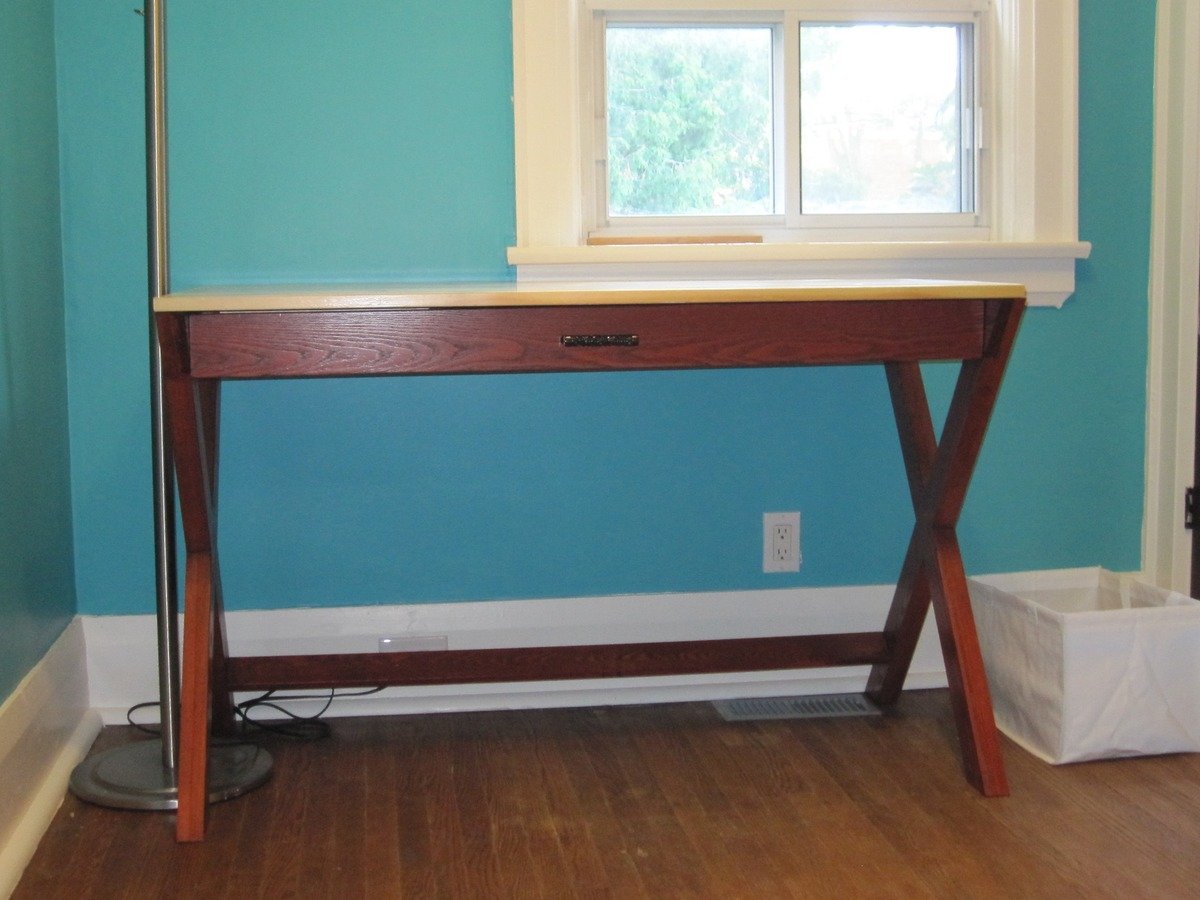
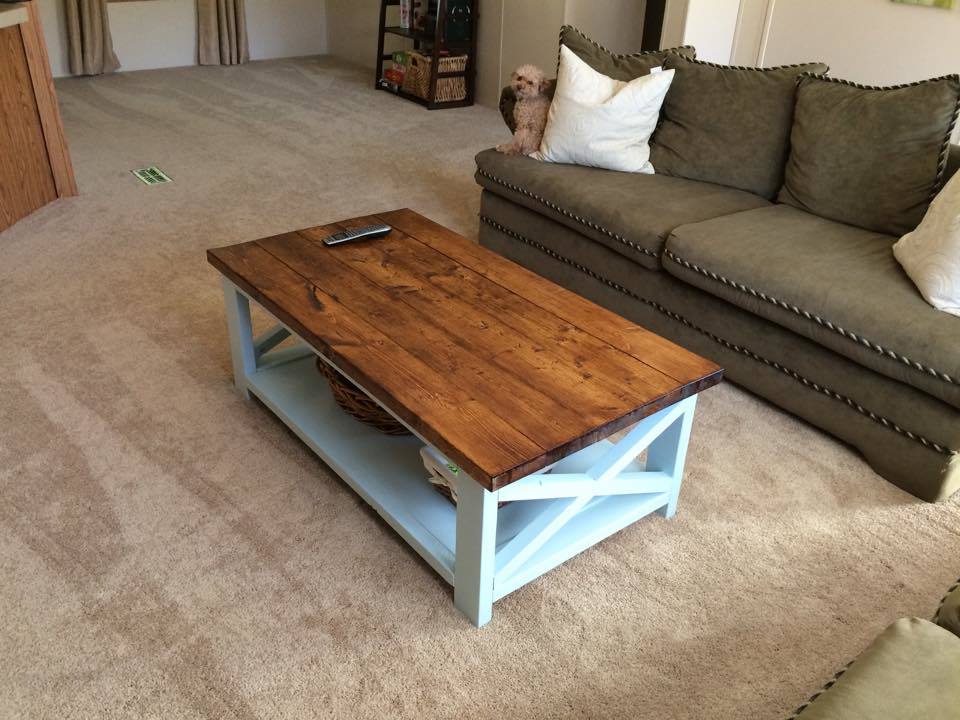
Community Brag Posts

Platform Bed and Headboard

Submitted by ScottG on Tue, 01/26/2016 - 01:24

Built a platform bed and headboard using 2x4s for the main frame and 1x4s for the trim pieces on the bed. The headboard was made using 1x6s for the frame and 1x4 scrap pices from the slats used for the vertical pieces. Used a Minwax water-based "pearl gray" stain for the 1x8 sides and a Minwax oil-based walnut stain for the frame and trim pieces. Used the K5 Kreg jig to join most of the pieces. The Kre Jig was a new purchase and my advice would be to practice with the jig before starting the project. It takes awhile to get the hang of the jig and to make sure that you are using the correct screw lengths. The very complete and detailed plans can be found in the attached links.

Built from Plan(s)
Estimated Cost
Wood cost was about $100 and this would include the 2x4 for the frame, the 1x4 furring strips for the slats and headboard, and the 1x4 and 1x6 trim and frame boards. The stain and polycrylic sealer cost about $20. You should also budget for Kreg screws, wood glue, nails, etc. I did have to buy several clamp, and the Kreg Jig cost a bit, but is well worth it. I've used the the clamps and the jig on many projects since the original purchase.
Estimated Time Investment
Week Long Project (20 Hours or More)
Finish Used
Minwax water based and oil-based stains and Polycrylic water-based sealer. .
Recommended Skill Level
Intermediate

Closet Shelves Using Shelf Help

Submitted by Anonymous (not verified) on Fri, 04/14/2023 - 08:40

I have used Ana's shelf guide on a few projects and it is so simple to use. I was able to maximize the space by tweaking the shelf guide so the new closet shelves fit exactly.

Comments

Dream Dollhouse

Building this dollhouse was fast and pretty easy, but finishing it was super time-consuming. It should be big enough for her dolls...and dinosaurs. LOVE how it turned out and am so excited (for Santa) to give this to our 3 year old for Christmas!!!
Thank you, Ana for the plans!

Estimated Time Investment
Week Long Project (20 Hours or More)
Finish Used
semi gloss white and blue-green paint for exterior finished with a water based poly spray. (doesn't yellow)

3 coats of Minwax stain for floors covered with 2 coats of poly.
Recommended Skill Level
Beginner

Comments

Tanya Hunter

Mon, 11/11/2013 - 20:31

Hi, where did you get your plans for this house? I am interested in something similar only on a larger scale for American Girl dolls.

allieallieoxnfre

Tue, 11/12/2013 - 08:03

I followed the plans for the Dream Dollhouse. (The text in the description is the link to the actual plans) It. Is. HUGE. I'm not familiar with the American Girl dolls, but this should fit nearly anything and could be modified easily if you had to make it bigger or only 2 stories.

jkassel78

Tue, 11/12/2013 - 09:41

Great job! This is also on my list of to dos for Christmas. I'm sure your little one will love it for years to come. :) The spiral staircase was a great idea and makes this so unique.

Bunk bed

Built this bunk bed for my two boys. Used the sweet pea storage stairs plan as a starting point and altered things from there to suit. The wall is just 3/8 plywood cut into planks and painted various colours. 

Finish Used
White semigloss. Monamel from General paint.
Recommended Skill Level
Intermediate

Comments

coffee table

made from rough cut ash, Very Interesting project

Estimated Time Investment
Week Long Project (20 Hours or More)
Recommended Skill Level
Intermediate

Comments

window seat

Submitted by Anonymous (not verified) on Fri, 04/21/2023 - 07:04

We started with the bench seating plans and adjusted them to fit our dimensions. added wallpaper, changed the lighting, and a couple cushions later... We have a totally transformed window seat! Loved doing this project!

Built from Plan(s)

Comments

Christmas Play Kitchen - My First Project!!

This was my first wood working project, and I made all the cuts myself (I'm pretty proud of myself!!). I only had a cordless drill when I started this project. Through good sales and craigslist, I ended up with a circular saw, a jigsaw, and an orbital sander to complete this project, plus I built myself a really nice large workbench so I had somewhere to work! It turned out very well, and my girls love it. I made some modifications by making the sink and stove 22" tall instead of 20" tall to better accommodate my 5.5 year old while allowing my 22 month old to be able to play too. Instead of putting a curtain on the front of the sink, I turned the upper shelf area into a microwave by lowering the shelf some to make the area larger, and added a flexible rubber calculator as the microwave keypad. This is my 5 year old's favorite part of the kitchen!

Estimated Cost
$200
Estimated Time Investment
Week Long Project (20 Hours or More)
Finish Used
All the wood (~$100) and drawer pulls (~$30) came from Lowes. The Faucet came from Amazon ($15), the knobs are replacement oven knobs from Lowe's ($15), the sink is a dog bowl from Walmart ($4), the burners are discs from Hobby Lobby ($0.99/piece), the mirrors are a set from Target ($20)- I didn't use them all), the sticky decal chalkboard is from Amazon ($18 for chalkboard, Melissa and Doug chalk and erraser), the plexiglass, blue paint and spray paint came from Lowes and the yellow paint was some I had left over from a previous project.
Recommended Skill Level
Beginner

Comments

Castle loft bed

Submitted by jrep021 on Fri, 11/15/2013 - 18:59

We had to modify the plans by a few inches to fit the space and we changed some other details to make it look more like a castle. But it came out awesome and our daughter loves it!

Estimated Time Investment
Weekend Project (10-20 Hours)
Finish Used
Painted a primer on the stairs and slide and then just a regular latex semi gloss. Caulked around all the edges and corners to give it a clean finish.
Recommended Skill Level
Intermediate

Kentwood Night Stands

Submitted by Anonymous (not verified) on Mon, 02/01/2016 - 12:24

Helped my friend make these cute night stands over two weekends (one Saturday each)


A few tips: Make sure the wood is the same size (* 1 inch)

Using the Kreg Jig, we attached all the sides together using 1 inch screws

The second one turned out better from the first...I guess we learned a few things! 

Thanks Ana White!  You rock!!

Estimated Cost
$100-$125
Estimated Time Investment
Weekend Project (10-20 Hours)
Finish Used
White Wash with lacquer finish
Recommended Skill Level
Intermediate

Fancy X Farmhouse Table Build

Used Douglas from Lowes and used a jointer and planer to get everything square.  Also used eight 2'x6's on the top to allow to properly use the jointer.  Also used biscuits in addition to pocket holes to hold everything togther

Estimated Cost
$150
Estimated Time Investment
Weekend Project (10-20 Hours)
Finish Used
Minwax Wood Finish Satin Classic Gray Oil-based Interior Stain / Minwax Semi-gloss
Recommended Skill Level
Intermediate

Comments

Walnut Clothespress

Here is a brand new piece I just made for holding my extra computer components. It is wholly made of American Black Walnut (juglans nigra). It took about four months to make. The original, from which this is copied, was made in Williamsburg, VA in 1765. When I first saw it, I fell in love at first site and had to make it. It was made with rough lumber, nothing pre-milled. I found 16 1/2" wide walnut which I used to make the single-panel doors. I think it looks great and is faithful to the original.

Estimated Cost
$1200.00
Estimated Time Investment
Week Long Project (20 Hours or More)
Finish Used
Minwax Antique Oil Finish, Shellac
Recommended Skill Level
Advanced

Comments

Modern Vertical Slat Top Console

This was built out of Douglas Fir (2x4's) and Pine (1x4's) and was painted in the color espresso (Behr). I used Minwax Helmsman Spar Urethane to seal it with a semi-gloss coating as well.

Estimated Cost
$40
Estimated Time Investment
Afternoon Project (3-6 Hours)
Finish Used
Sanded using a finishing sander with an 80 grit sandpaper, then completed the sanding using a 220 grit. Applied two coats of paint in the color espresso (Behr). Then applied a single coat of Minwax Indoor/Outdoor Helmsman Spar Urethane Semi Gloss.
Recommended Skill Level
Intermediate

Amazing Climbing Wall!!!

Submitted by Anonymous (not verified) on Thu, 08/01/2019 - 12:15

So the kids love to climb, mine probably more than most so we did a summer break project! So we looked around online and there's really nothing there for a home climbing wall to fit our needs, so we just like made it up.

I bought 9 planks of the heaviest plywood they had at walmart and ordered climbing grab handles from amazon in multi color but then we realized that it just looked a bit boring for this funnest thing ever!

So we went online to look for a good paint for plywood, but something that would also add some grip for the kids. So we found this bedliner called durabak was really highly recommended all ovr the internet for use on plywood, mainly by boats and stuff.

So we called durabakcompany.com and their customer service was literally the most patient and best I think I've ever dealt with, They had so much patience and gave me lots of ideas and said that Durabak gets used a lot on climbing walls! Yay!

They gave me the idea to go with dark blue and dark grey and draw out a random pattern and paint it all with 3 coats of Durabak and it just looks so awesome I bring everyone up to see it now. The kids totally love it and it just makes me so proud that I built that thing with my kids! They're super psyched about it too.

Estimated Cost
$400
Estimated Time Investment
Week Long Project (20 Hours or More)
Finish Used
Durabak 18 Textured Dark Blue and Dark grey
Recommended Skill Level
Starter Project

Kate's Play Kitchen

I made this play kitchen for my daughter's second bithday. It was my first project!

Estimated Cost
$120
Estimated Time Investment
Weekend Project (10-20 Hours)
Finish Used
Behr Ocean Pearl (that I already had) with antique glaze and furniture wax.
Recommended Skill Level
Beginner

Comments

spiceylg

Tue, 01/03/2012 - 11:32

You took this on as your first project? Wow, you did a wonderful job! Love the look and your daughter must be thrilled!

karab

Tue, 01/03/2012 - 15:26

Nice job! Your kitchen is equally as beautiful as your daughters! I can't wait to build one of these sets.

Guest (not verified)

Fri, 01/27/2012 - 07:10

Is the sink an actual sink? I was wondering what the basin is. Is it just wood?

Carrie Hart (not verified)

Thu, 10/04/2012 - 20:54

How do I actually get the plans? Where are they located?

lizdmayfield

Thu, 01/24/2013 - 10:37

Little wood flowers from the craft section at Walmart painted with chalkboard paint. Hope that helps!

rademmacliffe

Thu, 07/14/2016 - 15:41

Question what did you use for your handles? This is beautiful. I'm hoping to make once close to it for my son's 2nd Bday 

Ice Chest Cover. My first Ana White project. I modified it to fit my ice chest. I made 2. Thank you for offering free DIYs!

Submitted by wunkie on Tue, 11/19/2013 - 19:55

I needed something to hide the exterior of my 7 yr old, hard used ice chests. I saw this and modified it to fit my ice chests. Love them!

I'm a newbie to wood work and am so glad I found this site! I made these in July and am working at getting better at it.

Estimated Time Investment
Afternoon Project (3-6 Hours)
Finish Used
I used Oak stain that I had on hand. Worked great.
Recommended Skill Level
Starter Project