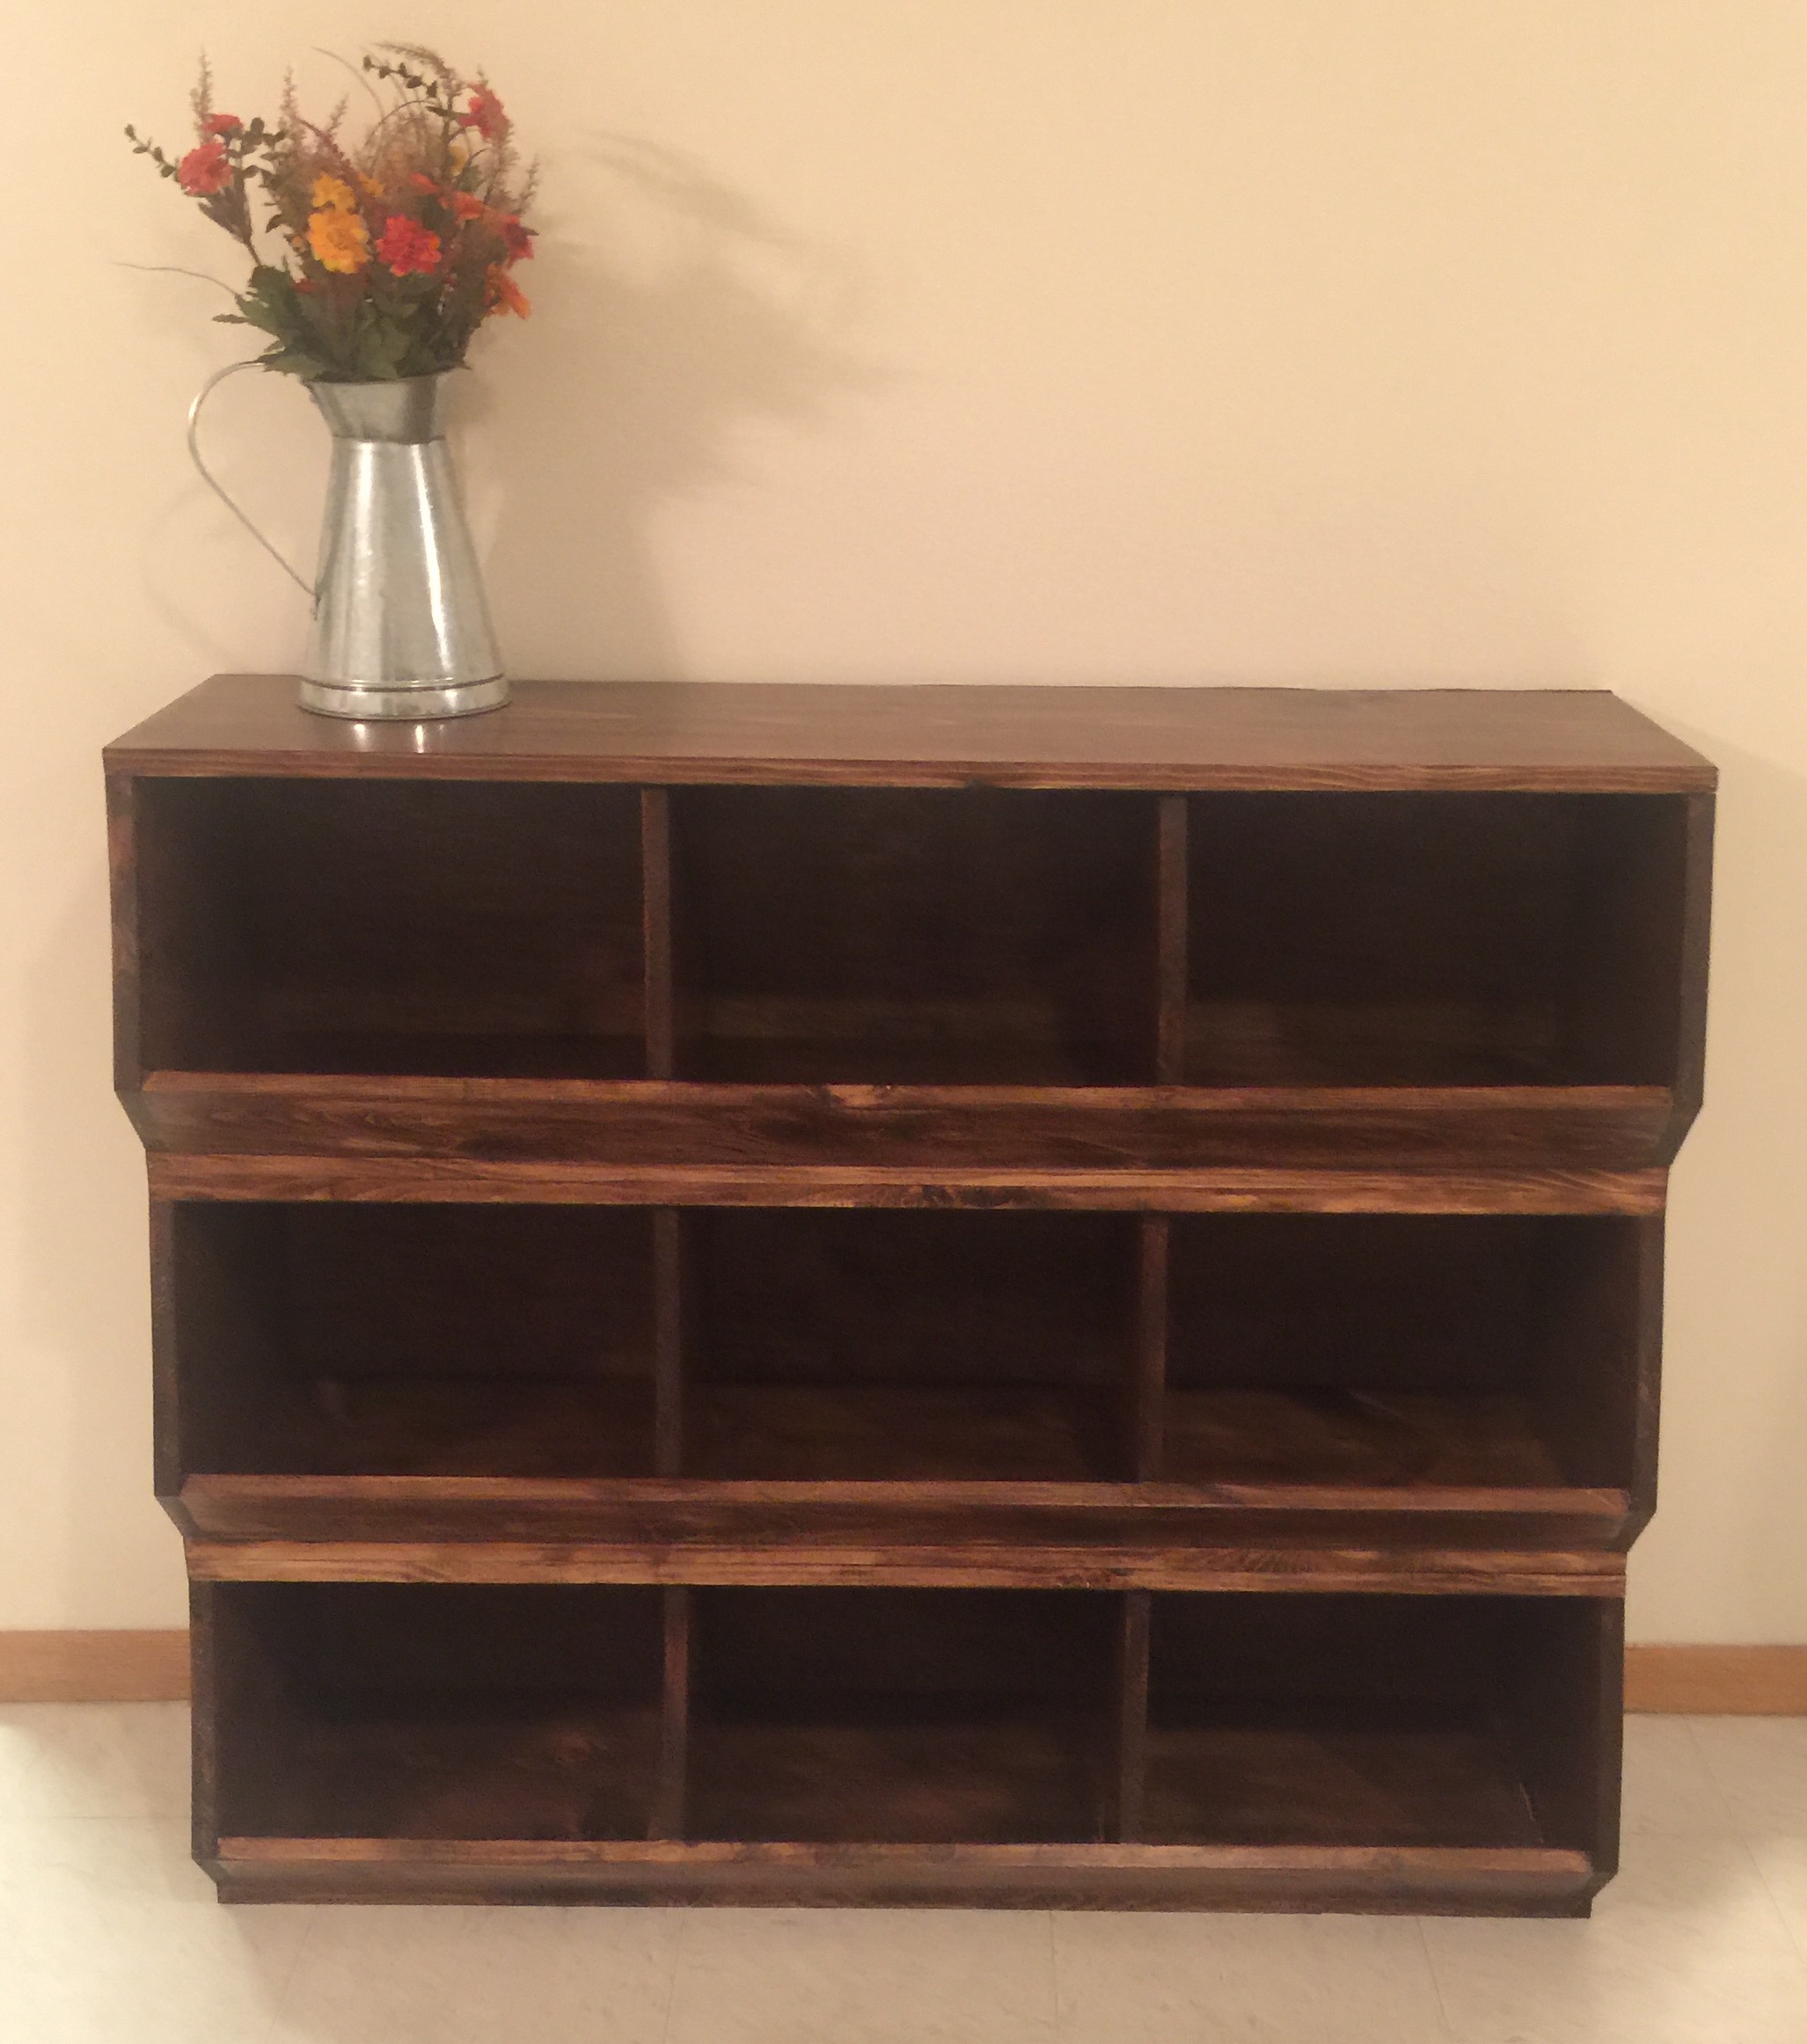
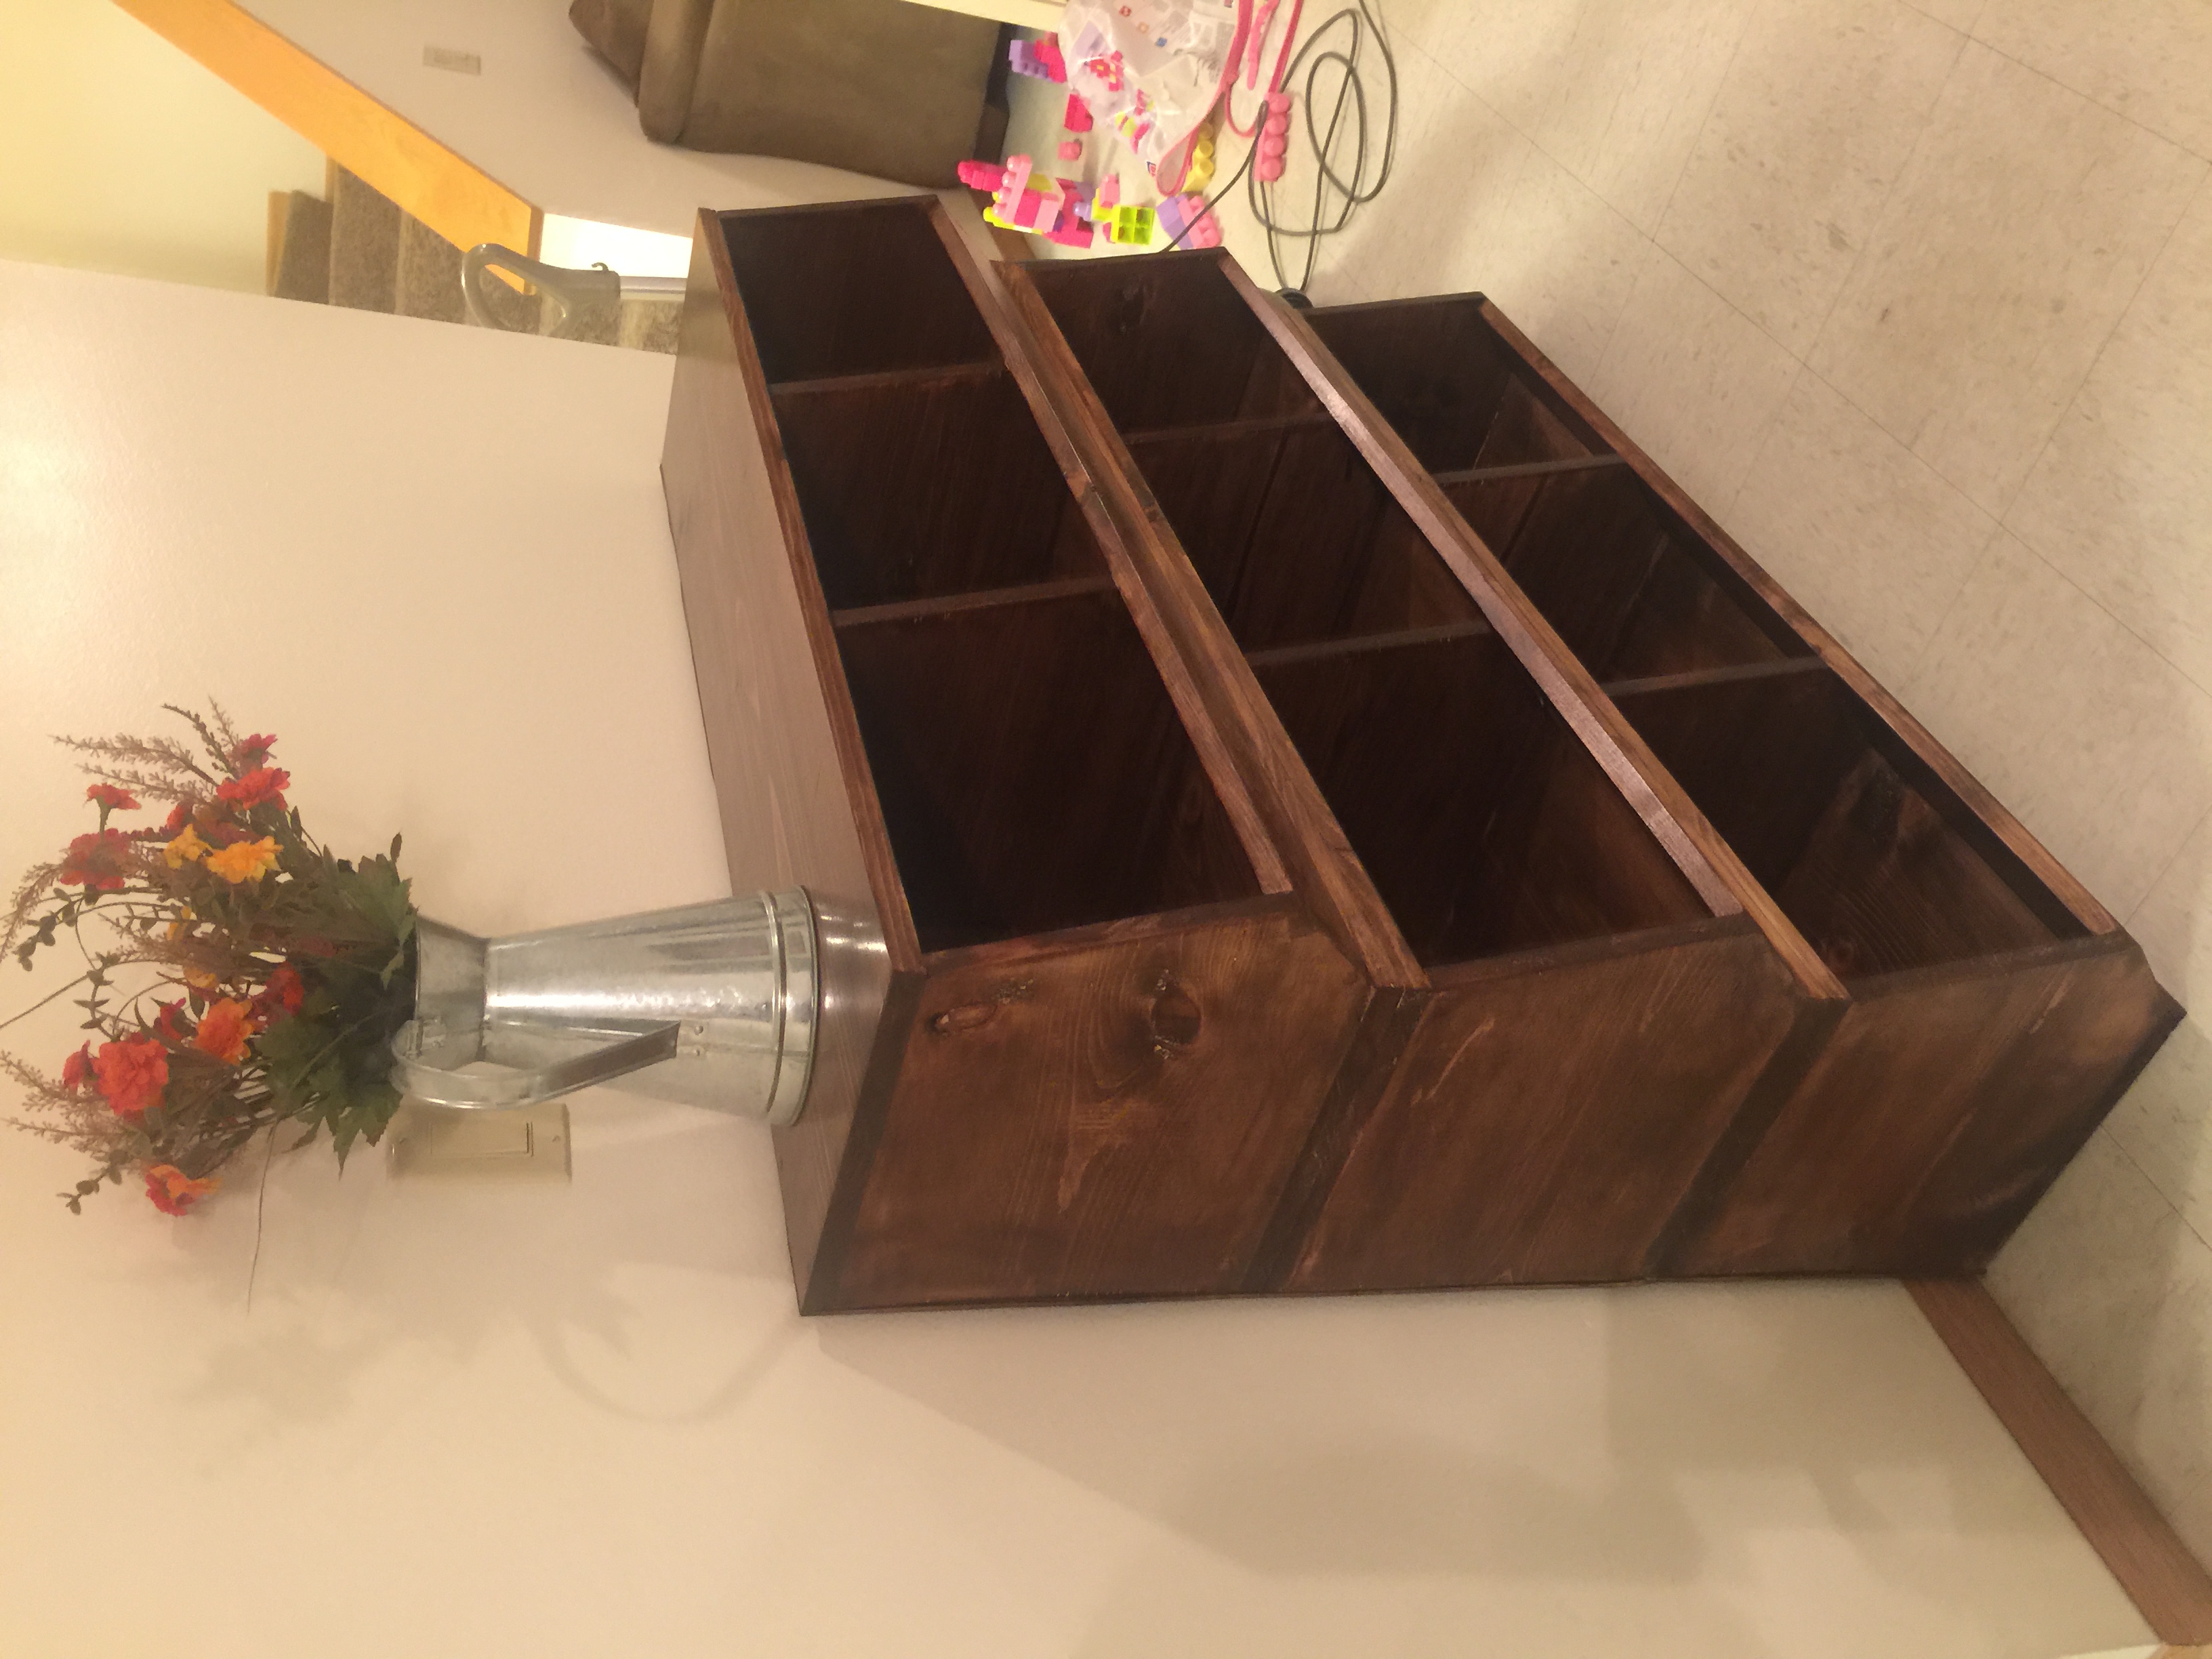
Potting Bench for Father's Day
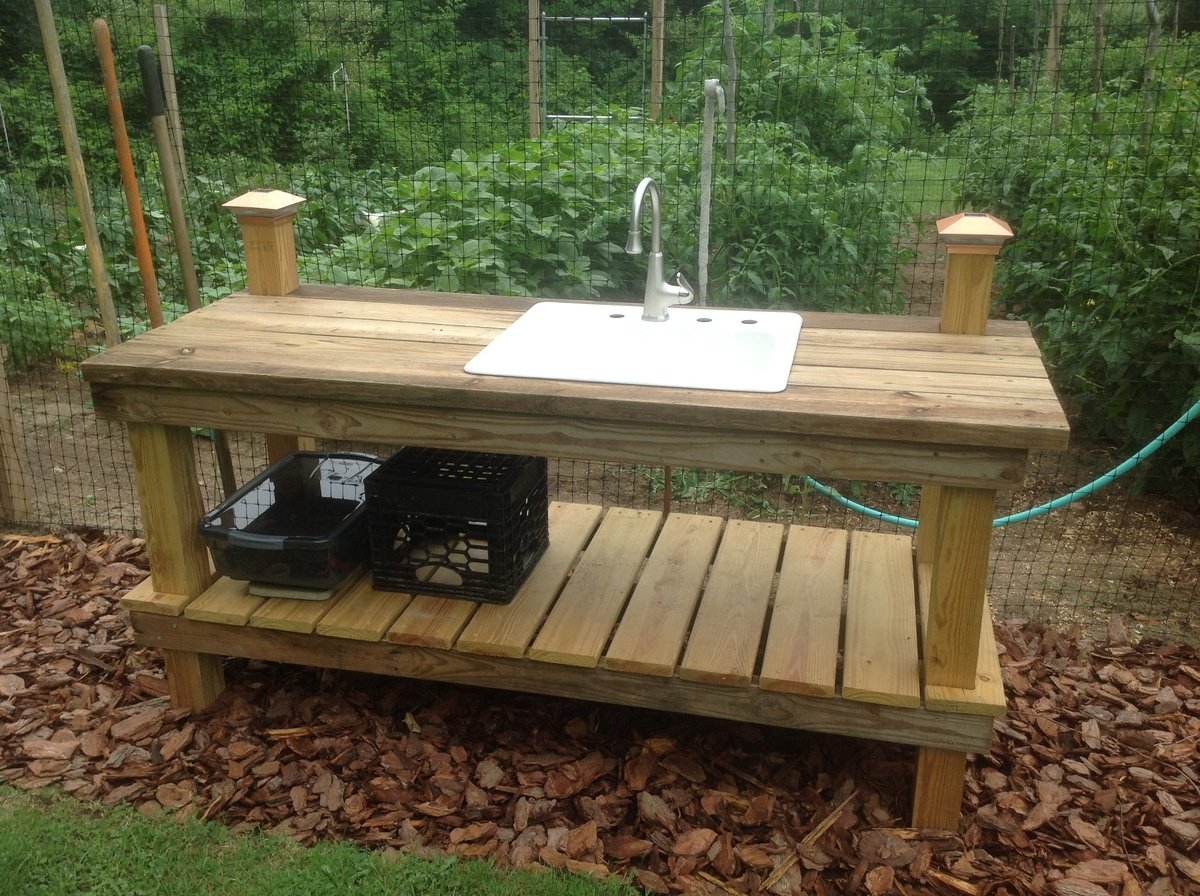
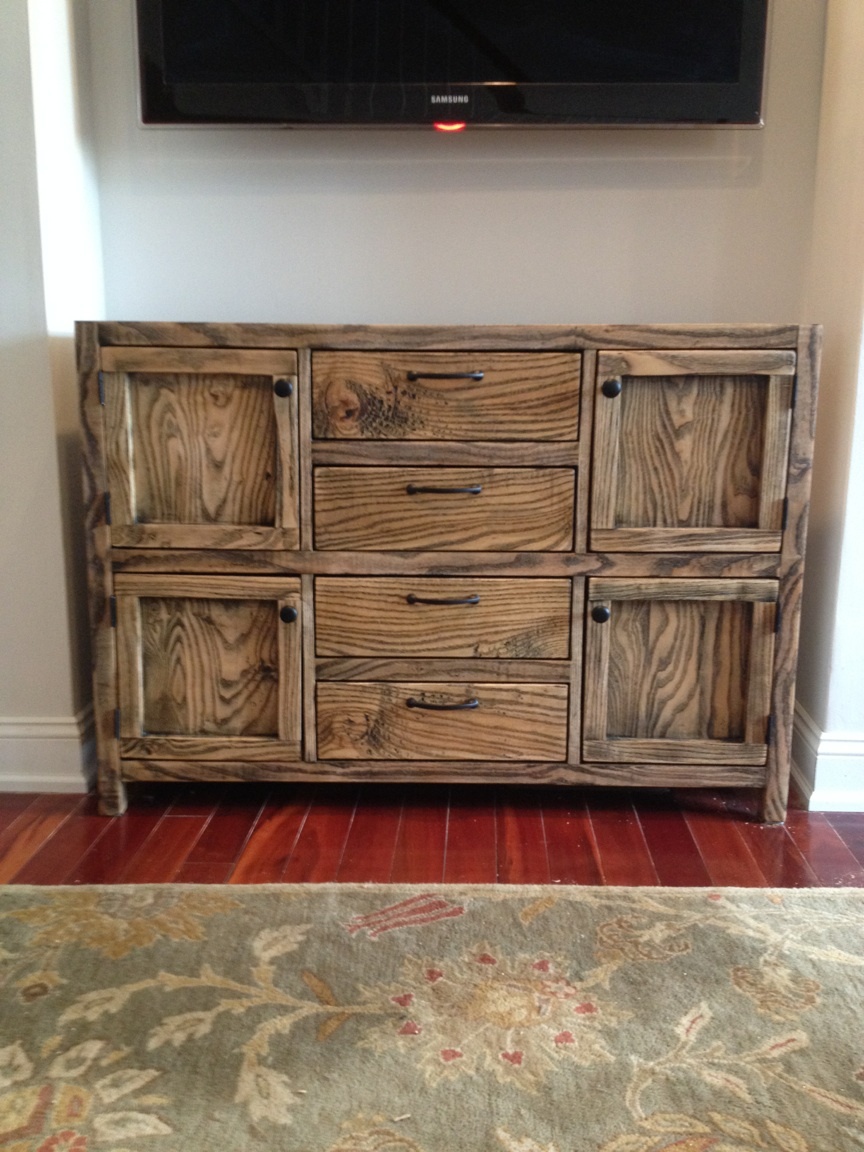
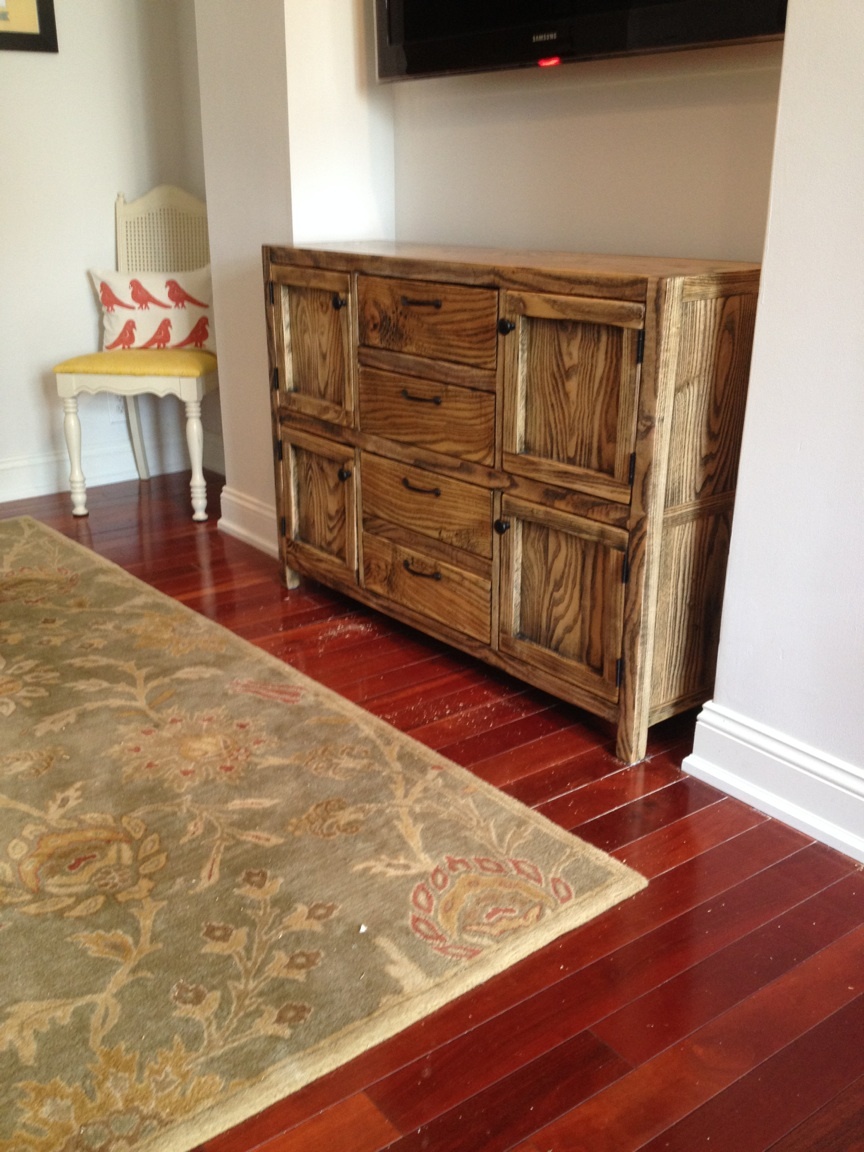
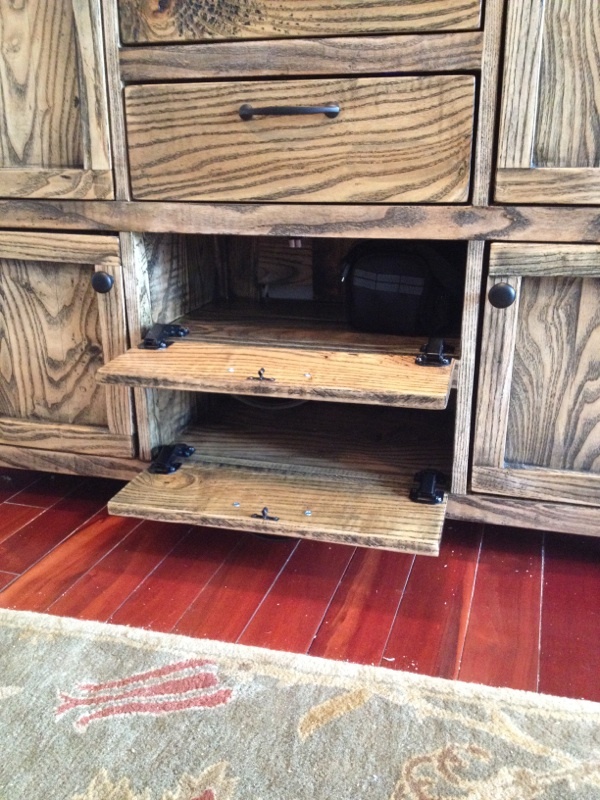
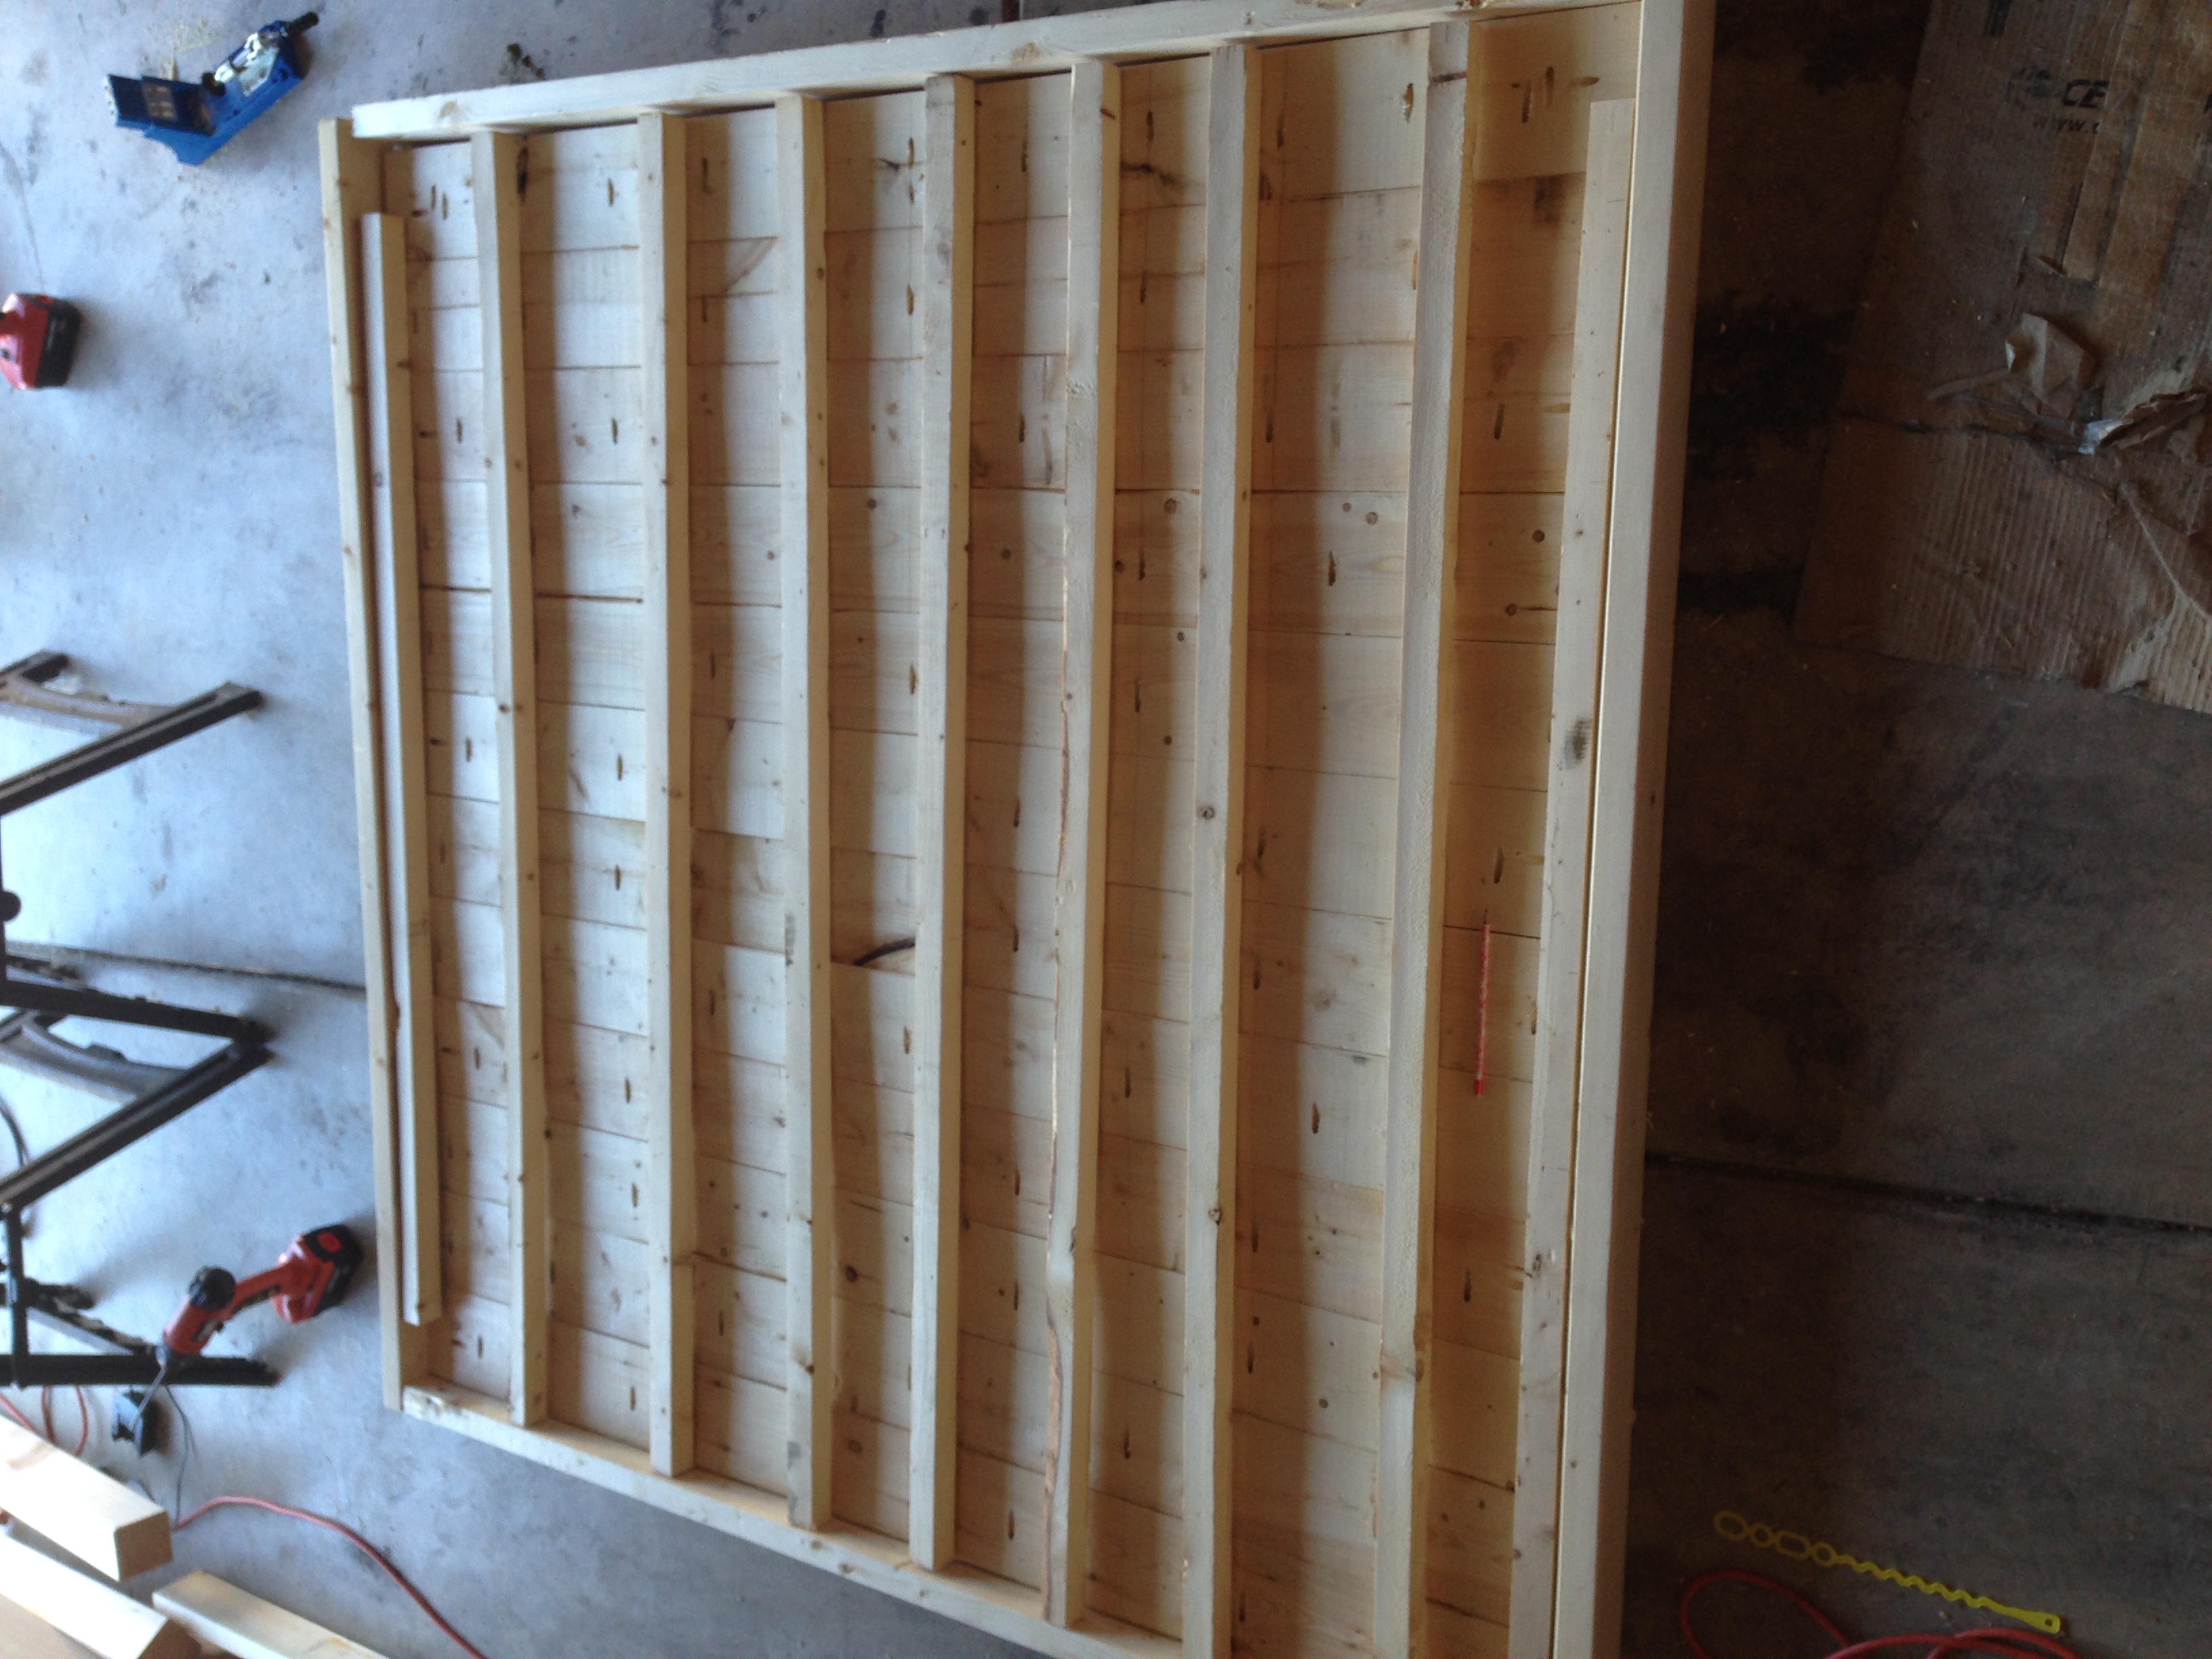
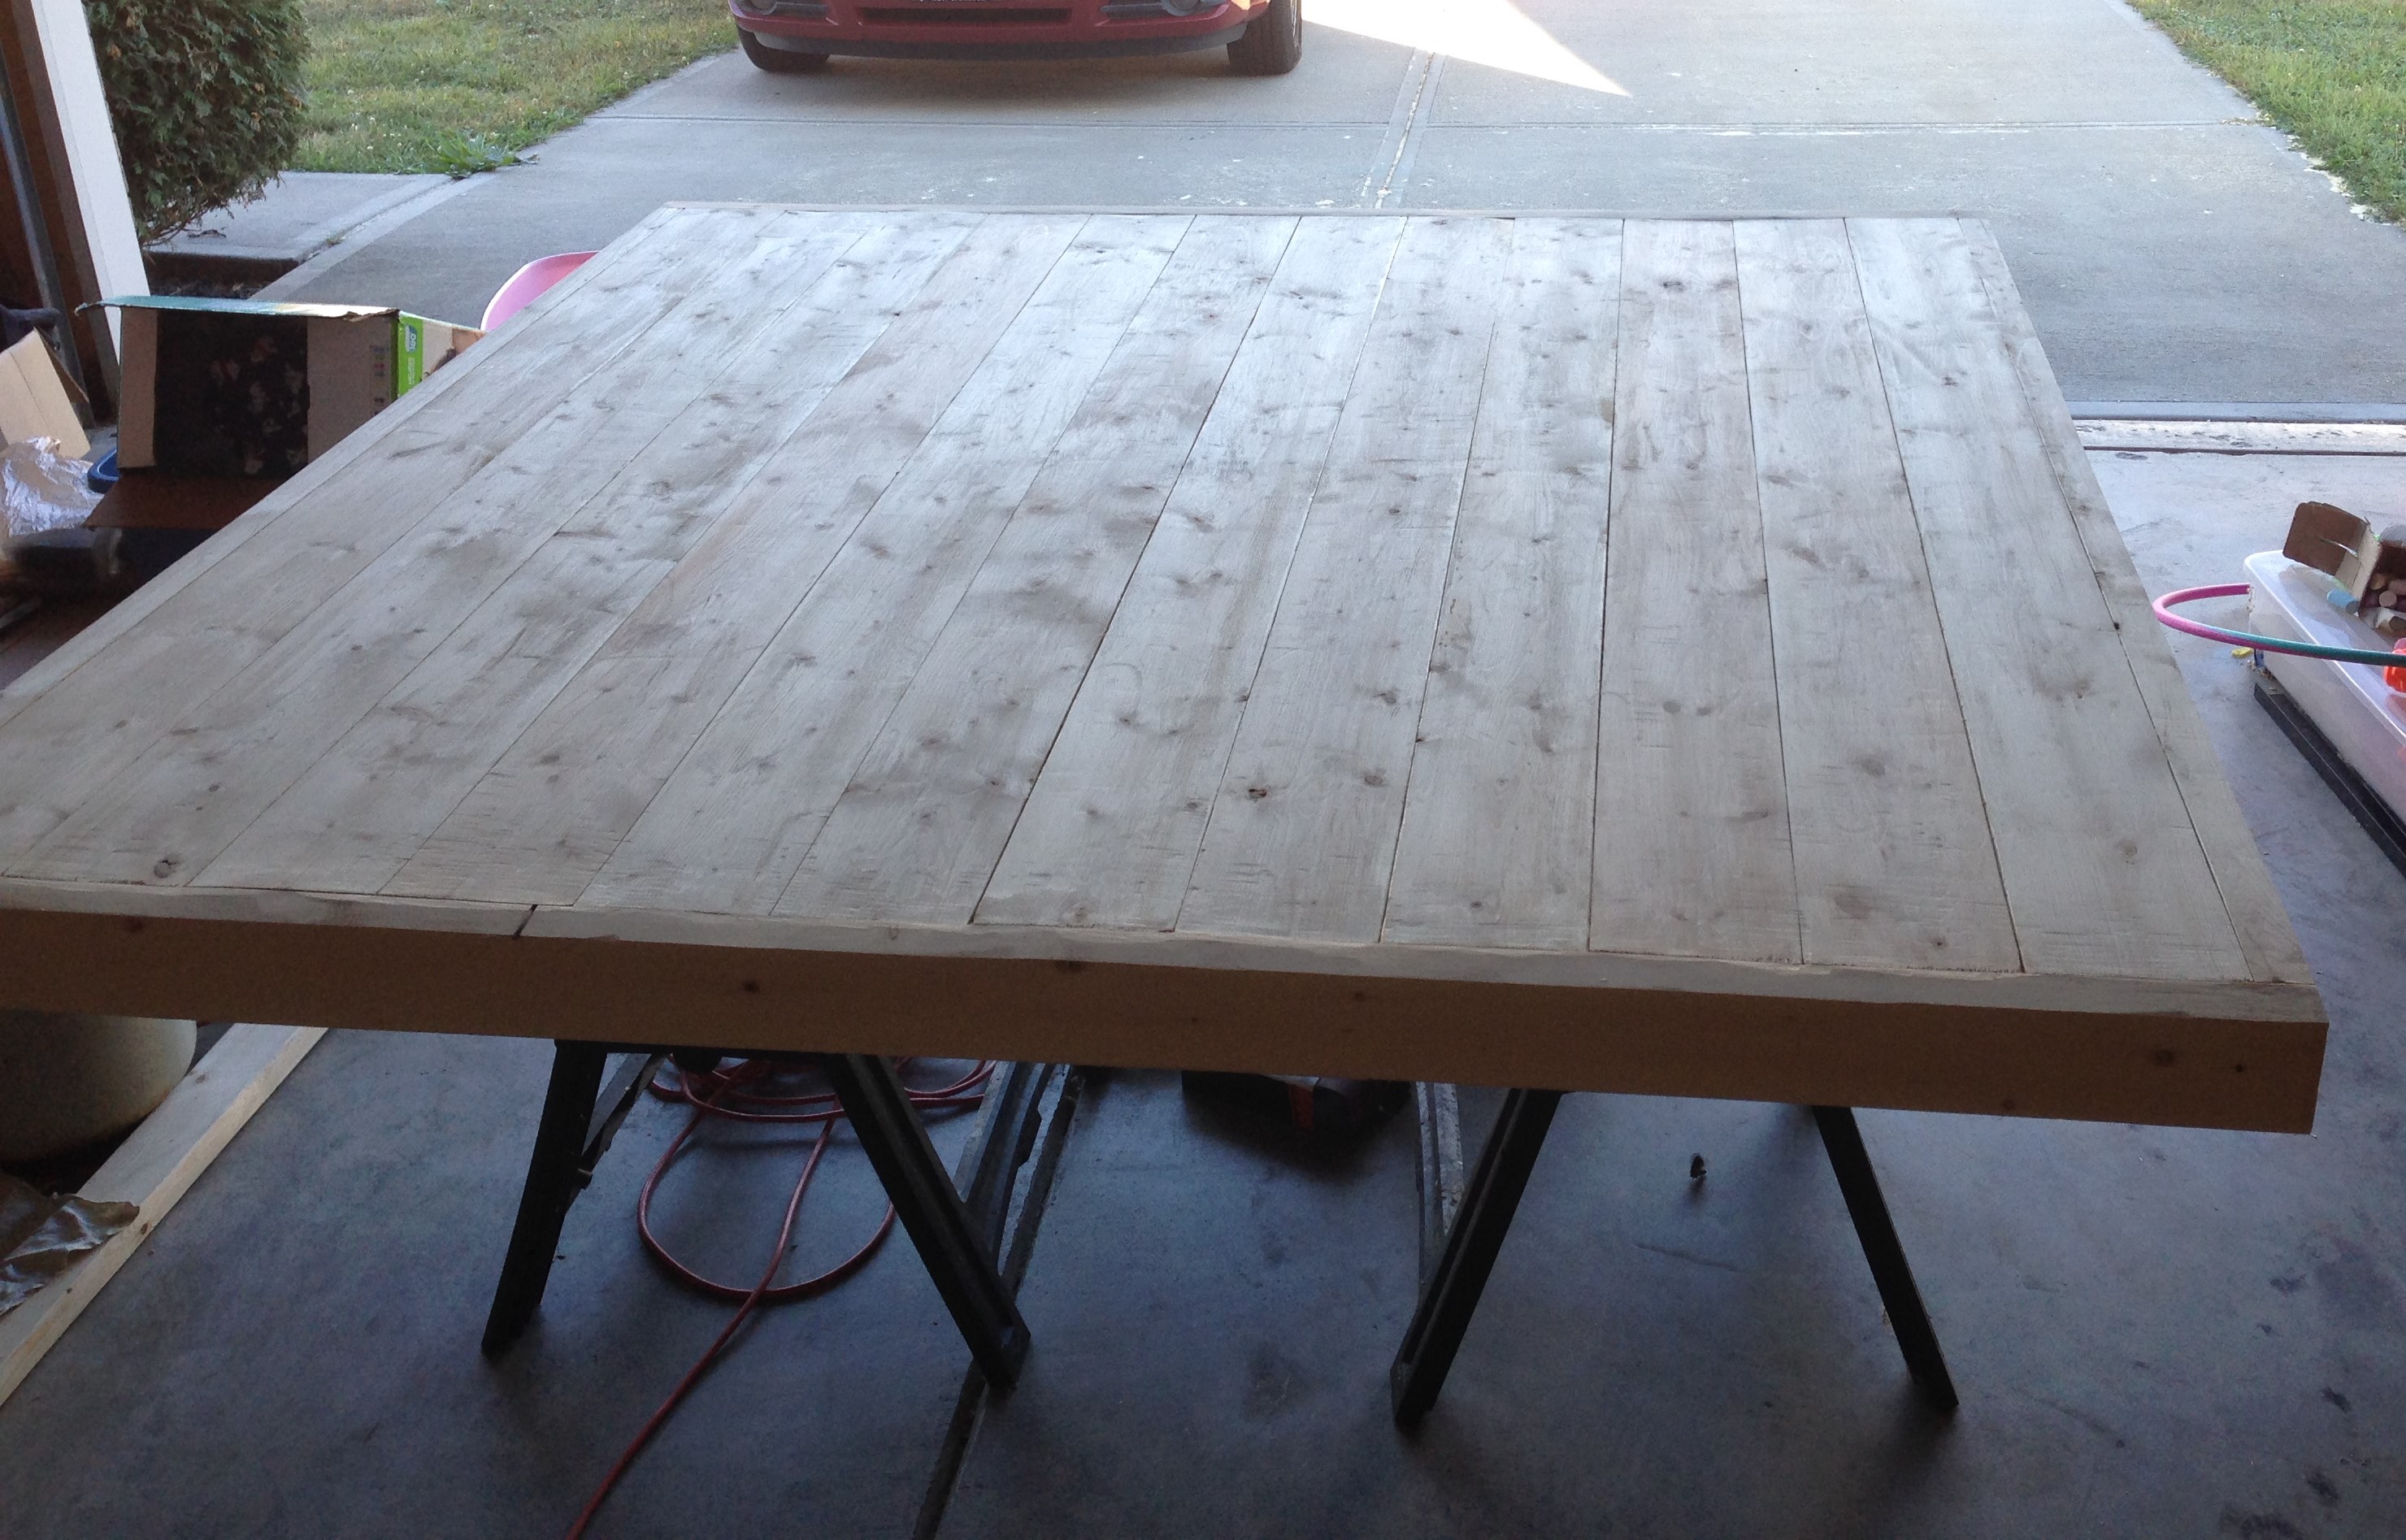
I started with the potting bench by Between Naps. I made it longer and taller (for my dad). There is a tool holder along one side and I added a sink, for washing the veggies newly harvested from our garden. We ran the water from our house faucet and will blow out water for winter. All that's left is running a pipe from the drain to leach out across the perimeter of the garden. Most of the lumber was given to me (pressure treated even). And I bought the sink from a junk guy for $50. My dad was so impressed and I think it may be my best present project ever. I can't believe I made that! Oh yeah, the end caps have solar lights, nighttime gardening! Ya never know!
Built from Plan(s)
Estimated Cost
175
Estimated Time Investment
Day Project (6-9 Hours)
Finish Used
None. Get this where you want it before screwing shelf and counter boards or putting in sink; it's really heavy.
Recommended Skill Level
Intermediate


Comments
jvos
Thu, 07/17/2014 - 12:05
Great project
That is awesome! I want a sink for my garden (and a cooktop for outdoor canning) so I am very jealous. :)