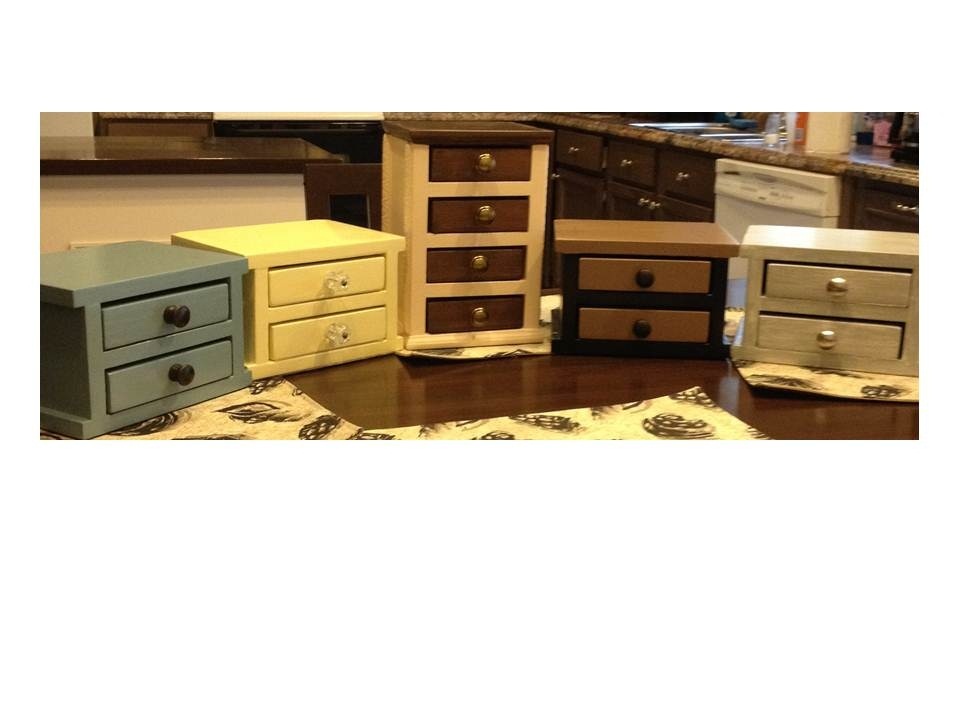
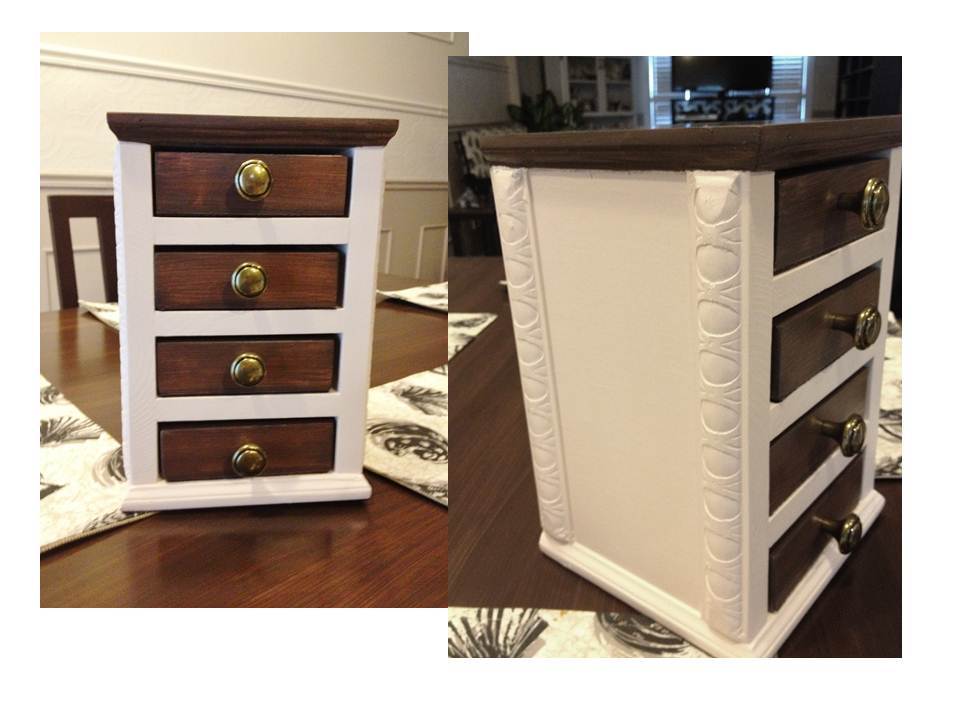
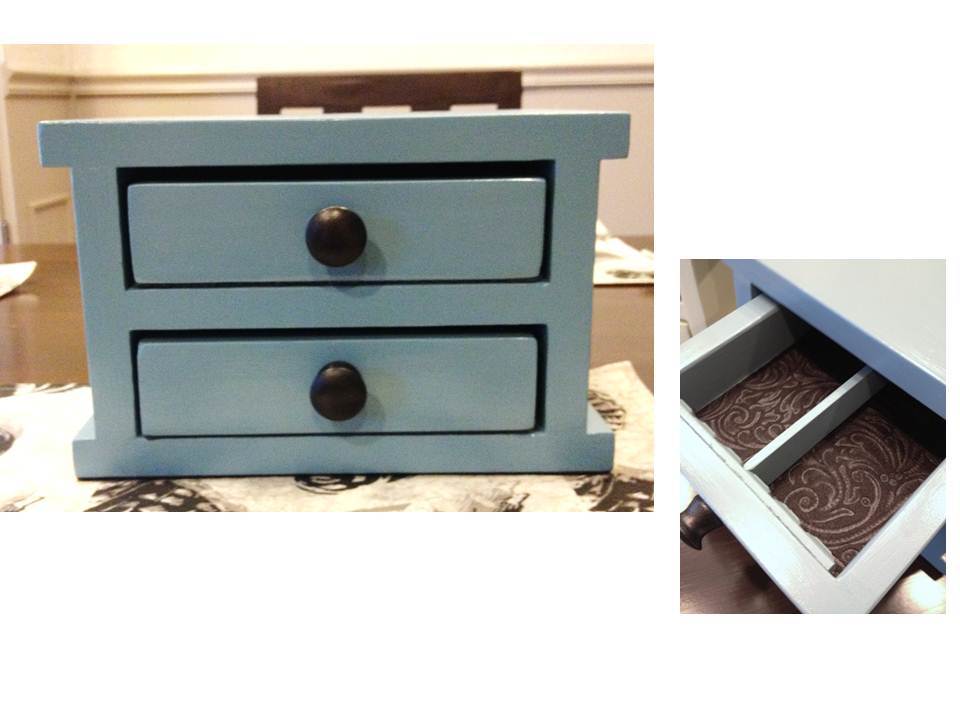
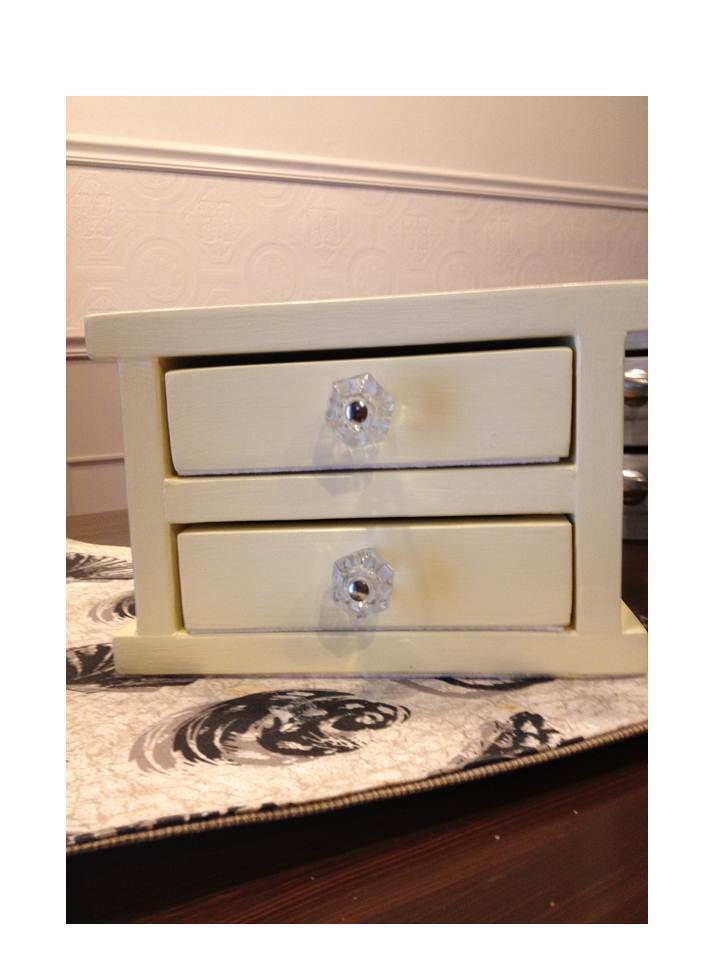
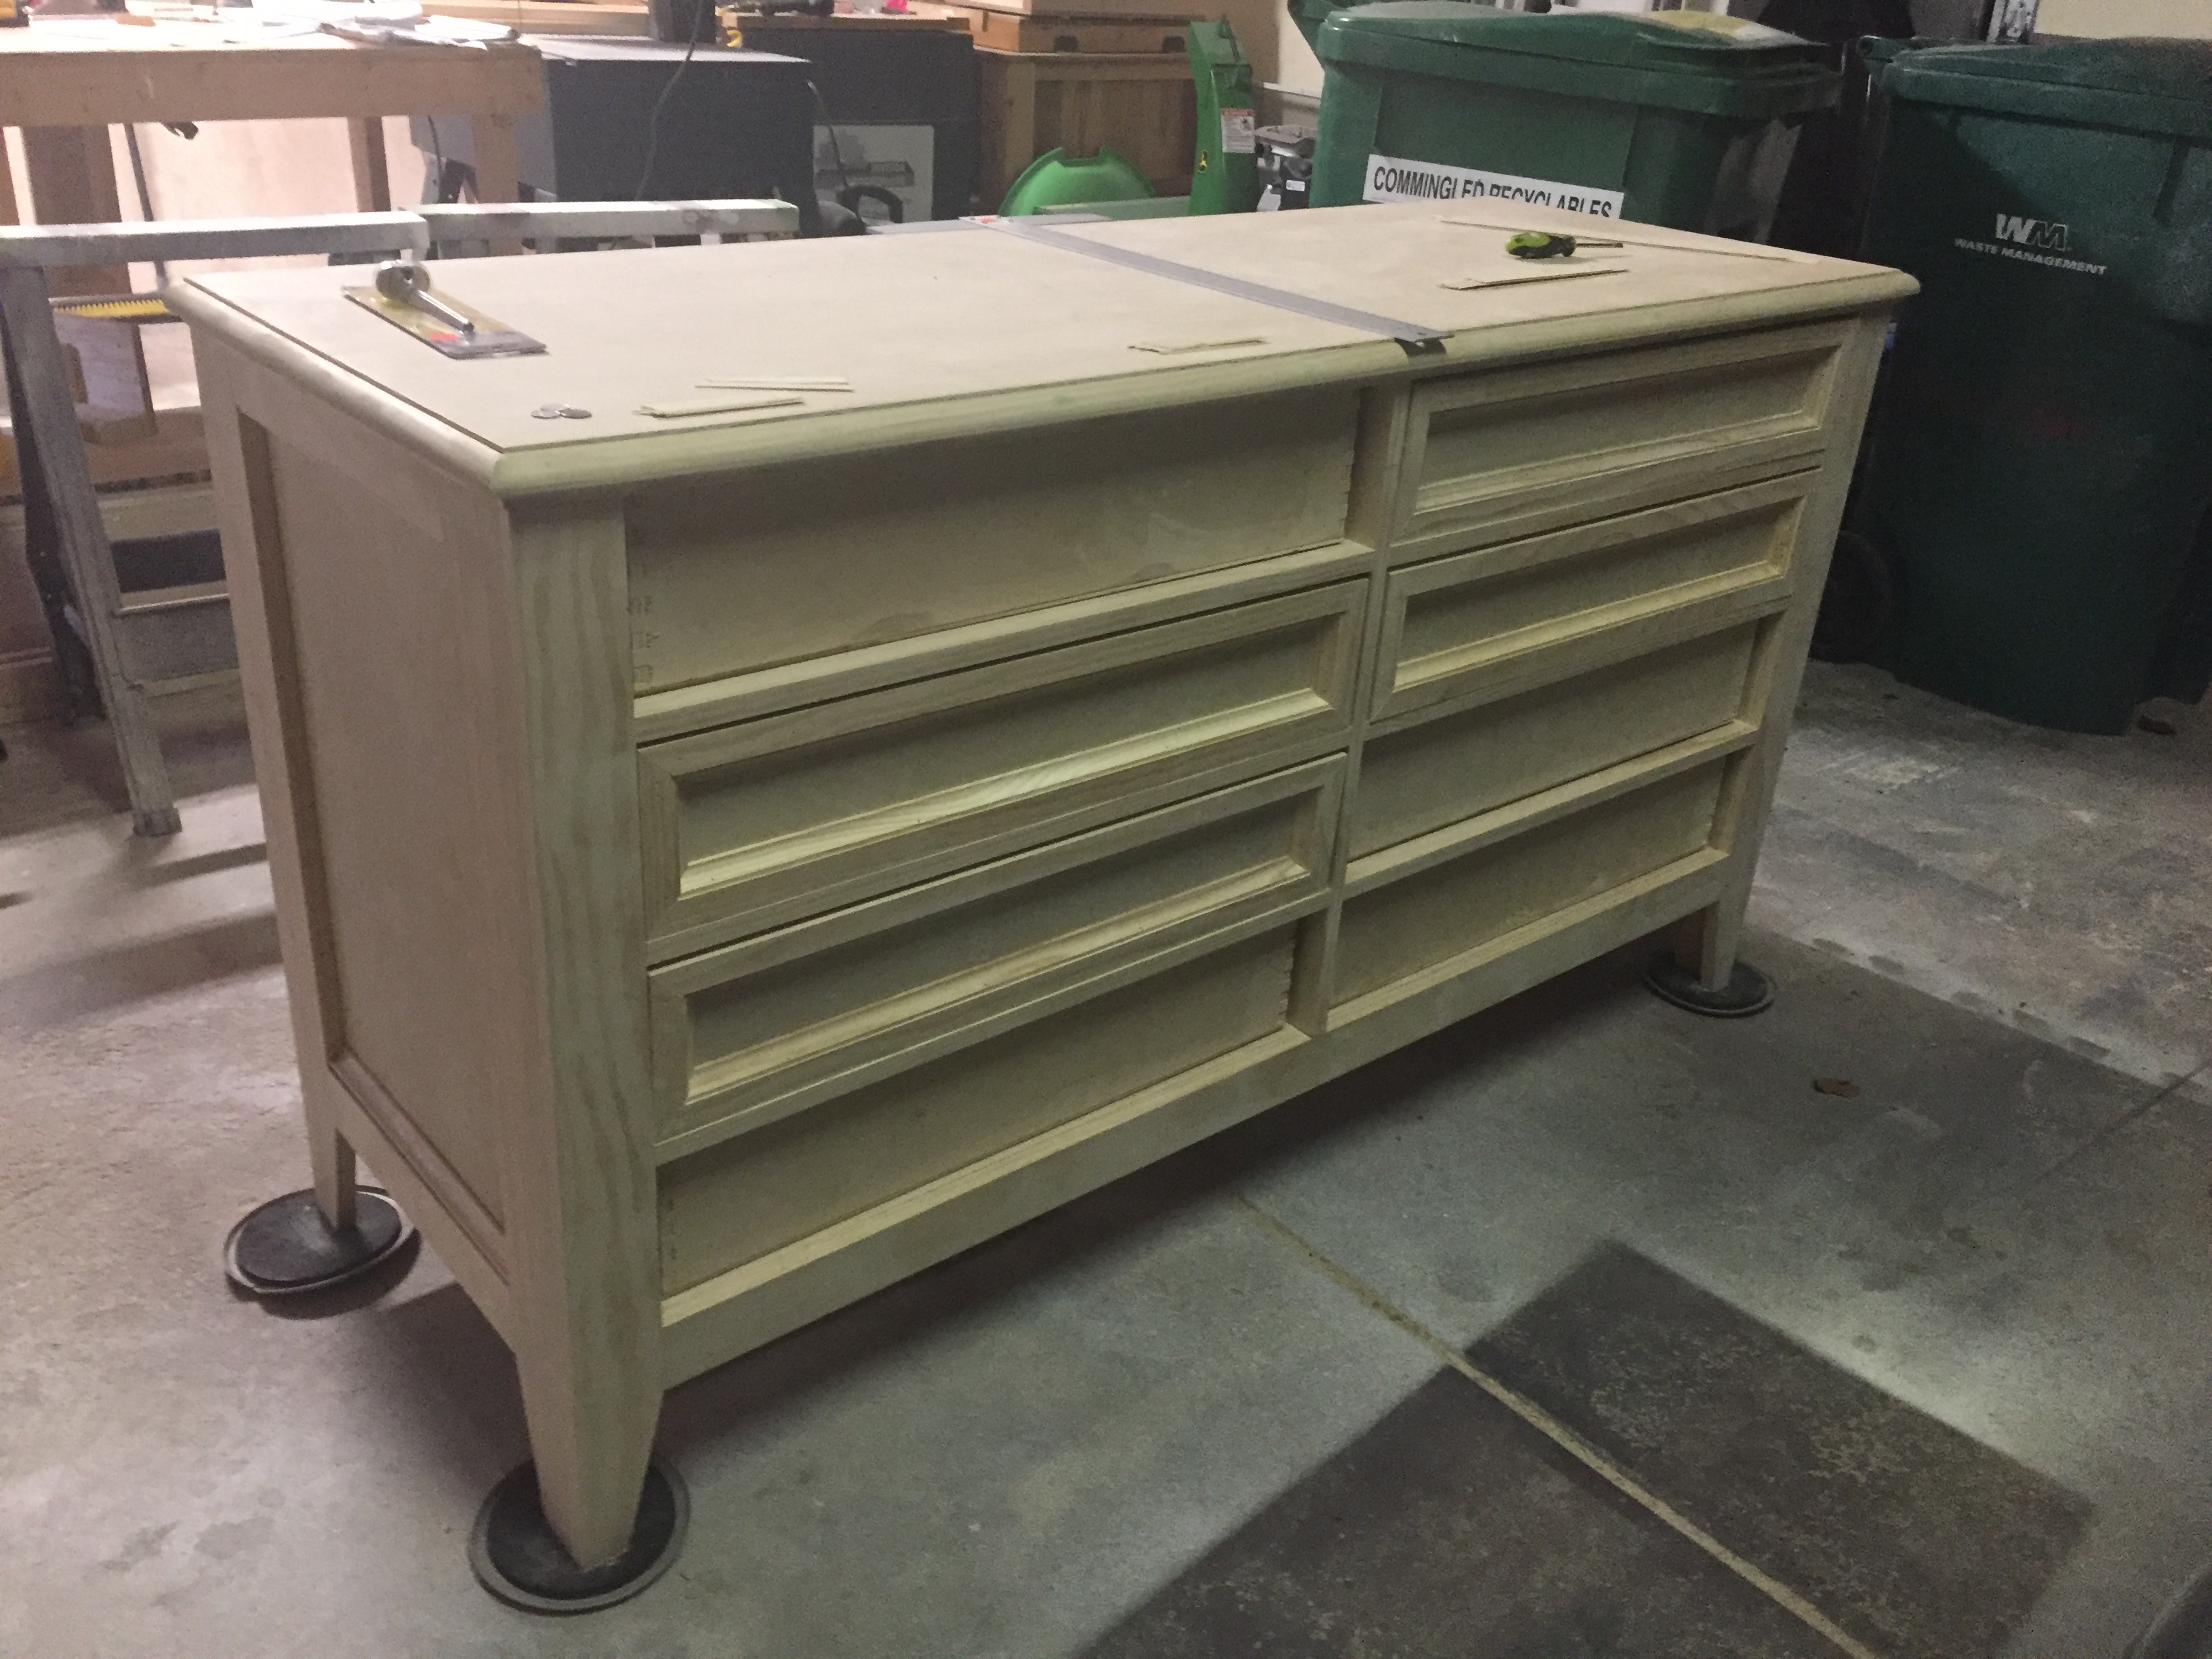
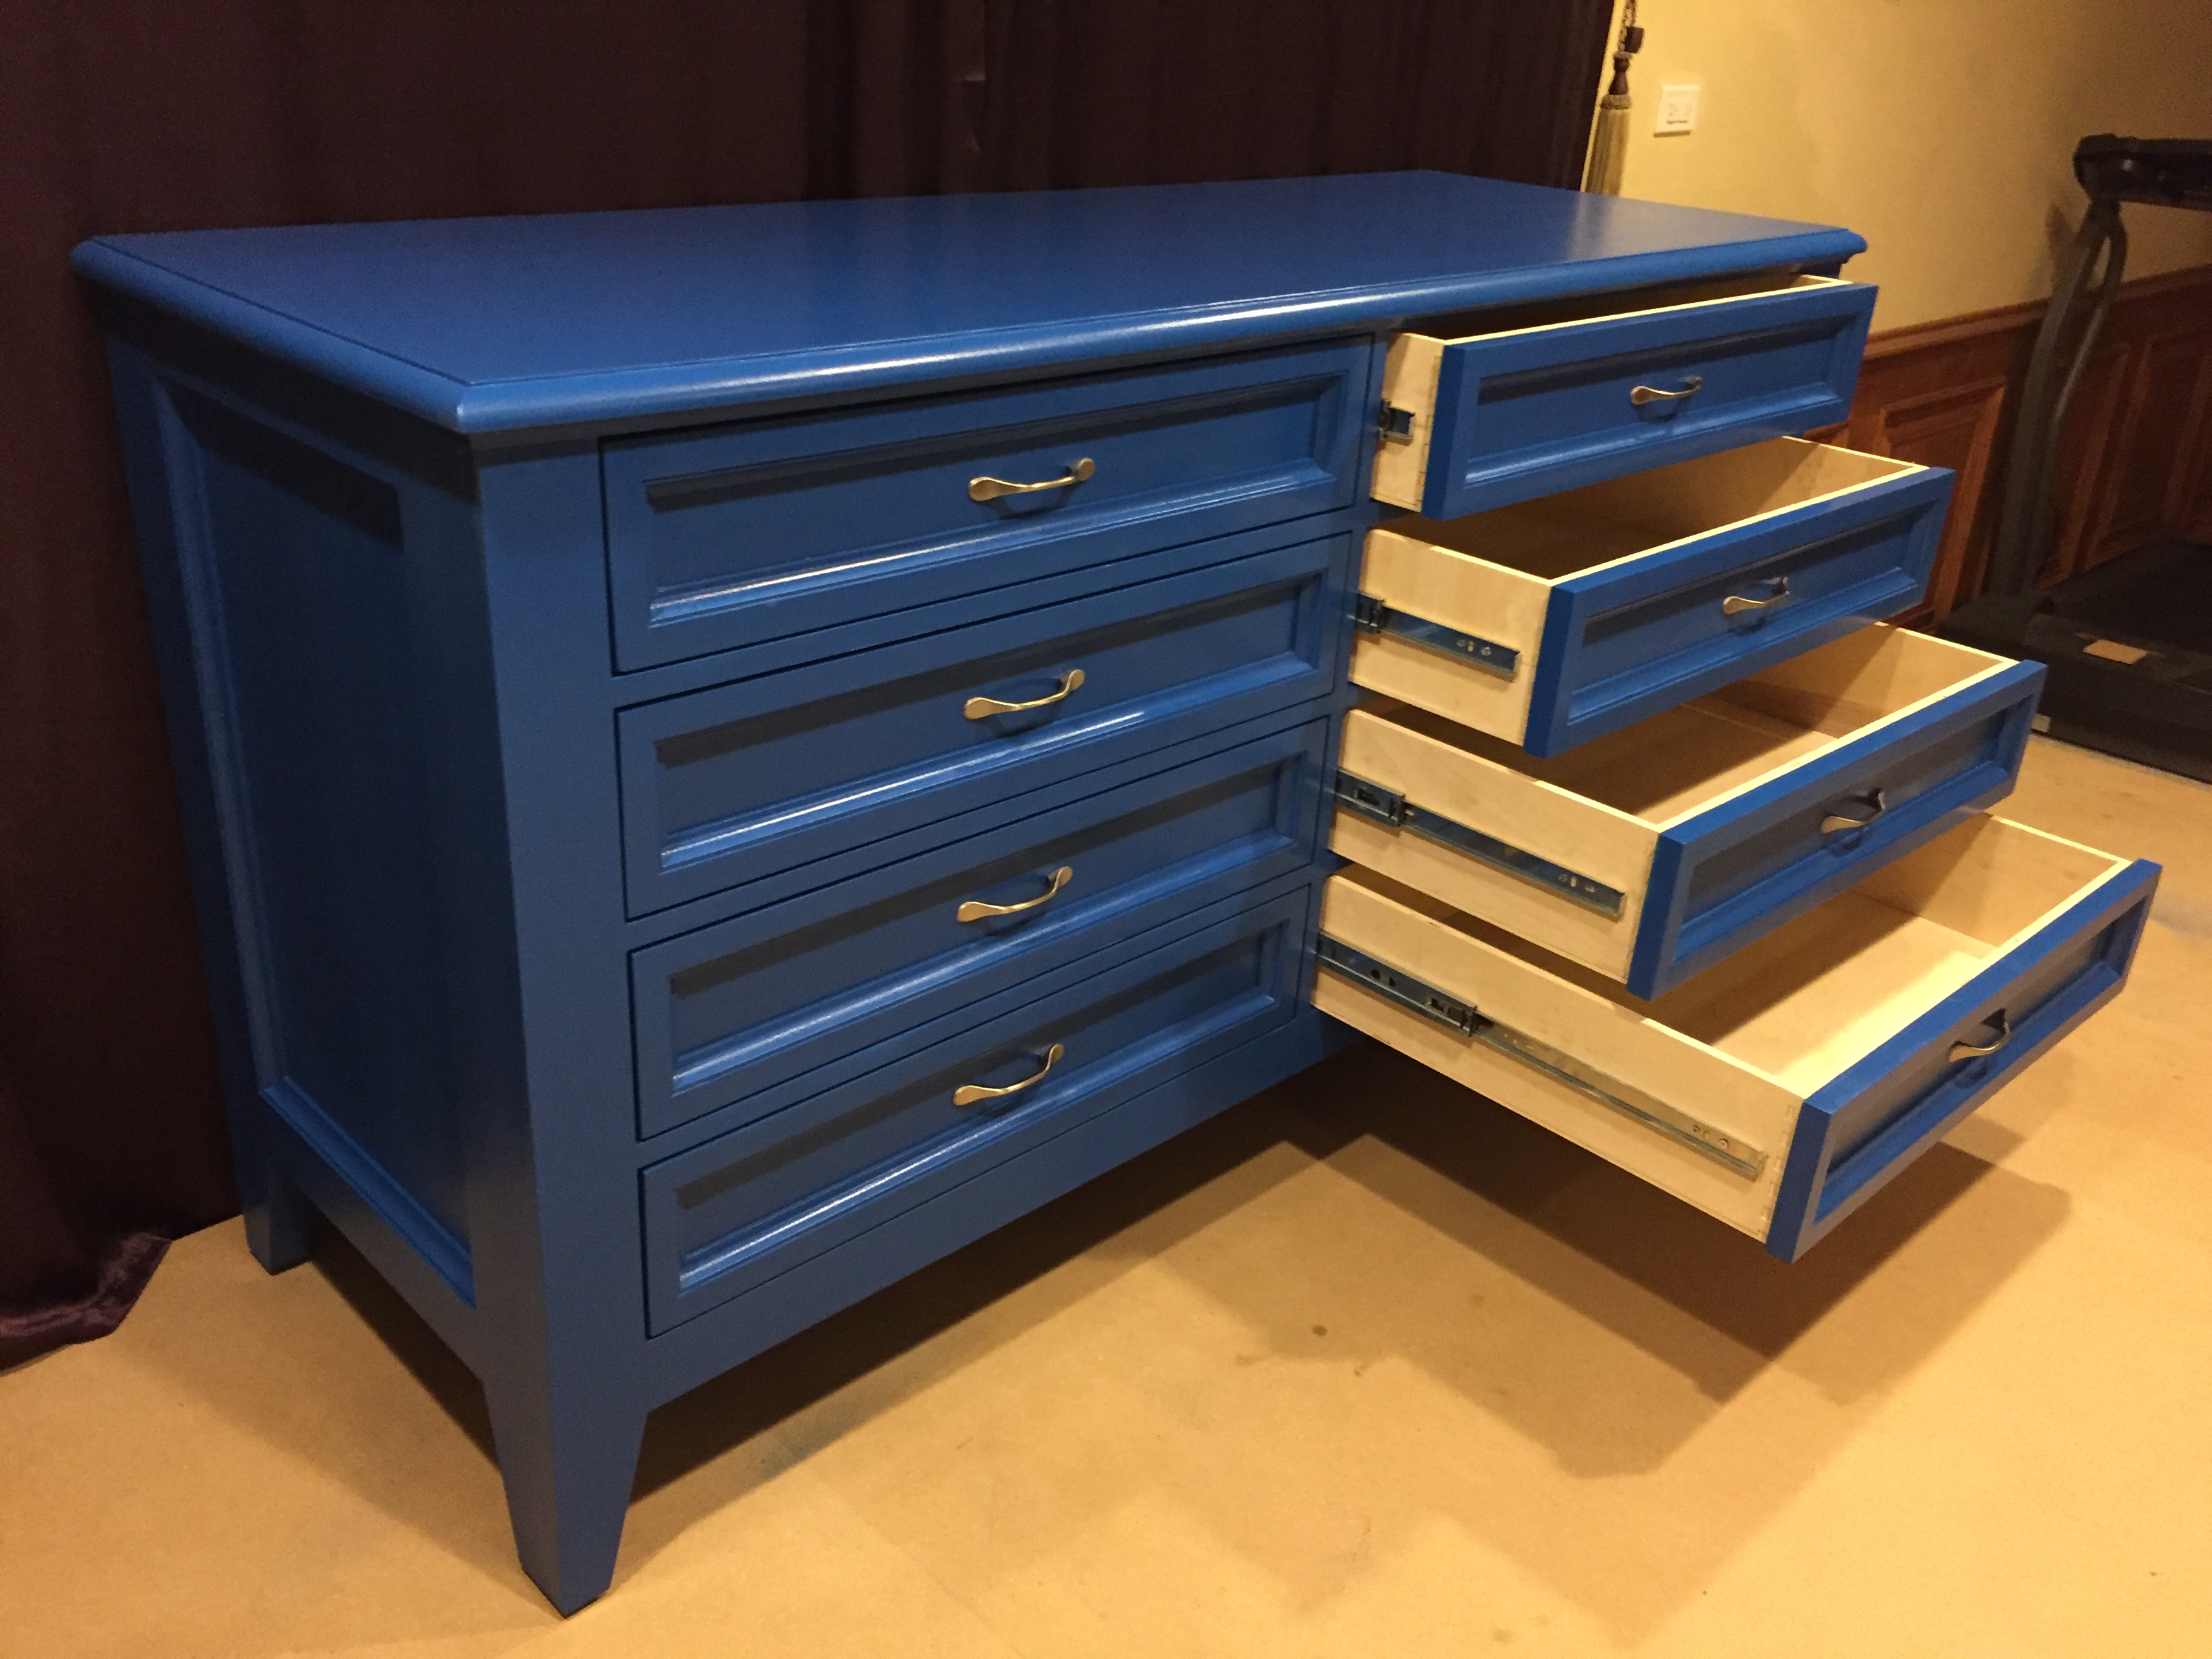
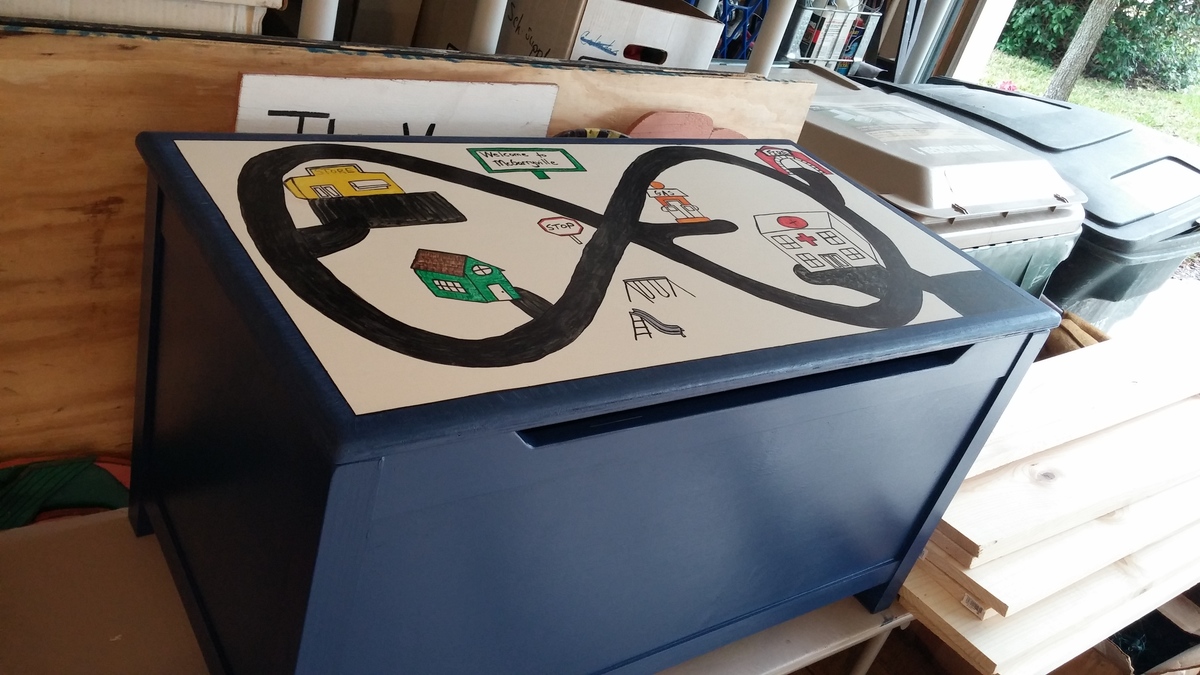
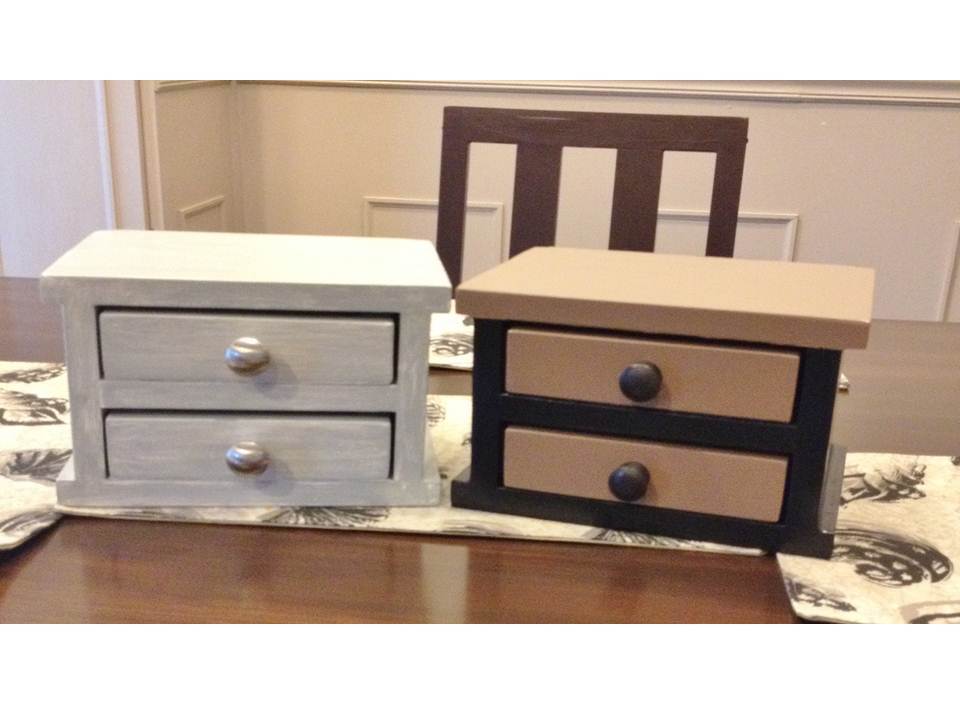
Garage shelving unit
![](/sites/default/files/FB_IMG_1452183318441.jpg)
We made this peace 12 feet long, the hardest part was to find straight boards at home depot and adjust the feet because of an uneven garage floor. It was my first big project and hubby helped so I can't take all the credits :)
![](/sites/default/files/FB_IMG_1452183371277.jpg)
We made this peace 12 feet long, the hardest part was to find straight boards at home depot and adjust the feet because of an uneven garage floor. It was my first big project and hubby helped so I can't take all the credits :)
Went with regular cheap studs and extended the couch to make 4-across seating. Probably should have used better wood because it was hard to find studs that were straight and not full of burrs and knotholes! AND...studs are actually 1.5" x 3.5", so keep that in mind if you go that route when you're cutting from detailed plans because your dimensions will be off slightly. Staining and adding spar urethane coat took the longest amount of time. Cushions are 24" x 24" from Lowe's. Wood = $80, Cushions = $180. A little extra for screws and a few pieces of hardware. This pic shows the couch without a back brace that I added later. It's a beast, too! After all that wood the couch probabaly weighs close to 150 pounds!
After building my workbench and some shelves to organize my makeshift wood shop, I went online to find practical first projects. Stumbled upon the Ana White site and really liked the simplicity of the pieces and the thoroughness of the plans (cut list, pictures, etc). Had the wood dimensioned at a local lumber yard and started building. Upon completing the first bench - sealed with a tinted Thompson’s water seal - found a local upholster to make the cushions. Now to find a place to put them that the wife approves. Build already approved by the pup (see last photo).
This was my very first project. I really like simple, rustic, boxy furniture. Modified the original Tryde side table plan to include additional supports near the bottom of each side. I will be sure to NOT use clear gloss poly on future projects. Way too shiny for my taste. It was leftover from some wood flooring that I refinished, so I took the cheap way out. Cut and assembled it in about 5 hours. The sanding, staining, finishing took me forever. I learned a lot though, and will probably cut that time in half next time.
Mon, 11/07/2011 - 06:31
It looks beautiful, but if you want to tone down the gloss just sand with extra fine steel wool or sandpaper (400-600 grit). This will give it a satin (not semigloss) finish.
Mon, 11/07/2011 - 08:10
Thanks Claudia! Good tip, I'll try that. On future projects, I think I'll do a little more distressing and experiment with layering a couple different shades of stain, but overall, I'm happy with it and look forward to doing some more.
In reply to Instructions? by Guest (not verified)
Wed, 12/28/2011 - 09:38
It's right above on this page where it says "From plan" - click Tryde Side Table, it's a link.
I modified the modern patchwork dresser plans to create this media console. Used three different stains for the door fronts and painted the interior a dark gray. Wanted two doors instead of drawers but wanted to maintain the original look. I created a faux drawer front with a flush hinge.
Tue, 10/29/2013 - 11:37
I've been wanting to make that into a media console ever since Ana first posted the plans. I'm glad to know that it can be done. Yours looks really good!
Plans are not exact online recomend buying one more 2x2 for front legs.
I used (2) 1x2 from front legs on each side nailer them together with brand nailer makeing some other measurements diffrent.
This project took me about 4 hours with assemble and sanding
I love this vanity, It is one of the first serious pieces of Ana's that I have made. We altered the leg from the 4X4 posts to a premade turned leg, which we think turned out awesome. Mom was a real skeptic before we started, but now she is hooked too!
I made the 4 chairs to complete the dining suite. The table was made from the X based pedestal table plan.
The timber was all cut from 200mm x 50mm pine sleepers and finished with Cabots clear finish.
Mon, 03/06/2023 - 13:35
What a beautiful set! Thank you so much for sharing your amazing work:)
I actually made this table to fit inside a wardrobe as we needed some shelf storage space. It worked out well!
Barn Greenhouse
I designed this bookshelf/art center as a baby gift for a friend. The windows are shelves with motion sensor lights. When opened the desk lifts up to provide an art station or reading area.
Thu, 02/16/2023 - 12:10
I am just now seeing this! WOW, that is so neat and clever, thank you so much for sharing.
I took the Charcuterie board and turned it into a S'mores board. Have given them away to neighbors as gifts and they love them.
Mon, 03/13/2023 - 15:22
Love this idea, such a fun gift! Thank you for sharing.
I was looking to make my foyer a bit more kid friendly while still being coze and practical. I came across the modern farm bench plans, and I knew it was the perfect fit!
I have done a few other plans, but all with help. This project I started around 9 pm (after bedtime) one night, and by 11:30, it was completely built and stained. My son was climbing all over it by the next morning :)
I love it - I think it adds the perfect bit of rustic charm to my foyer, while still giving my little guy a sturdy spot to get his shoes/coat on. I have since added baskets underneath for winter storage.
This will definitely not be my last build! Thanks Ana!
Took 4- Hours to complete and cost about $140 in materials. Used pine boards and kreg jig.
I made a sliding mirror cabinet for each of my 5 girls as Christmas gifts this year. I added a stencled back and provided lots of hooks for hanging jewlery and varied shelf distance for hairs sprays, lotions and nail polishes. They love them and filled them full. Thanks so much for the great idea and plans.
I made this bench using reclaimed 2x4's. I made a video of the project.
My husband built this Adirondack chairs. They are so comfortable.
I have allergies to wood dust, which can make working in my shop a challenge. To help deal with the large amount of dust I've been kicking up lately with my table saw, I built my own dust collection system. It's not as good as a professional dust collector, but it's pretty good, and it was really easy to build.
Sun, 12/04/2011 - 07:13
On facebook somebody suggested that putting the port for the vacuum in the center would improve the vortex action. That would match the configuration of the vortex collectors, which draw from the center as well.
We loved the first farmhouse bed we built so much, that we decided to build another one for our guest bed. We loved the red paint, and weren't too sure how to accent it, so we went with a planked feature wall. Just need to build some night stands and hang some pictures and our guest room should be complete!
Sat, 11/02/2013 - 22:15
Love the bed and the wall!! Where did you find your plank wood??
Sun, 11/03/2013 - 19:22
We didn't have any old distressed wood, so we bought pine tongue and groove from the hardware store and stained them ourselves. Then we just used a nail gun to attach them to the studs on the wall. It was surprisingly easy to do, just a bit time consuming. And nerve wrecking, we figured it would look either really good, or just awful! W are very pleased with how it turned out!
I love how this fits our space. I shrunk the measurements to help use up some of the scrap fence board pieces I had left over. Holding up to the pounding of a 2 year old and his legos pretty well.
This was a fun project which took me way too long, because we moved to a new house in the middle of it.