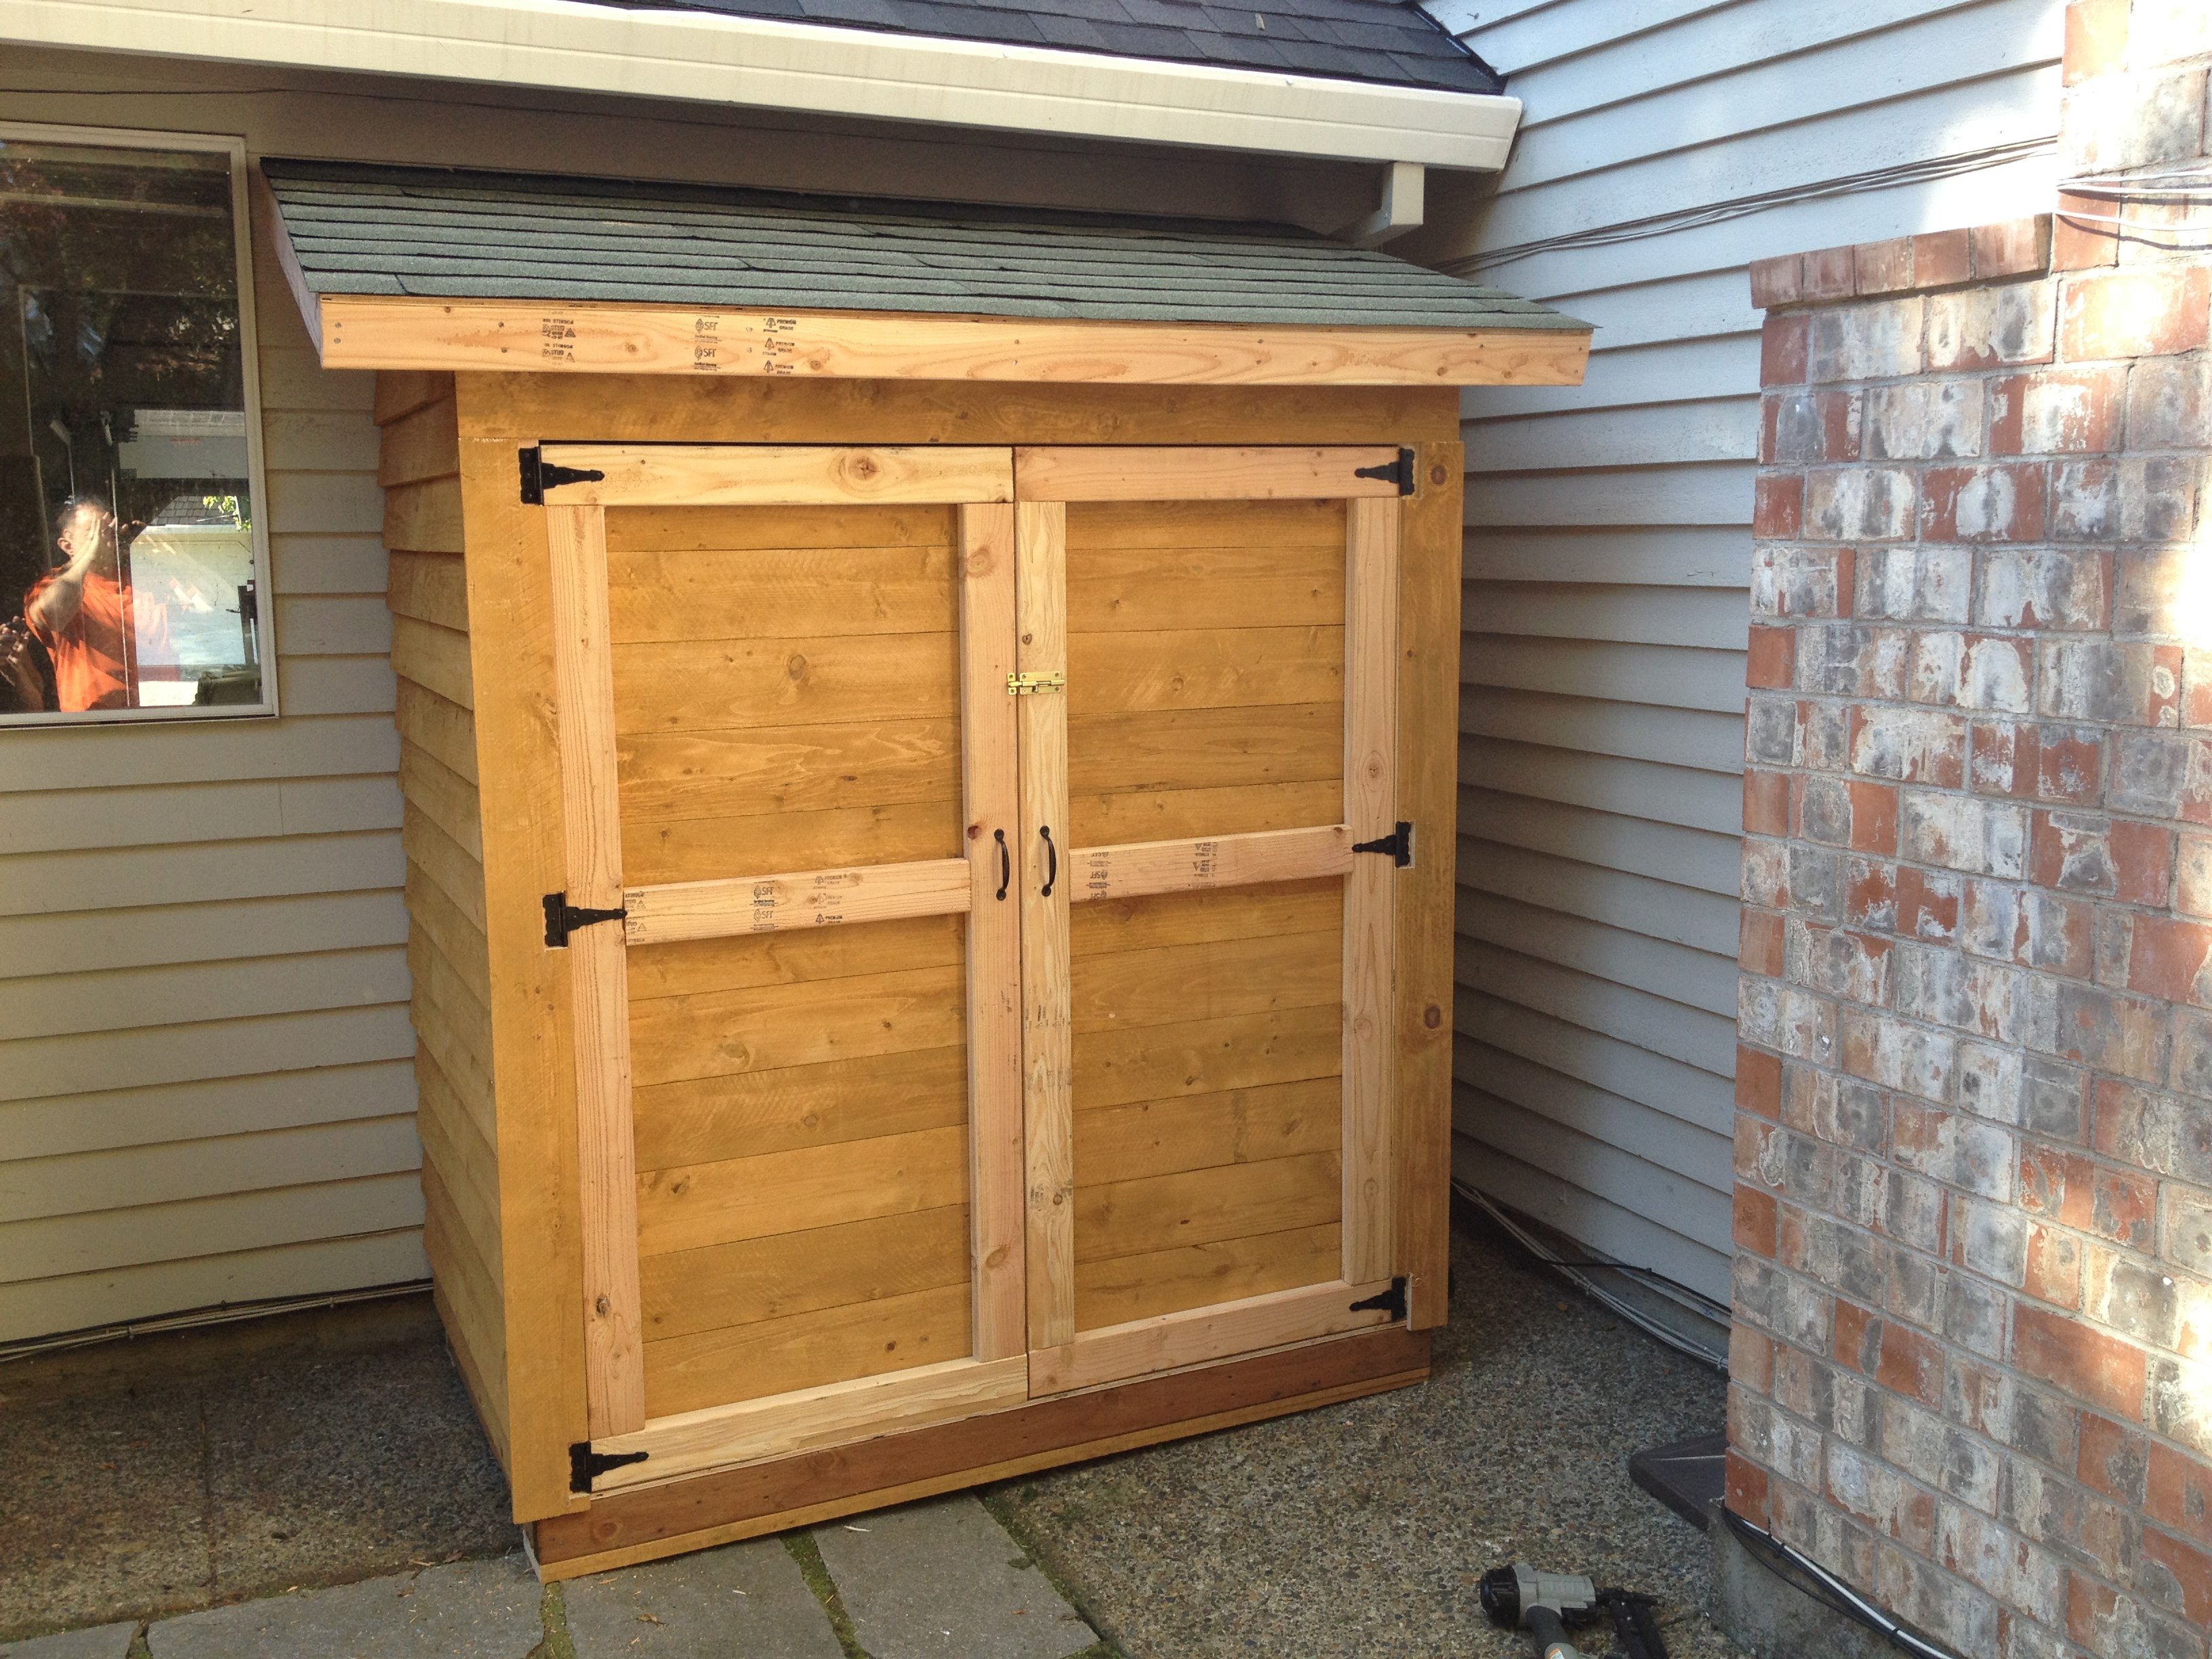
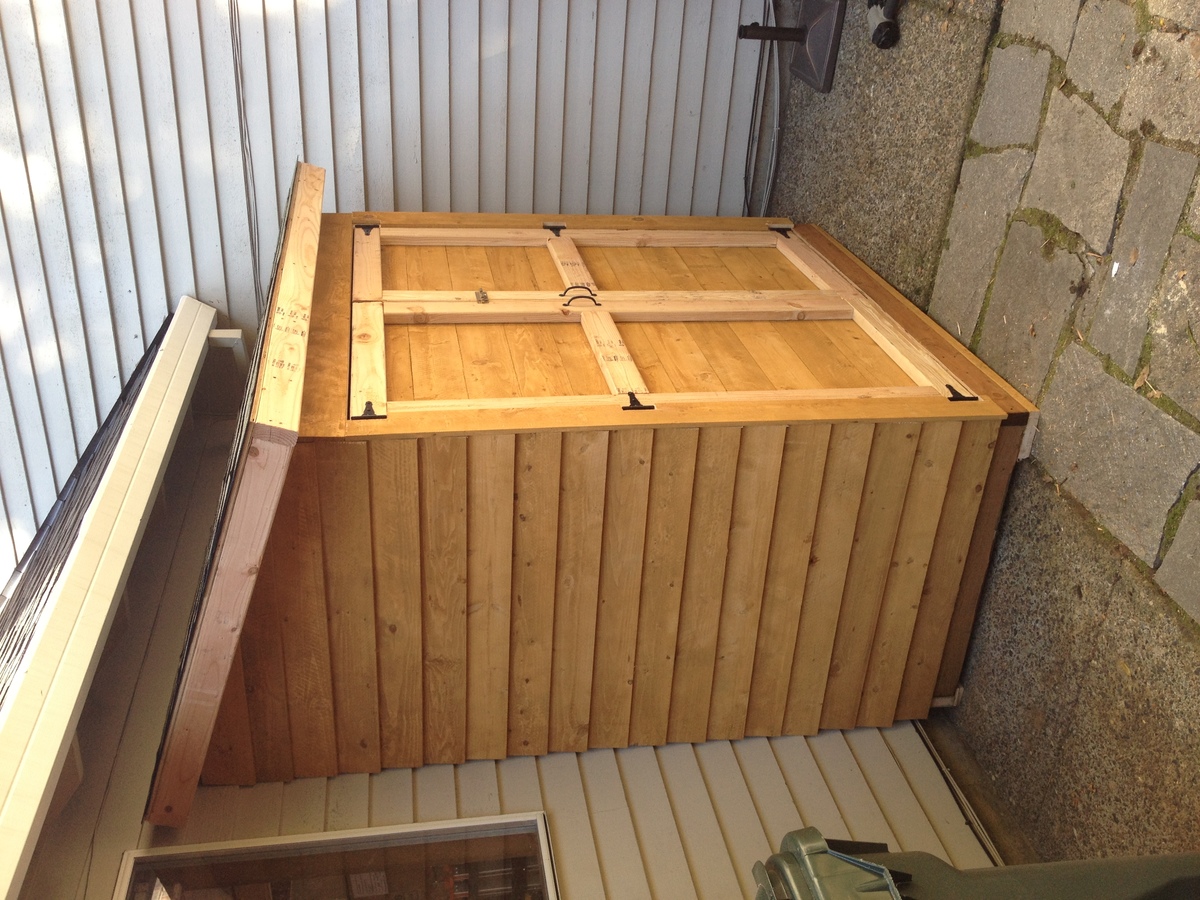
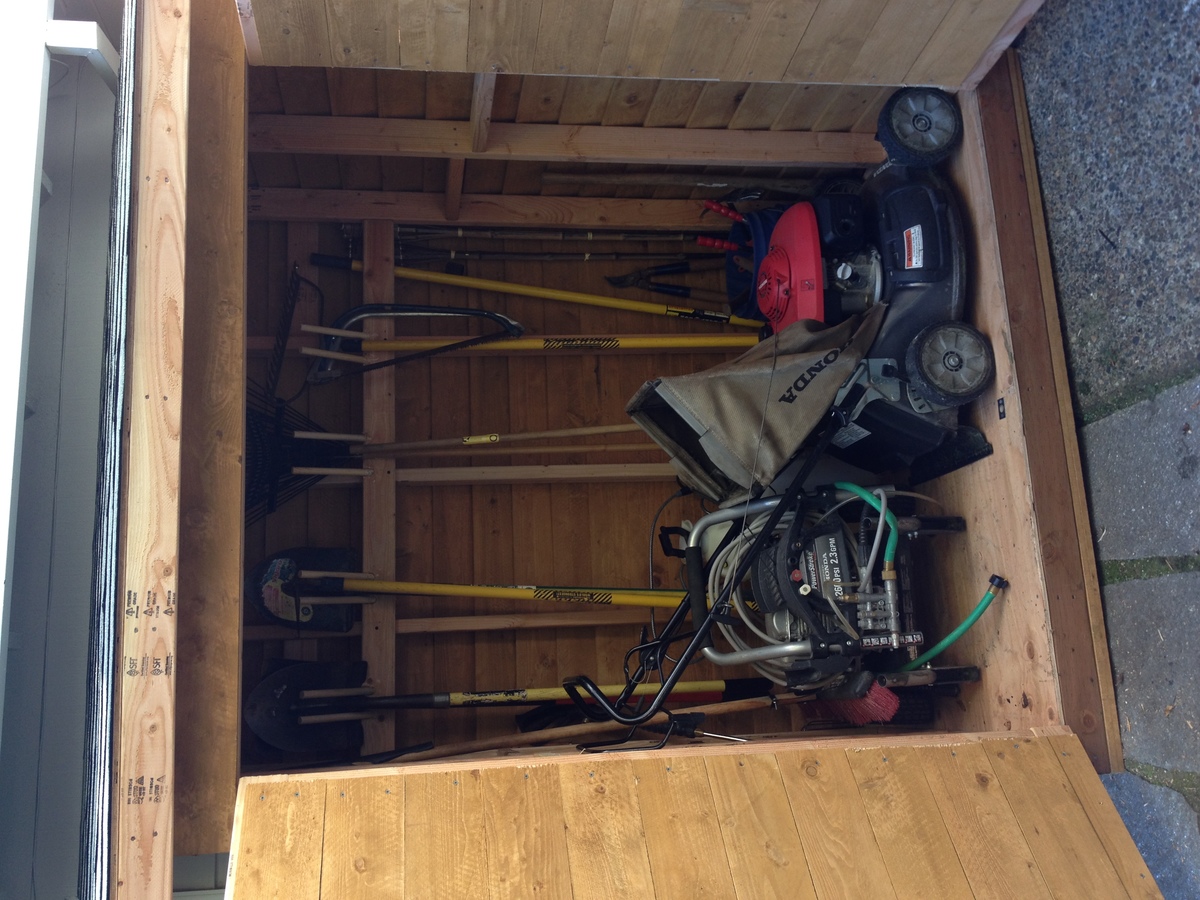
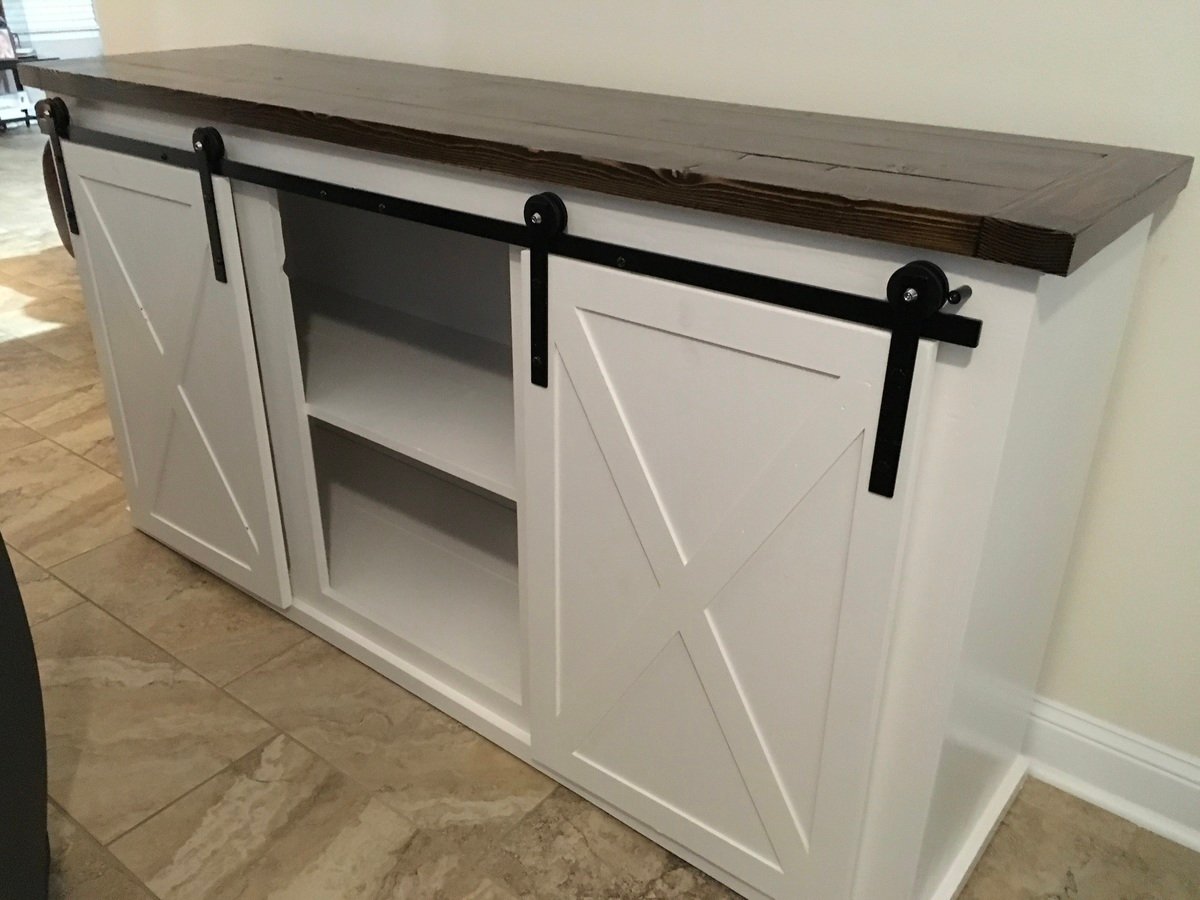
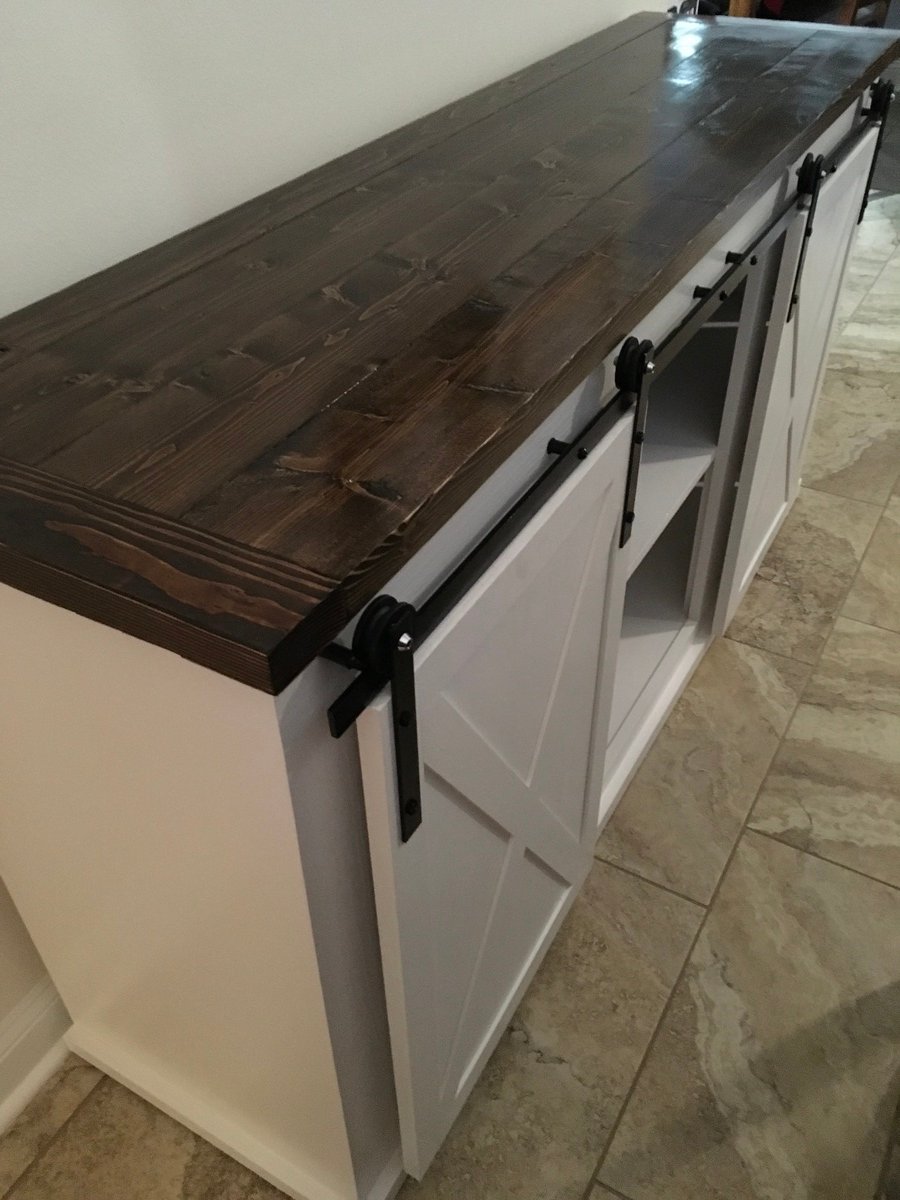
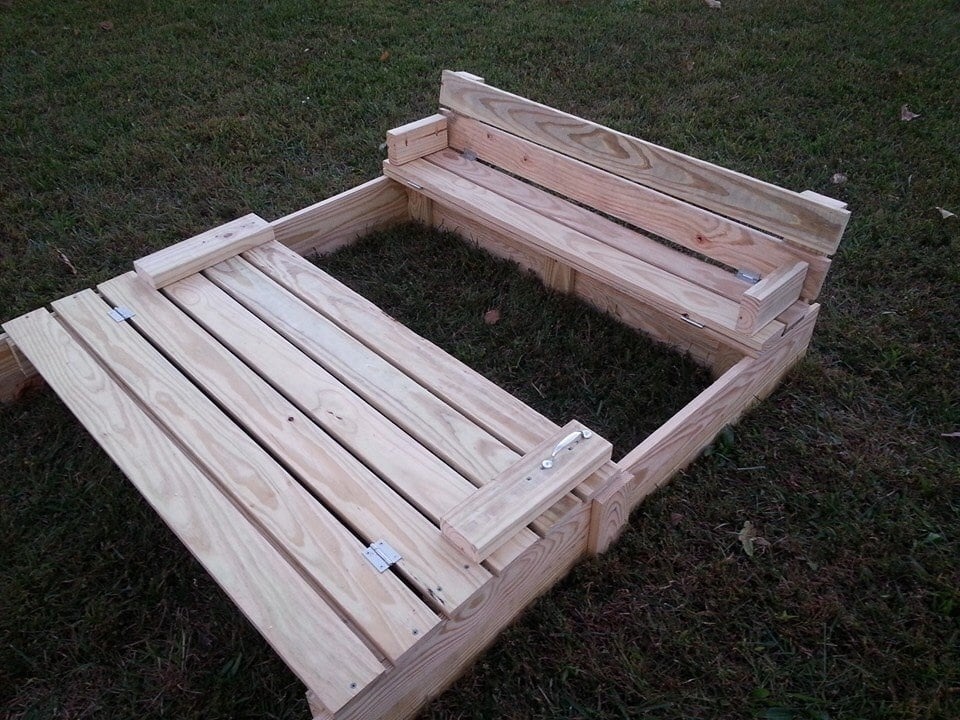
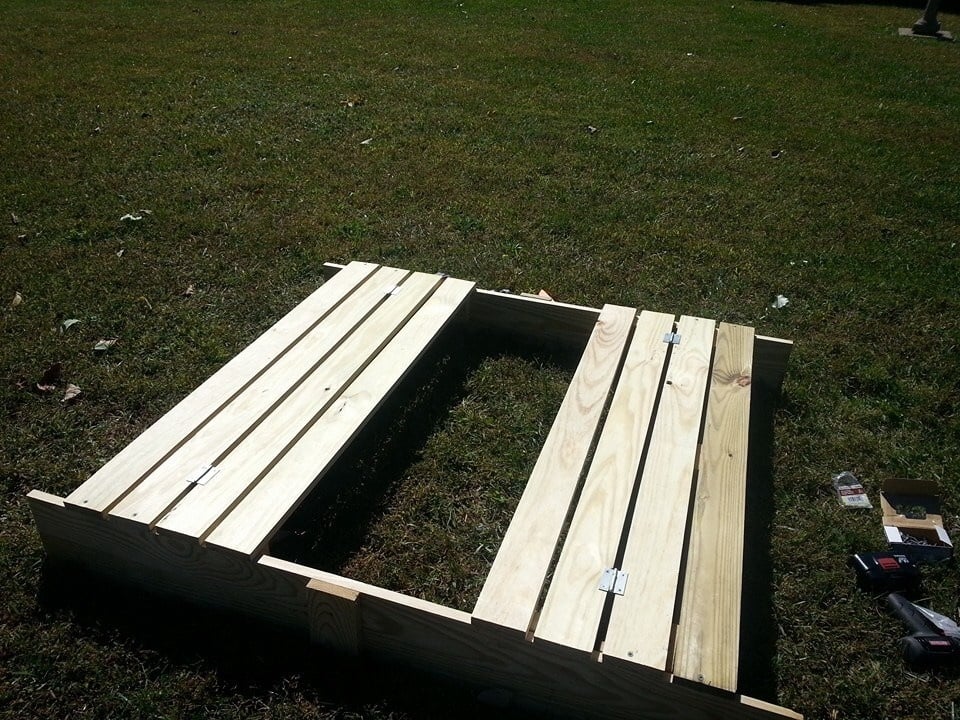
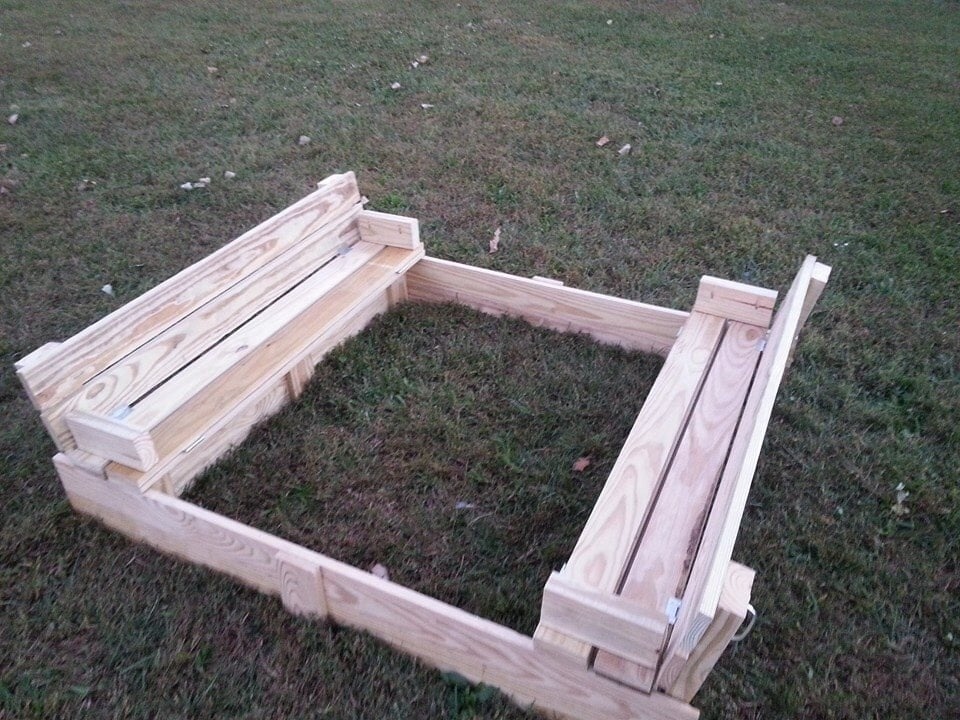
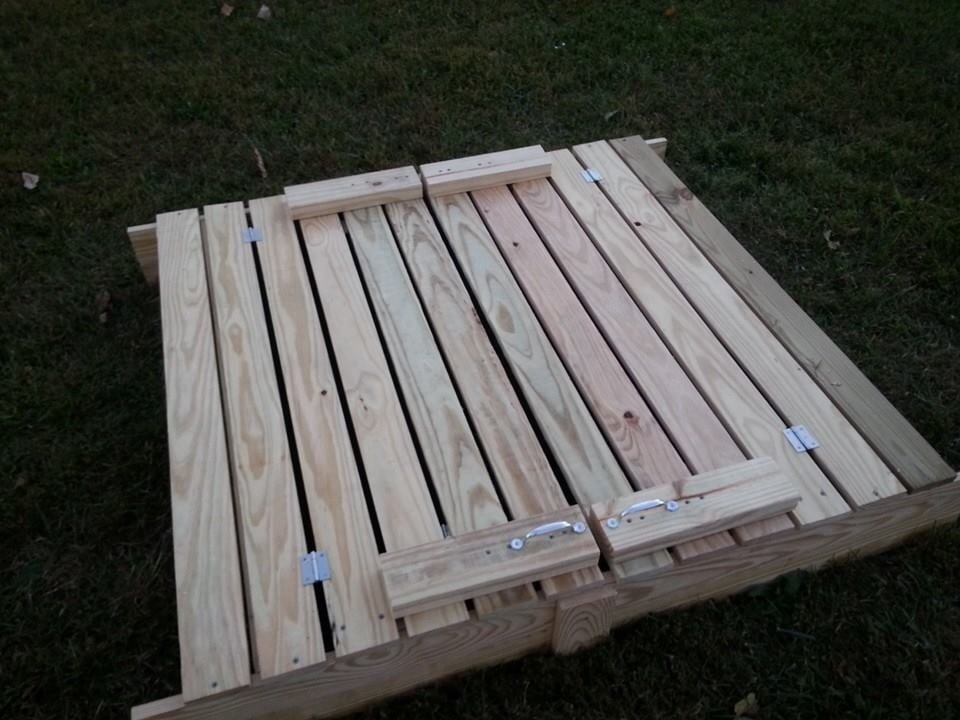
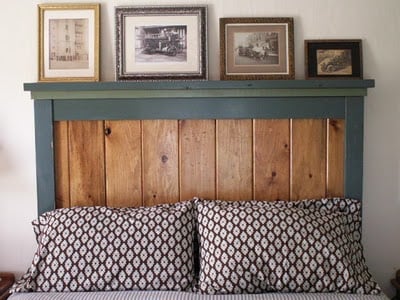
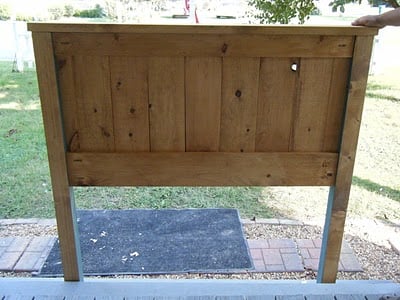
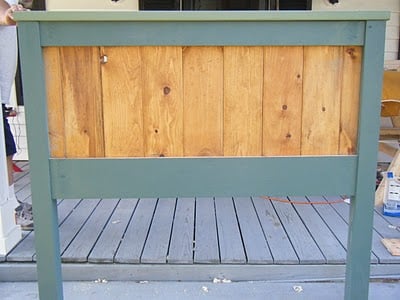
Built this in a weekend, took about 1.5 days. I ended us using 2x4's instead of 2x2's, I think it resulted in a much stronger frame. I also built a base for it to sit on. I got pre-stained cedar fence boards, and overlapped them 1" instead of a 1/2". Pretty easy project, I ended up siding the back on the ground, installing it, and then adding the side walls without the siding (just the framing), and then sided them in place. The doors work perfectly. I took my total inside dimension between walls, made sure the opening was square, and then divided that by two to get the width of each door. I then took another 1/4" off that, so each door had an additional 1/8" gap, it worked perfectly. When I set the doors, I put them on a piece of roofing closed as I screwed in the hinges, and then opened them and removed the roofing. I opted to run the door siding horizontal to use up a bunch of waste wood. I'm happy with the outcome. I also found some 6" self starting lag bolts and lagged through the back of the shed into studs (through the siding) into the garage behind it.


Comments
loniwolfe
Tue, 10/04/2011 - 09:31
Very Nice!
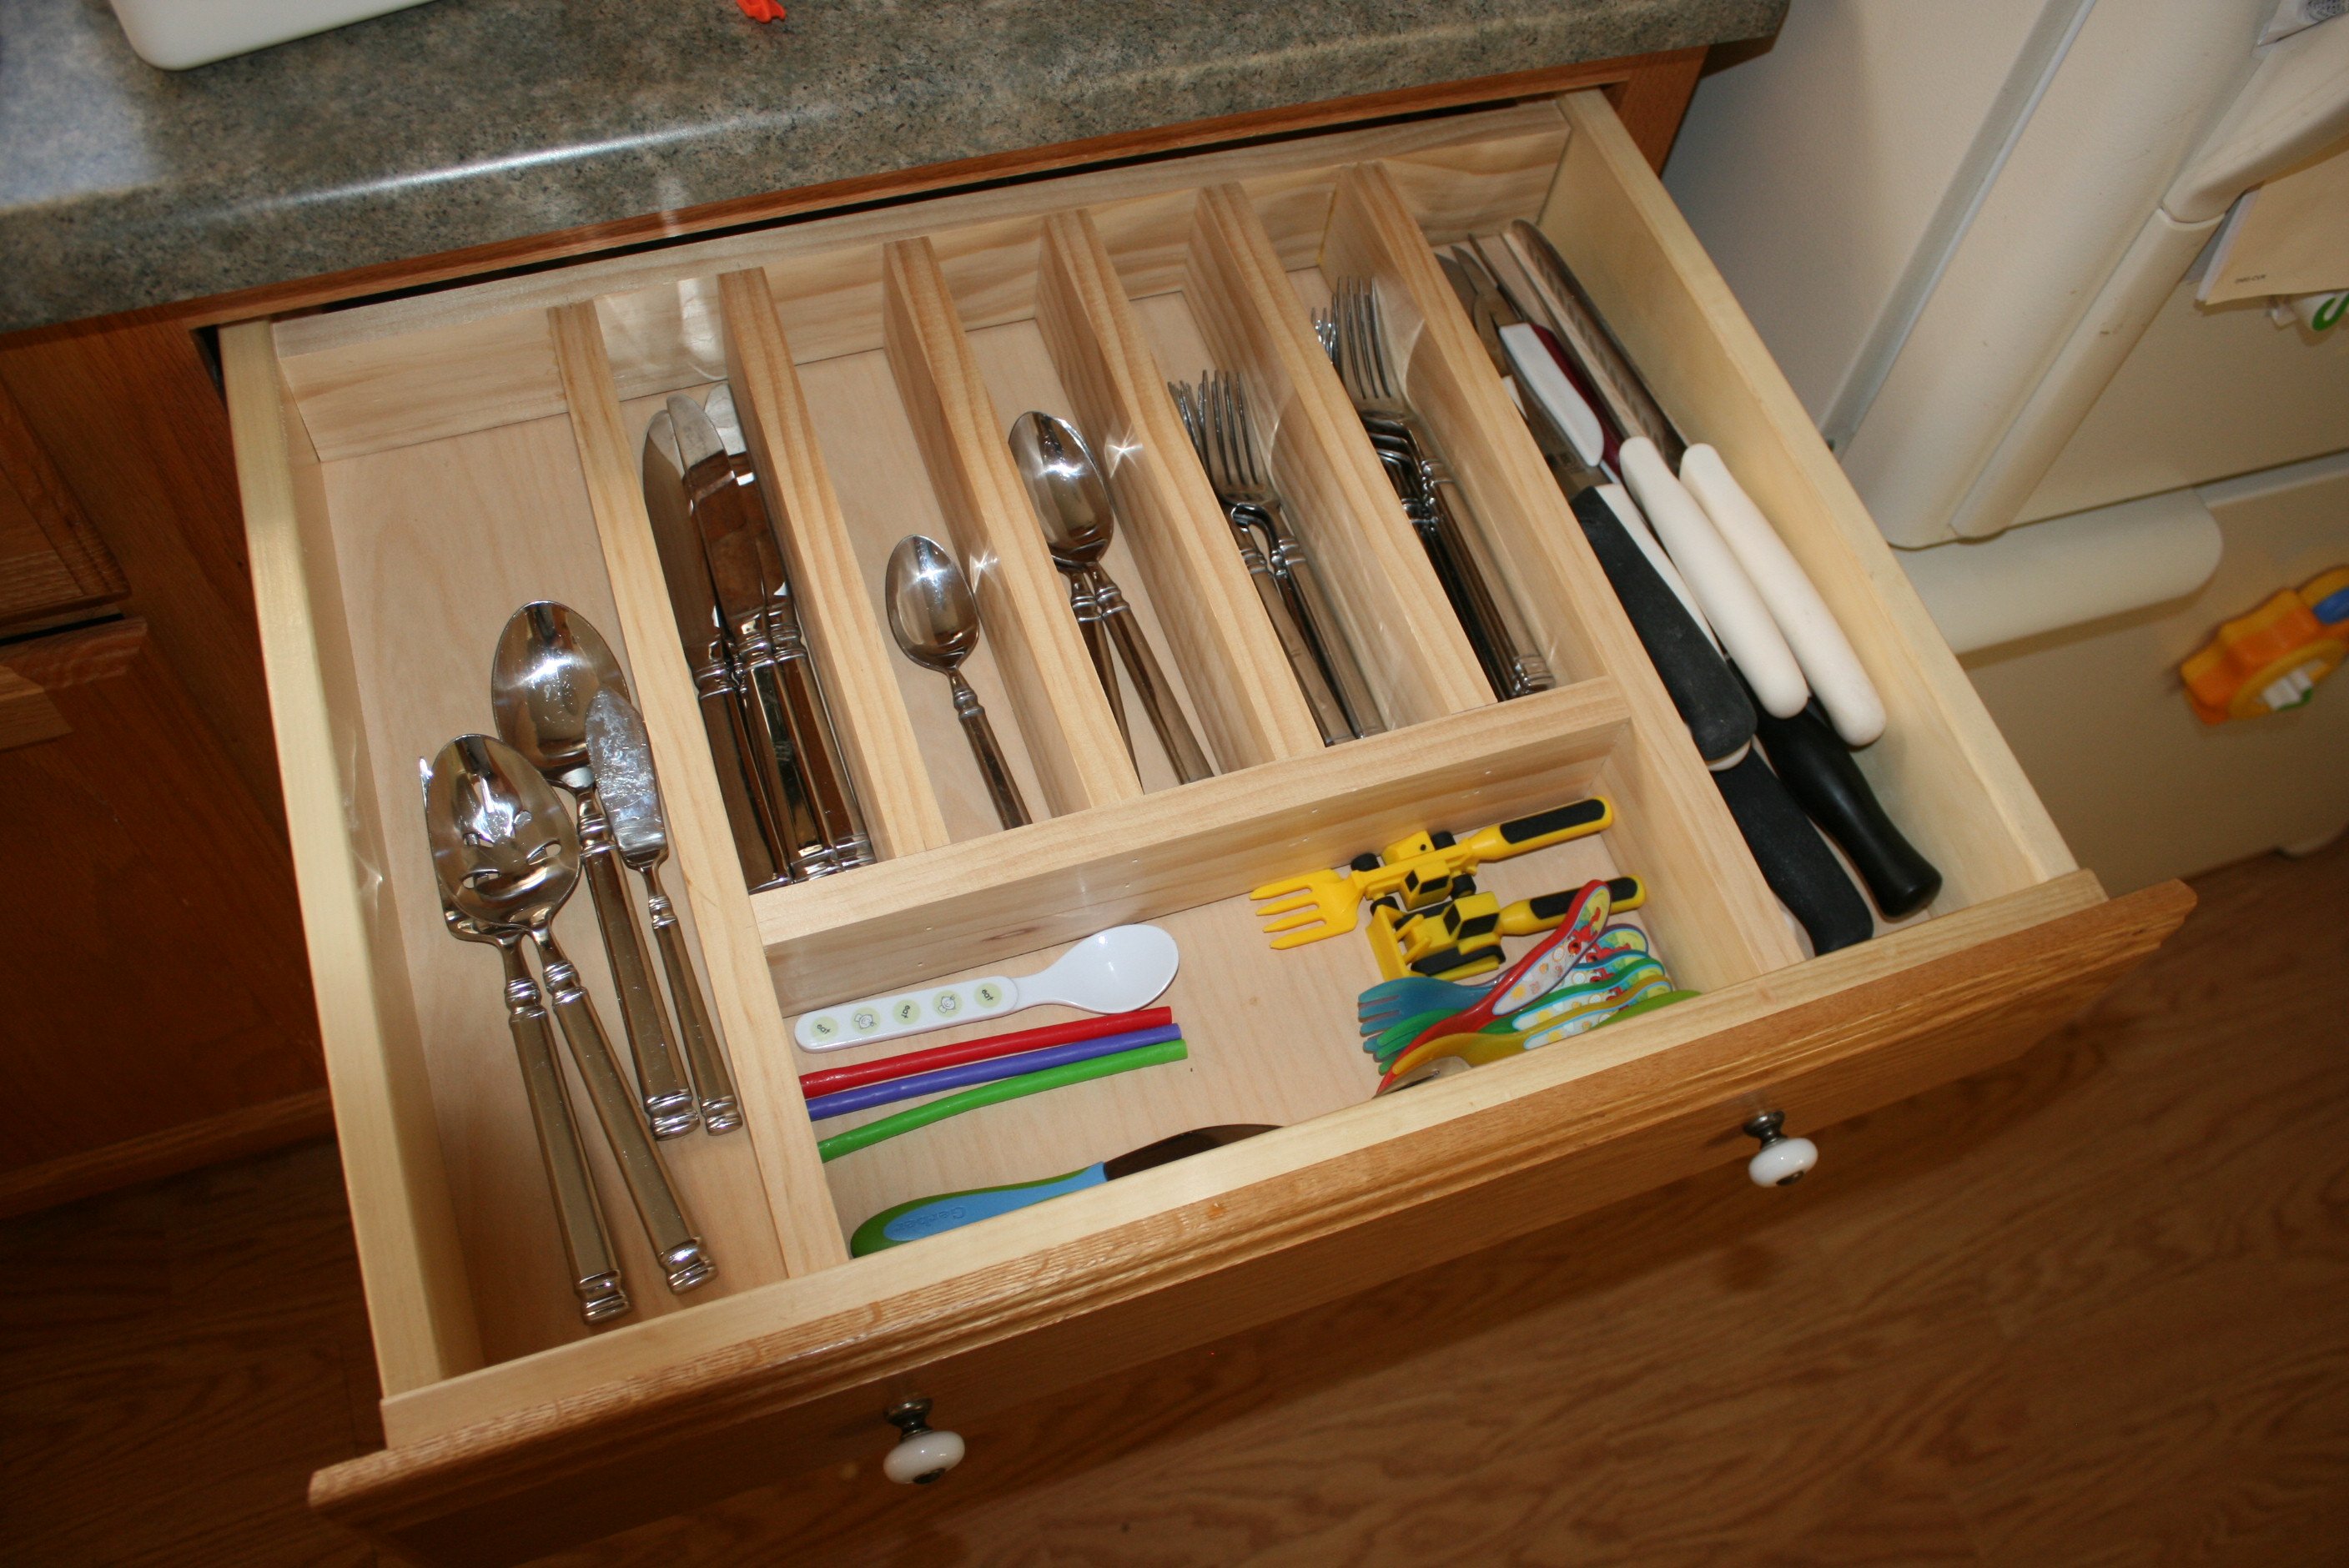
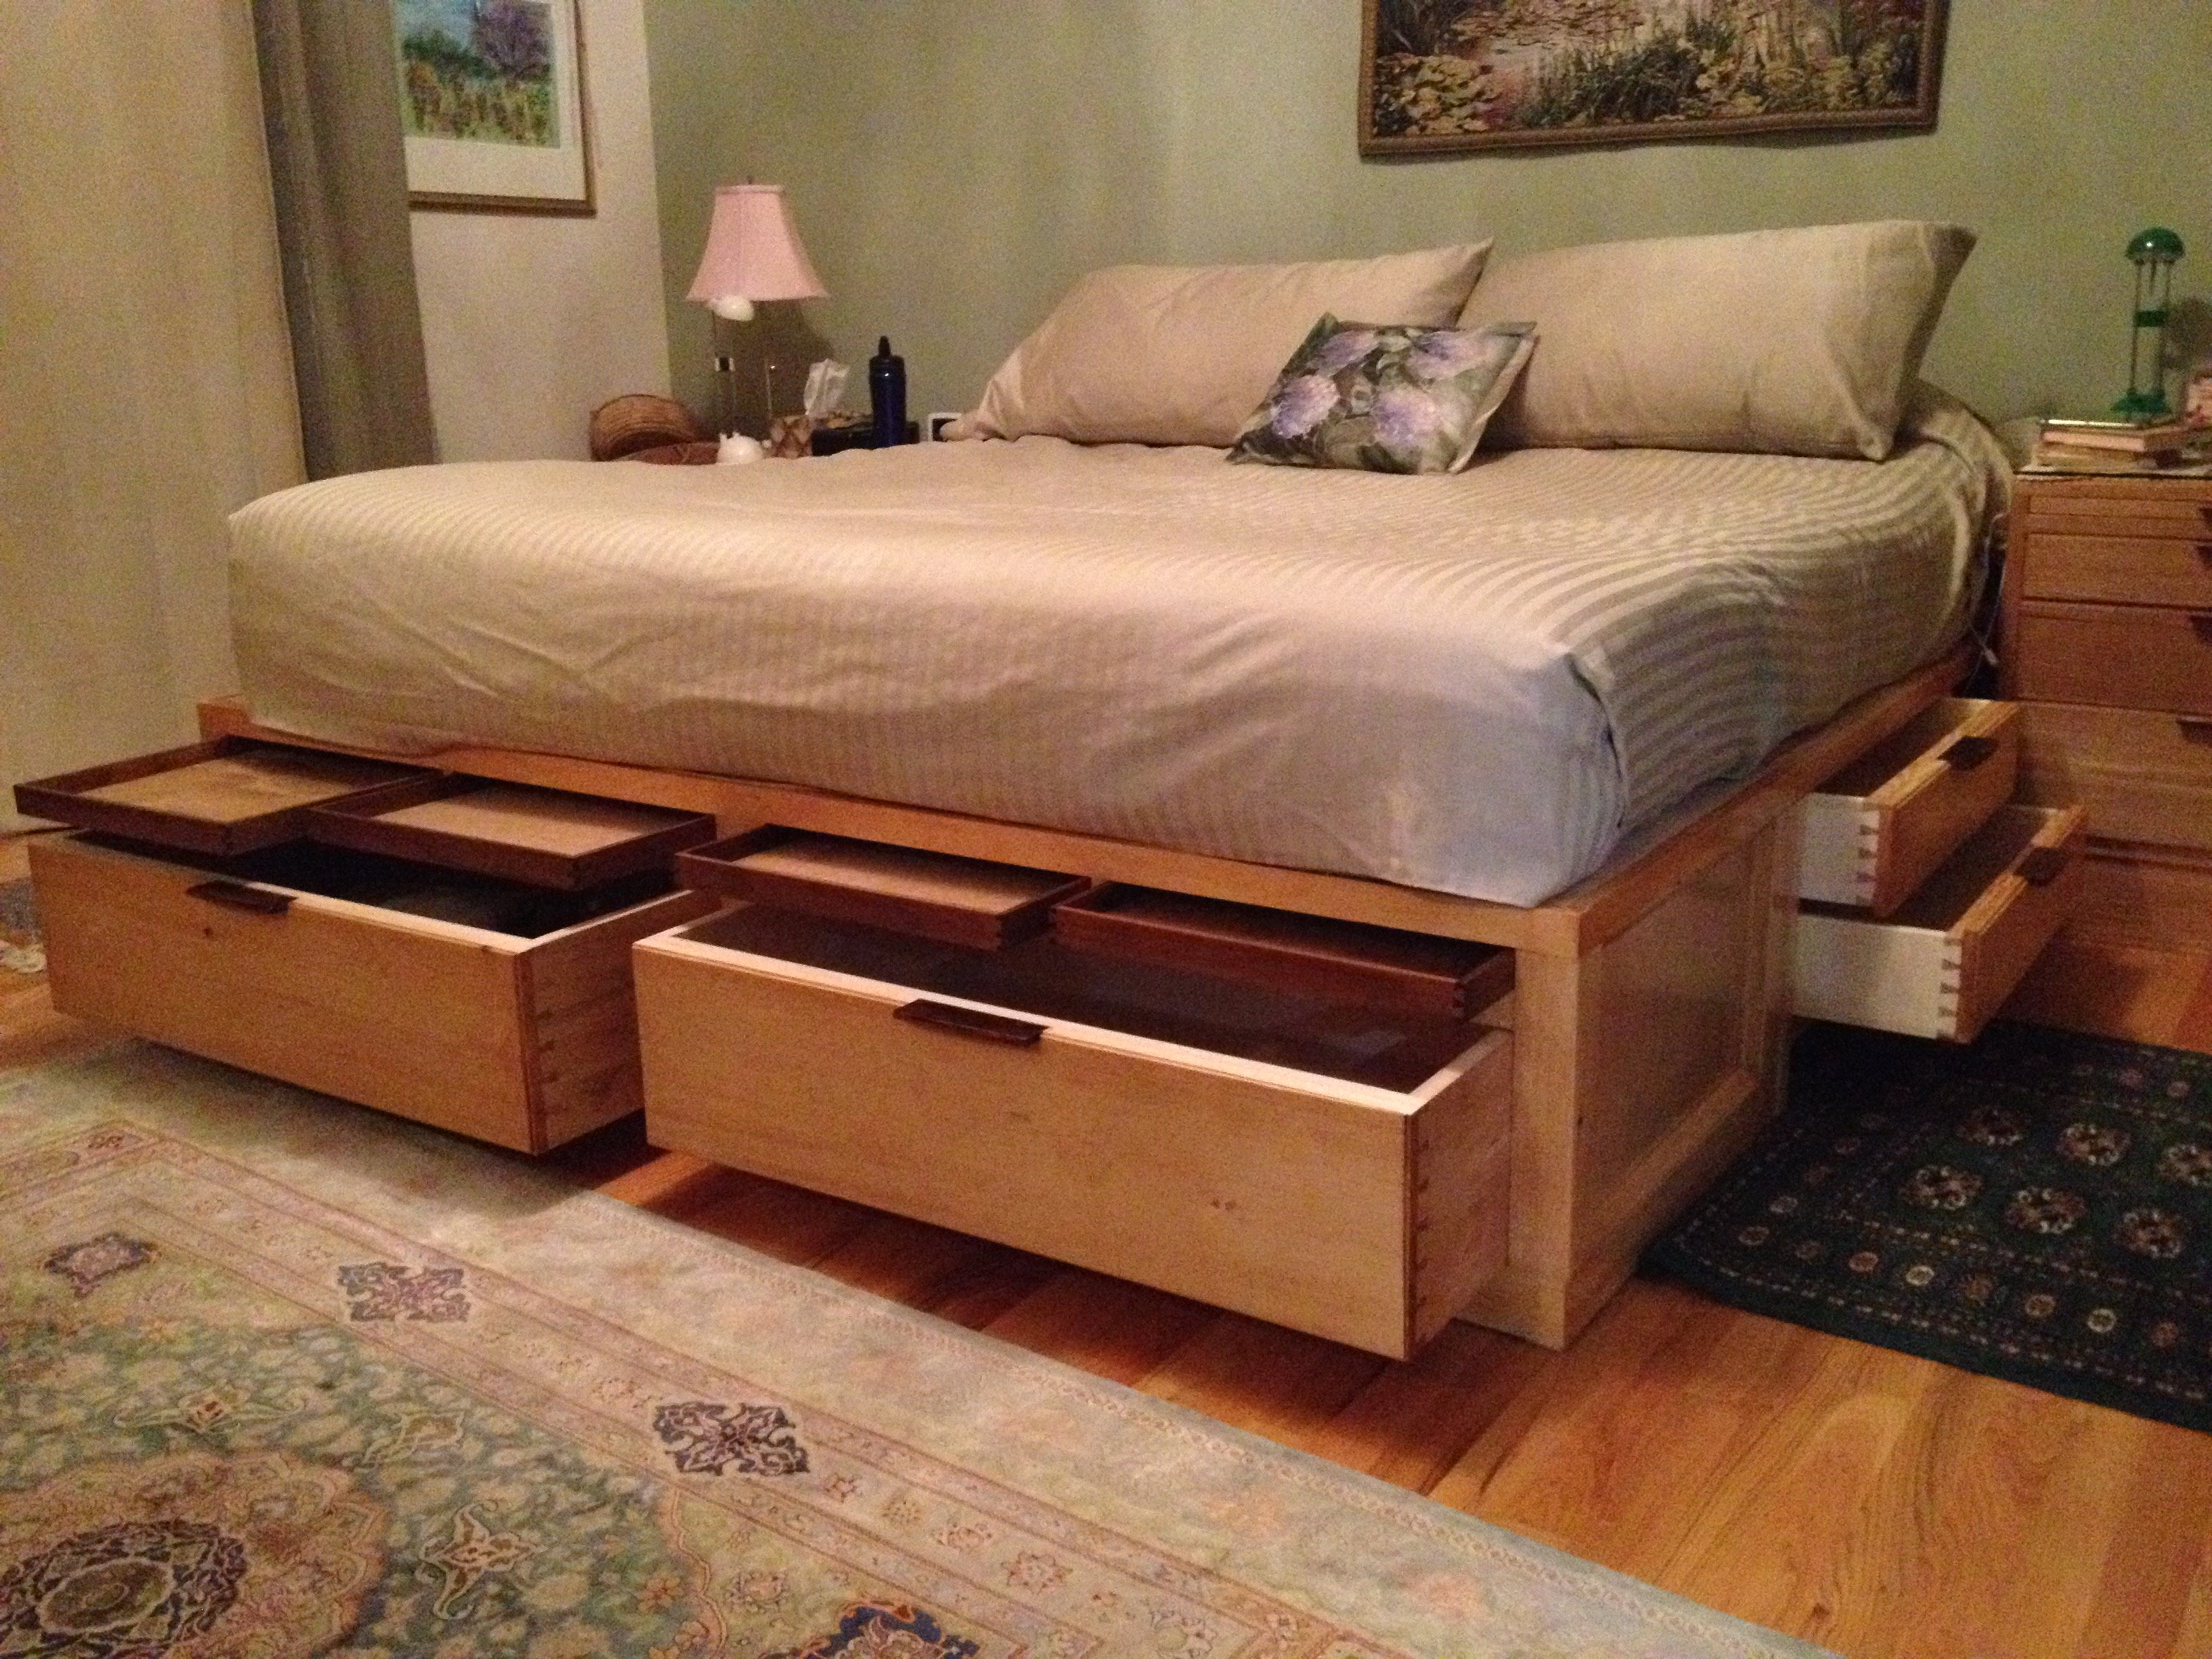
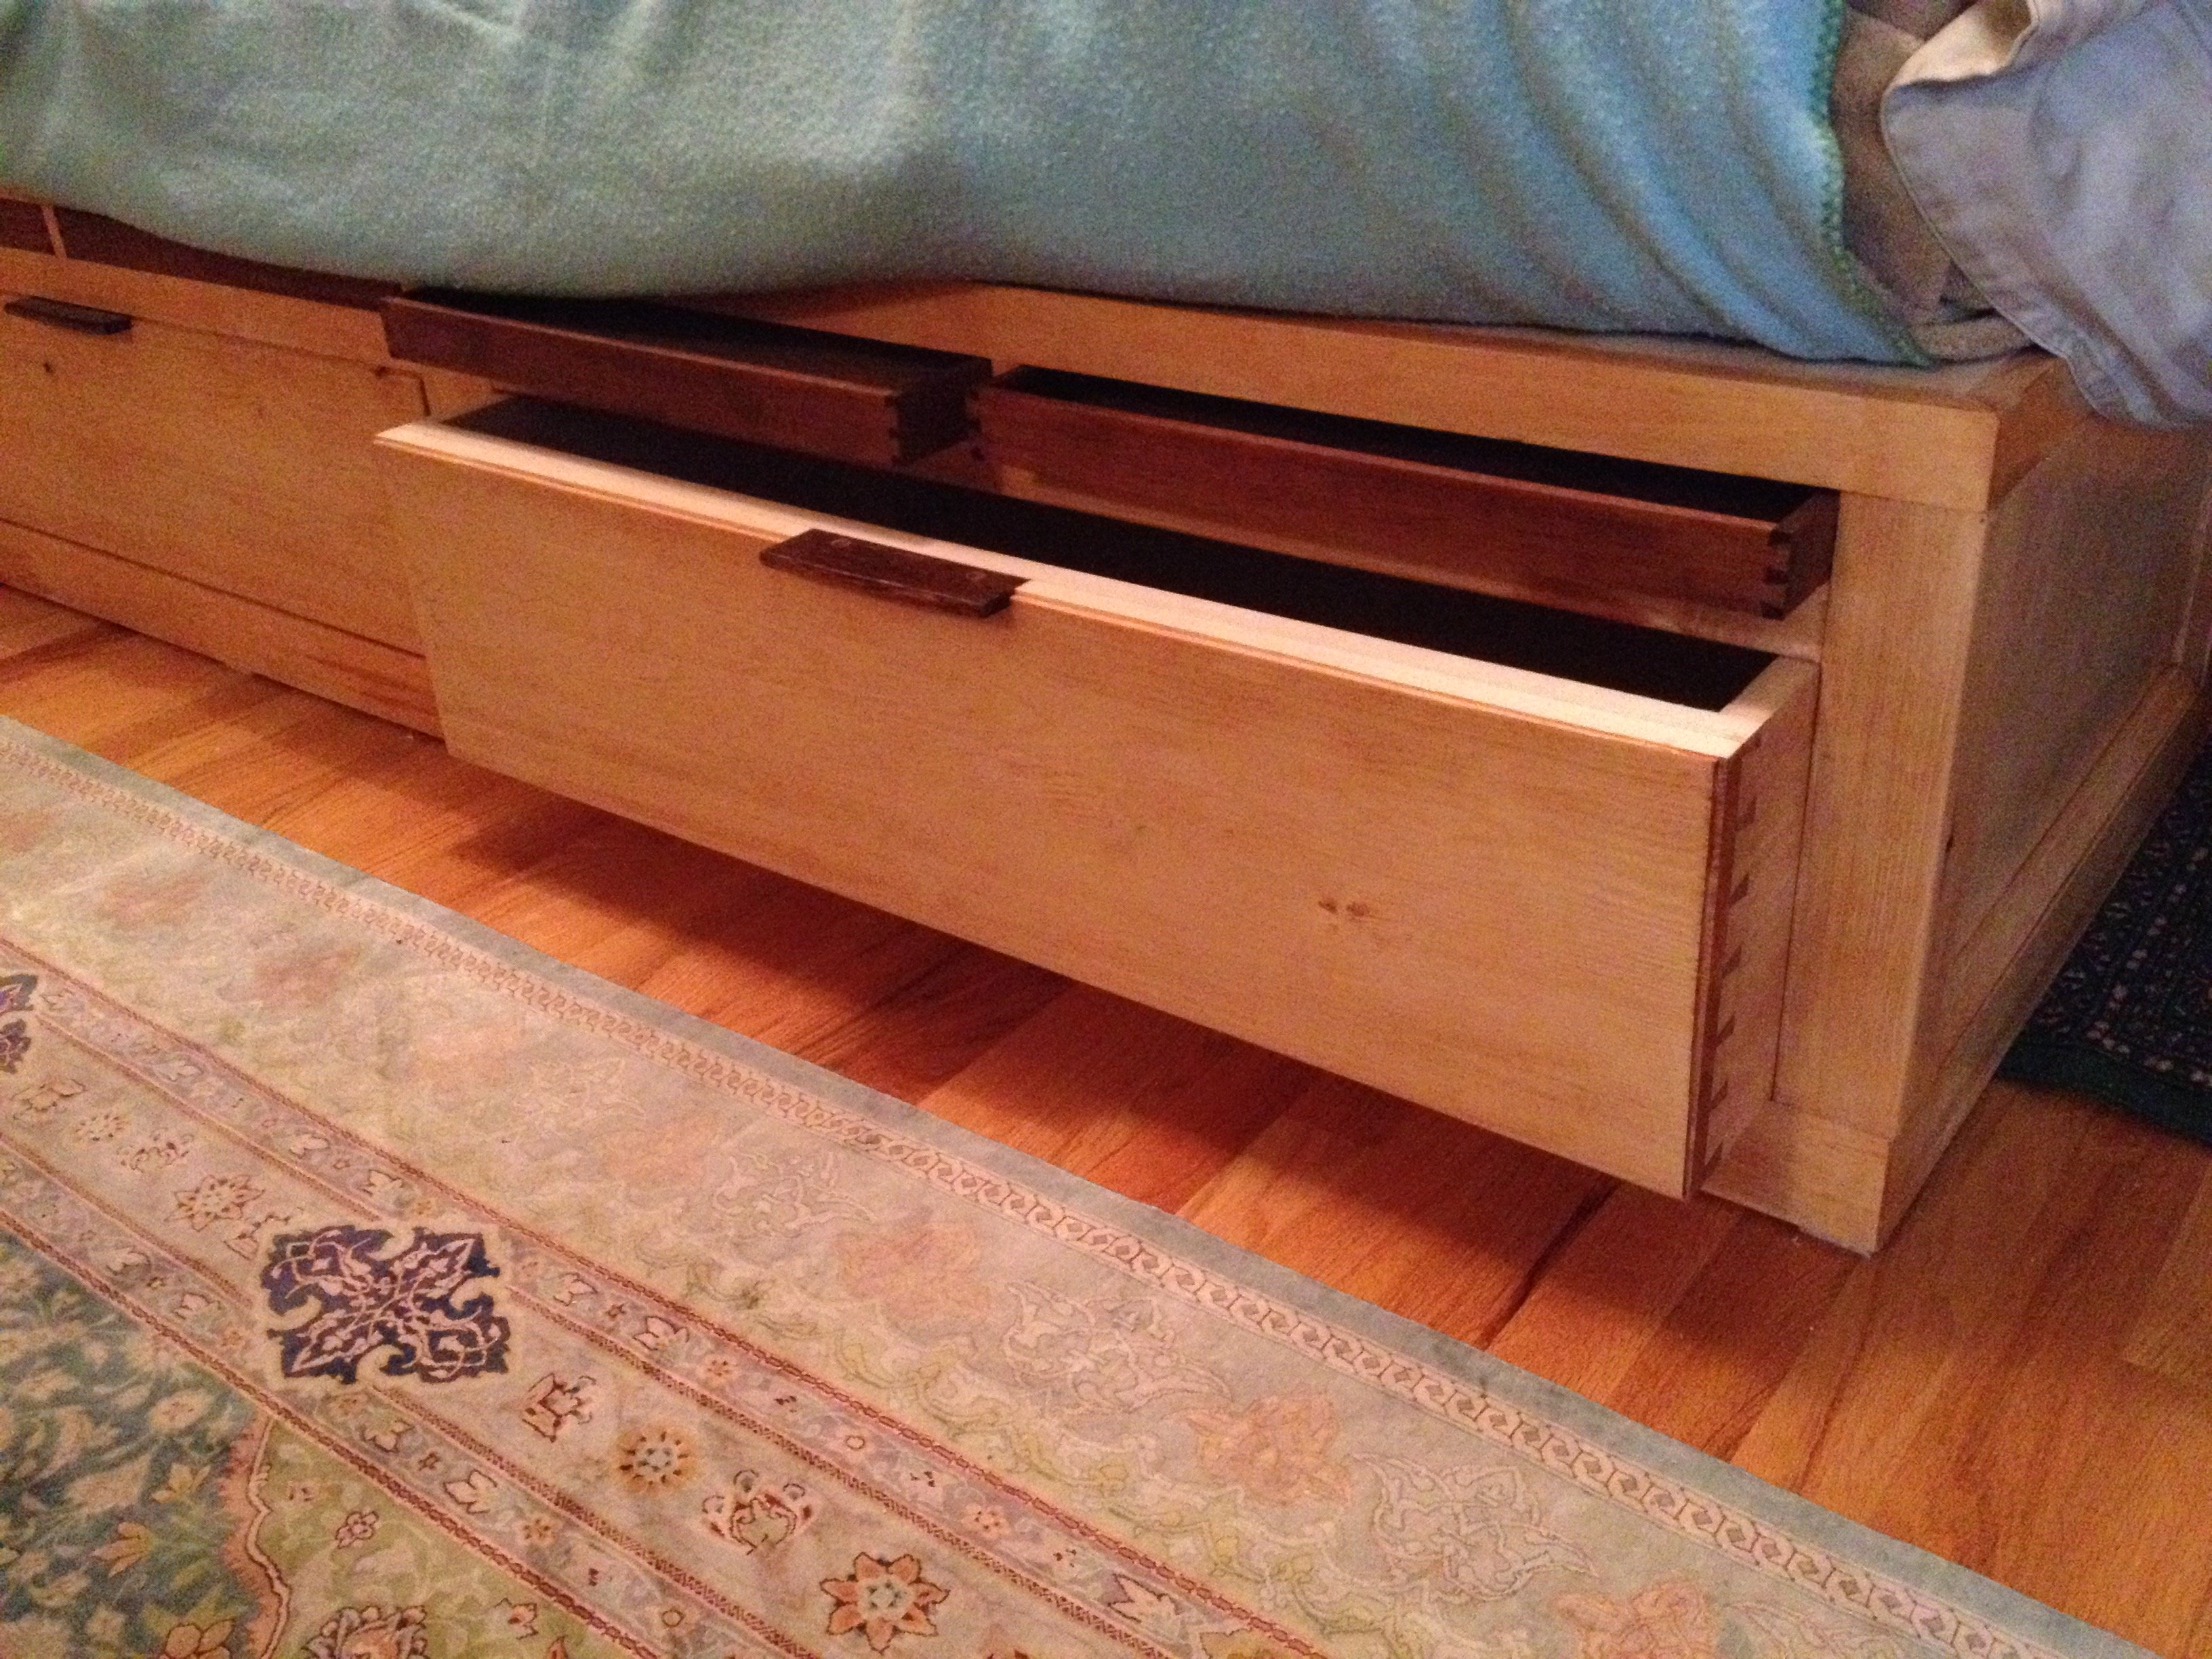
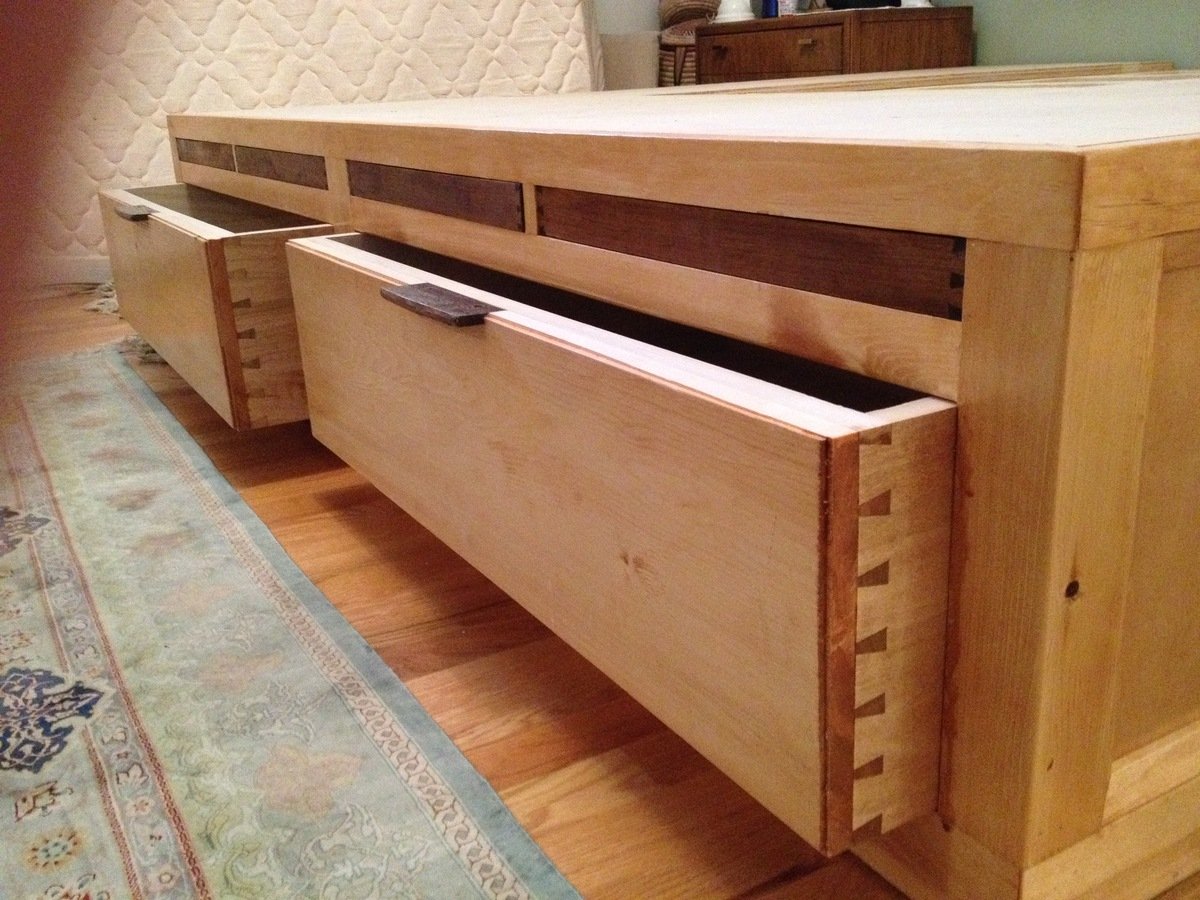
I was just thinking about doing this with my drawers! Thank you for sharing!
oldpaintdesign
Tue, 10/04/2011 - 14:00
Wow!
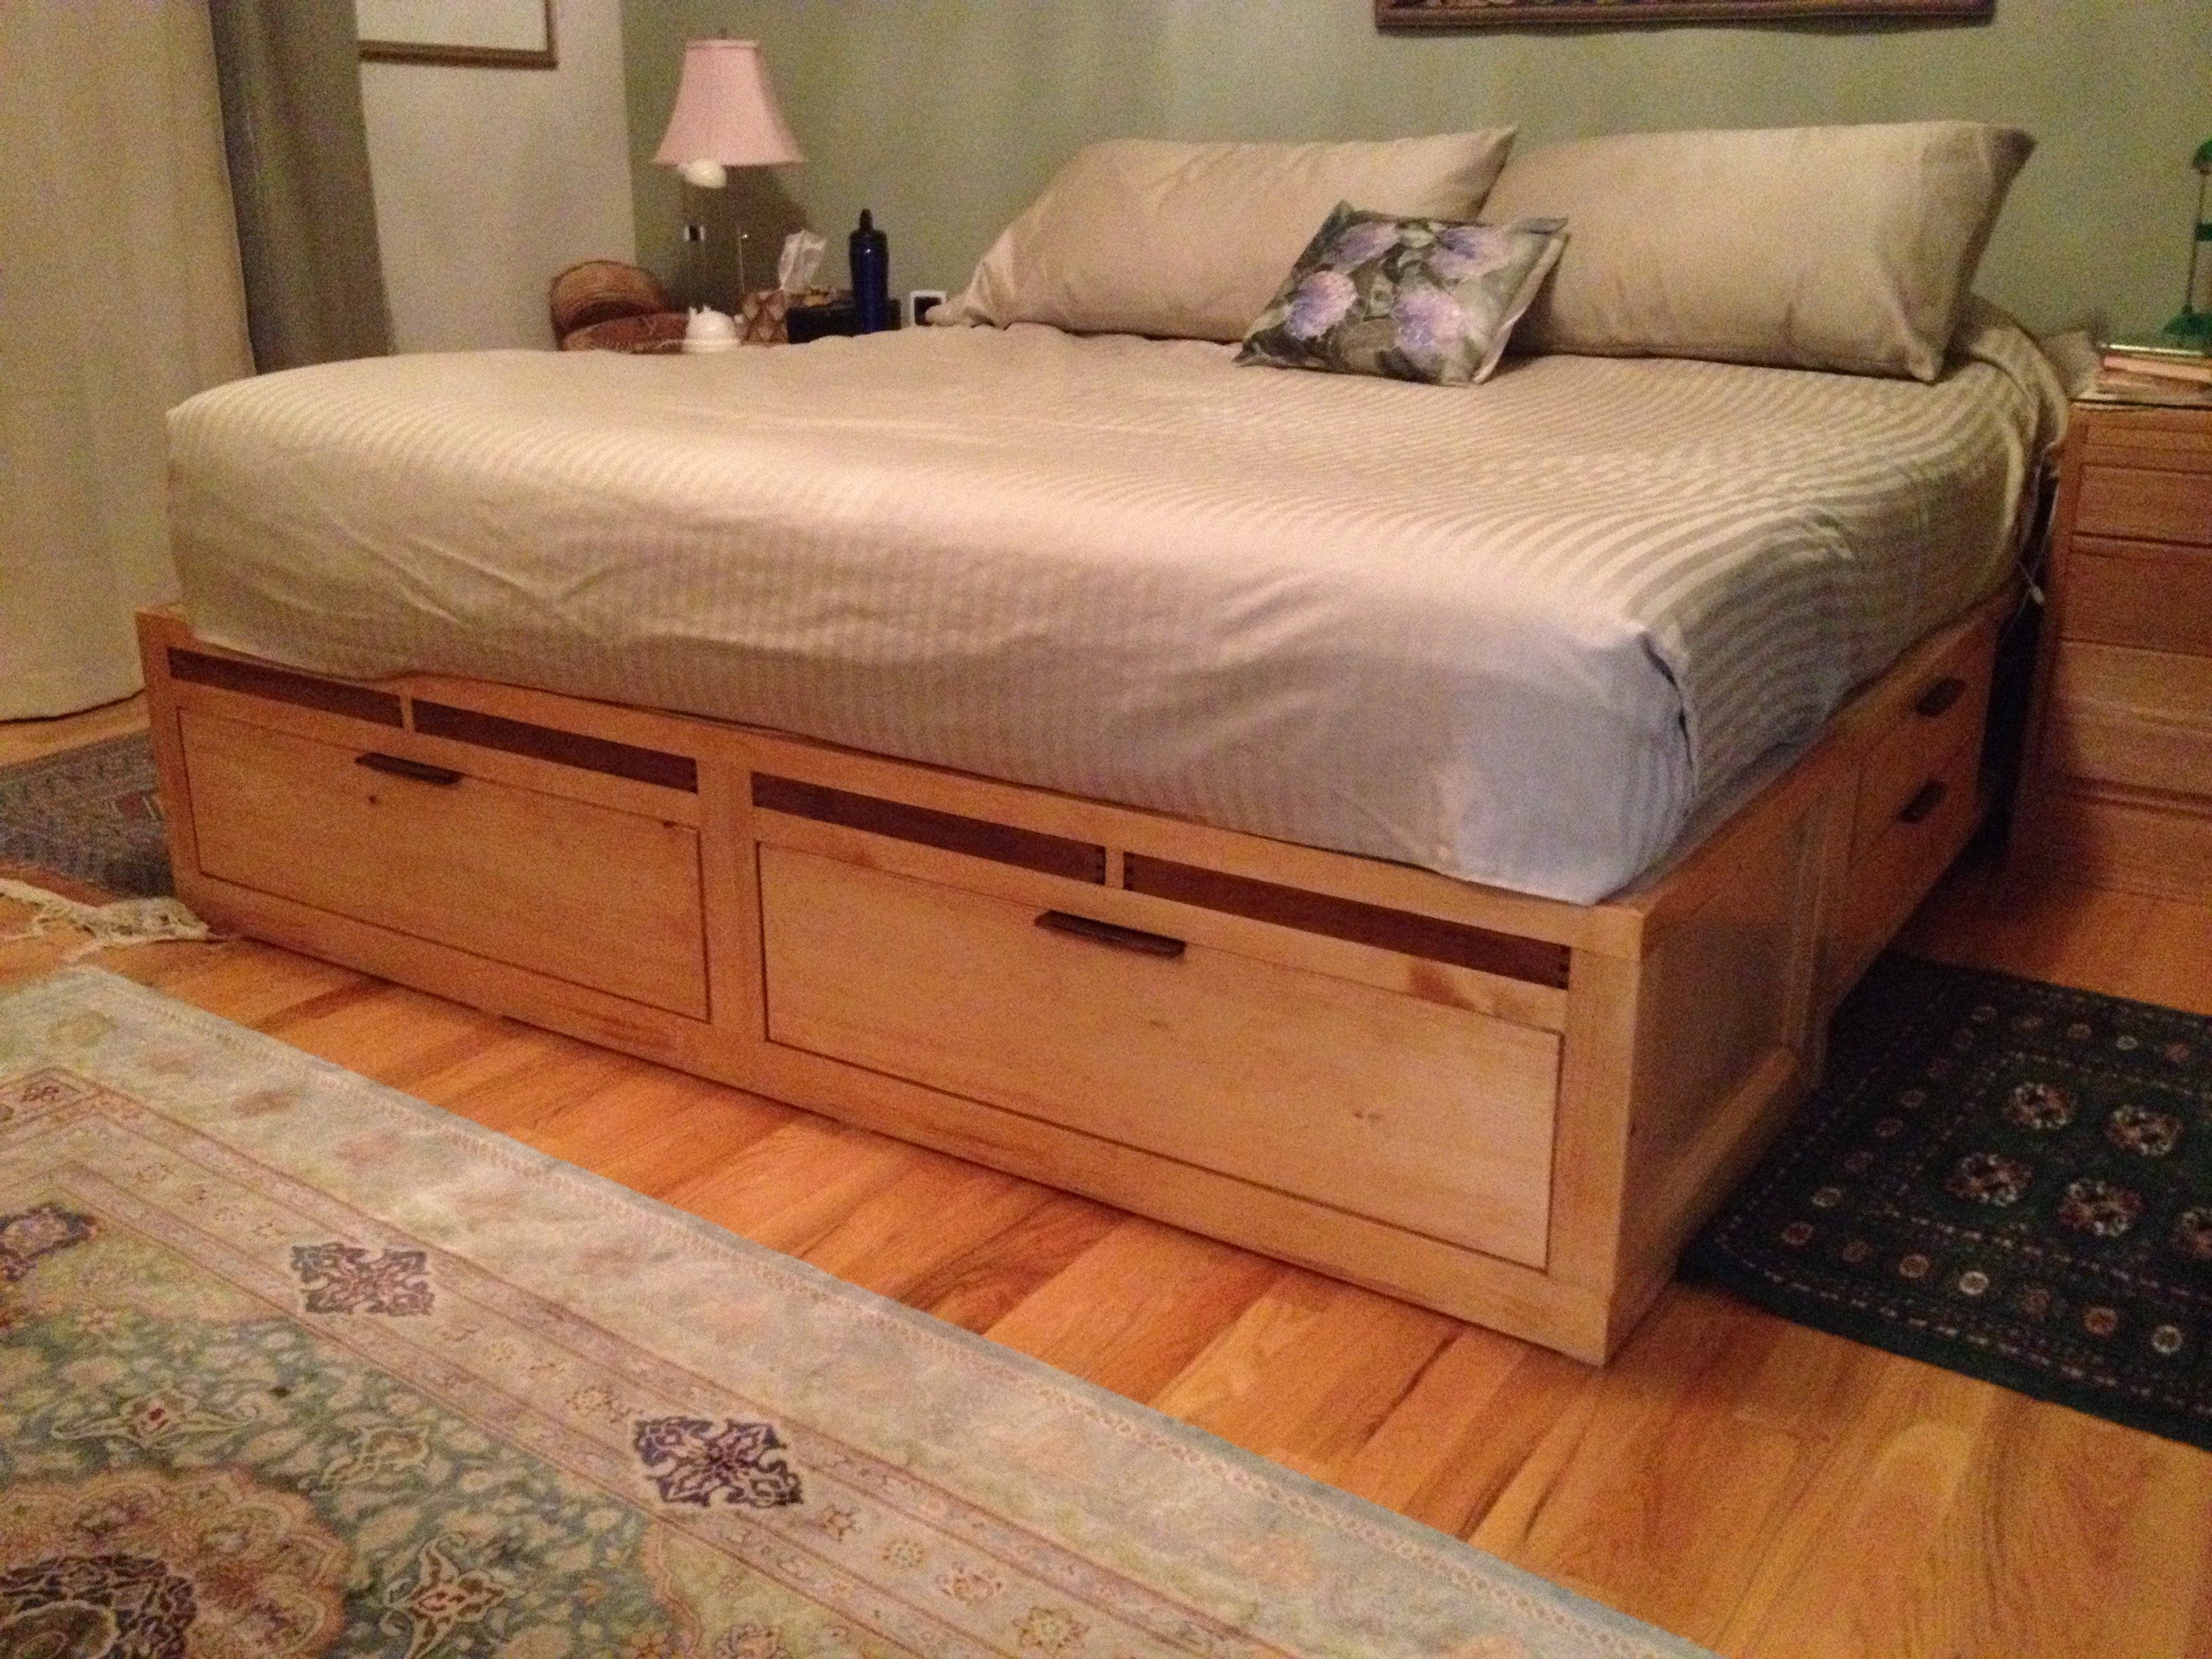
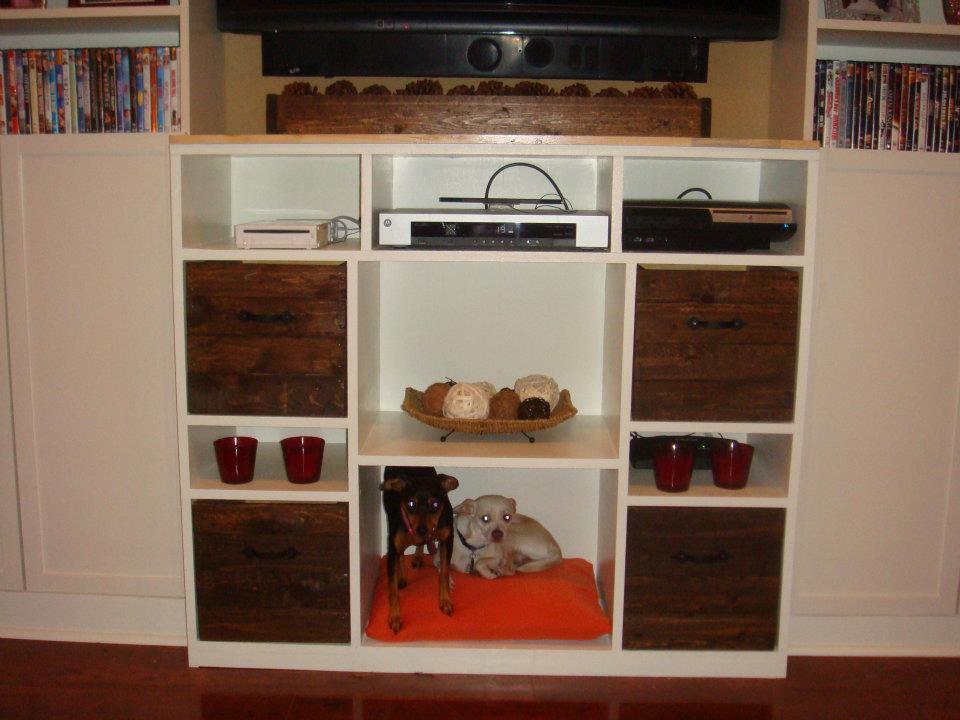
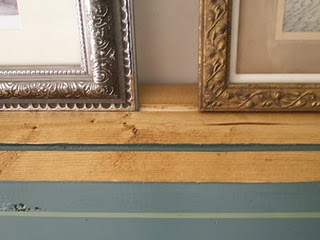
That looks great! I definitely envy your organization! I love that the wood on your insert matches the outside of your drawers. Makes it look like it's been there the whole time!