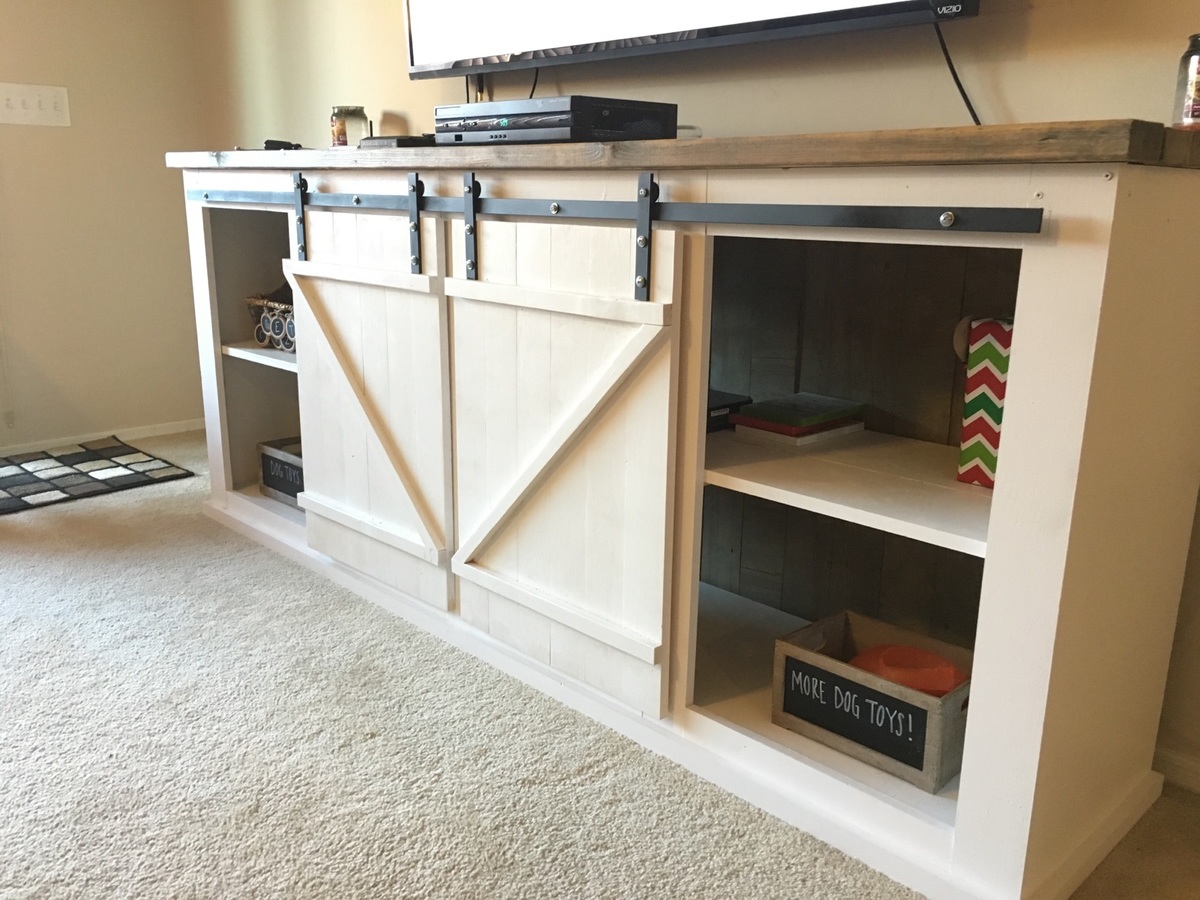
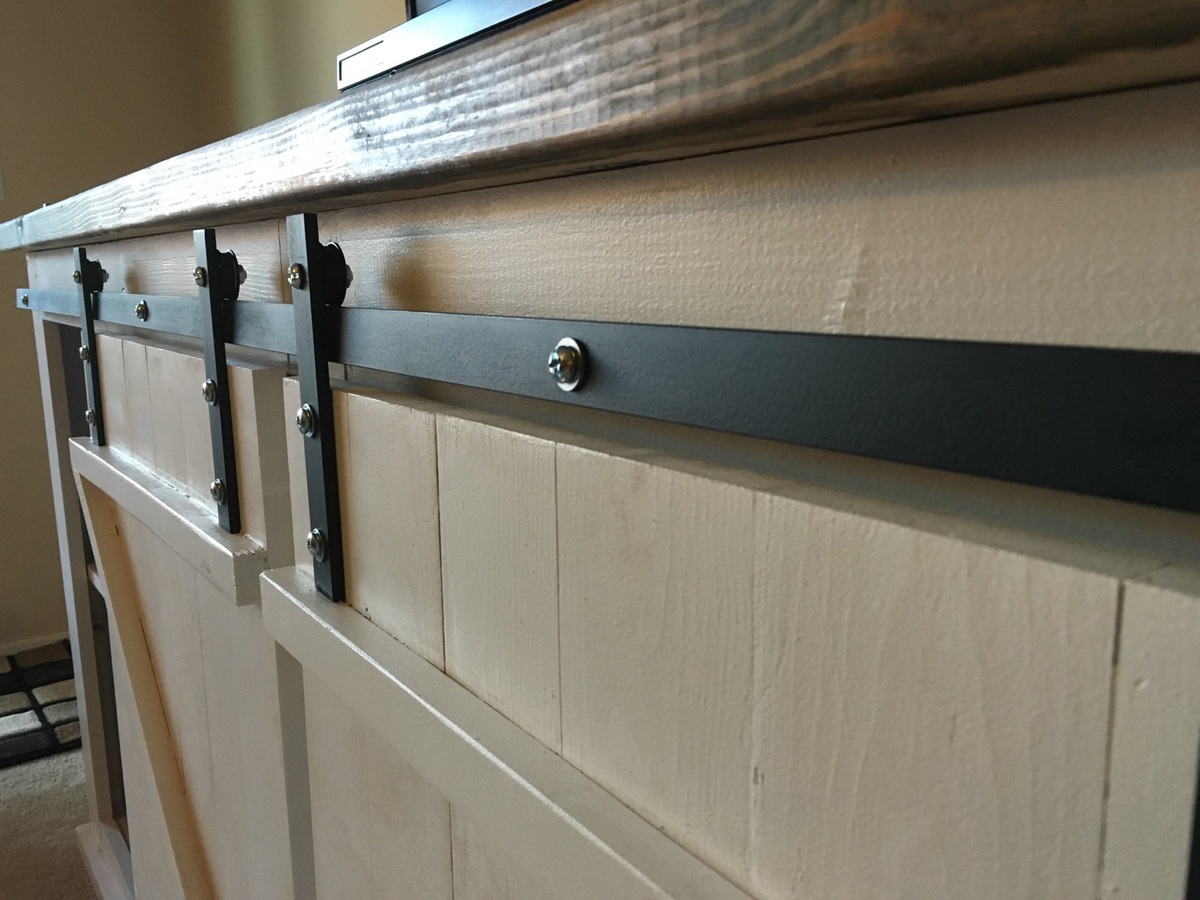
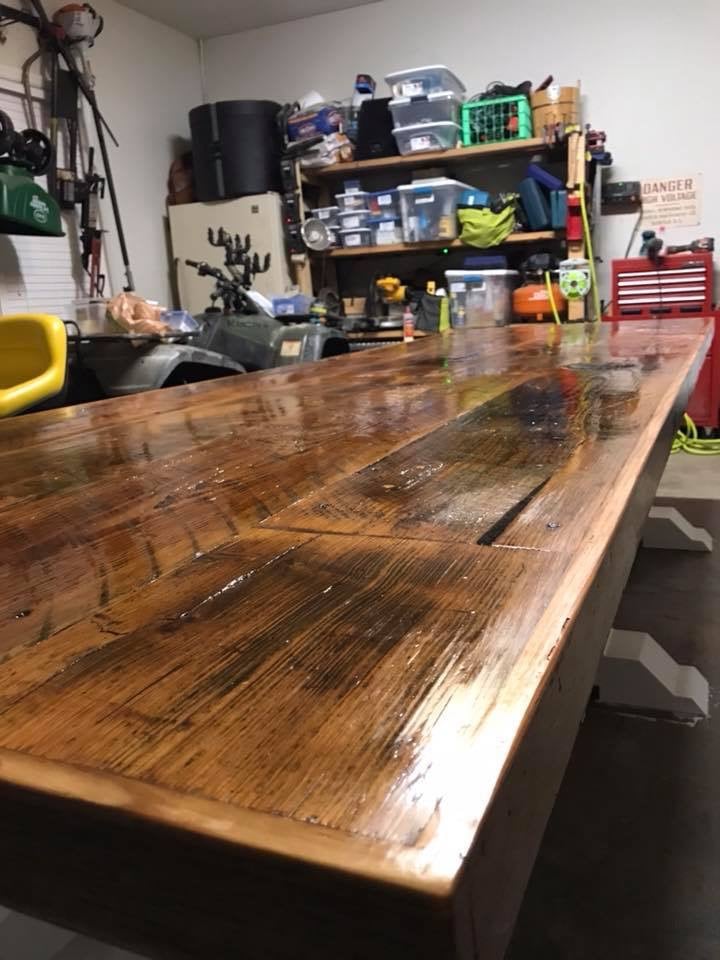
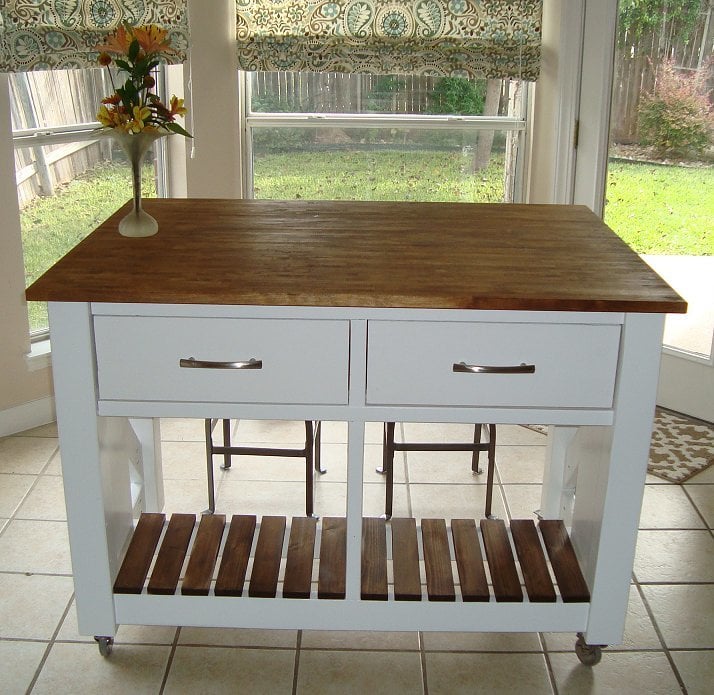
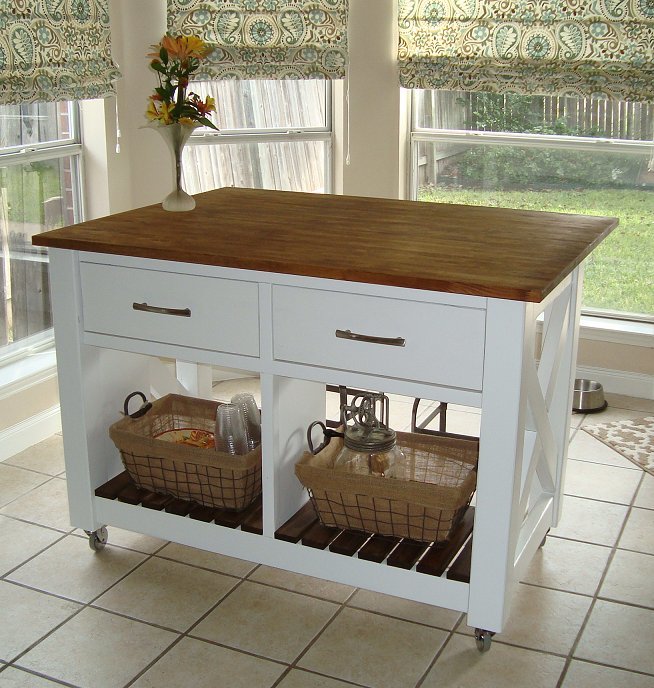
Liquor Cabinet from Benchmark Storage/Media Unit
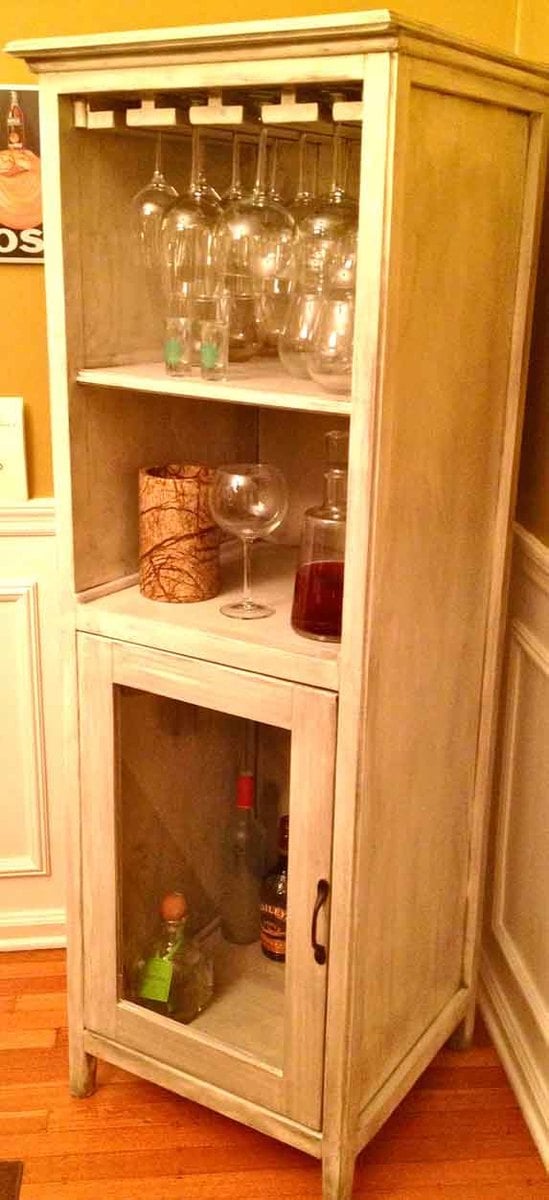
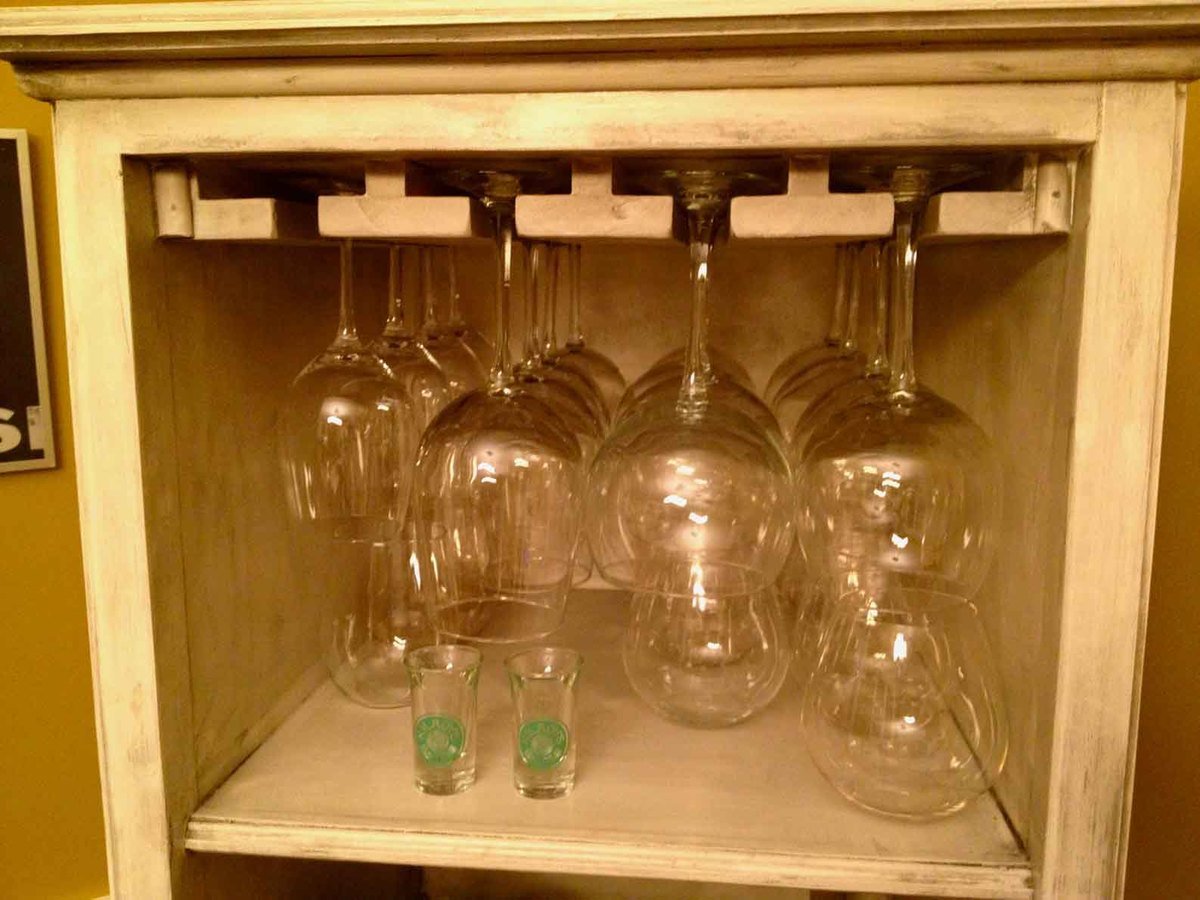
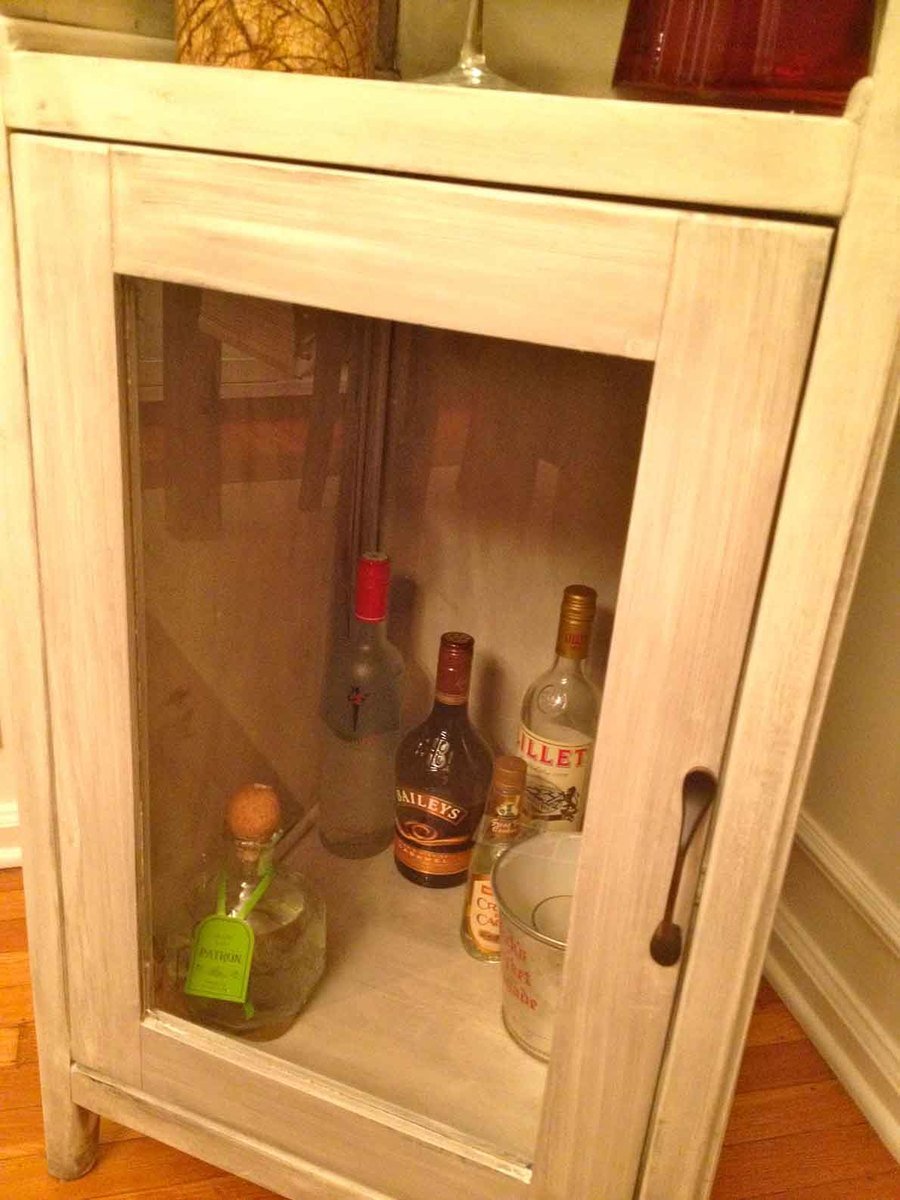
Hallelujah!! Finally, somewhere to store all our alcohol-related necessities :) We adapted Ana's Benchmark Storage Unit to work as a liquor cabinet. We kept the basic design the same, but added some stemware storage across the top (a feature we loved in a Crate and Barrel liquor cabinet that was $$$$$) and some decorative molding to bulk it up a little bit. We lovvvvvve it! Thanks Ana!
PS: everyone please check out our blog for more details on this and other projects!
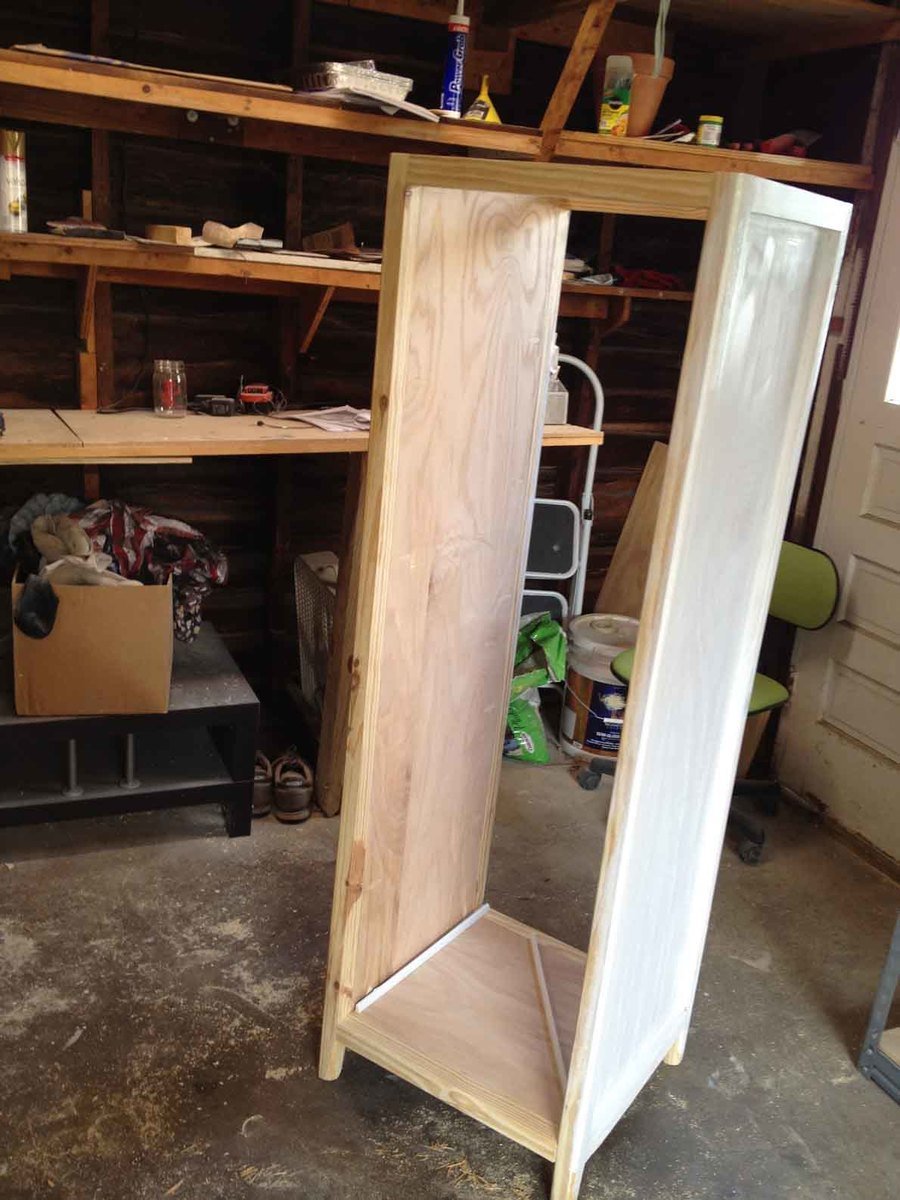
Built from Plan(s)
Estimated Cost
$100 (using paint and supplies on hand)
Estimated Time Investment
Week Long Project (20 Hours or More)
Finish Used
White semi-gloss paint followed by a thin coat of Minwax stain (Ebony) wiped off immediately after applying (more details on our blog)
Recommended Skill Level
Intermediate


Comments
Ana White
Thu, 01/05/2012 - 17:09
Just amazing!!!
Just amazing!!!
kylihoot
Thu, 01/05/2012 - 17:18
Wow, that is so awesome! I'm
Wow, that is so awesome! I'm gonna have to build one now!