Community Brag Posts
The Console Table
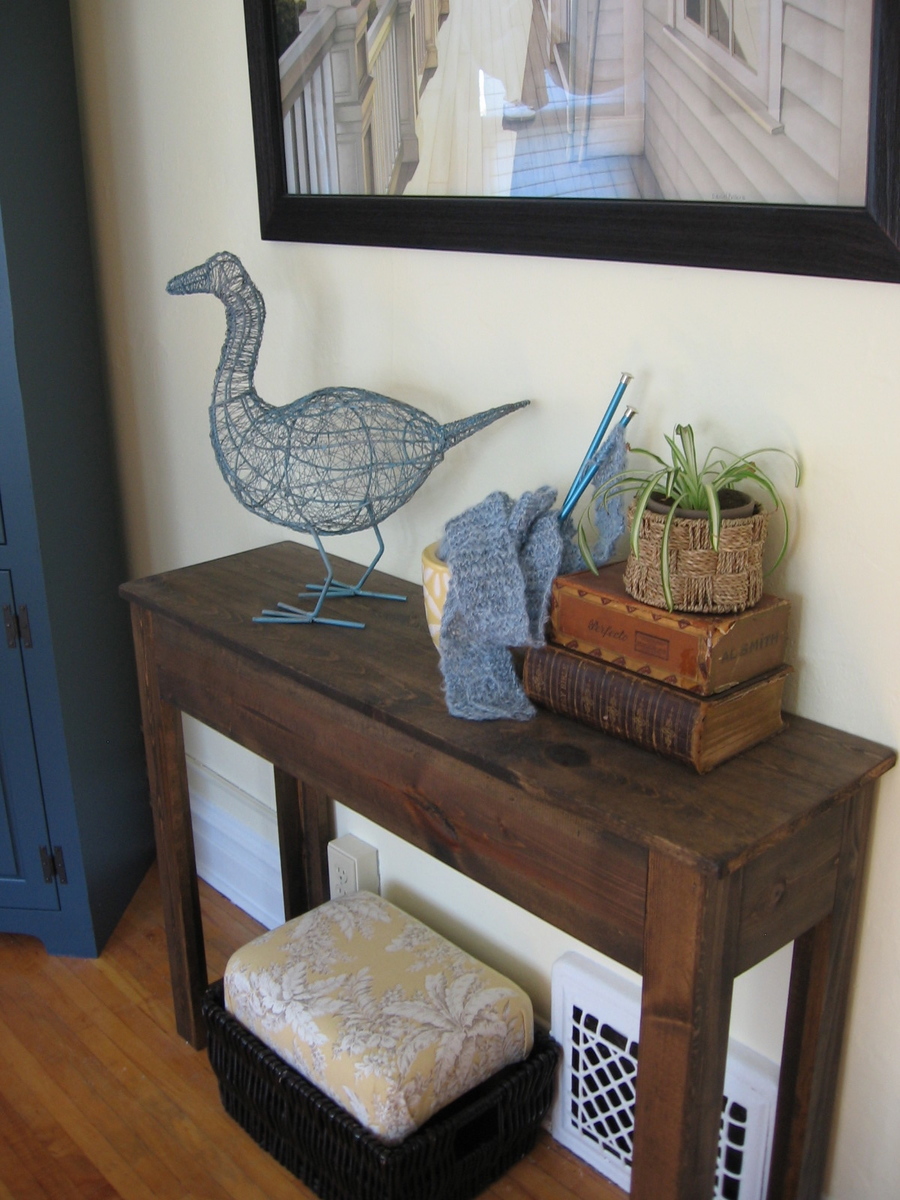
Please tell me I’m not alone…!! I must admit that I have found myself (on more than one occasion) just staring at a room for what seems like an eternity…trying to figure out why the space isn’t functional or just feels a bit “off”. It was during one of these “I dare you to blink before I do” staring sessions that I decided to build a table for my guest room.
Lucky for me, I can always count on Ana’s plans to rescue me from decorating madness! Well at least when it comes to the furniture part. (For everything else…I probably need lots of therapy!)
But seriously…anyone else get caught up in the time-warp-room-stare?! I can’t be the only one… :-)
My console table's complete story: http://gleeinspired.blogspot.com/2011/03/console-table.html
Comments
Sat, 10/15/2011 - 21:49
How did you go about finding
How did you go about finding the wood that you purchased? I'm a newbee and all i have are Lowes & HD around me, also since I'm just starting out I don't have a saw- any suggestions?
Sun, 10/16/2011 - 02:22
Wood suppliers & tools
Lowes and Home Depot both sell wood. However, it's worth finding a local lumber yard to get a better quality of material. Trying to build a table with material from a big-box store will be an exercise in frustration, because it will warp on you, and your nice flat table will develop some interesting twists that will probably keep all four feet from touching the ground at once. I've been there plenty of times, and it's very frustrating to tear something apart to replace wood that warped after everything was assembled.
If you go to a lumber yard and ask for #2 pine, you should get something pretty stable.
You'll also definitely need to pick up some tools. Anyplace that sells lumber has a saw that they can cut material to length with, but none of them will make cuts accurate enough for building furniture. The only cuts you want made for you are those necessary to get material into your vehicle.
There are hand tools of acceptable quality sold at Lowes and Home Depot (well, mostly acceptable quality: nobody sells a decent chisel). They're cheaper and a lot less intimidating than the power tools, and with a little practice it's easier to do accurate work. The downside is that you'll have to hunt a little more for resources to learn how to use them.
Thu, 10/20/2011 - 15:03
Looks great!
I love the table - it looks great!
And the time-warp-room-stare??? Yep. That's why I'm on Ana's site! We just moved into a new house about 2 months ago and I need some furniture to help pull some rooms together!
Rustic X TV Console

Loved this plan, decided to use it for our living room TV console. Planning to add handles to the crates during a weekend when we have some free time. Very impressed with our final product :)
2nd layer special walnut by Minwax
3rd layer weathered oak
4th layer special walnut
wiped off access stain with a rag, 320 grit sandpaper was used between stains.
Comments
Wed, 12/30/2015 - 12:40
Looks awesome!
Love that console in your space, great job and thanks for sharing!
"Big Blue" - 10' Tall Adirondack Chair

Giant version of our adironadack chair plan by Ryan Zielinski


outdoor sectional
we put a few bolts in the legs for a bit of added strength, and extra back supports.
Comments
Fri, 06/08/2012 - 09:49
Hi there! Love it! We built
Hi there! Love it! We built one of these too but cannot find cushions for the back, considering it's rather short. Any advice or did you make them?
Tue, 07/17/2012 - 23:24
Hi, only just checked
Hi, only just checked messages. I got the cushions from and outdoor furniture supply store off ebay Australia. They are replacement ones for a manufactured style of setting they sold, but worked perfectly for the sectional.
Old church pew makeover.
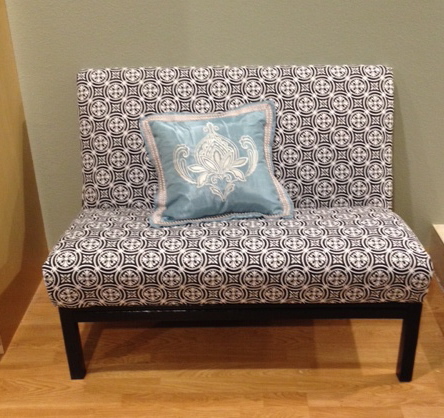
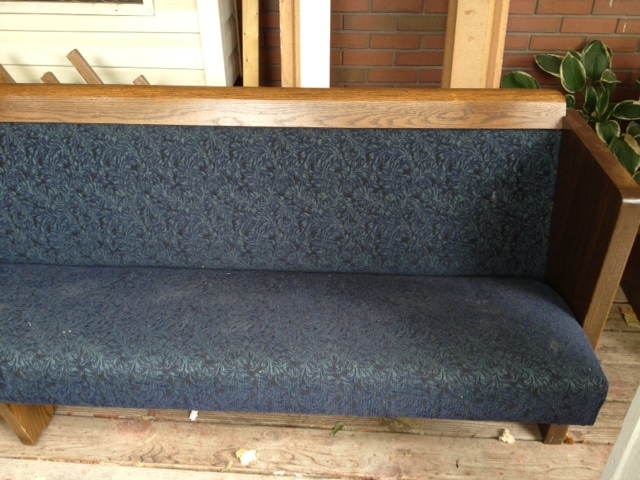
My church was getting new pews and asked if anyone wanted the old ones so I decided to take one and see what I could do with it! The second picture is what it used to look like. I had to take it all apart and cut it to the shorter size that I wanted. I then recovered it with some fabric I found for about $10. I then made legs out of a 2x4 and supported the legs with some 2x2 across the front, back and sides. I painted them with some black primer/paint that I had. This was so fun to do because I had to figure it out as I went along. It was a bit of a challenge at times and I learned a lot from this project. I really love the finished product.
Easy Vintage Step Stool - Red Alder
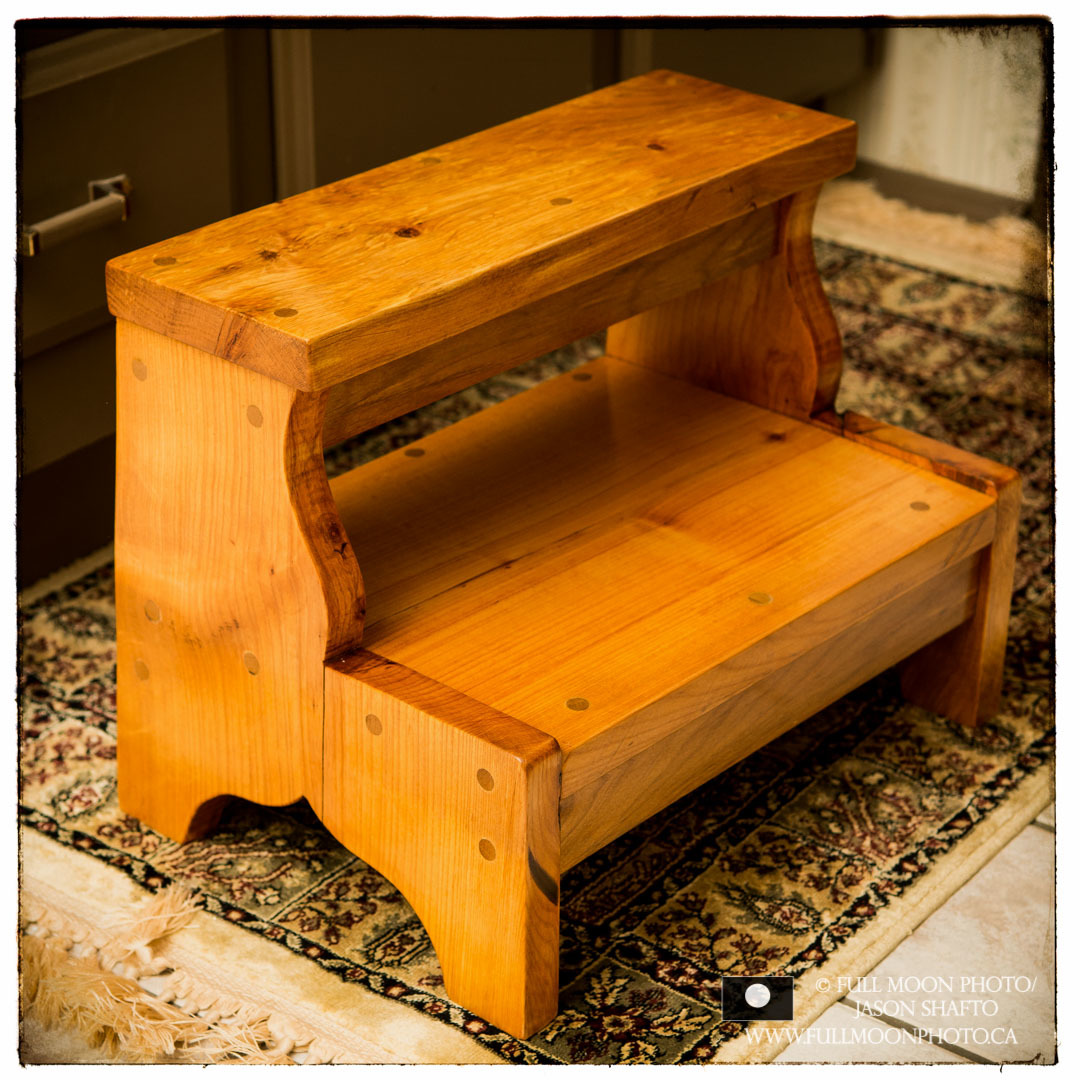
I built this stool for my son of three years. The wood is from Red Alder trees that blew down on my farm a few years ago. I milled the logs with a friend and, while alder can behave badly, I always love working with the wood. The end upright in the image was quite cupped and it cracked when I screwed it down - but it's still rigid and solid. The wood takes an oil finish beautifully! Chose to drill and plug the screws, instead of using pocket screws. Gives it a nice rustic look, and is easy to recoat when a touchup is required.
Love this design
Had to change it up a little..
Rustic x
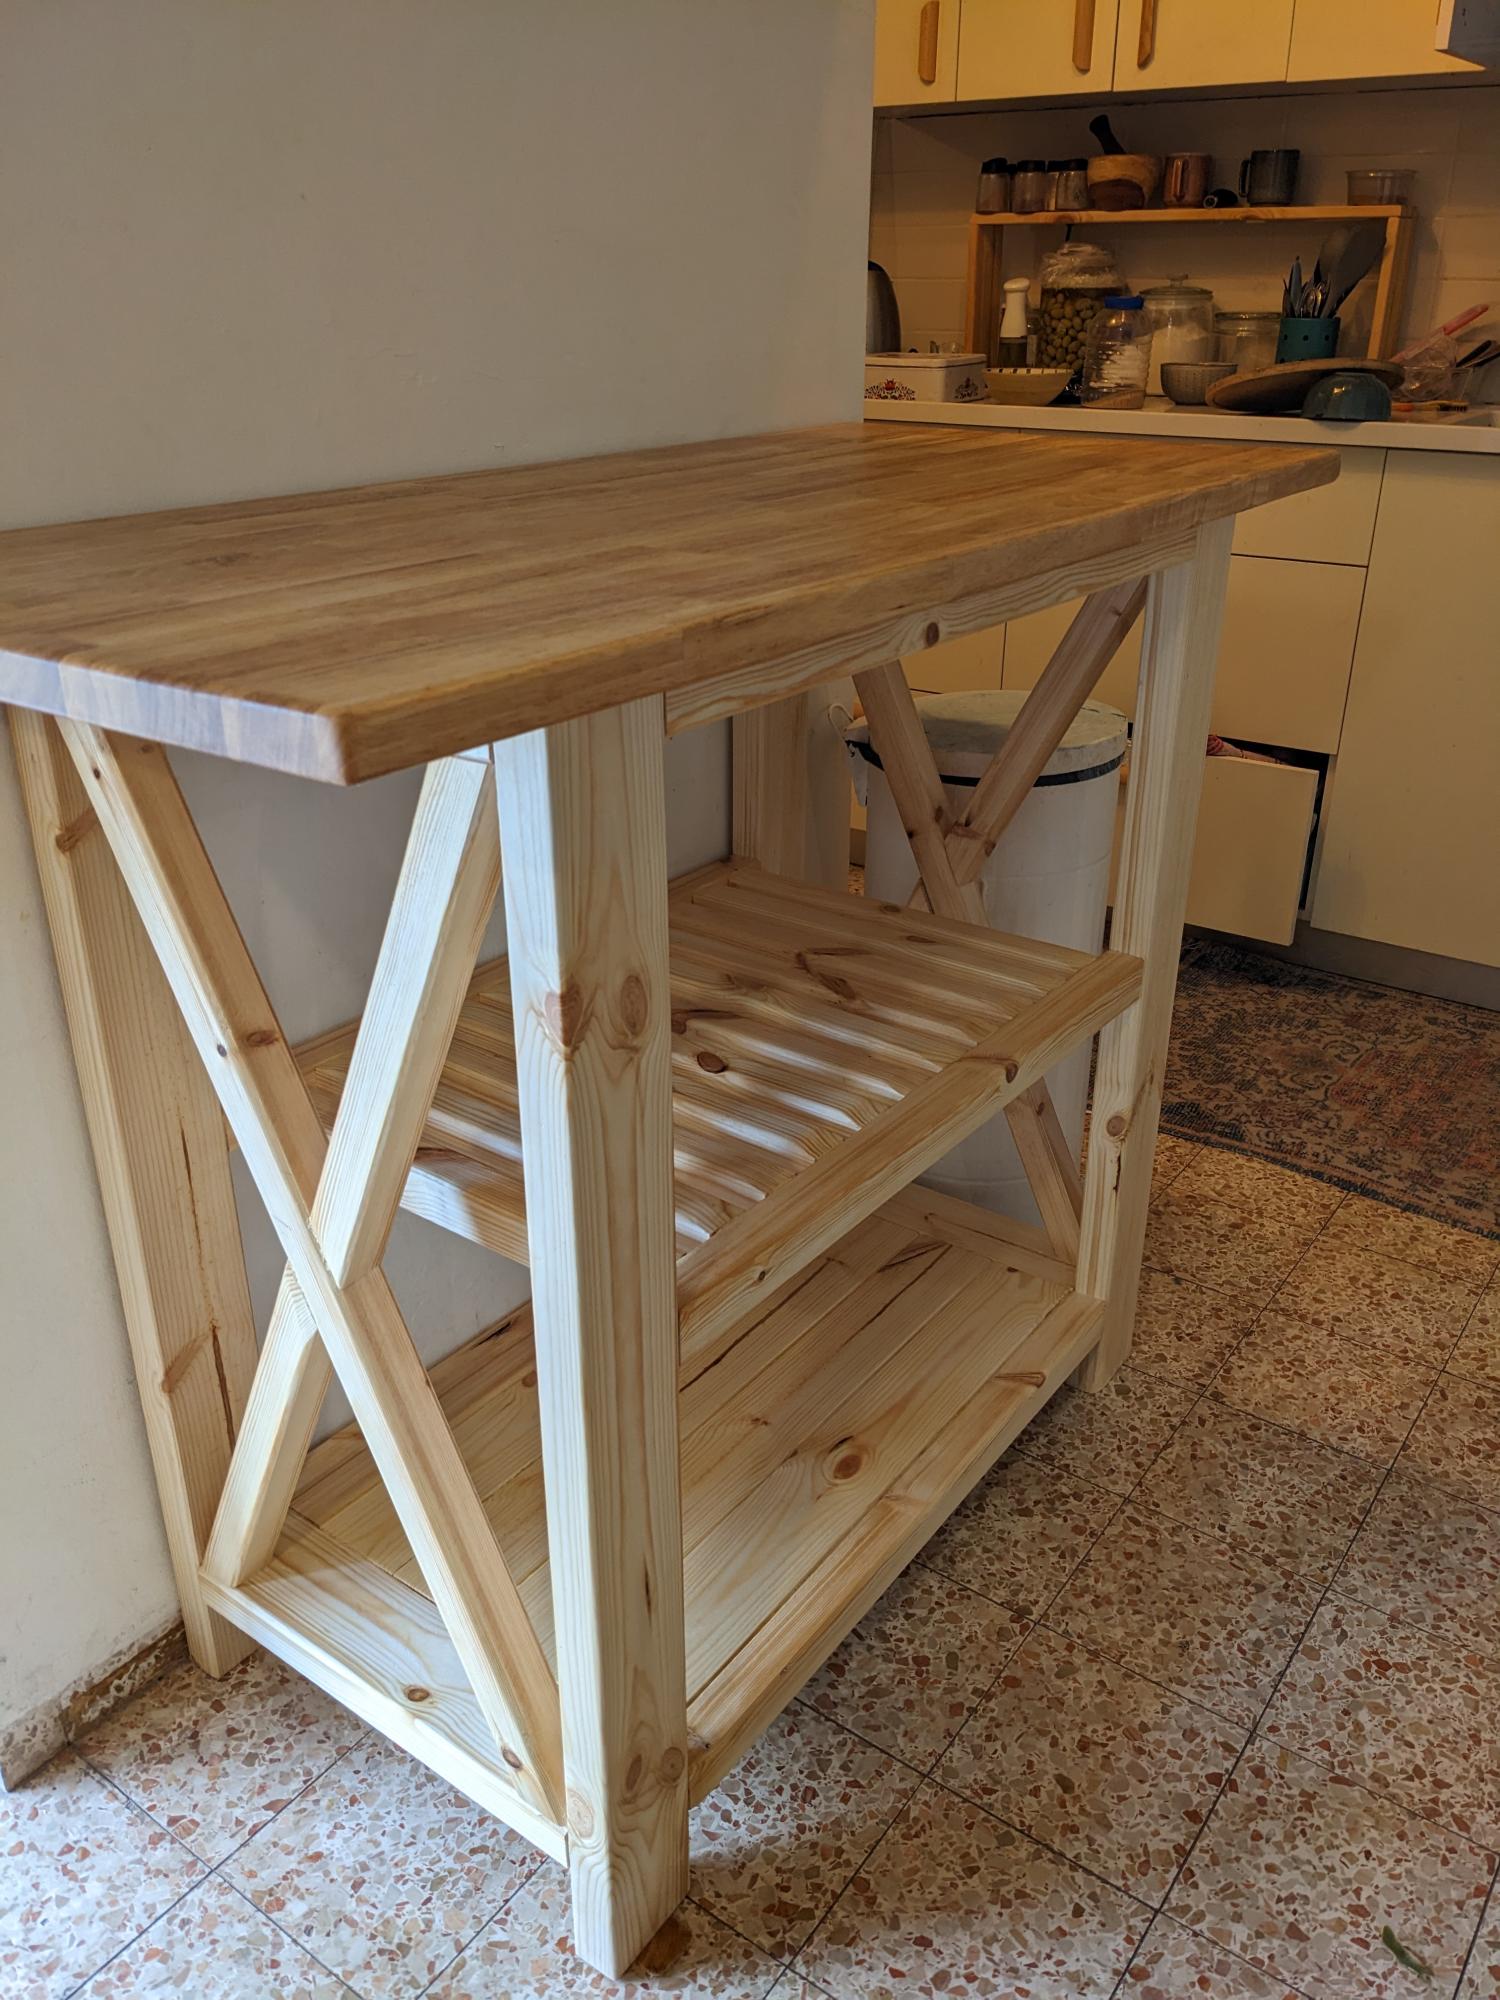
מבוסס על התוכנית של אנה
Comments
Media Console
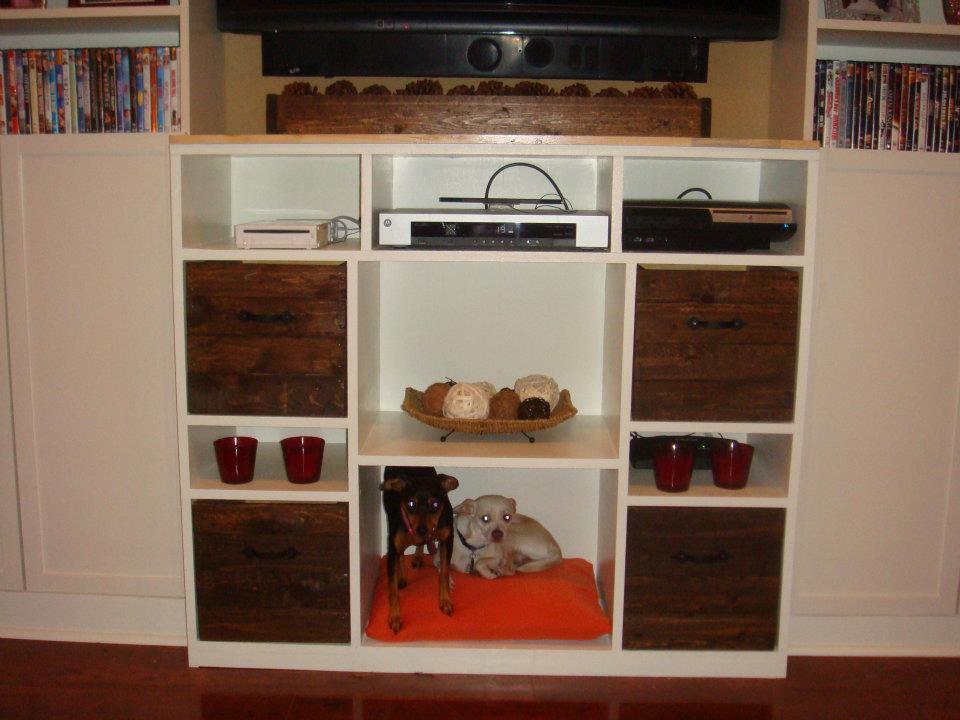
I used the plans Ana offered as a starting off point for this project. I loved the photos of the exact plans, but it was too long and too short for the space I wanted to fill. I ended up building pull out drawers from pallets instead of installing the apothecary drawers in the plans. I used the bottom cubby to place a dog bed (which they love) and still have one one bin to build to fill the center hole. I used a solid piece of butcher block style wood on the top that I sealed Polyerathane. Thanks Ana!
Comments
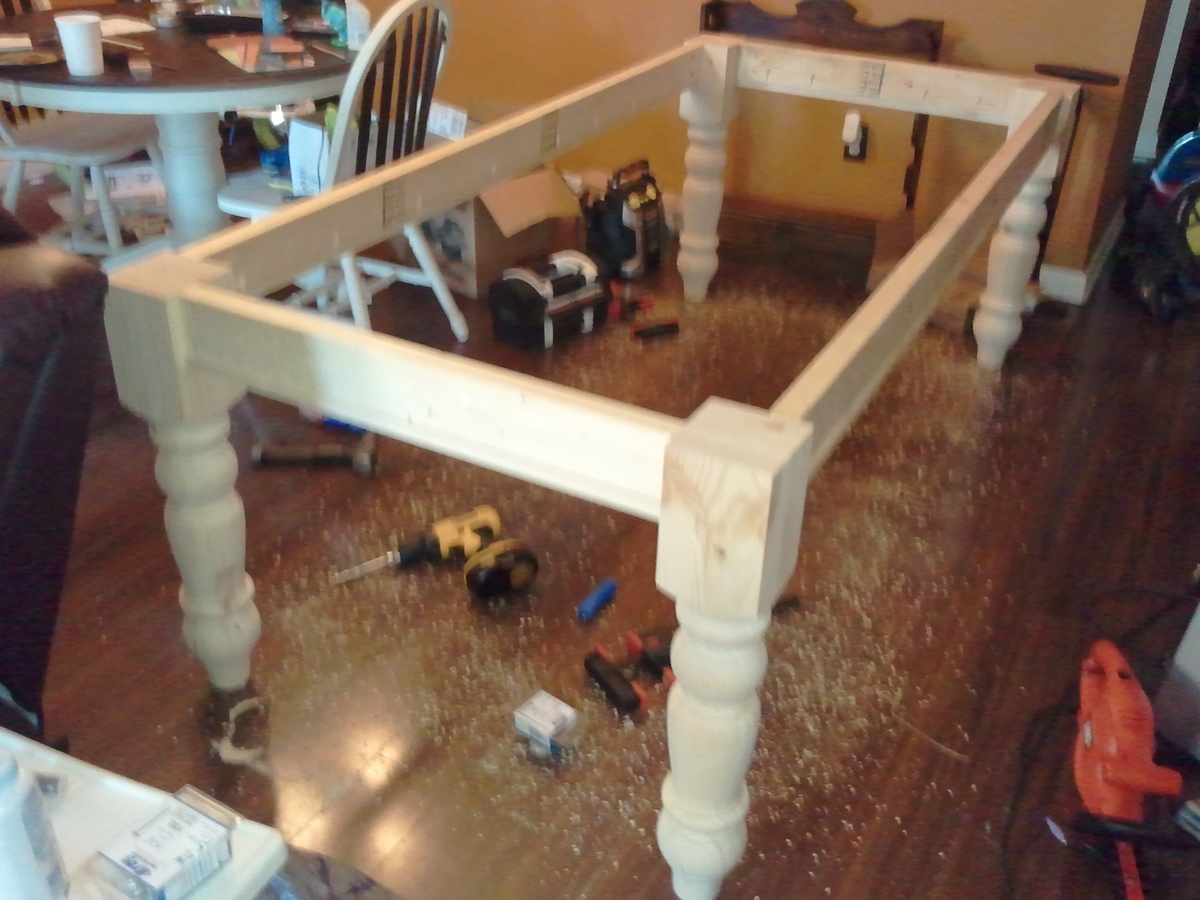
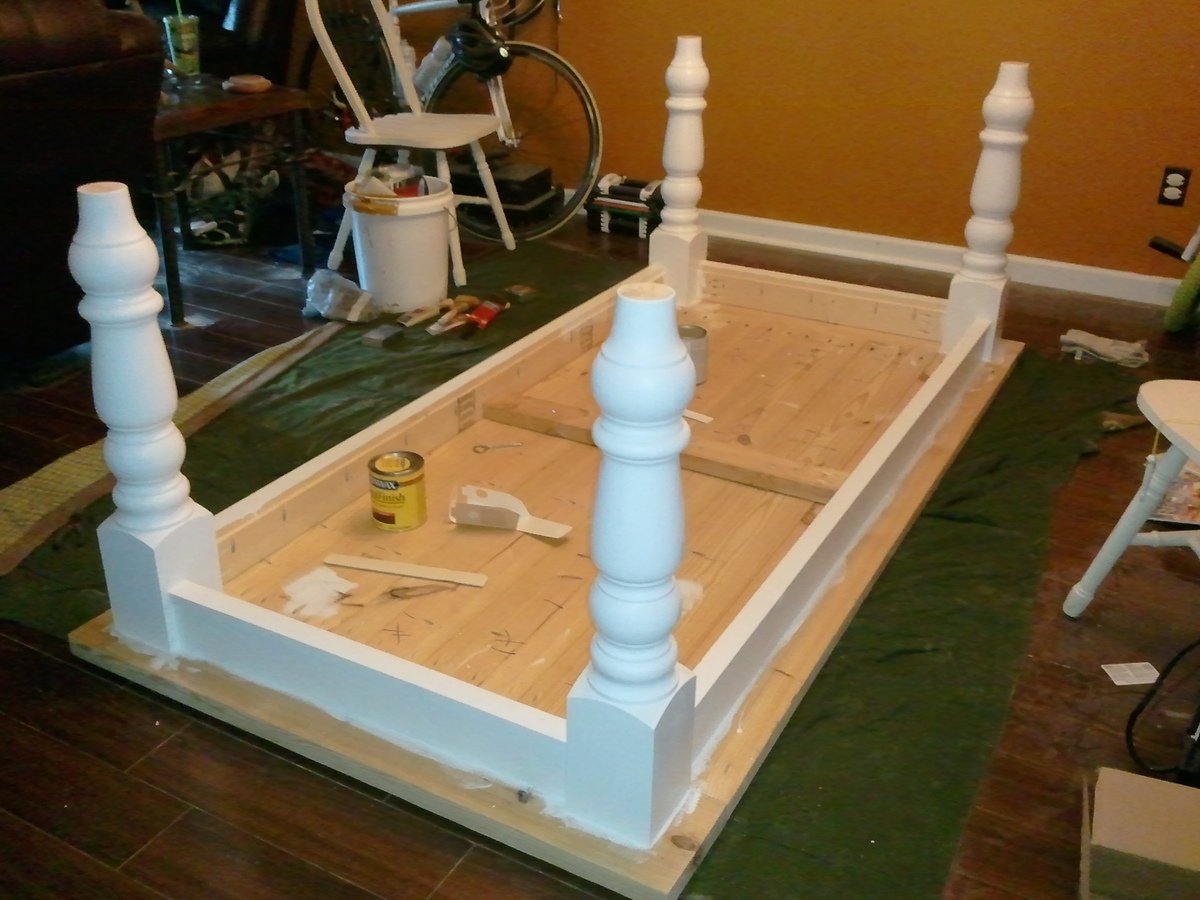
Husky Farmhouse Table
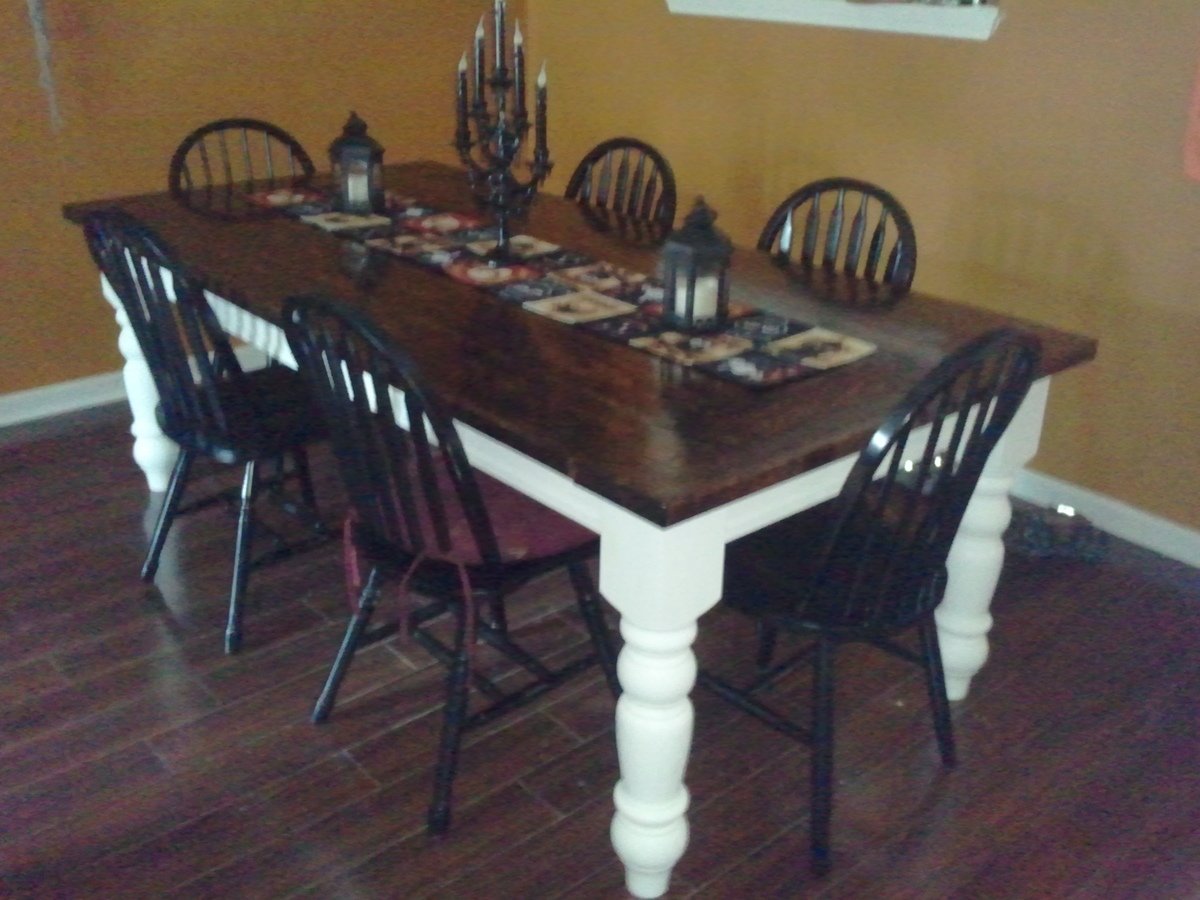
I loved the husky farmhouse talbe and after using a small round dining table for years, I figured it was time to get a larger table. What a great build! I definitely appreciate Ana's plans and ideas. I finished it right before Halloween as you can see and my 4 yr old son loves the new table for our sit down meails.

Comments
Thu, 10/17/2013 - 09:28
Thank you Ana! Its been a
Thank you Ana! Its been a great addition to my home! =)
Tue, 07/07/2015 - 00:27
love this table
I love this table and i am trying to find a cheap way to get a dining room set( chairs will be bought and stanined). My husband is good a building things, my only concern how do you get all that detail into the legs of the table? Is there anyway you can pre-buy them made? We don't have a wooden lathe to do anything intricate.
Thanks if you can advise
Farmhouse Dining Table
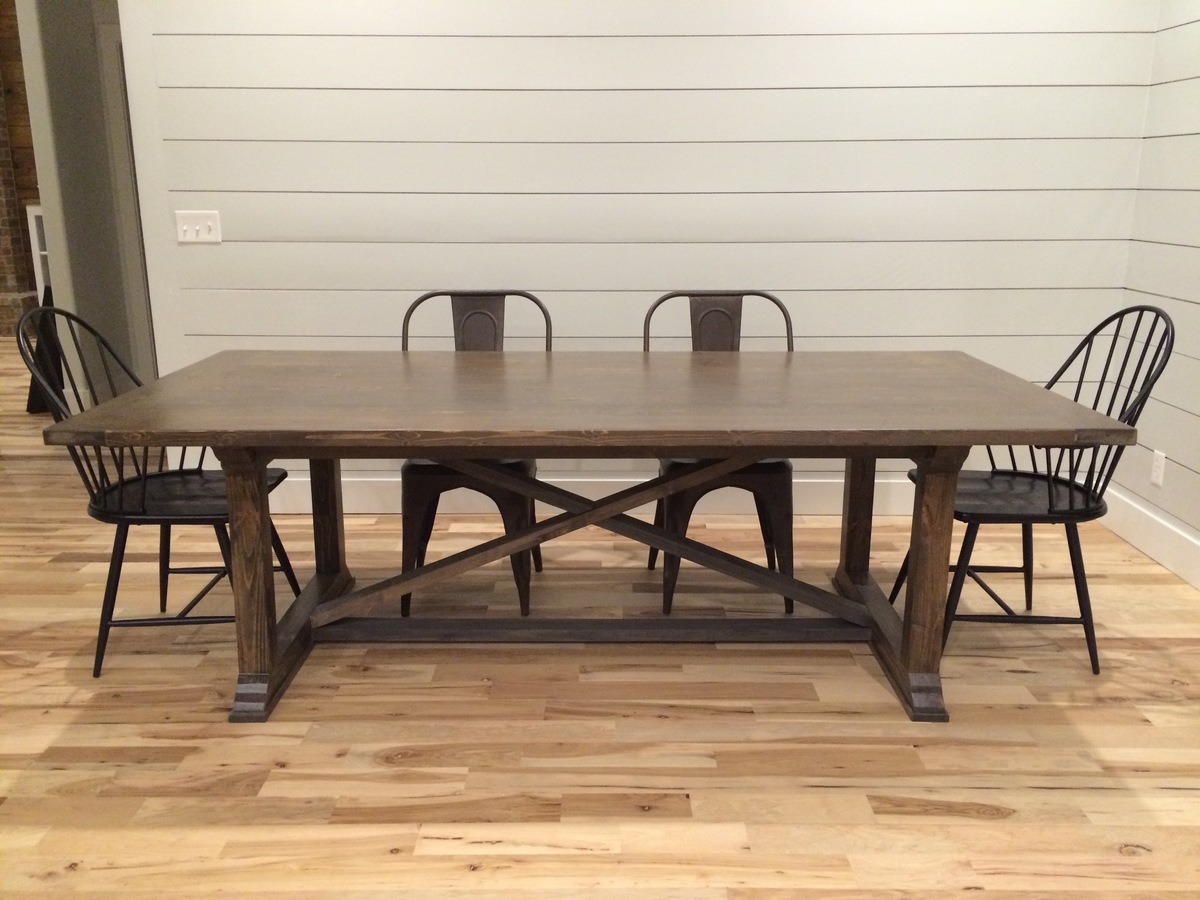
This table is the perfect length for our dining area. Pretty easy to build if you aren't new to building furniture.
8 foot mudroom hall tree
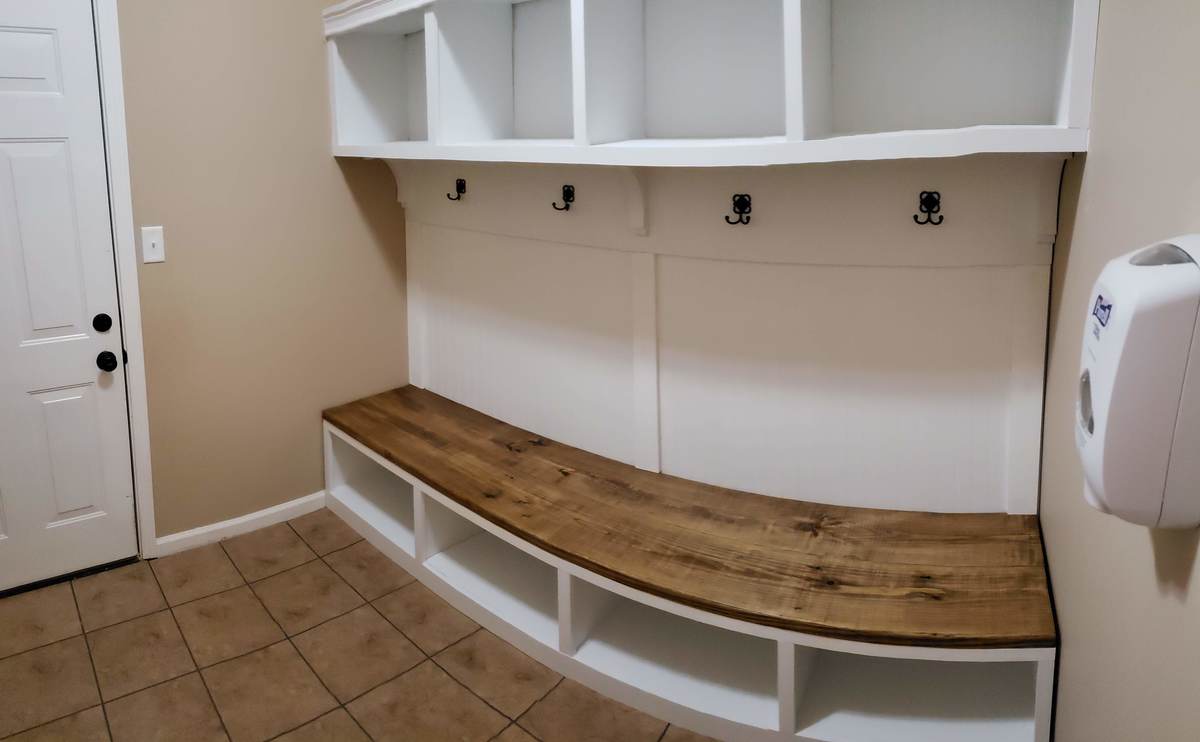
We had an 8' mudroom, that previously contained our laundry area as well. We moved that and had this space to fill up. We used 3/4" plywood for the most part, and some 1x2 finishing pieces in the front, as per your plan. We built the bench and then installed it, but the upper shelves had to be built in place on the wall, because we couldn't fit it in the room if we pre-built it. So that was a bit of a challence. Turned out great though. Thanks for the plans!
Comments
Queen Farmhouse Headboard
We eventually will build the rest of the bed, but for now we needed a headboard. Hubby helped me with this one, since it was large, I loved having an extra pair of hands. This headboard is reversible, so if our tastes change, we can unbolt it and flip it over to the side that is just stained and polyurethane. Pretty neat! This headboard is extra tall, because we have our bed frame up on risers, and we wanted a picture shelf but didn't want it interfering when we sat up in bed to read or what-not. Hubby used the router to make grooves in the top before we attached it, so our pictures wouldn't be crashing down on our head! Our metal bed frame comes just shy of the outer edge of the legs of the headboard, so when we build the rest of the bed, the side rails will meet the edge exactly. We placed the headboard behind the bed frame to mark where to drill the bolt holes and attached the headboard to the frame with 4 inch long, quarter inch wide bolts with washers and nuts. Two on each side.
Comments
Sat, 10/22/2011 - 20:35
I love the plate rail detail on the top edge...
and the reversible idea is great.
Outdoor Providence Table
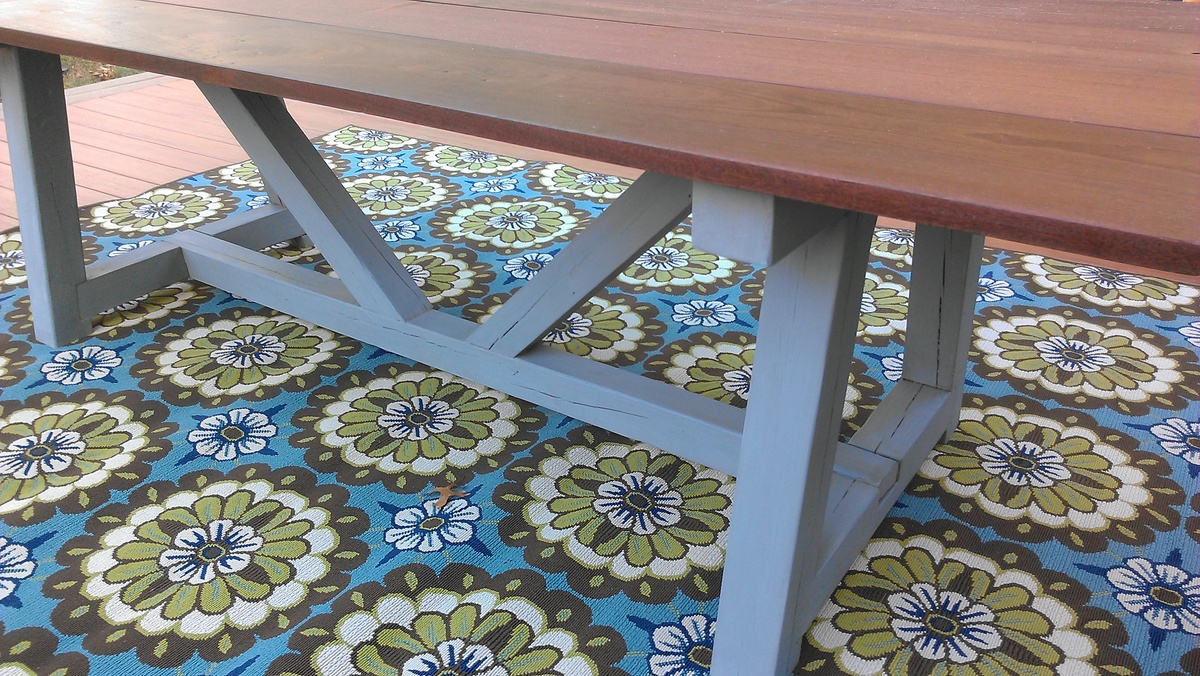
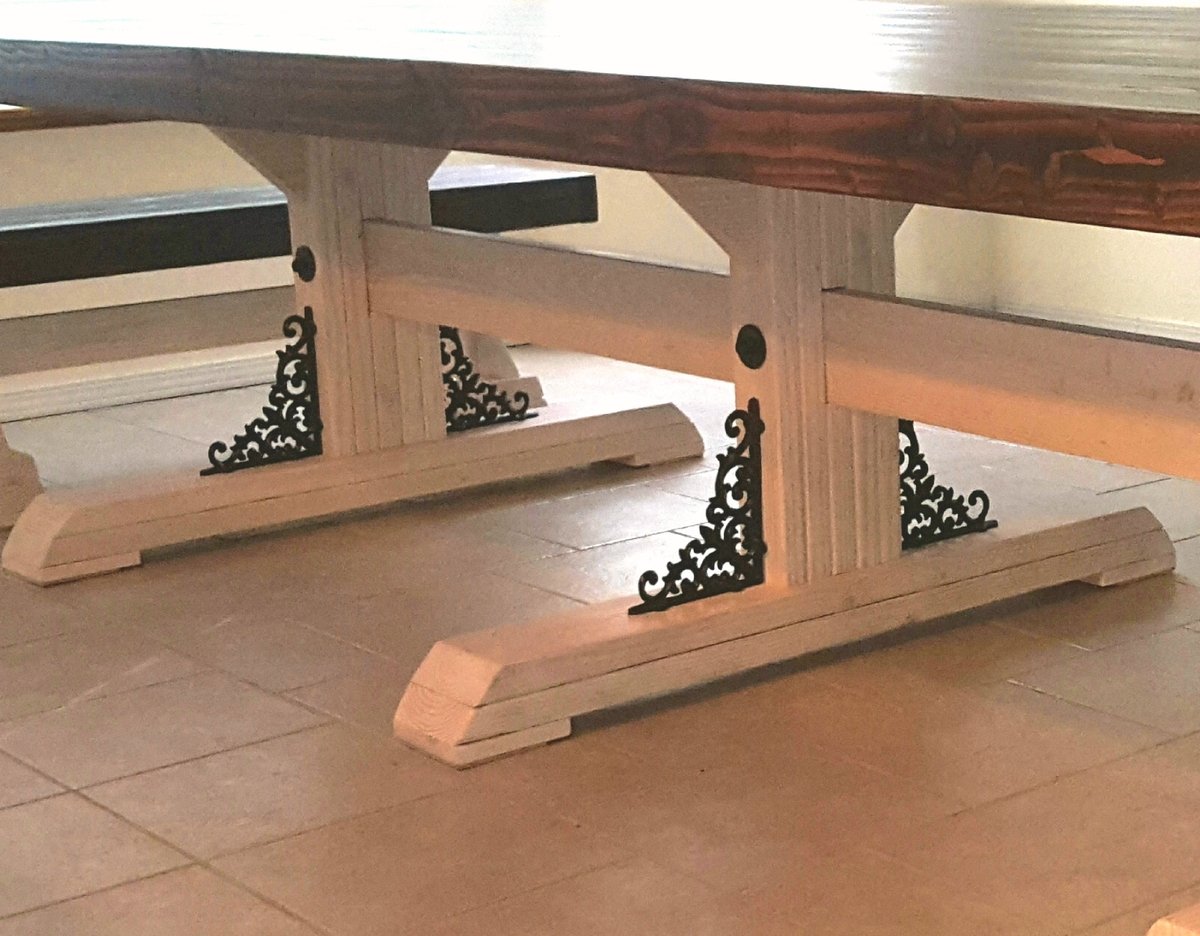
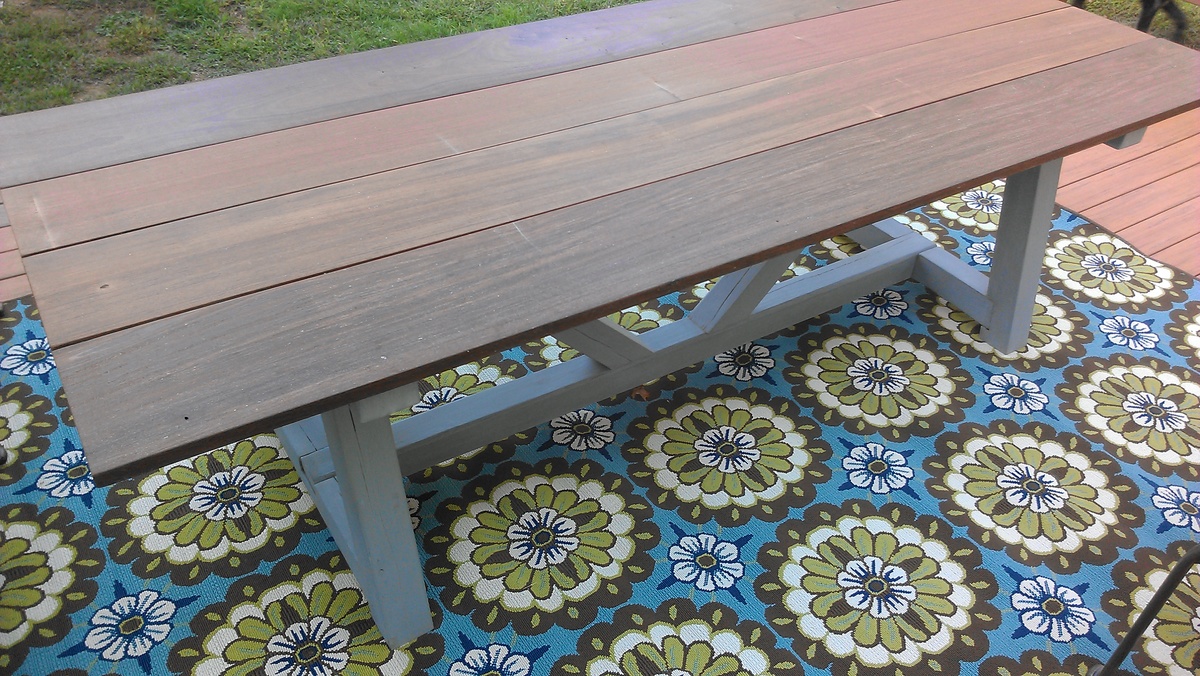
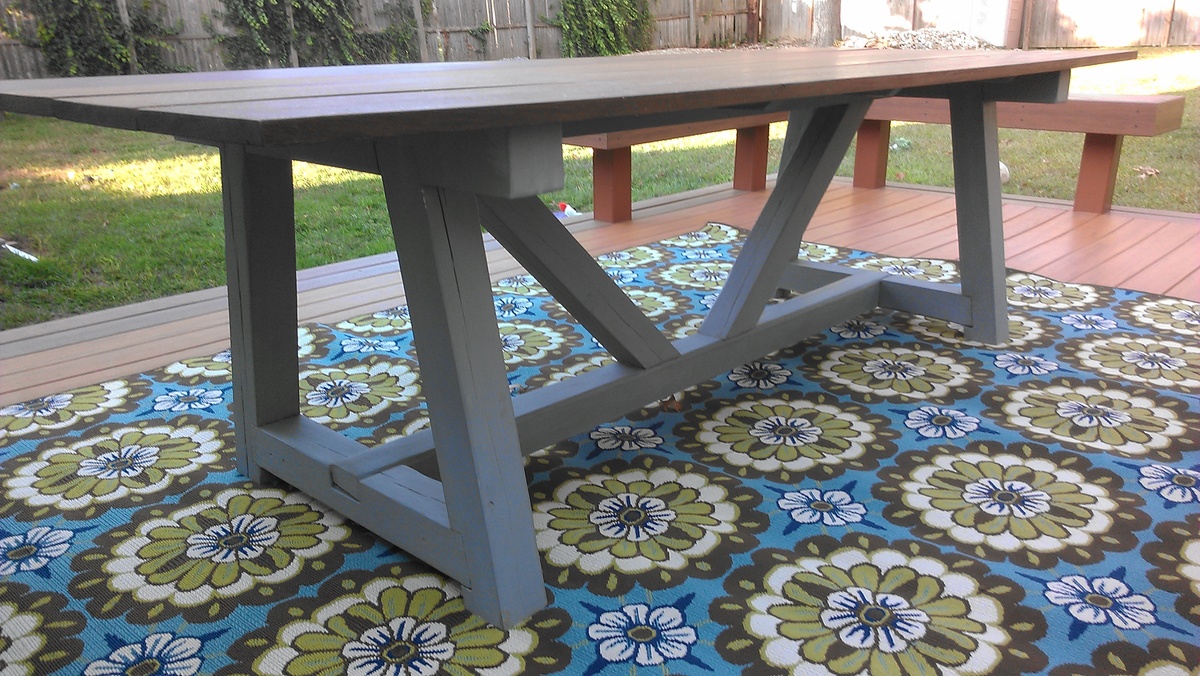
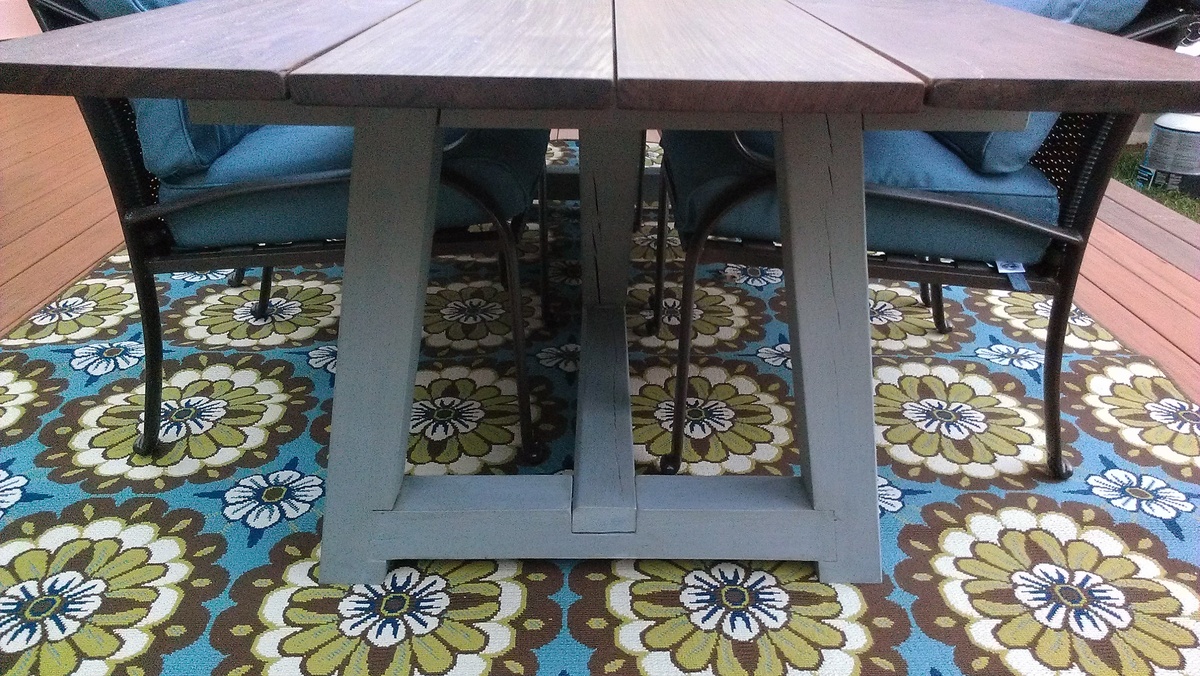
This was my first attempt at building a piece of furniture. It's an outdoor table based on the providence table plans. I used old 4x4 pressure treated posts from part of my fence that was no longer needed for the base. The posts were fit together using lap joints and secured using fastenlok screws. The base was then painted with french grey chalk paint (first time experimenting with chalk paint) and then covered with a thin coat of brown briwax. The top is made of 8 foot by 1 inch ipe boards that are 4 different widths but the overall width is about 42 inches. The ipe was purchased rough sawn and needed to be planed to uniform thickness. I used a natural stain meant specifically for ipe and other tropical hardwoods.
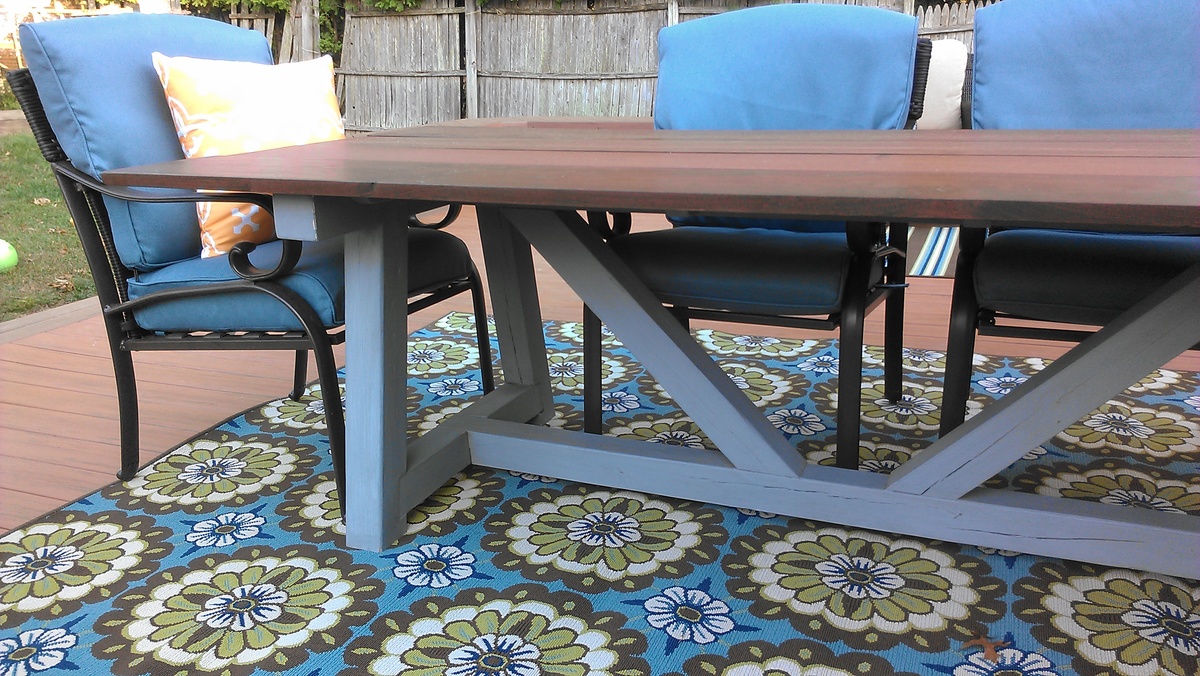
New Dining Table!
Keep on building on! This is the second peice I've built for our dining room - built a bar first. I opted to only make 2 pedestals instead of 3 that was on the plans. Dimensions are a tad smaller to fit our room nicely, measuring 90in x 40in. My wife and I absolutely love this table! I used Red Oak for the top and Doug fir for the base. Hardest part was lugging around that dense oak and looking for chairs! The stretcher was also a bit of a task as well. Had to go out a buy a rubber mallet to bang it in enough so that the slack on both ends were even. We particularly like this piece because it will be used often and many memories will be created around this table! Thanks again for the inspiration!
Comments
XXL Dog Crate
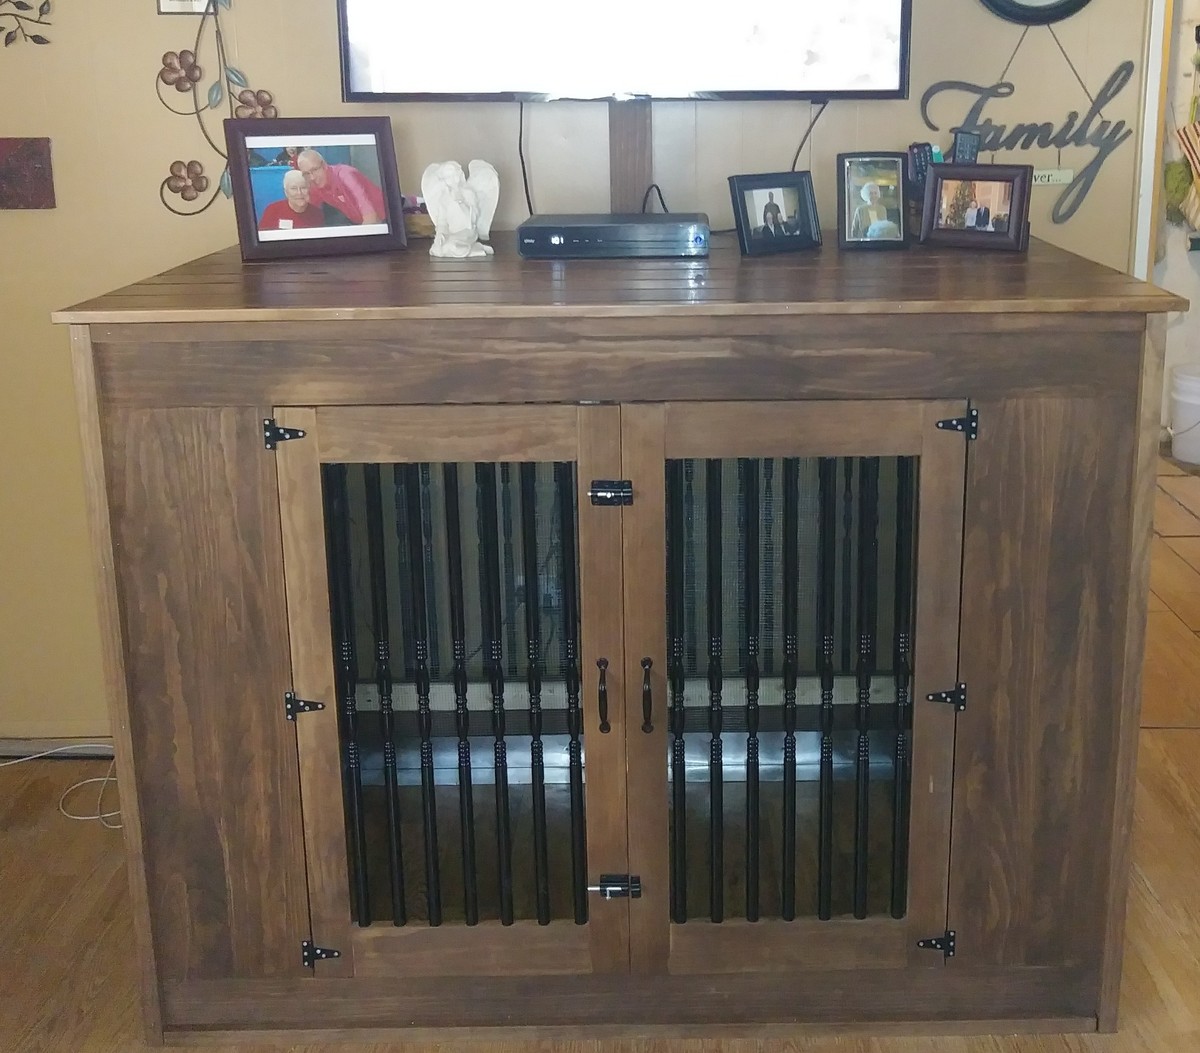
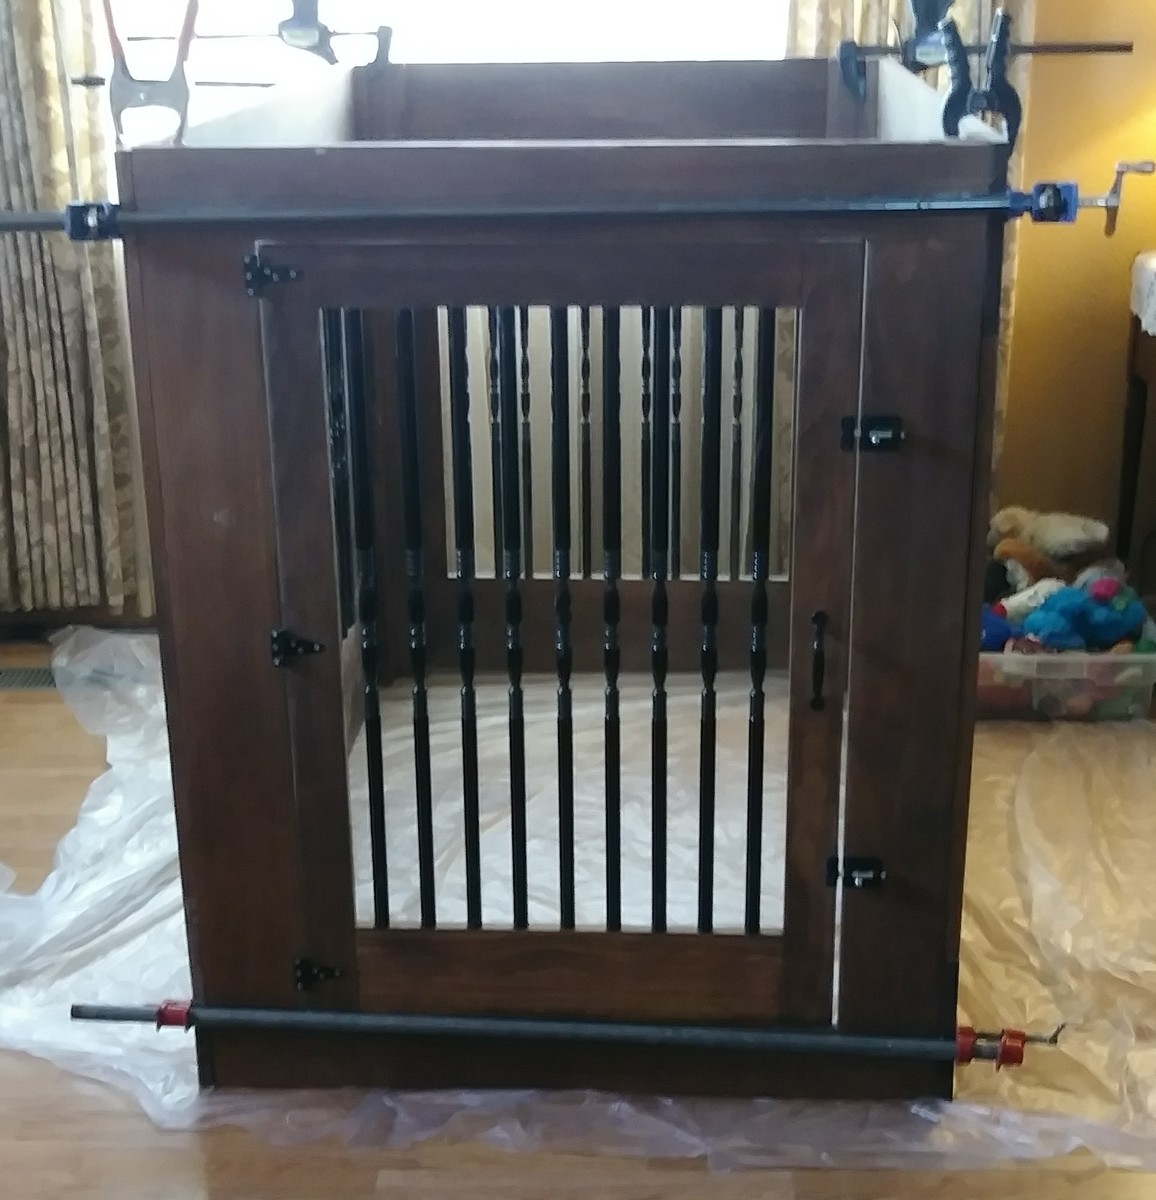
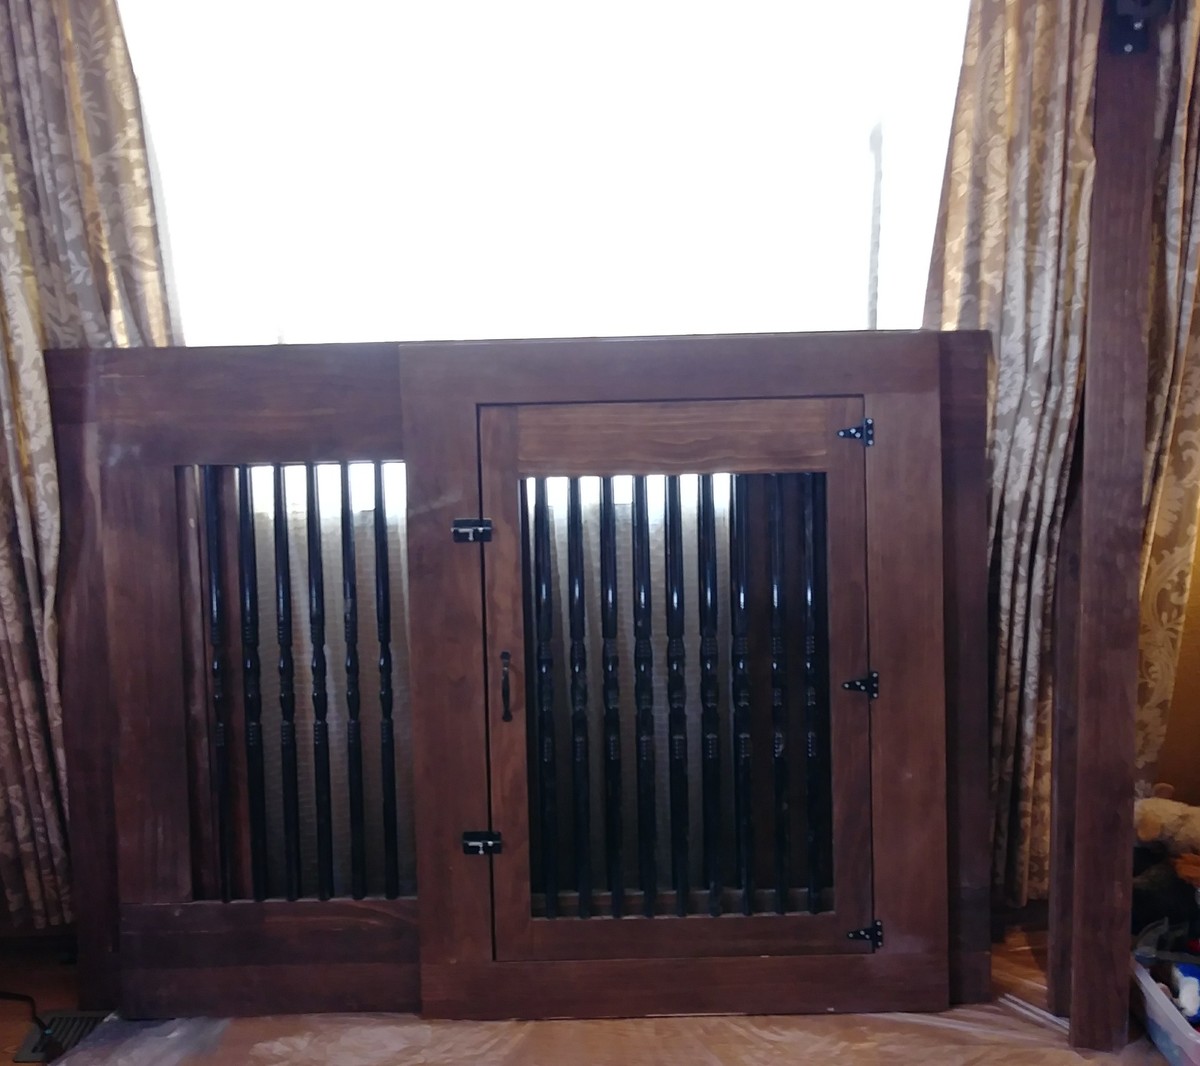
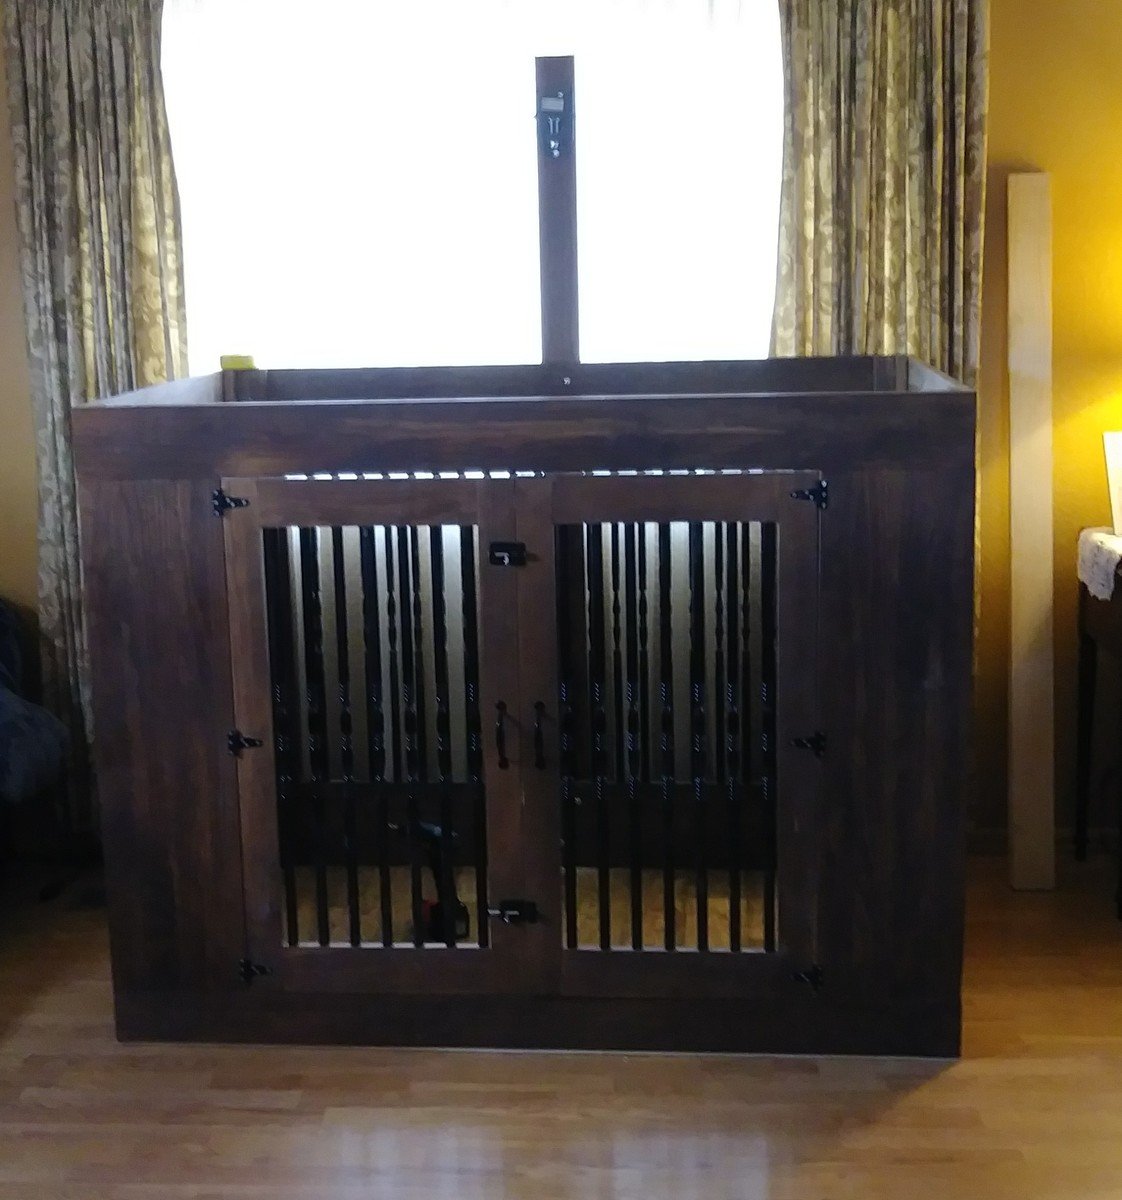
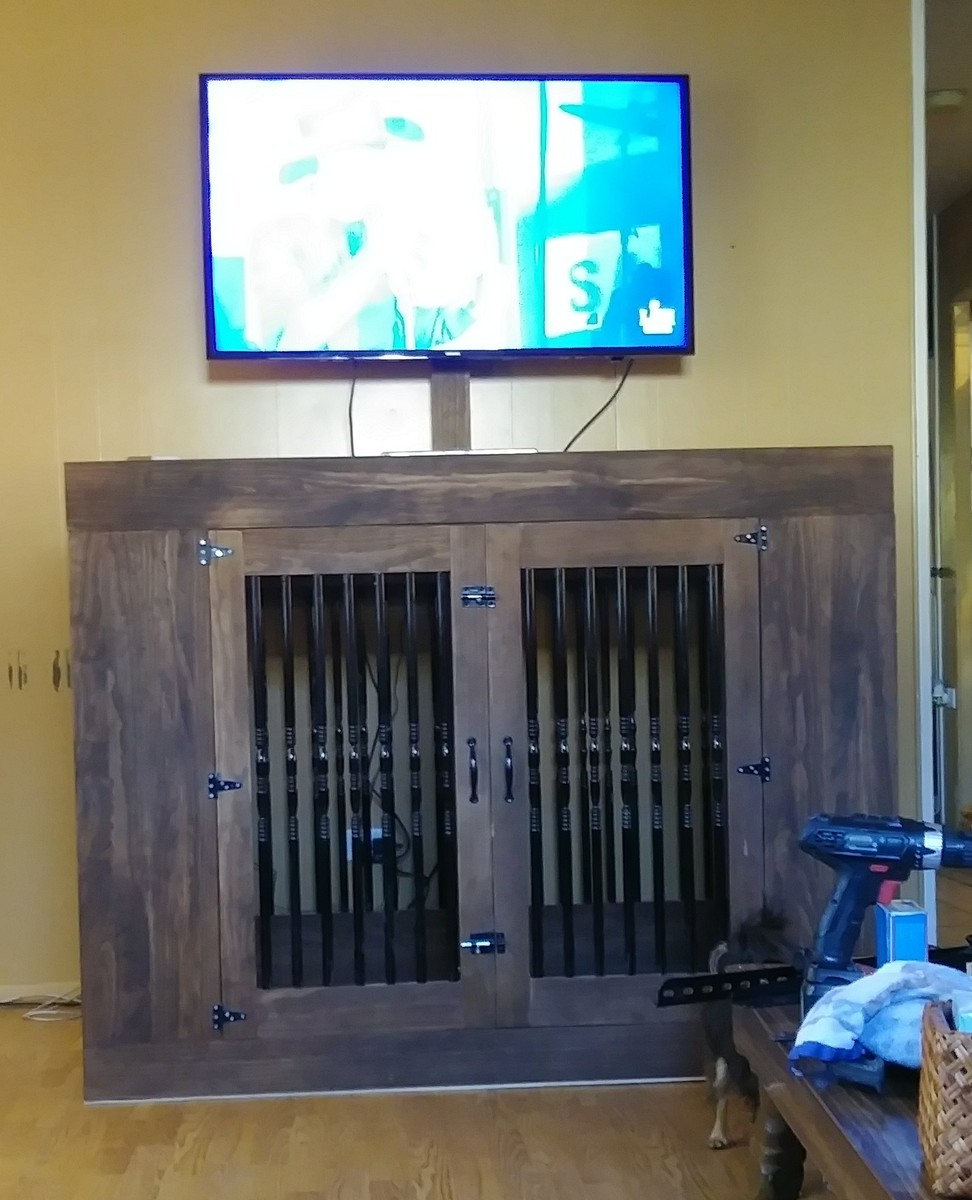
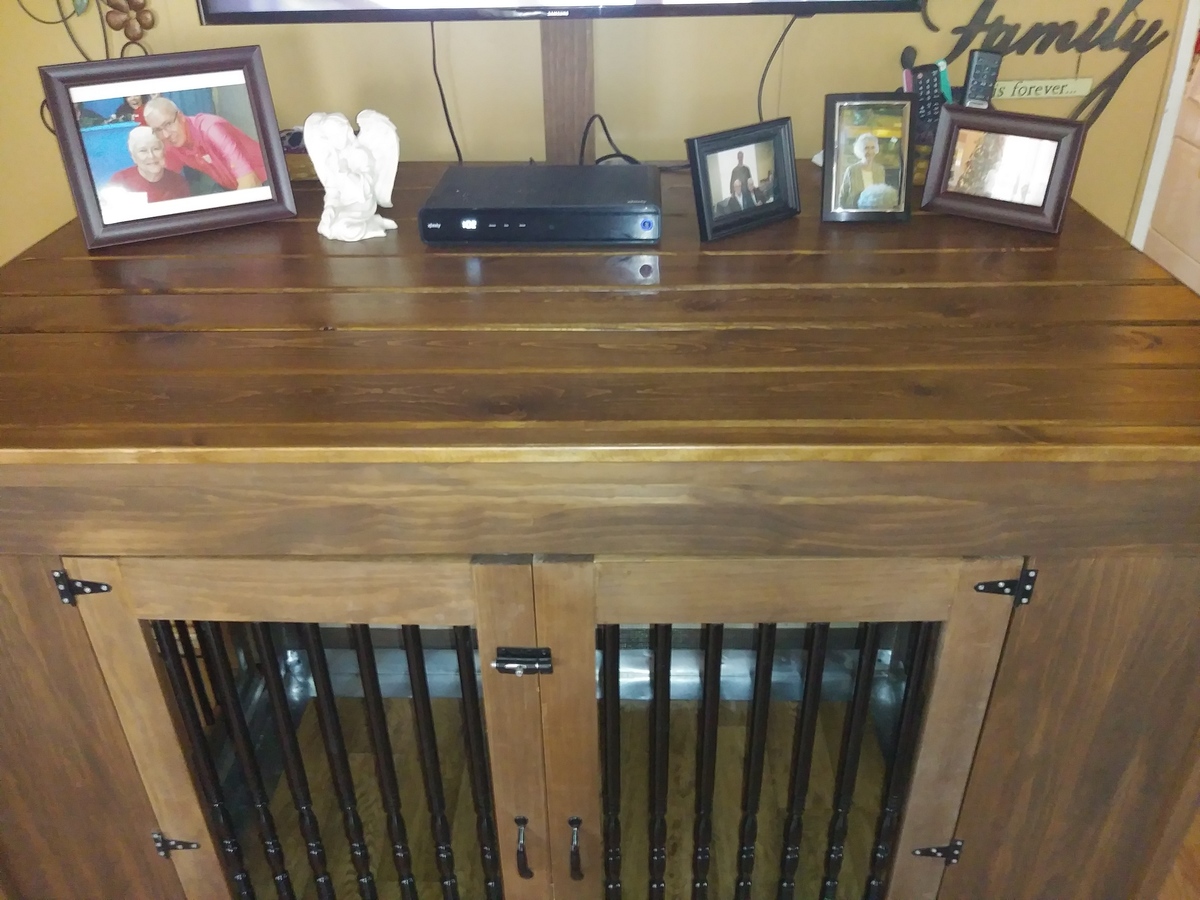
When we made the decision to get a Great Dane puppy, we knew she would need to be crate trained. The idea of a metal XXL crate wasn't terribly appealing so my wife suggested I build a piece of furniture. My skills are above beginner level but I had never built a piece of furniture. I started with the dimensions for the metal crates (54"L x 37"W x 45"T) and put pencil to paper. We agreed we wanted somewhat of a rustic look for the finished crate. I decided to use pine 1×4's, 1x3s and 1x2s, pinned and edge glued together. For ventilation I chose the black metal banister rails. The bottom of the crate is a sheet of sub floor covered with sheet vinyl. I lined the inside of the crate with hardware cloth to deter chewing on the wood. The top is made of tongue and groove carsiding, I had left over from another project. The 4 sides are finished in Dark Walnut Stain. The top has the same stain plus 3 coats of Satin Urethane.
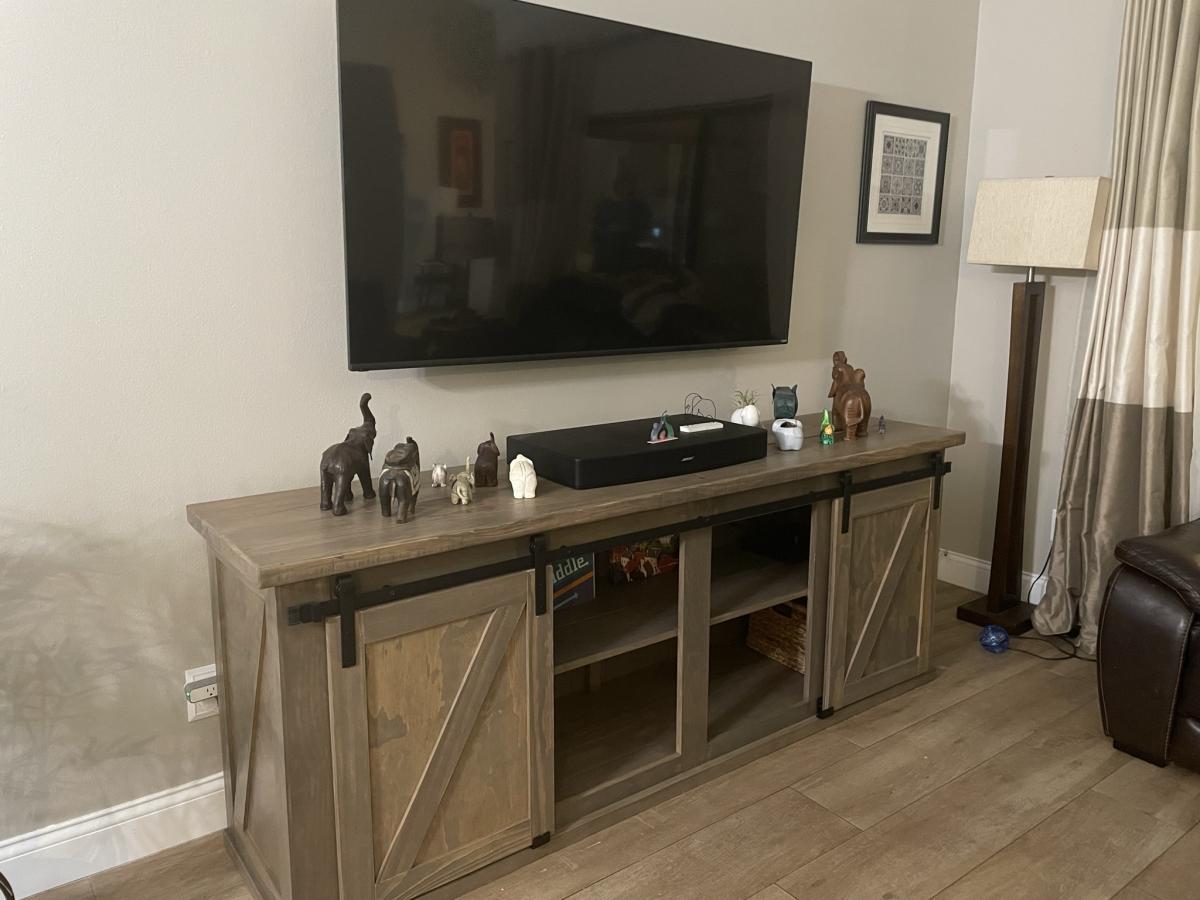
Farmhouse TV console table
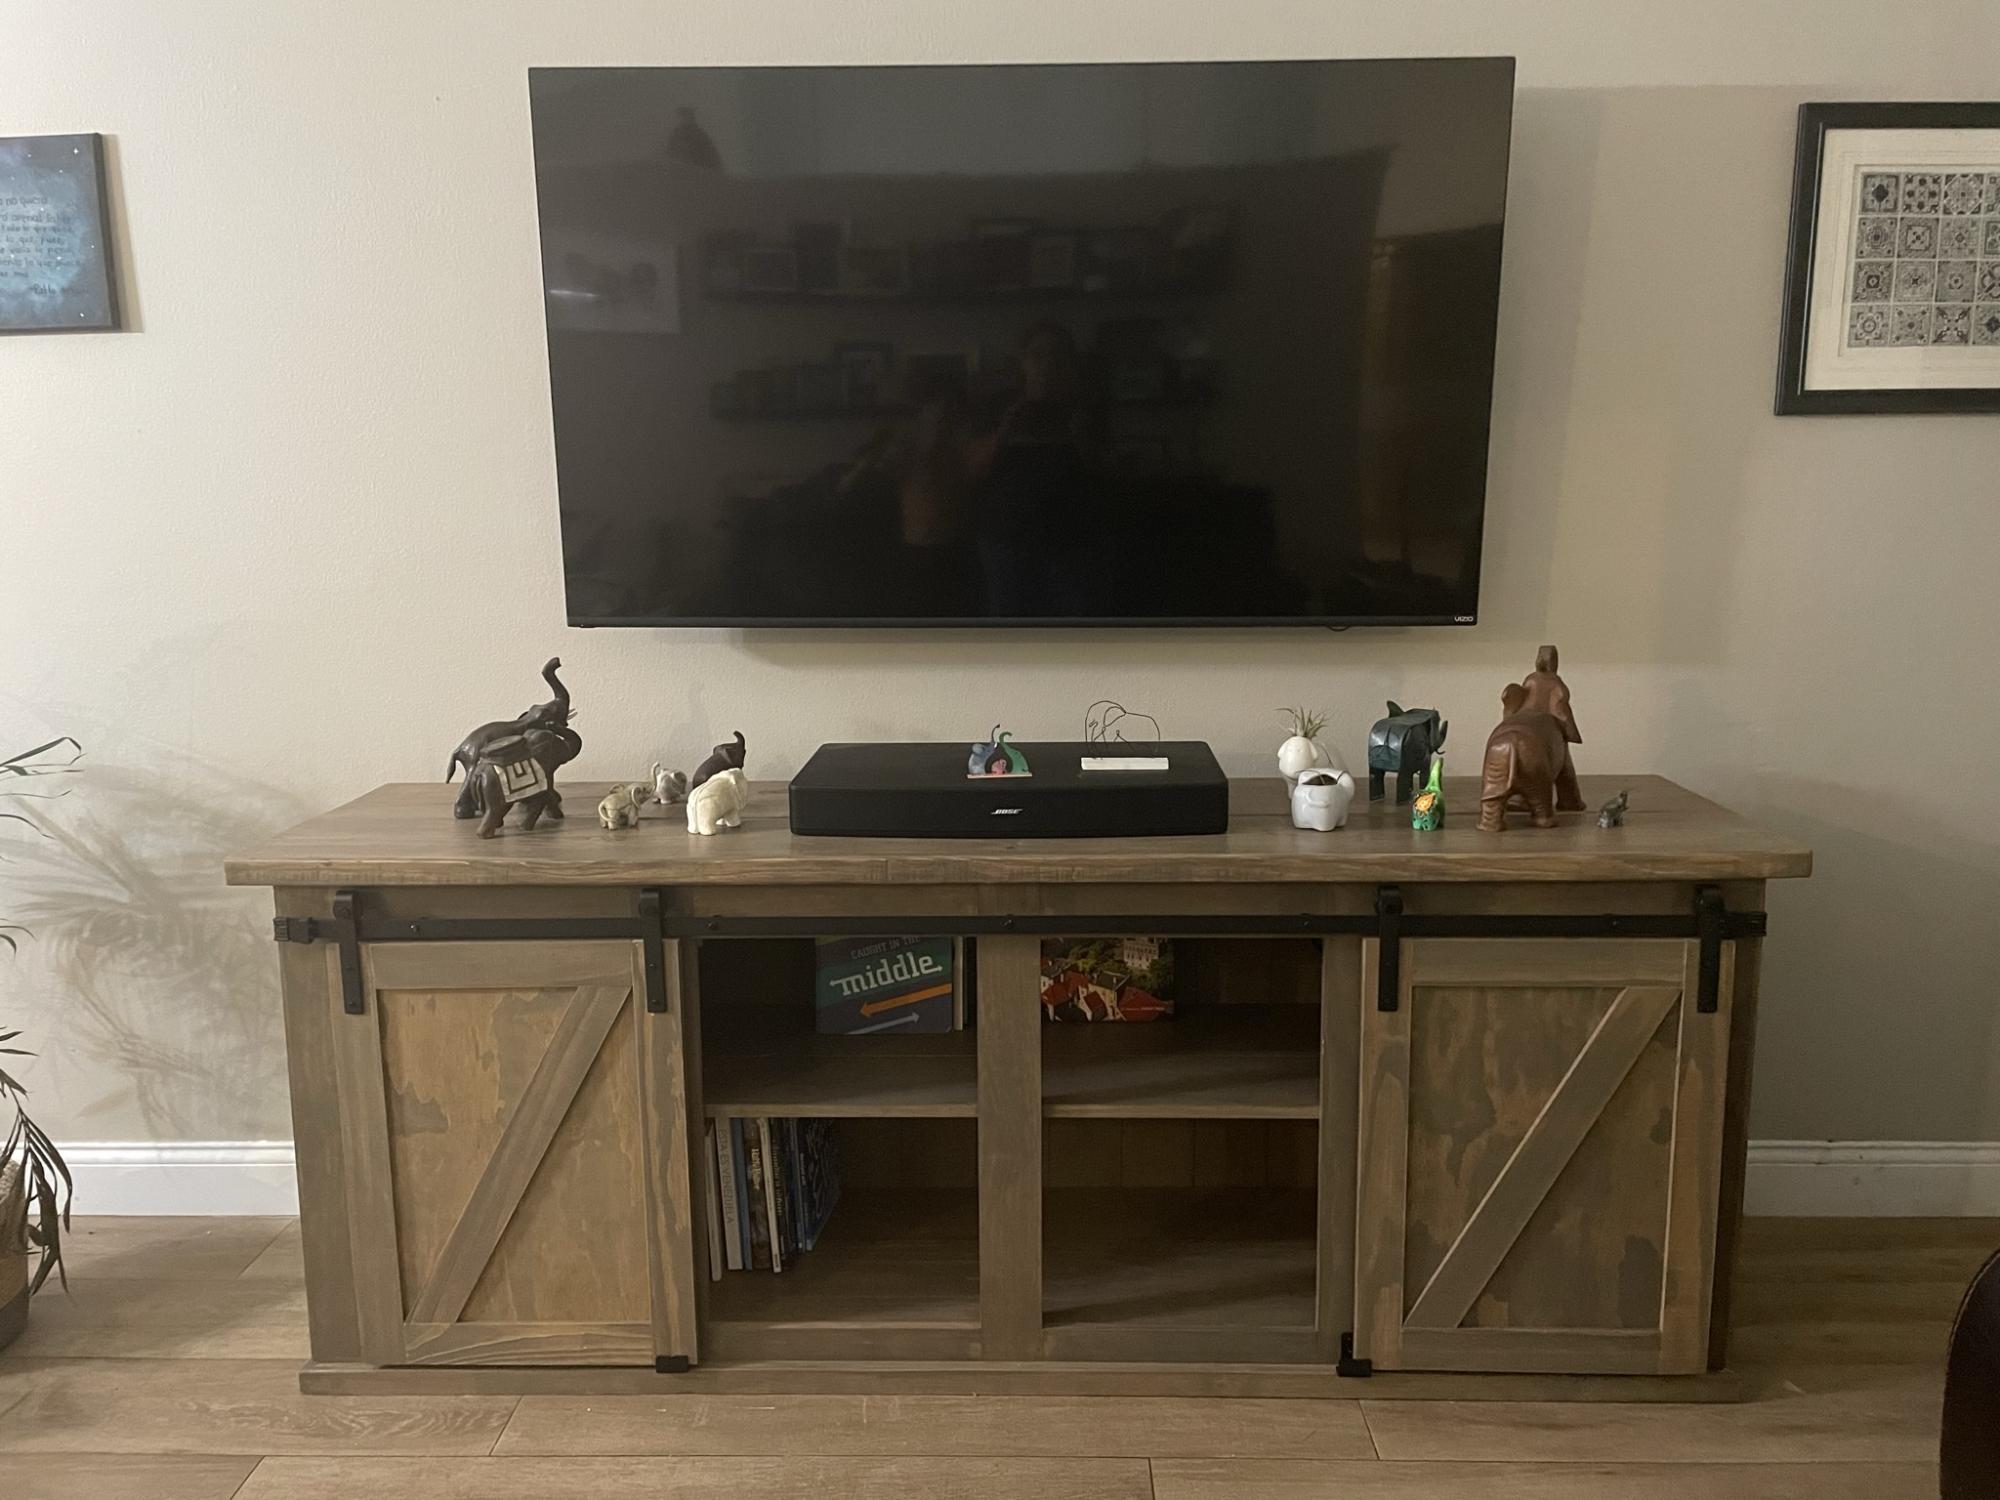
I built this TV console based on Ana’s plan and some modifications from The Turquoise home. Made it 6’ long and a bit lower to fit all my elephants below the TV.
It turned out beautiful and suuuper heavy.
Thank you Ana!
Entertainment Center Build
I have always loved the entertainment center from Pottery Barn. When I saw that the sale price was still $900, I knew my husband and I could build it for way cheaper. This took about a week (with a lot of breaks) and the total cost was around $250. I think the biggest expense was the all the knobs, but I feel like they make the piece!
Comments
Sun, 04/08/2012 - 23:53
Nice!!
It looks great!! My OCD is totally soothed by your perfectly spaced faux drawer fronts!! From looking closer at your pic I can see that you made all doors instead of drawers and doors. I want to do the same. It also looks like you used a different type of hinge than suggested. Any reason for that? Do you have shelves in all 4 spaces? Would you mind adding a few more detailed pictures, maybe with your doors open? Or just giving some more details to what you did differently would help.
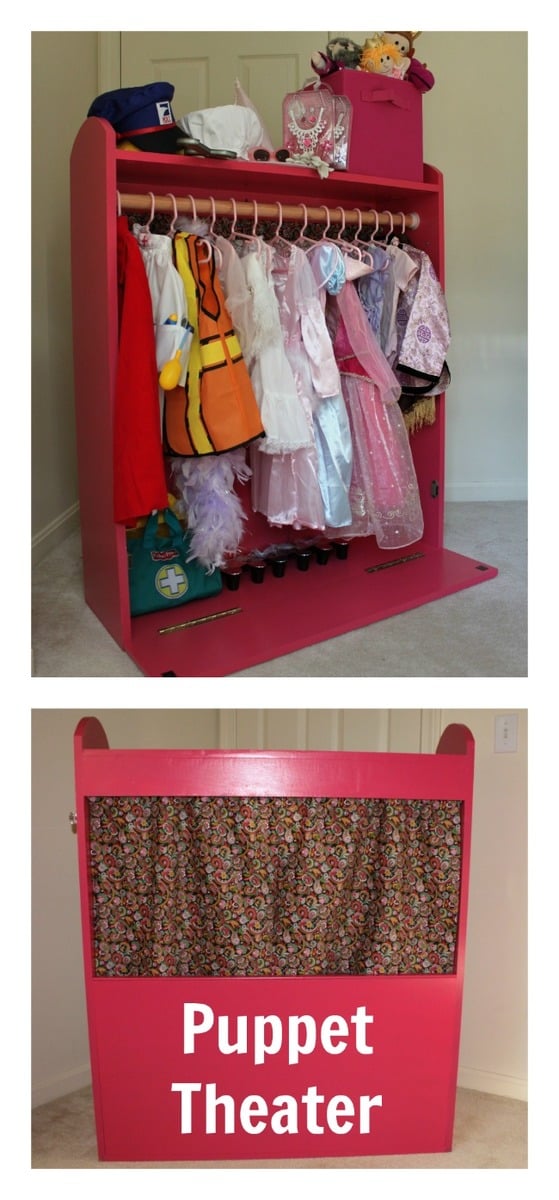
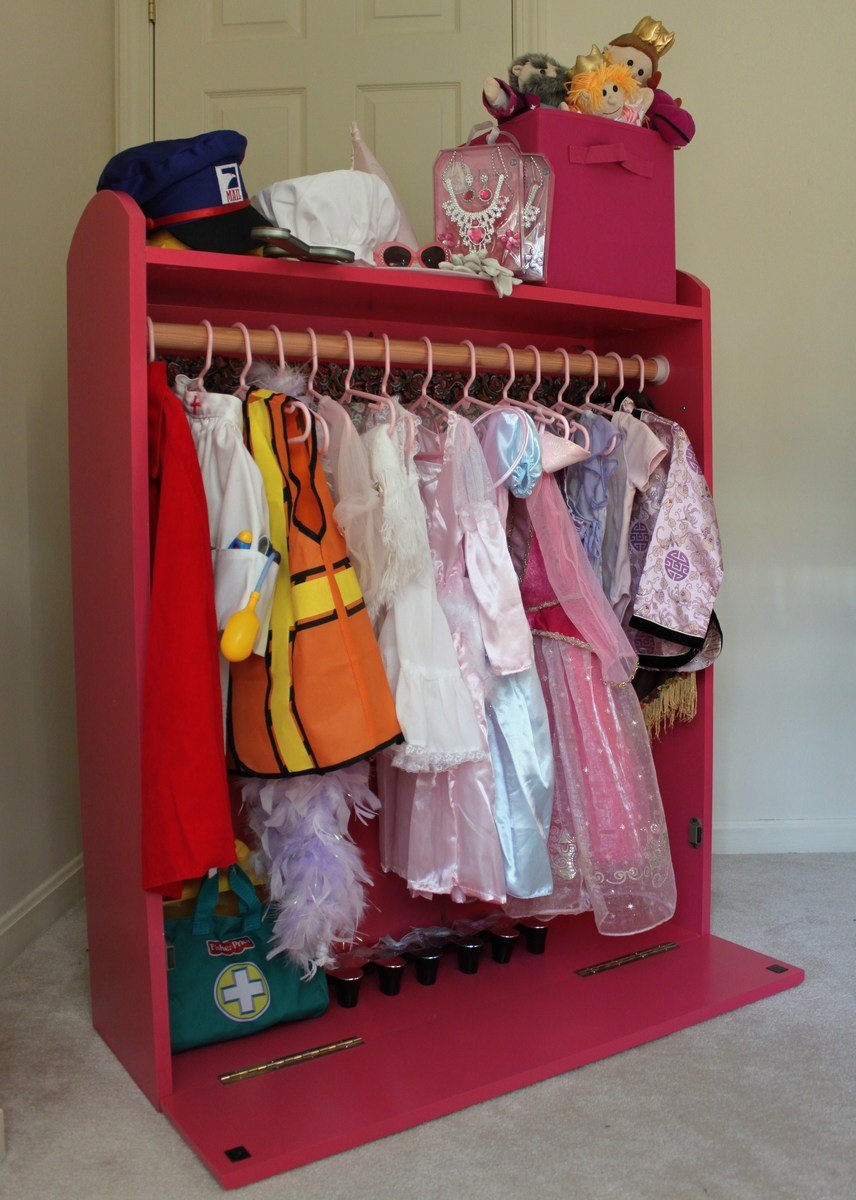
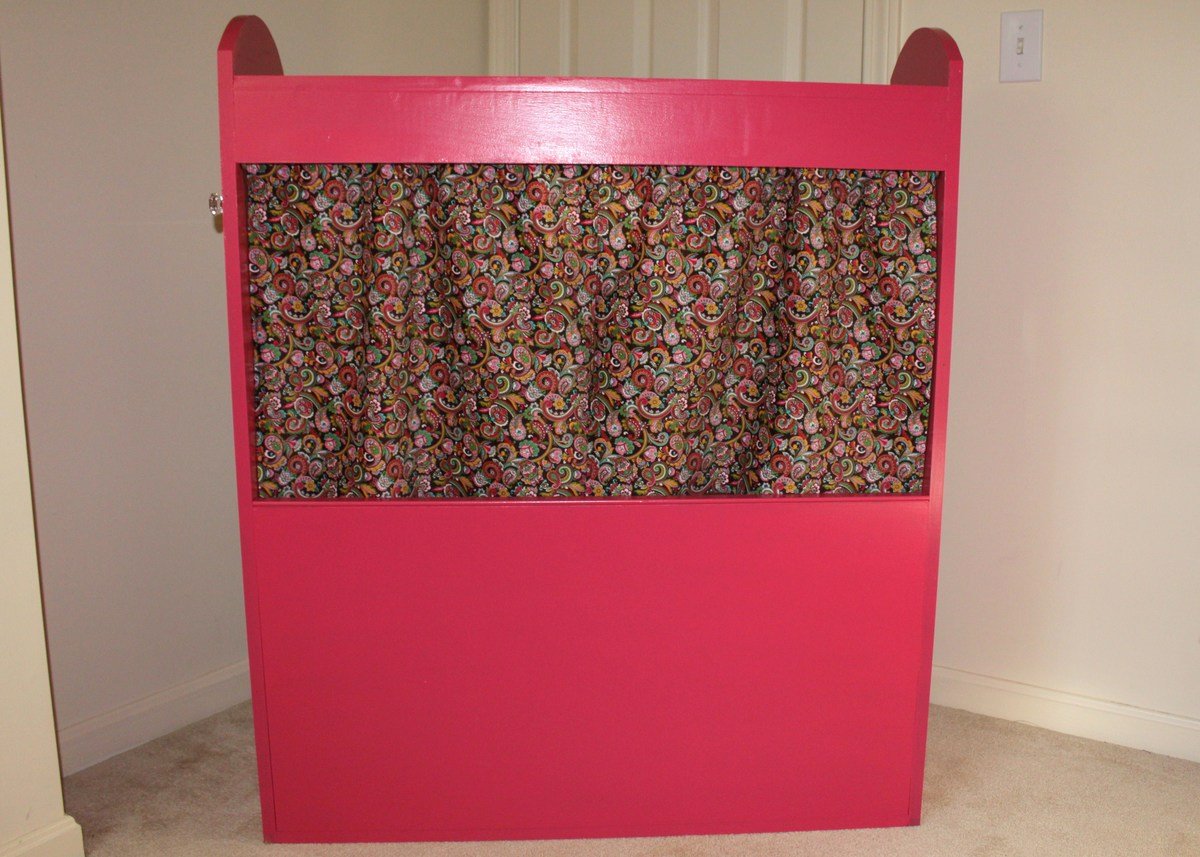
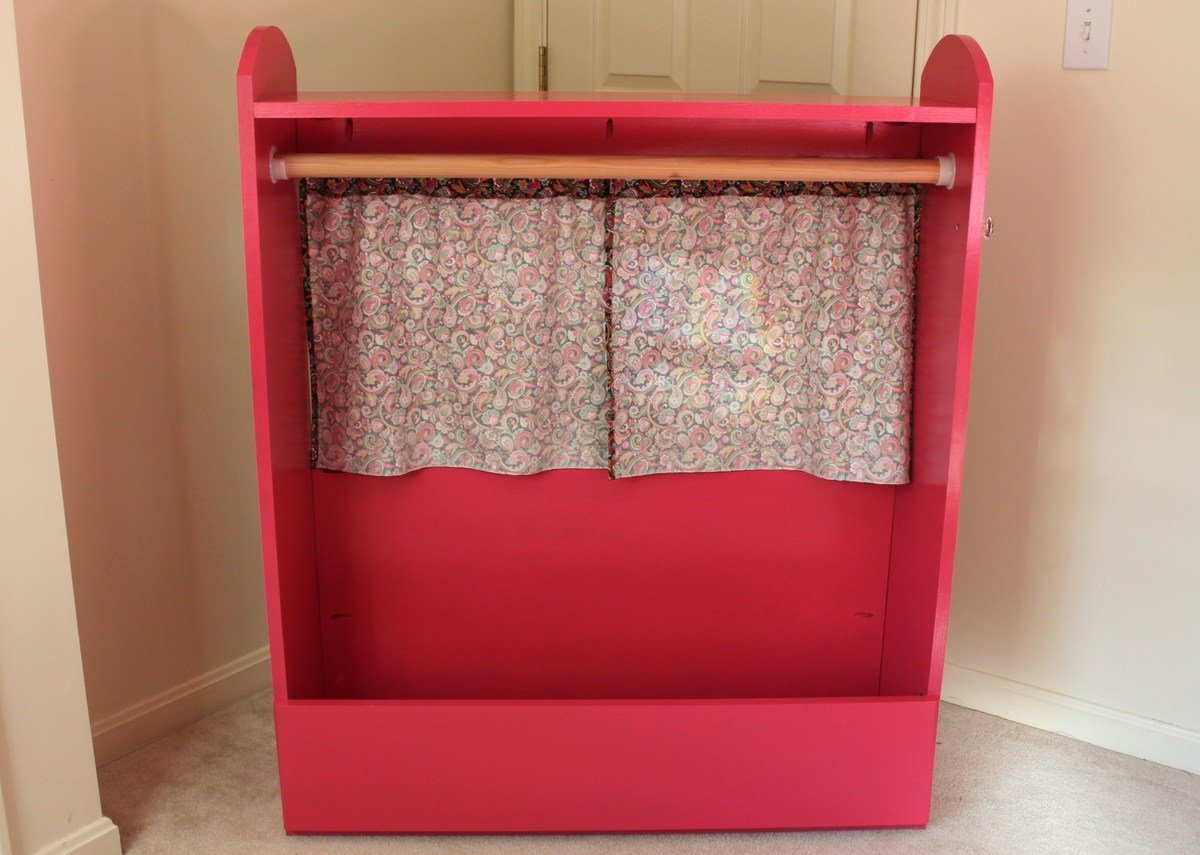
Dress Up Storage & Puppet Theater
This is a great way to double up on space & creativity! My dad and I built this dress up storage/puppet theater for my daughters using Ana White's plans with added inspiration from The Picky Apple's post about their own top shelf and theater hacks - you can view it here: http://www.thepickyapple.com/blog/2011/03/24/dress-up-storage-bin-and-p…. We added hinges and magnetic catches to the front so that the storage center can be turned around and opened to lay flat for access to the puppet theater.
Comments
Sun, 10/04/2015 - 12:44
Exact measurements?
Hi, I read you tweaked the plan and then did not know the dimensions of anything in the beginning. Have you gotten them since?



Comments
Ana White Admin
Fri, 01/27/2023 - 08:11
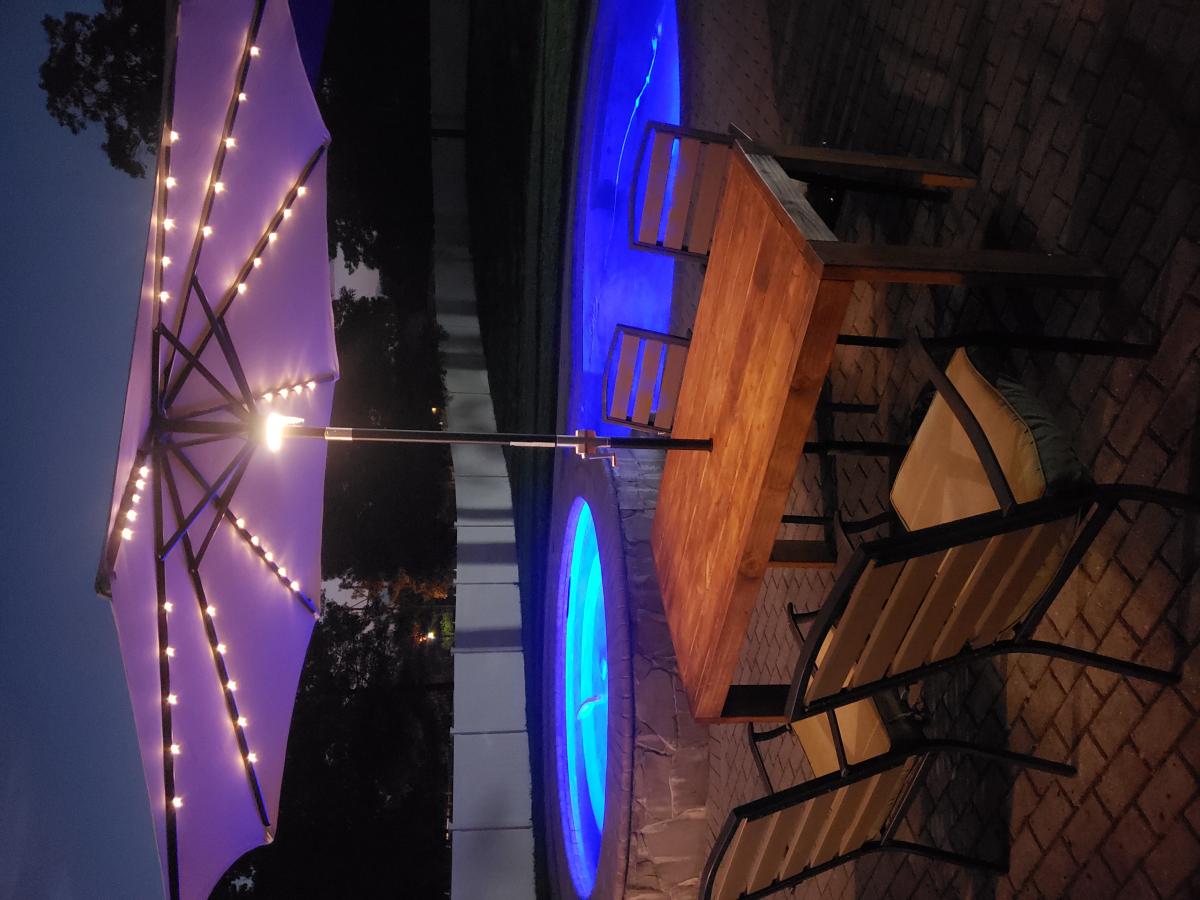
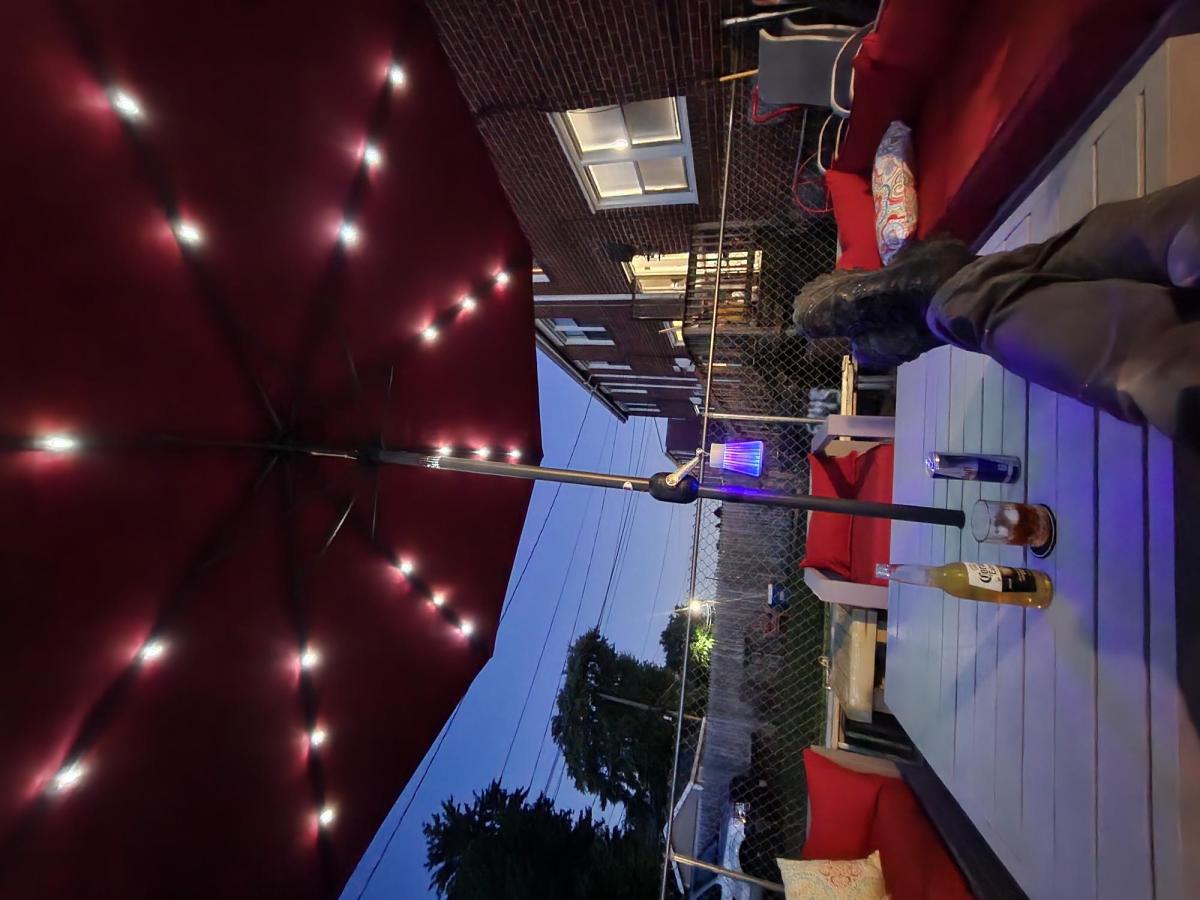
Looks inviting!
You created a great spot! Thanks for sharing.