Community Brag Posts

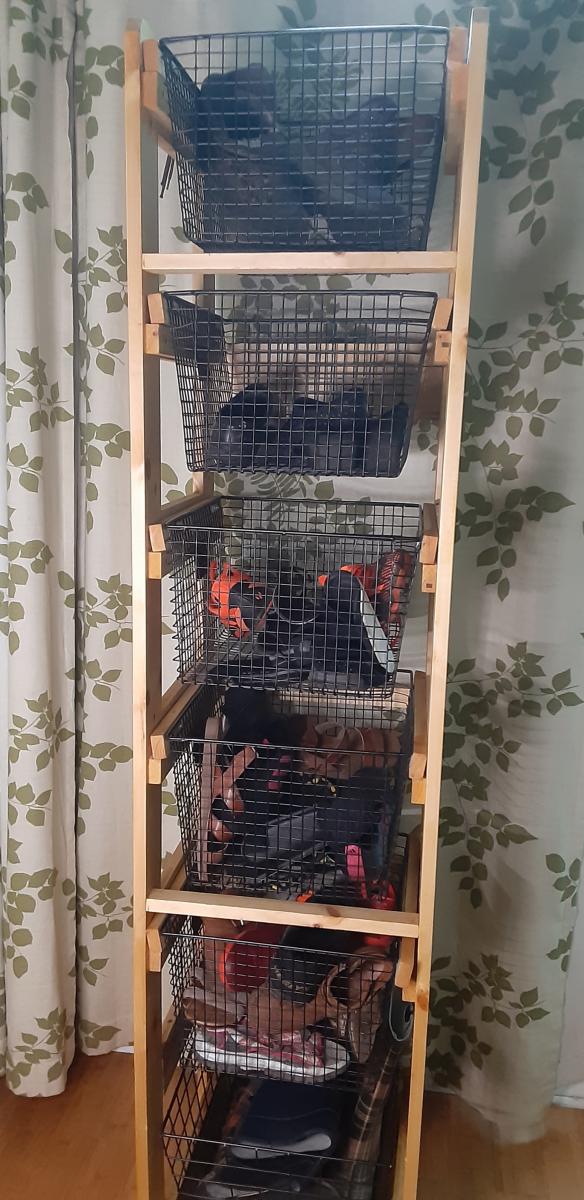
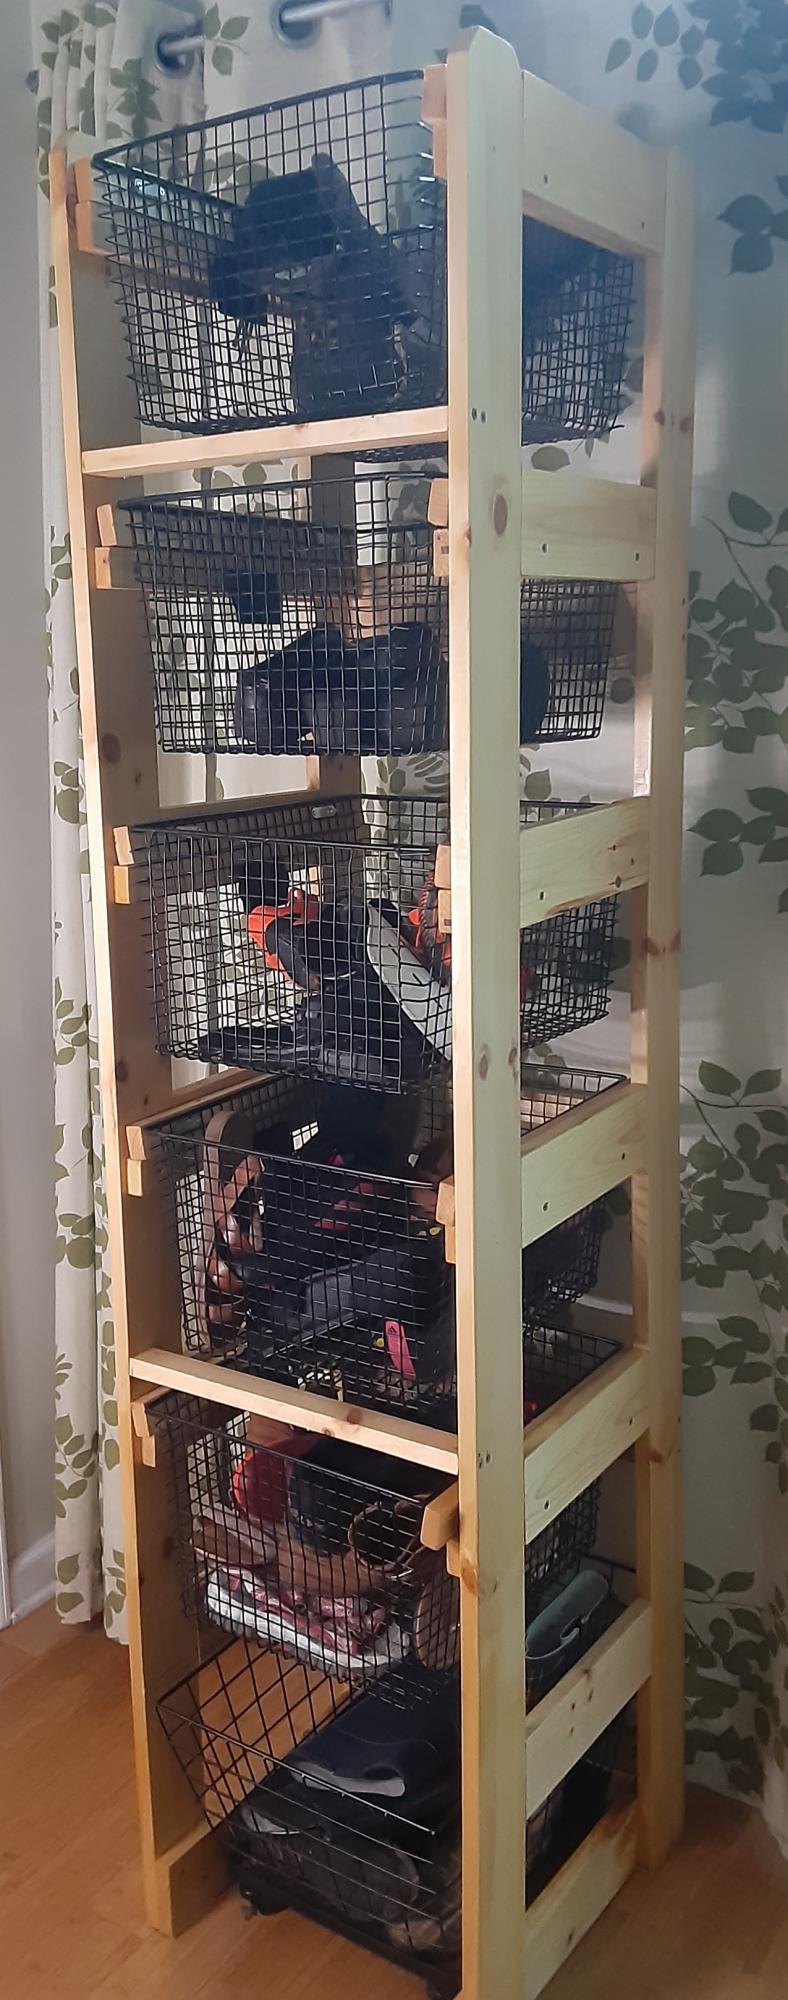
Vertical Shoe Rack

Submitted by Anonymous (not verified) on Sat, 05/06/2023 - 14:12

I needed a shoe rack that would work for our limited space and the Laundry Tower that was on the brag post caught my eye. It was modified from the Open Frame Laundry Basket Organizer. This shoe rack is working great for our family now! Thanks for this community!

Comments

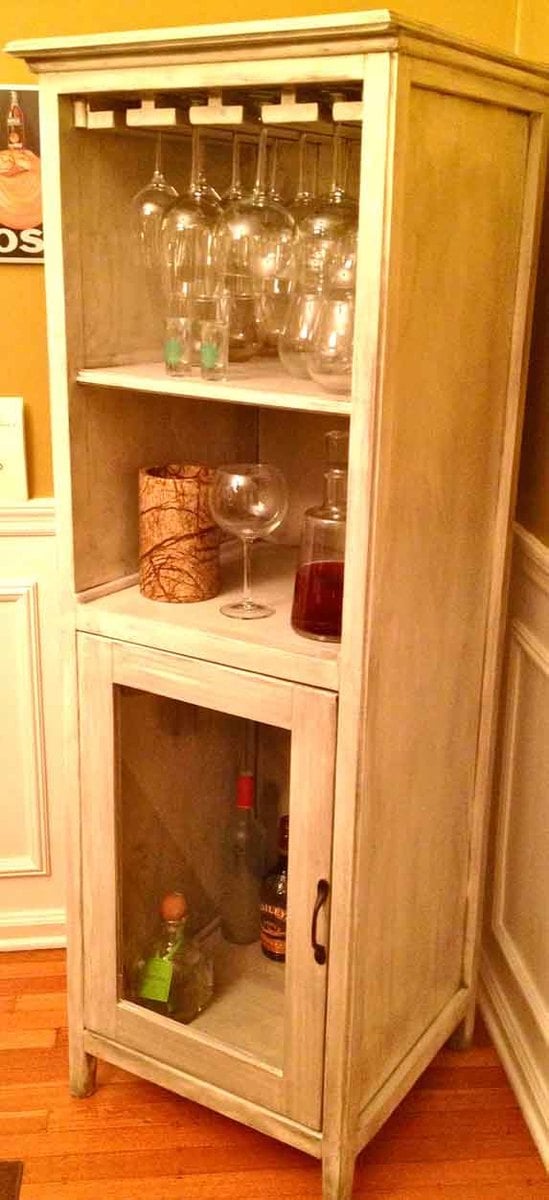
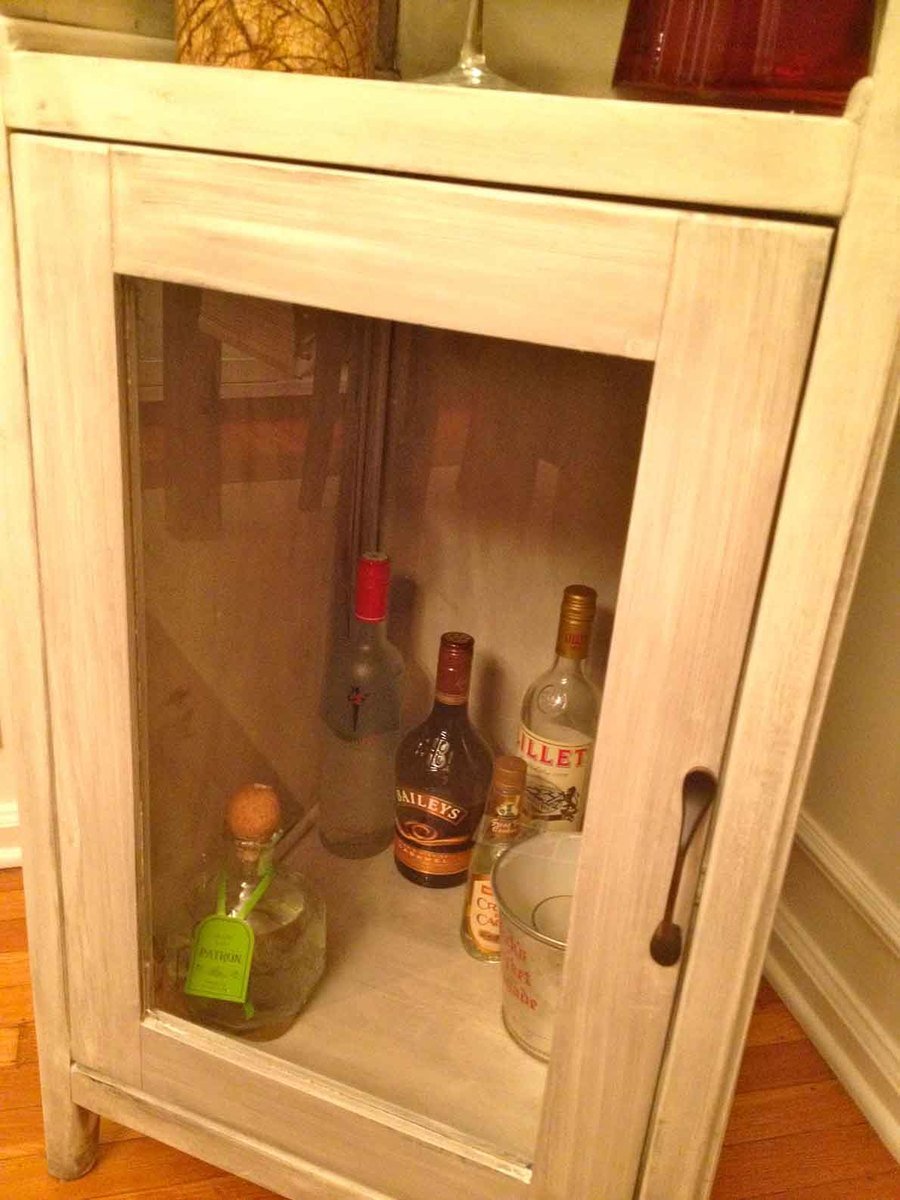
Liquor Cabinet from Benchmark Storage/Media Unit

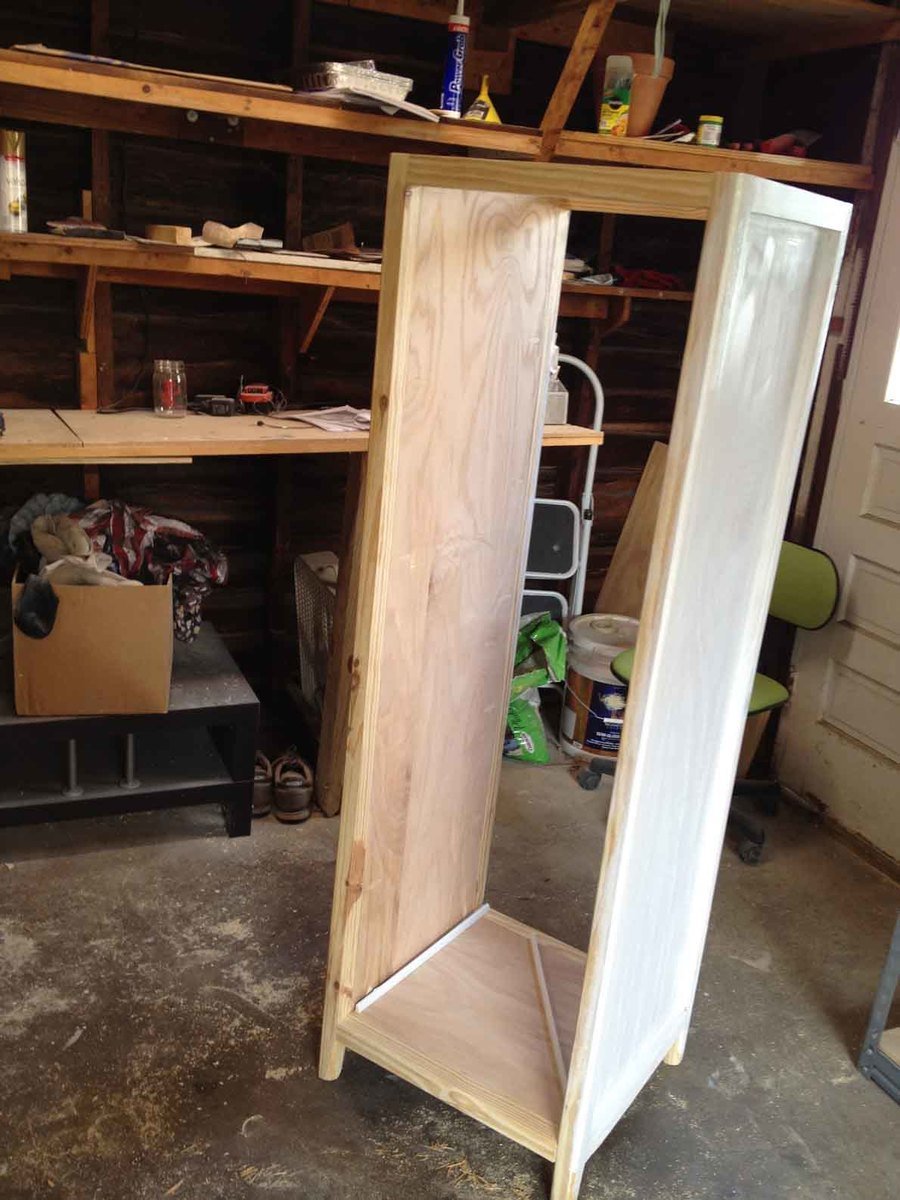
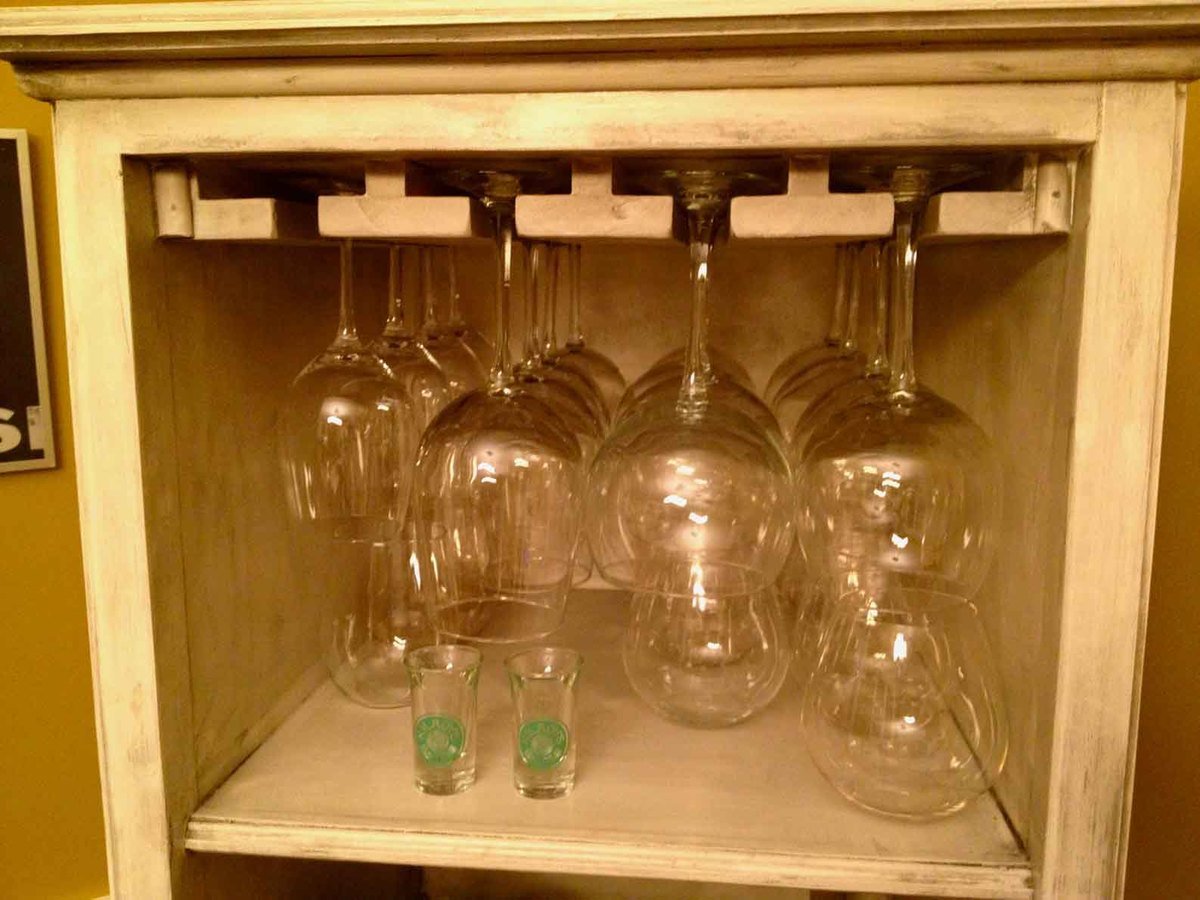
Hallelujah!! Finally, somewhere to store all our alcohol-related necessities :) We adapted Ana's Benchmark Storage Unit to work as a liquor cabinet. We kept the basic design the same, but added some stemware storage across the top (a feature we loved in a Crate and Barrel liquor cabinet that was $$$$$) and some decorative molding to bulk it up a little bit. We lovvvvvve it! Thanks Ana!

PS: everyone please check out our blog for more details on this and other projects!

http://strawbridgestuff.com

Estimated Cost
$100 (using paint and supplies on hand)
Estimated Time Investment
Week Long Project (20 Hours or More)
Finish Used
White semi-gloss paint followed by a thin coat of Minwax stain (Ebony) wiped off immediately after applying (more details on our blog)
Recommended Skill Level
Intermediate

Comments

Reclaimed Wood Bedside Table

Submitted by Ktosaka on Fri, 11/22/2013 - 07:31

I had inherited some bed frame wood from our local Re-store and have been working it into projects here and there. We needed some actual night stands and I loved the look of the Reclaimed Look Wood Nightstand, but they were a little too tall for our bed. The height of the original plan is 28" and I ended up taking out one drawer for a total height of 20". I also found two sets of drawer slides at the Re-store and decided that an open shelf on the bottom would better suit our needs, so I crossed the reclaimed plan with the farmhouse plan to create a shelf on the bottom. The bottom is built the same way that the sides are, but attached so that the 2x2 is on the underside.

I didn't have enough wood from the bed frame to make two full tables, so I used Douglas fir 2x2's for the legs (the best the local big box home improvement had that day for my price) and white board for the table tops and every other board for the sides and shelves. This was my second real building project, so they were really easy to put together, but it was a lesson in making everything super square because of the drawer slides. The finish I used also goes great with a 130 year old dresser that you can see a bit of next to the finish table. The wood only needed one coat to reach the color closest to that dresser and it hid the fact that I used three different types of wood in this project. Overall they are just what we needed in this space. The bed frame is IKEA, but I am thinking about making the Reclaimed Look Bed Frame to match the tables in the future.

Estimated Cost
$75 for two side tables
Estimated Time Investment
Day Project (6-9 Hours)
Finish Used
One coat Minwax Provincial stain with two coats of Minwax Wipe-on Poly. I like the look of the wipe-on, but this is the first time I've used it so I'm hoping two coats is enough. For the application, I went with old cotton socks.
Recommended Skill Level
Beginner

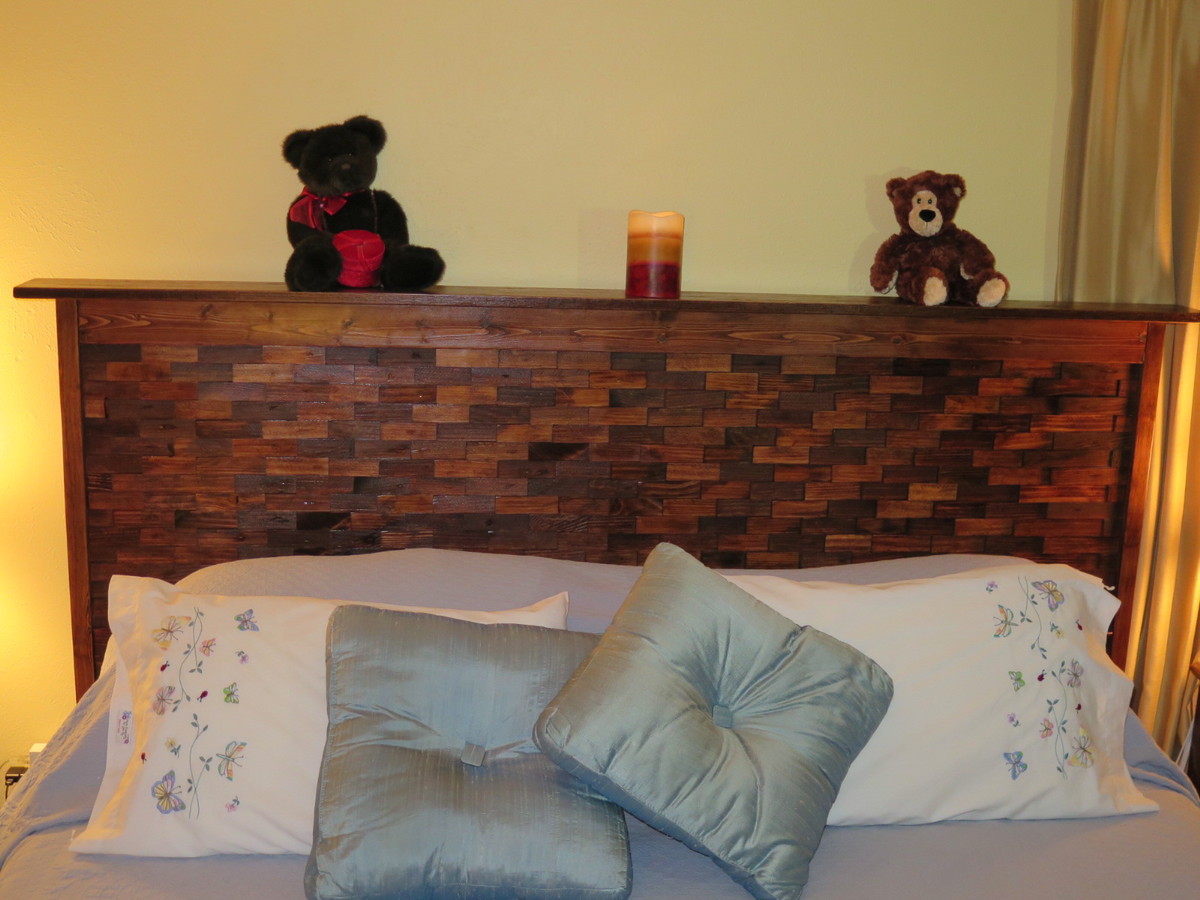
Shimmering Headboard

My version, with a top shelf added, and the legs made of a 2x6 with a trimmed 2x4 added to make the L shaped leg.

Built from Plan(s)
Estimated Time Investment
Week Long Project (20 Hours or More)
Recommended Skill Level
Beginner

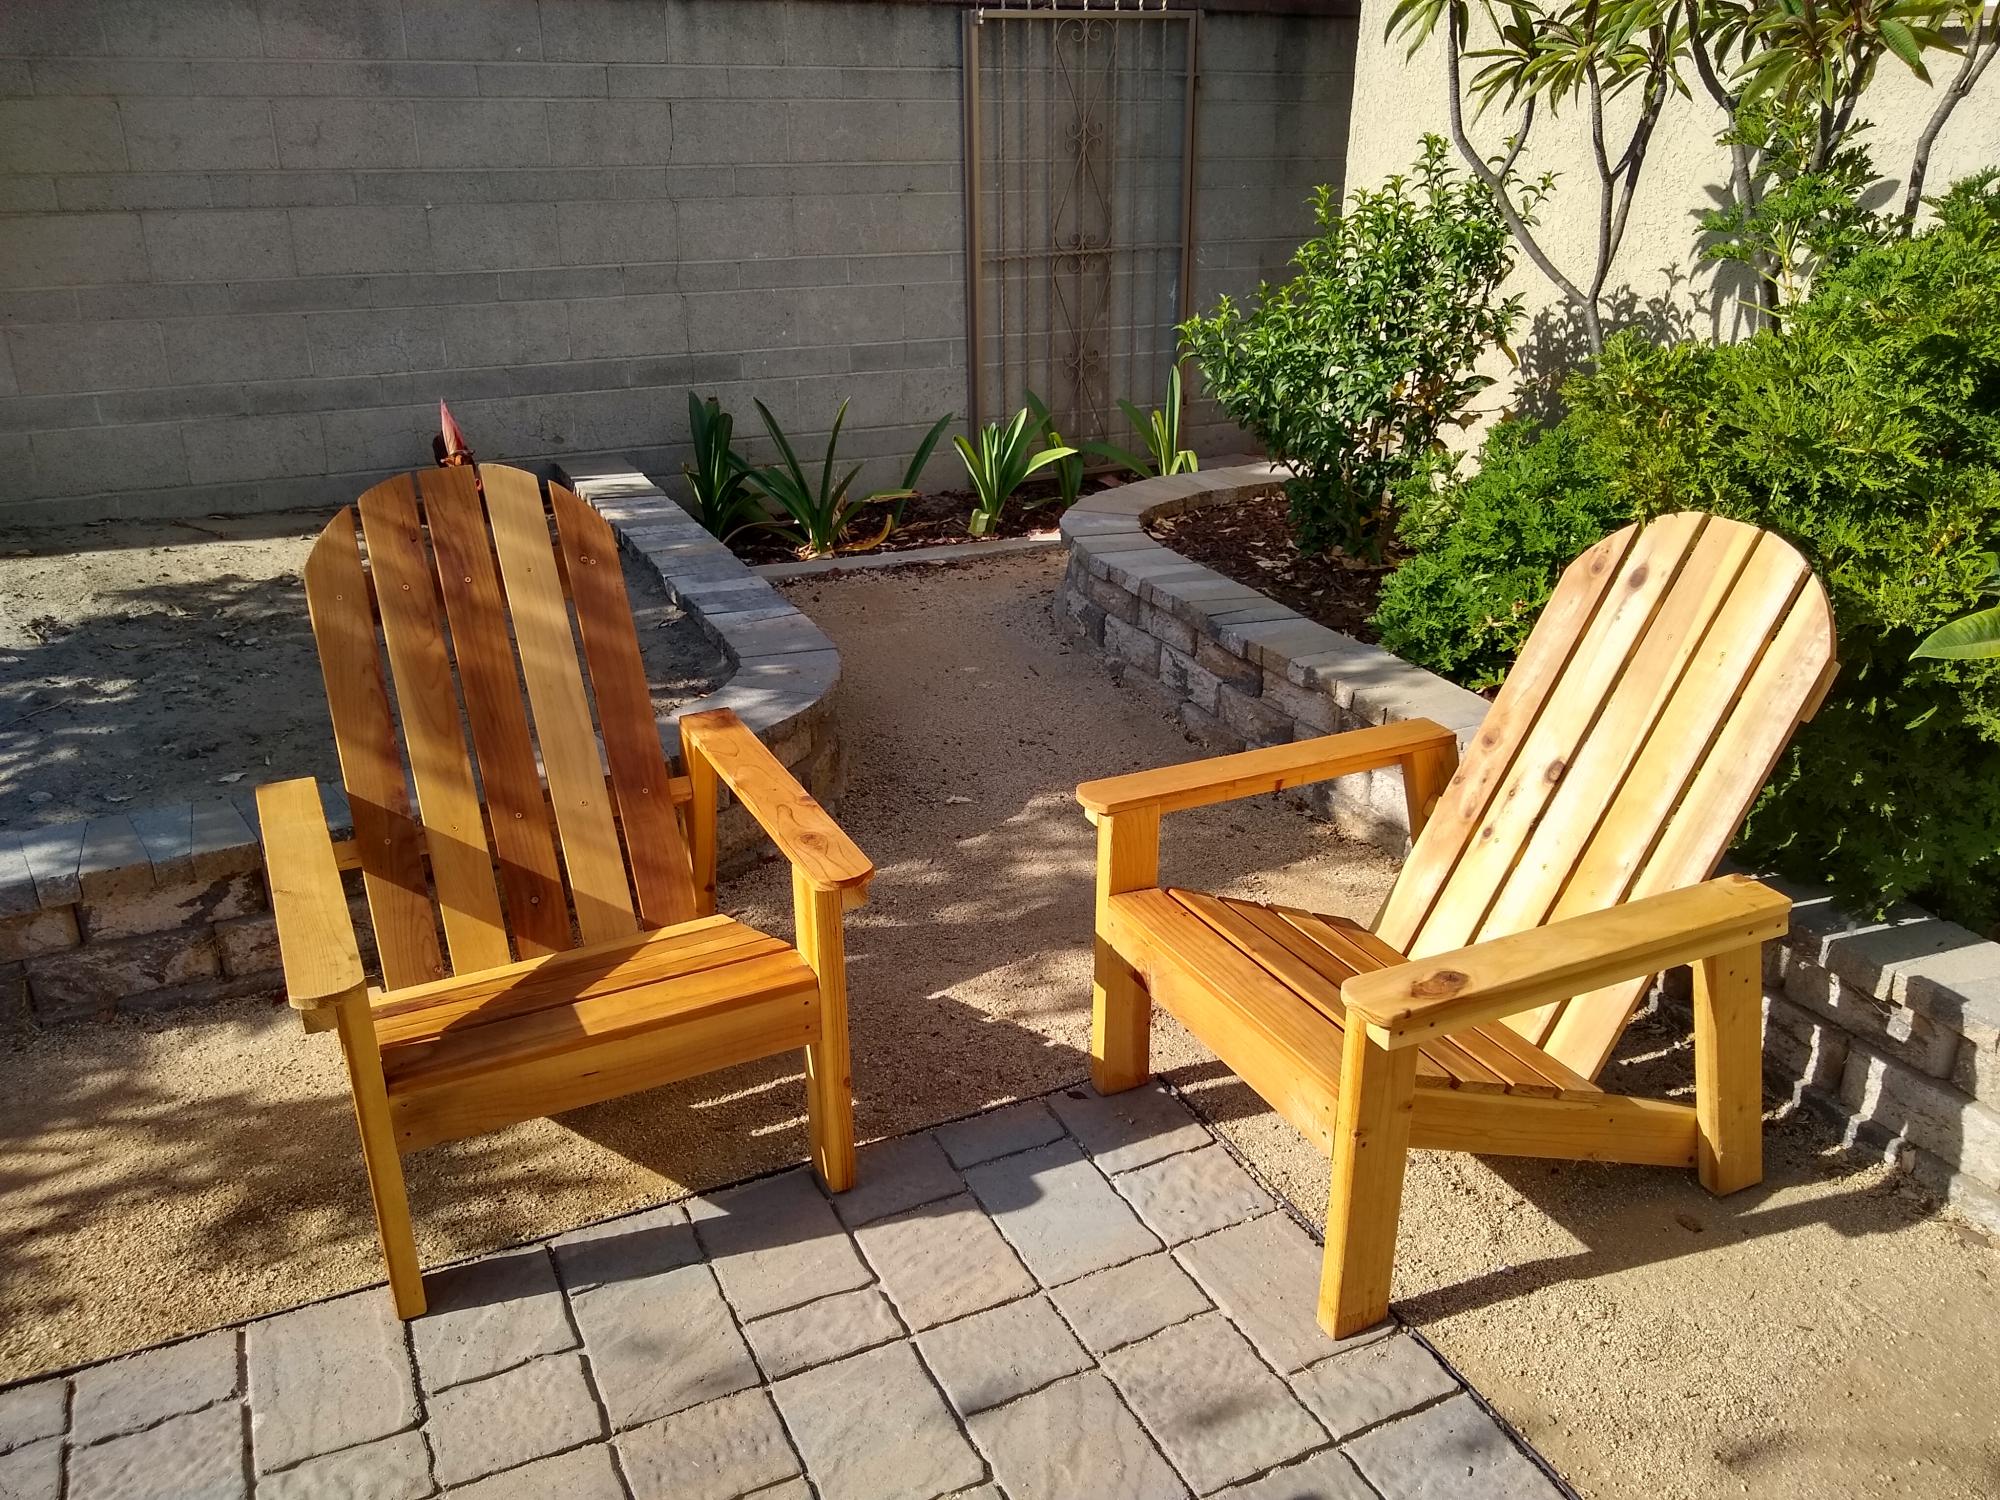
Redwood Adirondacks

Submitted by Anonymous (not verified) on Sun, 09/08/2019 - 16:46

Ana's favorite Adirondack chairs made from redwood.

Estimated Cost
150
Estimated Time Investment
Weekend Project (10-20 Hours)
Finish Used
None
Recommended Skill Level
Beginner

Comments

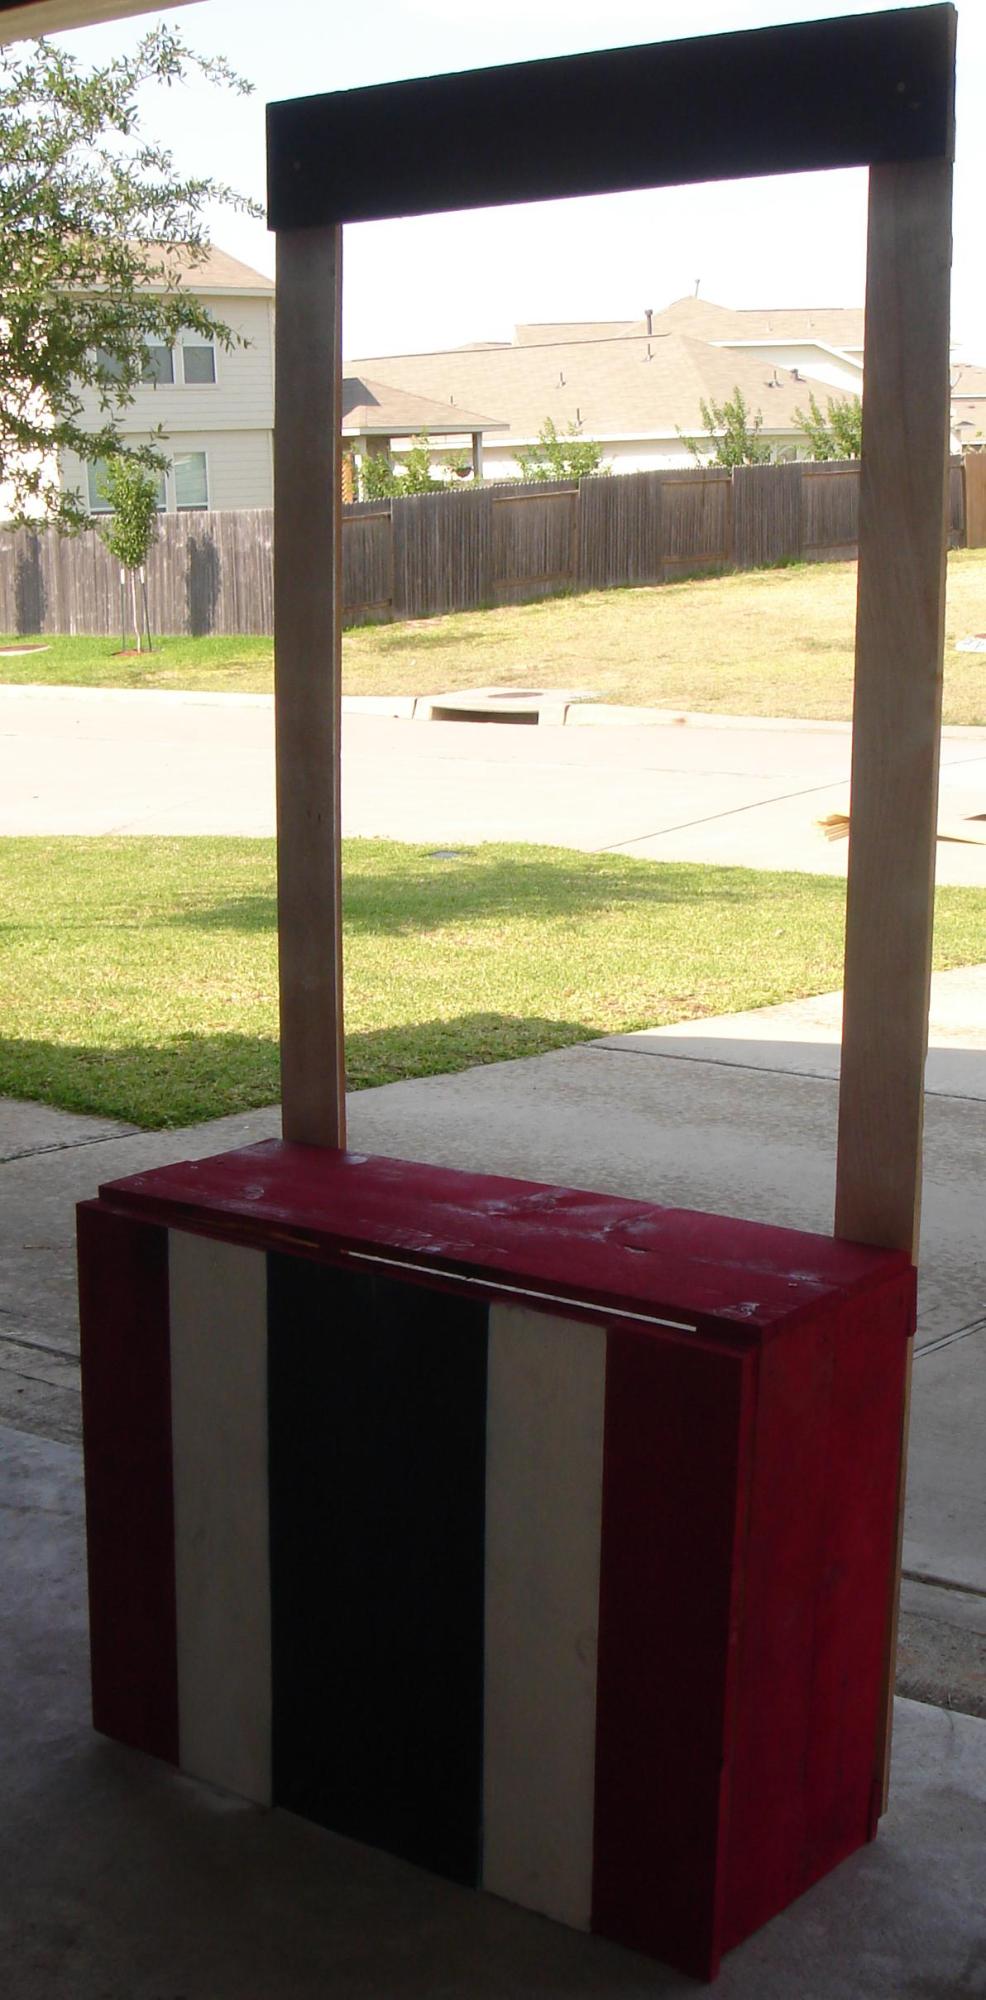
$15 Cedar Lemonade Stand!

My kid-o's love to sell lemonade. So, we made a trip to the local hardware store. Because I am terrified to use my husbands electric saw, any wood we purchased would have to be cut with a hack saw and a miter box. And since the stand is to be stored in the backyard, we opted to build it from cedar. We ended up purchasing 8 fence pickets for about $15 total. This was also to be a great way for my kids to apply the some of the knowledge they have picked up this year, our first year of homeschooling. My children, ages 7 and 9, measured all of the boards that needed to be cut. It turned out GREAT! We already had some extra boards, spray paint and screws on hand; so, the grand total was $15.00 for the entire project!

Built from Plan(s)

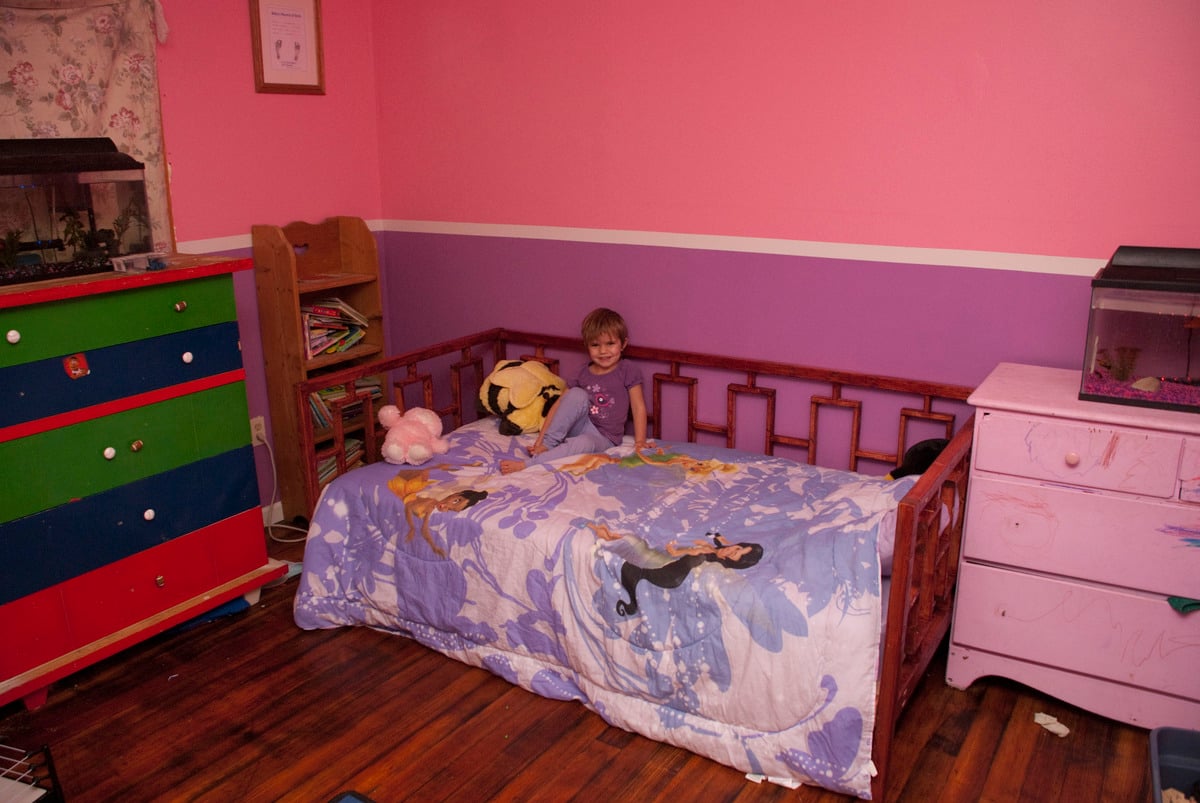
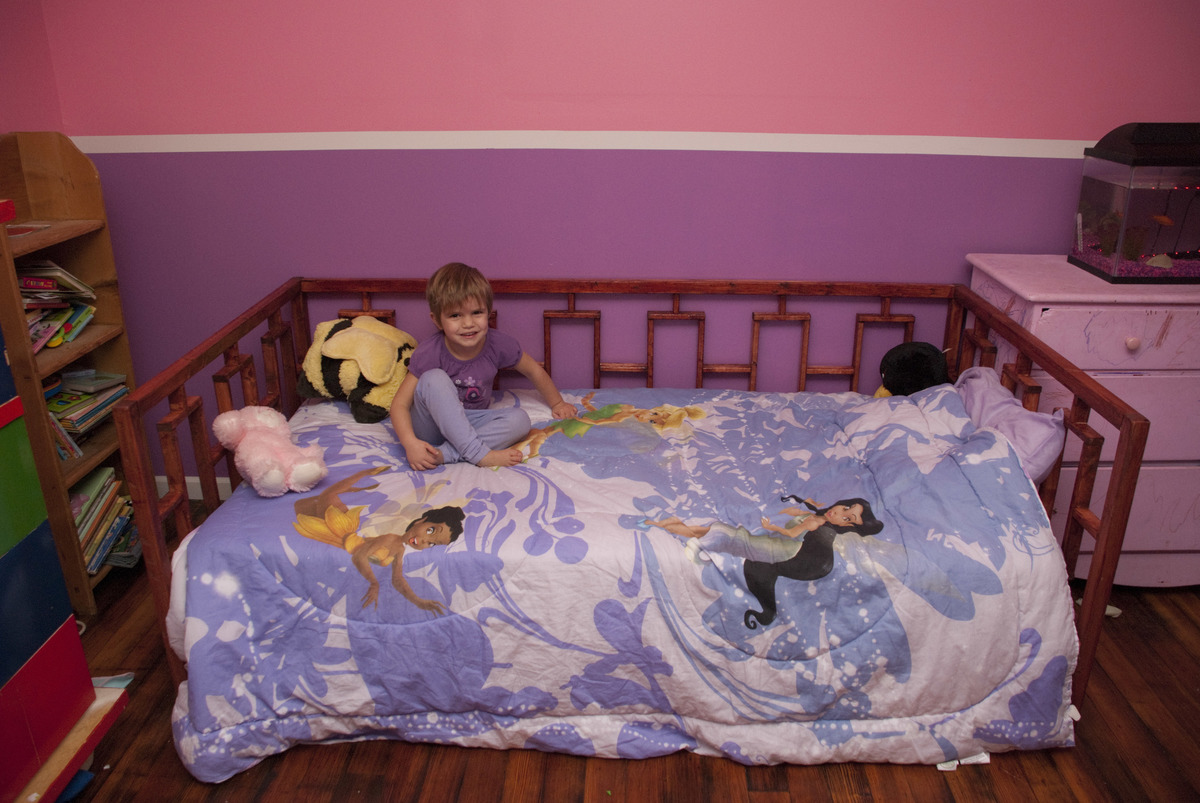
Macie's Day Bed

Submitted by blouden on Sat, 01/07/2012 - 19:28

Wanted to make a Day bed for my daughter. Found the plans and found to be very affordable. Had a great time building it, and the reaction to my daughter when it was finished was the best

Built from Plan(s)
Estimated Time Investment
Weekend Project (10-20 Hours)
Finish Used
Cherry Stain
Recommended Skill Level
Intermediate

Comments

Guest (not verified)

Fri, 02/24/2012 - 09:56

This looks great. I was just wondering how much did you end up spending on materials for this project?

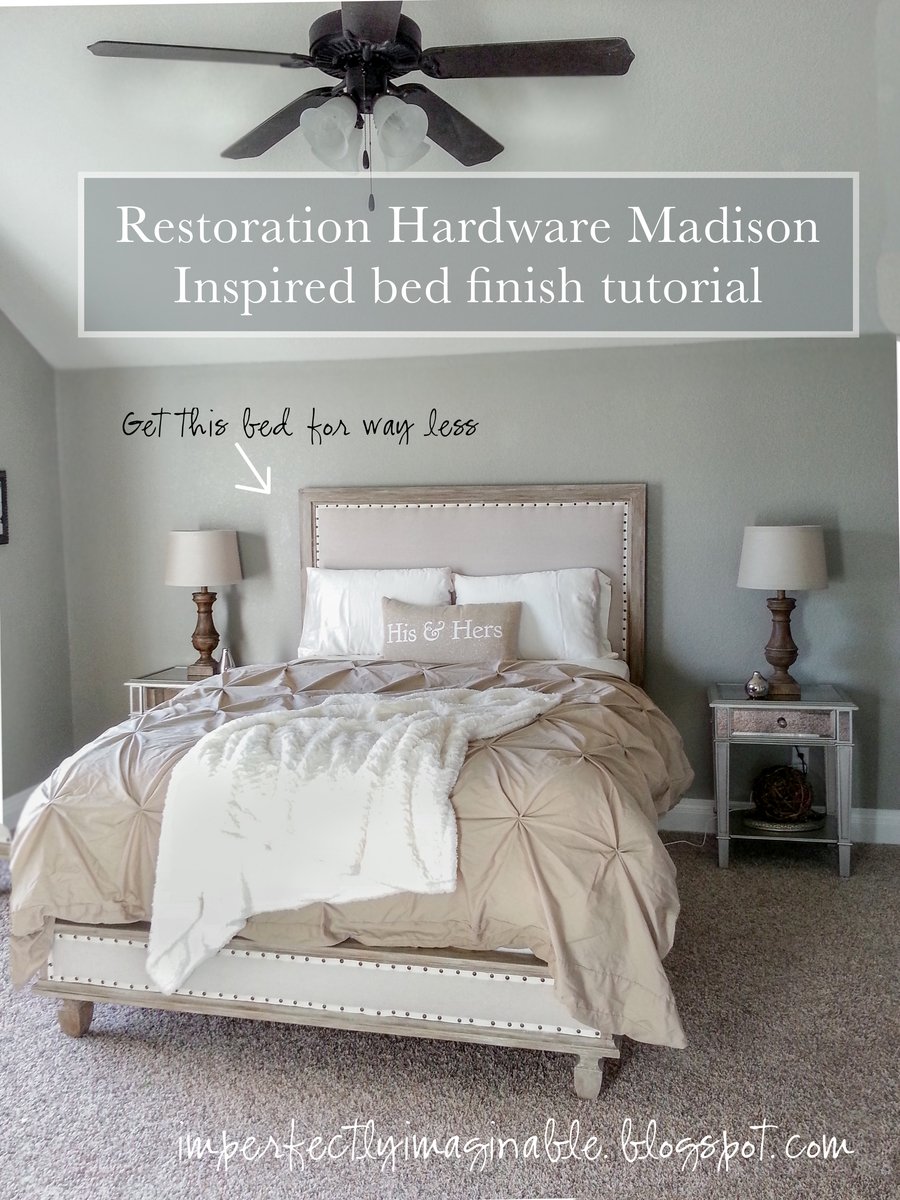
Restoration Hardware inspired Maison bed tutorial and finish. Starting with Ana's platform base.

I have wanted a Restoration Hardware bed for so long. Now I have "one" but for way less and we did it all ourselves. starting with Ana's platform bed plans we build on it and walk through the process and even the custom 3 part finish. for a full tutorial please see my blog. http://imperfectlyimaginable.blogspot.com/2013/11/restoration-hardware-…

would love to hear from you and see any projects that are completed.

Estimated Cost
under 400 I think the lumber cost me 175 or so
Finish Used
custom 3 step finish please see blog for tutorial
Recommended Skill Level
Beginner

Husky farmhouse Table

Submitted by Anonymous (not verified) on Thu, 02/11/2016 - 11:32

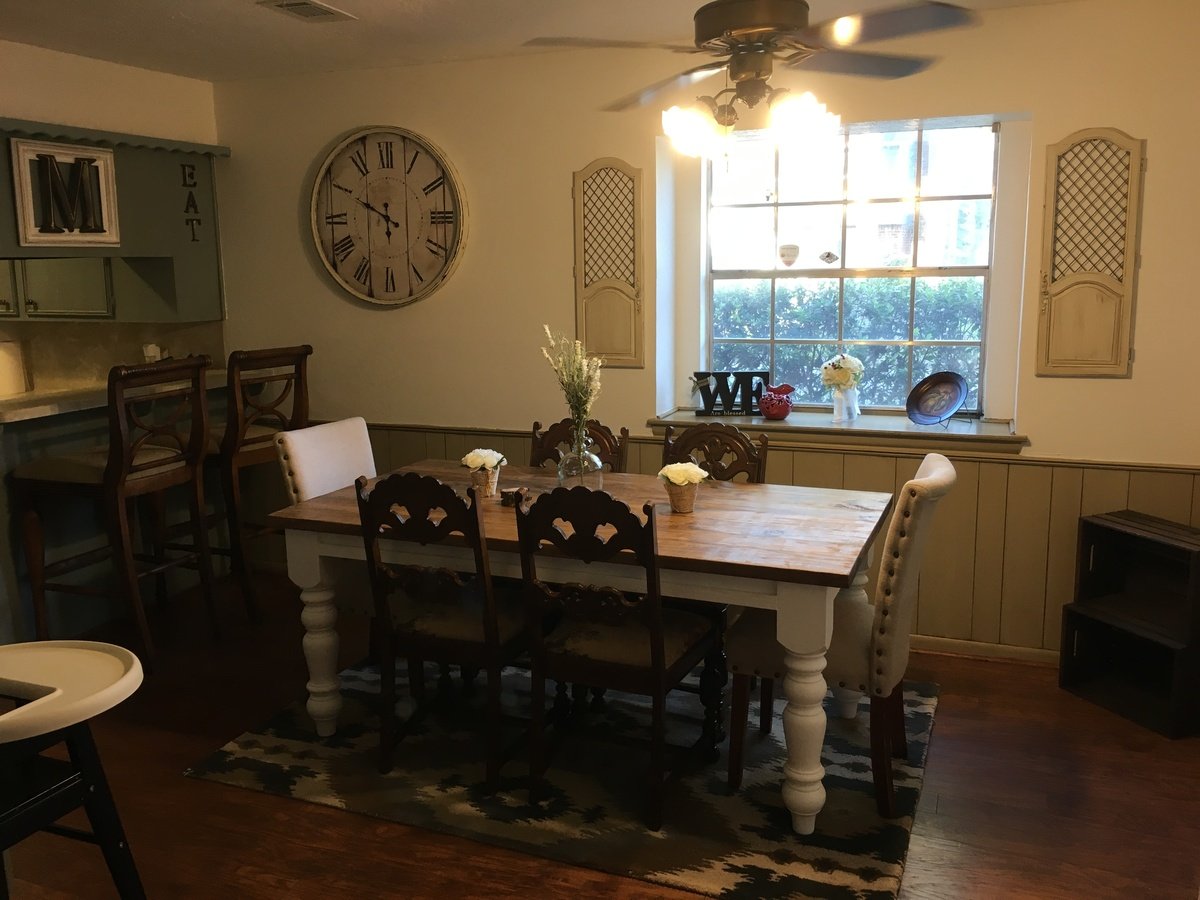
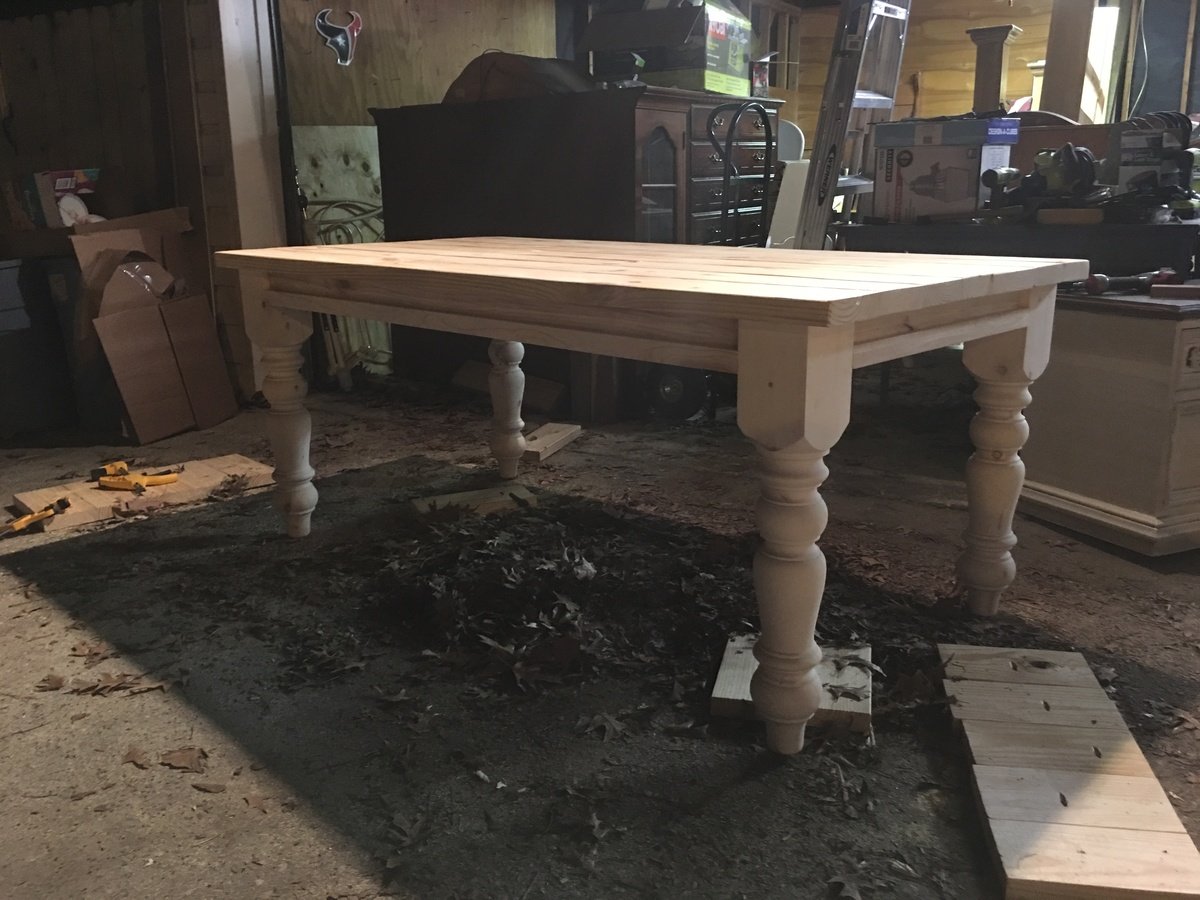
This project took me no time at all. If you pick up straight boards and purchase the legs, this shouldn't take more than a few hours to build.

Built from Plan(s)
Estimated Cost
I got the legs for $140 on Etsy and paid $40 for shipping. About $40 in additional lumber for the top and sides.
$220 total
Estimated Time Investment
Afternoon Project (3-6 Hours)
Finish Used
Minwax Early American
Brushed on and almost immediately wiped off.
Recommended Skill Level
Beginner

Cedar shed with green roof

Submitted by R E on Sun, 09/22/2019 - 12:23

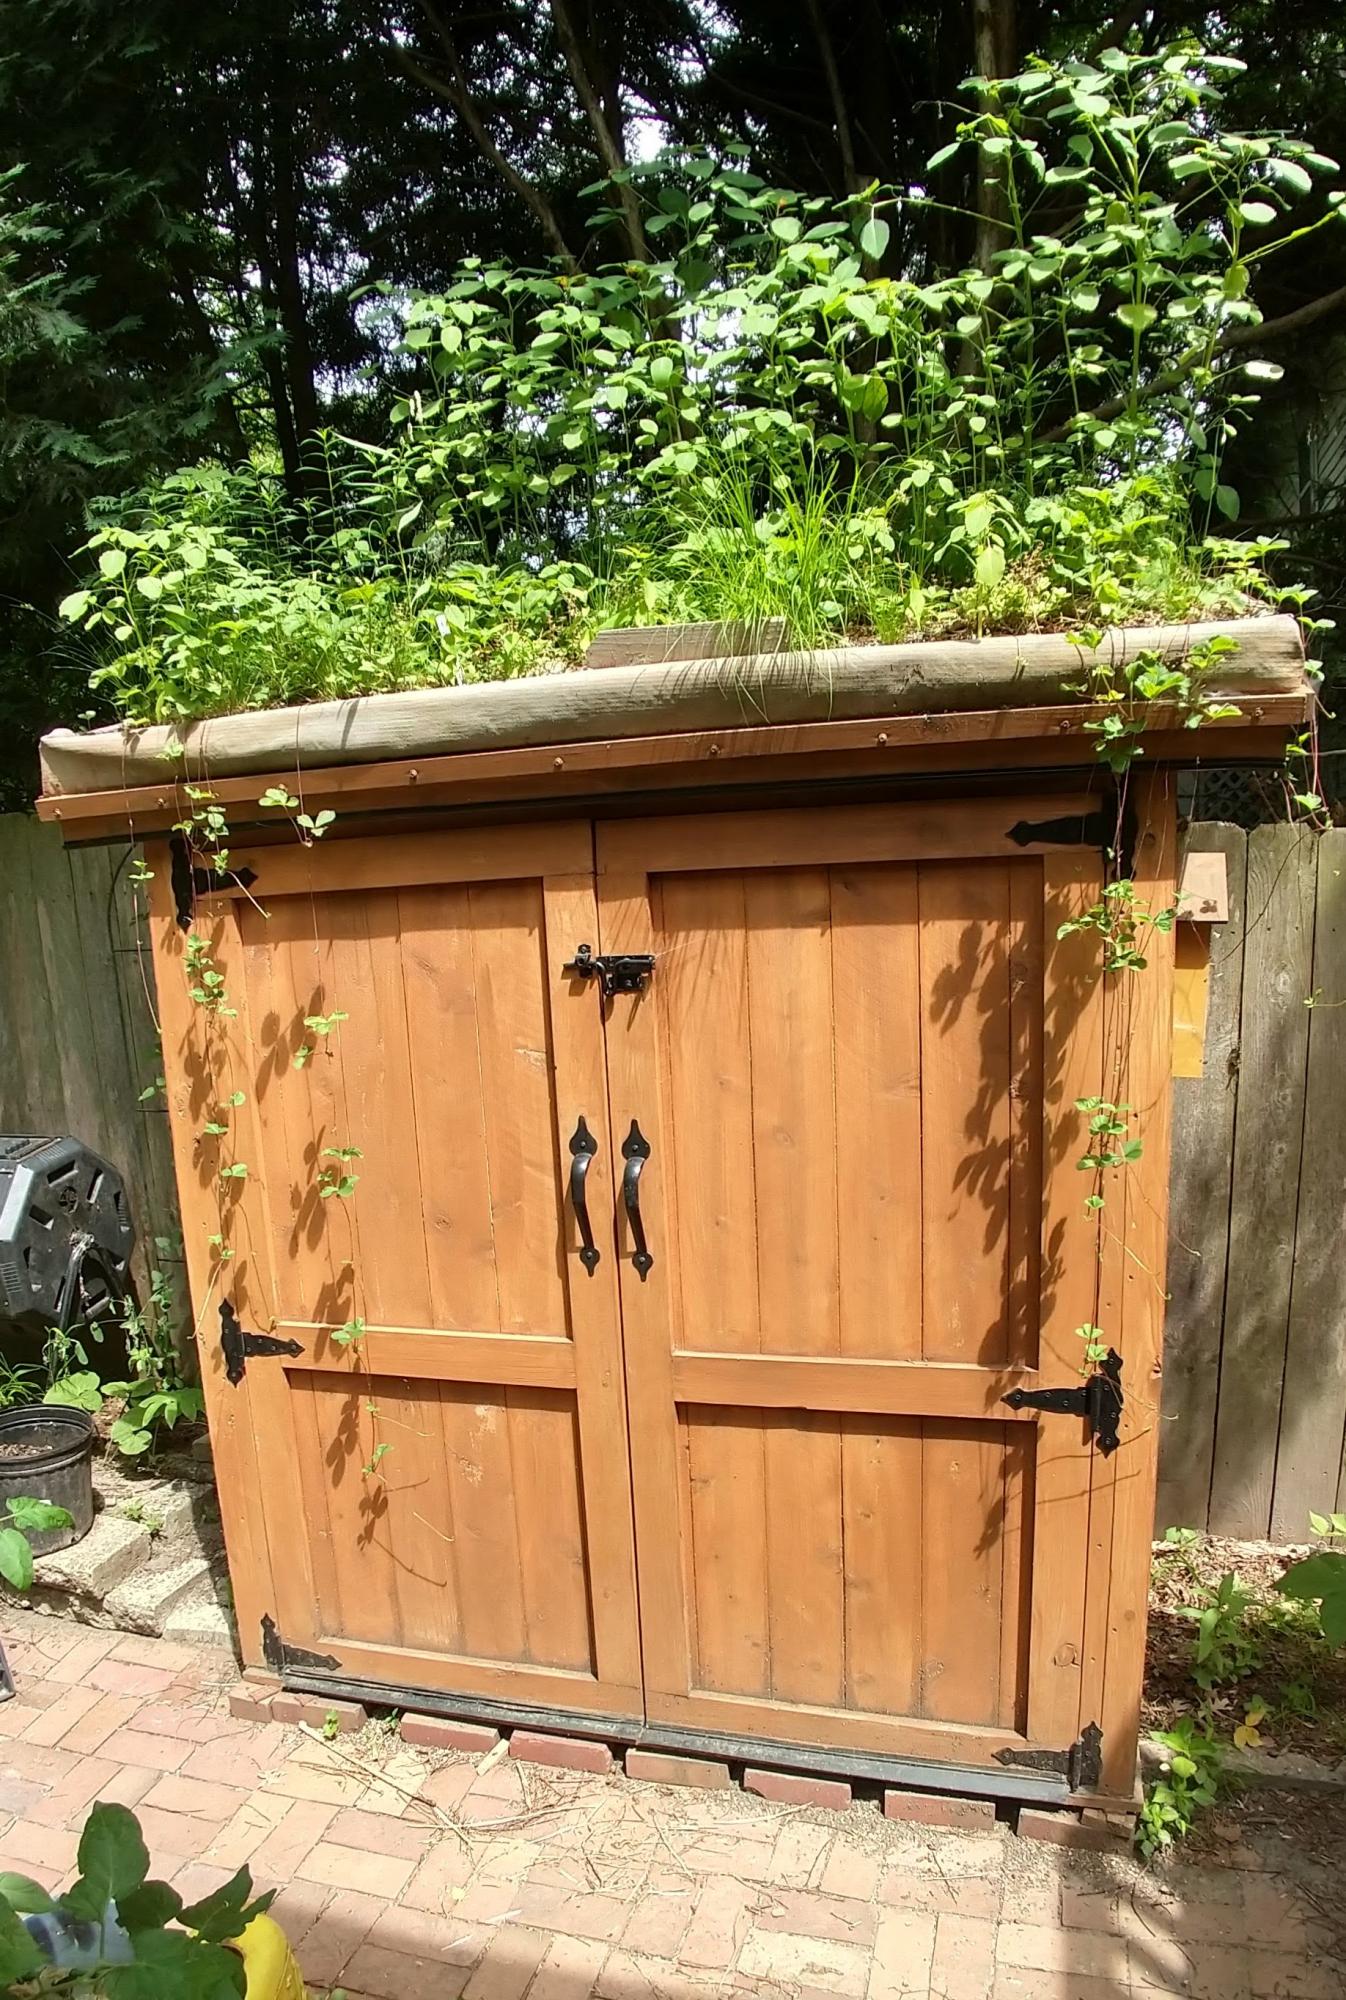
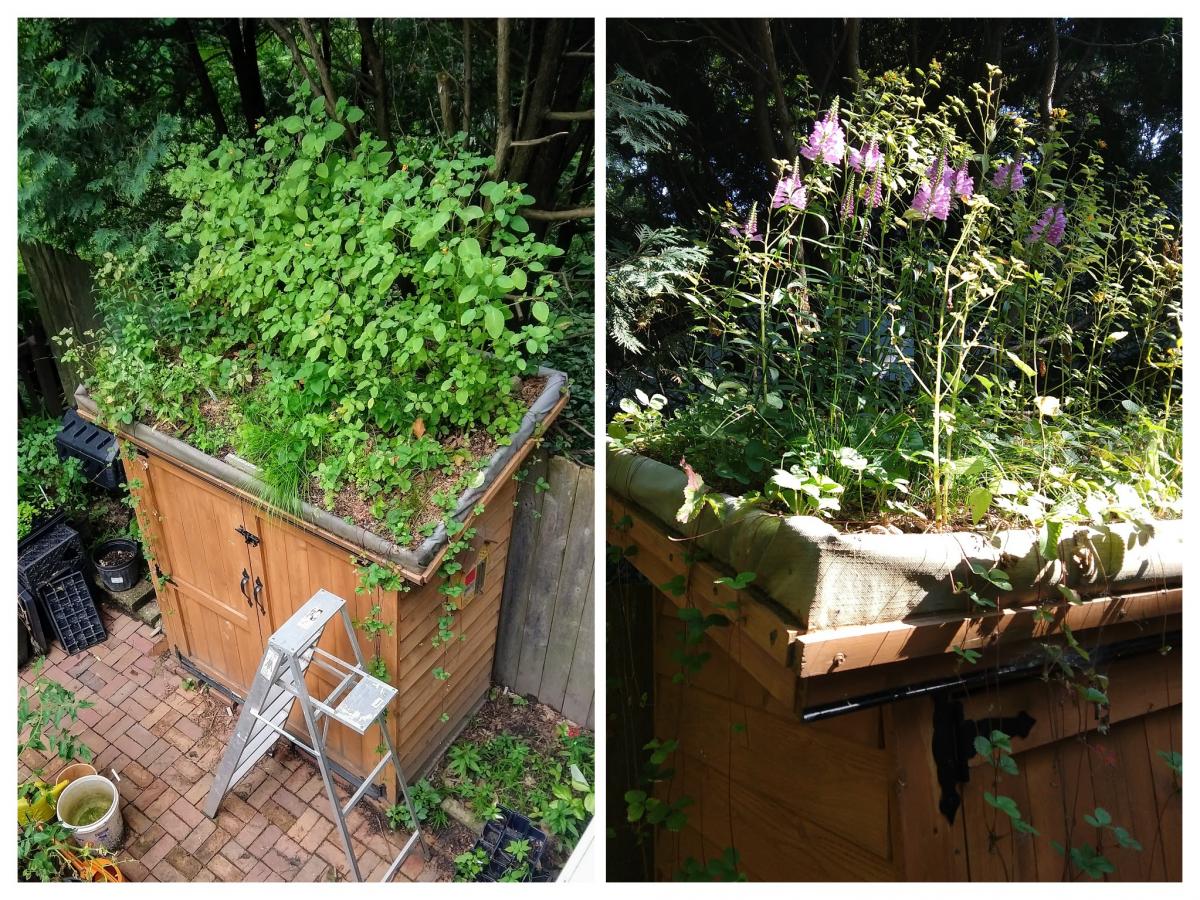
I built the shed during the summer of 2018, following Ana's plans but with the addition of a green roof. After almost a year the vegetation -- a variety of native plants from the upper Midwest -- has started to fill in pretty well. (The dangling "vines" are wild strawberry plants.)

My carpentry skills are rudimentary so the project took a long time but was worth the effort.

Built from Plan(s)
Estimated Time Investment
Week Long Project (20 Hours or More)
Finish Used
Wolman Durastain semi-transparent natural cedar stain
Recommended Skill Level
Intermediate

Modern Outdoor Chair from 2x4s and 2x6s

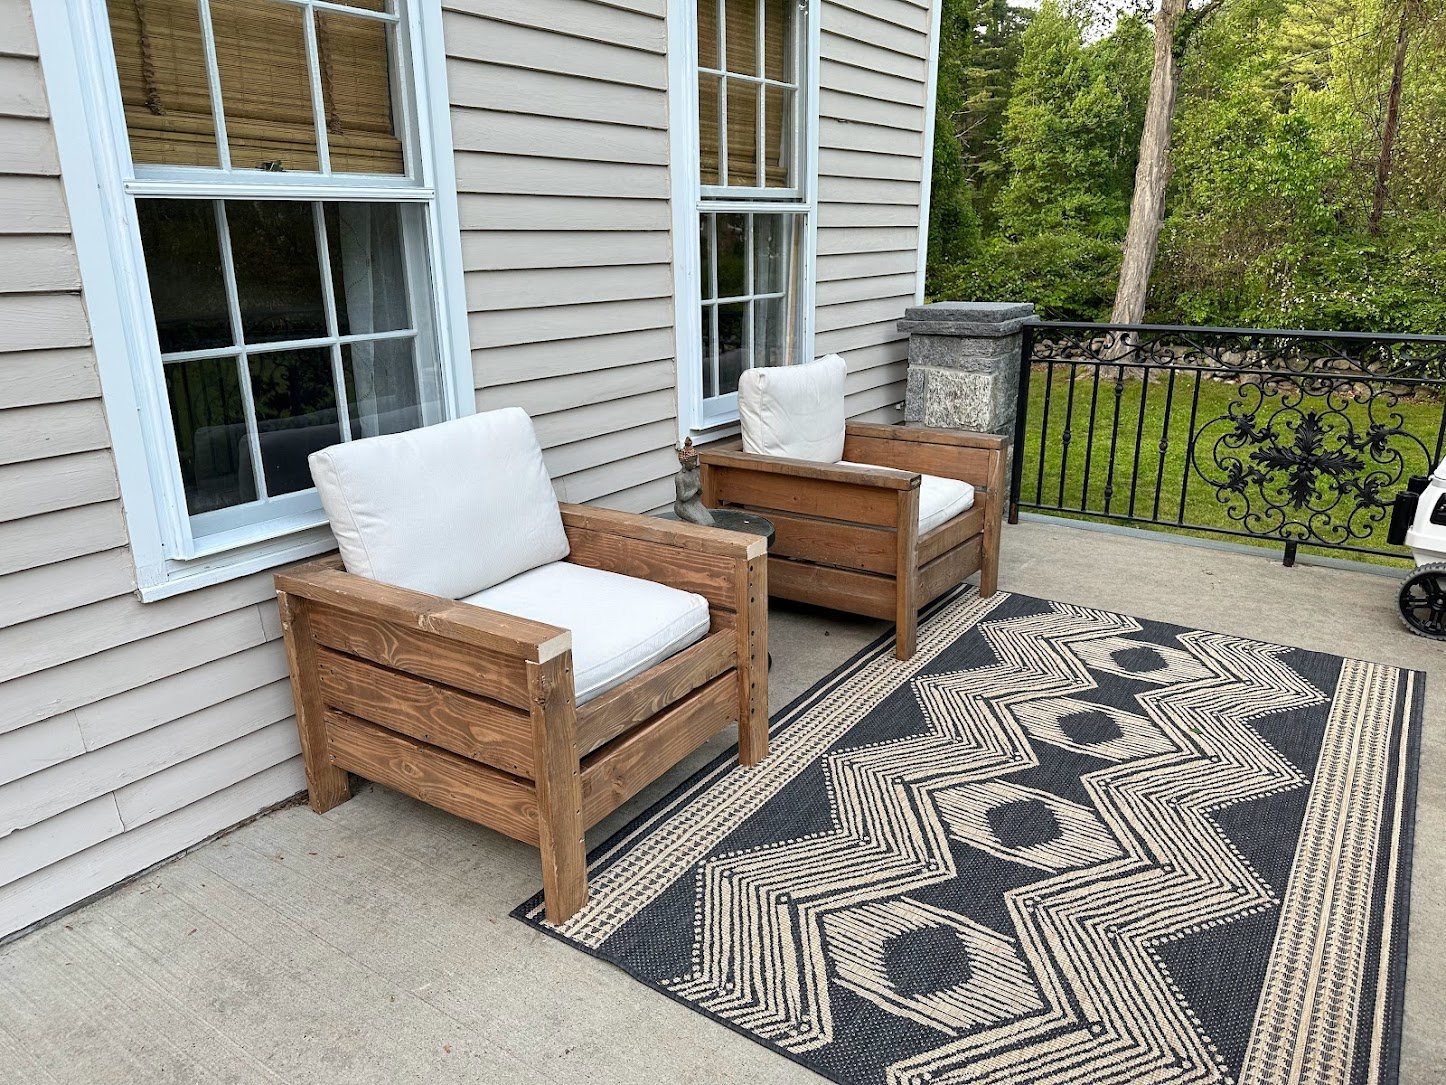
After a whole year I finally made a second chair! The first one was made a year ago and now my wife can sit outside with me too 😊. Next for the couch!

Comments

Tryde Console Table

Submitted by Lee8717 on Mon, 01/09/2012 - 17:54

Tryde Console Table. First project undertaken. Decided to make a bottom shelf. Used 4 1x4s and notched the middle two to fit around legs. Being that is was out first project, we had a few problems with keeping everything square and level but with a few minor tweeks it ended up looking really good.

Built from Plan(s)
Estimated Cost
$70
Estimated Time Investment
Weekend Project (10-20 Hours)
Finish Used
Semi gloss black. Before painting took sander and sanded the sharp corners off all boards making them rounded and distressed looking. After painting two coats, took 220 grit sandpaper to the edges to take off some paint to expose the wood underneath.
Recommended Skill Level
Beginner

Comments

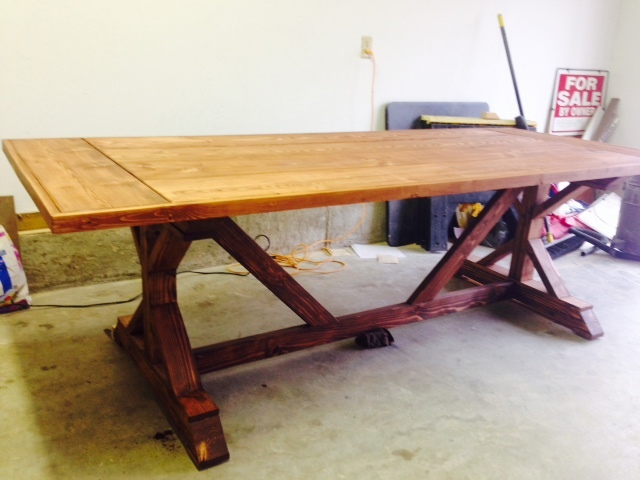
Fancy X table

Submitted by skippyjon on Wed, 11/27/2013 - 20:28

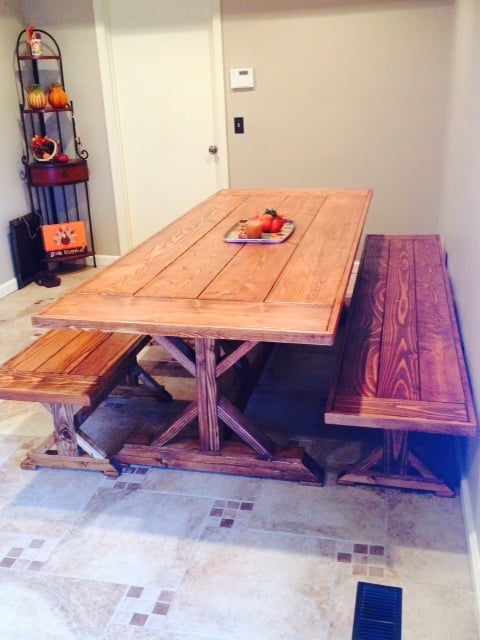
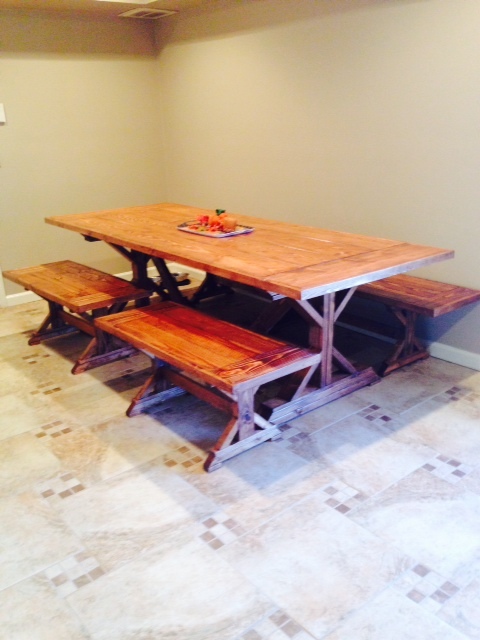
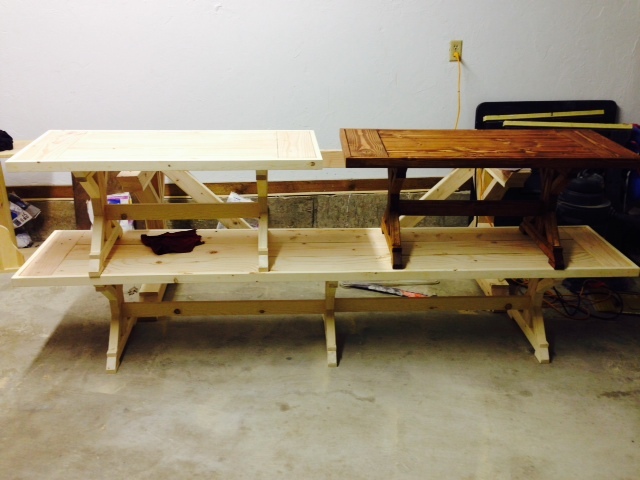
We are a foster family which means we have a large family. The Mrs. wanted a large table to fit 8-10 people, so off to ana-white.com i went.
Plans were perfect! Made one long 96" bench and two 42" benches from the same plans. I changed it up a bit by adding a perpendicular plank on the ends and trimmed it with 1x2's for look and strength. 2 coats of stain and 2 coats of polyurethane. Just in time for the holidays! Thank you again for the plans, this is the third thing I have built.

Estimated Cost
$300 total.
Estimated Time Investment
Week Long Project (20 Hours or More)
Recommended Skill Level
Beginner

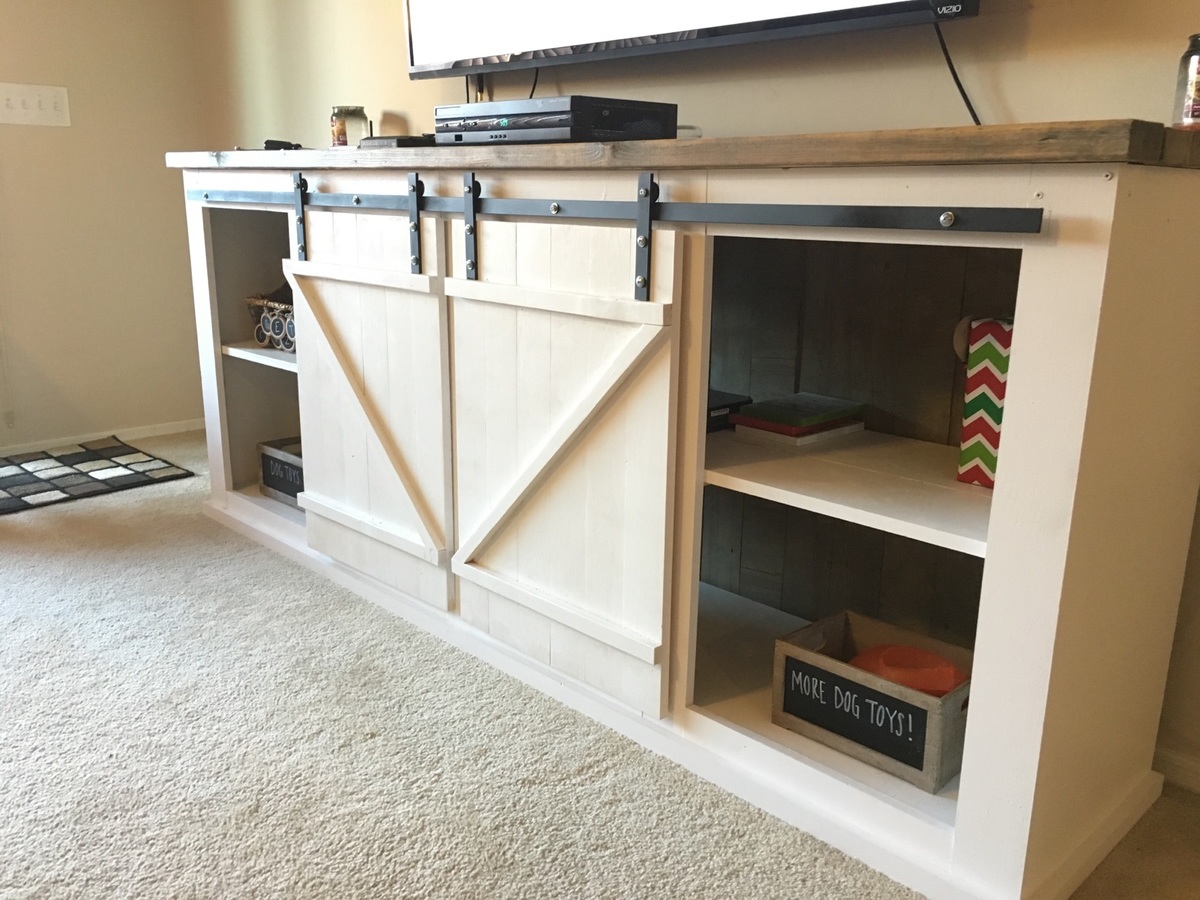
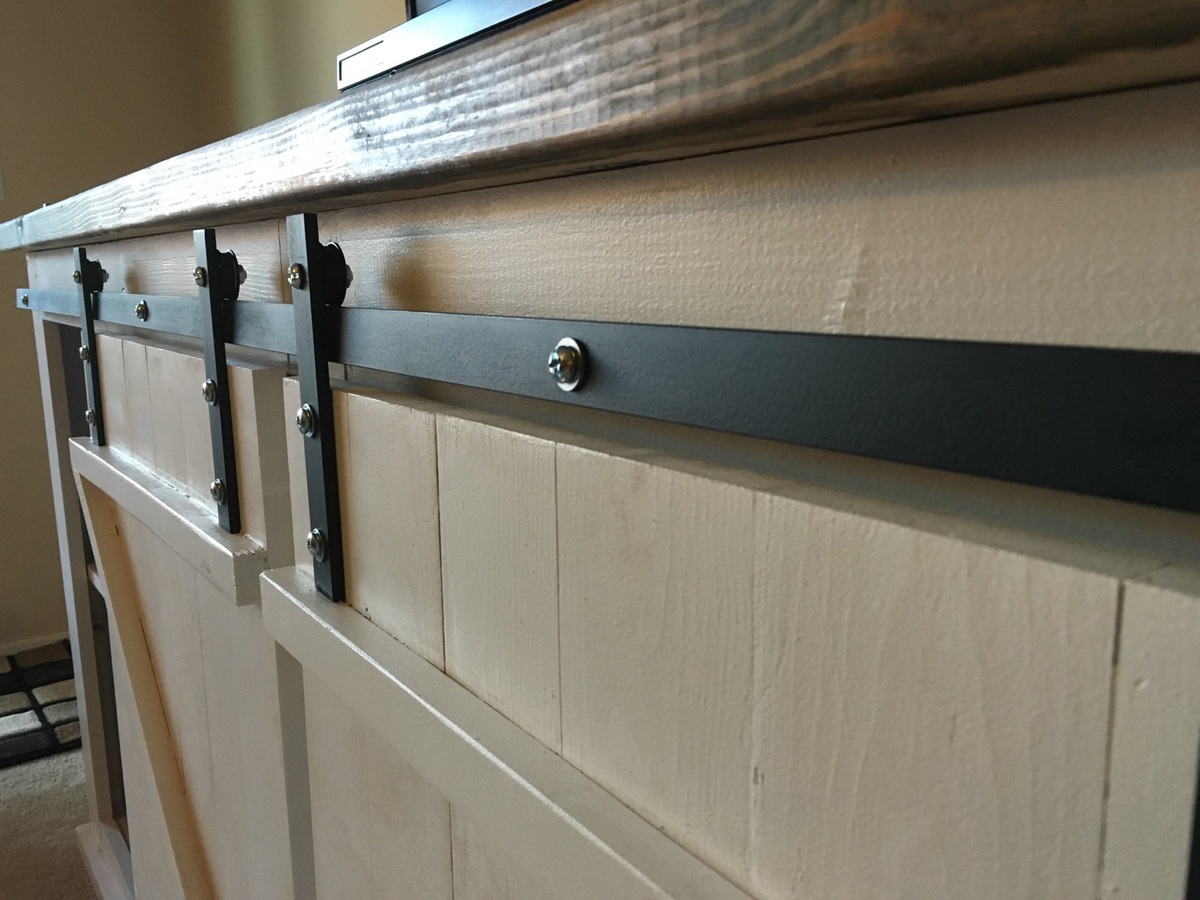
Grandy Sliding Door Console

Submitted by Anonymous (not verified) on Sat, 02/13/2016 - 16:33

This was a lot of work and a bit of frustration but now that it's done it was well worth it!!

Estimated Cost
$200
Estimated Time Investment
Week Long Project (20 Hours or More)
Finish Used
Behr in Solid Opal
Minwax Weathered Oak
Recommended Skill Level
Intermediate

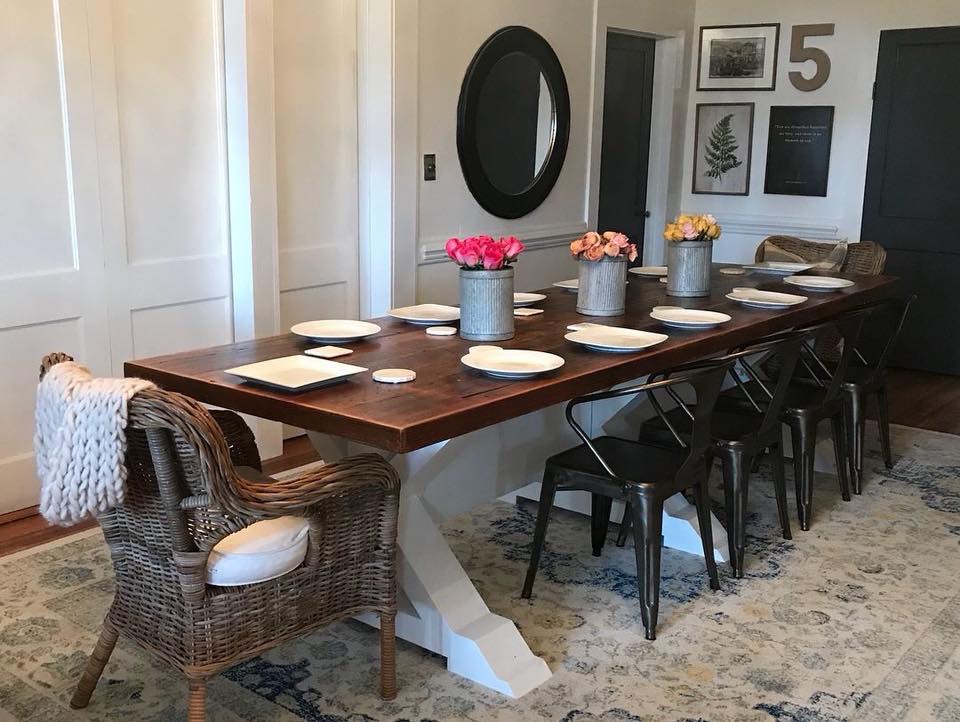
Farmhouse Table

Submitted by Anonymous (not verified) on Tue, 10/01/2019 - 18:01

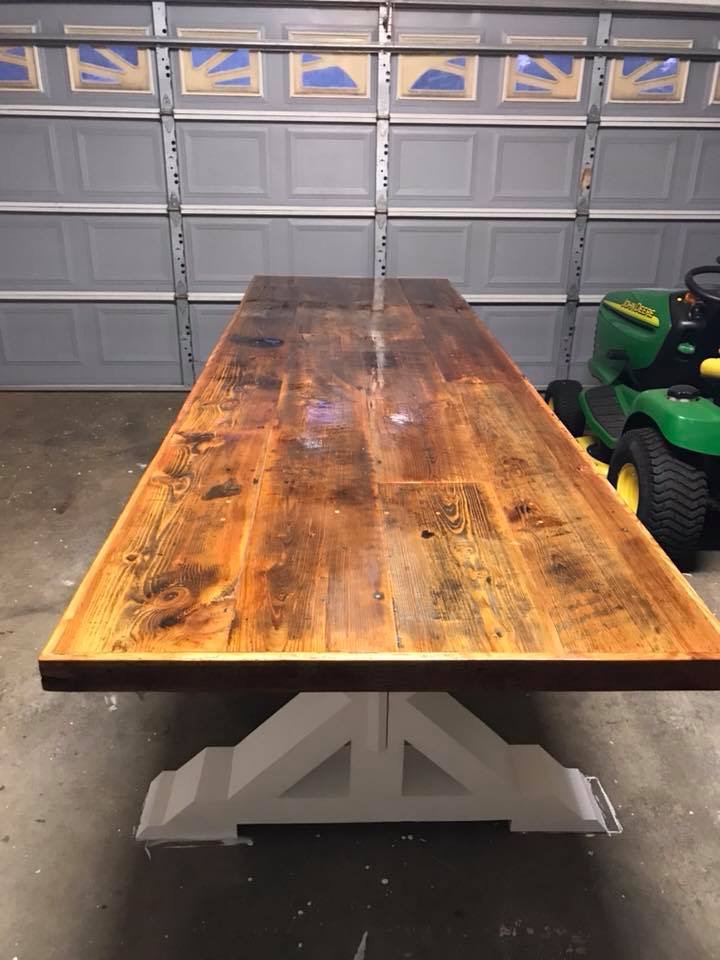
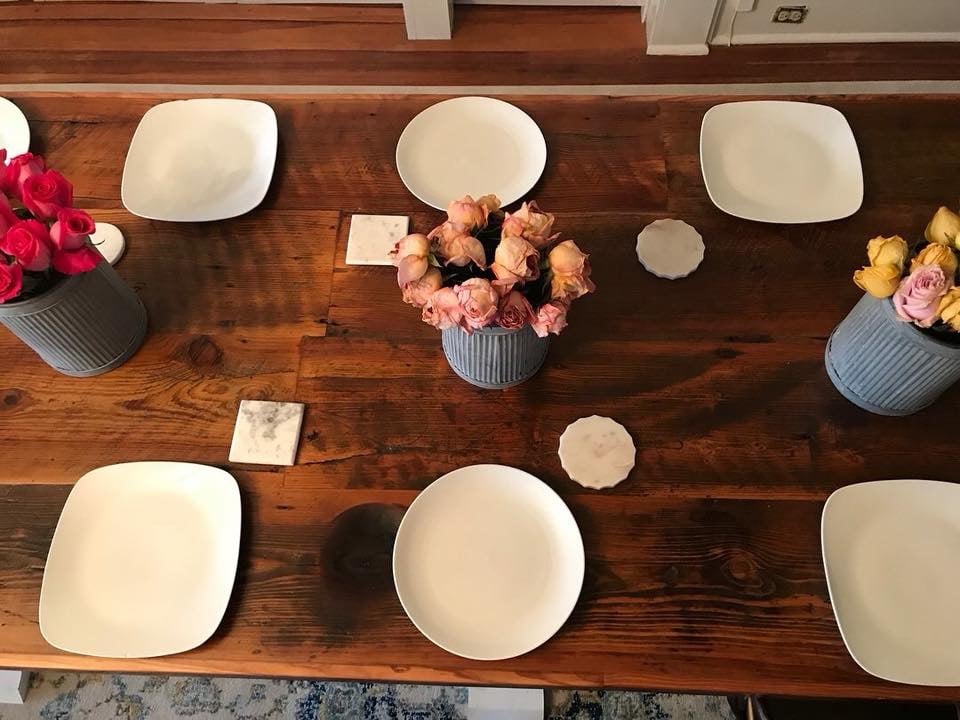
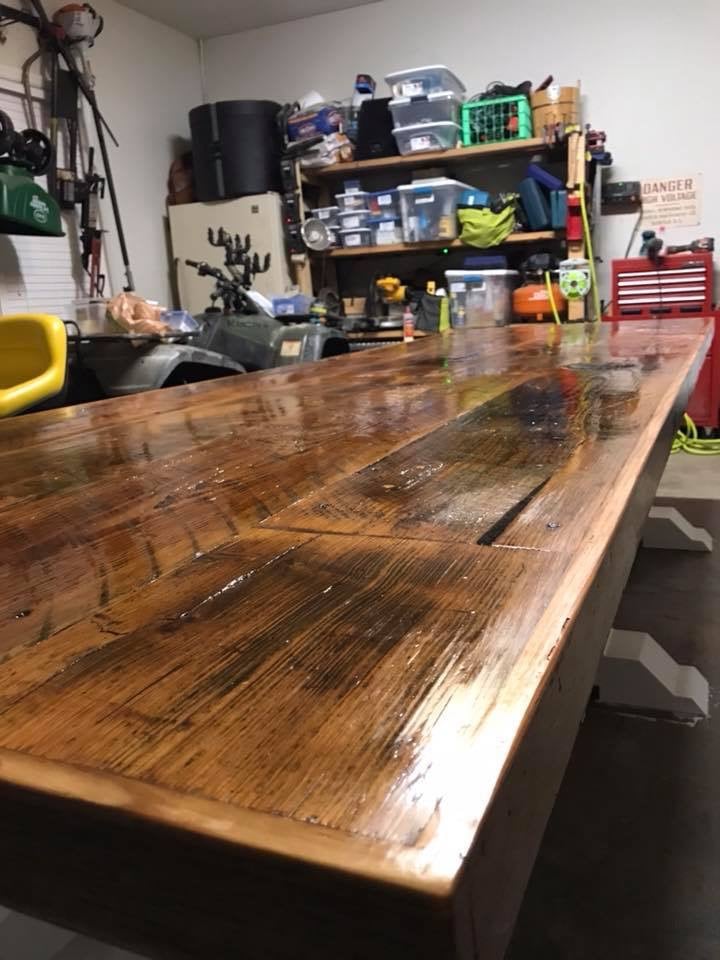
I had a friend of mine ask me about building a table for her farmhouse and an anniversary gift . She has a large family and a very large space, and needed a table large enough to fill that space... I had no idea how large it would be. After going through some of my preliminary questions about the build I finally got to the dimensions. She said I’m thinking about 11’ ... she was serious...
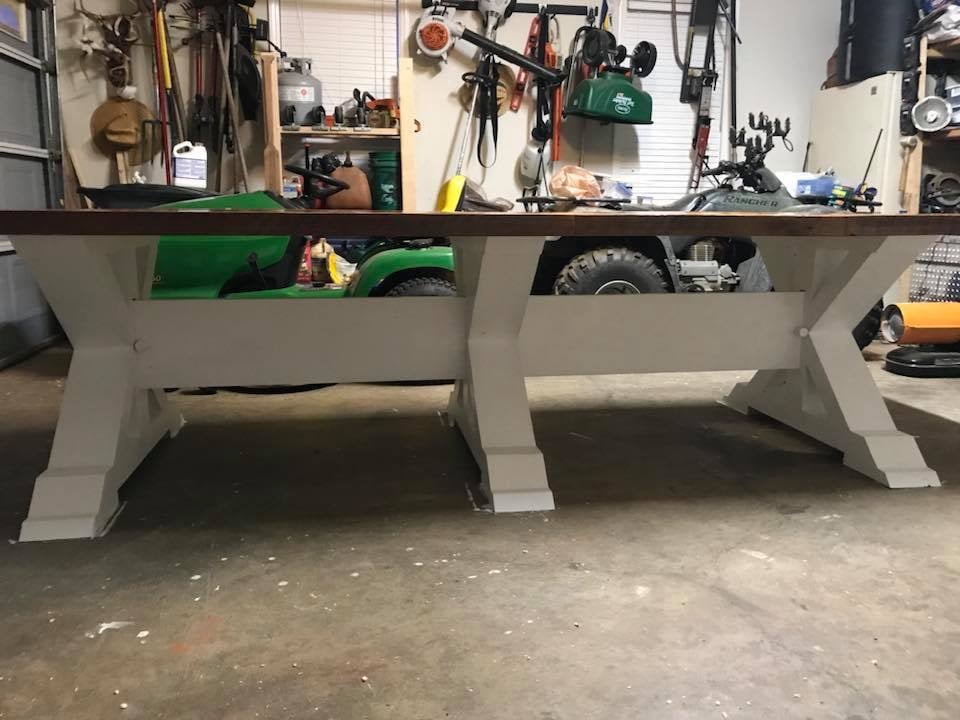
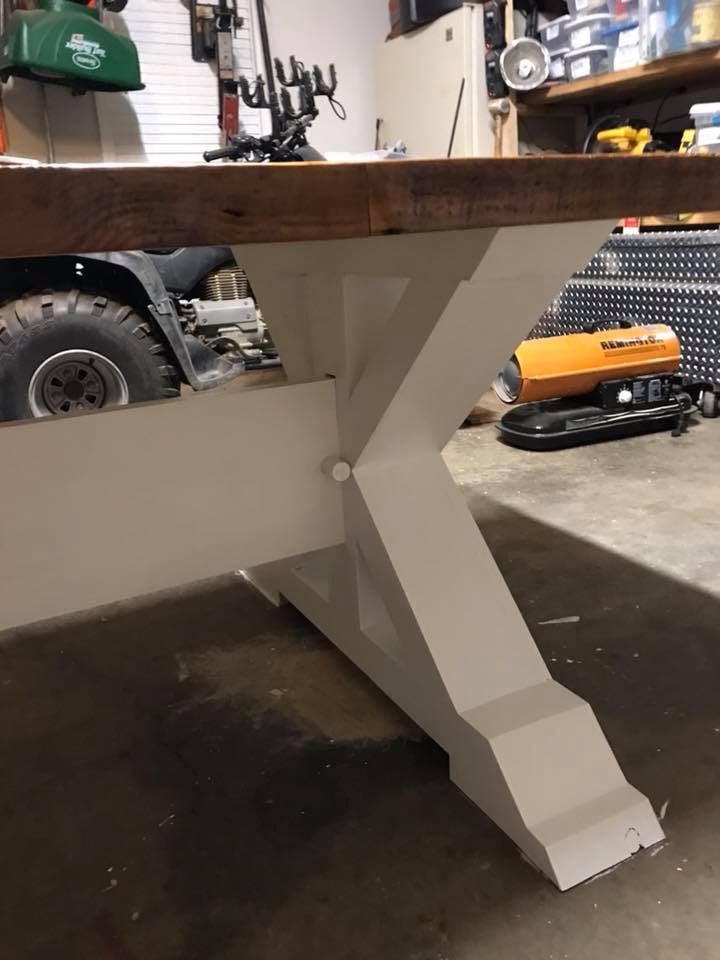
I had never built anything that large, I was nervous and very excited. She started researching bases and she told me she liked the x base look. I knew I had seen it on the Ana White website. http://ana-white.com/woodworking-projects/triple-pedestal-farmhouse-tab… So I immediately went to work on the design with modifications in mind so an 11’ table would be feasible.
Their family also supplied the wood... they estimated it to be roughly 100 year old pine flooring from a house that they were tearing down on the property.
It was an incredible challenge, but it turned out to be so beautiful. It is my first and last 11’ table.

Built from Plan(s)
Estimated Cost
140 and expendables ( lots of sandpaper, glue, pocket screws, biscuits and more sandpaper) in lumber since they supplied the wood for the top.
Estimated Time Investment
Week Long Project (20 Hours or More)
Finish Used
Helmsman Spar urethane clear satin
Sand everything to 220.
3 coats natural bristle brush
Base was an oil based white paint.
Recommended Skill Level
Intermediate

Comments

Greenhouse

Submitted by Anonymous (not verified) on Fri, 05/26/2023 - 15:26

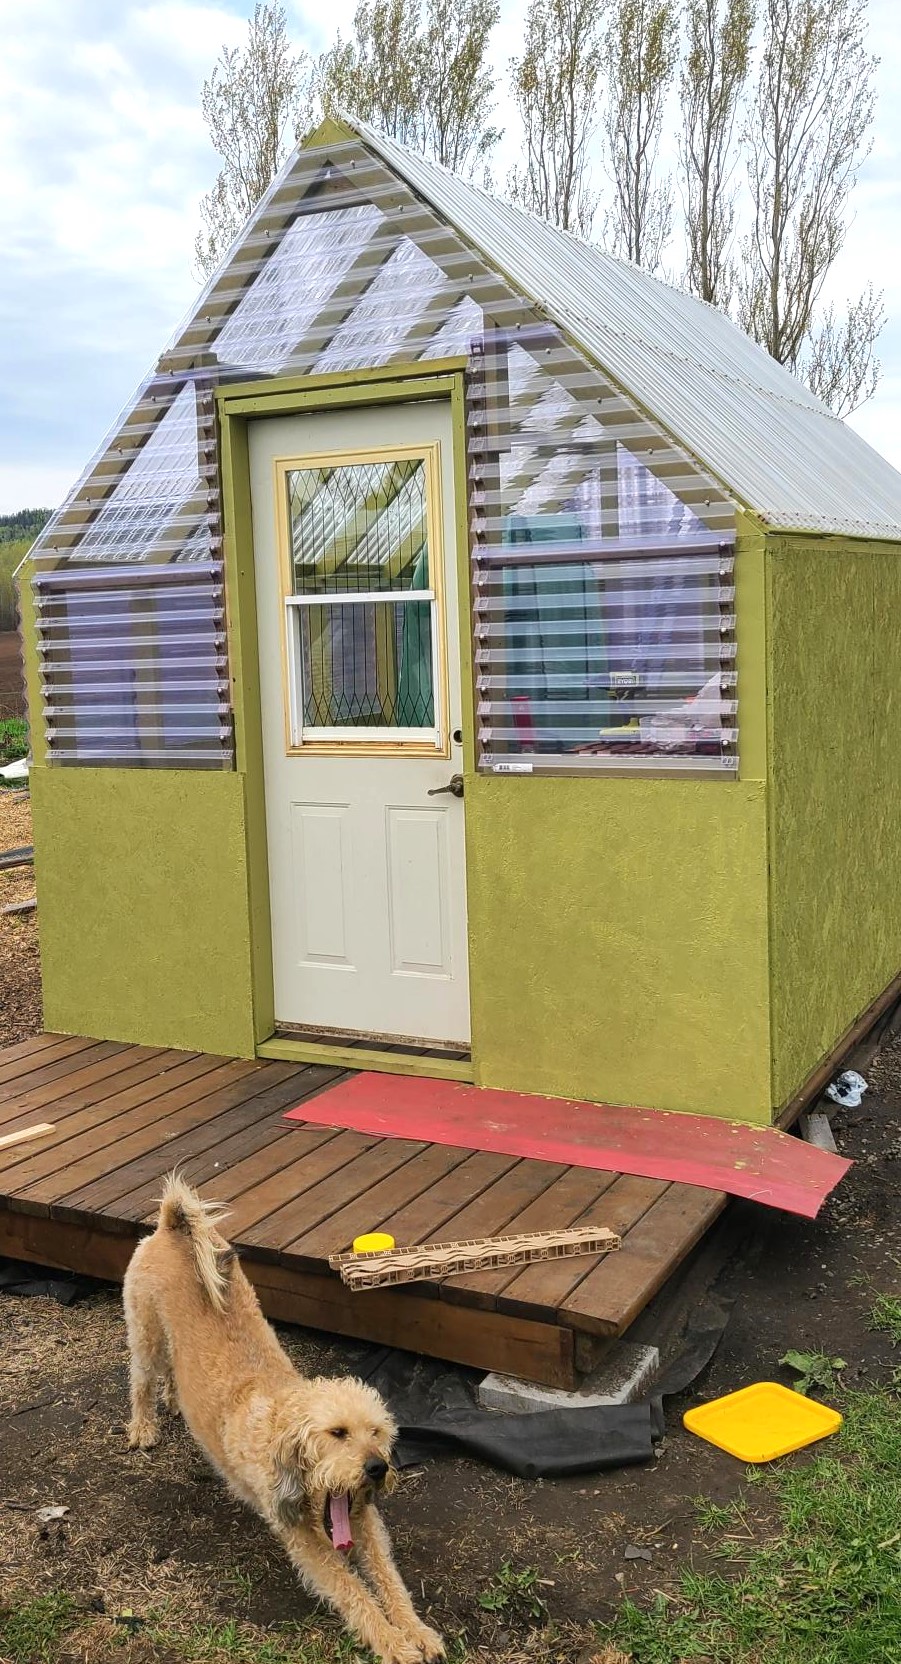
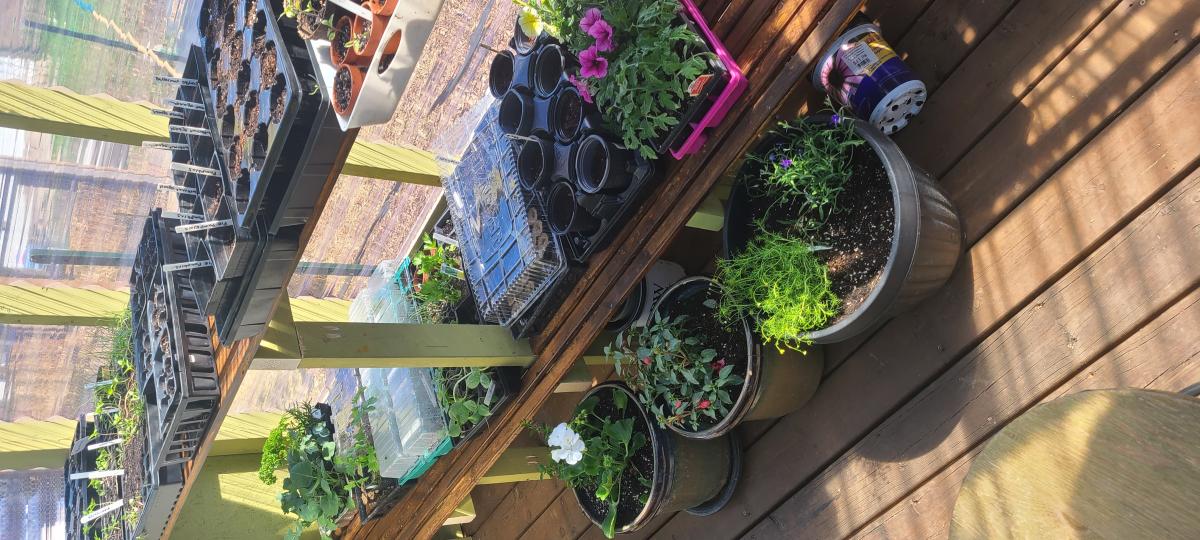
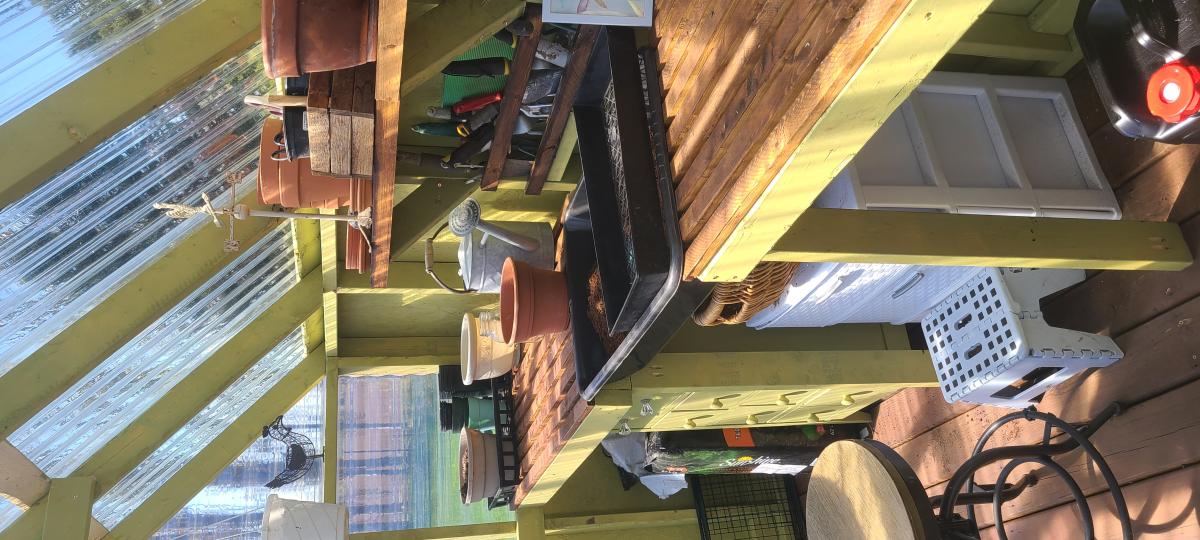
We followed Ana's plans but went 1 ft taller on the pony walls to increase the height. We are so impressed with how it turned out. I'm excited to grow plants in Northwestern Ontario.

Built from Plan(s)

Comments

Console table

Submitted by lazyLiz on Sun, 01/15/2012 - 09:23

This is my first DIY furniture project inspired by Martha Inspired Craft Space Table posted by Ry. I built it for my combination of console table and craft space. I will be using the shelves in the middle to put my wicker baskets(that is why it was not nicely stained:-)) for quicker access of some of my craft stuff. Thanks for the plan!

Estimated Cost
$45.00
Finish Used
Red Mahogany stain and satin polyurethane
Recommended Skill Level
Beginner

Comments

Lady Goats

Sun, 01/15/2012 - 15:21

The plan that you linked to was actually posted by Ry at The Design Confidential! I'm sure she would LOVE it if you would hop on over to her site and post a brag blog there!

Great Job!

In reply to by lazyLiz

Lady Goats

Sun, 01/15/2012 - 18:21

Leave it here! I'm sure everyone here would LOVE to see this (it's amazing!). AND the plans were posted here. I just know that Ry loves to see, too! :-)

Guest (not verified)

Mon, 03/26/2012 - 15:11

Could you please post the modifications/measurements you made to this plan? I love your changes and would love to make something similar for my foyer.

lazyLiz

Sun, 04/01/2012 - 11:13

Console measures 43" long X 13-1/2"depth X 33" tall. The decorative sides were made from 1/4" x 1-1/2" x 8' Stain Grade Pine Lattice I got from lowes.

Rustic X Kitchen Island - DONE!

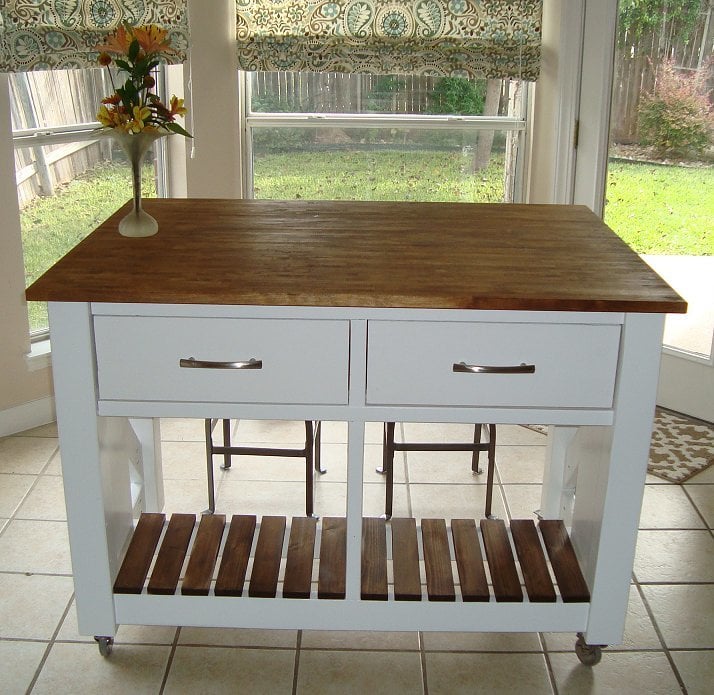
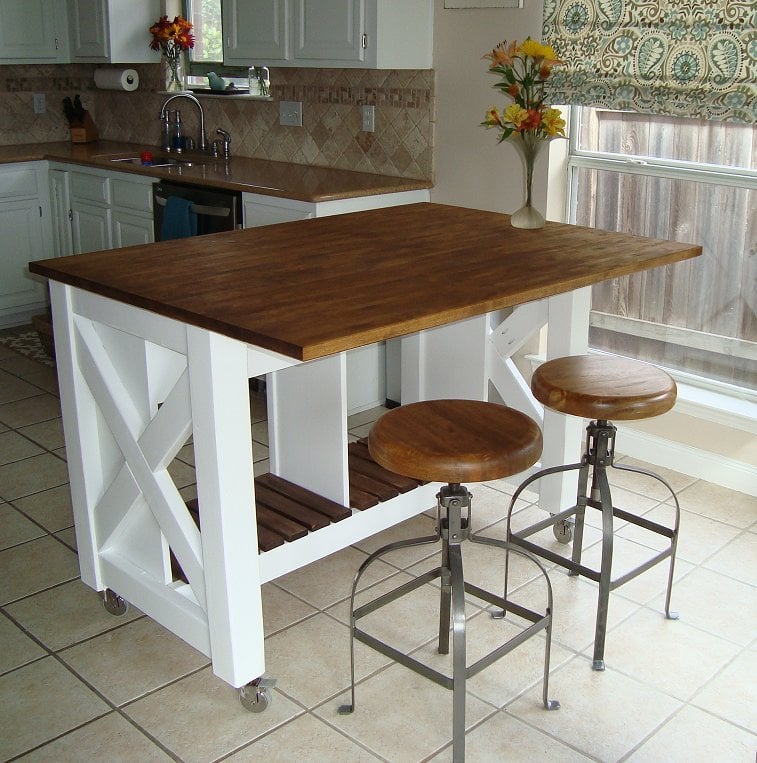
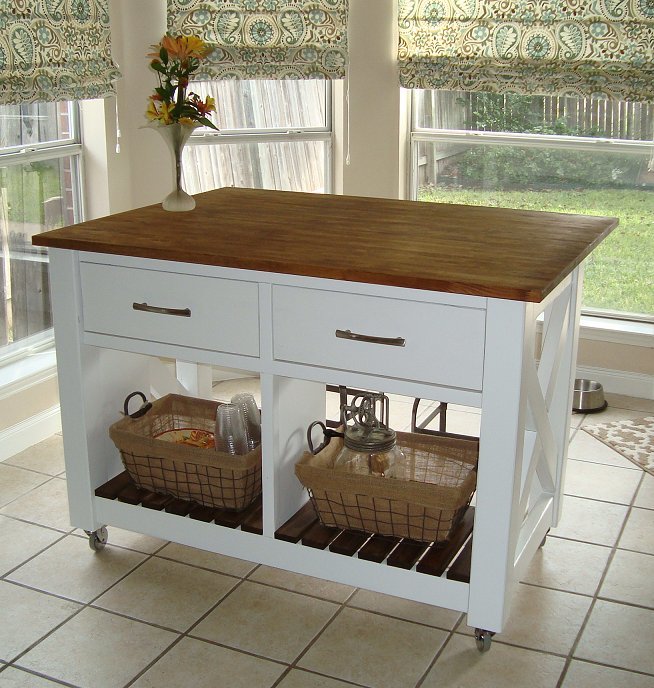
I had always wanted a kitchen island and saw this project. Seeing that the plans were well written I decided to tackle it. In addition I made a few small modifications to enhance the style of the island. These included using 4x4's on the corners and a IKEA butcher block top. The top allows for a larger surface area to work with and more space to sit under. The stools in the picture are from World Market and they were the perfect pair for the island. The island is great for family gatherings or just sitting with your morning coffee. I had family over for Thanksgiving and received lots of compliments. Thank you Ana!

Built from Plan(s)
Estimated Time Investment
Weekend Project (10-20 Hours)
Finish Used
Valspar white latex paint from Lowes on the bottom and Minwax Mission Oak stain on the top.
Recommended Skill Level
Intermediate

Comments

MaryMurray

Tue, 12/03/2013 - 17:43

I love how this looks. This is actually next on my list of projects, thanks for the inspiration!

Jcalloc

Thu, 03/05/2015 - 08:13

May I ask what kind of wood you used for this project?

Single Lounger

Submitted by adburleson on Tue, 02/16/2016 - 12:23

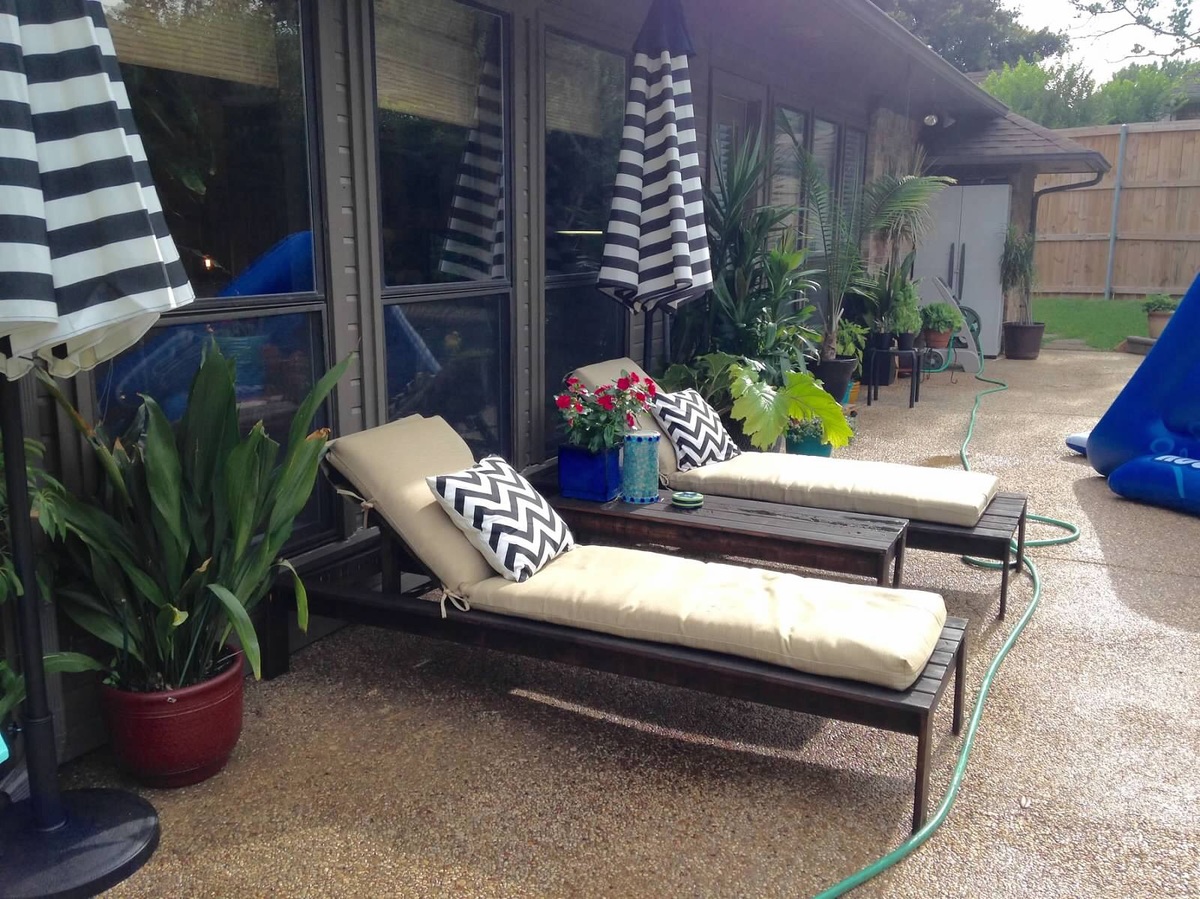
I loved the simple look and have admired similar loungers at Pottery Barn.  Even if I had the money I feel it's a waste to pay for what they charge.  I knew there were plans somewhere to make something similar for a fraction of the cost.  So happy I found this site!

I have many tools at home so I needed to purchase the lumber, hardware (screws, hinges, etc.), stain, and sealer.  I would say it was about roughly $100/chair (rounding up) - not including the cushions.  Those I found at Lowe's for about $60/each.  

I haven't made anything like this before so I made the first one and took my time.  I really enjoyed the process and thought the instructions were simple to follow.  I have some skills and basic knowledge so I didn't feel like this was too difficult.  I love the way they turned out!  I did the 2nd chair the following Saturday.  It took most of the day including the finishing.  I only took a few hours to put one together.  If I had help, would have been less, no doubt.  I plan to make a double lounger to match these soon. 

I will agree with some of the other posts that the legs seem a little "flimsy."  I went ahead with the orginal plan and they've held up with no problem for a year in the Texas summer heat with lots of activity and use - including our dogs!  So, I guess it's just fine.  I may use something sturdier for the double lounger since it would hold more weight.

I highly recommend these loungers to cut costs!  Also, the plan is not too difficult for anyone with little experience.
Estimated Cost
I had to purchase the wood, hardware, stain, and sealer. I would estimate about $100 a chair (rounding up). Which is a LOT less expensive then purchasing something like this! The lounge cushions came from Lowe's and were about $60/each.
Estimated Time Investment
Day Project (6-9 Hours)
Finish Used
We used Rustoleum stain - Kona. My personal favorite.
Recommended Skill Level
Beginner

Outdoor sectional

Submitted by Anonymous (not verified) on Wed, 10/02/2019 - 04:17

Made the outdoor sectional. The coffee table was made out of left over pieces!

Estimated Cost
$260
Estimated Time Investment
Weekend Project (10-20 Hours)
Finish Used
We used a semi transparent stain applied with brush. We would recommend a hand sprayer instead.
Recommended Skill Level
Beginner

Comments

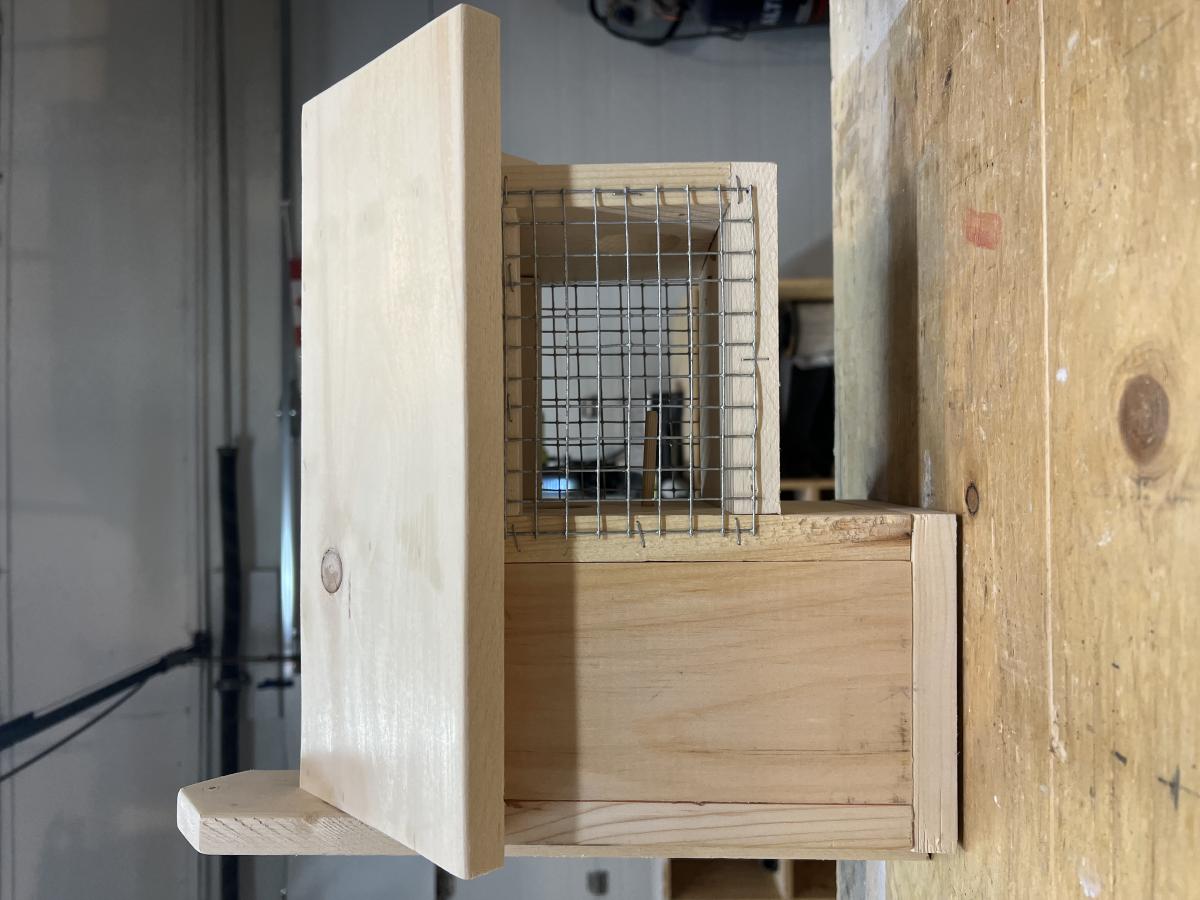
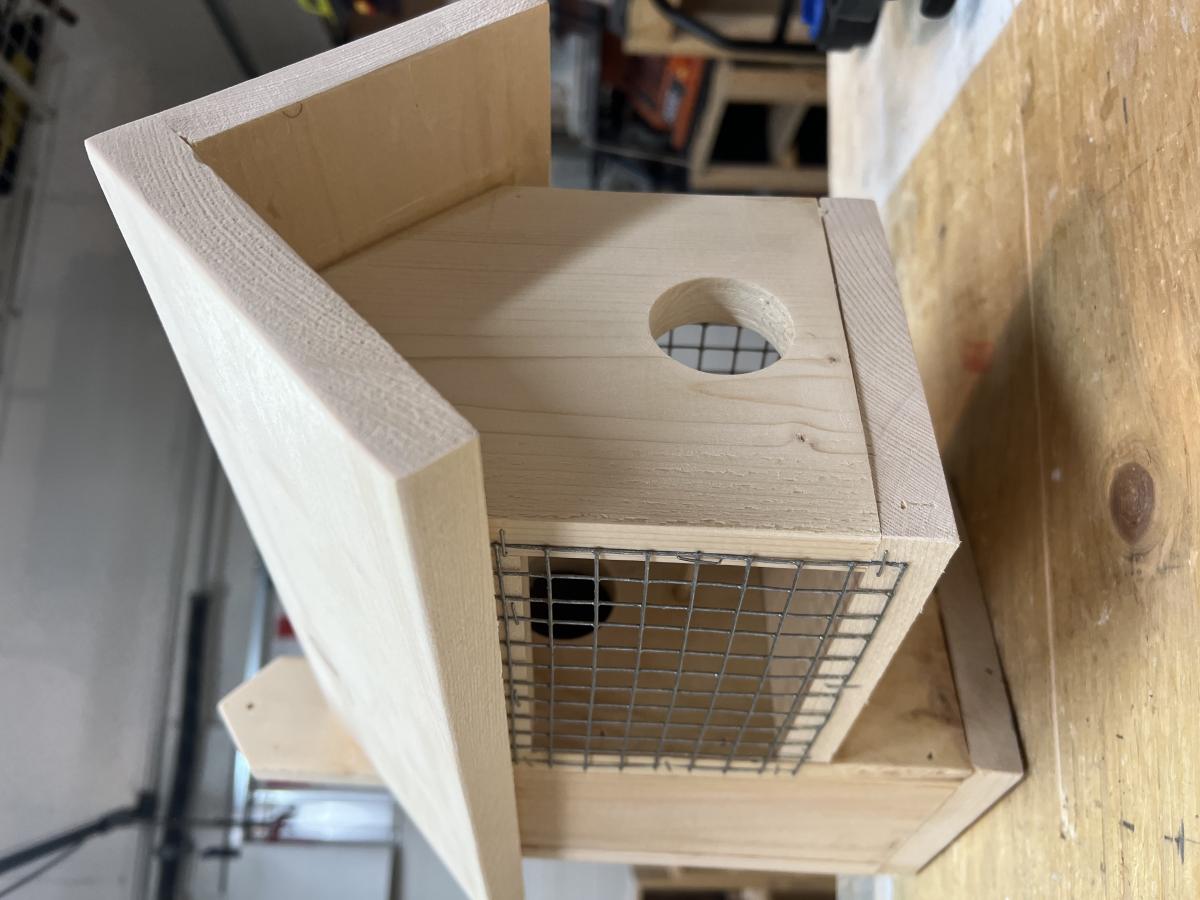
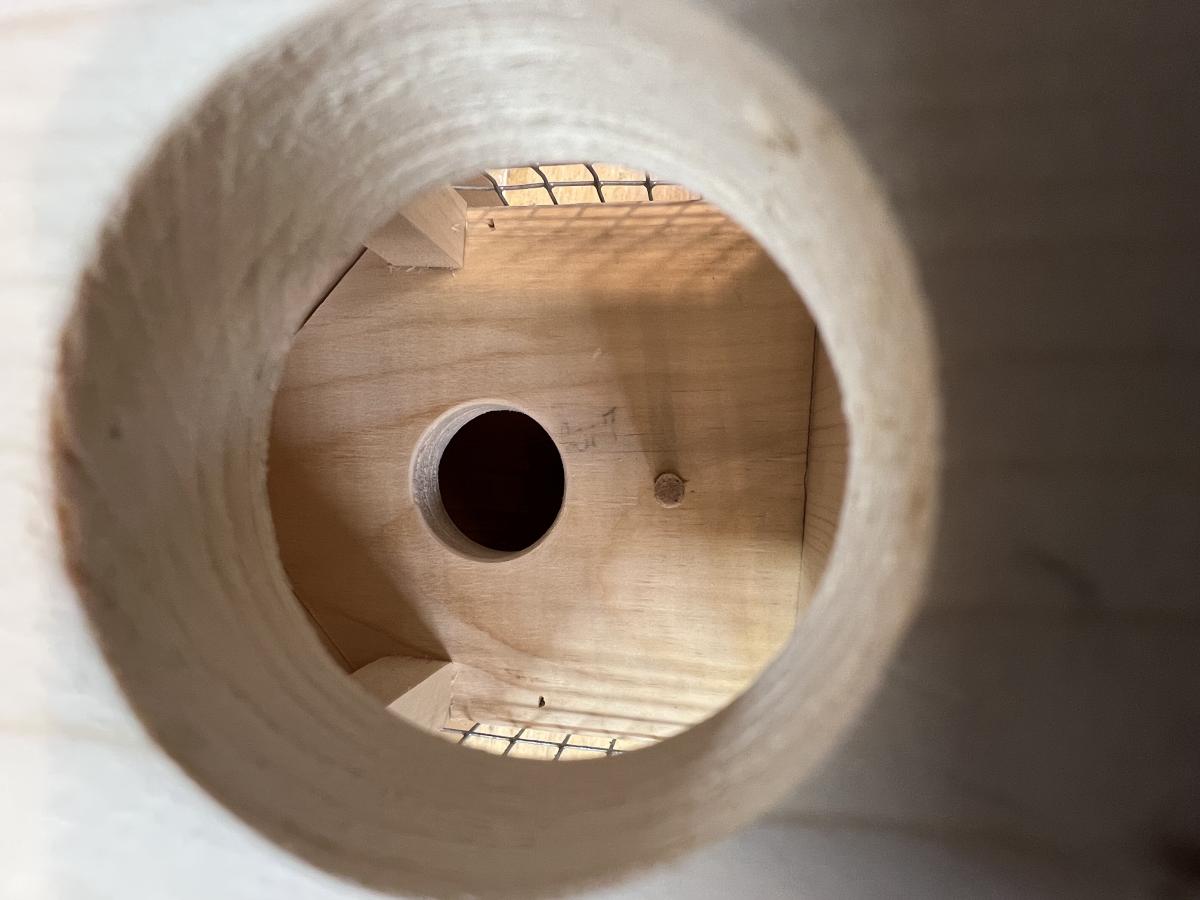
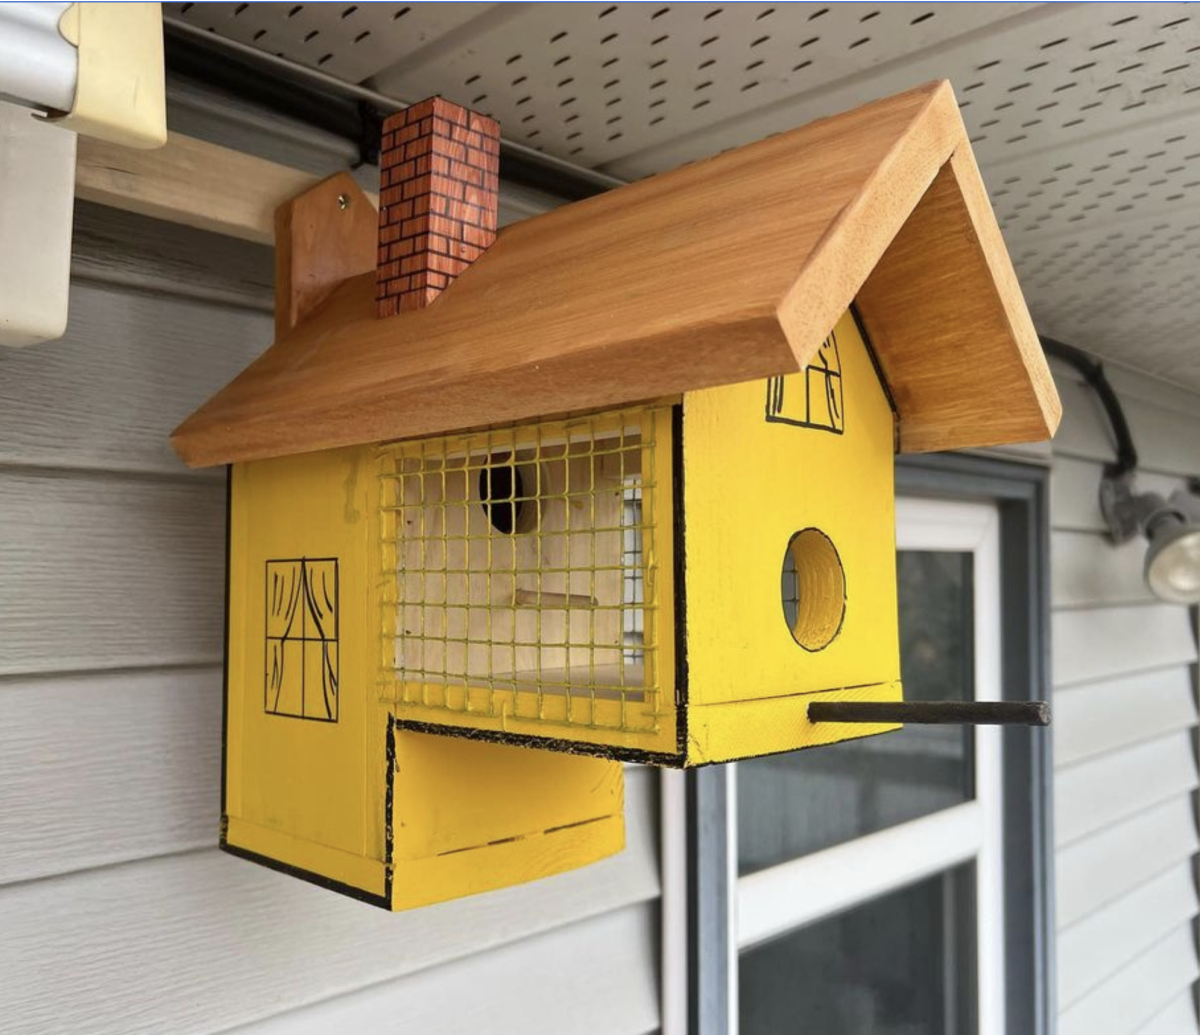
Bird House against predator

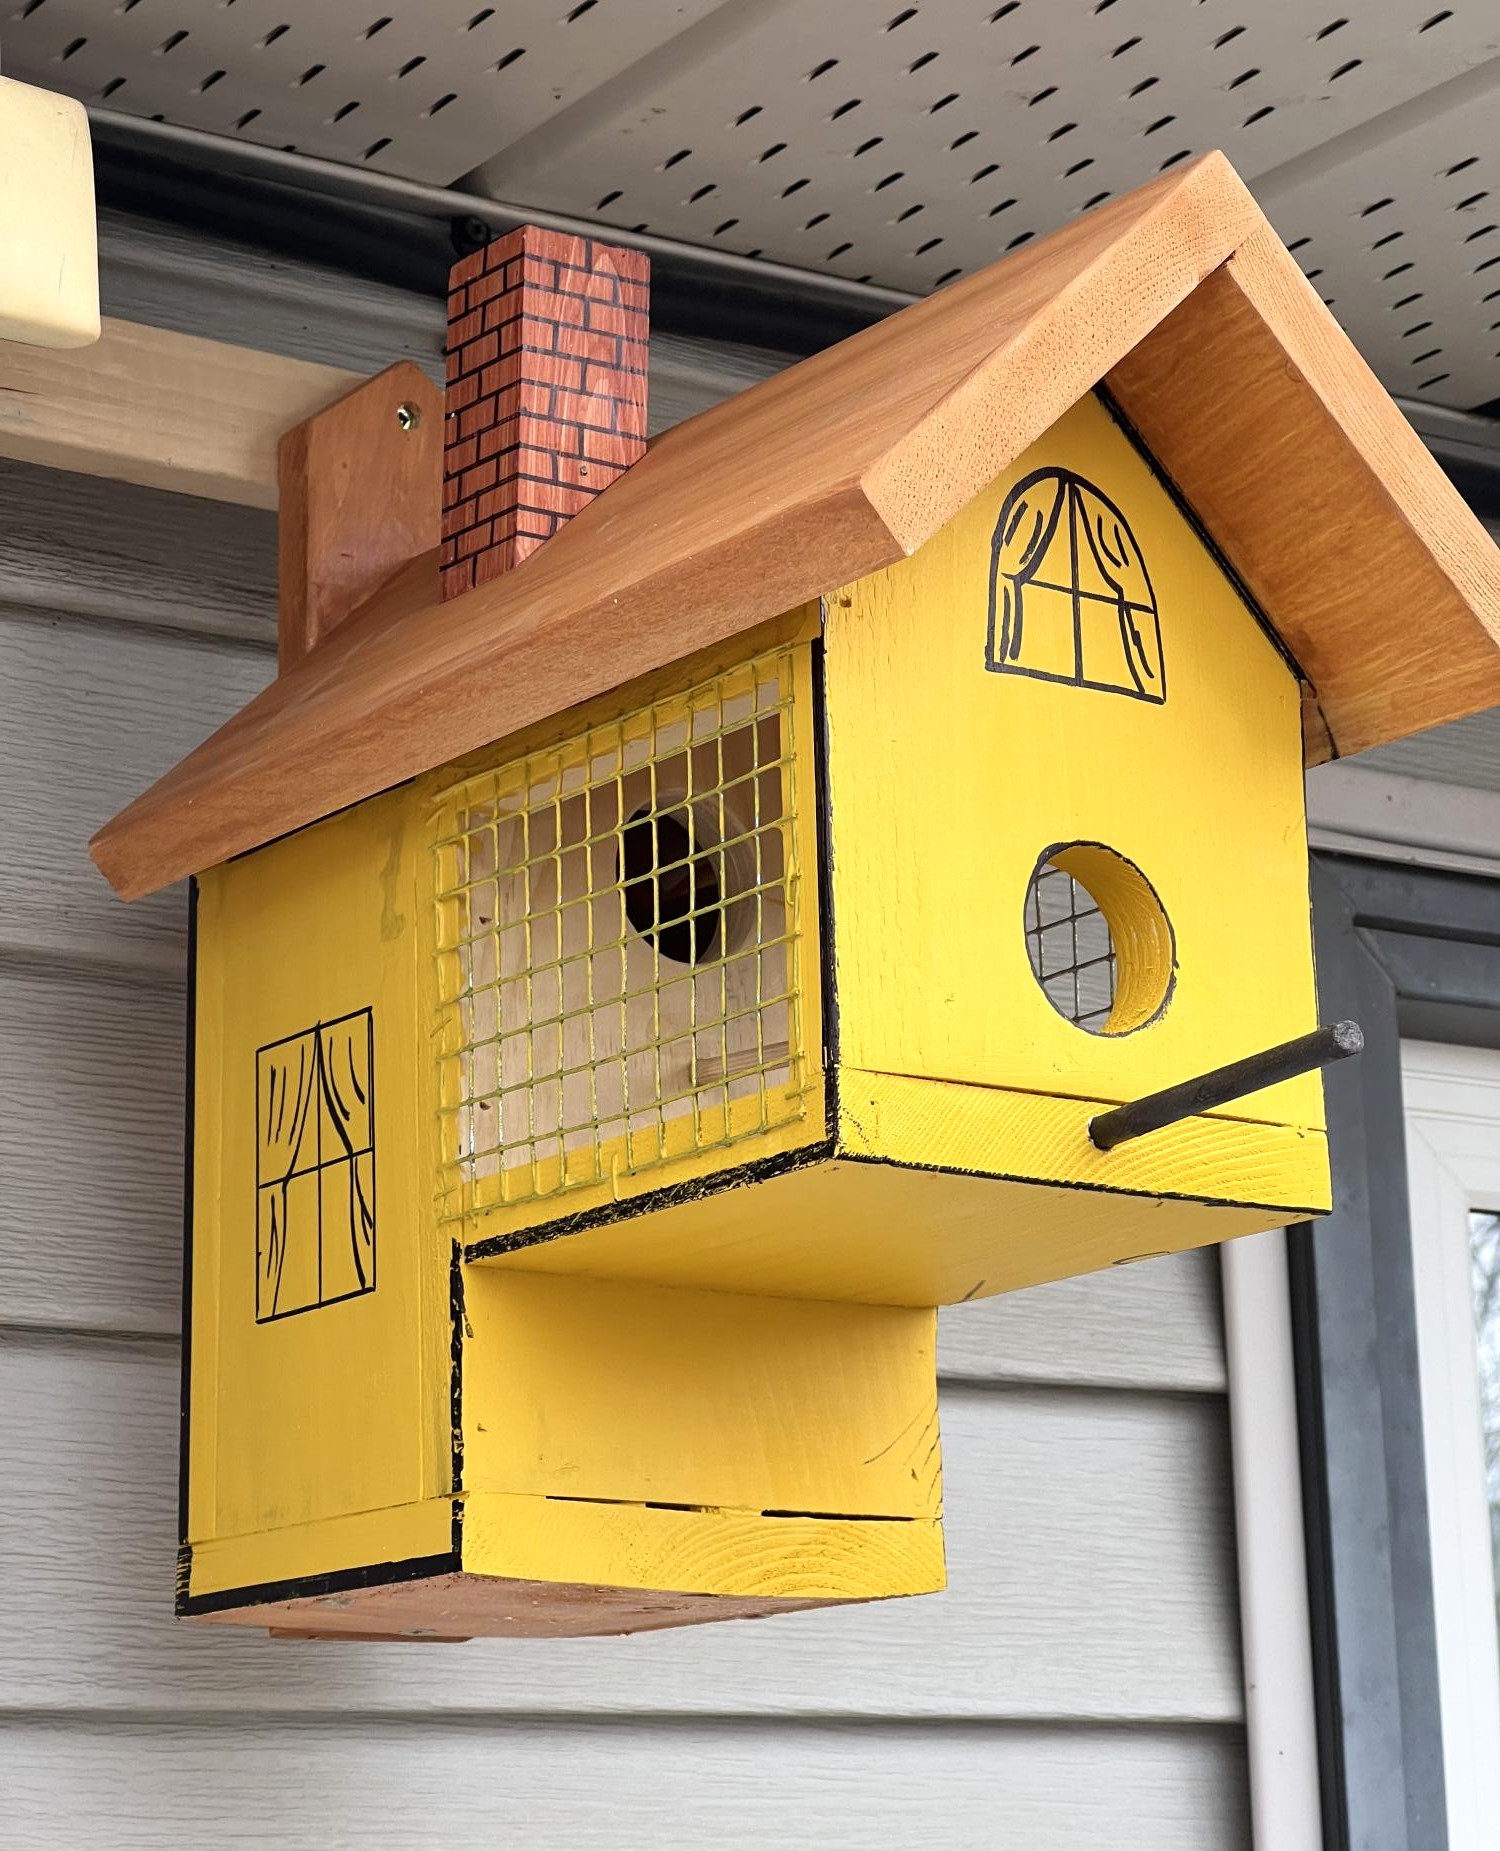
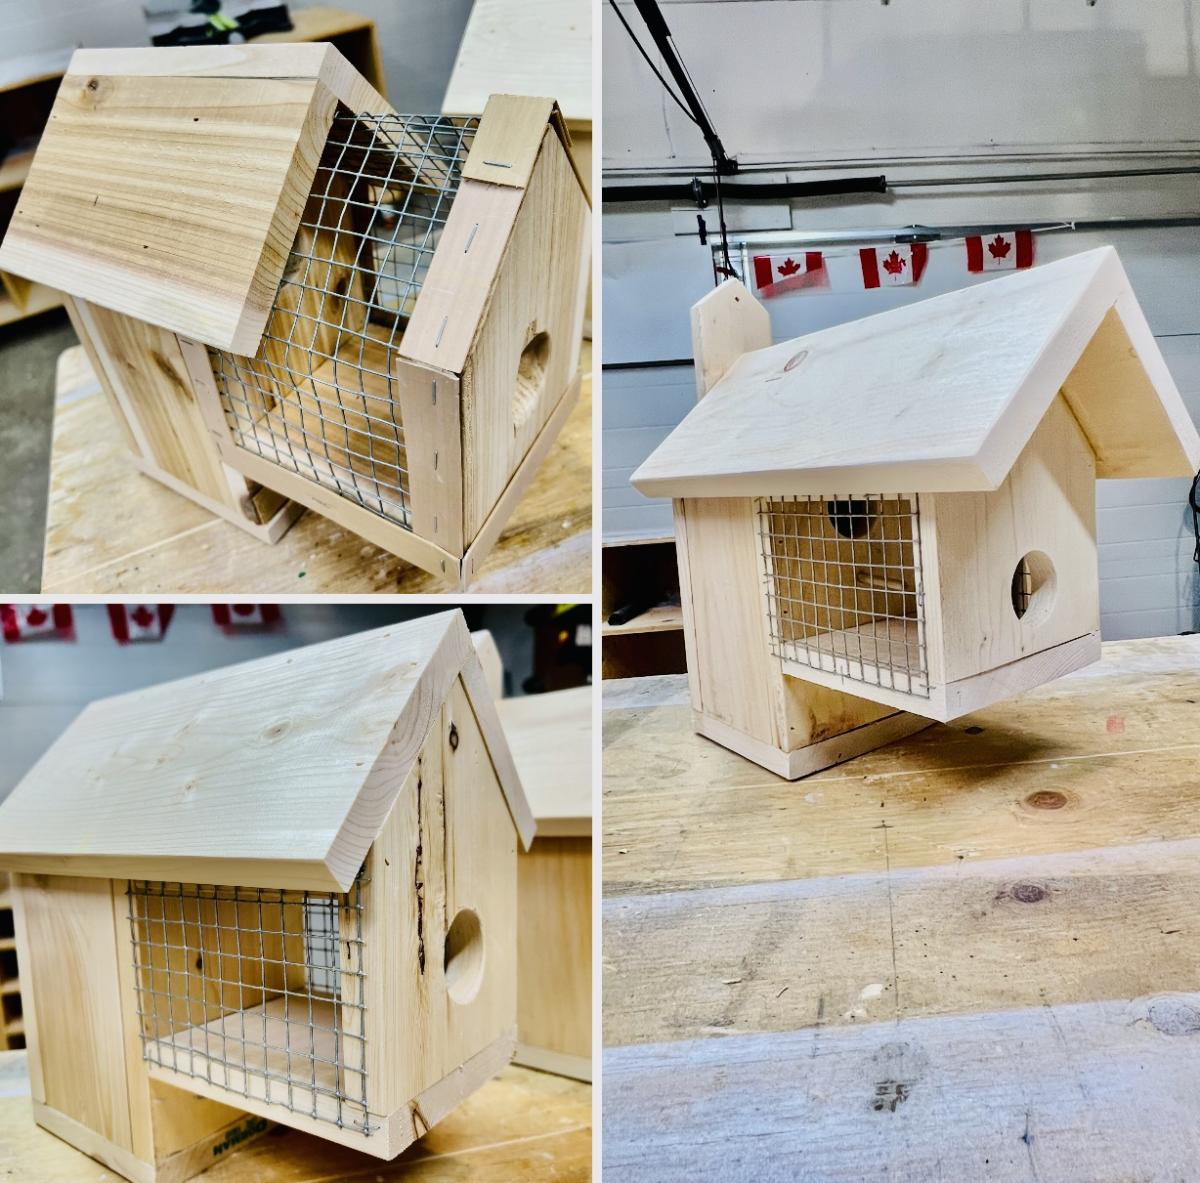
Hi I was tired to see the magpies and flickers destroying the nest and kill the sparrows After days of research i came up with this model that i tested last summer and believe me, it was successfully accepted by sparrows This year i made bunch of them, some different models till i get to the yellow one style that is perfect I really loved it and i'm here sharing it with you guys I will share plan for this bird house in my Instagram next week (June 12)

Comments