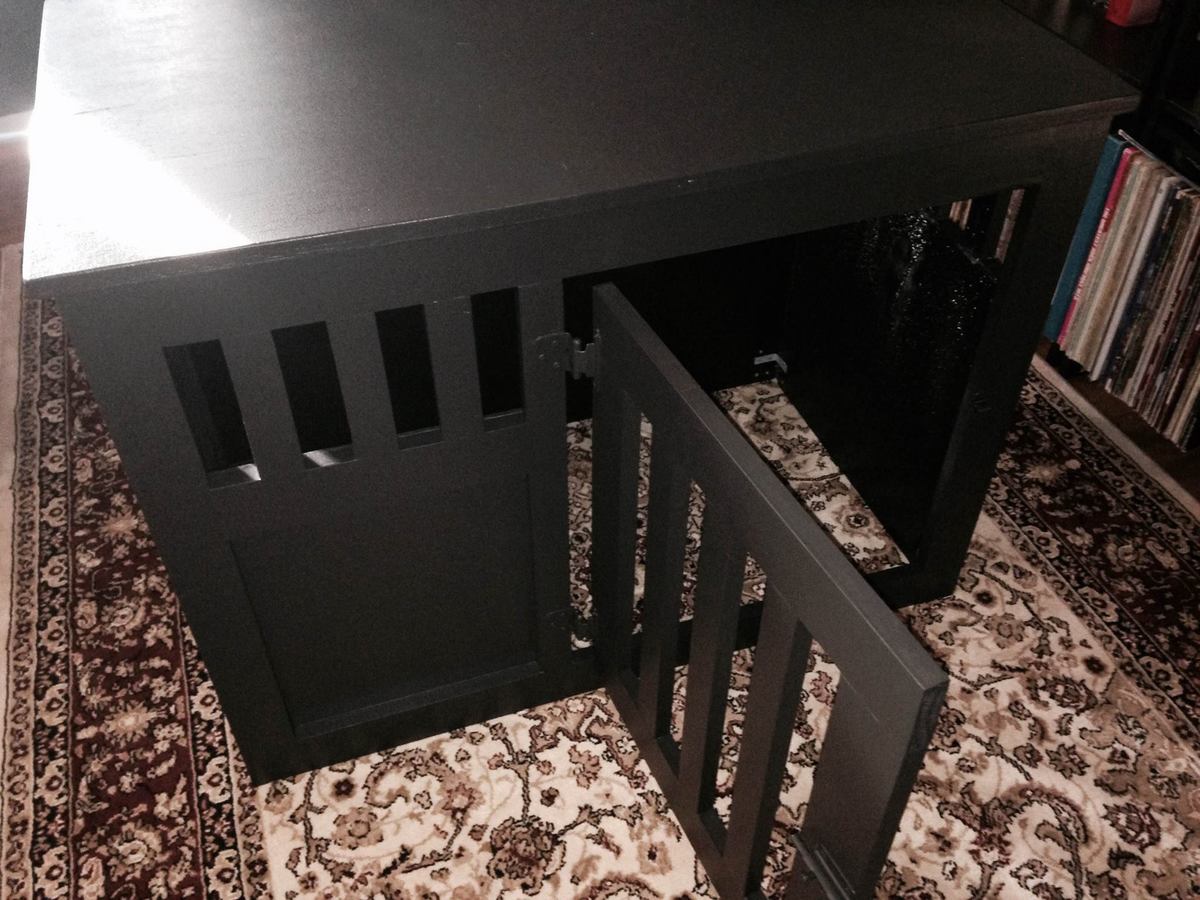
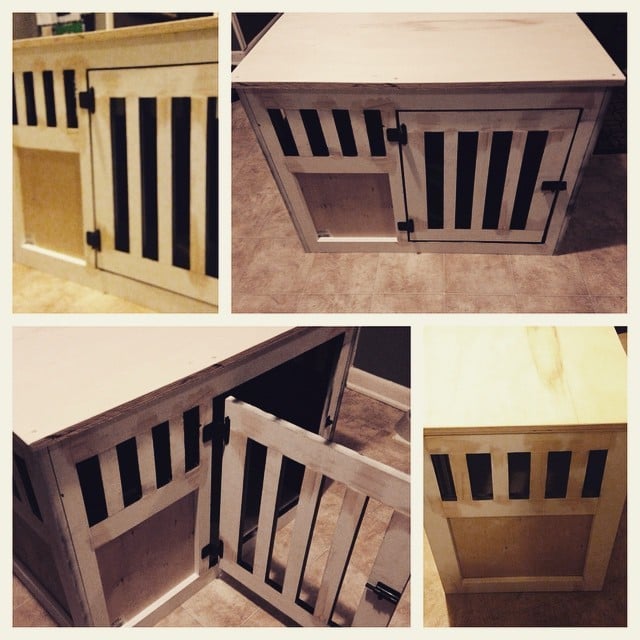
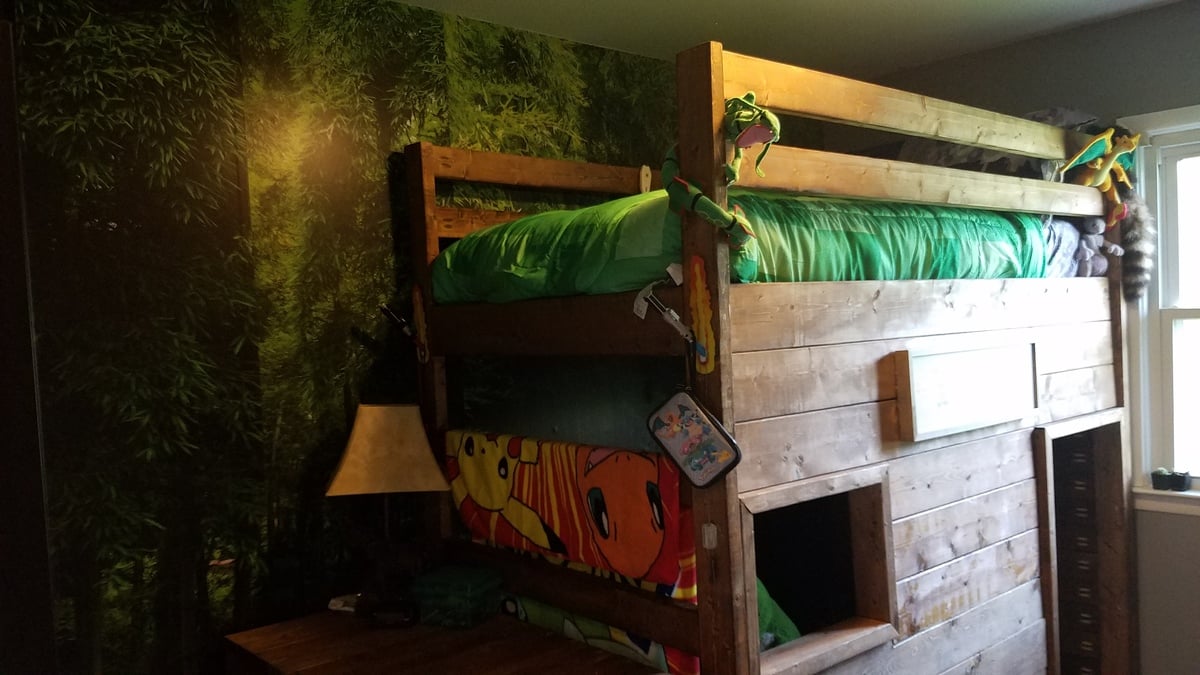
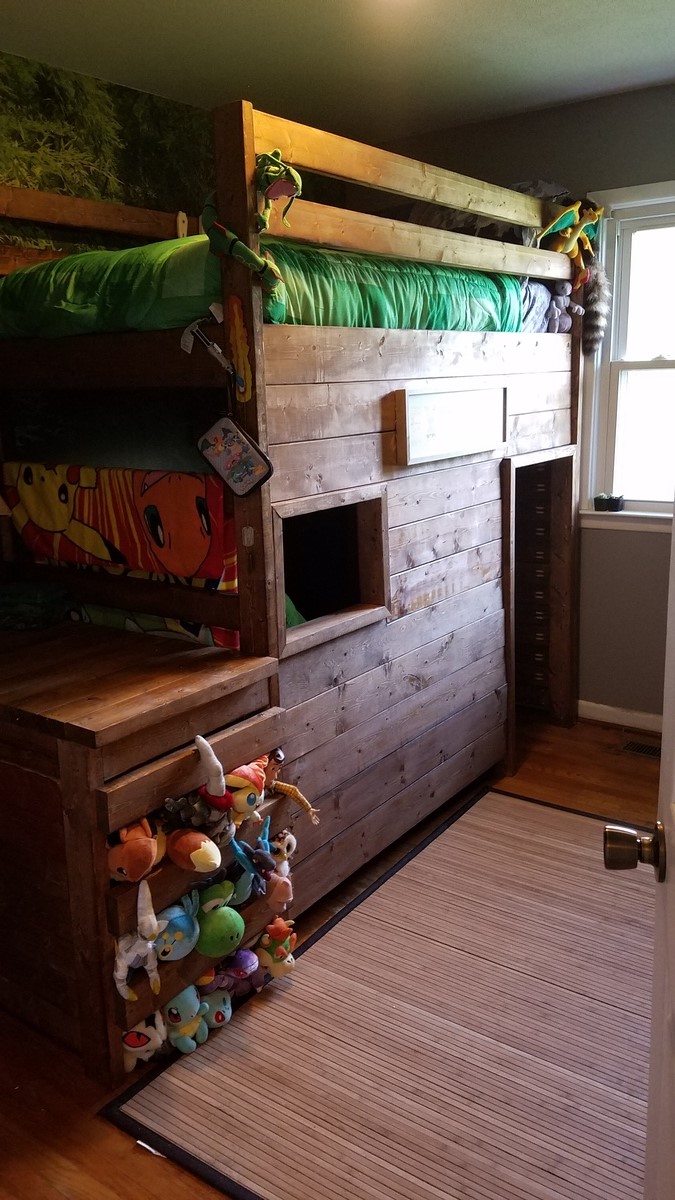
Truss Bookshelf
![](/sites/default/files/3154827512_1369694301.jpg)
This was my first project and it turned out great!
https://www.etsy.com/listing/150638354/truss-bookshelf-pick-up-only-48-…
![](/sites/default/files/3154827513_1369694301.jpg)
This was my first project and it turned out great!
https://www.etsy.com/listing/150638354/truss-bookshelf-pick-up-only-48-…
A spin on the original design. Made an end grain butcher block table top out of cherry and red oak. 3 applications of minwax gunstock stain on the pine.
Tue, 04/21/2015 - 01:44
What a gorgeous butcher block top! Wow! Beautiful work. I love the details you put on the drawer fronts as well, and the finish color is lovely!
I've made a ladder bookshelf with some leftover mdf board and 2x4's. The plans were very helpful and really happy with how it turned out.
We wanted to build my daughter a smaller bed with lots of storage. I really liked the Daybed plans on here, so we used those and made a few minor adjustments. First, we wanted the bed to sit inside the frame of the bed, instead of just sitting ontop the frame. This will prevent the matress from sliding around. We did this by adding 3 inches on both the length and width of the bed. After building the bed you probably only need to add 1-2 inches, but it still turned out fine. I glued and screwed strips on the side rails a few inches down and then attached my 3" strips to the rails. I also increased the height of the bed slightly by addinga few inches to the 2x4 sides. Also, instead of using 1x12 boards for the construction of the bed, we used 3/4 plywood. This let me make the sides and drawer taller than 12" and also saved a lot of money. I was able to make the whole bed from 2x4s and one sheet of plywood, plus I bought a sheet of MDF for the bottom of the main drawer. This brought the entire cost of the bed to around $150 in materials.
For the bottom drawer we wanted one large storage area instead of 3 seperate drawers. The main reason for this is so we would use it as a trundle in the future if we wanted to. I build the drawer bottom out of a large piece of MDF, and maded the sides out of 3/4 plywood. I cut a 1/2" rabbit on the bottom of the drawer sides so the bottom sits flush. My main reason for doing this was because the boards are different colors (MDF and plywood) and I knew I was not going to be painting the drawers. The drawer sides and attached by pockethole screws which are hiddle. The front pocket hole screws are hidden by the front drawer face and the rear screws could only be seen if you look behind the bed.
I used homemade chalk paint and put about 4 coats on the entire surface. The finish was done with a high quality paste wax which was put on, let dry, and then buffed. I put 3 coats of wax on the finished project.
The bottom of the drawer has 6 straight casters on the bottom for easy pull out.
The contruction of the bed was done in about a day, but the finishing took longer due to the multiple coats and letting the wax dry.
This was a fun, fairly quick project. We use it all the time!
This was my second Ana White project and with this project I really began to feel like a builder. I did modify the plan to make it less tall to fit in the space I needed it for. I also added a front to the shelves because ultimately these were going to be used for starting plant cuttings and I want the front to cover up the plastic pots they are growing in.
The cost of the project is for 2 of the modified shelves and does not include the screws, putty, etc. Also, the time needed would change if you chose better boards than furring strips. Those take a lot of time to make nice at the start of the project. This would also go together quicker if you are only building one shelf instead of two (obviously!).
I'm very happy with the end result! I wrote 9 blog posts on building this project for a more in-depth look at this build.
Made this over the weekend for my wife. I got the top from my work as they were going to toss it out because it was the wrong color so i took it home, got the bench plans from this awesome site and bada bing...my wife is happy! Thanks ana! Looking forward to future projects.
Tue, 04/28/2015 - 08:25
Can you please look into the Http problems, over half of the plans are inaccessible.
Built this by the plans with one modification. I bought this diamond plate when it was on sale at lowes. It fit perfect. Used small self taping screws to hold it in. Stained the same color(kona) as our caninets.
Made from all reclaimed or scrap wood
This was my first official attempt at wood working. We desperately needed outdoor furniture, but I couldn't find any modern pieces close to our price range. I finally worked up the nerve to attempt to build it for seating at a couples shower we were hosting at our house.
Thanks to Ana's well thought out plans and a Kreg Jig, everything came together really well.
I purchased the wood at a local wholesaler and saved lots over the big box stores. Although I did find the cushions at Lowe's.
I have an extra bottom seat cushion that I plan on using for an ottoman in the future.
At first the project was pretty intimidating, but it became much easier with each piece. My one recommendation is to lay all of your pieces out and carefully plan where you'll need the Kreg screws before you begin assembling.
Thanks so much Ana! I'm really looking forward to tackling more of your projects soon!
Bar height table witb 4 chairs and 2 benches. My mom wanted a new table big eight to sit 6 to 8 people, I think it can fit 10 though!
Build Instructions:
http://www.instructables.com/id/Garden-Plant-Stand/
The plant stand allows you to grow edibles in a compact vertical space. We use the planter to grow herbs and edibles on the deck close at hand to the kitchen and the grill. In the containers we have mint, pineapple sage, marjoram, oregano and two other types of sage. The plants that like the most sun are placed on top. The lower levels of the plant stand are used for more shade tolerant plants; however, they still get plenty of light. For growing the plants, self-watering planters were chosen. Other planting options are a rain gutter system, individual pots, wood boxes, etc. The stand can be easily constructed from excess lumber or pallets
Fri, 05/01/2015 - 12:33
See animation here:
https://www.youtube.com/watch?v=rPD6ieDZgyU
I used Ana's instructional as inspiration but changed dimensions. My little guy adores this shelf.
I made these cabinet doors based on your Entryway Console with Open Shelves. I wanted something to hide the clutter from the cables, modems and hubs for all our smart devices as well as the circuit box. I modified these with open grills in the bottom half to allow for the Wi-Fi signal to travel without being blocked. I love them and am so surprised at how nice they turned out. I am not used to working with wood routers or table saws but found that it was not as difficult as I thought it would be. I used pocket wholes to join the stiles and rails and did use glue also due to the expected high usage.
Fri, 10/08/2021 - 10:32
That looks fantastic and hides a lot of things that can make a space look cluttered, really like the added detail!
Finally built my first project with plans from the site. Just modified slightly to use the wood and tools I had on hand, but I love it! If I make another, I will be sure to make it with the legs angled out as Ana did. With two active toddlers, it would be a bit more stable..
My girls have nominated it as a "reading desk" and might not be as thrilled as I am about having it for them to use in the bathroom to wash their own hands! Great, easy plans. It would have been much easier to build with a pocket-hole jig, but maybe I'll get one for my birthday.
Made three of these beds with and for my best friends daughters.
Fri, 07/05/2013 - 14:11
Brand new to woodworking. About to dive-in with this American Girl Loft Bed project. From others' comments, it seems a Kreg Jig Jr. will be just fine. Yet another commenter suggested purchasing the Mini as well. Is this strongly suggested or can I get away with the $40 Jr. set? Thanks!
Fri, 07/05/2013 - 15:32
Hey Molly,
I used the Jr. You definitely don't need to buy the more expensive one. I even just built a long console table using the Jr. Good luck and don't forget to post pictures of the finished product.
Maureen
Fri, 07/05/2013 - 17:37
Thank you, Maureen! Reassuring to know!
Just got back from purchasing the Kreg Jig Jr, clamp, and wood. I felt totally out-of element.
I have had this loft bed pinned on Pinterest for quite some time now. Seeing your brag post AND knowing that it was your first project helped me to think I might be able to accomplish this.
Funny that you just built a console table. That is one of the top projects on my list if this all goes well.
I made this table for me and my wife. We love how it turned out! Approximate dimensions are 83"L x 37"W x 30"H.
I planed the table top boards down to around 1 1/4". After assembly, I used a hand plane and a belt sander to even out any unevenness, then I used my random orbital sander and gradually increased grit to 320. Sanded lightly between finish coats.
What's a mom to do when she can't choose between the cabin bed, the little cottage loft bed and the sweet pea garden bed? Head over to google sketchup and sketch up a set of plans incorporating favourite aspects of all three beds! This one had been in the planning stages for over a year and I’ve called it “Sweet Pea Cottage”. It took me about 3 months to build in my spare time and I couldn't be happier with how it turned out. Of course our daughter loves it as well! Who wouldn't want to sleep in their own little house bed! :) I used spruce and 3/4" purebond plywood for the main build. To give the plywood panels a planked look, I cut the front into various size rectangles so I could run them through my table saw using a 1/4" dado blade before assembling the pieces together with pocket holes. The roof panels and dormer are 1/4" plywood glued and screwed to a frame and then I used construction adhesive to adhere the dormer to the front roof panel as well as adhere the cedar shakes. Painted with Behr Pure Ultra White and topped with a satin polyacrylic. I left the cedar shakes raw but if I built it again, I think I would top them with some sort of flat or matt sealer as the rough texture makes dusting them a bit difficult. One of the first questions I get is "how difficult is it to make the bed?". Surprisingly it's not that hard. Because the bed is so open on each end and we have it set up in her room with access on three sides, it's easy to manoeuvre the mattress a bit to change the bedding.
Thu, 02/17/2022 - 08:15
I love this bed. I would like to make one for my Grand-daughter. Do you have plans for this cute bed? I just signed up today so I wasn't able to see the comment section. I'm sorry if this has already been asked.