Community Brag Posts
Modern Farmhouse Bed Frame
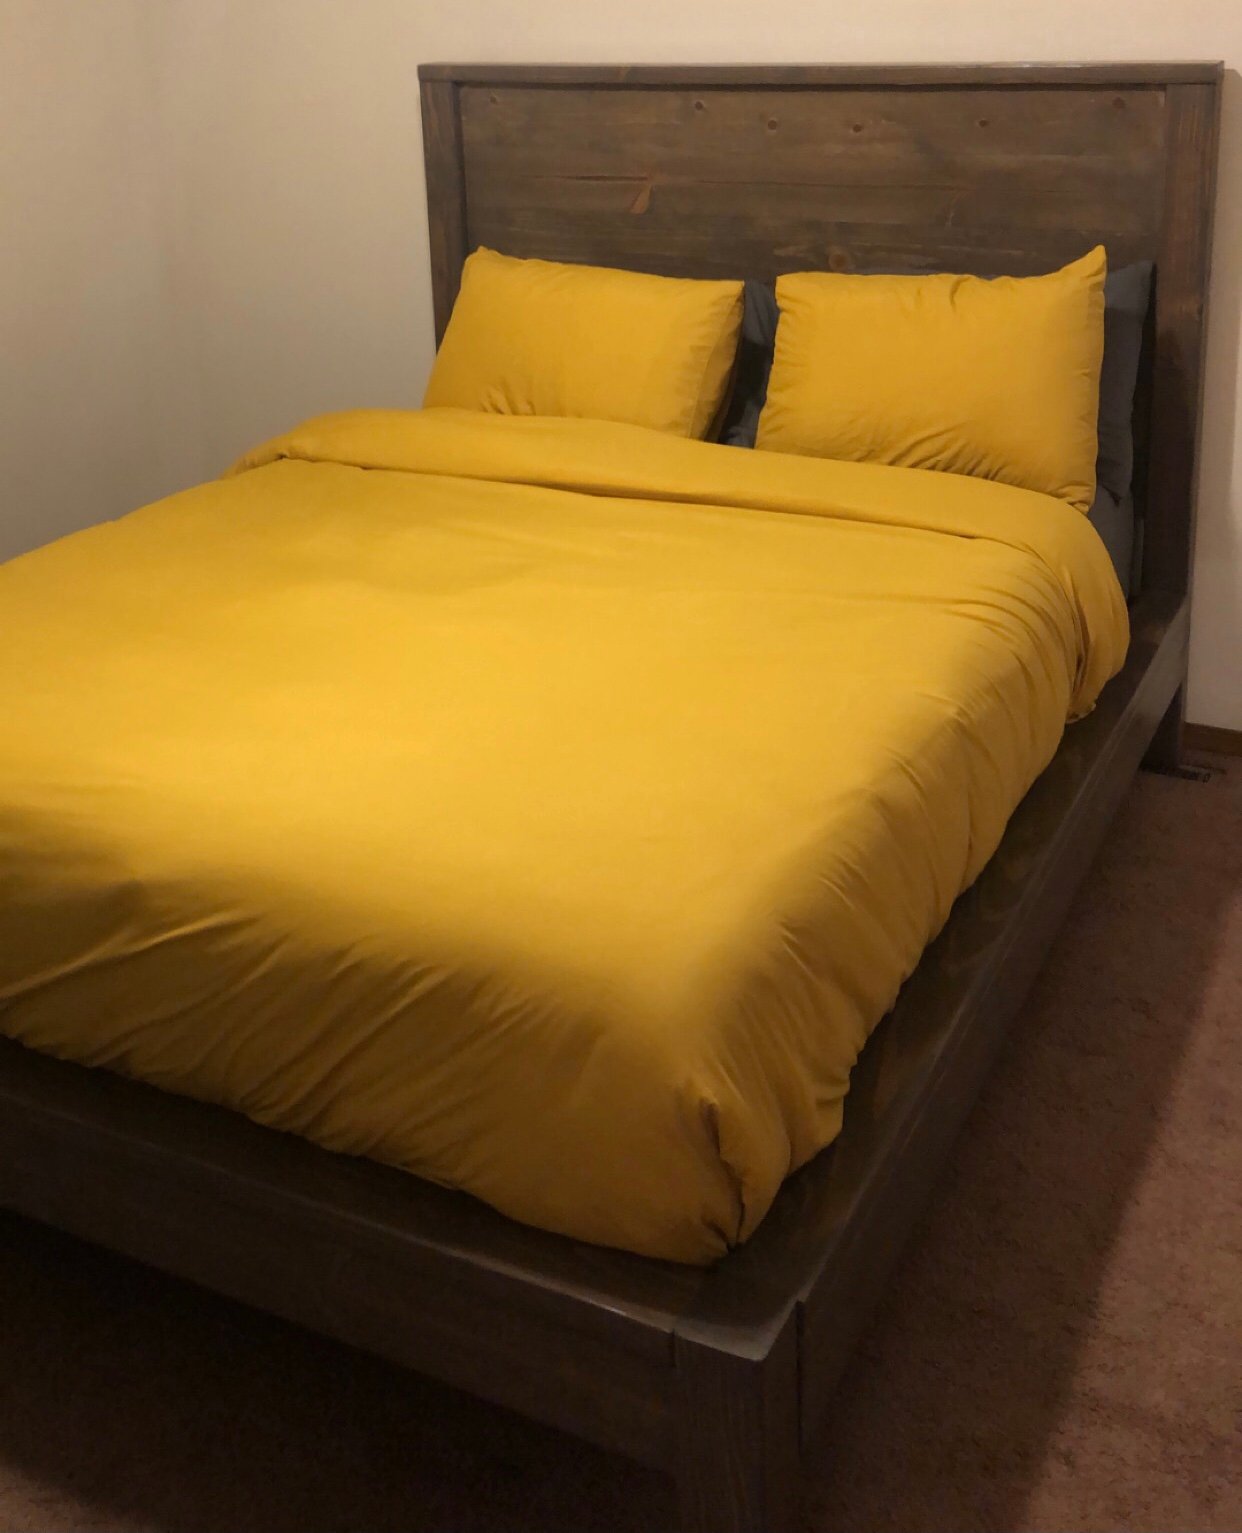
My dad and I built this bed together as our first wood working project. We worked on it off and on for about three weeks before it was finished and in my room. We used brackets instead of pocket holes/screws to attach the side rails. Next up will be matching nightstands and a dresser!
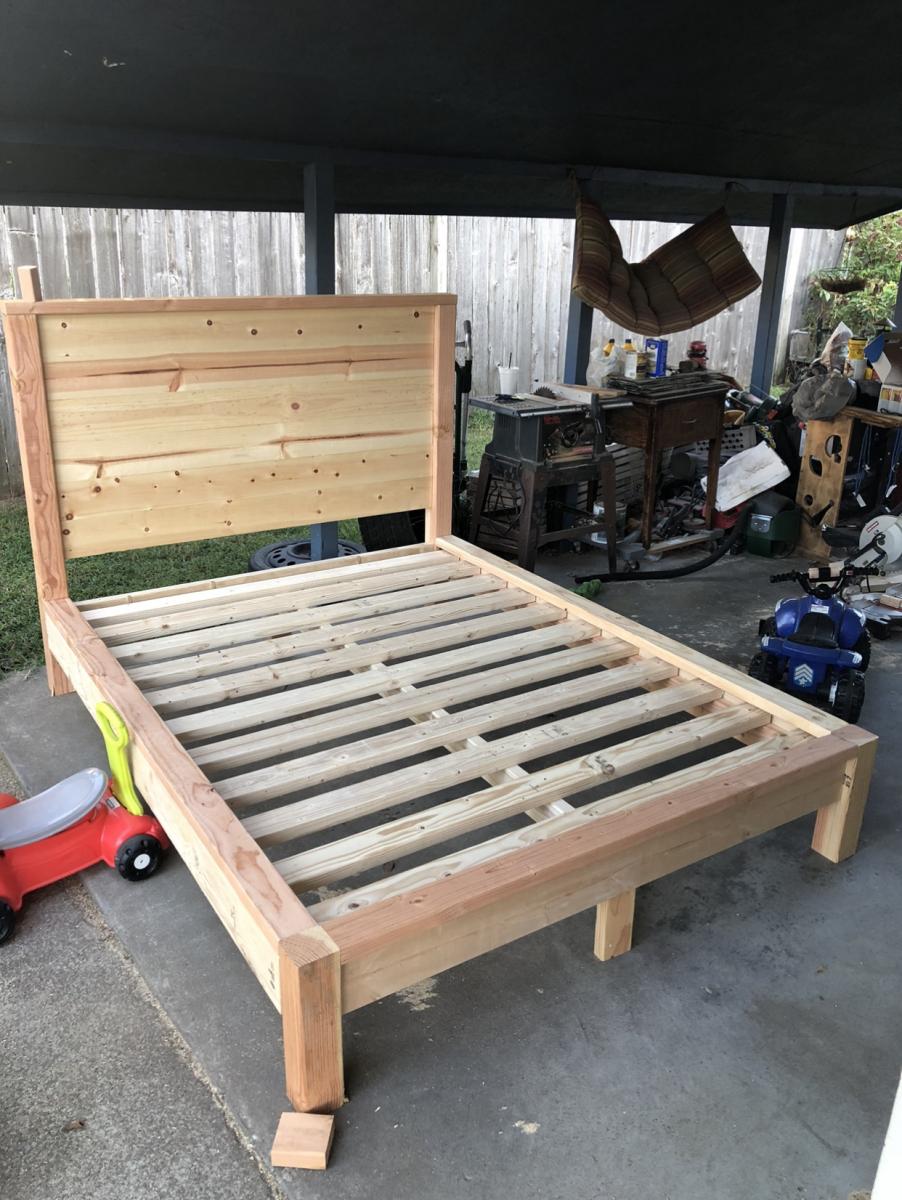
Simple, Cheap and Easy Console Table
We needed an accent table for our hallway and this simple table was perfect. I cut all the pieces in about an hour the night before and spent approximately four hours building the table the following day.

Giant clip board
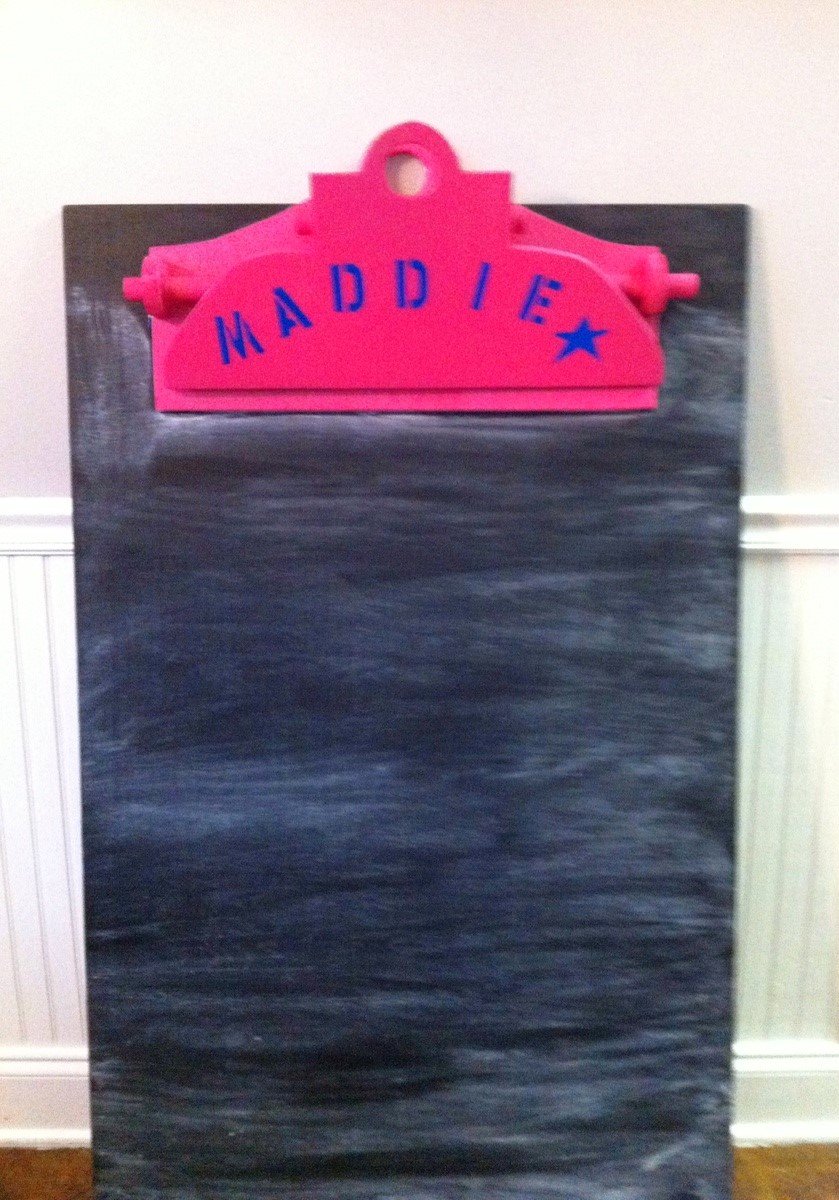
B-day present for my niece
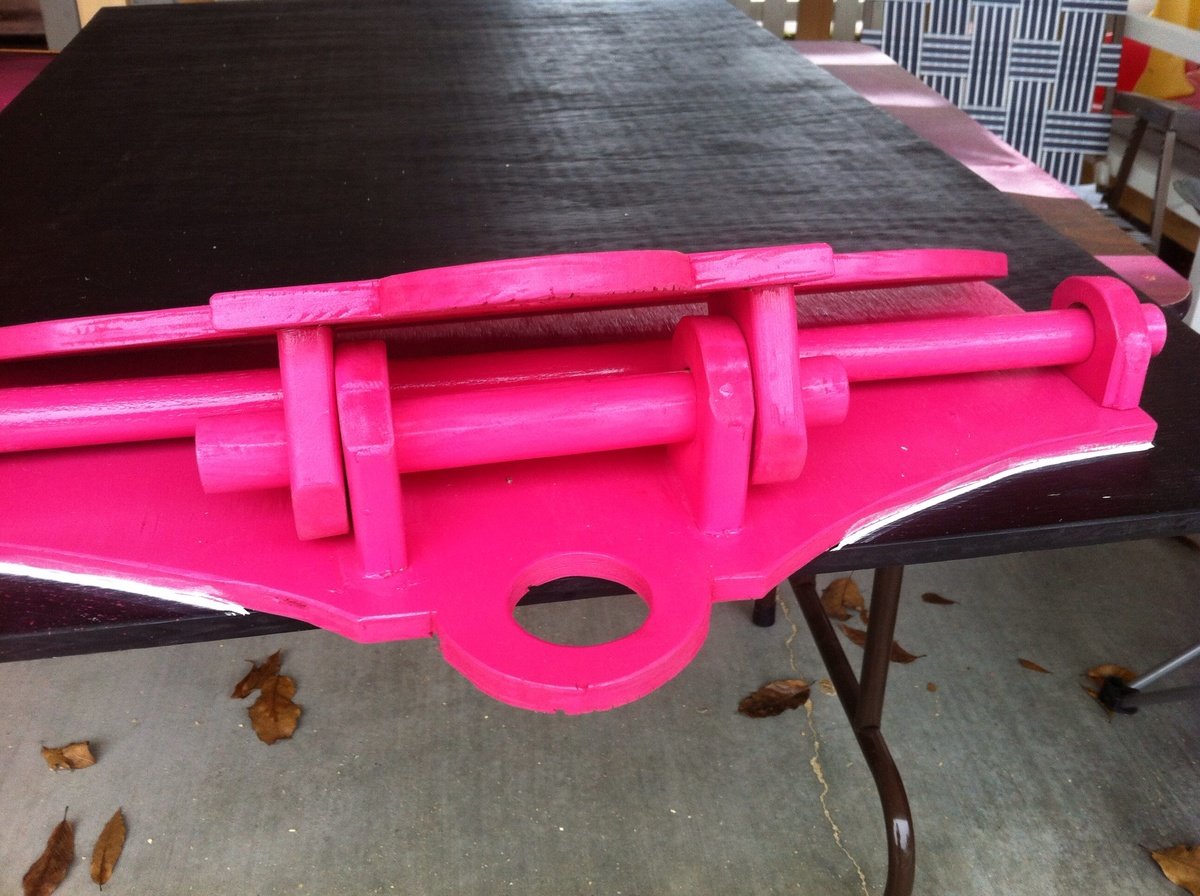
Welcome Post
Full Instructions HERE
What you will need to build this DIY Welcome Post:
- 4 x4 Fence Post Cut: 30 inches long 1×6 down to make 2 5 1/2″x5 1/2″ squares and 2 4 1/2″x 4 1/2″ square.
- Different Widths of wood cut into squares. For the three tear welcome post I have 3 different sized squares. They measure: SMALL: 5 1/2 by 5 1/2 inches MEDIUM: 7 1/2 by 7 1/2 inches LARGE: 9 1/2 by 9 1/2 inches.
- Single Hook
- Long wood screws & Drill
- Stain
- Rust-Oleum Varathane Outdoor Classic Clear Water Based Spray, Gloss Finish
- Wood Glue
- Orbital Sander
or some muscle & some sand paper
- Wood filler (not required)
Full instructions on how I put this together on my blog.
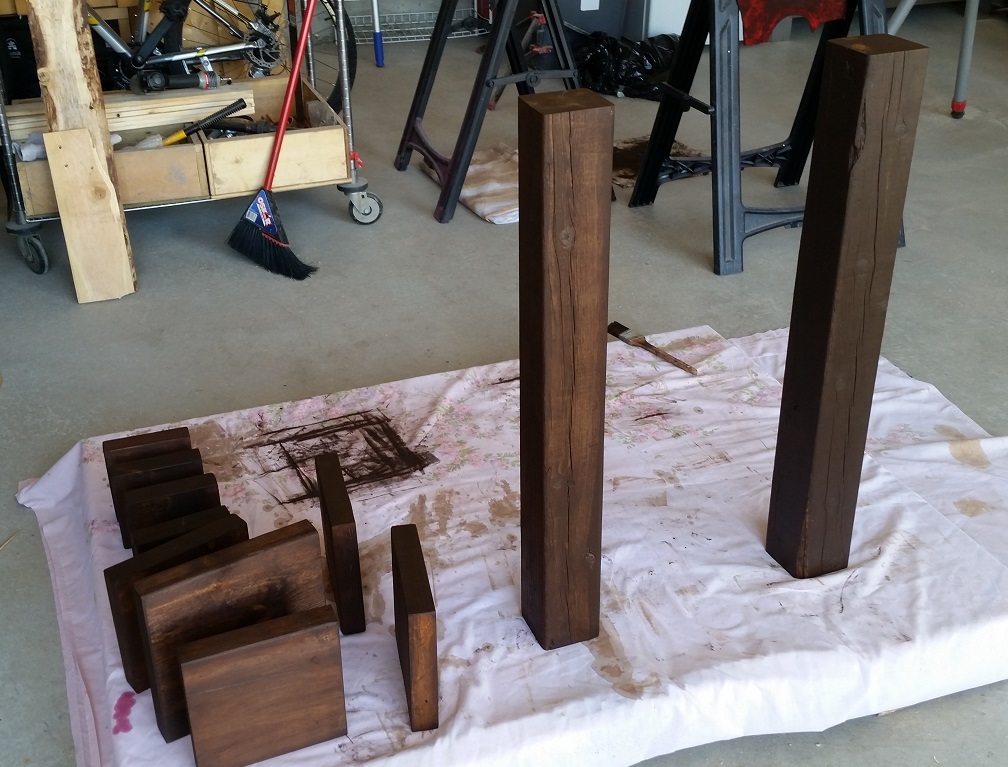
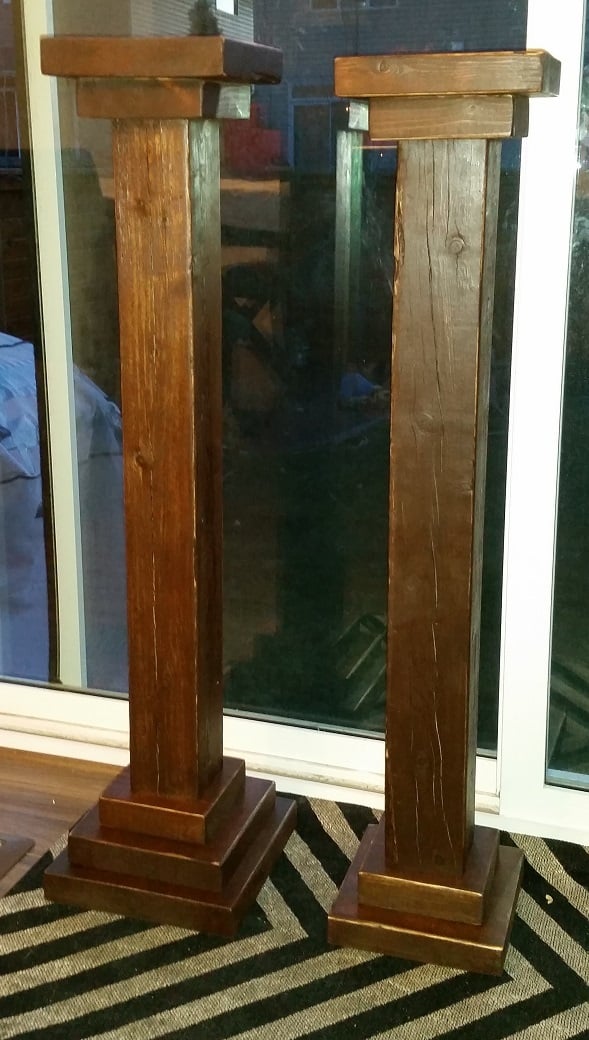

If I had to guess it shouldn't be more then $25 if you can do some scrounging :)
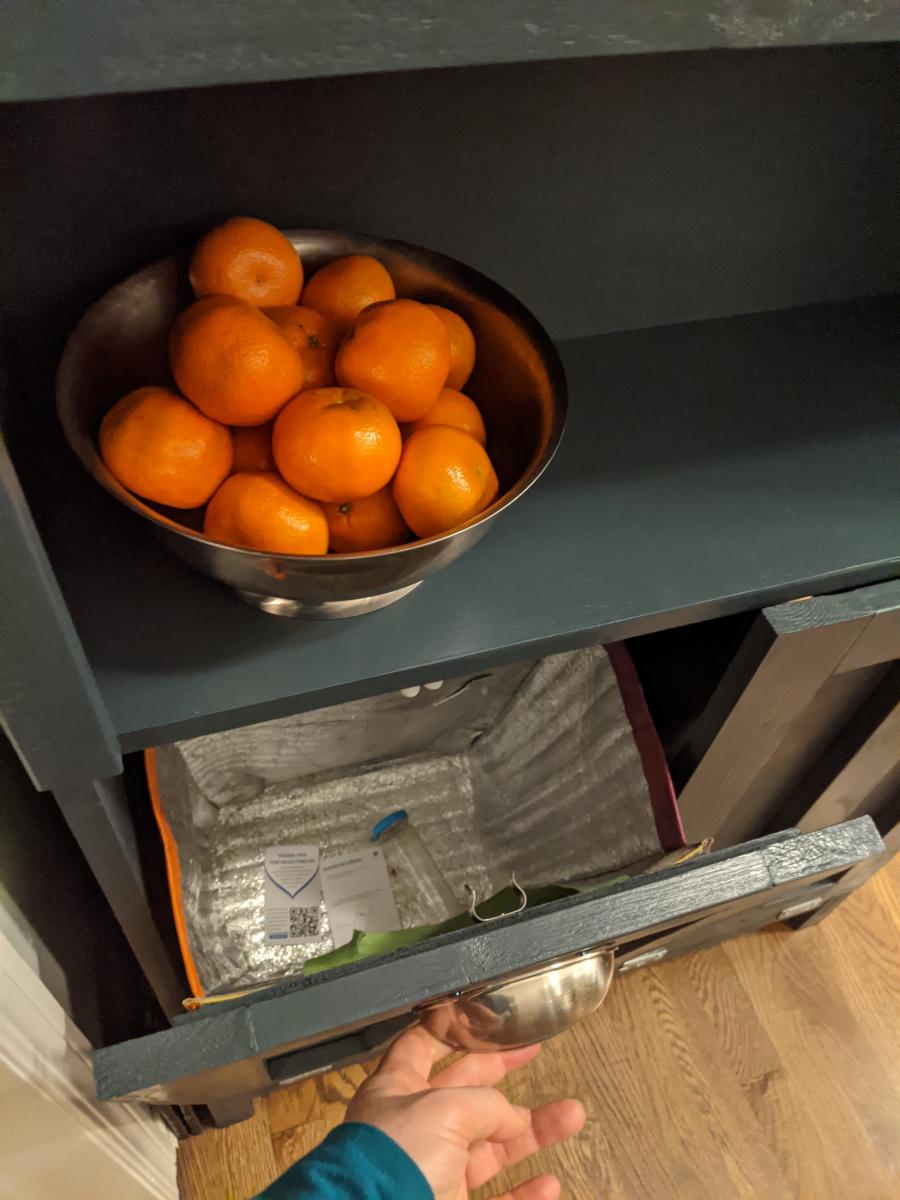
Tall Secretary Cabinet with Mail Slots - Tilt out Trash/Recycling
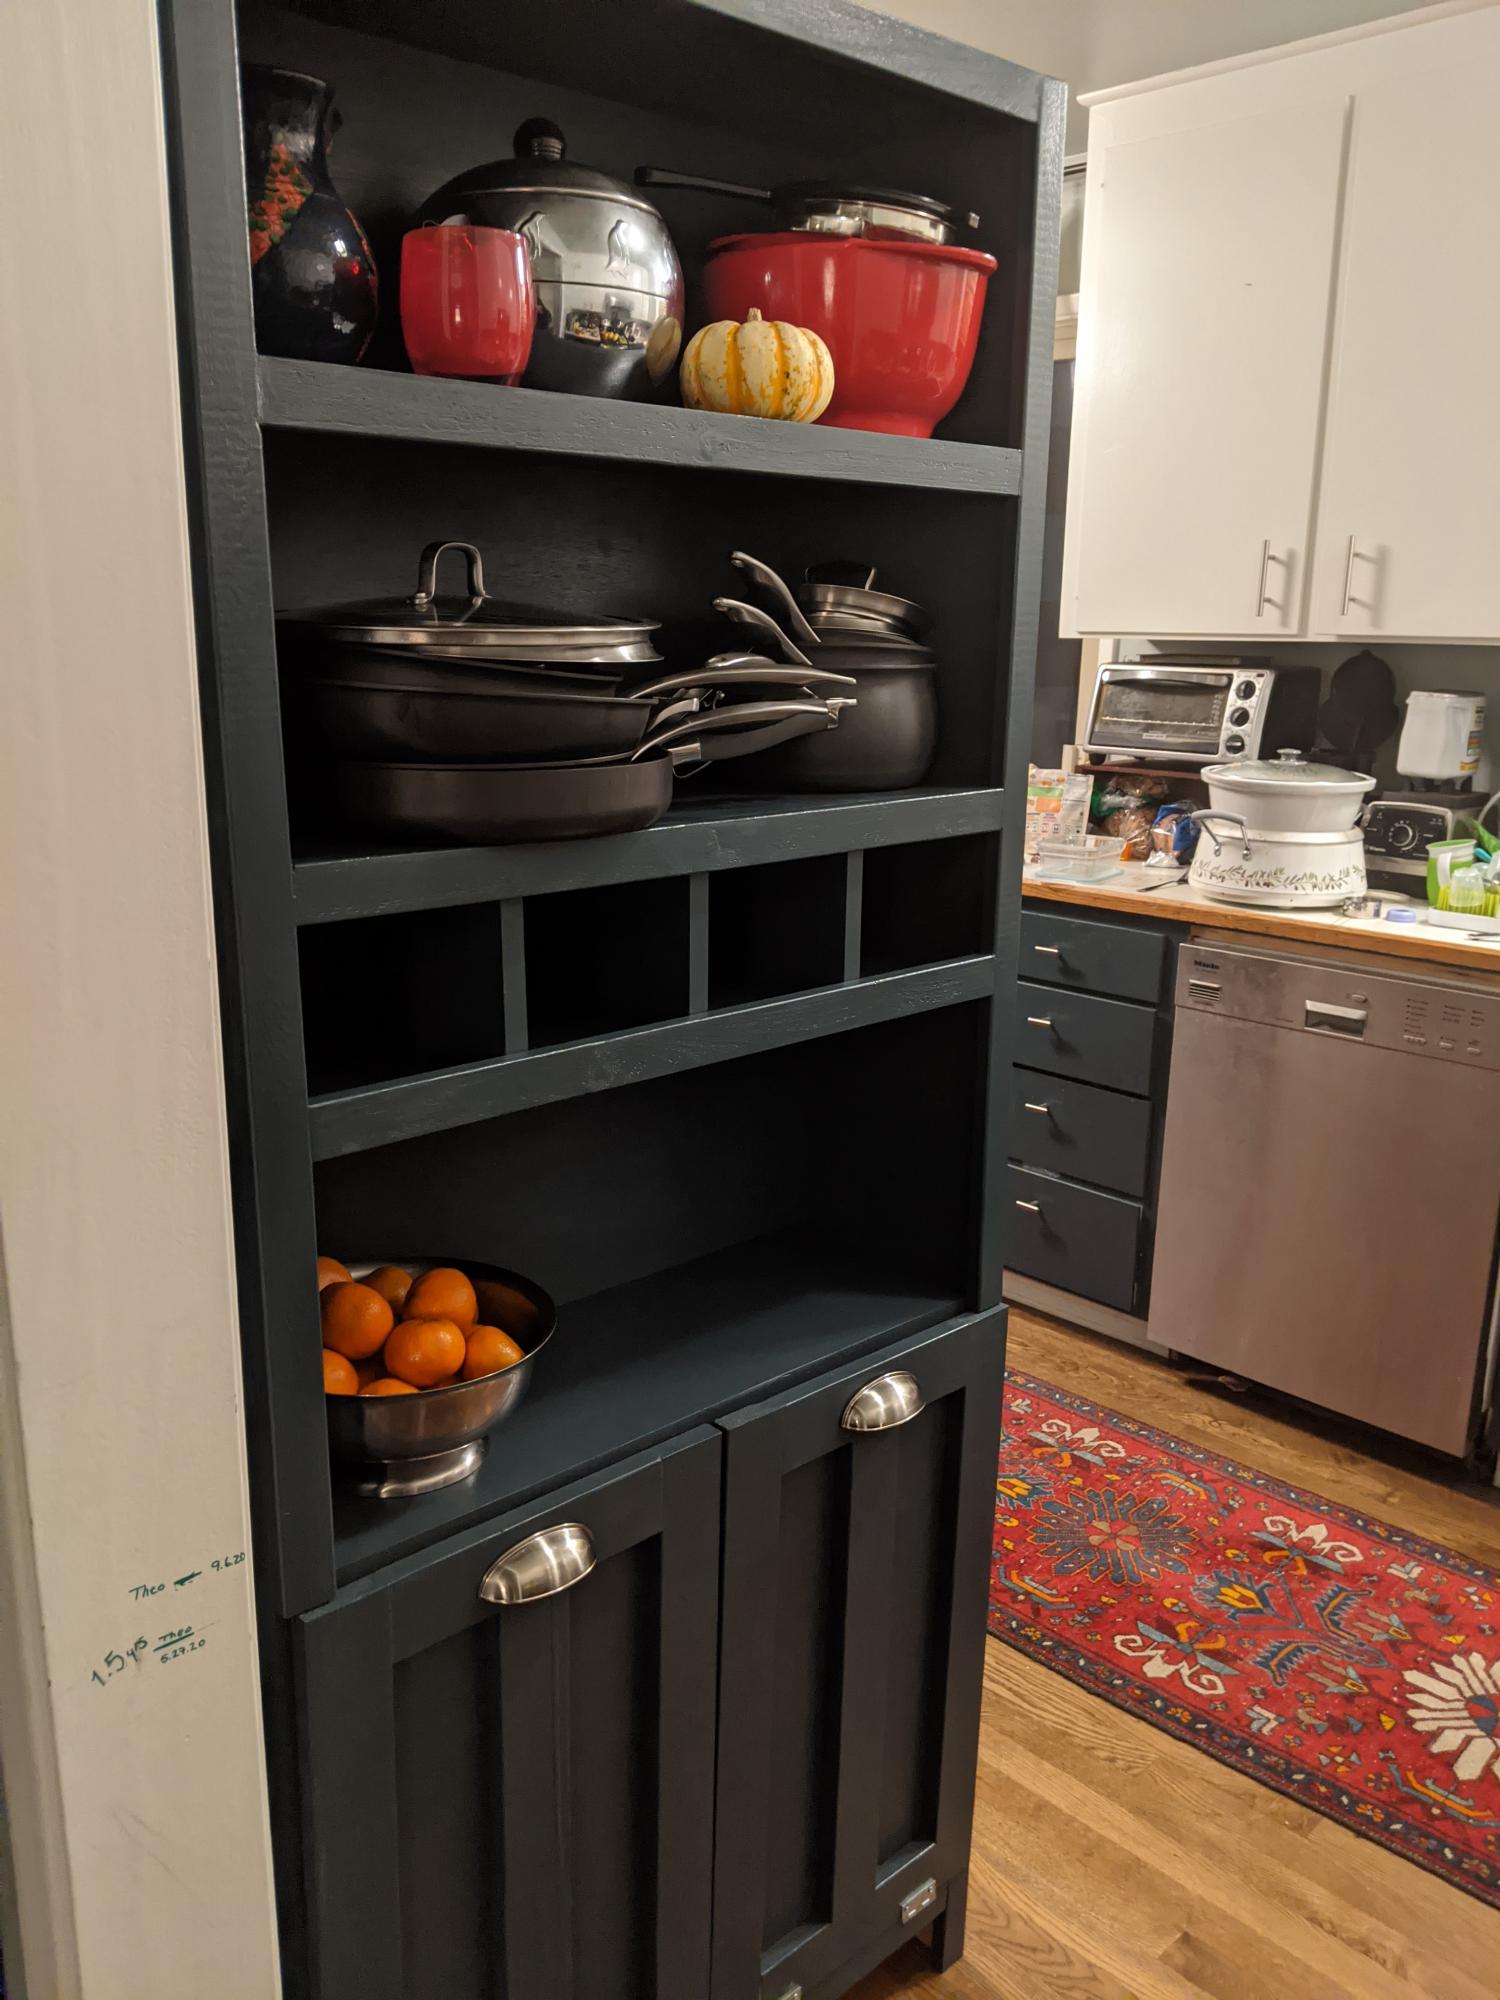
First "real" wood-working project in the books. I combined two of your plans so that we would have space in our kitchen for recycling and trash, as well as shelving for pots/pans and all the mail that piles up. We had a narrow section, so made this out of 10" boards, instead of 12". I will possibly add the secretary door at some point, if for no other reason than to hide all the snacks! Thanks for having so many amazing plans available, they keep me dreaming of endless possibilities.
Comments
Wed, 10/28/2020 - 14:28
Love this!
Love the added tilt out garbage can! Thanks for sharing your version:)
Chalkboard Shelf From Scraps
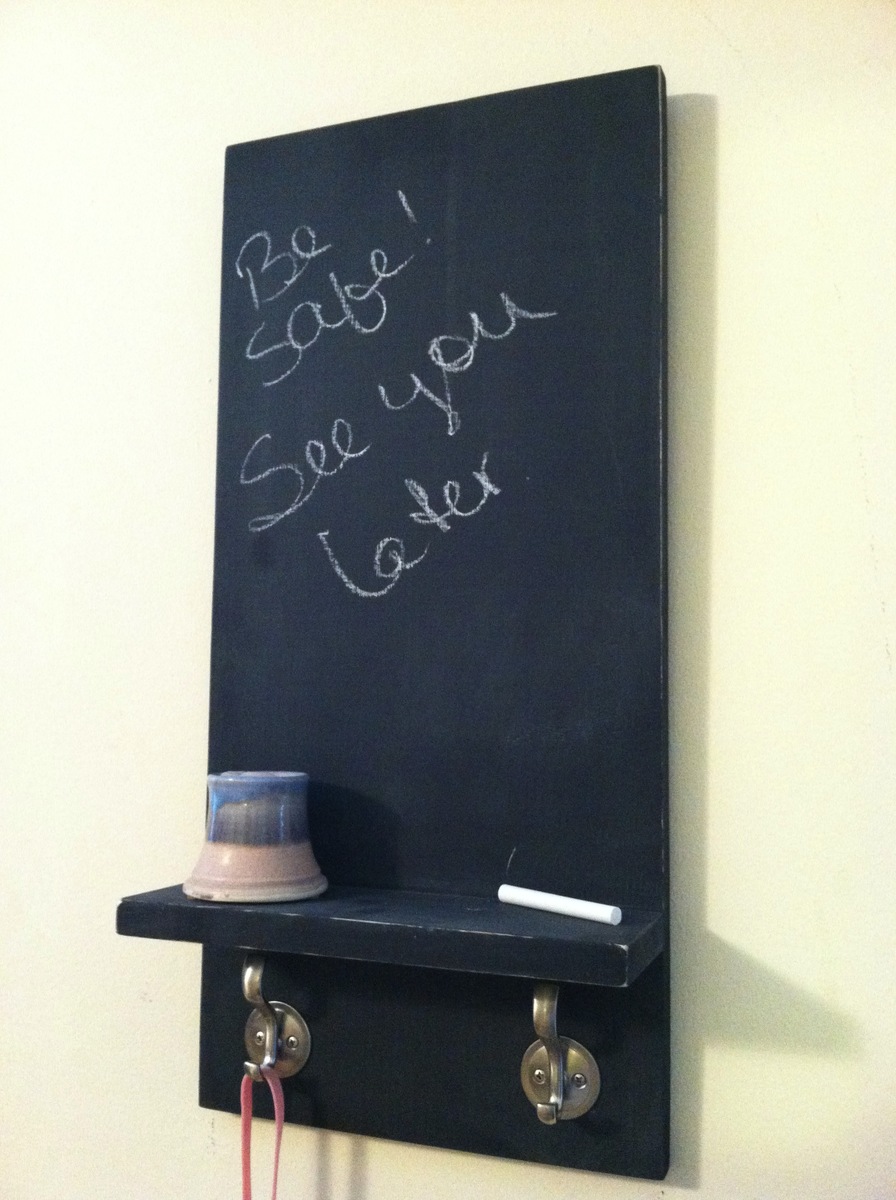
This was SUPER easy and I love it. My daughter wants one now so digging through my scraps is what I will be doing tomorrow. Thanks Ana!
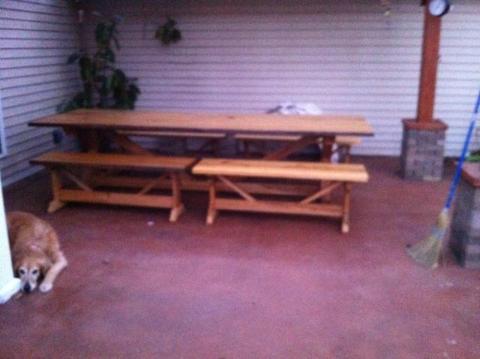
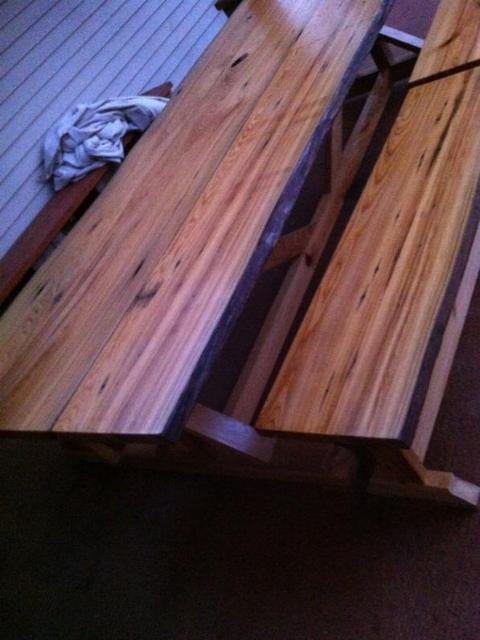
fancy x farmhouse table from sinker cypress
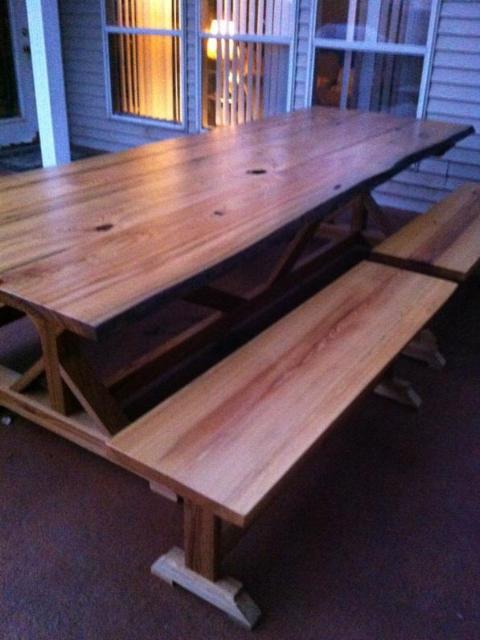
Built this table 11 feet long with live edge sinker cypress. Hand rubbed 12 coats of tung oil, then finished with Waterlox satin.
Comments
Wed, 10/29/2014 - 08:26
georgeous table
Thanks! Took me two months to get the finish right. I love the look of sinker cypress. I'm building an indoor dining table from sinker pecky cypress, should be pretty nice
Hanging Planter Stand
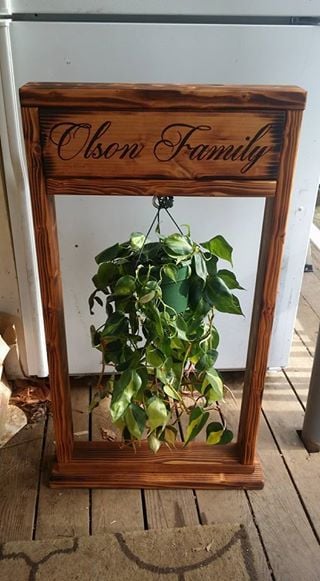
Found the old Home Depot plans, and decided to add my hand burned touch to it.
Have seen some that were using vinal or painted letters, but i like the burned effect, and its easier to seal right over the top with the outdoor stain/seal treatment..
Comments
Light Wash Balustrade Coffee Table
Inspired by the RH Balustrade Salvaged Wood Coffee Table.
Easy ottoman
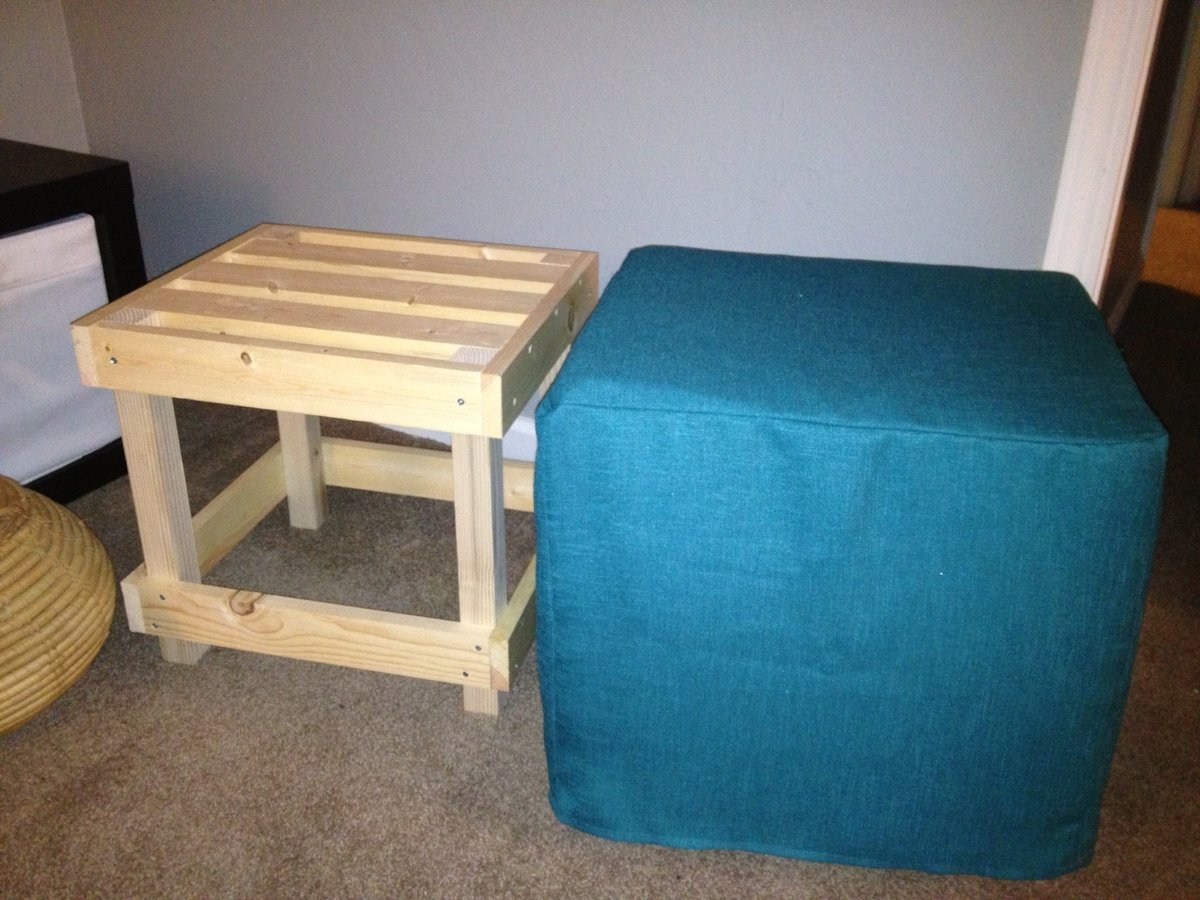
What a great easy project. The wood was really inexpensive. The only pricey part was the fabric.
36" sink base cabinet
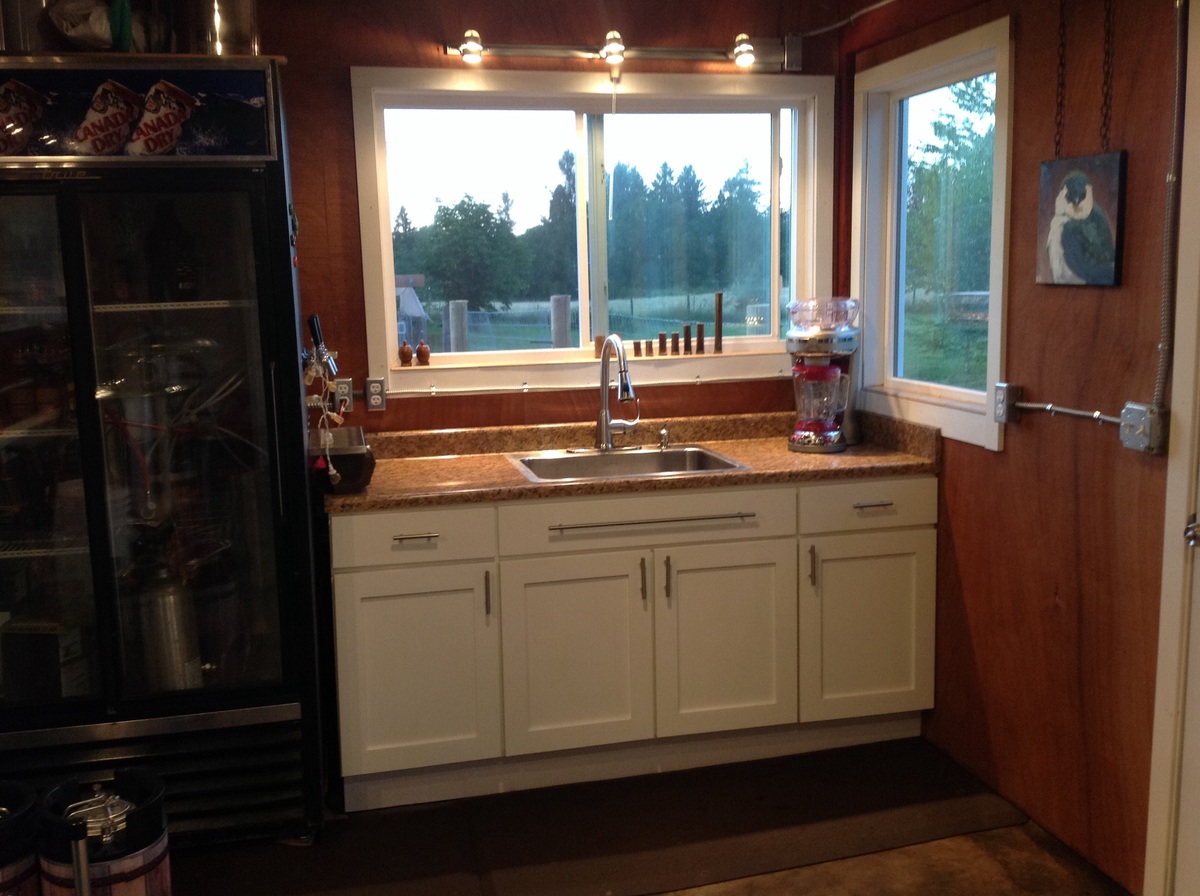
A 36" sink base is the center, flanked by two 18" cabinets made by modifying the 21" base cabinet plan.
Comments
King Size Farmhouse

Here are some of the more structual photos to help people along the way.
I did the head board and foot board using the directions. I used 2 4.5 inch screws on each 4x4 post to secure the 4x4s to the head board.
I used 2 4.5 inch screws to secure the head board to the frame.
I used some brackets I had lying around to secure the footboard to the frame.
I used 0.5 inch partical board to put on top of the frame I put the joists down 0.5 below the side rails so the partical board would sit down and inside.
I used 2x6 boards for the frame with deck brackets to secure it.
I used left over wood from the 4x4 to be cut 10inch each and 2x6 study 3 of those 4x4 to lift the frame up.
for the fourth raiser I used left over wood from the 2x10.
I primed the wood and painted white.
Hopefully these pictures help.
All said and done it was close to 500-600 to build. I did this in Canada where materials can be a little pricier.


18 Inch Doll Bed
Santa was bringing my granddaughter an American Girl doll for Christmas and I knew she would need a bed. So I went to my favorite website in search of plans for a doll bed and found this one in Ana's catalog. I thoroughly enjoy creating projects like these and loved that I had enough scrap material around the house to sew some bedding for it as well. Thank you Ana for your inspiration and helping to make my granddaughter's American Girl comfortable!
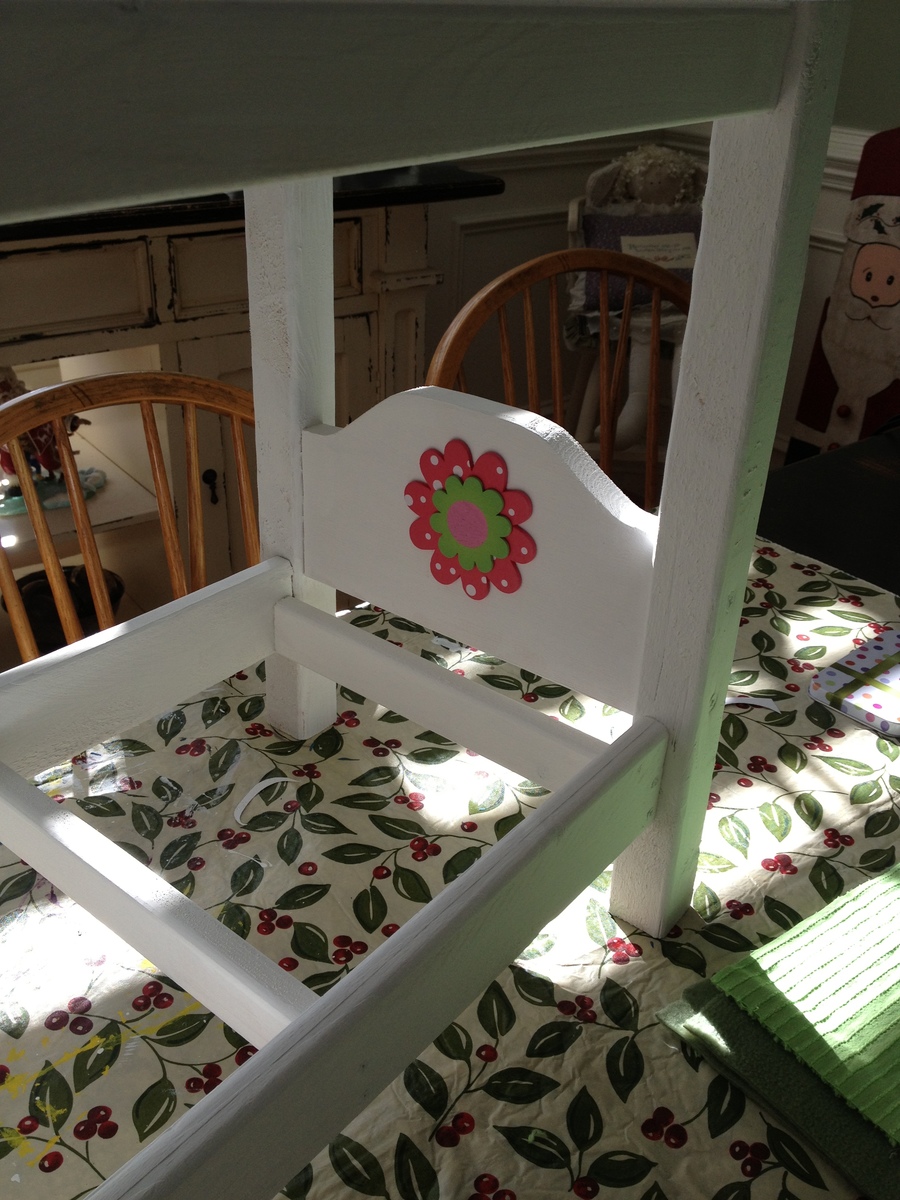
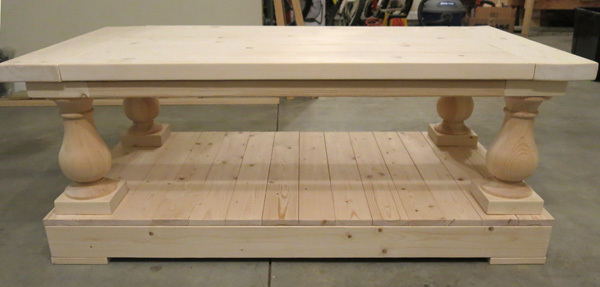
Restoration Hardware Style Coffee Table
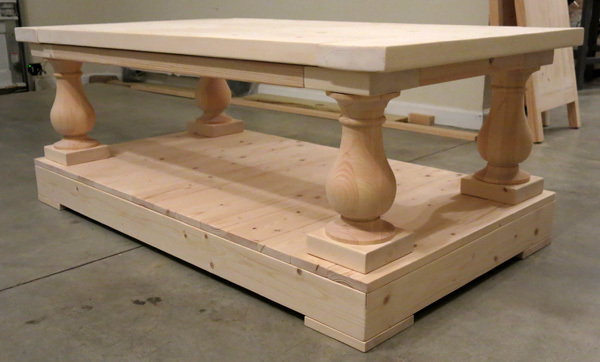
Restoration hardware style coffee table. We saw a coffee table we liked but didn't want to spend $2000 on. Designed my own and managed to build for $200. Main expense was the $130 for the legs from Osbornewood.com.

Comments
Tue, 11/04/2014 - 13:29
beautiful!!
I love this, I have been wanting to make a really nice coffee table. I this this is gorgeous!
In reply to beautiful!! by rachelbebop
Tue, 11/04/2014 - 13:35
Thanks!
Thanks for the comment. It is actually pretty easy to make too which is the good part :-)
Fri, 05/13/2016 - 06:18
Restoration Hdwe coffee table
I went to Osbournewood.com for the legs. All I got was a listing of other companies selling them. The cheapest was $69. How did you get four for $130 or where did you go for that price?
Fri, 05/13/2016 - 06:18
Restoration Hdwe coffee table
I went to Osbournewood.com for the legs. All I got was a listing of other companies selling them. The cheapest was $69. How did you get four for $130 or where did you go for that price?
Fri, 05/13/2016 - 06:18
Restoration Hdwe coffee table
I went to Osbournewood.com for the legs. All I got was a listing of other companies selling them. The cheapest was $69. How did you get four for $130 or where did you go for that price?
Fri, 05/13/2016 - 06:18
Restoration Hdwe coffee table
I went to Osbournewood.com for the legs. All I got was a listing of other companies selling them. The cheapest was $69. How did you get four for $130 or where did you go for that price?
Fri, 05/13/2016 - 06:19
Restoration Hdwe coffee table
I went to Osbournewood.com for the legs. All I got was a listing of other companies selling them. The cheapest was $69. How did you get four for $130 or where did you go for that price?
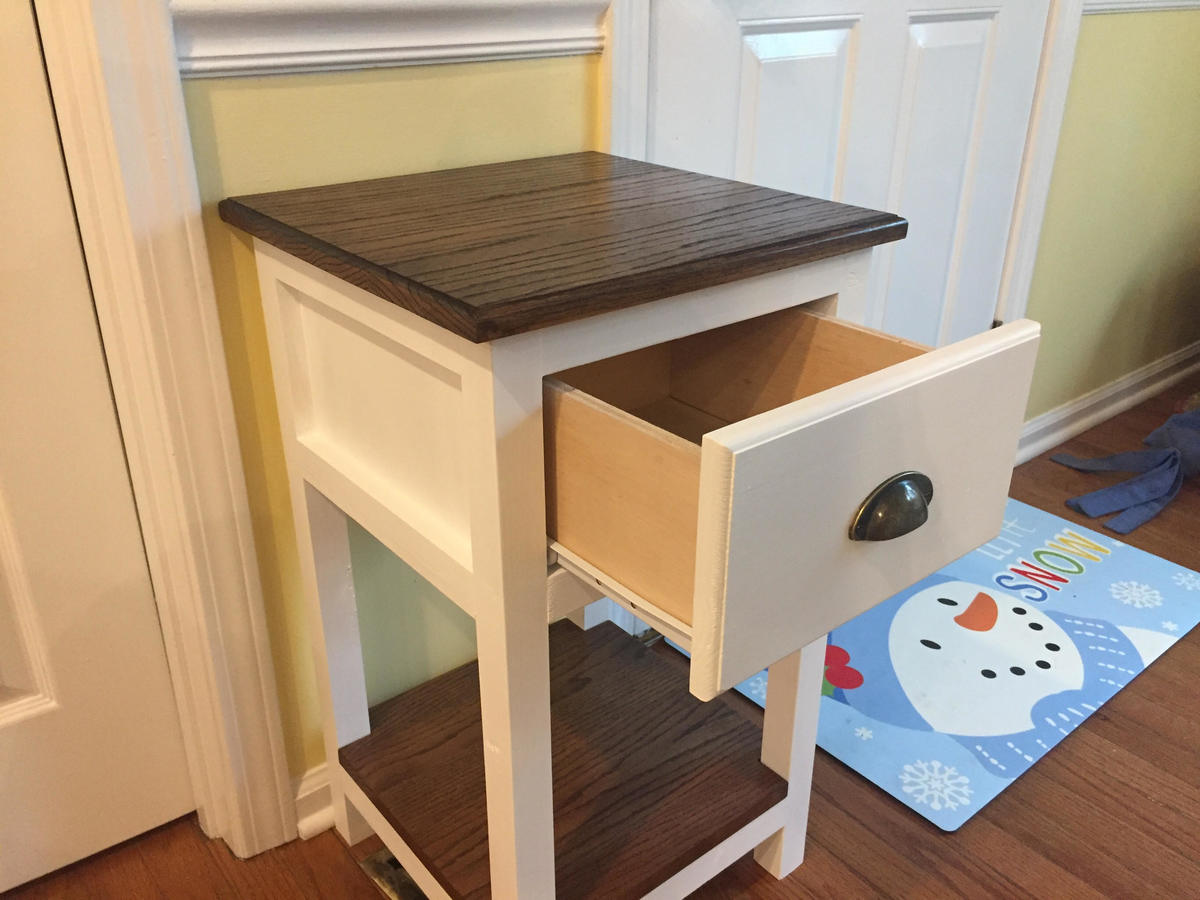
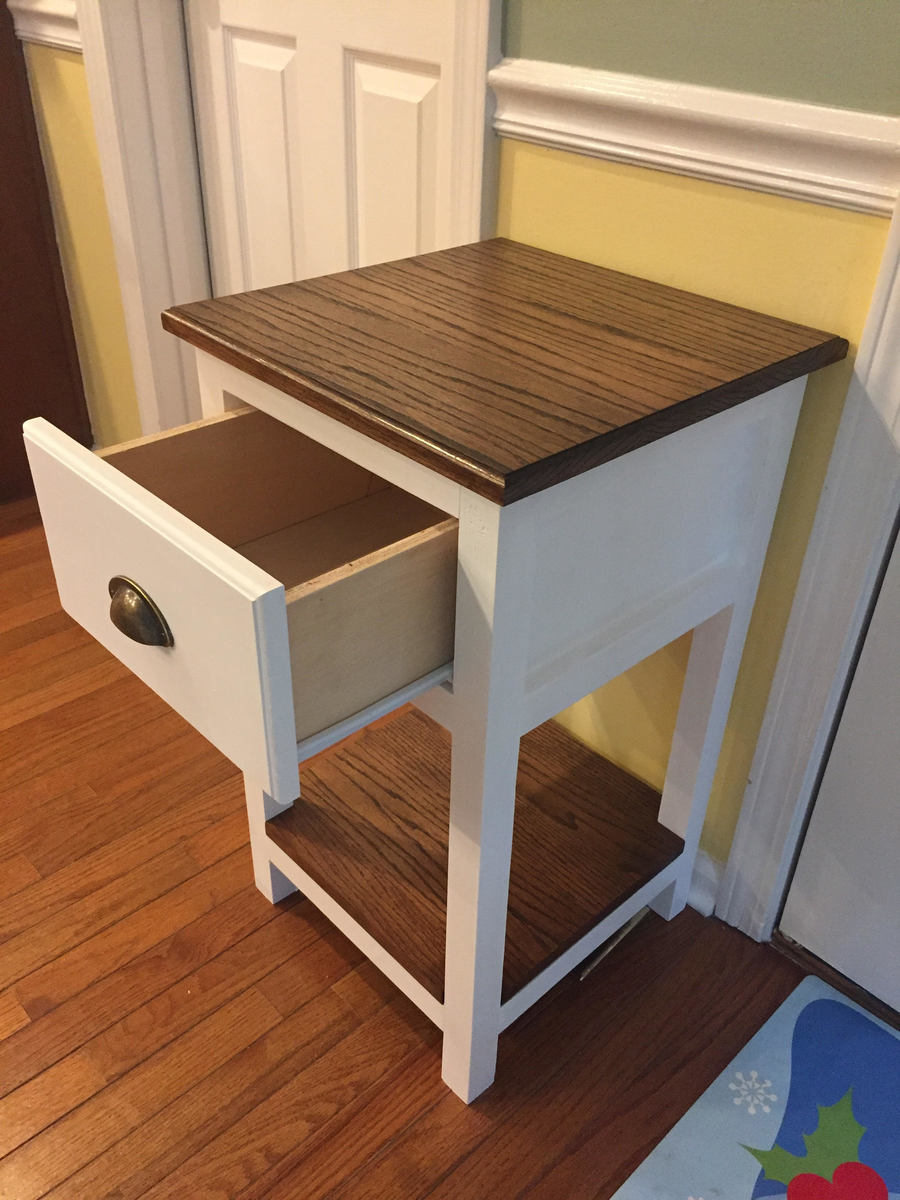
Side Table
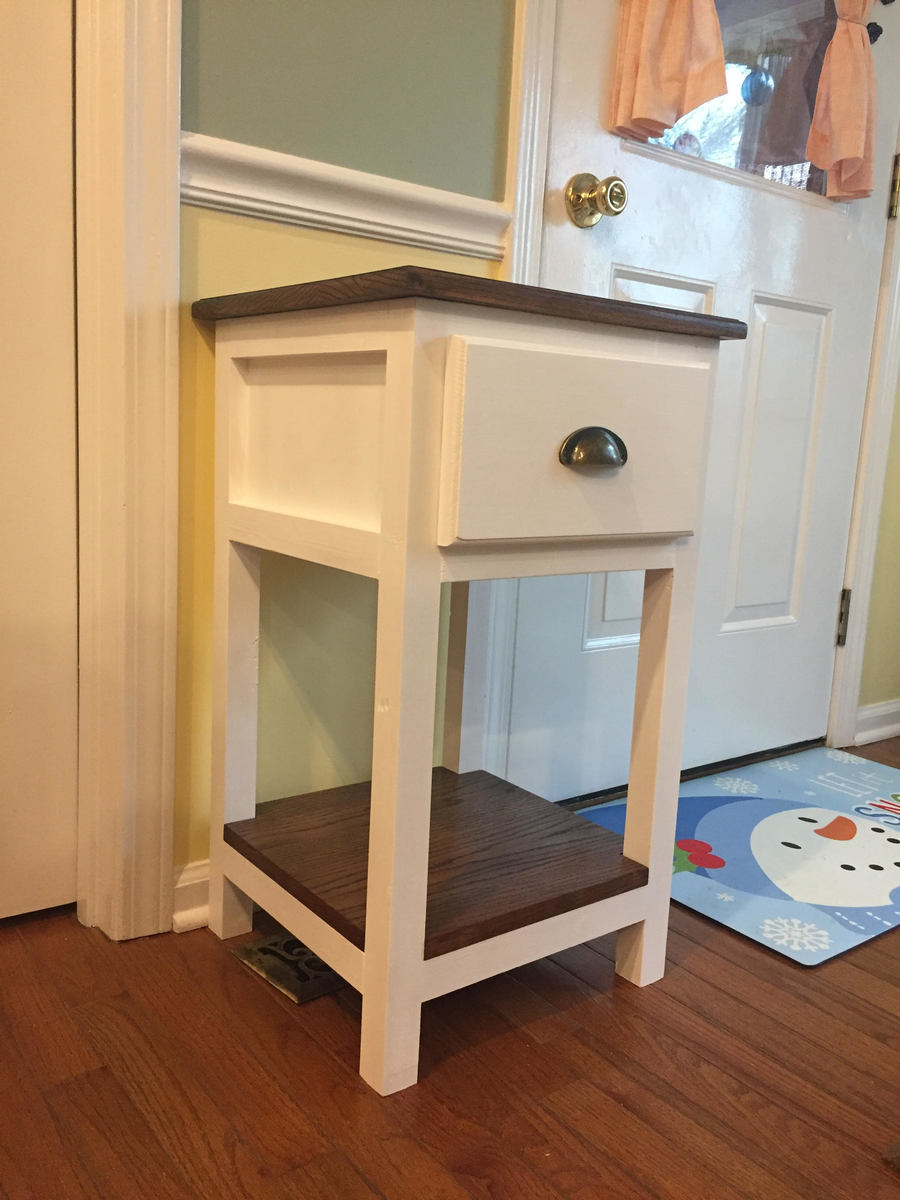
I love this table. I modified it to fit my needs.
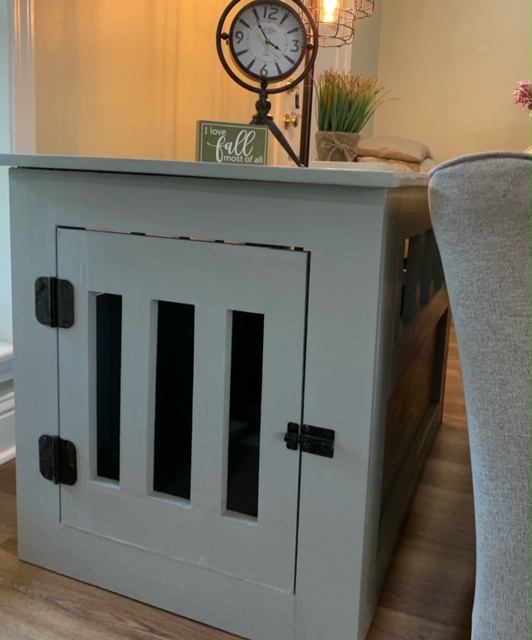
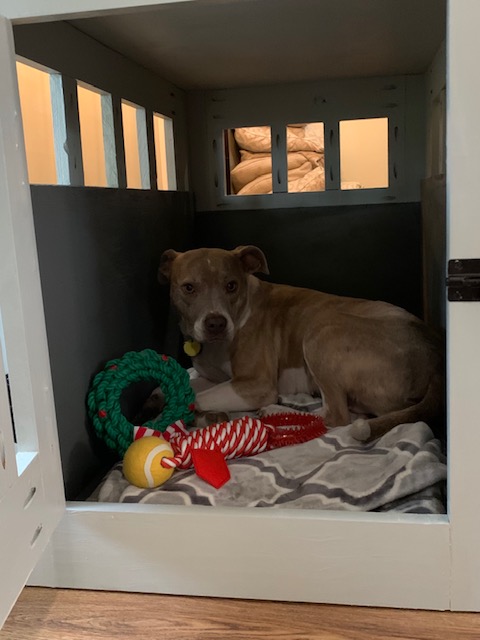
Dog Kennel
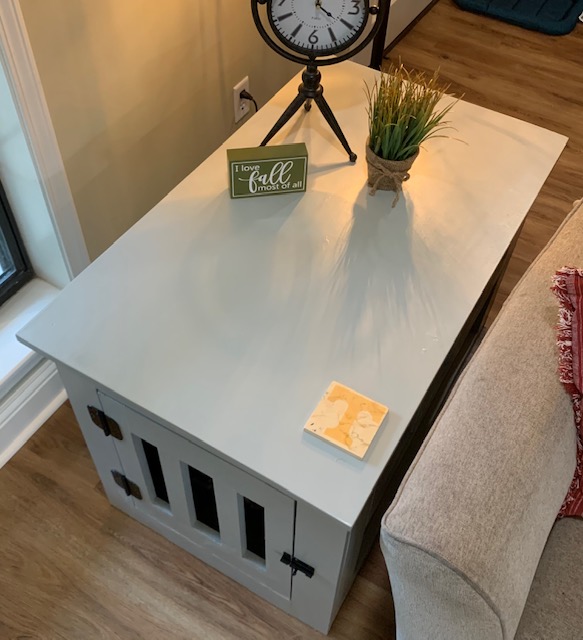
Large dog kennel/ end table. Love it!!
Comments
Tue, 11/10/2020 - 09:47
Cute little pup!
Great project! It looks like a success, thanks for sharing:)
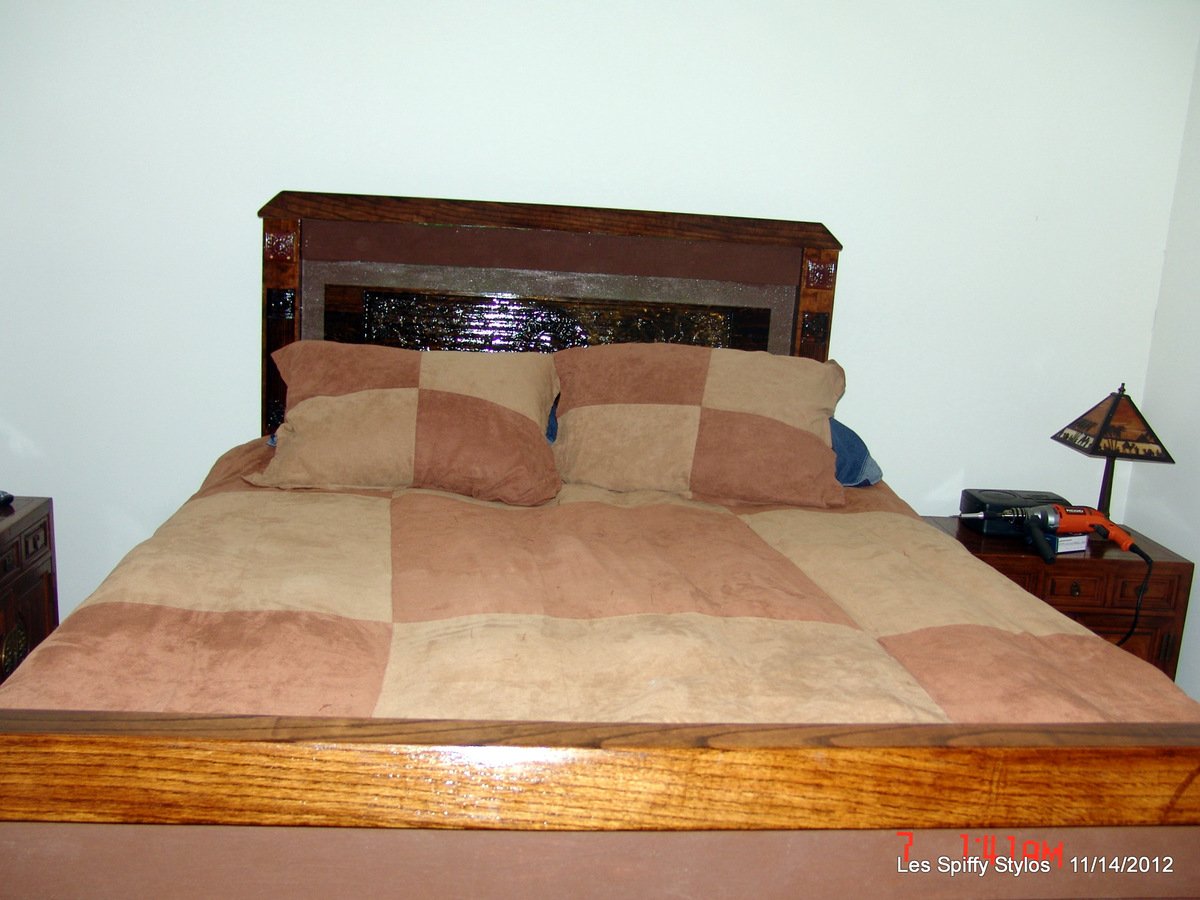
Farmhouse bed with storage! Carved, bowed and beautiful!
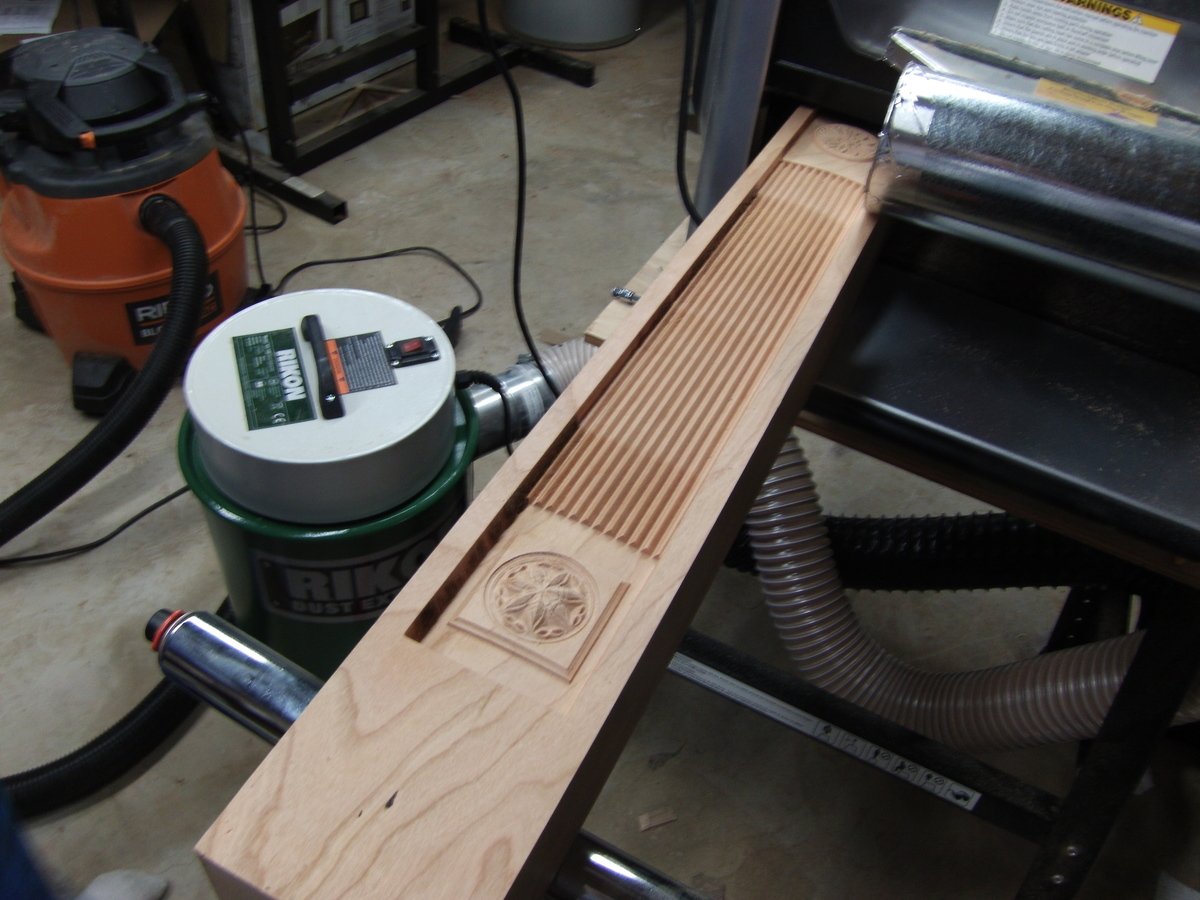
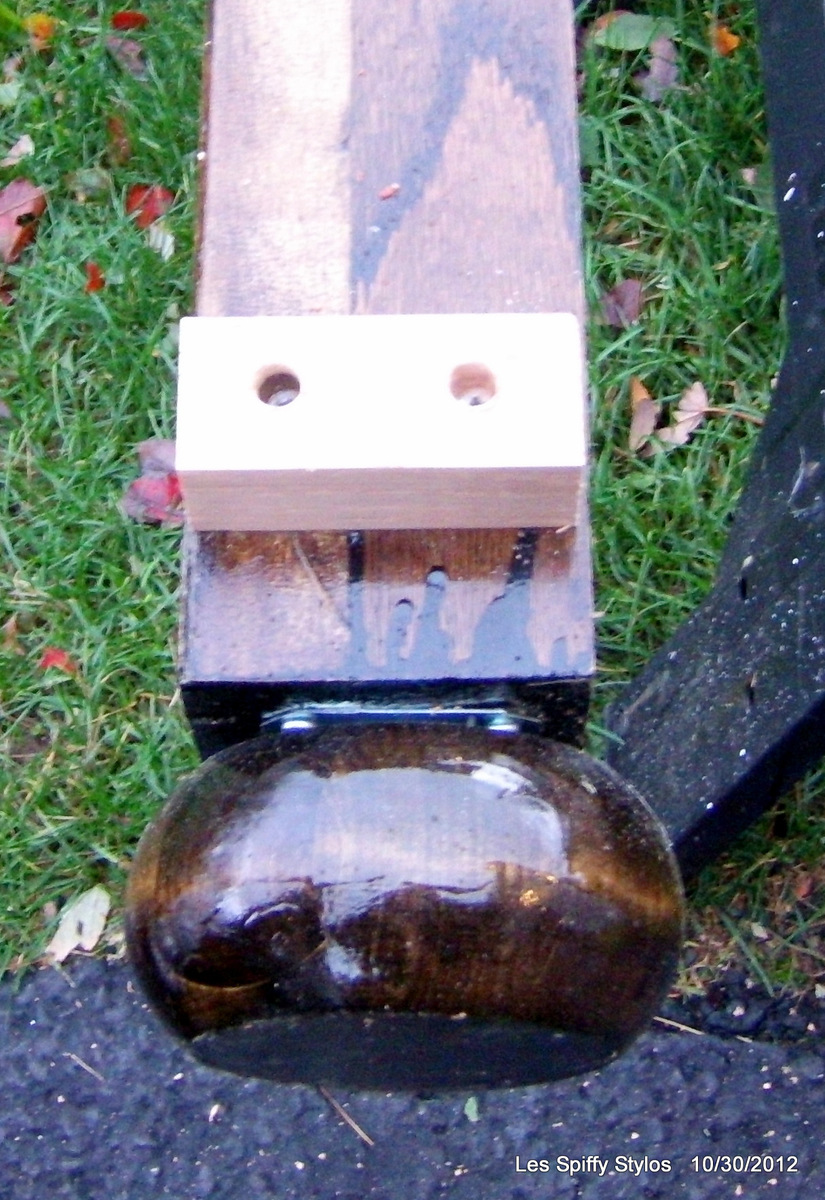
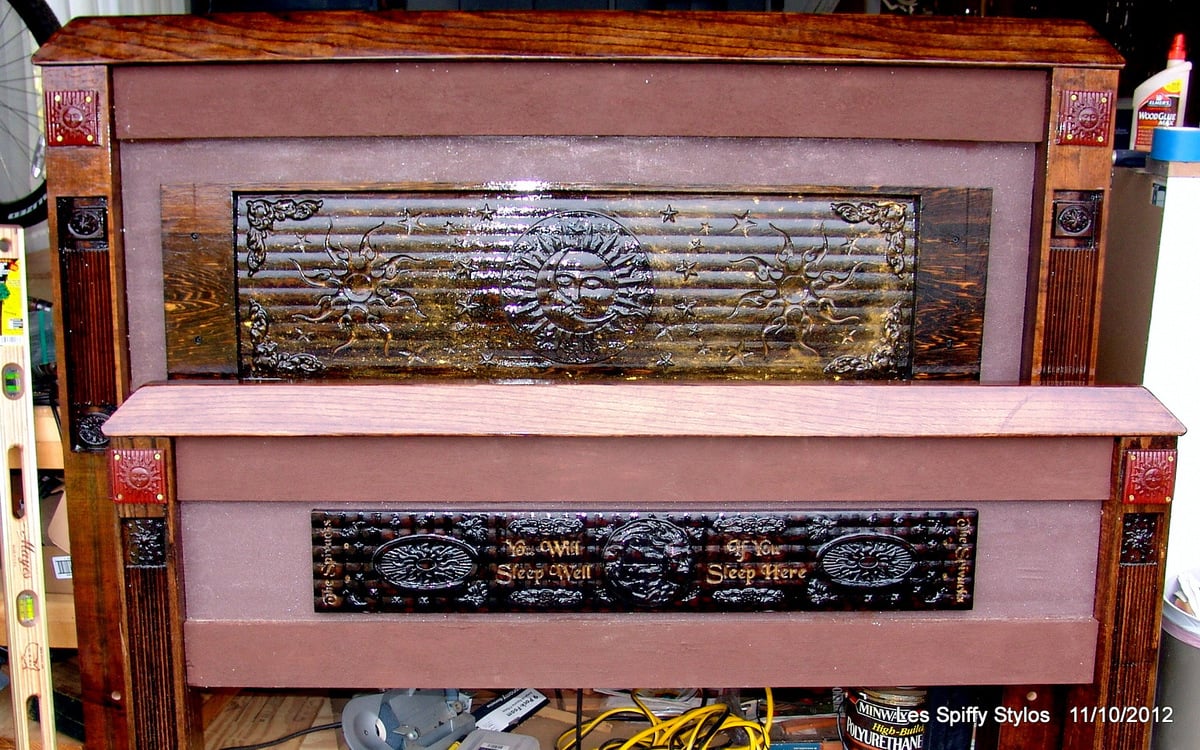
I built the Farmhouse bed with storage but departed from Ana's design a bit. I built the legs from 4" red oak, the boxes are painted plywood. The crowns on the head and footboard are also red oak. I have a Carvewright and used it to detail the bed pretty thoroughly...and topped it off with a temperpedic mattress. ROCK solid and looks great! Also, put LED lights behind the headboard insert that shines around its sides.
All in, great project, took me around 3 months to complete!

Comments
Thu, 01/10/2013 - 17:42
More photos
Hi, if you want to see the rest of the build, I have 140+ pics posted on Facebook:
http://www.facebook.com/media/set/?set=a.10150844261192960.416336.65162…
Fri, 01/11/2013 - 17:16
very impressive
wow! I really liked your idea of adding lighting into the headboard.
Sat, 01/12/2013 - 06:51
The led light cost 15 bucks on eBay...
Fires up with a remote, something like 35 colors, strobes, flashes. Likes OK by day but it looks amazing at night. Which, in all sincerity, is a fair description of my own looks. (smile)
Little Helper Tower
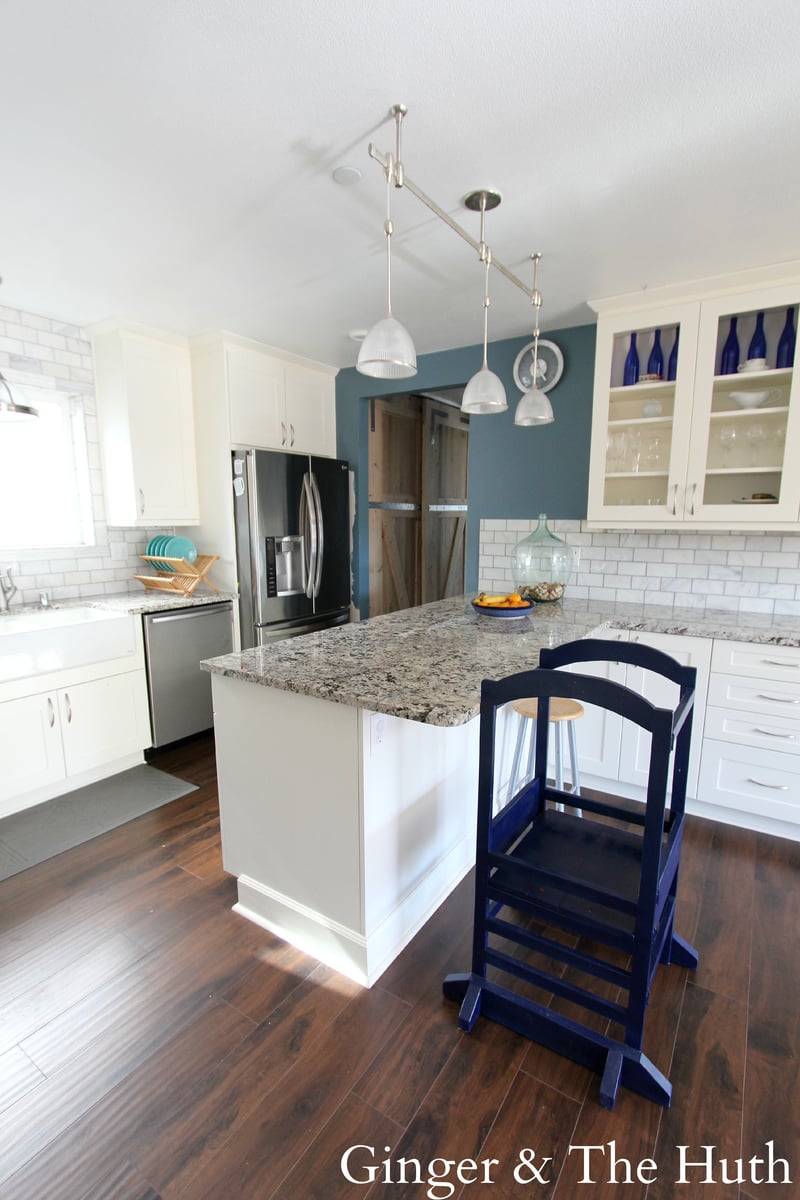
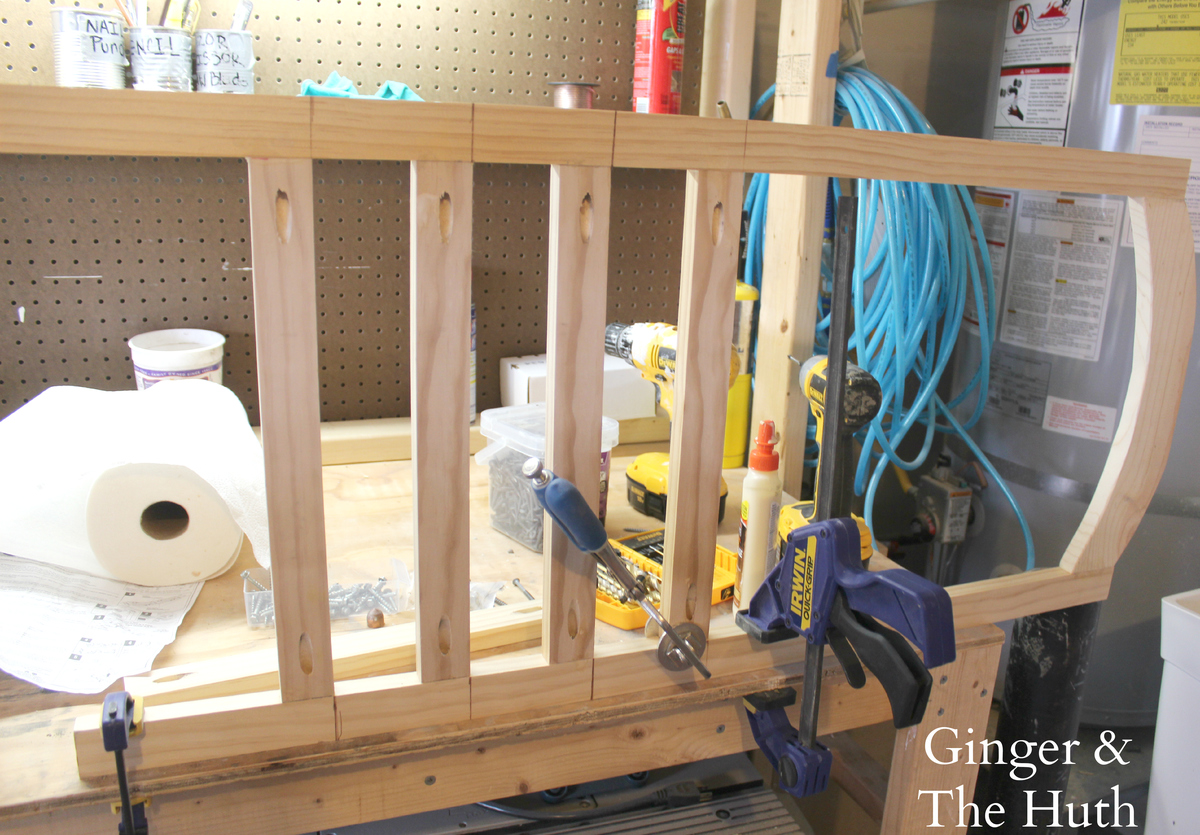
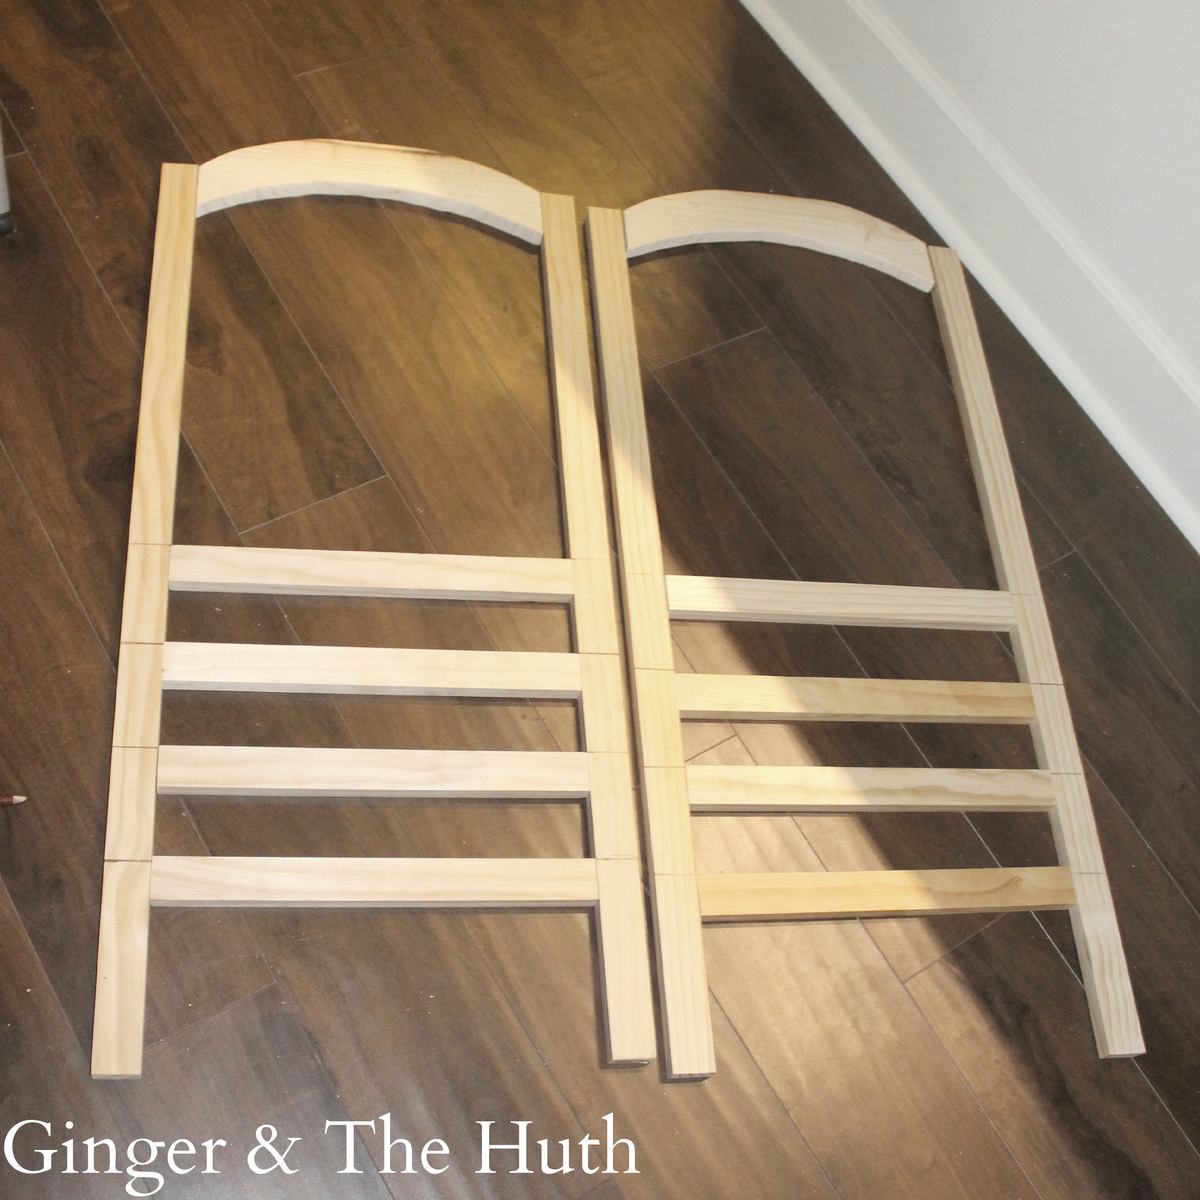
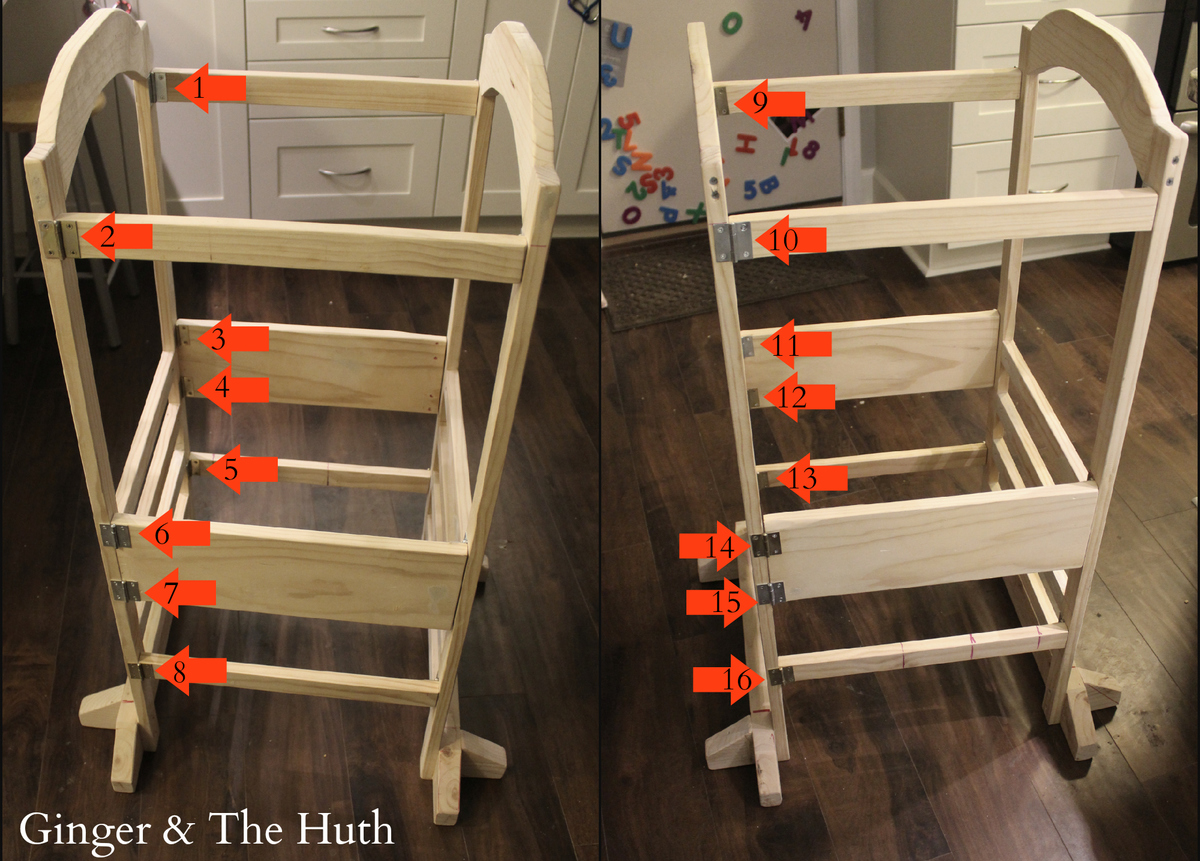
Ana's plan called for using 8 hinges (I'm not sure on the placement of those). I used a total of 16 to ensure sturdiness. I put two hinges on each corner of the 1x8 piece and a hinge anywhere the corners connected. I used Narrow Utility Hinges (1-1/2" Zinc plated). The pack of 2 cost $2.27 and comes with screws. My biggest regret is not painting the hinges before I put them on. I waited until after screwing them in and it was a pain and makes my paint job look sloppy.
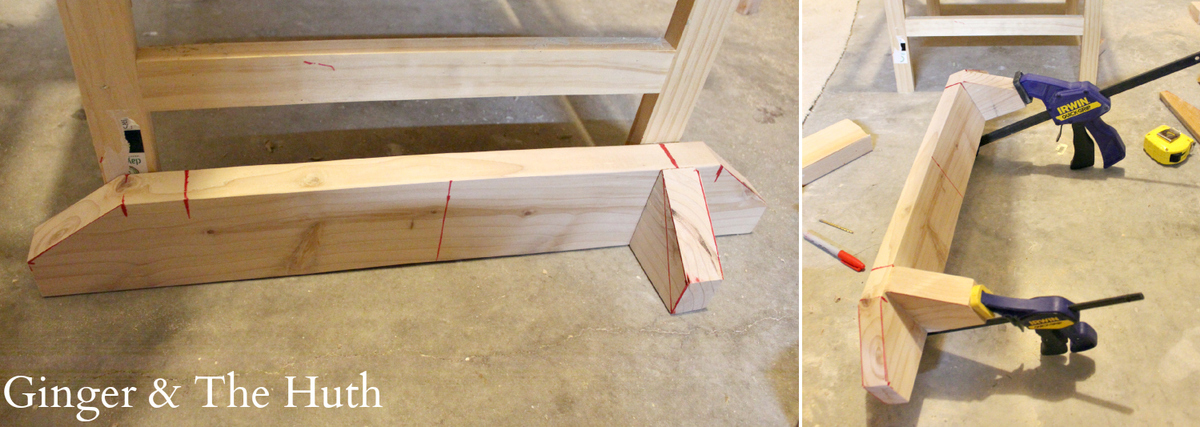
Although I priced this build out, I ended up using wood I already had in the garage. I didn't have enough 1x3 to make the anti-tipping feet so I used a 2x4. I also didn't make the rounded edges, just a few angled straight cuts.
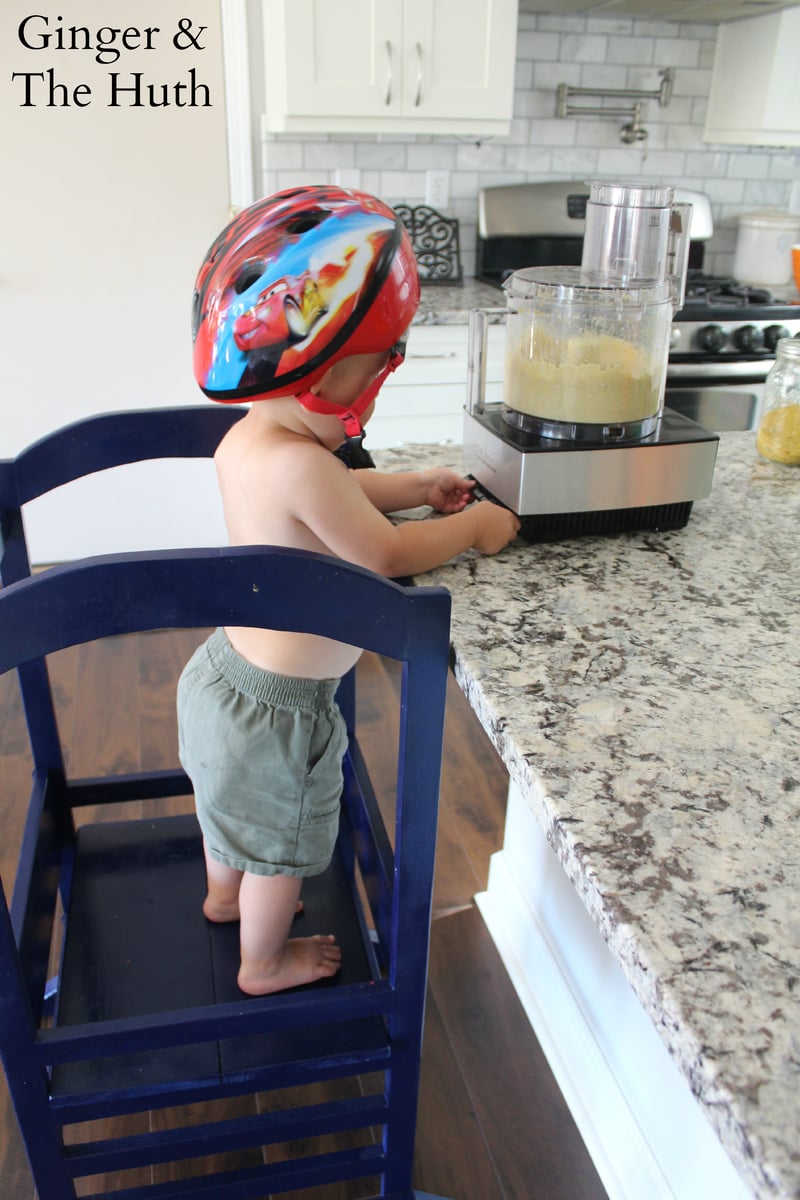
THESE ANTI-TIP FEET ARE A SAFETY MUST, DO NOT SKIP THEM!! I've seen a few commenters say they skipped the anti-tip feet, but for us they were a must. My kid would have easily knocked his tower many times if it weren't for these anti-tip feet!
Couldn't be happier with this build. Totally worth every penny. Hands down my favorite kitchen addition!
Wrote about this on the blog too: http://thehuth.blogspot.com/2014/11/ana-whites-little-helper-tower.html
Comments
Reclaimed wood kitchen island

Not much to say here other than THANK YOU ANA! I built it right to the plan, used plain dimensional spruce for the drawer box, and reclaimed fir for everything else. Had fun using my thickness planer to save many hours on the belt sander.

