Grandma's Library
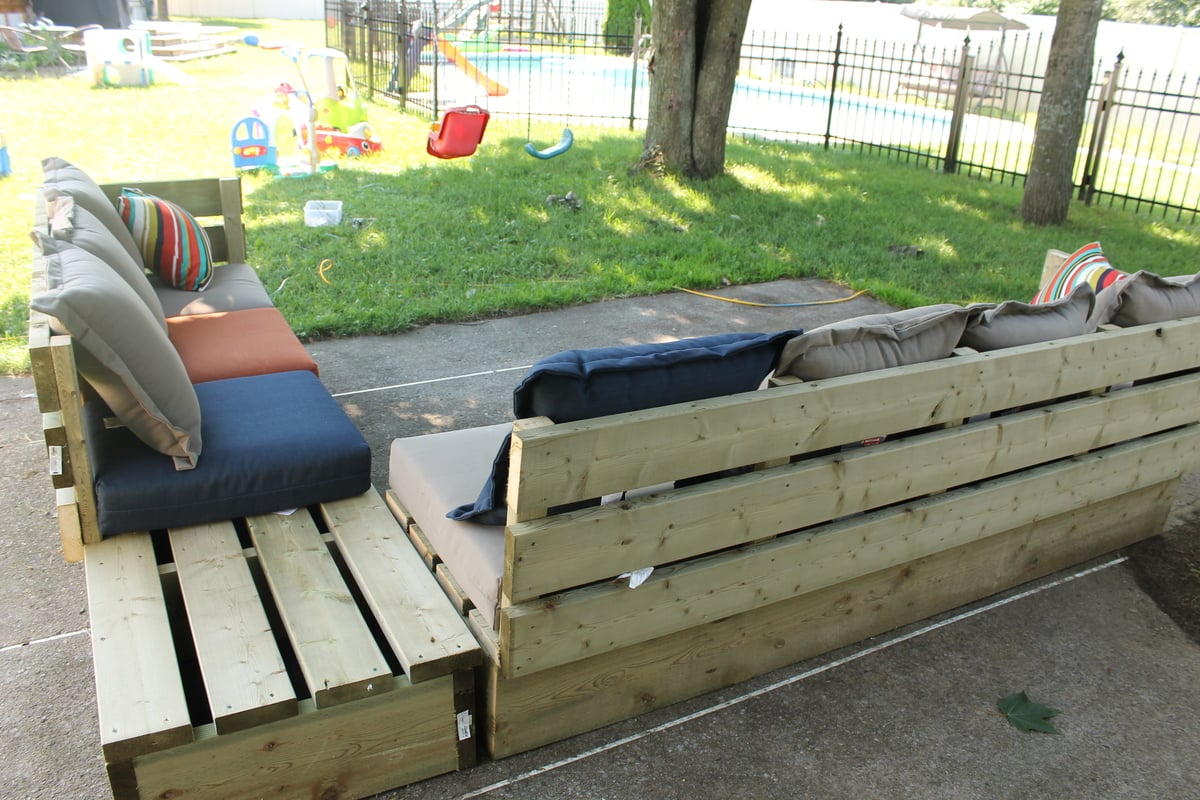
We combined two projects into one area to create a wonderful spot for reading to the grand kids.
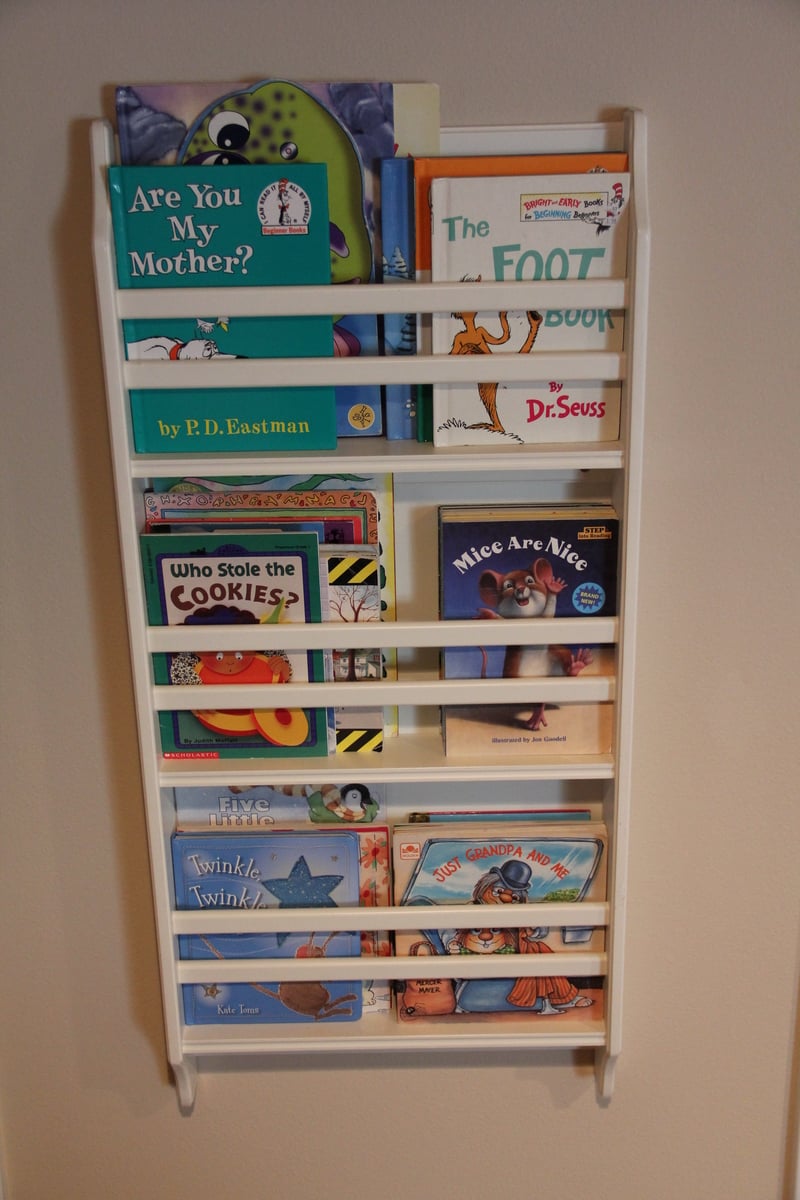
We combined two projects into one area to create a wonderful spot for reading to the grand kids.


I used 4 board instead of 6 for the seating to fit the cushions i have and i changed the plan a little bit so all my cushions would fit in it. I also made it 2" higher, i just thought it would be more comfy for my 6 feet 4" husby. Took me 5 hours to do the whole sectional all by myself. I found the cushion at target at 70% sale so each of them cost me 9$ instead of 32$. I have not stained it yet, but will do with a sico brown outdoor stain.
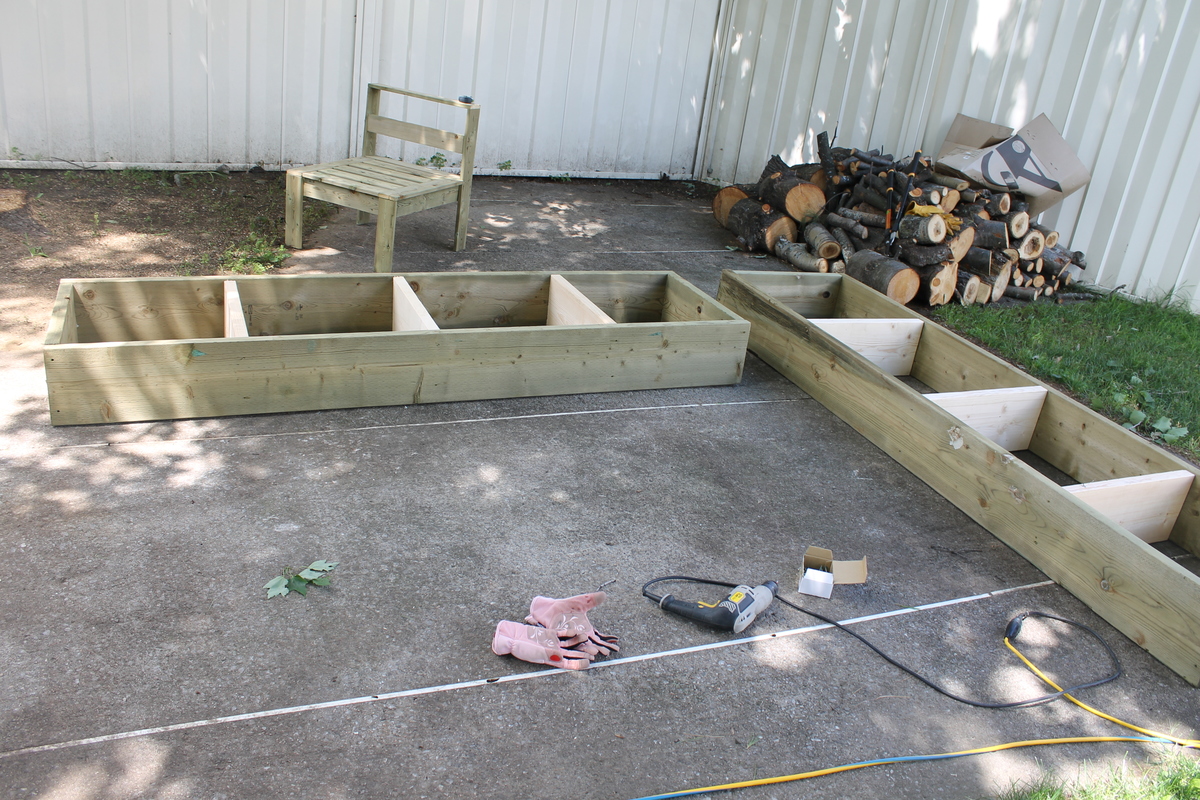
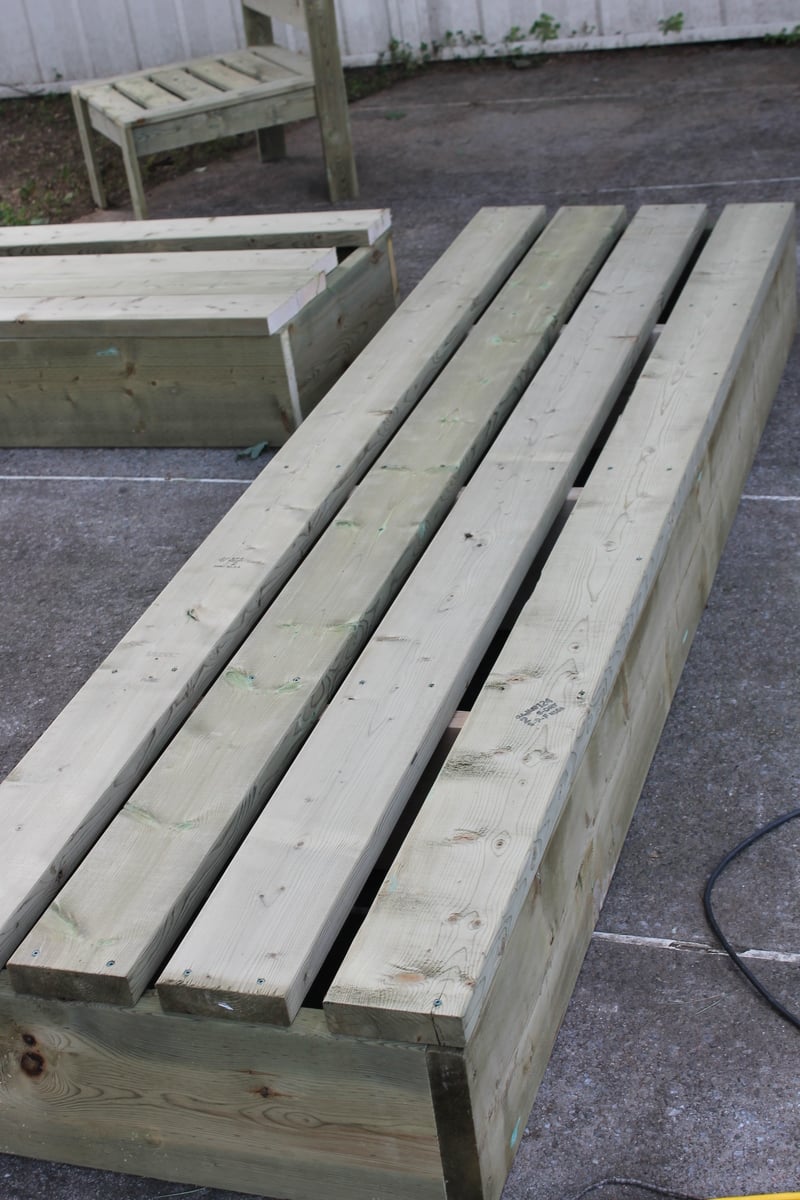
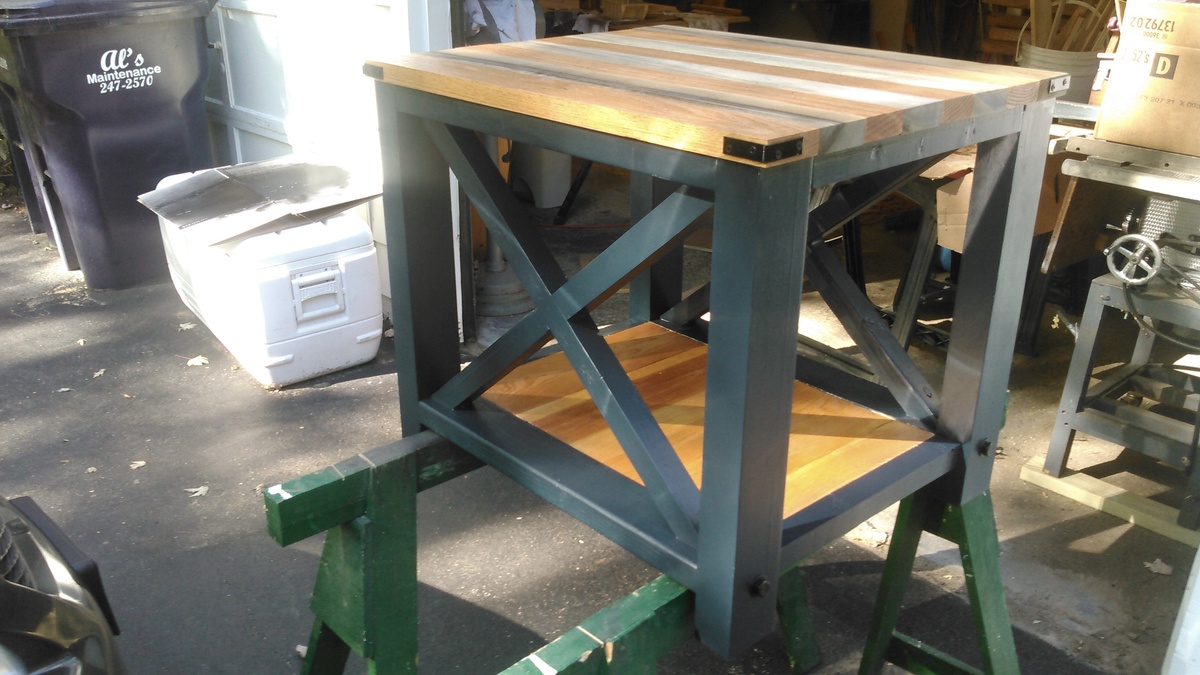
Was realy easy to build.
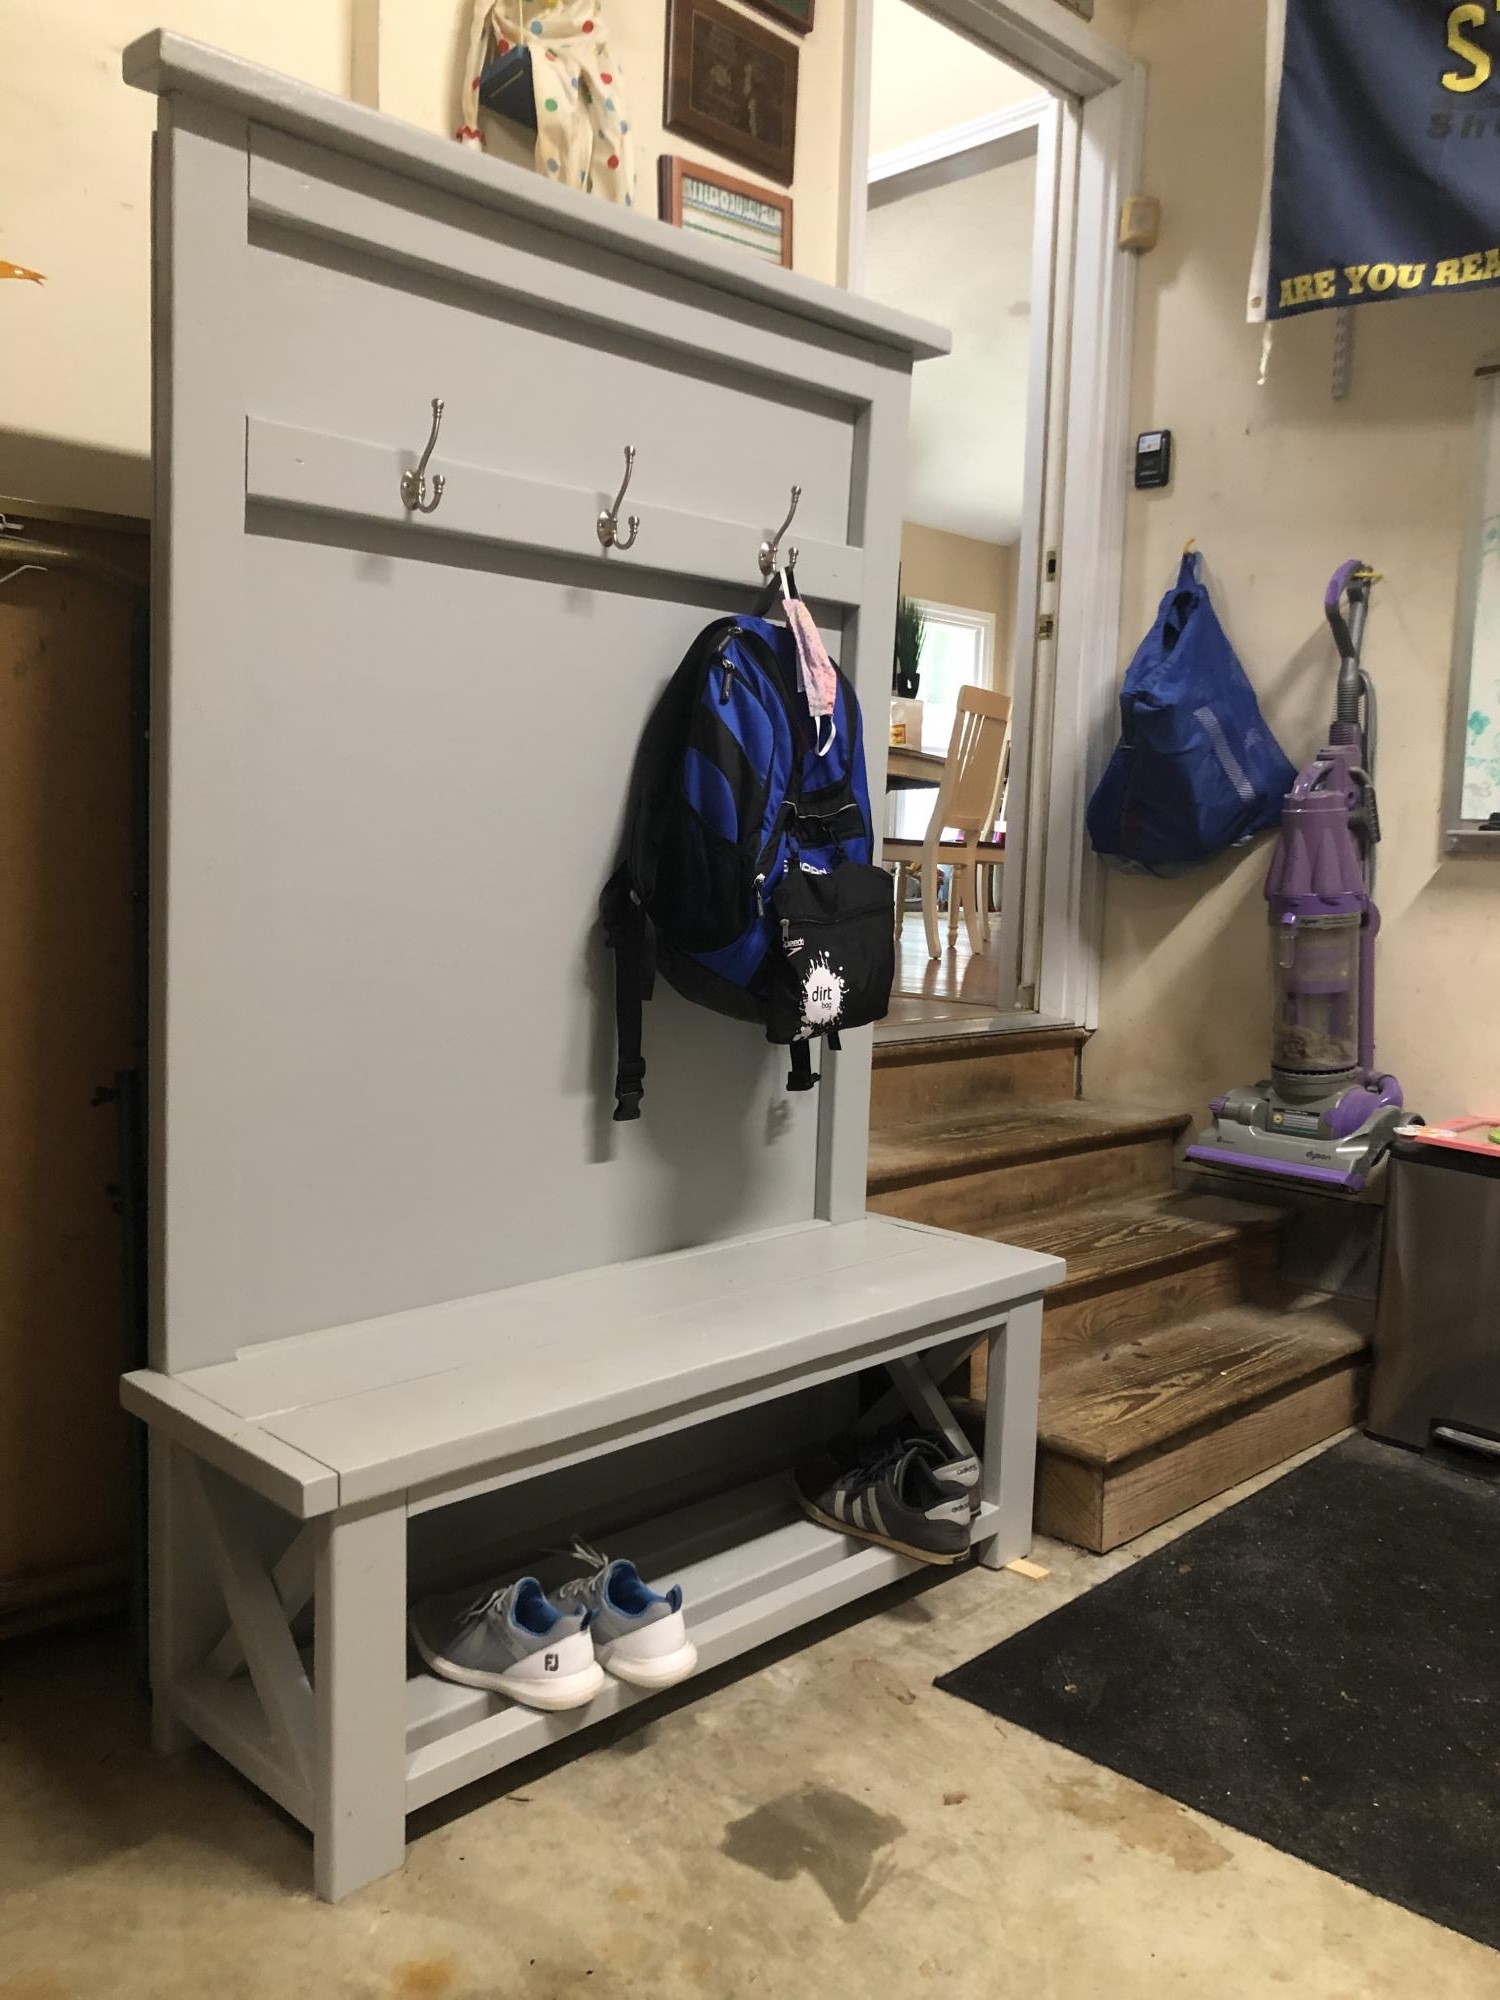
Fun project. Had the kids helping with the build. Easy to follow directions. Made the x side by side rather than cut. Sanding and painting took the longest. Had to put 2 good coats to protect it. Thanks!
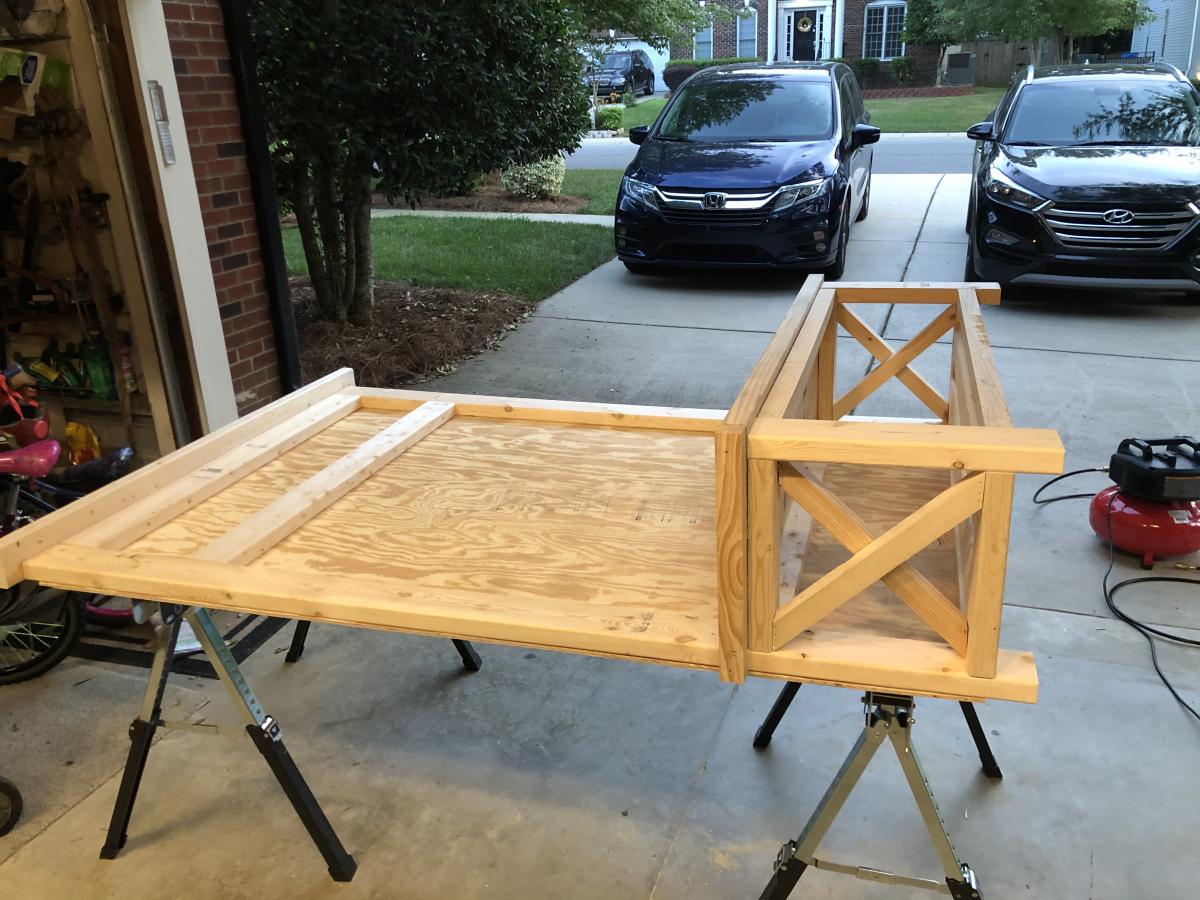
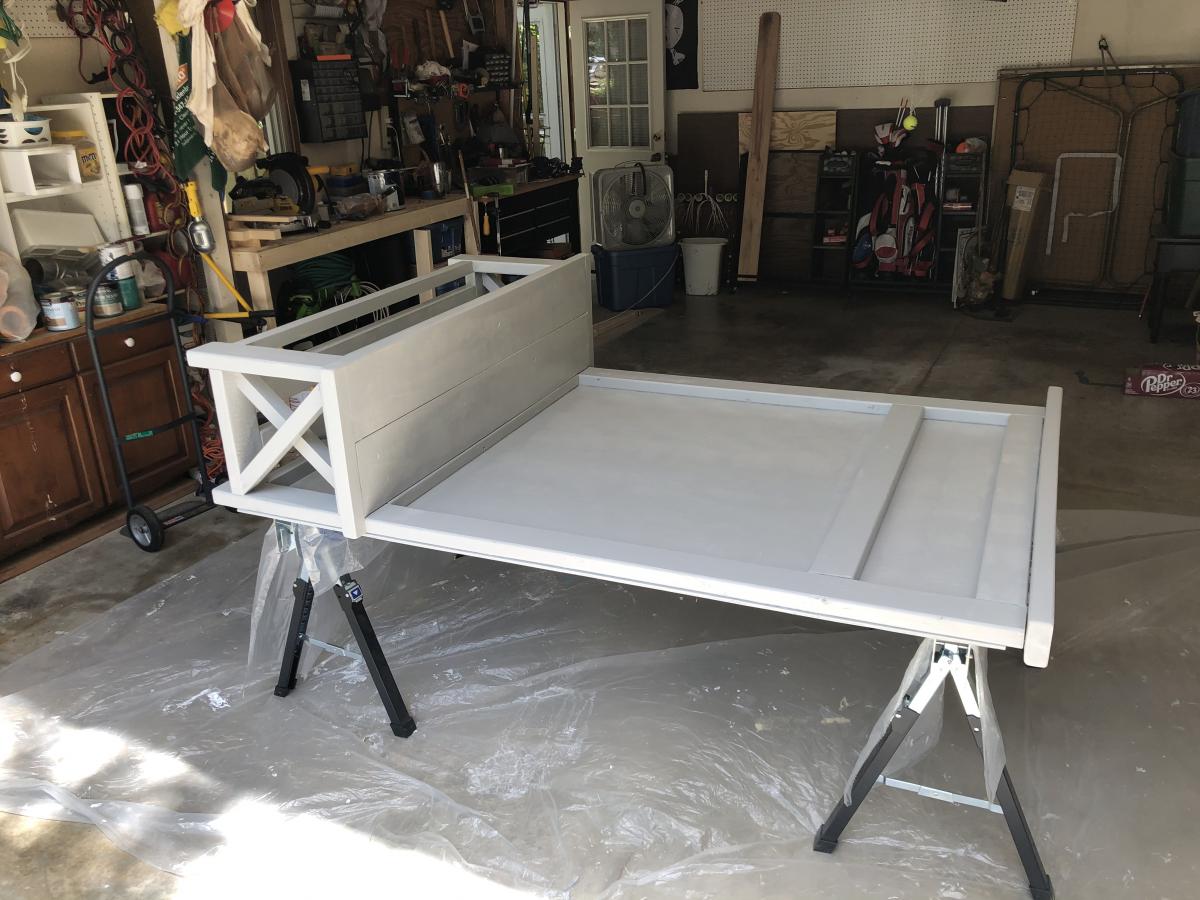
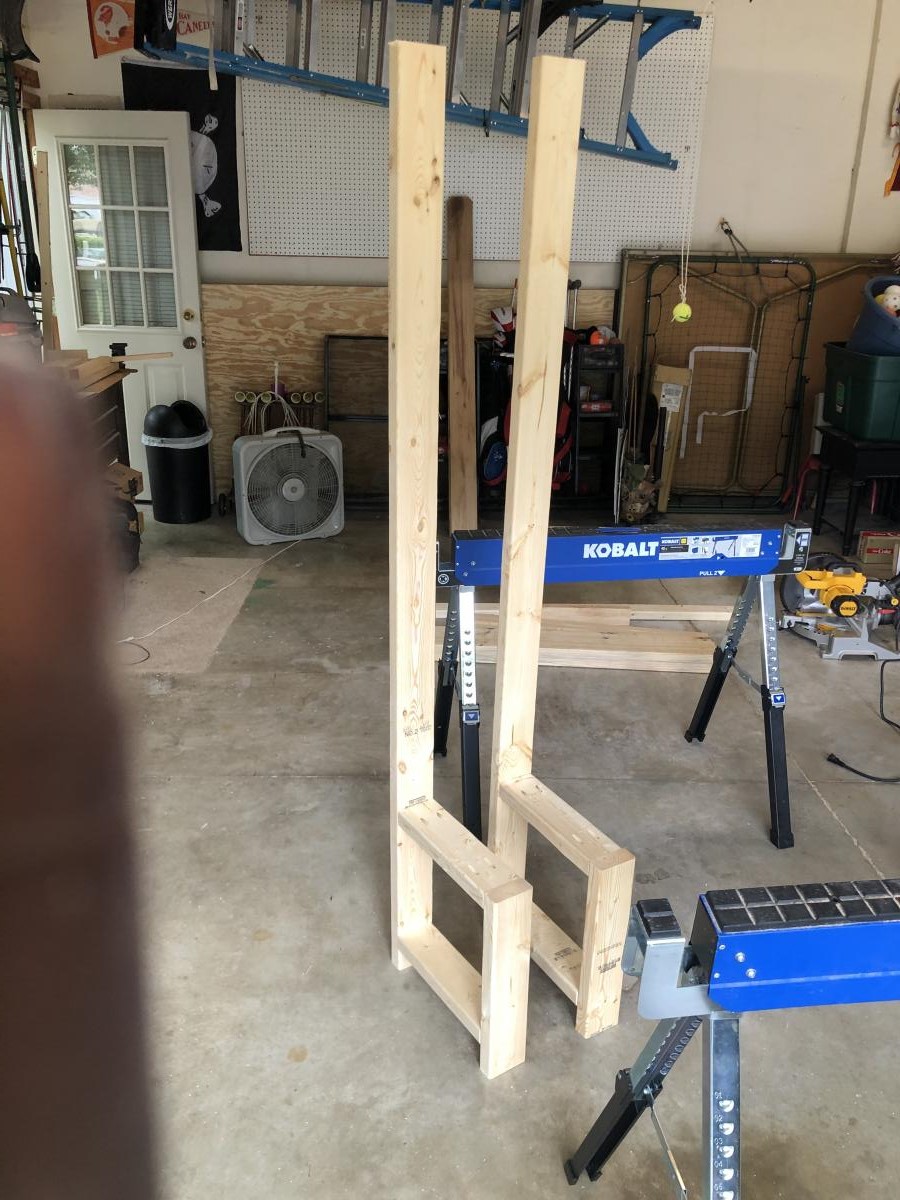
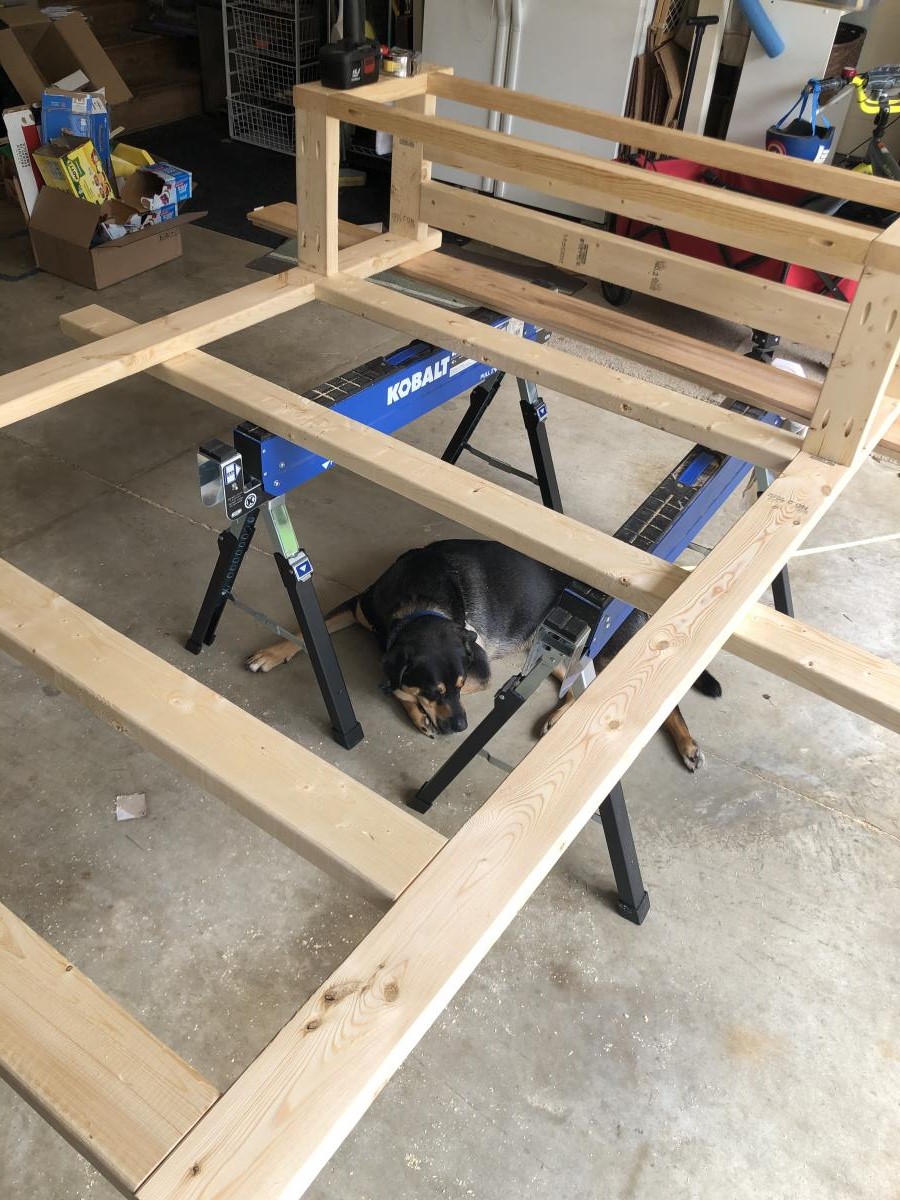
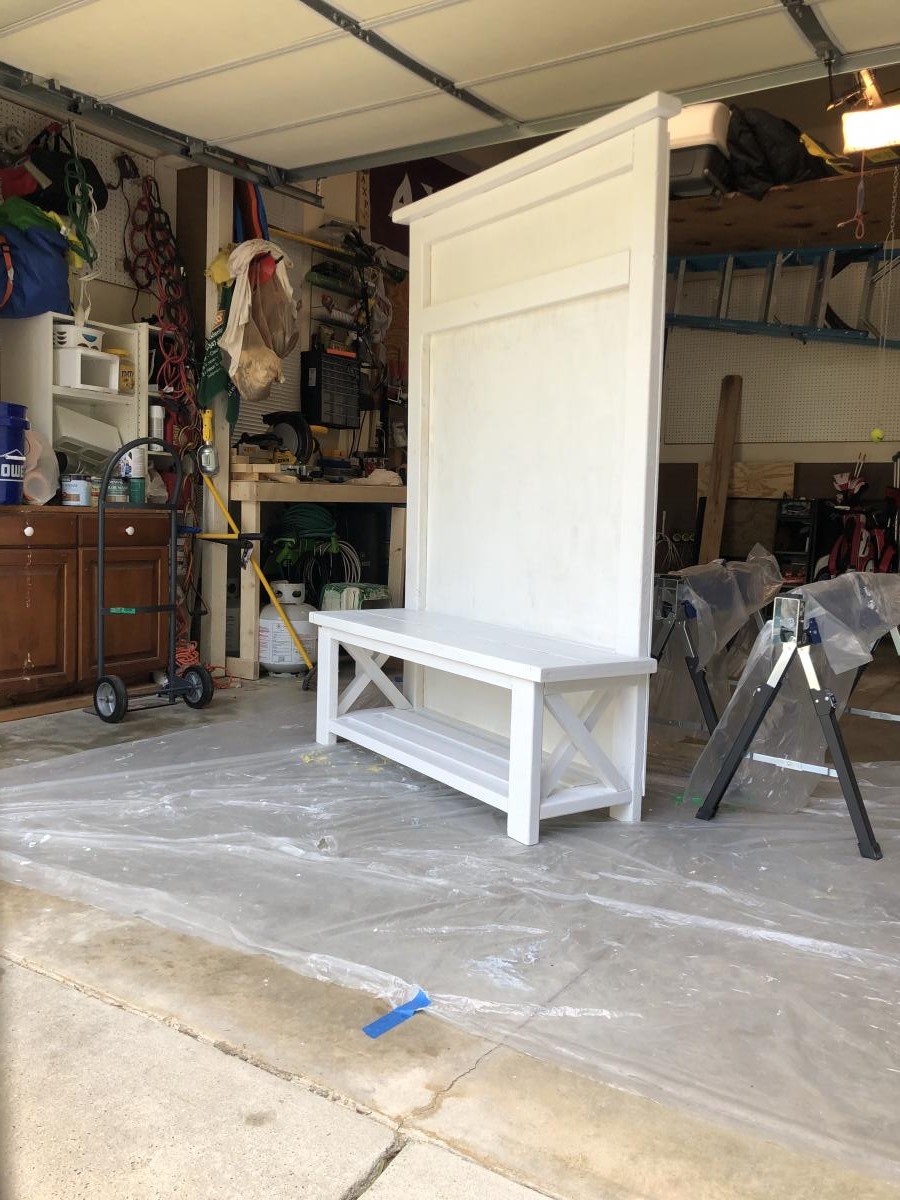
Thank you Ana for these plans!
This is a wonderful sandbox for toddlers, my kids love it. I build it a couple months ago, and it's gotten quite a bit of use already. So far it's even stood up to them jumping on it when it's closed, which is the only thing I was worried about. ;)
I'm not an experienced builder but i built this in an afternoon with the kids playing around in the yard with me, so this was a great project for me!
I used Minwax Polyshades, a stain and seal in one to finish this project. (I thought that would be a neat idea to skip a step, but I should have known that's usually a bad idea) I noticed that it didn't turn out to be nearly as dark as I expected and though I like how it turned out on this project just as well. I don't think that I'd buy another can when this one is used up.


I used the 2x4 modified plan to make these, minus the corner section which I took the back off of and converted it to an end table. I also modified that end table to have a "cooler box" in it. We have used this for 2 years and its still as strong as the day it was built, finally got cushions last week and it looks even better. I have had several friend and family ask when I am going to build theirs.


Ana,
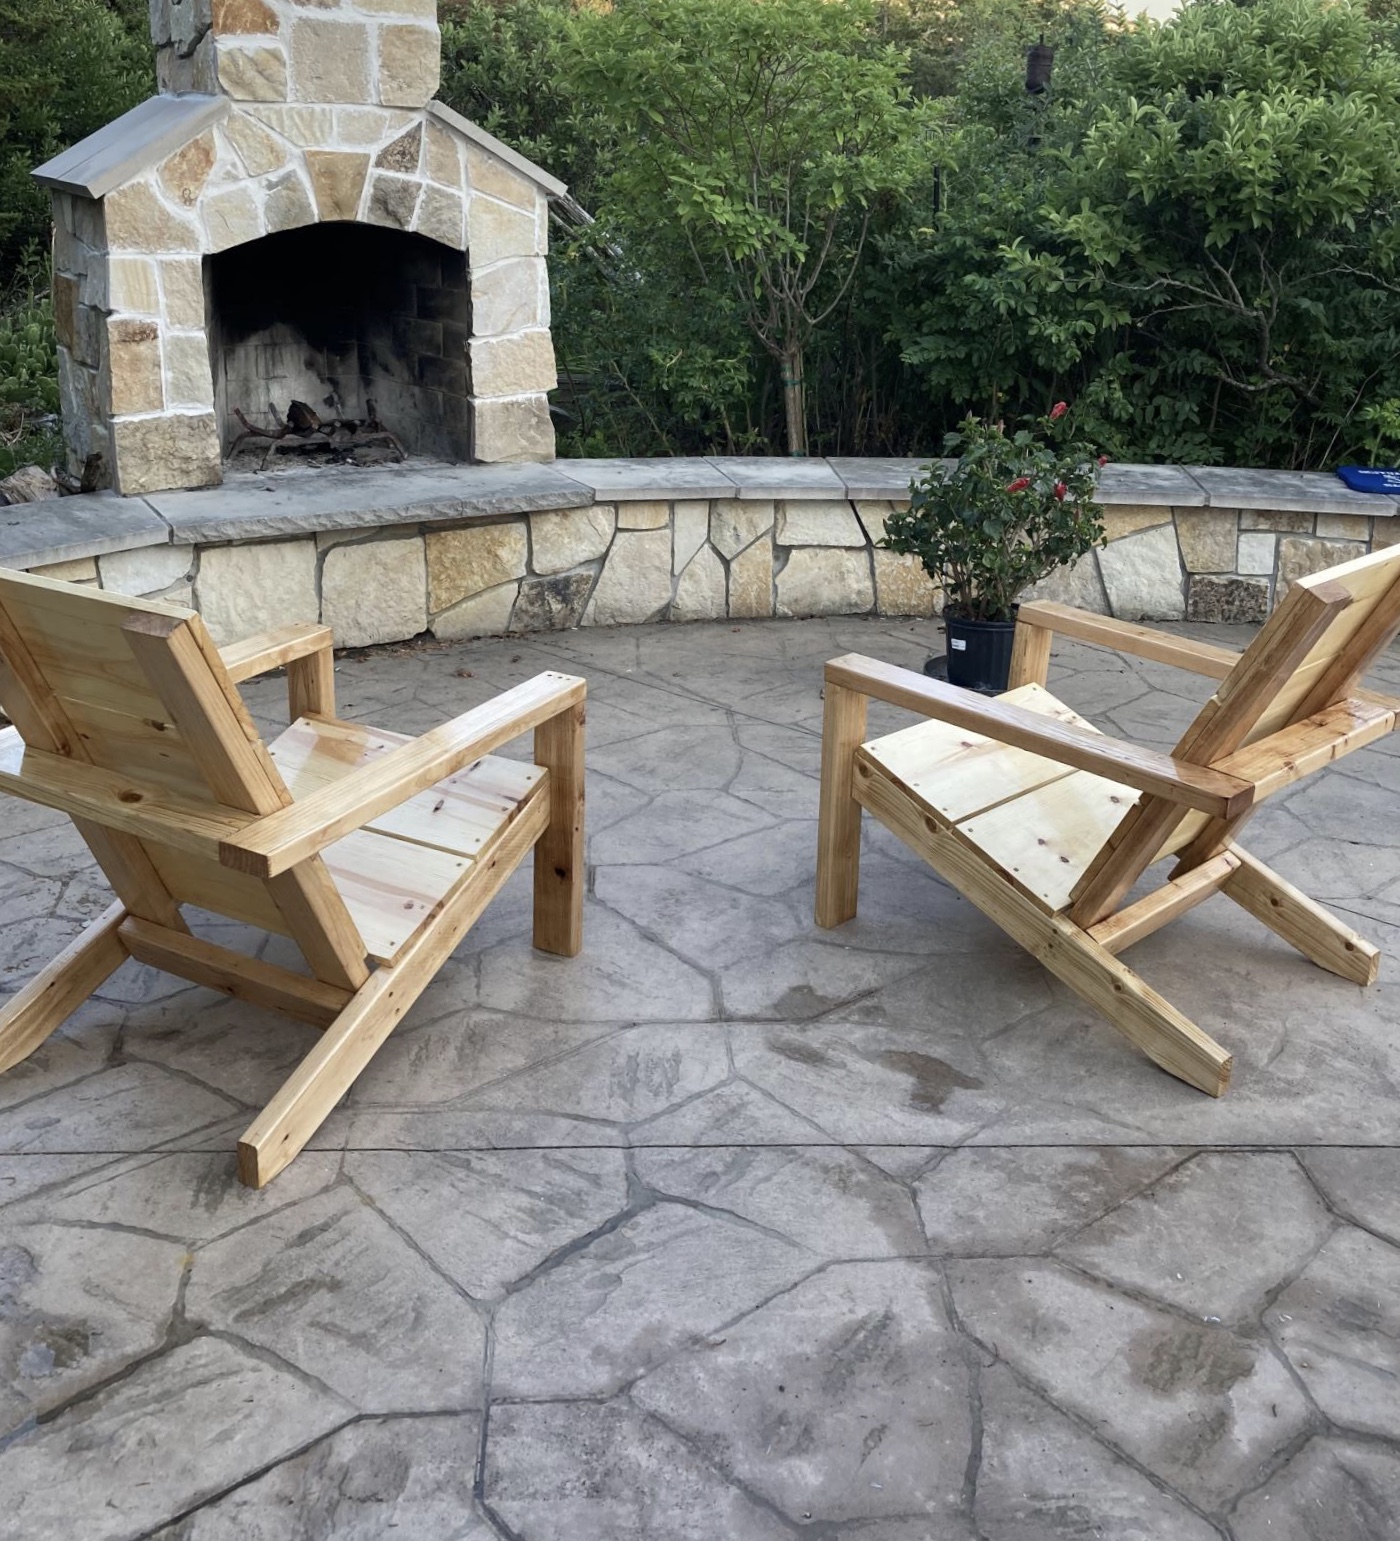
Thanks for making the plans available. Was looking for a simple plan and here is it. Needed to replace 4 aging chairs to match a pine table and a bar. Looking forward to another project in the fall. You definitely made a good choice on the pitch of that chairs. Very comfortable.
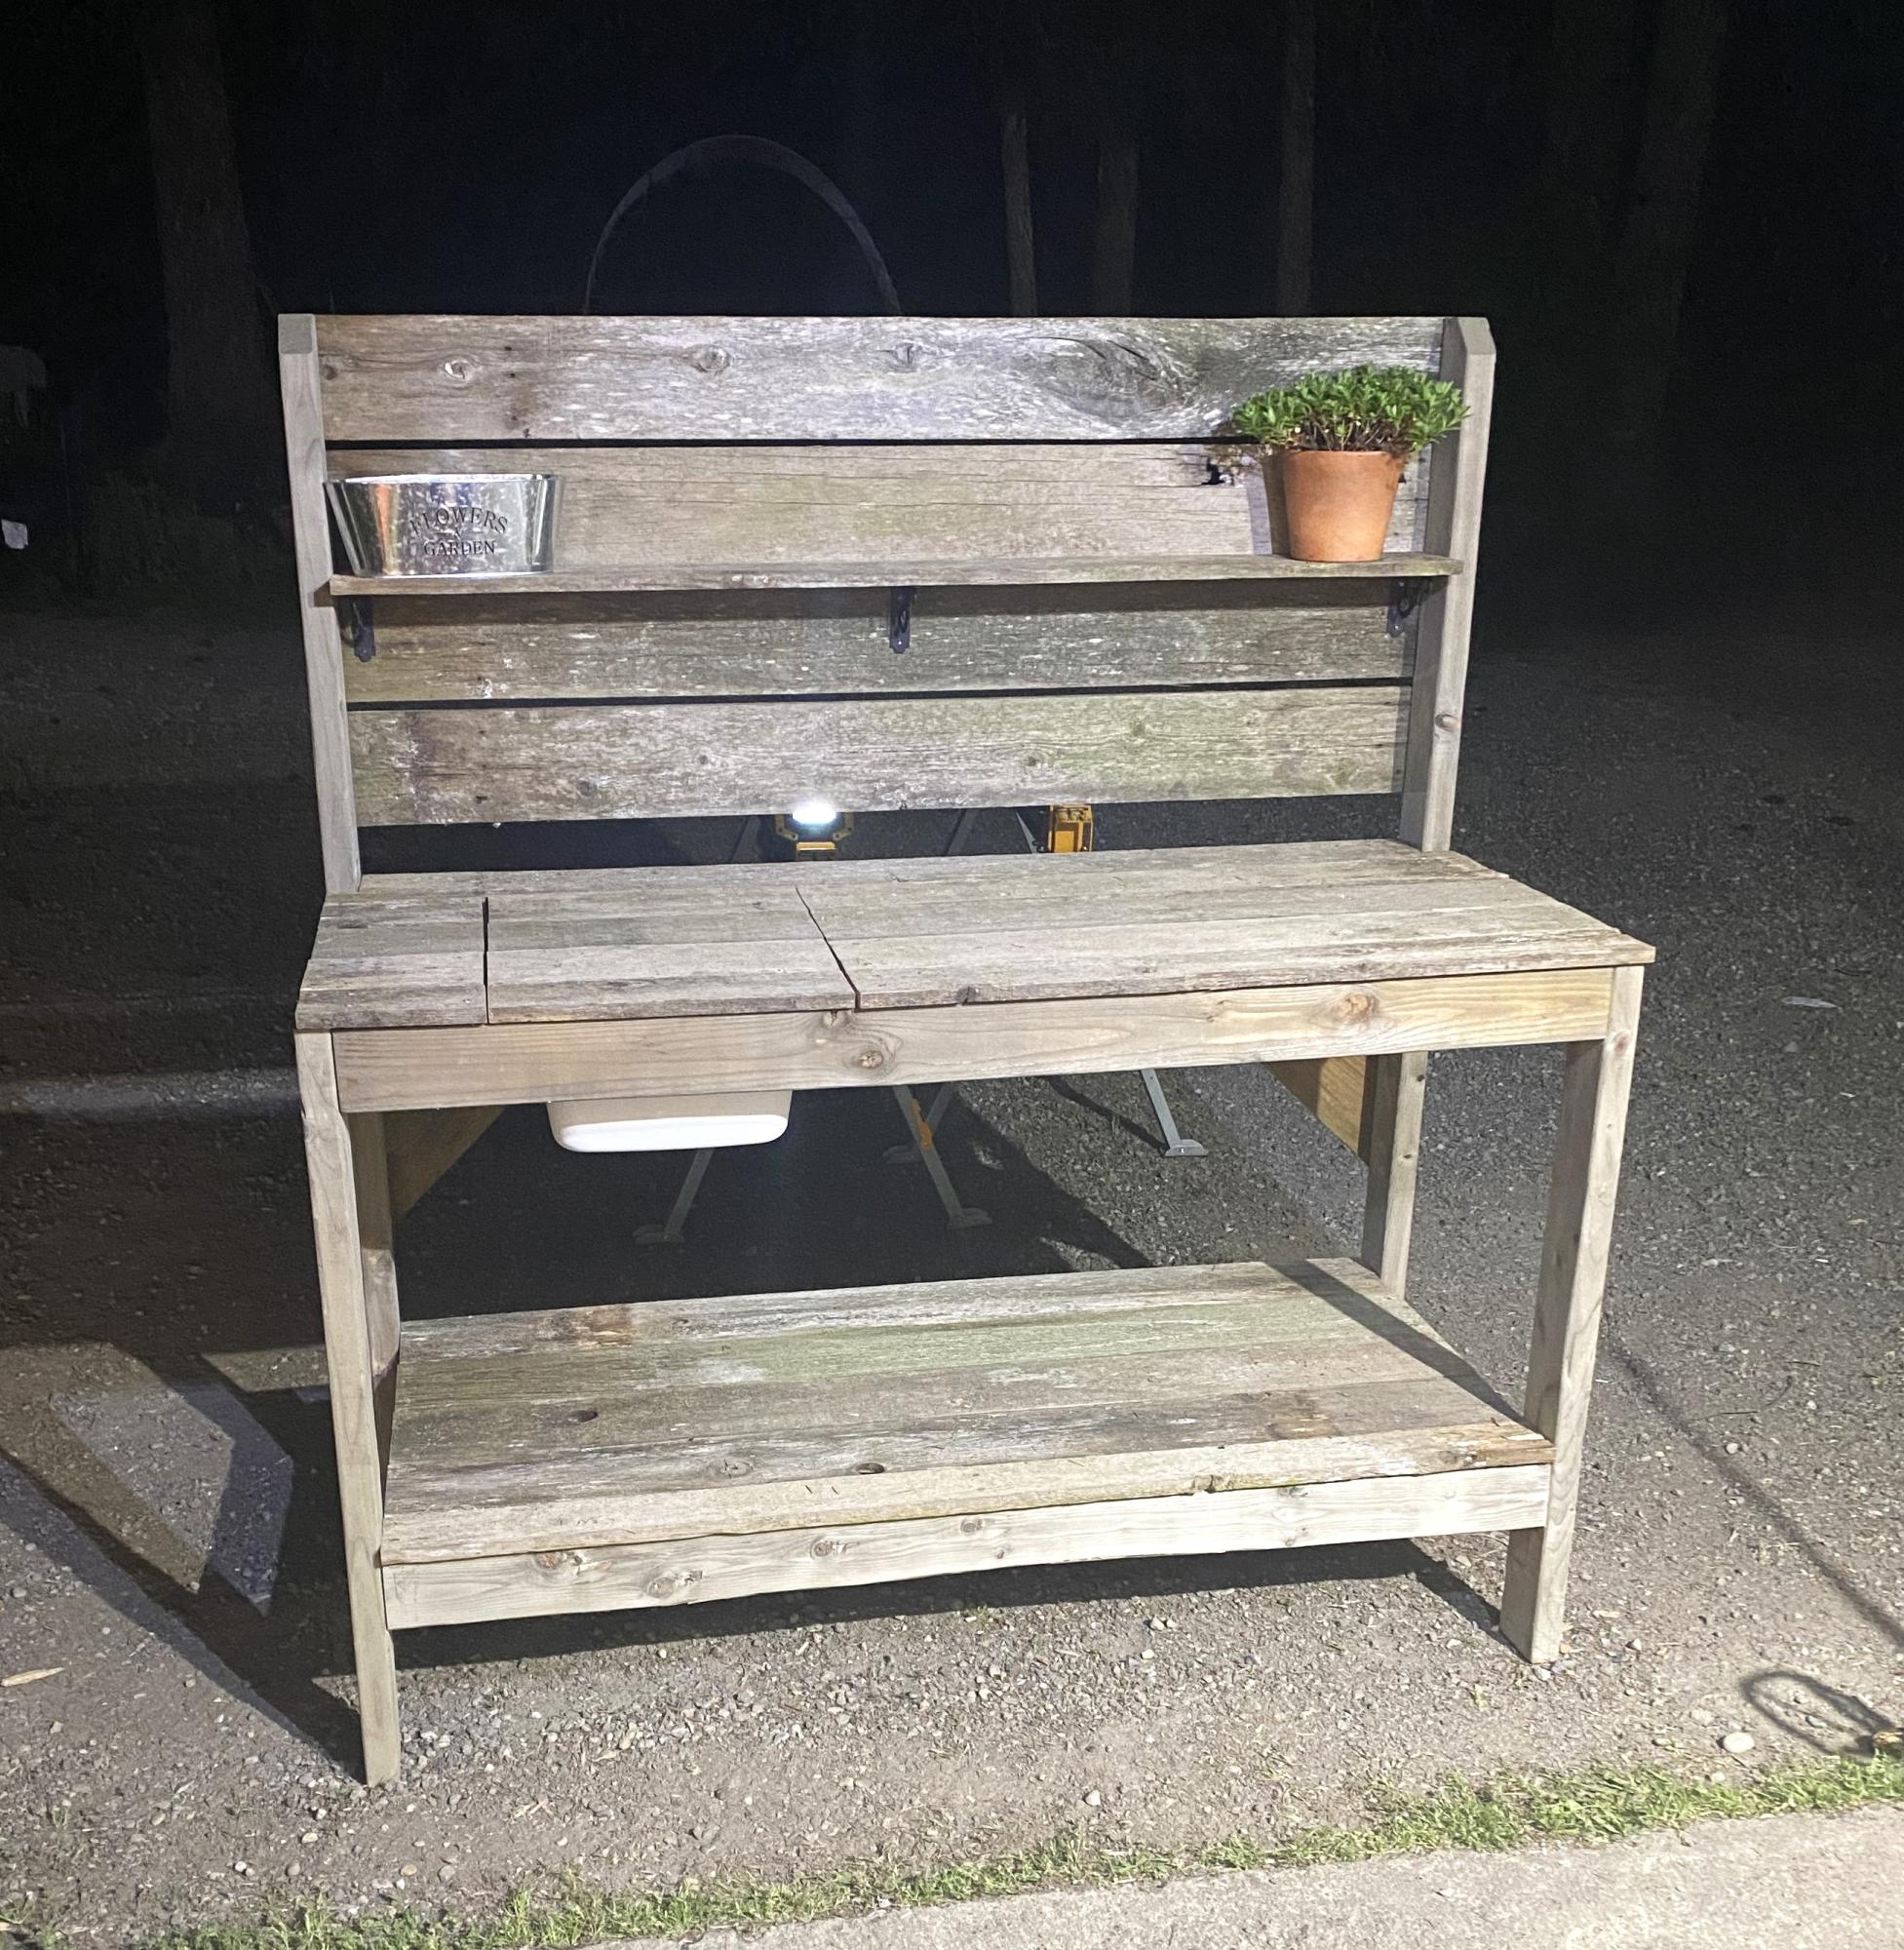
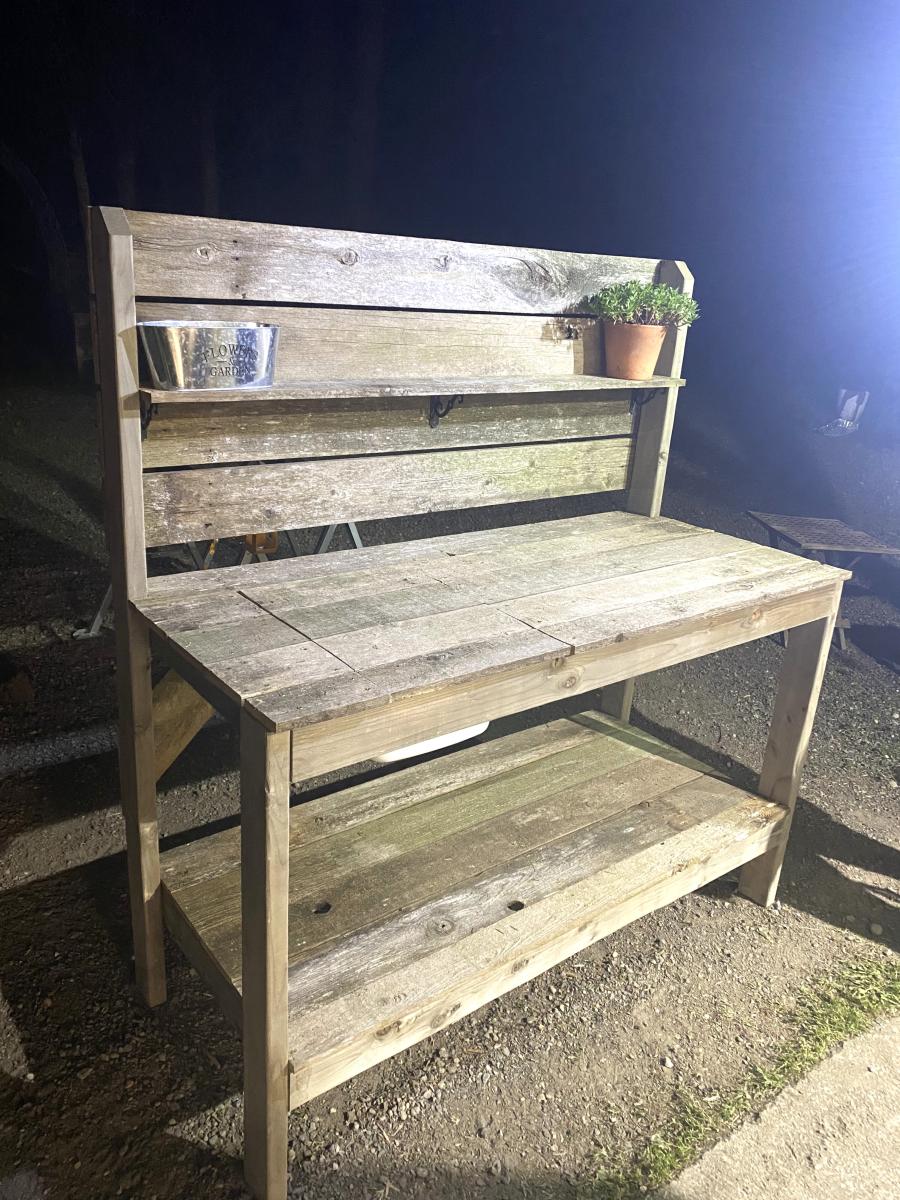
Built this potting bench for my sister in law. Added an aging finish to give it a reclaimed patina to match the reclaimed cedar used on the back. Also added a bin for soil and a removable panel to cover it when it isn’t in use.
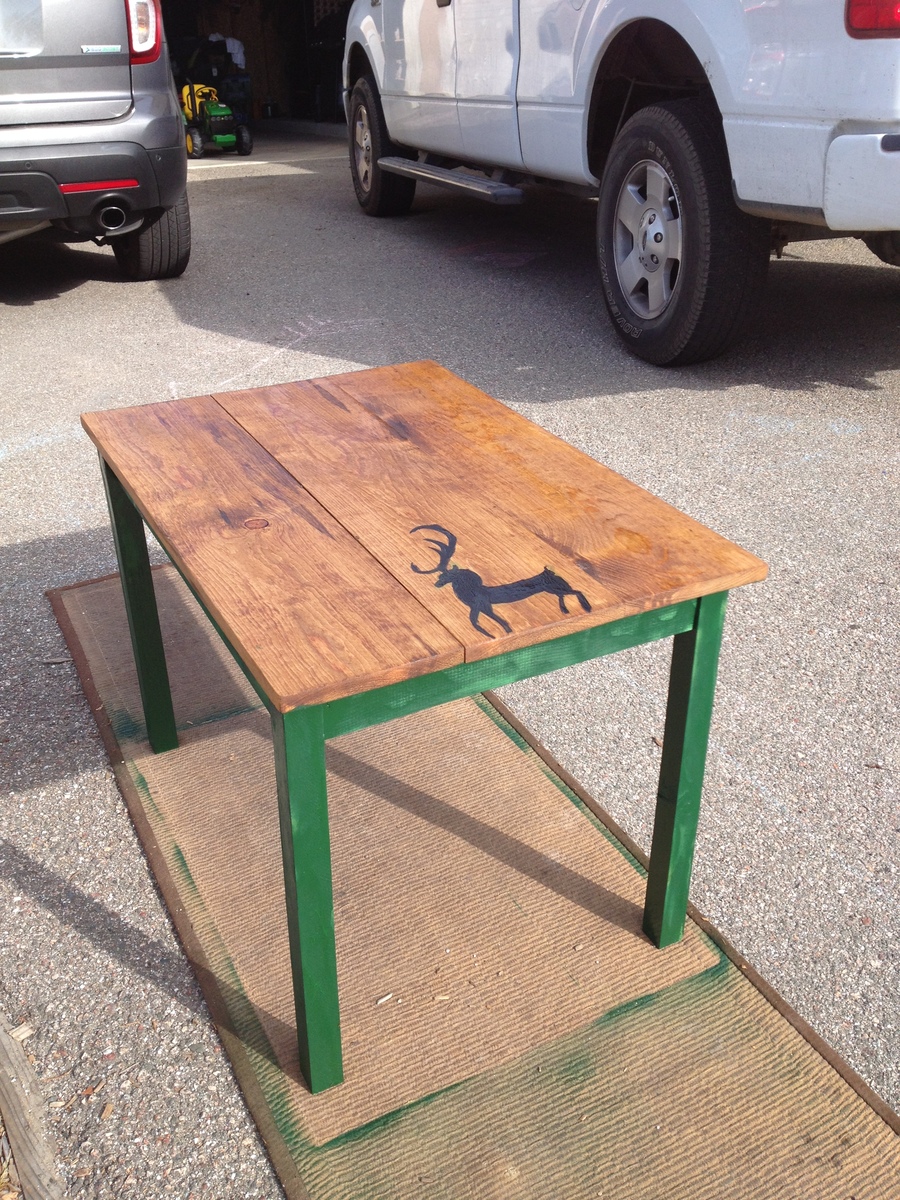
This project was a lot of fun for me and my husband. Extremely simple. We bought a 1x12x4 for $6.42 and spent about $3.00 for stencils, the rest we had on hand. We cut the 1x12 into the two 1x12x11.5 (for the sides) and then cut one piece in 1x12x18 (for the bottom) we decided not to cut it into two 1x6s because they would practically be touching each other anyways. We did not put wheels on the bottom either, as it is going on a shelf in our laundry room.

This is agreat project to cut your teeth on. Even though this was very roughly put together, the end reult was still furniture-worthy.
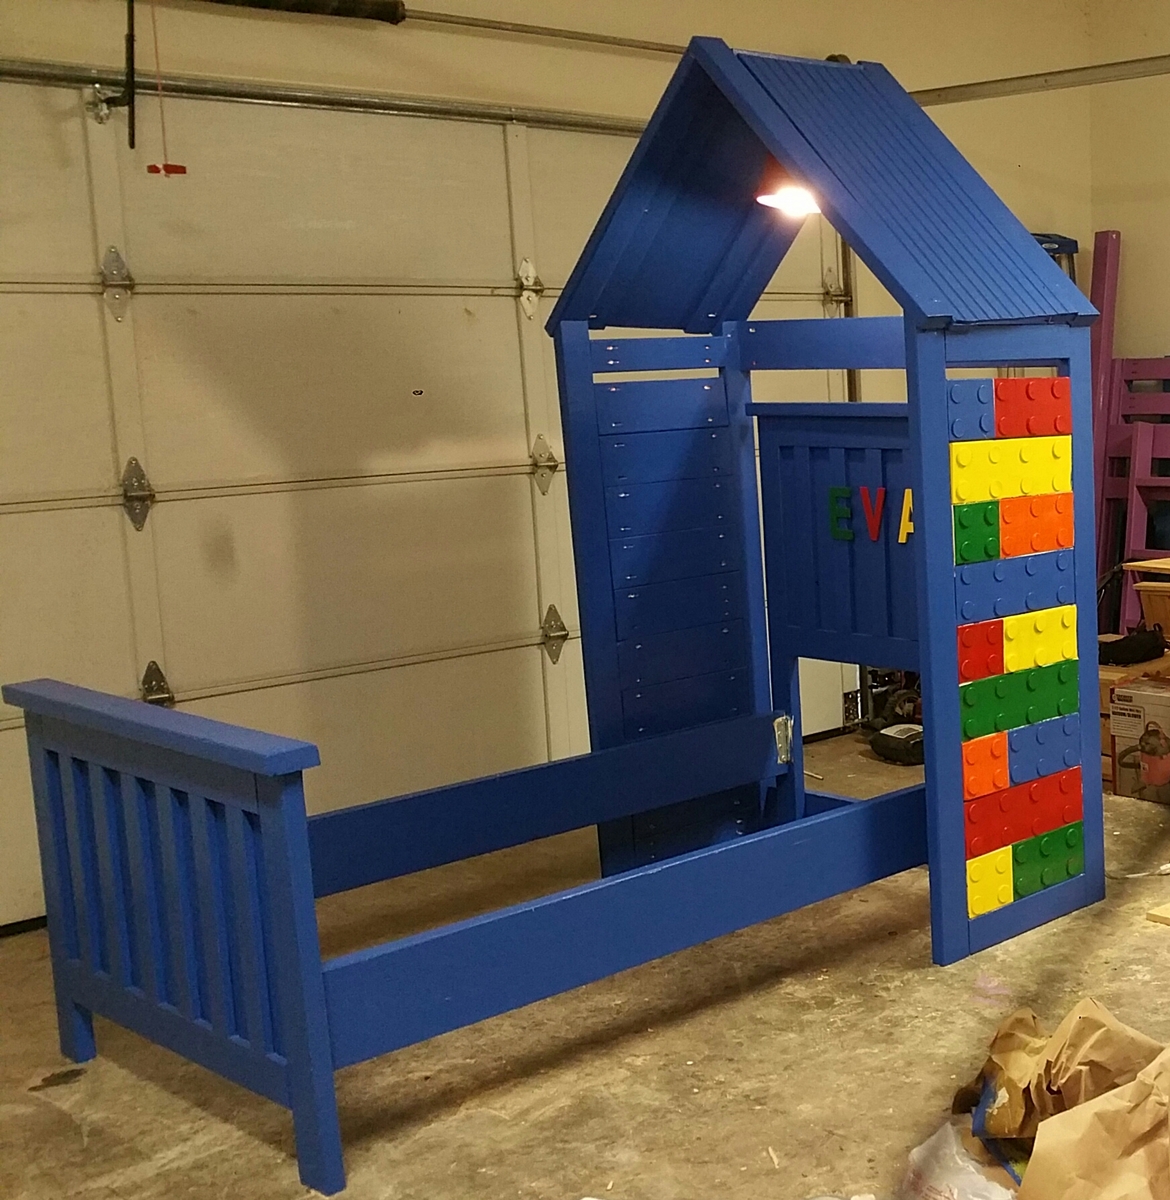
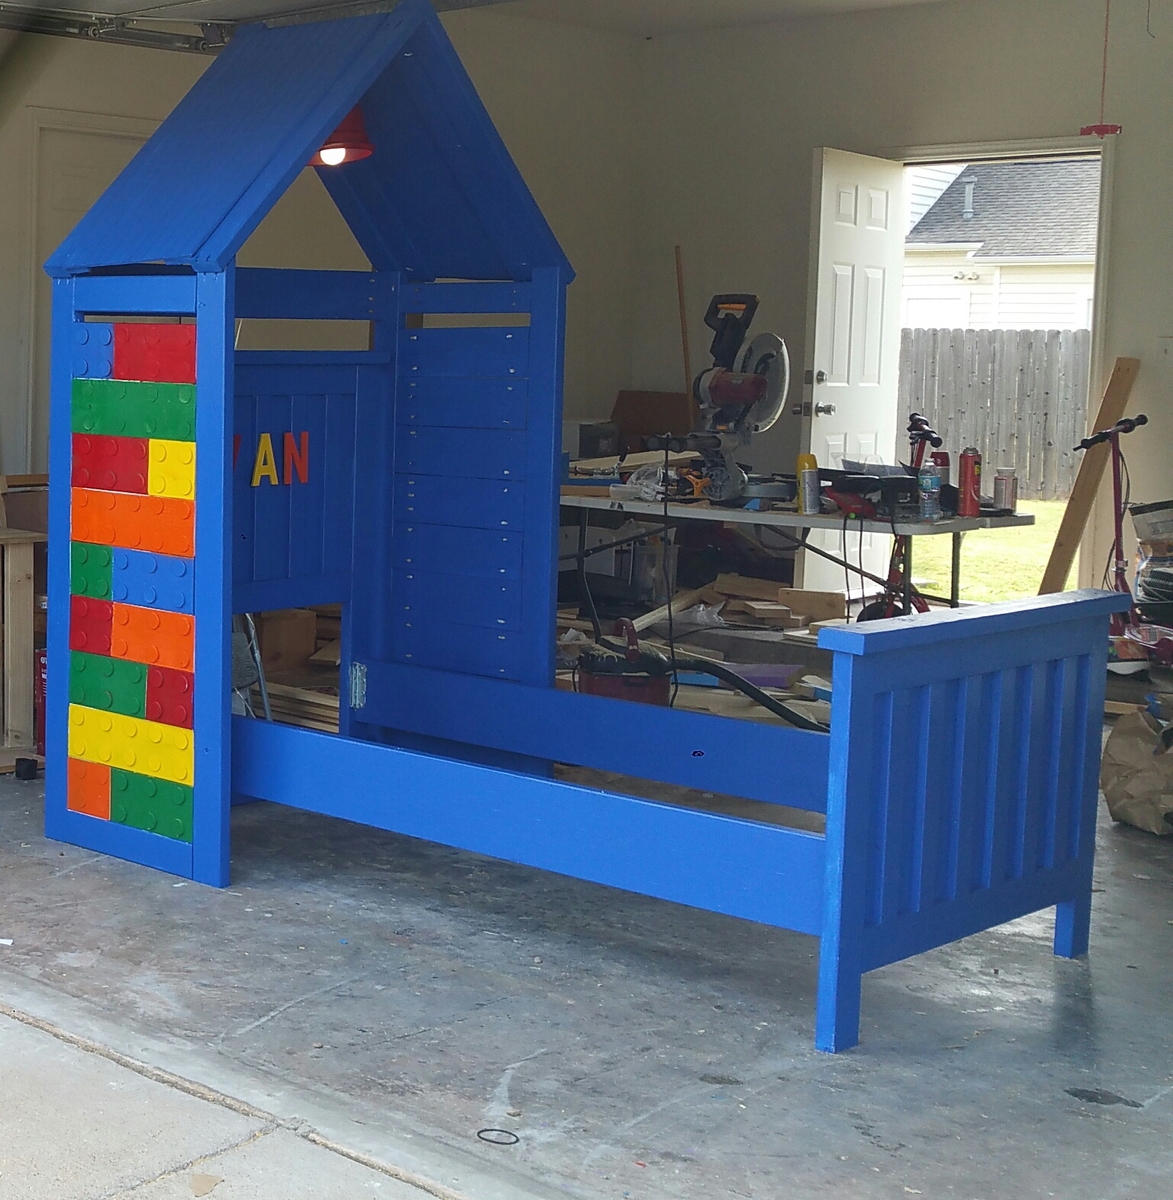
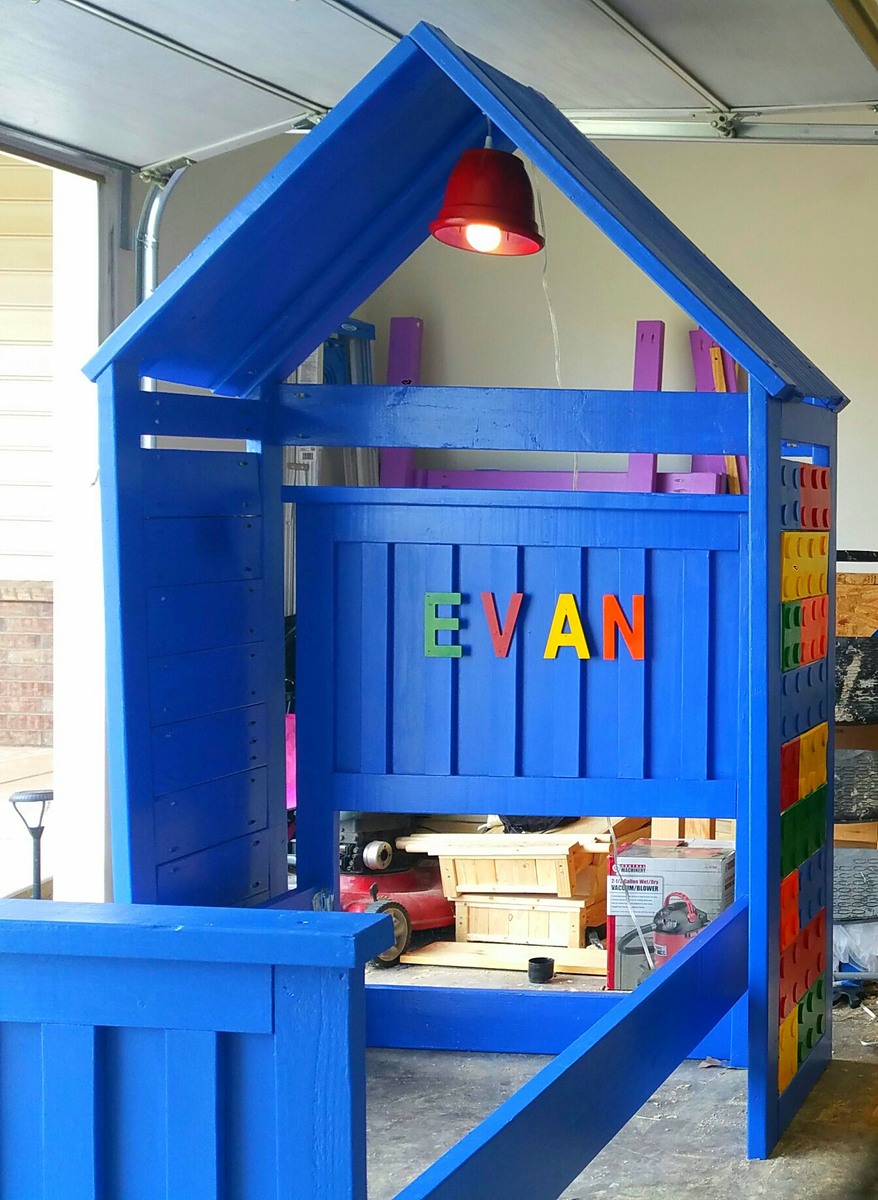
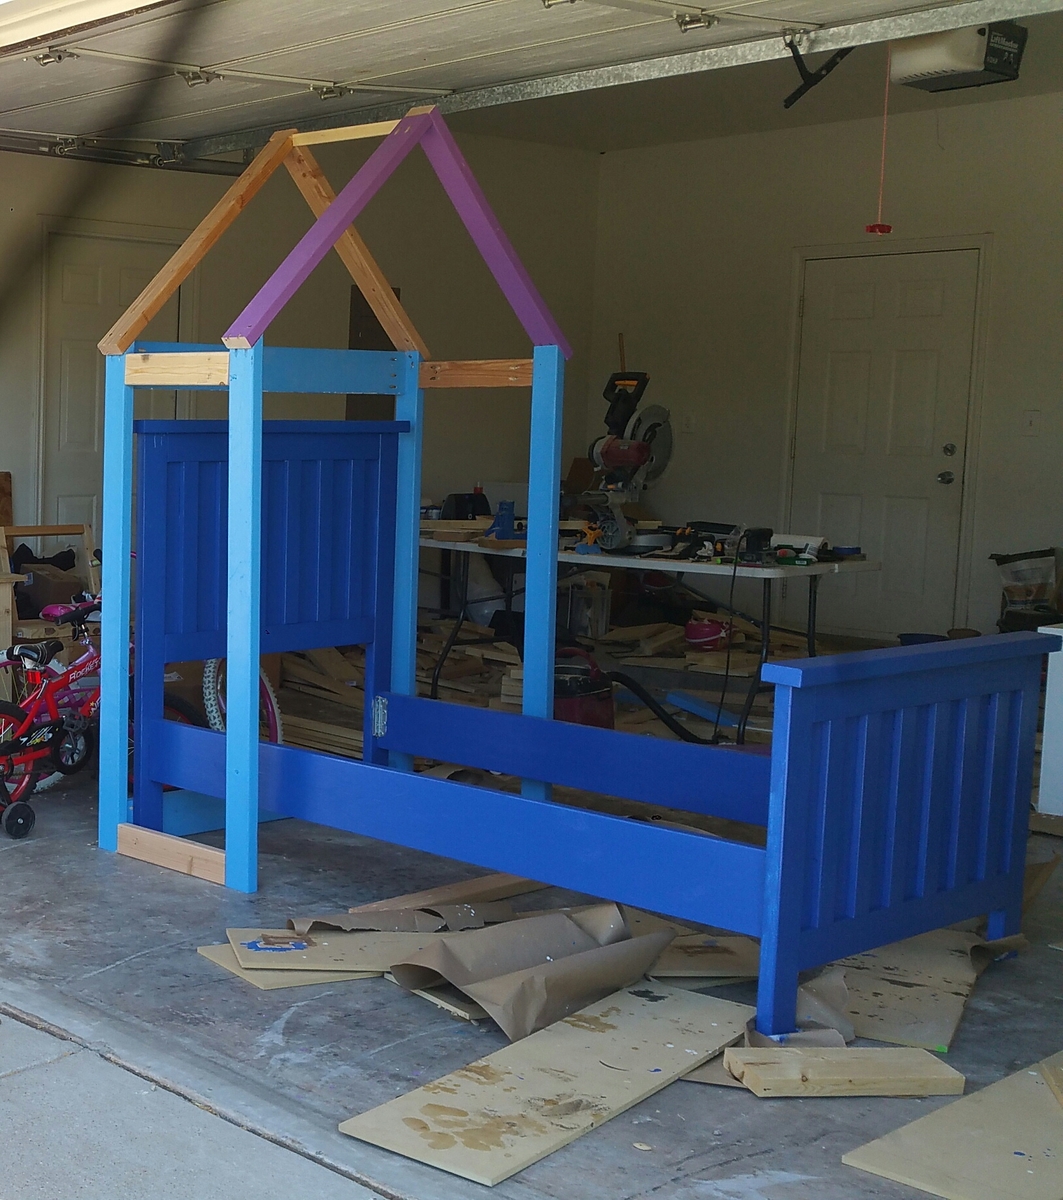
I am one of Ana's biggest fans. I have been building furniture using Ana's plan for a year in a half now. This is my first time ever posting though. I built this lego themed kentwood bed for my 5 year old son who loves legos. The lego house is built with left over scrap wood I had laying around. I love how it turned out and my son also loves it! Thanks Ana!!
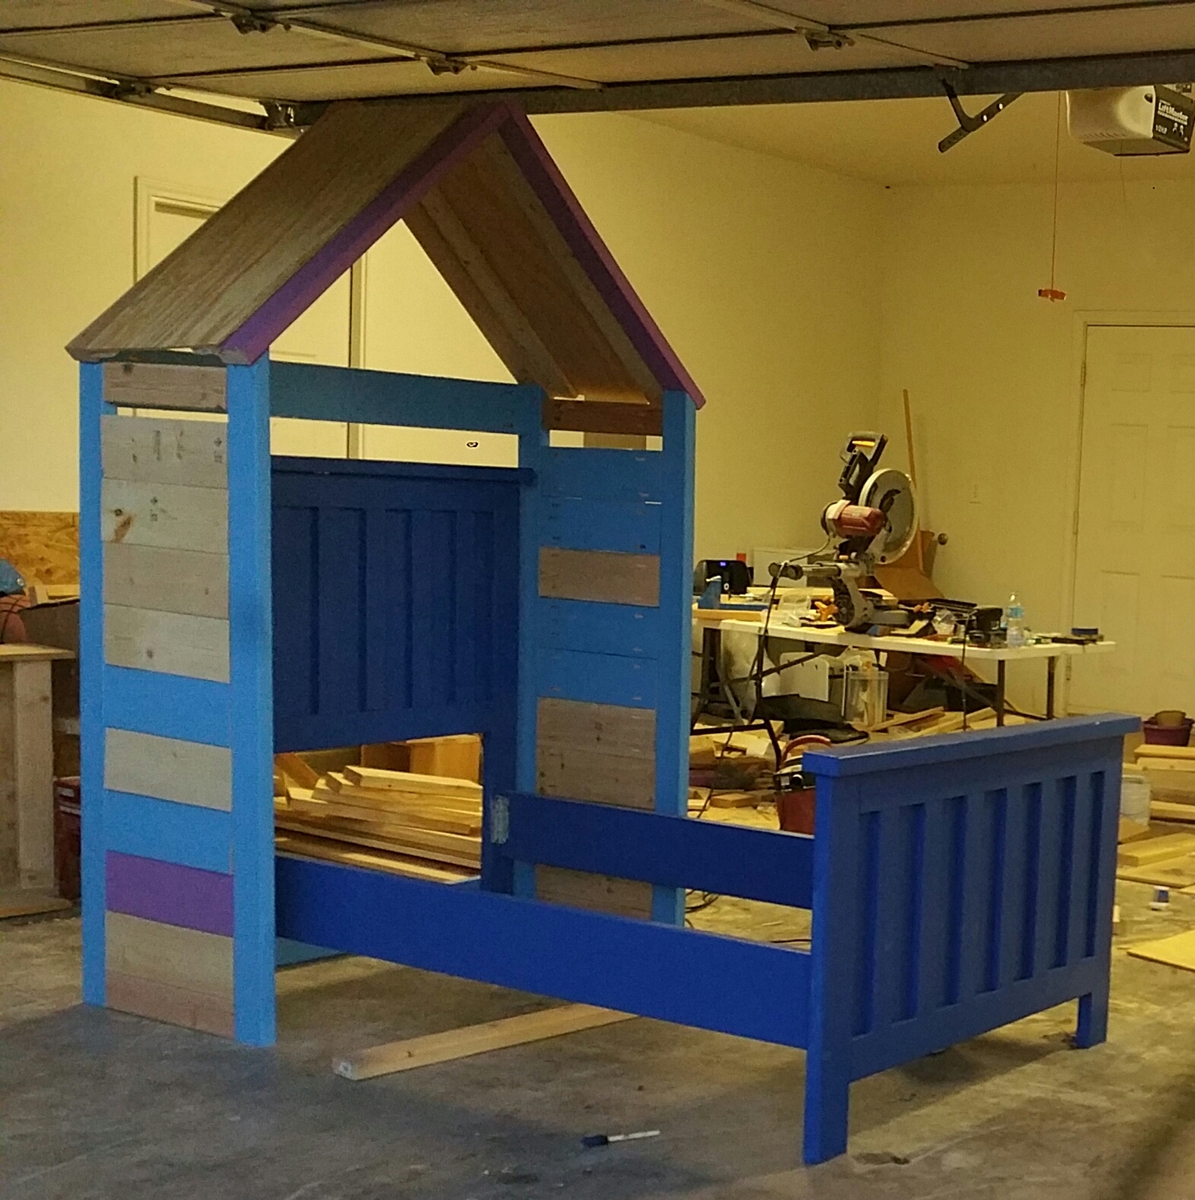
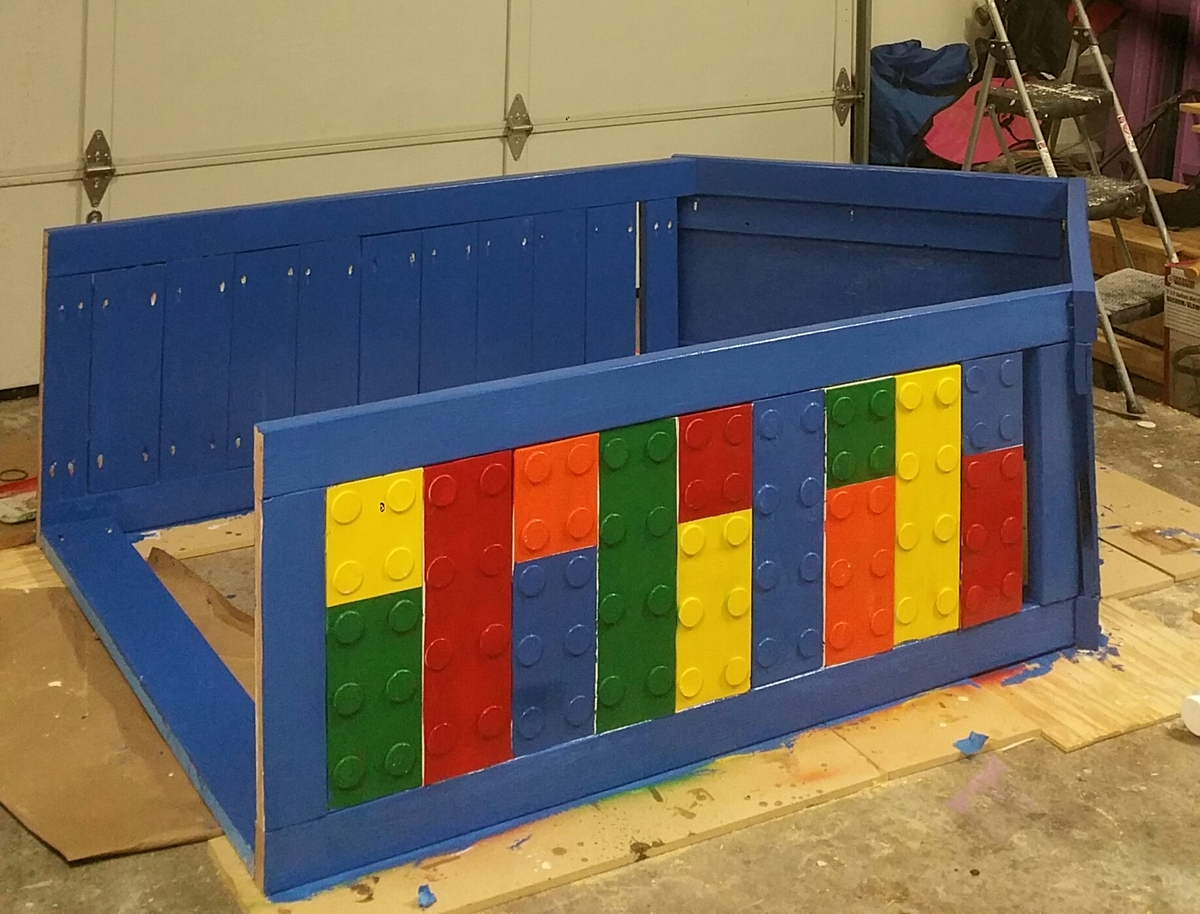
Thu, 10/27/2016 - 14:56
Love the added lego decor! Beautiful build, with great colors and finish!
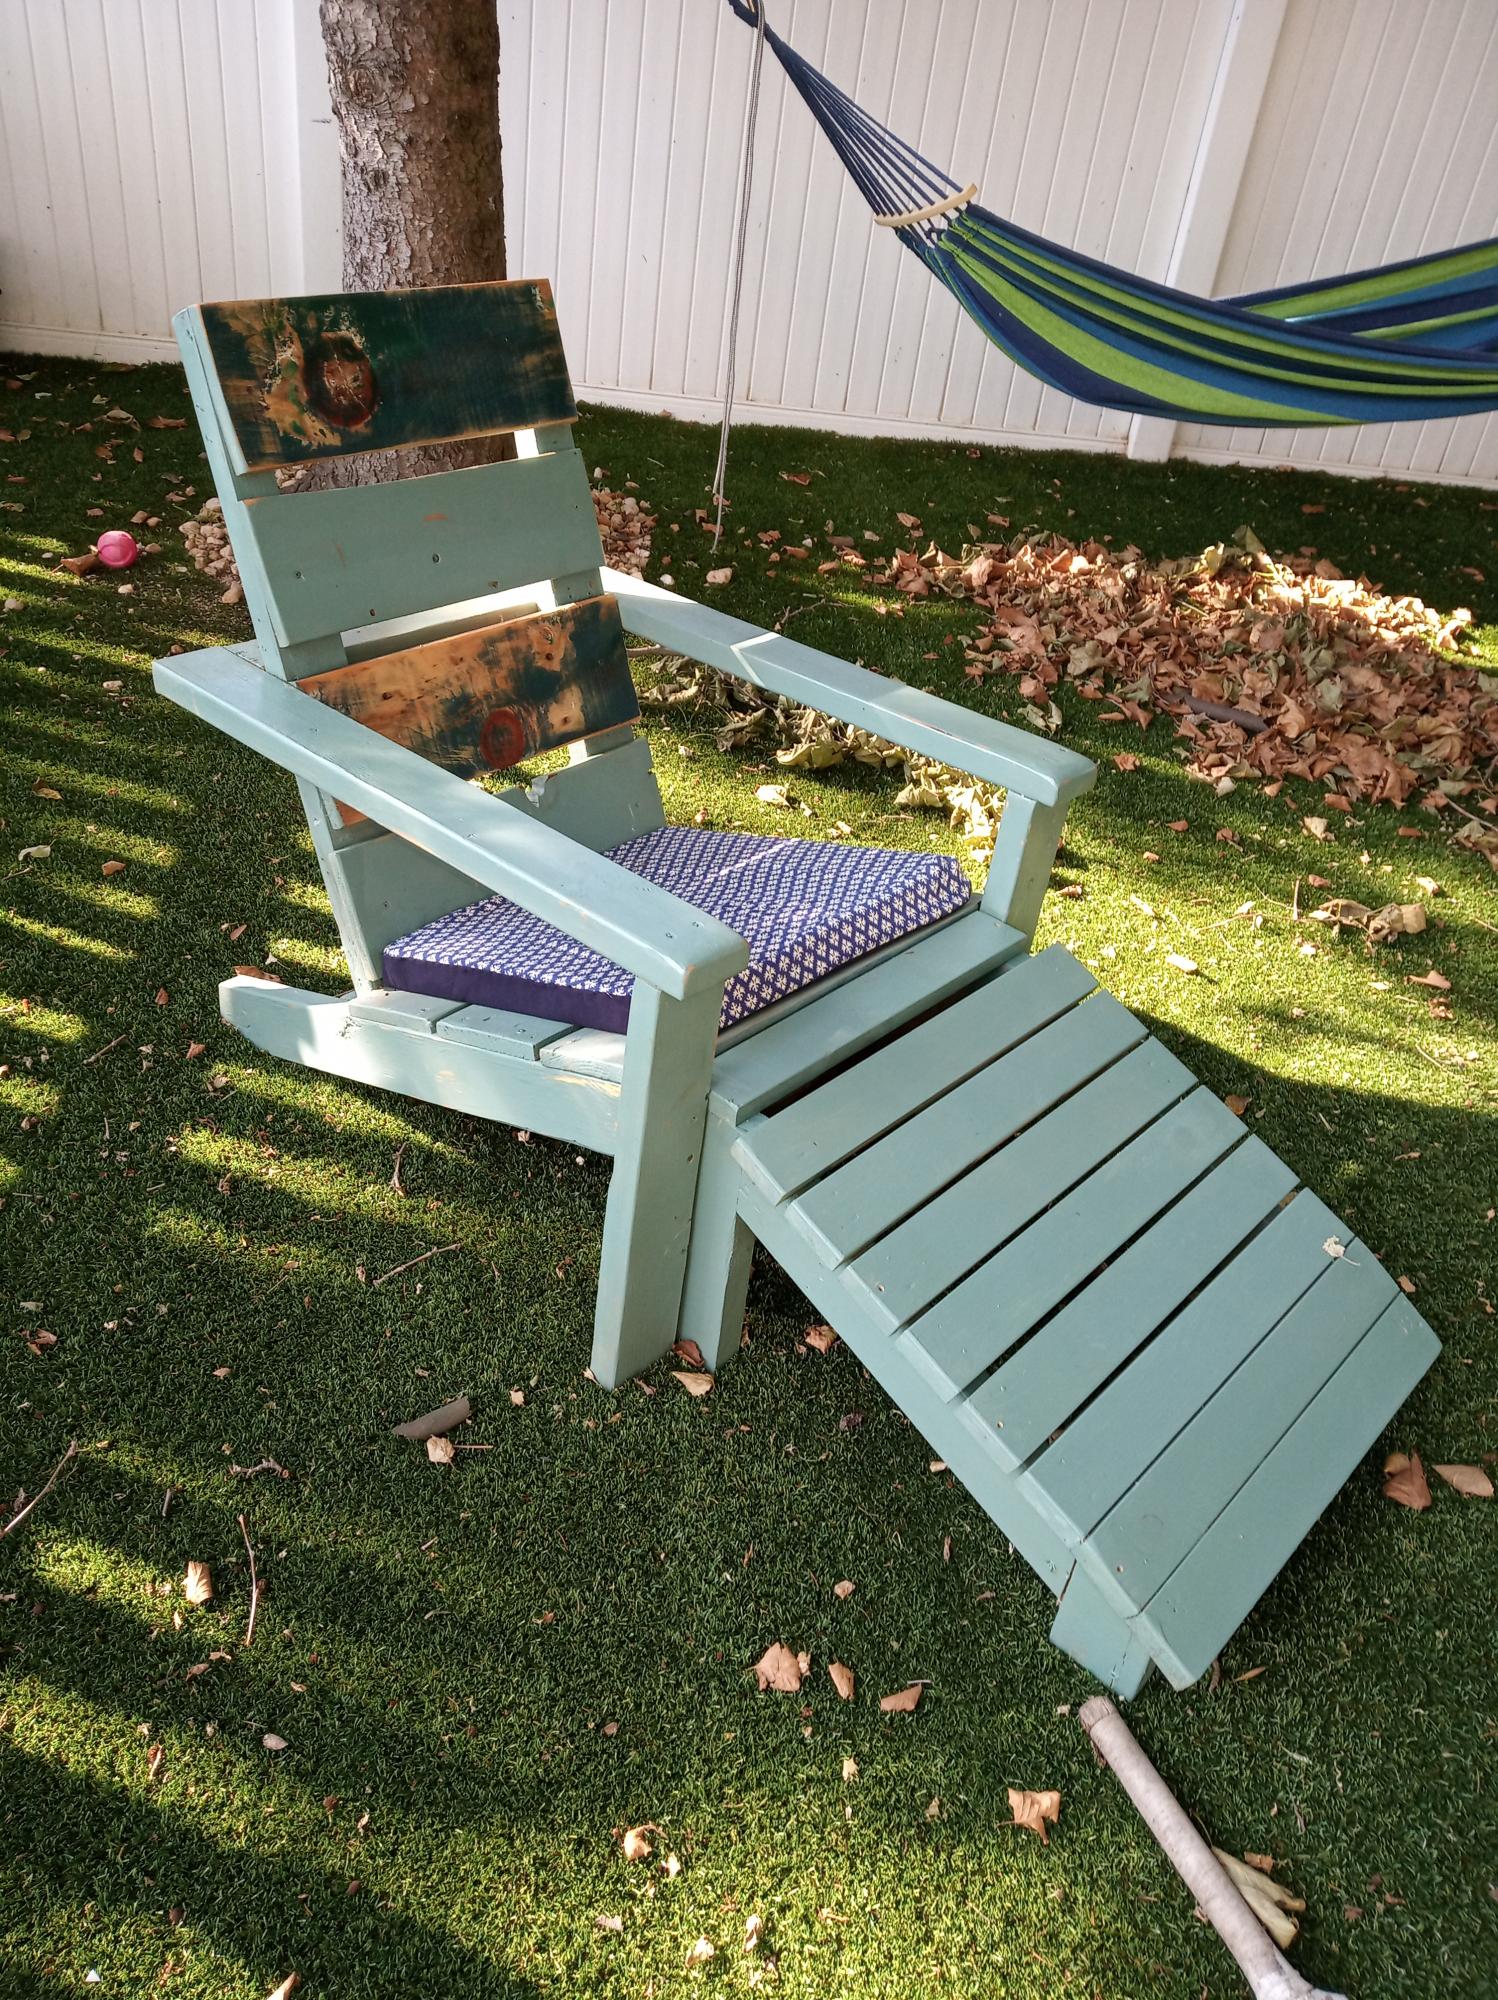
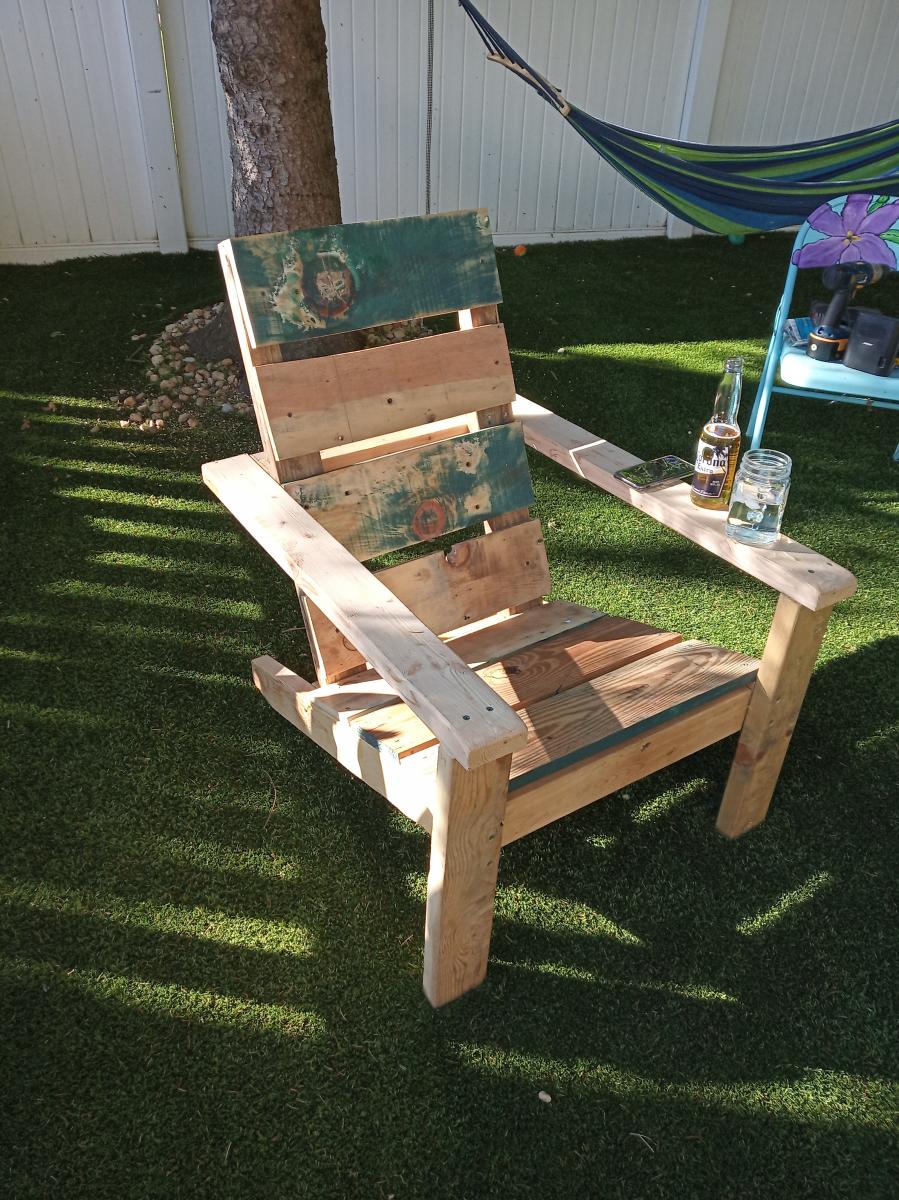
The design plan from the https://www.ana-white.com/woodworking-projects/2x4-modern-adirondack-ch… worked out really well and with tiny modifications to the dimensions i was able to build this in a couple of days. All the wood used was discards on a construction site plus a neighbor discarding a dismantled old fence. Added my footstool which was fairly straight-froward as well. My wife made a few cushions at home for it and its super comfy Really happy with the way the whole thing worked out. Thanks Ana
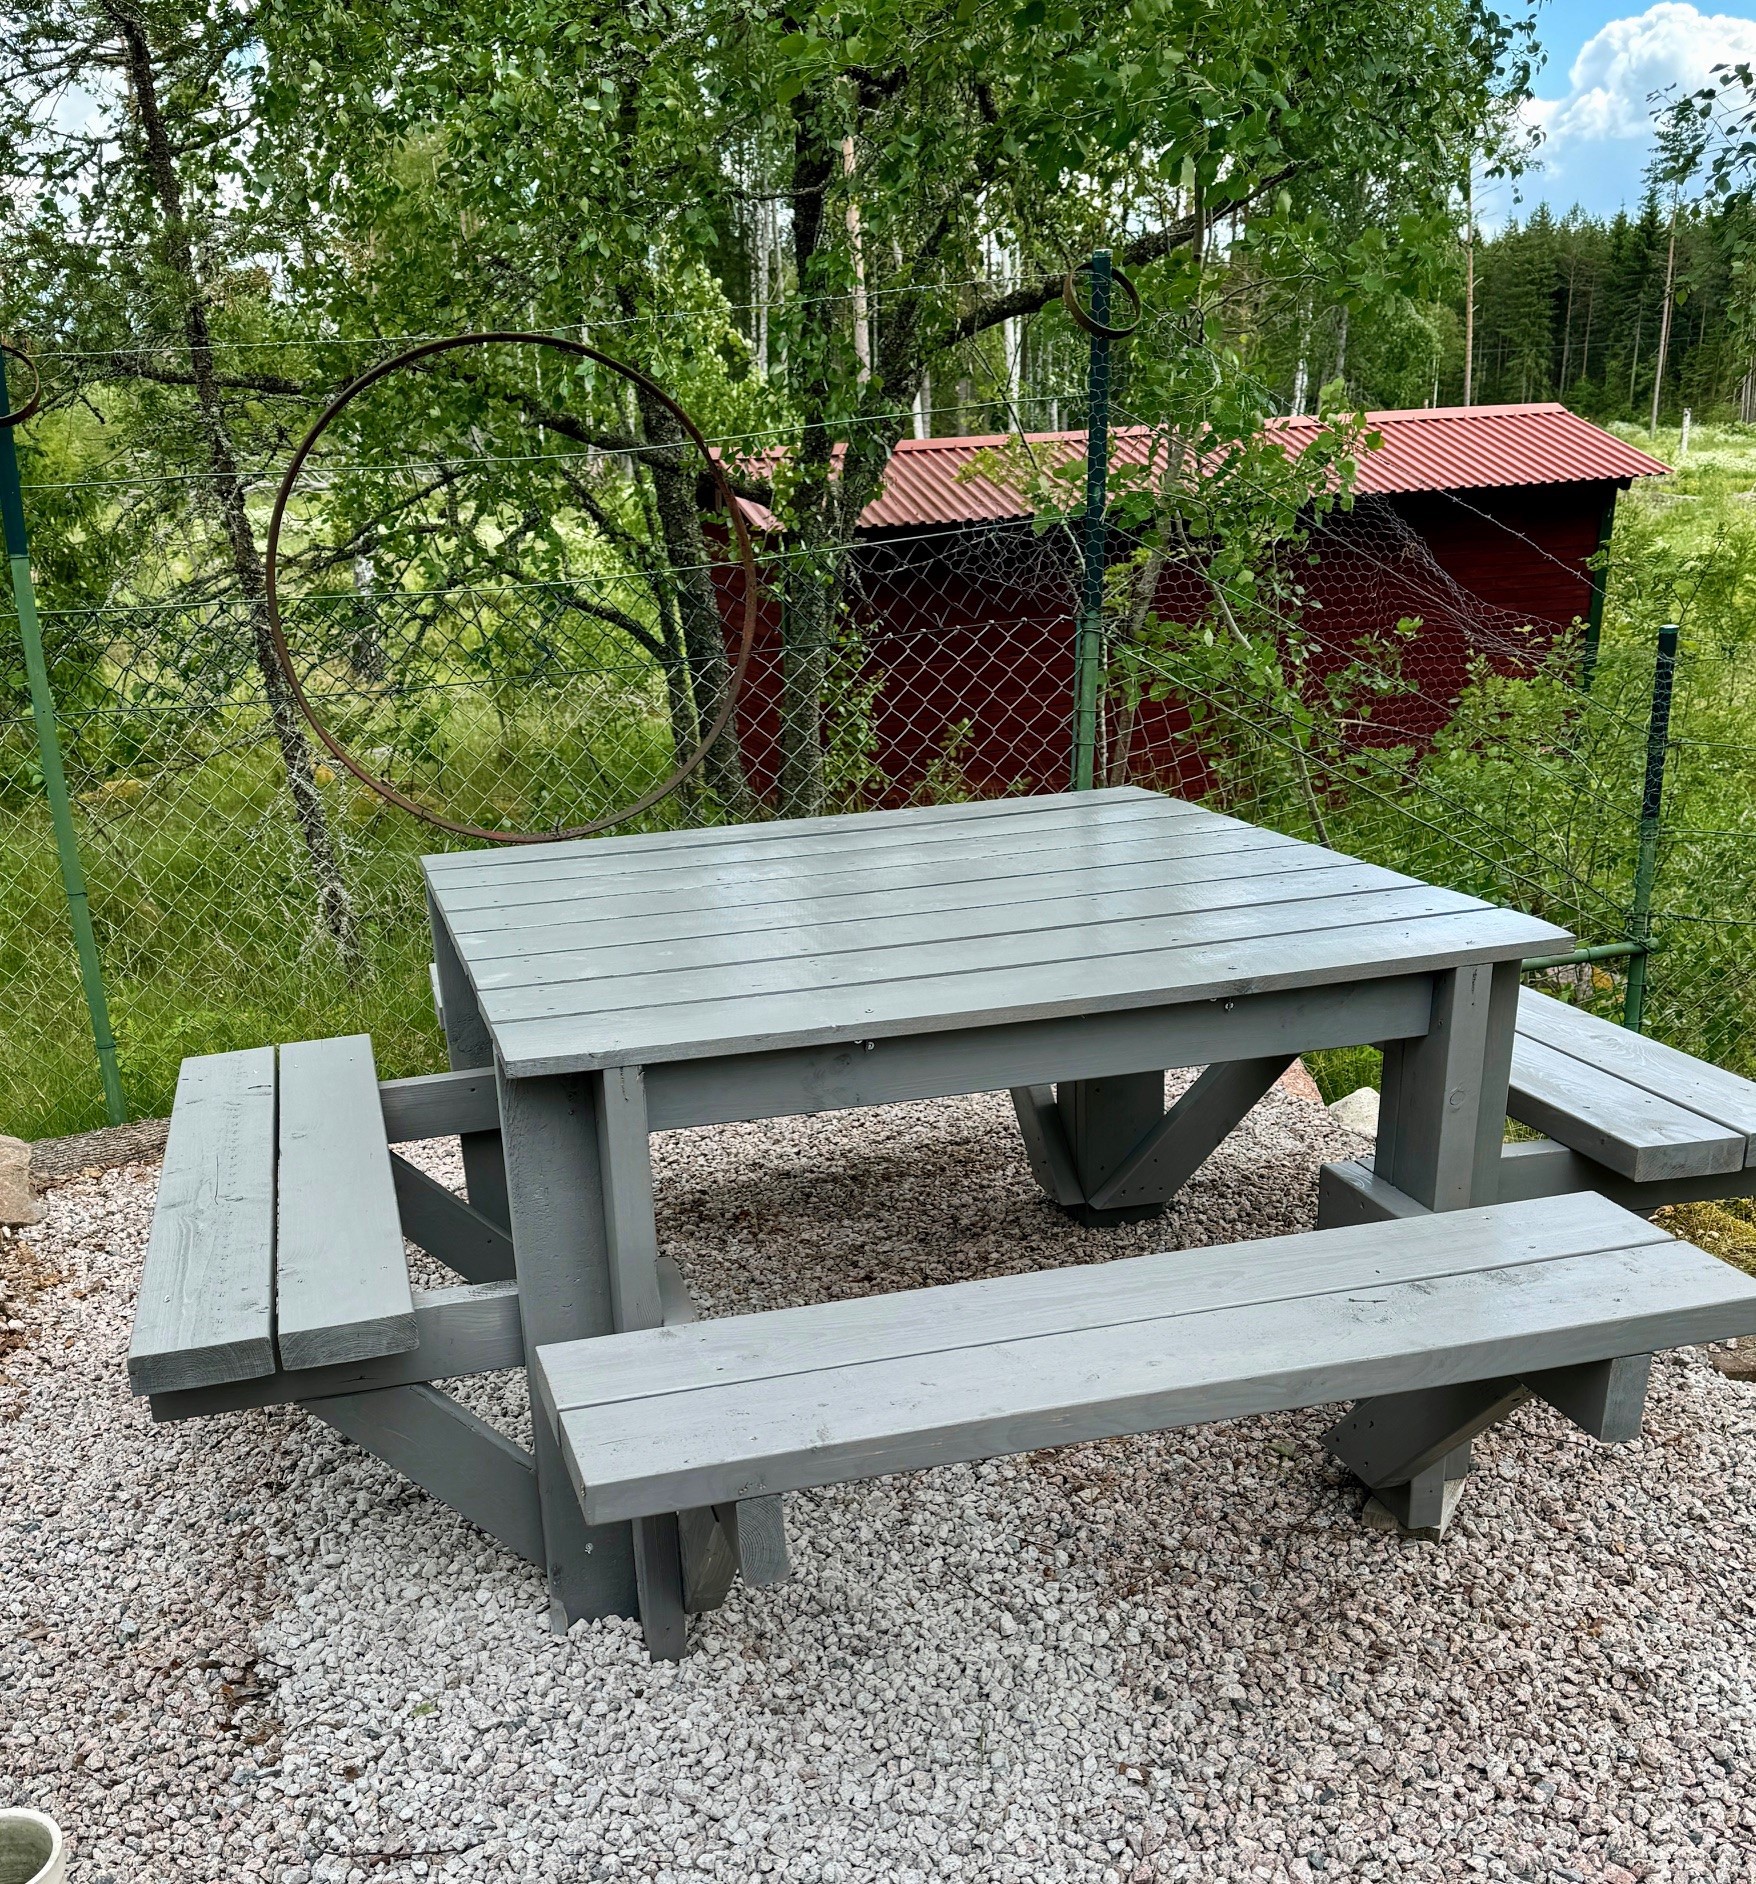
My first Ana White project, so fun to build. Now standing at my summer place in Sweden, ready for a whole summer of picnicking.
Marie Stana
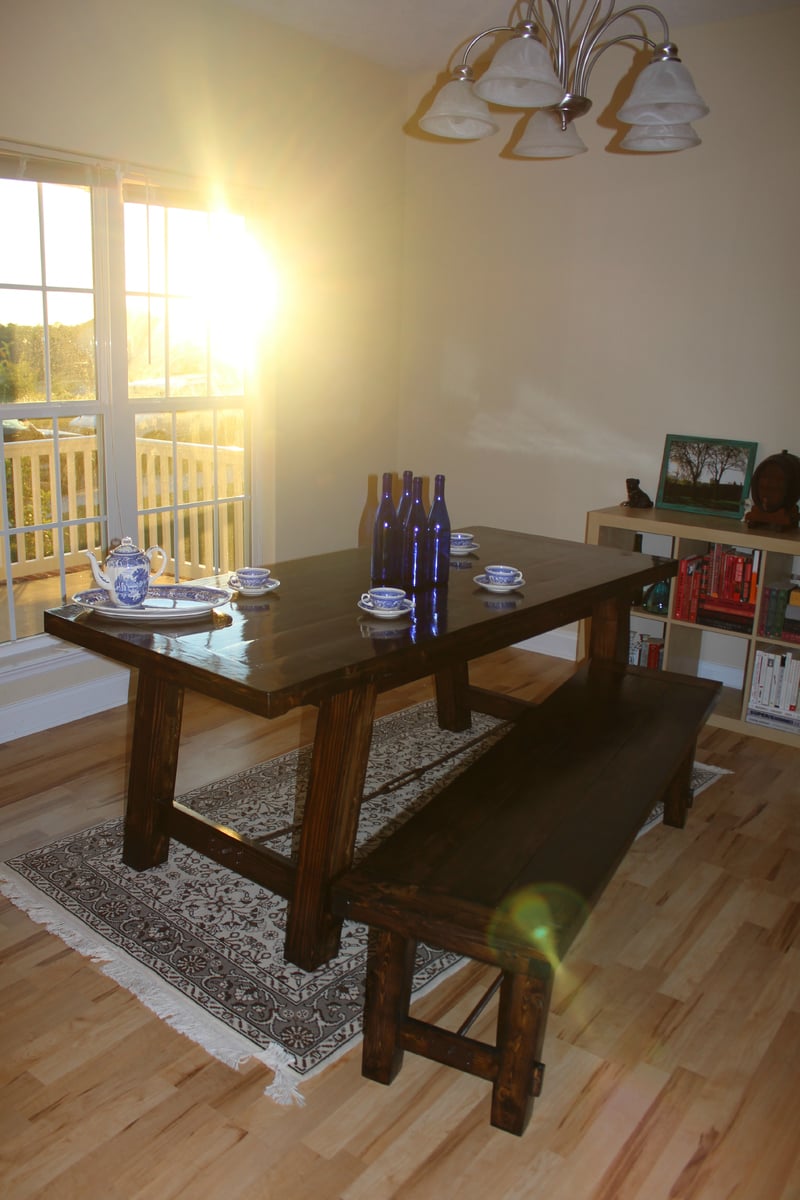
We made this after making the benchright bench! You can also see the bench in the pictures. Love the table (and bench)! We wrote about the project (step by step) on our blog- http://thehuth.blogspot.com/
Thanks for sharing plans!
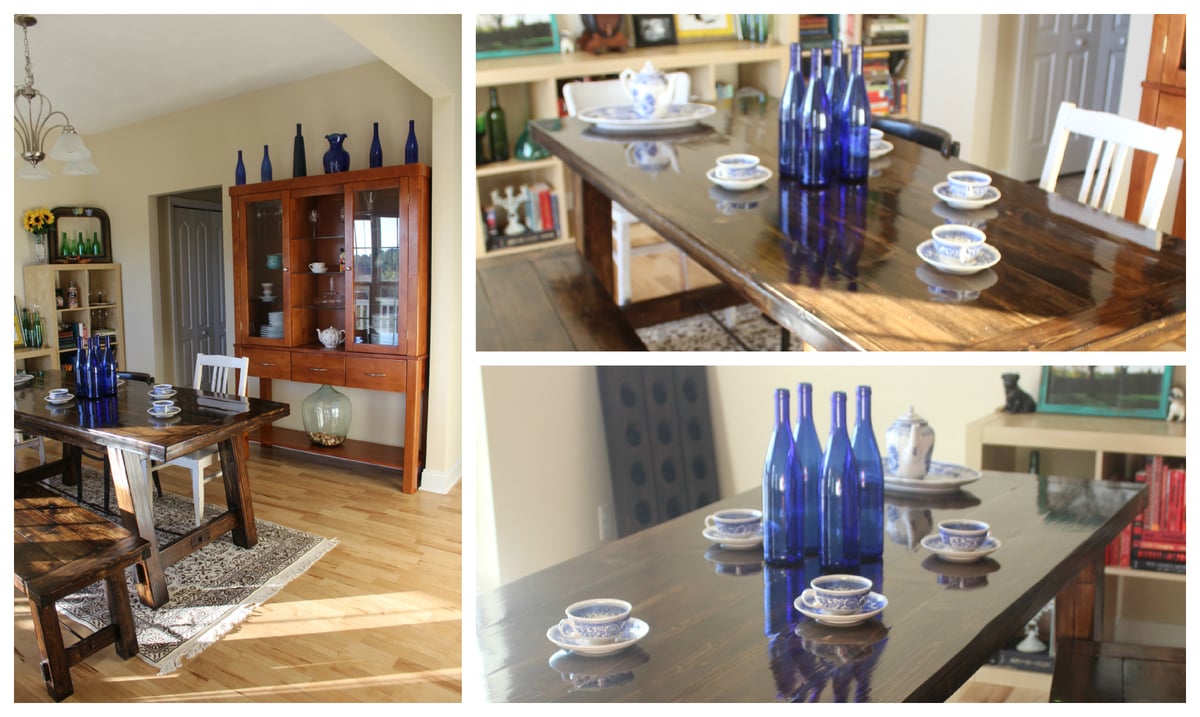
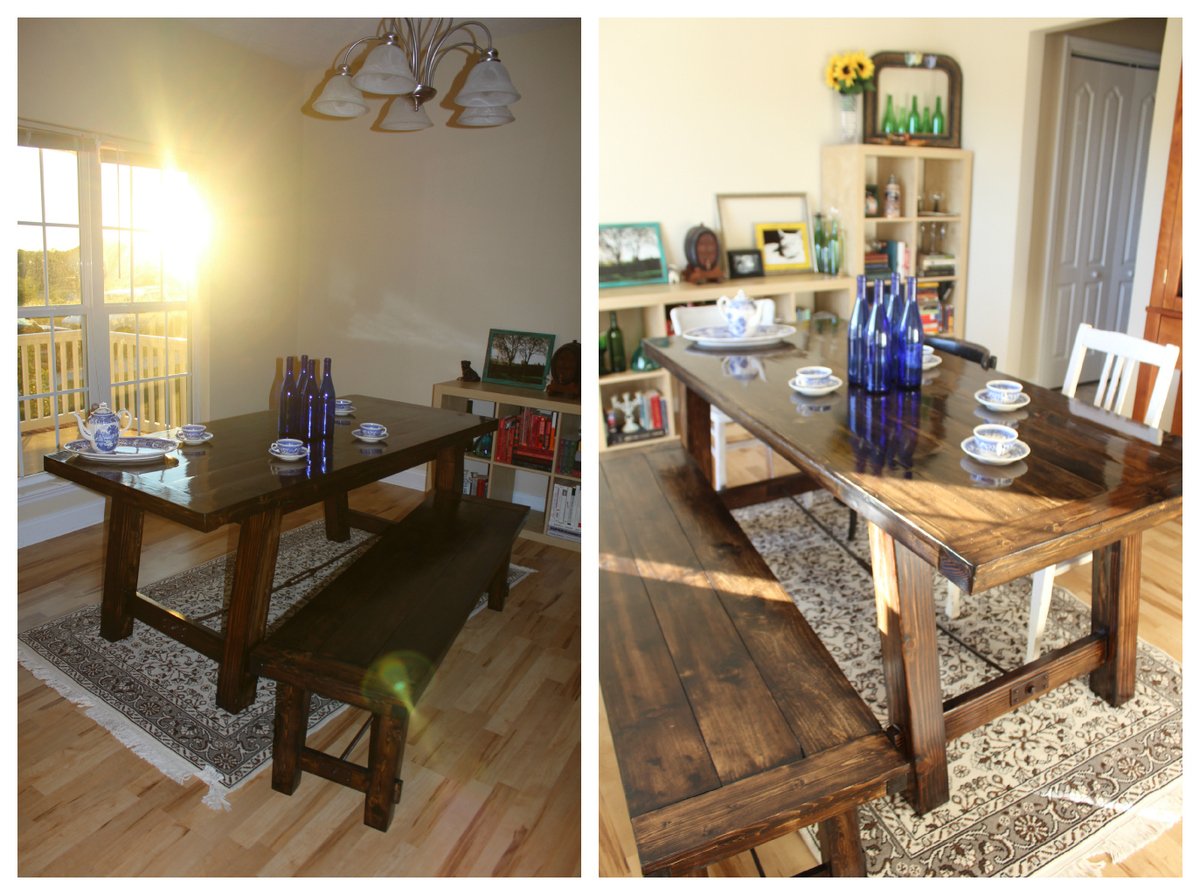
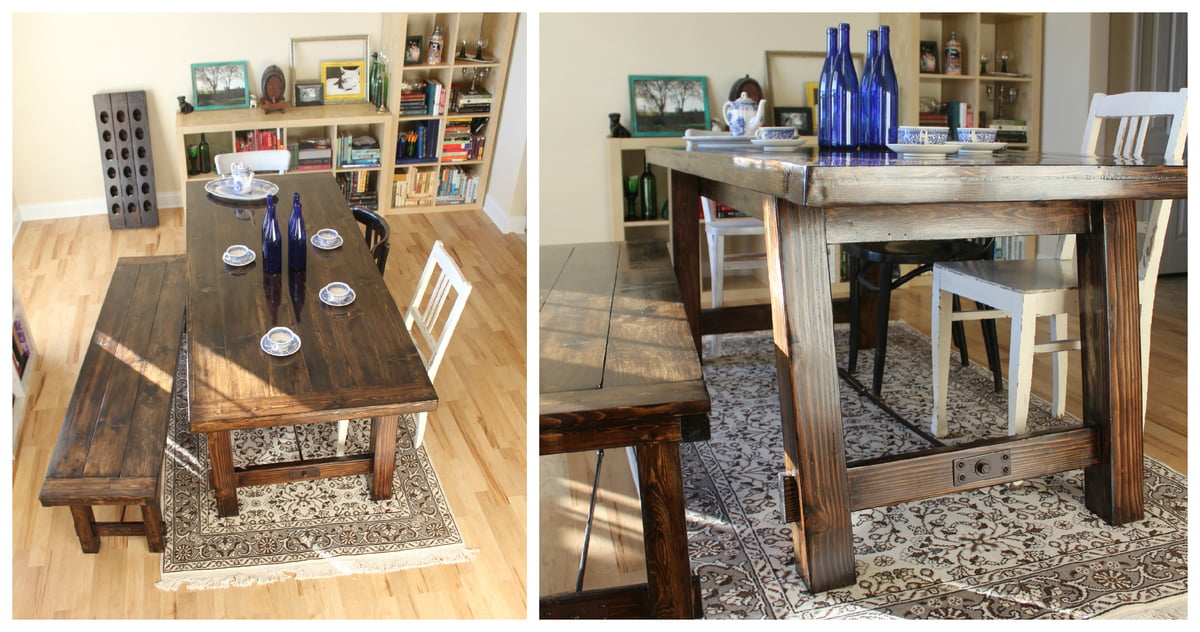
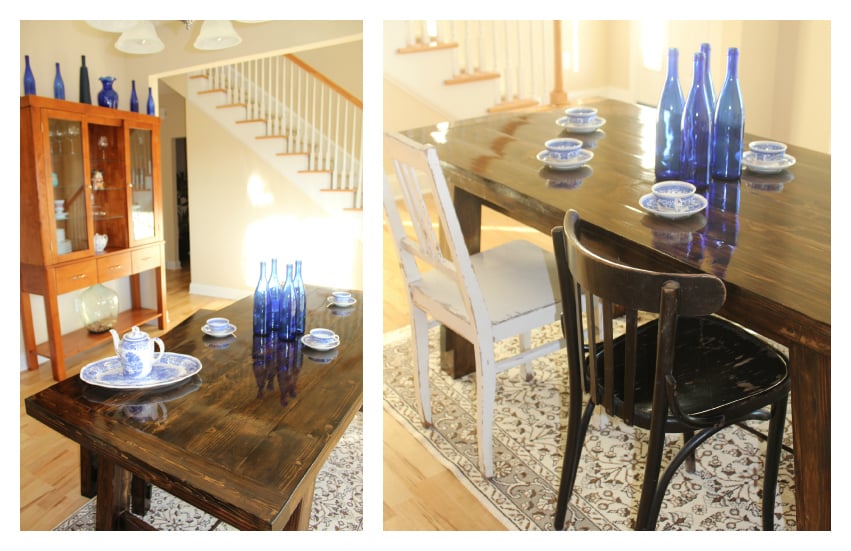
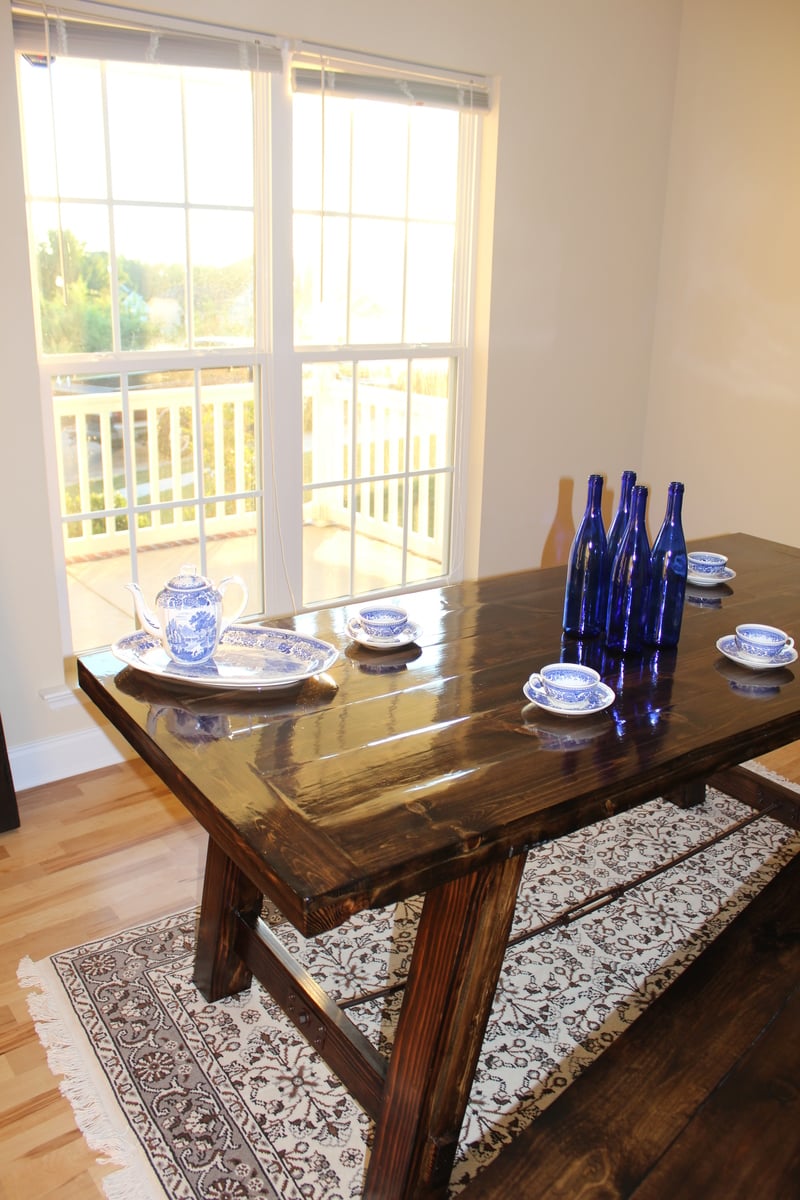

My wife and I saw this exact table at restoration hardware for $3000 and I couldn't see spending that on a table. So I decided to take on this project which took about 8-12 hours to complete, building the table and bench was easy, just took a while to sand and stain. When all was said and done I had about $200 wrapped up in it.
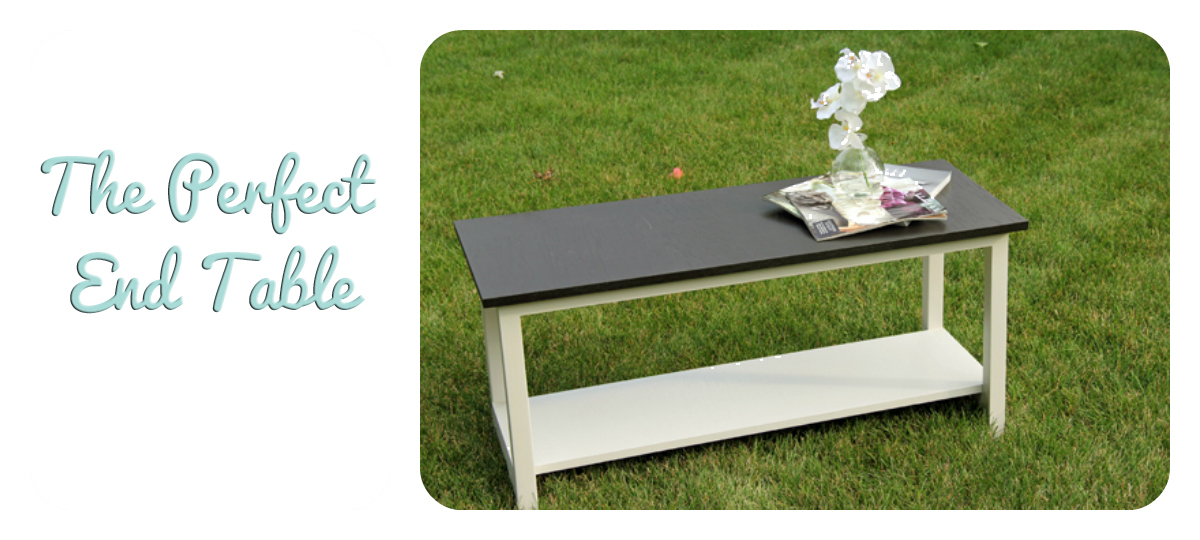
I loved this easy project, and I made it even easier by using a solid pine panel for the top. I also added a bottom shelf to allow for storage. Please see my blog post for details on our size customization, cut list and modifications.

The majority of my builds are inspired by or built for my grandchildren. This was Kayden's first big bed and he was so proud.
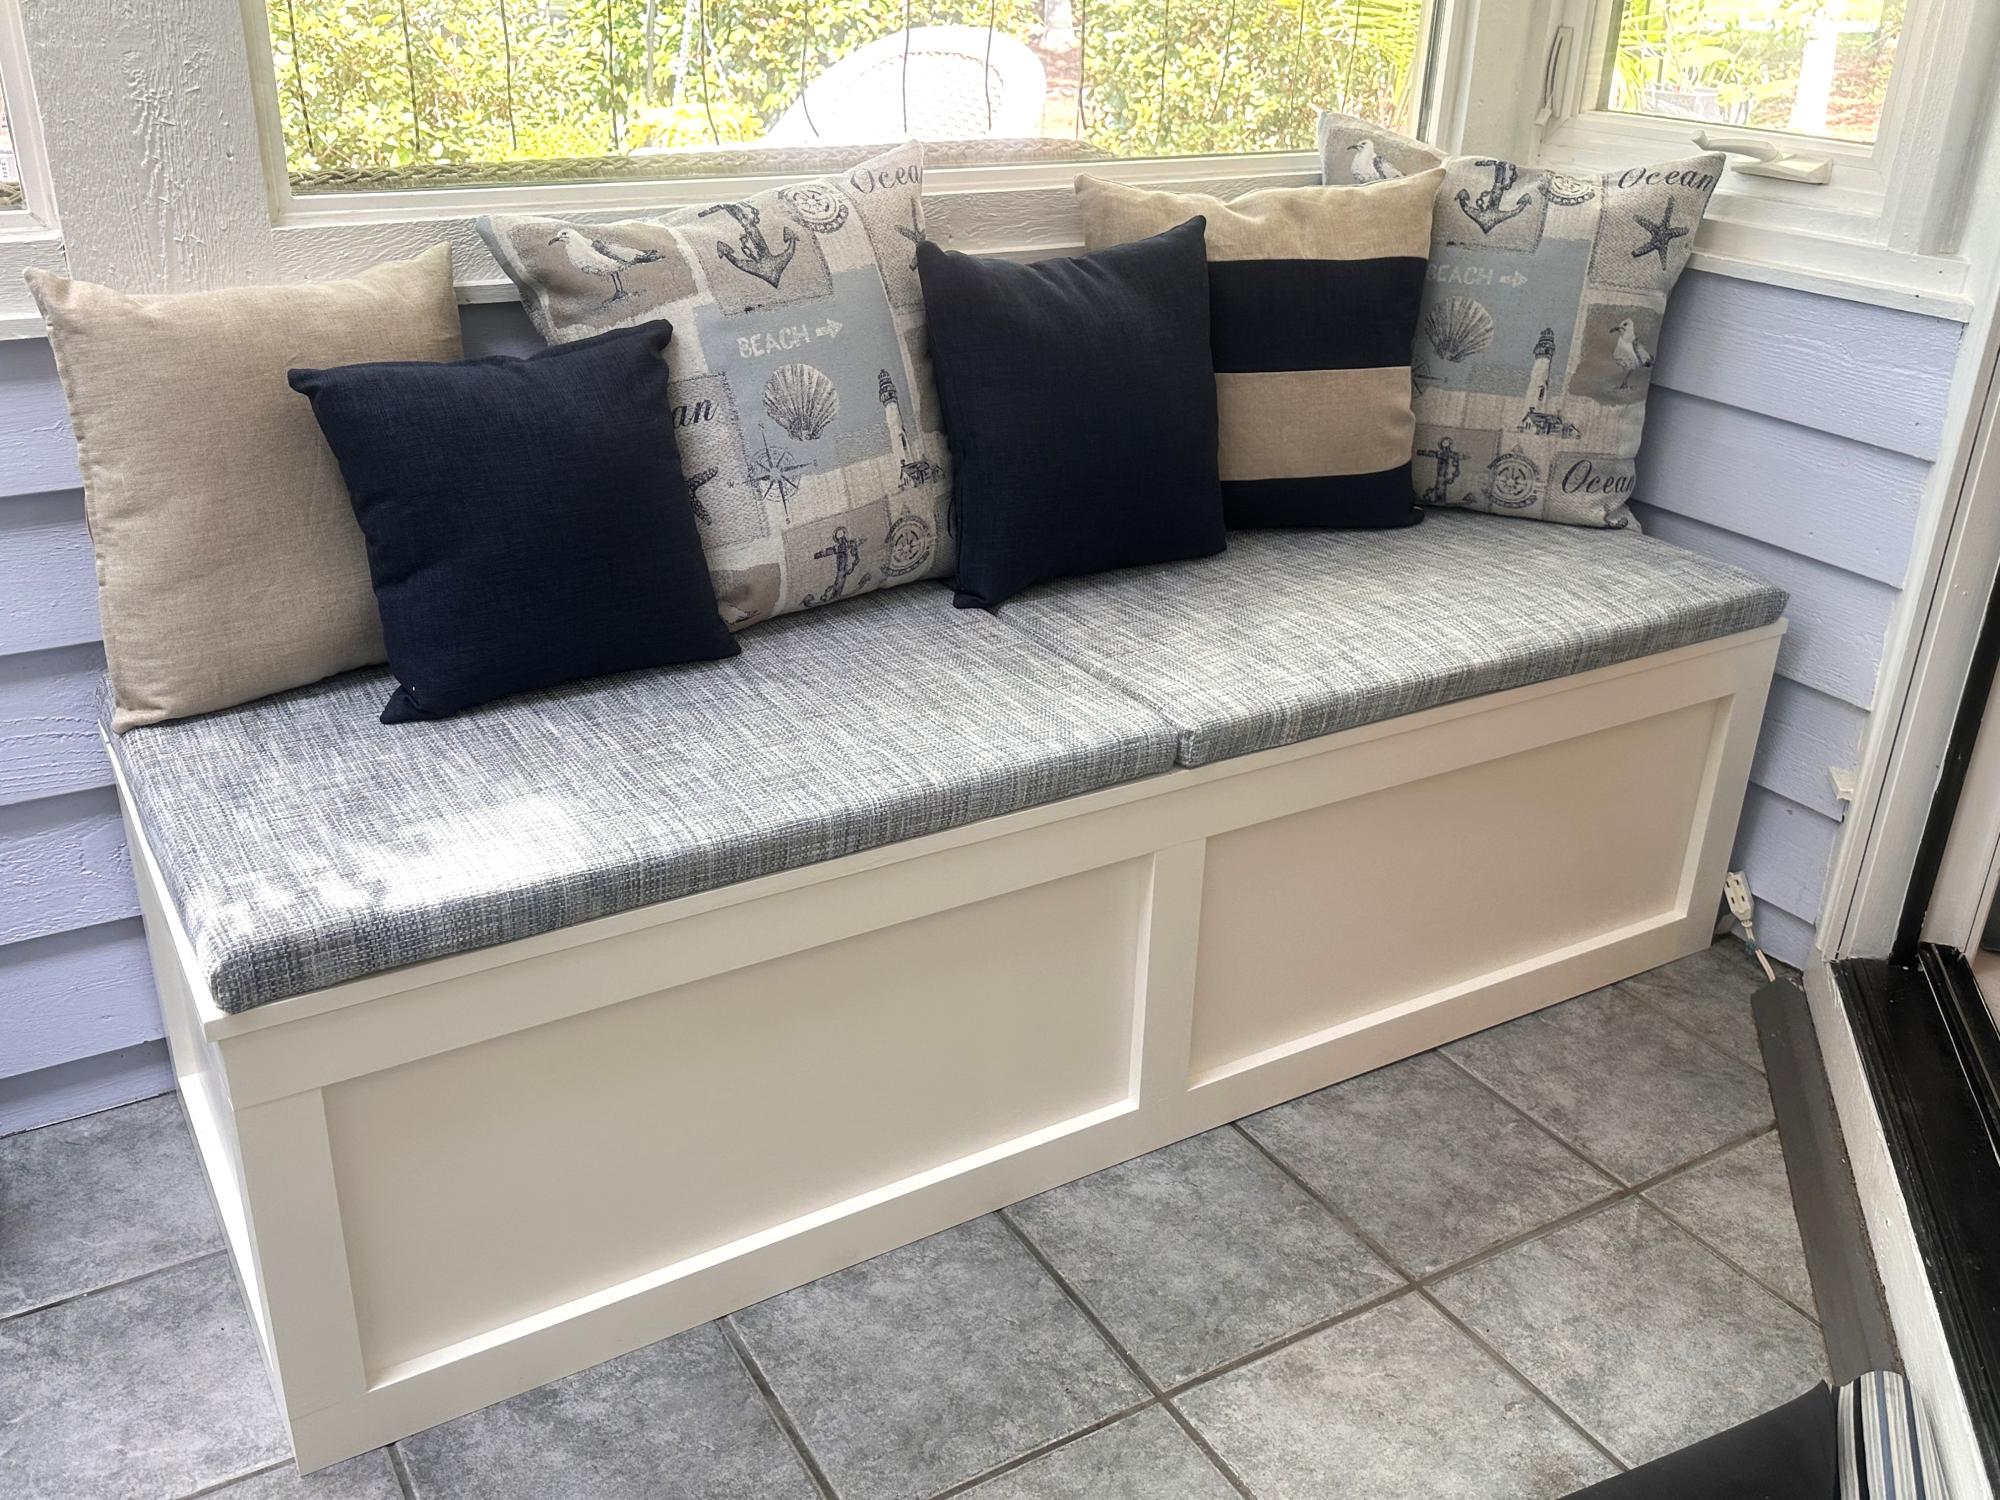
My husband and I used the plans from Ana White’s Banquette bench with a few minor tweaks. We placed our single freestanding(not mounted to the wall)bench in our Carolina room. I also made bench cushions and pillows to make this a comfy place to watch the birds or the golfers out back. It was an easy and fast project to complete.
I built this using a combination of Ana-Whites plans and JenWoodhouse alterations.
I made my tables to fit my sofa so they are only 20" tall.