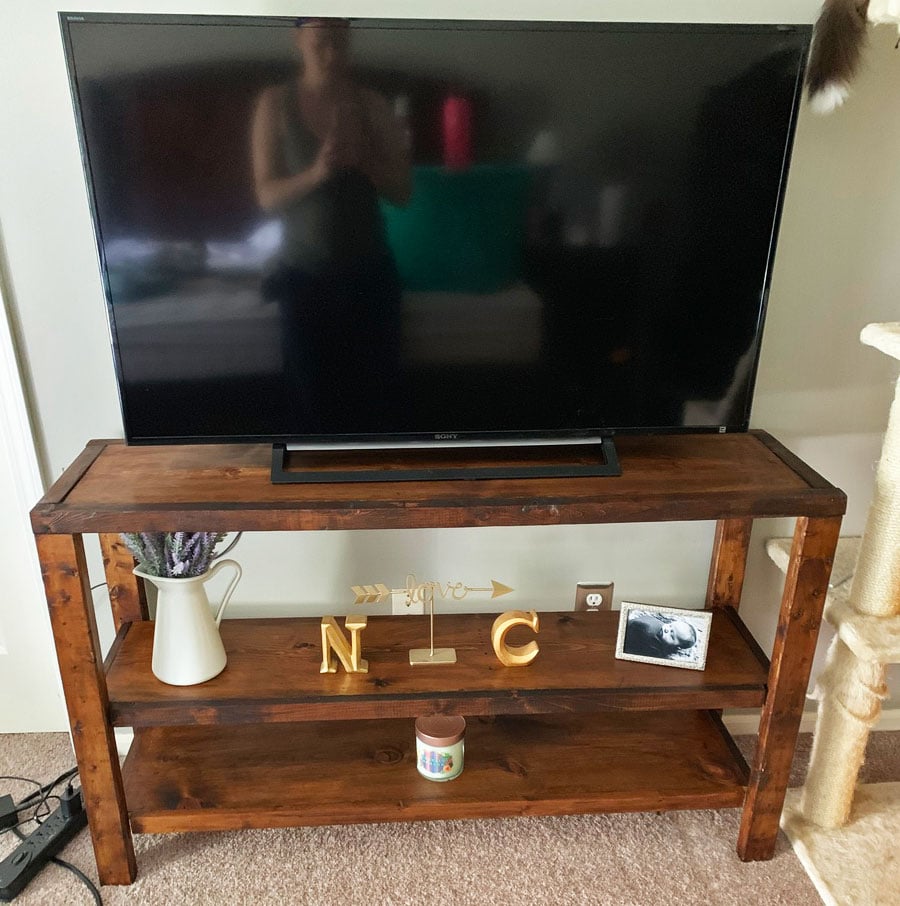
Farmhouse console table
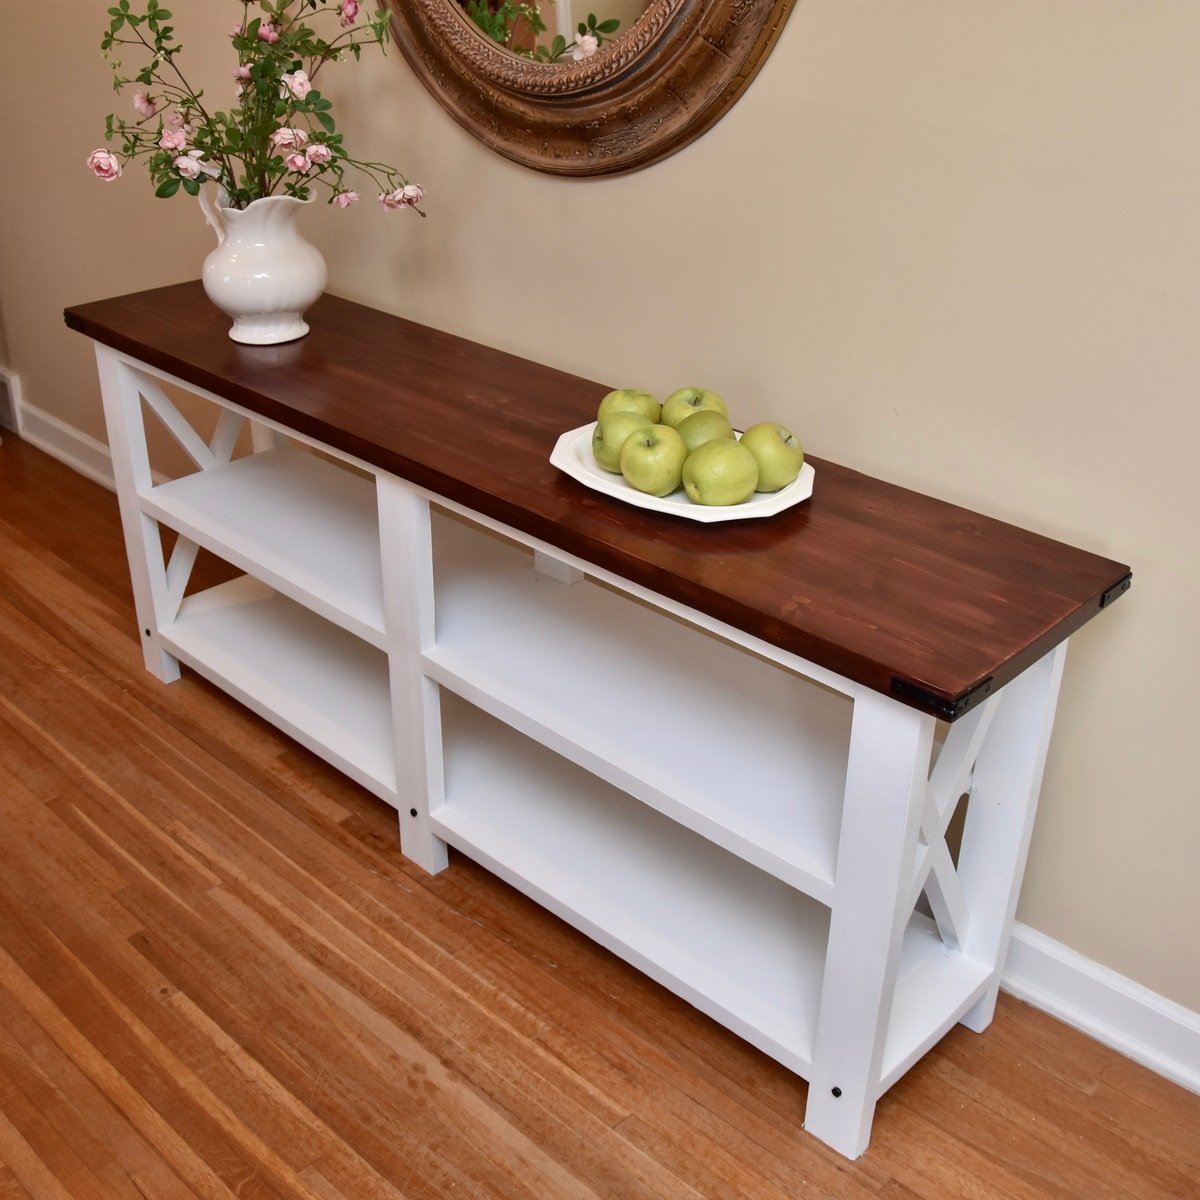
This was my second build from Ana White. If I could learn how to do the finishes better, I could get a table like this done in a few hours instead of a few weeks!

This was my second build from Ana White. If I could learn how to do the finishes better, I could get a table like this done in a few hours instead of a few weeks!
DIY Dry Bar by Brian Pettibone
Plans linked to help others achieve a similar build
My Husband and I built our Farmhouse bed as our 2nd project, out of necessity. Our bed broke, and I was really lusting after a Farmhouse bed, so we took the plunge. 6 months later, we moved and our style changed, so we painted it. I love it even better in gray! The best part of building your own furniture is that you can change it as your style changes!
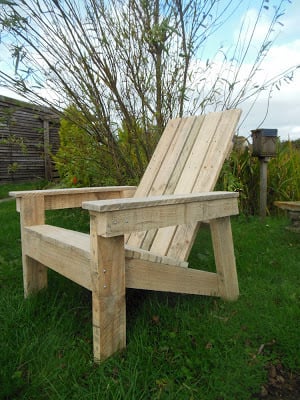
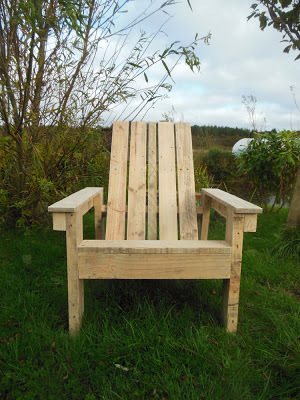
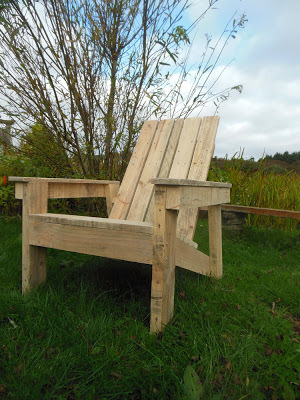
I've wanted to have a go at an Adirondack chair for ages but never had the wood available - I refuse to buy wood for ANY project so I had to wait until some came along. We had heaps of pallets delivered FOC so I dismantled them and had the perfect sized wood for the chair.
Because I used pallet wood there's the odd nail hole etc but each piece was sanded down with various grit strengths until I had the wood as good as it was possible to get it.
I did have trouble with the plans because some of the dimensions did not fit for the size of wood they stated to use but no one else has said they had any problems so I'm guessing the issue was down to me and not the plans. The main sticking point for me was that I had to use a 2" batten in the centre back because the dimensions given for the stringers did not allow for the right number of 4" wood to be used.
This project was the practice run though and so I will make some more with a few minor adjustments to the dimensions. I would also recommend counter sinking the screws (I pre drilled also which makes for an easier finish) and next time I will give each piece one coat of paint/stain/finish before assembling - these images show my unpainted chair and painting in between all the slats was tedious.

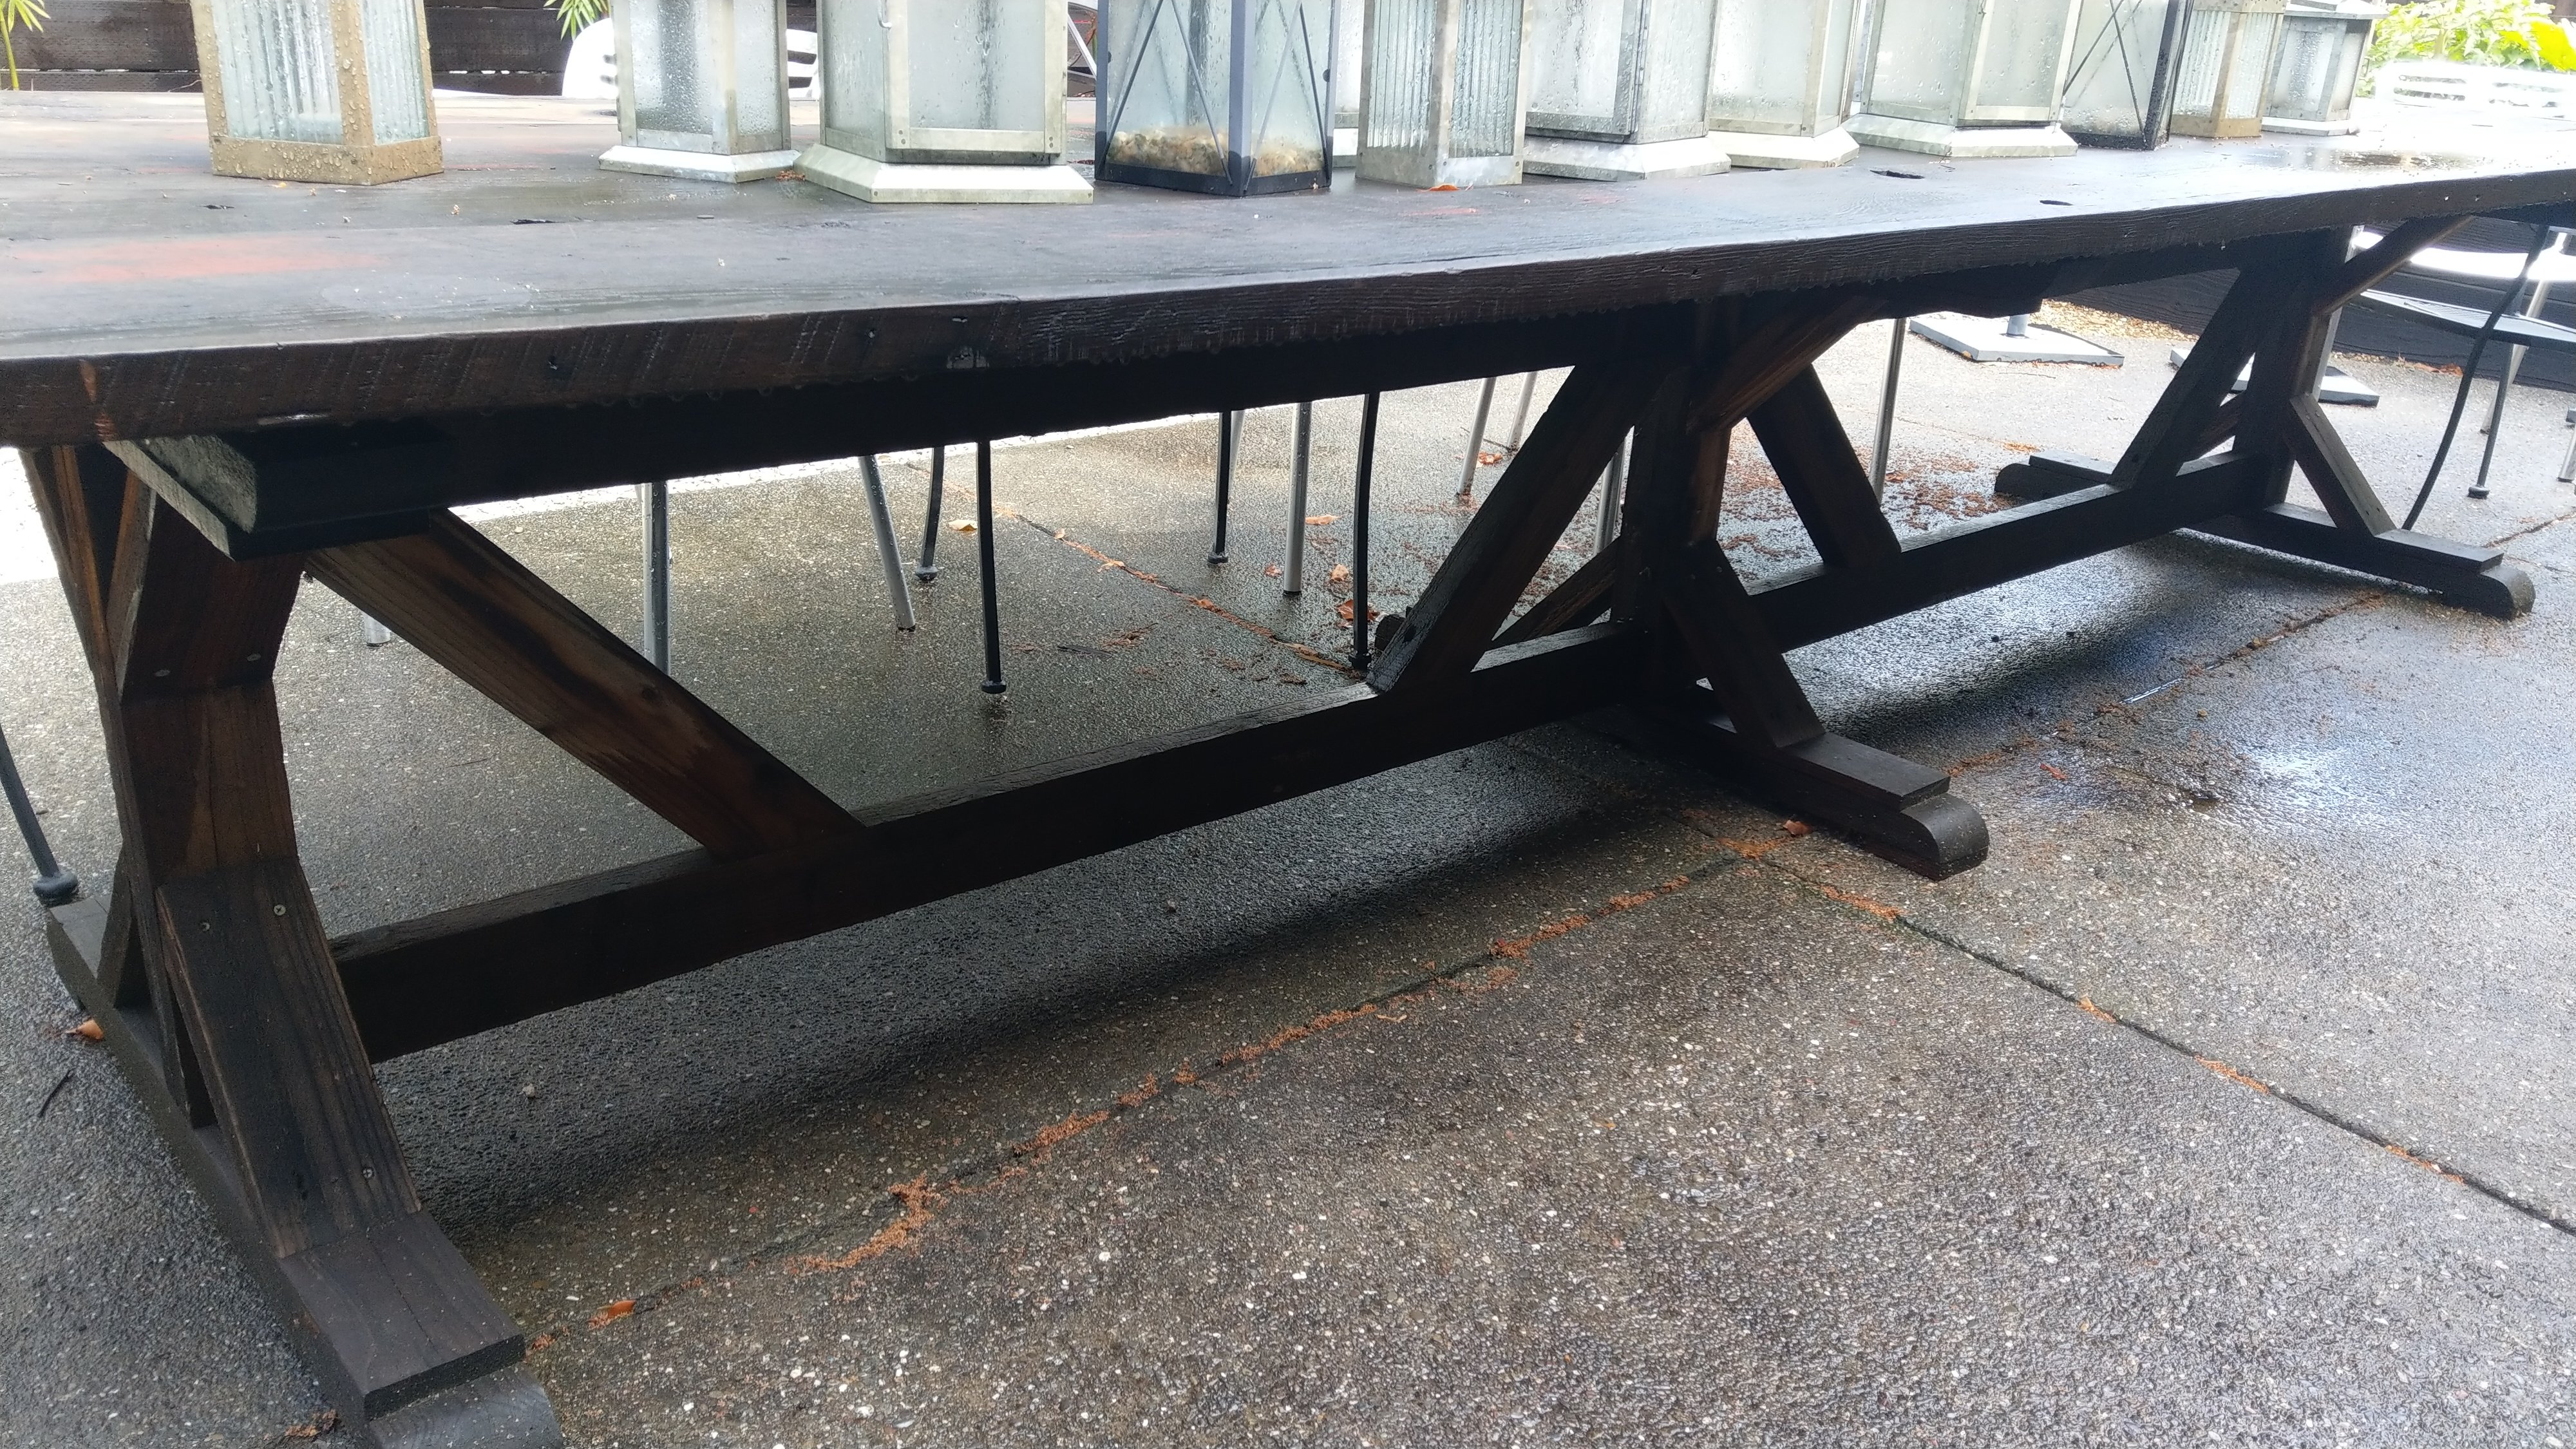
I combined two plans to make this and added my own touch to it as well. I am 6' 4" and wanted a taller table but I really like the farmhouse table. I found 35" turned table legs at Lowes that worked perfectly. I also found these really cool 2'X4' butcher block style spruce panels that worked great for the table top. I pocket holed 3 of them side by side to get the size I wanted. I built the frame out of 2X3's and trimmed them out with some molding. I had seen people blowtorch tables before and I thought it would look really good. I added the stain afterward to darken the color and it came out awesome. I painted the legs and frame white to match the trim and cabinets in my kitchen.


Wed, 01/06/2016 - 10:12
That is a great idea for the table top - using the panels, I mean. I never thought of that as an alternative to the long 2x boards. Great job!
Sun, 01/24/2016 - 12:46
I really aprriciate your comment. It was really easy to use the panels and it also eliminated the amount of pocket holes needed. It also made it alot easier to get a smooth and flush table top. The only downside is you typicaly want the wood grain to run the length of the table. Given the size of the panels I had to run the wood grain the other direction. I still like it but some wouldn't because of that reason.
This was a challenge for me, since those 2x6 top boards were slightly twisted and or cupped. I love the X detail and that was fun to put together. I found some "L" brackets and spray painted them for the ends. I stained all the wood first, before assembling.It's a gray/brown stain, one of my favorites. I decided to white wash over the stain doing all of table except for the top. I used a wax finish.
Love it, many times my ukulele, mandolin, banjo and fiddle are all tucked away underneath.
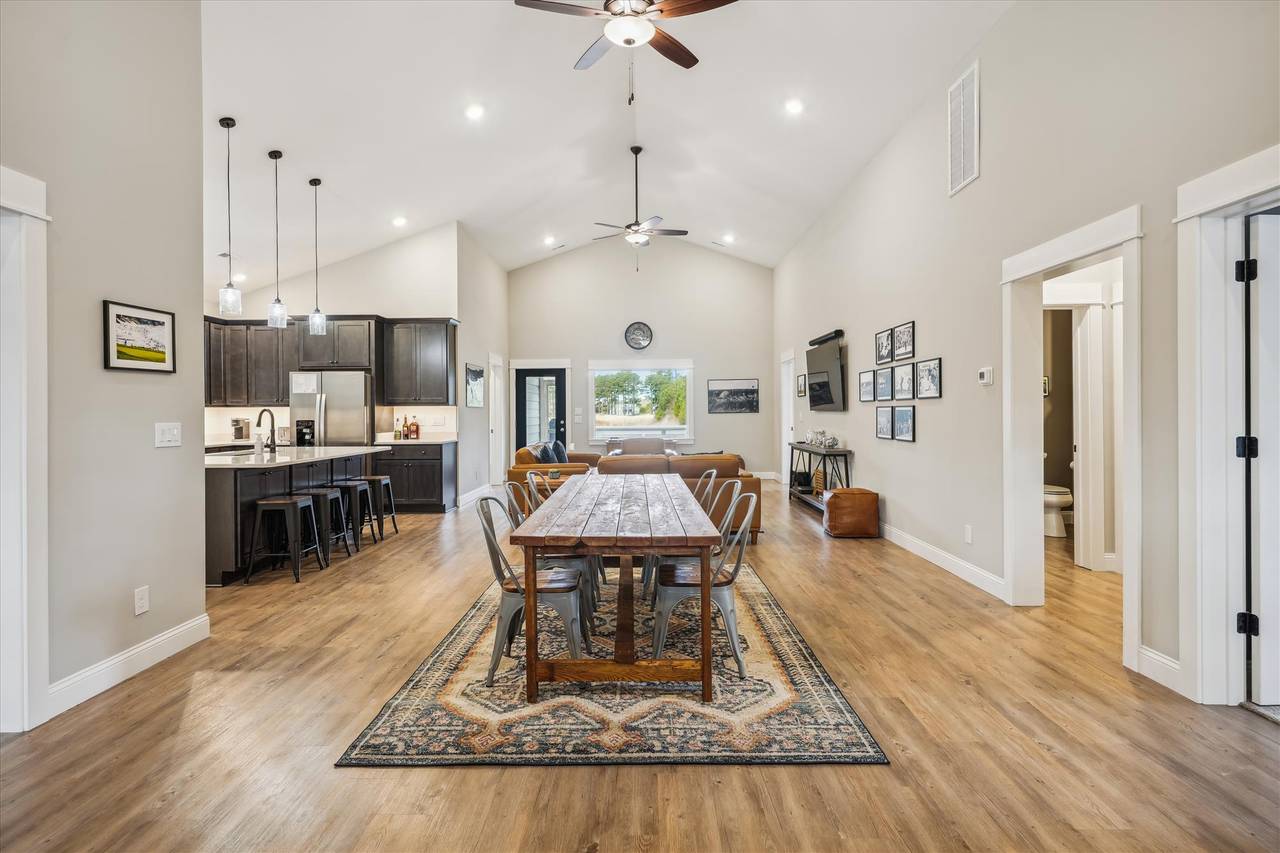
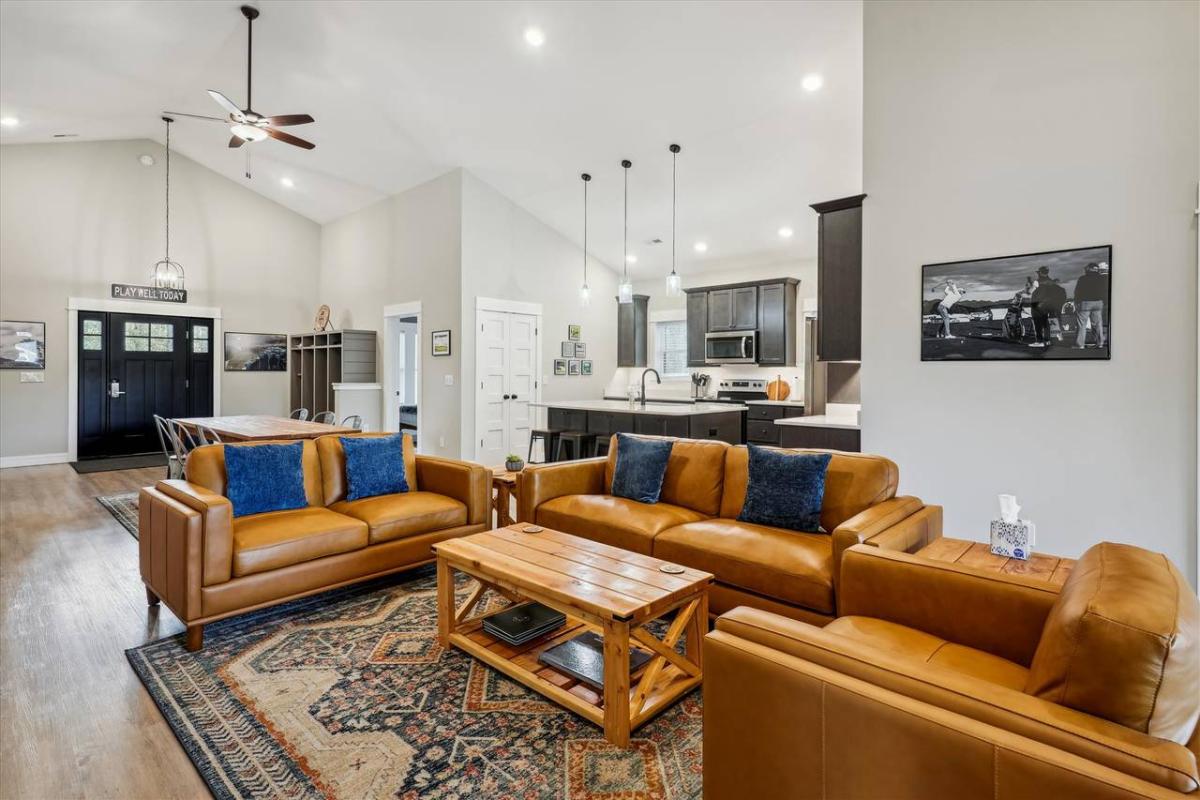
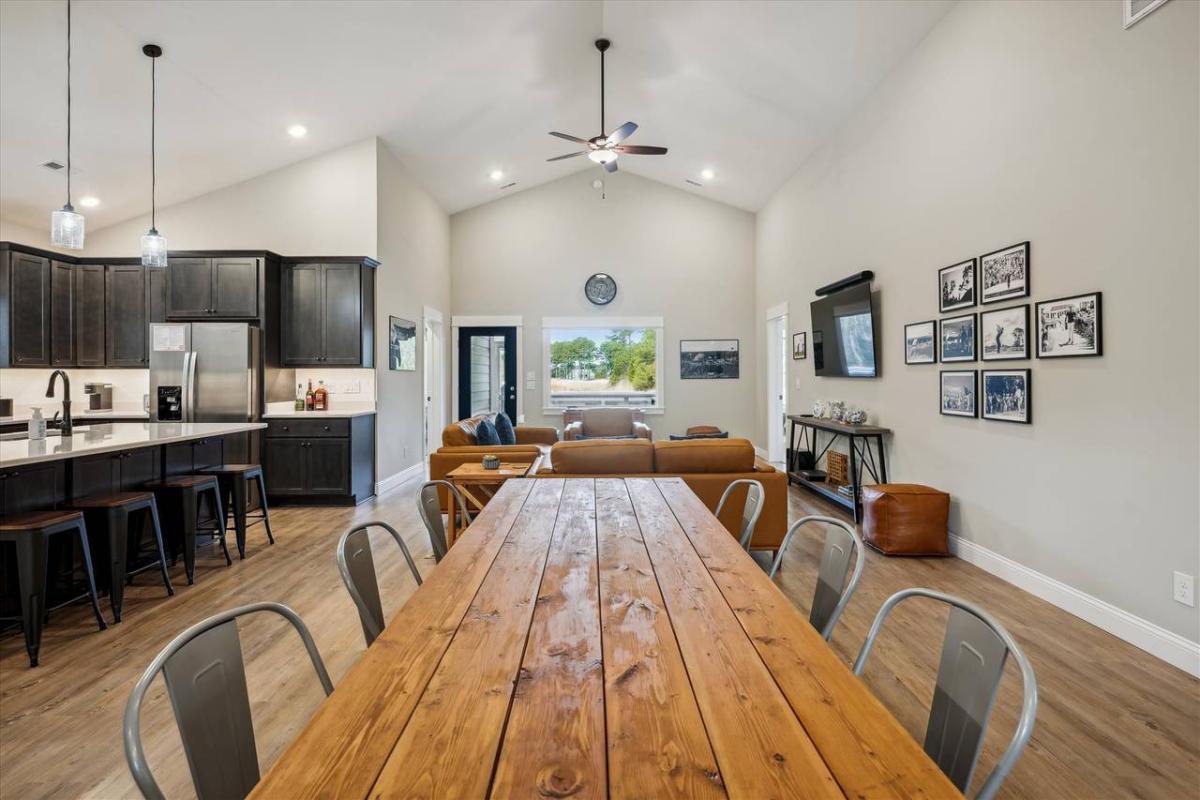
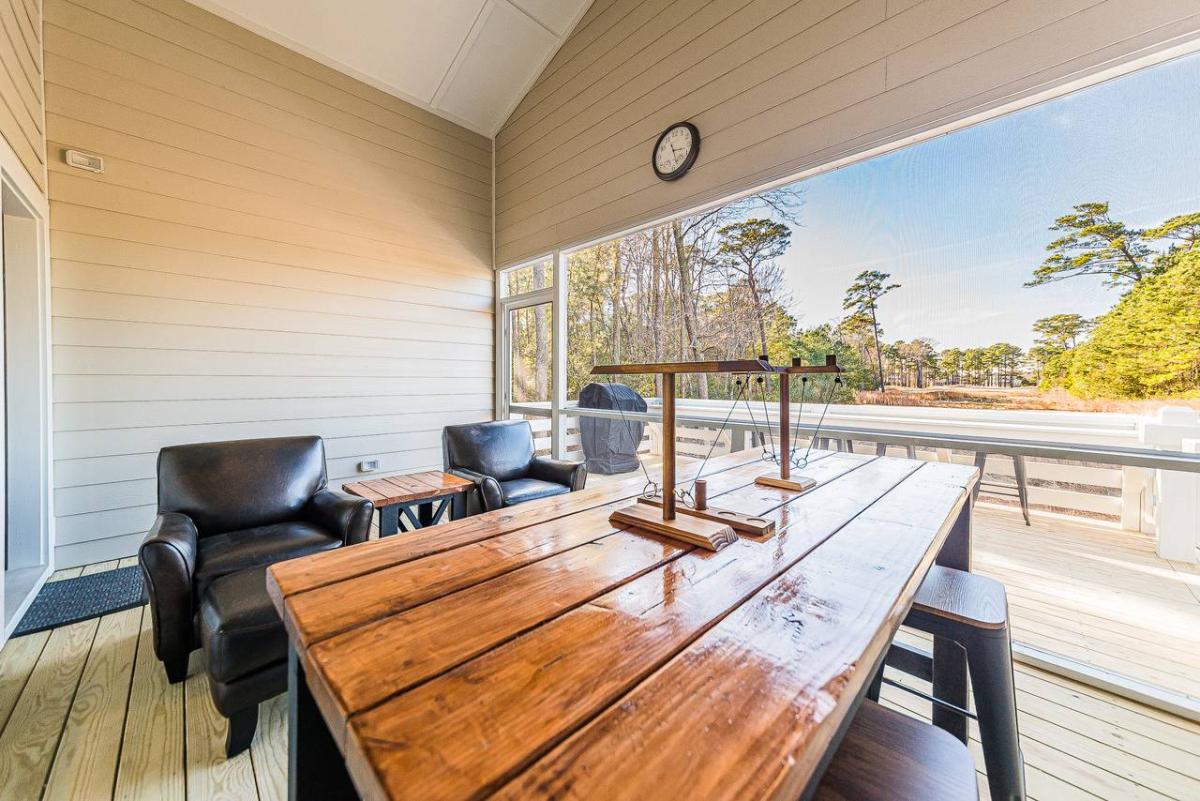
While my vacation property was being built I got hooked on Ana’s plans. Farm table, followed by coffee and end tables and finally a fabulous pub table.
Can’t wait to entertain.
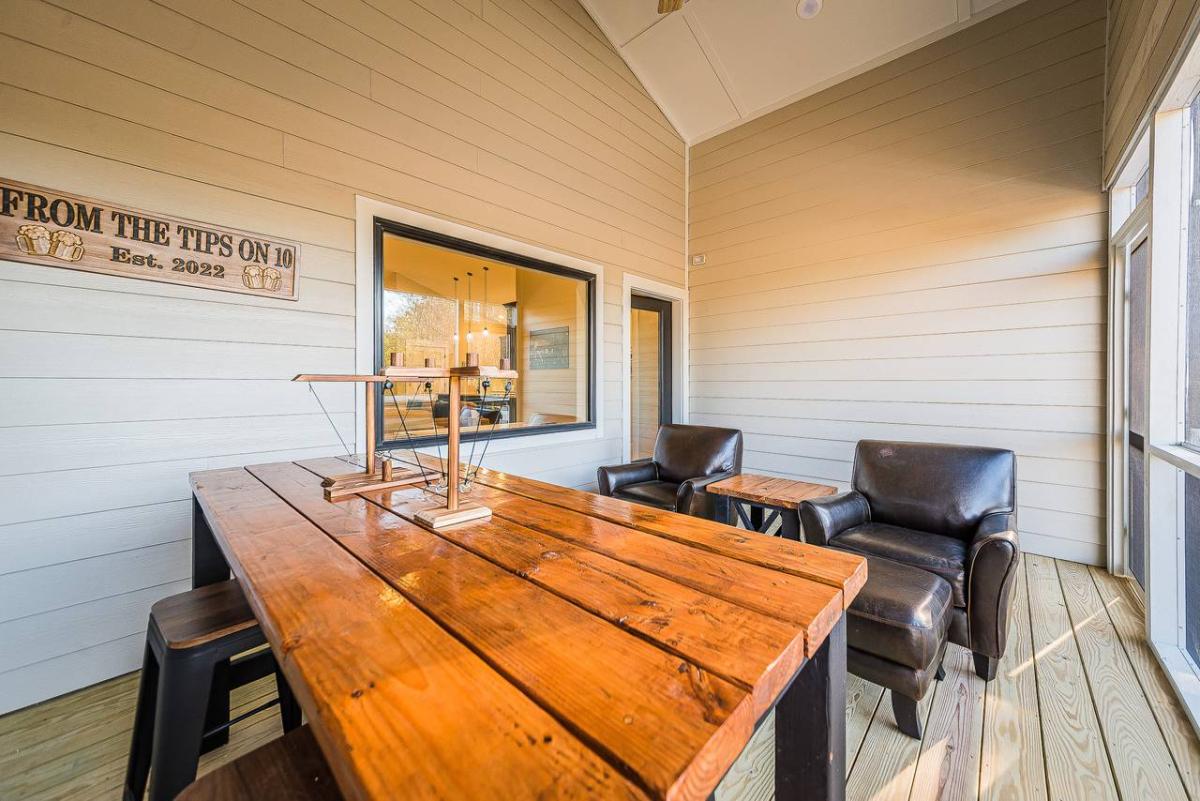
Fri, 02/24/2023 - 09:11
WOW, these are amazing and look fabulous in the space! Thank you for sharing.
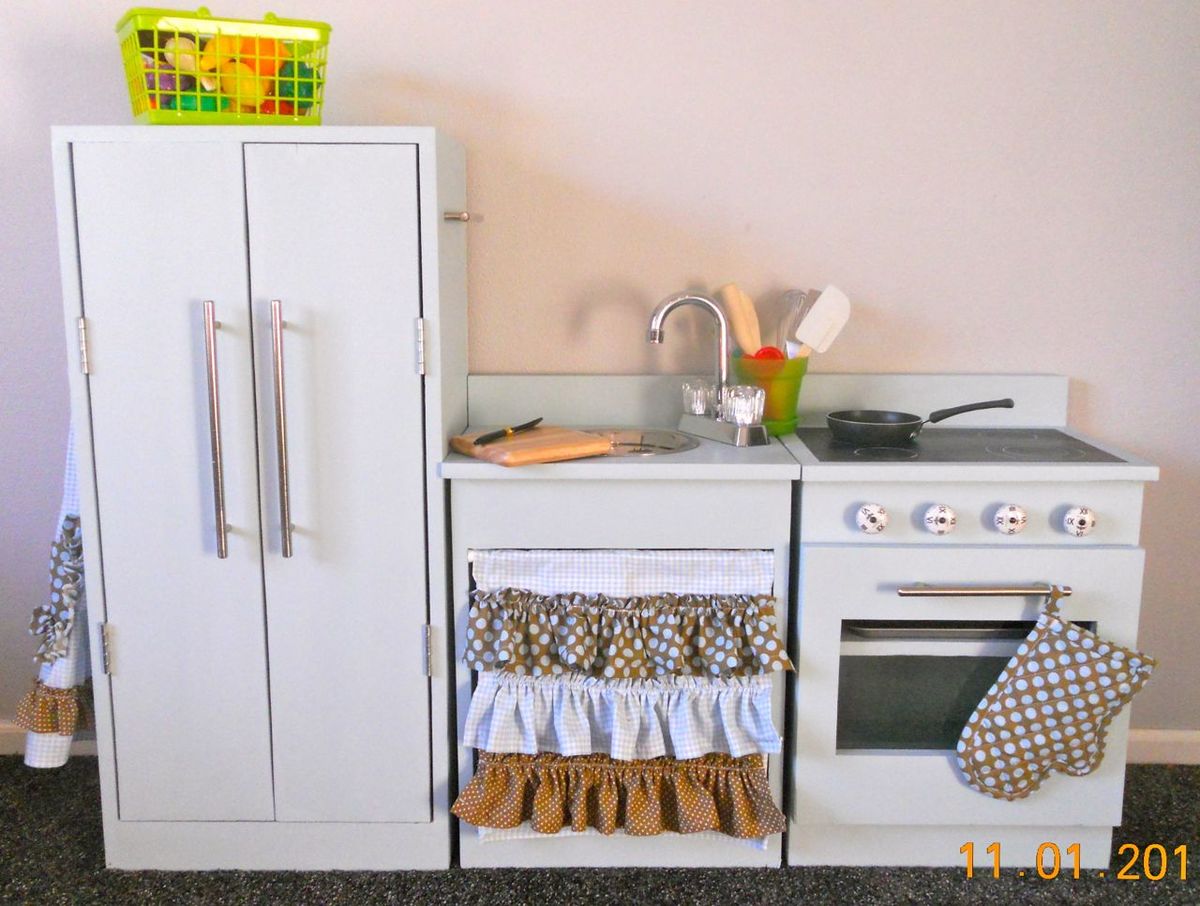
Thank you so much Ana for posting these plans for us! A huge thanks to Crafting Chicks for some artistic inspiration, too. I referred back to the "original" many times in order to make mine as adorable at theirs!
I've been planing on making this for a year. When I finally decided to start building I was, as always, surprised at how quickly it went together and how simply. The finishing details is the most time consuming, but also the most rewarding. I'm in LOVE with this thing. It will be auctioned off at my childhood elementary school. I hope whoever goes home with it will enjoy it for generations! I wish I had time to blog about all the details for those of you that are interested! I'll be happy to share my finds, experiences to any questions posted.
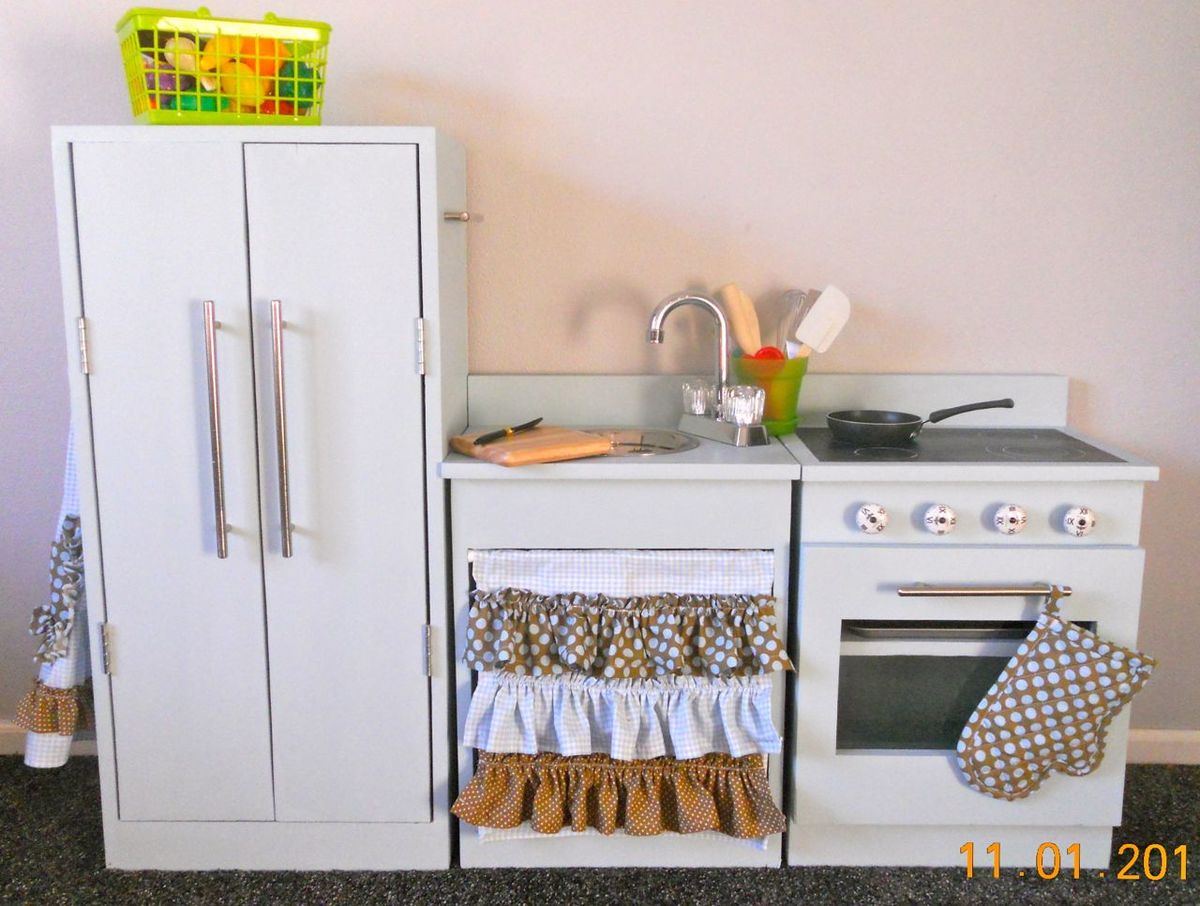
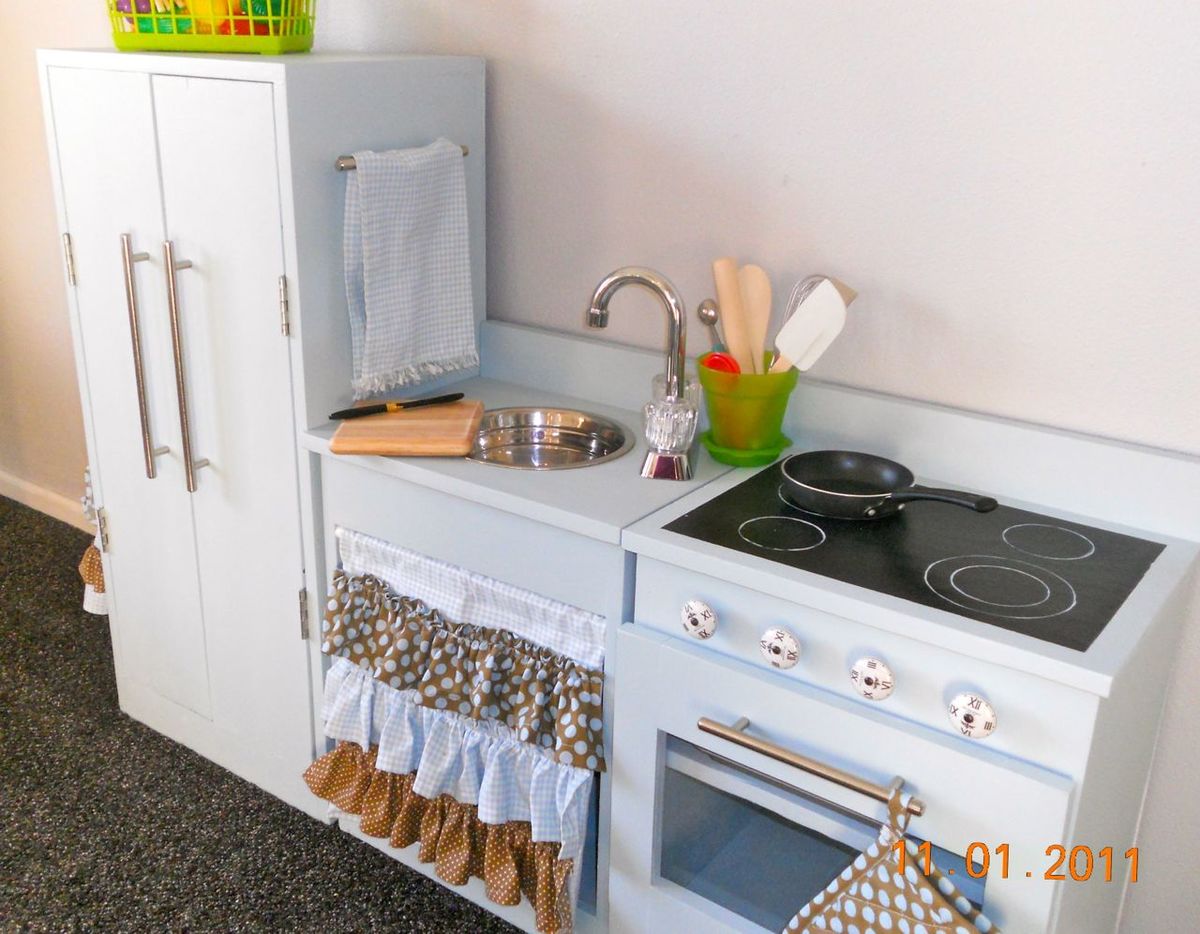
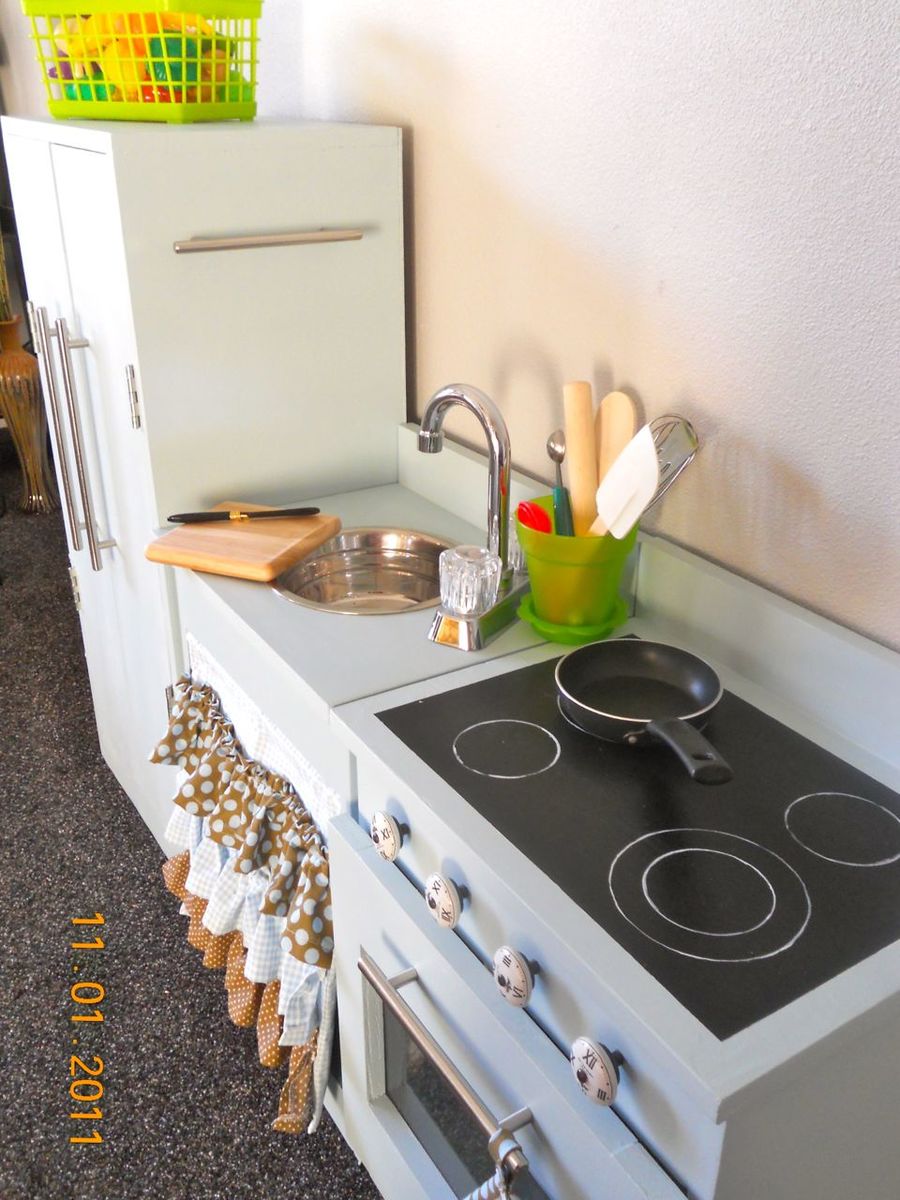
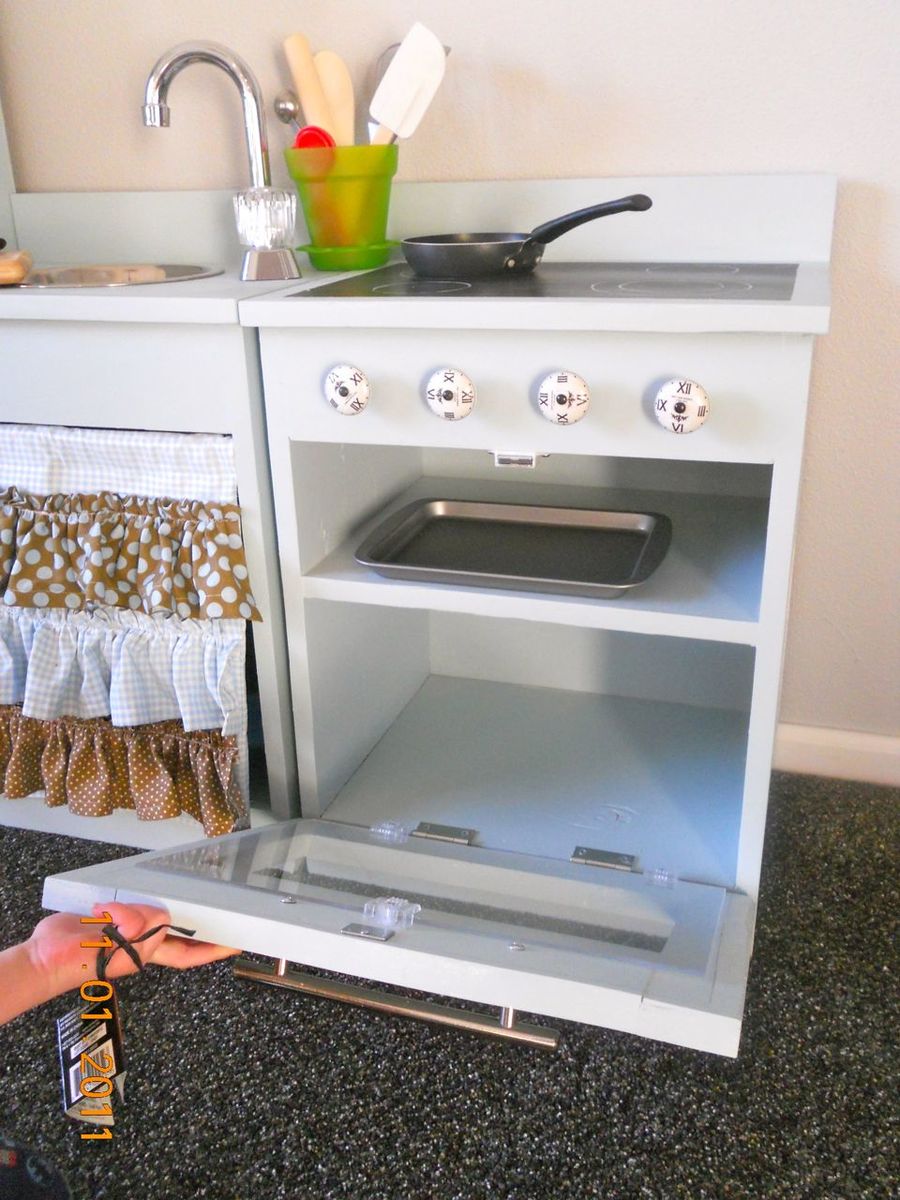
Thu, 11/03/2011 - 08:03
I like how you painted the top of the stove, very orginal, great idea!!!
Thu, 11/03/2011 - 08:06
I like how you painted the top of the stove, very orginal, great idea!!!
Fri, 12/09/2011 - 06:26
Love this!! I am currently in the middle of building one for my daughters. Can you tell me where you got your faucet for the sink, and the knobs for the stove?
Fri, 06/22/2012 - 21:58
Hi there,
I know you said that you are going to auction your gorgeous little kitchen you made and was interested how I can bid on it or buy it if possible. I would absolutely love this for my little girl.
Are you at all planning to make more as I would definitely be interested.
Thanks
Diana
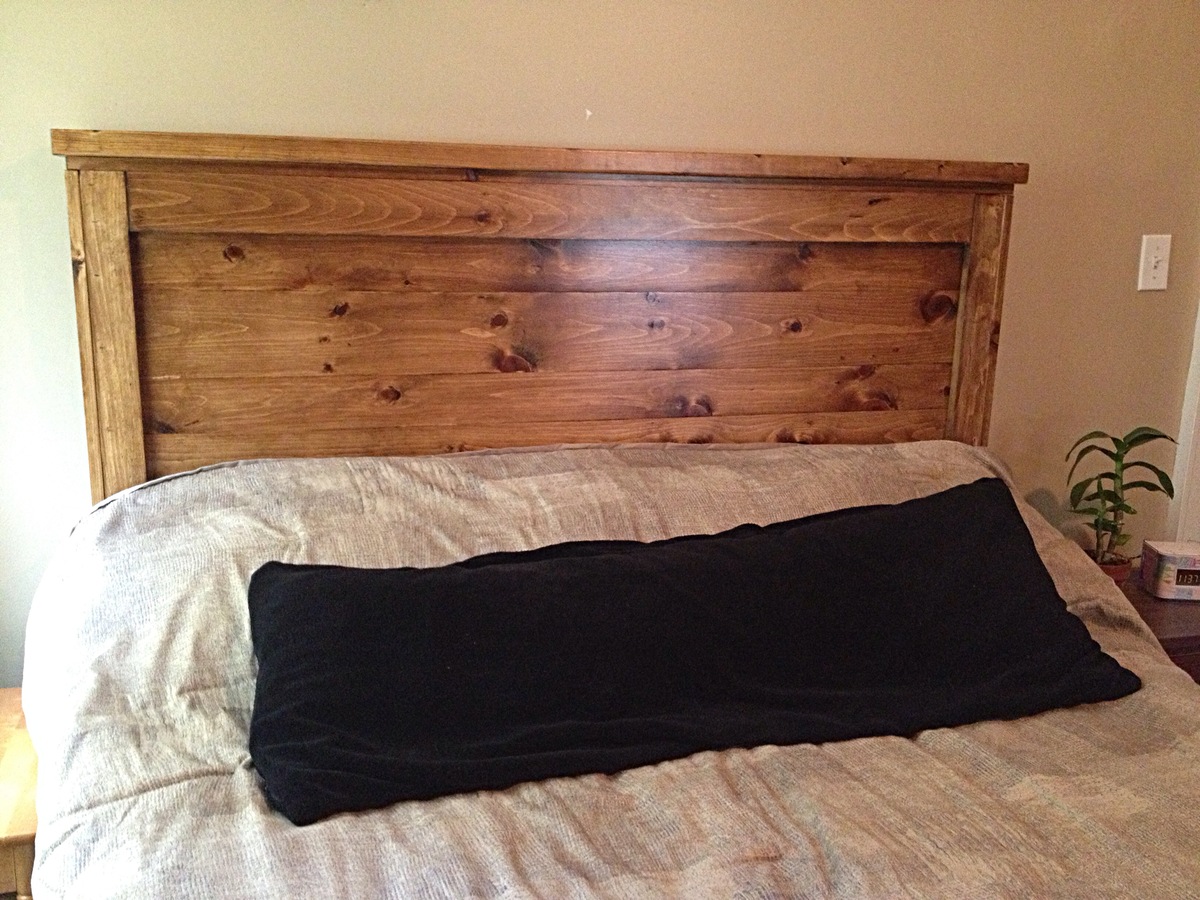
This was my first big project I've ever done. It certainly didn't come out perfect, but man, was it easy. All wood (select white wood) was bought at Lowes and was around $80 for all the lumber. There is 3 coats of Minwax Provincial 211 and 4 coats of Minwax fast drying poly.
I had everything cut and put together in 3 hours. Its the staining and poly that takes the time. I've been asked to make some more for family and friends and can't wait to get started.
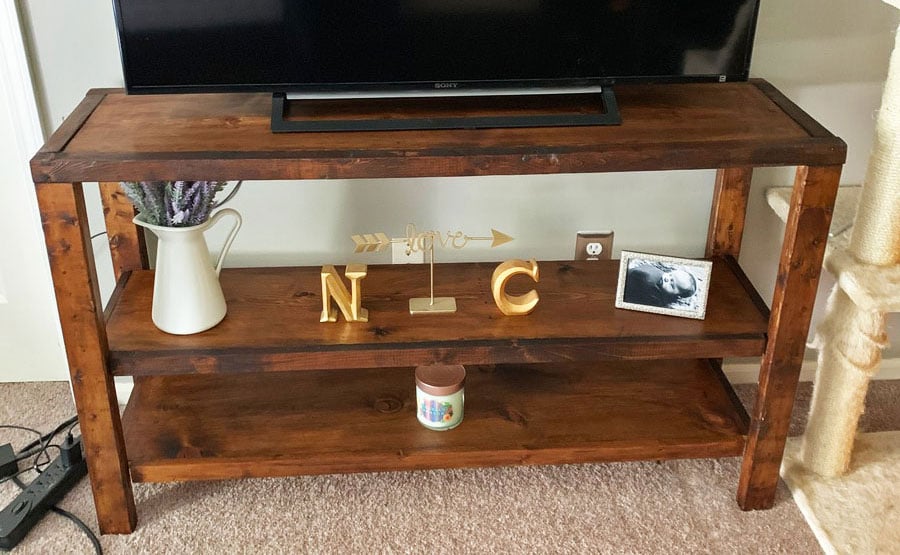
This my first woodworking project. It is far from perfect but turned out okay!
Sat, 05/04/2019 - 13:43
Love it! This is gorgeous, what a great first project.
Thank you for sharing a brag post, we appreciate it!
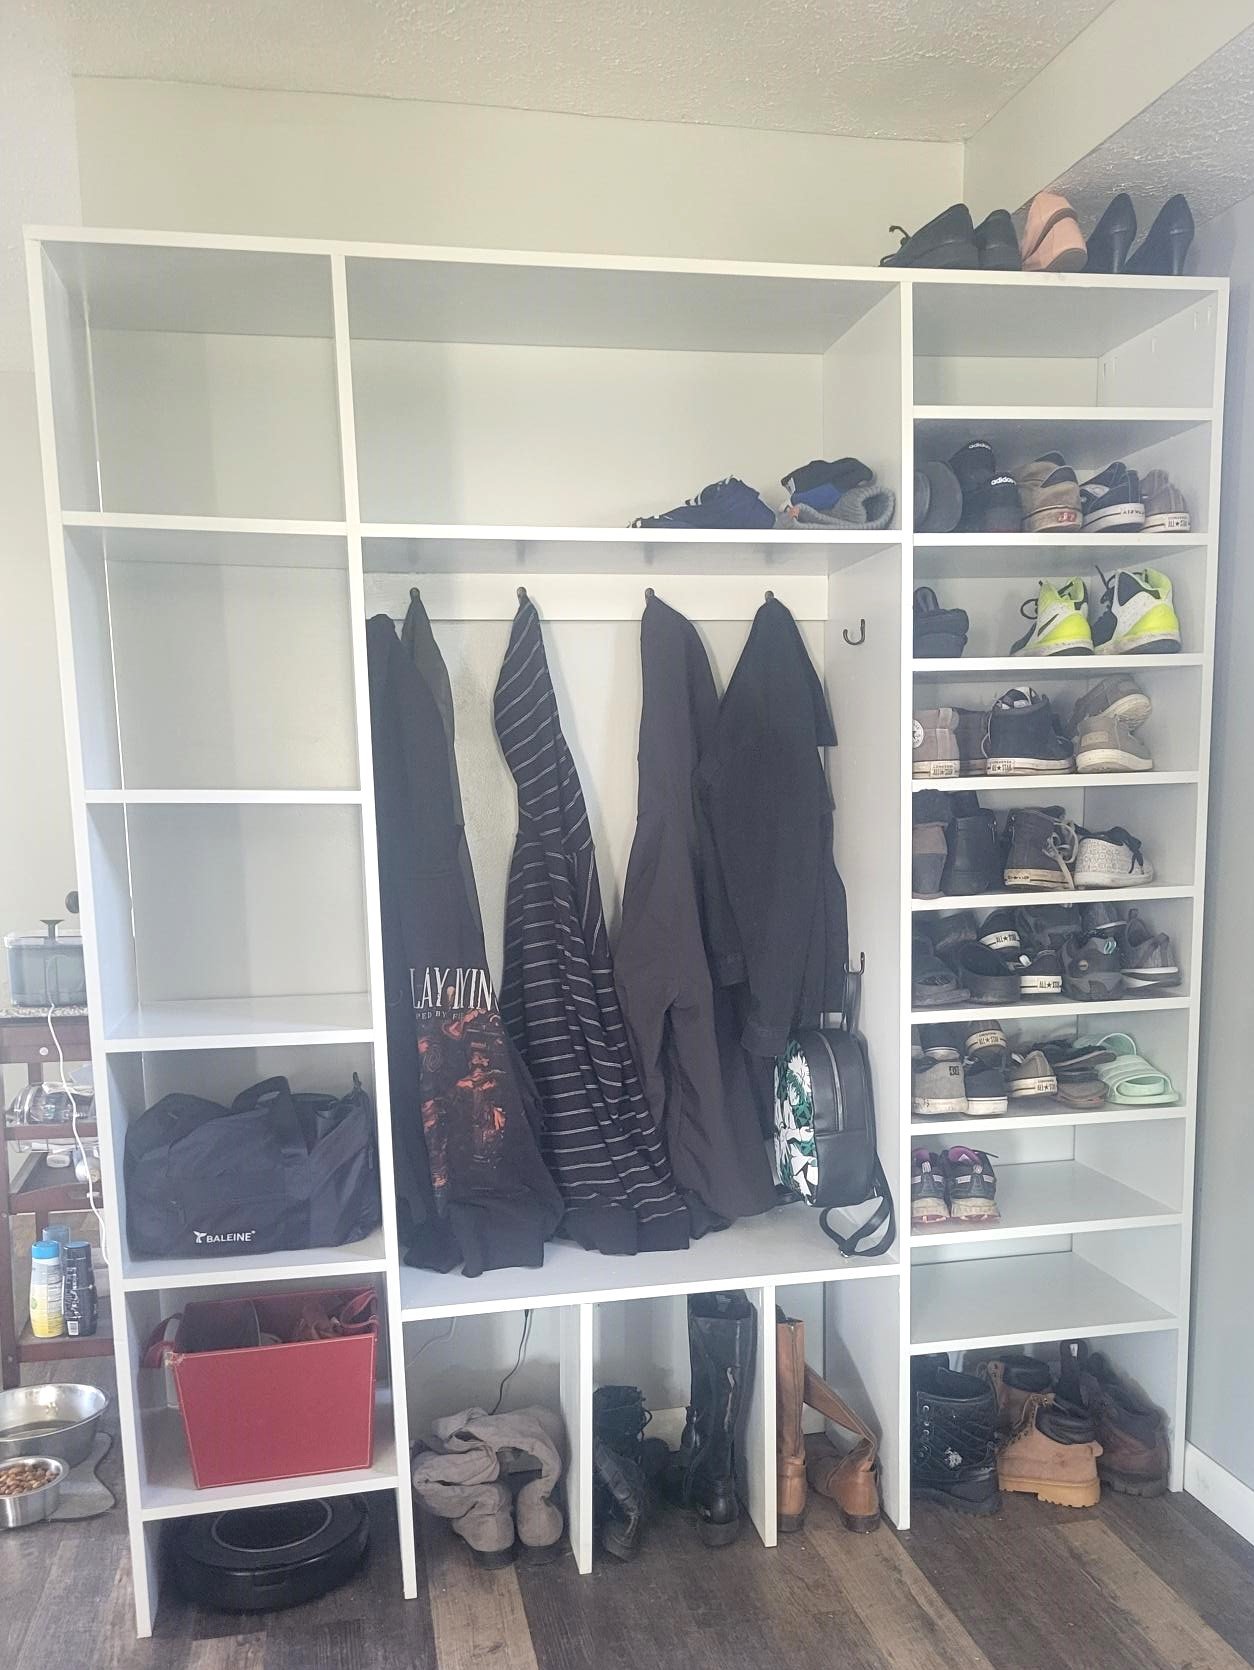
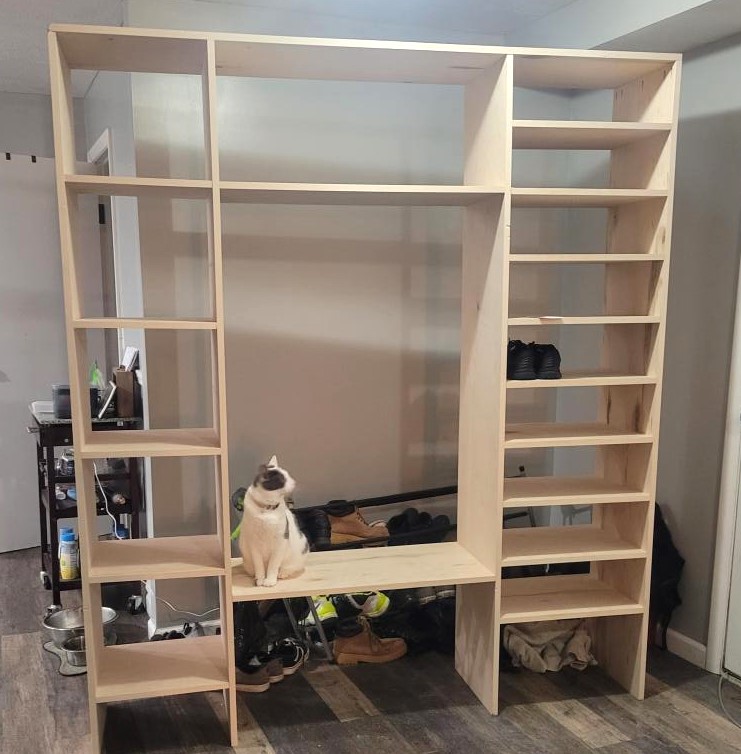
Used this app to build a custom nook for shoes and coats. Its been fantastic and super easy to put together!
Sun, 02/26/2023 - 16:29
Great custom solution! Thank you so much for sharing your awesome project.
This was my very first project. I really like simple, rustic, boxy furniture. Modified the original Tryde side table plan to include additional supports near the bottom of each side. I will be sure to NOT use clear gloss poly on future projects. Way too shiny for my taste. It was leftover from some wood flooring that I refinished, so I took the cheap way out. Cut and assembled it in about 5 hours. The sanding, staining, finishing took me forever. I learned a lot though, and will probably cut that time in half next time.
Mon, 11/07/2011 - 06:31
It looks beautiful, but if you want to tone down the gloss just sand with extra fine steel wool or sandpaper (400-600 grit). This will give it a satin (not semigloss) finish.
Mon, 11/07/2011 - 08:10
Thanks Claudia! Good tip, I'll try that. On future projects, I think I'll do a little more distressing and experiment with layering a couple different shades of stain, but overall, I'm happy with it and look forward to doing some more.
In reply to Instructions? by Guest (not verified)
Wed, 12/28/2011 - 09:38
It's right above on this page where it says "From plan" - click Tryde Side Table, it's a link.
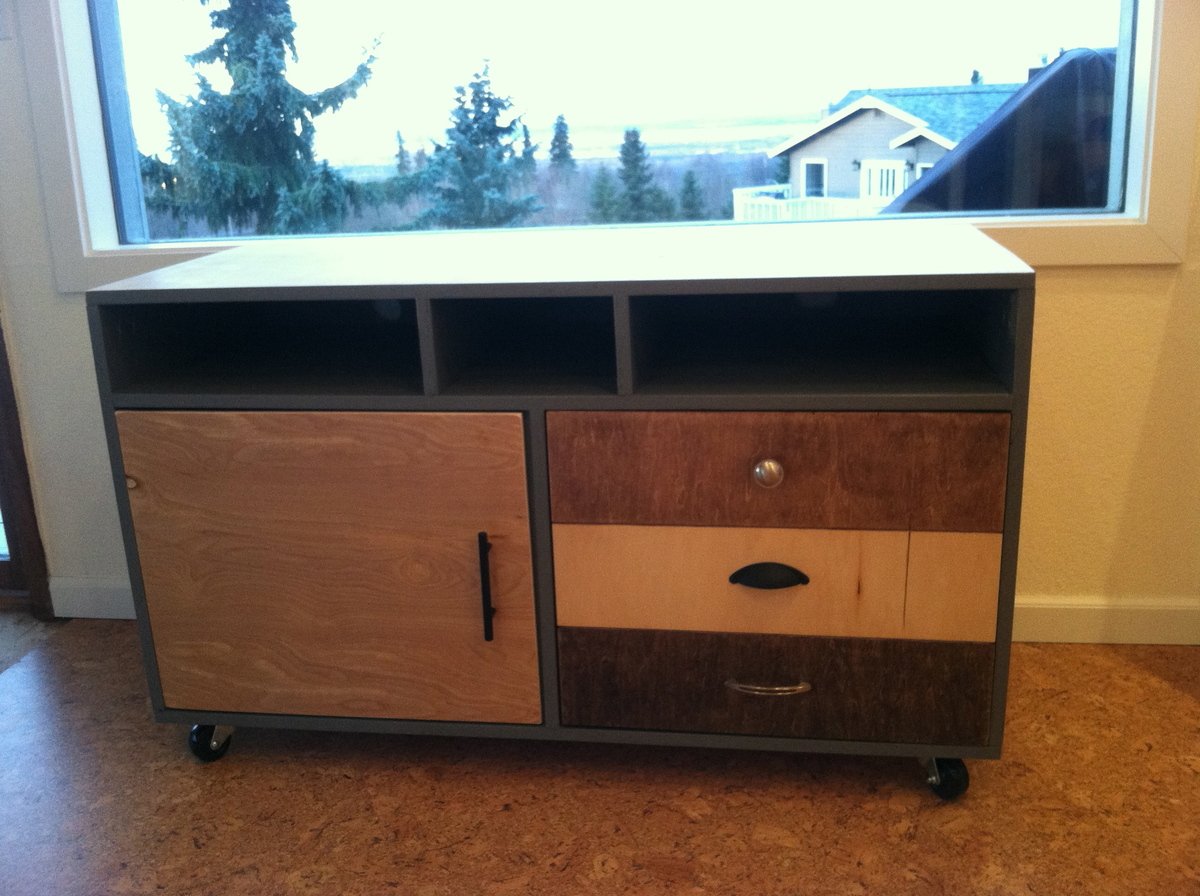
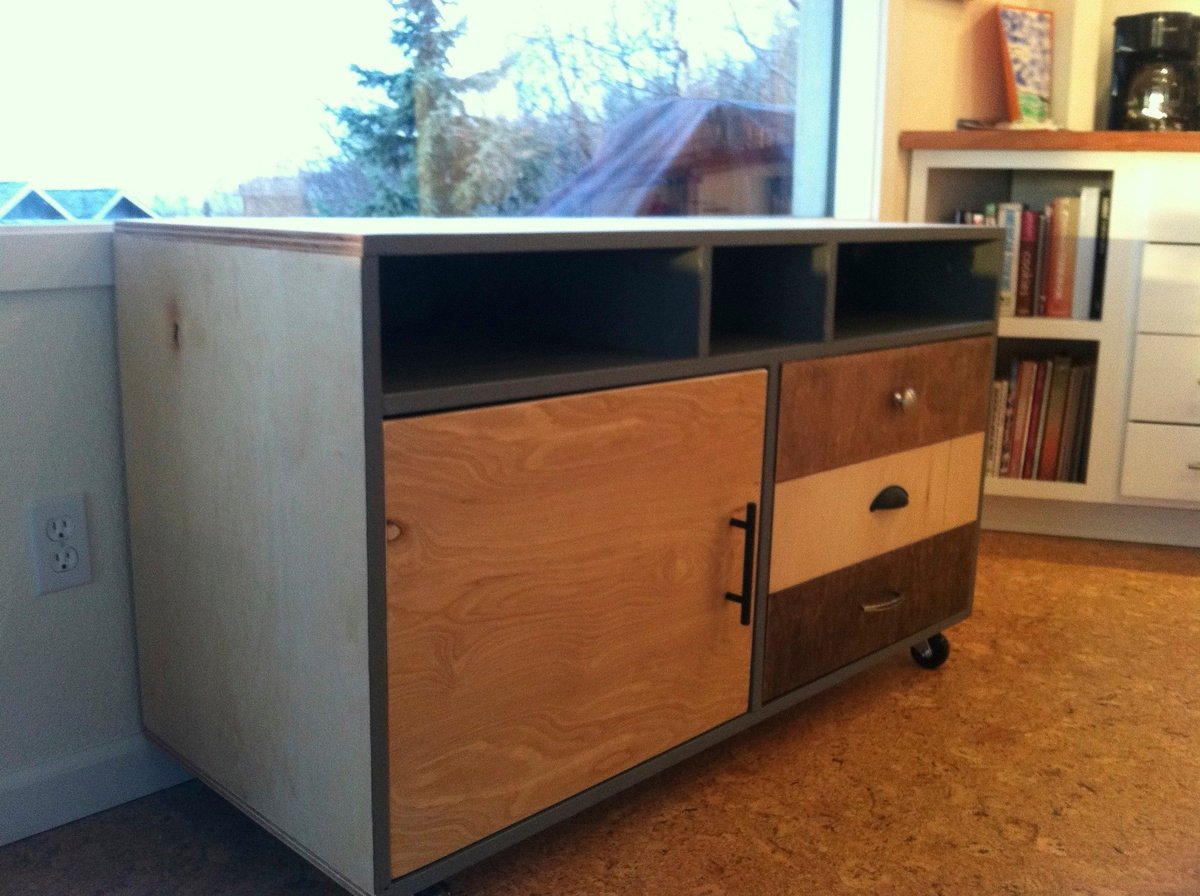
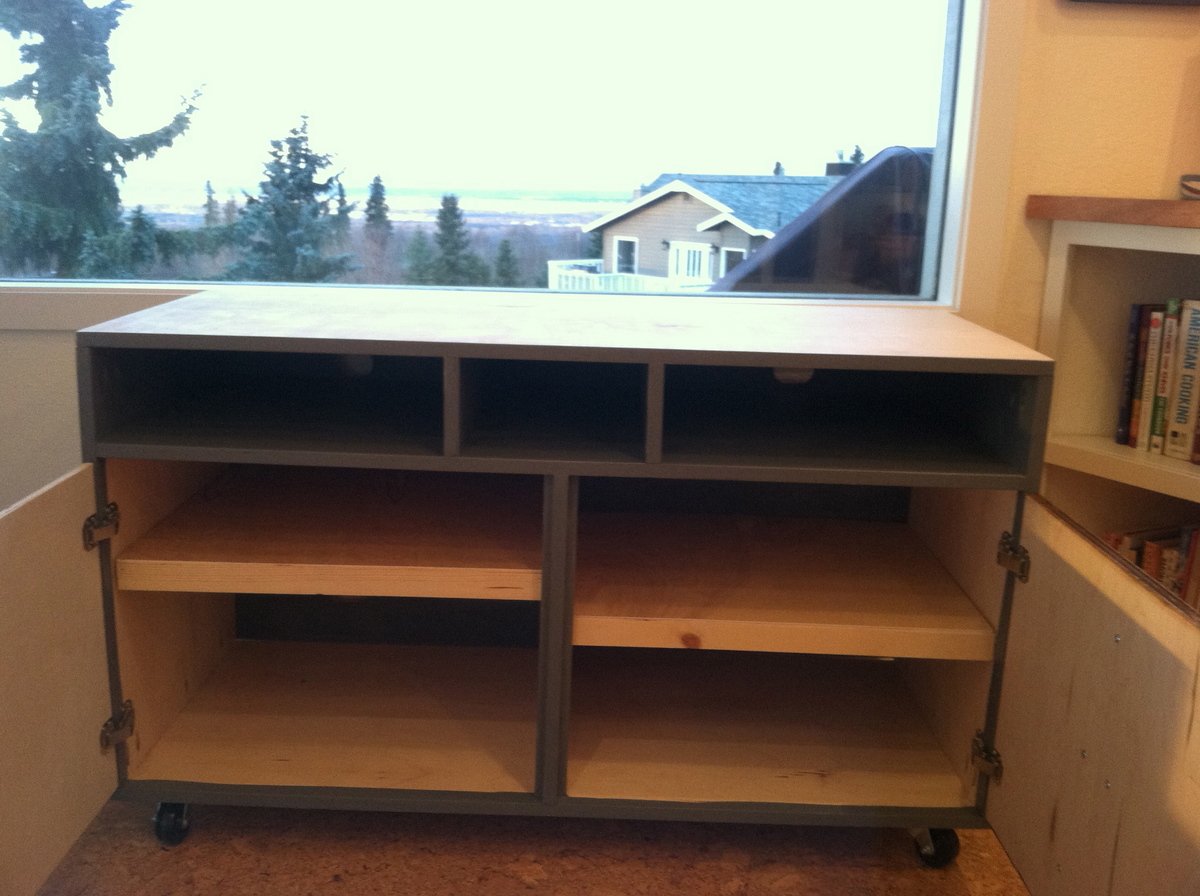
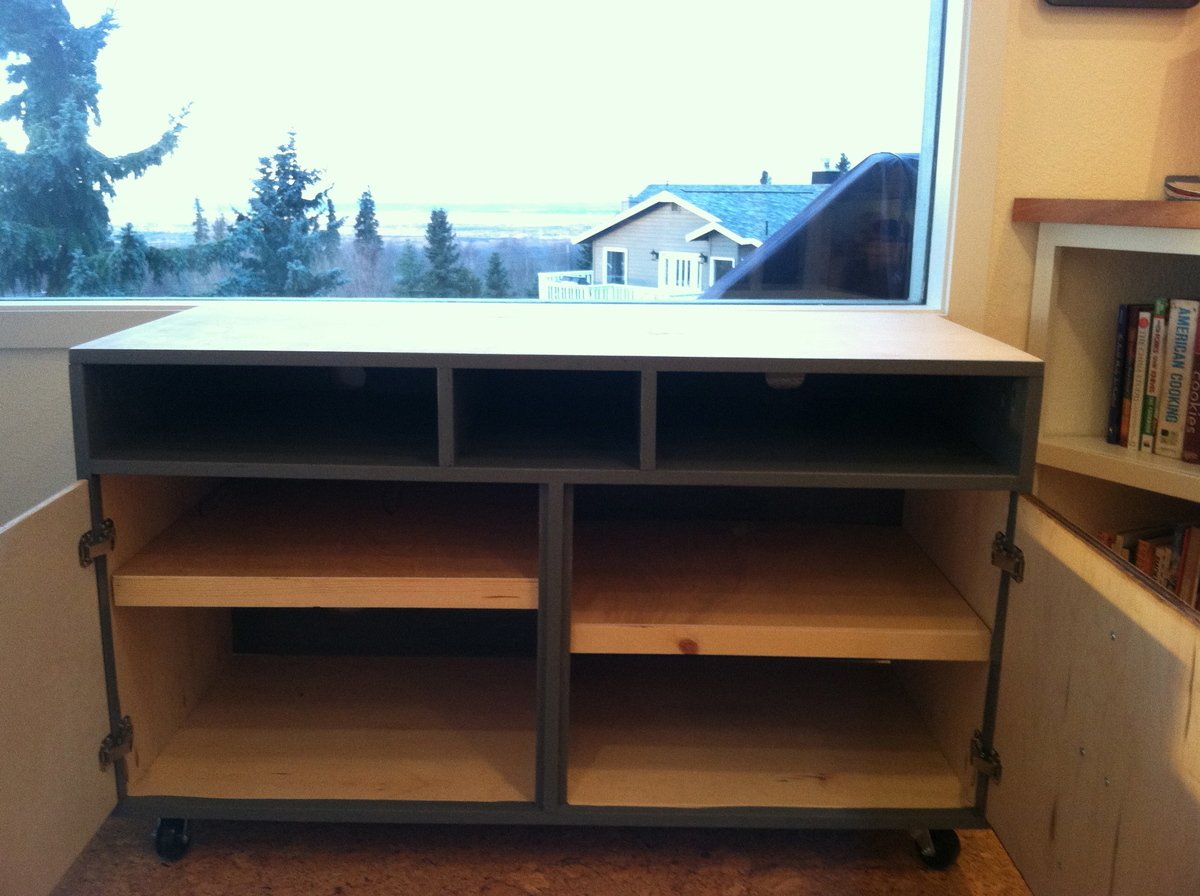
I modified the modern patchwork dresser plans to create this media console. Used three different stains for the door fronts and painted the interior a dark gray. Wanted two doors instead of drawers but wanted to maintain the original look. I created a faux drawer front with a flush hinge.
Tue, 10/29/2013 - 11:37
I've been wanting to make that into a media console ever since Ana first posted the plans. I'm glad to know that it can be done. Yours looks really good!

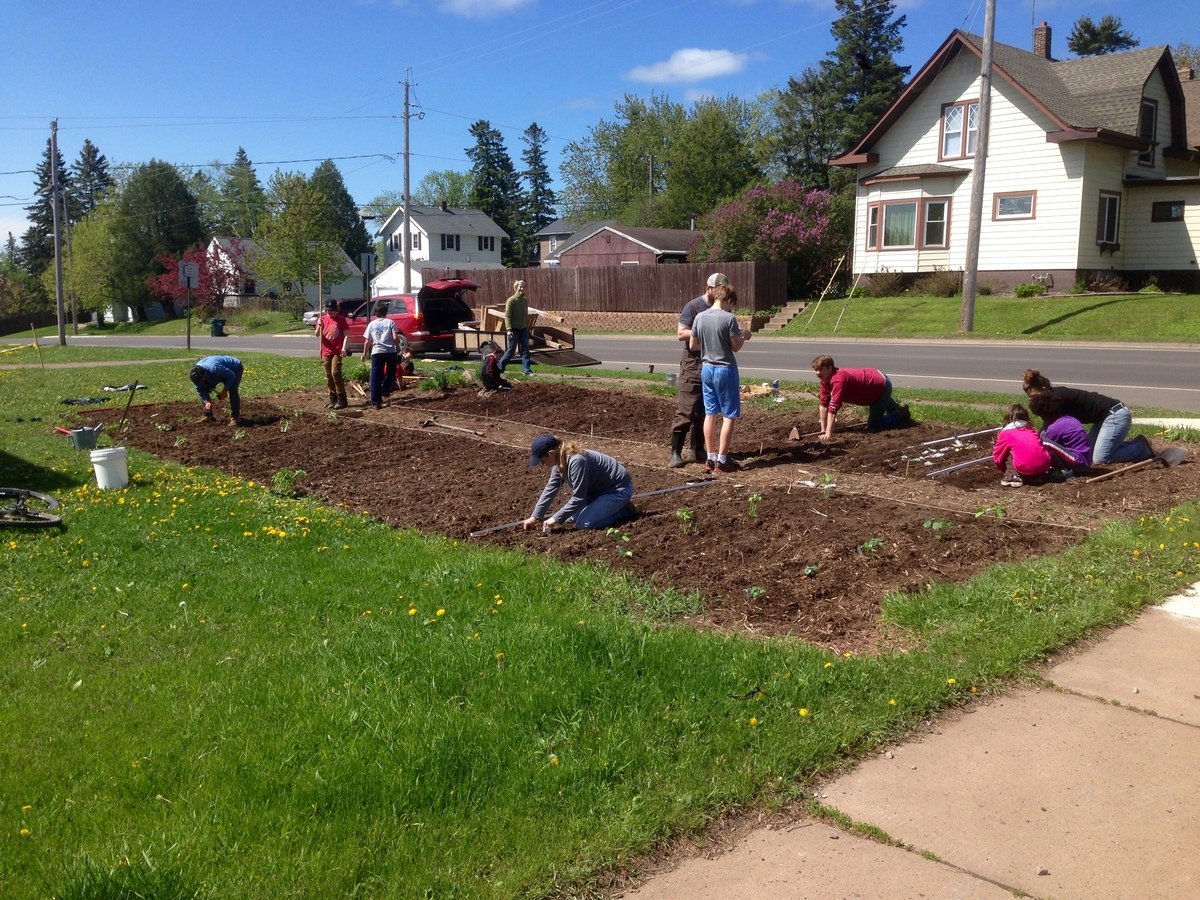
This spring, my neighborhood started a community garden. Five families came together to break ground, sow, tend, and give away our produce. The local church close by allowed us to use their front lawn for the "Lakeside Community Garden," located in Duluth, MN. Every Saturday during harvest season, we gave away our produce to the community. I took on the project of building a farm stand. One of our neighborhood families donated re-claimed lumber to the cause, and I started building. I had research many farm stands on-line, and knew I needed two large boxes to hold the veggies, as well as a sign to indicate what produce we were giving away.


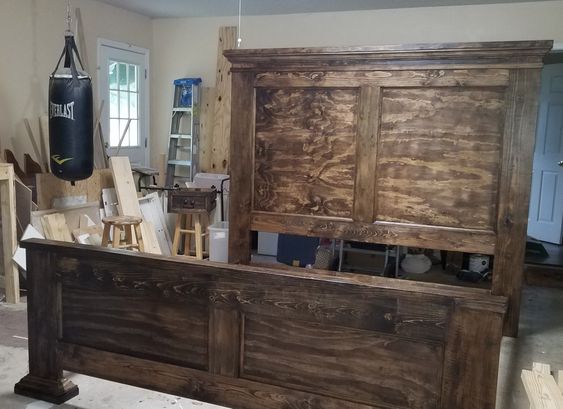
I had a client send me a pic of the bed she wanted. It was very similar to Ana's tall panel bed. She was upsizing from a queen to a king and wanted it to match her previous set.
"It’s screaming creative clutter 🤣😅 but at least I got it built! Thank you so much @anawhitediy for the desk plans 🖤"
Andrea Howell
We used this plan for the reclaimed wood look headboard from Ana-White and these dimension mods for a king. We used lots of tips from Create and Delegate who made the same headboard last year. I love how it turned out! I posted more photos and blogged about everything we did for the finish, etc. at - http://nestbliss.blogspot.com/2011/04/we-made-bed.html

I actually made this table to fit inside a wardrobe as we needed some shelf storage space. It worked out well!

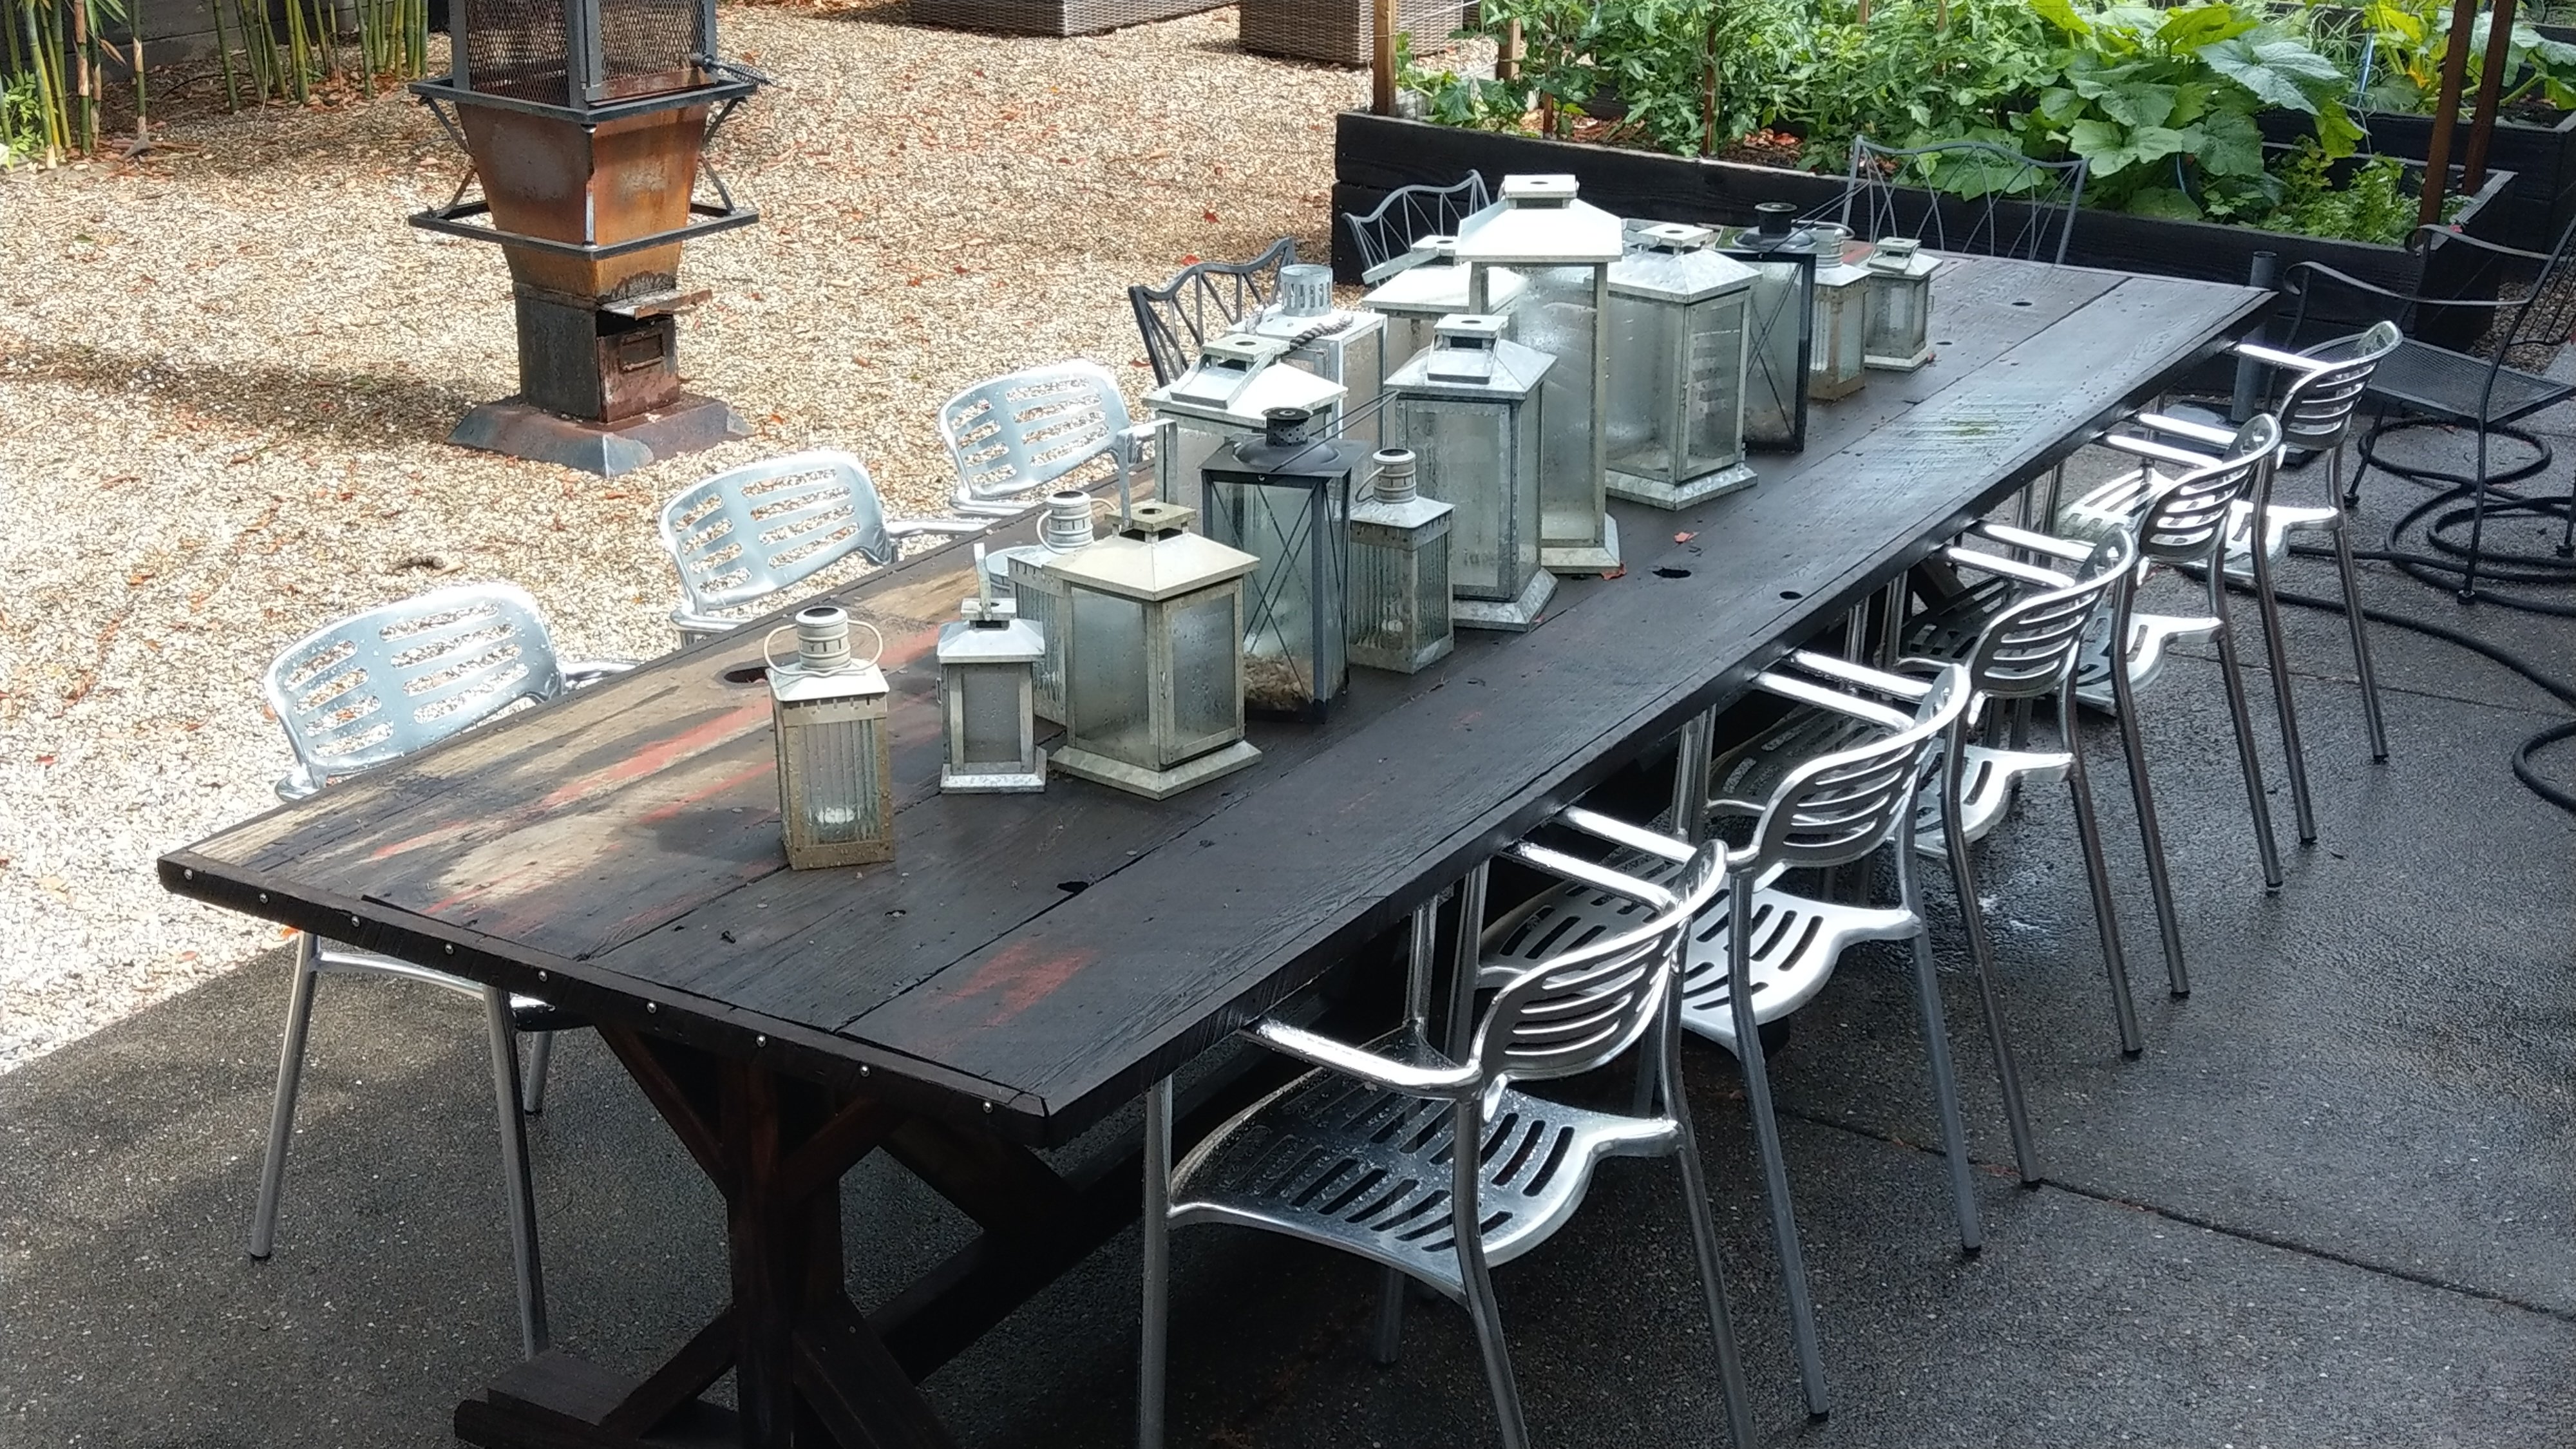
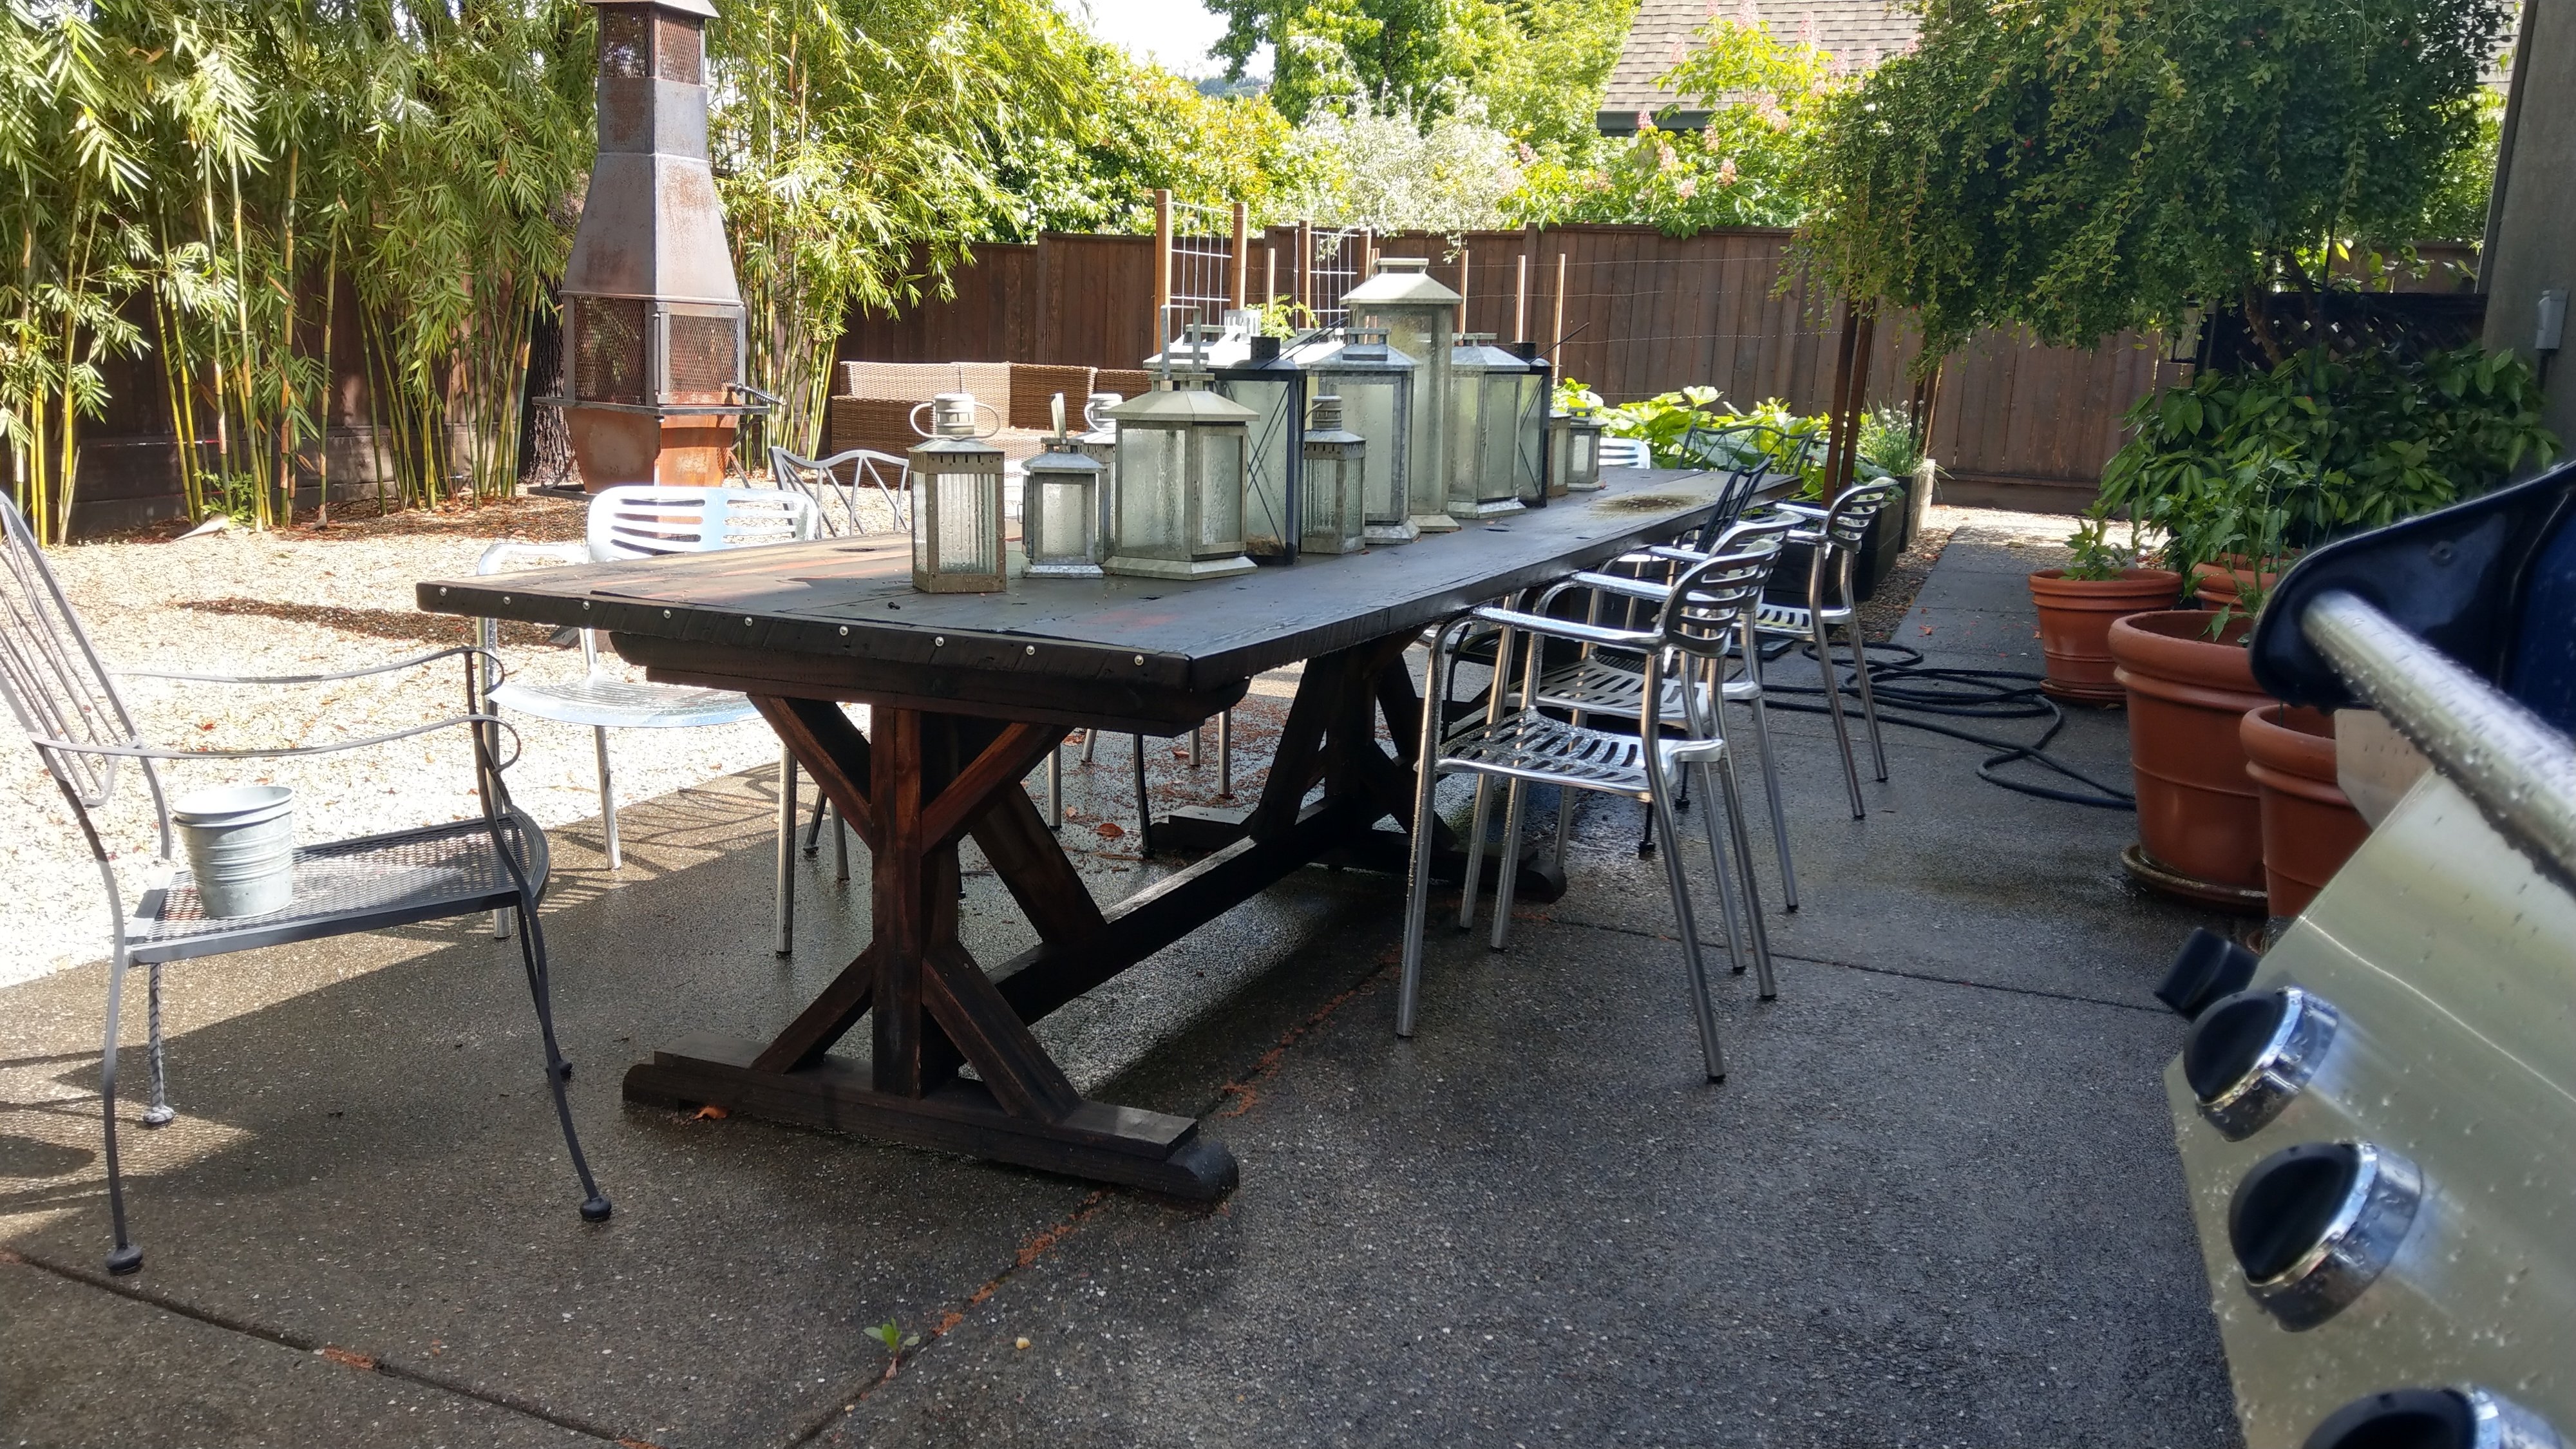
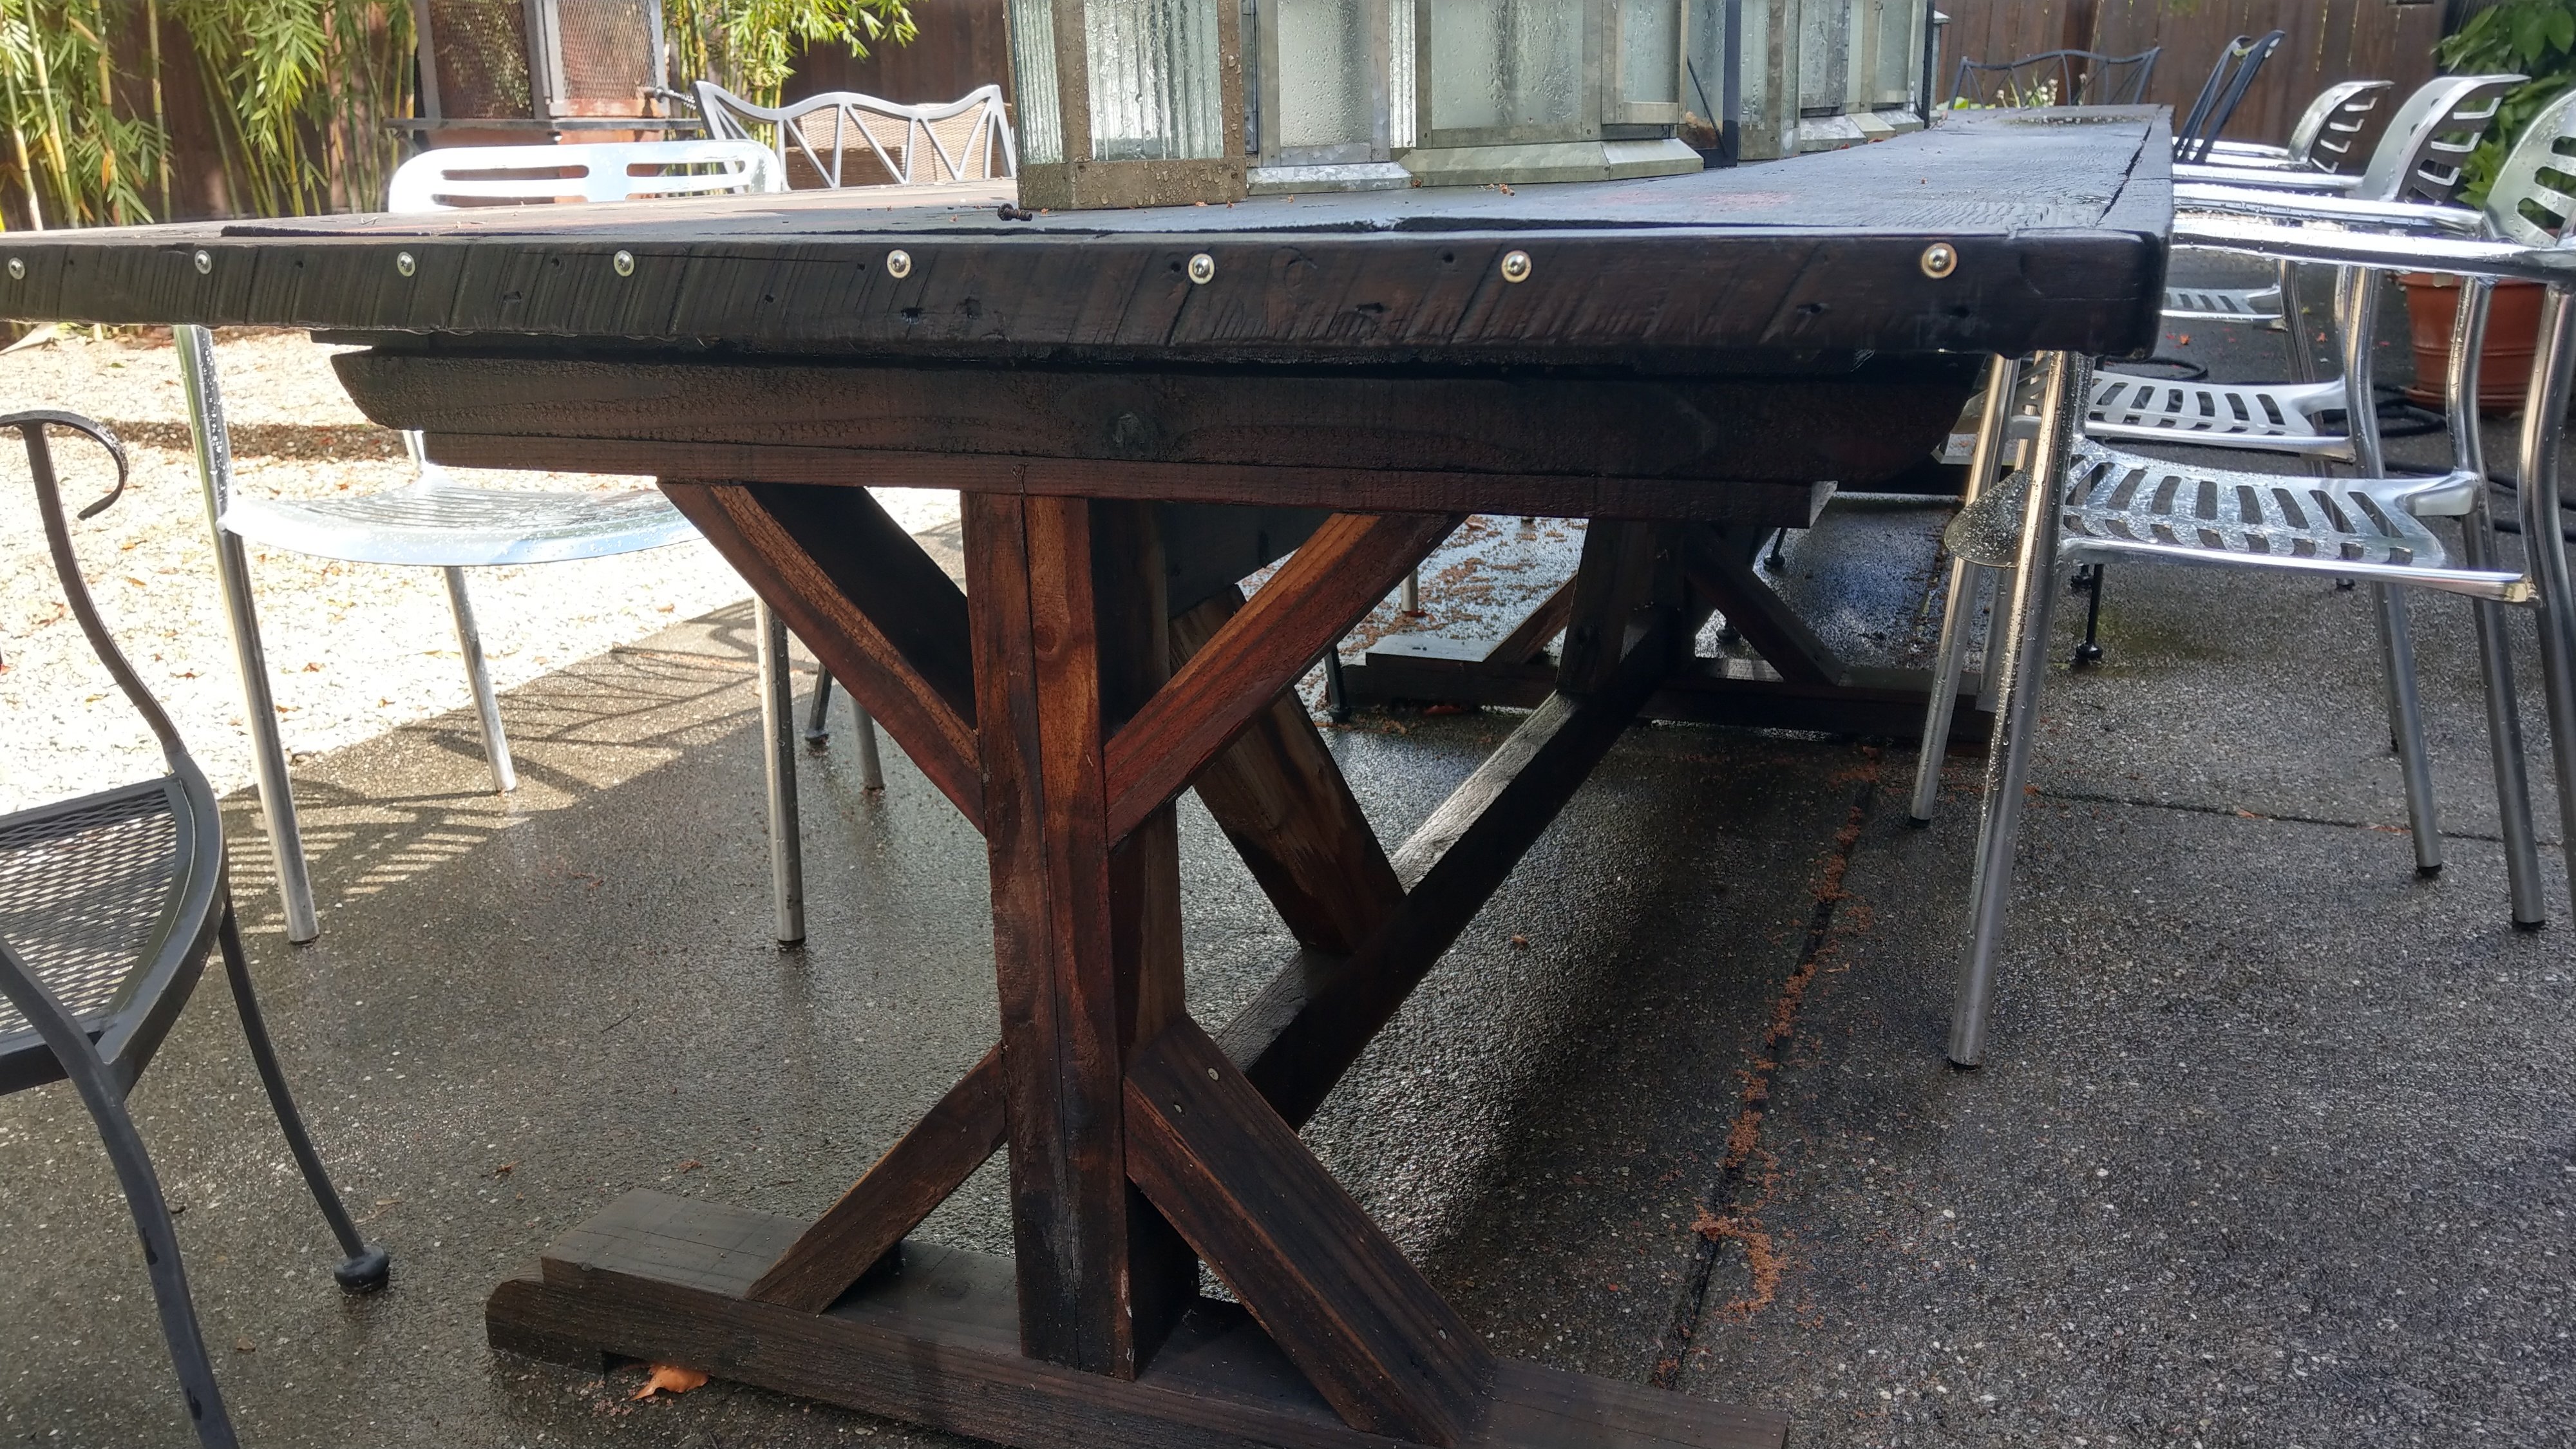
I came across some 18'x12"x1" (actual size) boards that were milled around 1870. These planks came out of the roof for the building. Rather than cut them down I just built a "double frame"
I used 2x redwood for the frame.
Here is my version of the shiplap fireplace wall finished up!
Shared by Cass Griffin