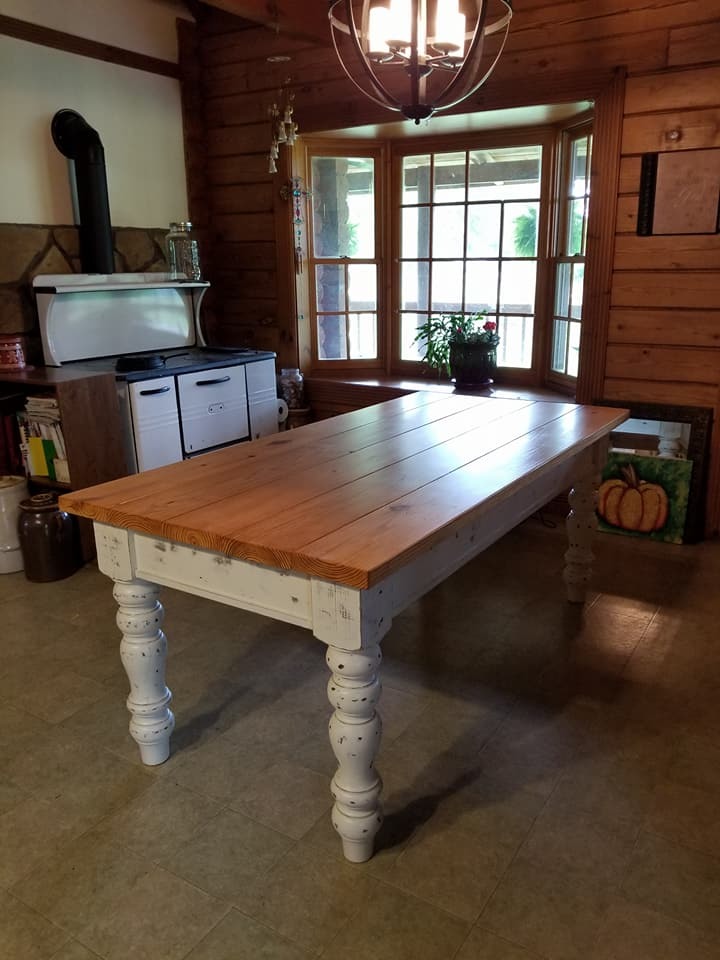
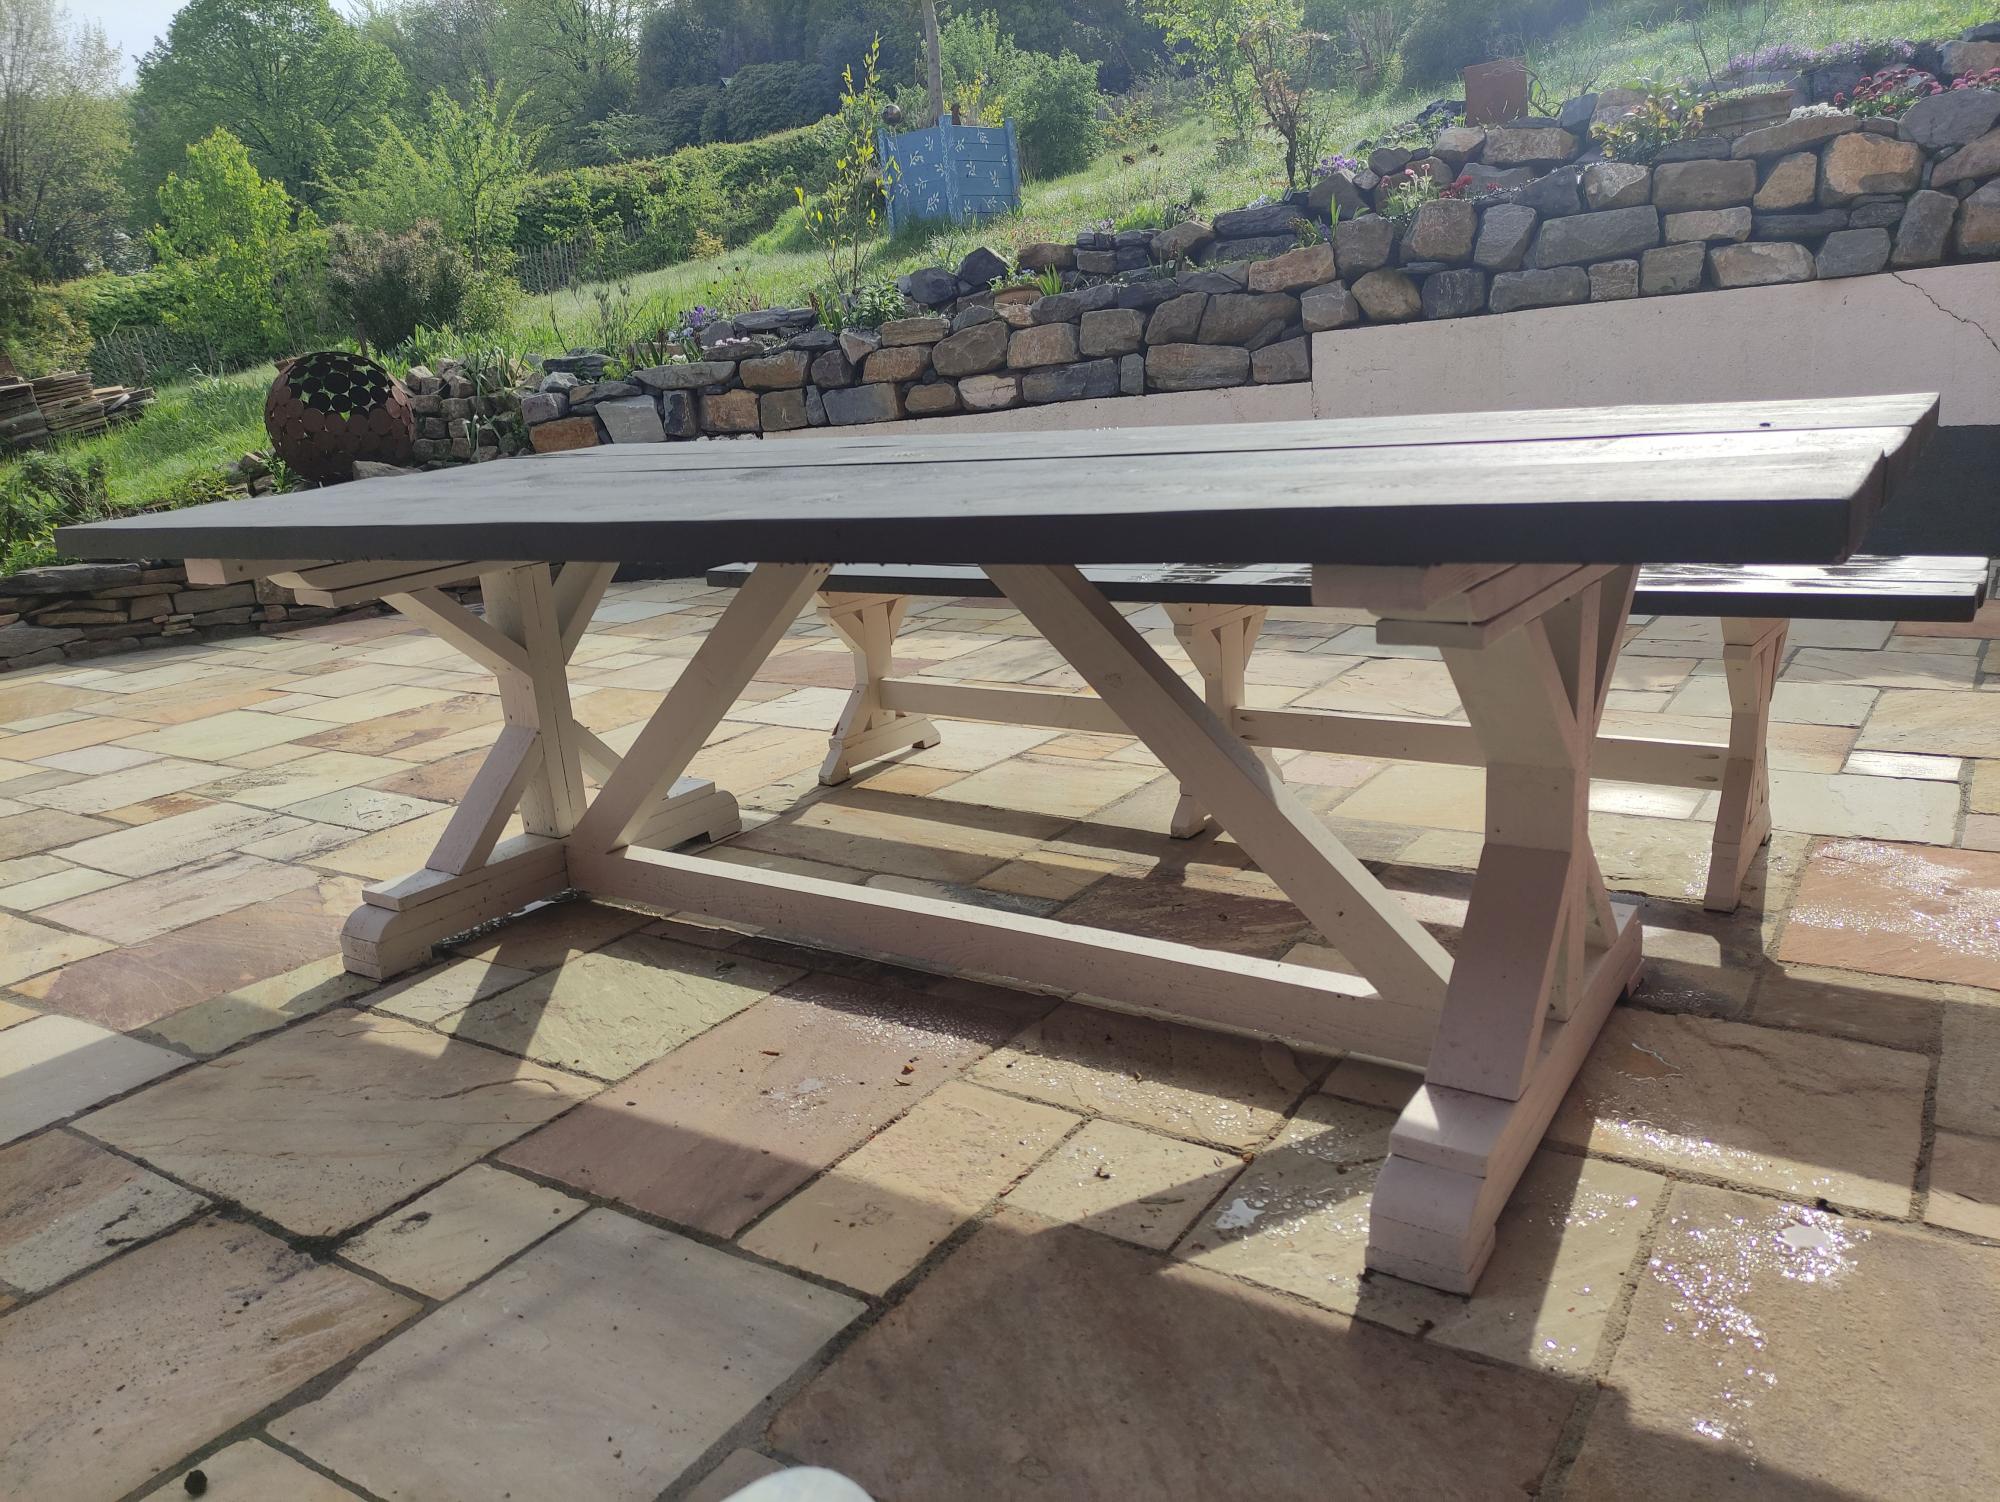
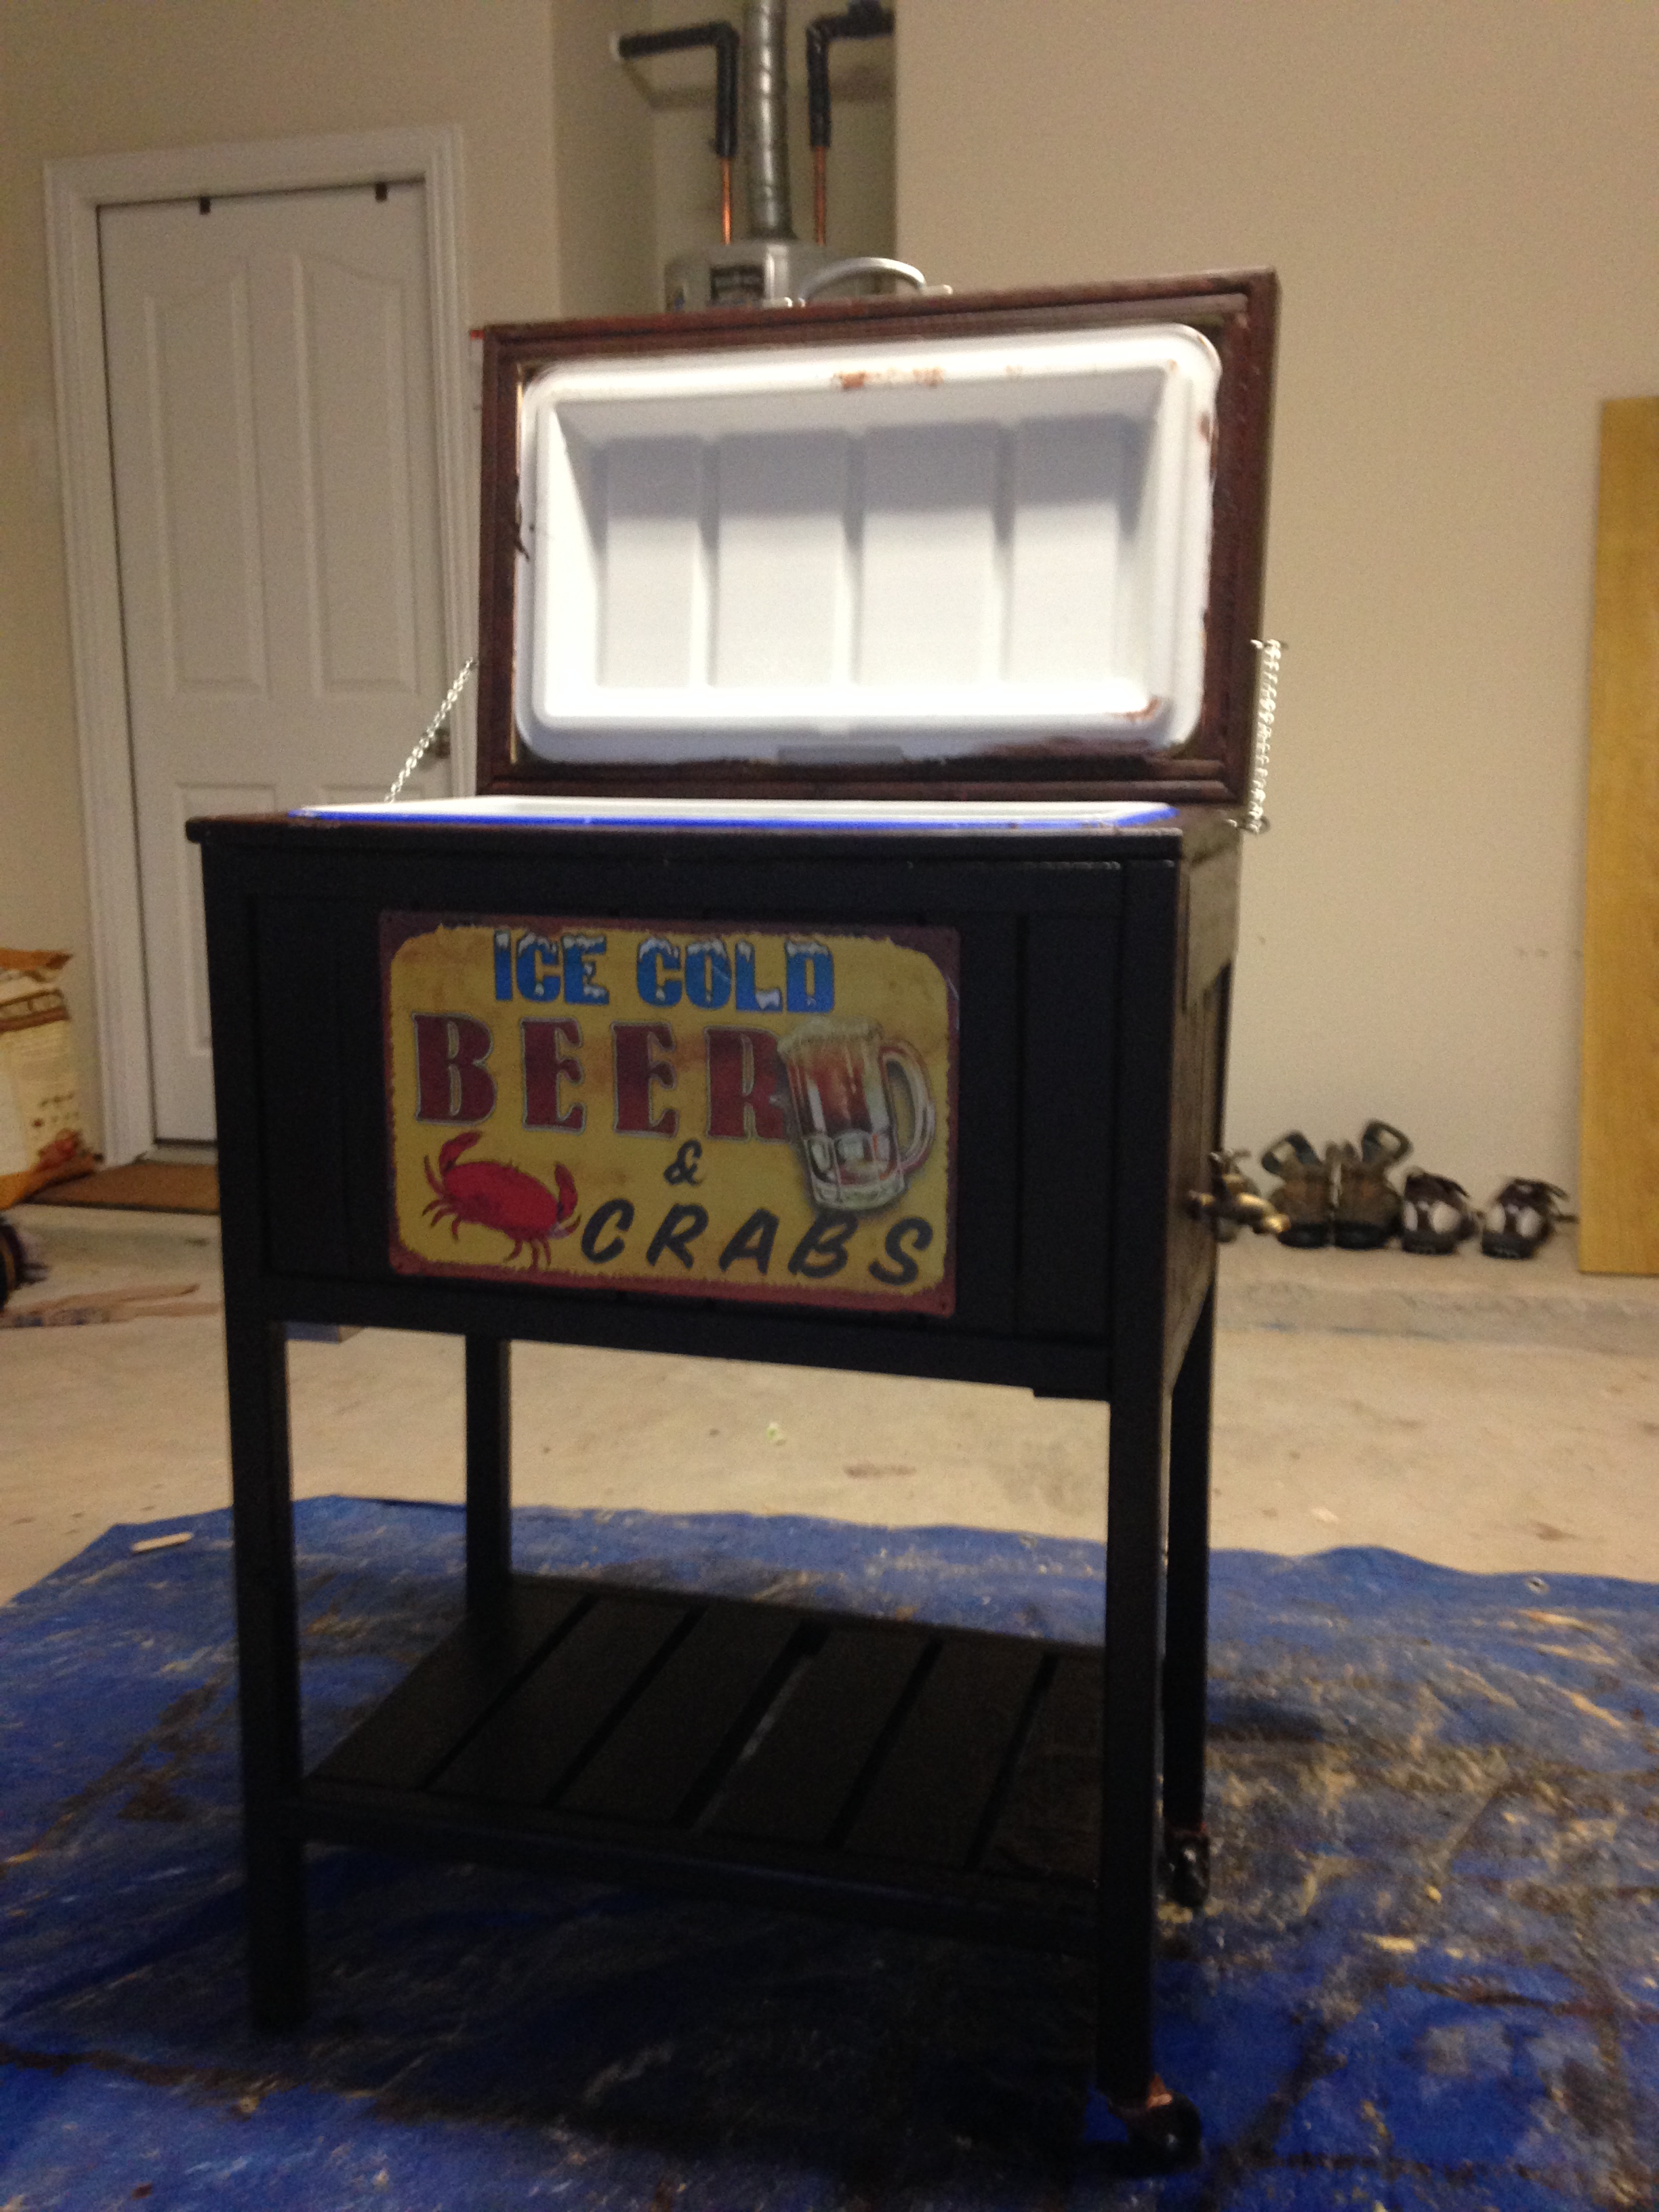
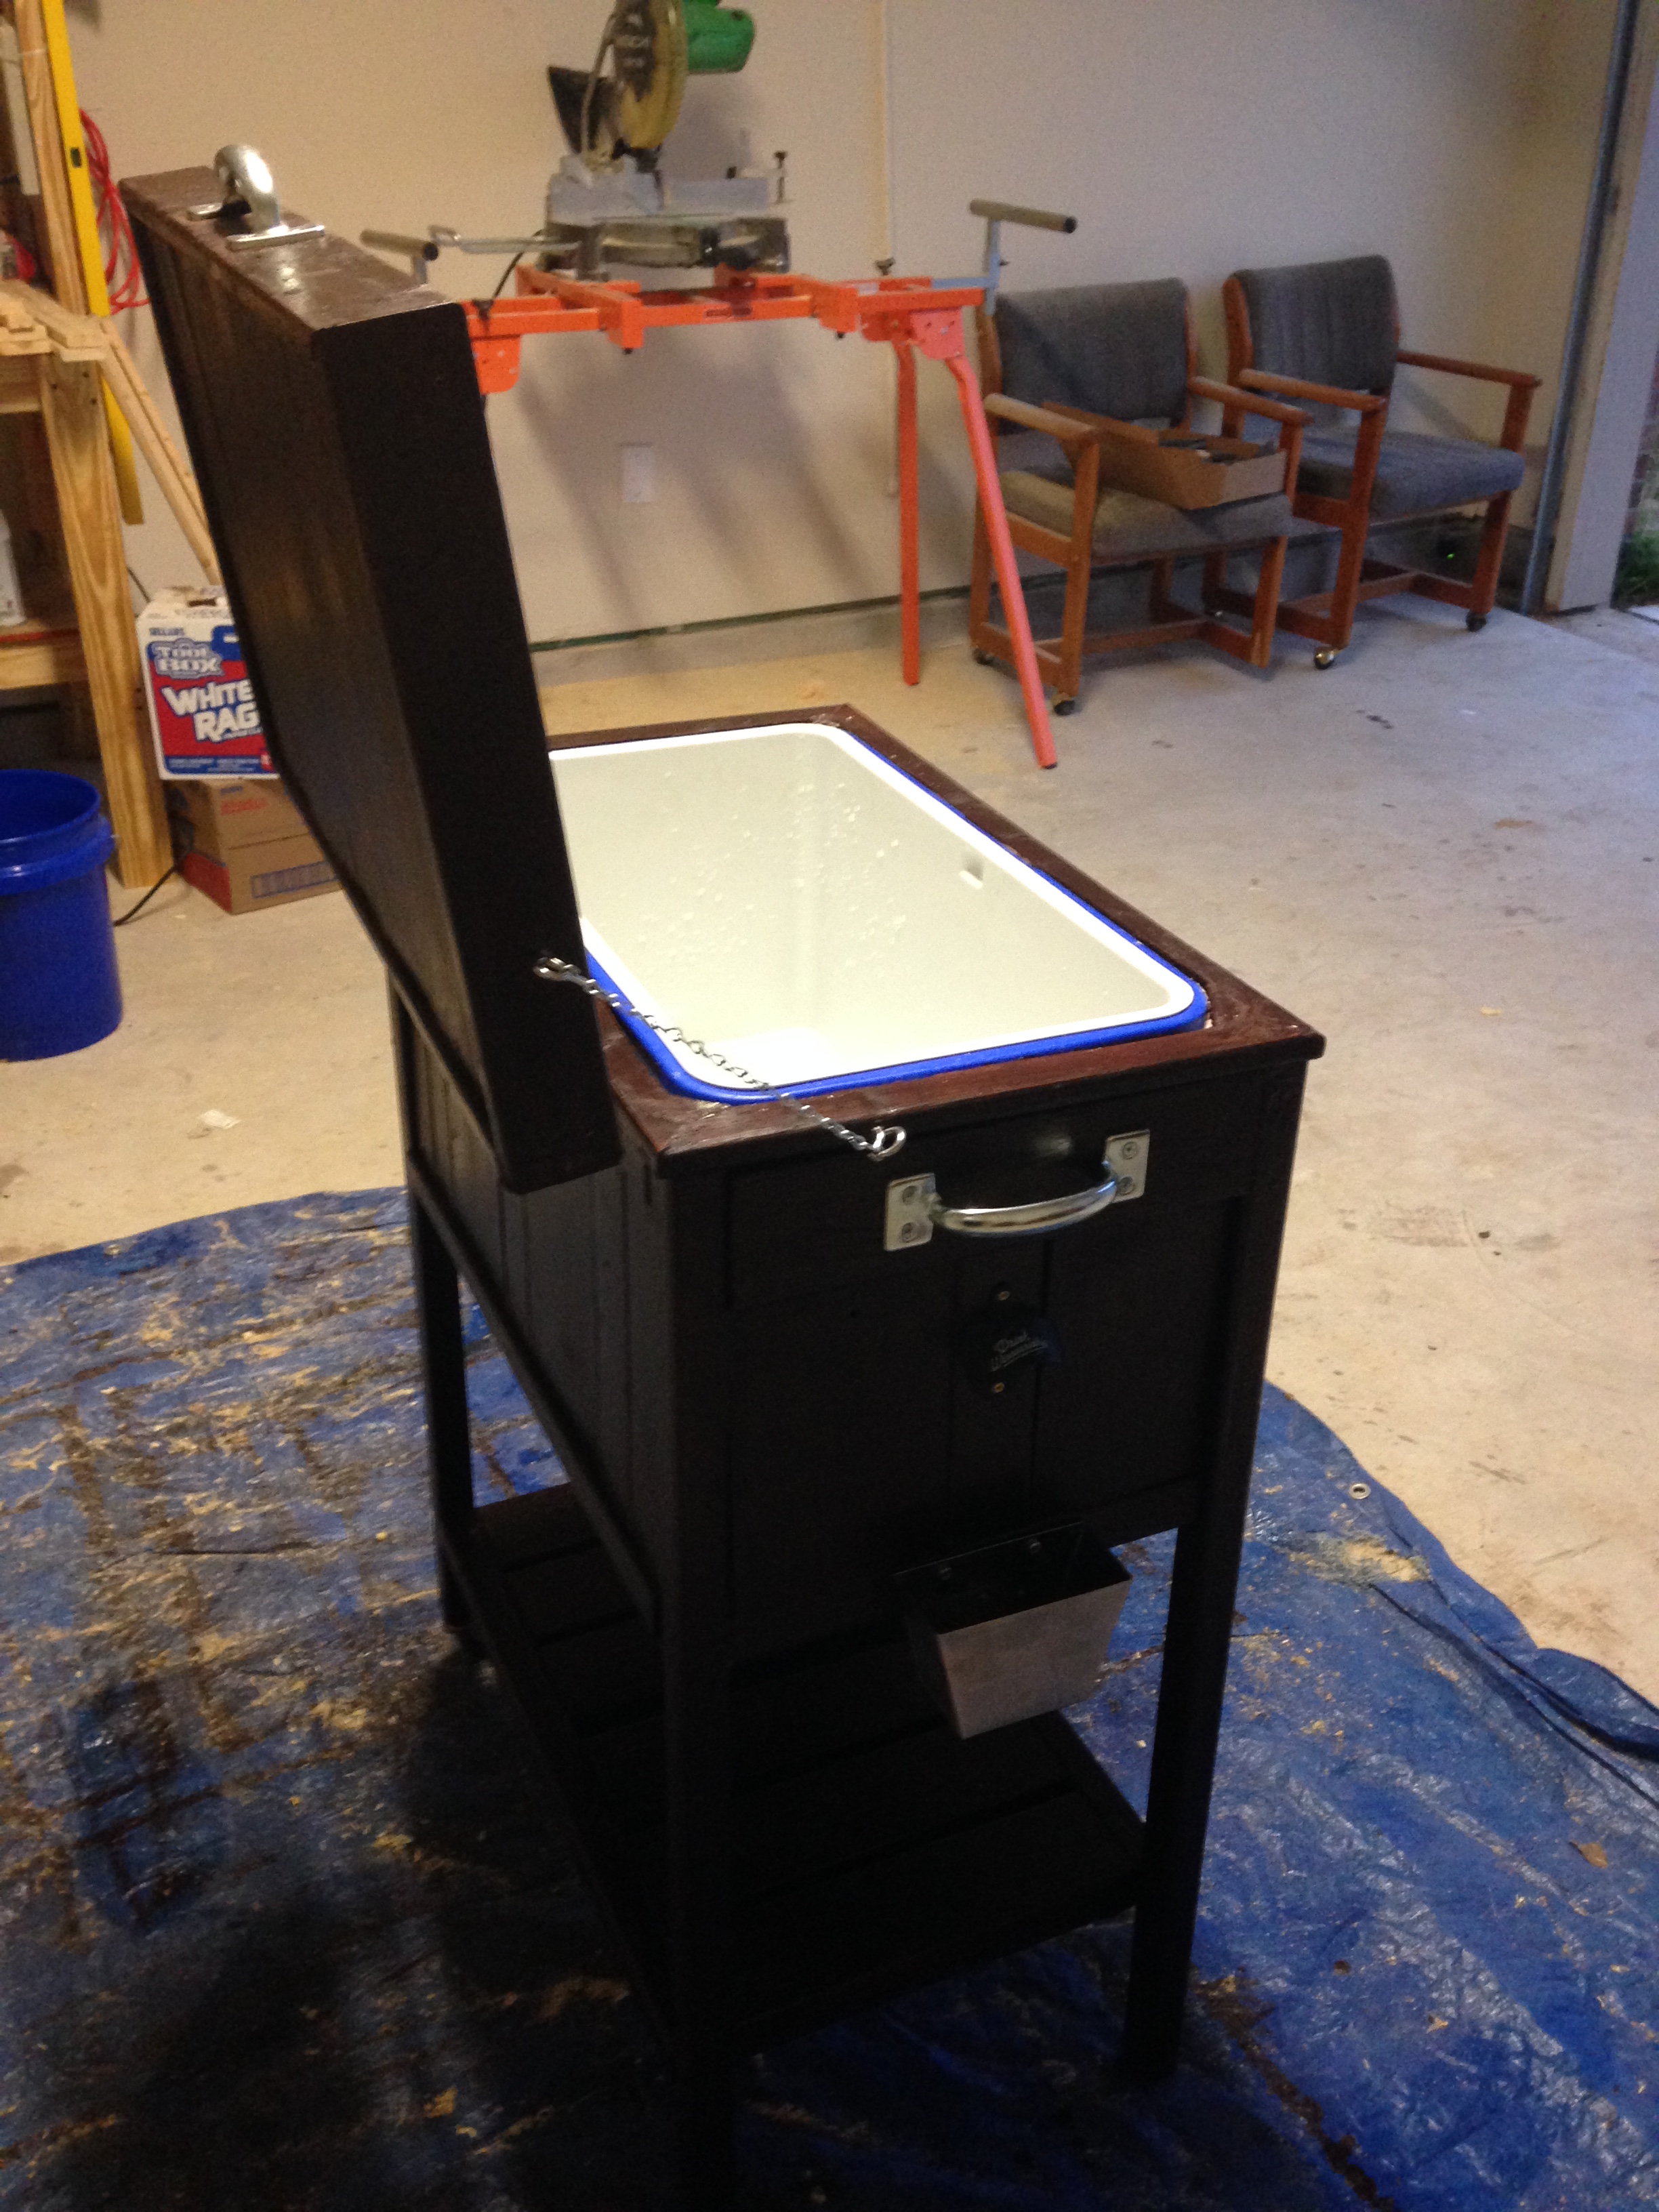
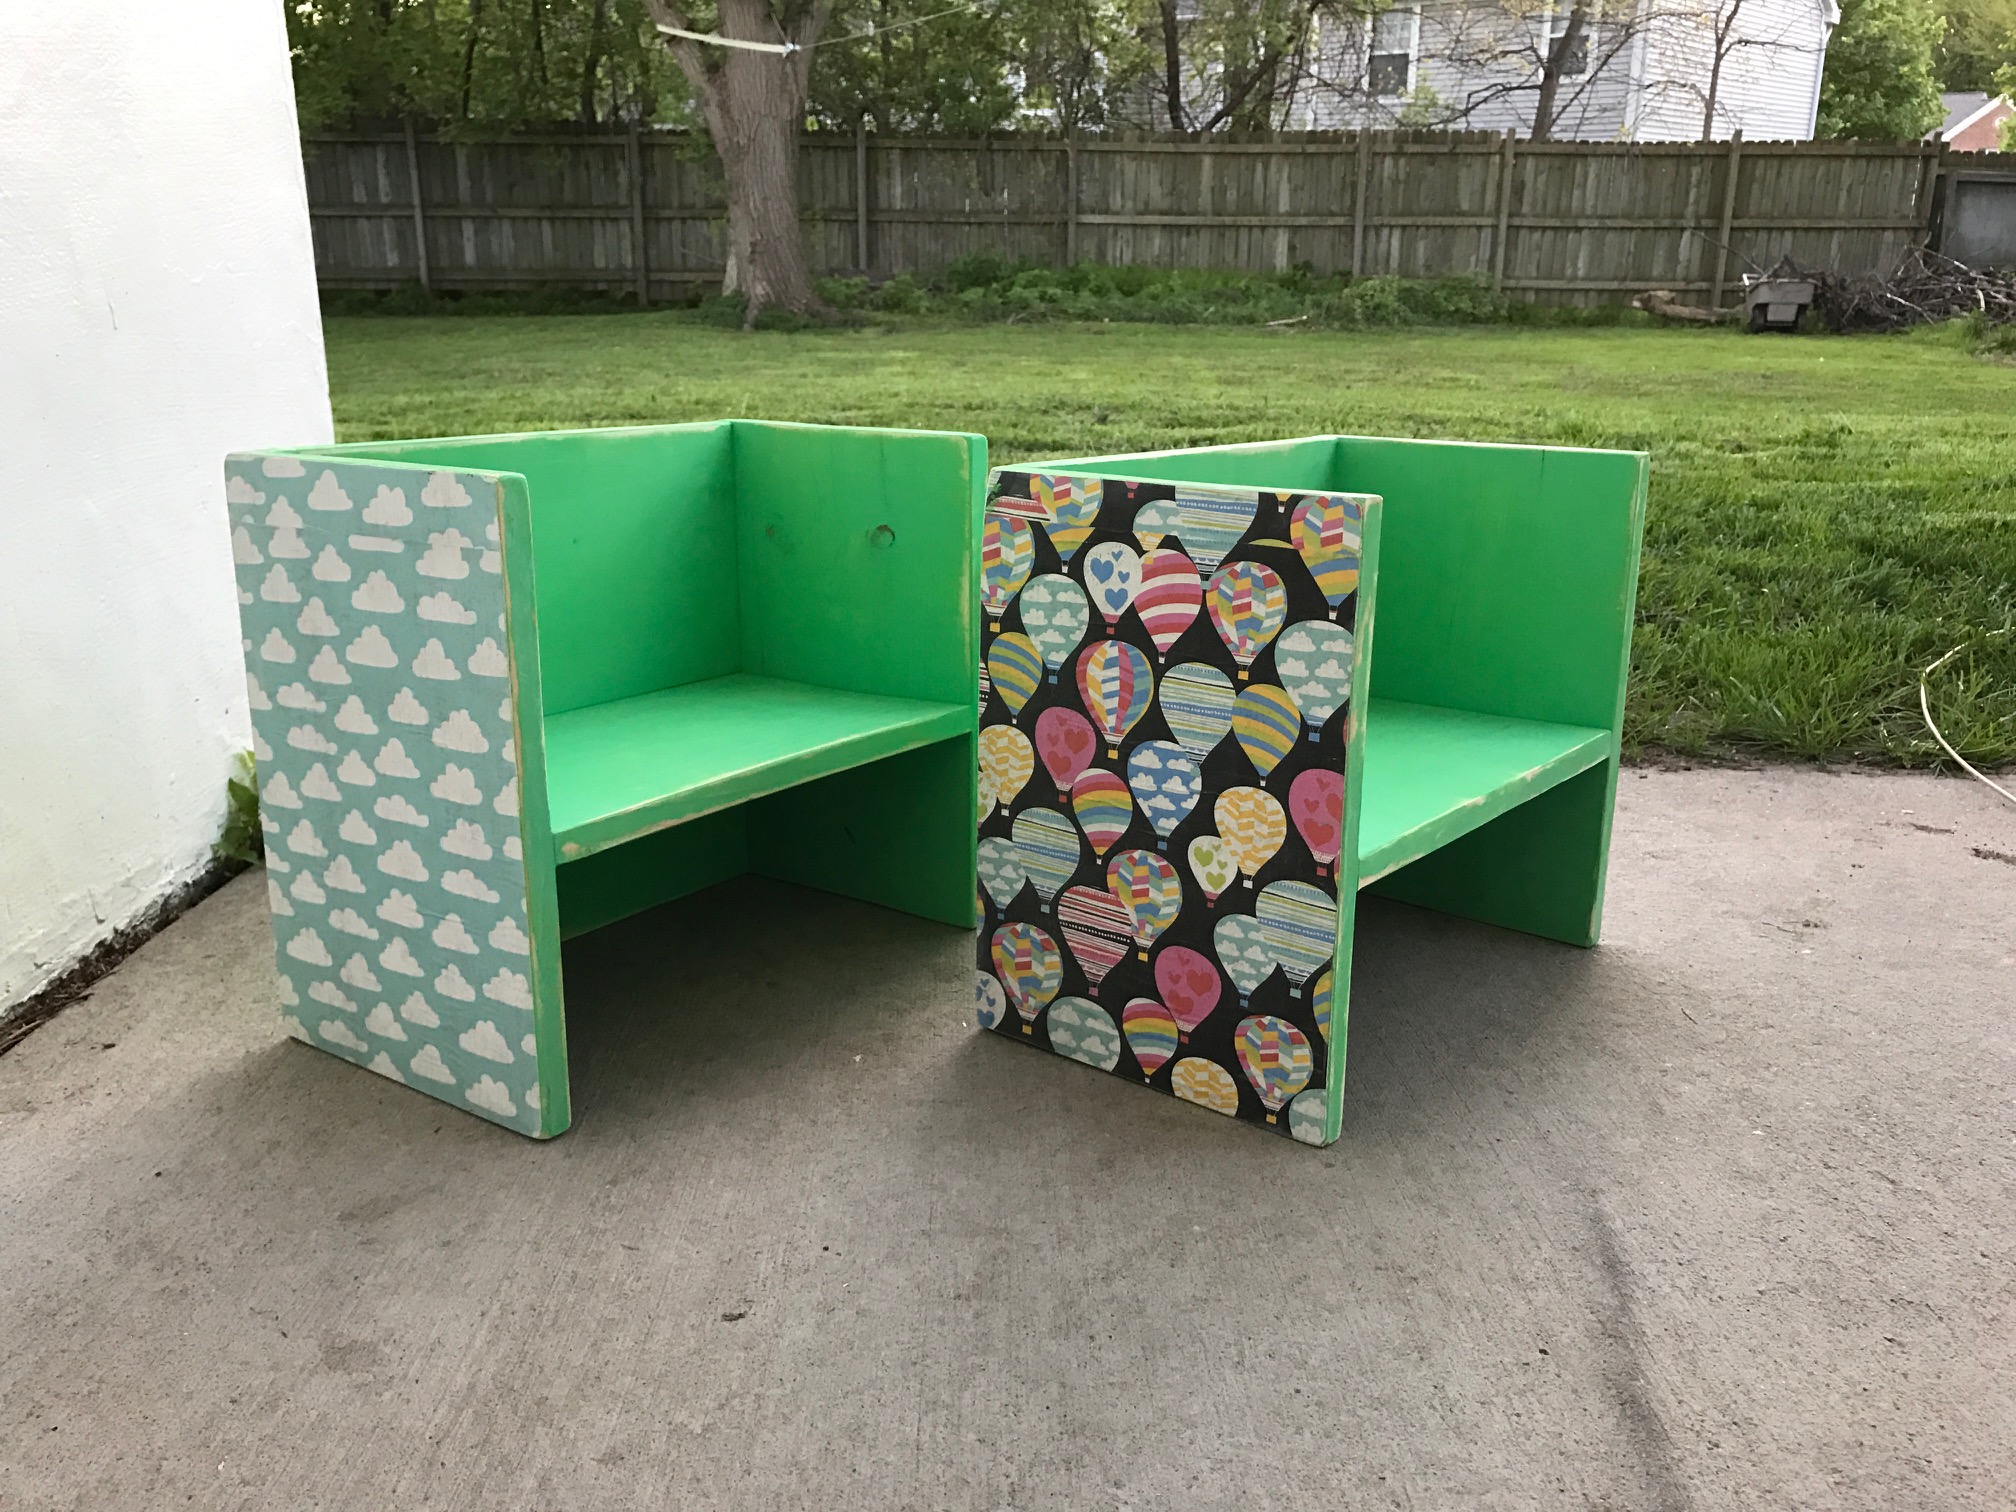
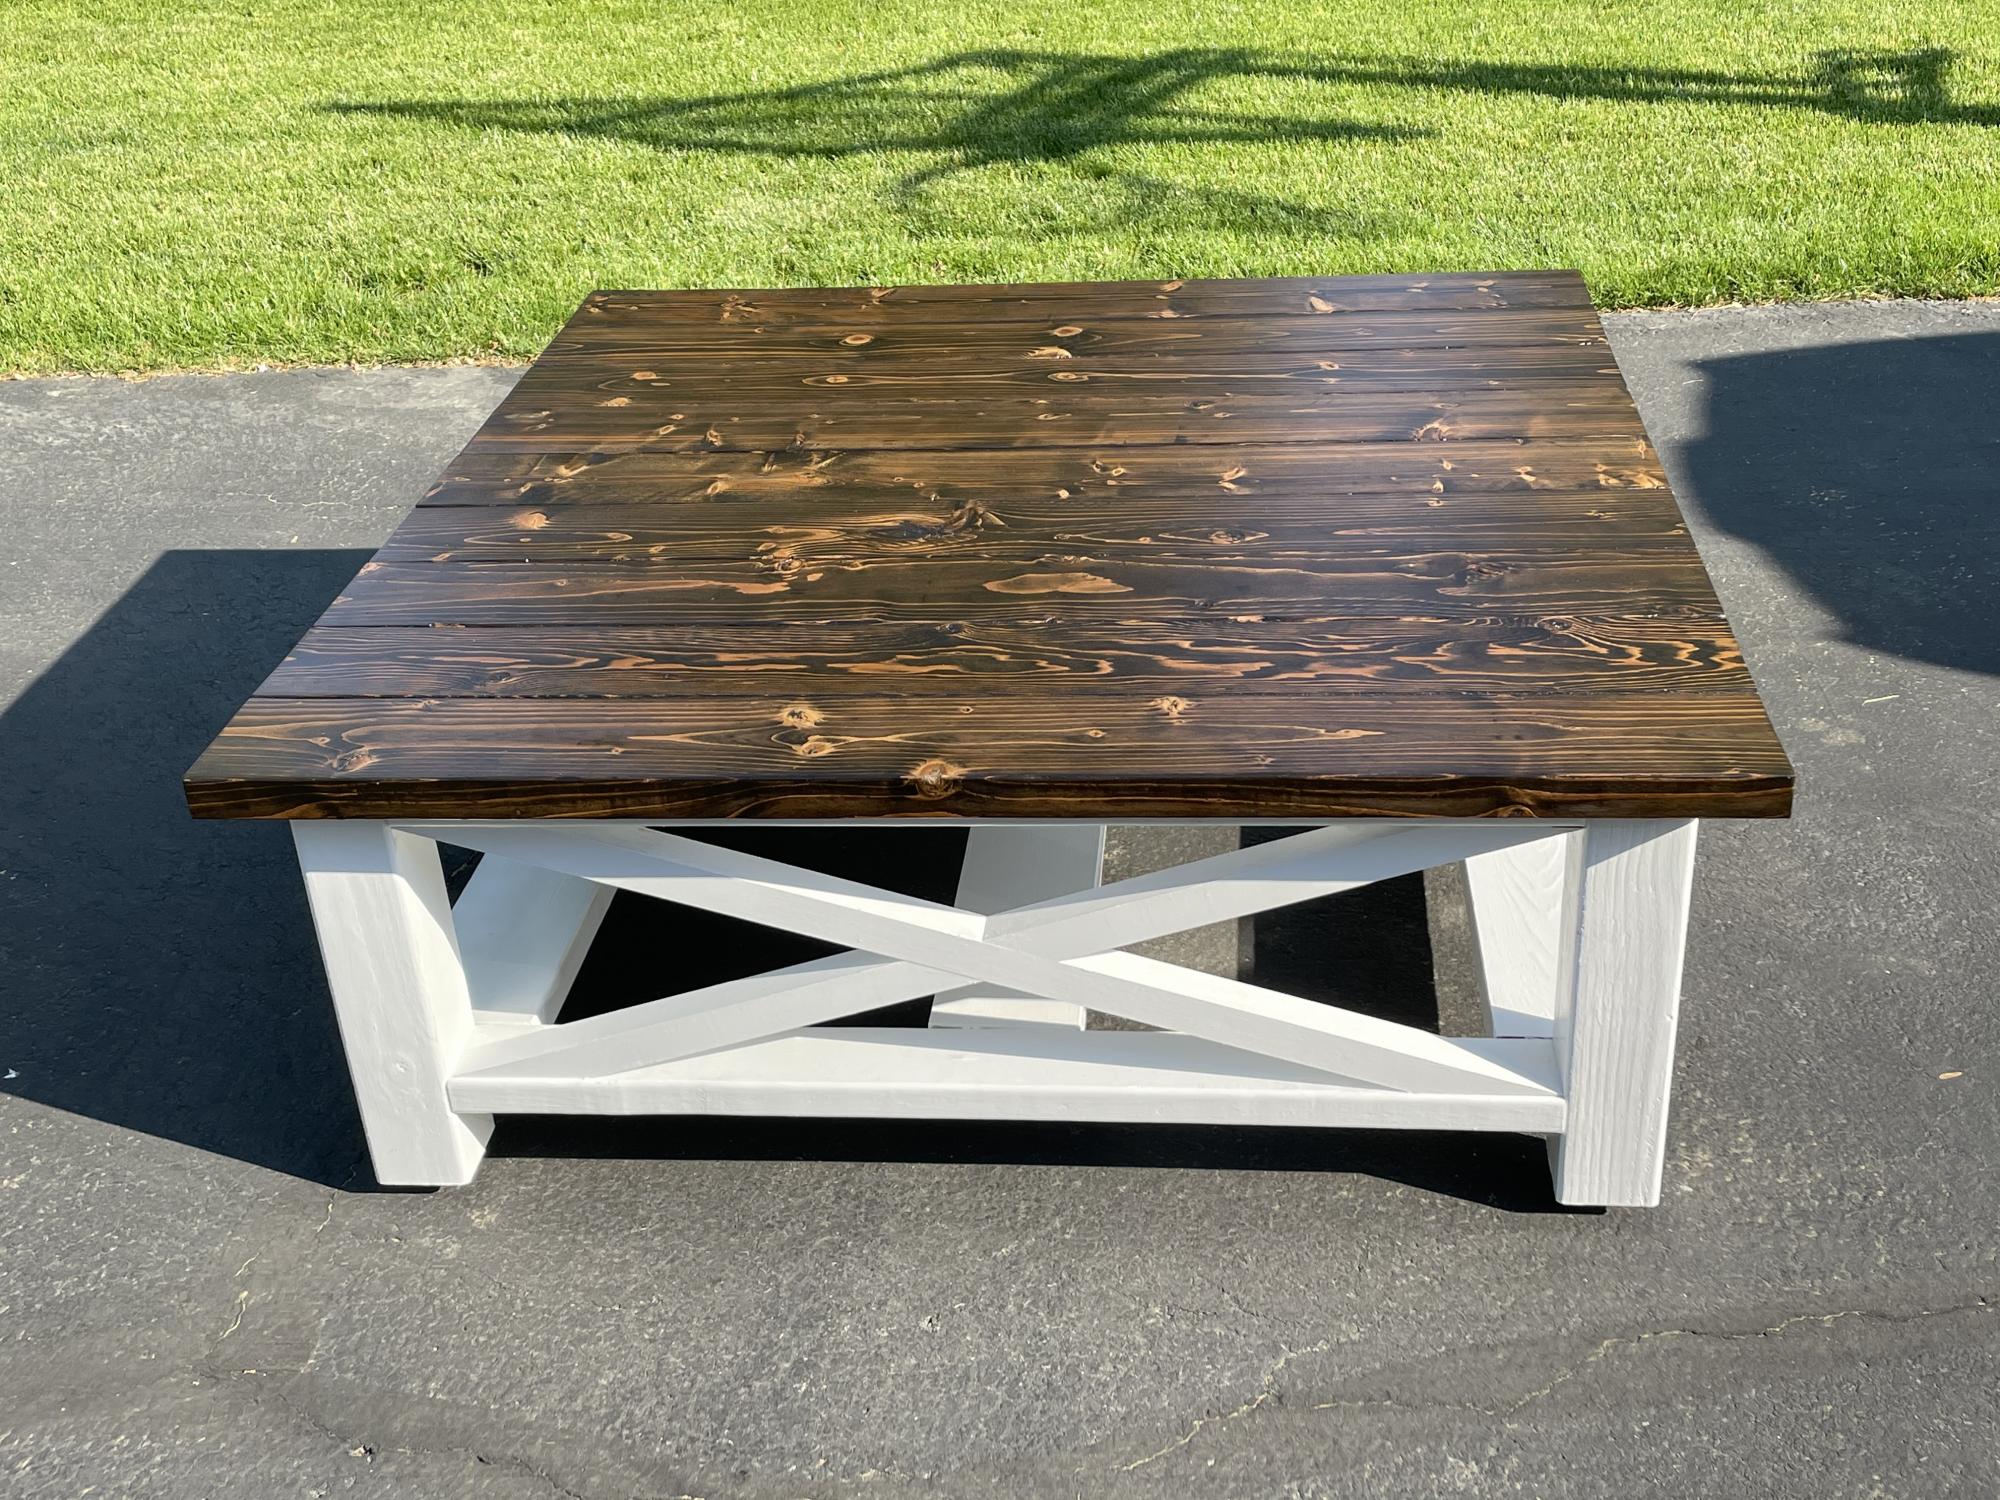
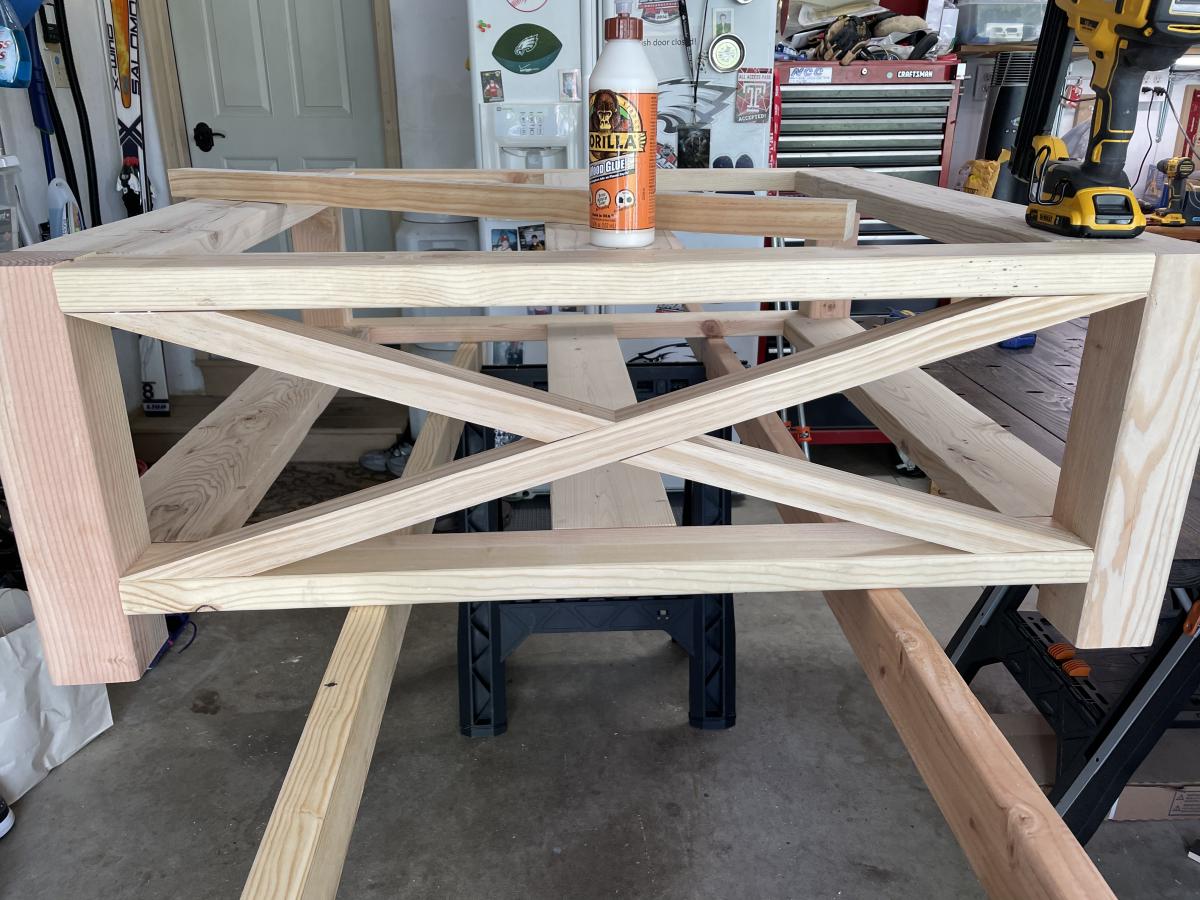
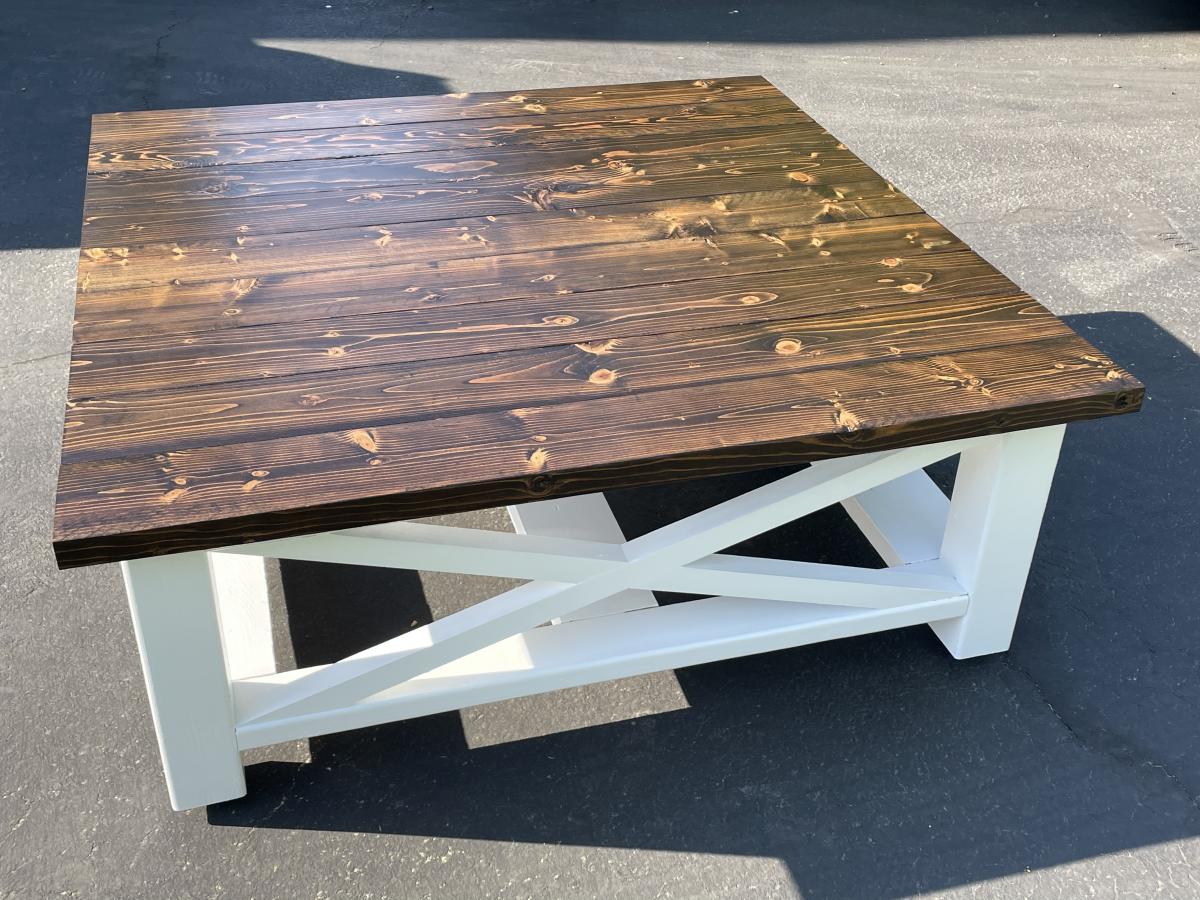
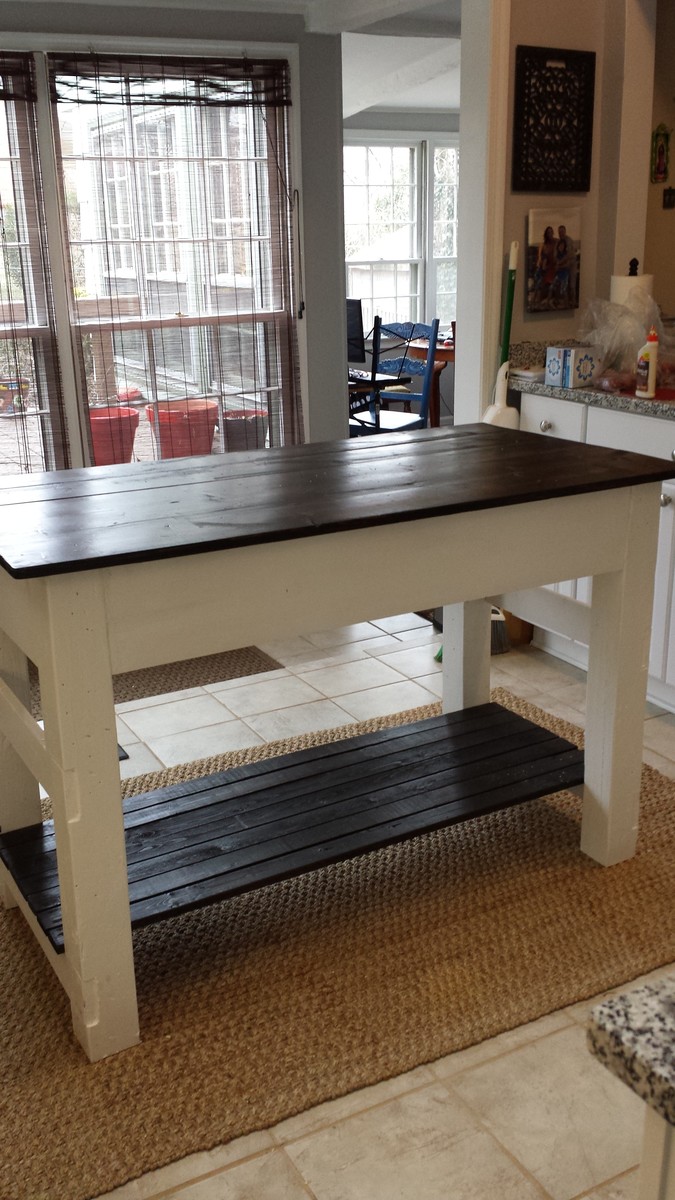
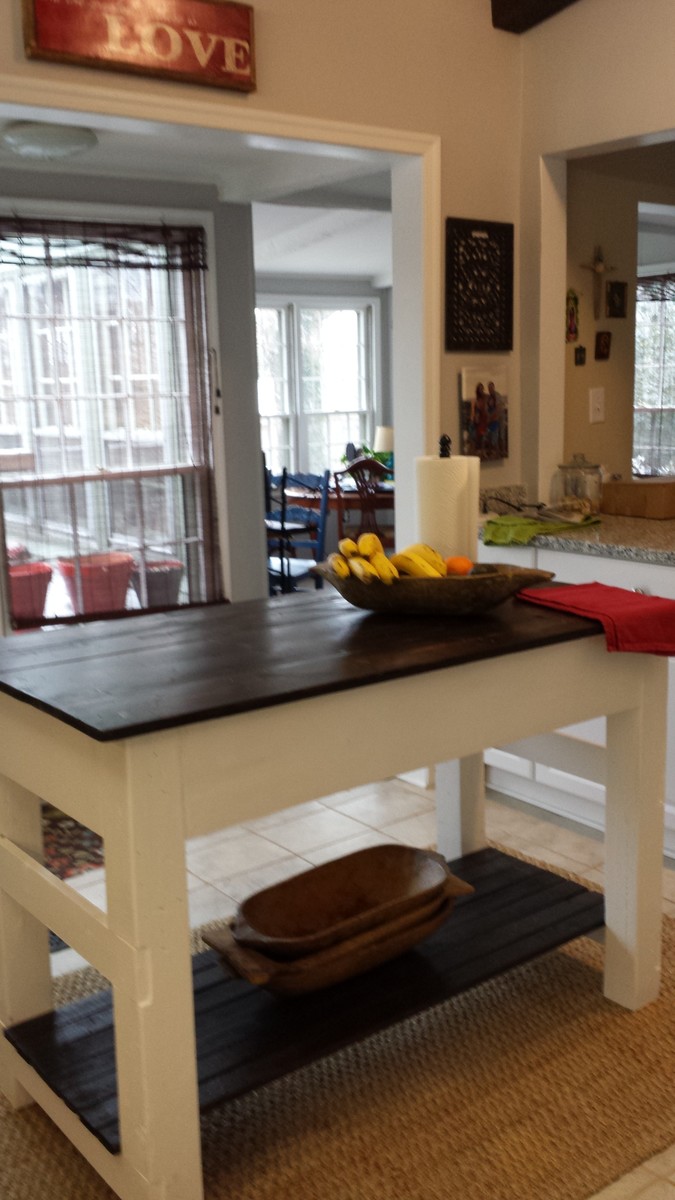
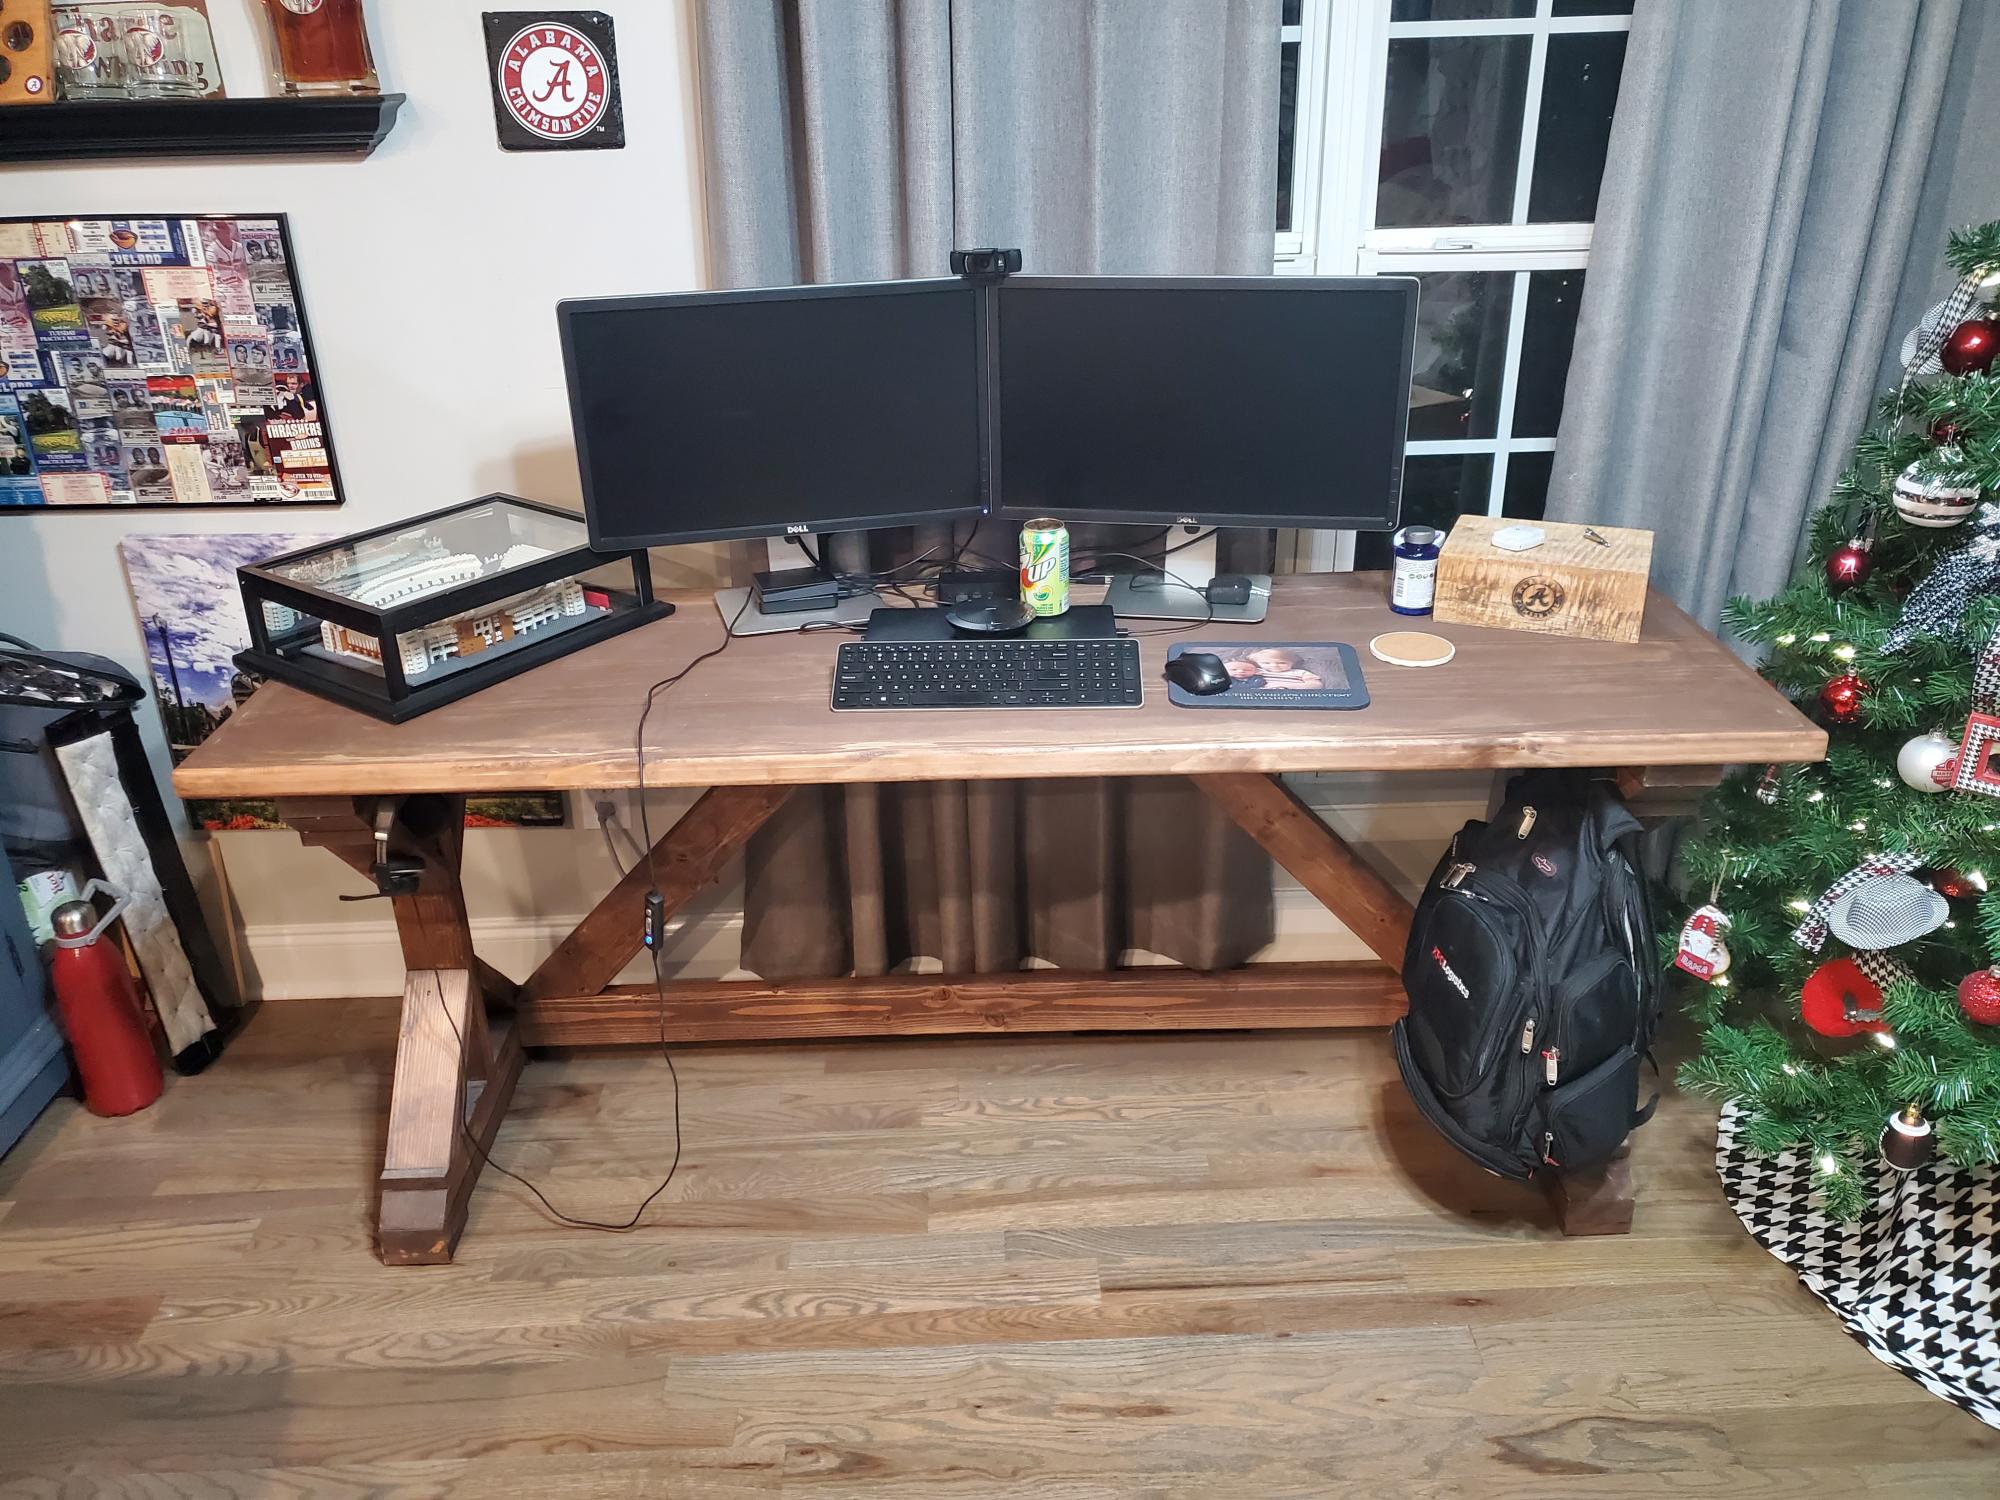
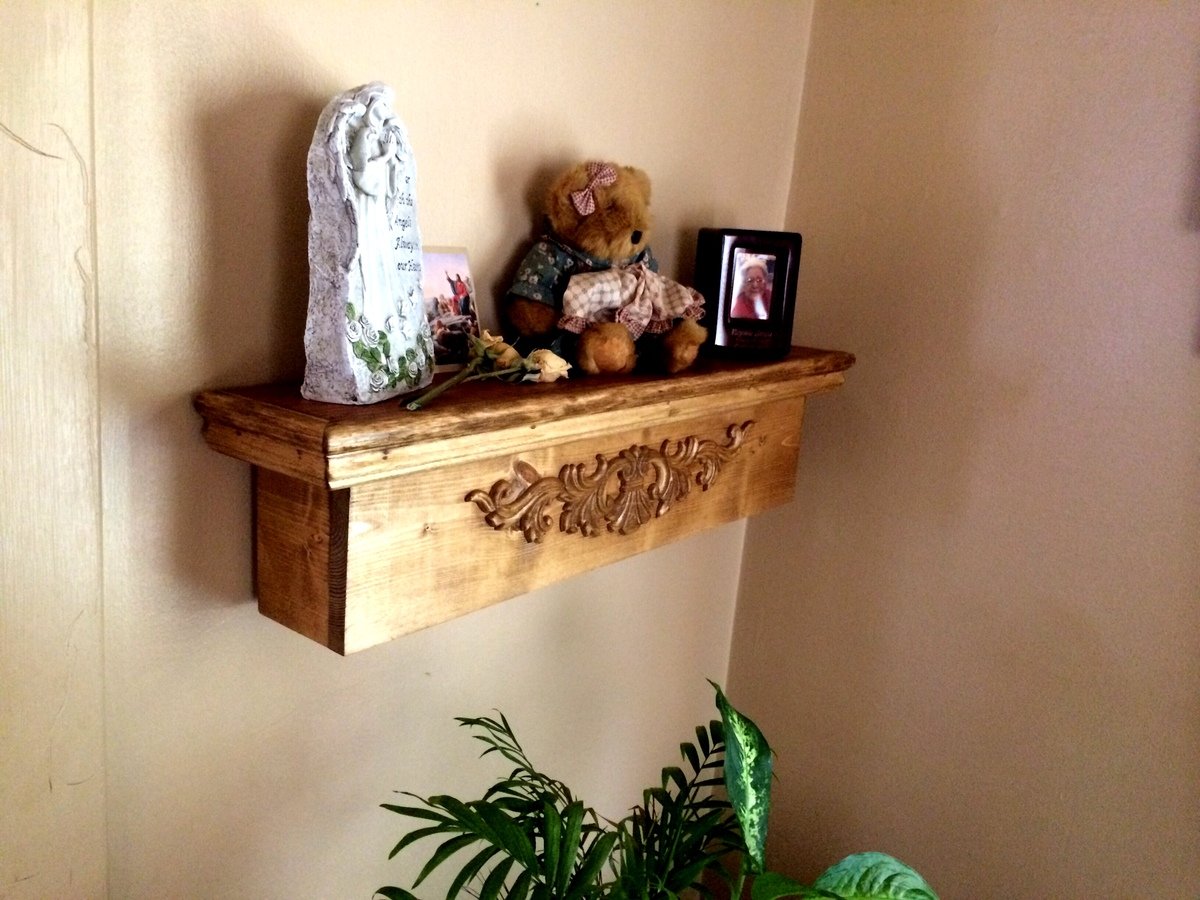
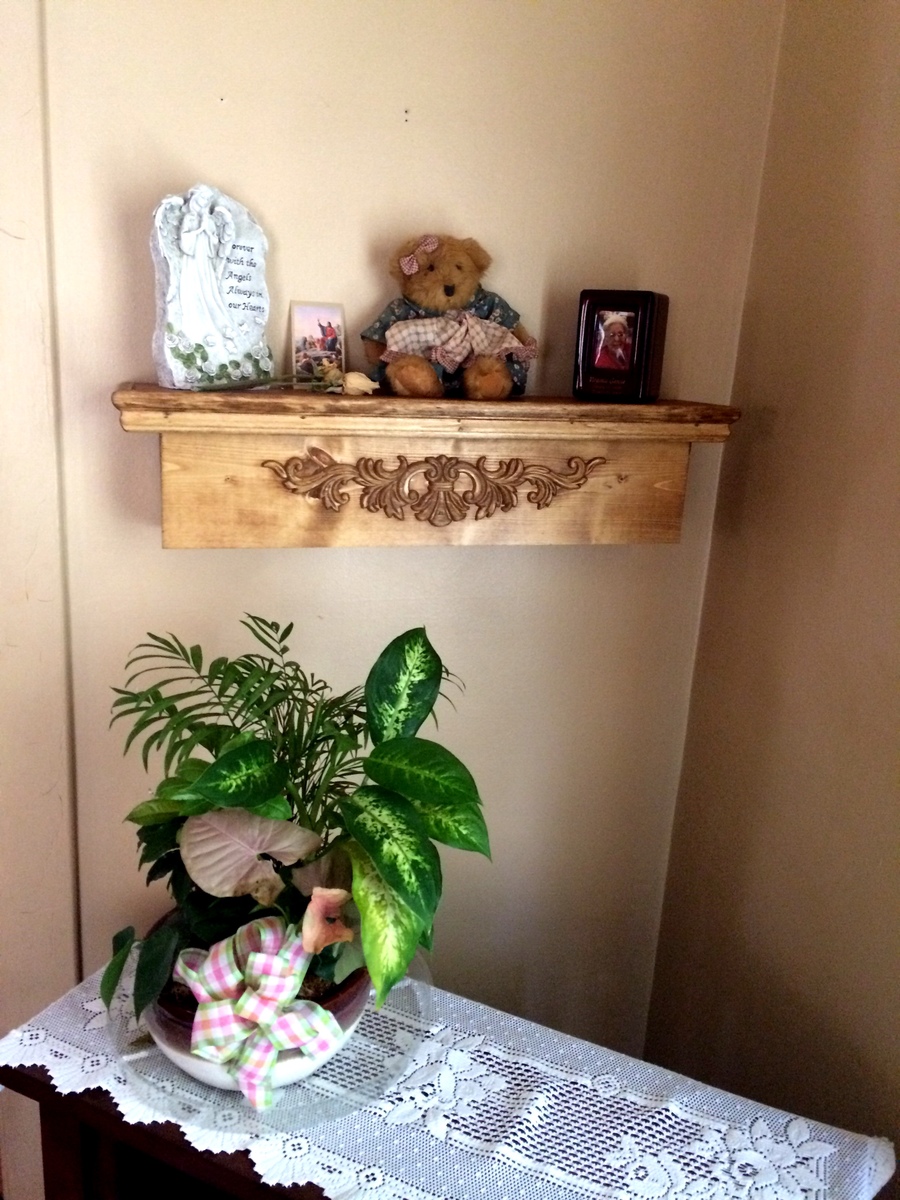
Rustic X End table
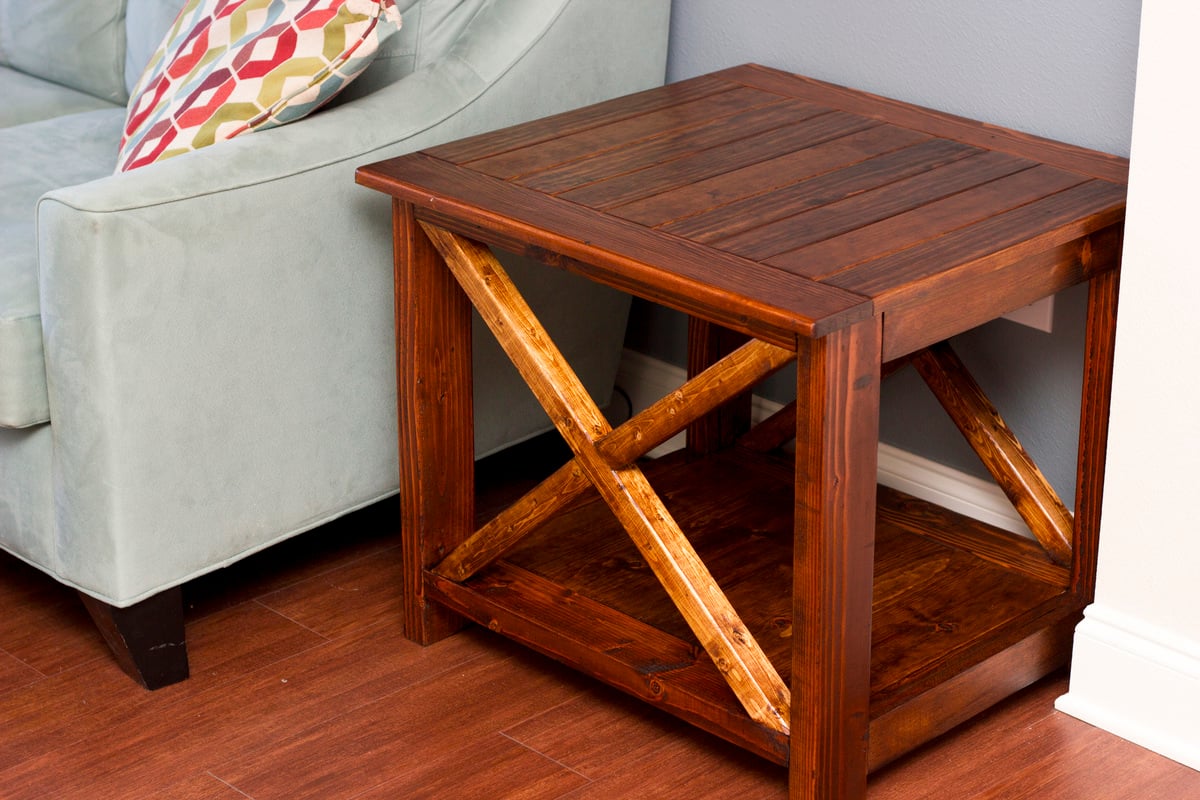
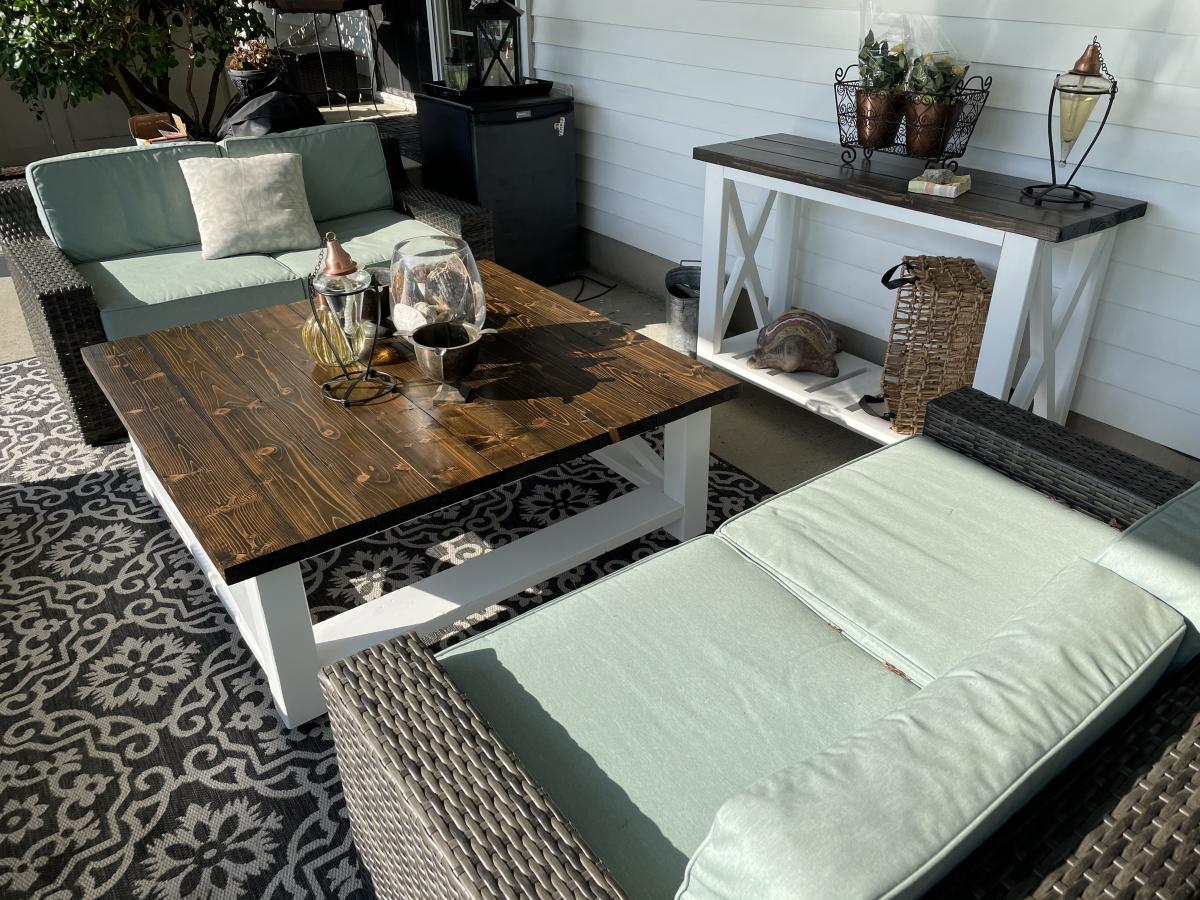
This was a great plan. My wife loved the finished product. Made a few variations to accomodate for the size of scrap wood that I had.
Built from Plan(s)
Estimated Cost
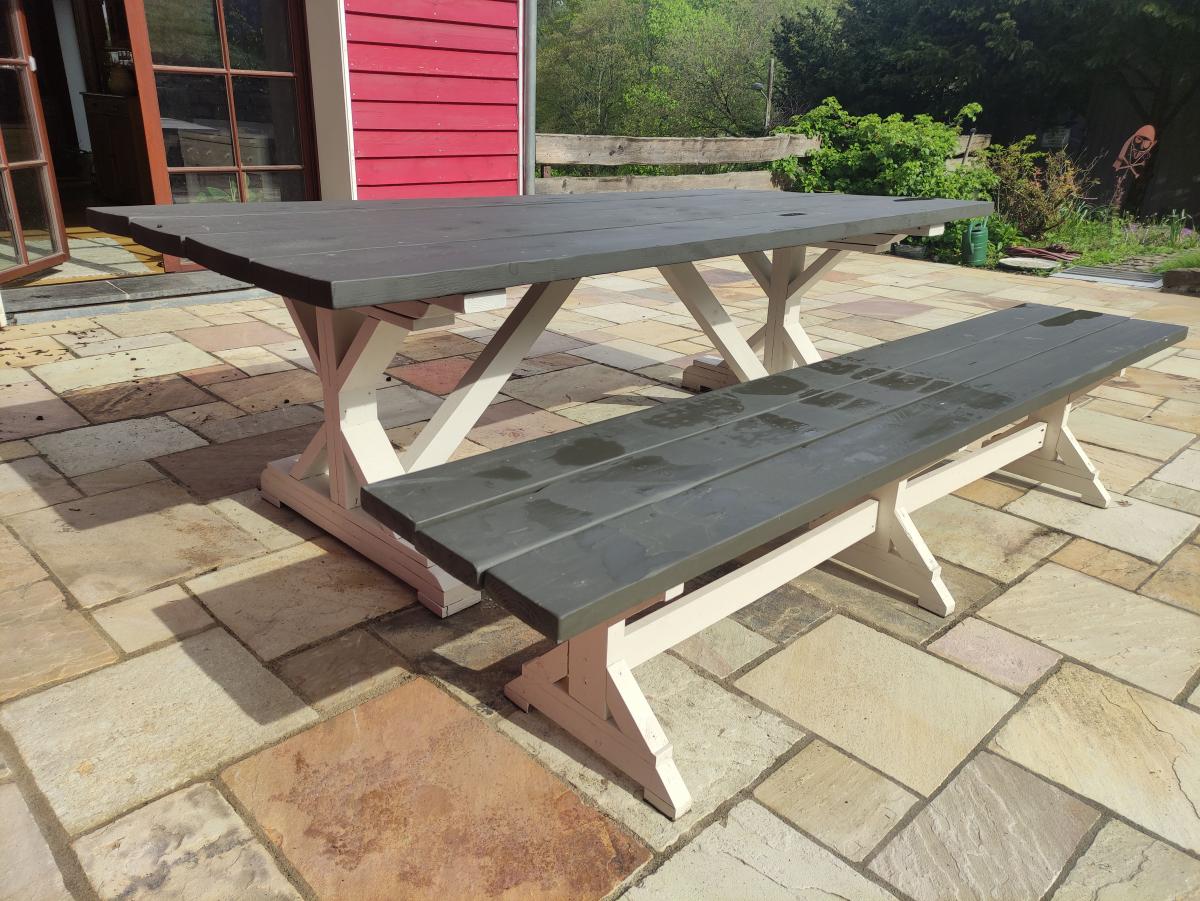
About $40 for both tables but all the wood was scrap wood. I only paid for the screws and wood glue.
Estimated Time Investment
Day Project (6-9 Hours)
Finish Used
2 coats of English Walnut stain brushed on and wiped off, and a coat of poly.
Recommended Skill Level
Starter Project