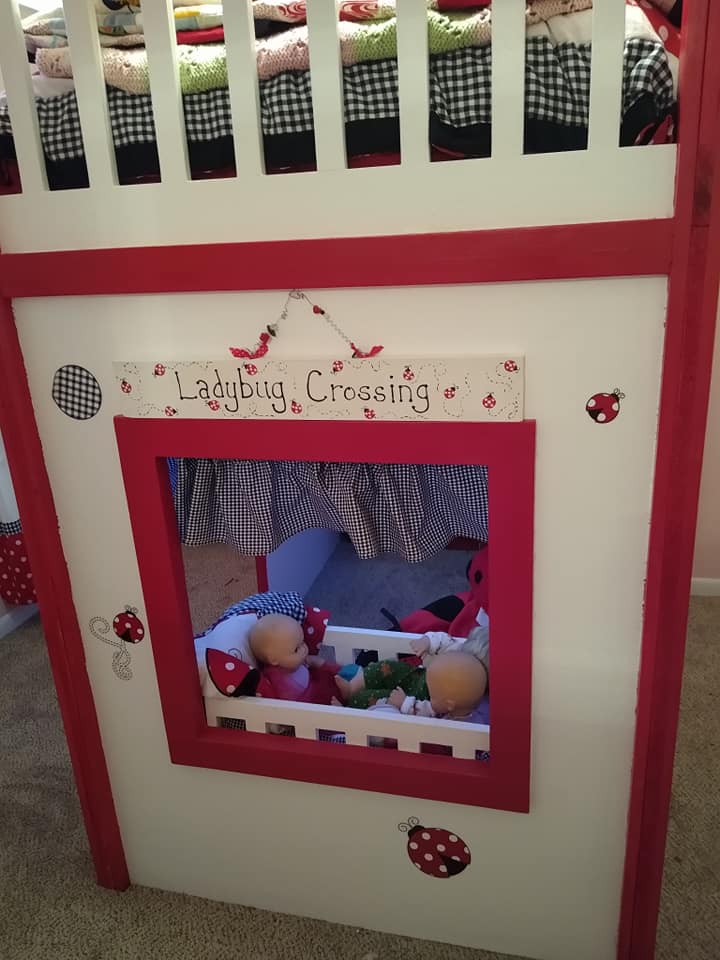
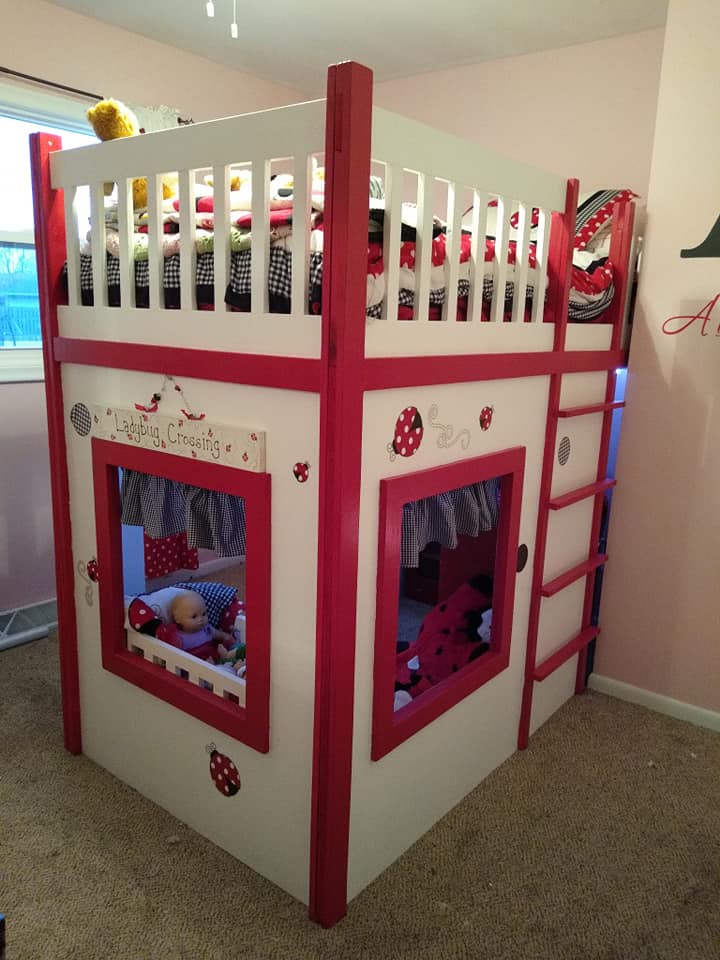
Playhouse Loft Bed- Ladybug style

I had to change around a bit of the plan because my daughter's room has a weird shape. So she gets into bed on one side of the bed, but the playhouse side is opposite so that it would be able to accommodate a window and a door on that side. We were able to put in 3 full sized windows this way.
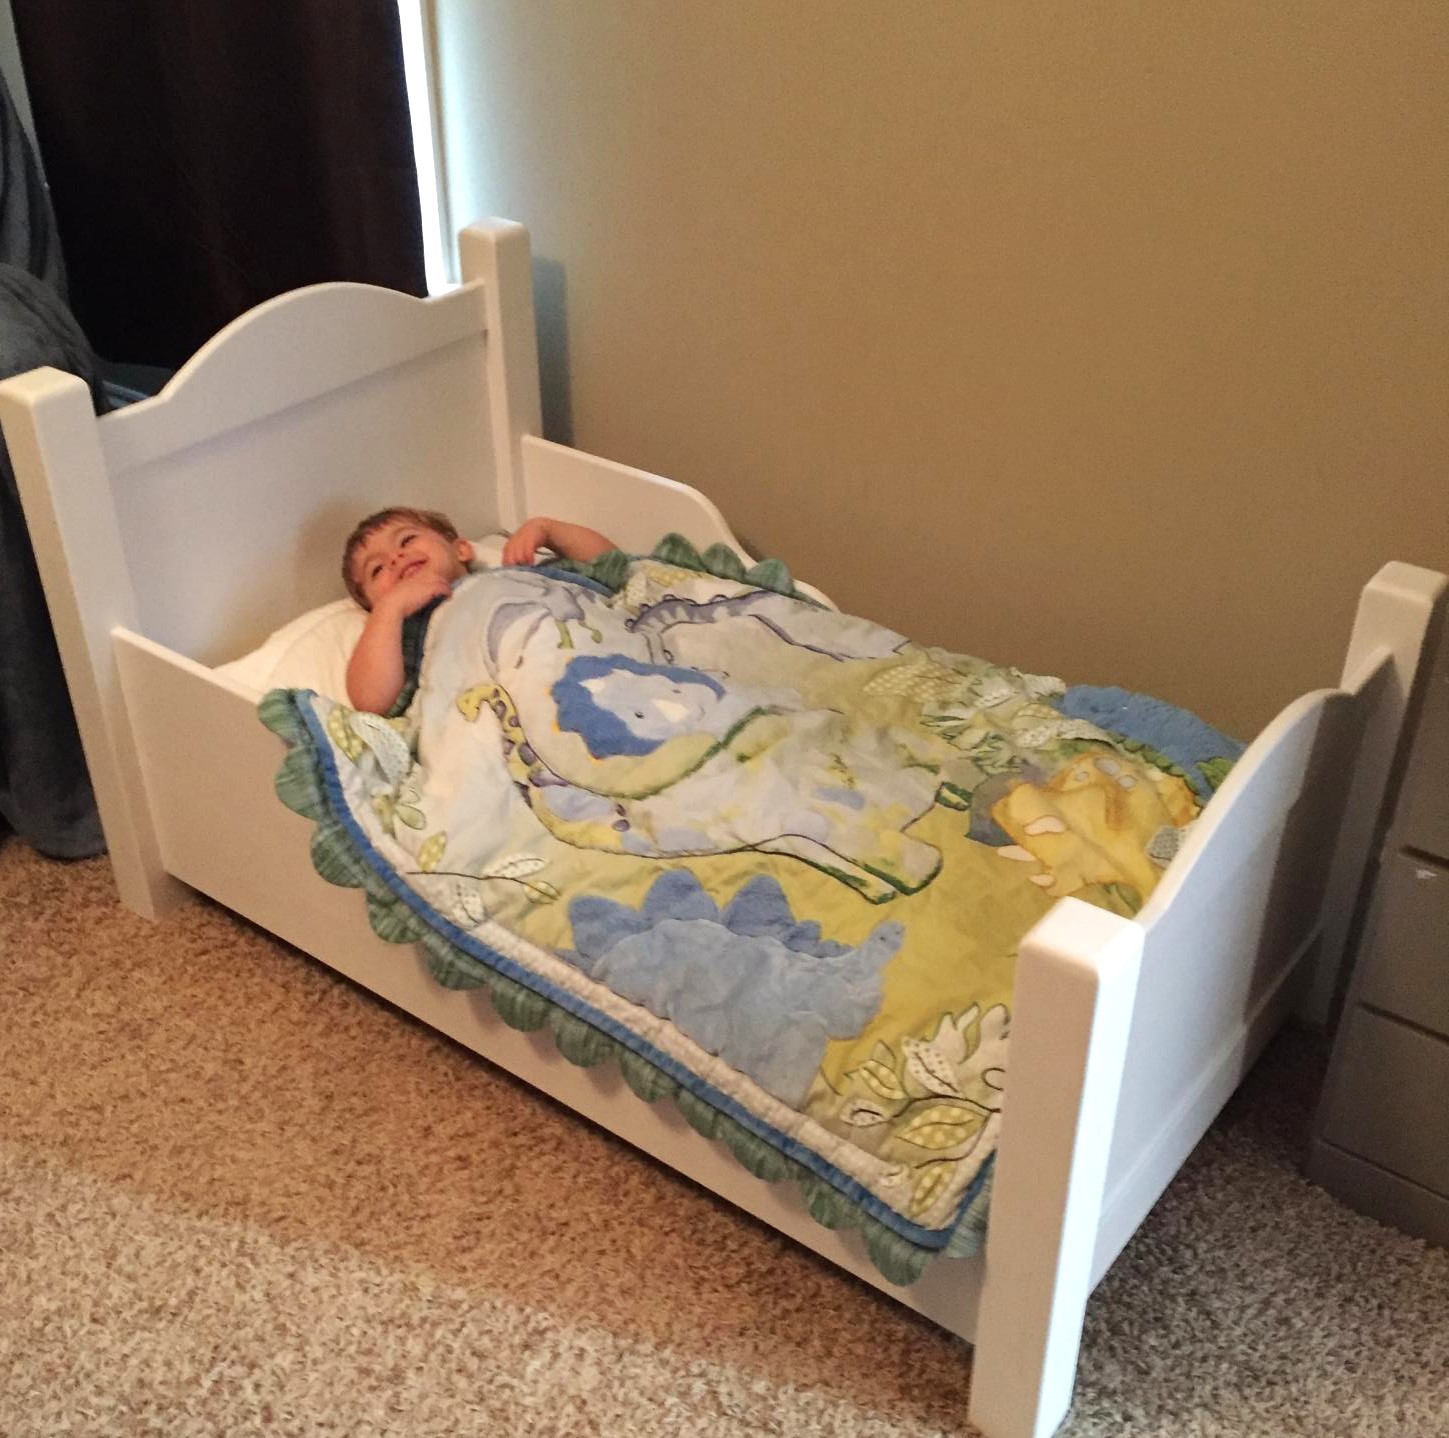
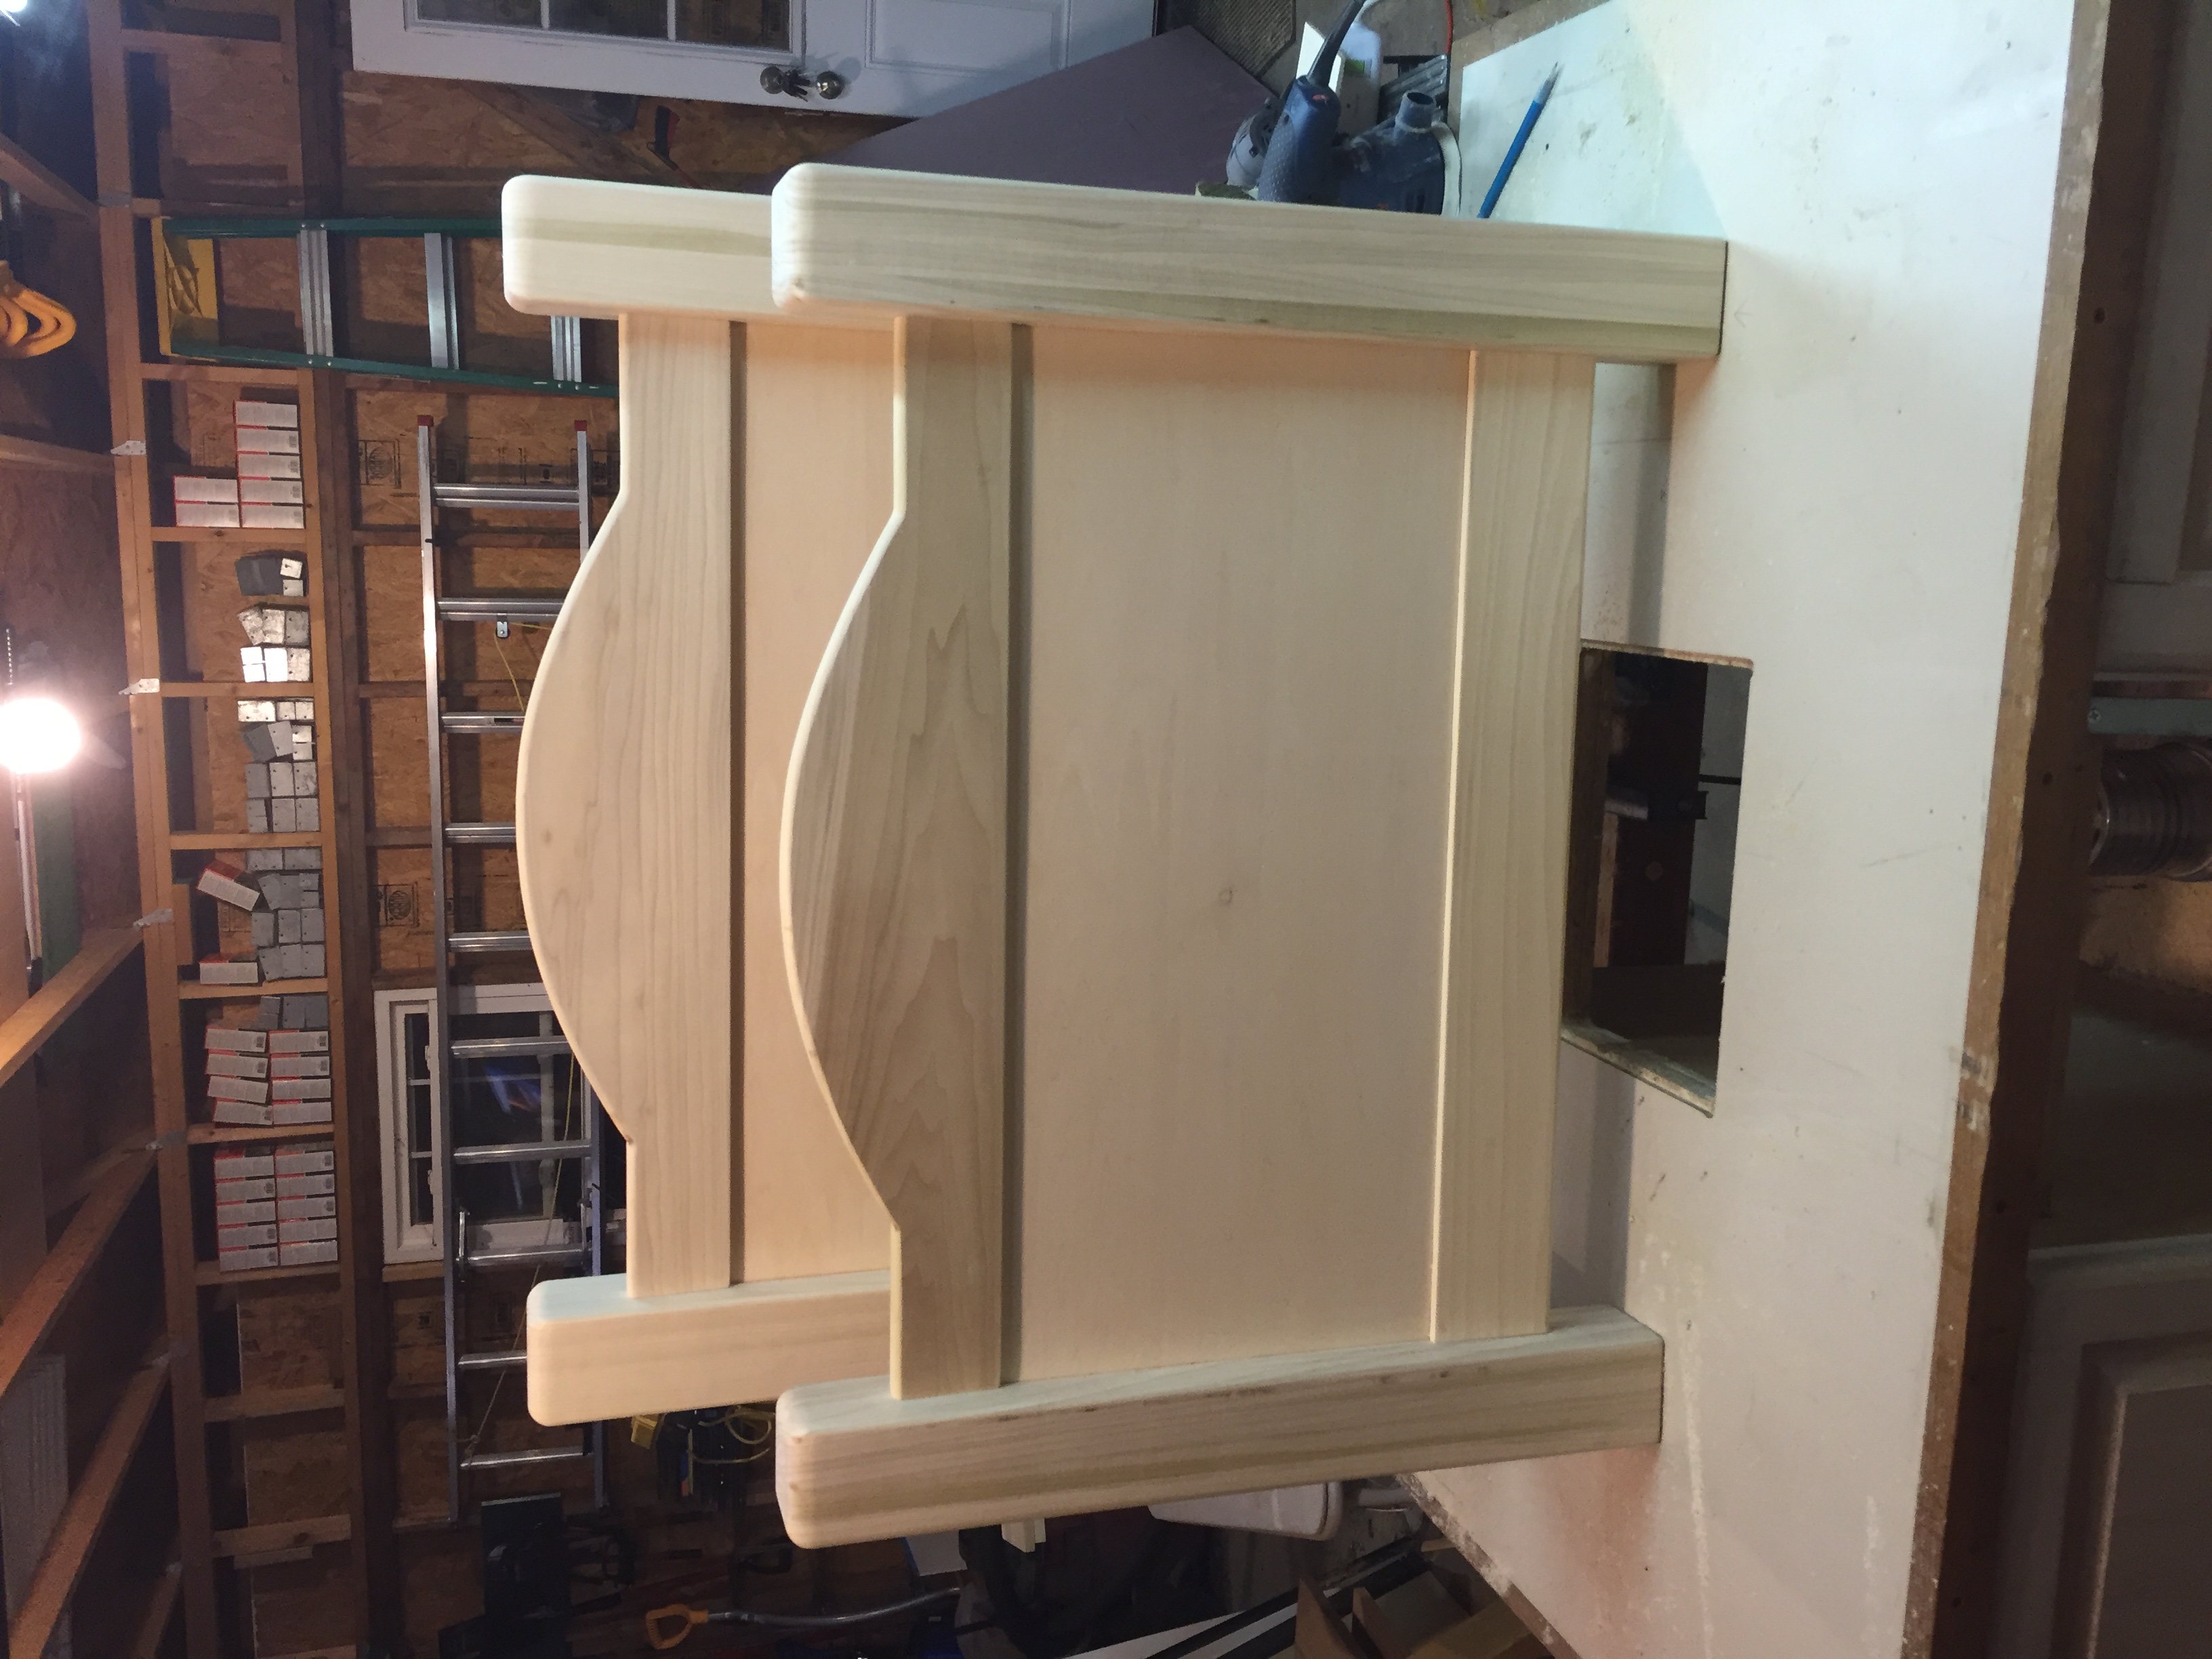
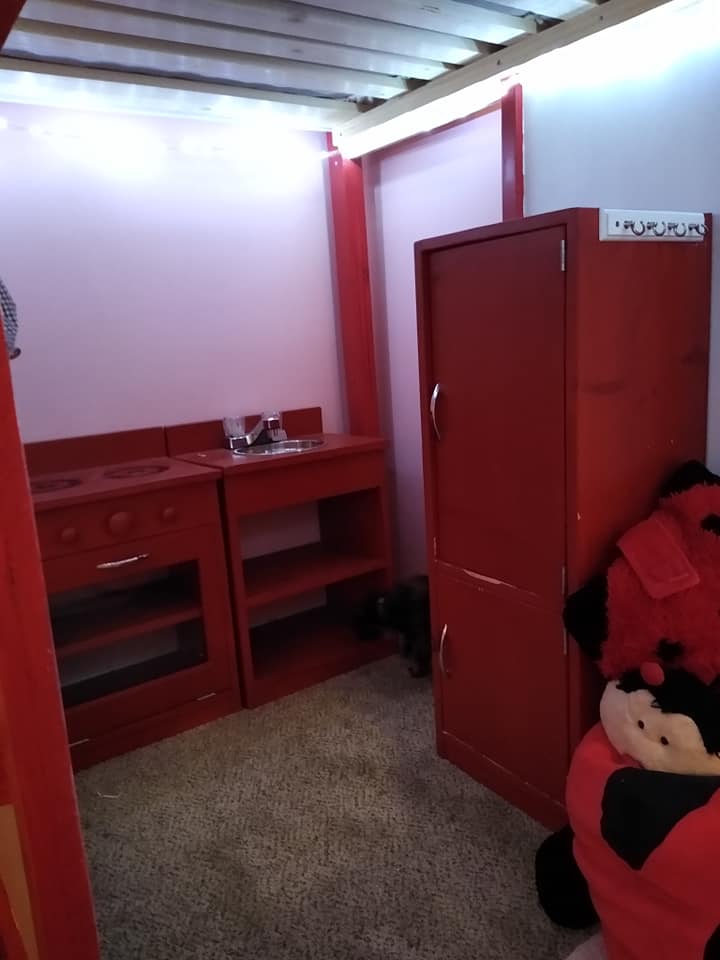
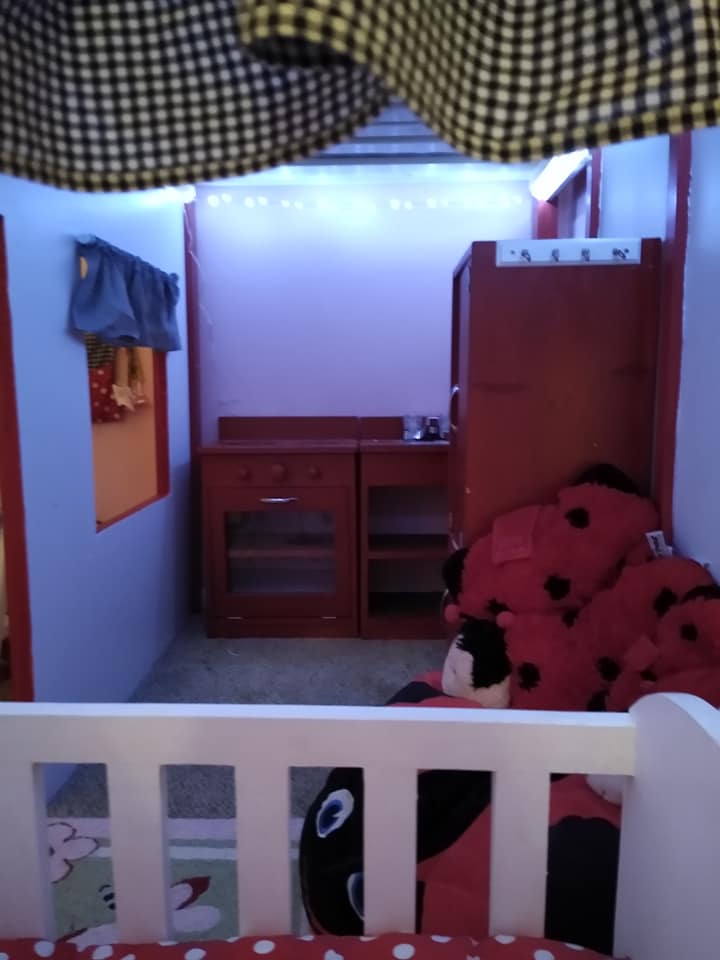
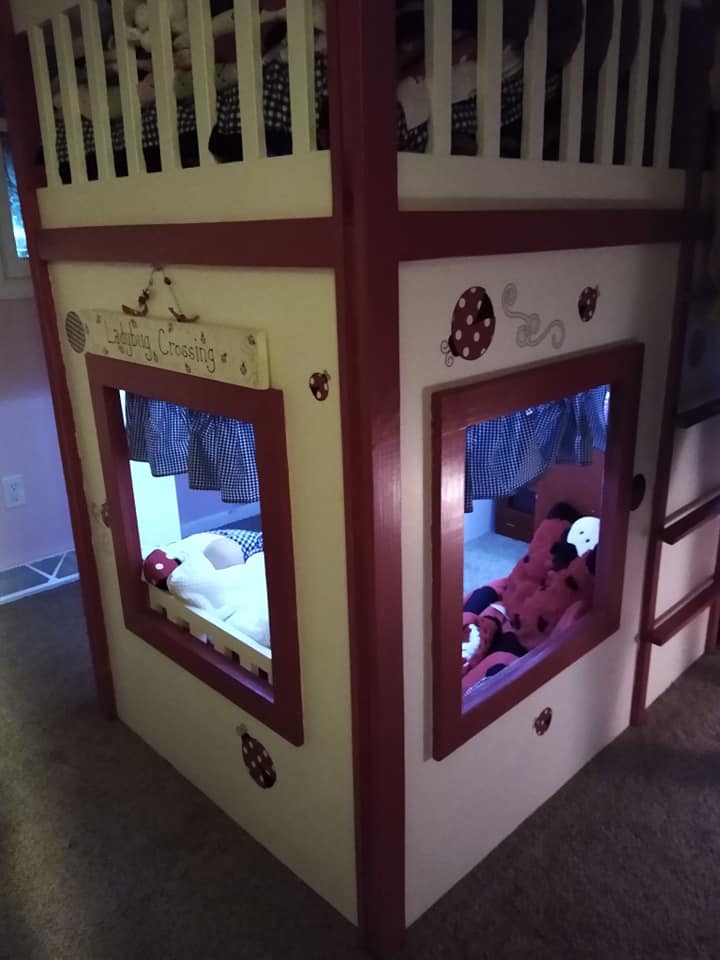
Inside her playhouse is the play kitchen set I built her several years ago (it's seen a ton of use), as well as the doll crib that I built her (which has also seen a ton of use.)
Inside, we used coated mug hooks around the top of the inside to hang rope lights, and we used the same hooks as curtain rod hangers for the cafe tension rod curtain rods we used for the windows.
Built from Plan(s)
Estimated Cost
$450
Estimated Time Investment
Week Long Project (20 Hours or More)
Finish Used
Satin and semi-gloss furniture paint.
Recommended Skill Level
Intermediate