Community Brag Posts

Laundry Room Redo

I needed a new laundry system, and thank goodness I found Ana White's projects on Pinterest! I incorporated the laundry sorter and added casters to the bottom as well as a paper towel roll on the side since it is next to the sink. I also used a modified version of the washer/dryer platform into my space. It does not have the bottom platform and the 4x4's are inside the 2x4's and attached to the platform as well as the 2x4's. Sterilite makes organizer drawers that fit exactly in the opening of under the platform. And, voila! New colors, new organization, new light bulbs :0), new laundry room!

Estimated Cost
$170
Estimated Time Investment
Weekend Project (10-20 Hours)
Finish Used
Valspar from Lowe's
Recommended Skill Level
Beginner

Comments

Entry closet organizer

This was my first project using Ana's plans. It's a combination between the smiling mudroom and the shoe shrine altered to fit sneakers and boots. I was very happy with how it turned out and couldn't wait to get on with my second project which was the planked sideboard. We were doing renos at the time and I was able to build the closet organizer before enclosing the closet. That thing is never moving.

Estimated Time Investment
Weekend Project (10-20 Hours)
Finish Used
I sanded,painted,sanded,painted,sanded and topped it with minwax paste wax. The paint is Sherwin Williams "Tidewater" eg-shel.
Recommended Skill Level
Beginner

Comments

Ridge Media Console

Submitted by Kingspiper on Fri, 03/31/2017 - 12:25

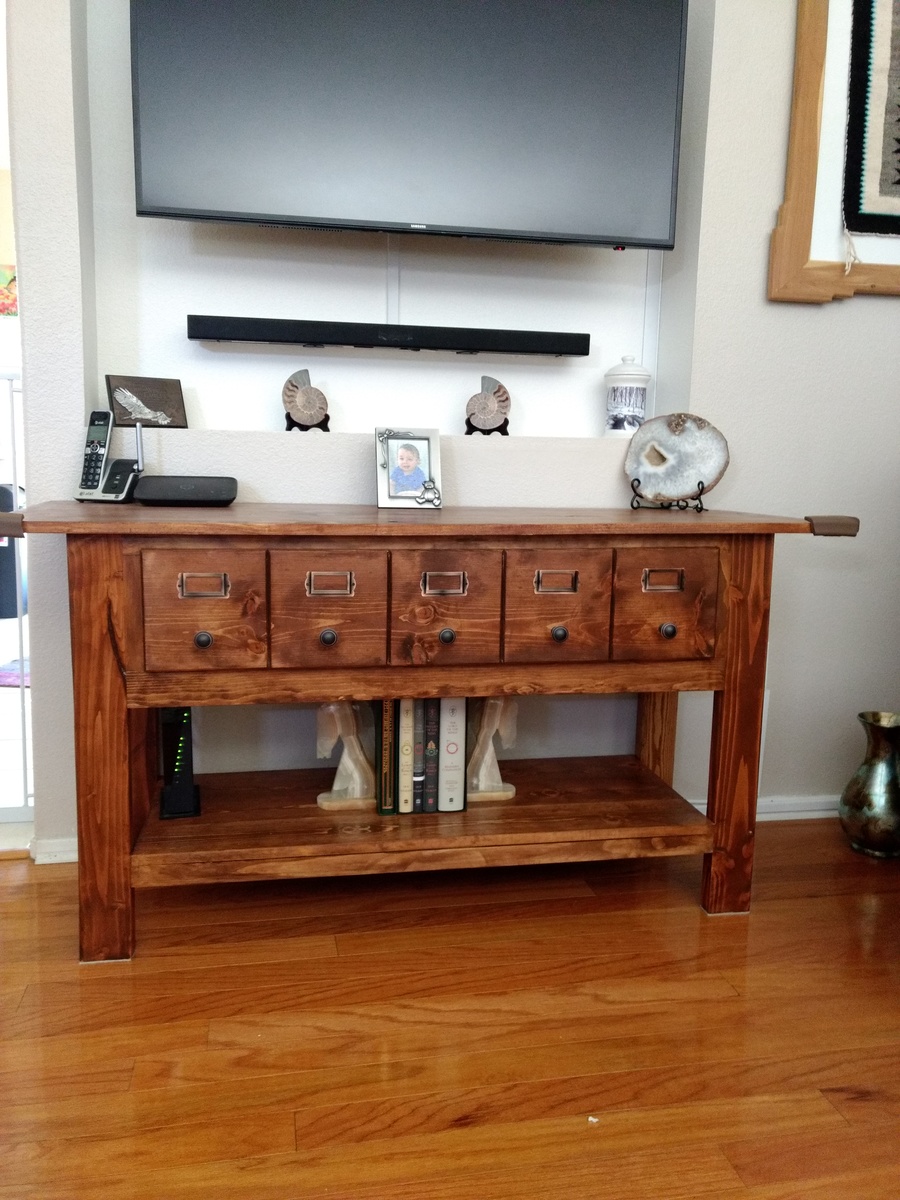
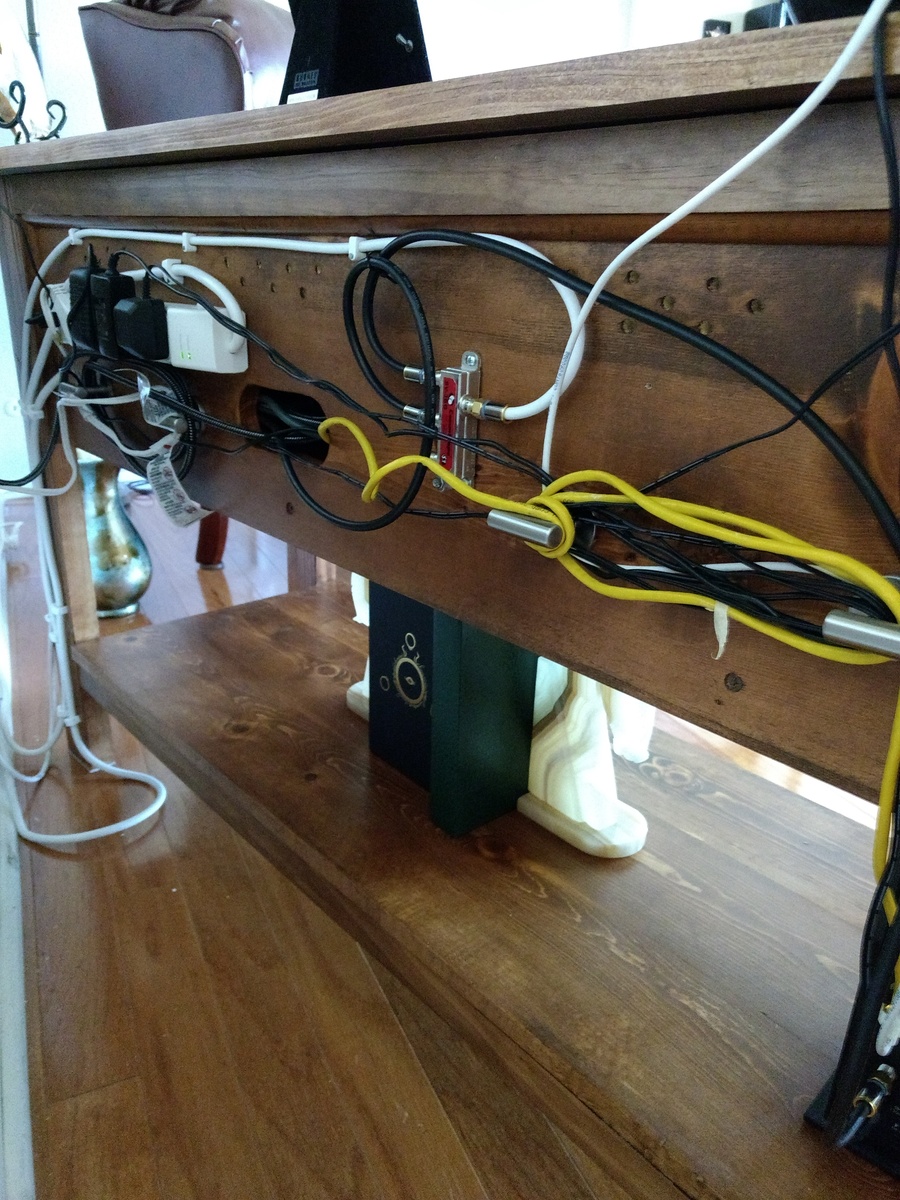
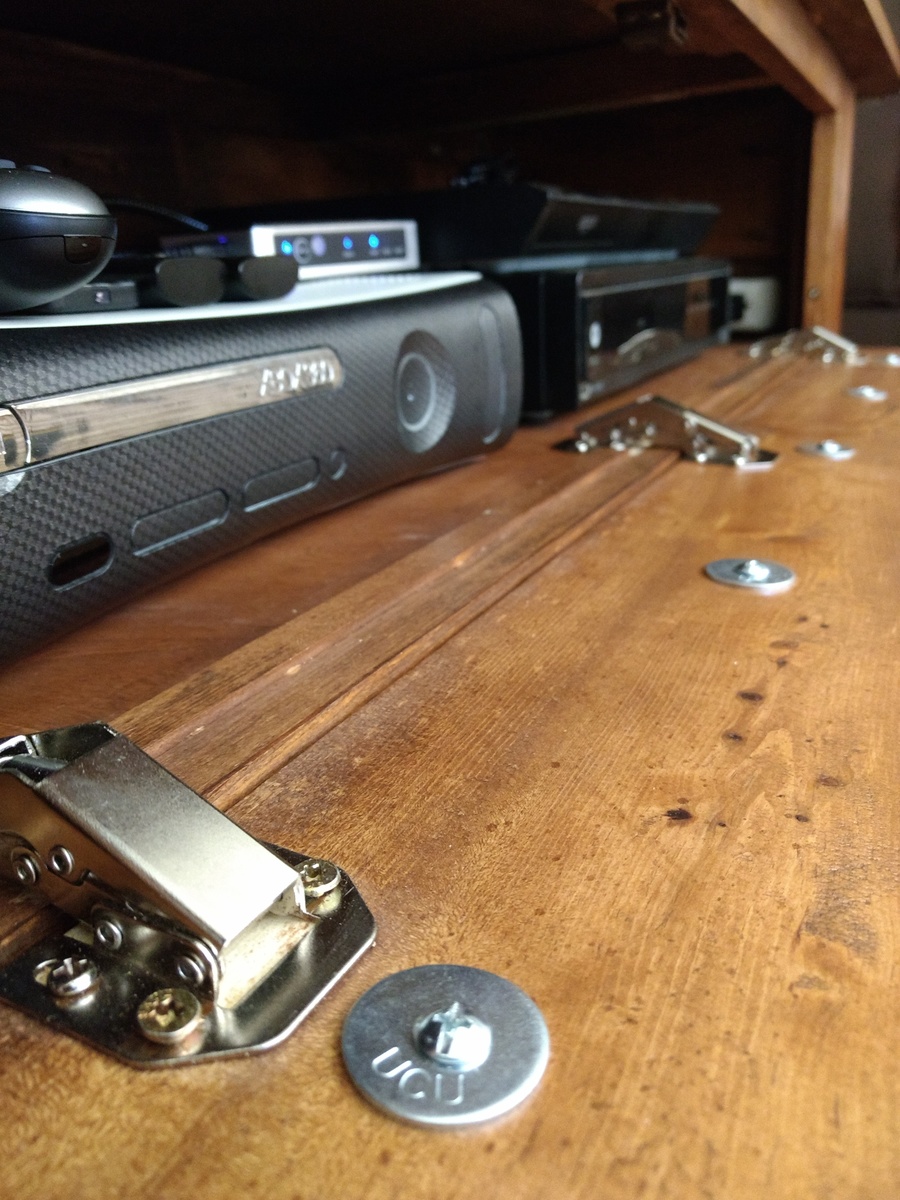
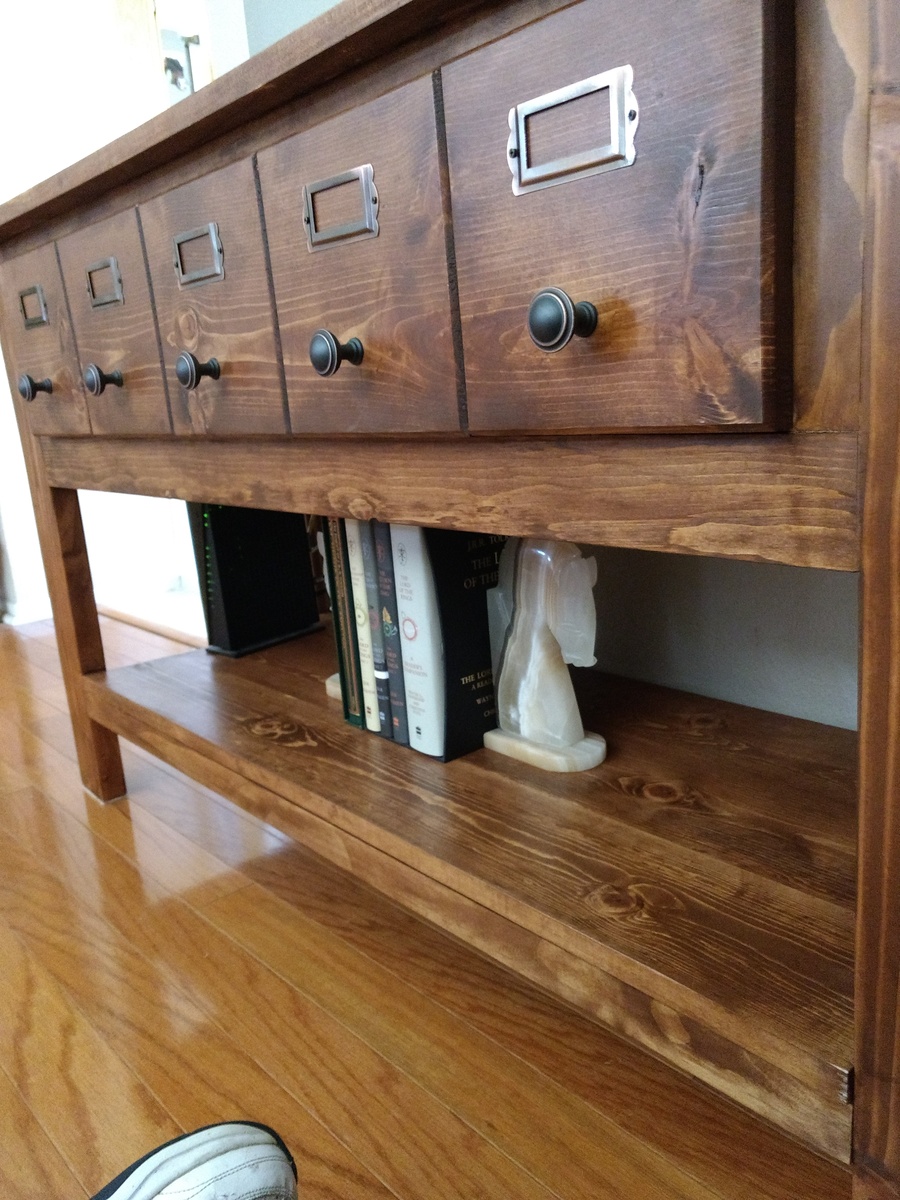
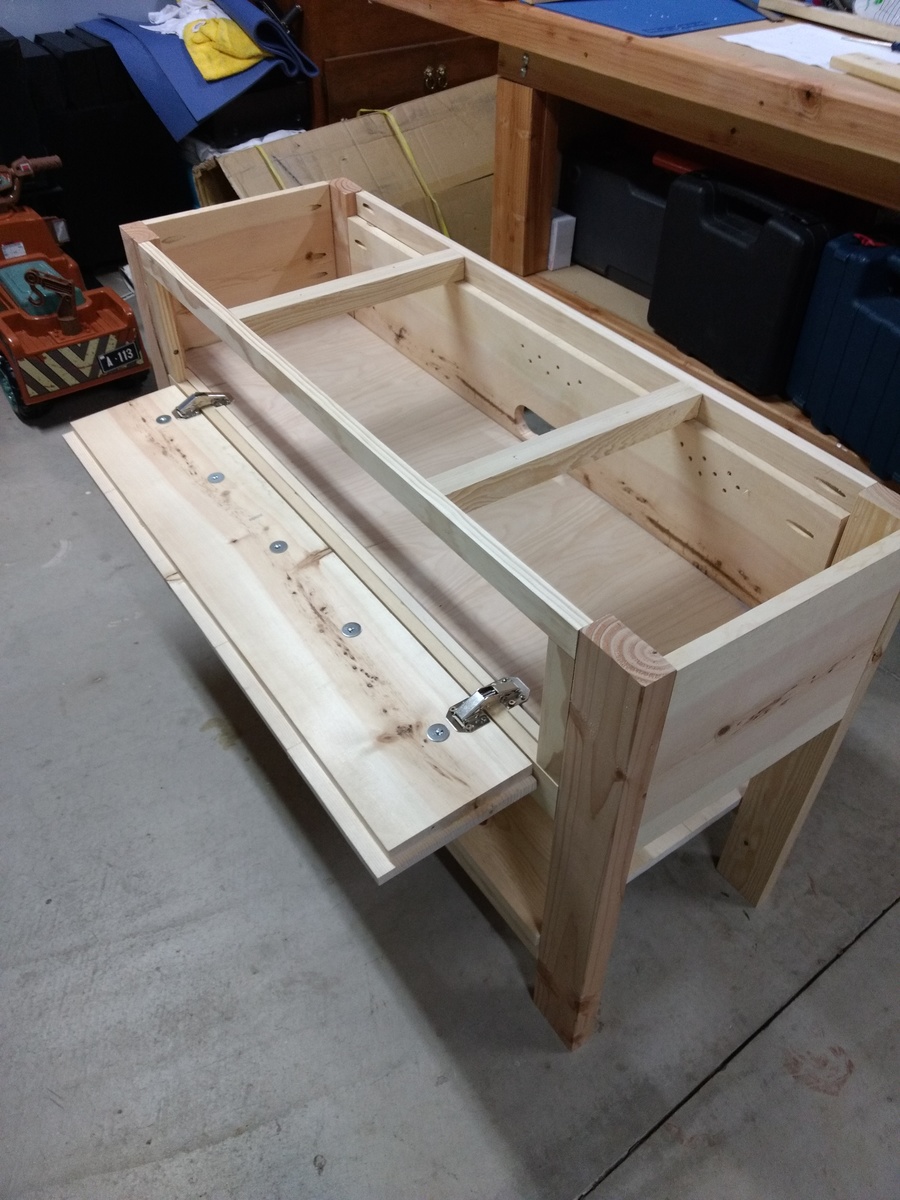
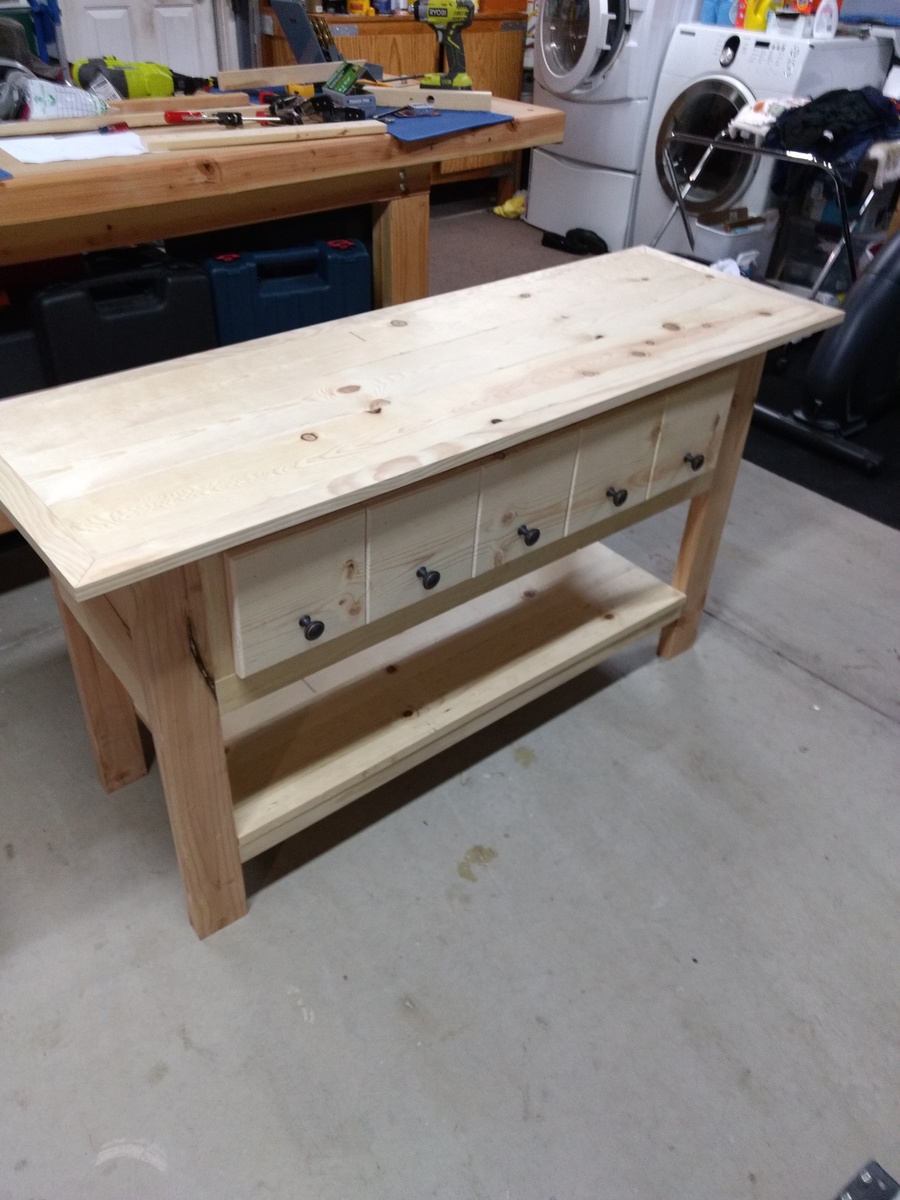
Made media center for new TV / speaker from Jen Woodhouse design I found on Ana White.  Turned out well. Changed some aspects to fit my situation.  I changed some of the joinery, and used a 12 inch piece of pine on the back to allow for stability and ample space for cord management. I used three hinges due to weight of the front and put some corner cushions for grandson's sake (toddler).  Most items bought at local home improvement store but index card holders bought on ebay for very reasonable price.  

Built from Plan(s)
Estimated Cost
Wood / hinges and accoutrements around 150.00 dollars
Estimated Time Investment
Weekend Project (10-20 Hours)
Finish Used
Minwax pre-stain / Varathane Light Walnut stain / Varathane satin Polyurethane
Recommended Skill Level
Intermediate

Comments

Large Rustic X Bench

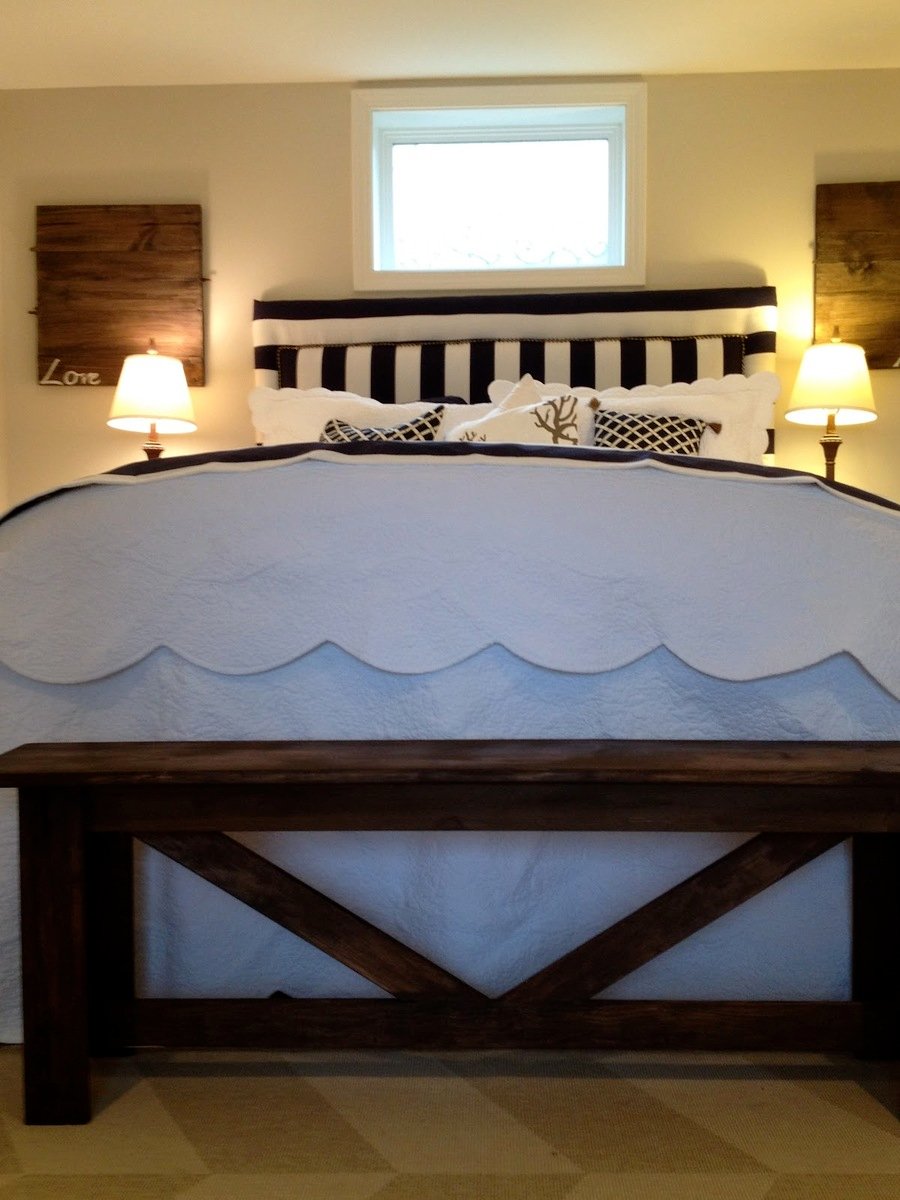
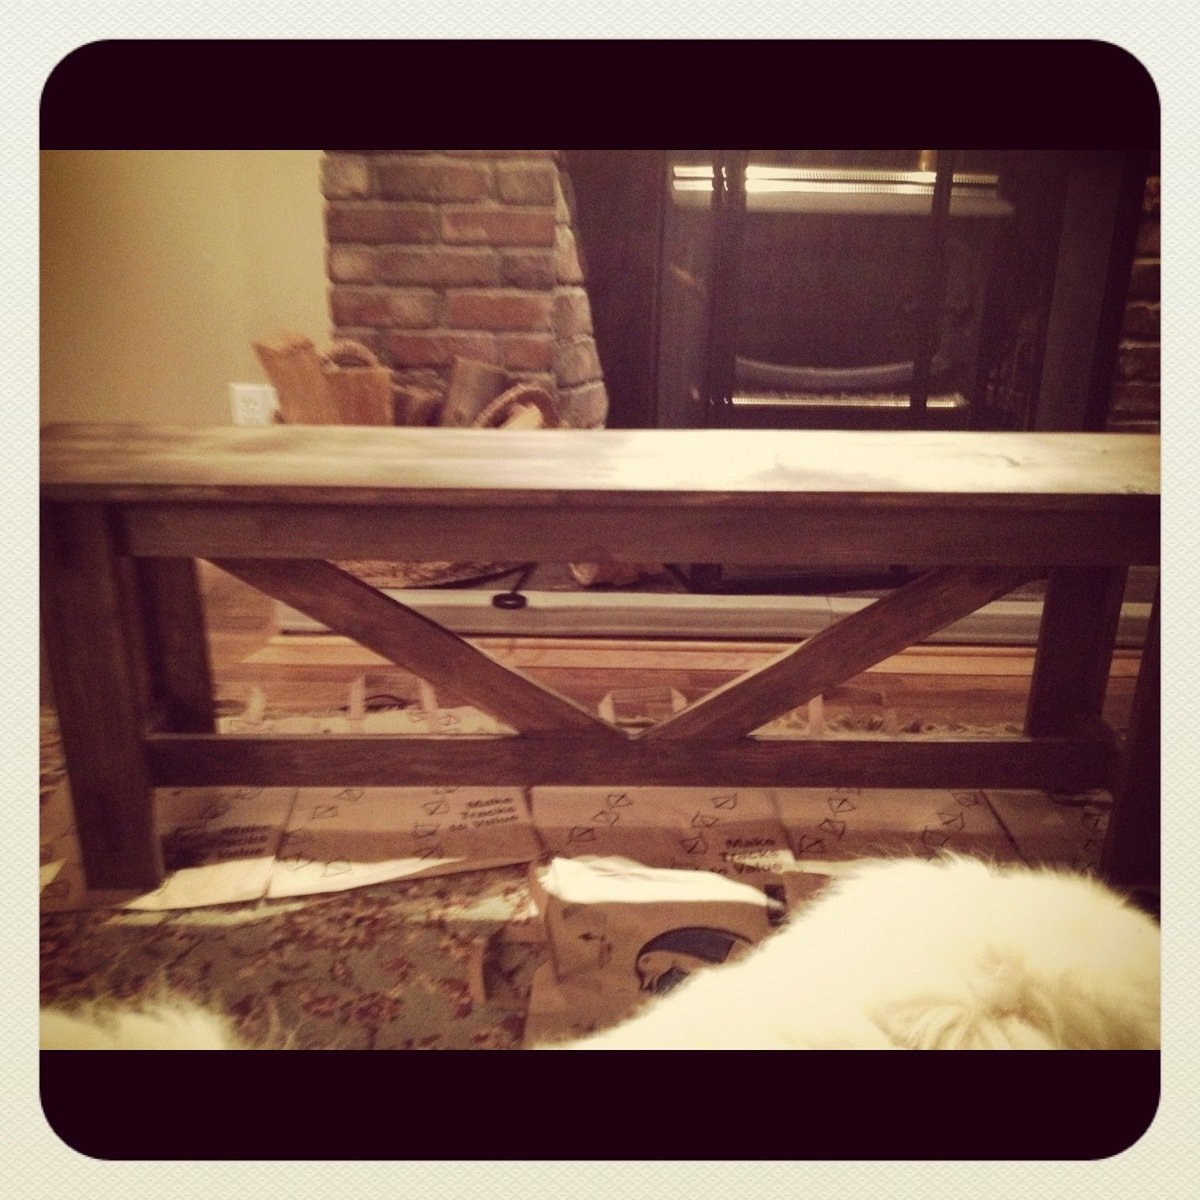
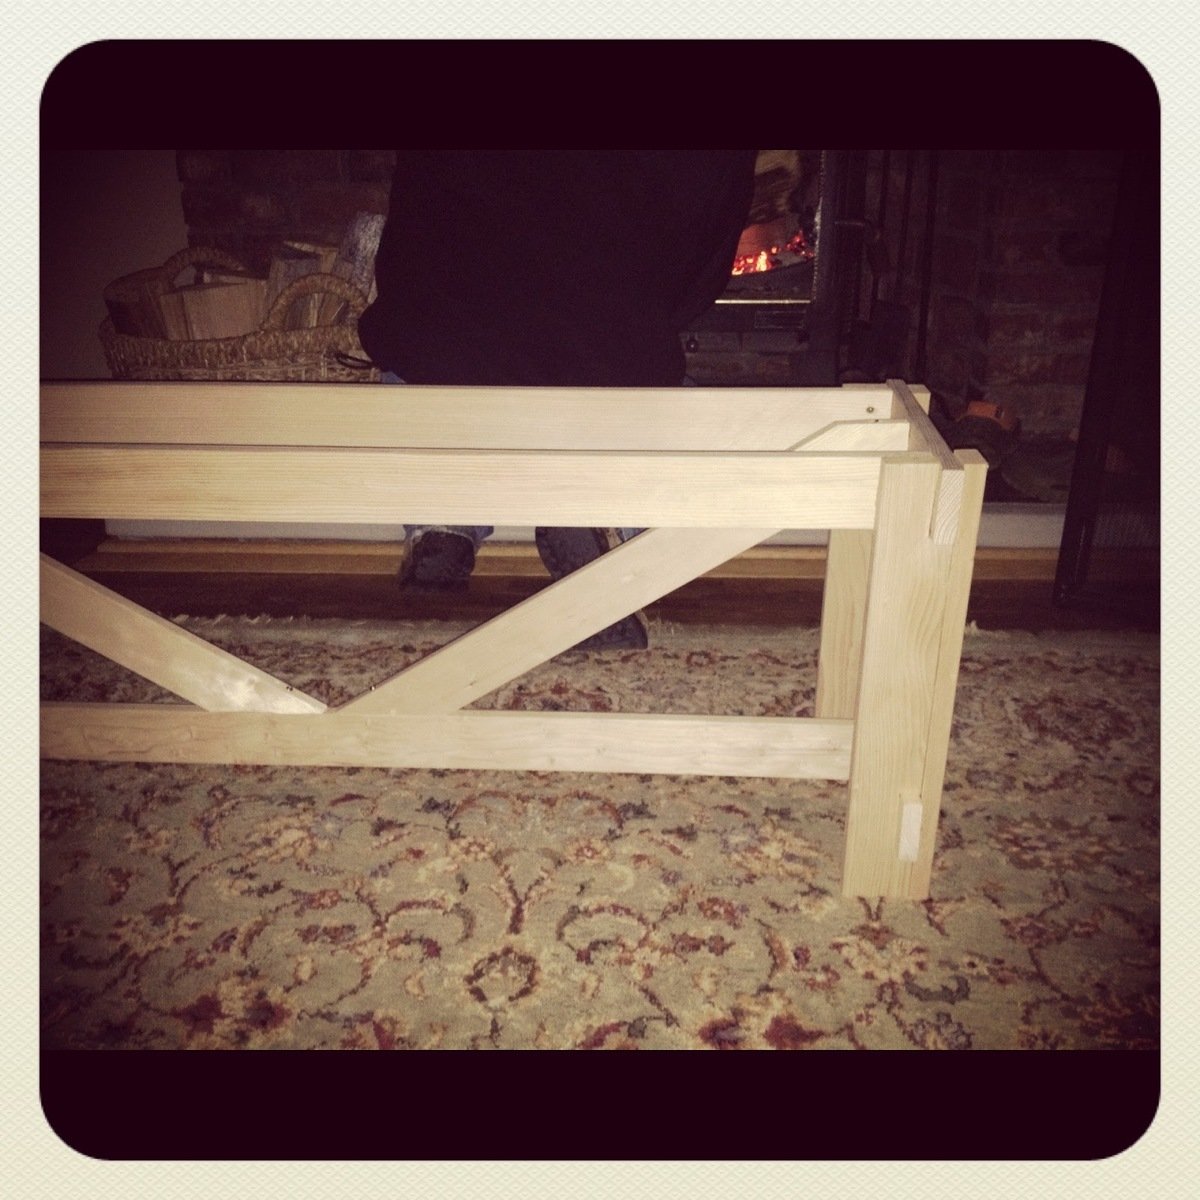
Here it is. Our first building project (not attached to a wall) that we used plans for:) I am so happy with the way it turned out. We had been looking for a bench for months. I was thinking that I would find something I like, refinish it and then upholster the top. But then I came across this post from a wonderful blog (that I will be using TONS more ideas from) and knew that this was going to be our bench:) I am happy to say that I think I have finally found a hobby that we can ALL get use to:) The kids have fun, we have fun...and we actually walk away with a finished piece! Love that!

Estimated Cost
$45
Estimated Time Investment
Week Long Project (20 Hours or More)
Finish Used
Minwax stain in Dark Walnut
Recommended Skill Level
Beginner

American Girl Doll sized Kitchen

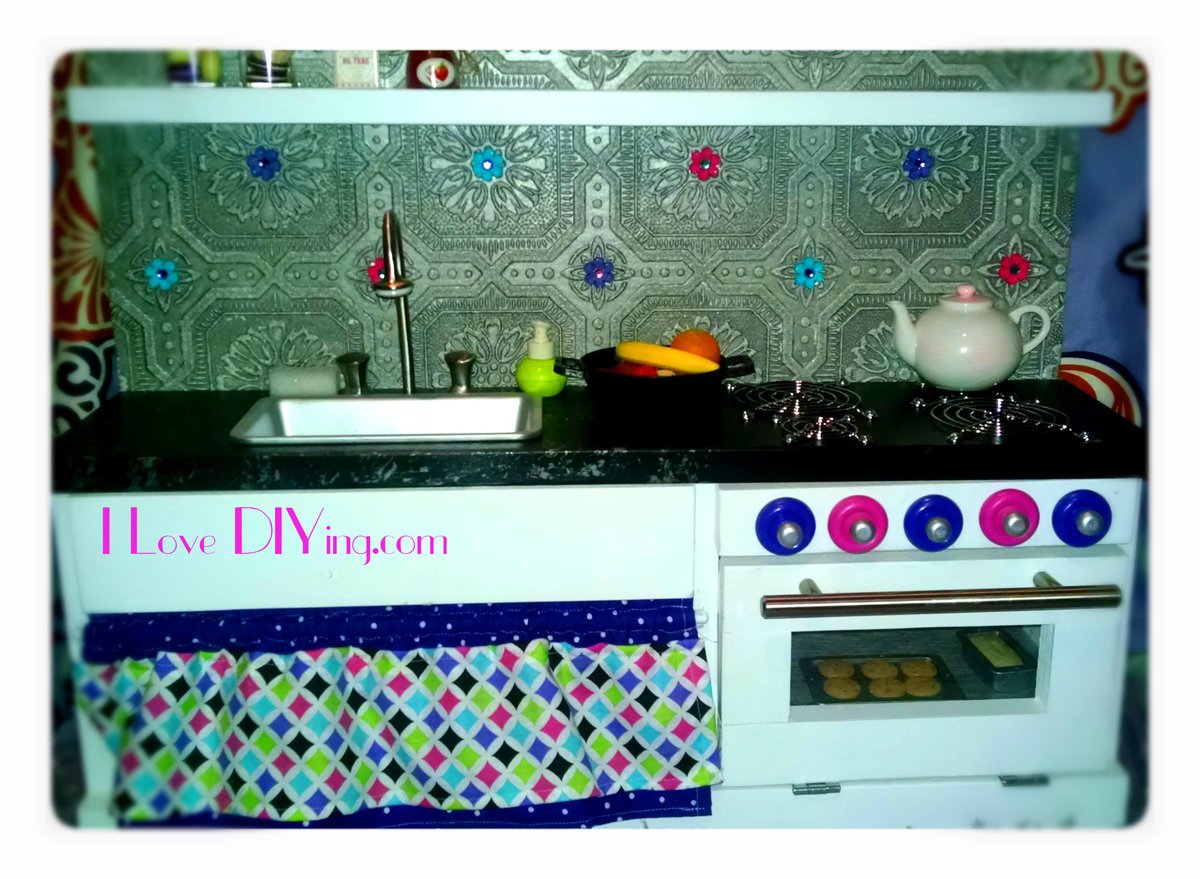
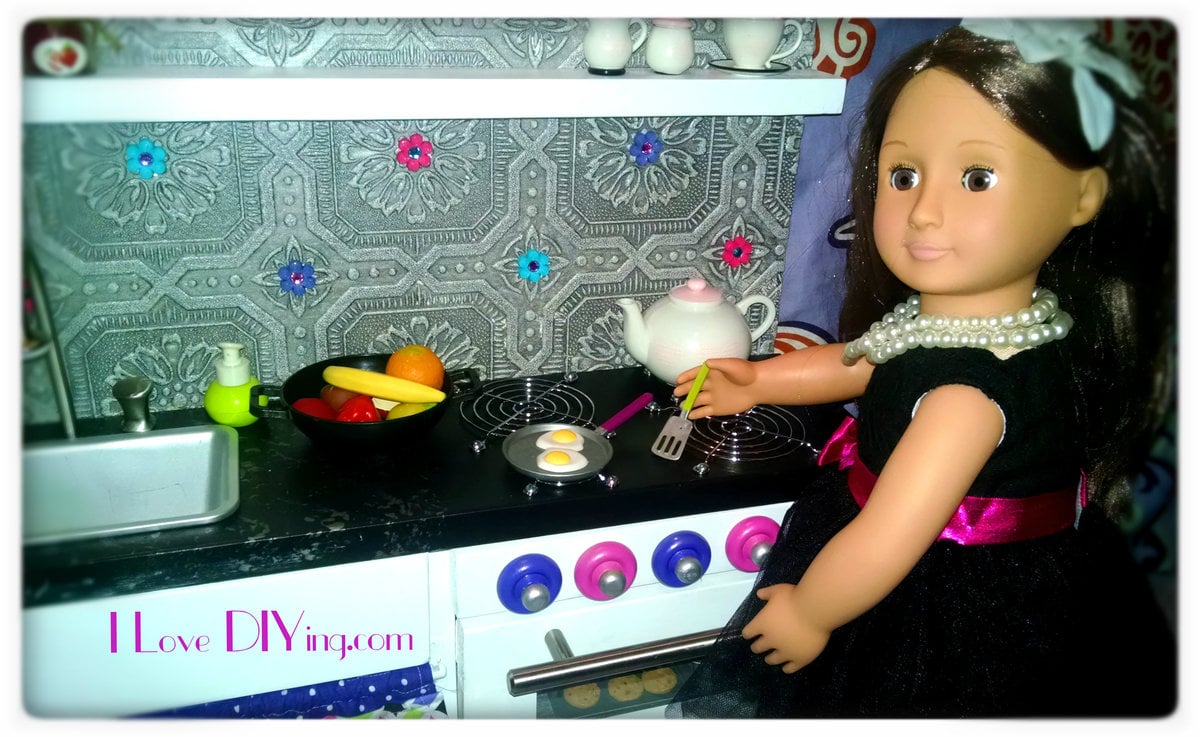
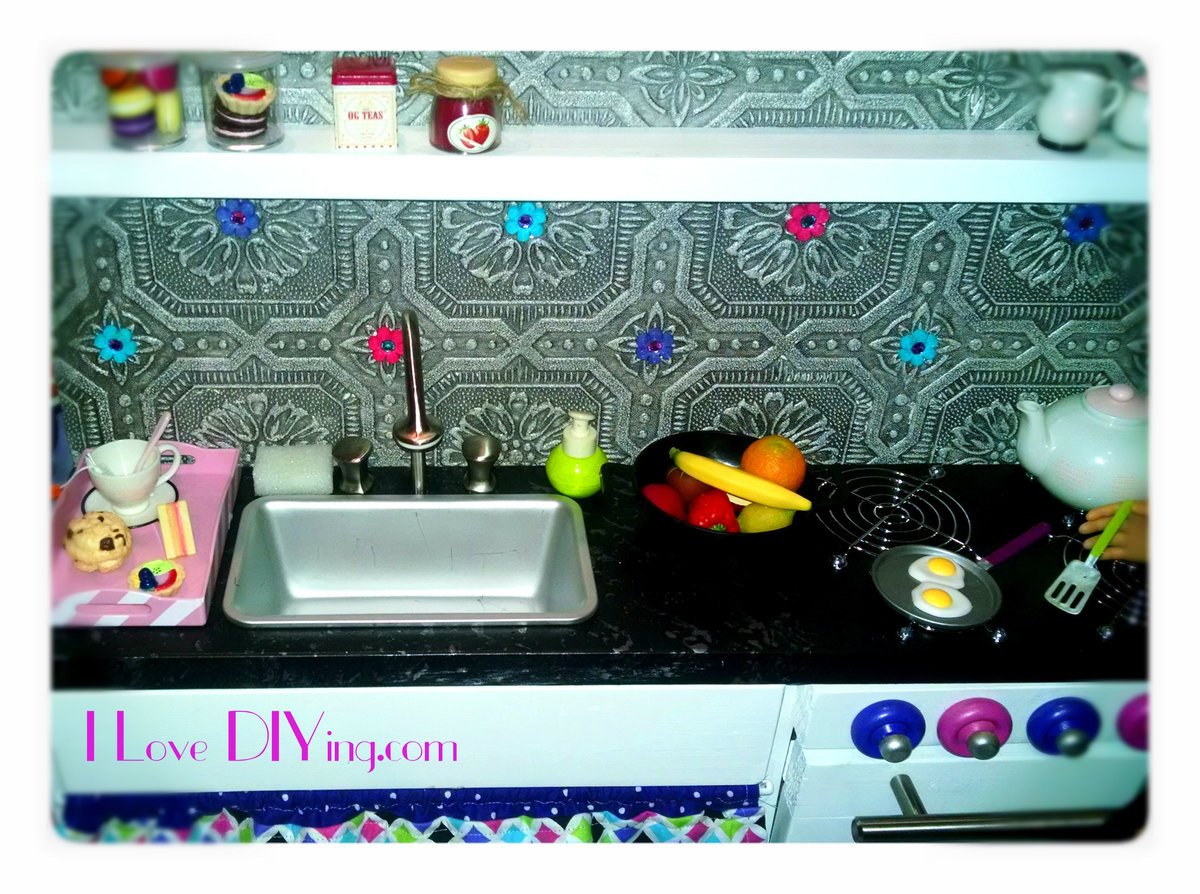
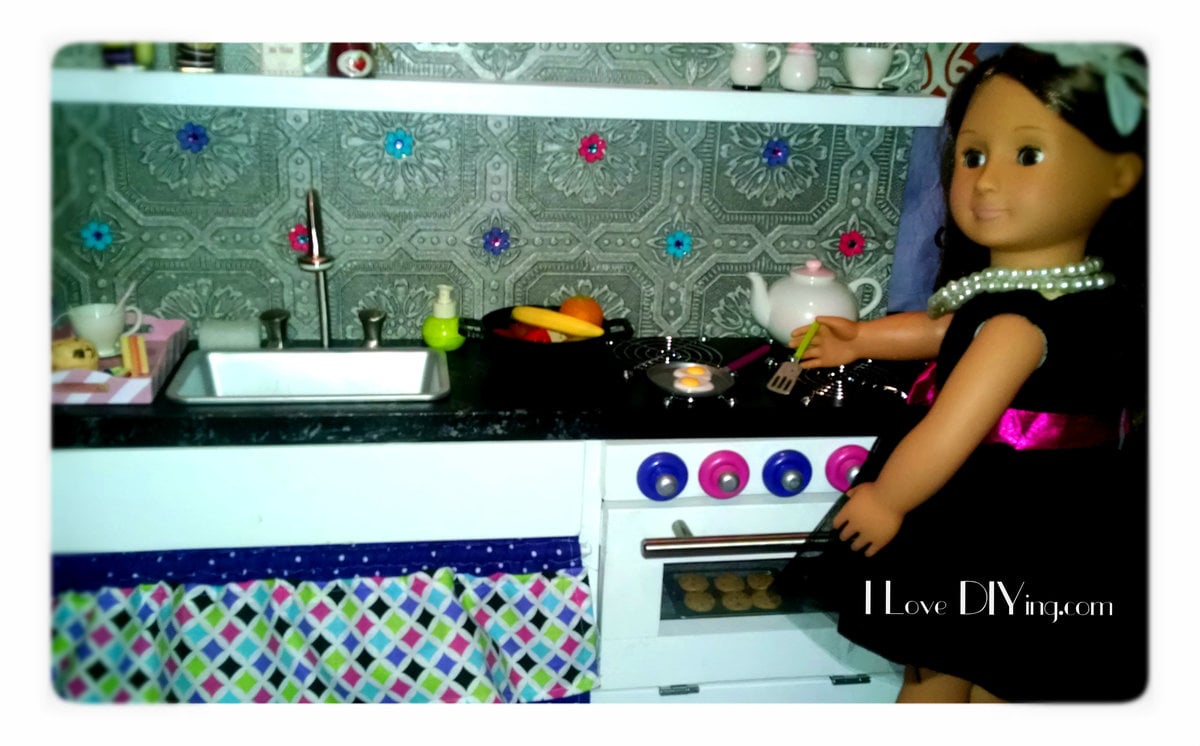
I bought my daughter an American Girl doll for Christmas and was very excited to make a few items to go with her. My first project was a kitchen with a sink and a stove. I plan to make her a fridge too, but haven’t had time yet. I looked around online at plans for a child’s play kitchen and kinda got ideas for the doll kitchen.  Most of my inspiration came from this play kitchen from Ana White.

Built from Plan(s)
Estimated Time Investment
Afternoon Project (3-6 Hours)
Recommended Skill Level
Intermediate

Comments

JoanneS

Sat, 01/03/2015 - 18:11

This is completely adorable! Love all the creative touches you described in your blog link. What kind of knobs did you use on the stove?

ILoveDIYing

Sun, 01/04/2015 - 12:06

Thank you so much! The knobs are wooden wheels from Hobby Lobby. Then I hot glued a dowel cap over the screw. Not sure how durable the caps will be, but I guess I can just glue them back on if they fall off. It looks cute, but that's the one part I wish I had put a little more though into. I made a farmhouse doll bed from Ana's plans too. I'll be posting that when I have time.

Build Michaela's Kitchen Island

Submitted by Anonymous (not verified) on Mon, 04/03/2017 - 04:47

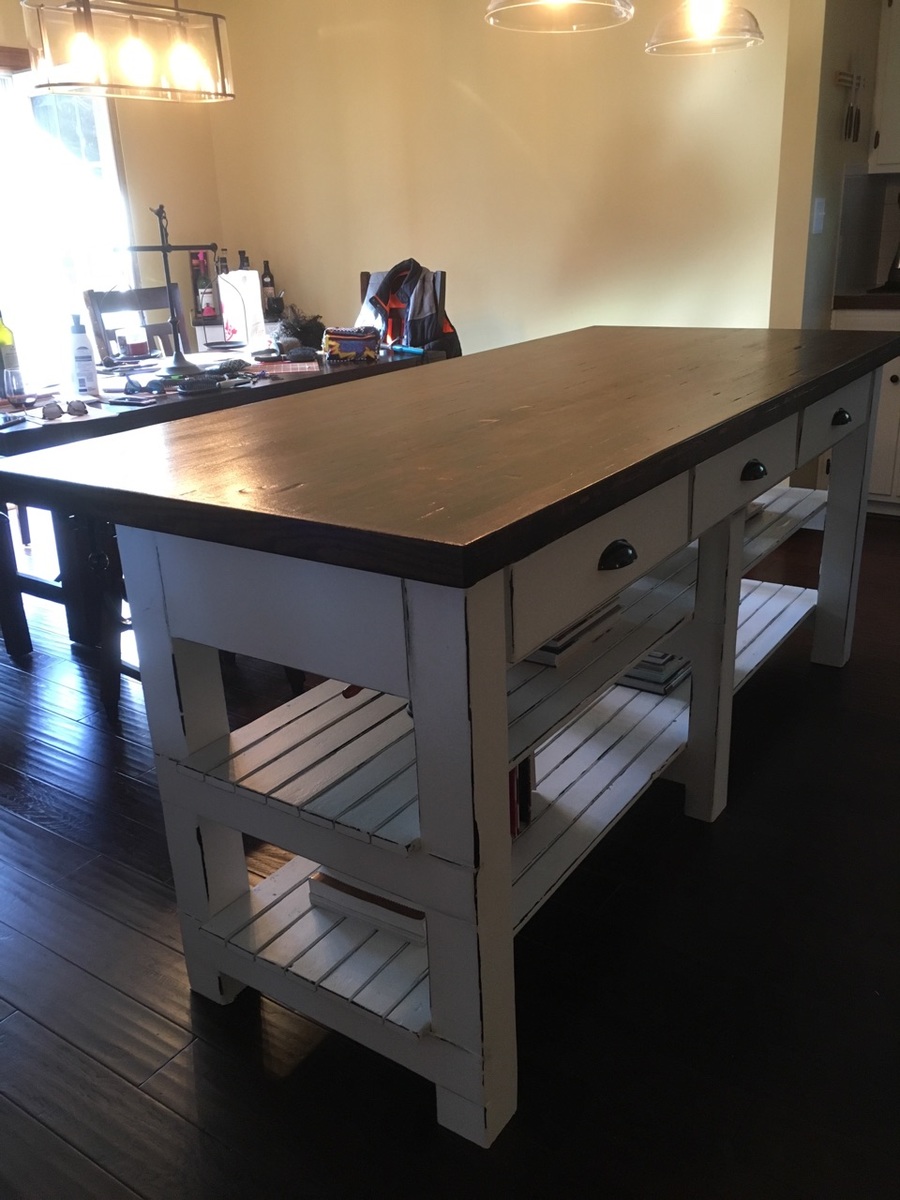
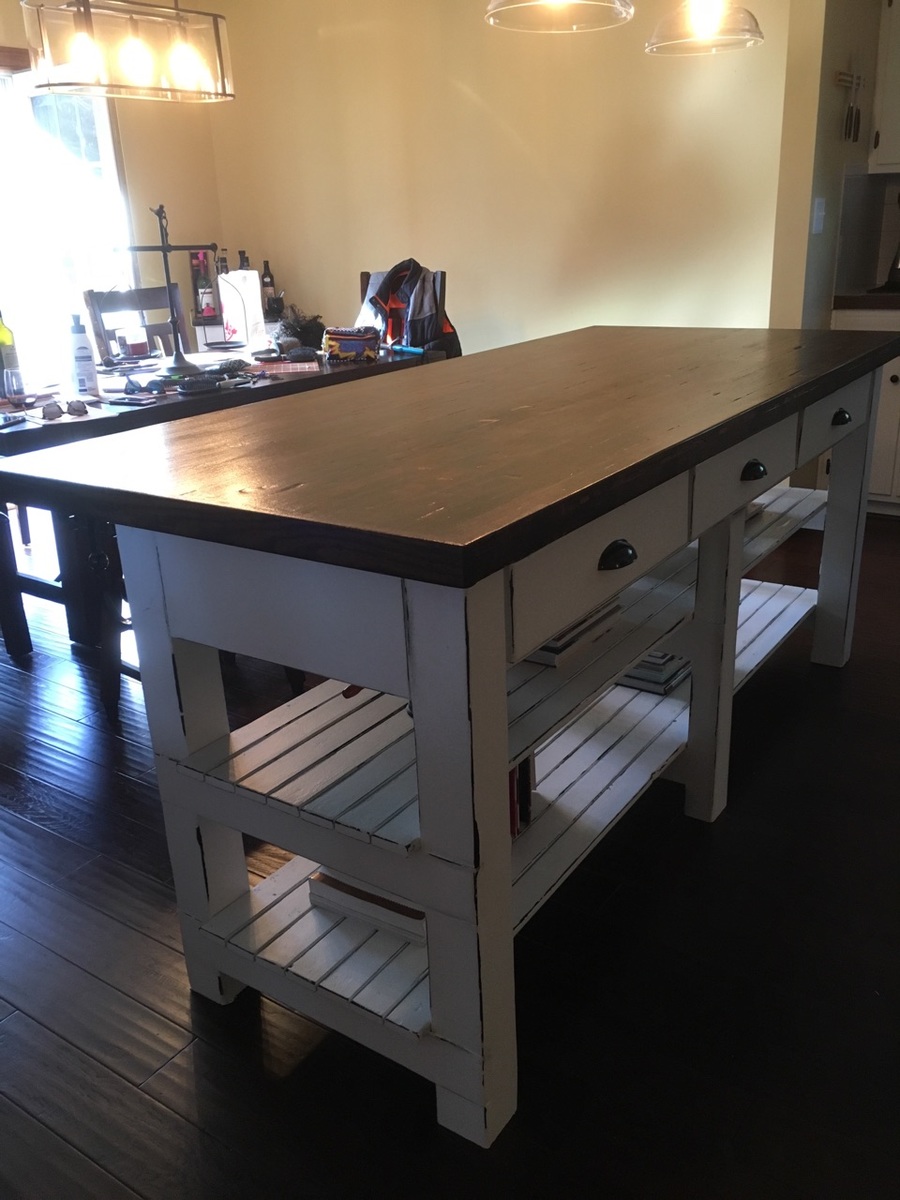
I really liked the look of the kitchen island in the plans, but we needed something longer, so I added 2' to the length, an extra drawer, and some supports in the center (worried the shelves might sag otherwise). We also wanted an overhang for stools, so I added a foot to the width and some decorative corbels. For the top we used reclaimed bowling alley wood. A really fun project and were really happy with it. Thanks for the plans!

Built from Plan(s)
Estimated Cost
$800
Estimated Time Investment
Week Long Project (20 Hours or More)
Finish Used
paint/faux distress, stain, and water lock
Recommended Skill Level
Intermediate

Homeschool contained

Submitted by lmflerlage on Mon, 02/22/2021 - 12:06

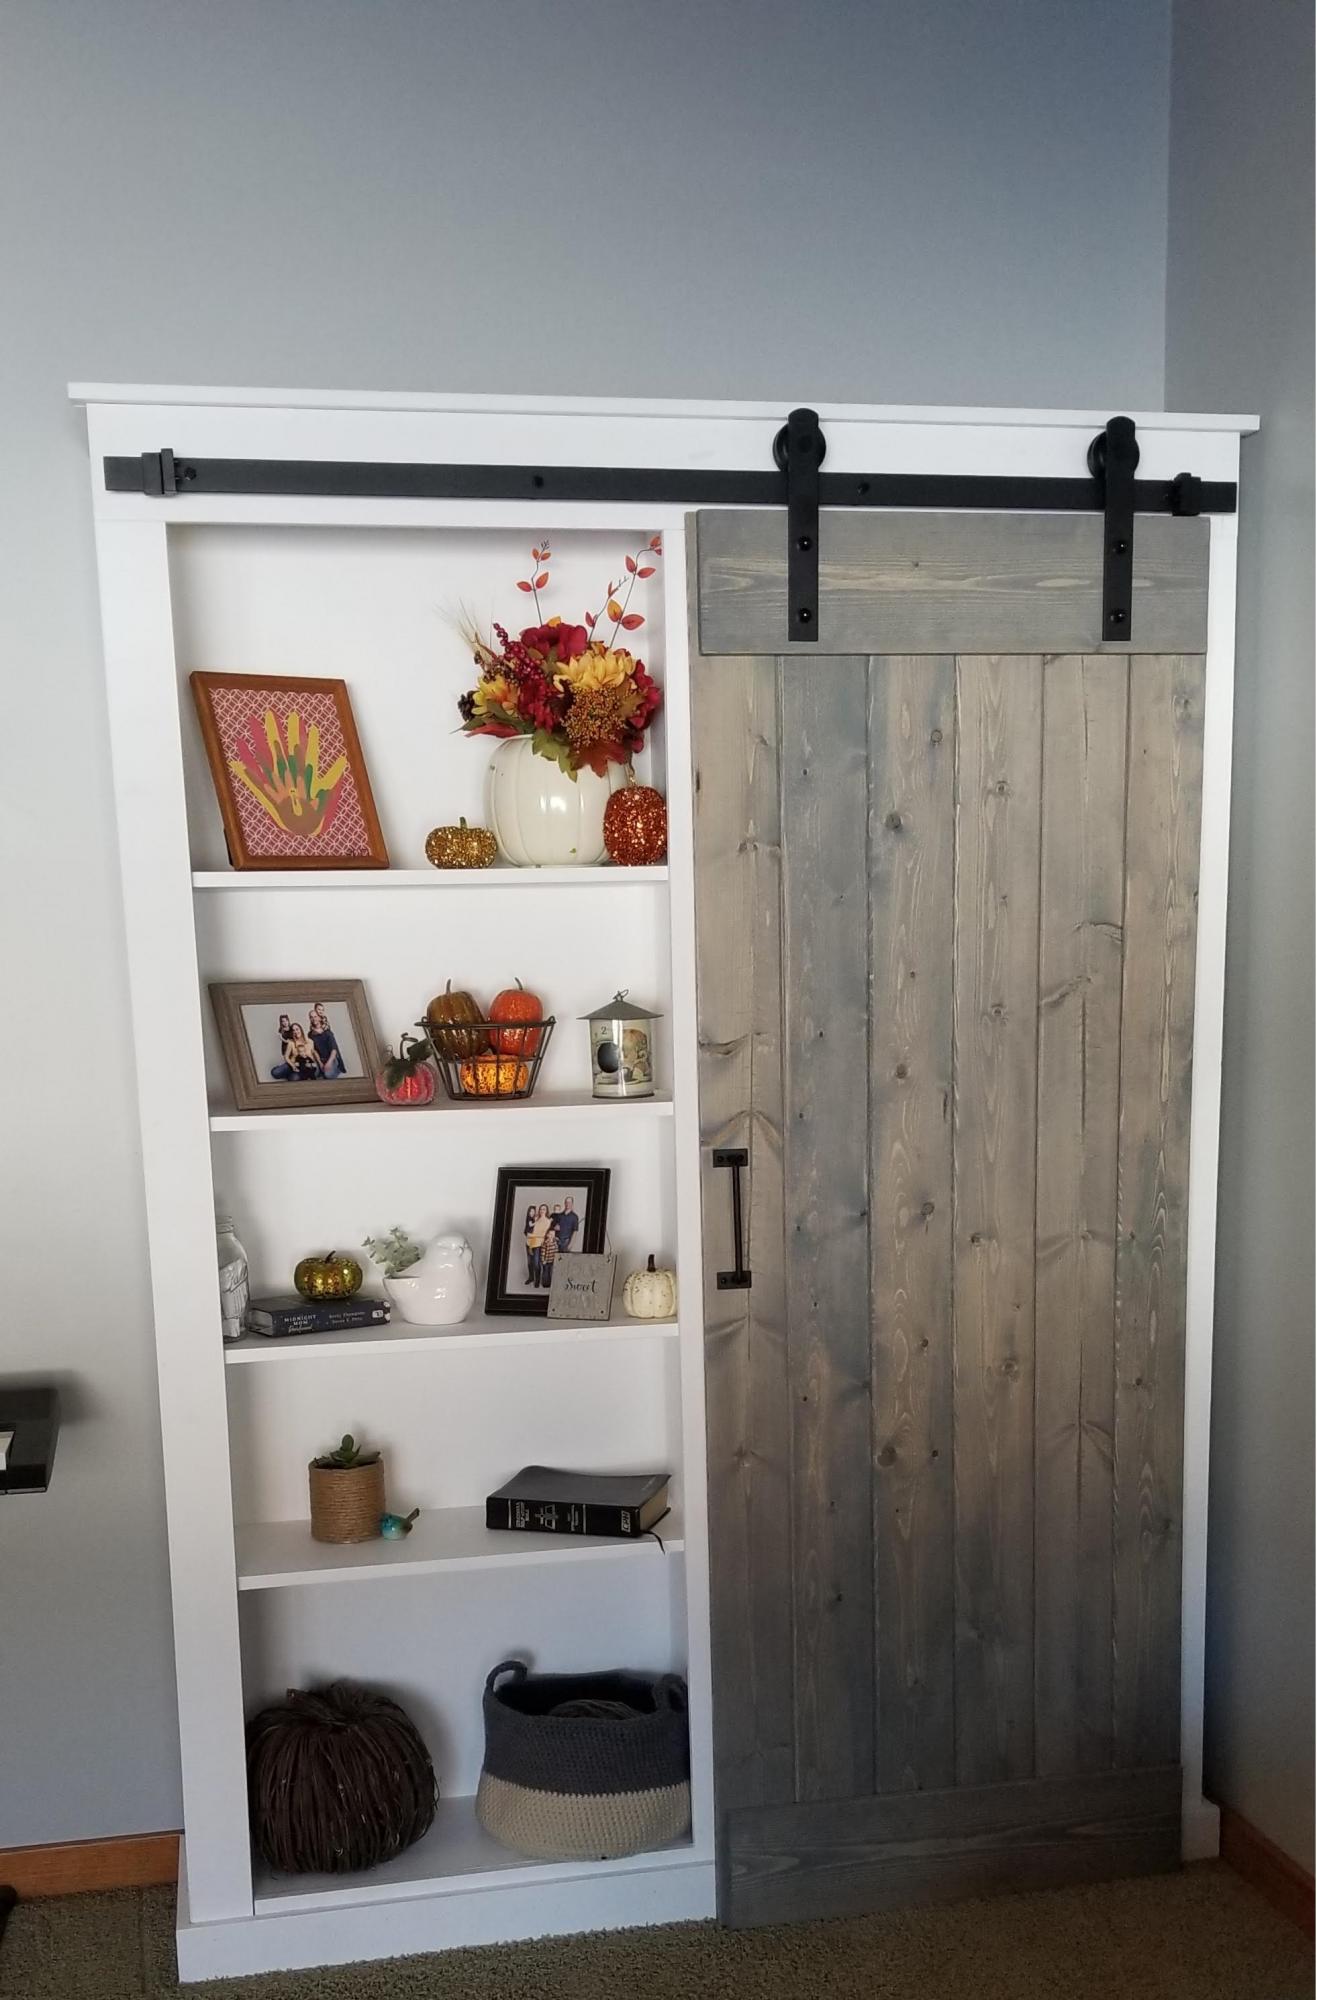
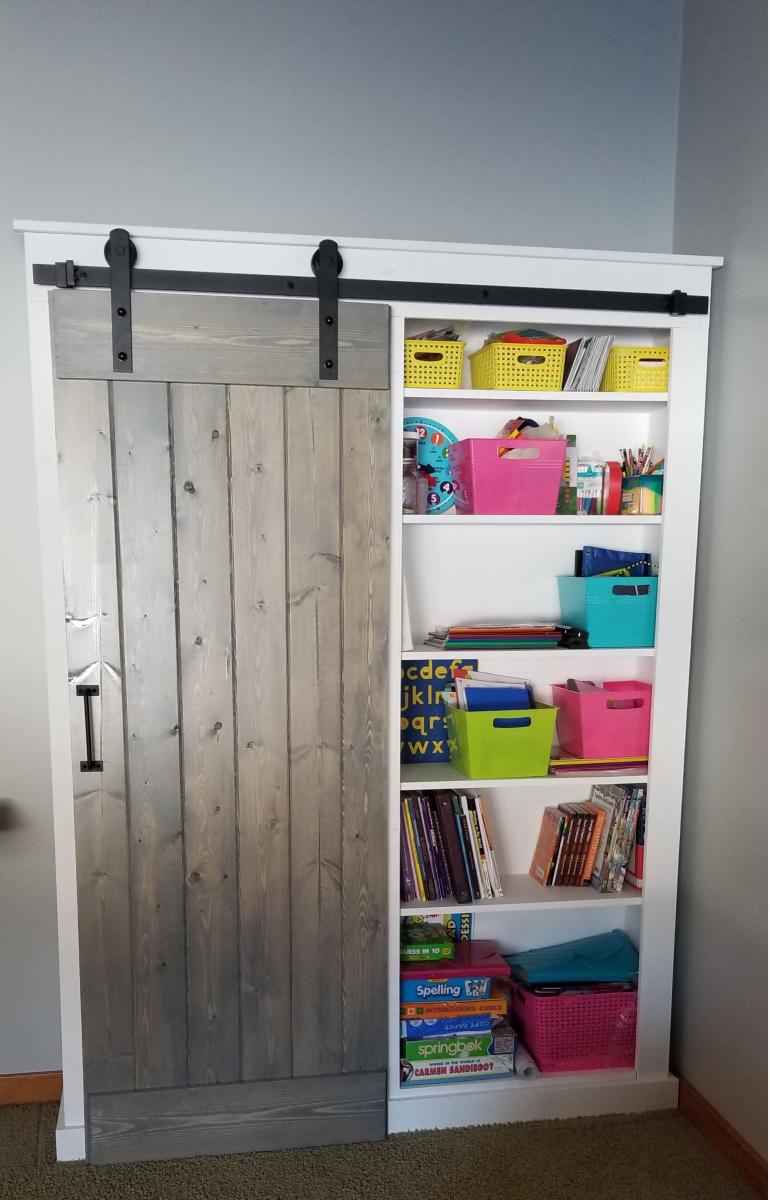
I needed a cabinet to contain and conceal our homeschool supplies, especially since this it is located in our main floor living room. This Barn Door Cabinet plan- modified to fit our space did the trick. I absolutely love it.

Built from Plan(s)
Estimated Cost
400
Estimated Time Investment
Week Long Project (20 Hours or More)
Finish Used
Rust-oleum Weathered Gray for the door
Recommended Skill Level
Intermediate

Comments

Seasonal And Holiday

Simple Sawhorse table 36" height

Submitted by AlexWS on Thu, 02/28/2013 - 13:46

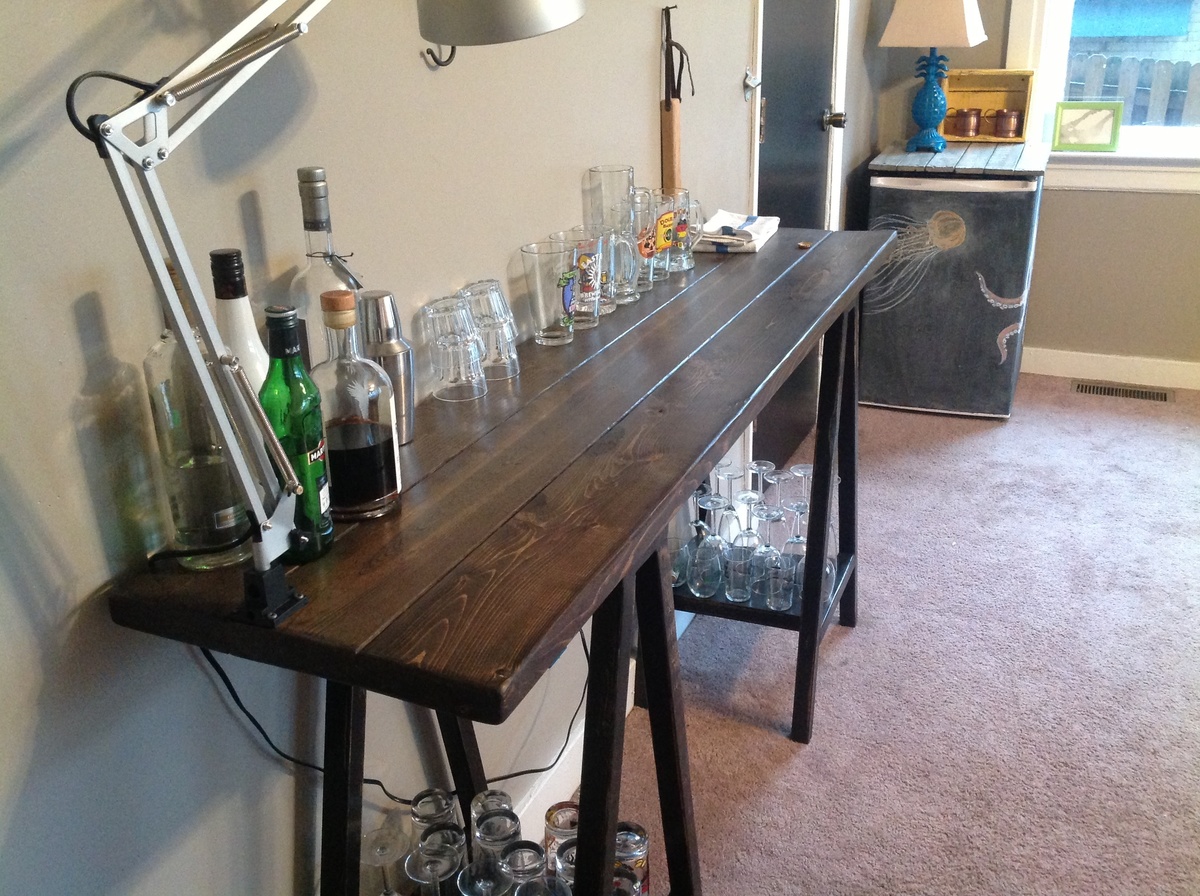
Like many others have mentioned, I wanted a 36" high table so I could use it as a bar. Ana mentioned that it would be too wide at 15 degrees so perhaps 10, after busting out some trigonometry I found that 10 degrees would give you about a 16" base and 15 would give you a 24" base. So, 12.5 degrees it came to be if you want a 20" base.

Many have said it takes 4 2x2's, that definitely holds true with this modification.

Here are my measurements, otherwise the cuts and assembly are the same as the original:

All angles are now 12.5 degrees rather than 15.

The legs are 33 3/4" from end to end

The outside edges of the legs should come to 20 1/4" wide for the base.

The stretcher will stay the same 13 3/4" on the bottom length, just cut at 12.5 degrees.

The stretcher is now 7 3/8" up from the ground, I found it was easiest to measure 7 1/2" up along the inside of the legs and line the bottom of the stretcher up at this mark.

And that's it!

A tip I used was clamping 4 2x2's together to get all the legs even, this only works if you have a sliding compound miter saw. I also recommend doing the straight cuts first and then leave the saw set at 12 1/2 degrees until you finish the project, this will keep cuts consistent.

Other modifications I made were to shorten the depth to 16 1/2" and use 2x6's for the top, I needed a narrow table in the room. I also made the depth of the sawhorses only 15 inches so the top would have a 3/4" overhang in front and back, I think this cleaned up the look some.

Built from Plan(s)
Estimated Cost
Less than $50 for wood, paint, stain and screws
Estimated Time Investment
Day Project (6-9 Hours)
Finish Used
Minwax Jacobean oil based stain for the top. The sawhorses are painted black, sanded and then rubbed with Minwax Jacobean.Minwax finishing paste for the whole thing.
Recommended Skill Level
Beginner

Double Pedestal Farmhouse Table - Modified from Triple Pedestal

Submitted by BDreffs on Mon, 01/05/2015 - 15:32

I decided to go with Oak boards for the table top for a little more durability.  Simply fastened together with dowels and glue and clamped to dry.  Then I added extra supports to the bottom.  The top looked a little thin compared to the base so I added the accents pieces out of 1x2 for a table skirting of sorts.    

Built from Plan(s)
Estimated Time Investment
Weekend Project (10-20 Hours)
Recommended Skill Level
Intermediate

Comments

Iowa cabinet Spring fix up!

Submitted by Anonymous (not verified) on Wed, 04/05/2017 - 18:51

Loved the design when I saw it and jumped on it the minute my husband said we needed something under the wall mounted tv! Took us 5 or 6 hours on a Sunday to put the cabinet together and another day for my husband to build the doors which turned out exceptionally well!! Used pine with a dark stain followed by Annie Solon old white chalk paint and clear wax giving it a nice aged look. Will be looking for 16 x16 bins for some grandkid toys and a few spots for pretties. Ordered hardware on Amazon and had to re-order additional set of wheels as the kit comes with only 1. Thank goodness I have prime 2 day delivery!

Estimated Cost
$250-$300 all in.
Estimated Time Investment
Weekend Project (10-20 Hours)
Recommended Skill Level
Intermediate

Small Pantry Renovation

Submitted by dcampnrtp on Sat, 02/27/2021 - 07:53

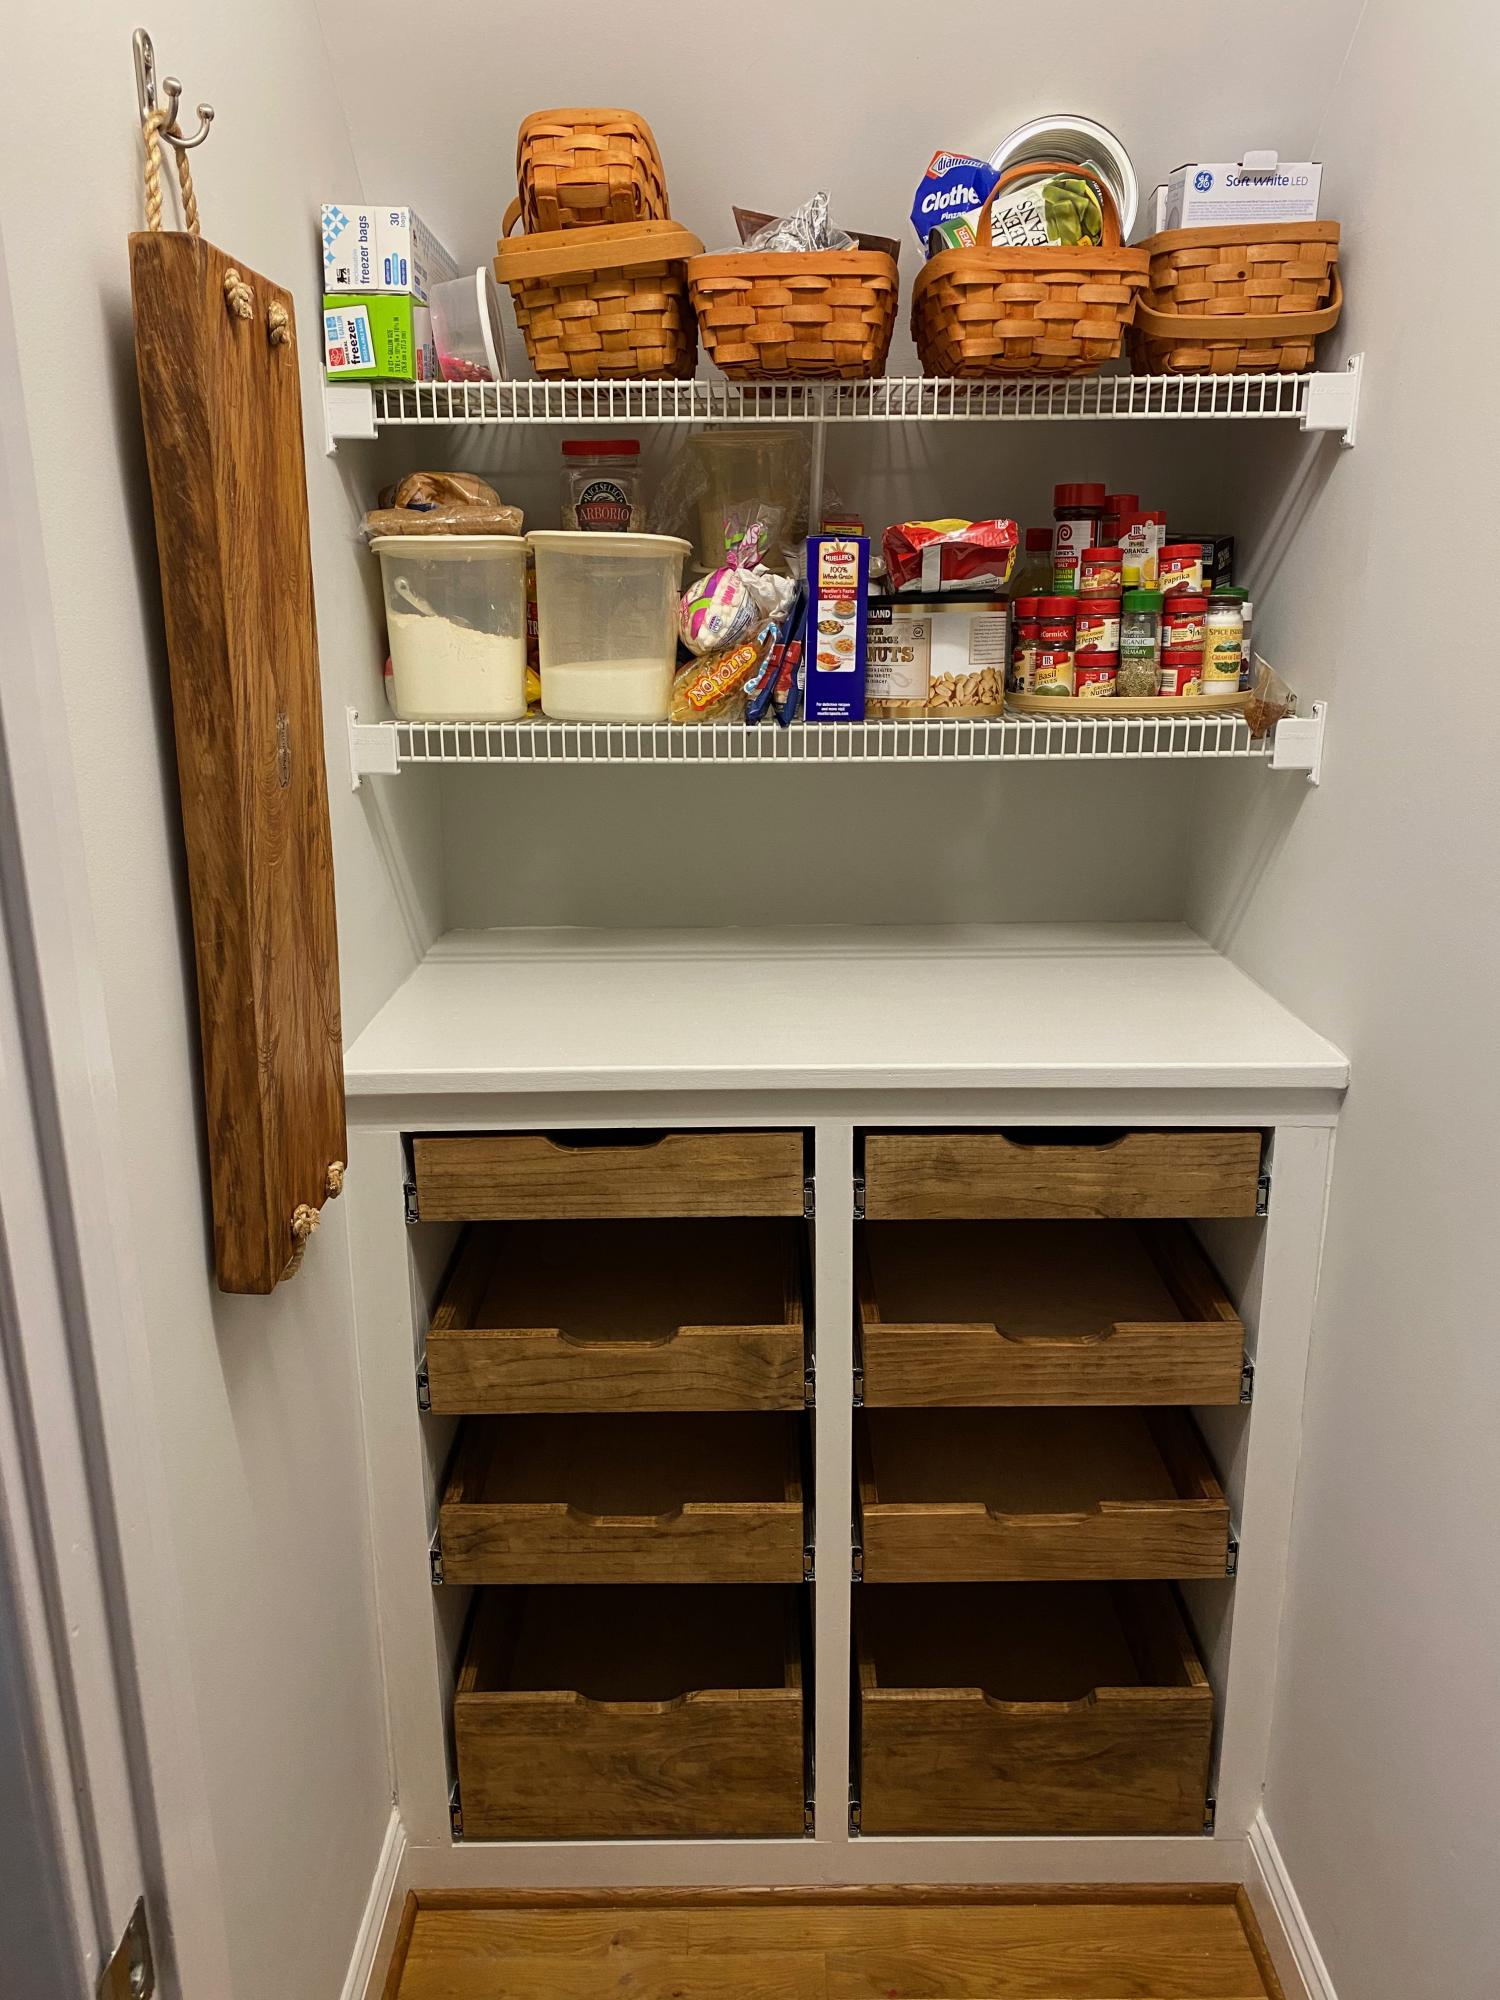
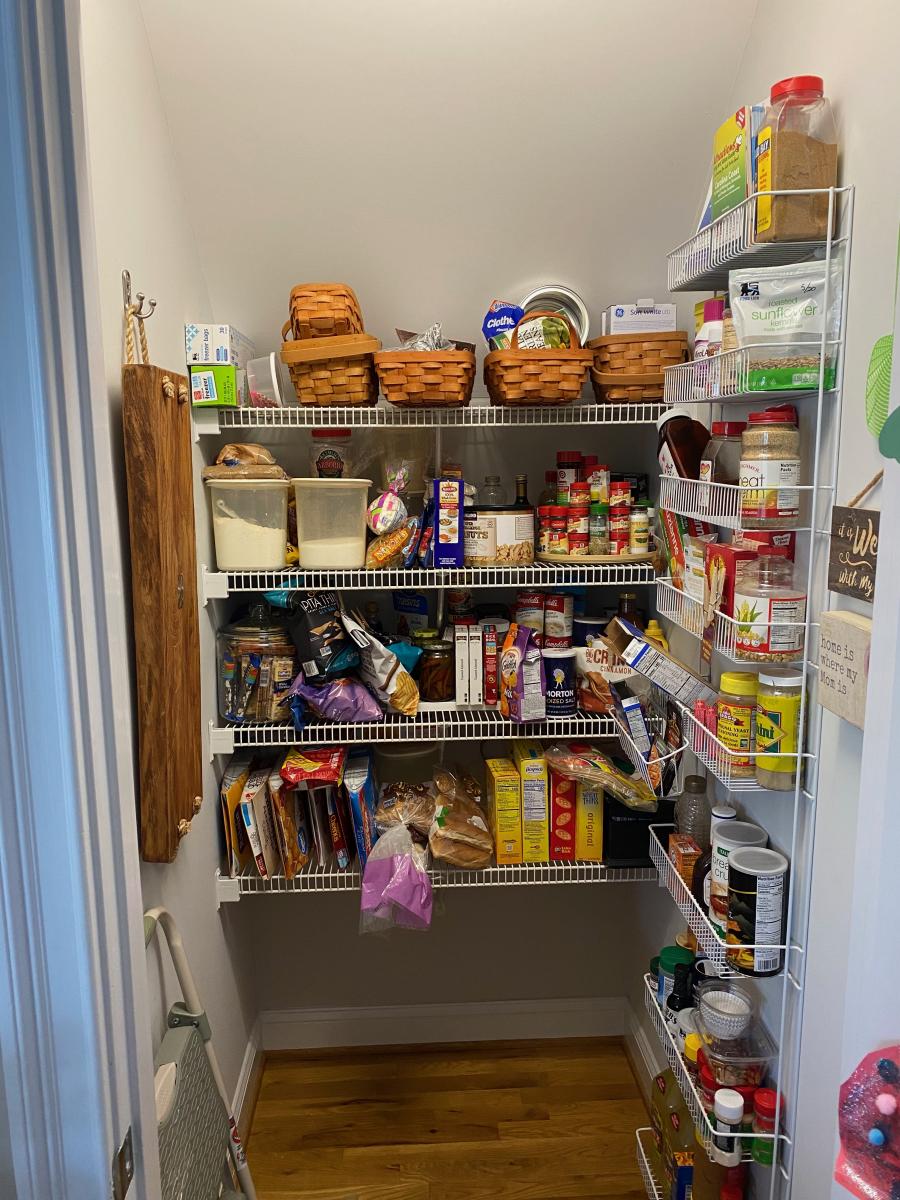
We had a small walk-in kitchen pantry with wire shelving. The shelves were packed.....and so was the floor! We lost things in the clutter and I built base cabinets that were 40" tall x 22" deep and installed full extension pull-out drawers. Bottom drawers are tall enough for canisters, tall boxes, etc. The top drawers contain all of our cooking spices so that we can see each and every item. The full extension drawers makes things easy to access and organized. Next step is removing the 2 remaining wire shelves. Pleased with the transformation with the base cabinet!

Related: How to Install Full Extension Drawer Slides

Estimated Cost
$350
Estimated Time Investment
Weekend Project (10-20 Hours)
Finish Used
White paint and Early American stain for the drawers
Recommended Skill Level
Intermediate

Comments

Benchwright Table

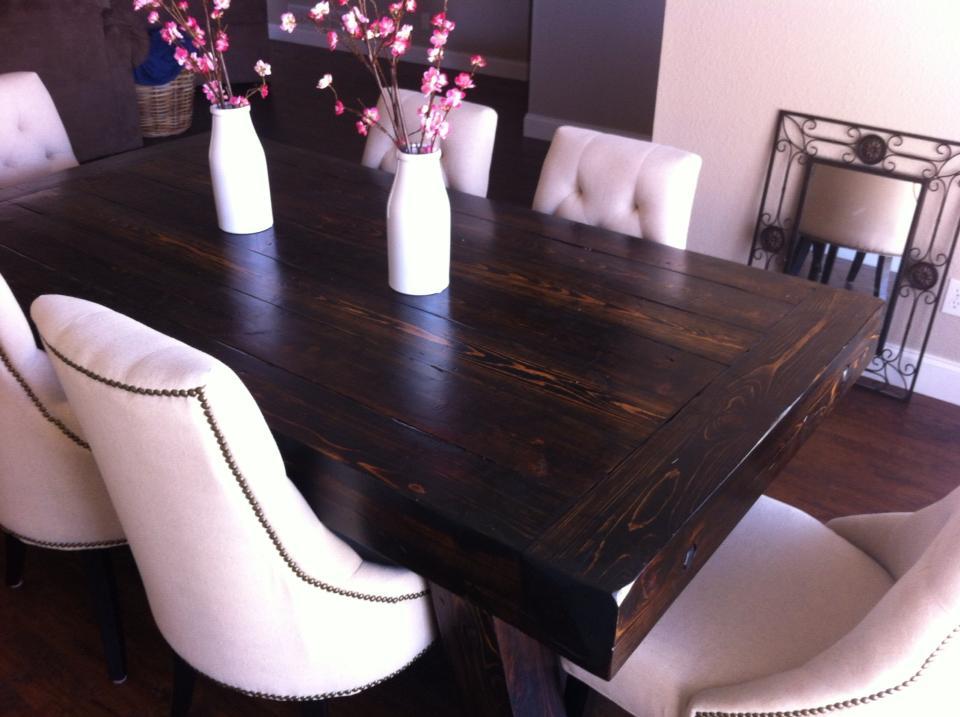
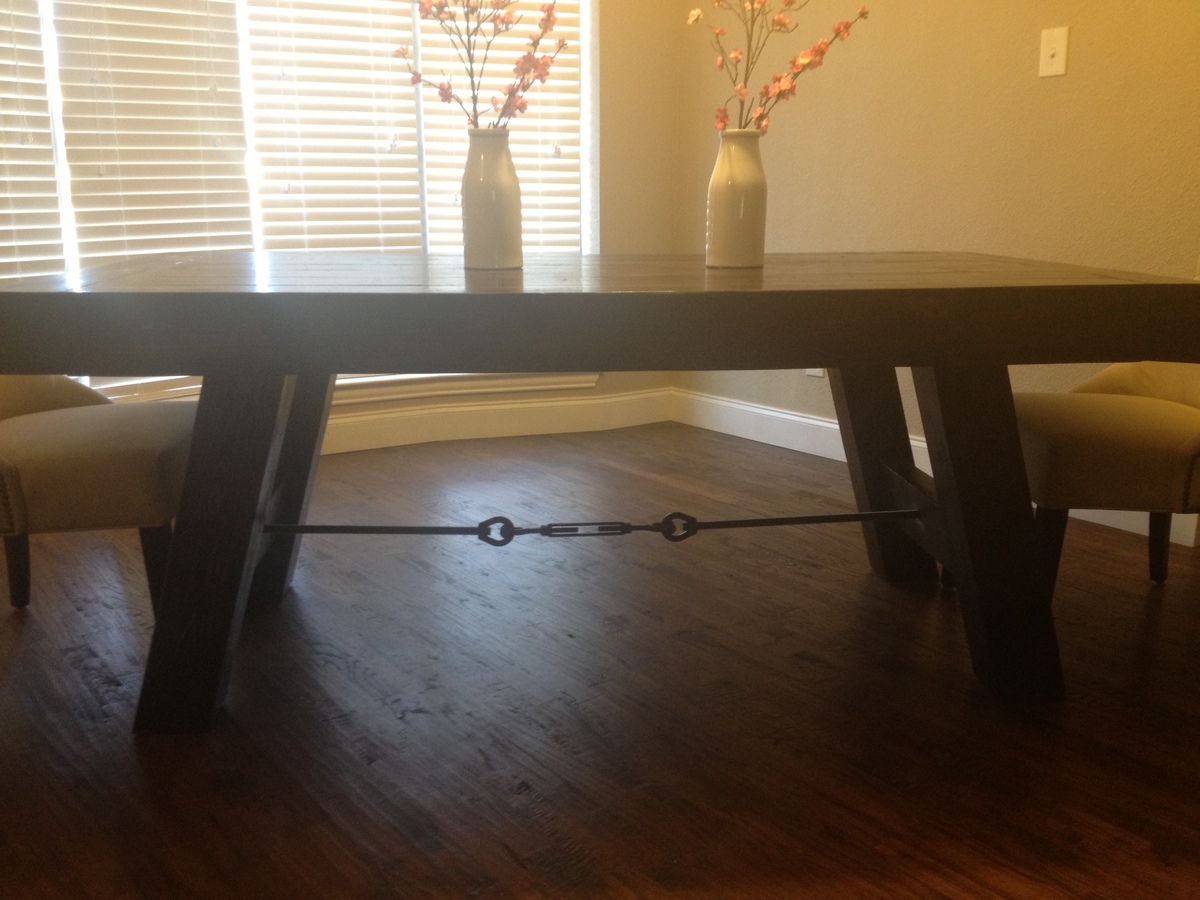
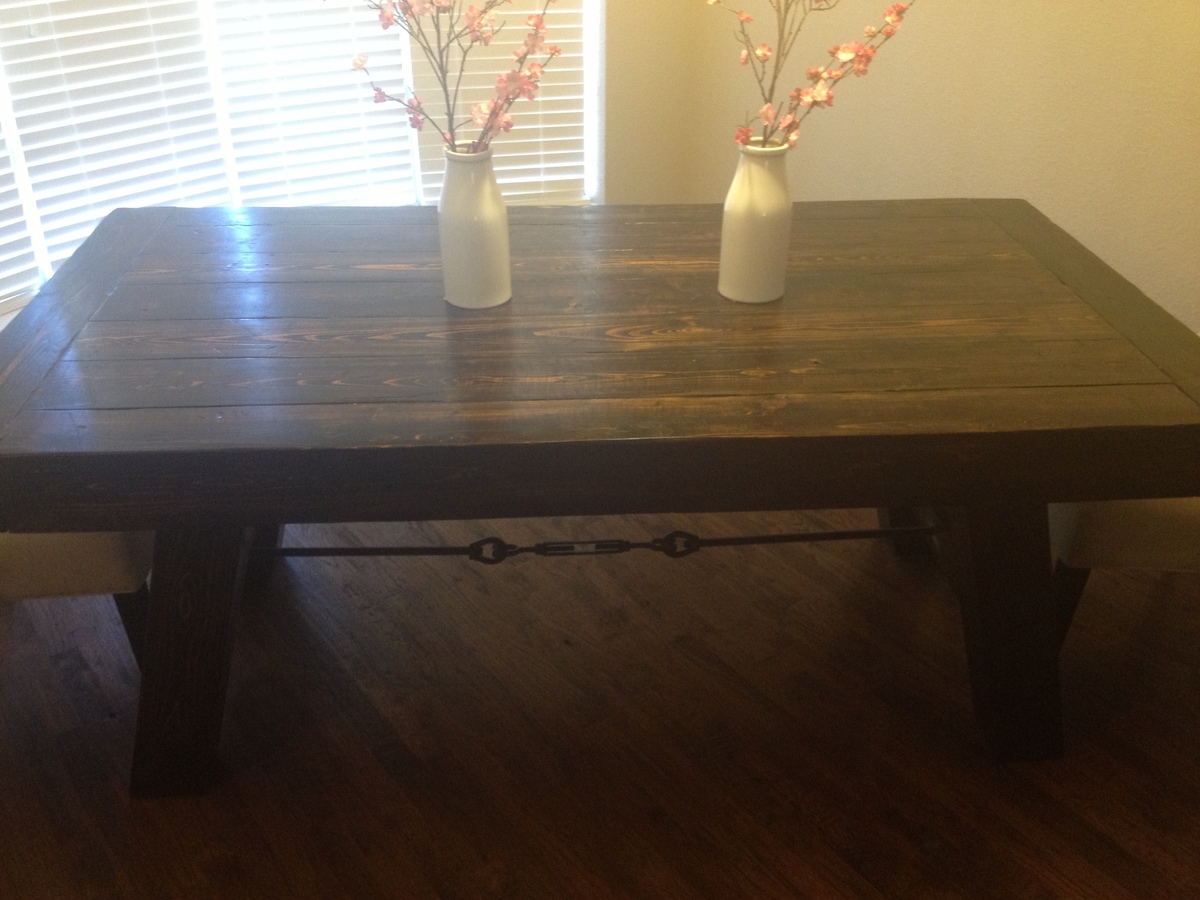
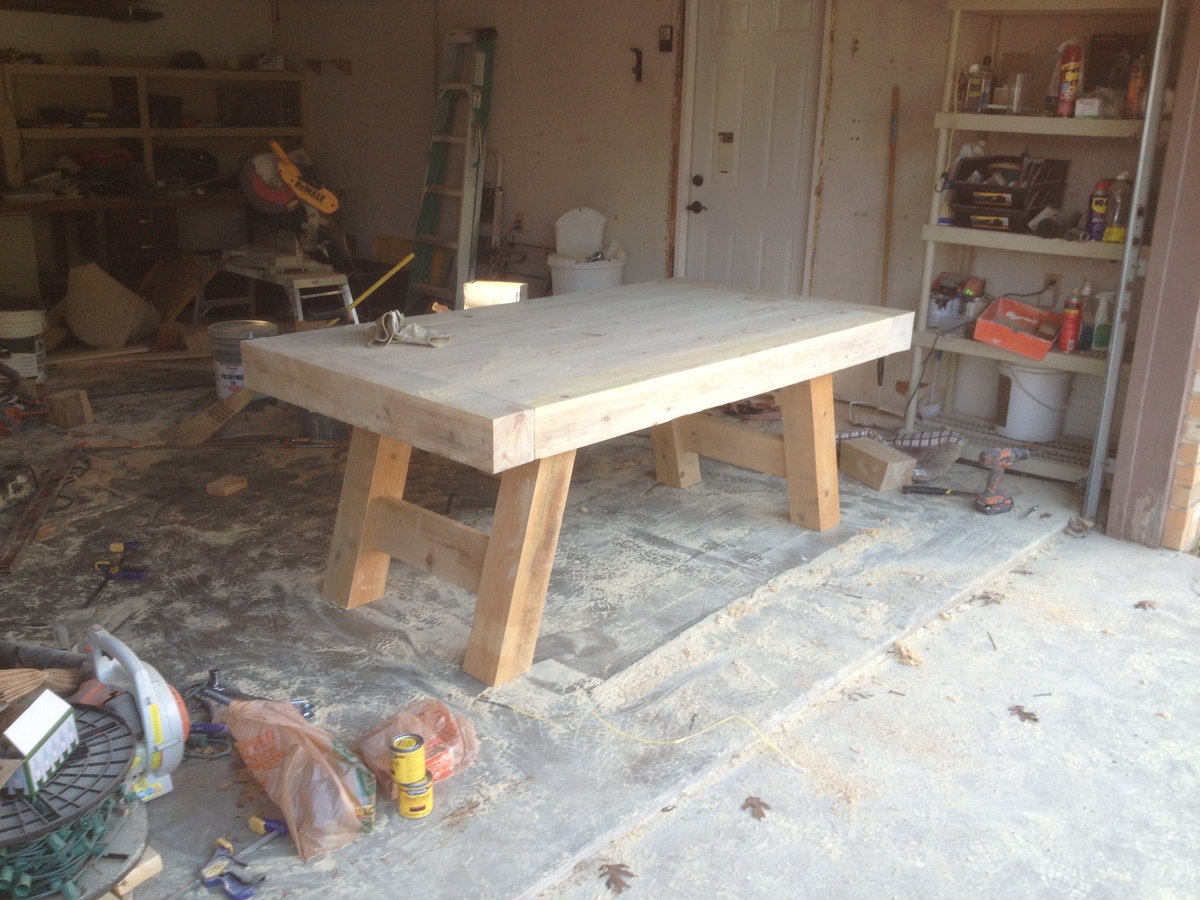
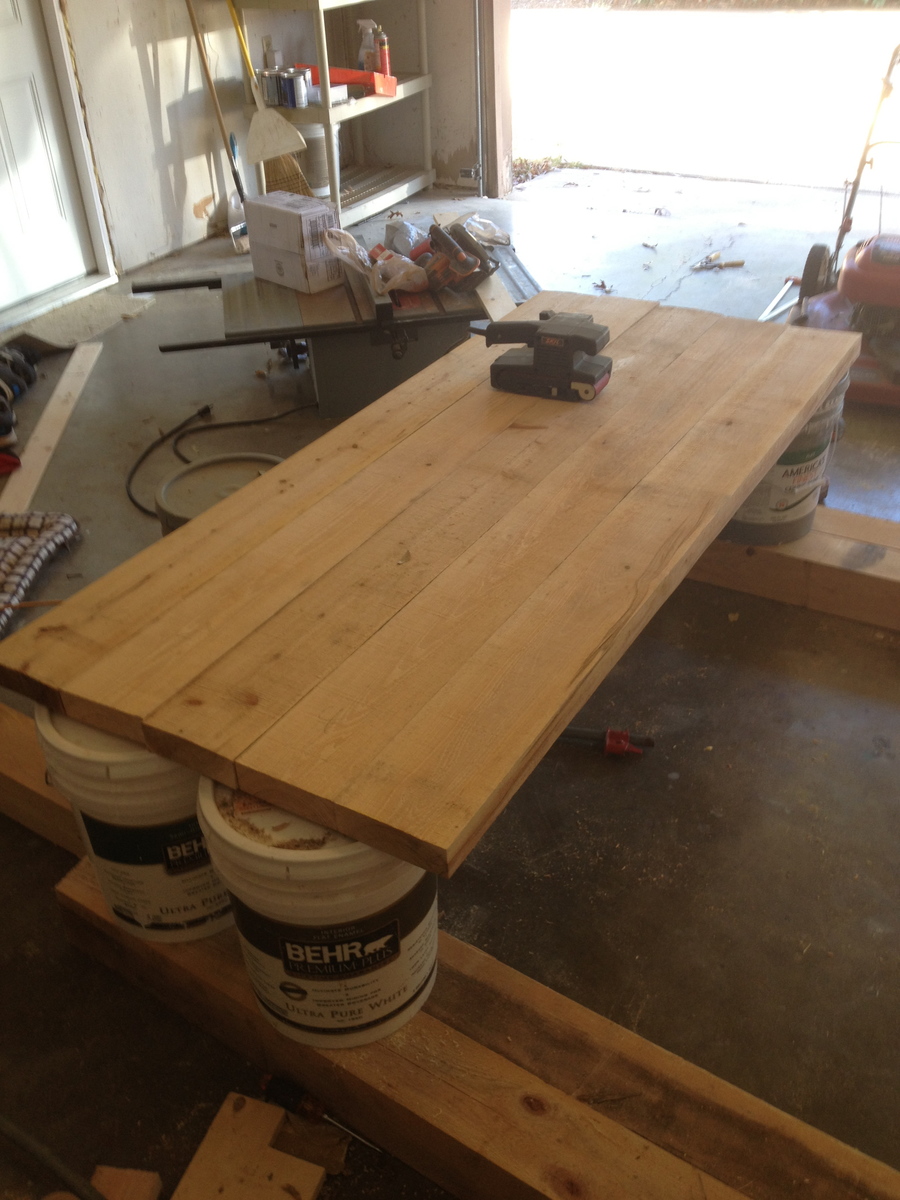
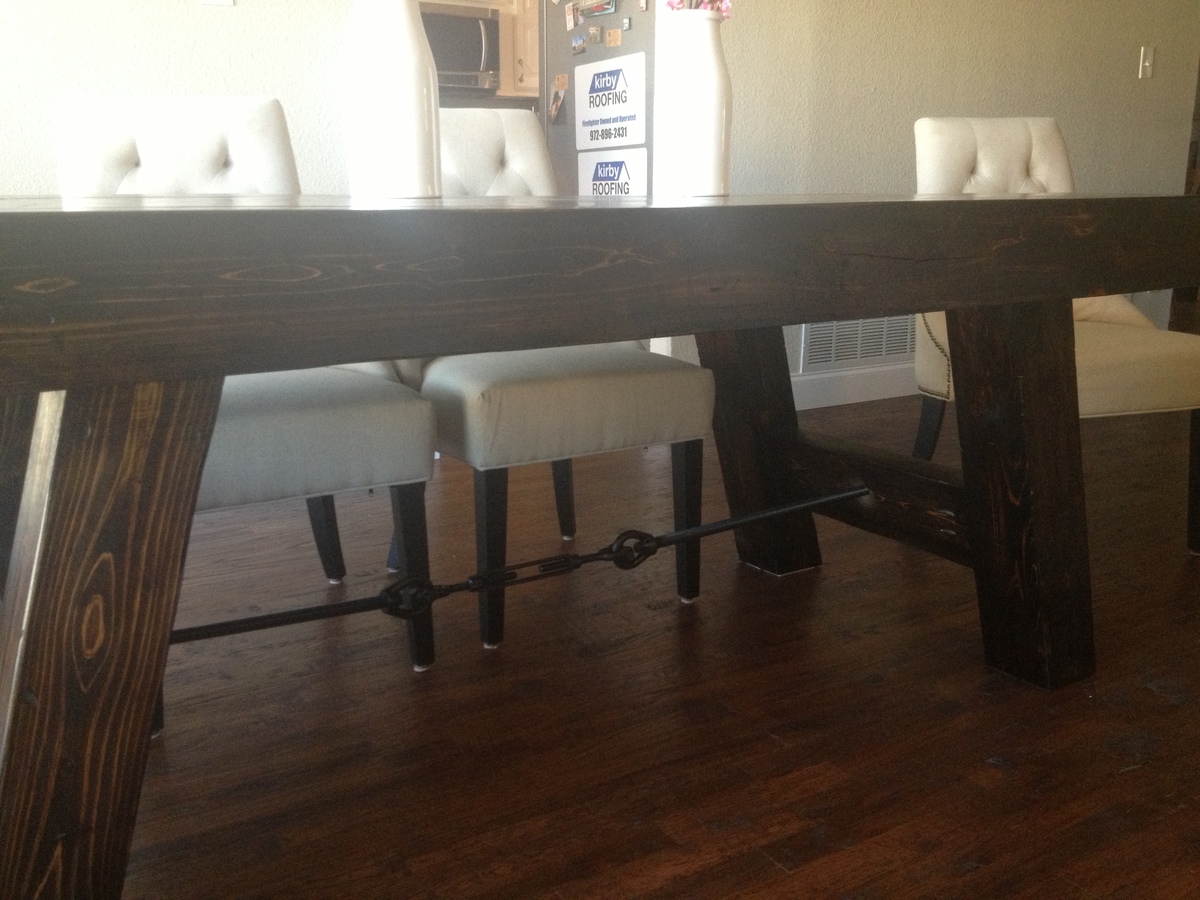
My wife loved the Benchwright table at pottery barn, and I did not love the price. Got a lot of ideas from this site and tried to make it my own. The outside and legs are made from 5"x5" Cypress, purchased from a local saw mill. I used a kreg jig on the entire thing along with lag bolts and glue. It is very heavy and I can jump up and down on it. Bought the hardware from Fastenal. Fun project, took about 16 hours total.

Estimated Cost
$400
Estimated Time Investment
Weekend Project (10-20 Hours)
Finish Used
Minwax Poly - 3 Coats
Recommended Skill Level
Advanced

Comments

jbayer80

Sat, 03/02/2013 - 20:21

This is by far my favorite table I've seen on here. Wow...its all I can say. I wish it was not in the $400 range.

BTW, that is some serious saw dust. haha

In reply to by jbayer80

chasekirby80

Sun, 03/03/2013 - 05:50

Thank you,
I helped a buddy make on shortly after I made mine. He used 4x4 pine, it looks a little smaller and the pine did not stain as dark, but it is still a very nice looking table. He made it for under $150, so that might be a good option.

jbayer80

Sun, 03/03/2013 - 07:37

That is a great option. Hopefully when its time for a table like this I can afford the 5X5's.

What a statement that table has!

Workbench Plans by Ana

Submitted by chadbadow on Sat, 03/06/2021 - 14:10

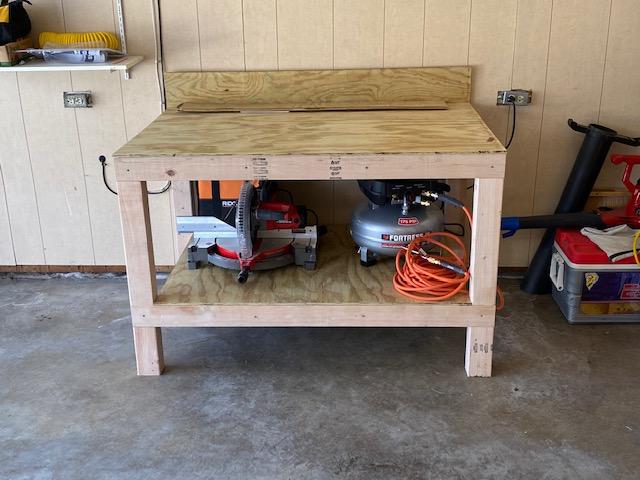
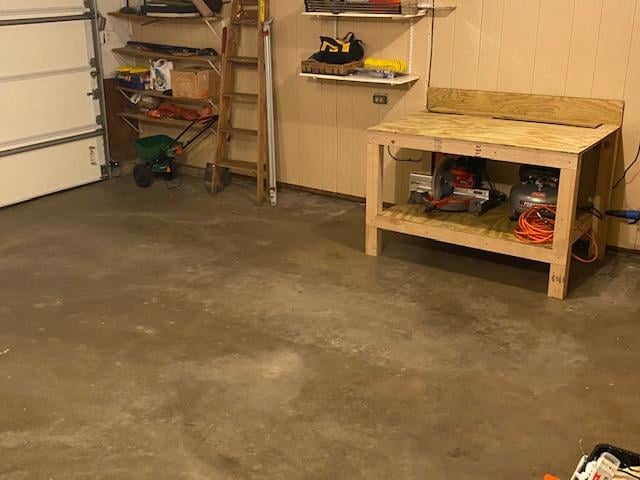
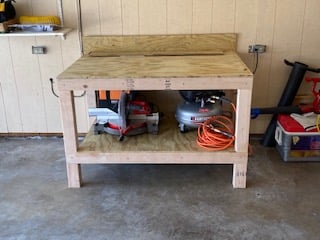
Thank you for the plans for this workbench. I’m new to this and they worked like a charm. The scraps I had, fit perfectly for upper and lower shelf backboards. In doing so, I did square up and nail the full sheet of plywood to the table. Then cut with a circular saw with guidance from a fence. Doing this on length and width gave me perfect backboards for the top and bottom levels. The only scrap was the 2x4’s and they were minimal. Thanks again. It turned out perfect!

Ellery's loft bed

My 7 year old daughter LOVES her new loft bed!!! It was a fun build. Plans were very accurate and simple to follow. Took a weekend to build and about 5 nights to paint.
Next I plan on building a desk and some shelves under the bed. More pics to come!

Built from Plan(s)
Estimated Cost
about $300
Estimated Time Investment
Week Long Project (20 Hours or More)
Finish Used
Behr Premium Plus
Recommended Skill Level
Beginner

Comments

I-beam

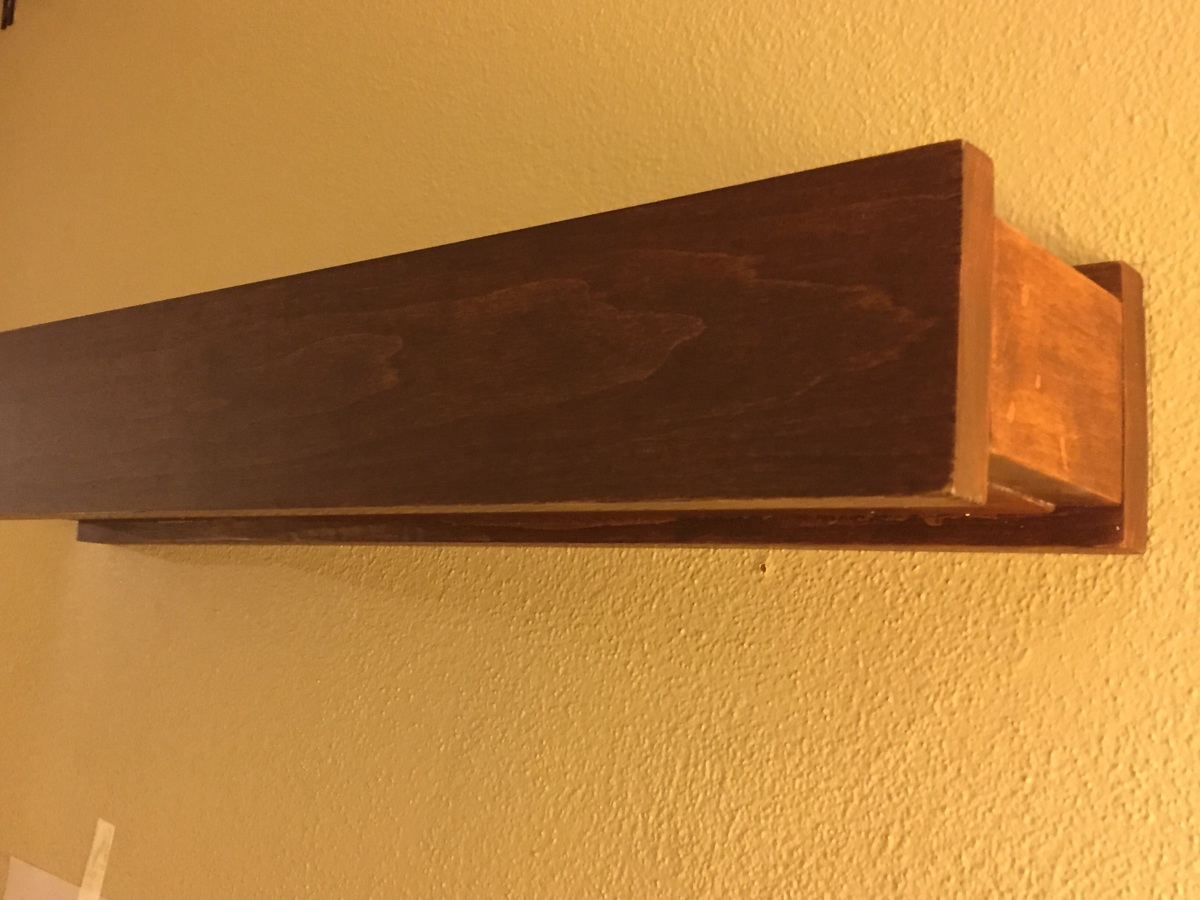
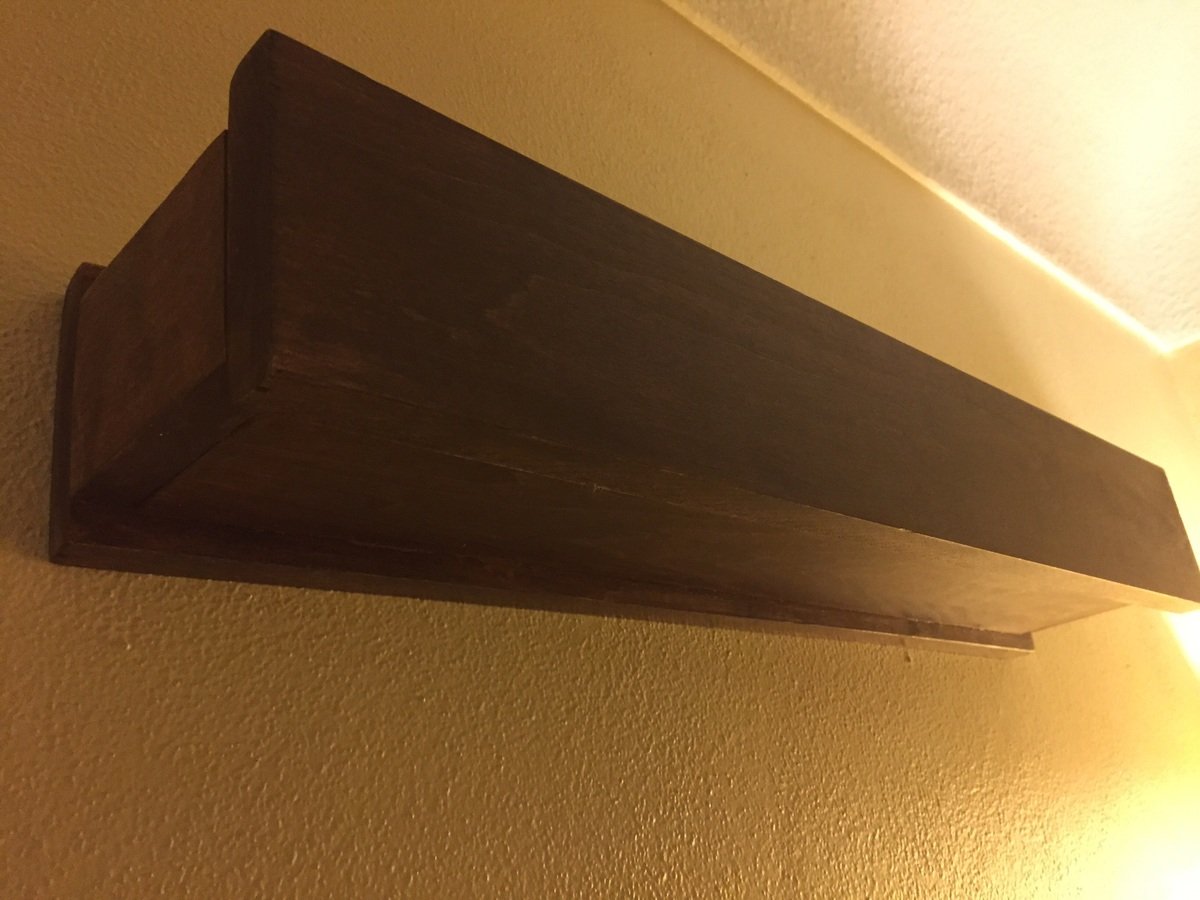
My wife loves this shelf. Thank you so much for the plans! I made mine using Aspen and an Early American stain. Now I need  to make 2 more. 

Estimated Cost
$10-15
Estimated Time Investment
Afternoon Project (3-6 Hours)
Finish Used
Pre-stain conditioner, wait one hour, then Early American stain. Let sit overnight, very light sand ( I used 600 grain) and stain again. Let dry and I put two coats of semi-gloss urethane to give slight shine.
Recommended Skill Level
Starter Project

Twin Farmhouse Bed

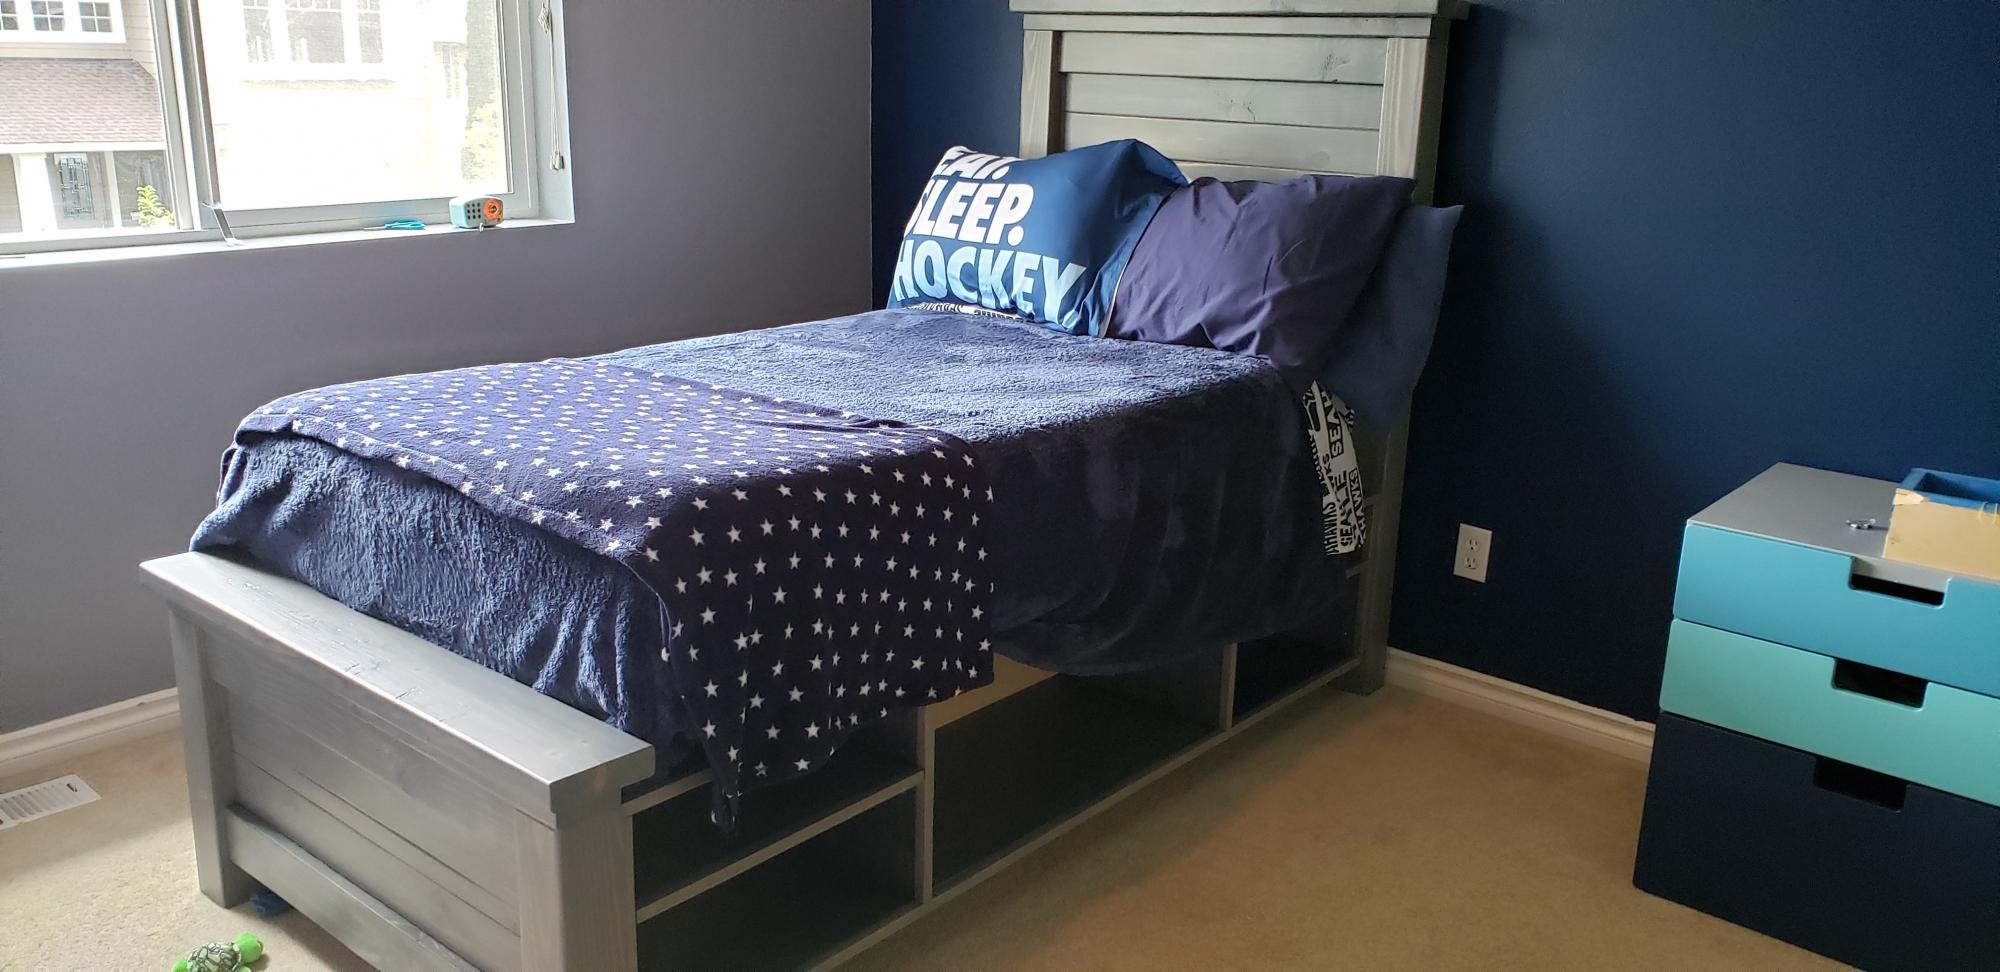
I've been looking at this bed plan for several years, wondering if I had sufficient skills to scale up from small items to furniture. I finally did it! It was a family project, with 2 of my 3 kids getting involved. My son has been sleeping on it for several months now, and it's still rock solid. Now to settle on a desk plan for him. Thank you for all the great plans and inspiration!

Finish Used
Varathane weathered gray and worn navy.

Comments

Standard Kids Table Design + Lego Top

Submitted by JenBerter on Thu, 03/07/2013 - 10:46

I used the Clara Table design then decided to make the table top into a lego table. I bought (4) Lego Plates from Target at $15 each. Then super glued the Lego Plates onto the tabletop.

*** Note- Make sure that the spacing between Lego Plates is correct. I used different Lego's to connect the different plates to make sure that the spacing was correct.

Thanks for the ideas Ana!

Estimated Time Investment
Week Long Project (20 Hours or More)
Recommended Skill Level
Beginner

Modified Wide Cabin Dresser

Submitted by dbwalk on Mon, 01/12/2015 - 20:02

This build was for my daughters.  They needed a new dresser and I figured I could pull this one off.  


I used regular boards from the Big Blue Box store.  I went a step up for the birch playwood because it would take paint better.  The drawer pulls are stainless steel.  


I modified the given plans so that I could add two more large drawers.  I made a few modifications to pull it off and give the dresser more support.  For example I added some supports under the top plywood board and in between each row of the drawers.  You can see that I added a middle support under the bottom set of drawers as well to keep the weight of the drawers from saggin in the middle.  I also had never installed drawer slides before.  This was way harder (and frustrating) than I was expecting.  My drawers don't have slides but they still work well.


All in all this was a moderately challenging build for me.  However, the paint and finish ended up being super nice.  My girls love it and I think it is going to last for a long time.  I am now working on modifying these plans to build a matching side table with drawers.  I hope to have pics of that soon as well!  
Estimated Cost
$275. The wood cost around $200. The handles and paint cost about $75.
Estimated Time Investment
Week Long Project (20 Hours or More)
Finish Used
Teal colored paint and primer in one. Before and after each painting I sanded the wood.
Recommended Skill Level
Intermediate

Comments