Little Kids Picnic Table
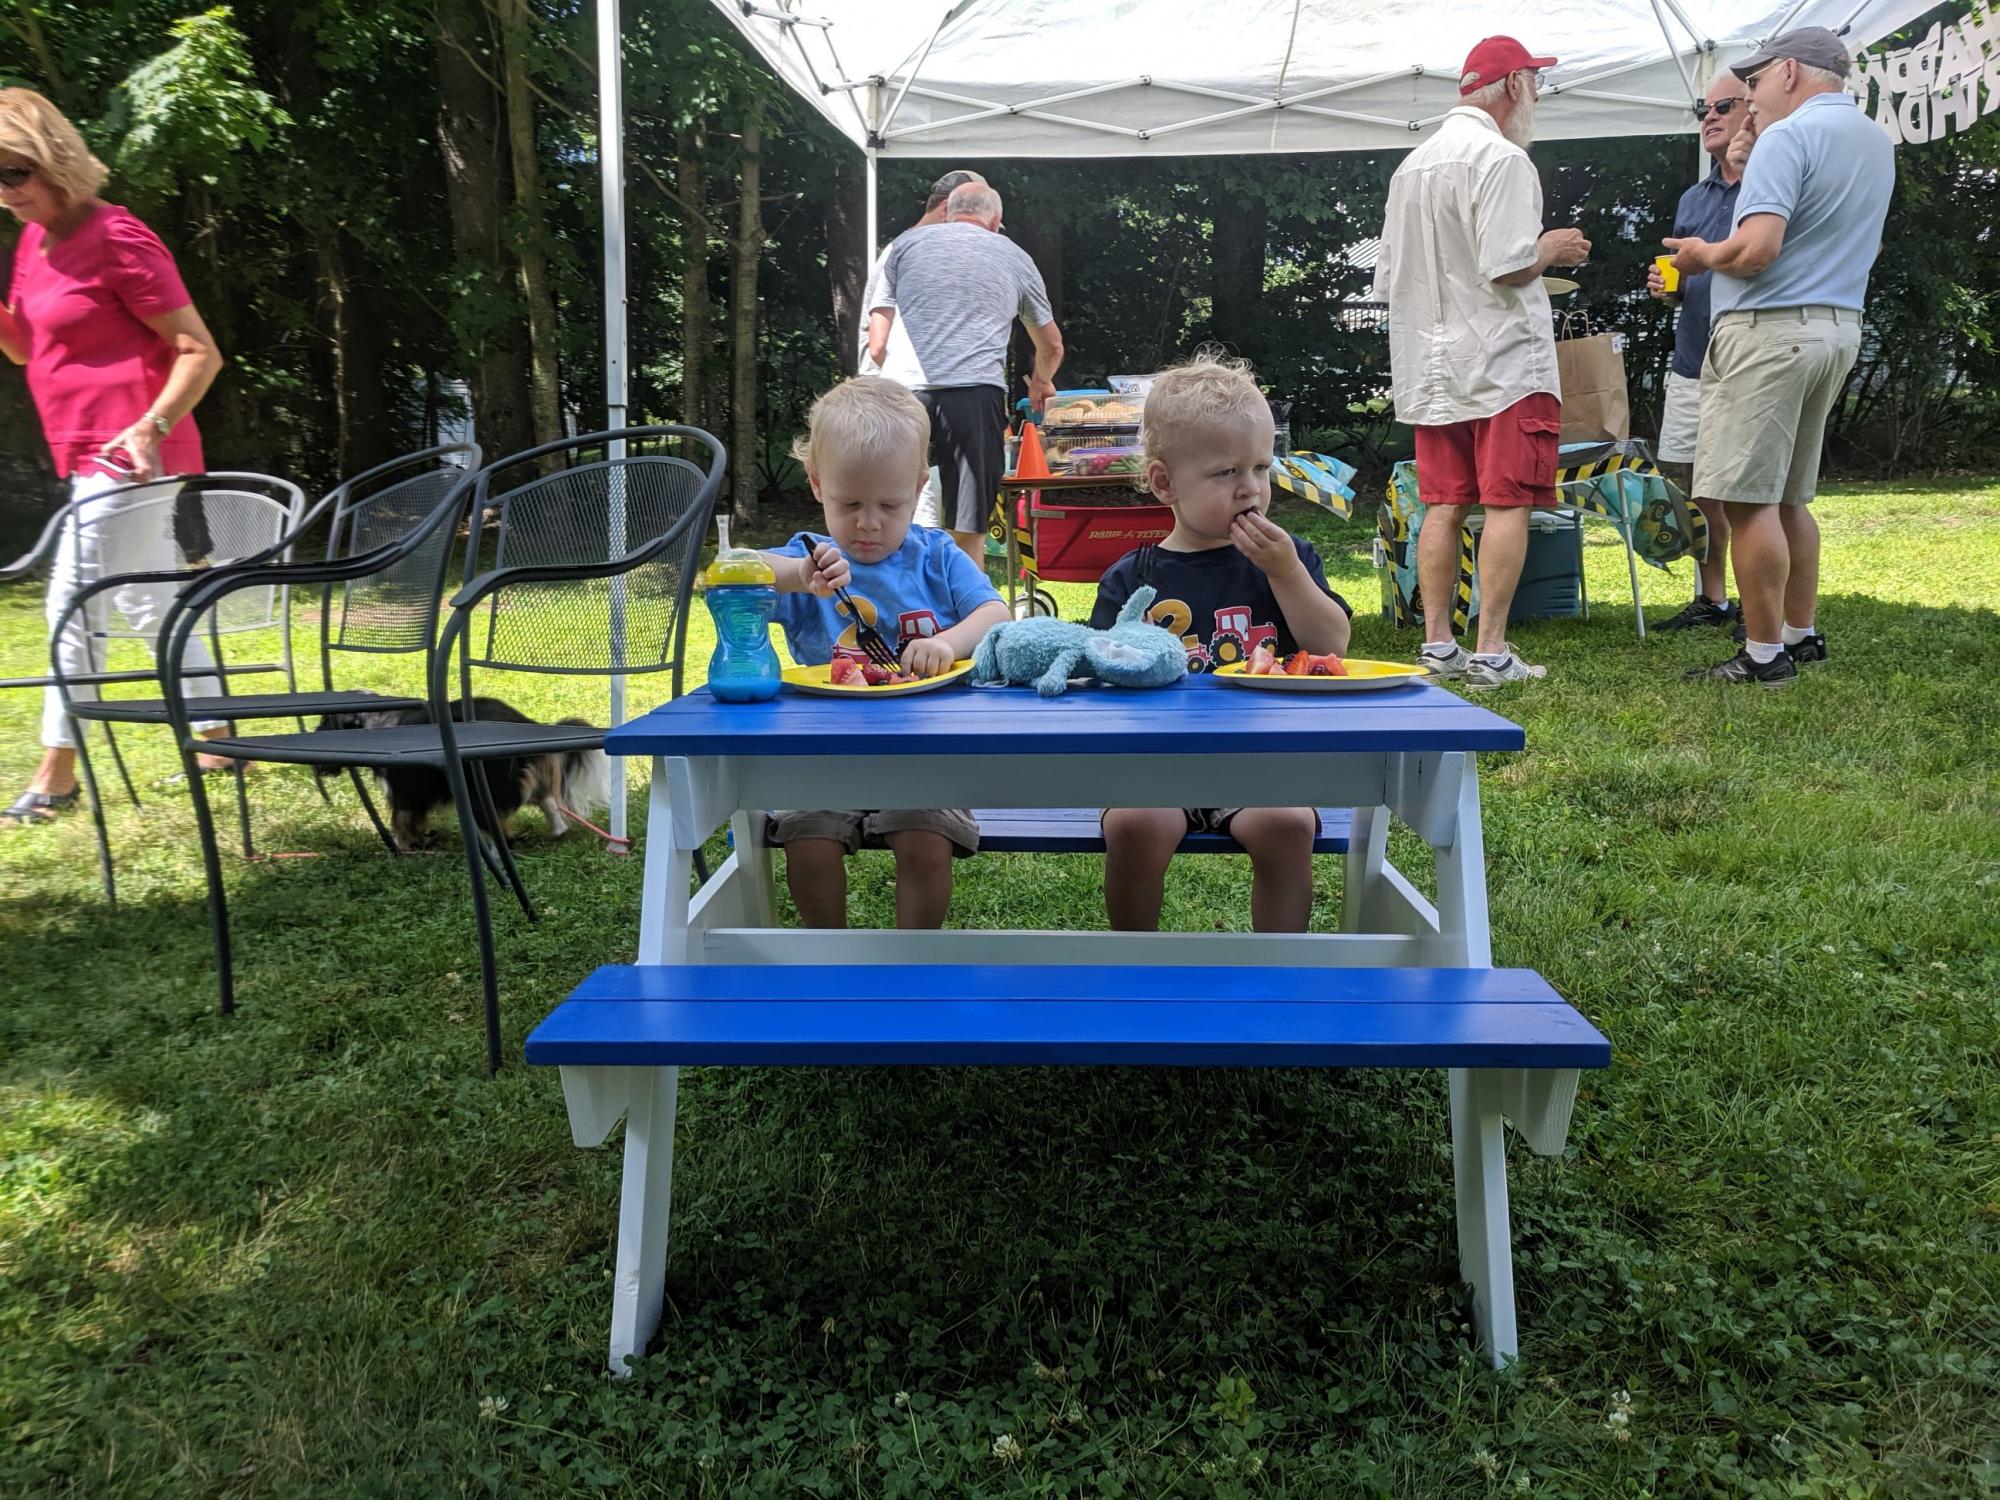
This was a really fun build. The bottom side boards were put on the outside instead of the inside (this was an accident) but it still seems very sturdy. Perfect for 2-5 years old.
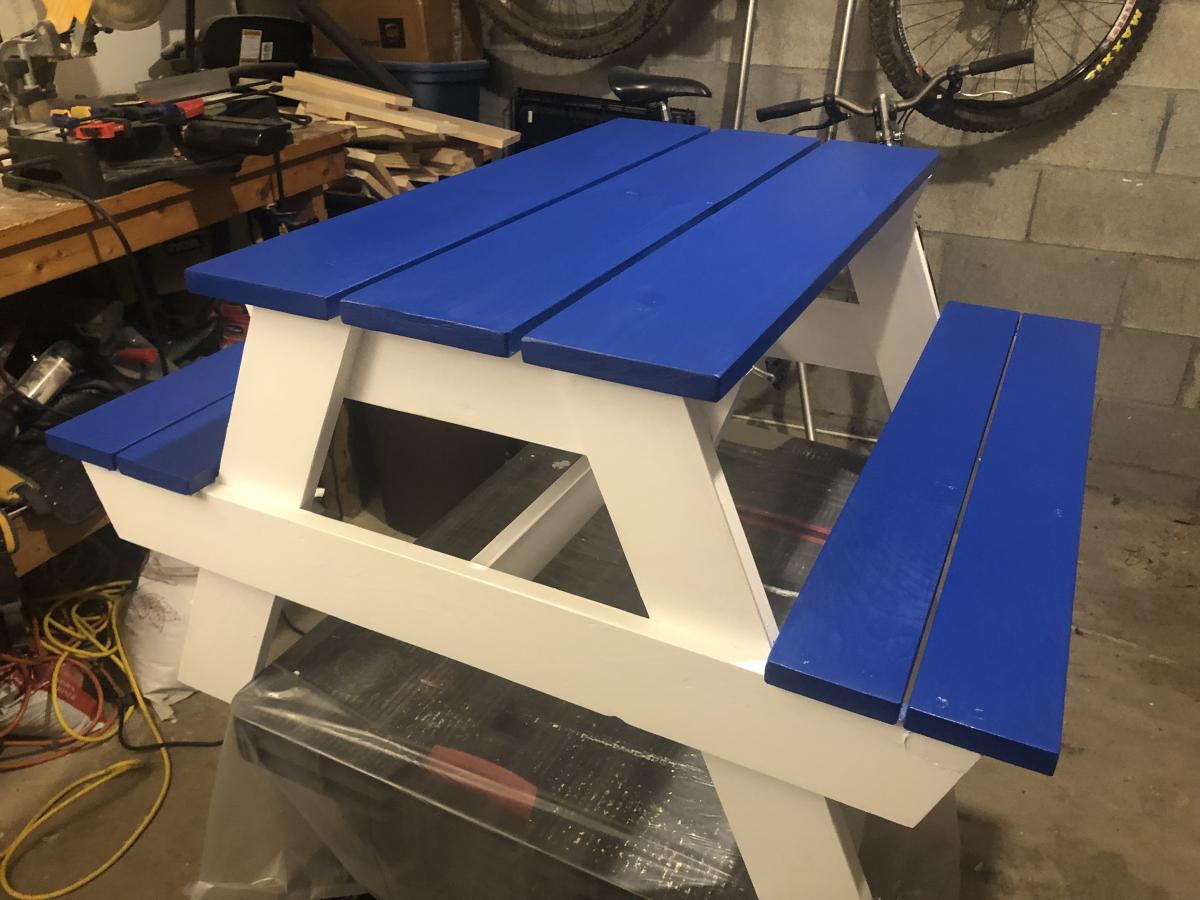

This was a really fun build. The bottom side boards were put on the outside instead of the inside (this was an accident) but it still seems very sturdy. Perfect for 2-5 years old.

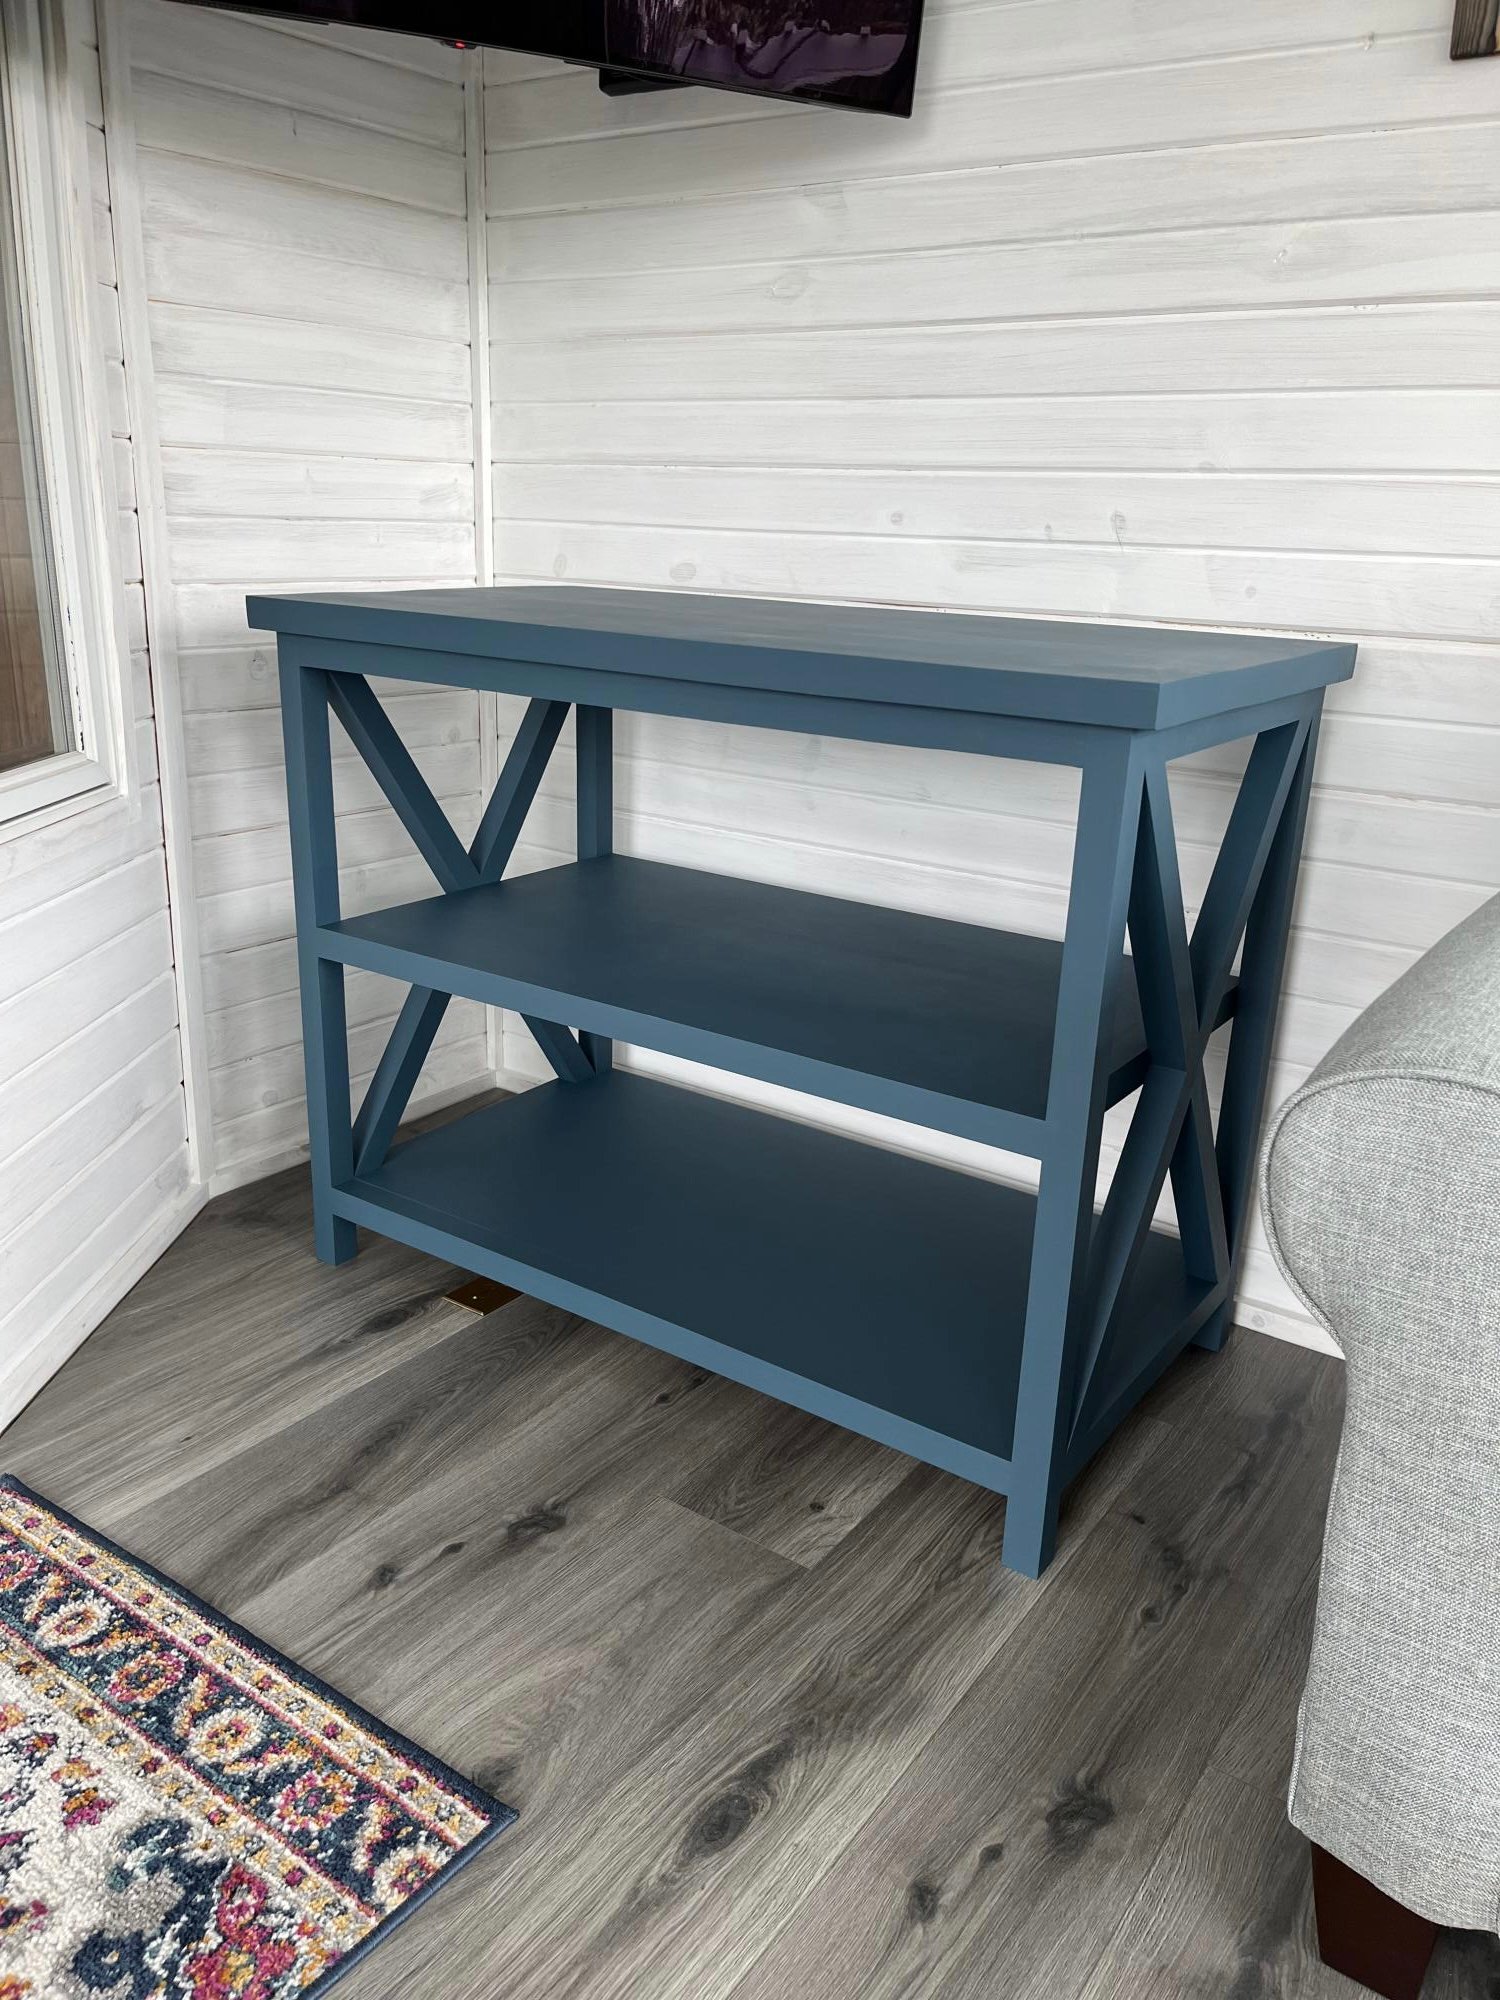
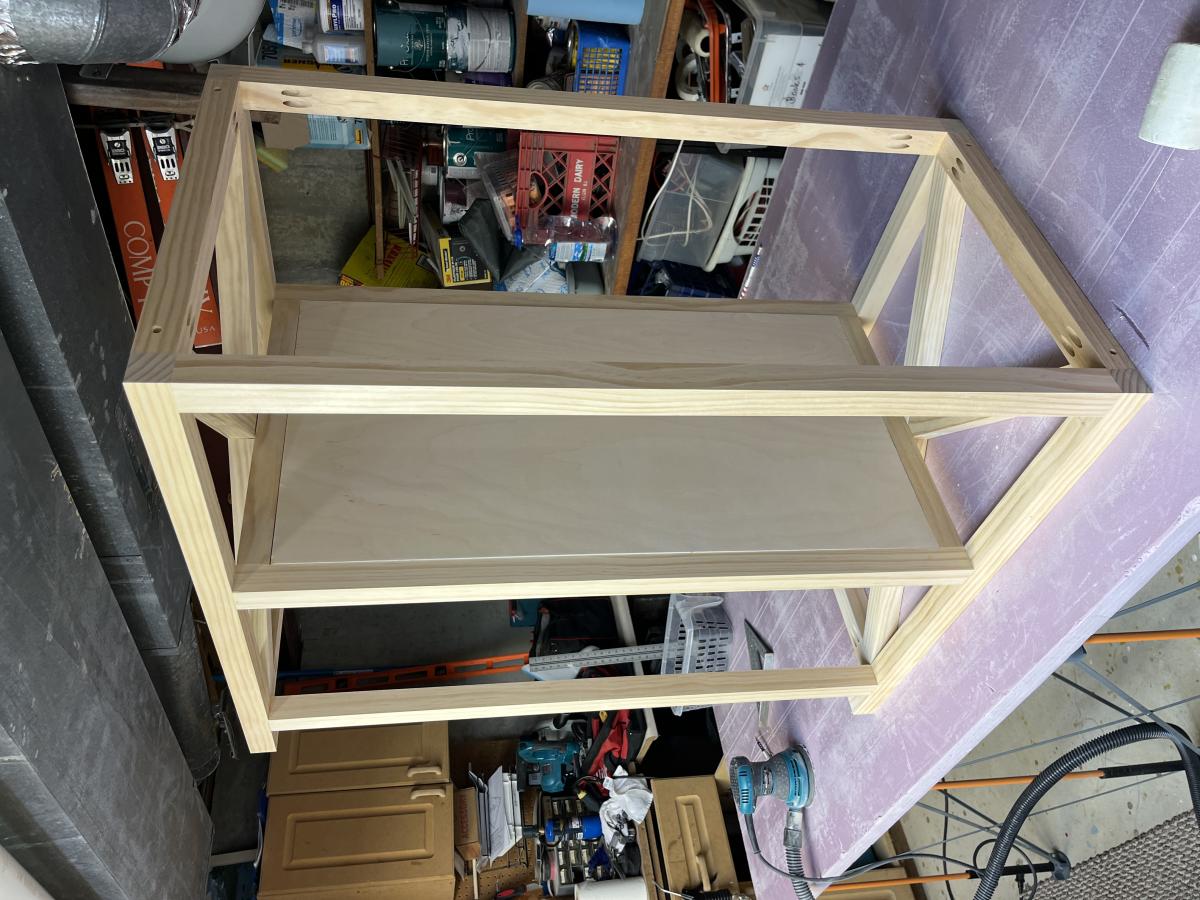
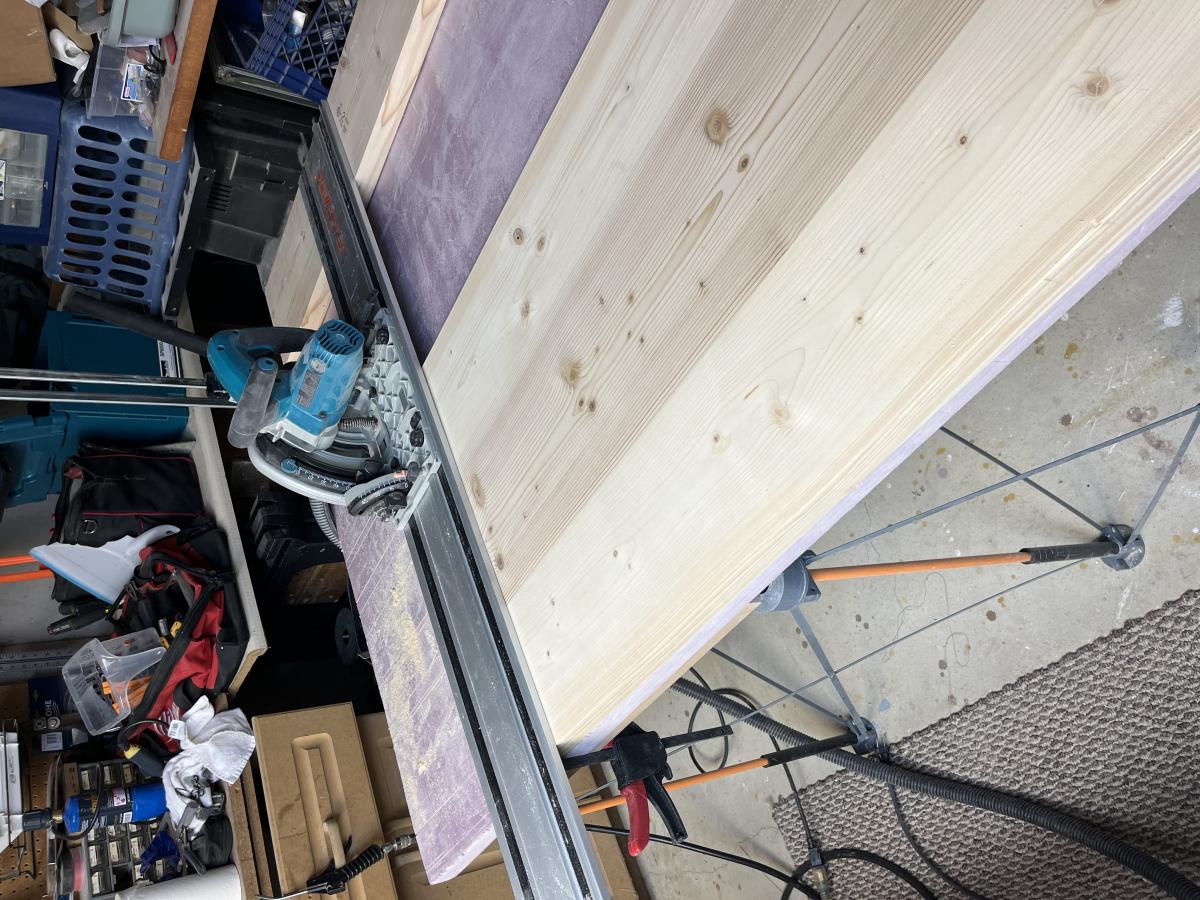
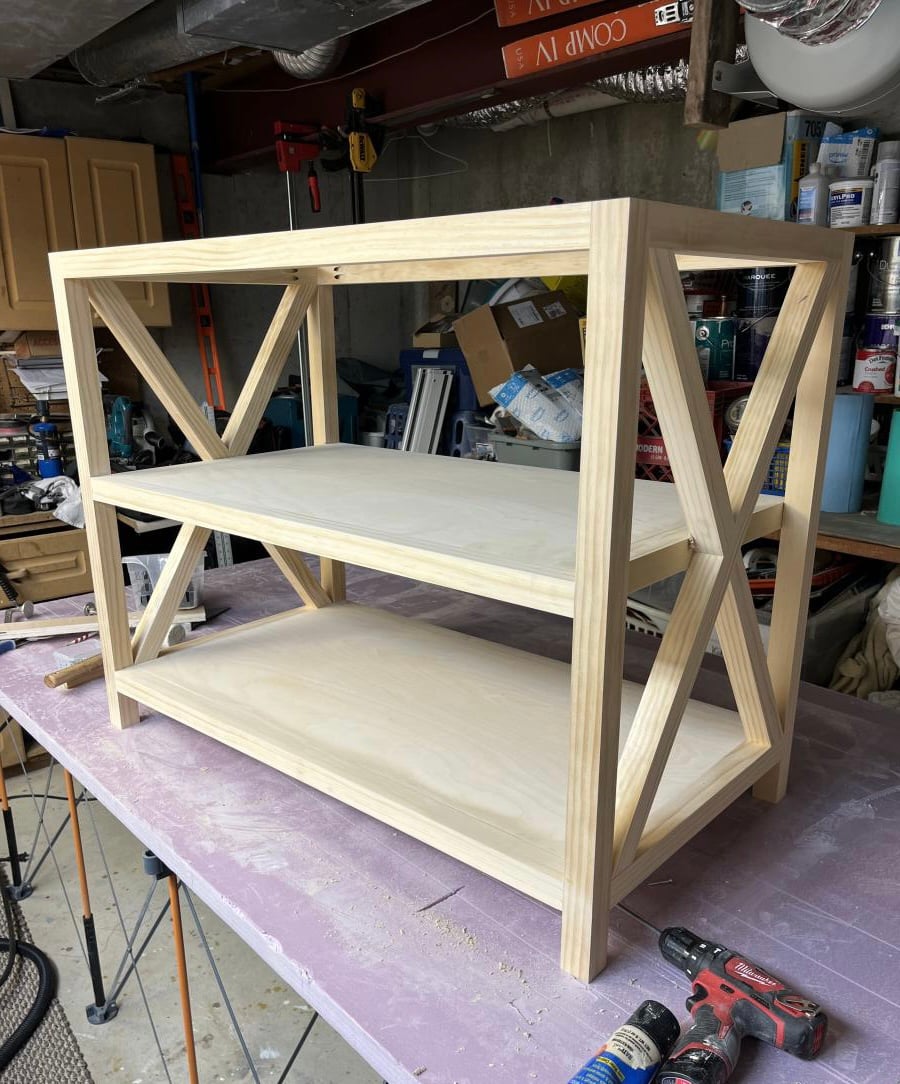
Built this from Ana White plans. Love how it looks in our four season room.
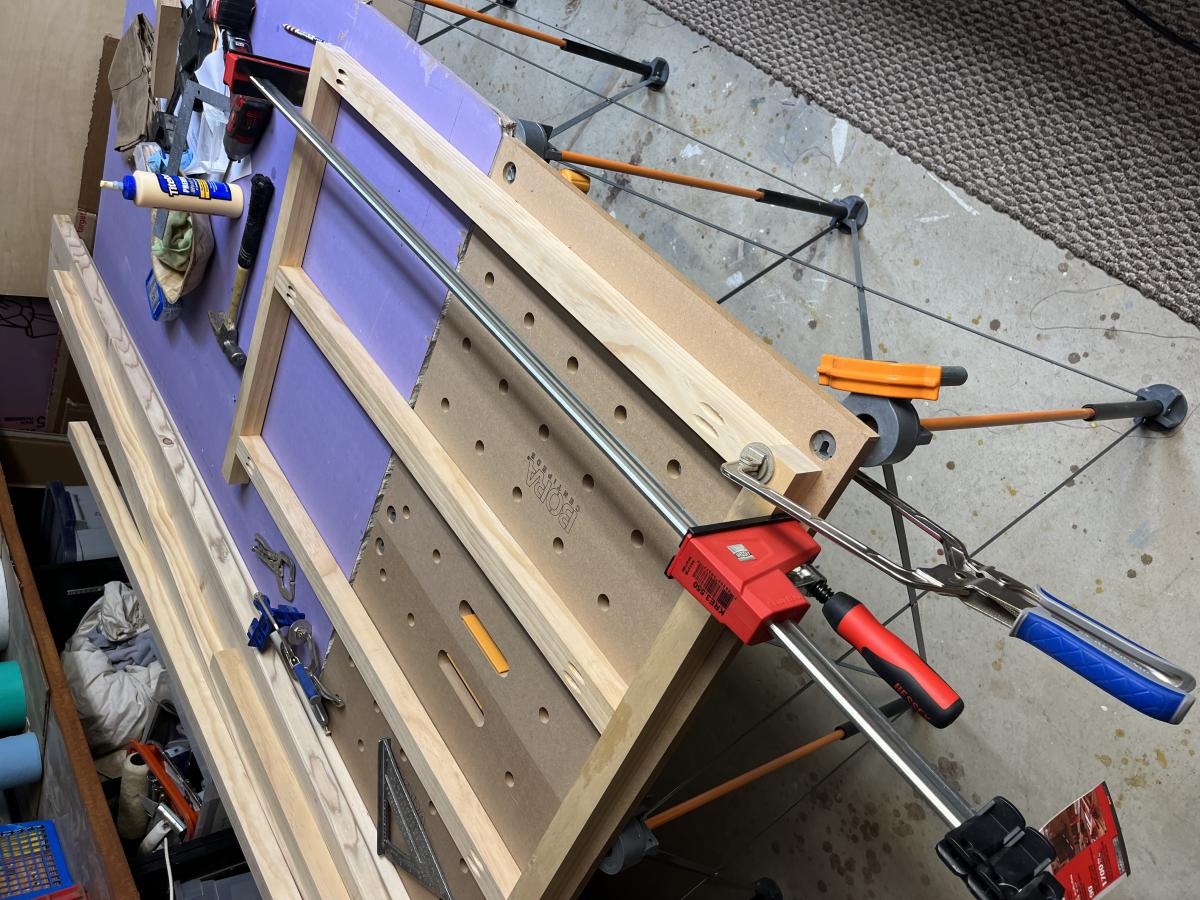
Fri, 04/21/2023 - 10:20
Gorgeous build and finish, well done! Thank you so much for sharing.
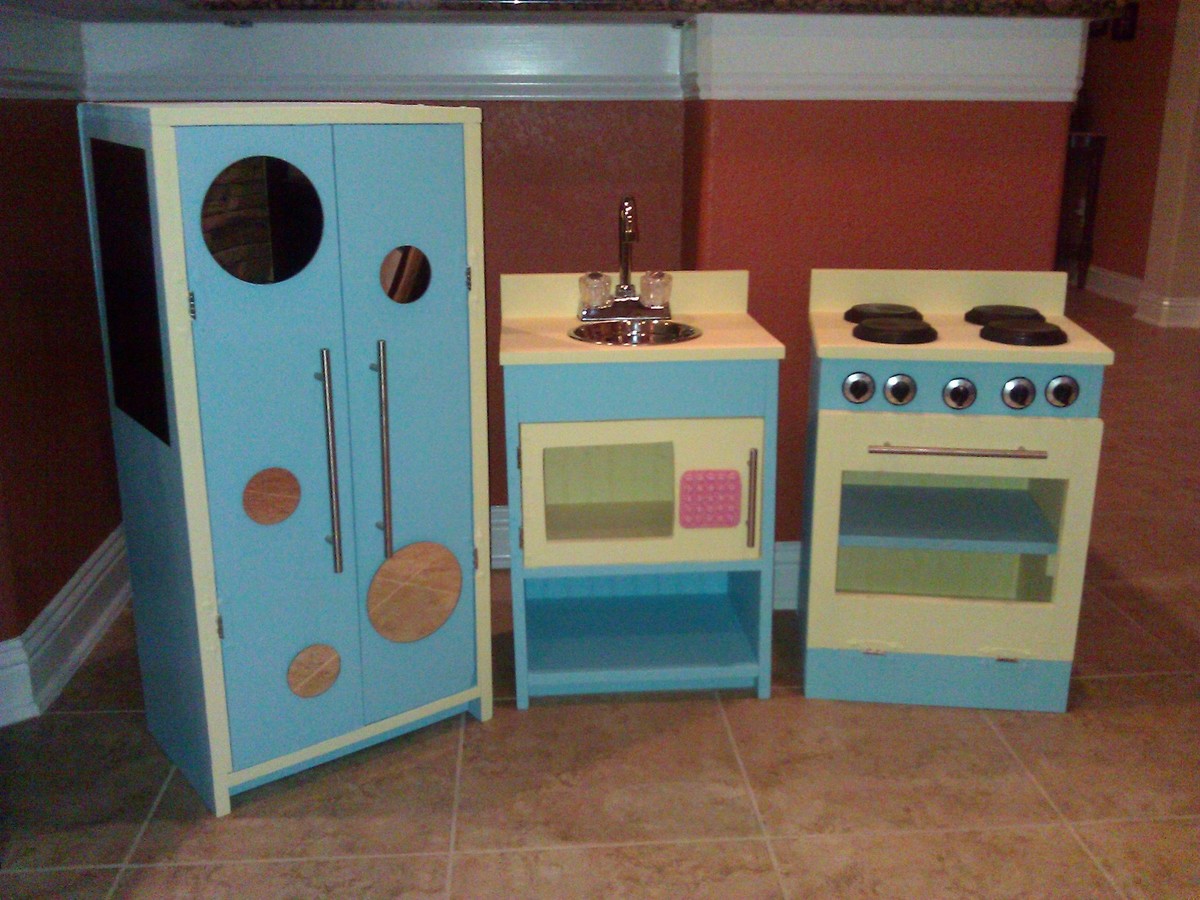
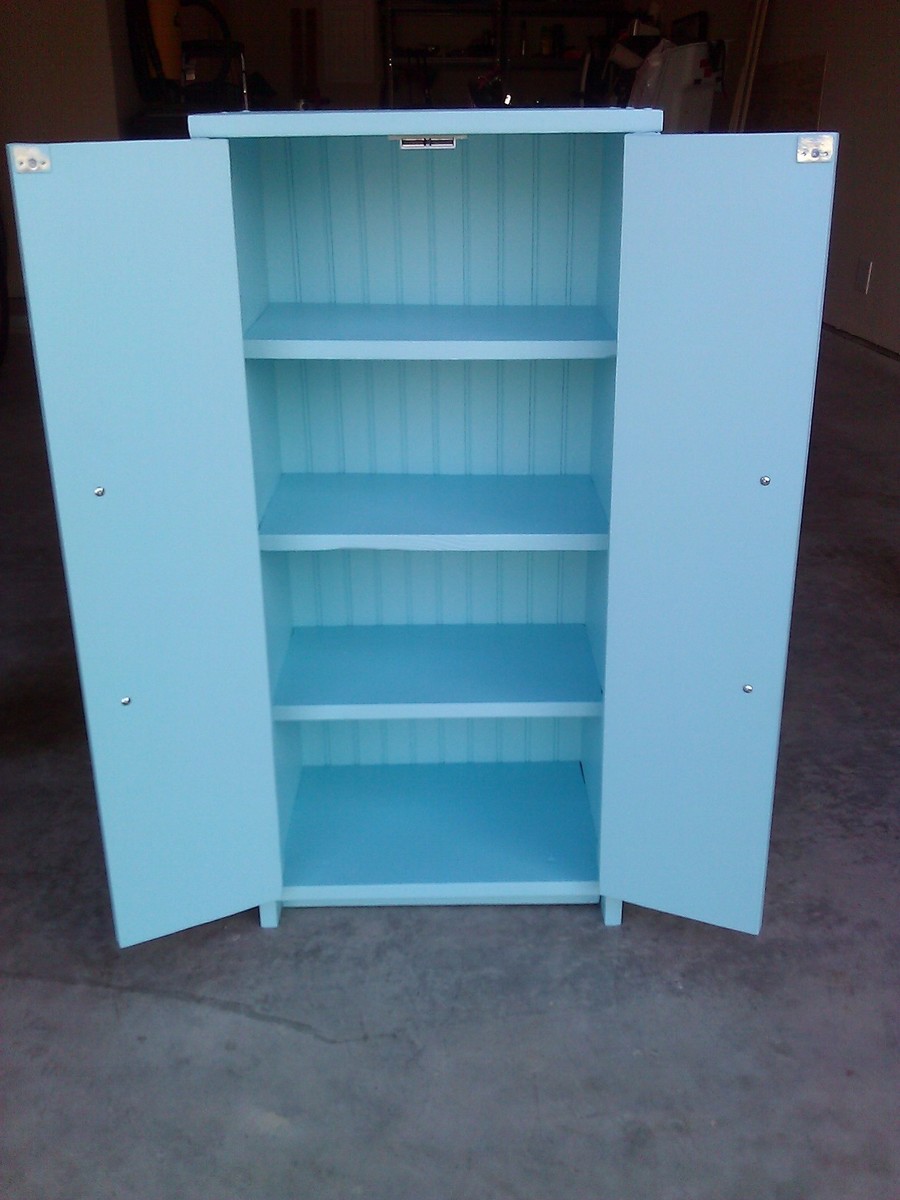
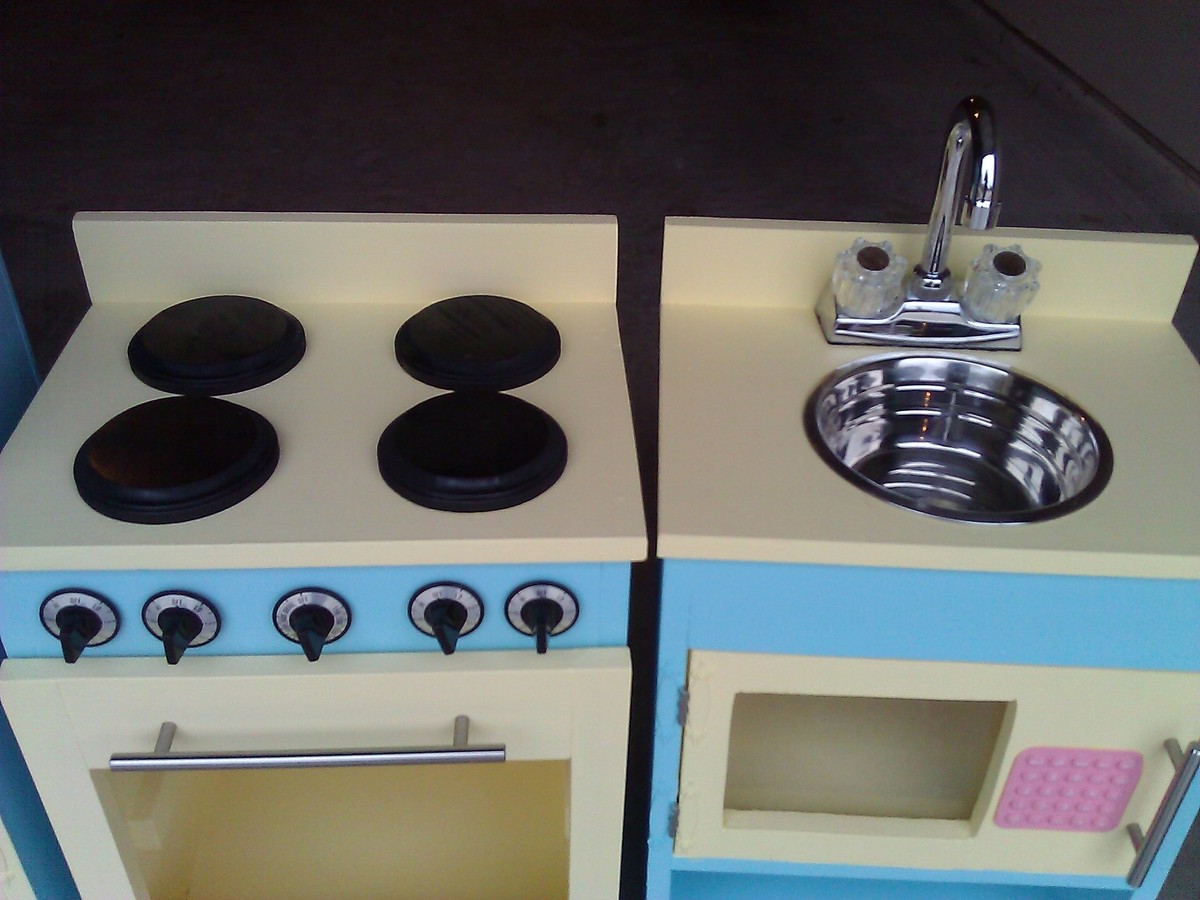
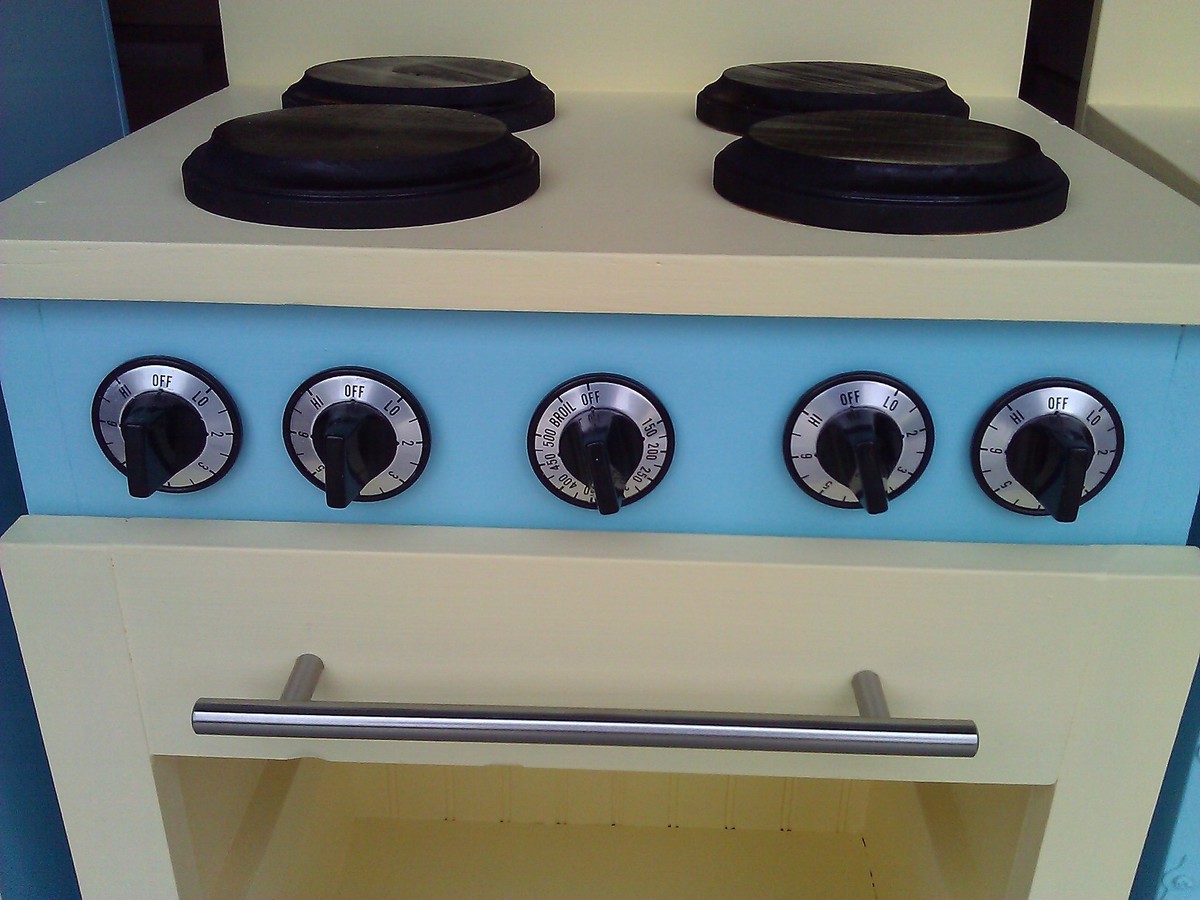
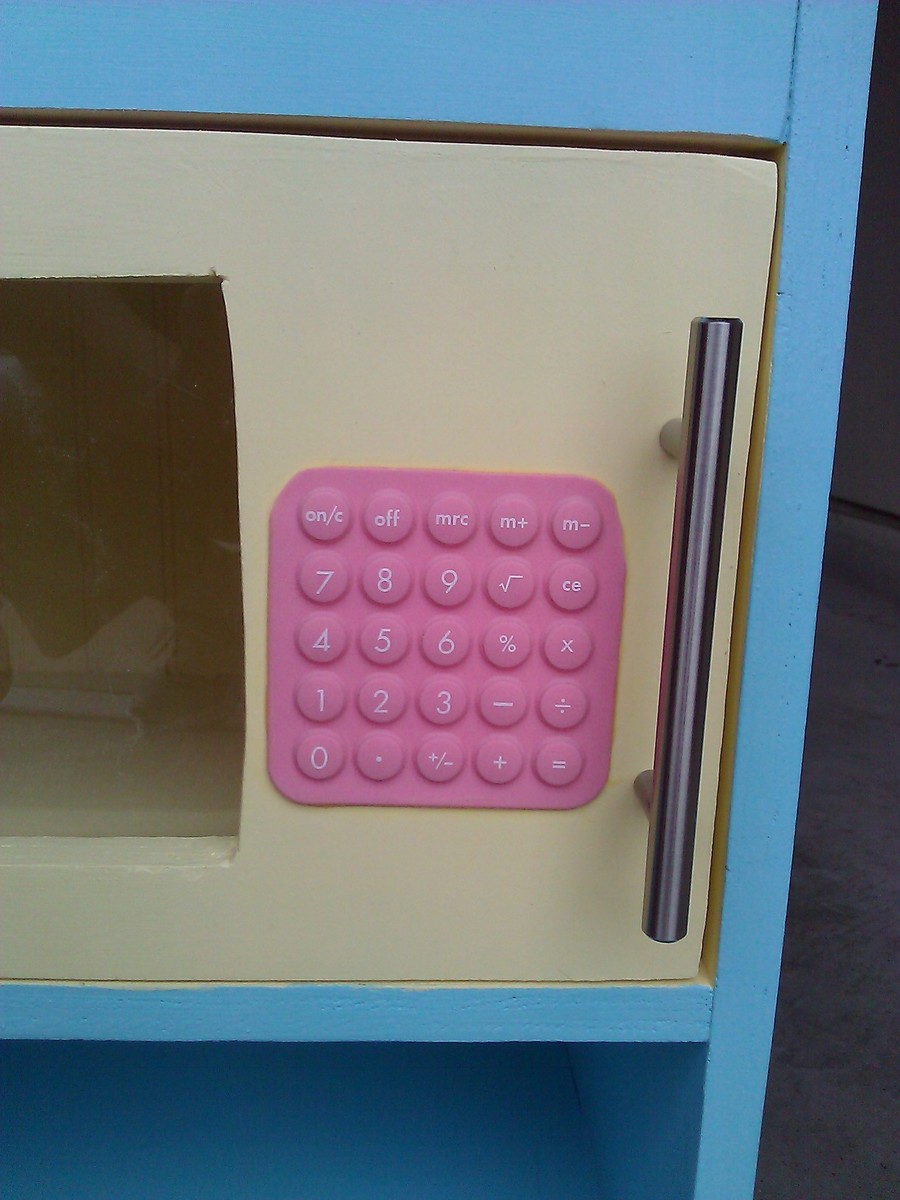
This was my first wood working project, and I made all the cuts myself (I'm pretty proud of myself!!). I only had a cordless drill when I started this project. Through good sales and craigslist, I ended up with a circular saw, a jigsaw, and an orbital sander to complete this project, plus I built myself a really nice large workbench so I had somewhere to work! It turned out very well, and my girls love it. I made some modifications by making the sink and stove 22" tall instead of 20" tall to better accommodate my 5.5 year old while allowing my 22 month old to be able to play too. Instead of putting a curtain on the front of the sink, I turned the upper shelf area into a microwave by lowering the shelf some to make the area larger, and added a flexible rubber calculator as the microwave keypad. This is my 5 year old's favorite part of the kitchen!
Tue, 12/27/2011 - 07:19
Your microwave is really clever! What a beautiful kitchen set. Way to go!
Sun, 01/01/2012 - 07:17
Absolutely adorable!! I made one too. Hopefully I will post mine later on today. How did you attach your knobs? Do they turn?
We had to modify the plans by a few inches to fit the space and we changed some other details to make it look more like a castle. But it came out awesome and our daughter loves it!
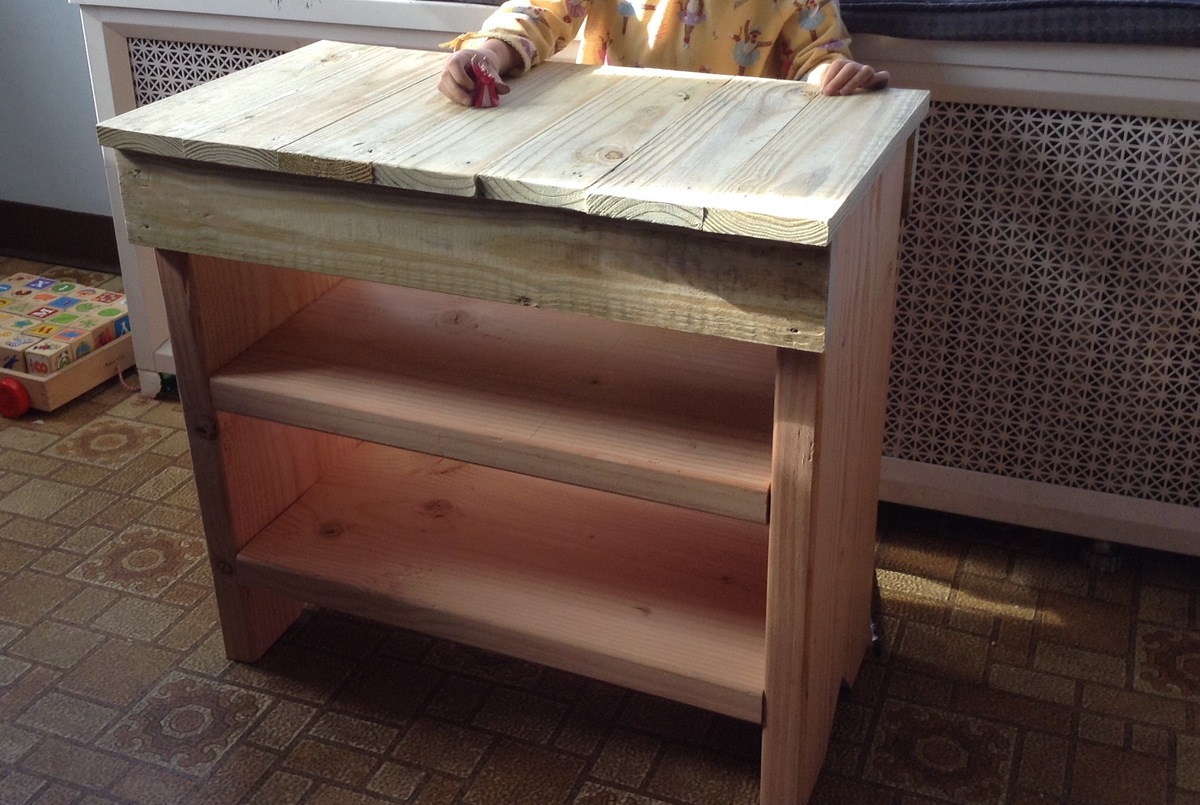
I made this taller and added and extra shelf. I also didn't add the angle cuts and for the front pieces. It was so easy and I built it within three hours with my 8 yr. old son.
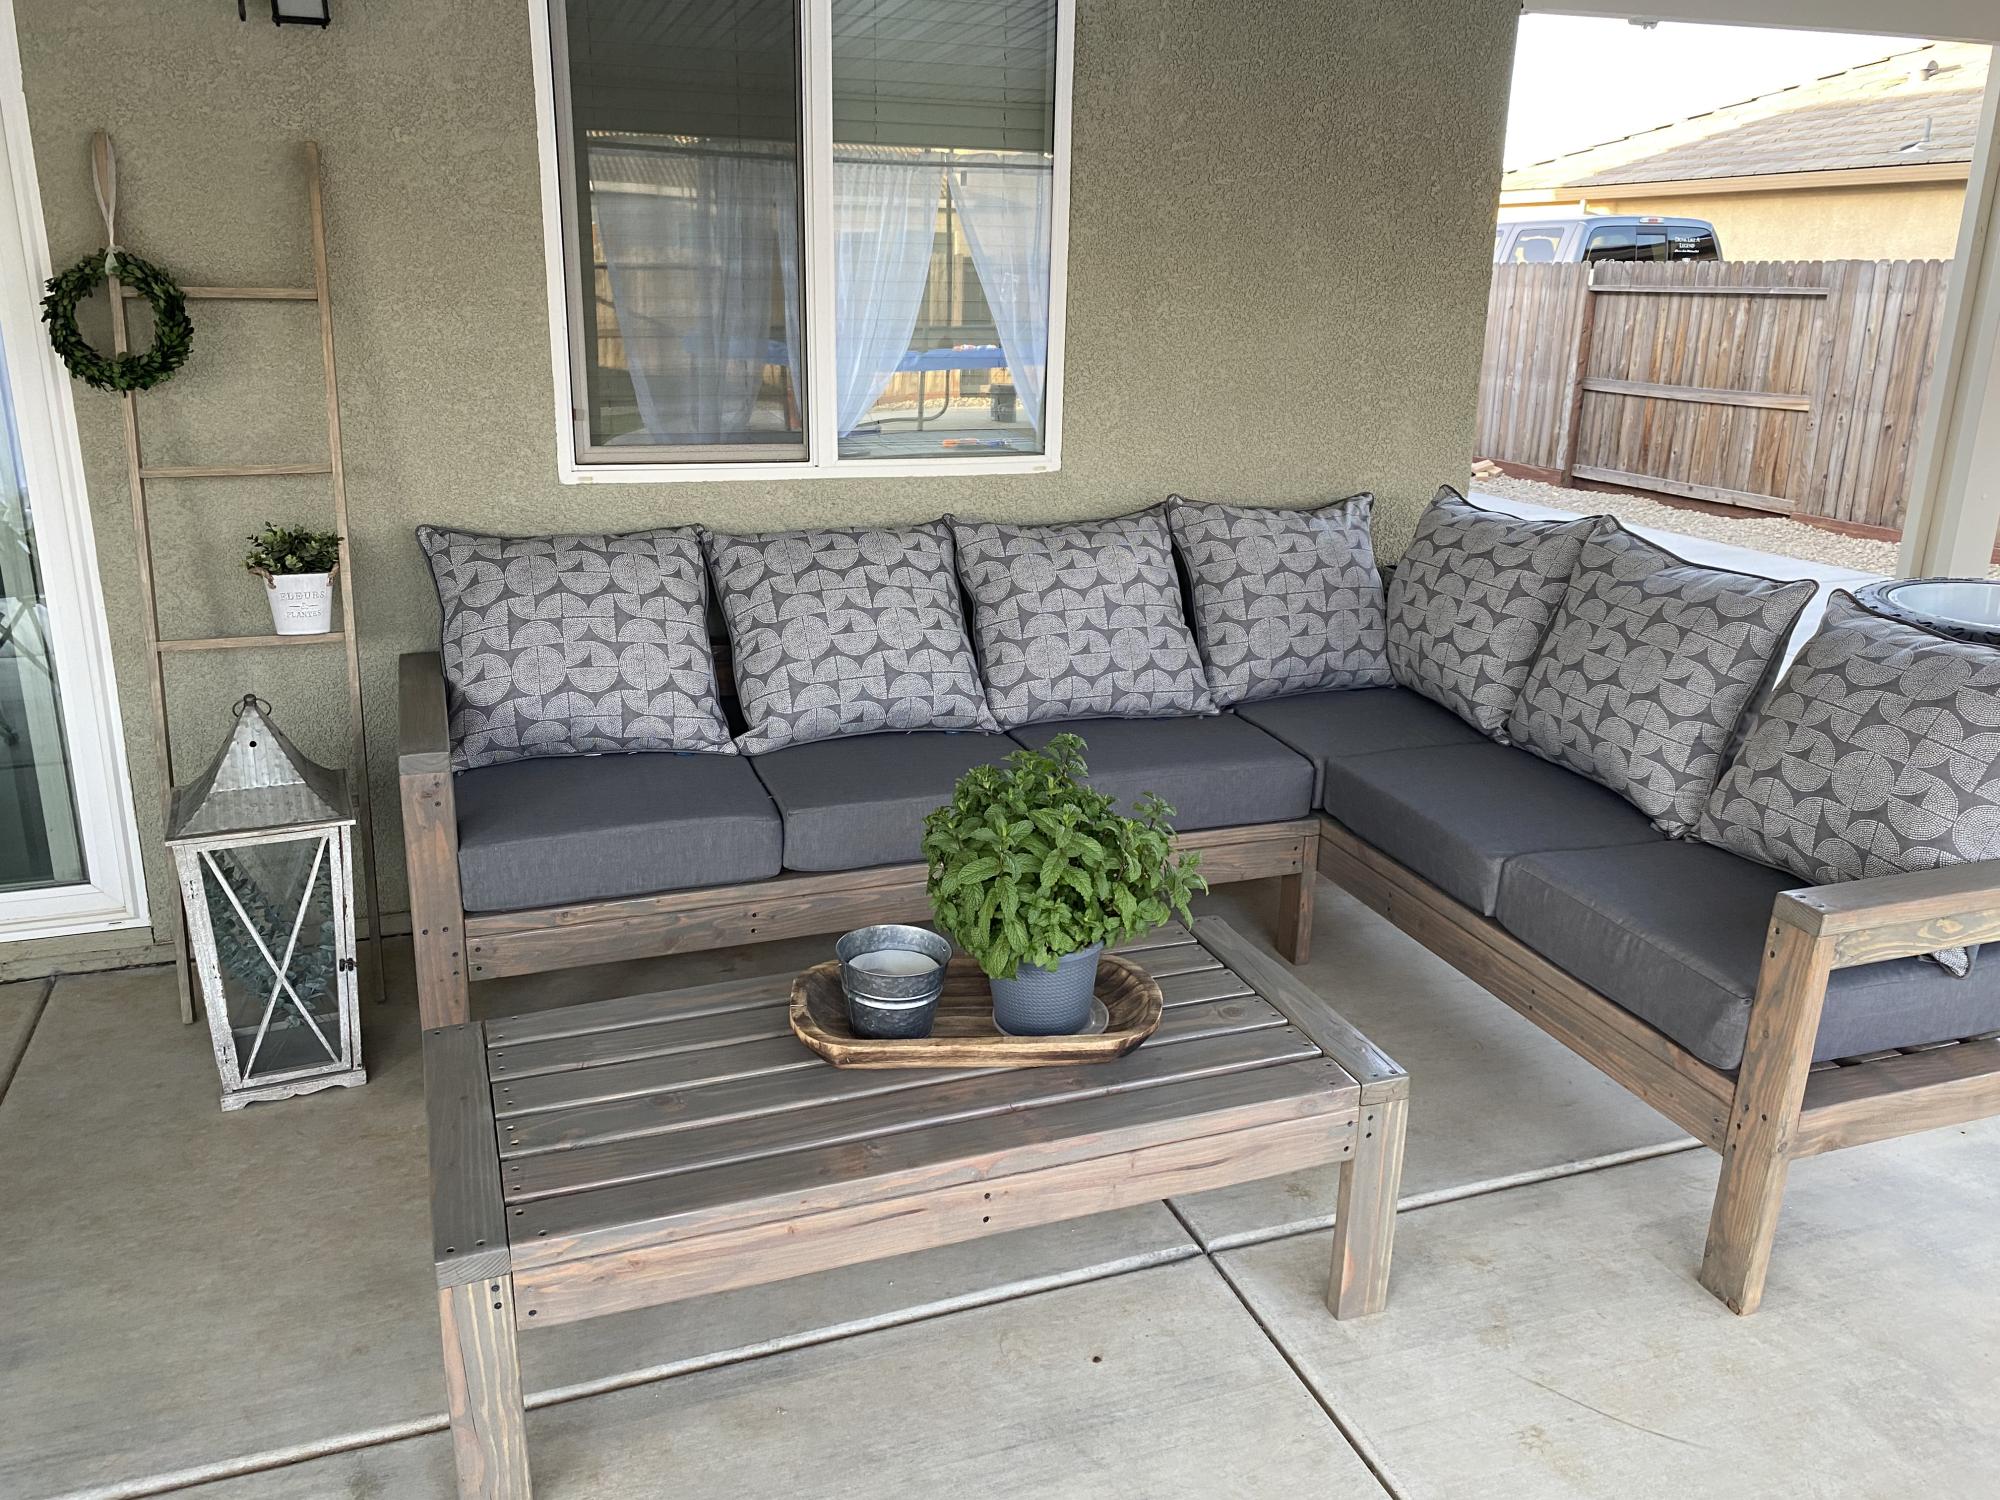
This project was fun to build with hubby said the shopping list and the cut list was perfect! Love all your designs! King bed is next!
Fri, 04/28/2023 - 09:15
Very well done, thank you for sharing your beautiful space and build!
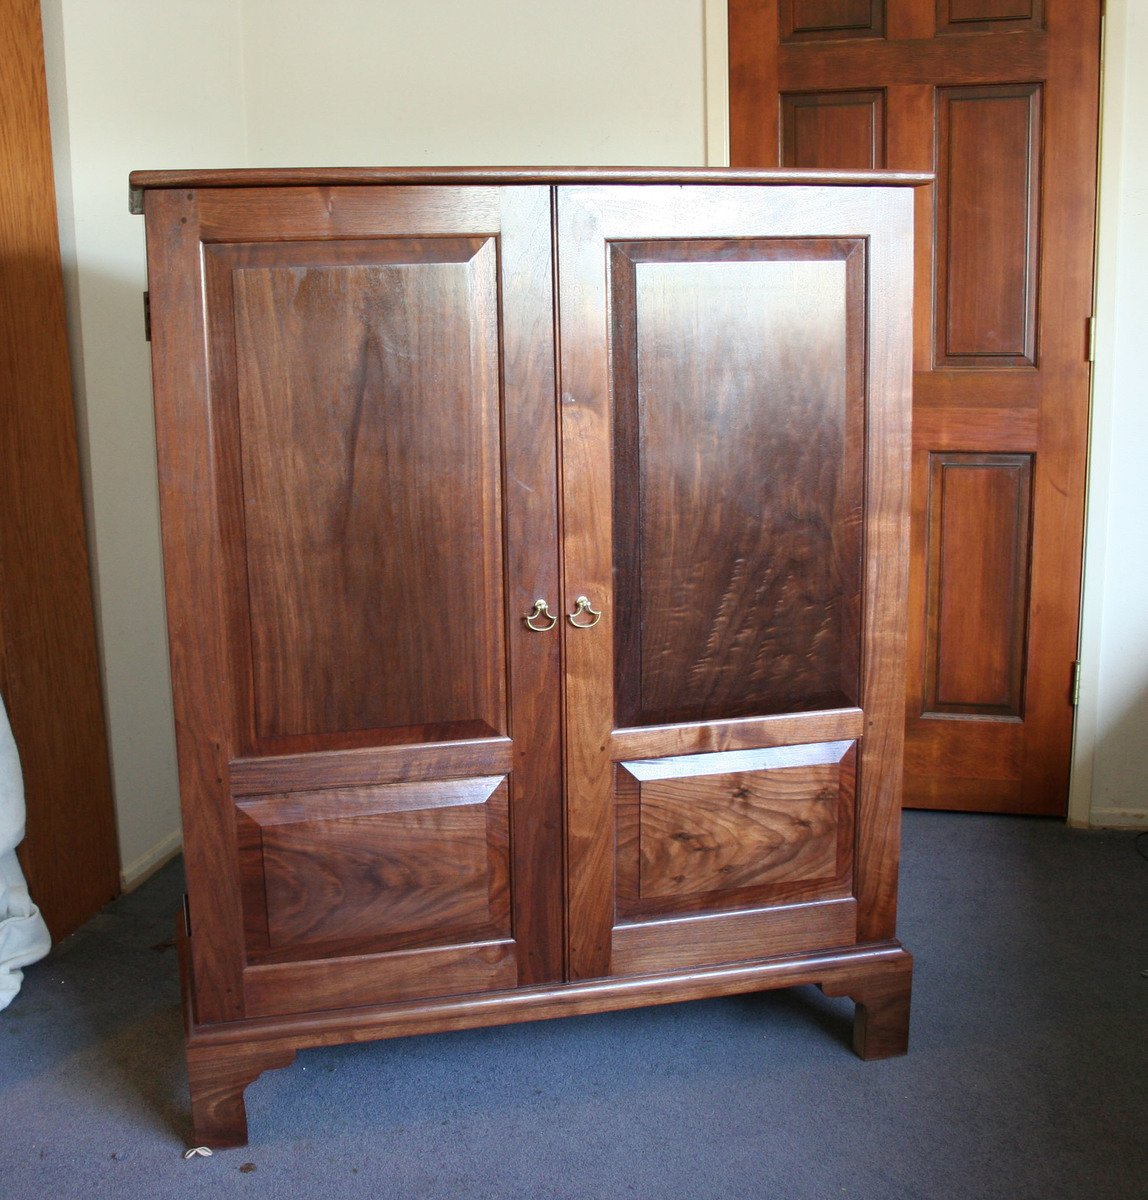
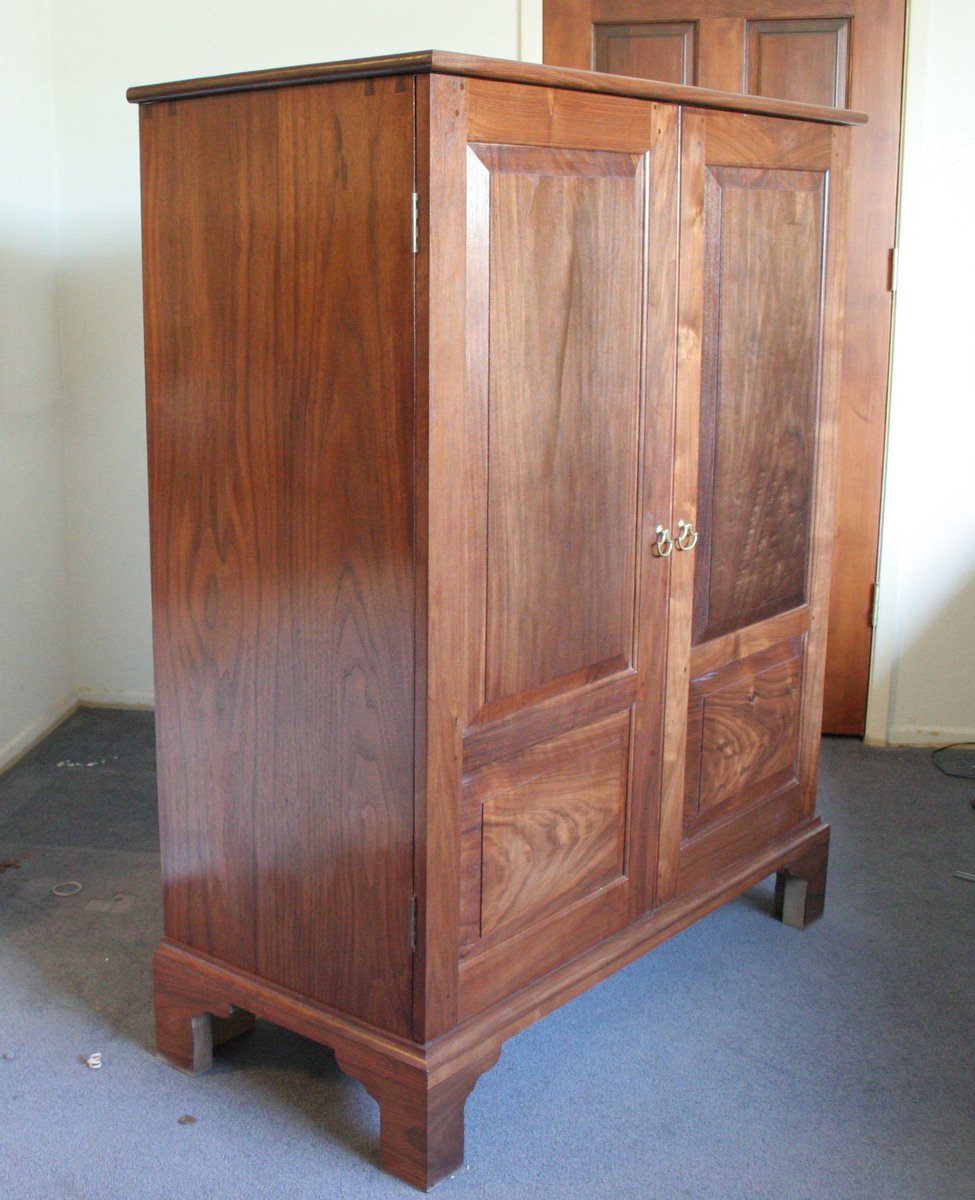
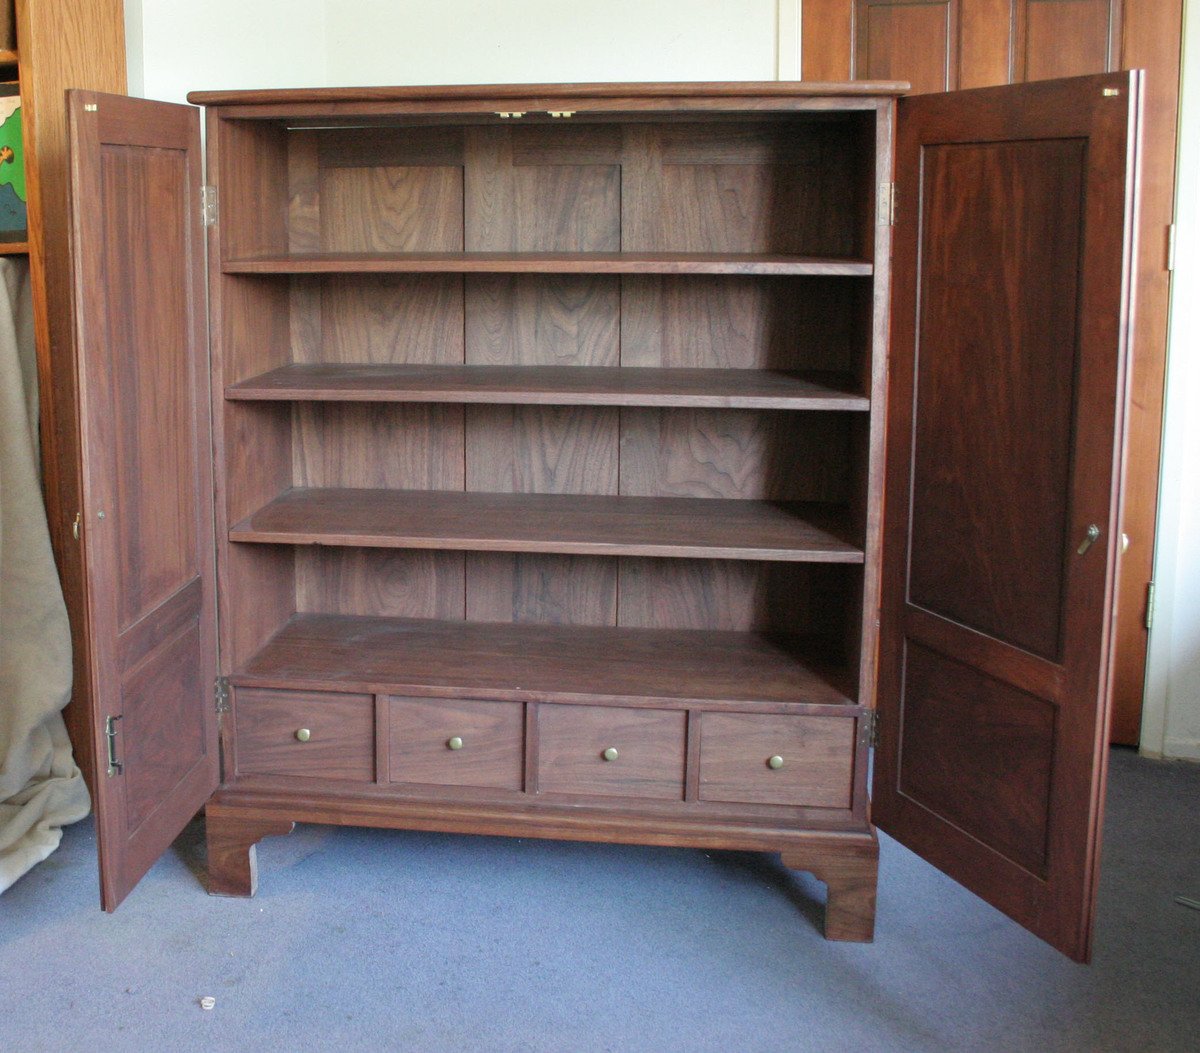
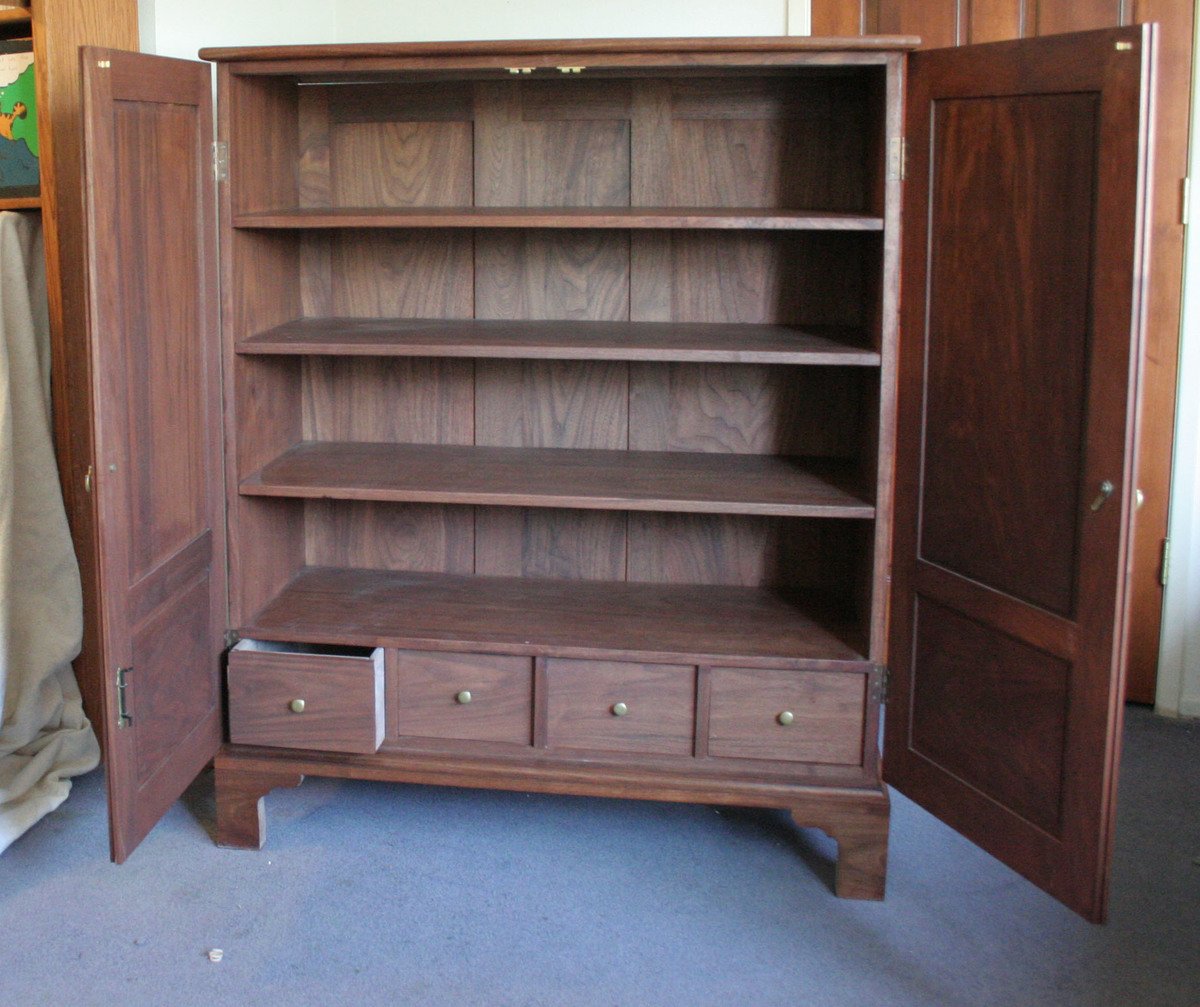
Here is a brand new piece I just made for holding my extra computer components. It is wholly made of American Black Walnut (juglans nigra). It took about four months to make. The original, from which this is copied, was made in Williamsburg, VA in 1765. When I first saw it, I fell in love at first site and had to make it. It was made with rough lumber, nothing pre-milled. I found 16 1/2" wide walnut which I used to make the single-panel doors. I think it looks great and is faithful to the original.
Fri, 12/30/2011 - 16:23
ABSOLUTELY STUNNING!!!! WOW, this is so incredible! Great work!
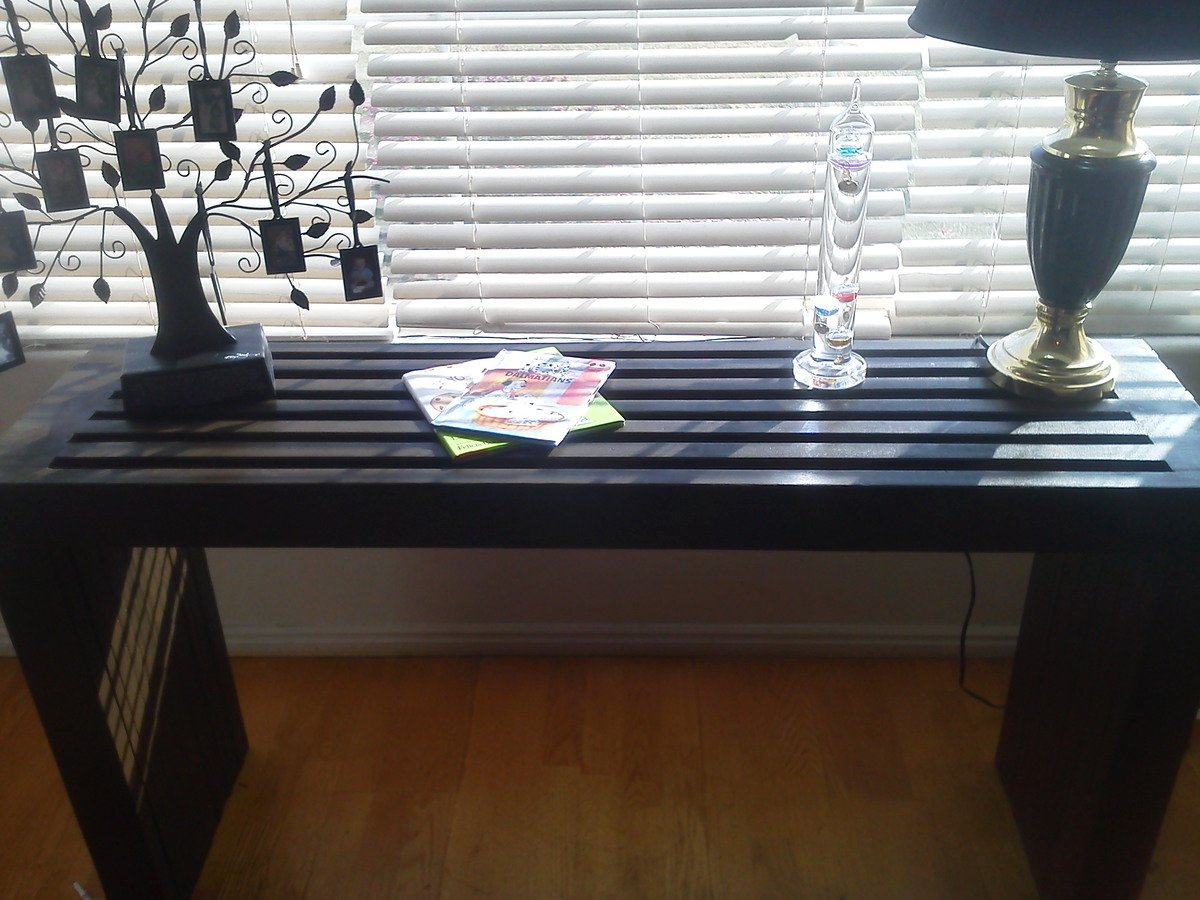
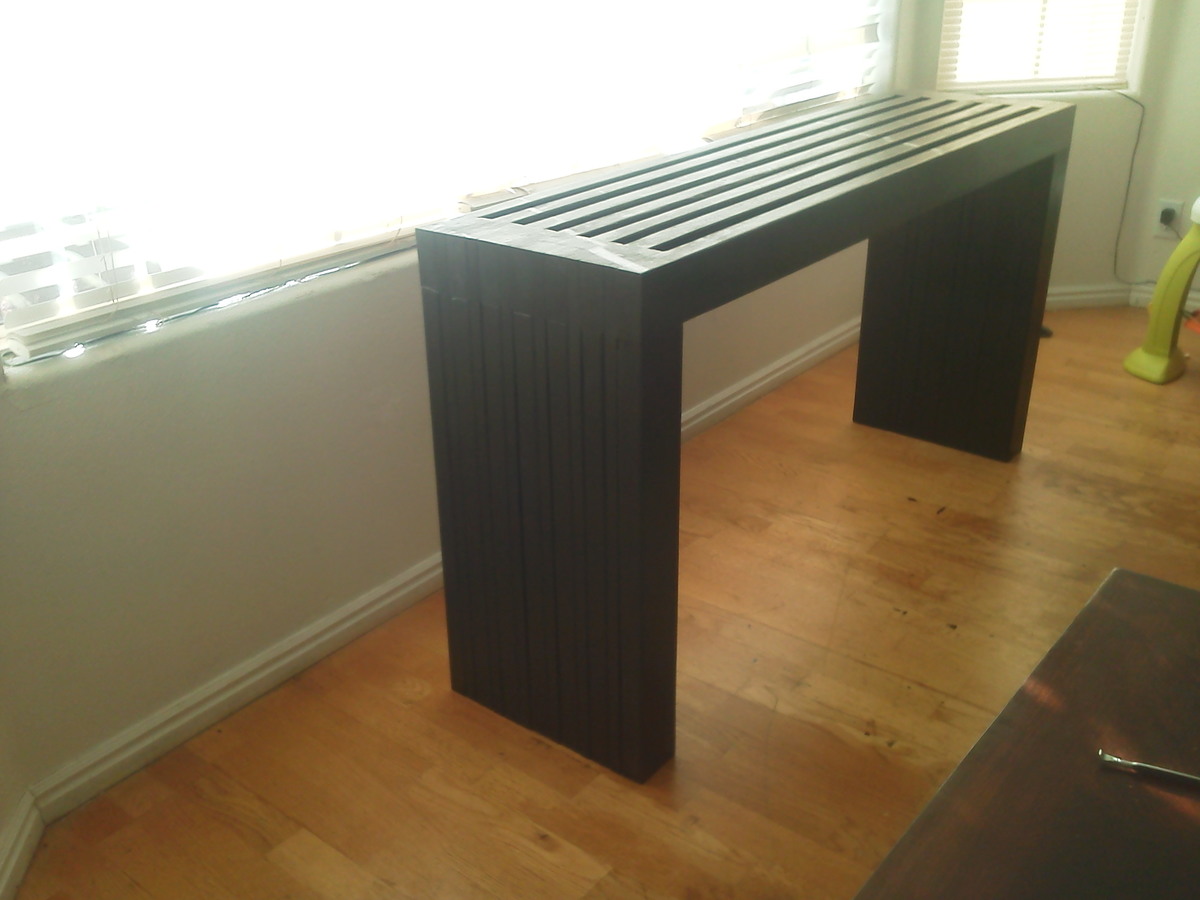
This was built out of Douglas Fir (2x4's) and Pine (1x4's) and was painted in the color espresso (Behr). I used Minwax Helmsman Spar Urethane to seal it with a semi-gloss coating as well.
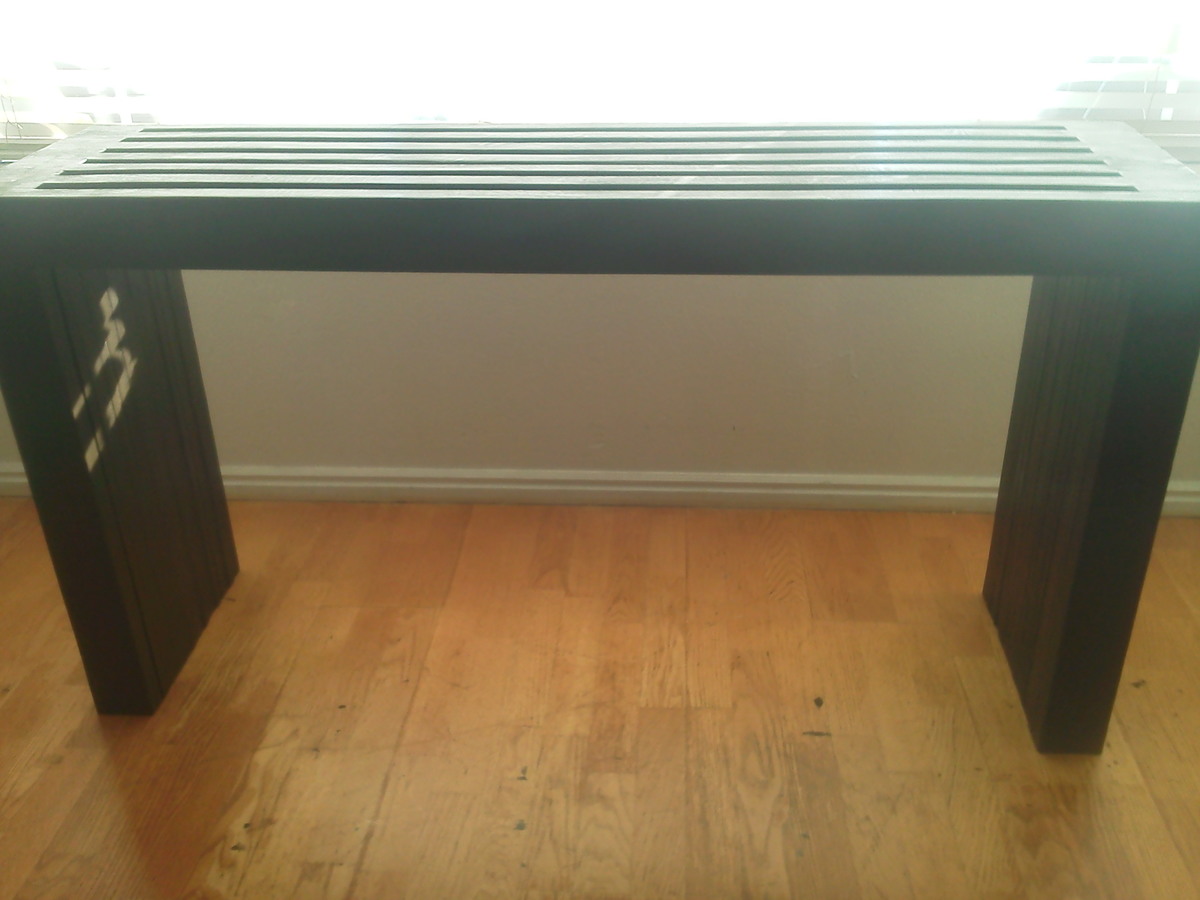
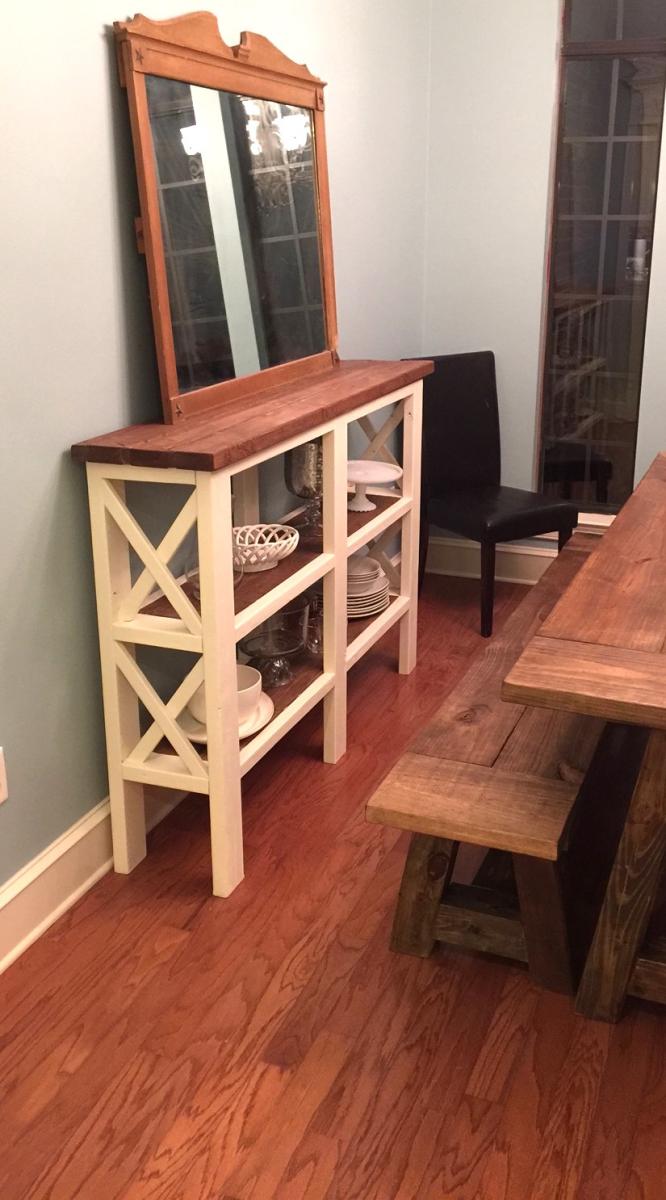
Needed to add a buffet console to the empty wall in our formal dining room.
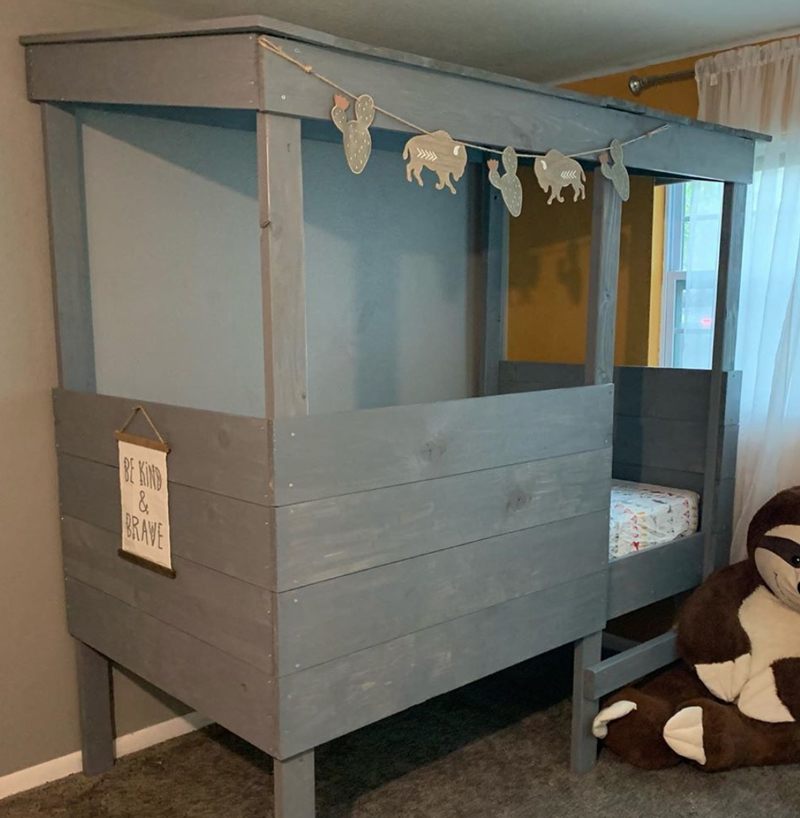
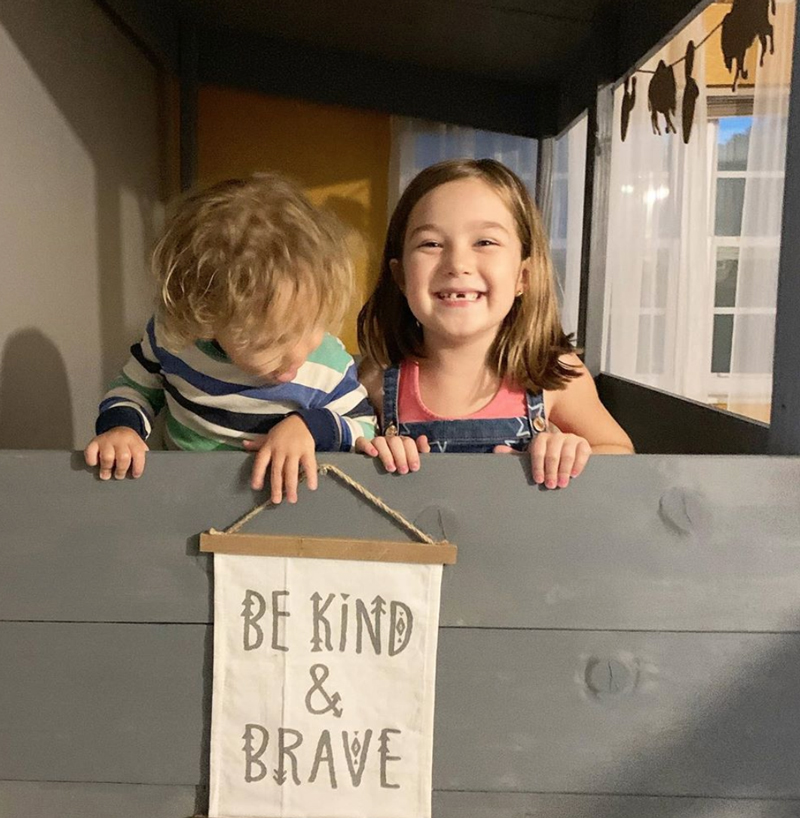
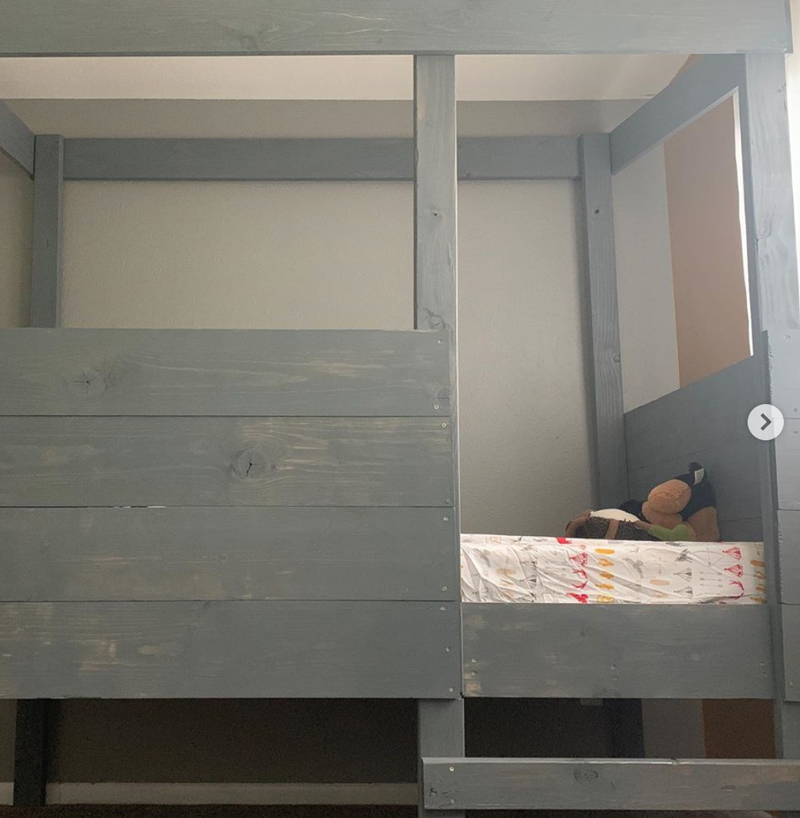
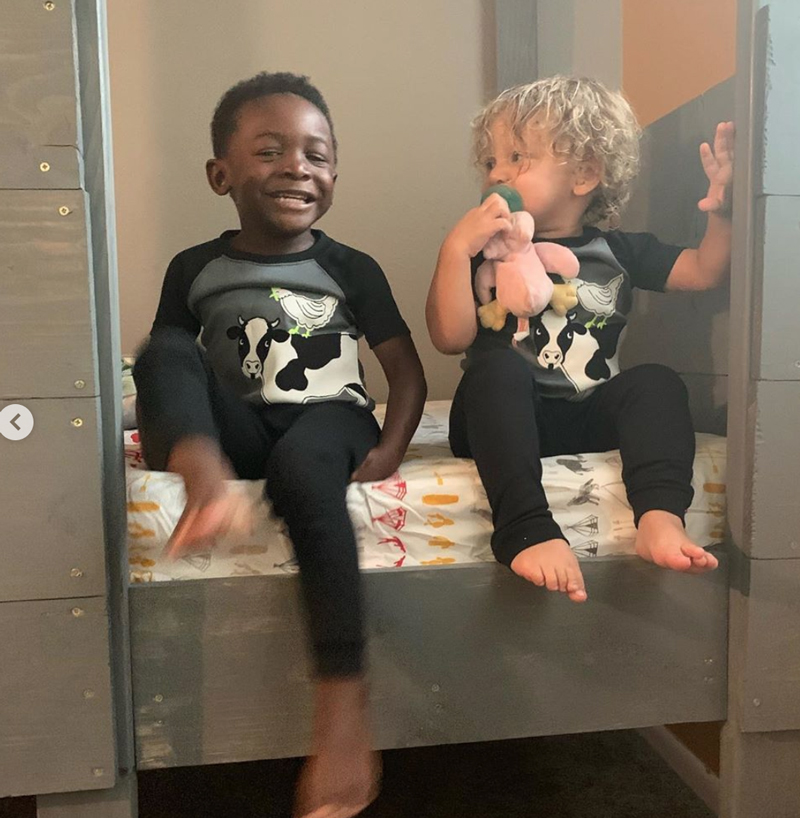
My boys LOVE this bed. I am making one for my other son who shares the room next so there will be two matching. They take up almost the whole room but they look so cute and double as play space in and under the bed so it works!
It took about 2 days to build and I had help from my husband and friend to make construction easier and cuts and staining more efficient.
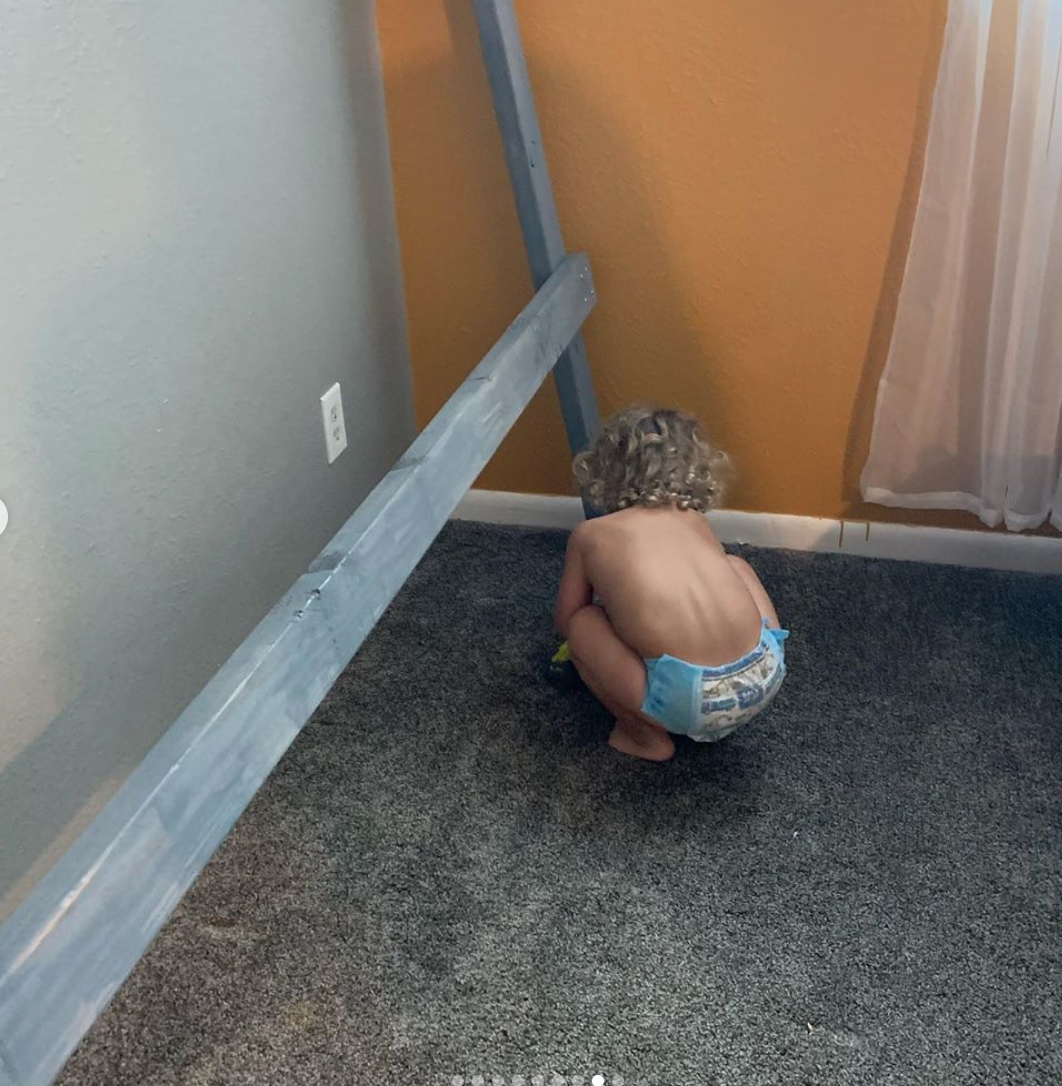
One problem I had at the end was screwing in the roof boards. I hadn't thought about the fact that my ceilings are low on my old ranch house and could barely get the screwdriver in the space above the bed, so I had to tip the bed over to make it easier. Next time I may predrill the screws til just before breakthrough so I can fit the drill above.
Also those boards around the bed are probably the most expensive piece - if I didn't want the second bed to match exactly I would wonder if 1x6s wouldn't have been more economical.
I did sand and stain before assembly which made things much easier. I used my standard weathered grey stain.
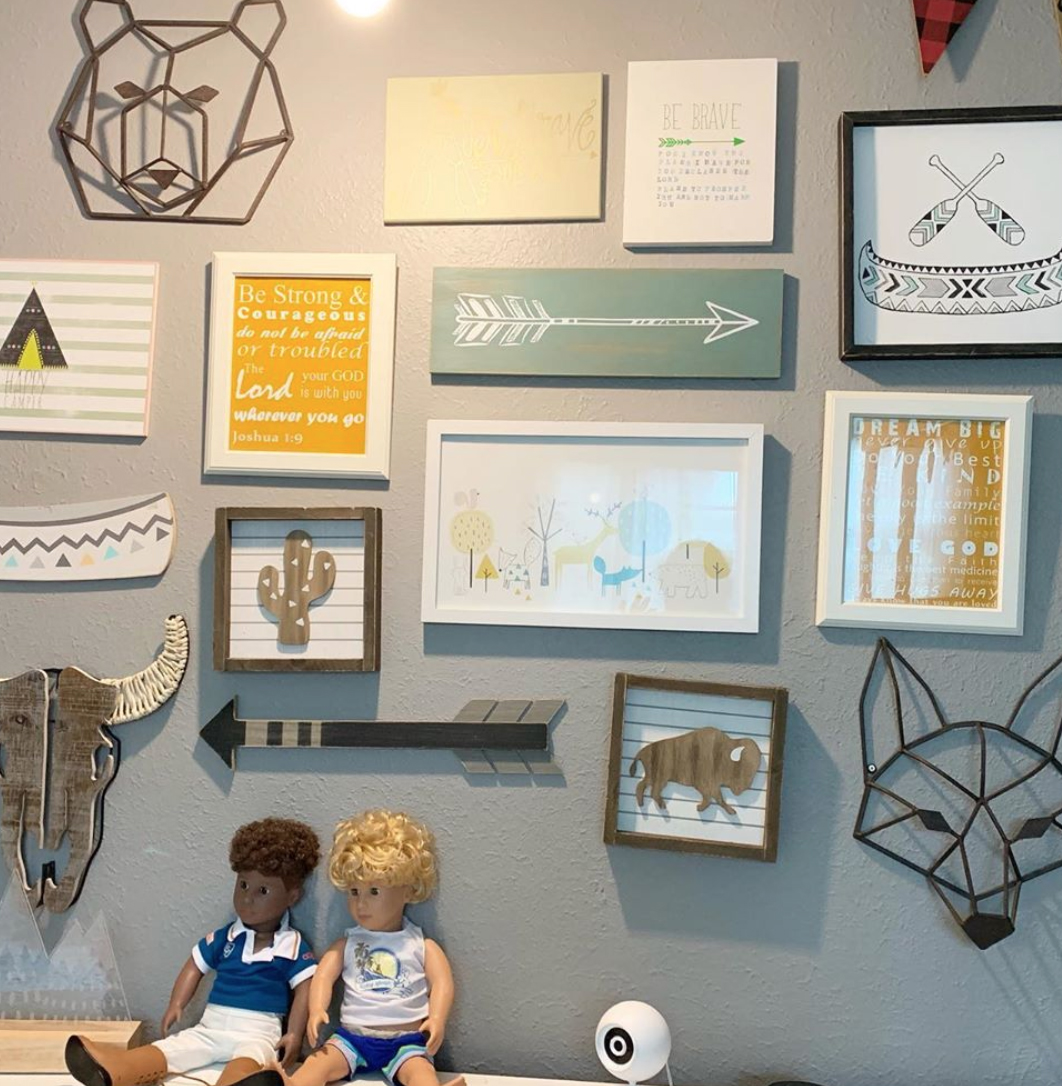
The sheets are Pillowfort : Rustler's Ranch twin set. The sign and banner hung on the bed I got from Hobby Lobby.
Sun, 08/04/2019 - 21:54
Thank you for submitting! This is awesome!
That is a smart suggestion to swap 1X6S for the siding that could save a lot of money.
very much appreciate all the photos and the details!
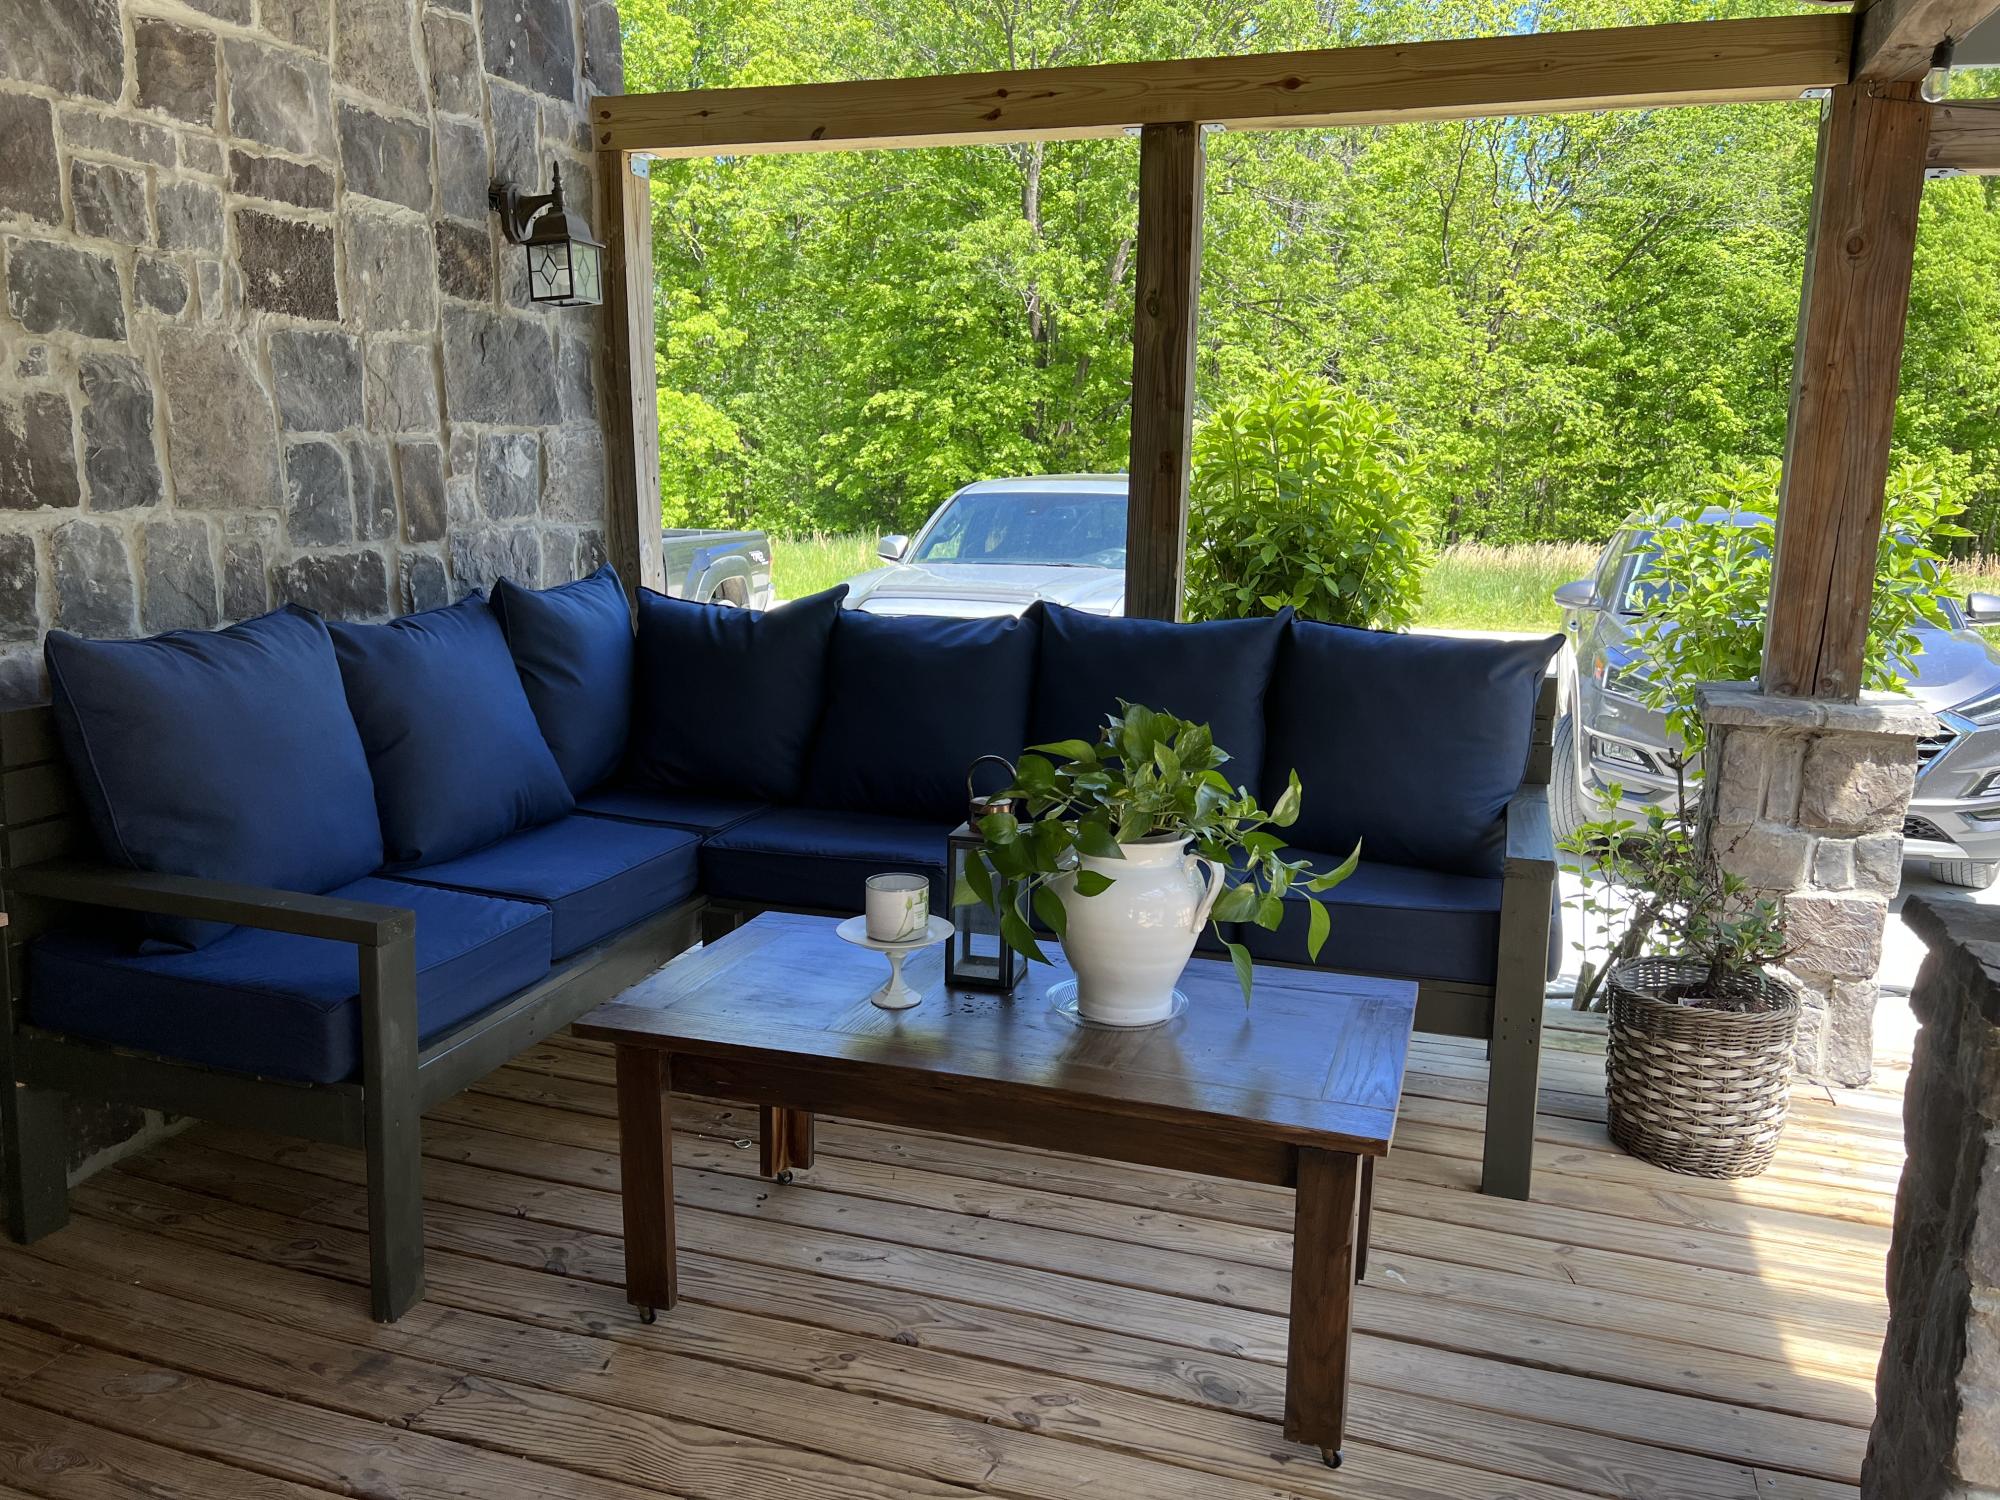
My husband whipped this up in one day using Ana’s plan. This is my new favorite spot to relax.
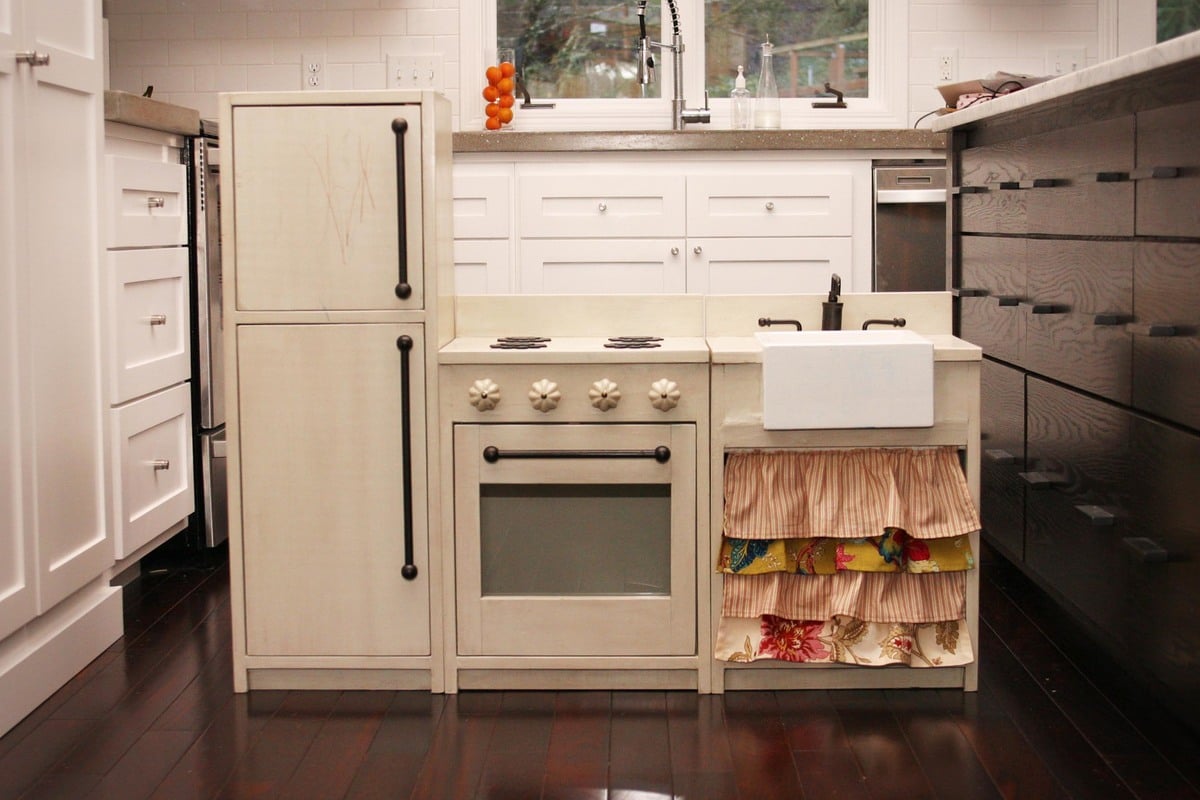
I made this play kitchen for my daughter's second bithday. It was my first project!
Tue, 01/03/2012 - 14:04
So beautiful! I love the colors and farmhouse apron sink!
Tue, 01/03/2012 - 15:23
Looks awesome. Love seeing everybody's kitchen. Do you have more pics of the sink?
Sun, 01/08/2012 - 16:12
Thanks! I'll try to post more pics of the sink soon.
Tue, 01/10/2012 - 15:36
More photos of the sink on flickr:
http://www.flickr.com/photos/65952314@N04/?saved=1
Thu, 12/27/2012 - 20:00
This is so cute! What did you use for the burners?
Thu, 07/14/2016 - 15:41
Question what did you use for your handles? This is beautiful. I'm hoping to make once close to it for my son's 2nd Bday

I needed something to hide the exterior of my 7 yr old, hard used ice chests. I saw this and modified it to fit my ice chests. Love them!
I'm a newbie to wood work and am so glad I found this site! I made these in July and am working at getting better at it.
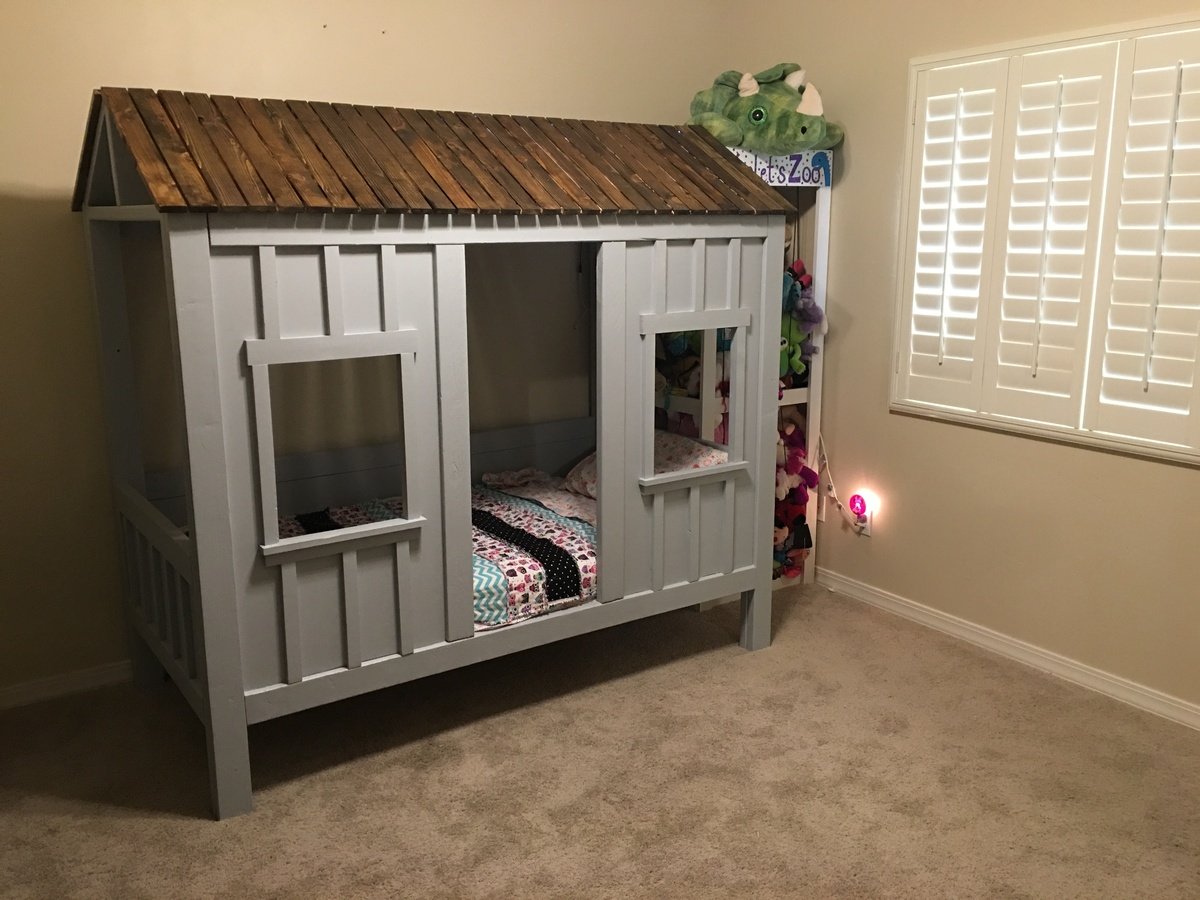
Thank you so much for these plans! 2 weeks worth of nap time building and my daughter has an awesome new bed!
Sat, 02/06/2016 - 12:30
WOw, that looks amazing! I see that great toy storage too, thanks for sharing!
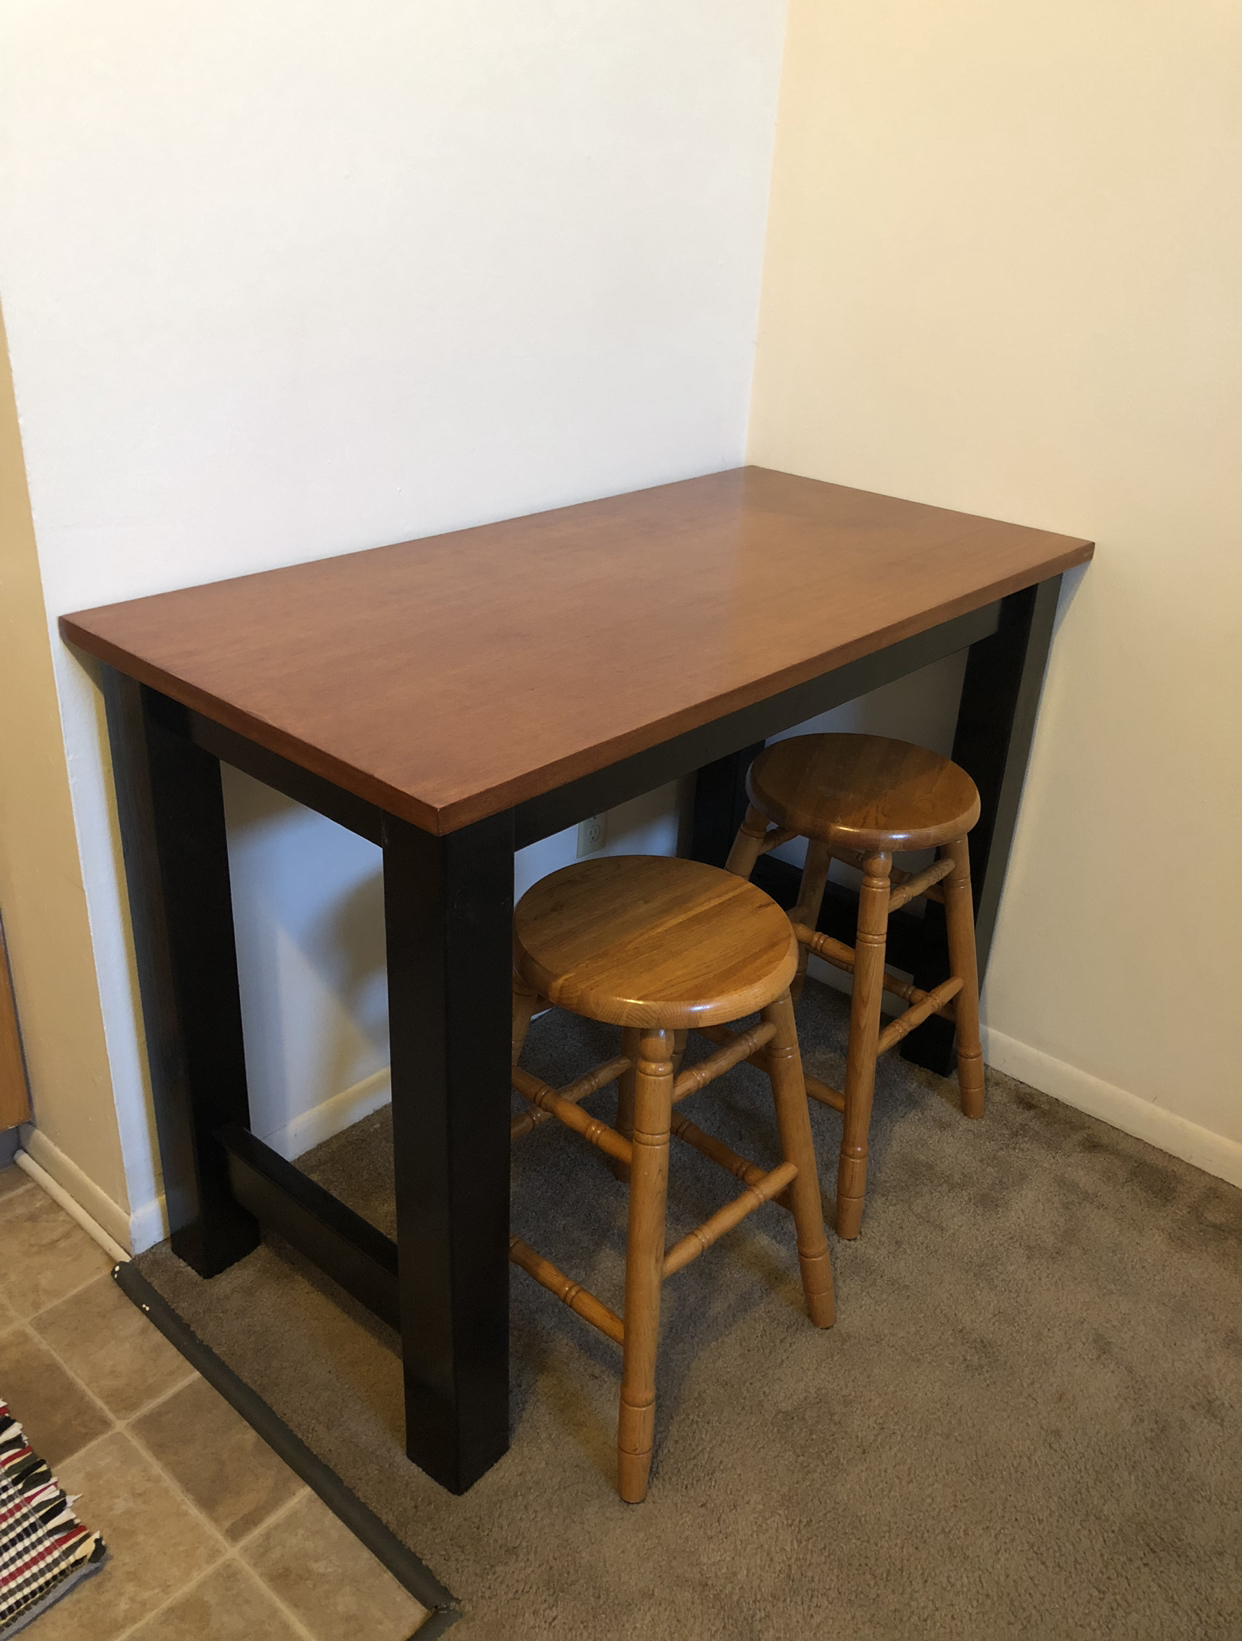
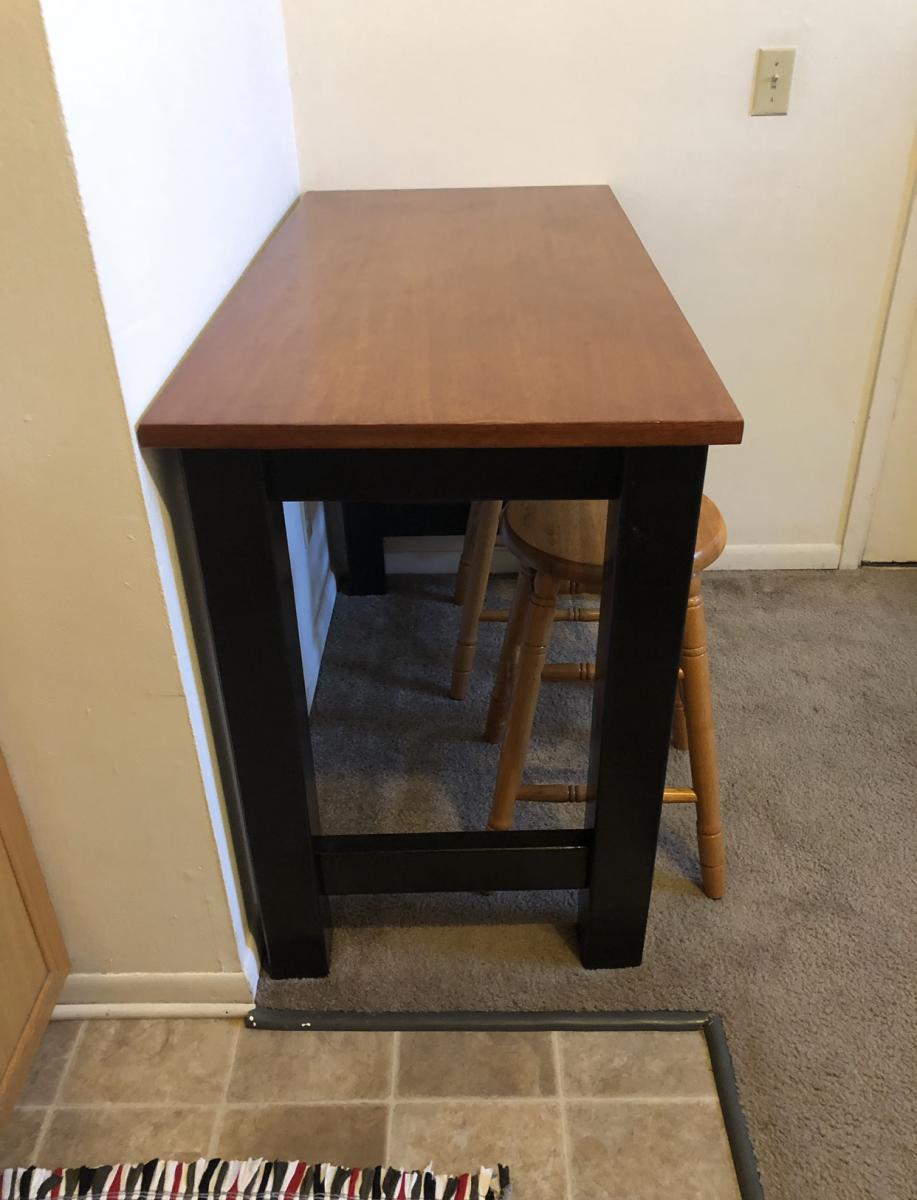
Our son was moving into his first college apartment. The dining area is small and he thought a breakfast bar would be perfect in this spot. We built the base using Ana’s Counter Height Farmhouse Table for Four plans. We modified the plans to to fit the table top - which was originally the top of a desk. We purchased the desk at our local Habitat Restore. We planed to use the base of the desk for another project- so using the top for this breakfast bar was perfect! The breakfast bar was a perfect fit!
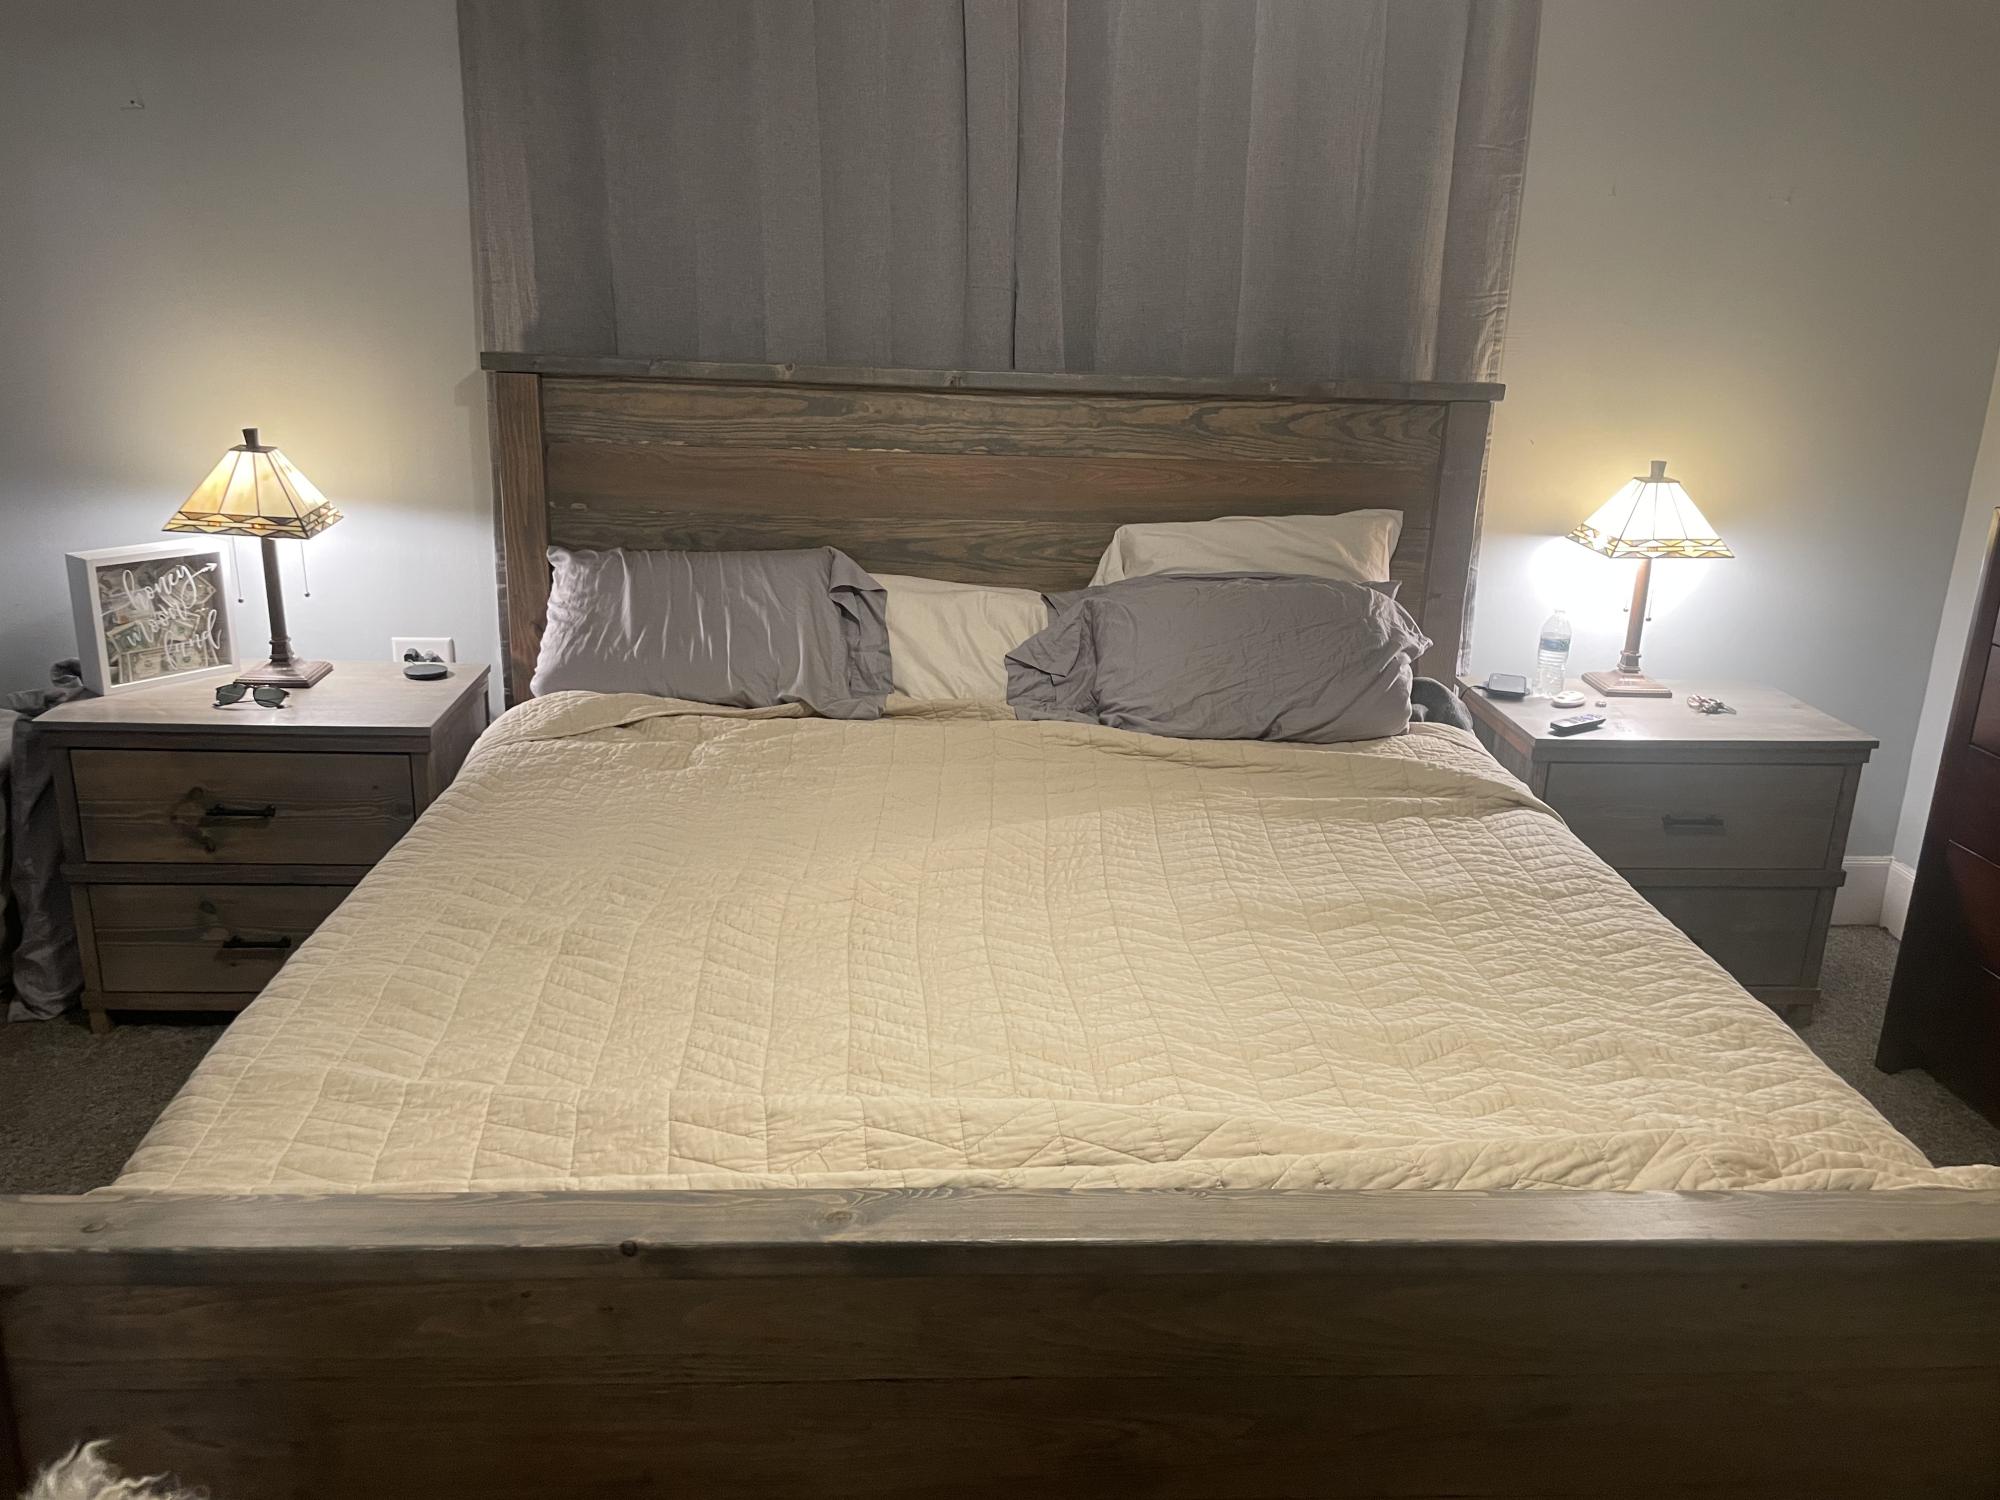
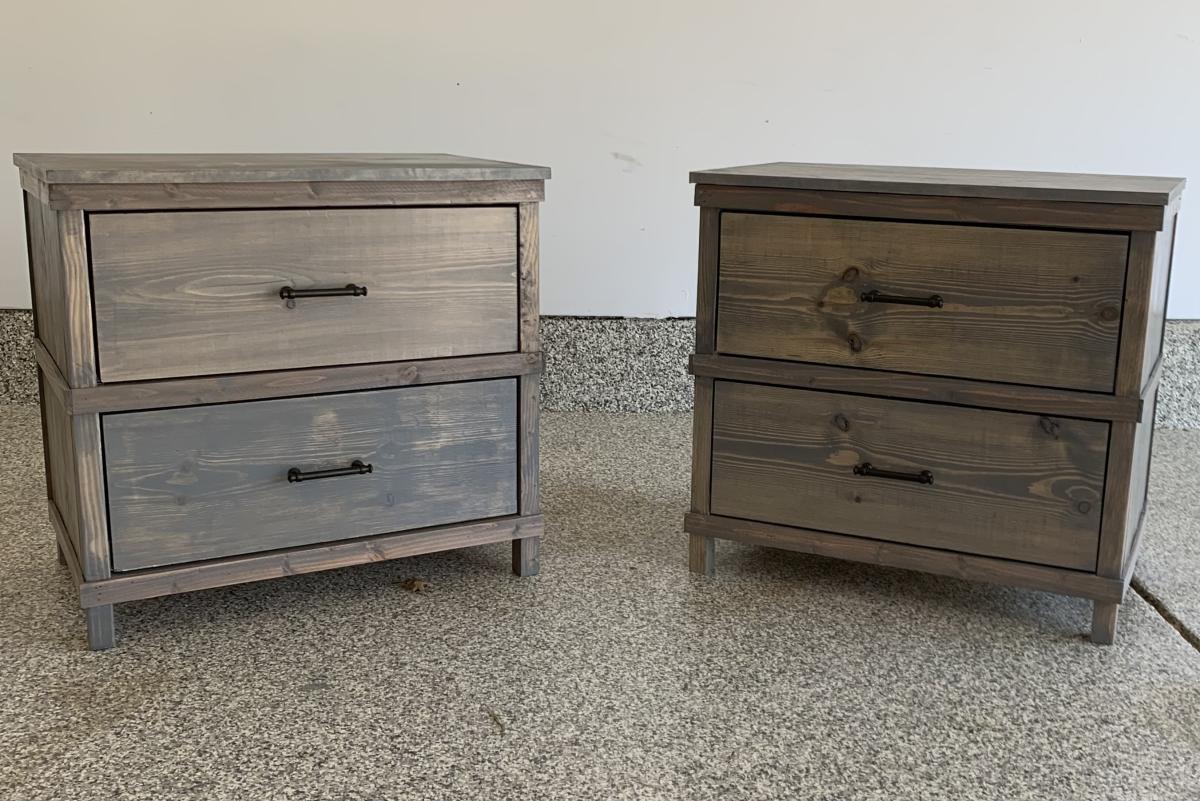
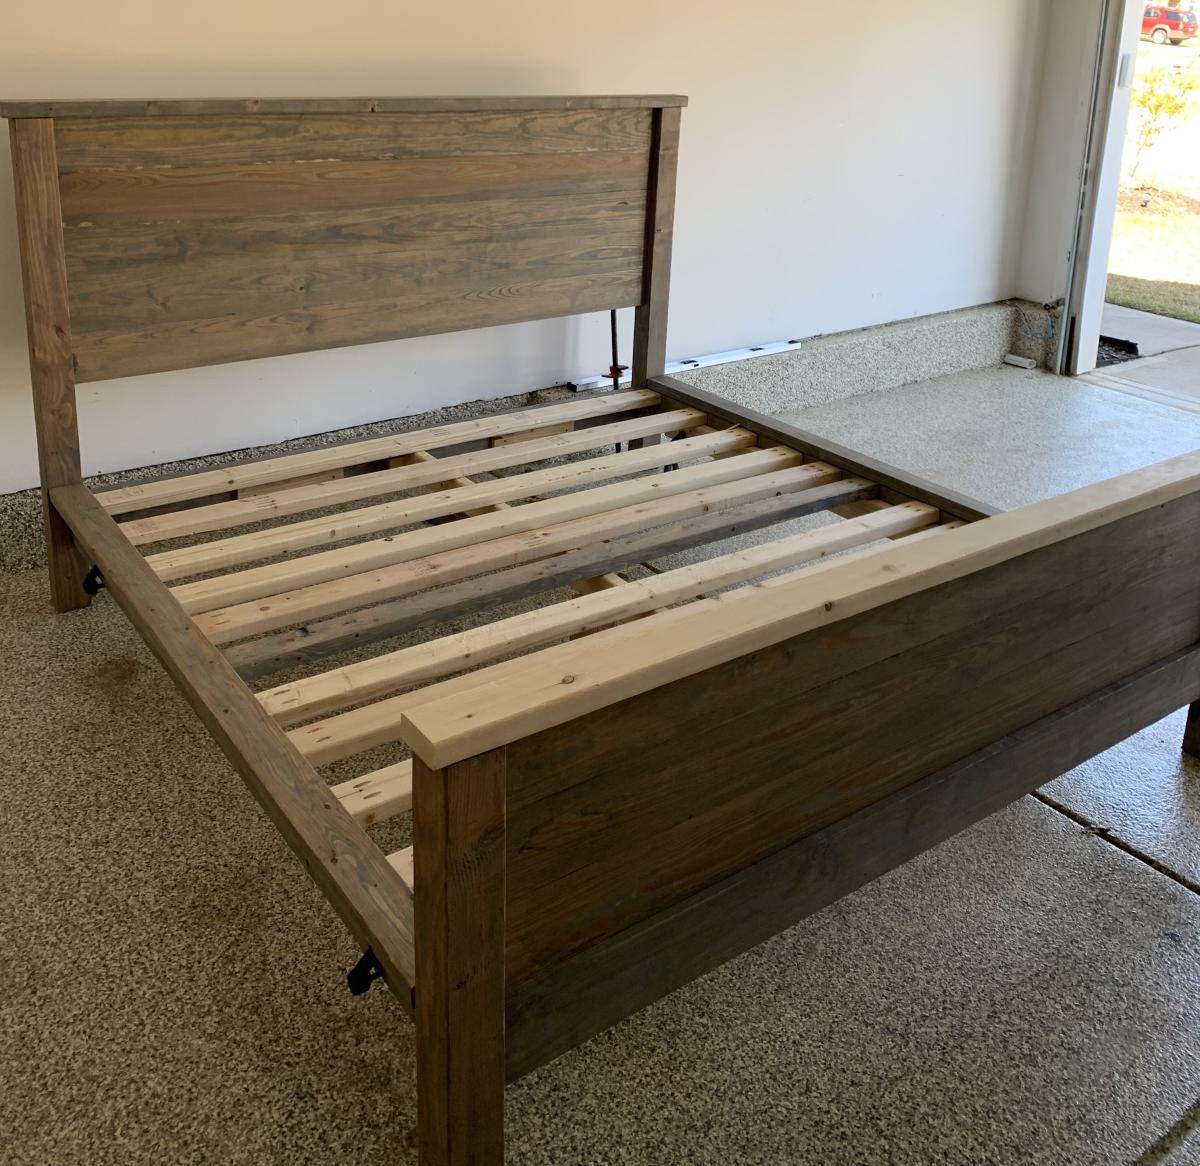
Fun and rewarding projects to finish. Took me way too long to finish, but 2 sever TBIs will do that to a person. Made a few modifications to the original King and nightstand plans but worked out fine. Thanks for these plans Ana!
Sat, 05/06/2023 - 21:13
WOW, this is so beautiful, love your finish choice! Thank you for sharing.
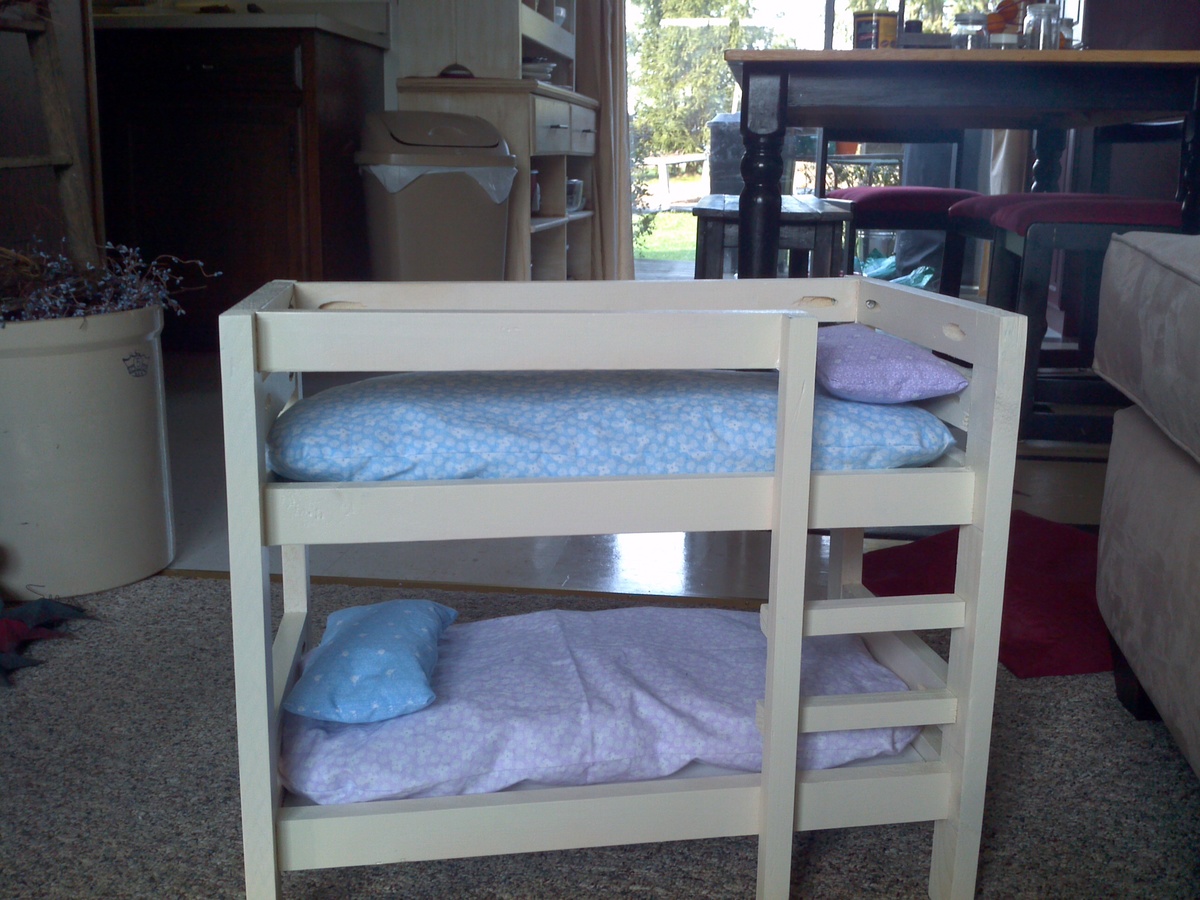
I saw this plan and wished I knew some little girls who needed this bunkbed! Two weeks later, my neighbors little girls came over with two of their Christmas gifts - American Girl dolls! I went out the next day to buy the supplies and now have it finished to give to them after school this afternoon!
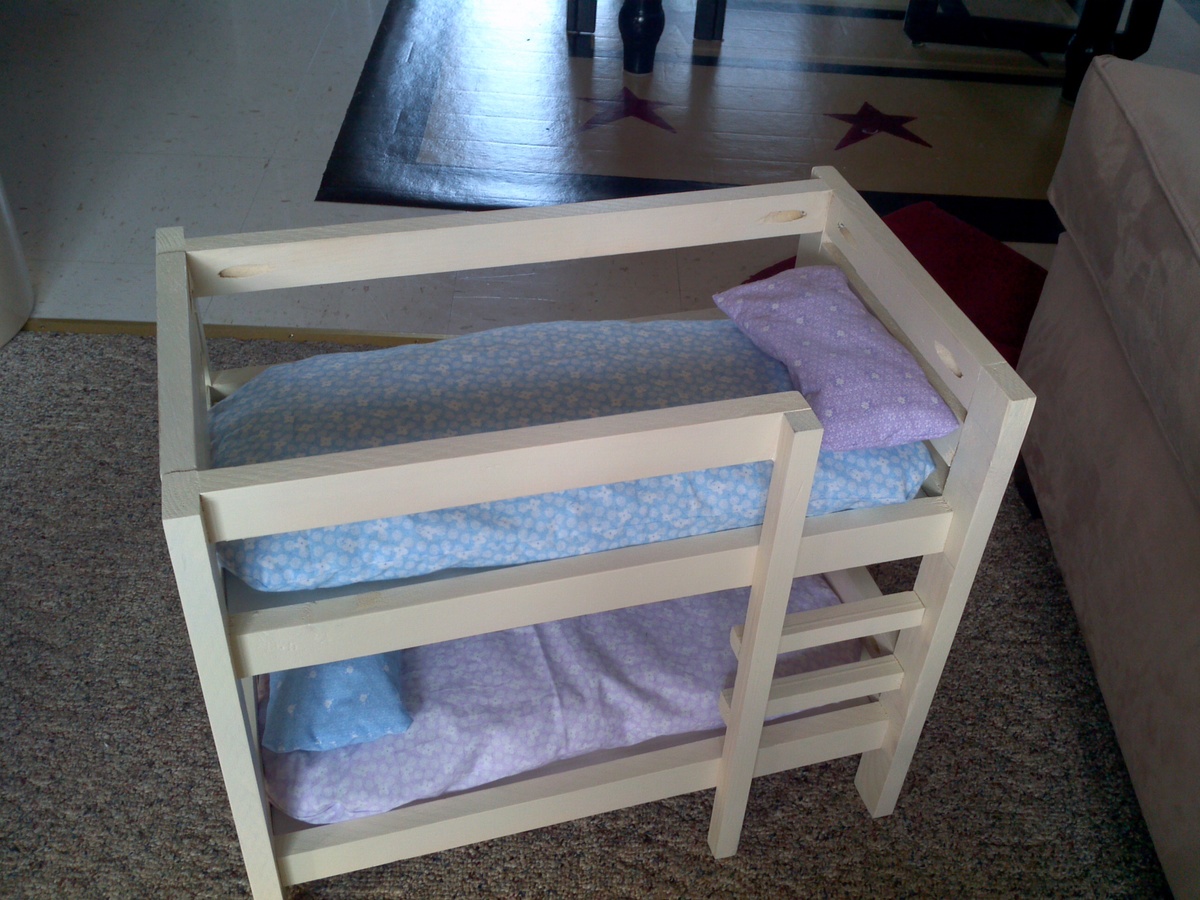
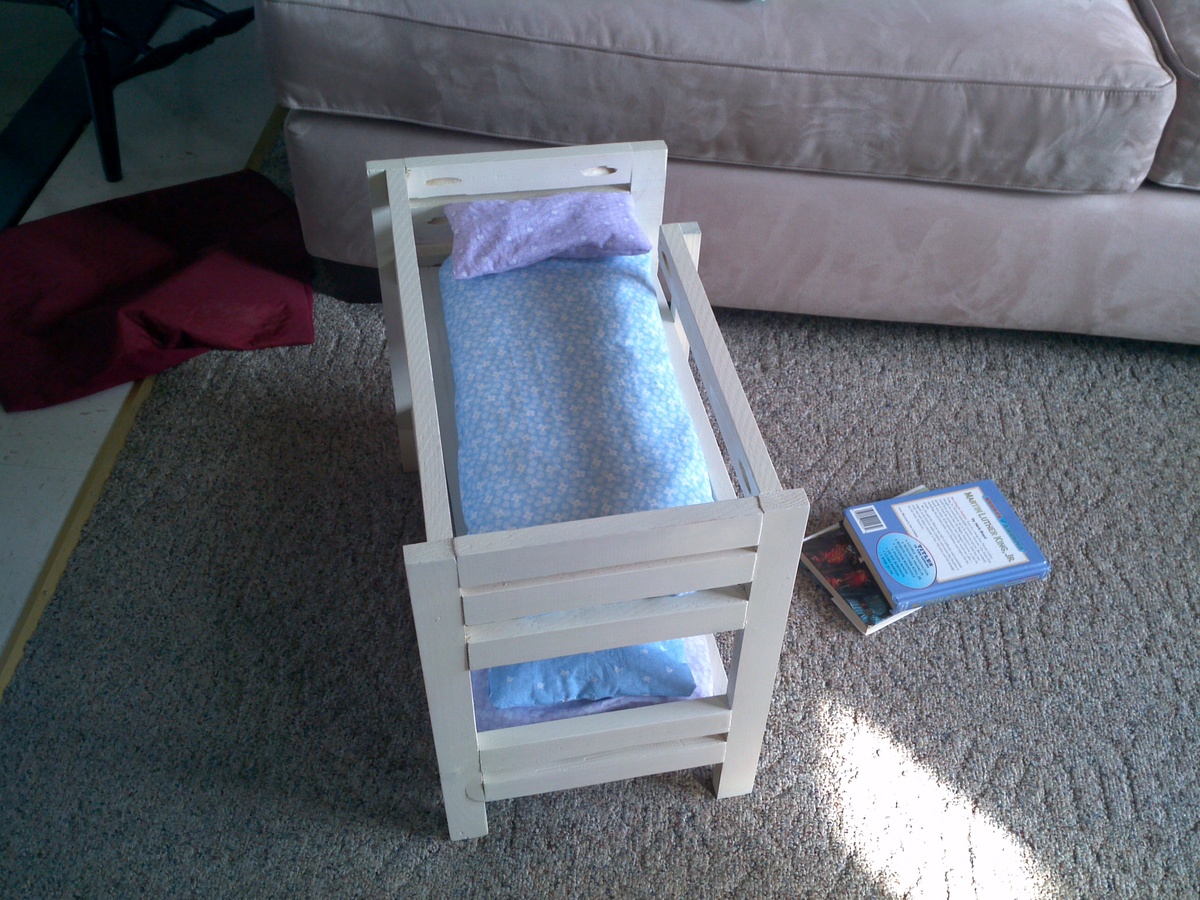
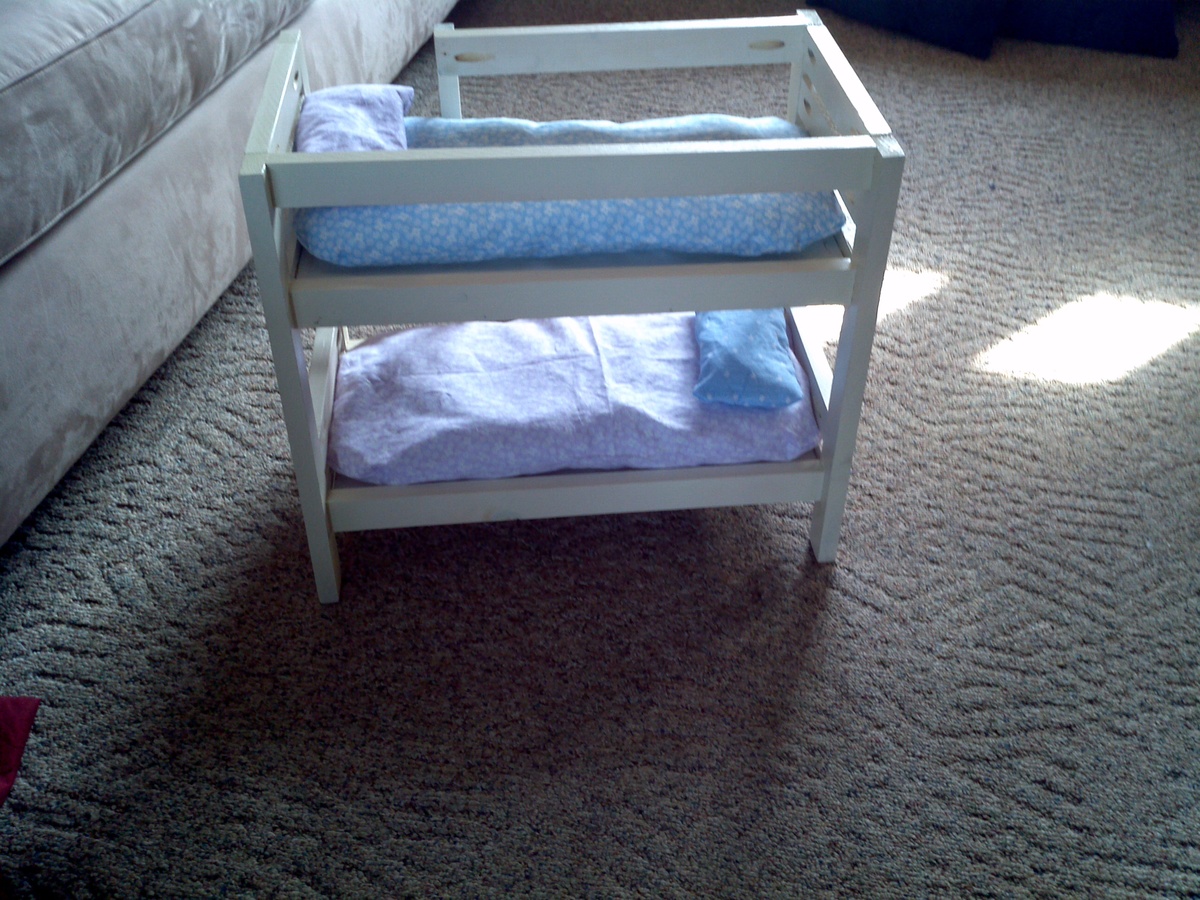
Thu, 01/05/2012 - 16:27
These are soo cute! However I have looked high and low for the 1x1 square trim, all I have found are the 1x1 4 footers for around $4 each! Is this what everyone is using? I dont have a table saw! and our lowes nor Home Depot would wanna rip wood so small!
Thu, 01/05/2012 - 16:35
Yes - unfortuanely that's what I had to do. That's why the final cost came to $20. I tried to come up with another stair tread idea but ended up just buying the 1 x 1's. If you don't mind the look of round and square rungs, you could consider using a round dowel. They're much cheaper than square and can be found at Walmart for less than $1.
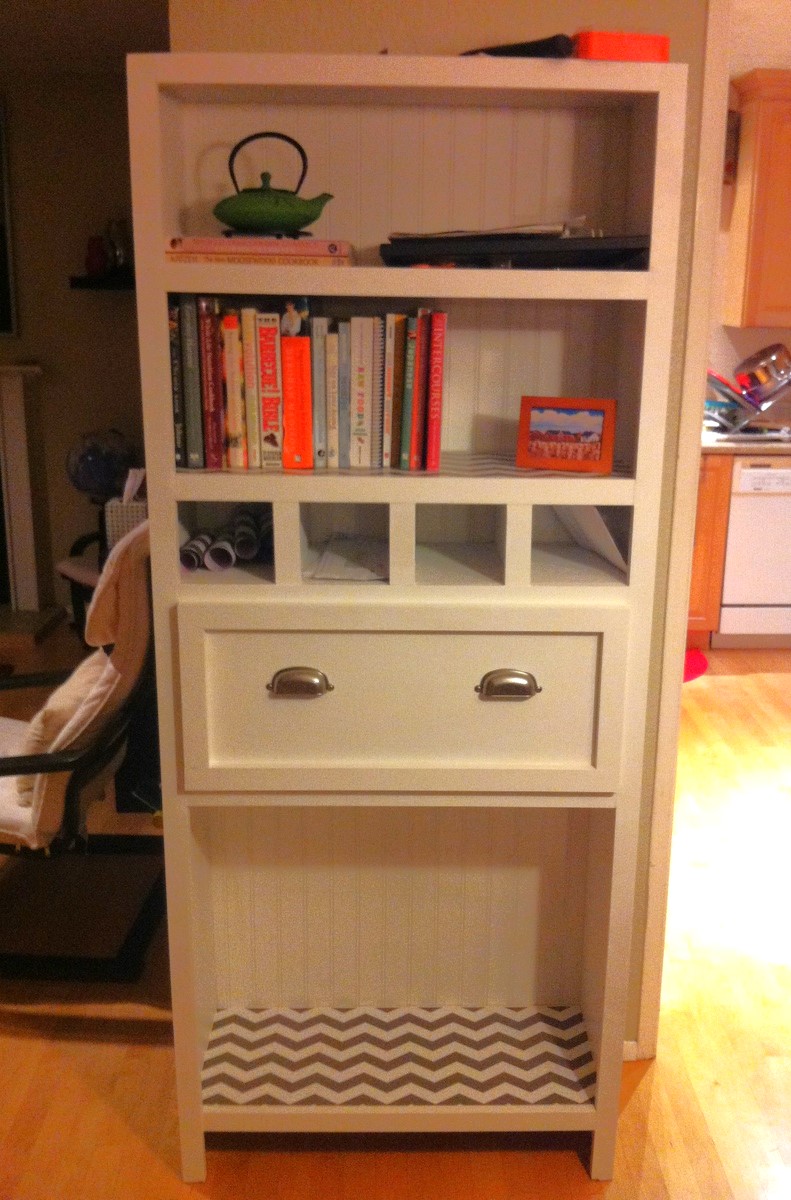
I had so much fun building this project. It came together really easily, and added the perfect touch to our dining room to make it feel nice and homey. I have since added the cabinet doors to the bottom shelf... more pictures to come.
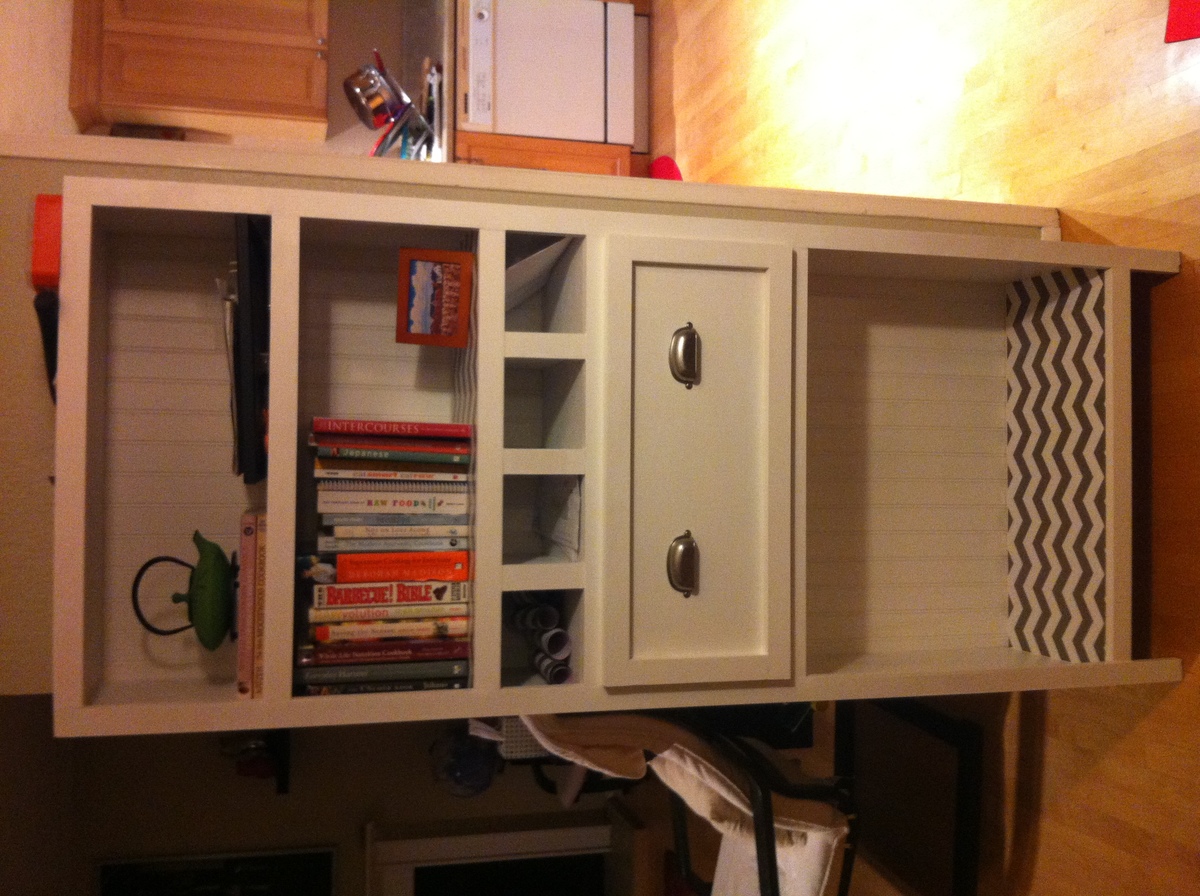

We Recently moved into a new house and this project was a great break from the regular work on the house. The instructions were great and easy to follow. The 2 x 6s on the sides makes it hard to use carriage bolts though I settled for lag screws. Can't wait to do my next project.
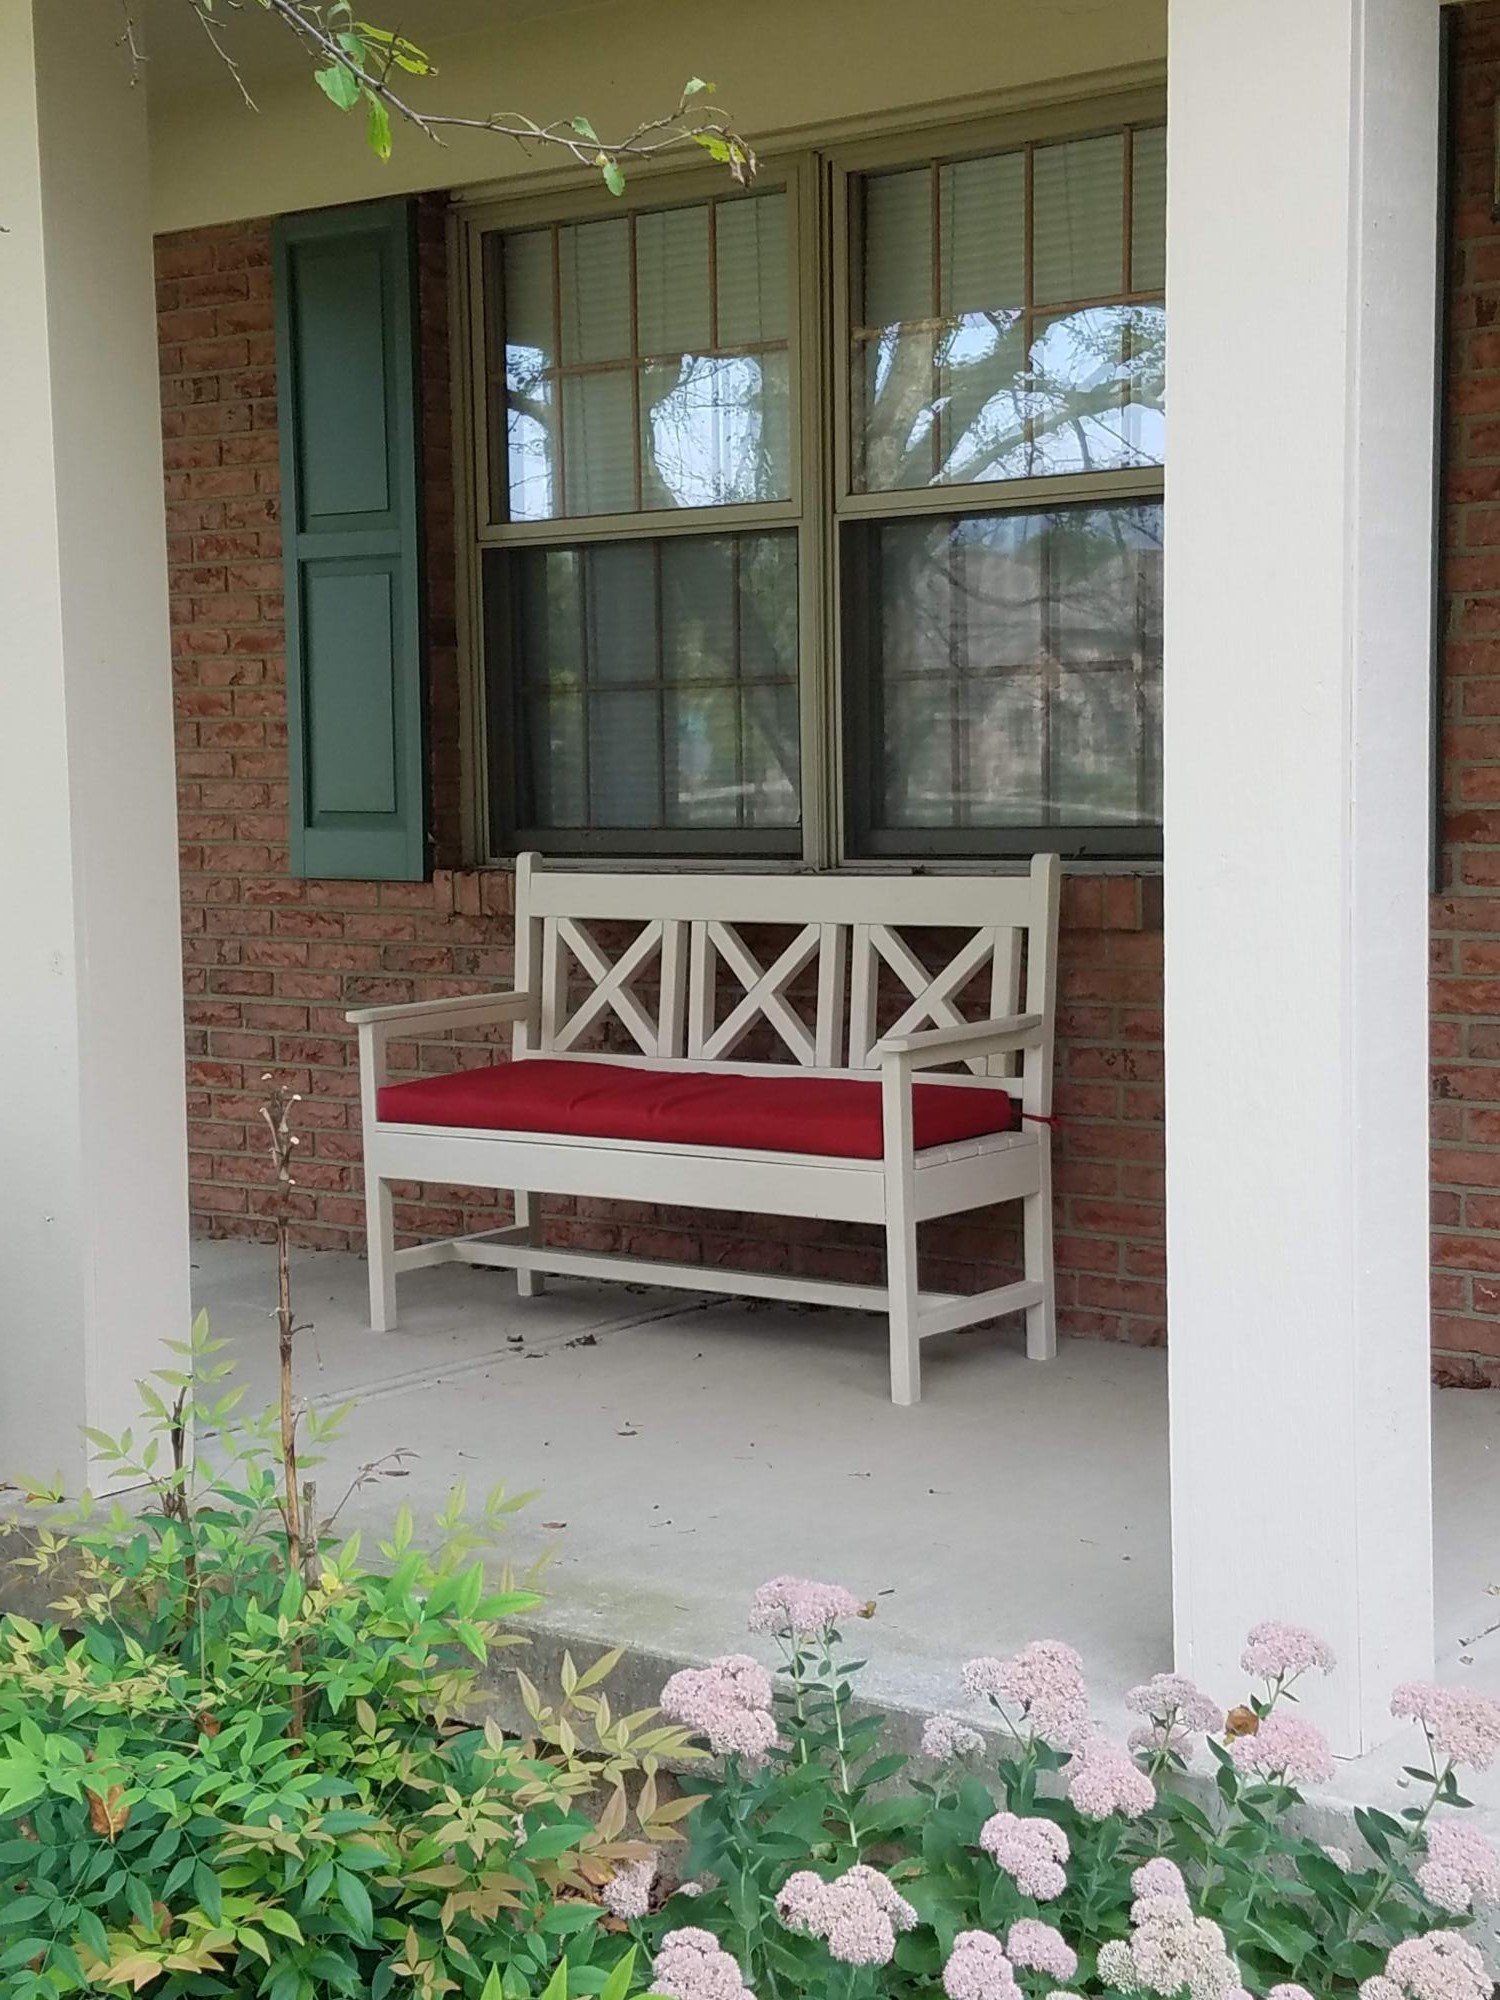
A version of the woven back bench, resize to fit a standard cushion, painted to match the house trim.
Comments
Ana White
Fri, 07/19/2019 - 16:01
Super cute! I don't think…
Super cute! I don't think it matters if it's on the inside or out, looks awesome to me!