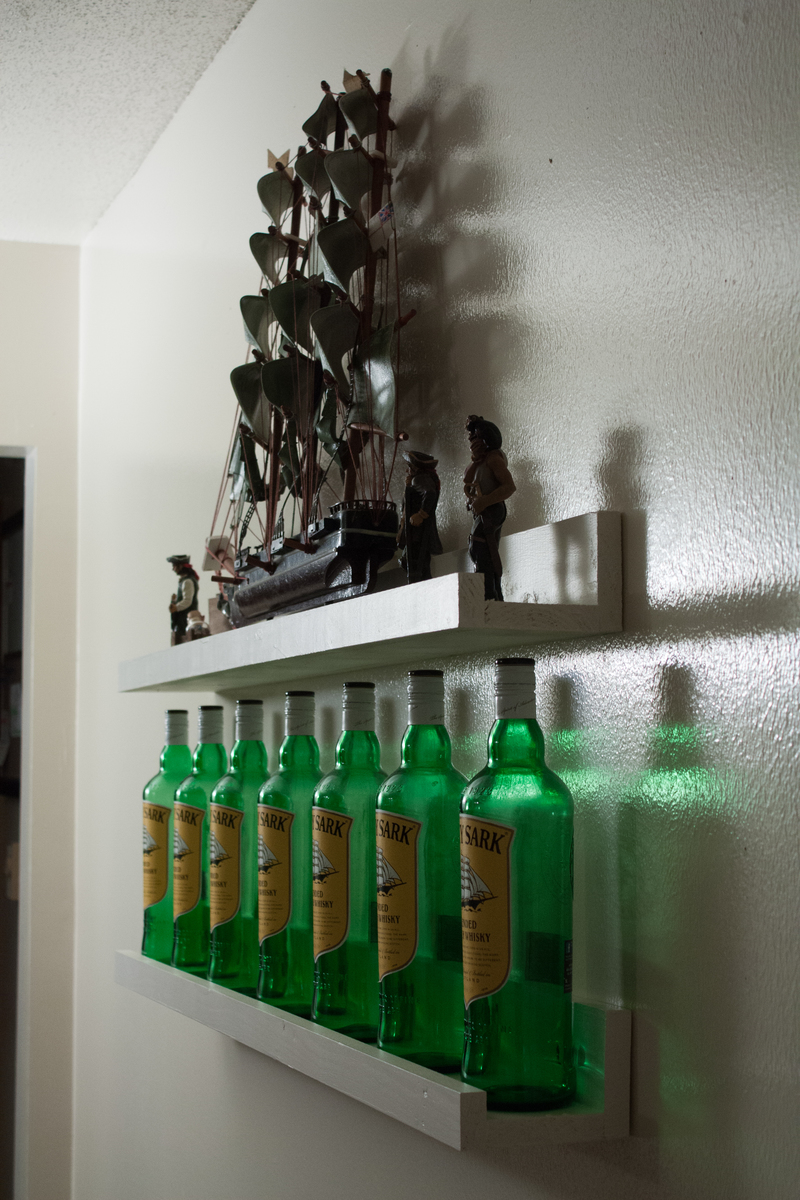
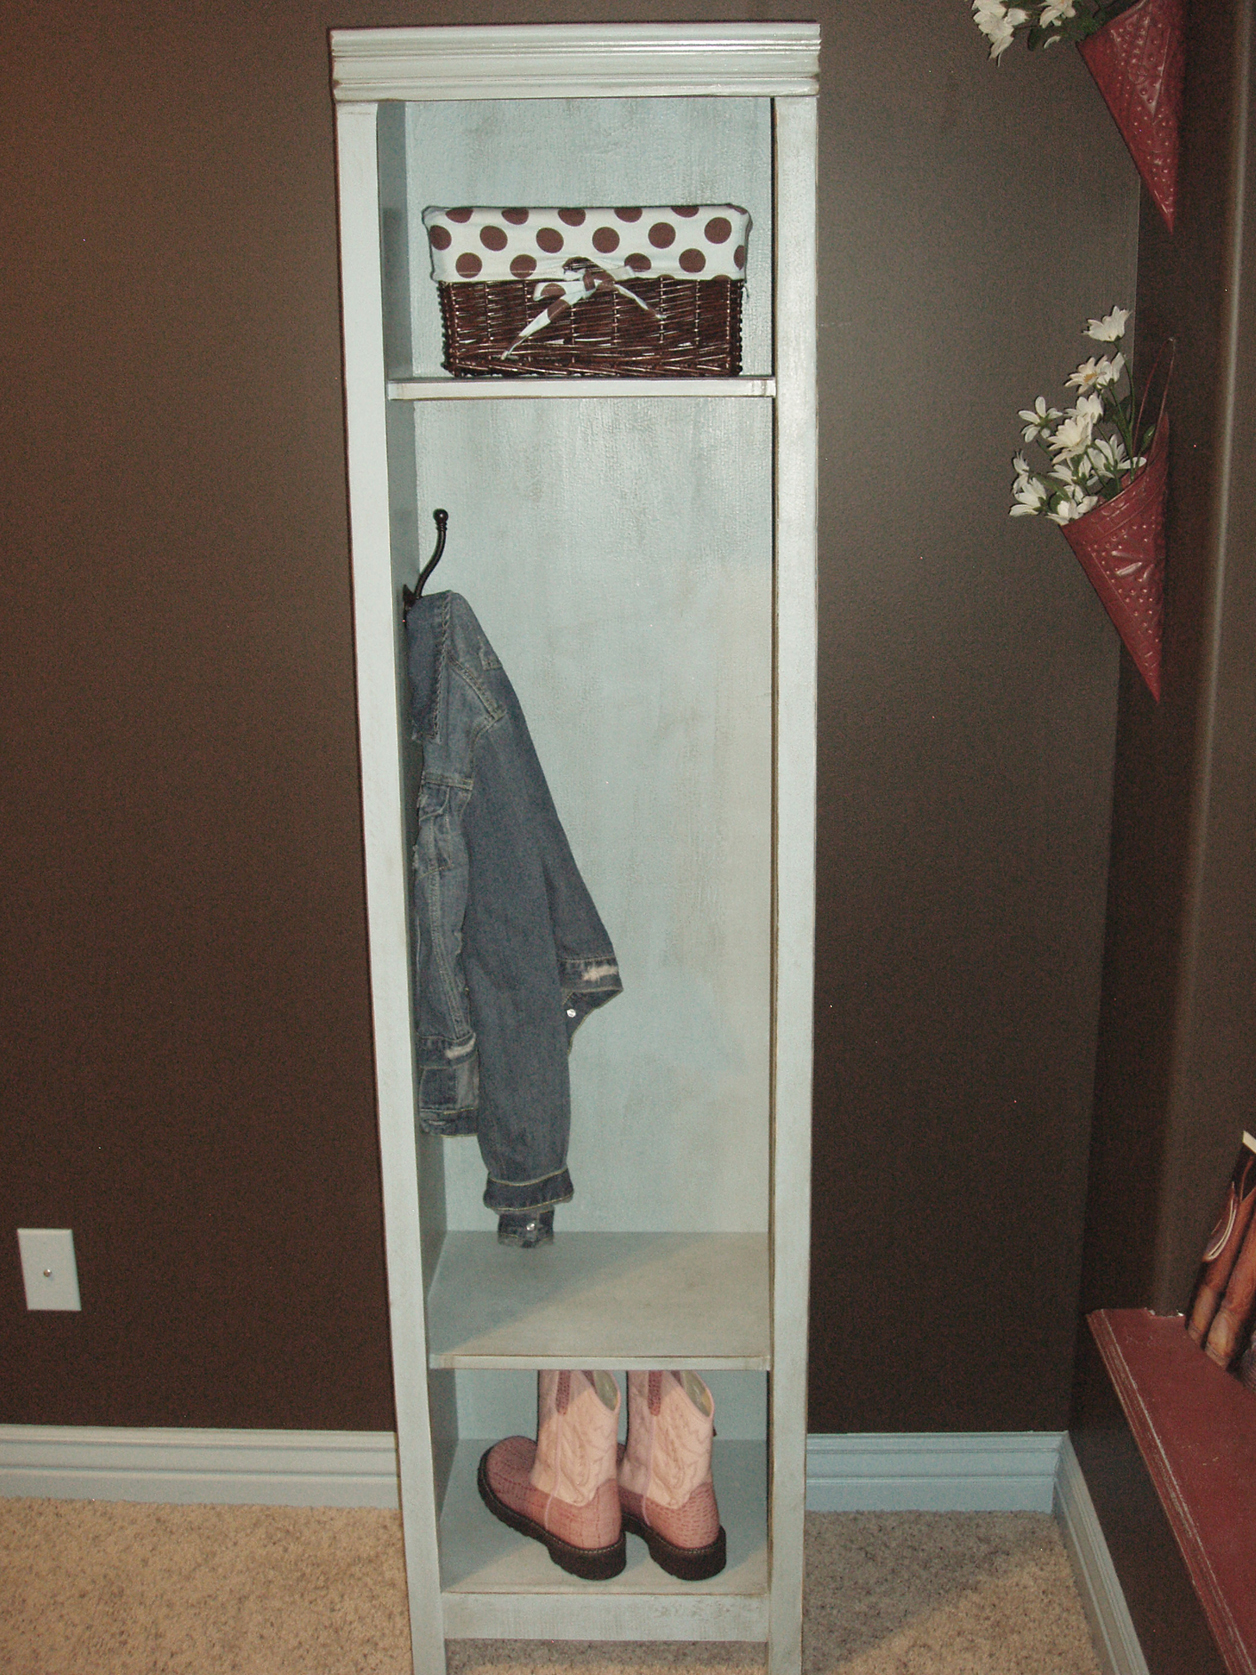
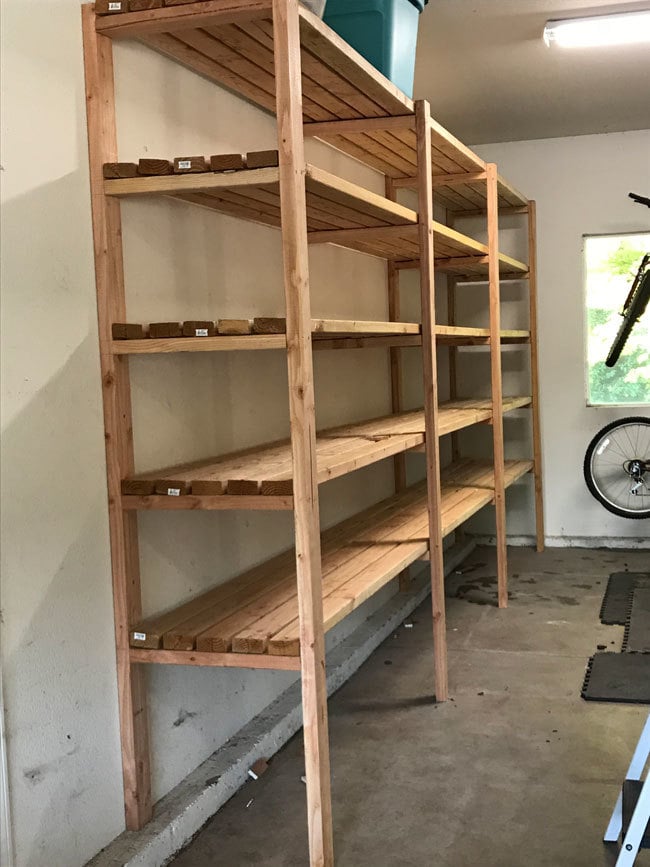
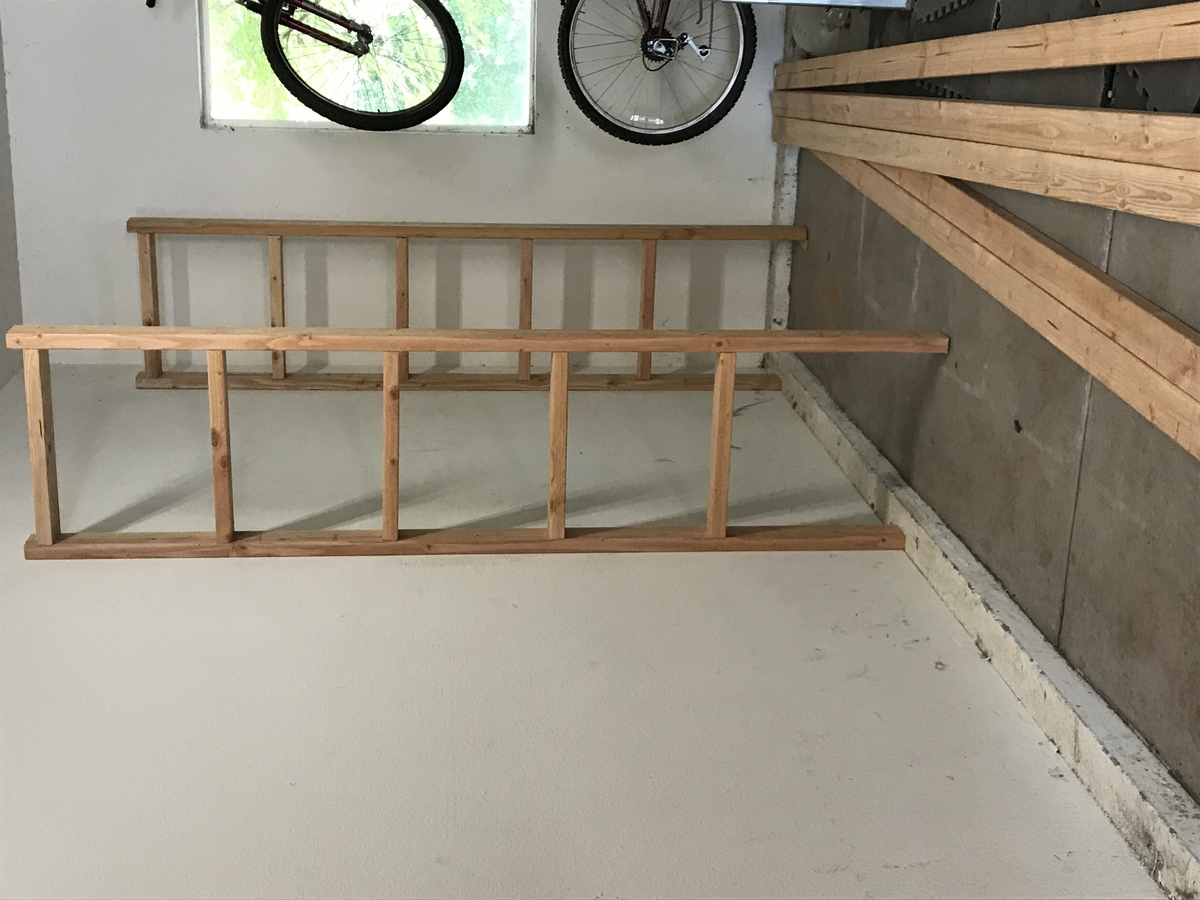
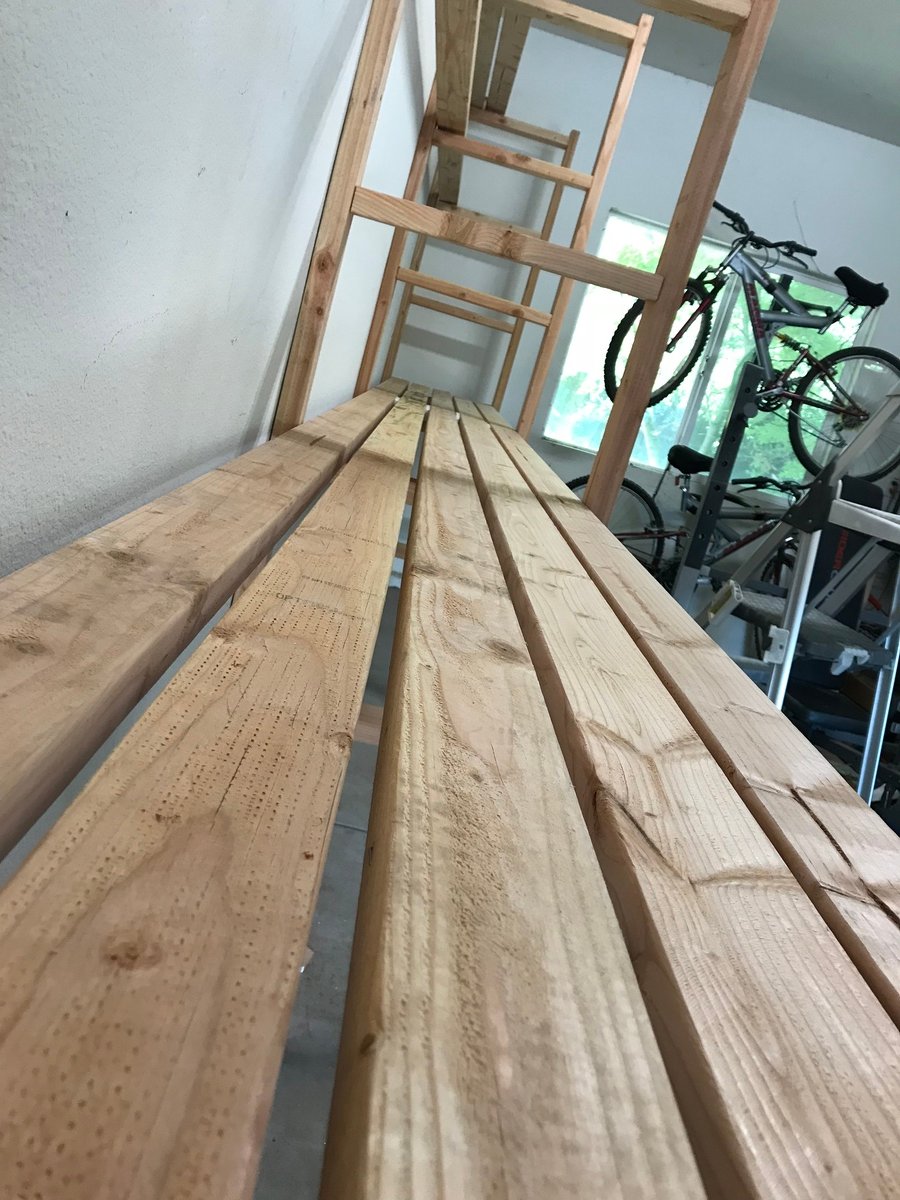
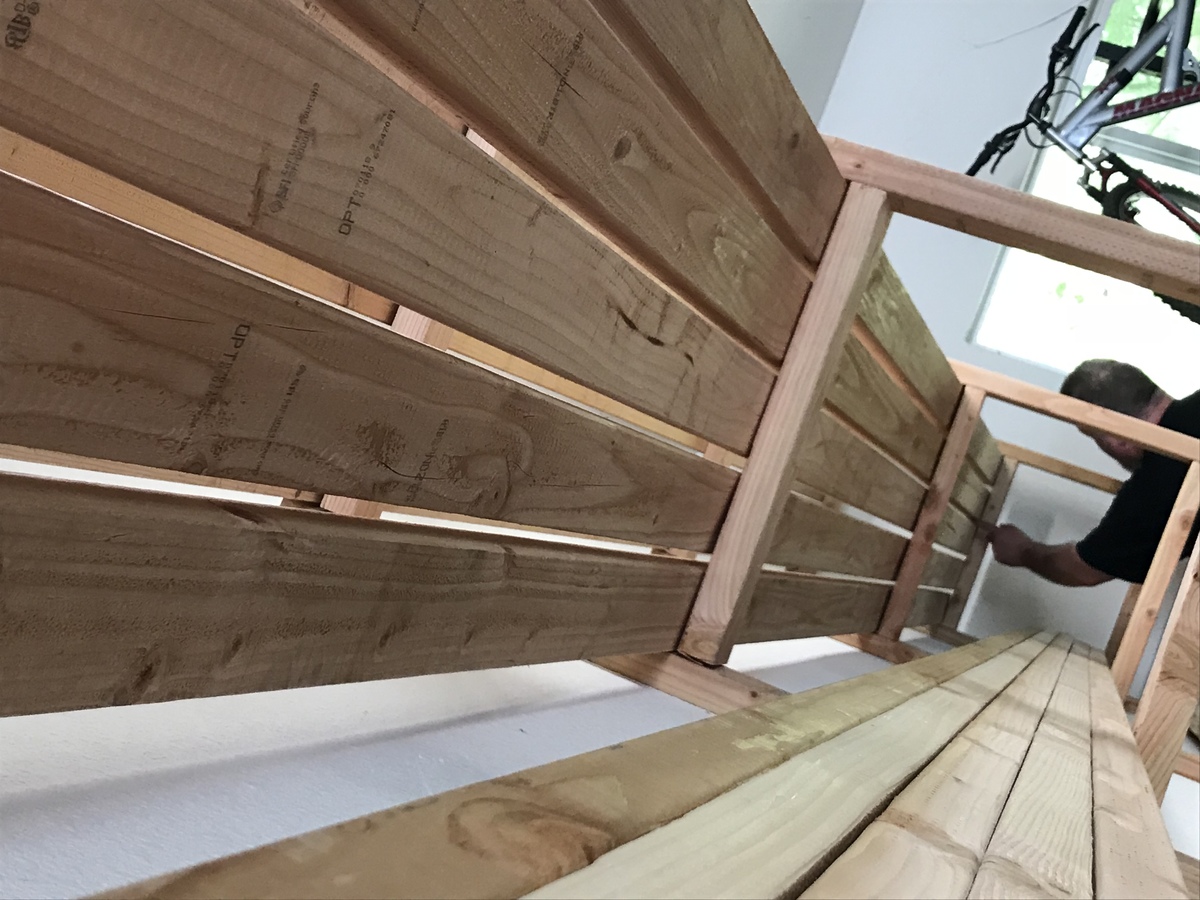
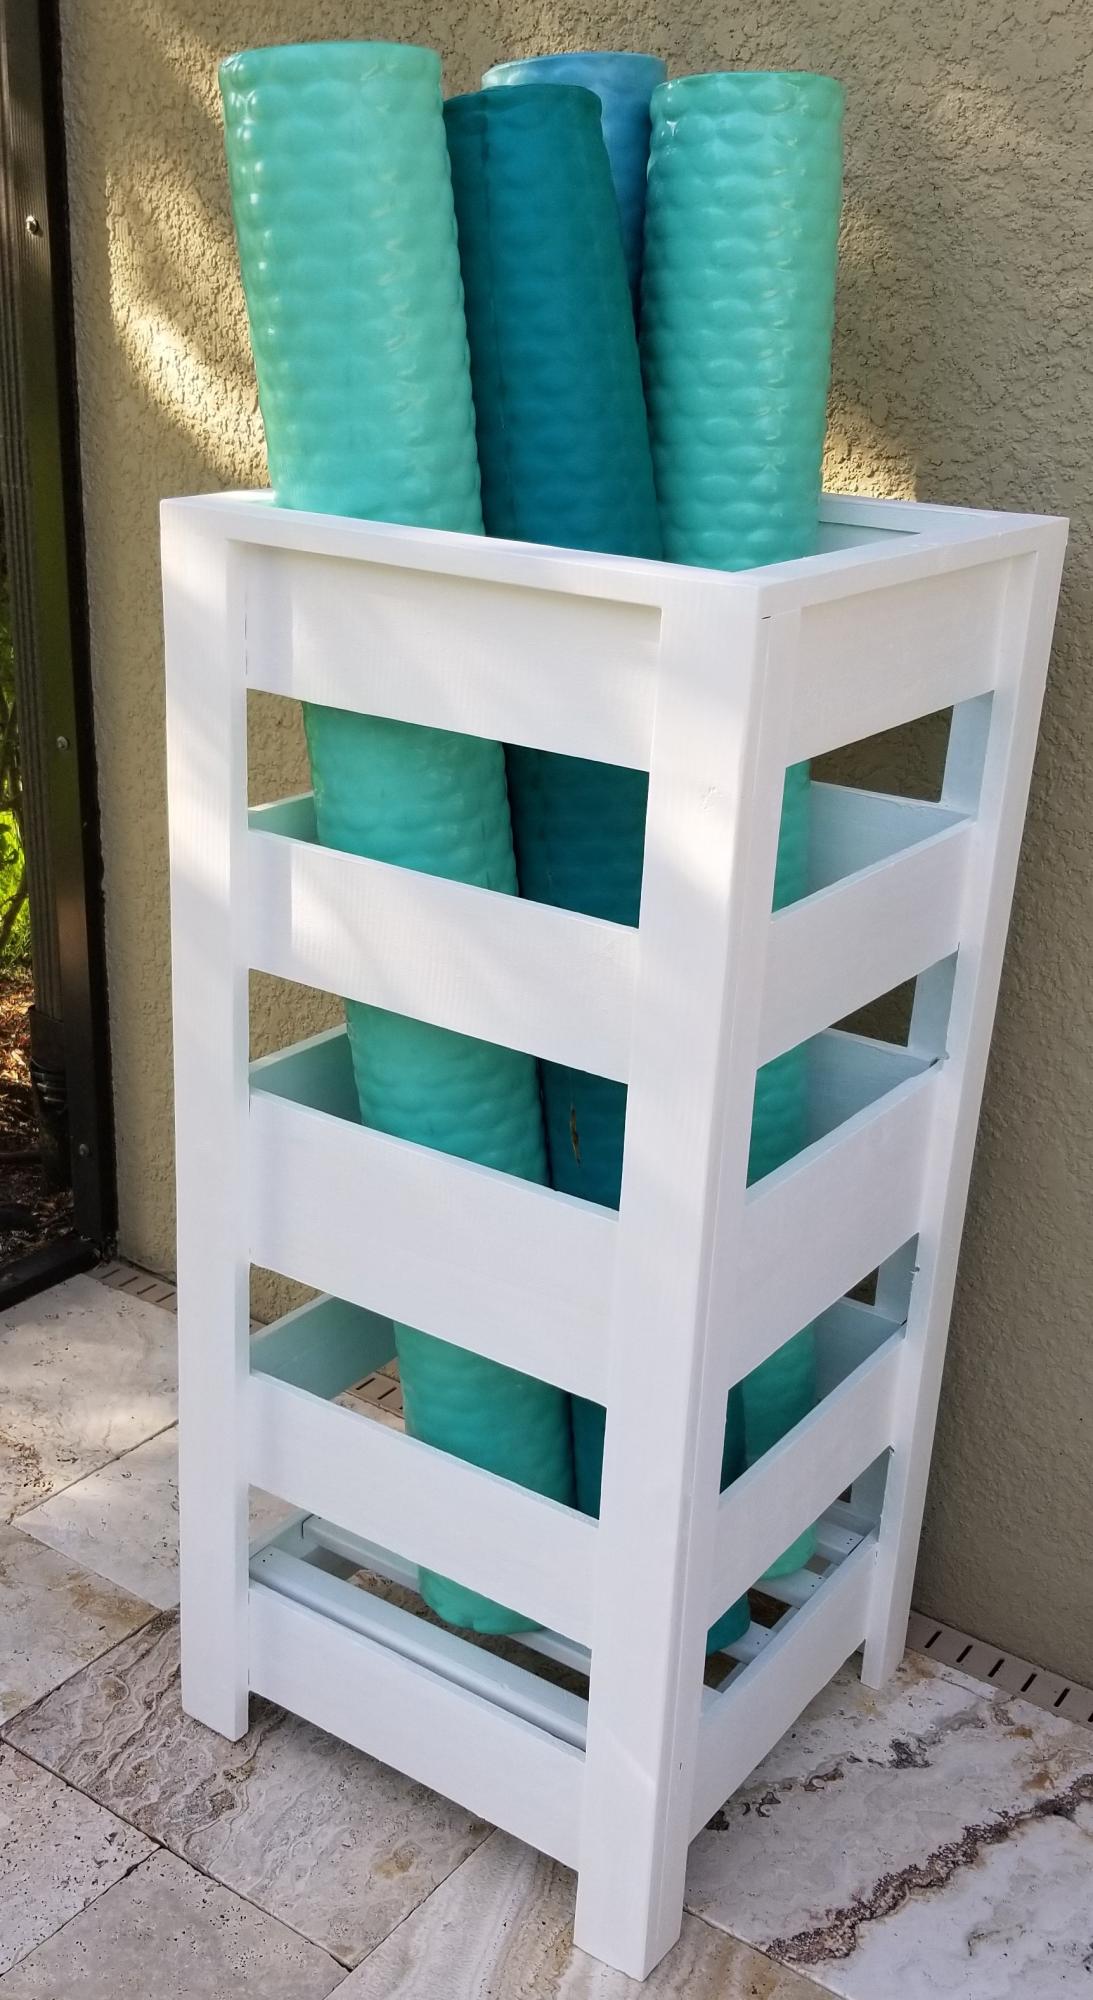
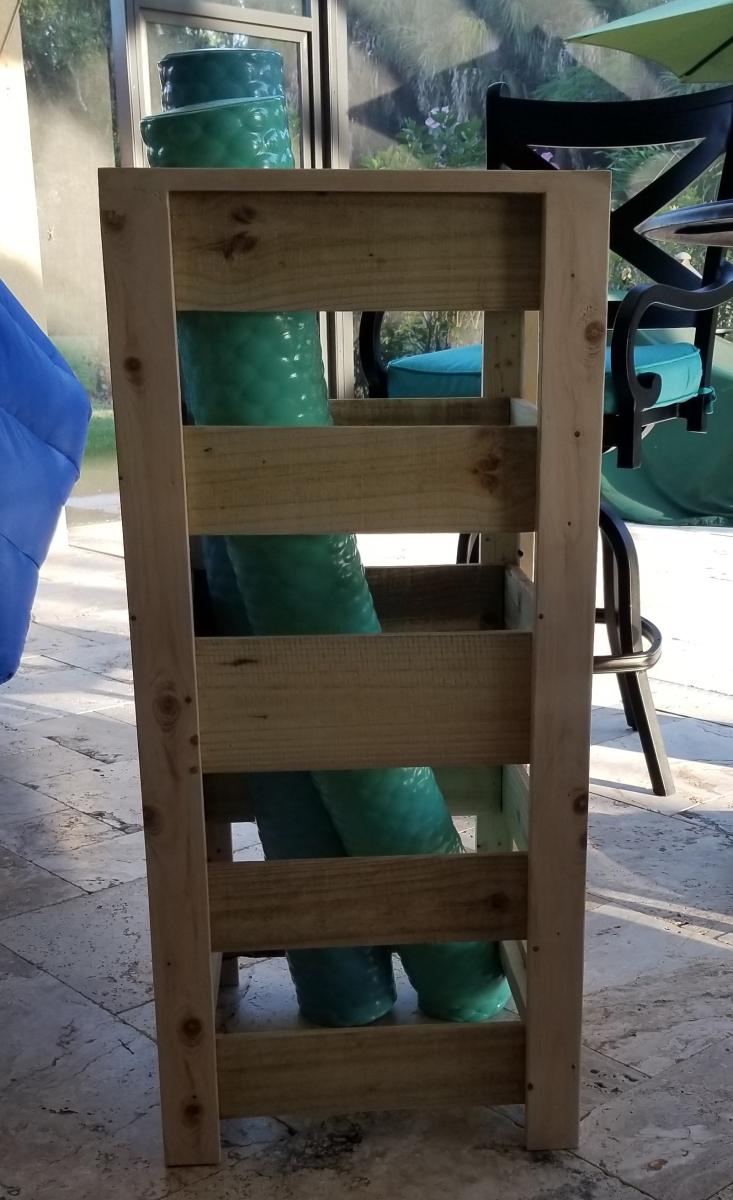
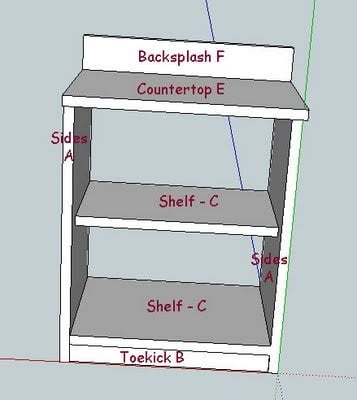
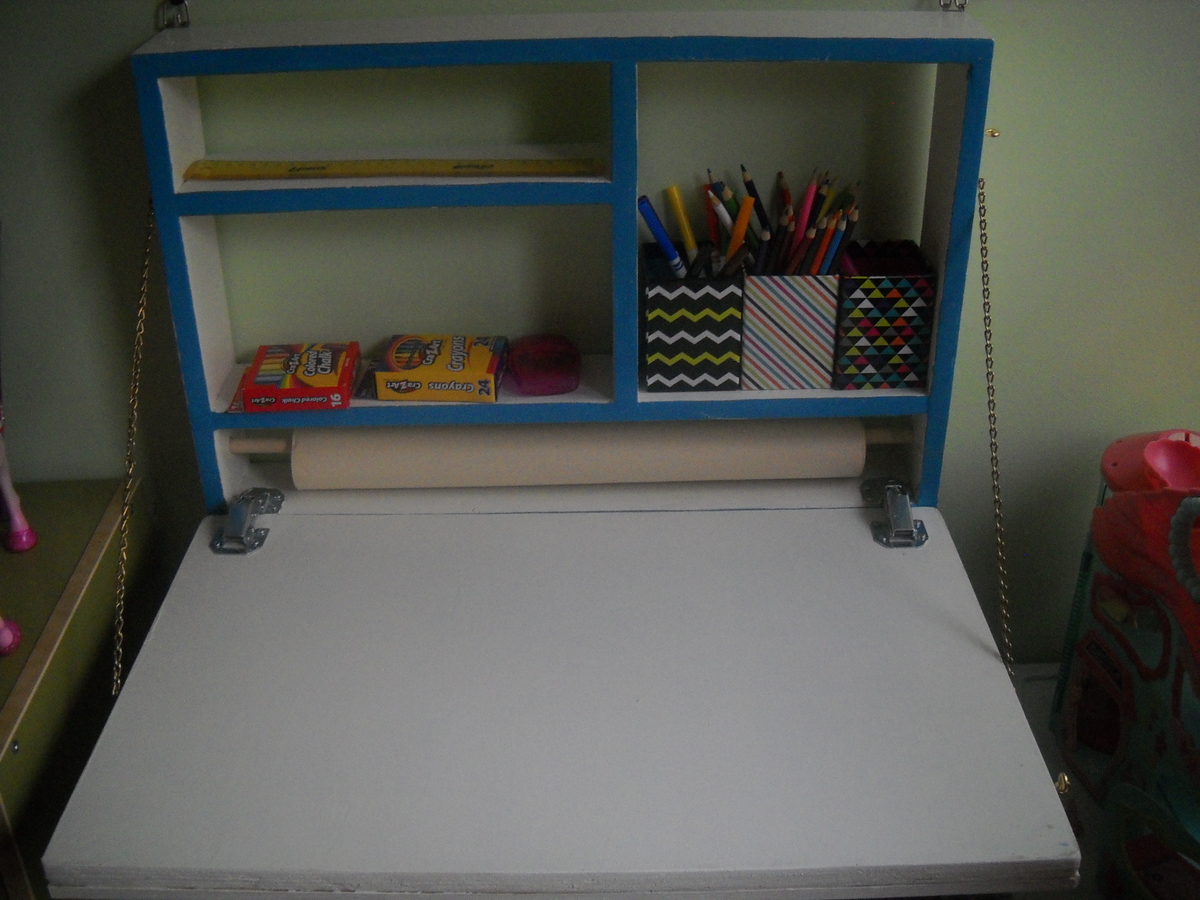
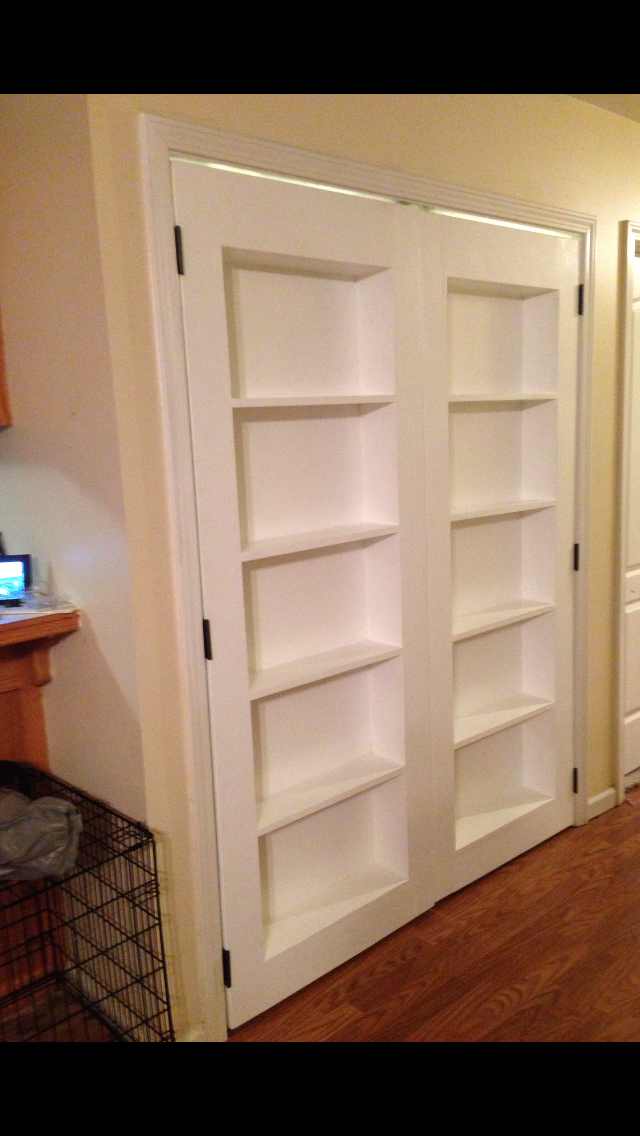
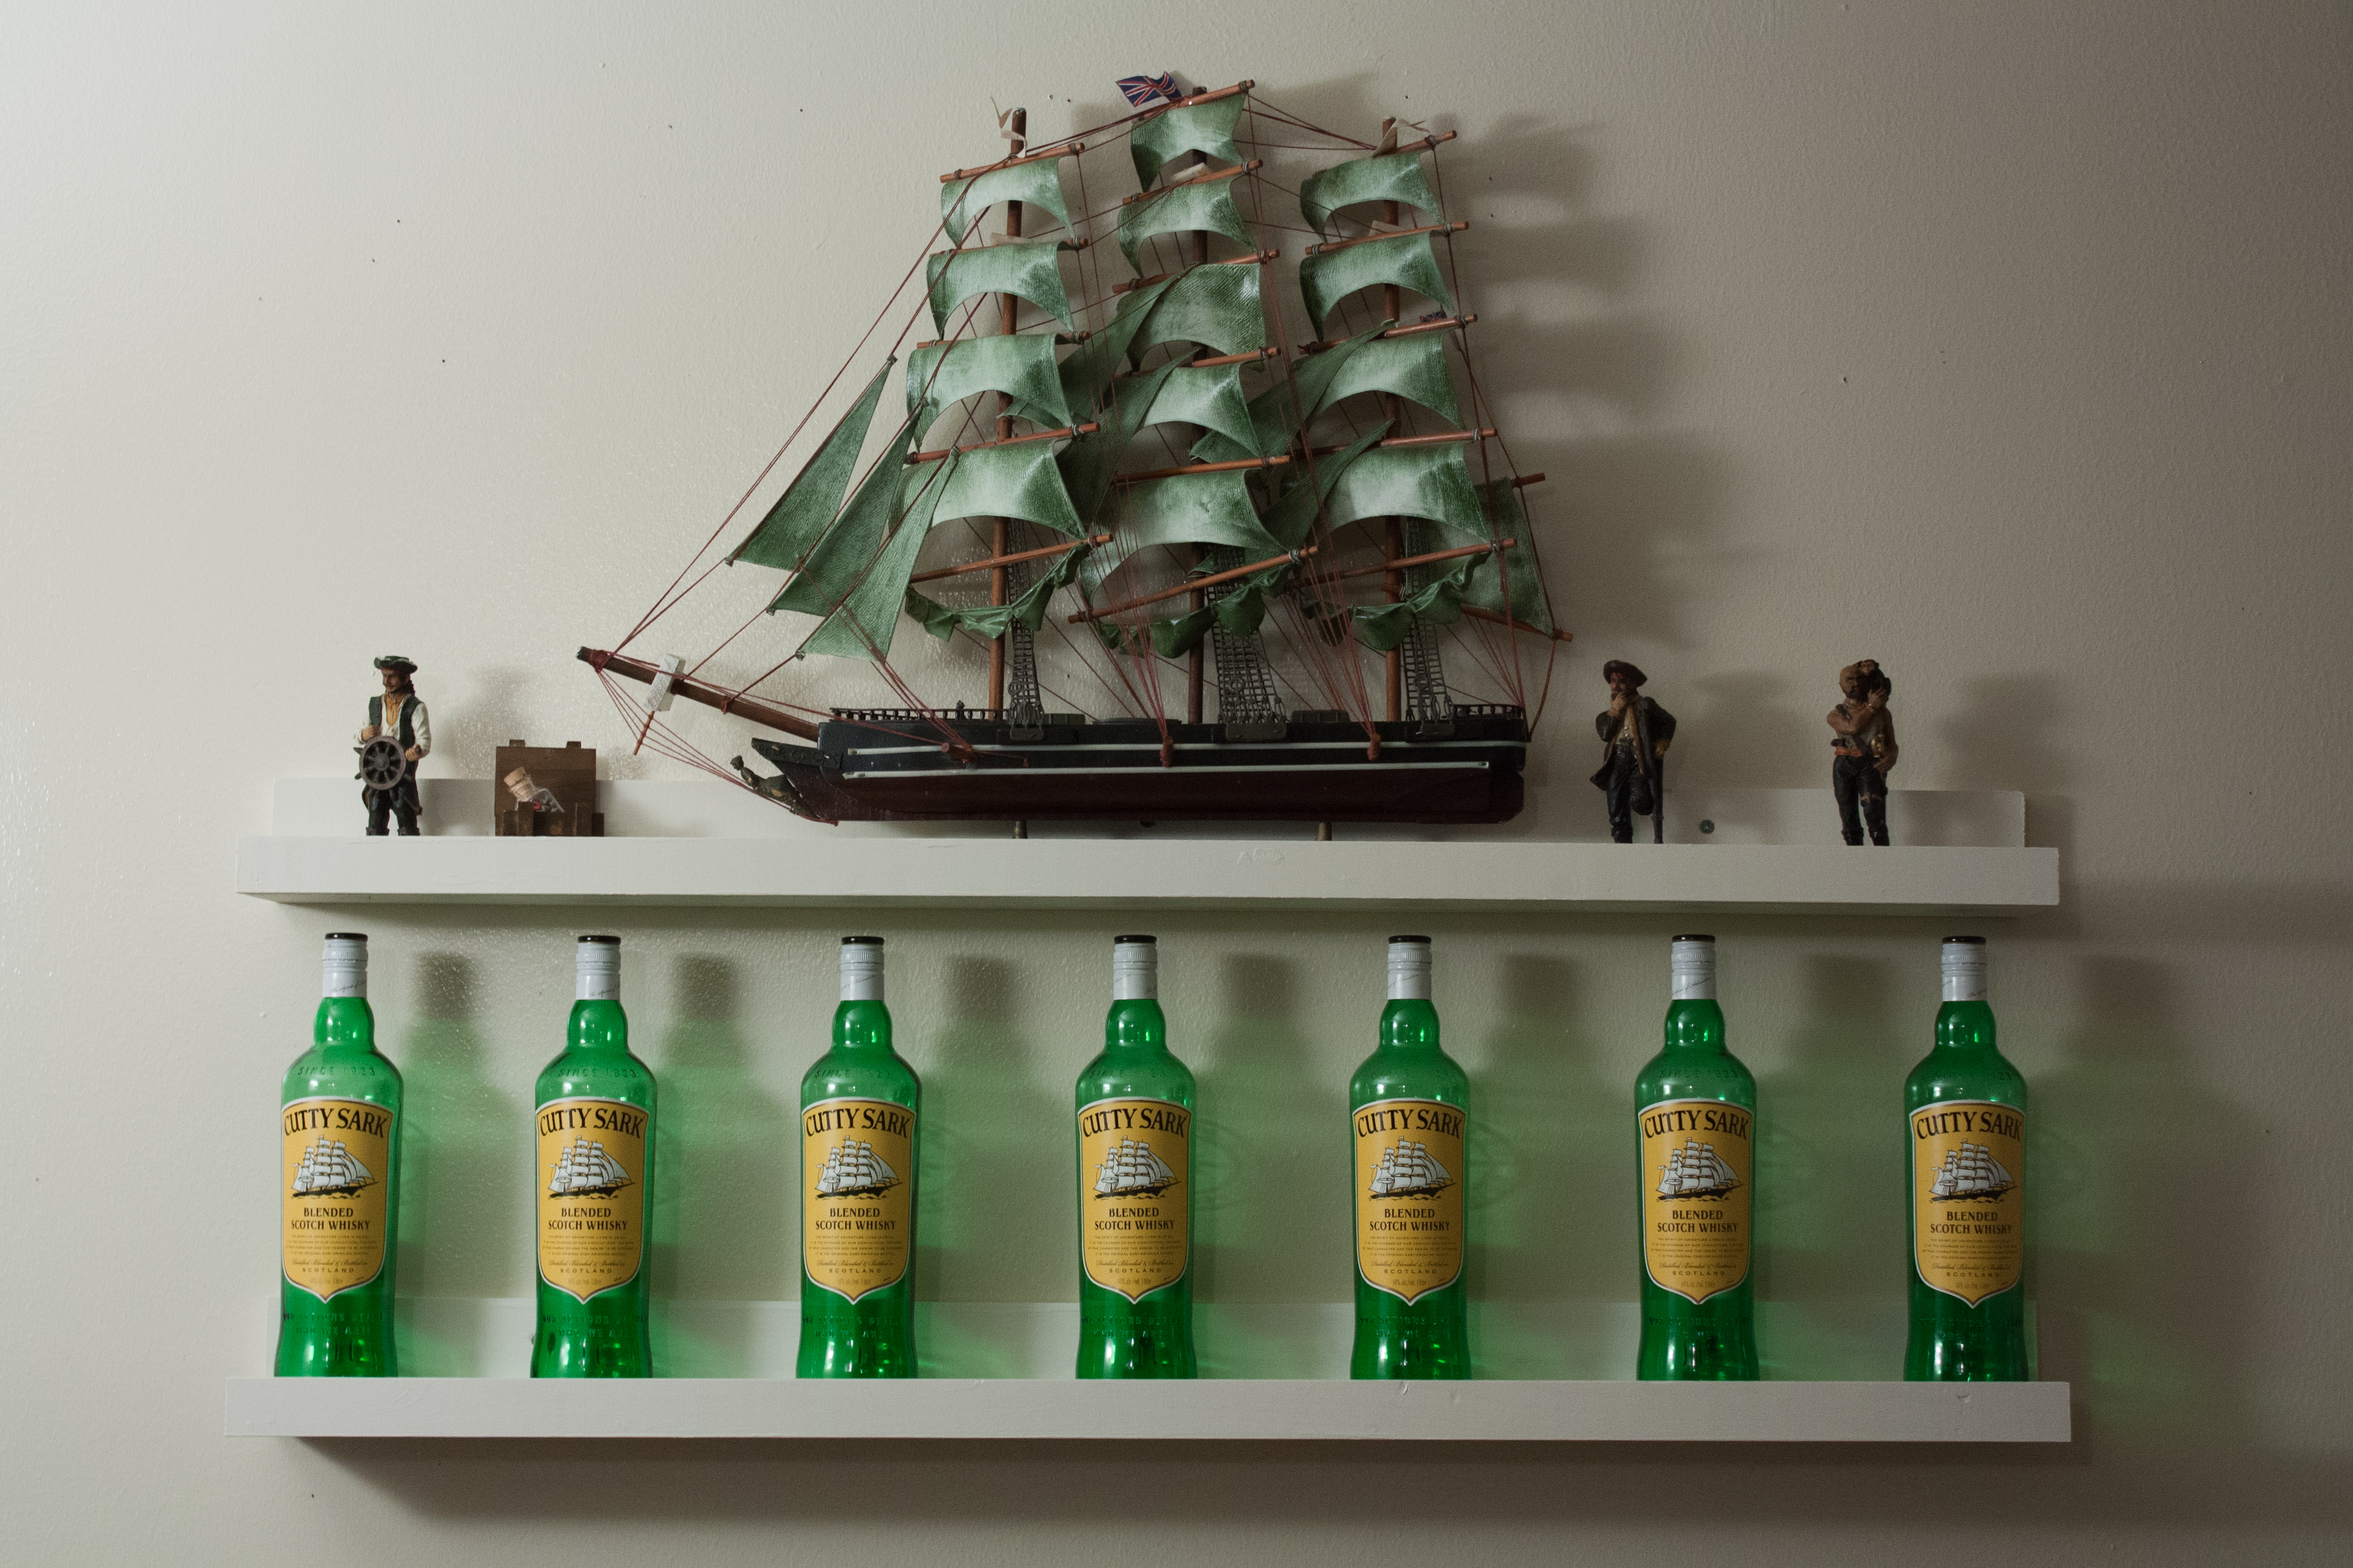
1st Build: Ledge Shelves
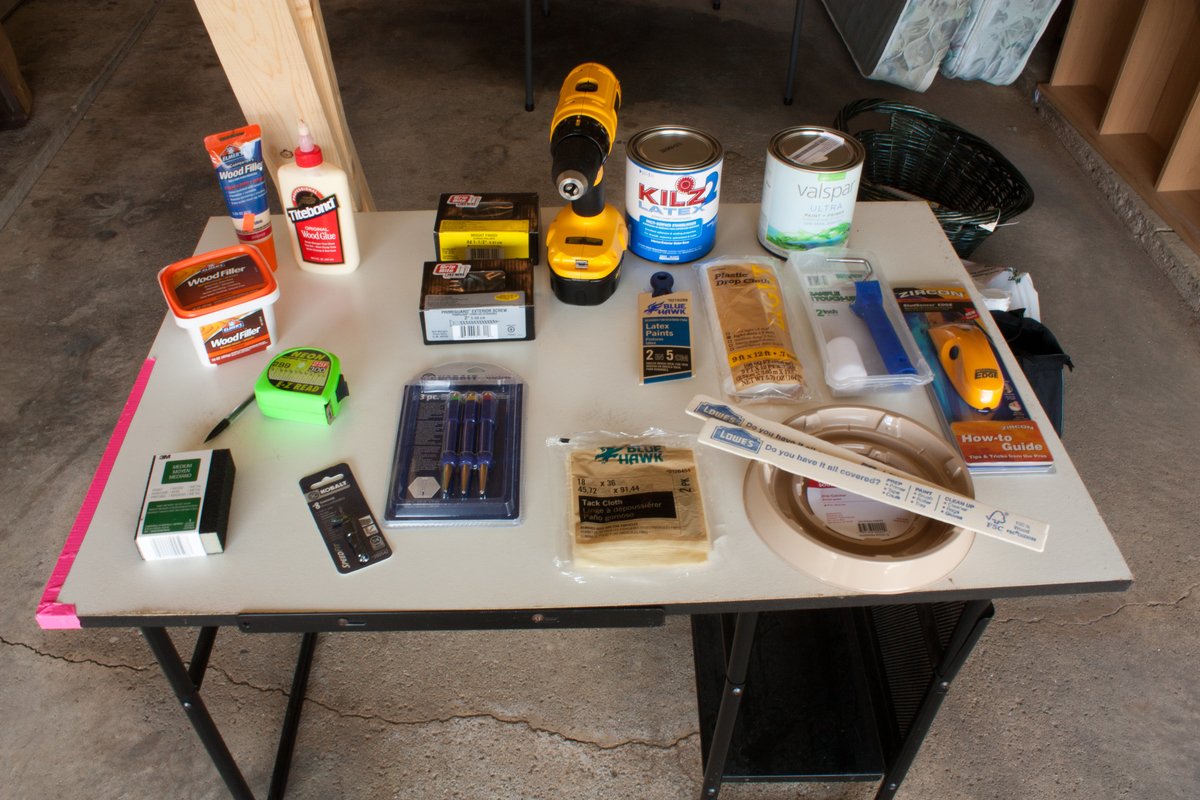
I had tons of help from this website and from the employees at Lowe's in deciding what to purchase and what steps to take. I ended up spending around $130 on all the items needed - but if I ever need to make more it will be just the cost of the lumber!
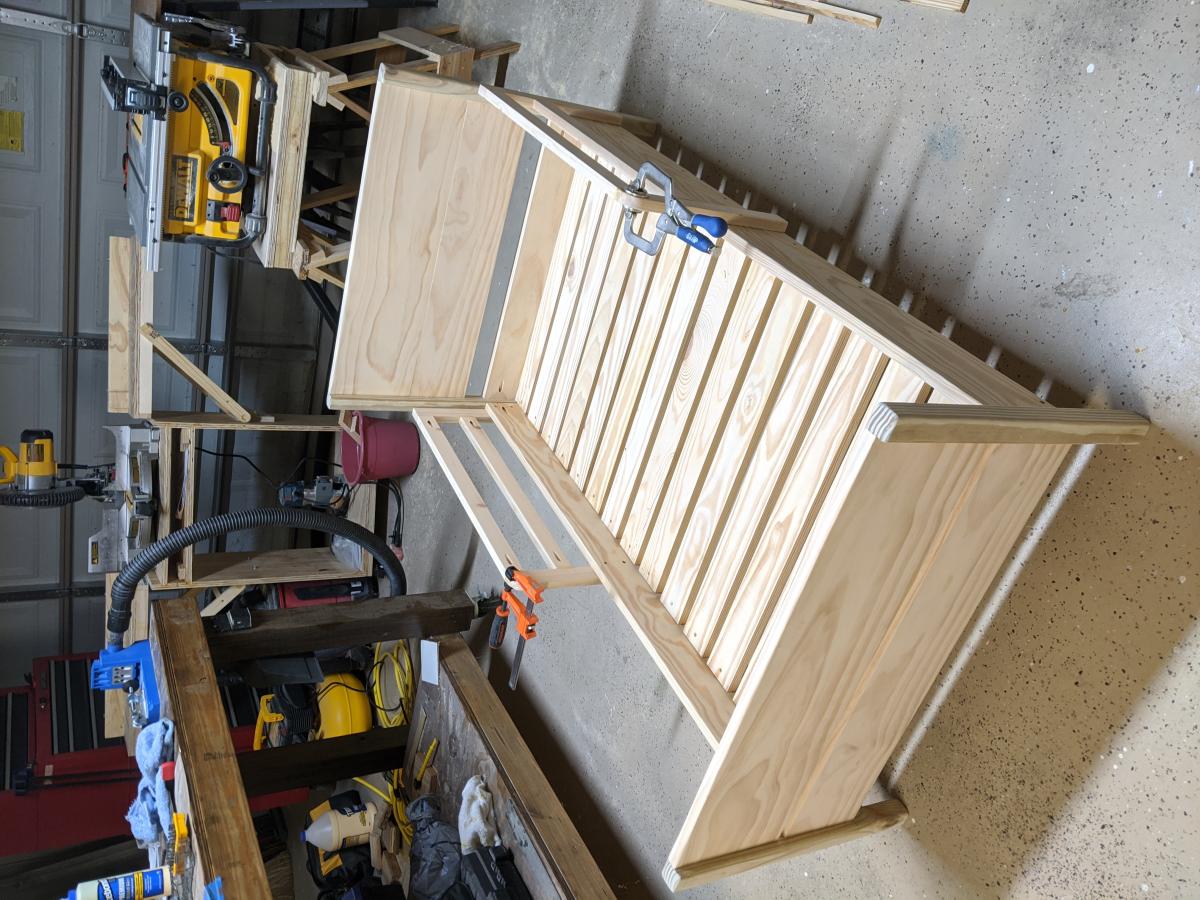
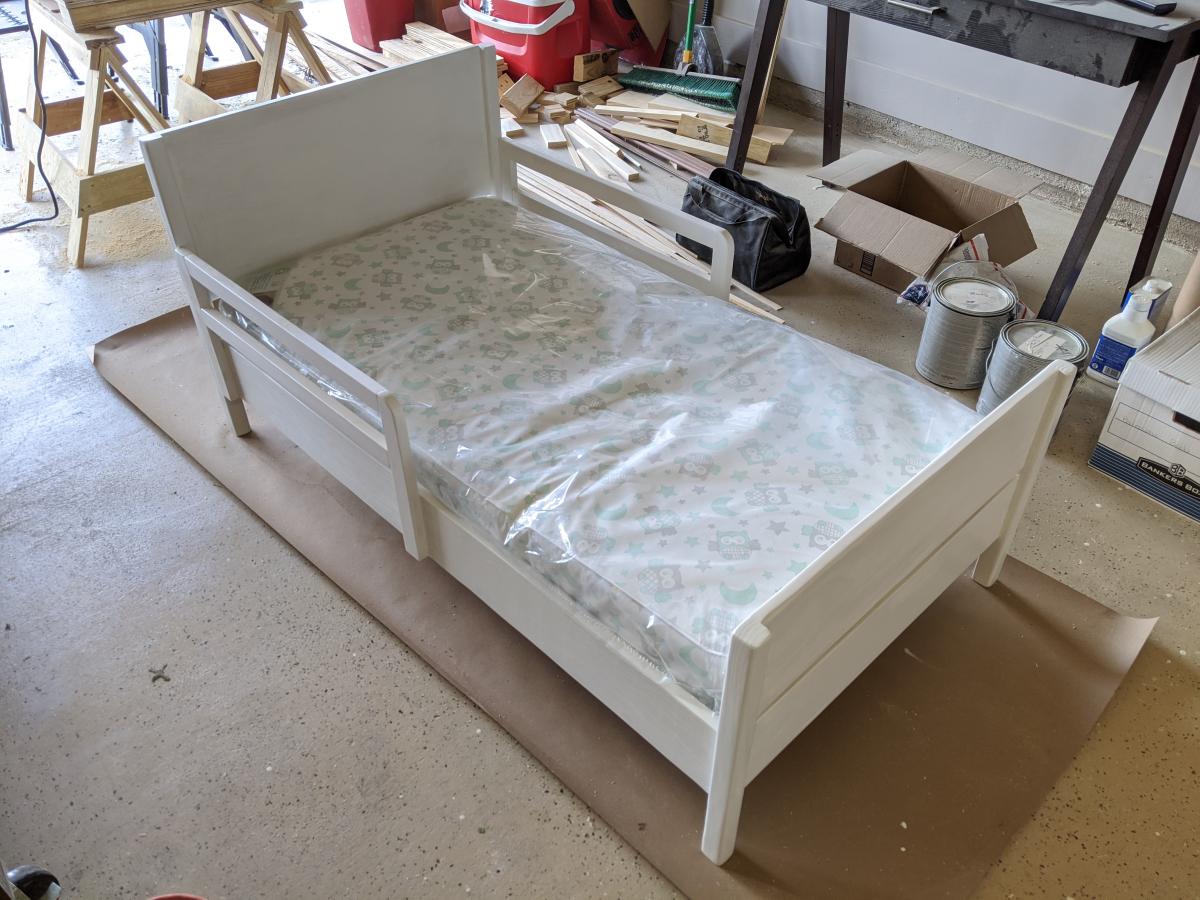
I am the poster girl for making mistakes while learning, no joke. Generally, I make the uh-oh on a step that I’ve done a zillion times, because I am so busy making sure that the parts that are brand new to me go well. Years ago I was trying to impress a roommate and I worked super hard on a lemon spaghetti dish. I learned to zest and juice a lemon but completely forgot about draining my noodles. Hello disgusting! Putting together my Ana-White project was no different. I gently sanded the wood with my sanding sponge and wiped them off with a rag. I then placed two of the 1x4’s together and made sure that they were even. I discovered that it would be next to impossible to have perfect shelves, so I was going to let it go and just have fun. I pre-drilled a hole, then used a countersink bit to match the head of my wood screw, and held the boards together with all my might while I drilled in the first screw. Of course, since that worked out so well… I decided to try something different! Cap had told me that these particular screws practically countersunk themselves. Sweet! Therefore, on the second screw I predrilled and then tried to see what would happen if I skipped the countersink bit step and just put the screw in. Fail! The wood made this groan sound and the screw didn’t go into a nice neat hole, but instead just kind of escaped in like a finger in pudding. No good! I realized that I had forgotten to use wood glue, so I took both screws back out, put the wood glue in, and back in the screws. I returned to the first method of predrill, countersink bit, wood glue, then screw and finished it off. I held the 1x2 into place and used finishing nails to attach it to the 1x4s. Using a nail punch, I made sure there was a little hole atop each nail. I filled all the holes and a few of my mistakes with wood filler. While the filler was drying I repeated all the steps, sans many of the mistakes adding in a few others, and was done with the first step of building shelves! Next I used a two inch angle brush and applied the primer. After it was dried I applied the paint using a two inch roller. When it was all dried I marked my studs and my board, predrilled, and screwed them into the wall! That was it! It was so much fun and completely empowering. I can't wait to do the next one.