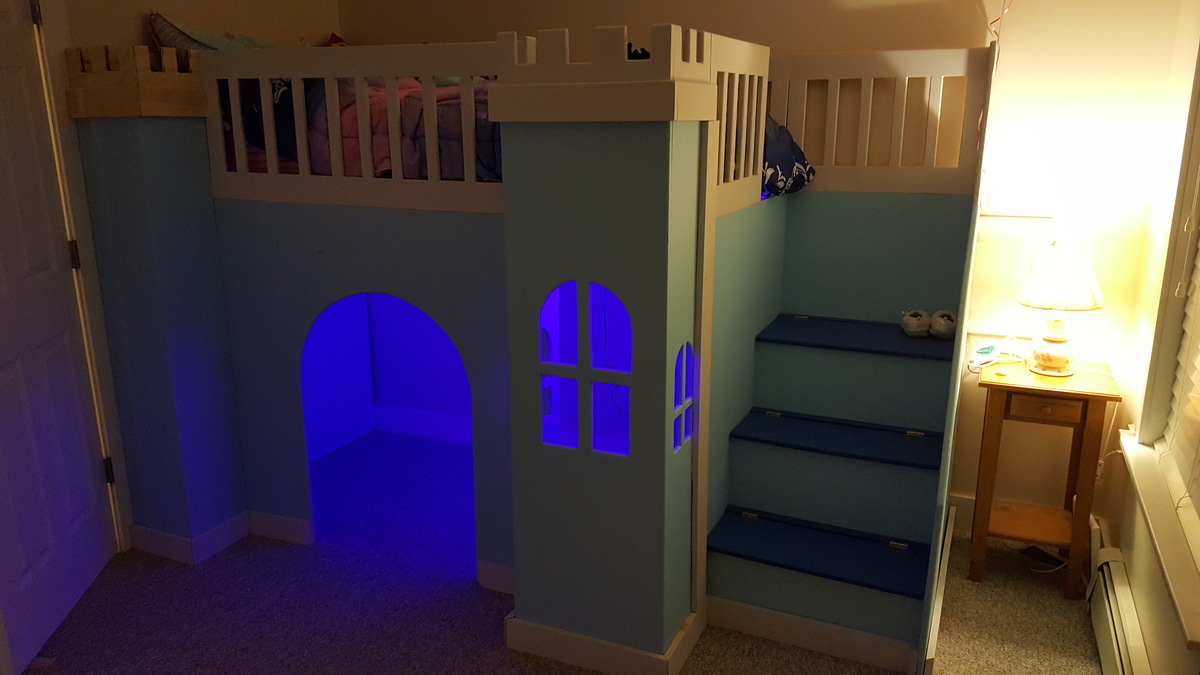
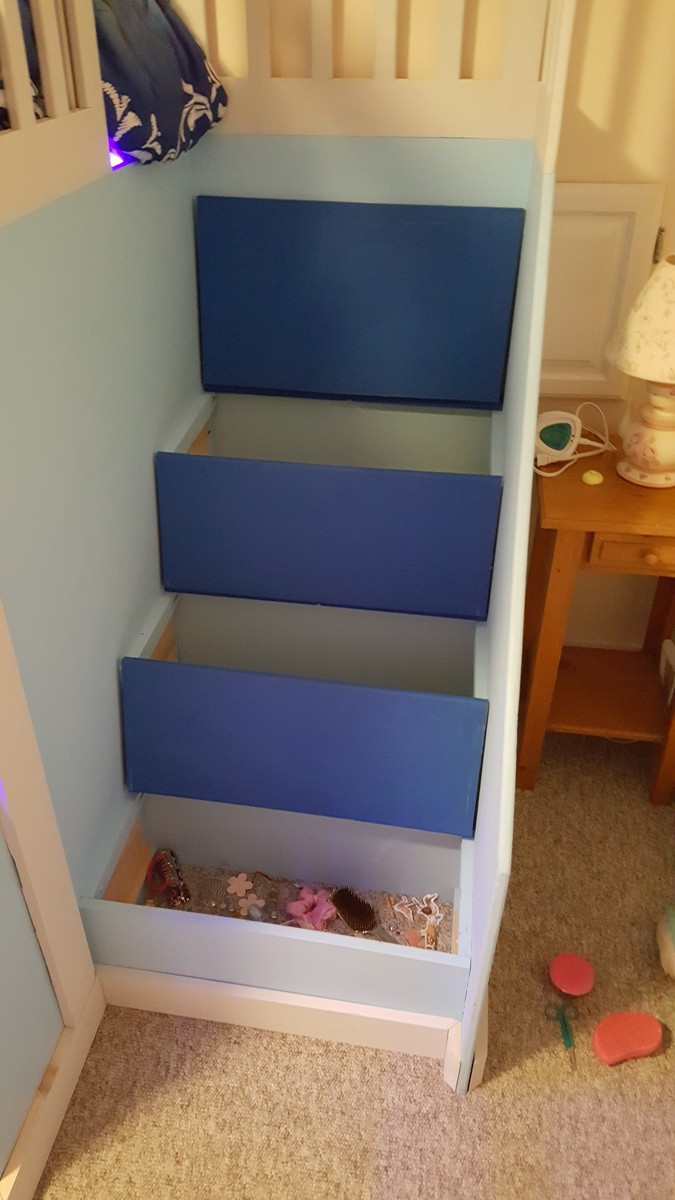
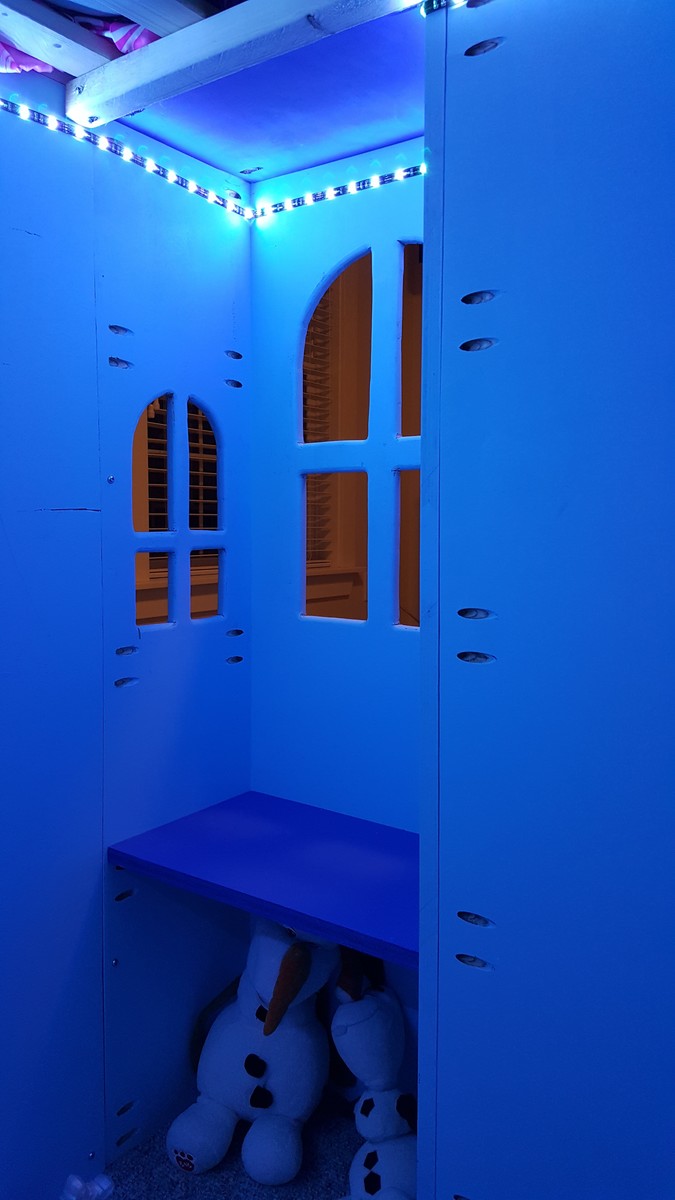
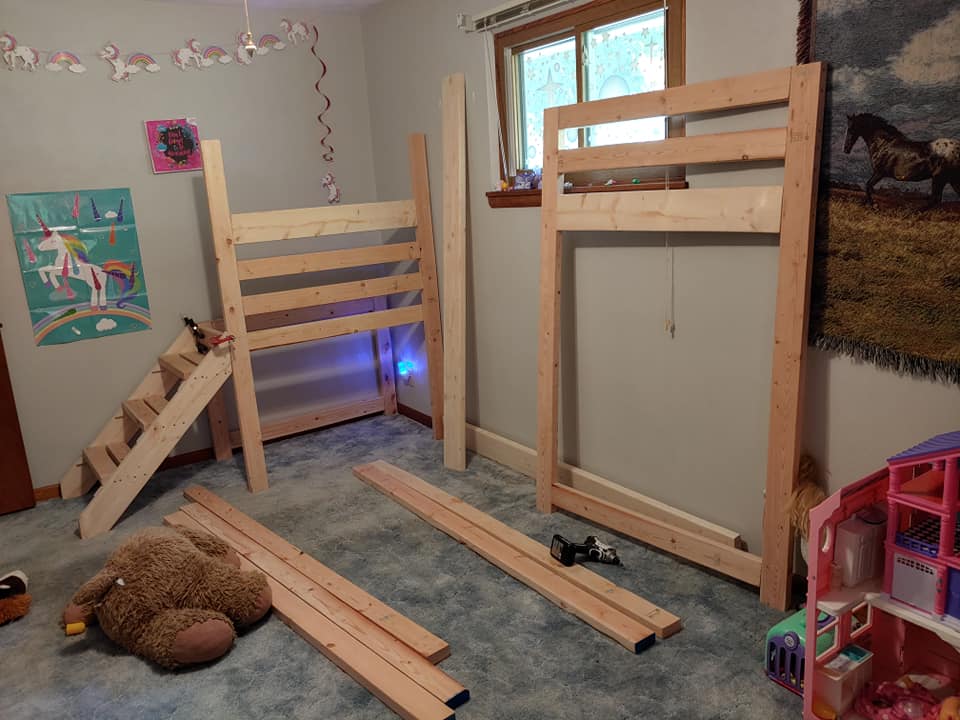
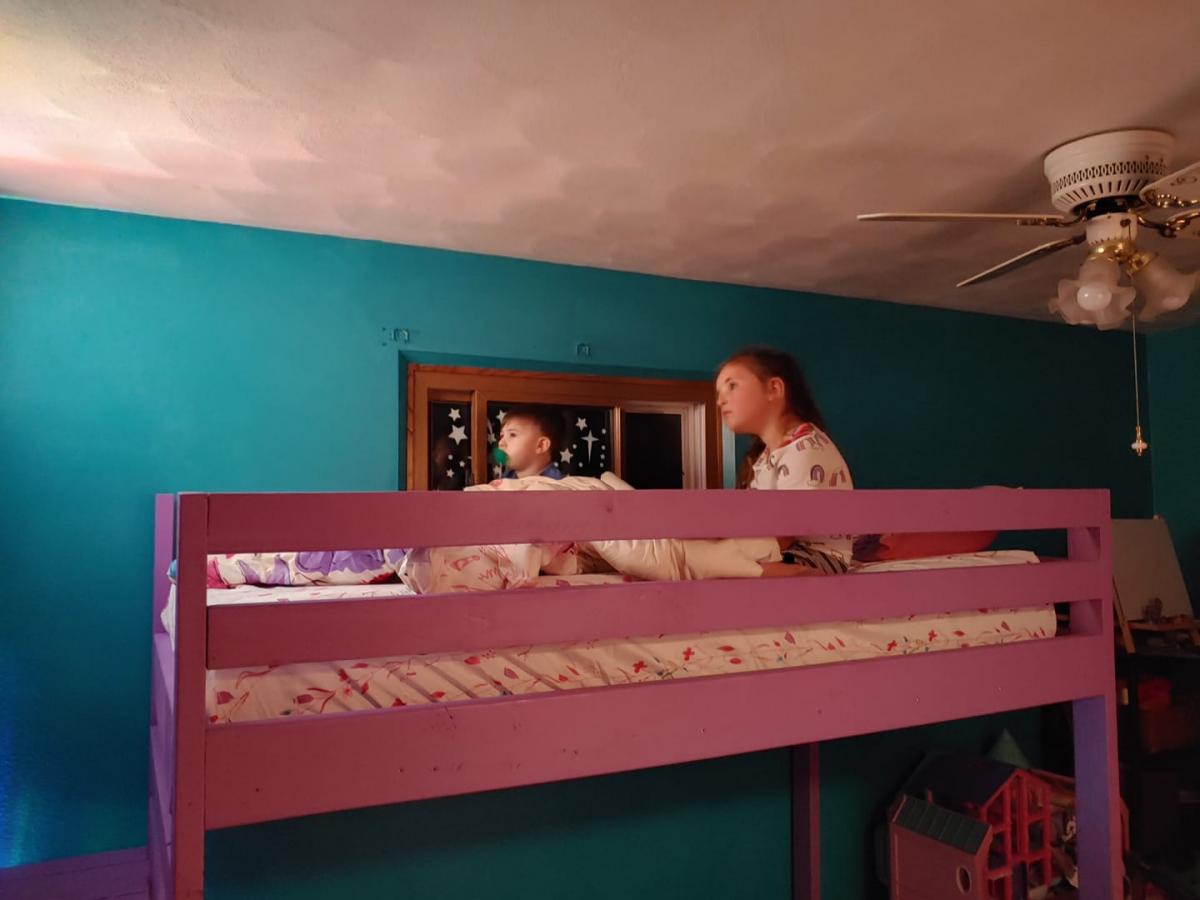
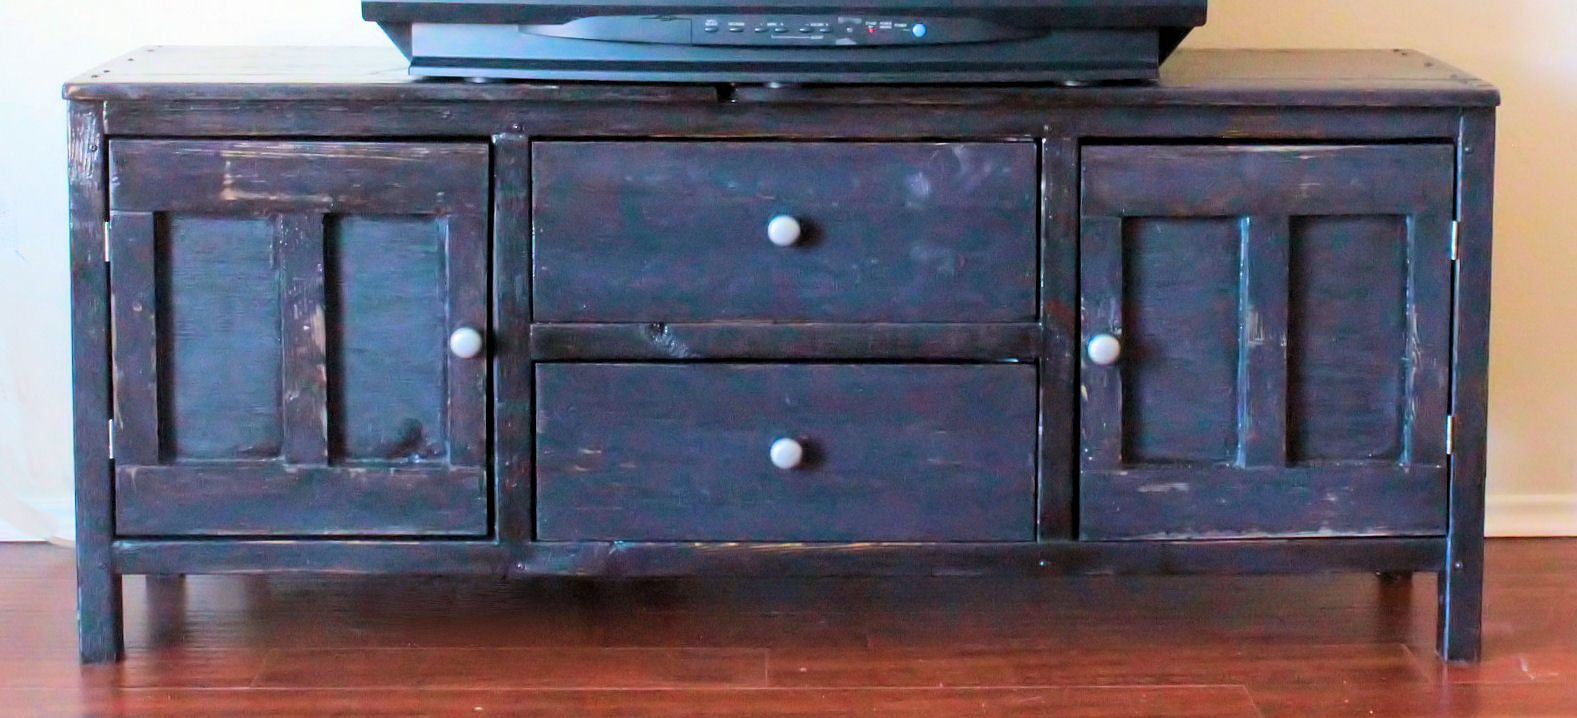
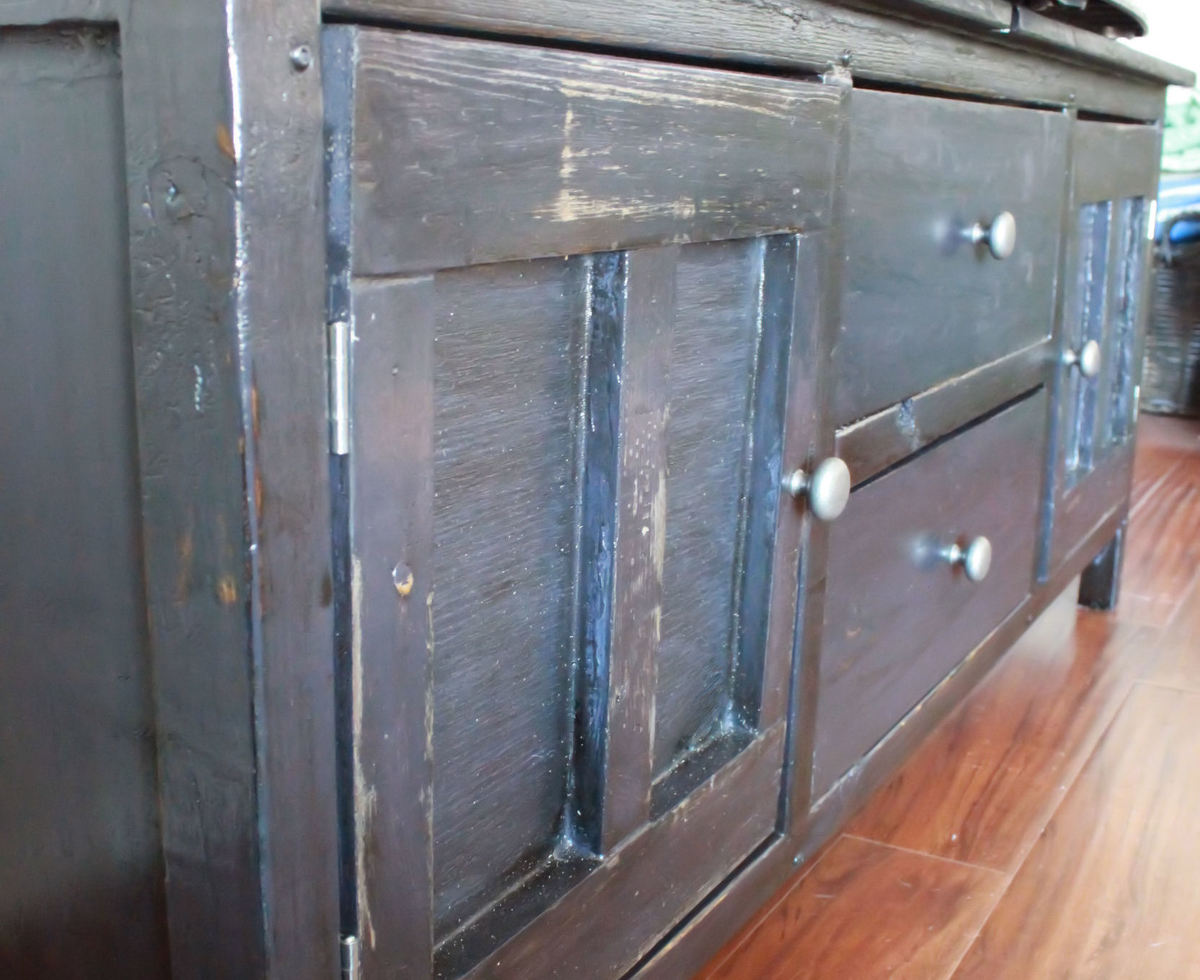
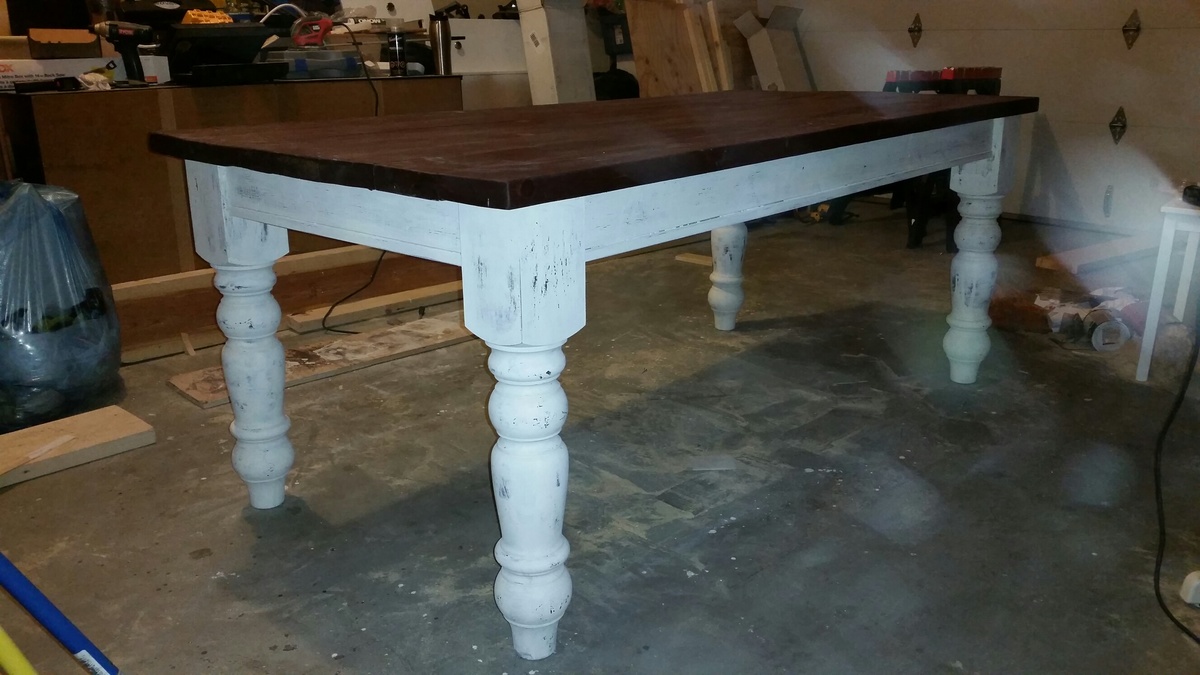
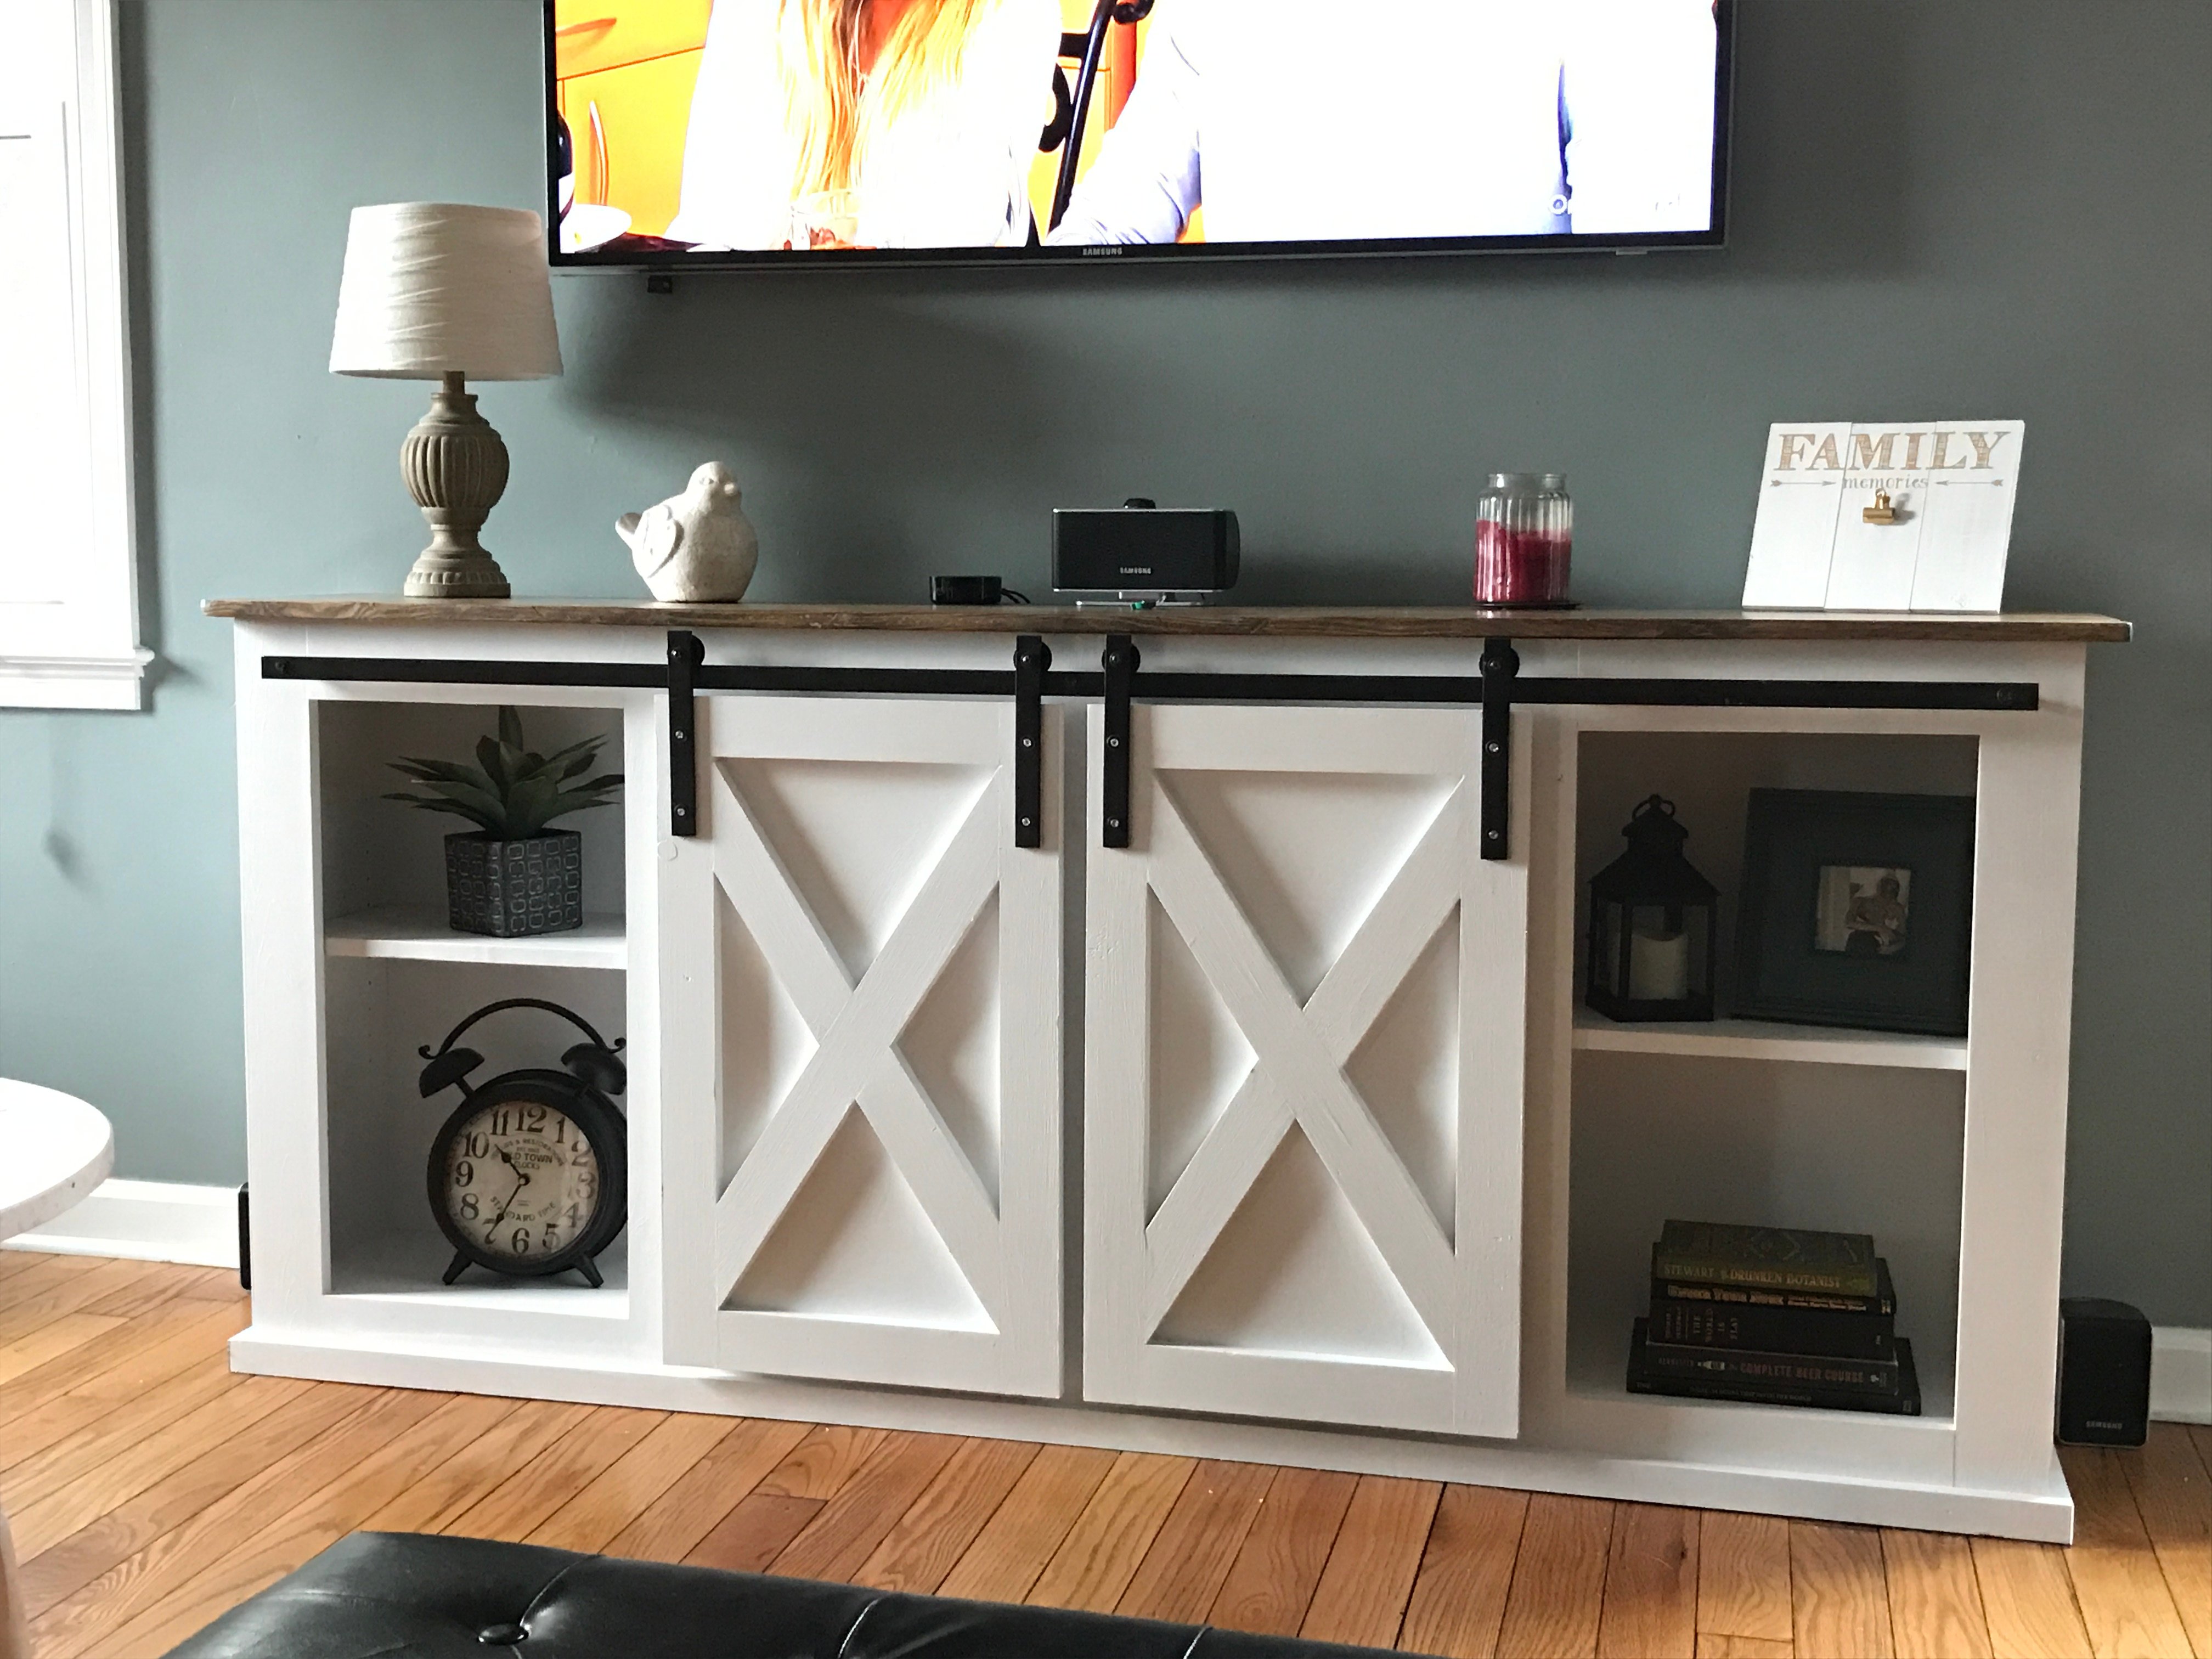
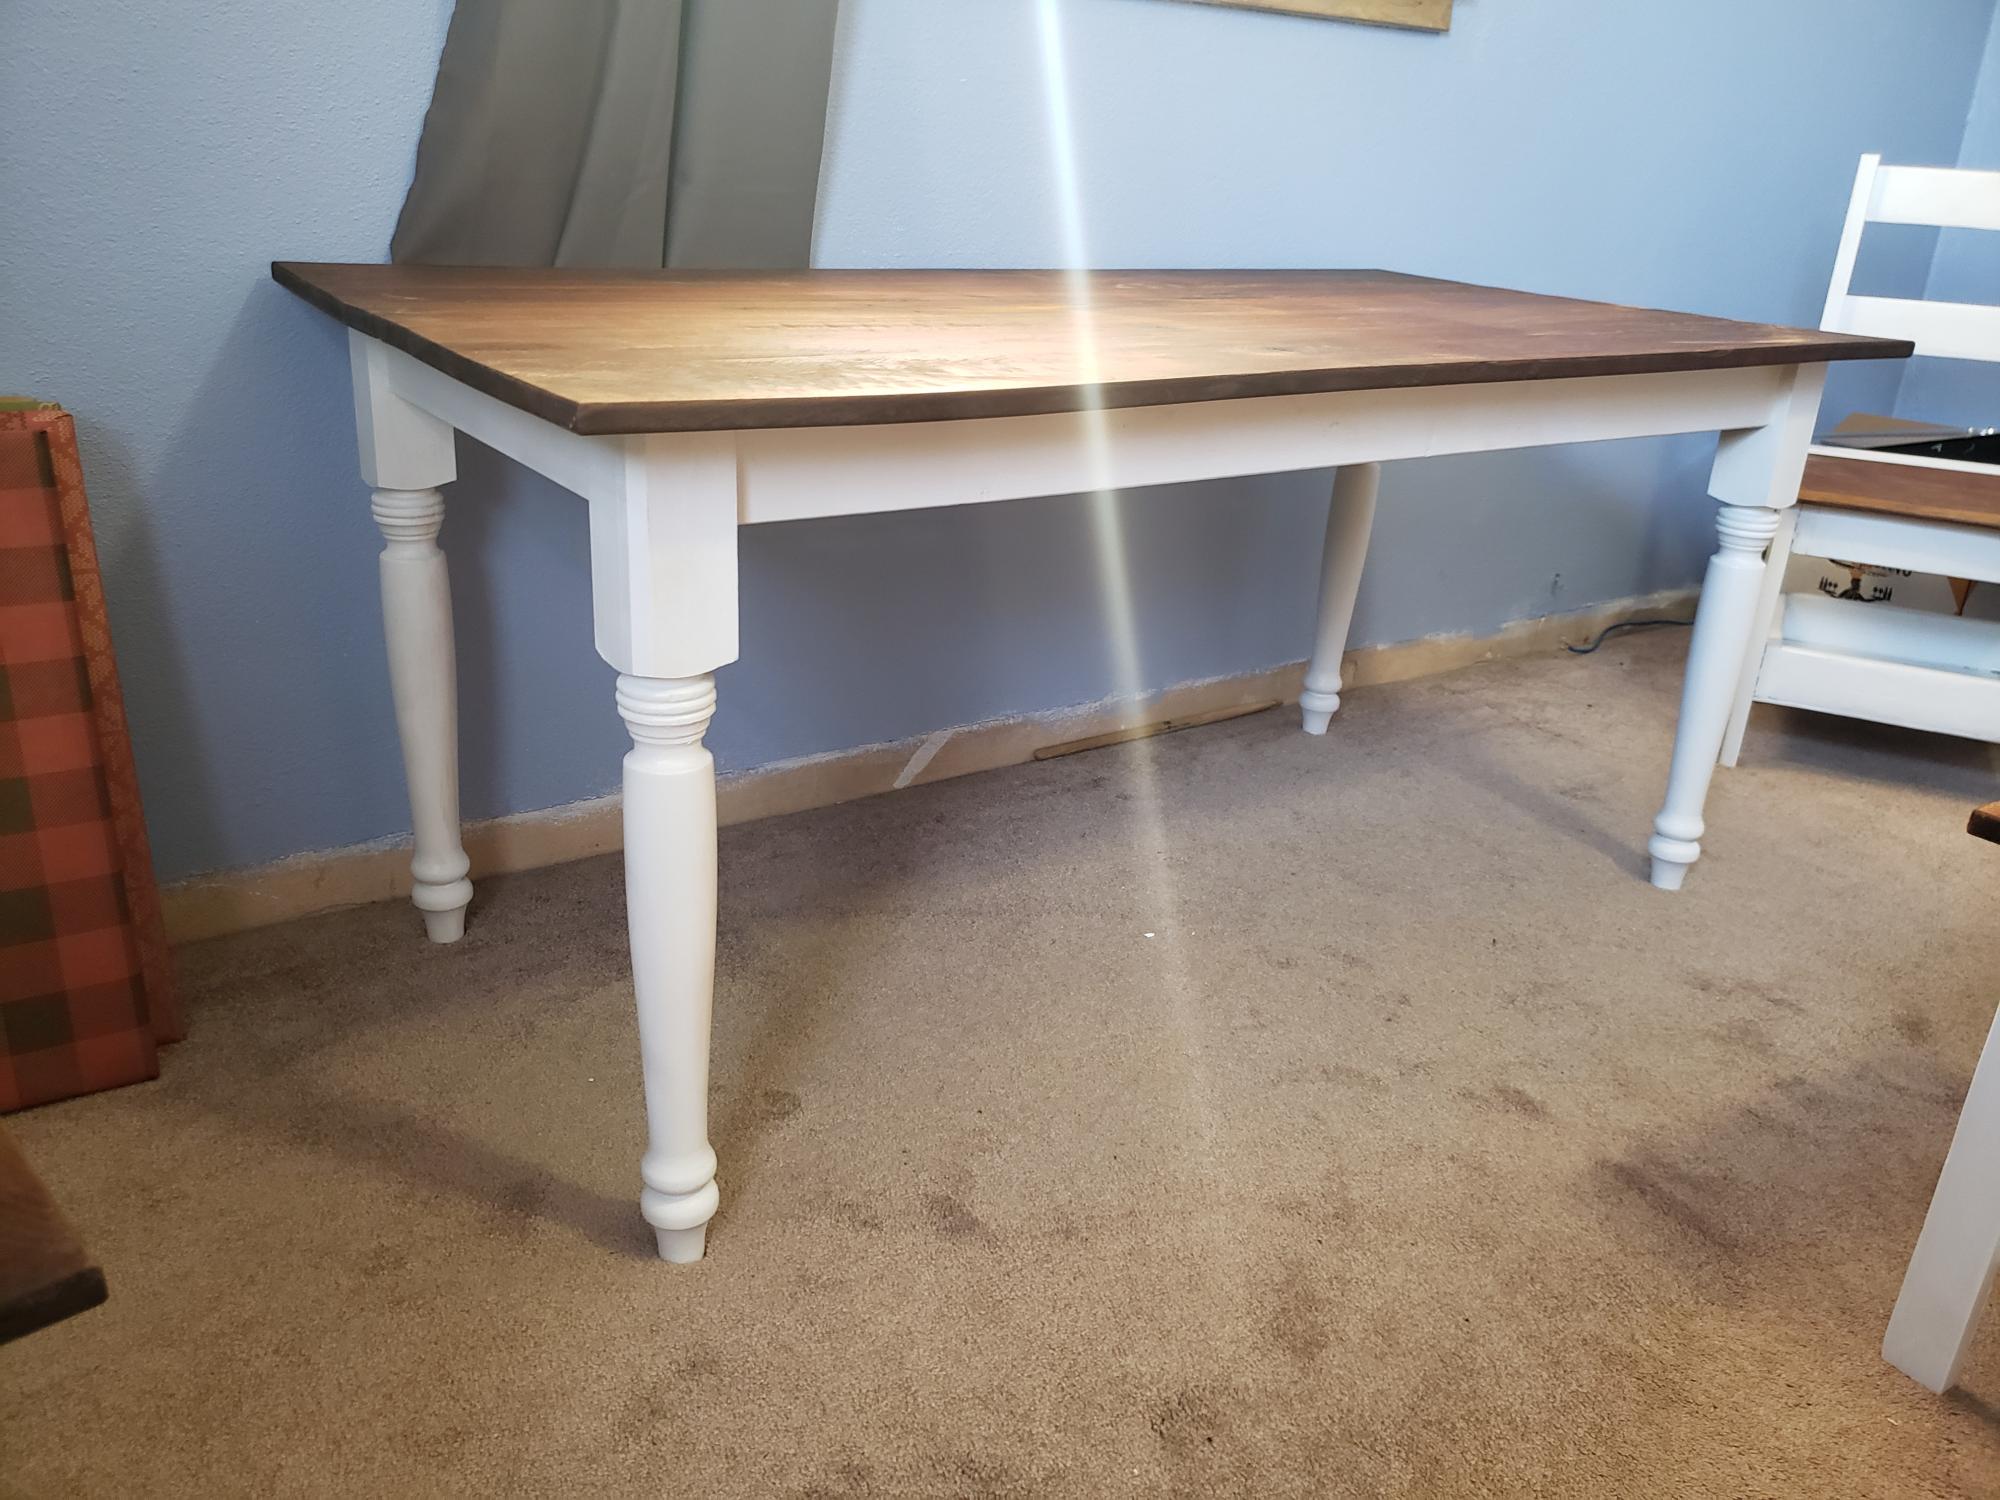
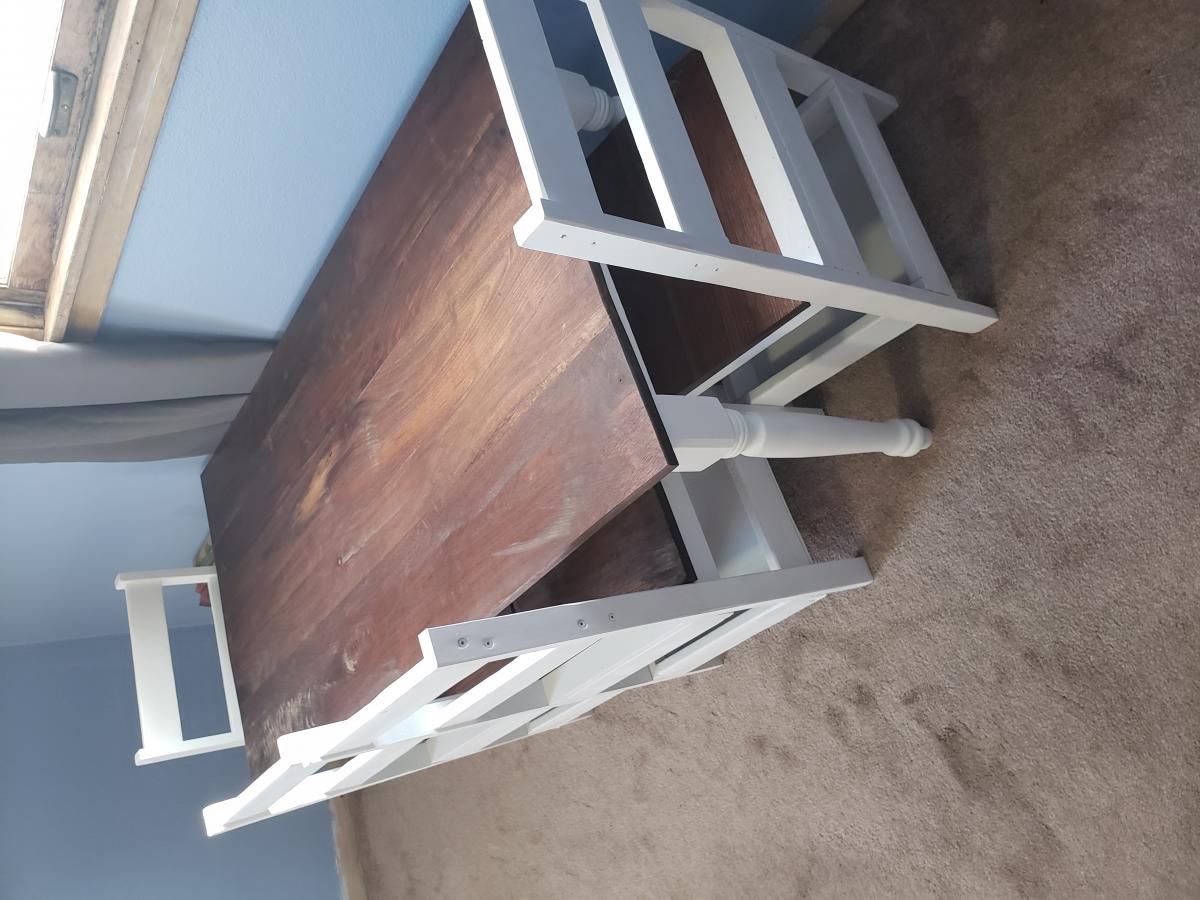
Farmhouse bed with storage! Carved, bowed and beautiful!
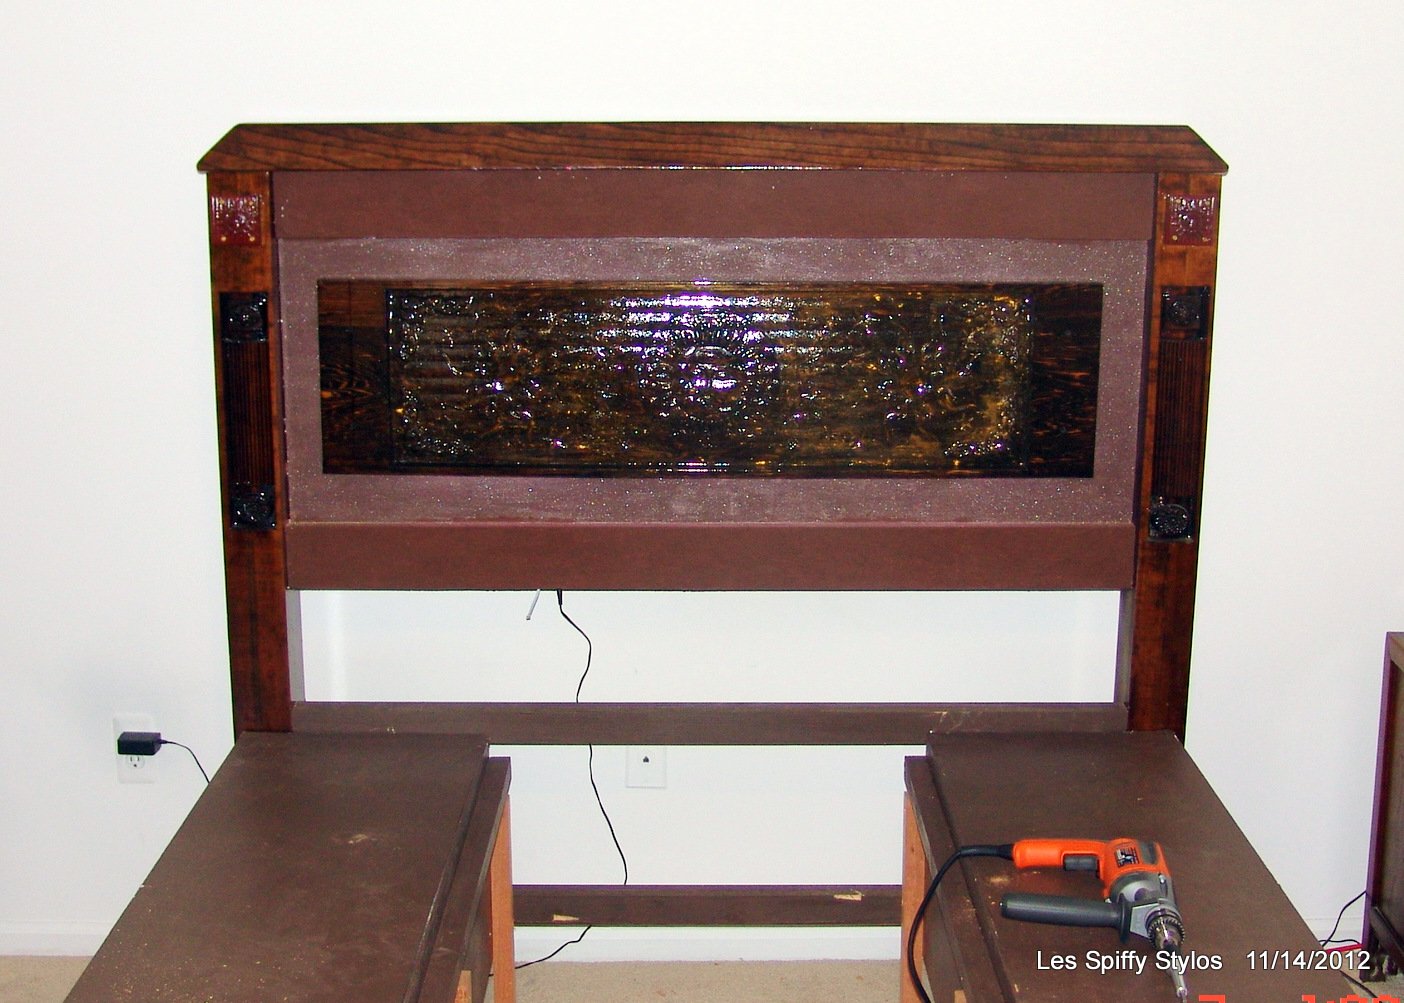
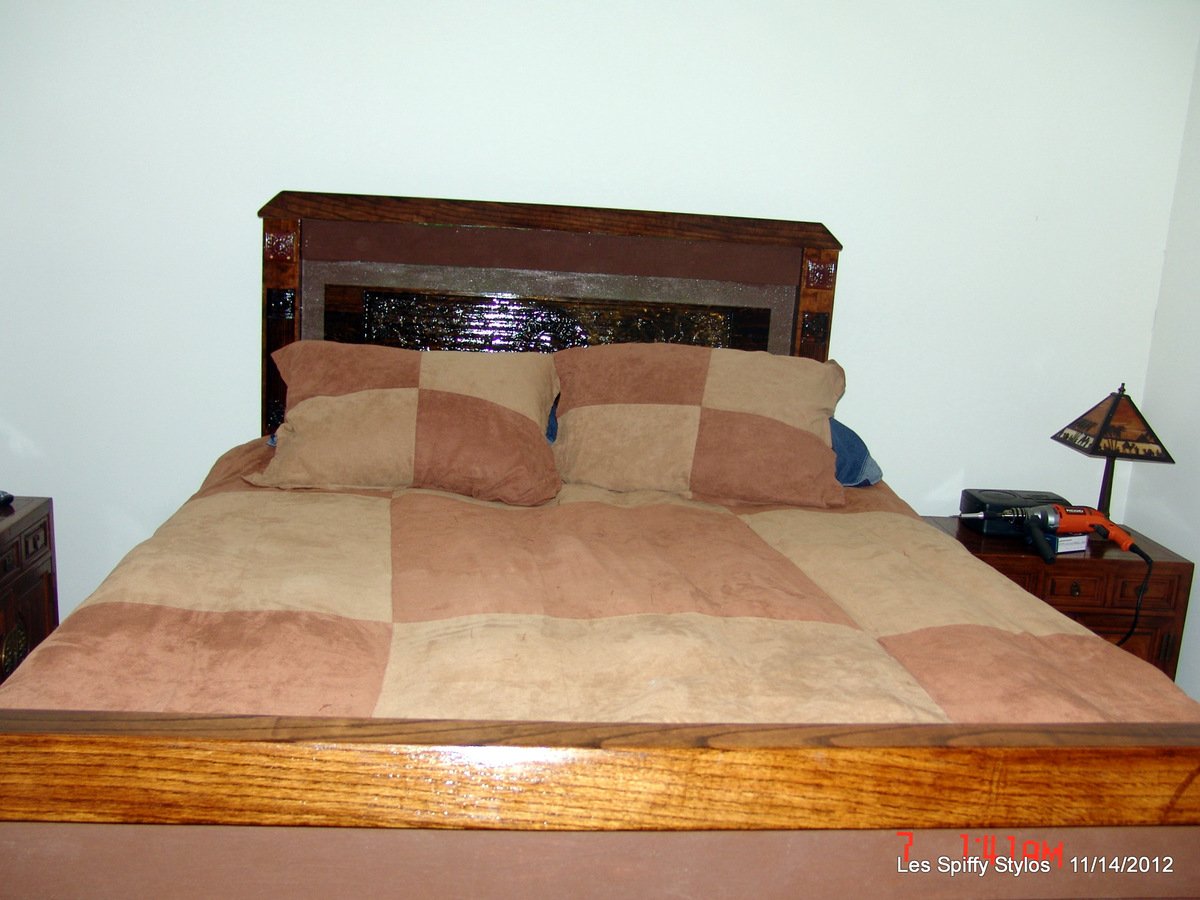
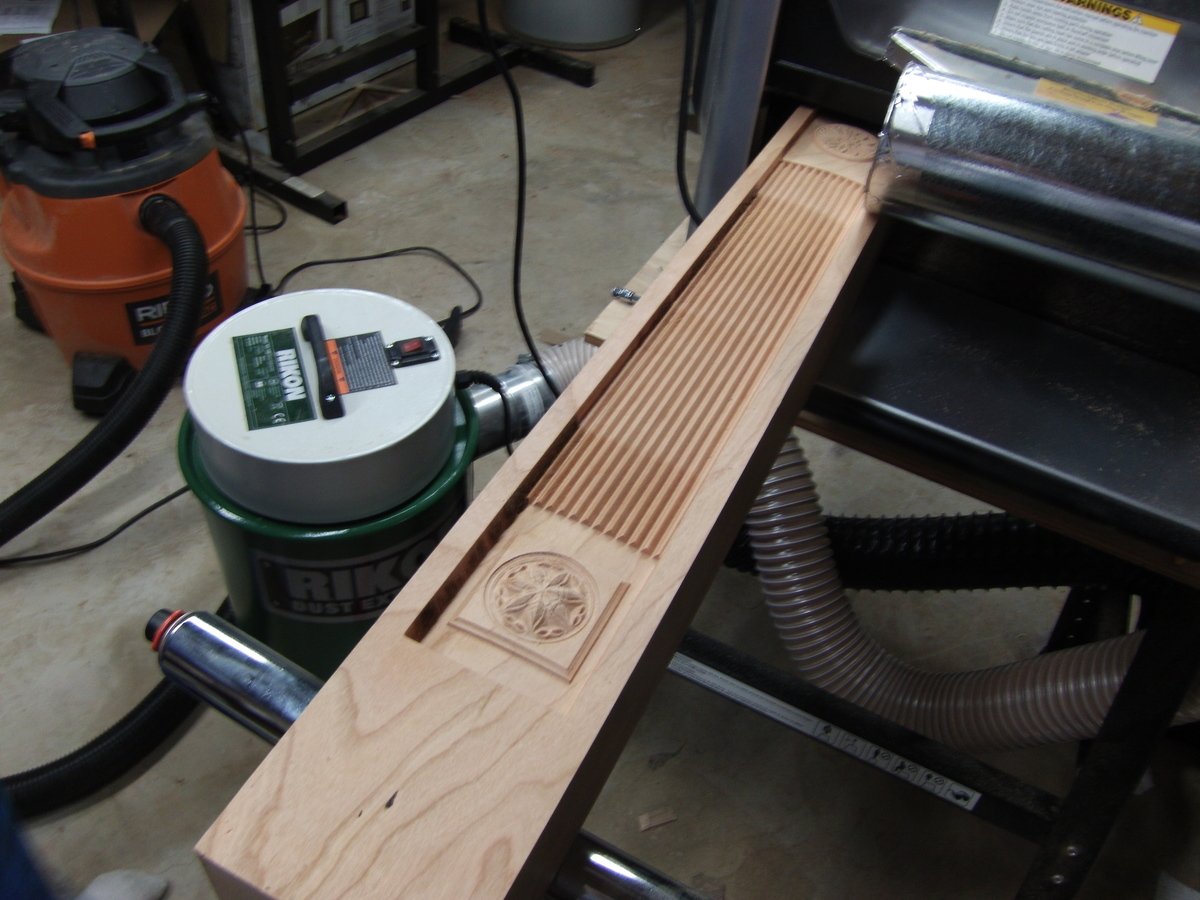
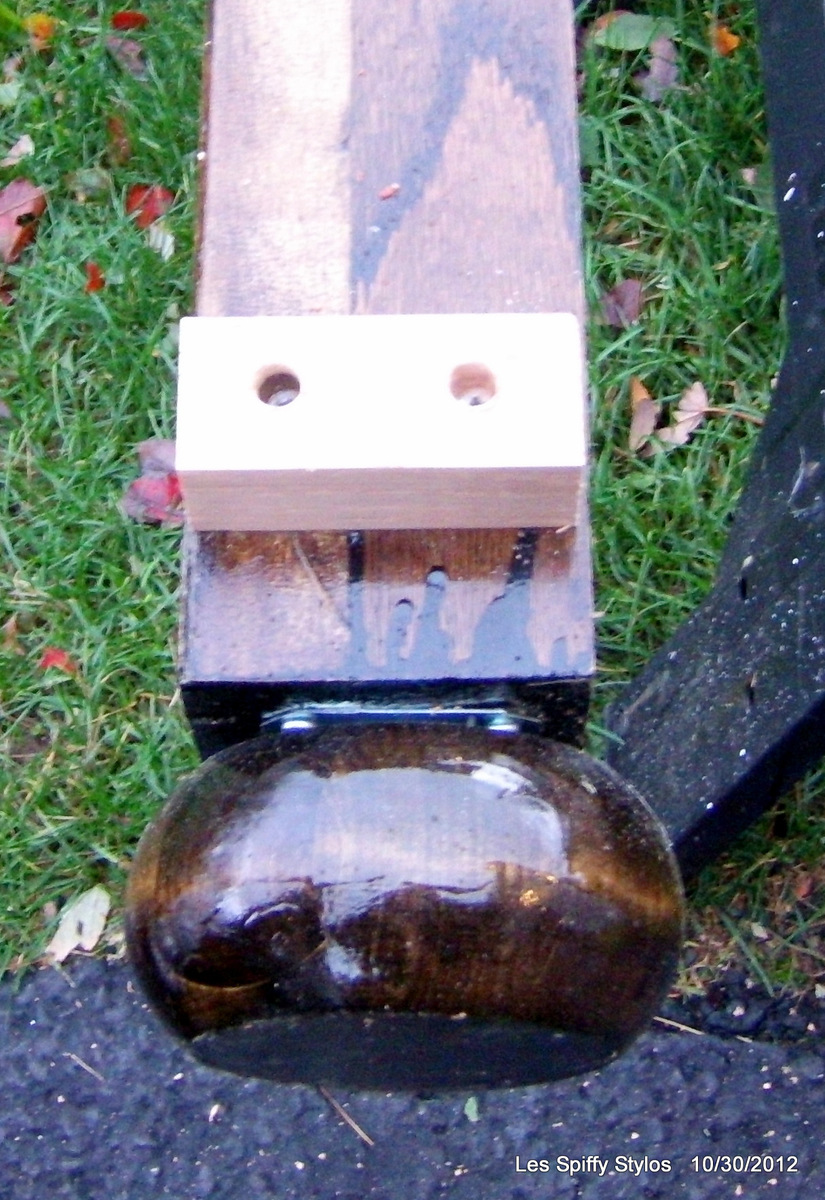
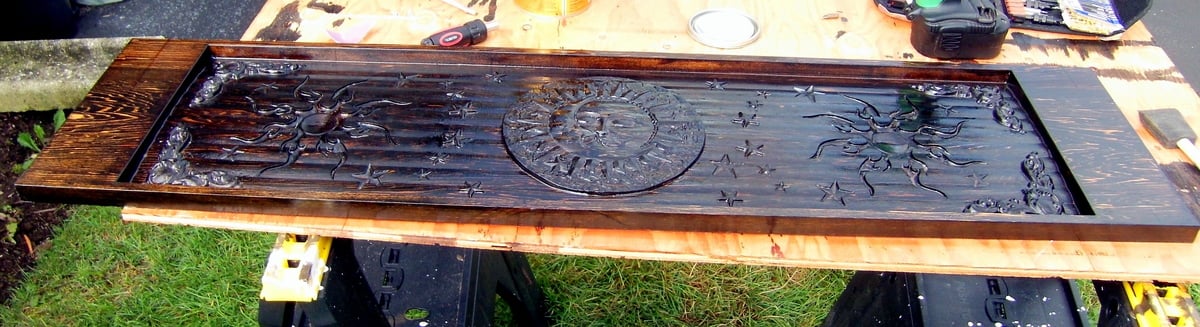
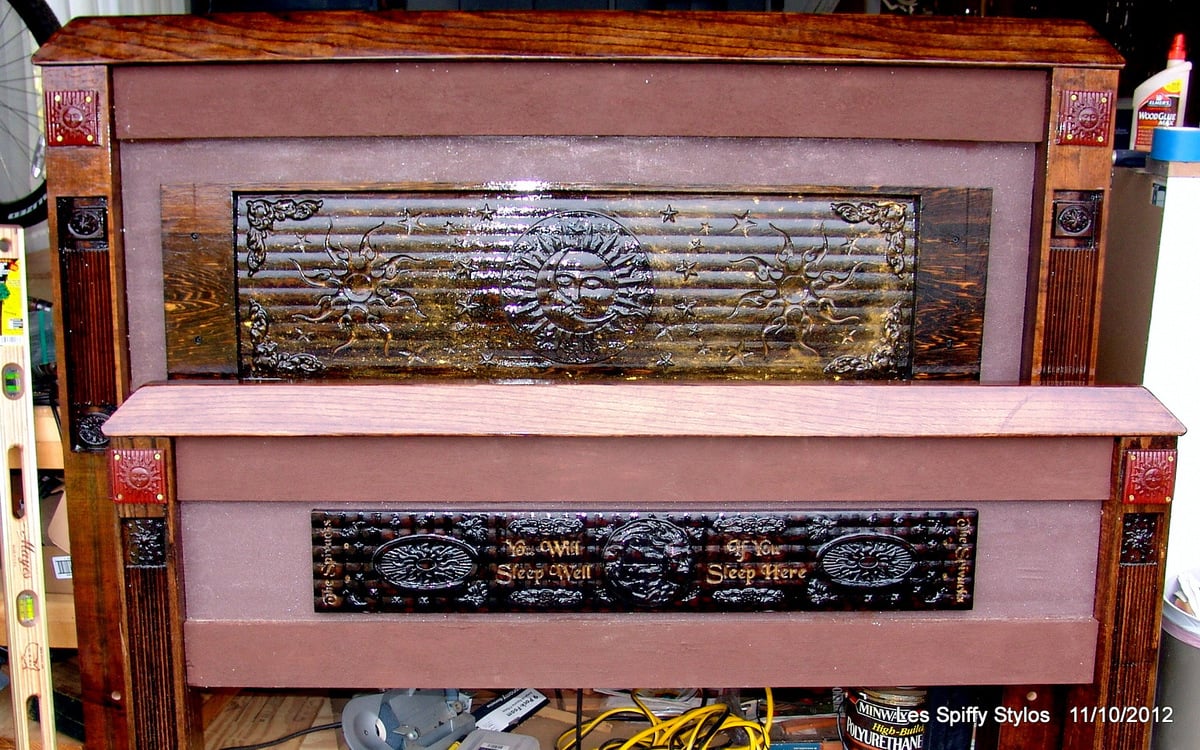
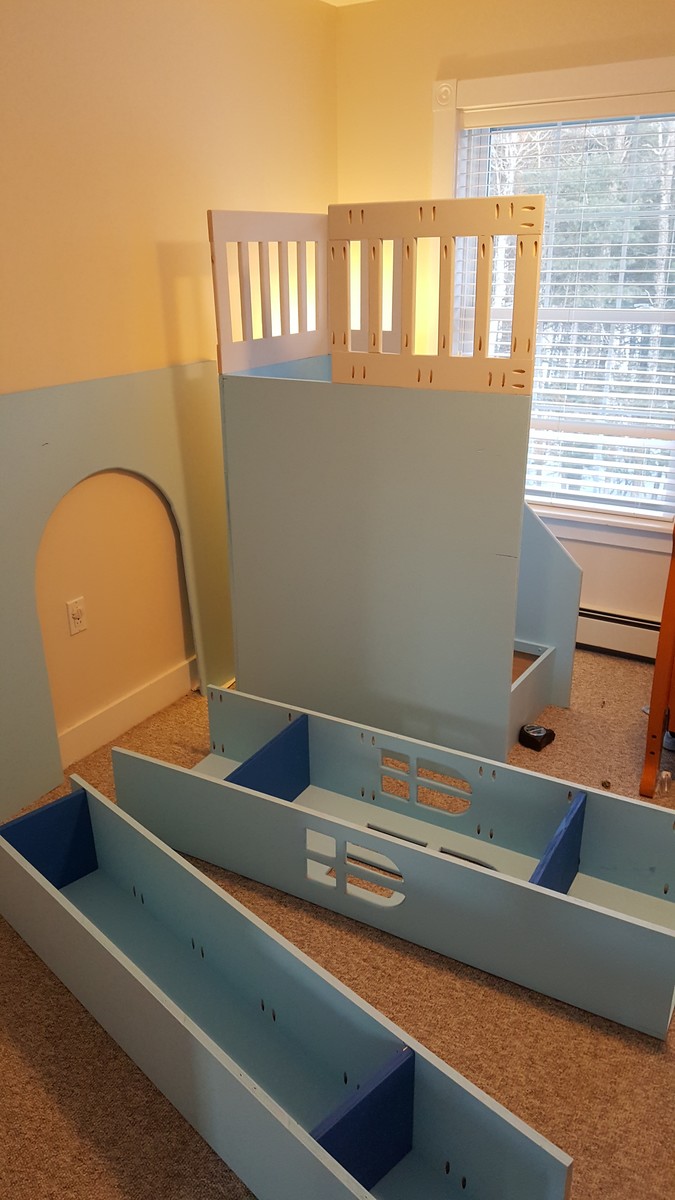
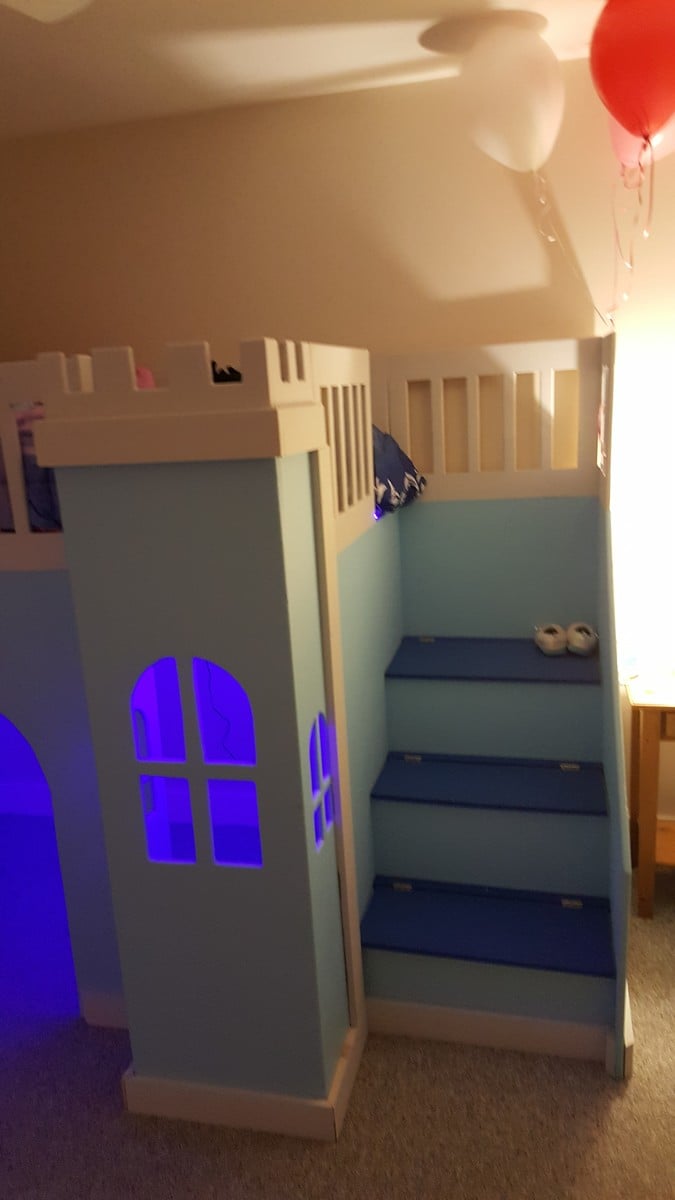
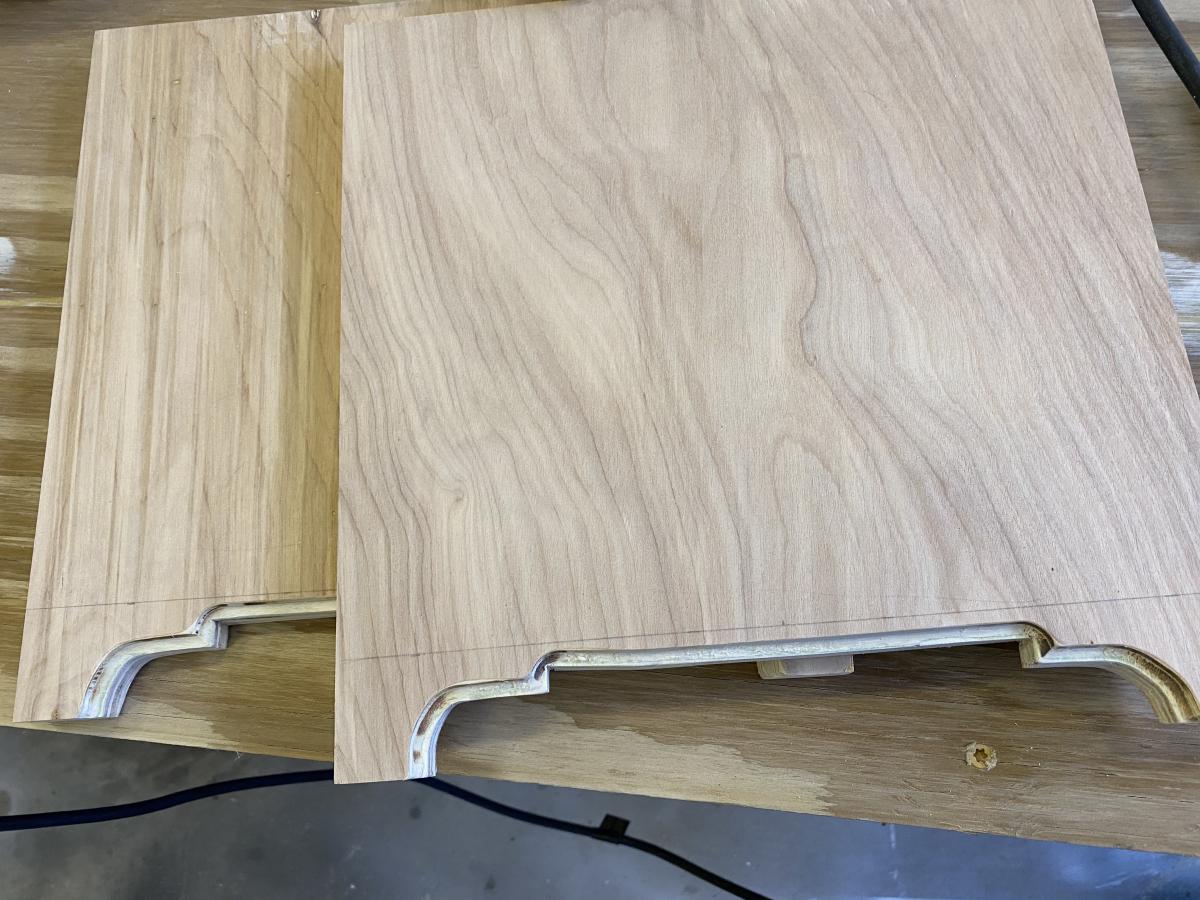
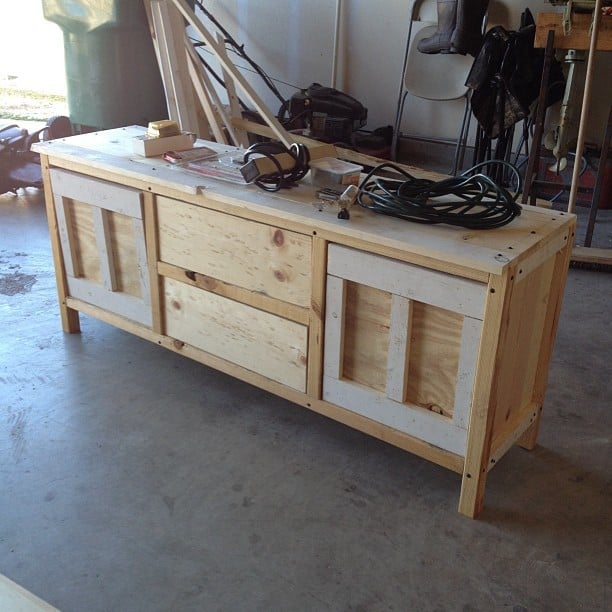
I built the Farmhouse bed with storage but departed from Ana's design a bit. I built the legs from 4" red oak, the boxes are painted plywood. The crowns on the head and footboard are also red oak. I have a Carvewright and used it to detail the bed pretty thoroughly...and topped it off with a temperpedic mattress. ROCK solid and looks great! Also, put LED lights behind the headboard insert that shines around its sides.
All in, great project, took me around 3 months to complete!
Estimated Time Investment
Week Long Project (20 Hours or More)
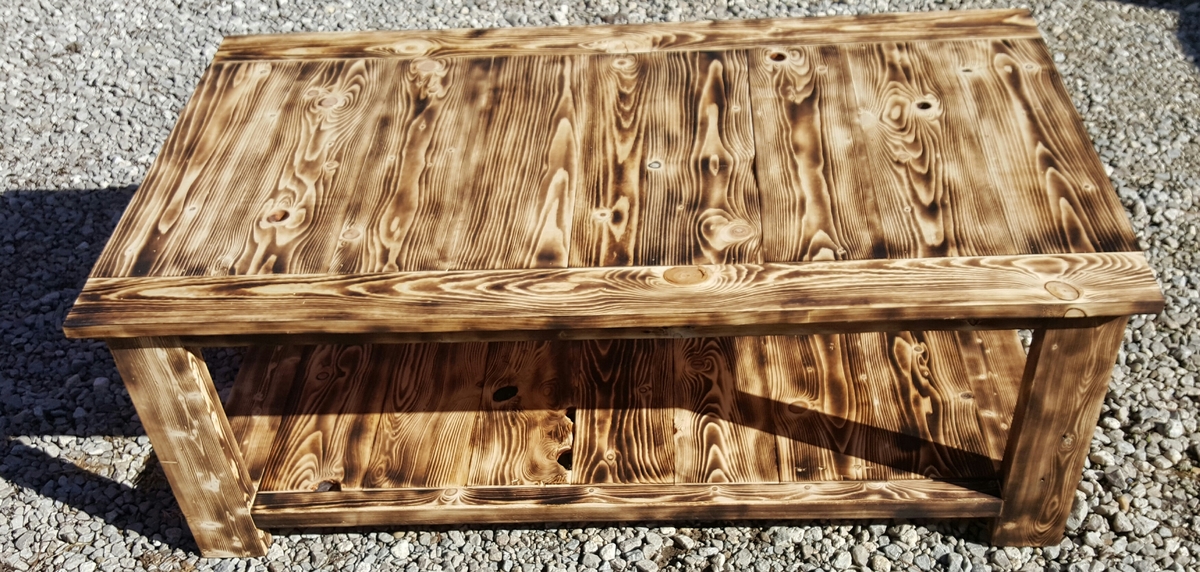
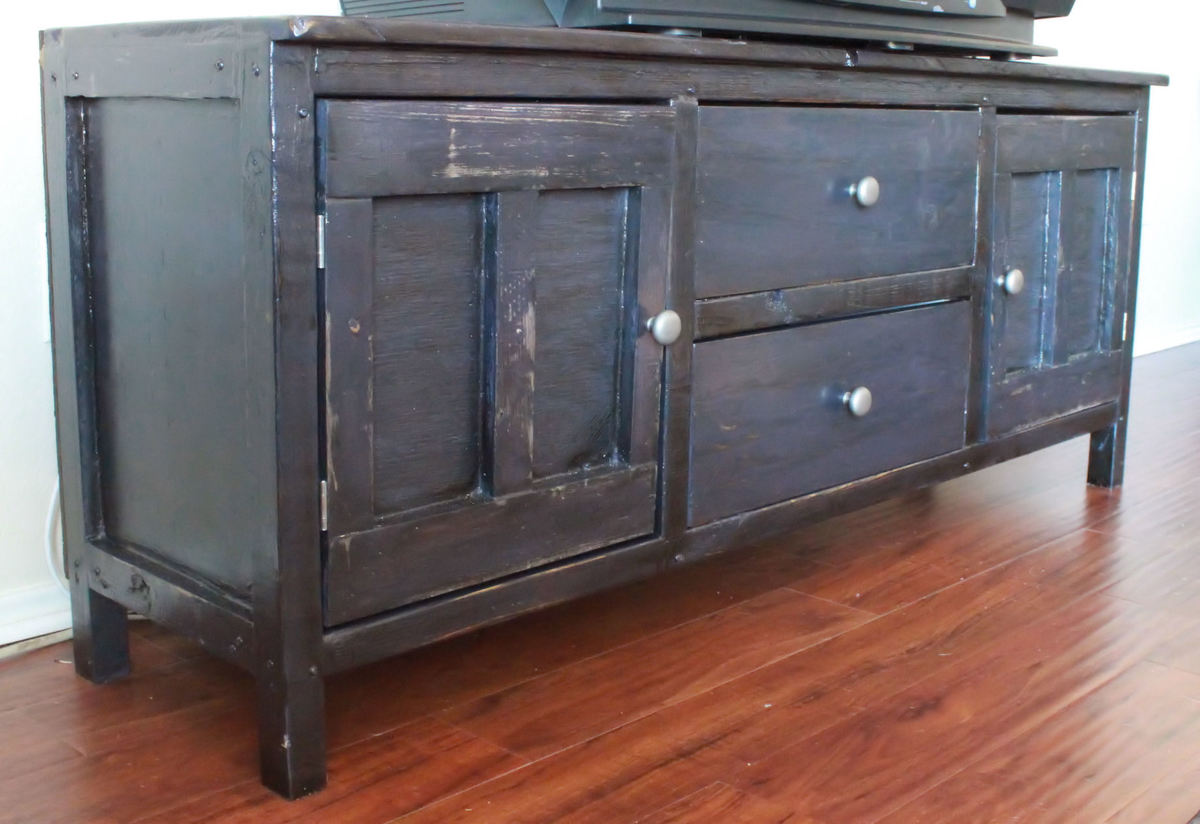
Finish Used
Gel stain, high gloss poly
Recommended Skill Level
Intermediate


Comments
geophyrd
Thu, 01/10/2013 - 17:42
More photos
Hi, if you want to see the rest of the build, I have 140+ pics posted on Facebook:
http://www.facebook.com/media/set/?set=a.10150844261192960.416336.65162…
Bander
Fri, 01/11/2013 - 17:16
very impressive
wow! I really liked your idea of adding lighting into the headboard.
geophyrd
Sat, 01/12/2013 - 06:51
The led light cost 15 bucks on eBay...
Fires up with a remote, something like 35 colors, strobes, flashes. Likes OK by day but it looks amazing at night. Which, in all sincerity, is a fair description of my own looks. (smile)