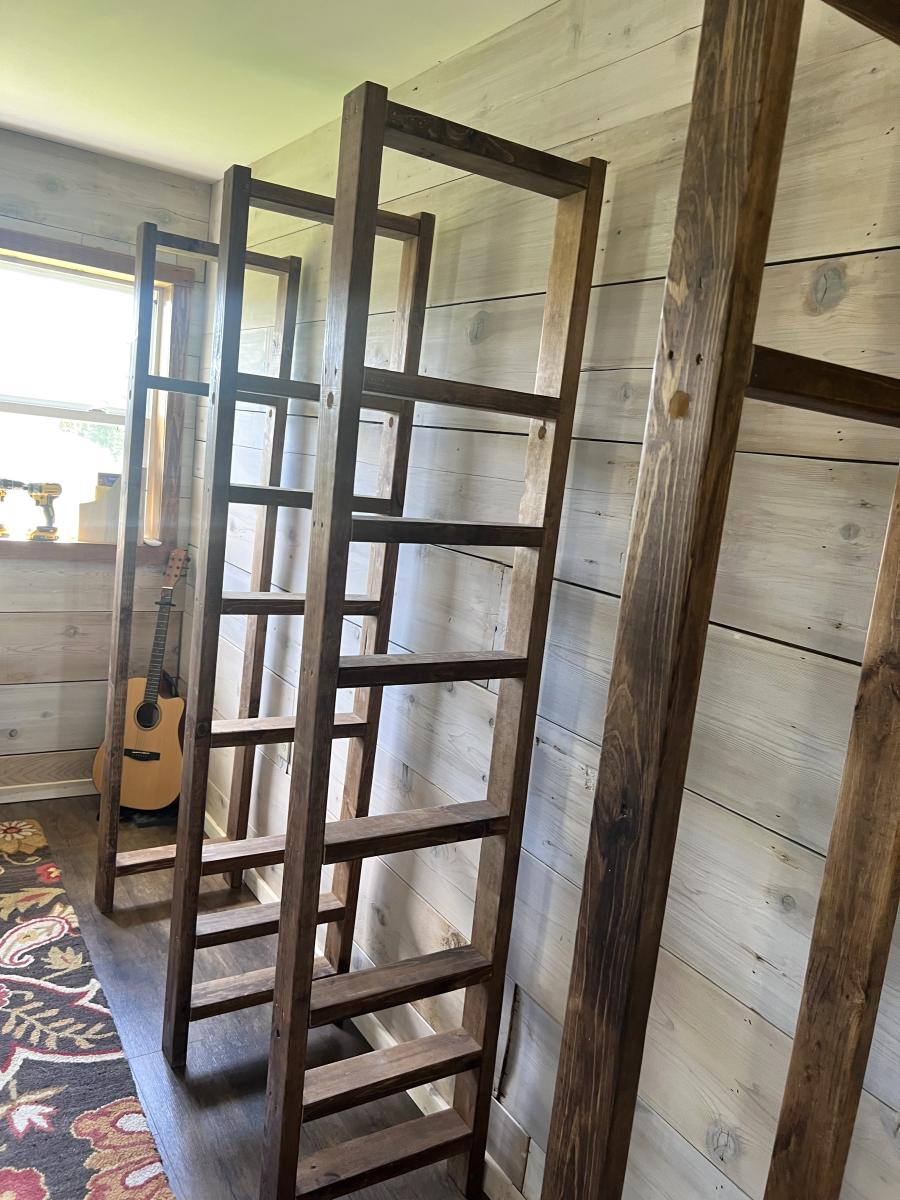
Fireplace Accent Wall
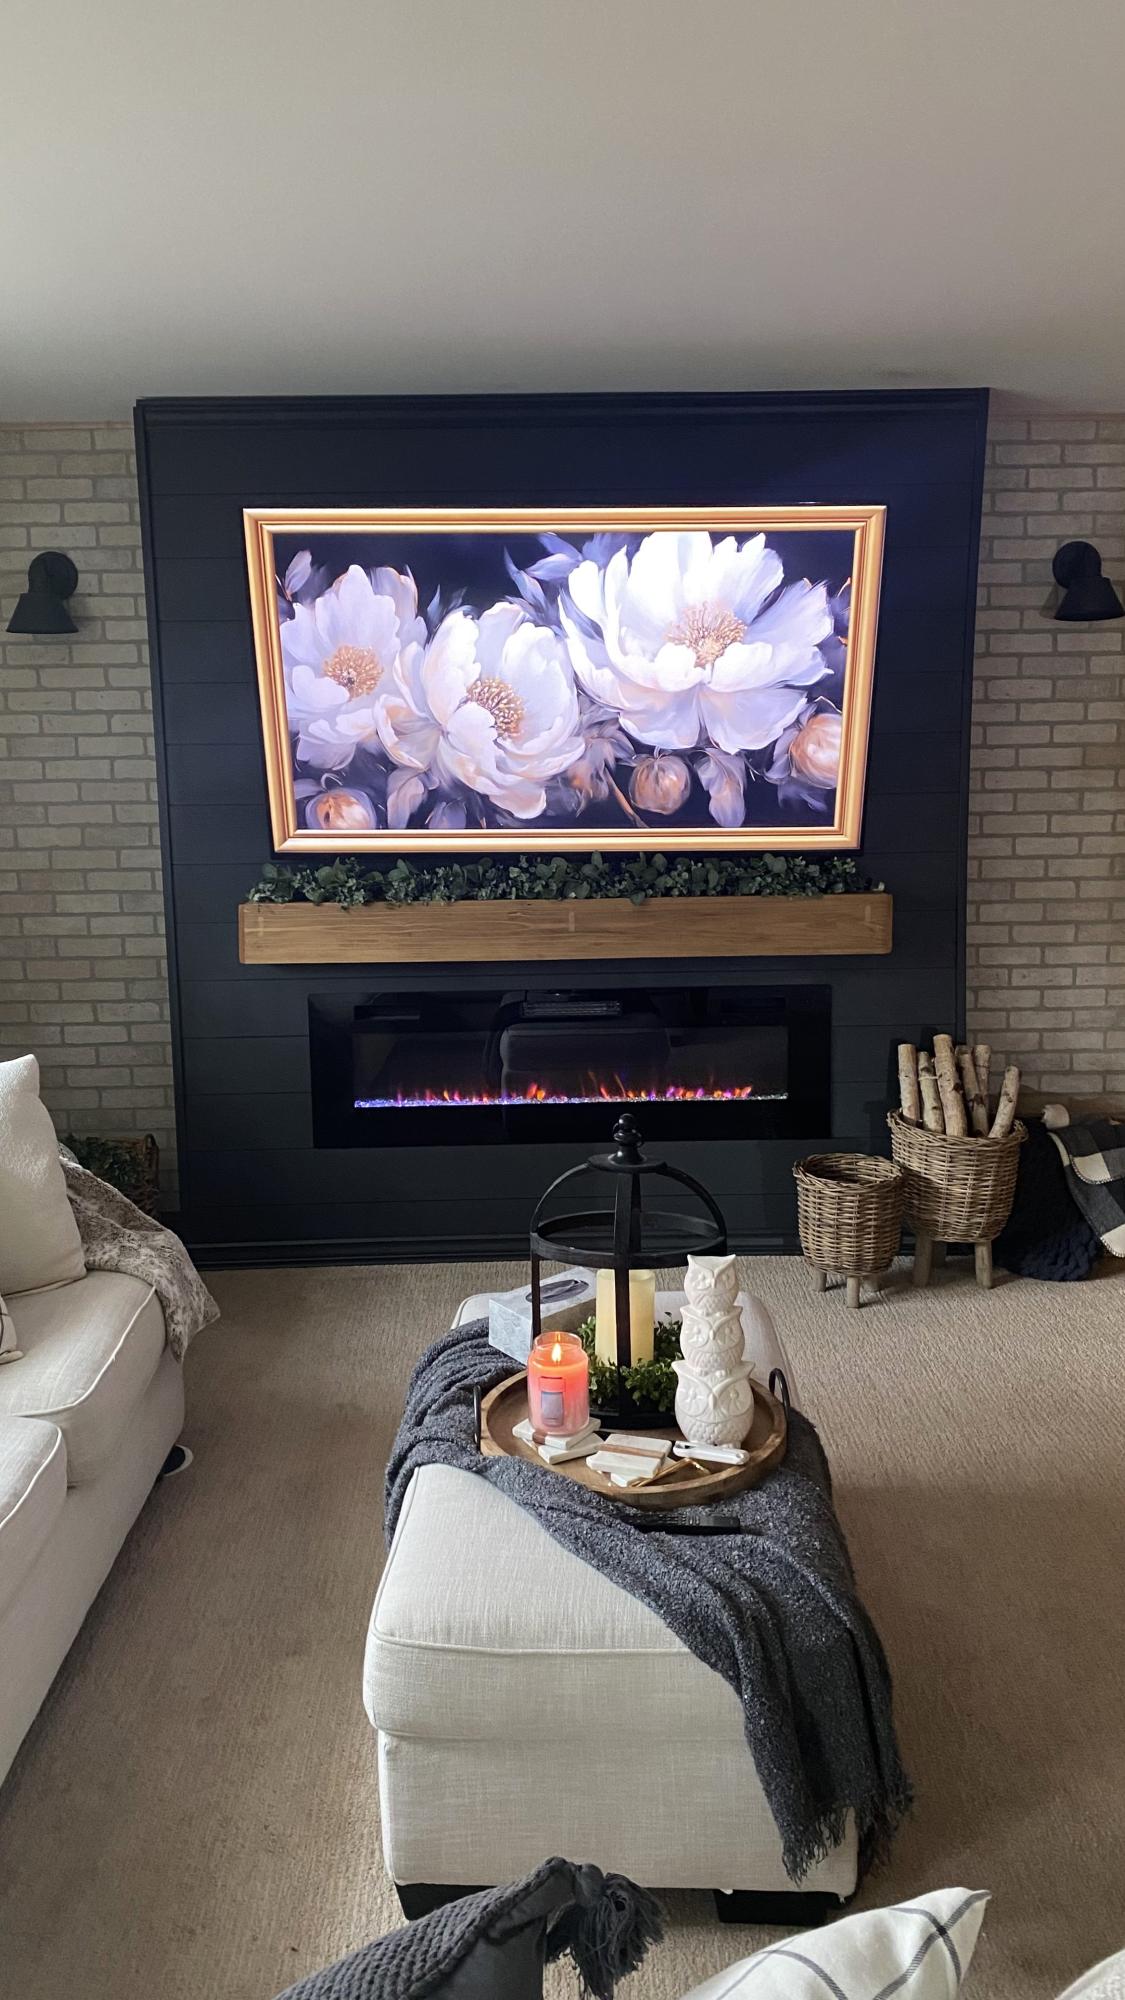
Forever home in 2022 didn’t have a fireplace build my own love it🖤🙌🏽
Gina Gliwa
Built from Plan(s)
Seasonal And Holiday
Forever home in 2022 didn’t have a fireplace build my own love it🖤🙌🏽
Gina Gliwa
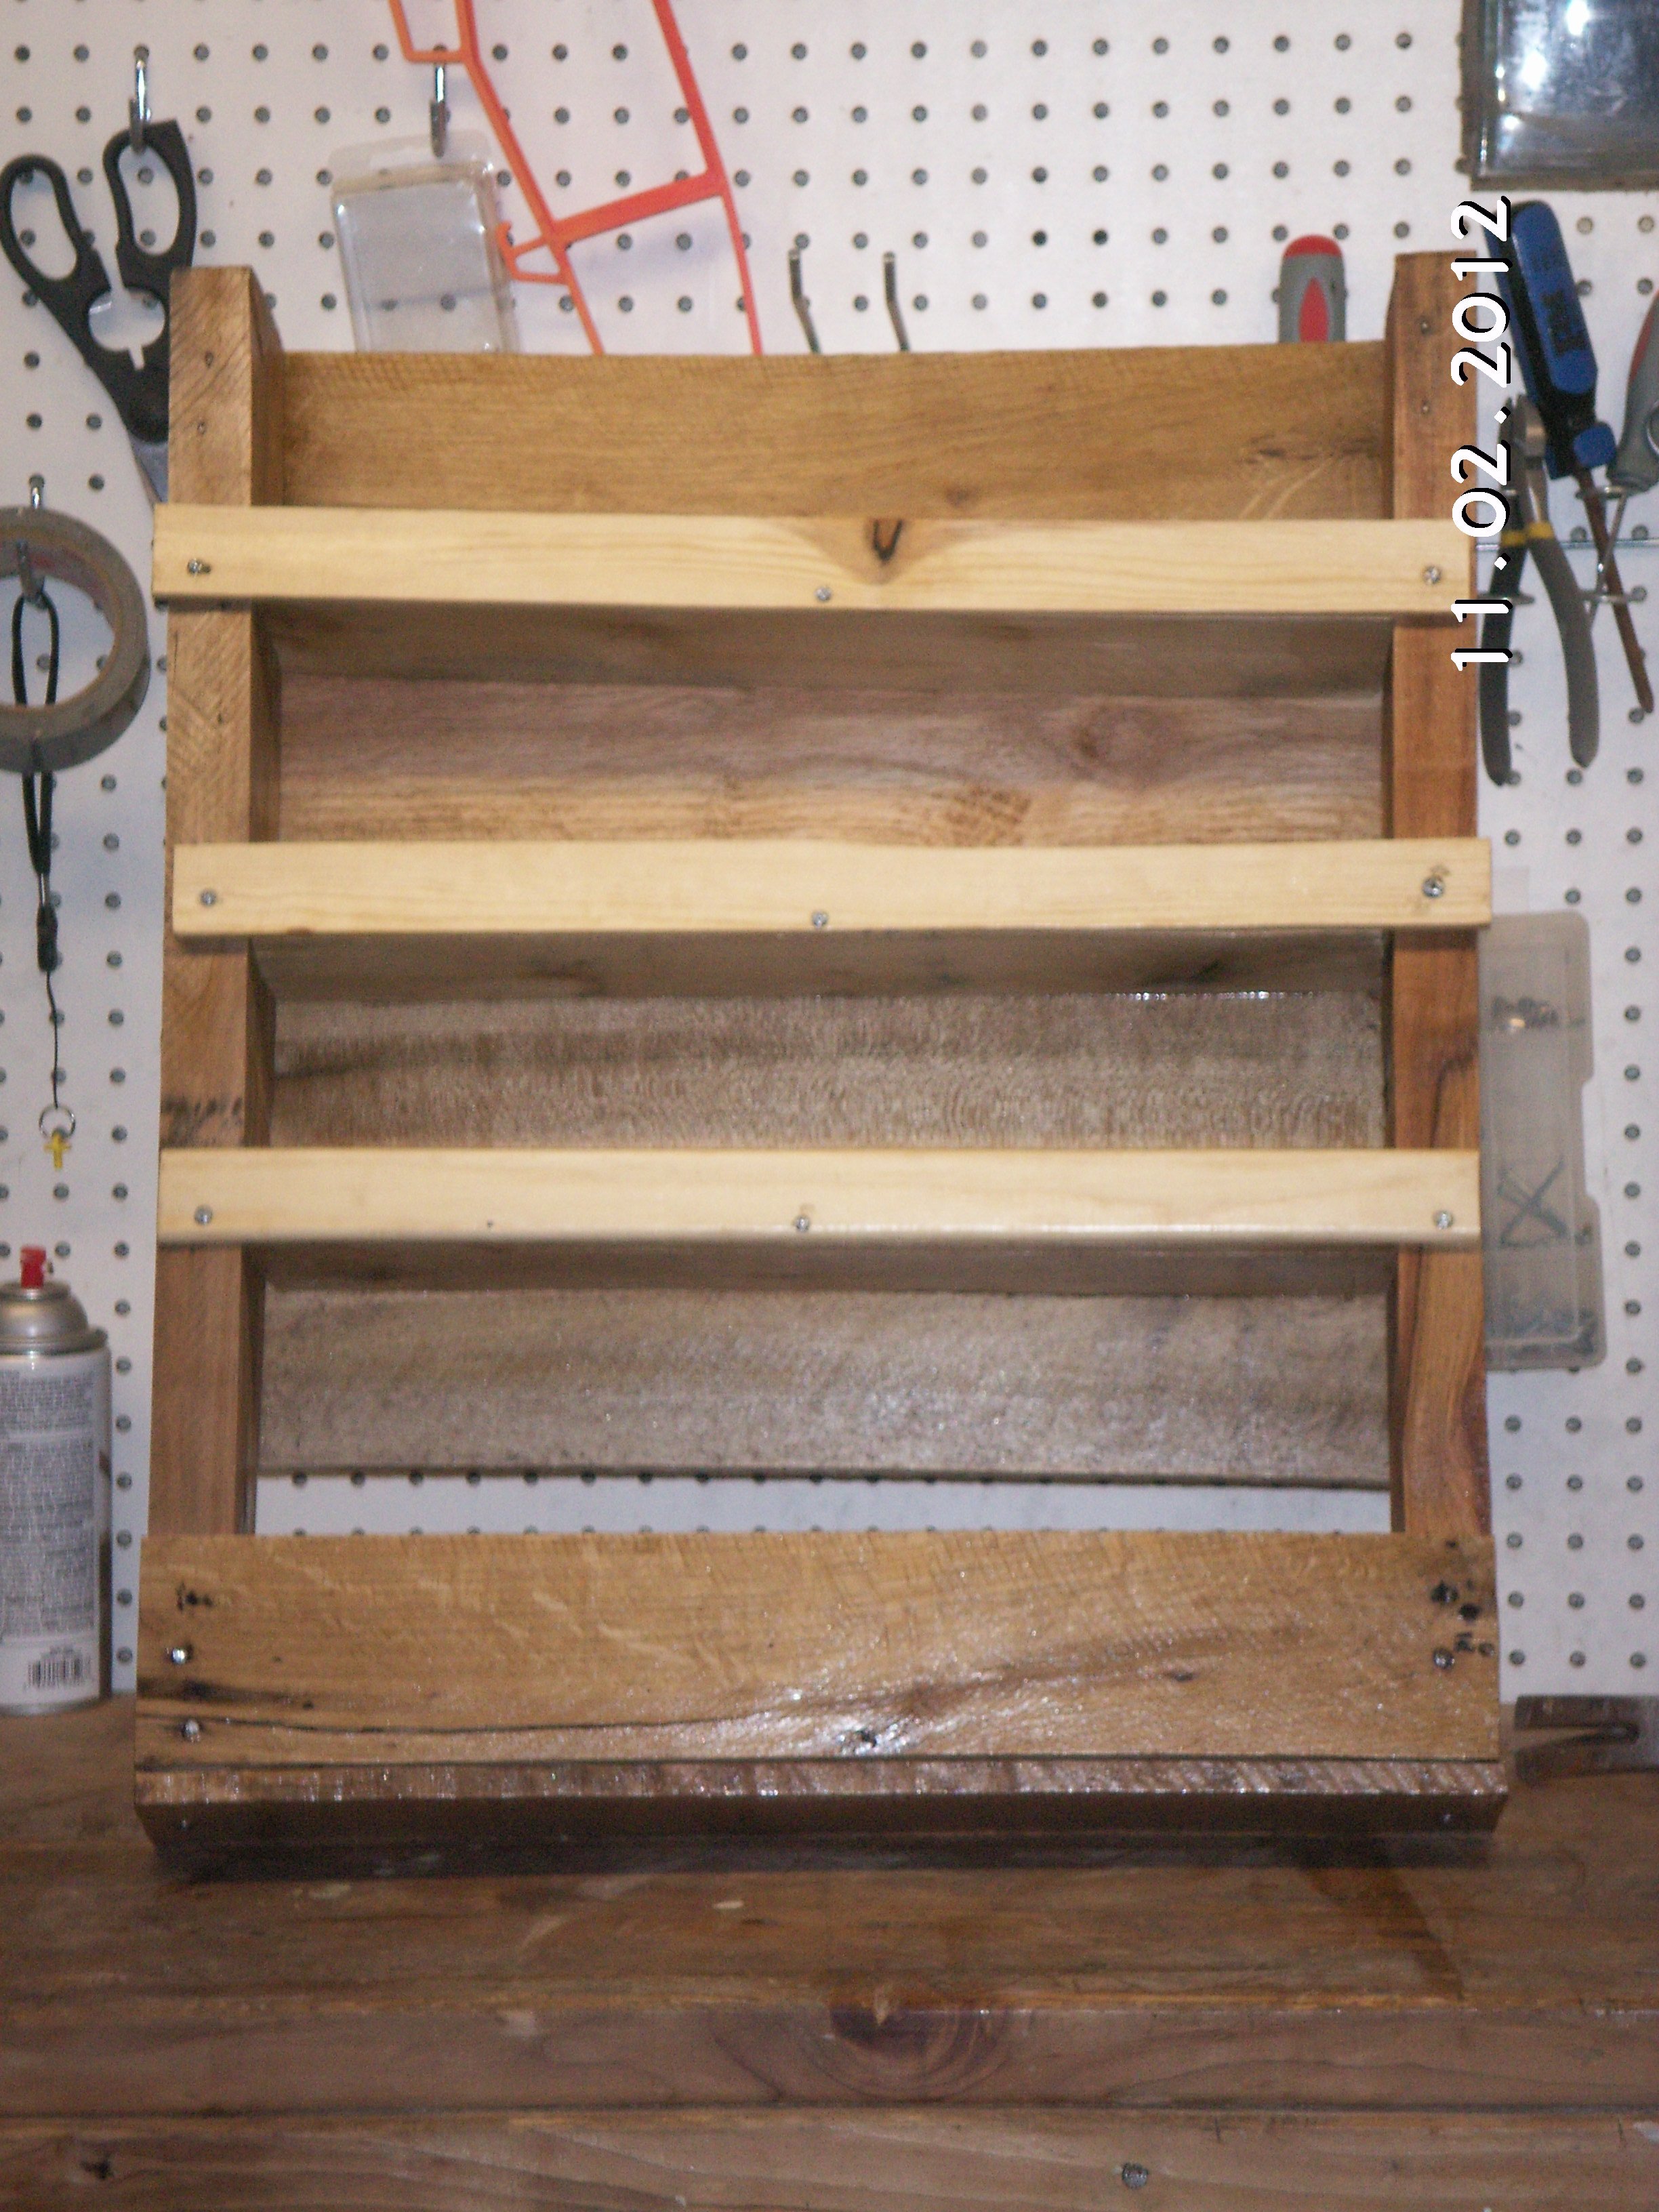
My mother lives with me and we loved the Pallet Shelf Project and made a back door shelf/coat rack. Then, task maker that she is, she decided we need a spice rack in the kitchen, and viola. Still needs another coat of minwax, but should be ready to hang tomorrow! Thanks Ana!
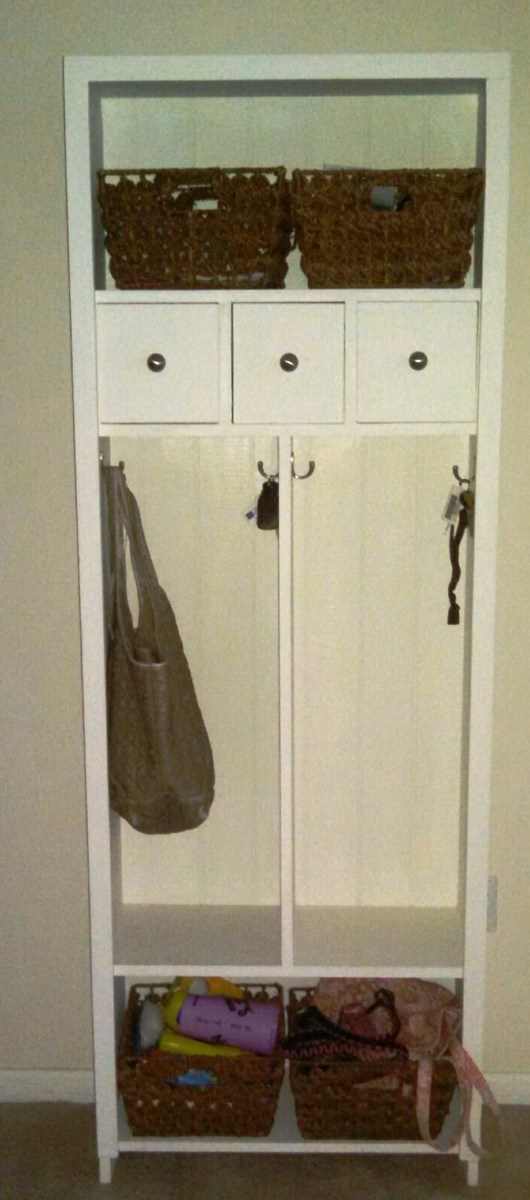
This was my first project which was at our daughter’s prompting with a gift of a Kreg Jig. With her marriage and husband joining the military it has been moved several times. The great thing is that it structurally it is as solid today as when built. Even though I don’t like painting I could not turn the request to sand and repaint. Now I have added a miter saw and installing a dust containment system to our garage along with a side yard full of pallets. I used http://ana-white.com/2011/12/plans/hillary039s-locker-cabinet-charging-… to make the project.
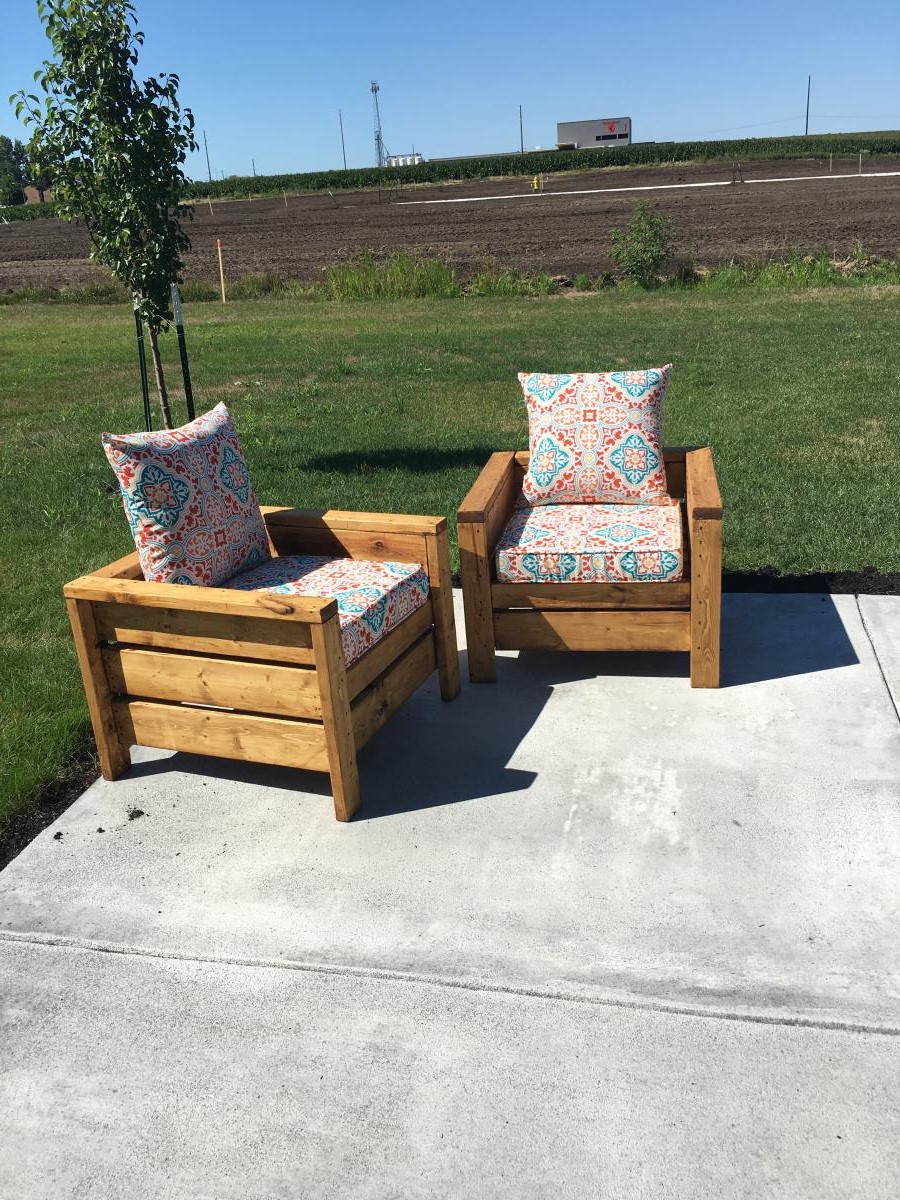
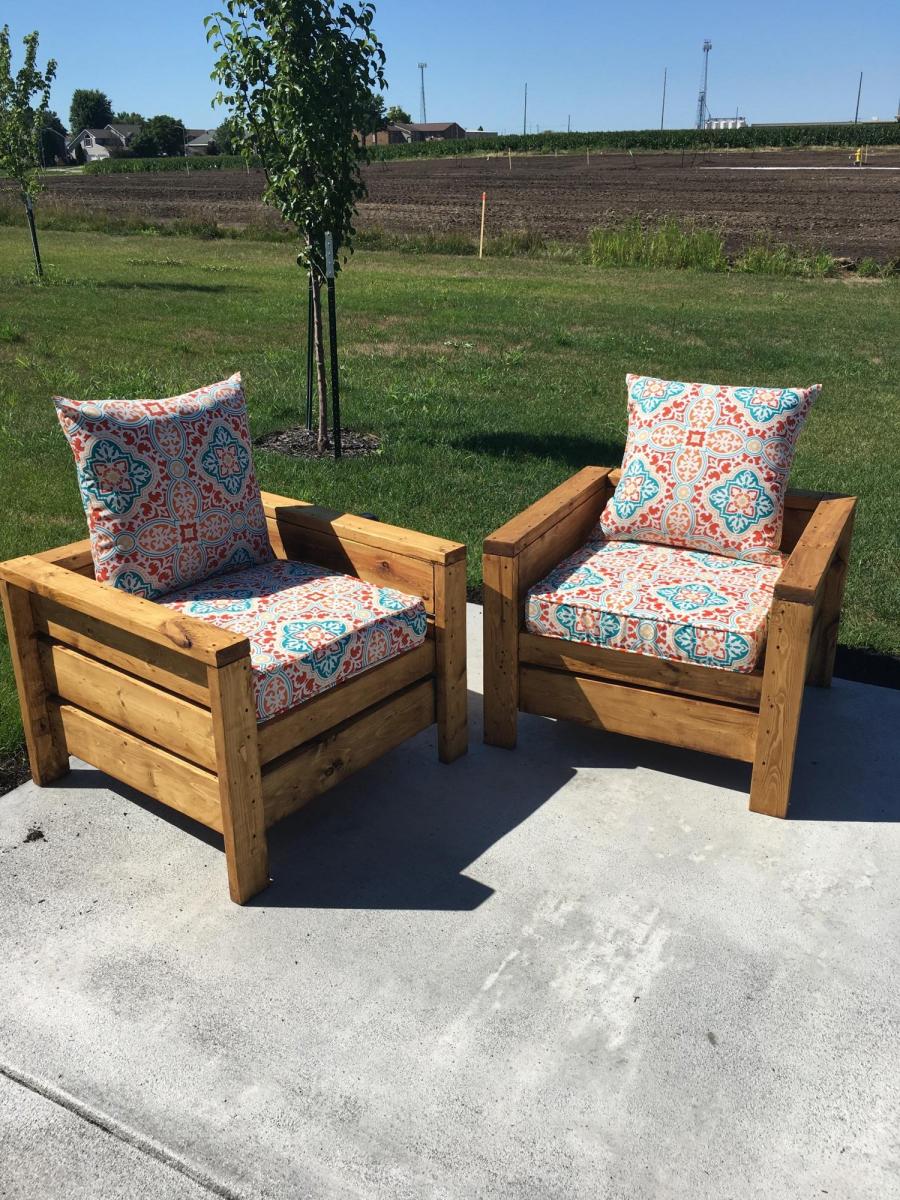
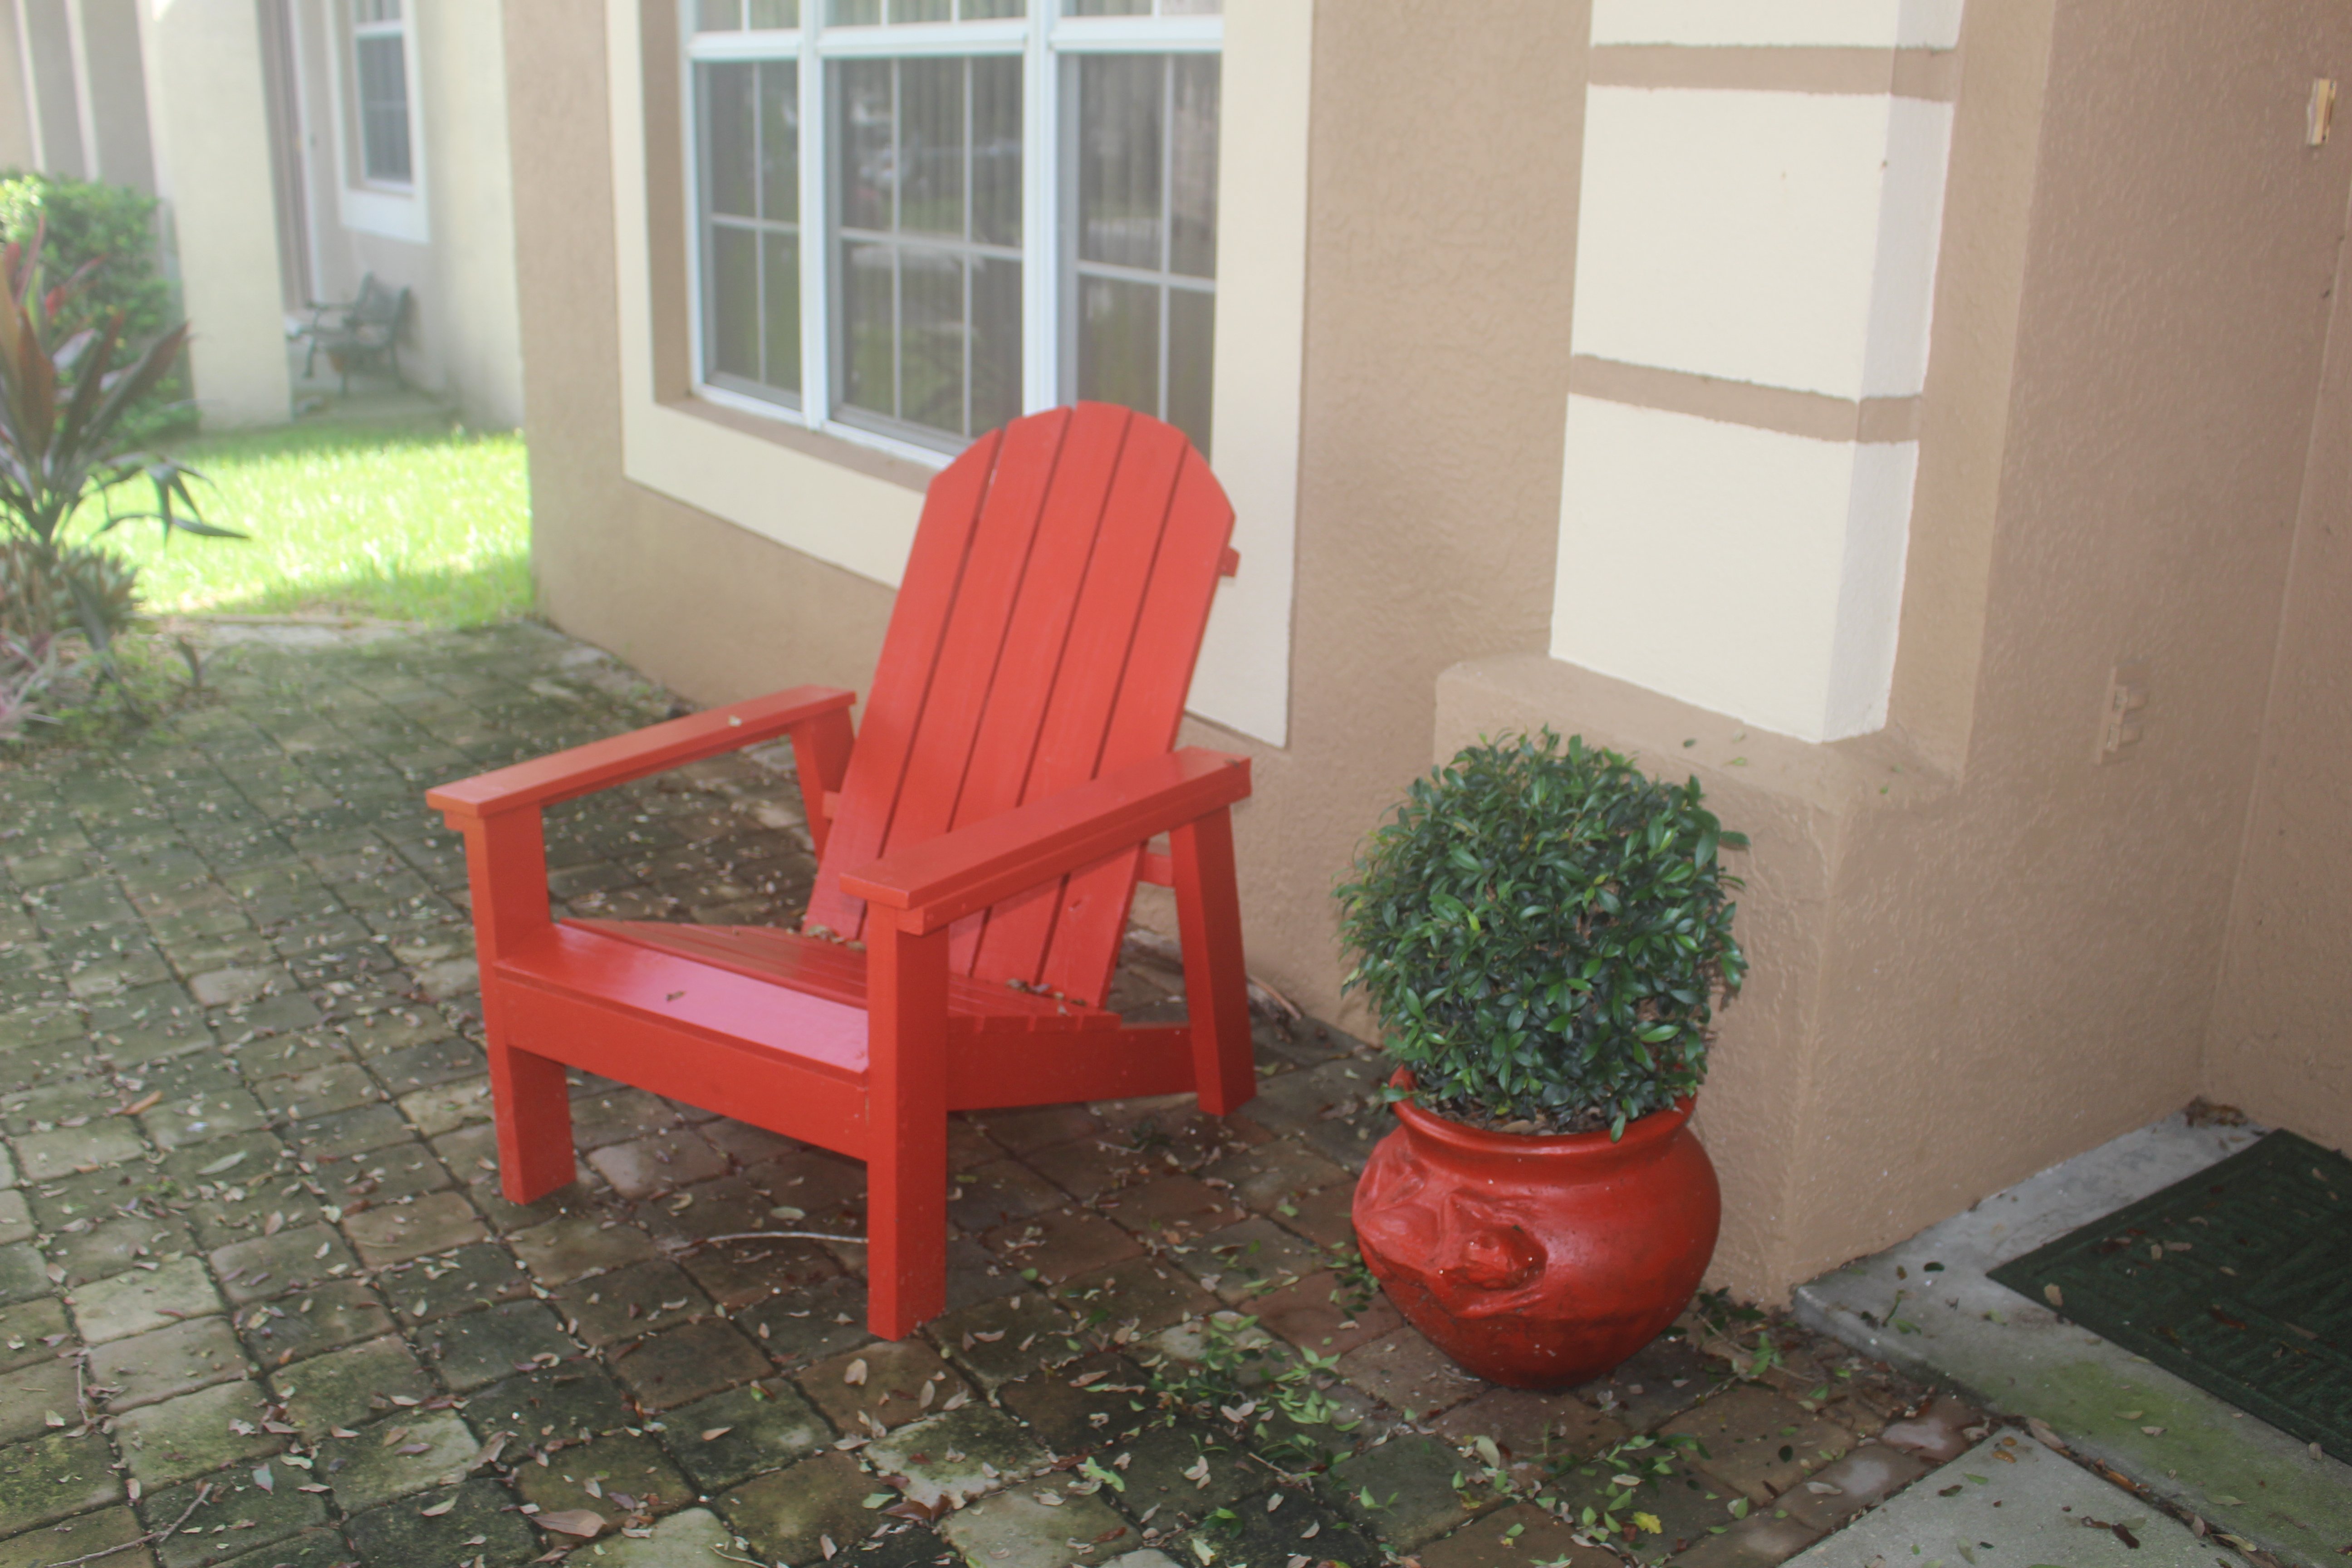
This was my first woodworking project and they turned out great! My wife and I will use these around our fire pit for the summer. I spent one day cutting the wood and putting the project together, and then a couple weeknights sanding and staining the chairs. I thought the directions were spot on! I look forward to my next project!
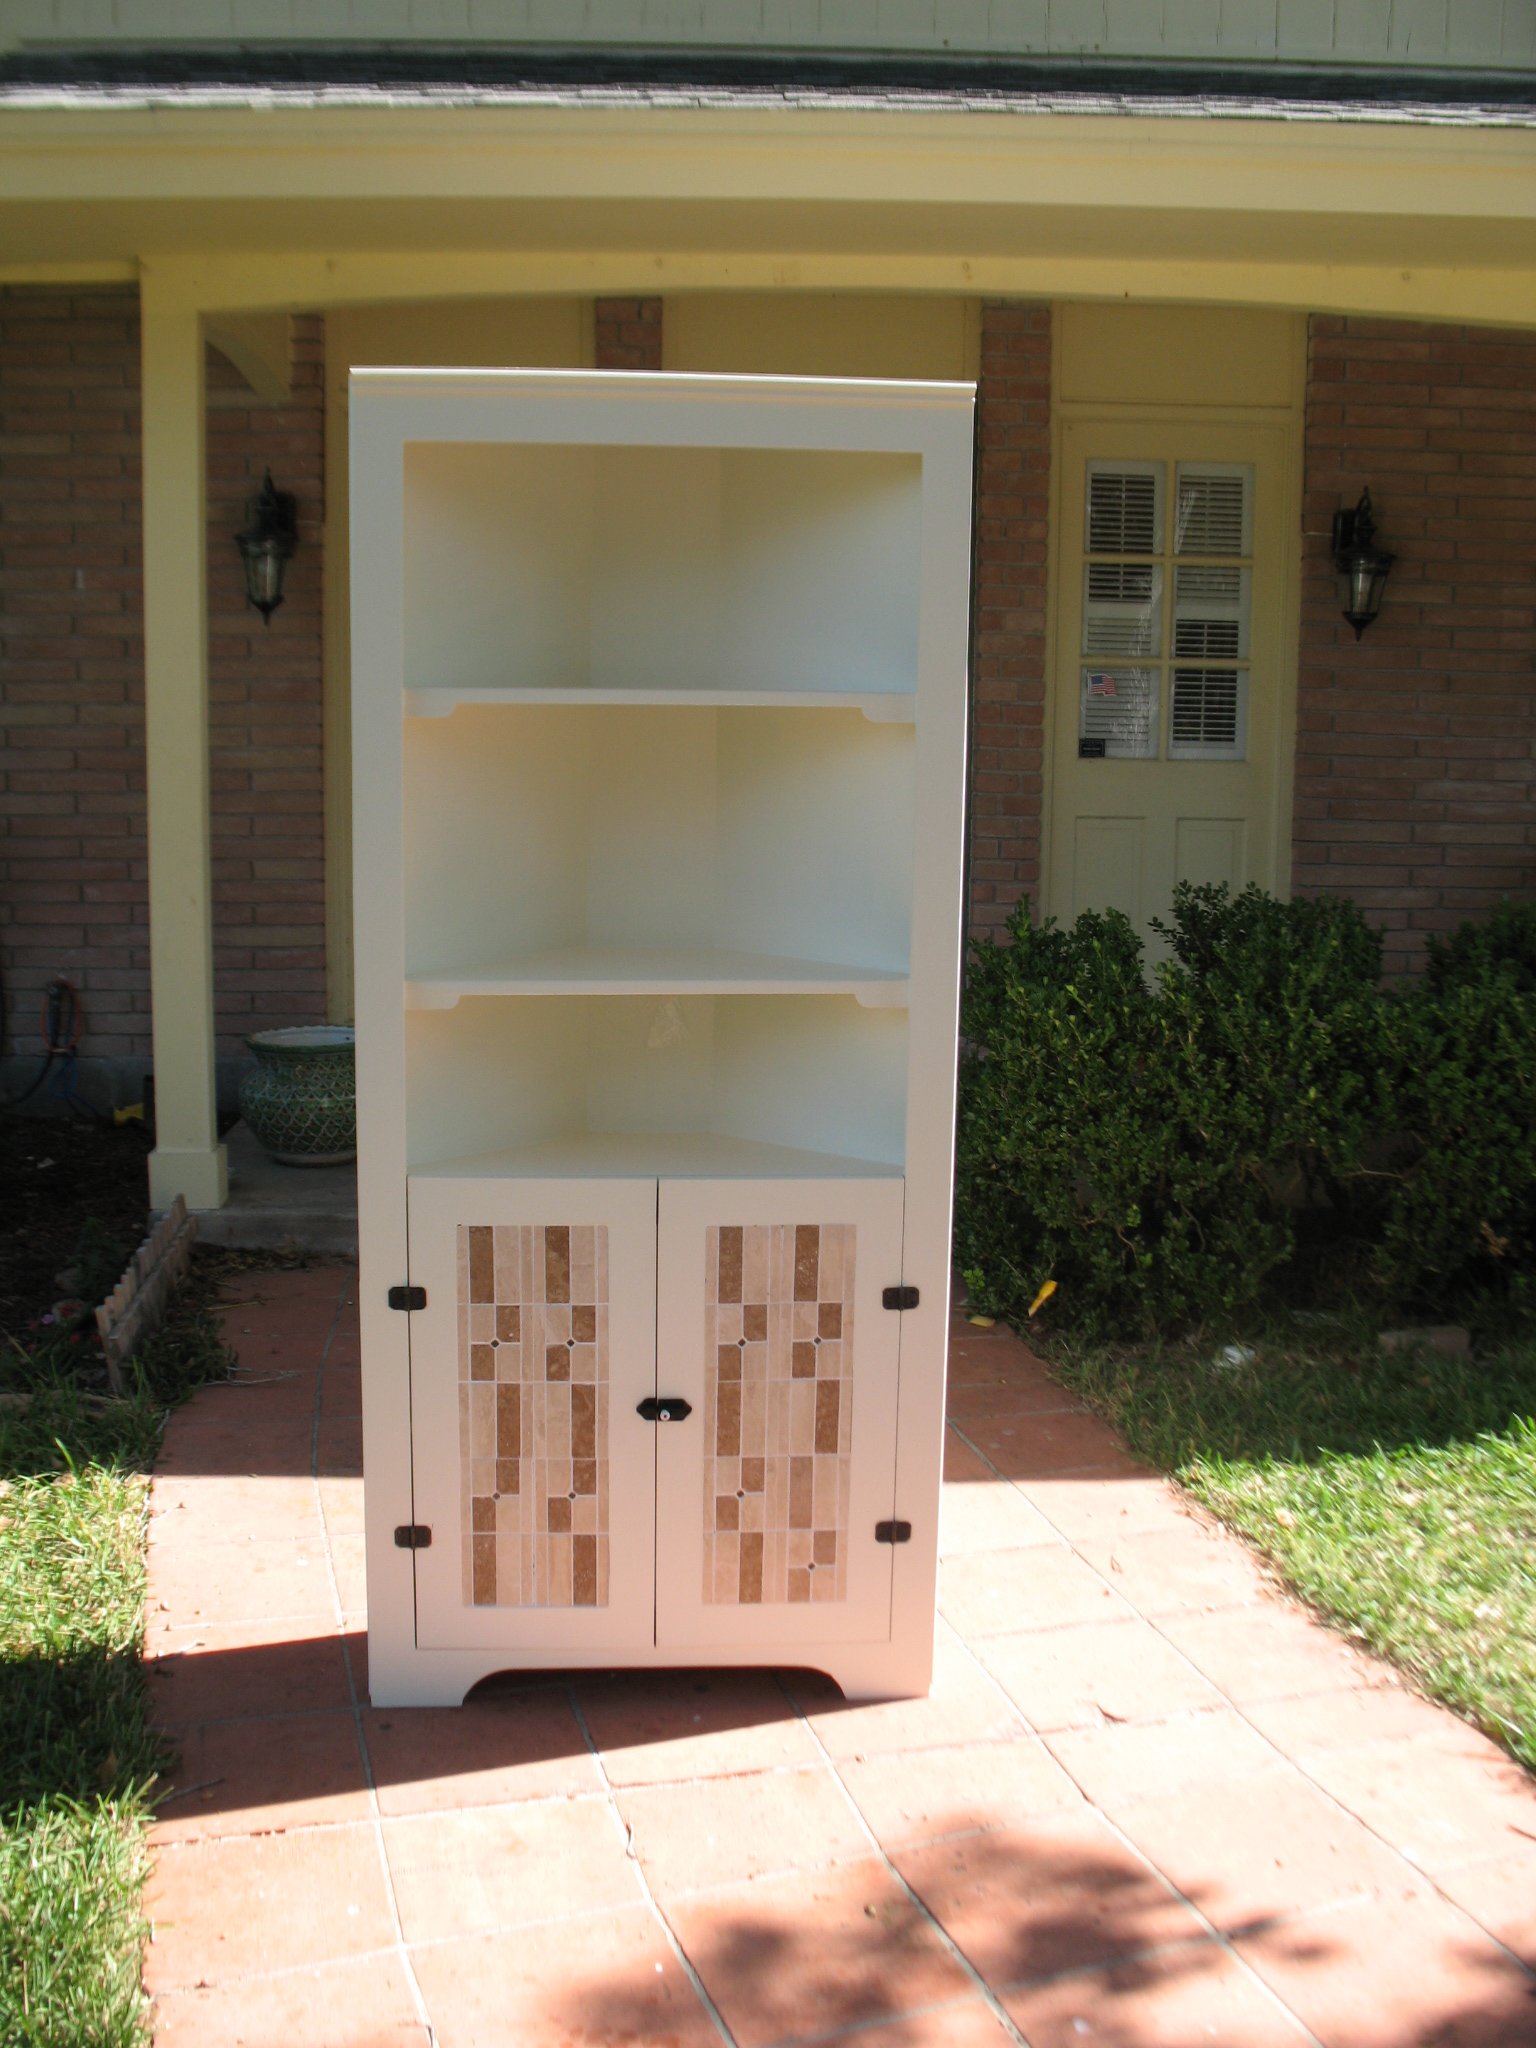
The wonderful wife wanted a corner cupboard so I built the one you see in the pictures. Before I go further I would like to warn anyone attempting this project to please follow the instructions in the plan. I didn't and built the frame first but quickly discovered that it is the back and shelves that determine the final dimensions of the frame. I got lucky and the fit was ok. Here are a few things that I did:
1. I filled in the rough joints made by the plywood sides meeting the front frame and back by gluing in 1/4" round dowels. Looks pretty good.
2. With help from Habitat for Humanity ReStore I found the 1/2" thick stone to fill the void made by the door frames. Looks pretty good I must say.
3. I have a trademark called a "Conversation Starter" in many of my projects. Another name is called a mistake or oversight. Look closely and you will see that I grouted in one of the four stone sections upside down and the center jewel is out of place.
4. I could not find decent hardware locally so I went to Kennedy Hardware in Zionsville, Indiana and found the black cast iron hinges and clasp.
5. I did not read the contract with my wife and discovered that I now must repaint the entire dining room to match the corner cupboard. Read before Signing.
Building the cupboard was a fun project that will test all of your abilities and patience. Just remember follow the instructions and keep it square and level in all dimensions.


Sat, 11/03/2012 - 23:53
I love it, looks great. I'm sure you wife is very happy with her new piece of furniture (& getting the room painted). Remember ... happy wife, happy life ;)
In reply to Happy wife, happy life ;) by Juanita_r
Mon, 11/19/2012 - 17:33
Juanita I need for you to explain to me the female mind. We have only been married for 45 years and I still do not understand. The corner cupboard became paint the dining room. I did that. Next the floor needed upgraded so I am almost finished laying a new oak floor. As I neared the end I have been informed that the wallpaper needs to be changed. So the $150 corner cupboard has become the $1000 room makeover. I should have seen it coming!
Sat, 04/13/2013 - 13:39
Well Jake first let me say very nice job. My wife had mention wanting a Corner Cabinet for one of the bed rooms and pointed this one out. ( I was unable to keep her off this site after I finished the hutch ) I was looking at it and then read what all you had to do afterwards LOL. So I am going to get it in writting that I get to build my workbench for the shop, after this build. Again Nice Work

This project was super easy to follow the instructions. We did have to rip a couple of the boards for the paneling on the back to make everything fit together with no gaps but it turned out beautiful!
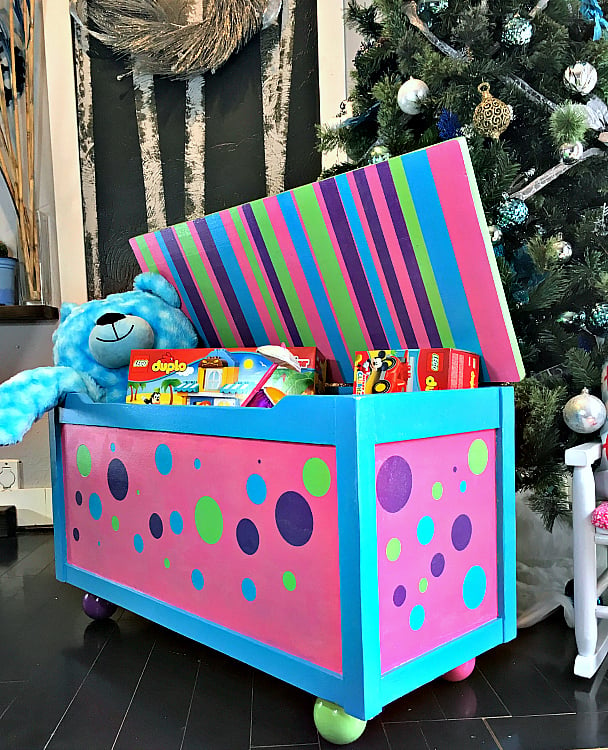
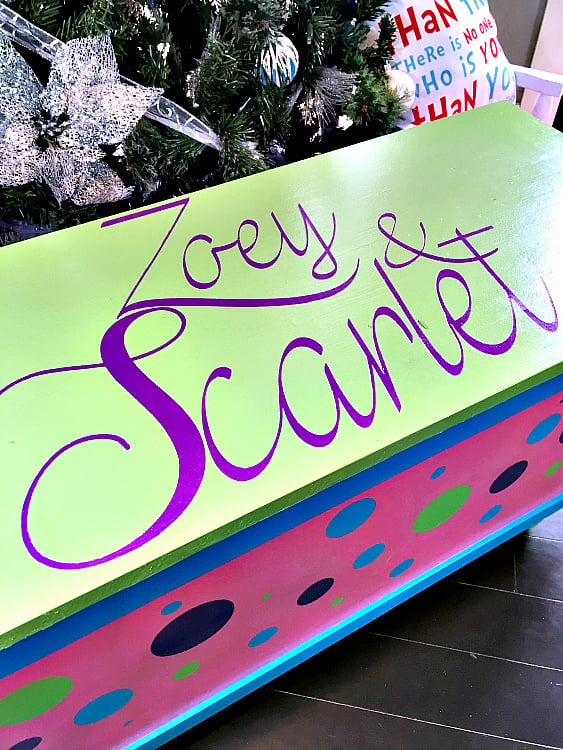
I wanted a bright and fun toy box to give to my nieces for Christmas because they are so bright and fun. I opted for fun little ball feet instead of continuing the sides down. Thanks for the great plans!


Being older, my wife and I wanted the deck sofa with an angled back, so... here it is, stained in a dark walnut. We bought the cushions cheap ($120 for all) at Home Goods.

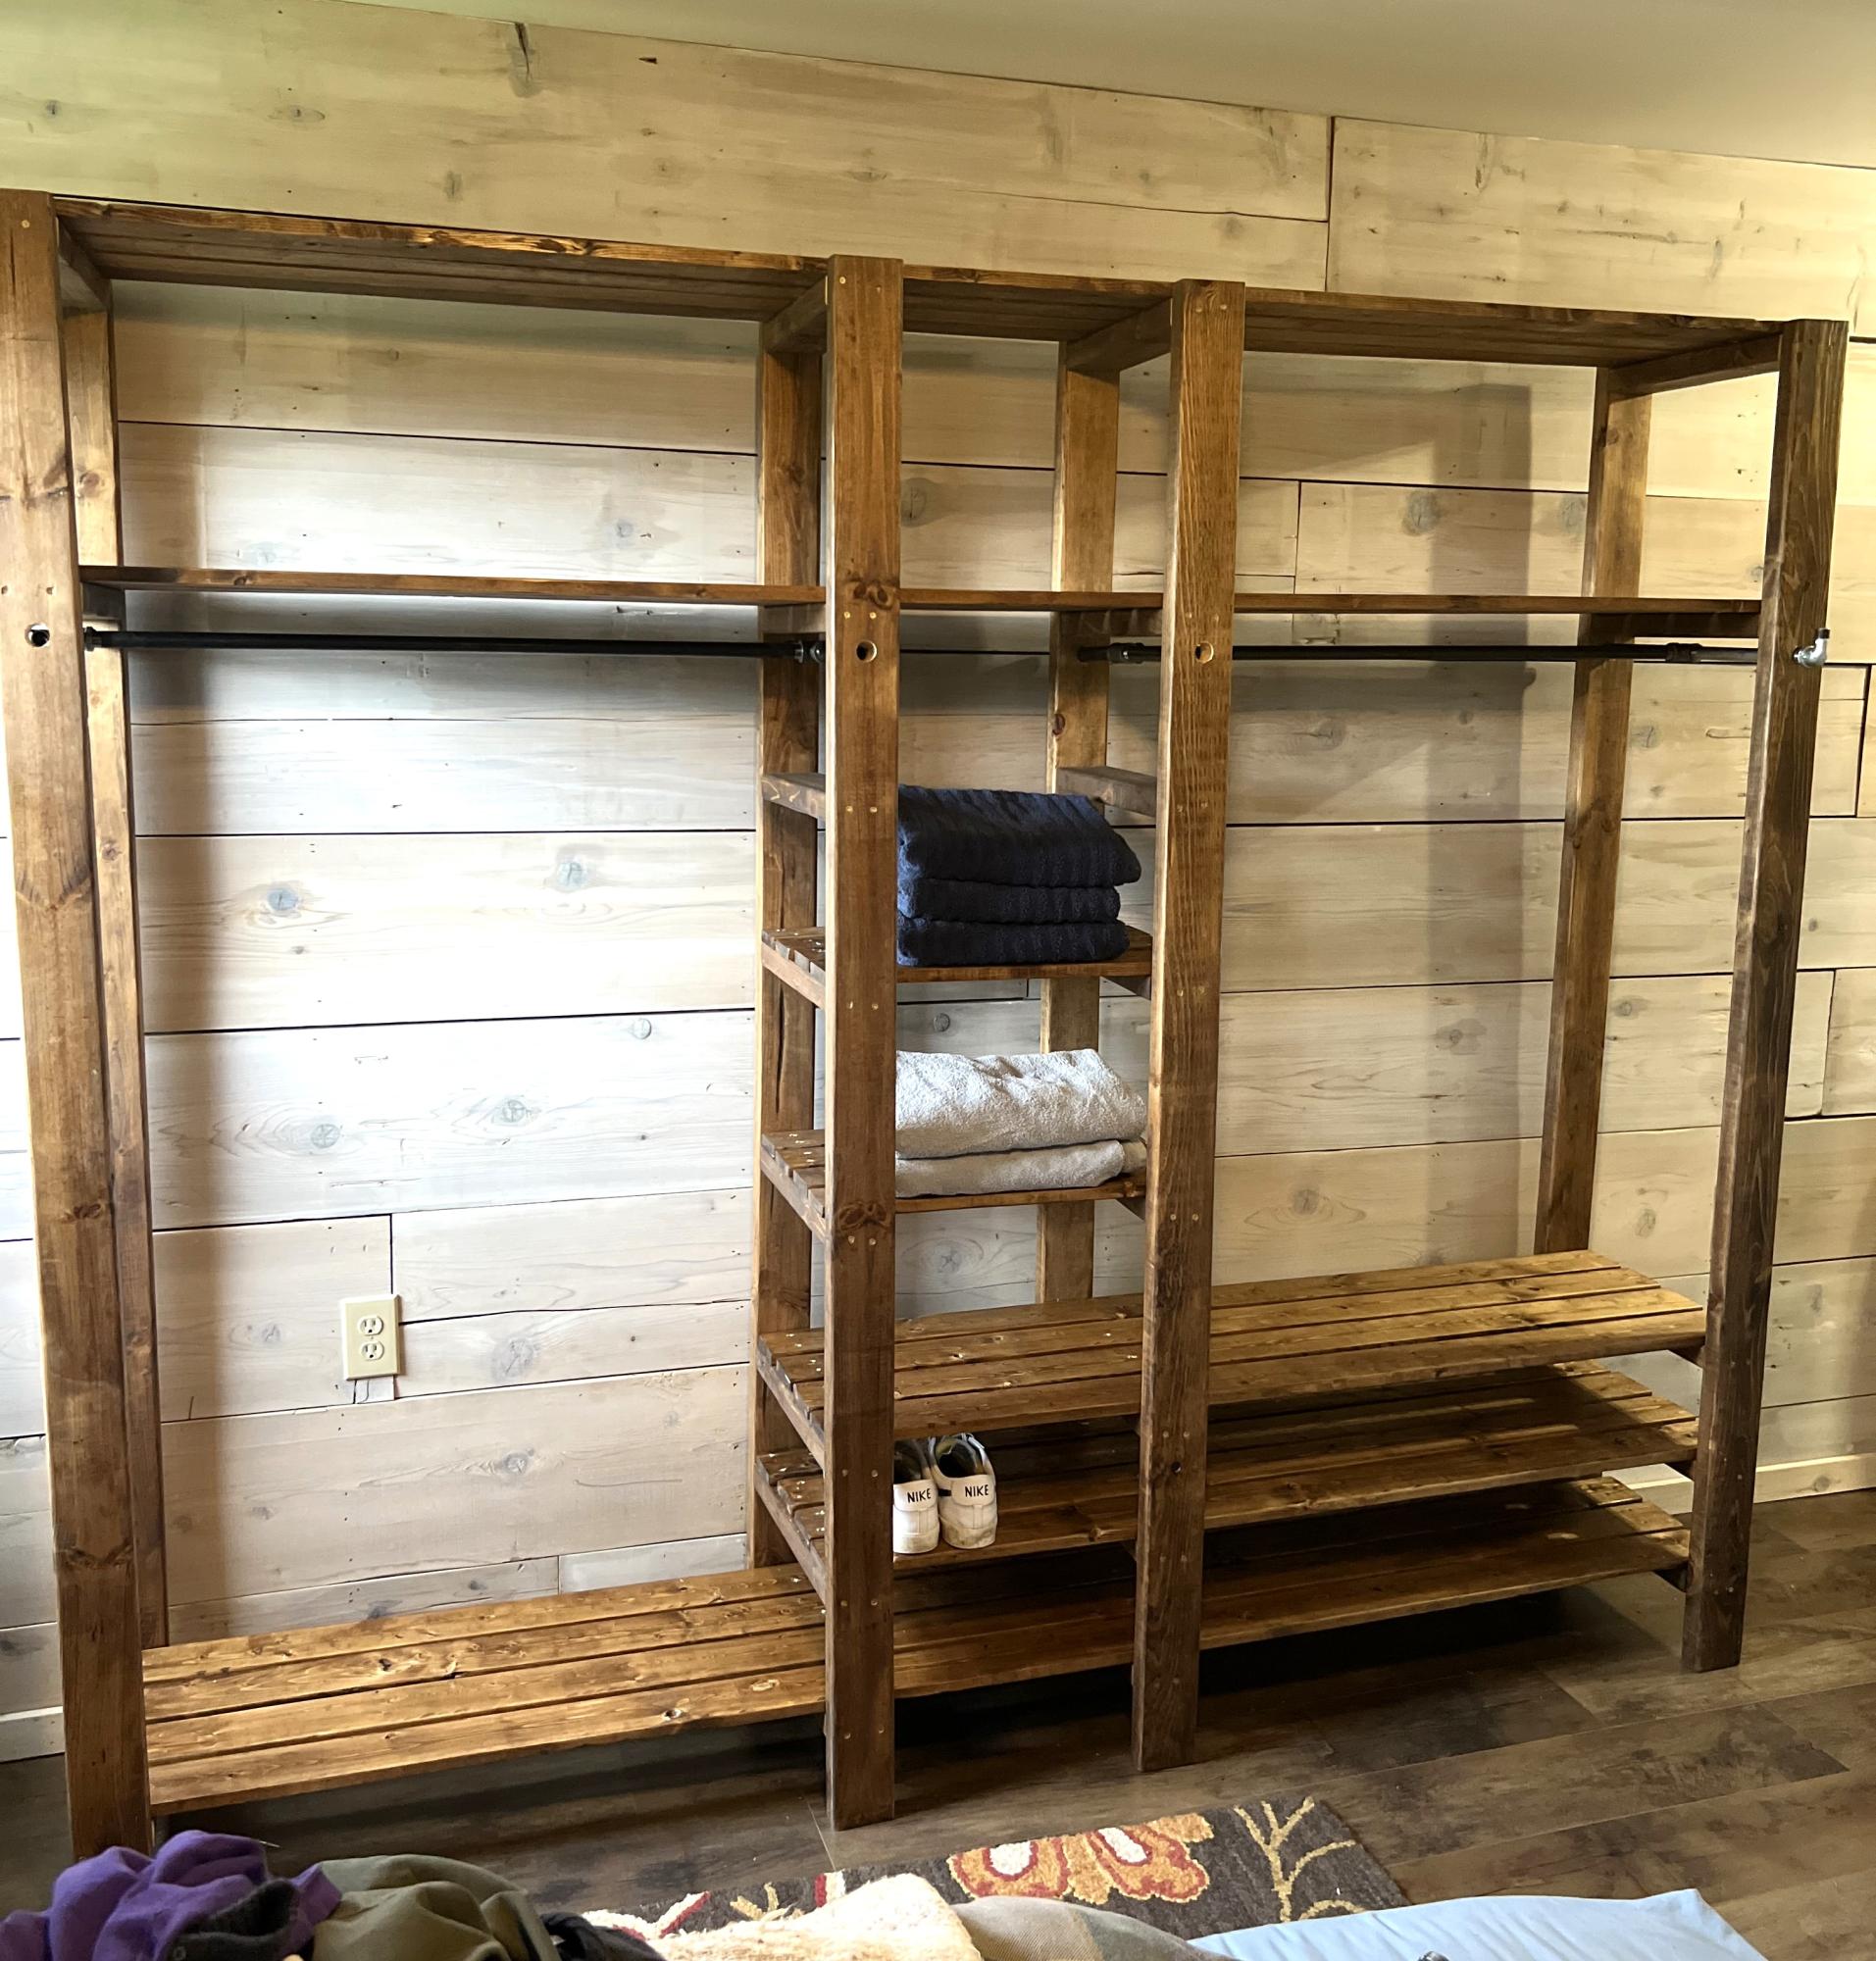
I made this for my future daughter-in-law so that she’d have a place for her stuff when she moves in!
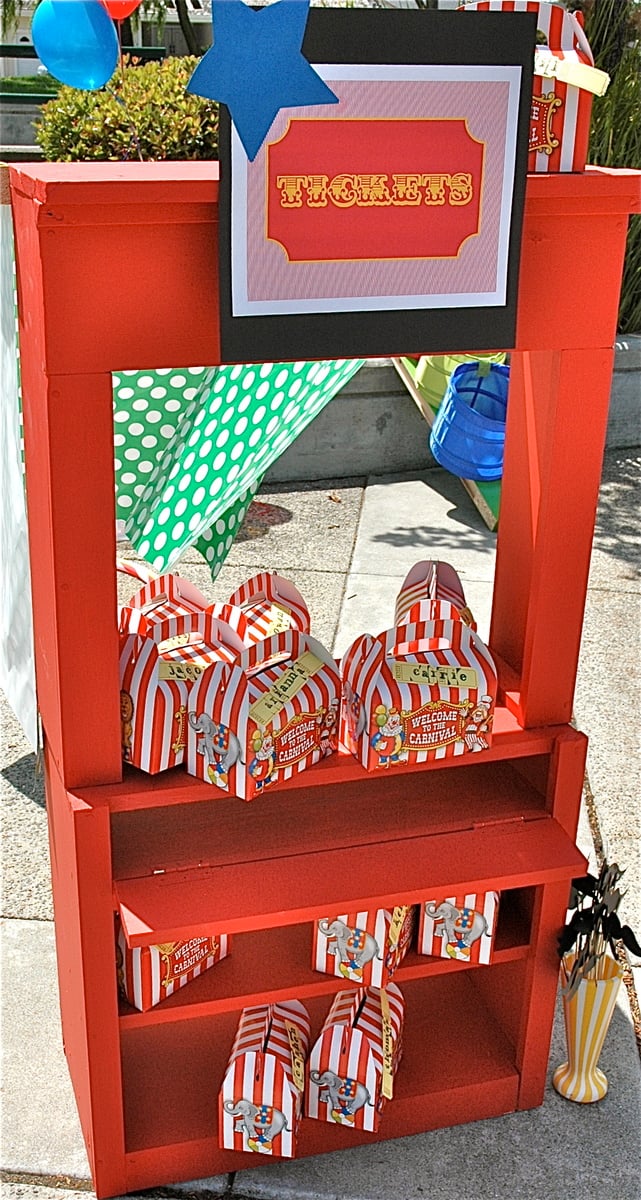
I was planning a carnival birthday party for my 4 year old son and just *had* to have a ticket booth. The Library from Grace's Town was perfect! The ticket booth doubled as a photo booth later in the day. It was my first time building anything and it was fairly easy for a first-timer although I will admit getting a little bit of help from my brother-in-law and father. :-)

Loved this project, it gave me a chance to work on angled cuts. For the finish I used Minwax Express Color in Walnut.

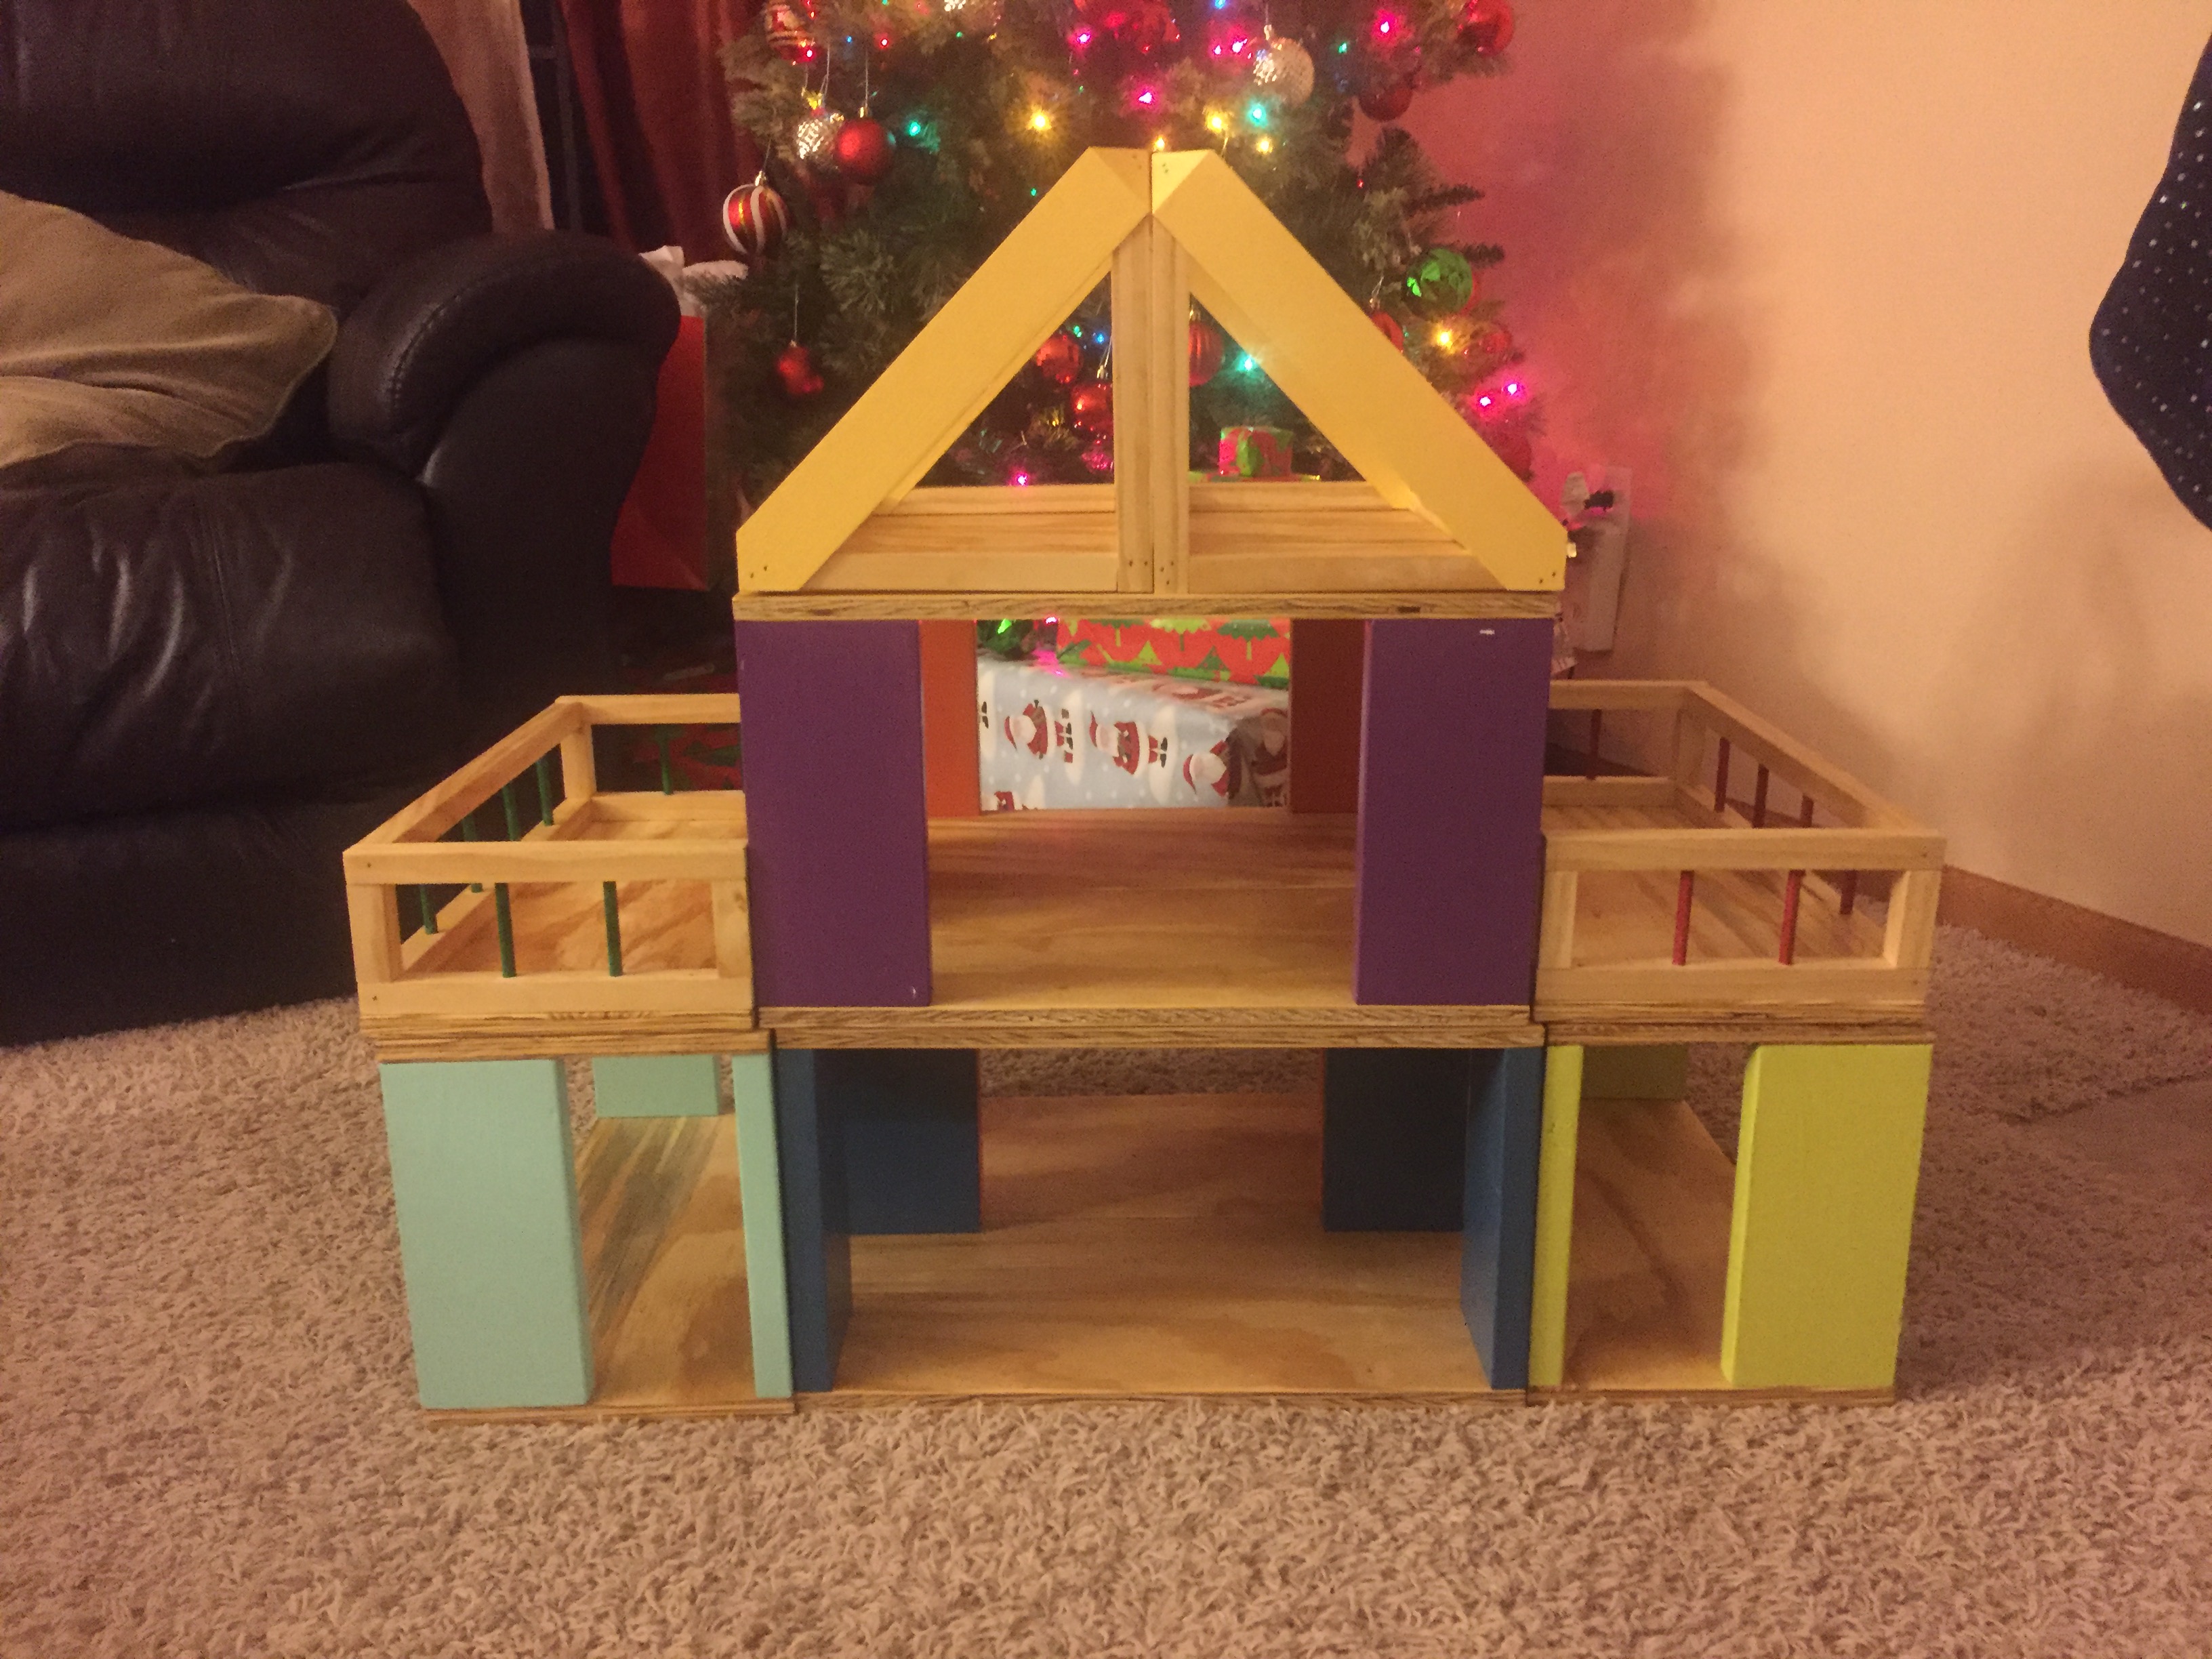
This was a quick fun project that took less than 6 hours. I wanted a doll house that was gender neutral and this is perfect, I love that my son and daughter can plan together or separate the pieces and play separately. 1 piece of advice, spend a little extra on plywood, sanding was the most time consuming part of this project and I am still a little nervous about my kids getting splinters.
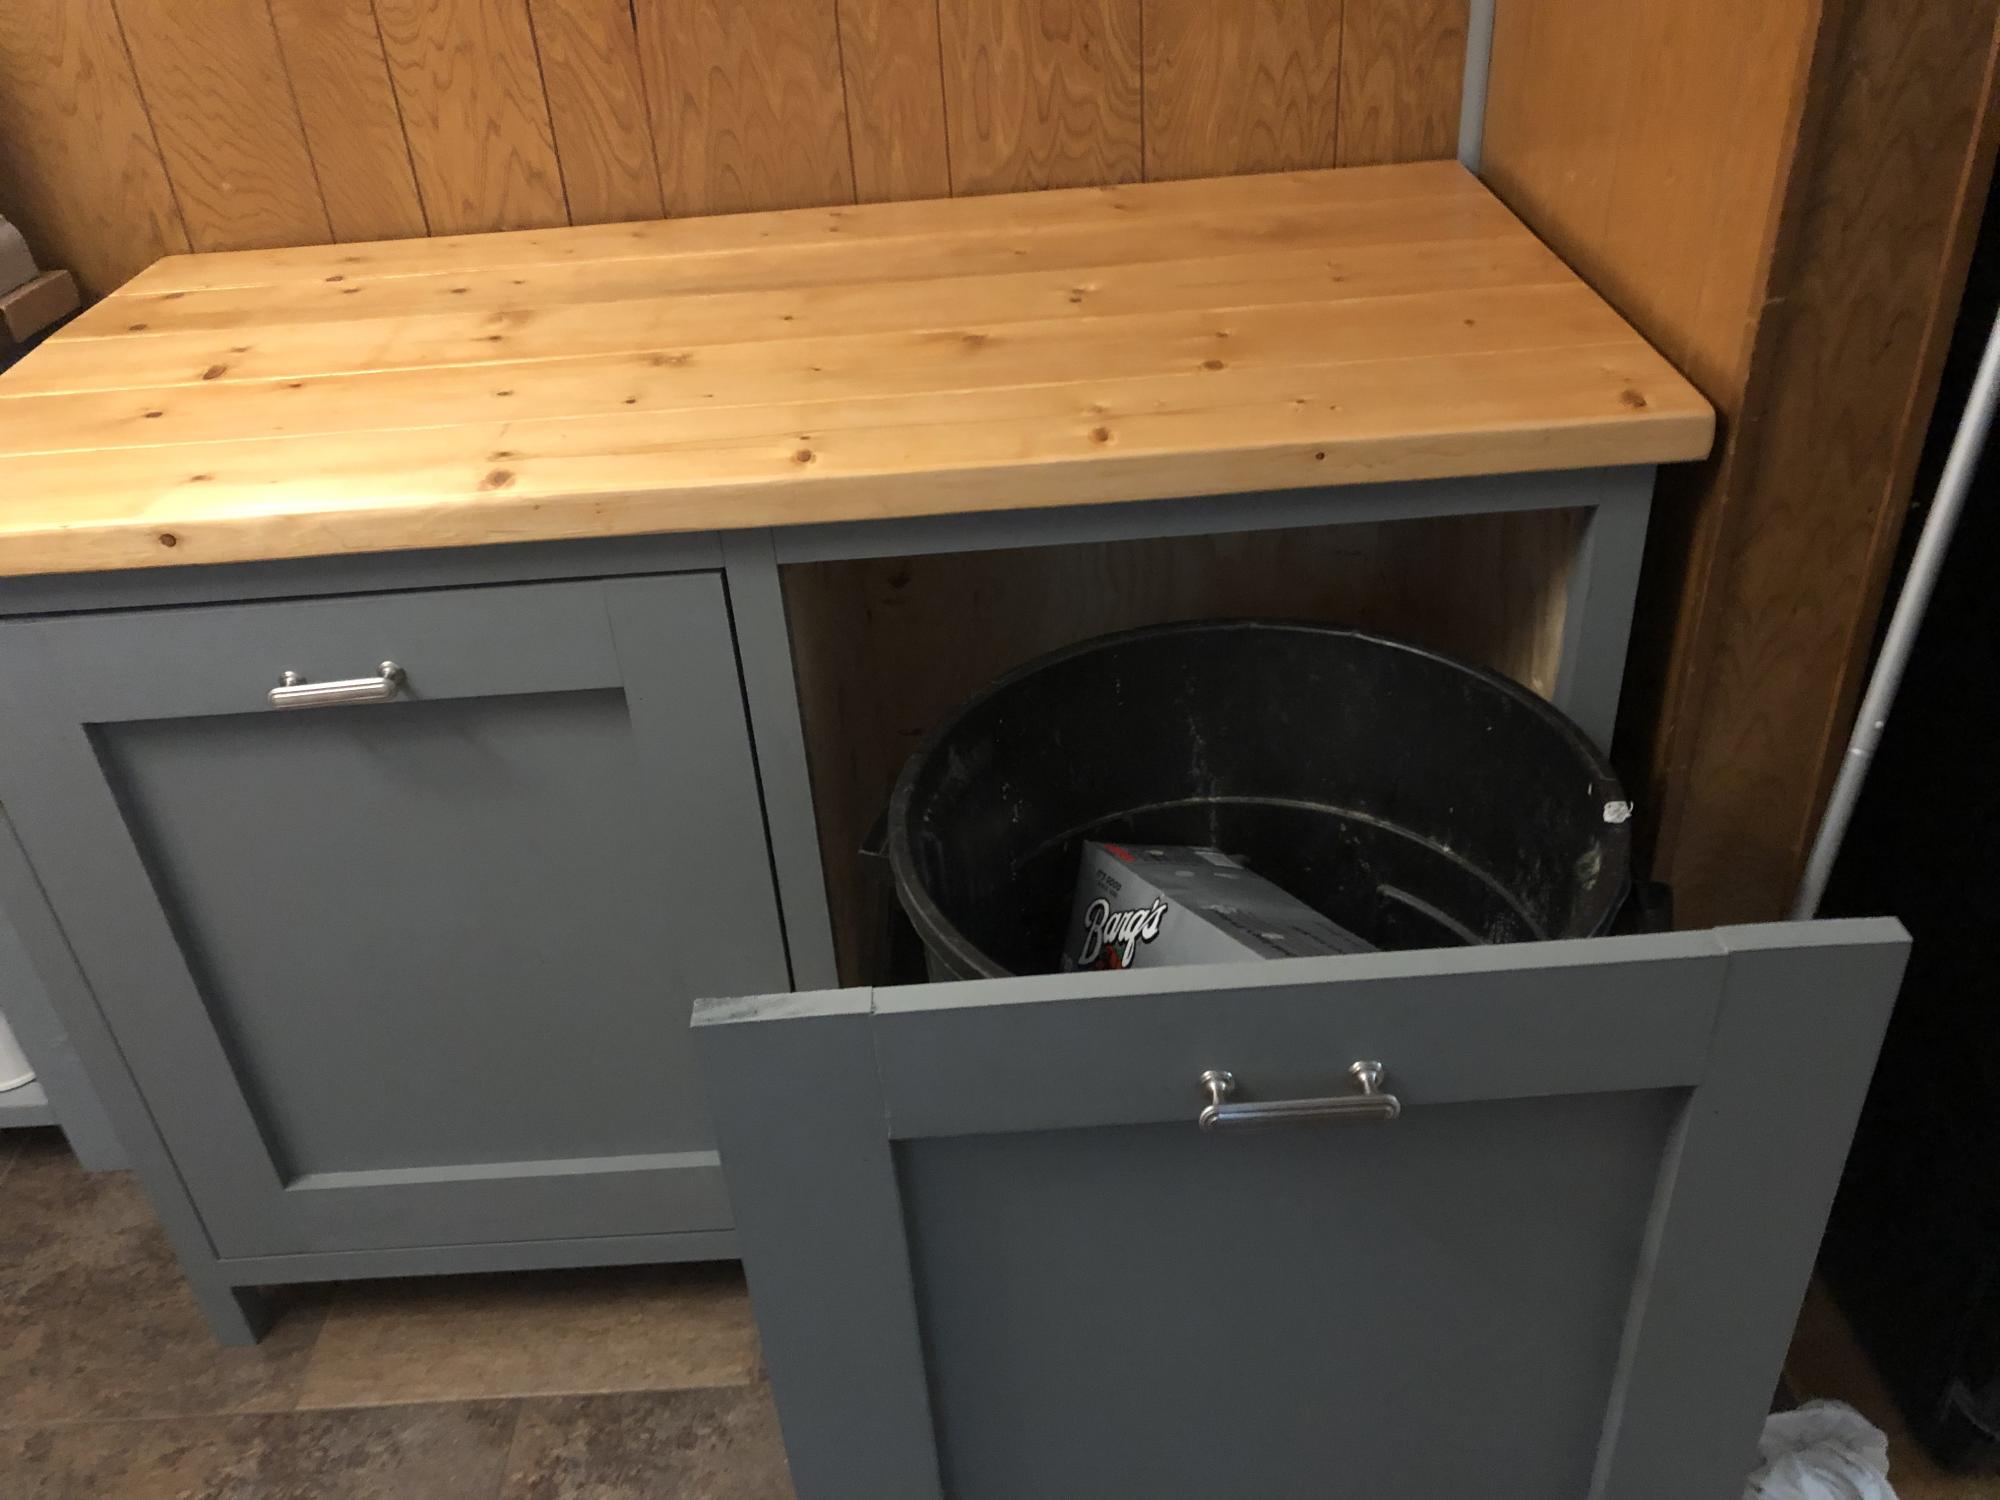
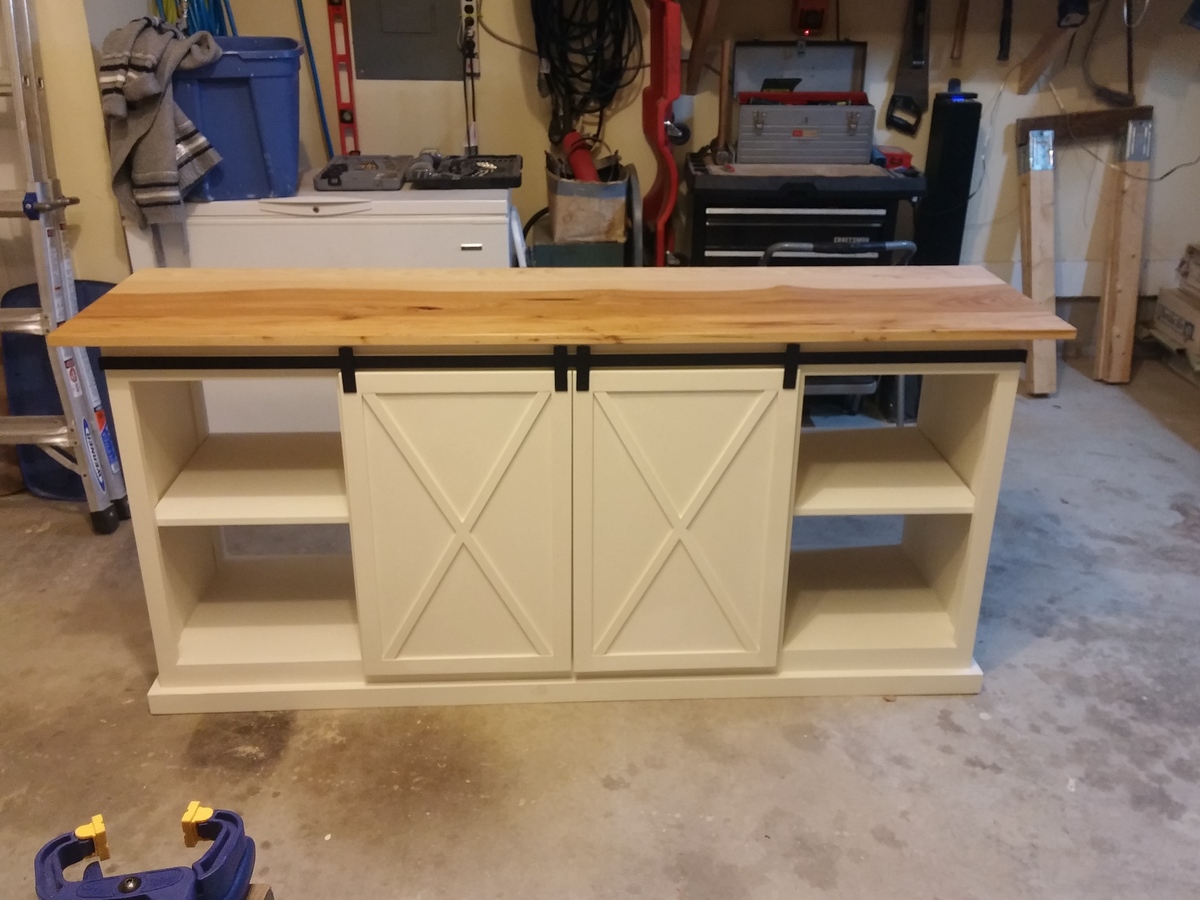
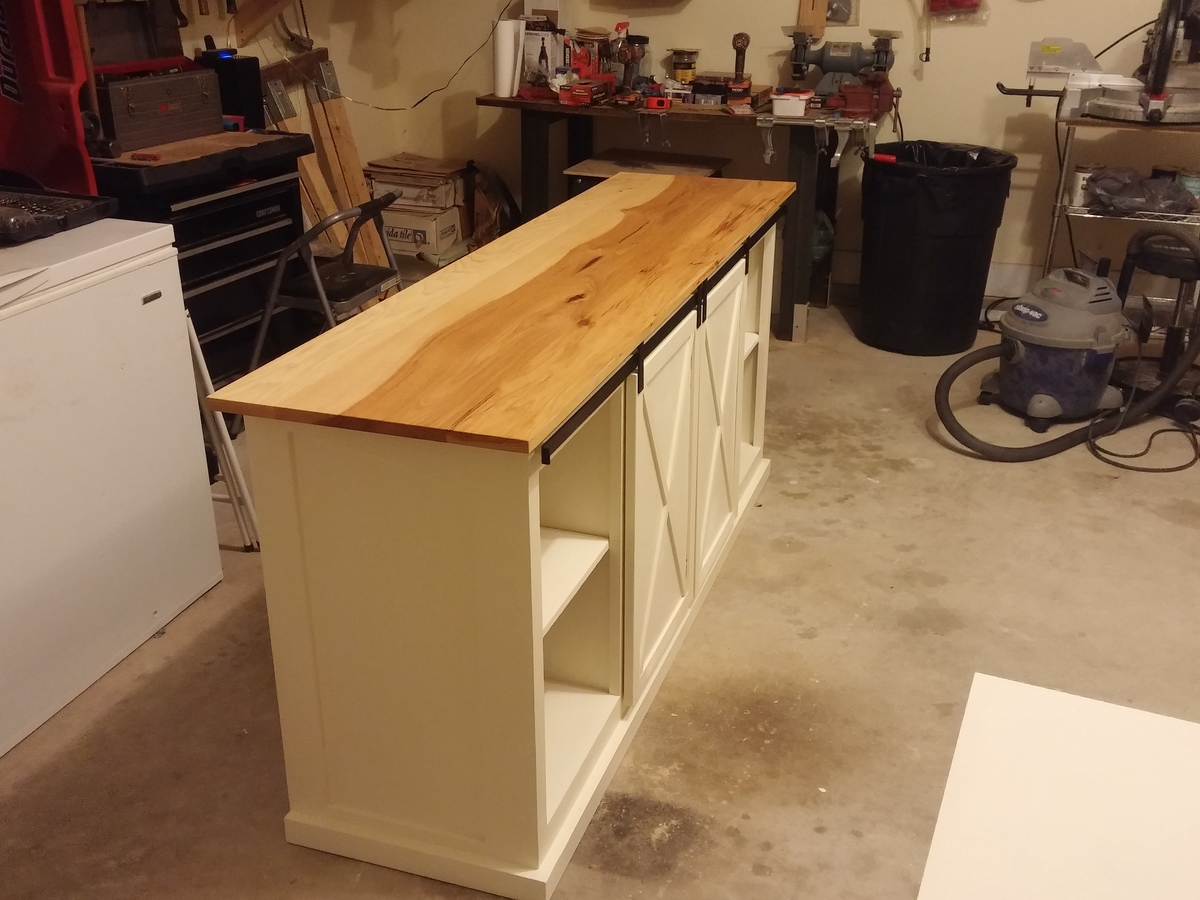
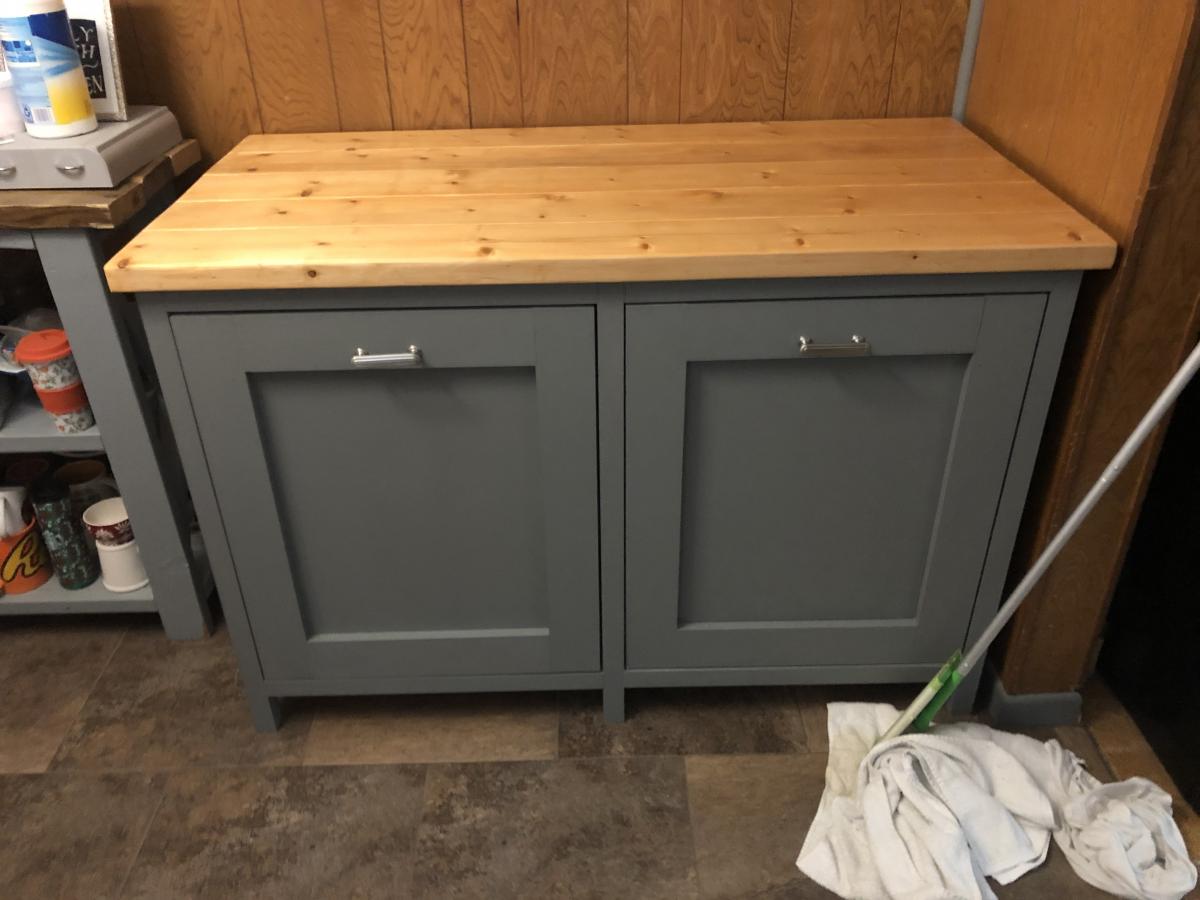
This was based on the "Small Kitchen Island" Plans but needed to put 2 - 33 Gal Trash cans in. I used Select Square edged Pine. The depth remained the same as the plans but the width changed dramatically (52" wide). I also increased the height to match the other furniture (3' High). I added 4 - 1 X 2's to the top of the cabinet to secure the top.
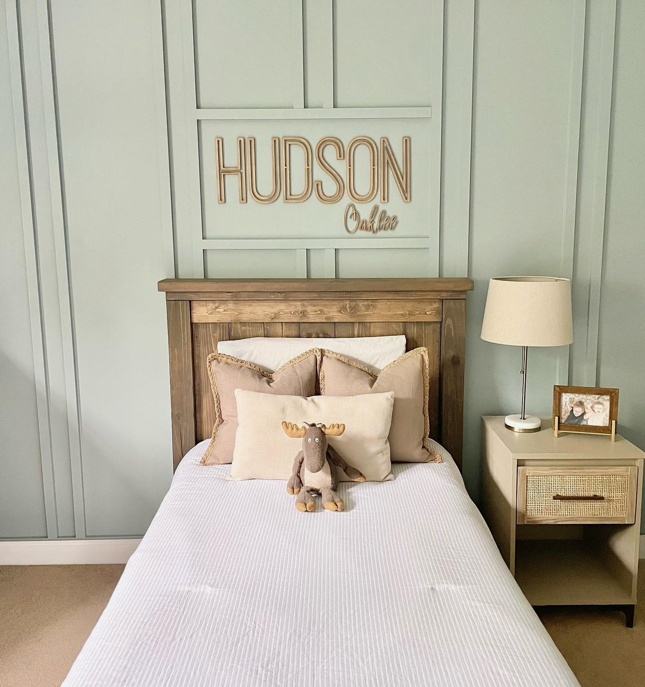
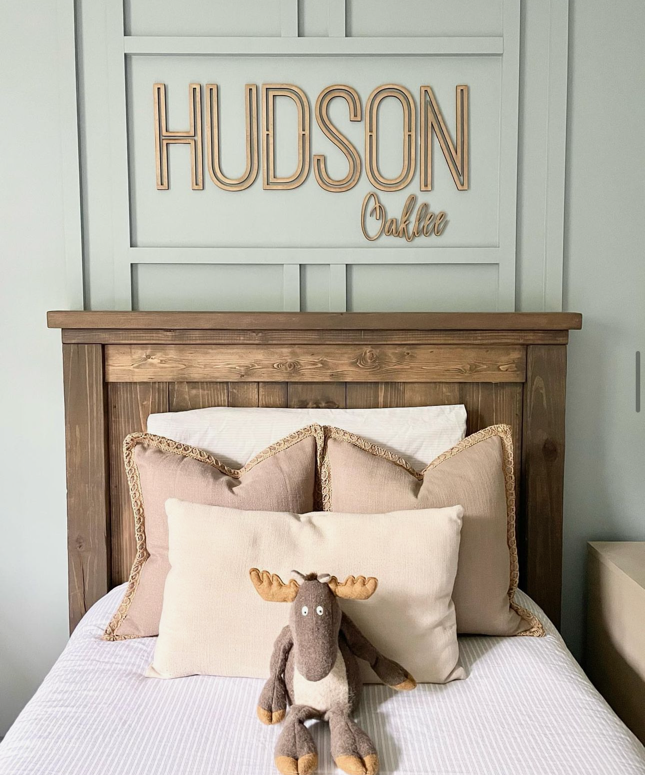
Check out the details on this fabulous kids bedroom upgrade with DIY farmhouse bed and accent wall! Sharpe Southern Home on Instagram

this project is our first ever try at furniture building. It took us two years to finish! Not because it was hard (although it is a bit fussy) but because we had a medical set back of a year, and we only work on this project on weekends.
We used a cheap table saw, and have learned our lesson, none of the cuts were really straight. We have since bought an expensive good one, and so think our next projects will go faster, more easily.
We modified the finish details on the drawers to put beadoard faces on things.
We will be designing a headboard to match, and I will be glad to share photos of that when it is complete (give us another couple of years!)
Anyway - the bed is verysturdy, and the drawer capacity is HUGE. we have had it in our room for 8 hours so far, and we love it. Can't wait to go to bed tonight - but not untilI fill those drawers. :-)

Everyone keeps asking me if this was from a kit and I am proud to say "No I did it all by myself from start to finish"!
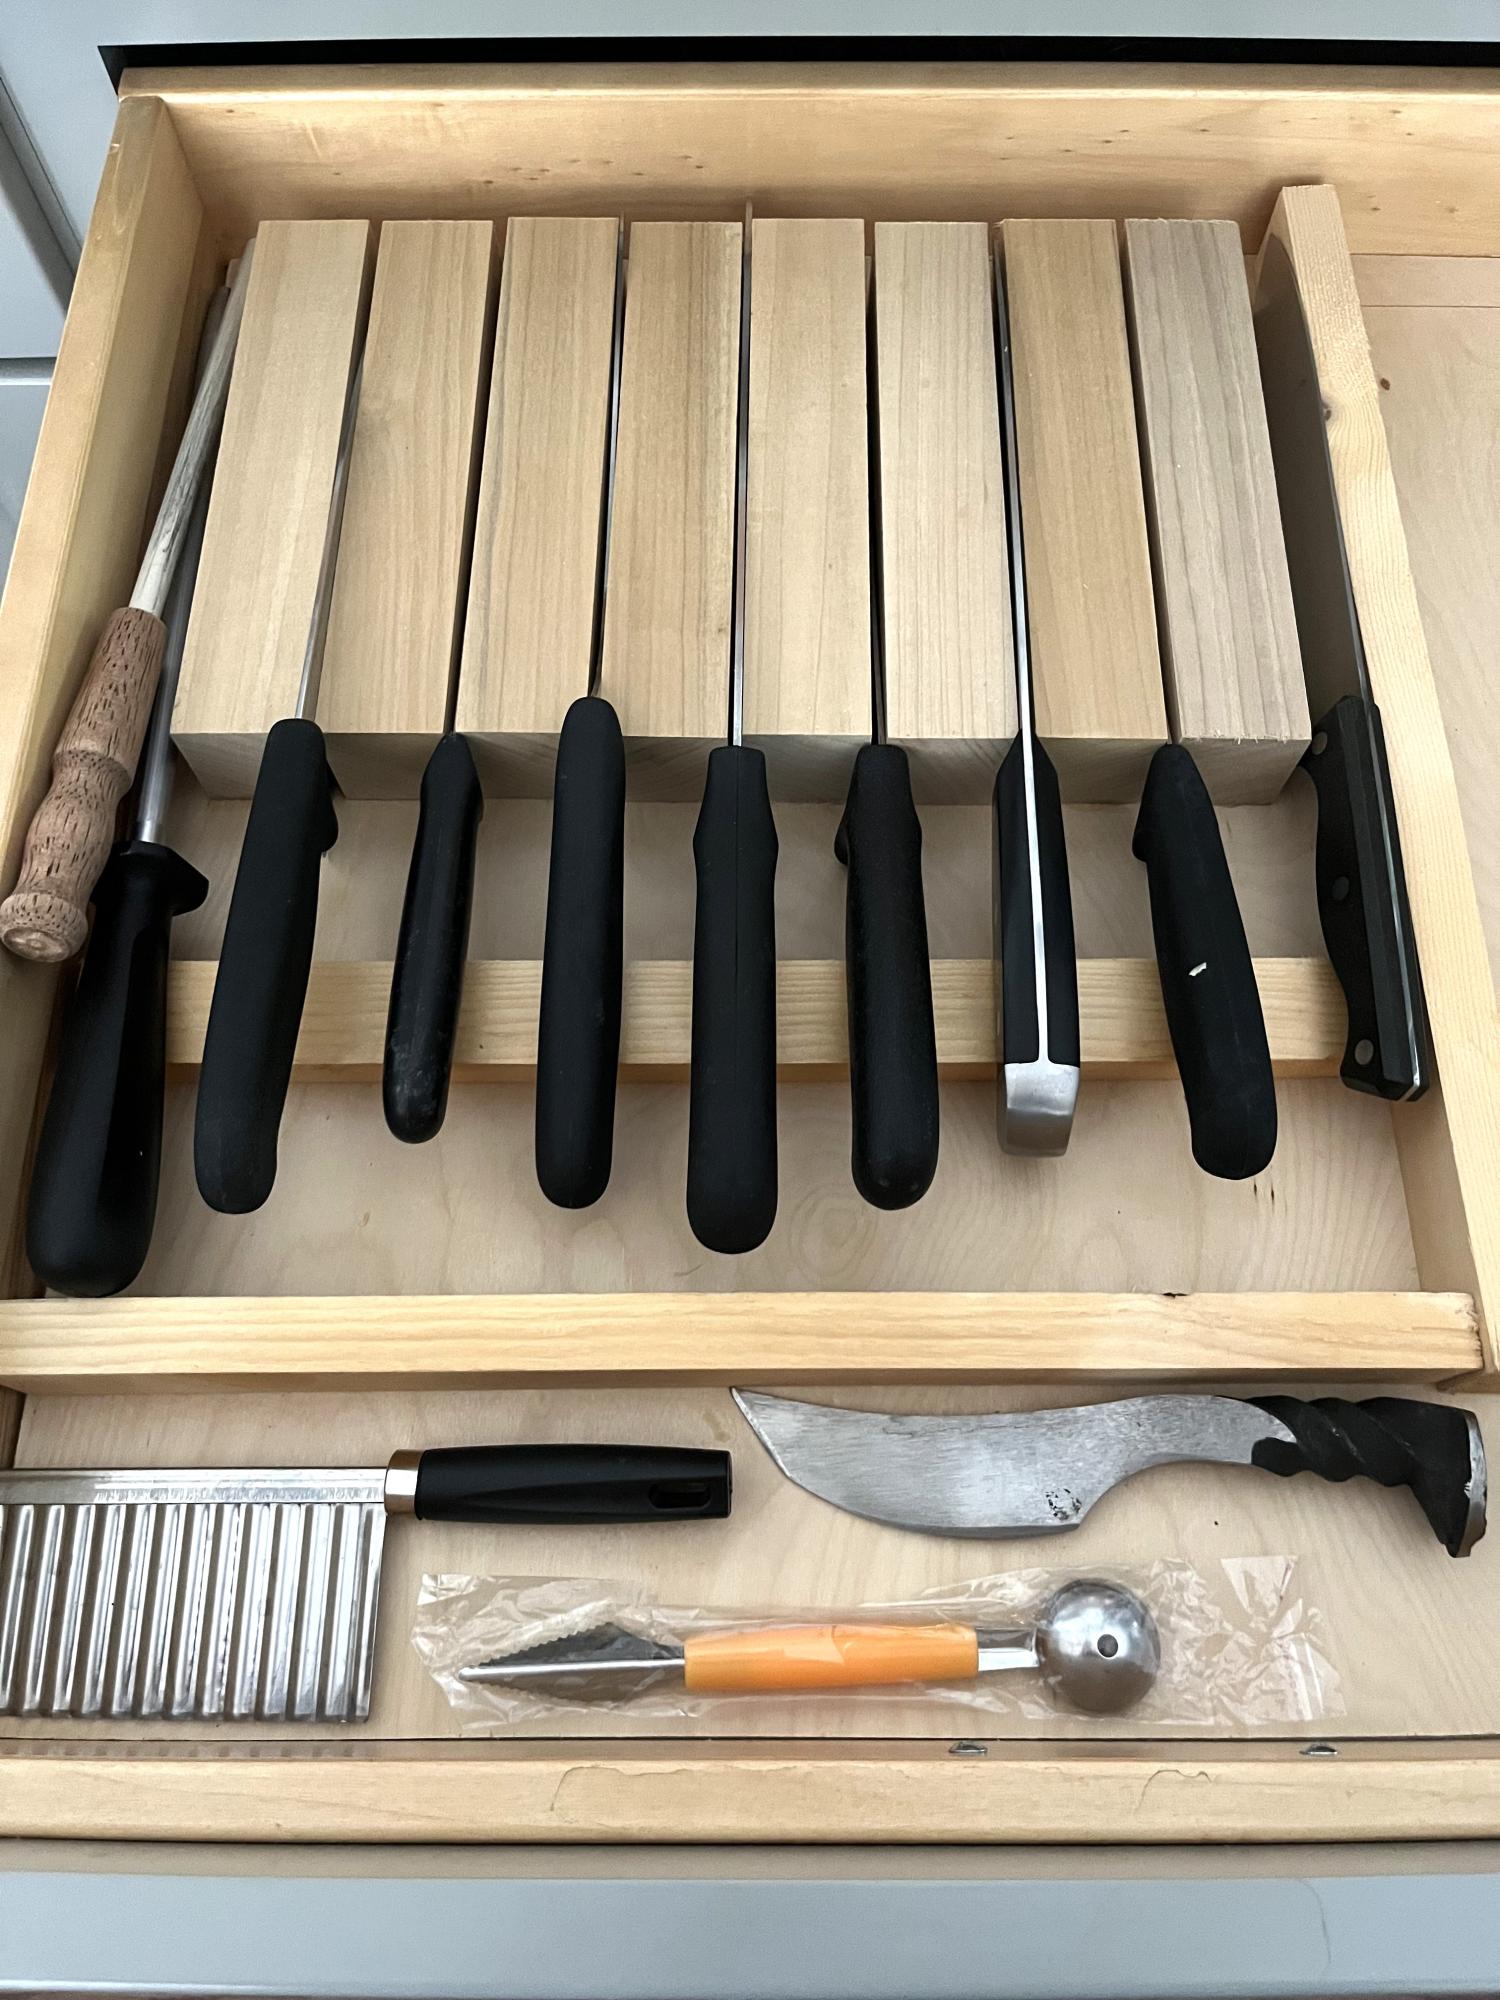
I made the in drawer knife block following Ana’s plan but tweaking for my needs and drawer size. I love it. It was easy to make and I’m a total beginner.
Karen
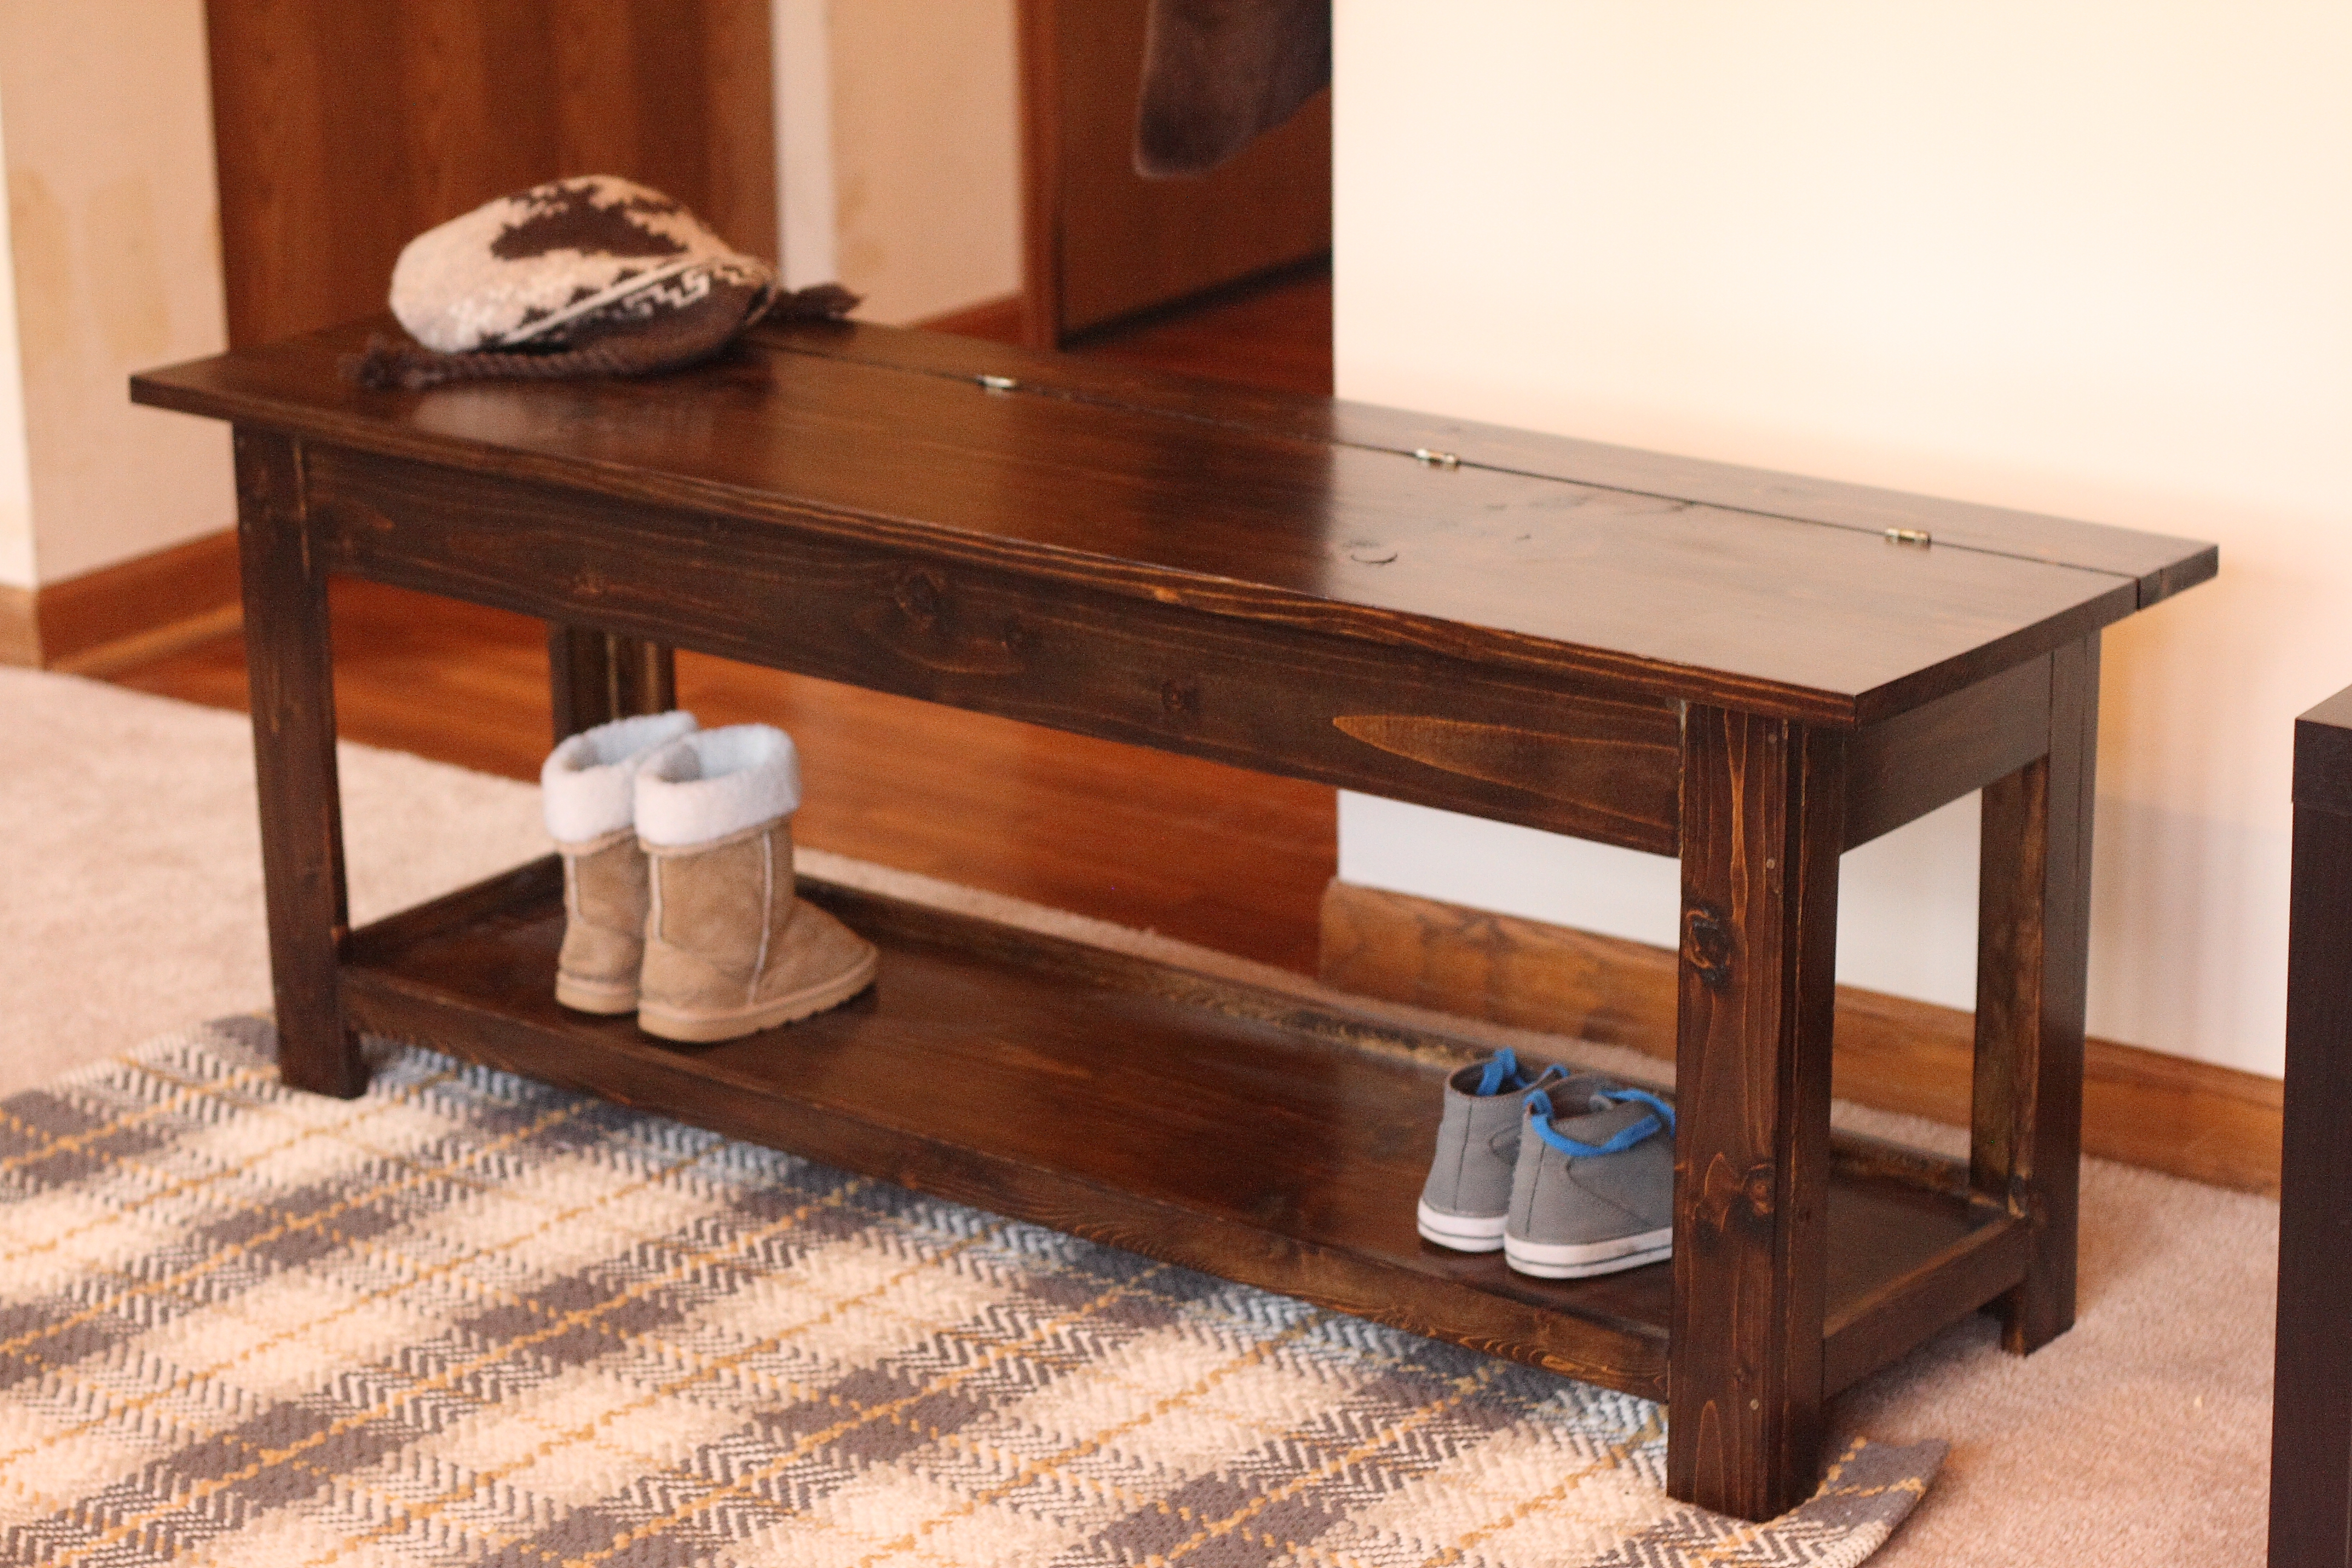
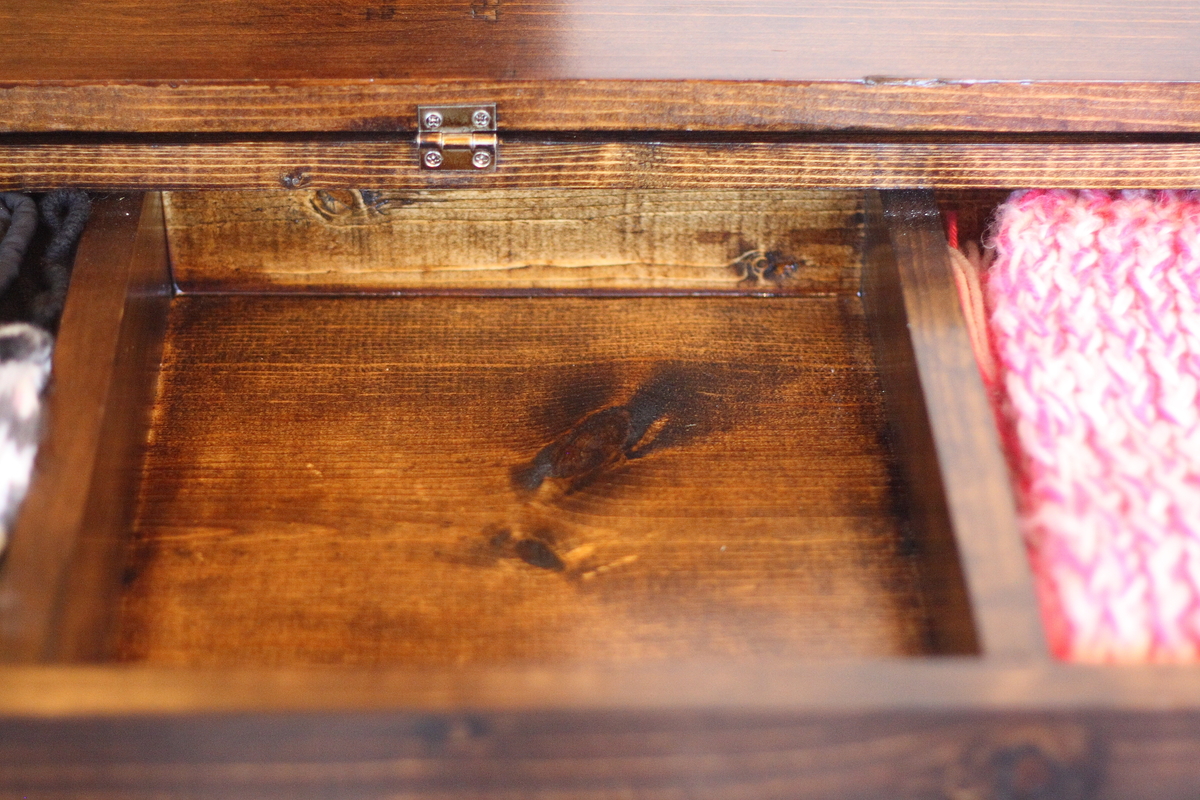
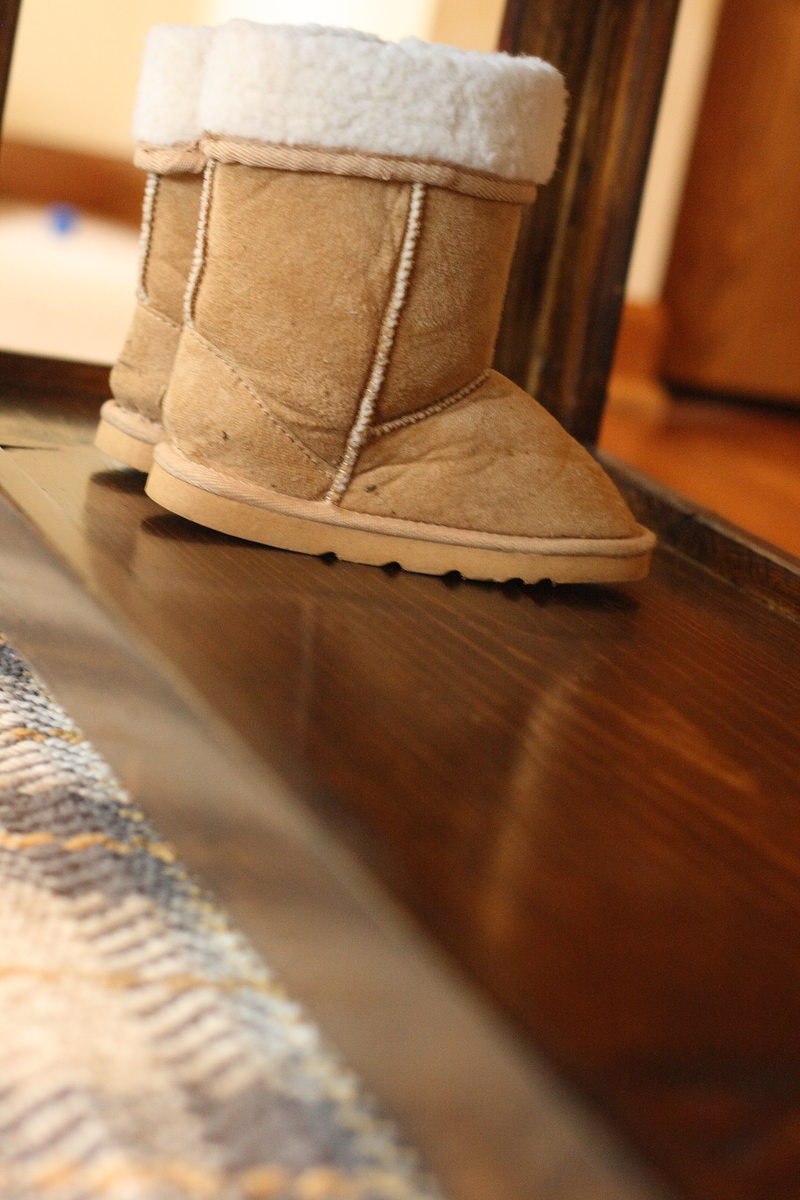
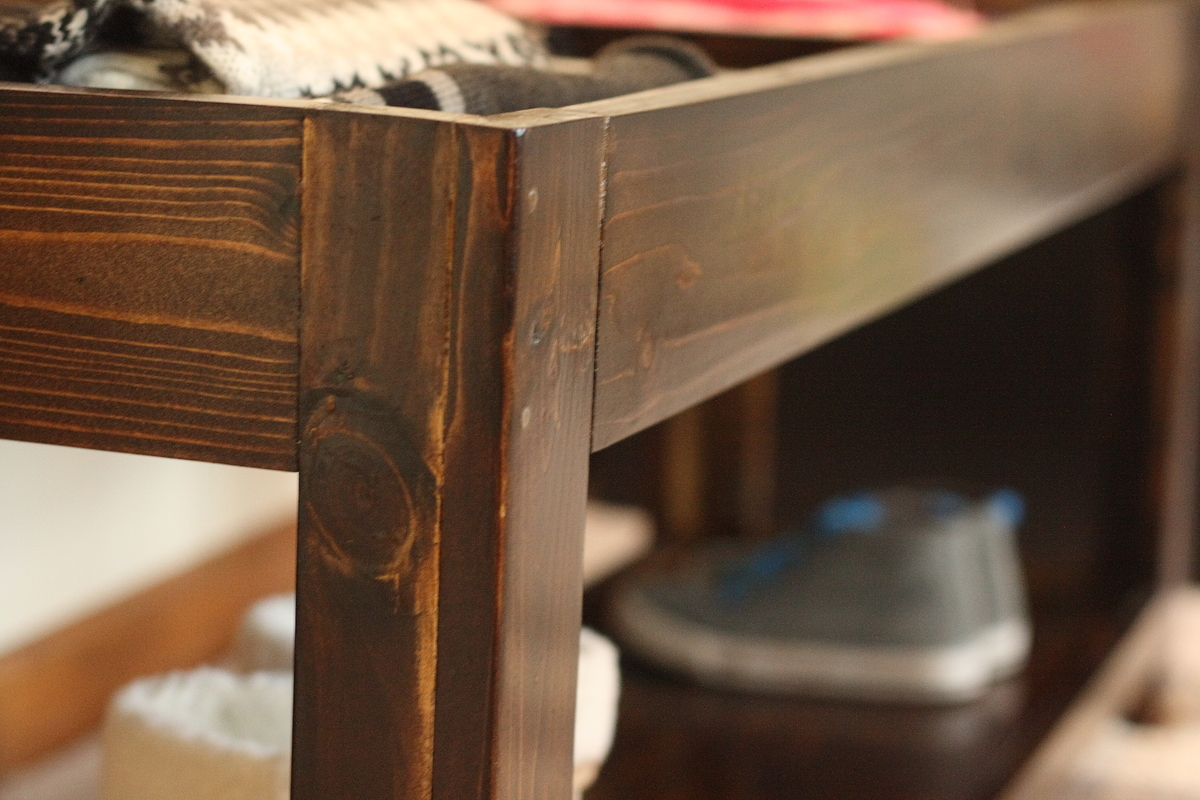
As soon as I opened Ana's new book I fell in love with the bench on page 33. When I met her in Chicago she said she was going to draft a new set of plans, and of course she didn't let me down! I followed her plans to a T! The size was perfect for my "mudroom" and this was technically my first project since I insisted on not having my husband's help. It was also my first time going to the hardware store and purchasing the wood...I think that part will take some getting used to!
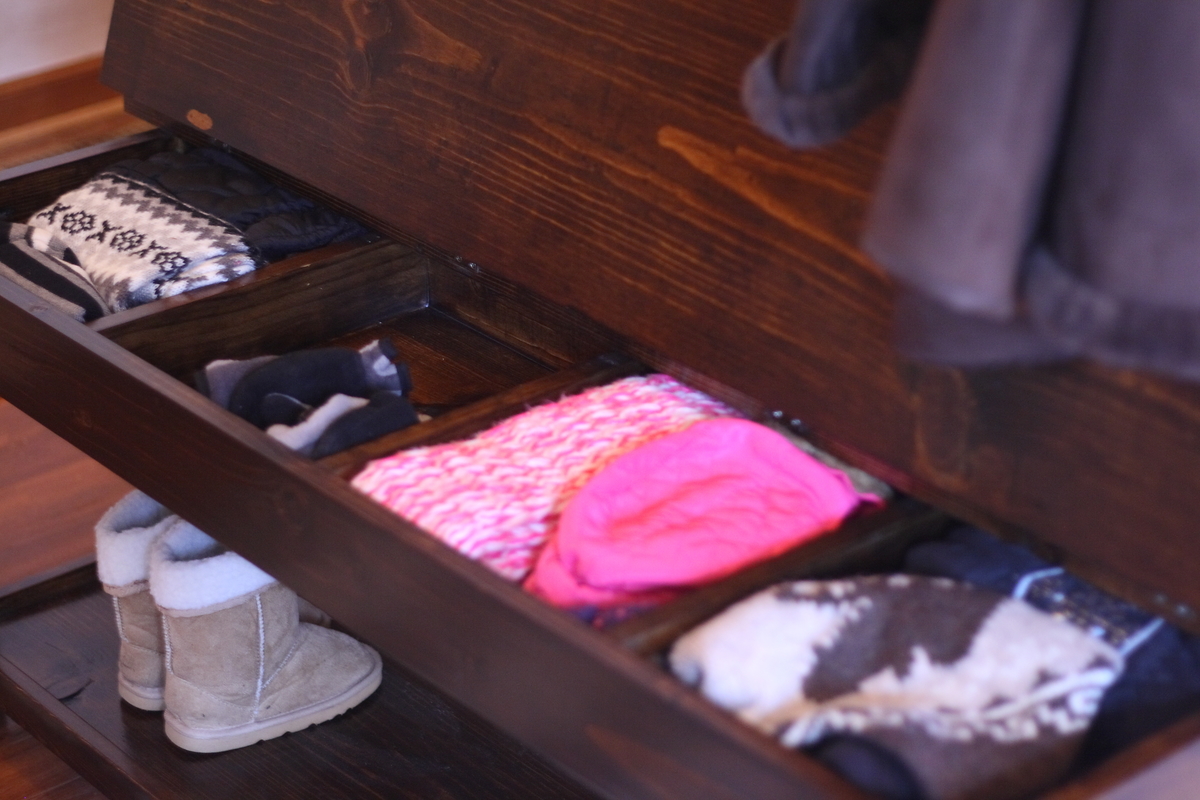
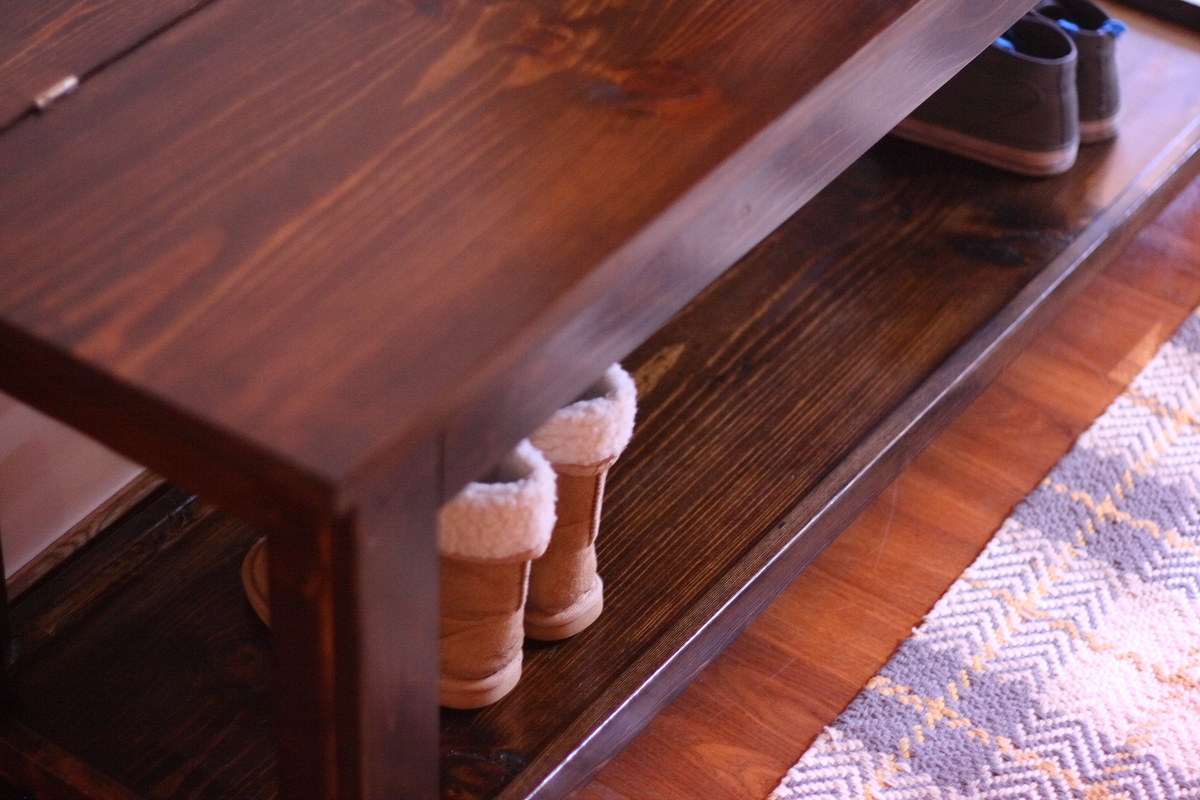
After I had it built I decided that I wanted to make everyone in my family a "cubby" inside the storage area. I just used some scrap 1x3's and glued them into place. I then stained it with Minwax Dark Walnut stain and then used oil based poly (3 coats). The entire family loves the new bench and my toddlers LOVE their "cubbies". Thank you again Ana!
Tue, 11/13/2012 - 10:22
Thank you so much!!!! It's still surreal that I made something so beautiful!

Tue, 01/29/2013 - 18:42
I love that you added cubbies! You did a fantastic job all around! I have been wanting to make this bench too, and here I am AGAIN looking at the plans....Thanks for sharing!
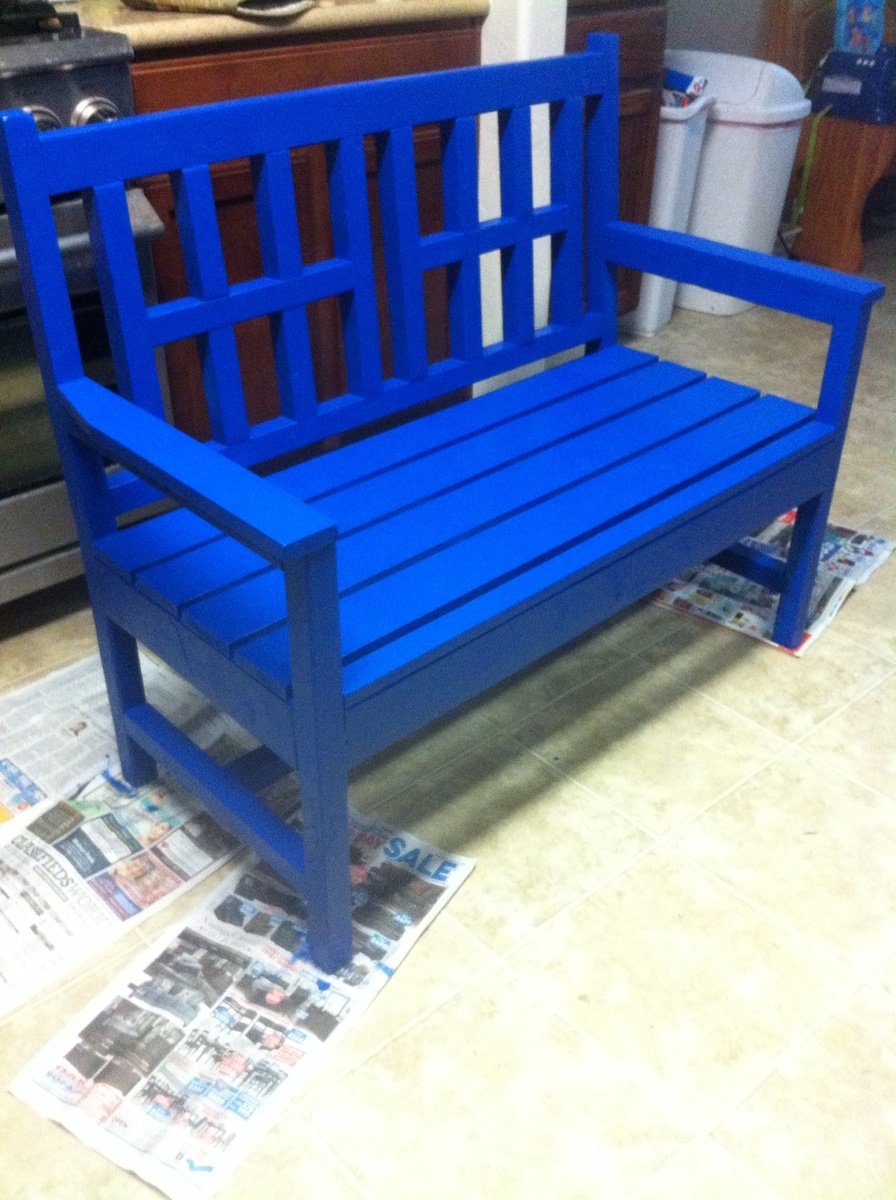
I used the woven back bench plans to make this doctor who tardis inspired bench. It will be a memorial bench for a young girl who recently passed in our community. She loved doctor who as do I so I changed the back a bit to represent the Tardis windows and of course painted it tardis blue. I will also give it two coats of polycyclic.