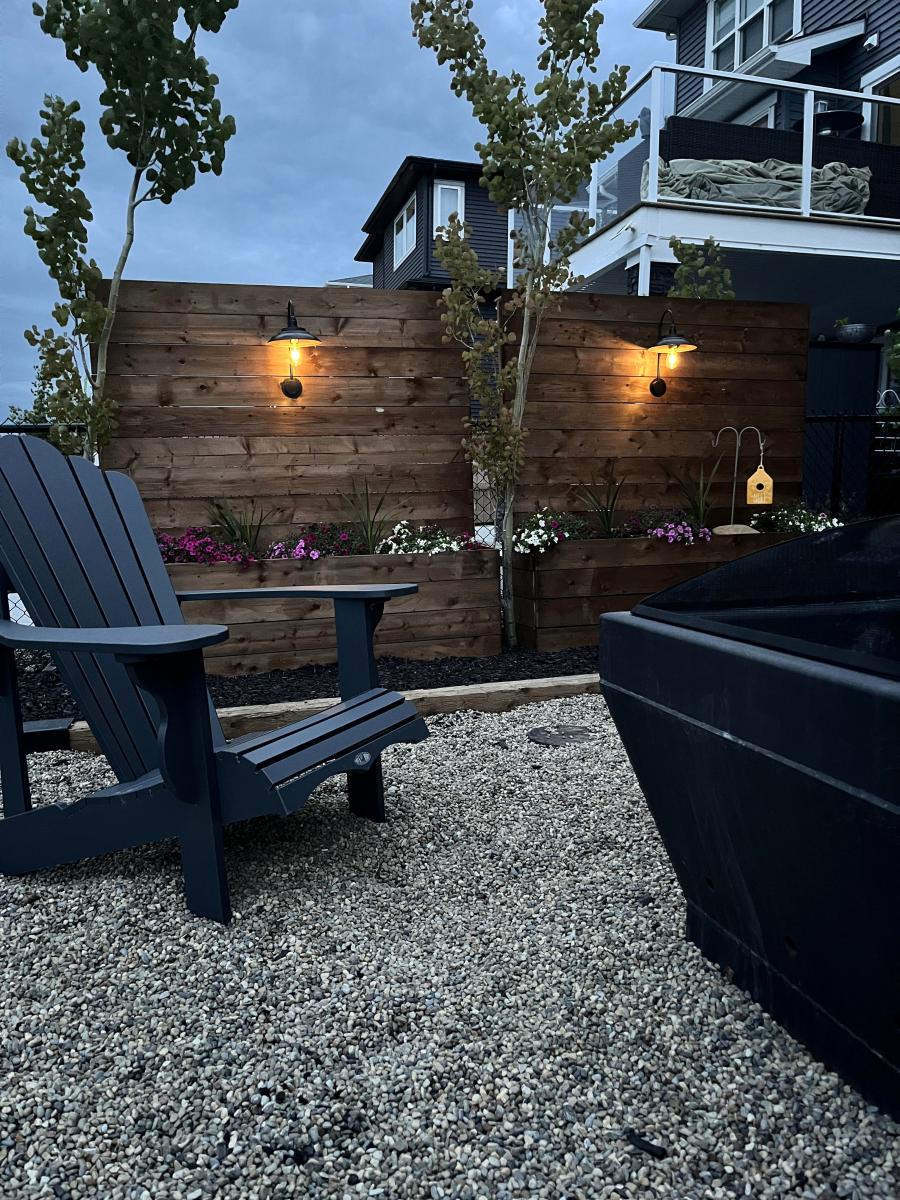
Privacy Planters with Solar Lights
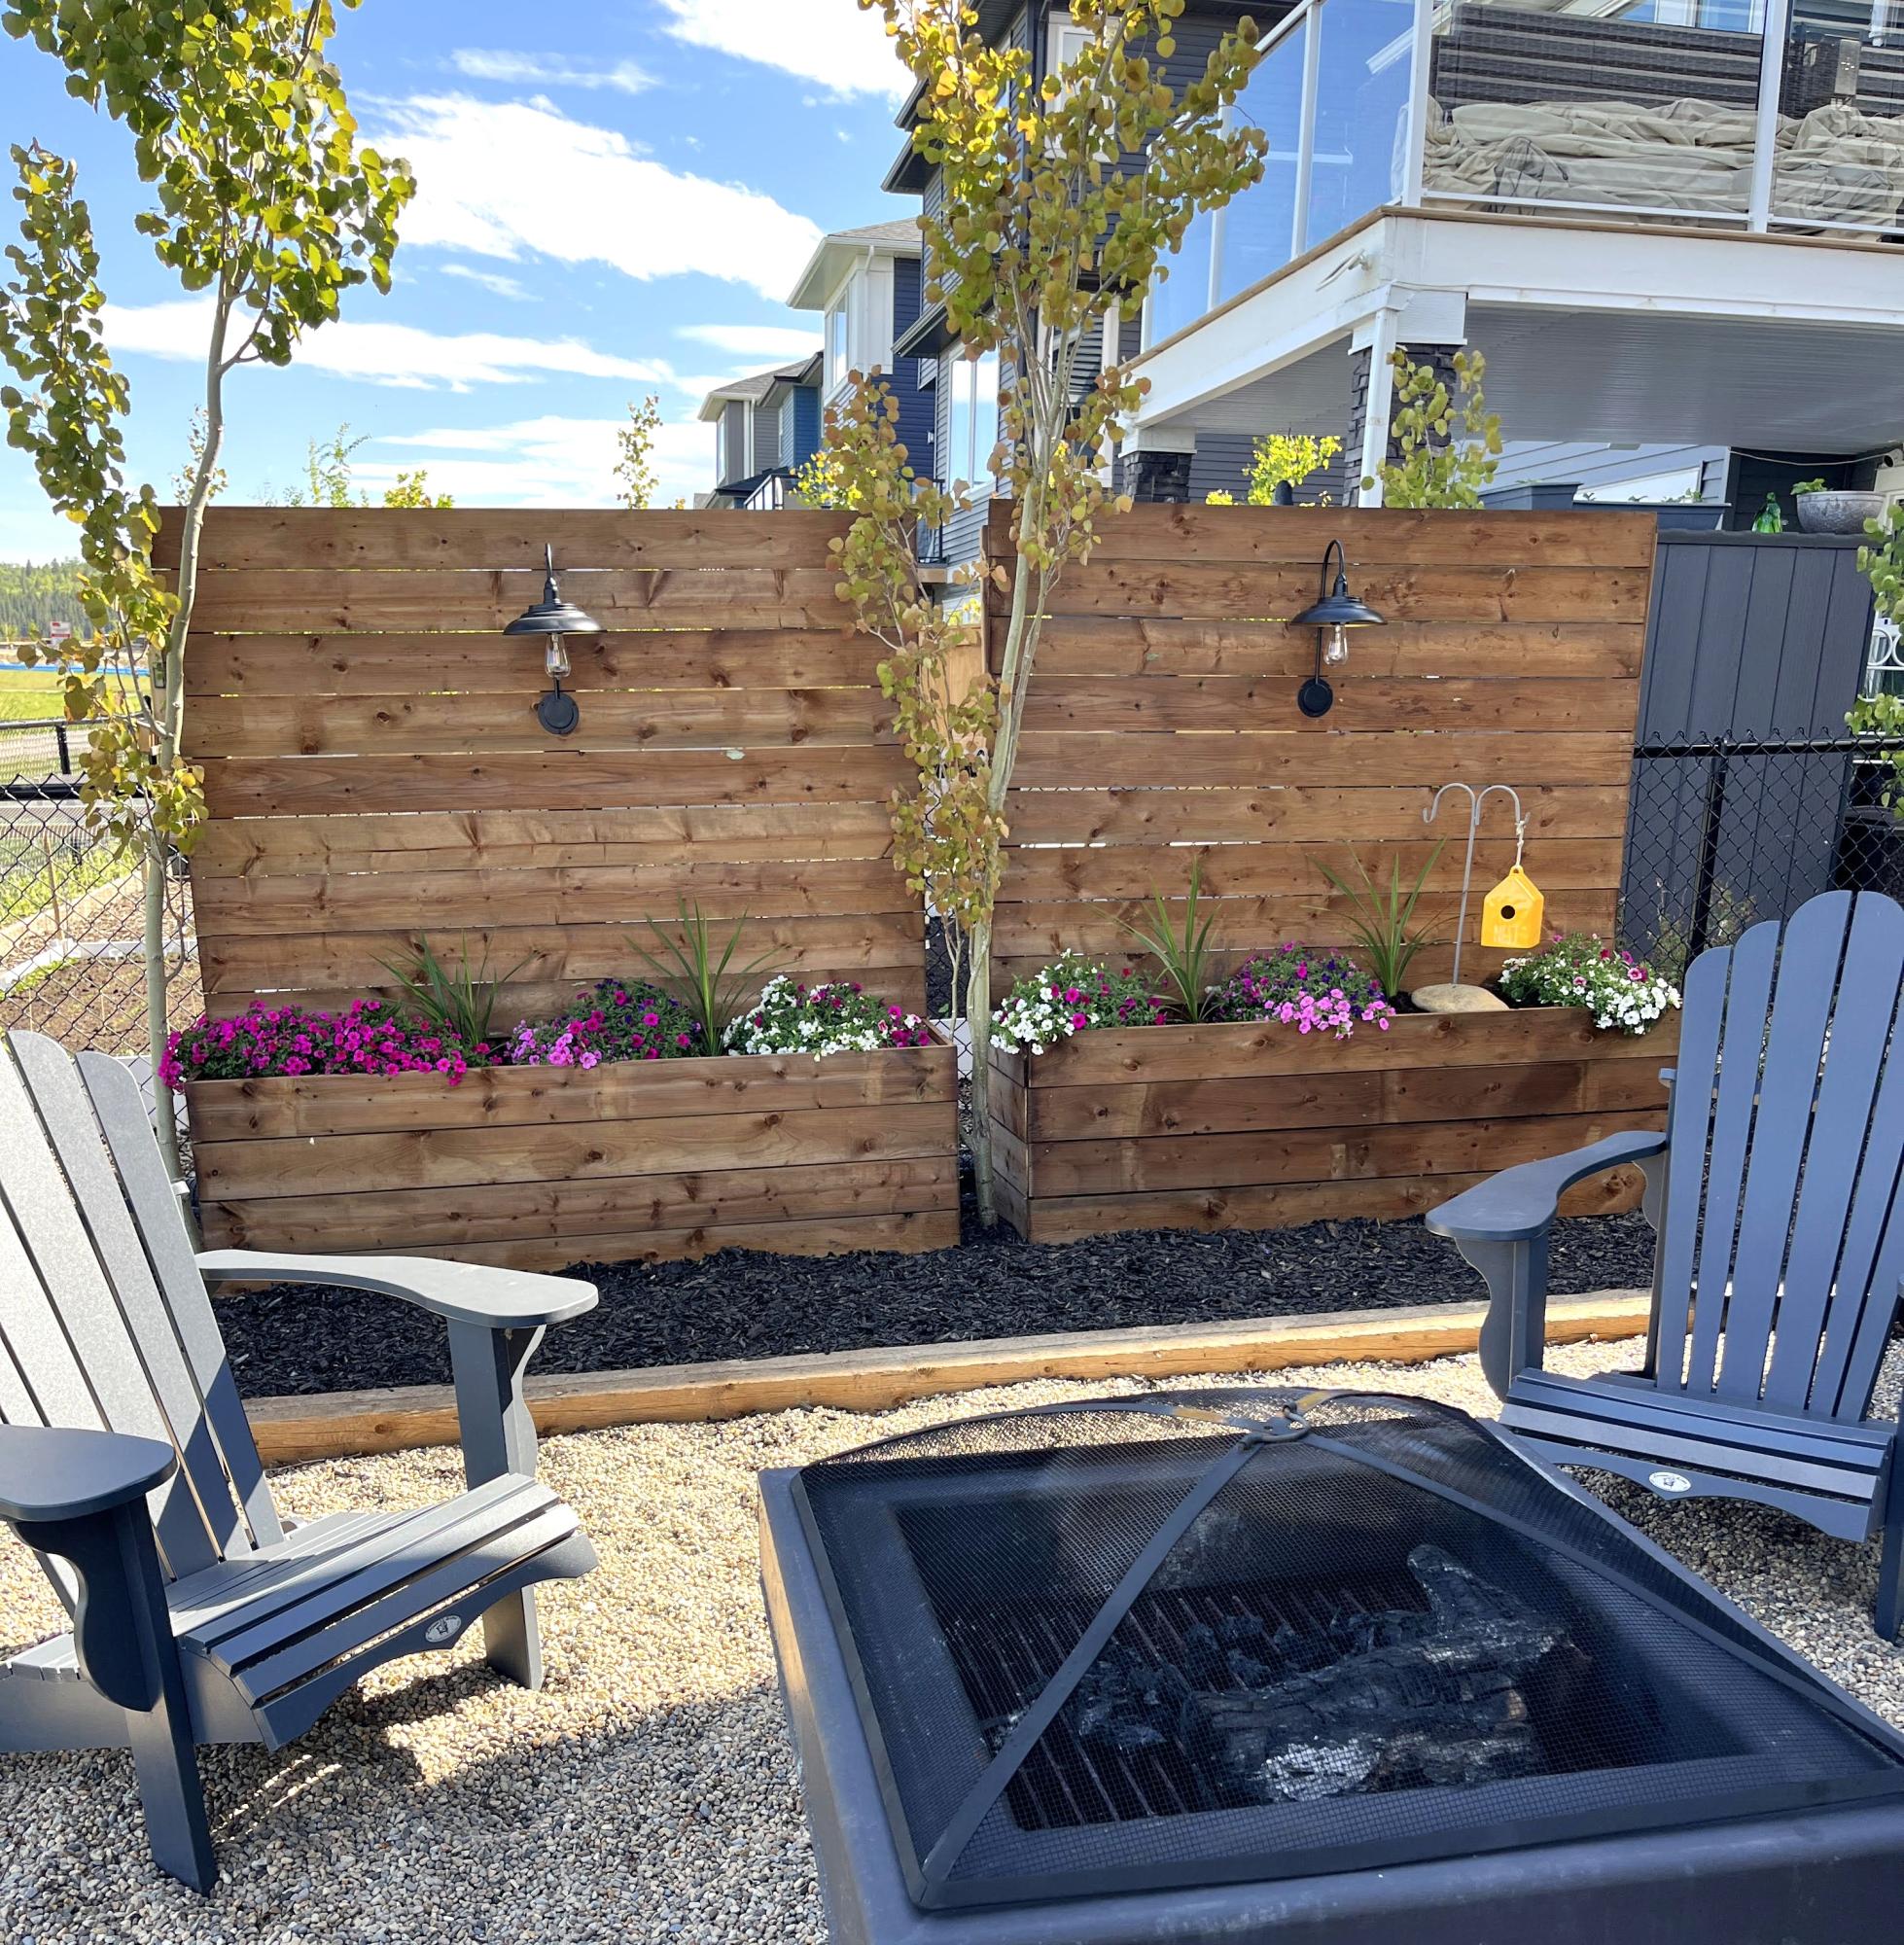
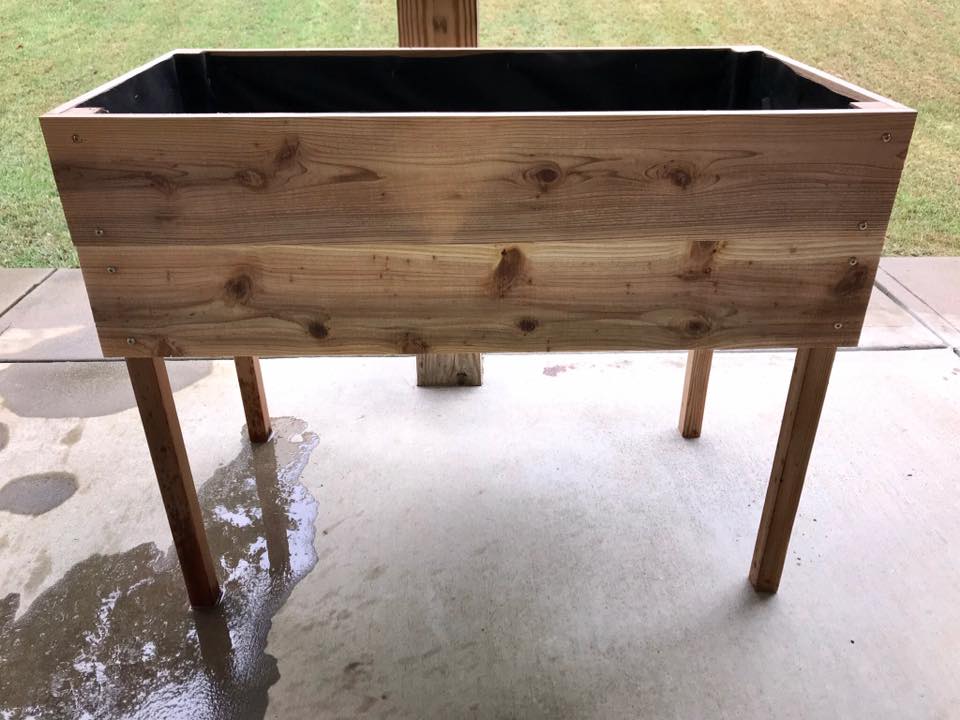
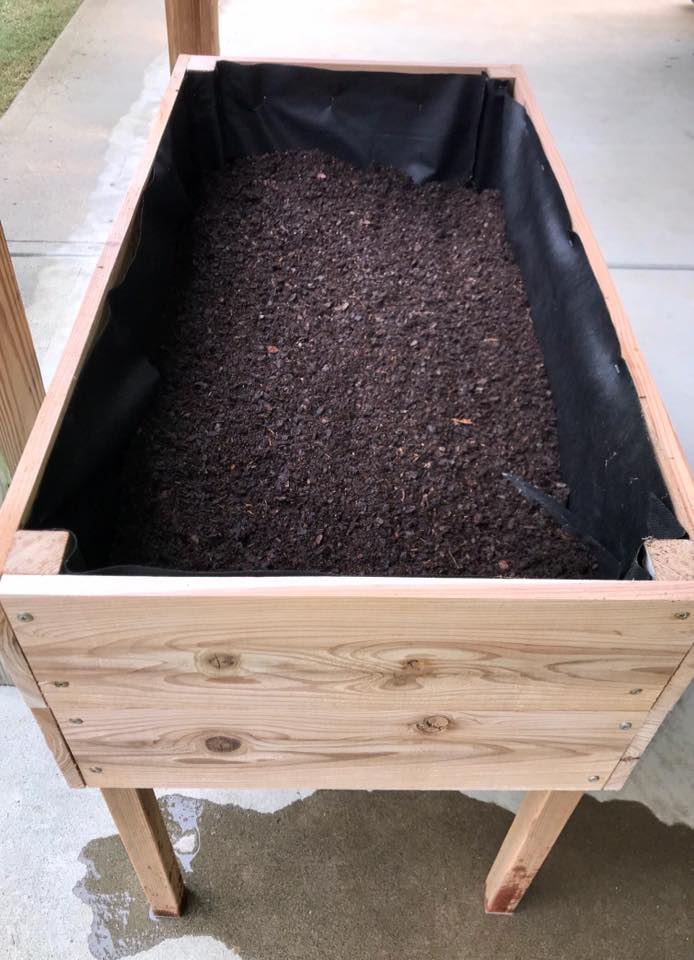
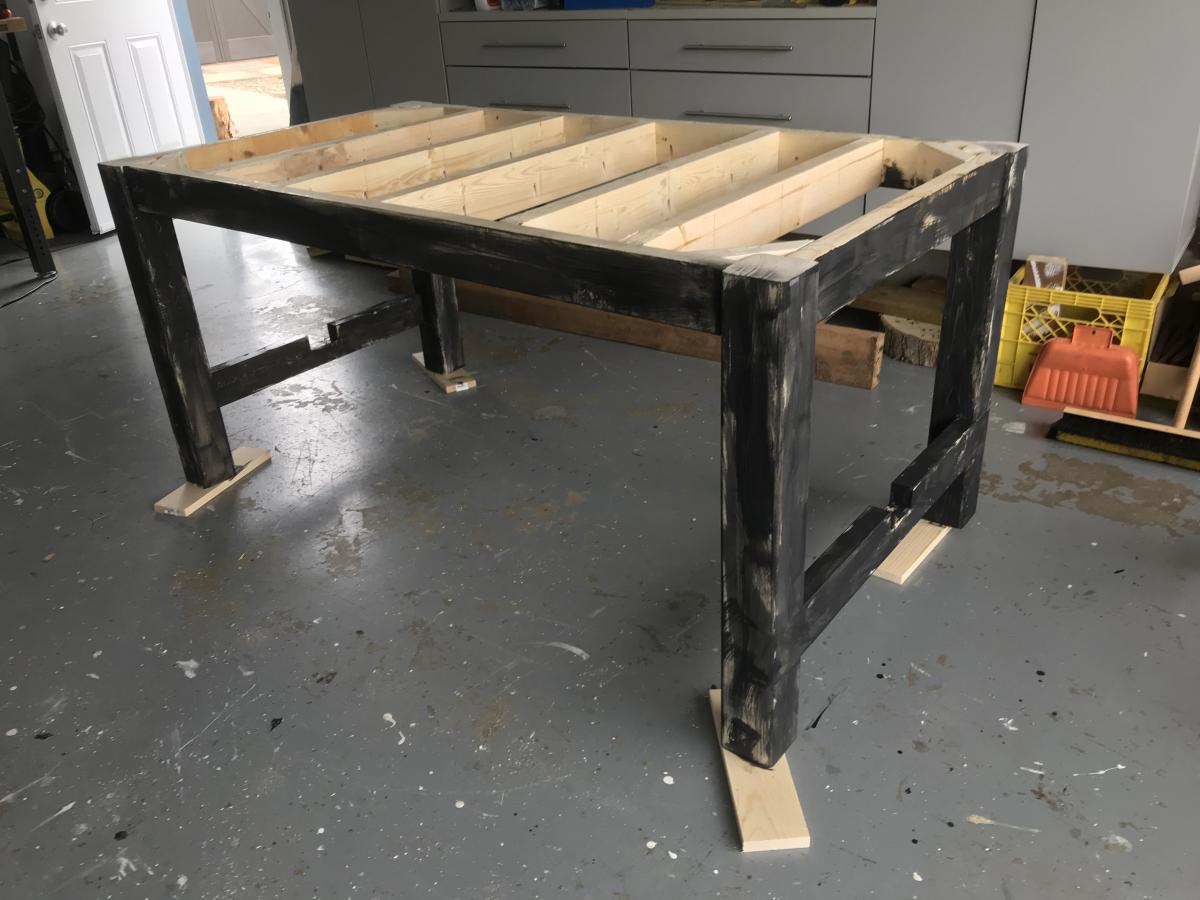
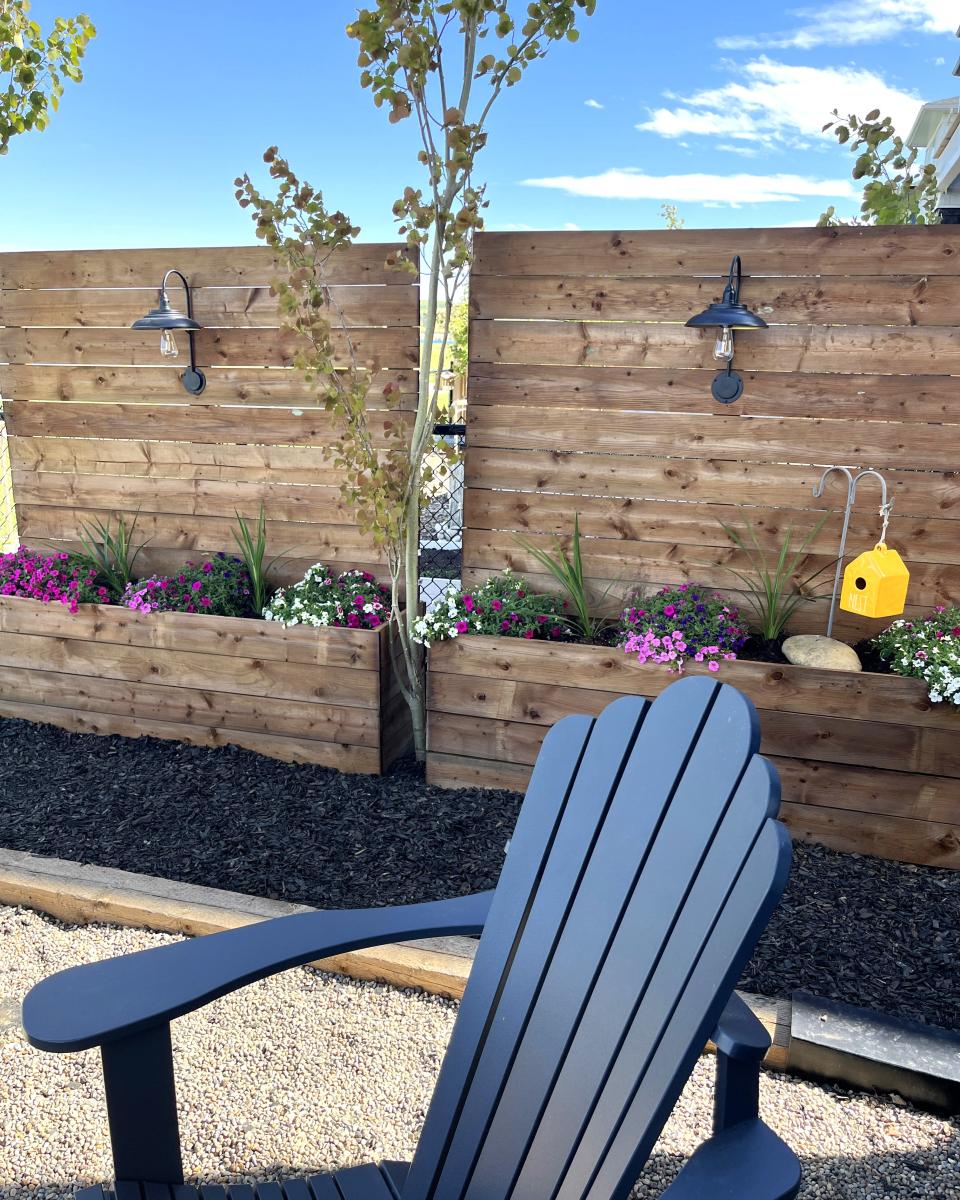
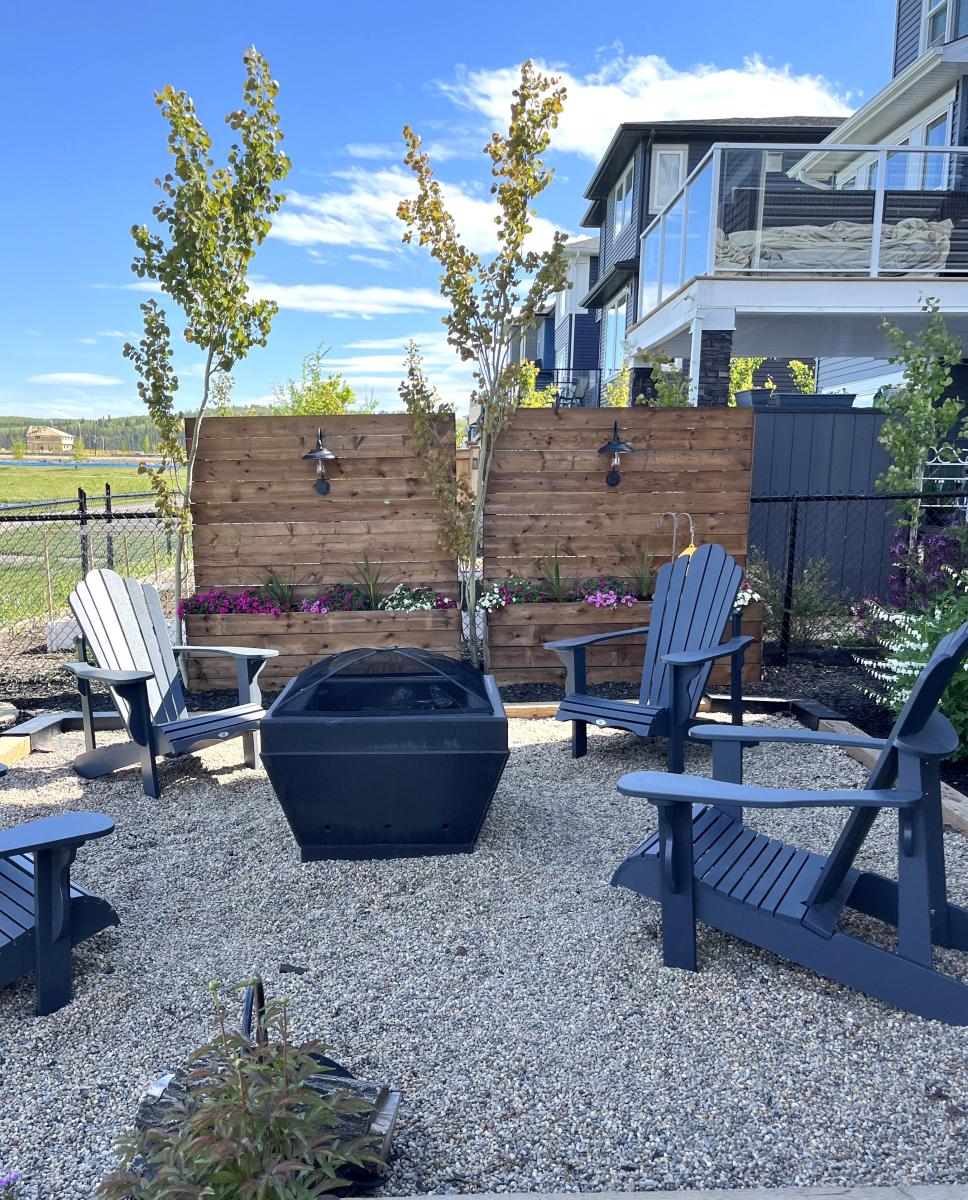
I needed a frugal solution to get a bit of privacy in our backyard. I didn’t want to dig post holes and all the premade solutions I found and liked were at least double the cost of this project. I used pretreated lumber which isn’t recommended for veggies/plants, but I knew I wasn’t going to plant veggies so I lined them with plastic and landscape fabric and made sure to add drainage holes. To reduce the amount of soil I needed in each I added some cutoffs of a tree my friend cut down in their yard. The whole thing came together in less than a day! The easy to follow free plans can be found @anawhitediy -highly recommend! (Thank you!!!) Very easy to follow and the shopping list and cut list were super helpful!
Jesi 🖤
Built from Plan(s)