Community Brag Posts
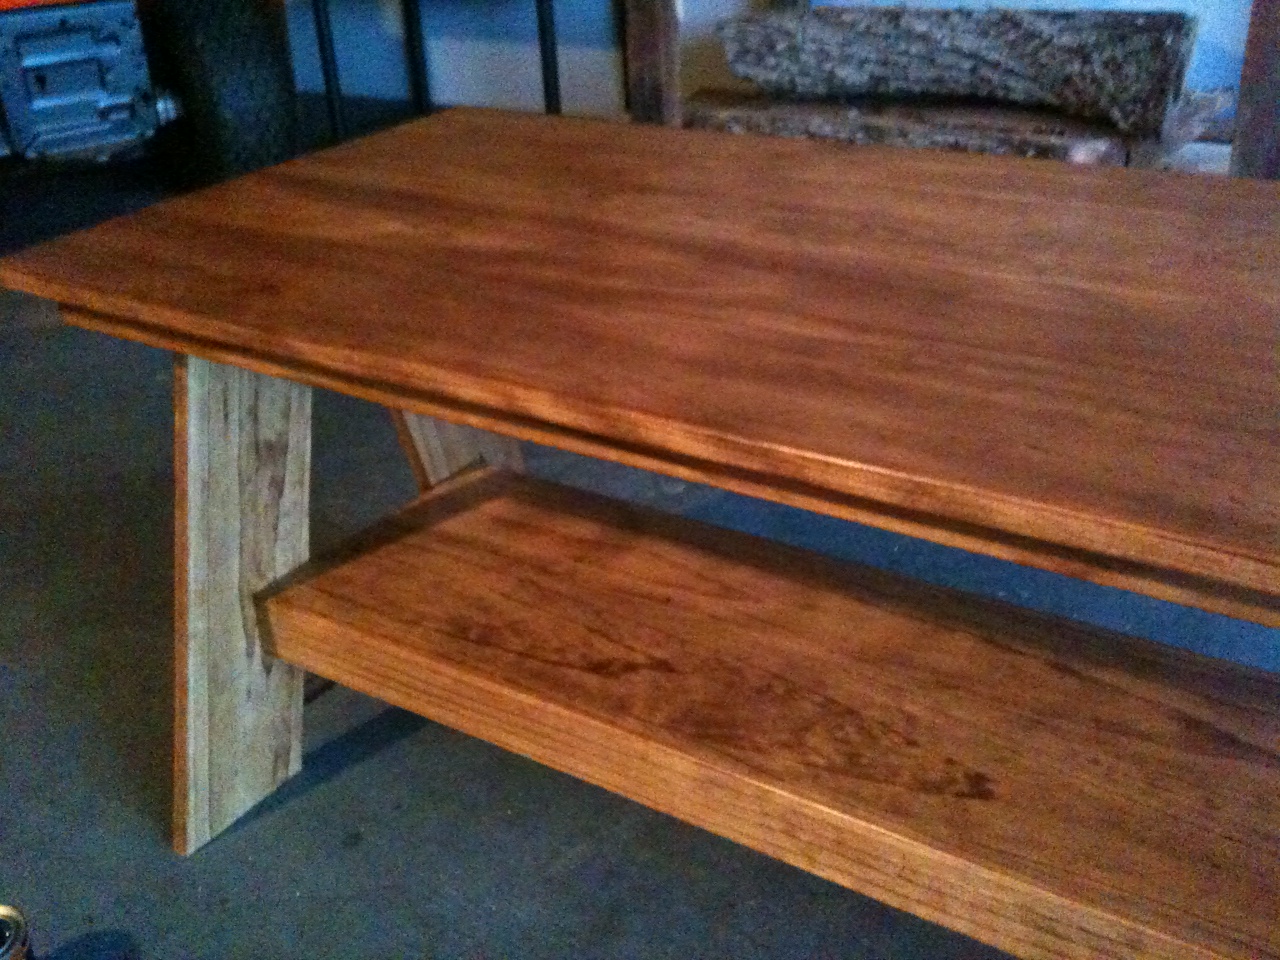
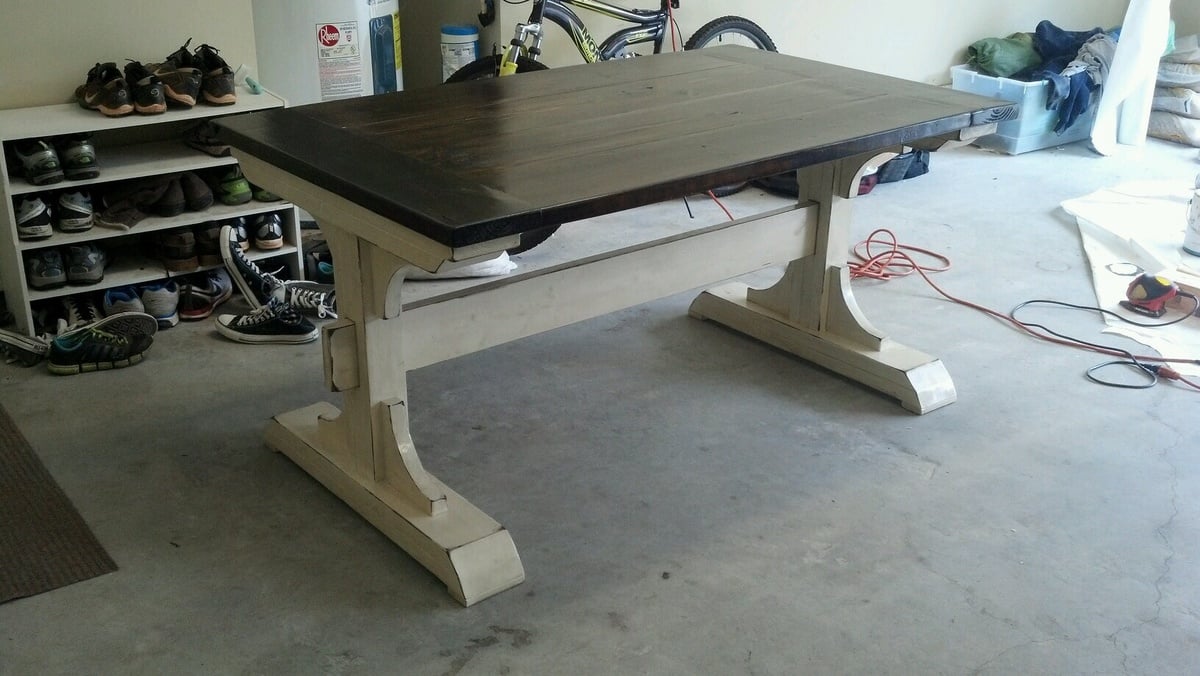
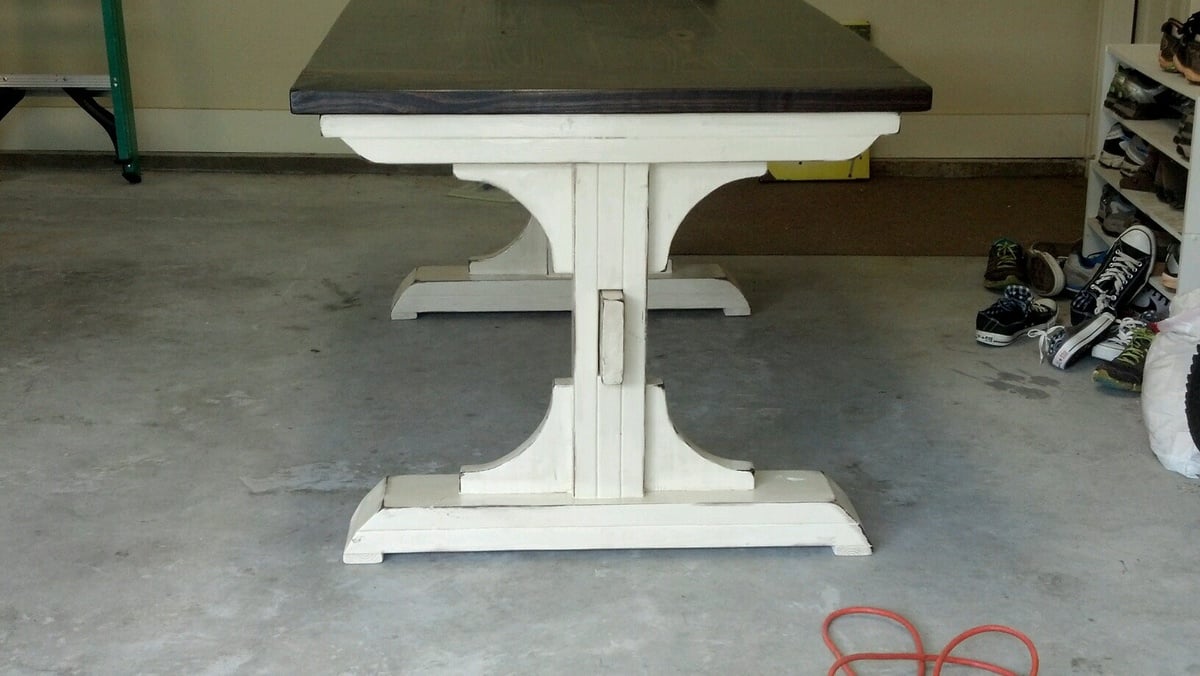
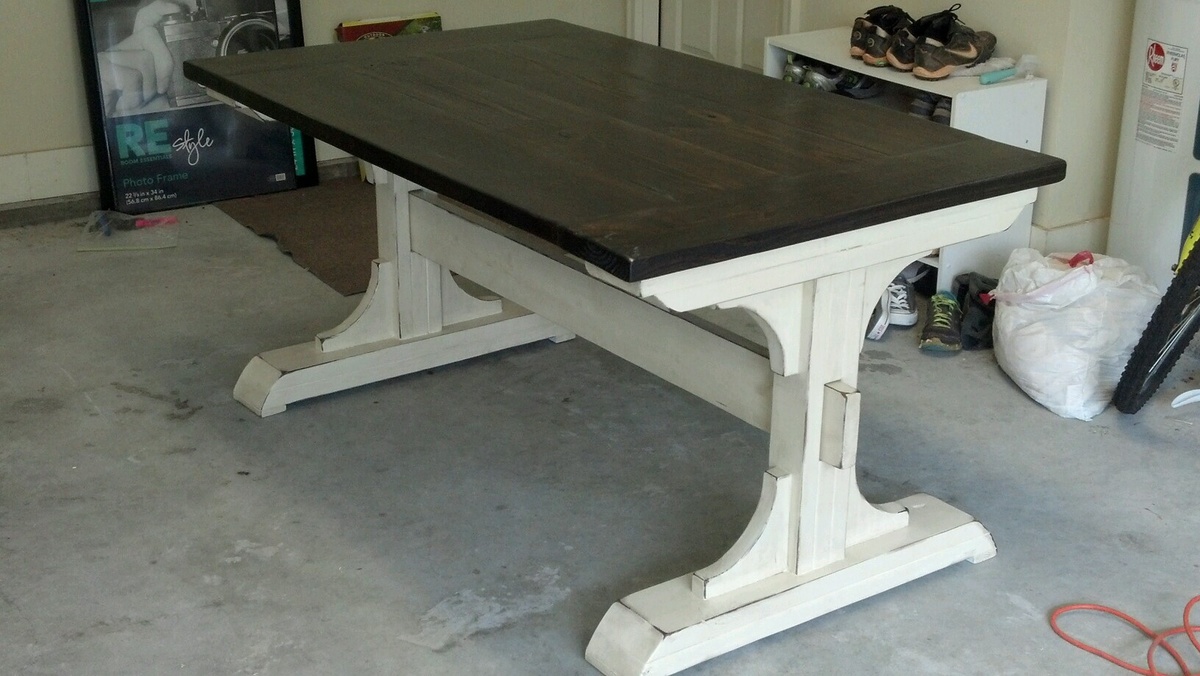
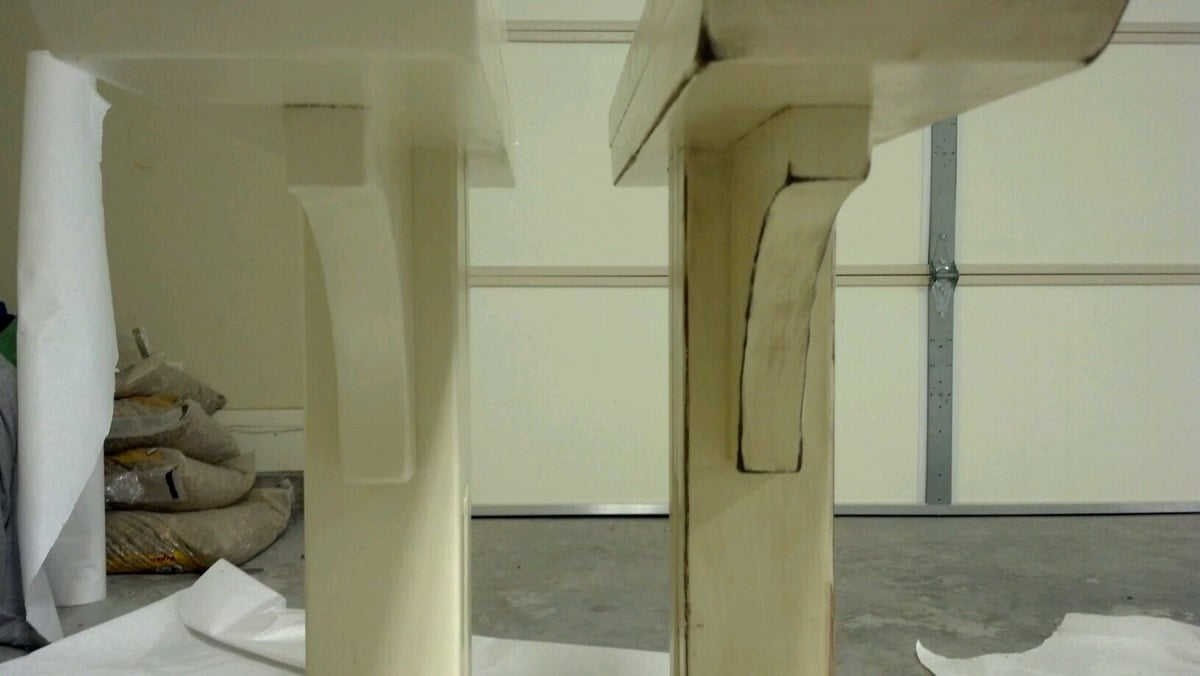
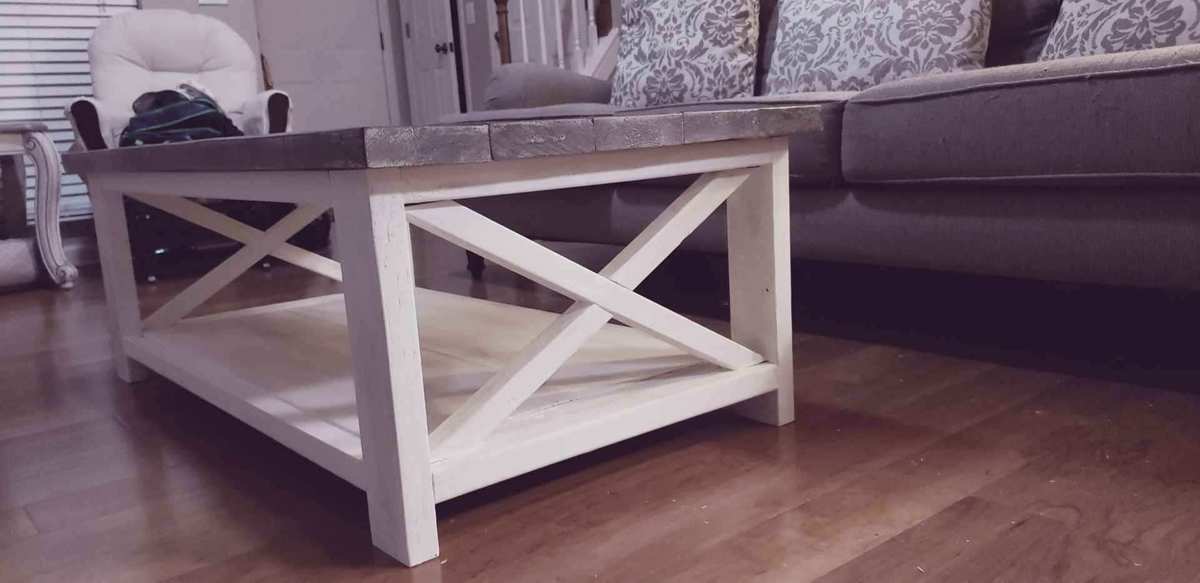
Slightly taller version
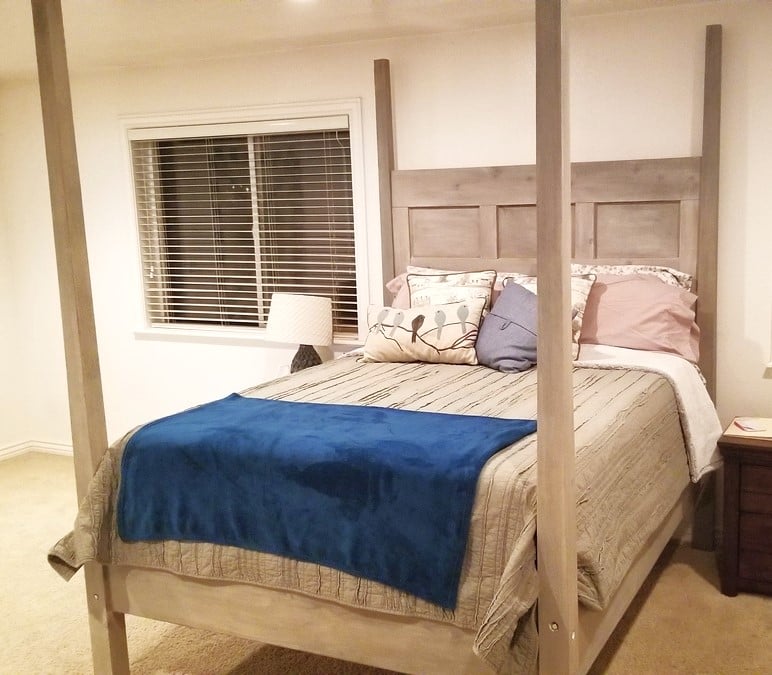
A little taller, and a different finish, but built from scratch inspired by your design. Thanks so much.
Built from Plan(s)
Estimated Cost
300
Estimated Time Investment
Weekend Project (10-20 Hours)
Finish Used
Vinegar and steel wool, then whitewash, then stain wash
Recommended Skill Level
Intermediate
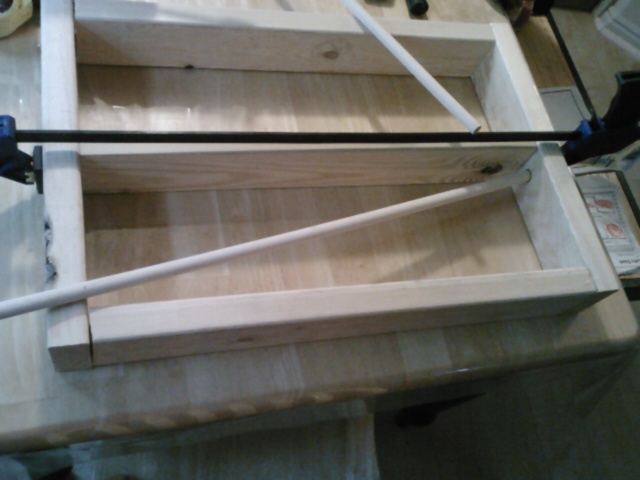
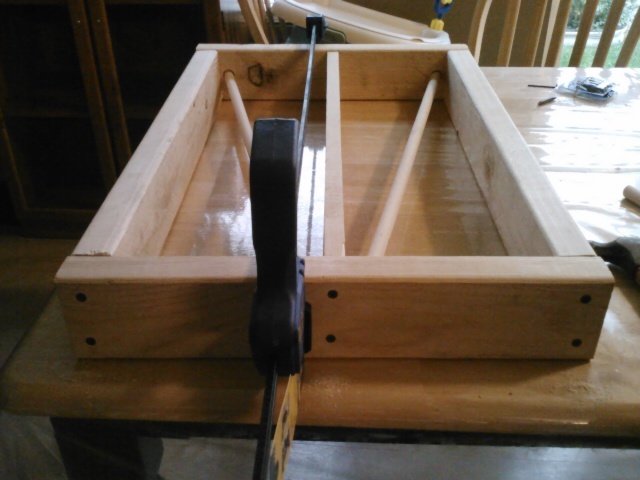
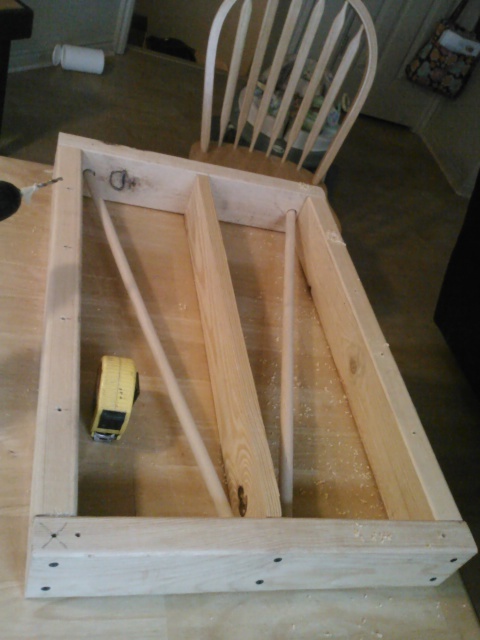
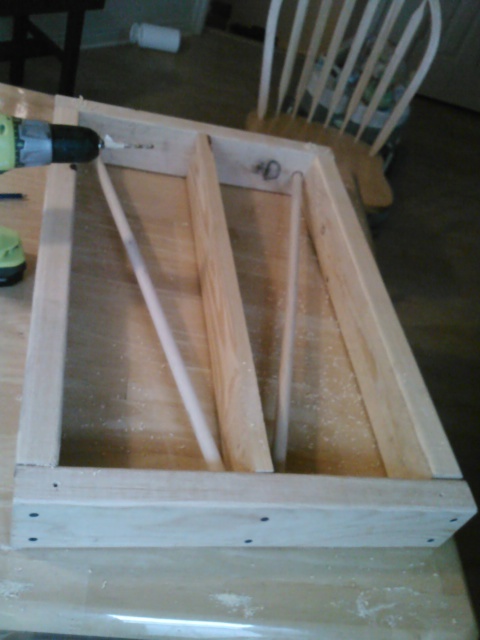
Spice rack
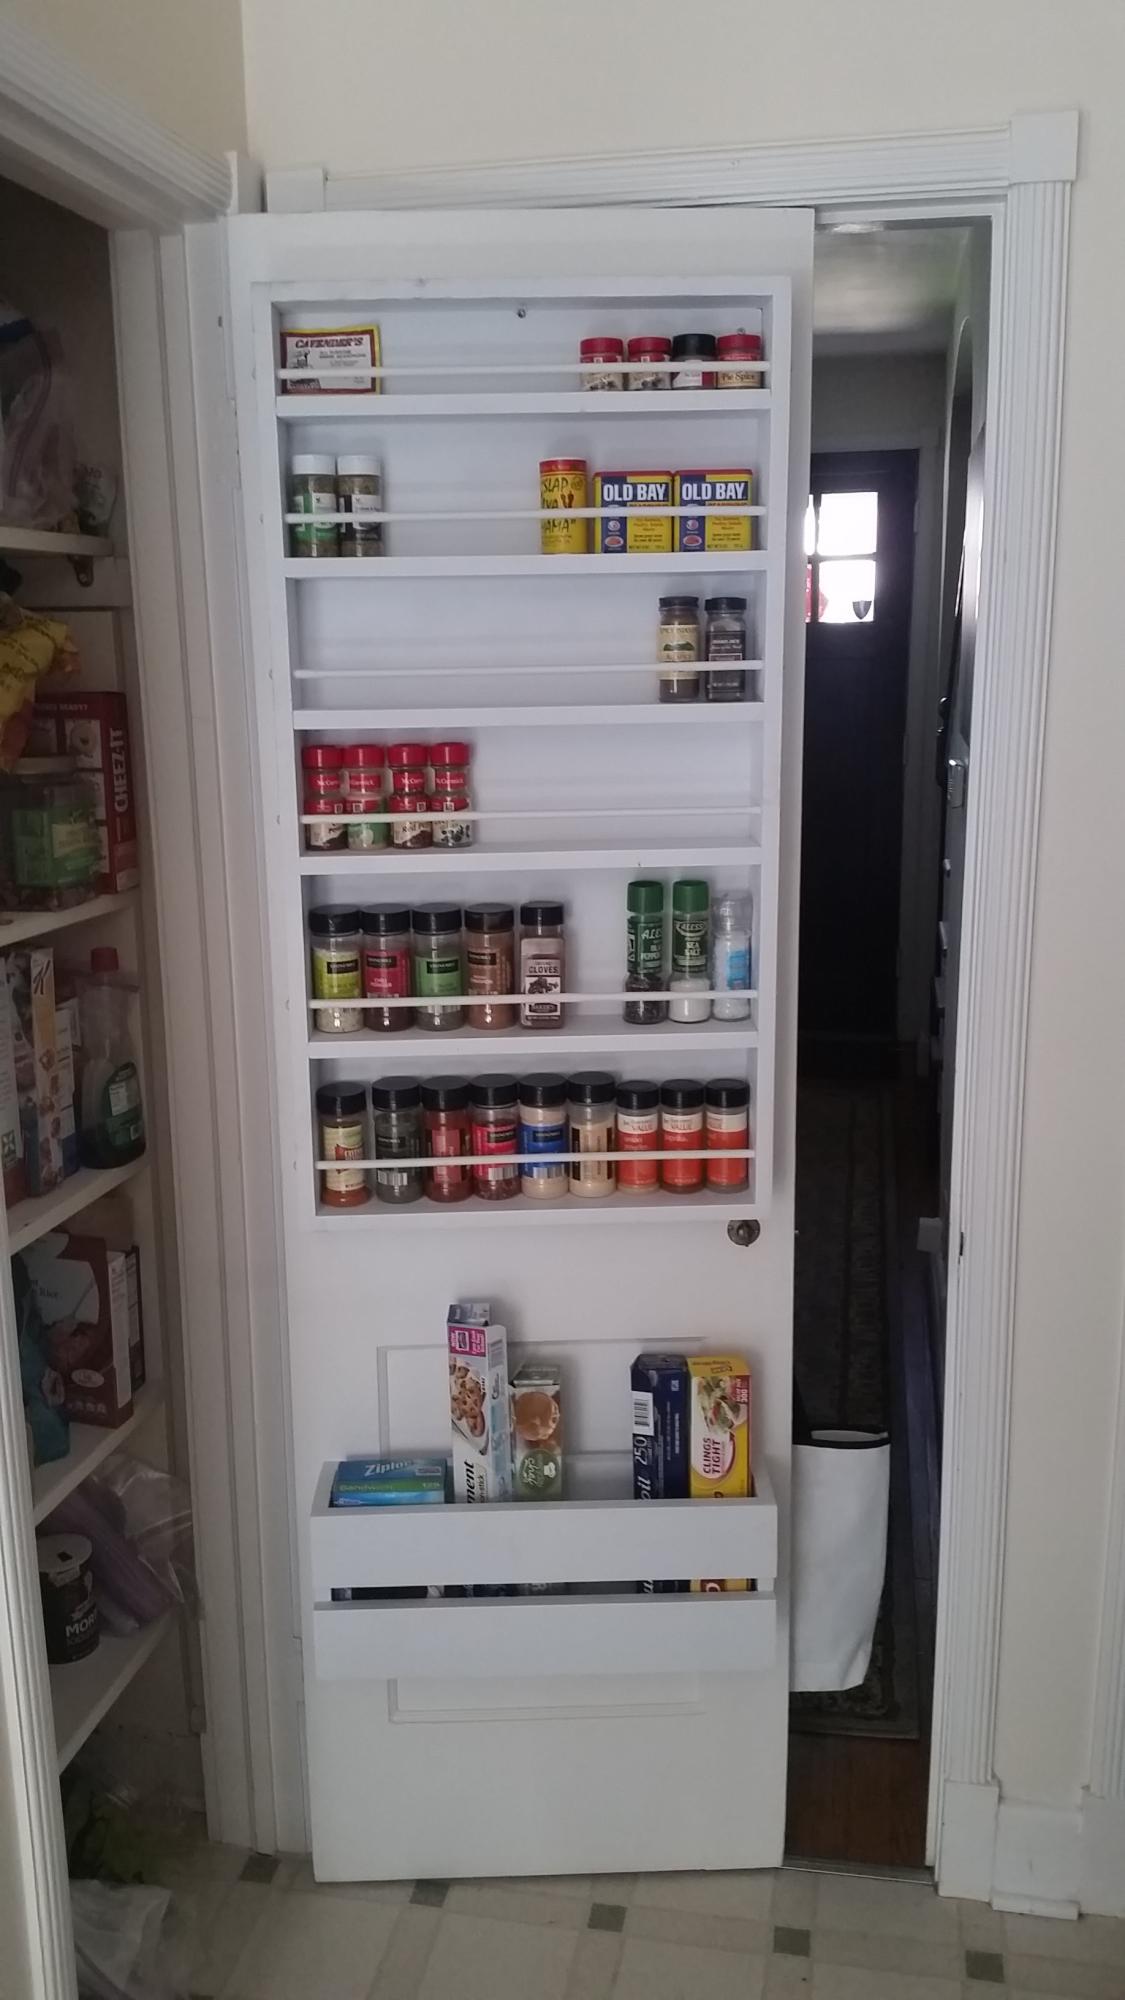
Thanks for the plans!
Built from Plan(s)
Comments
Wed, 10/19/2022 - 08:32
Great spice organization!
Looks great and perfect space saver and organizer!
Cube Bookshelf
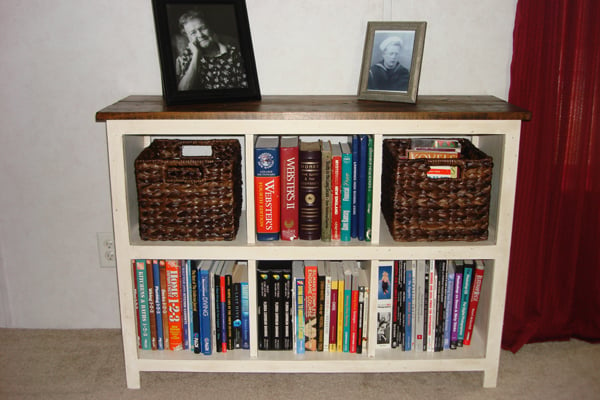
I love this bookshelf! It was quick and easy to build, the finishing took the longest. I decided to add a contrasting top with pine boards stained with dark walnut. I love how it came out! Now, on to my next Ana White project...
Built from Plan(s)
Estimated Cost
$50
Estimated Time Investment
Afternoon Project (3-6 Hours)
Finish Used
Behr Ultra in Bone distressed then antiqued with Valspar mixing glaze mixed with dark walnut stain. Top is dark walnut stain and sealed with wipe-on poly.
Recommended Skill Level
Beginner
Comments

First project
modified the plans by making the top from 4 1x6s and adapted the legs to use 1x6s instead of the 2x4s. The wood I used was higher grade pine than what is called for, but because of the reduced size (2' x 4') I came in at the same price.
Built from Plan(s)
Estimated Cost
$80
Estimated Time Investment
Day Project (6-9 Hours)
Finish Used
Minwax Early American with clear semi-gloss poly
Recommended Skill Level
Starter Project
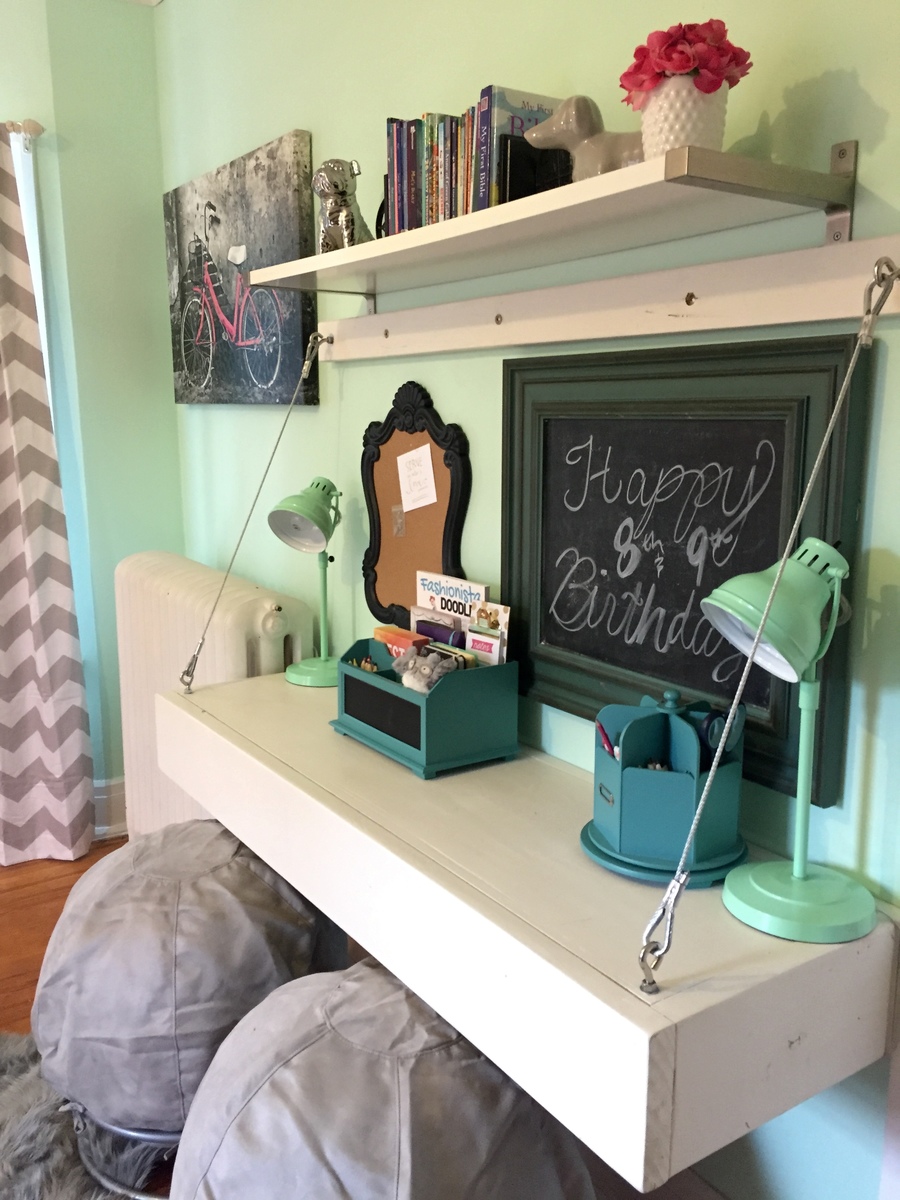
Floating Bunk Beds and Desk
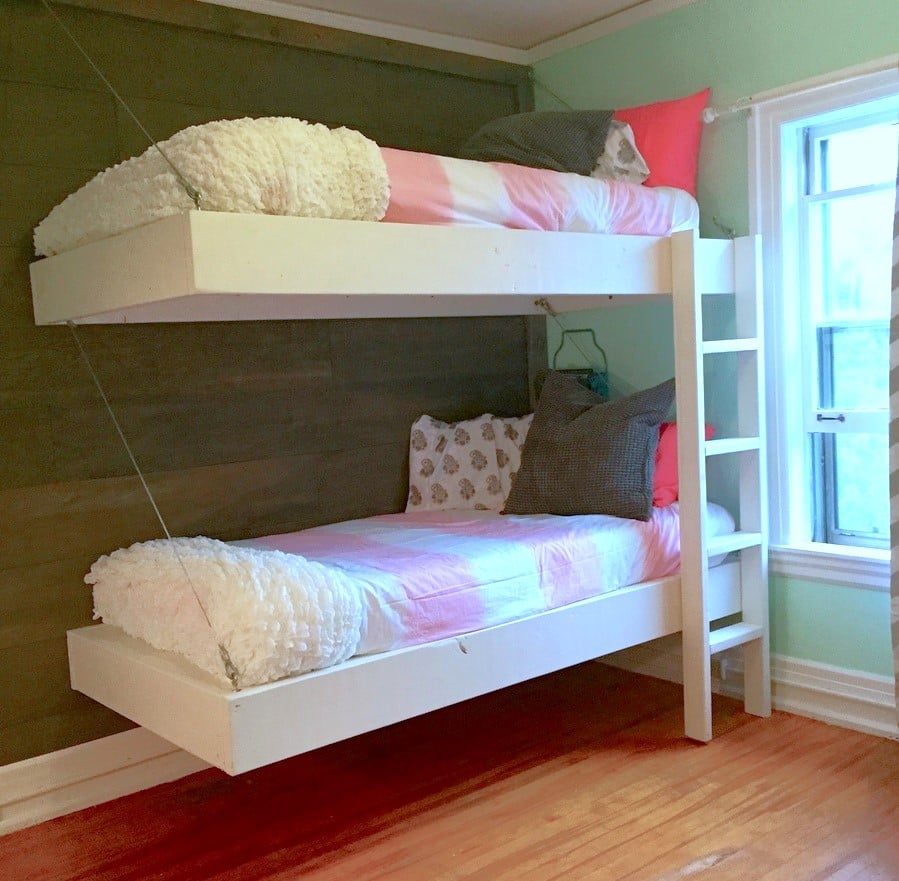
This little girls room needed a little happy birthday! I planked the wall with birch veneer, made simple box frames for the beds and desk, and attached them to walls with heavy duty cable. Then my friend added her designer touch, and made it cozy and girl CHIC!

Built from Plan(s)
Estimated Cost
$500
Estimated Time Investment
Week Long Project (20 Hours or More)
Finish Used
white paint
Recommended Skill Level
Intermediate
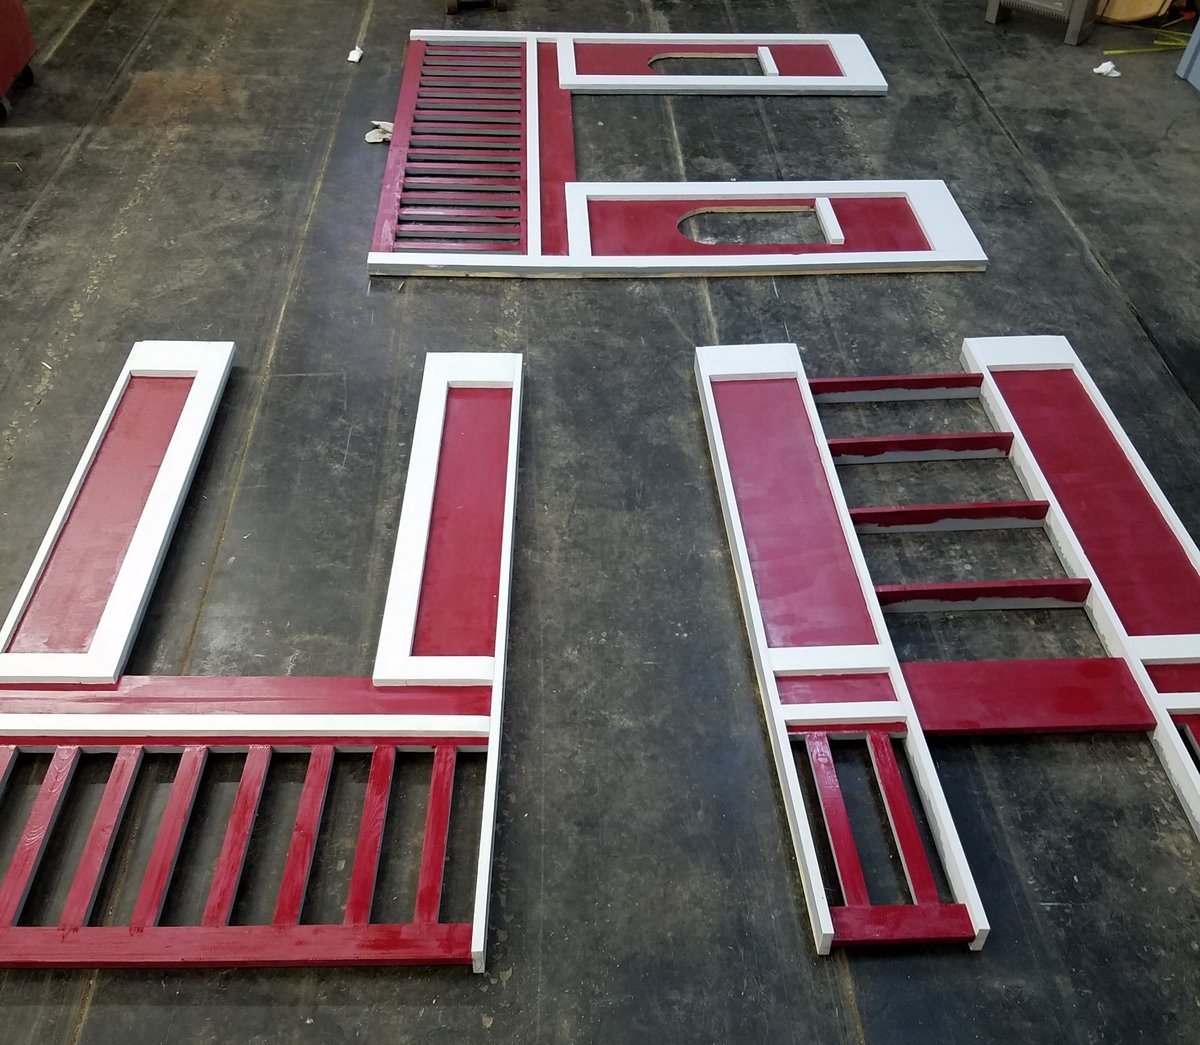
Fire Station Loft Bed
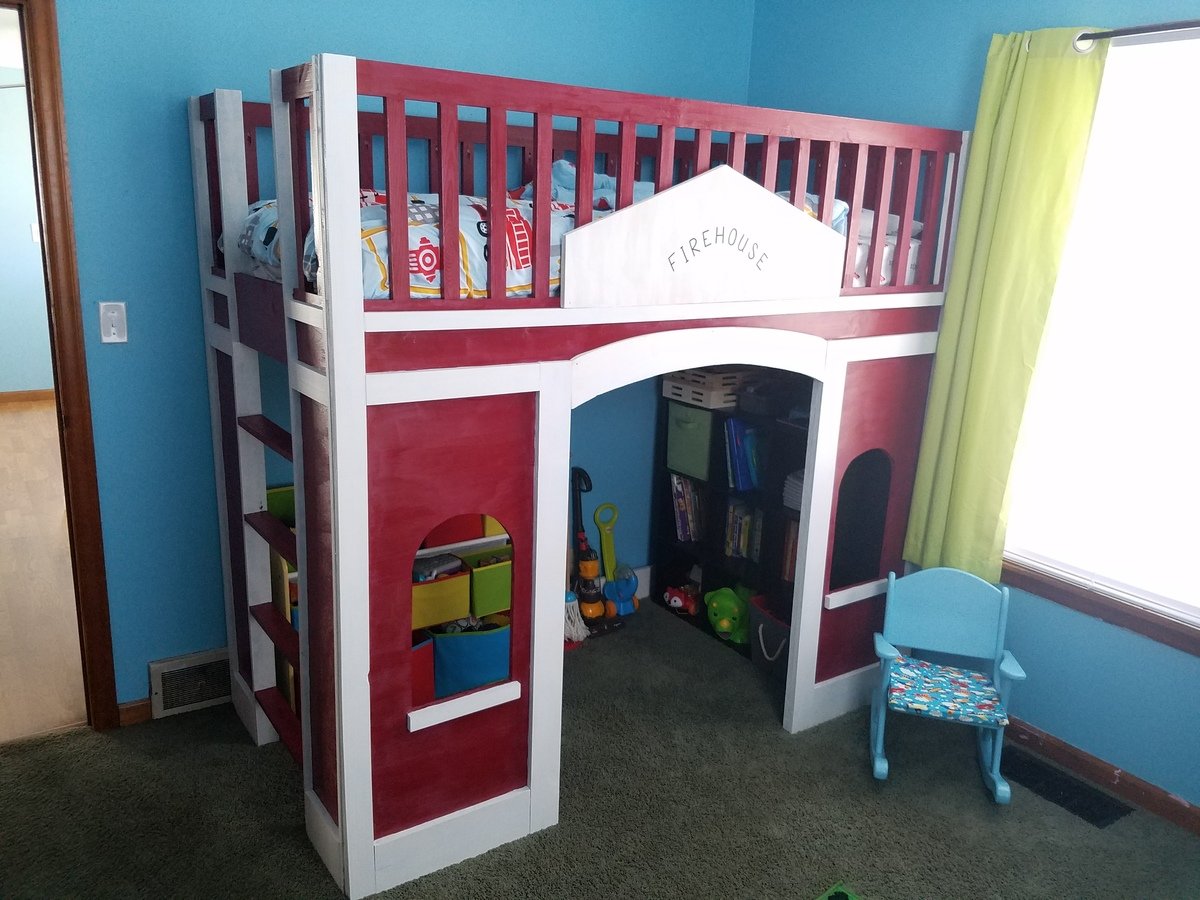
Fairly easy and fun build! We followed the plans almost entirely and spent a few hours each day throughout a week working on it, painting it was definitely the most time consuming part. It came together very easily in the bedroom and was done just in time to surprise our 3 year old for Christmas, he loves it! And I love that we can fit another twin bed underneath to turn it from a loft to bunk beds in the future.
Built from Plan(s)
Estimated Cost
$200
Estimated Time Investment
Week Long Project (20 Hours or More)
Finish Used
Gray primer, Red door&trim paint, White paint
Recommended Skill Level
Beginner
Clubhouse Bunkbed w/Climbing Wall
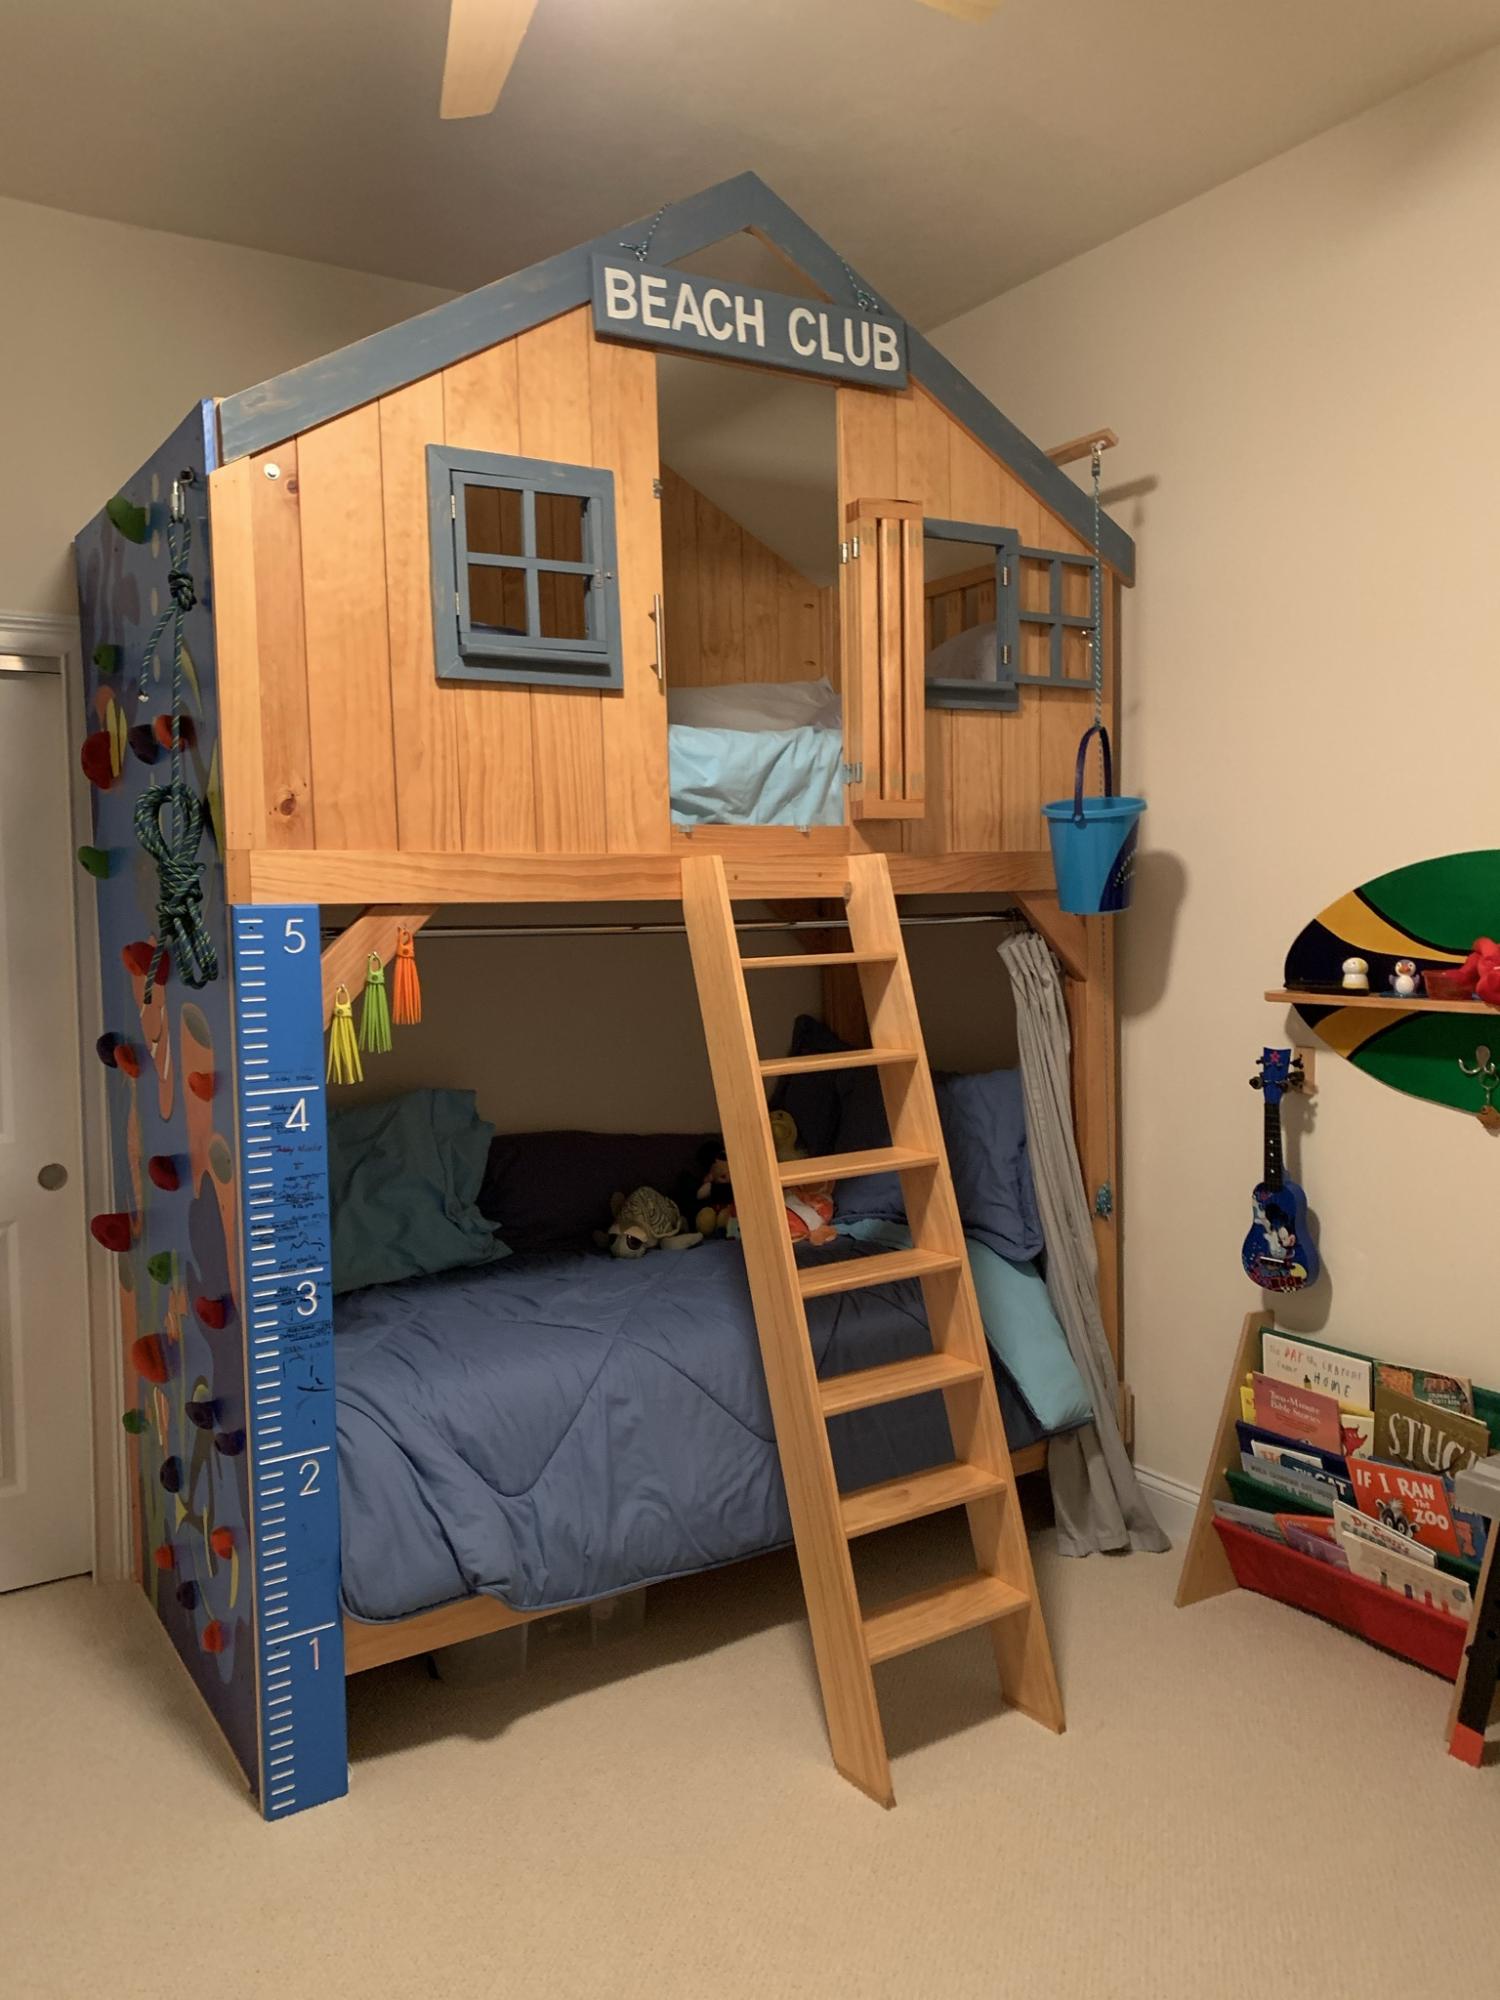
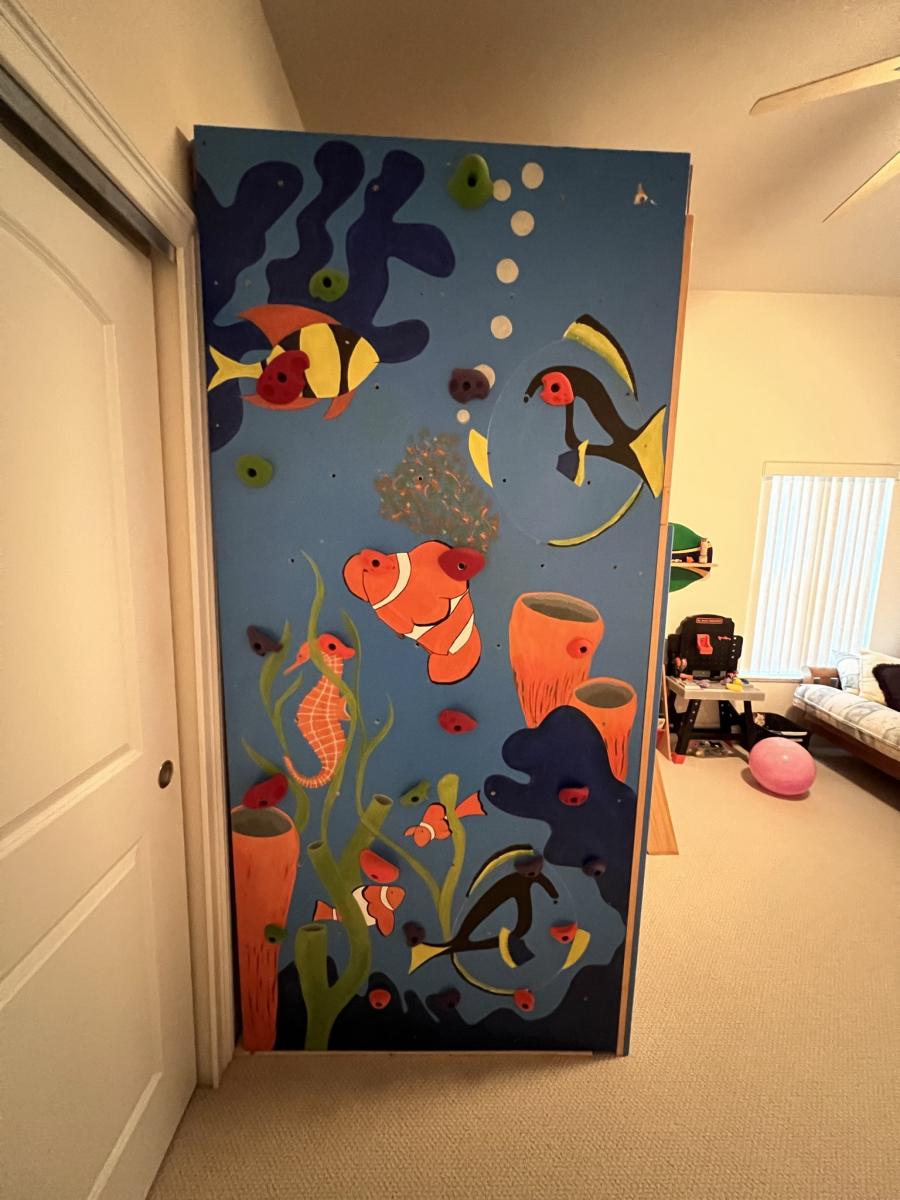
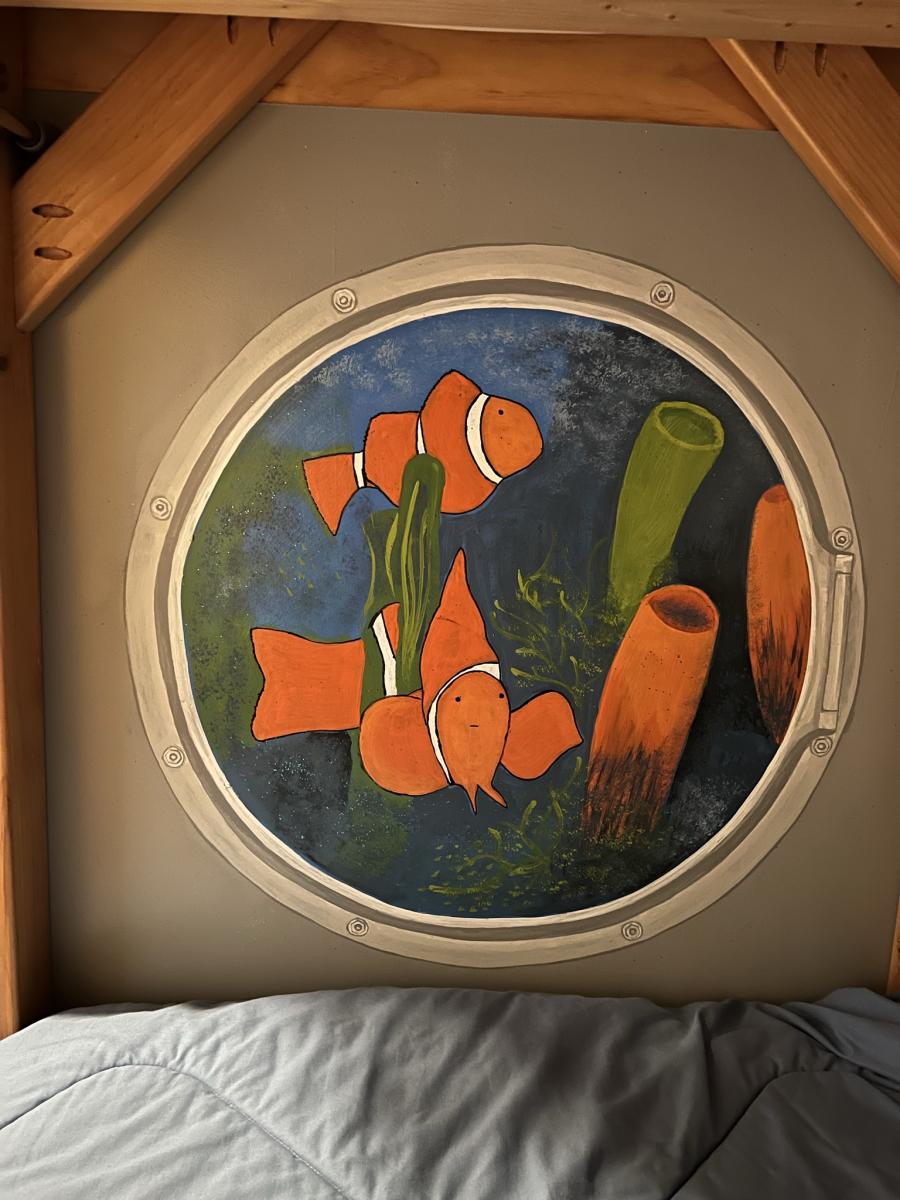
This is my first Anna White project that I built almost 10 years ago when I was a new grandma. Much to my surprise, it has endured and is still a fun place for 4 grandkids. I revised the Clubhouse bed plans by raising the loft and building it into a bunk bed (I have 10 foot ceilings making this possible), with one end covered by a 4x8' 3/4" plywood climbing wall (with toddler climbing set hardware) painted in seascape that allows them to climb up and over rather than using the removable ladder. I also added a tri-fold latching "baby gate" to the loft for safety if I was called out of the room while the littlest ones were up in the clubhouse. I also added a bucket on a pulley system to let the kids "deliver" items to the clubhouse window from the ground and a "flood level" measuring stick to let them measure their growth progress. To cover the backside of the plywood climbing wall and the hold screws and make sure all was nice and smooth, I added a 1/4 MDF sheet on the inside and painted with a porthole to simulate a submarine when the curtain is closed.
Built from Plan(s)
Comments
Wed, 11/09/2022 - 10:11
Amazing project!
You have to be the sweetest grandma around, this is so awesome! Love all the added details and growth chart, thank you for sharing.
Adirondack stool or table
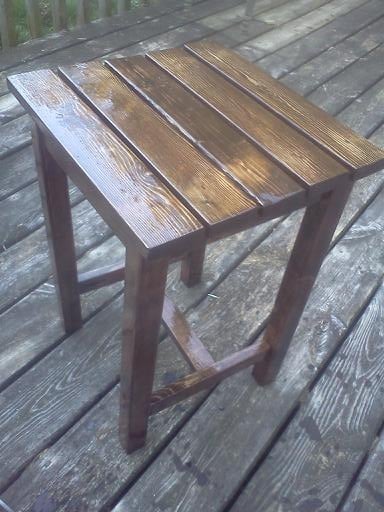
This was my first project to tackle alone. It twisted a little on me not having another set of hands to hold things square, but it stands straight and doesn't wobble! Good enough for me. Plus it is an outdoor piece of furniture. The plans were easy to follow and I added 3" to the height of the legs so it was the same height as my arm rests on my chair.
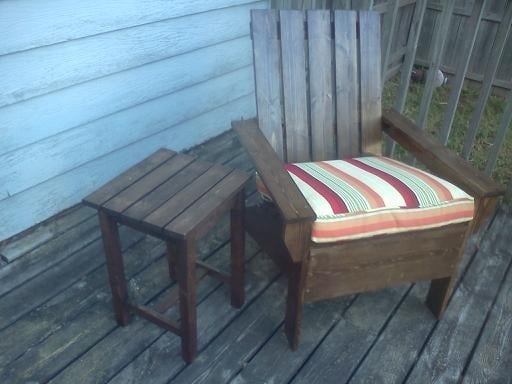
Built from Plan(s)
Estimated Cost
Scraps from adirondack chairs ($0)
Estimated Time Investment
Afternoon Project (3-6 Hours)
Finish Used
Dark walnut and polyurethane
Recommended Skill Level
Beginner
Double pedestal breakfast table and bench
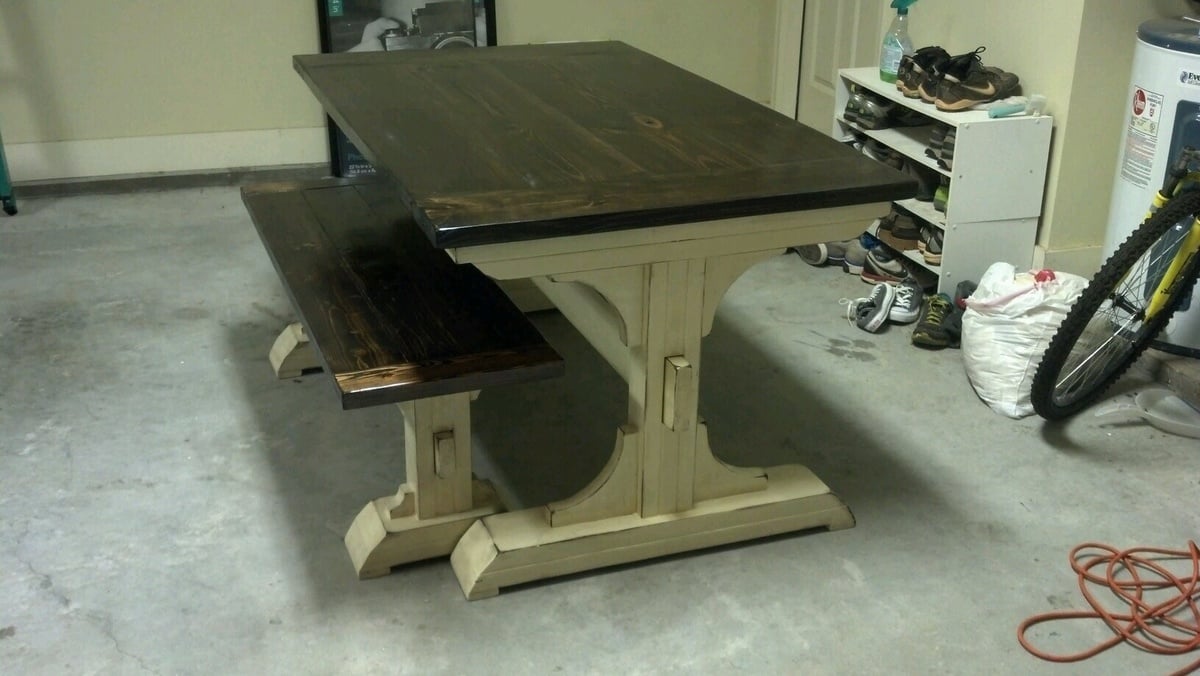
Thank you Ana for yout amazing plans for the triple pedestal table and bench! I modified it to work for the dimensions that I needed which brought it down to a double pedestal table and bench. It ended up as a 3'x5' table. I attempted the antique coffee stain technique but it wasn't taking so I just used the stain that I used on the table top instead of the coffee. I LOVE how it turned out!
Leah
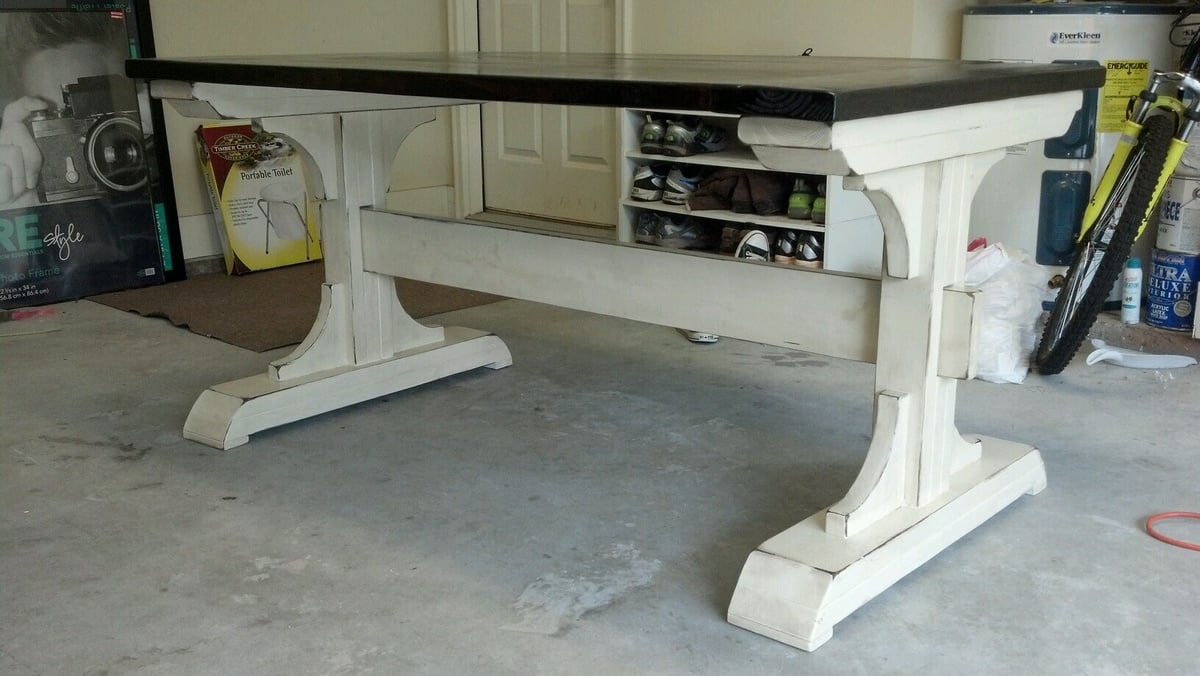
Built from Plan(s)
Estimated Cost
$150
Estimated Time Investment
Weekend Project (10-20 Hours)
Finish Used
Primed the legs and then added two coats of latex paint. Sanded the edges and corners and then applied dark walnut minwax stain over the entire surface wiping it off quickly! For the top, I did two coats of dark walnut minmax stain. I finished everything off with two coats of polycrylic.
Recommended Skill Level
Beginner
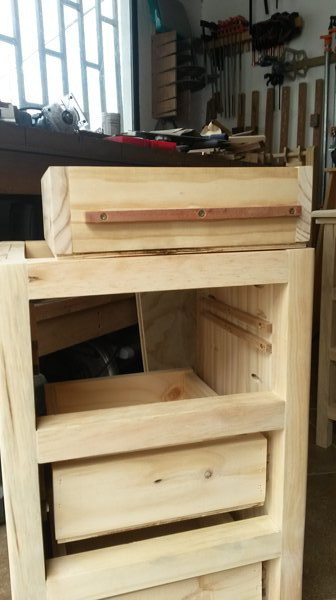
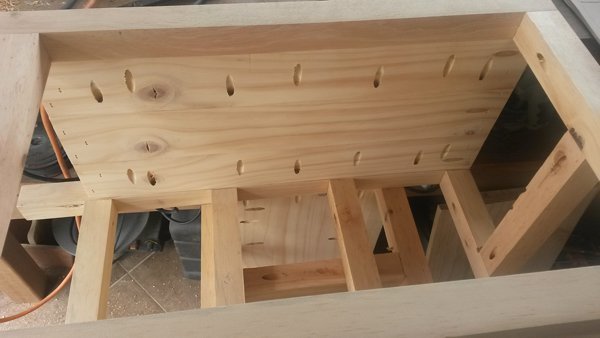
Reclaimed Wood Look Bedside Table
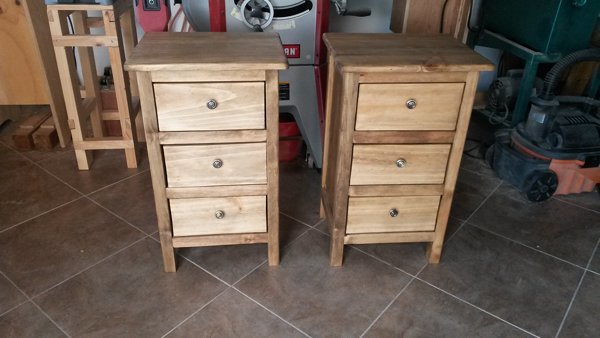
Having recently completed the Californian King size Bed, I needed matching bedside tables, these were an obvious choice, but due to the size of our bedroom, I had to downsize on the plan. Although I kept to the spirit of the plan, I made a few changes, other than just size. I made up the table tops and side panels, prior to assembly, much as I did with the bed, I pocket holed and glued the planks together to ensure they stay that way. I also decided to use hardwood runners, and not buy metal slides, because I had plenty of mahogany scrap, and the drawers are small, so it was easy to do. The drawer knobs were obviously bought, but to ensure they never come off, which is usually my problem with store bought knobs, I fixed them to the drawer face, using epoxy to glue the knob to the bolt, before attaching to the drawer carcase. I built these from pine and used a matt oak varnish to match the bed. The full build and more photos are on my Blog
Built from Plan(s)
Estimated Time Investment
Week Long Project (20 Hours or More)
Finish Used
Matt Oak Varnish
Recommended Skill Level
Intermediate
Rustic X coffee table
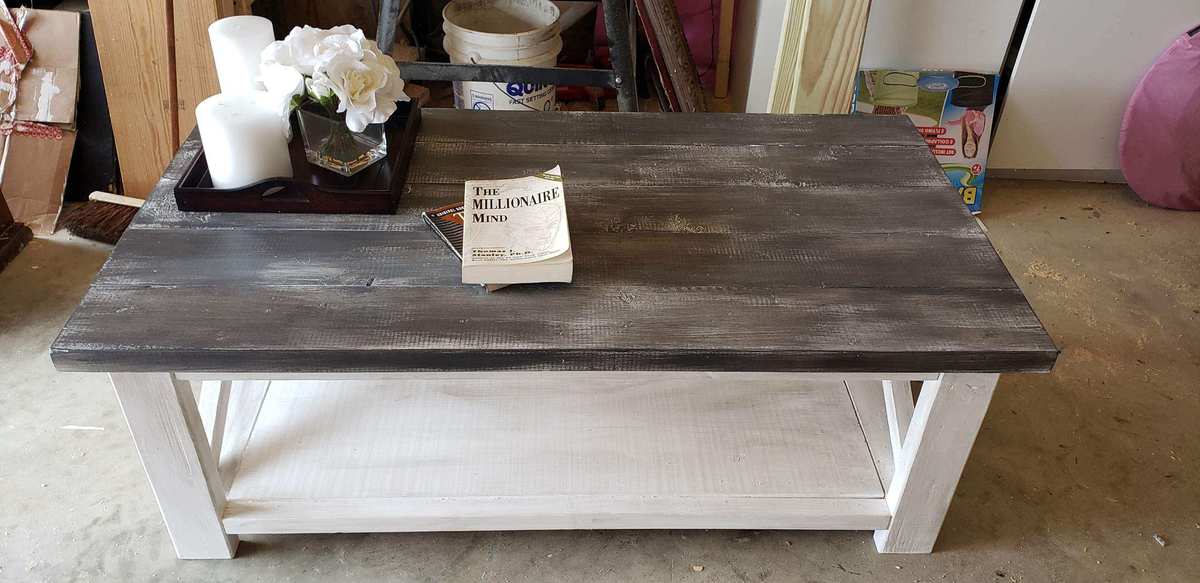
First coffee table build. Plans were perfect! Built for $50, sold for $255
Built from Plan(s)
Estimated Cost
50
Estimated Time Investment
Day Project (6-9 Hours)
Finish Used
Chalk paint
Recommended Skill Level
Beginner
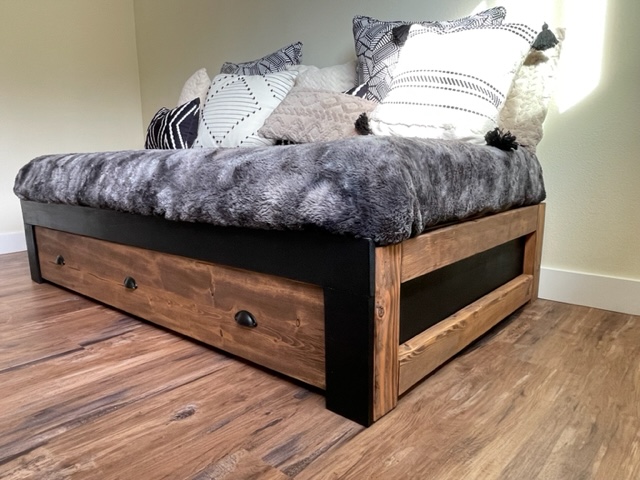
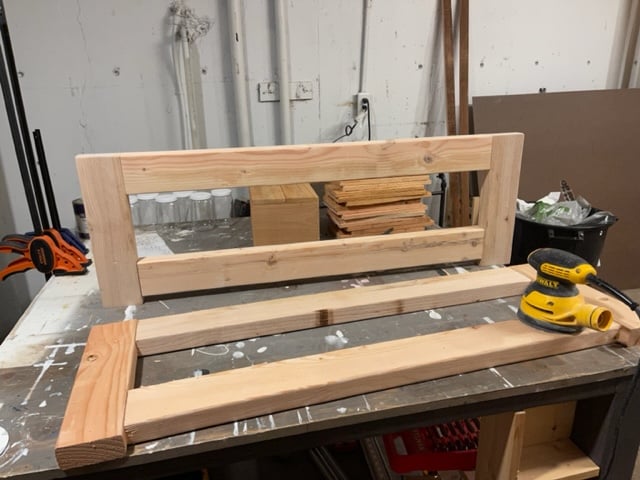
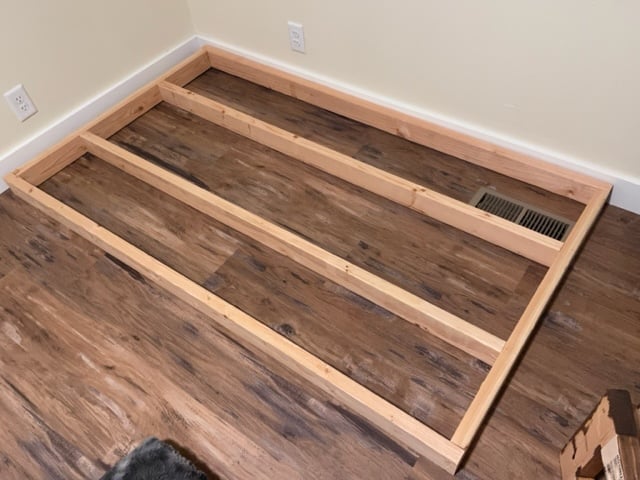
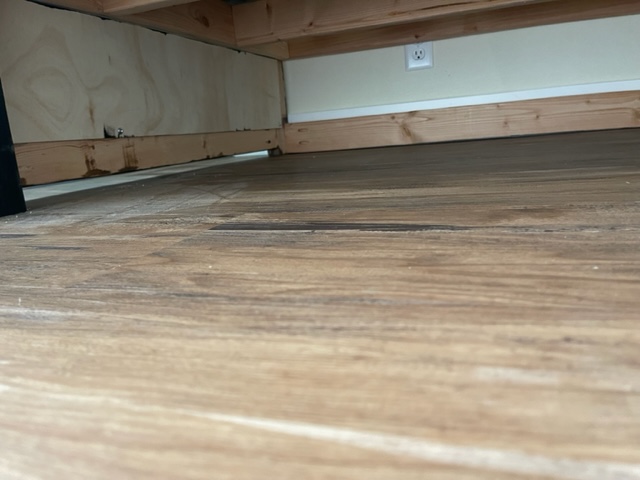
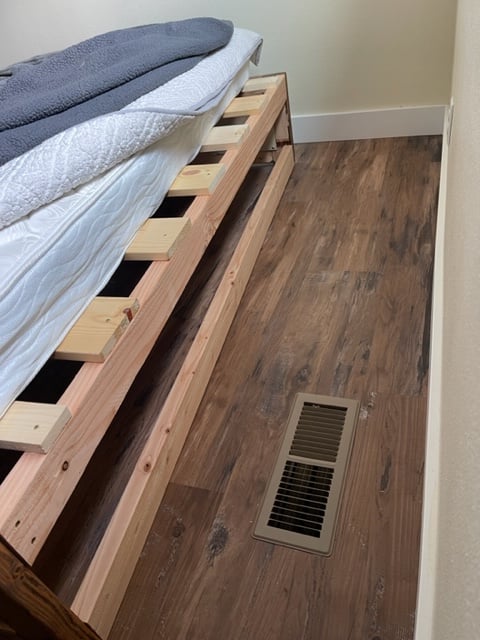
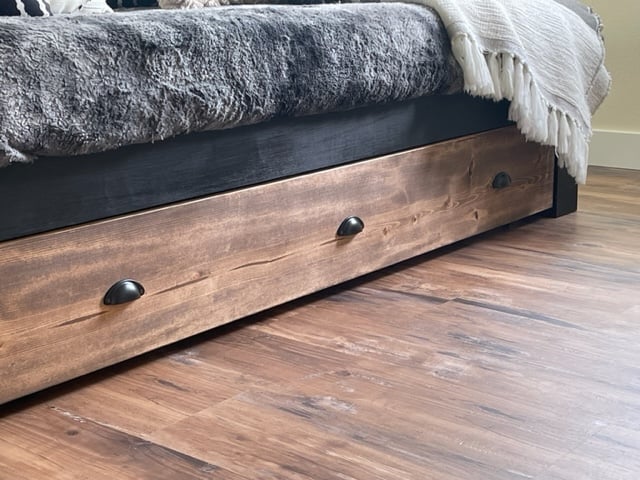
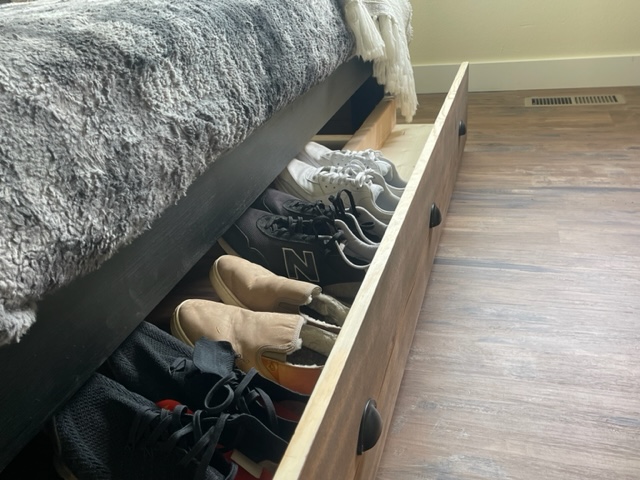
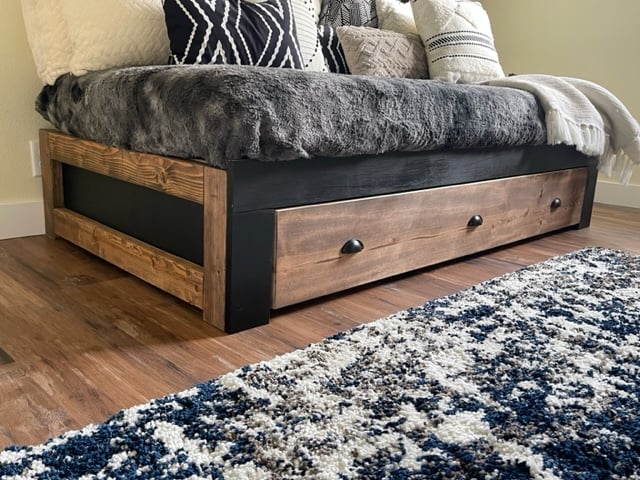
Platform Bed with Shoe Trundle
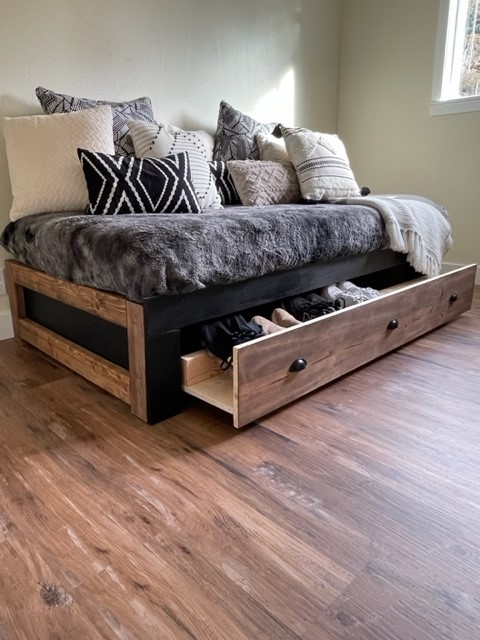
We had some bulky items that needed to be stored. So I came up with dimensions for a low platform bed so the bows could slide under. I decided to build a faux drawer to conceal the bulky items and added shoe storage into the faux trundle drawer. Of course I used one of Ana's plans for the basic idea and modified from there!

Built from Plan(s)
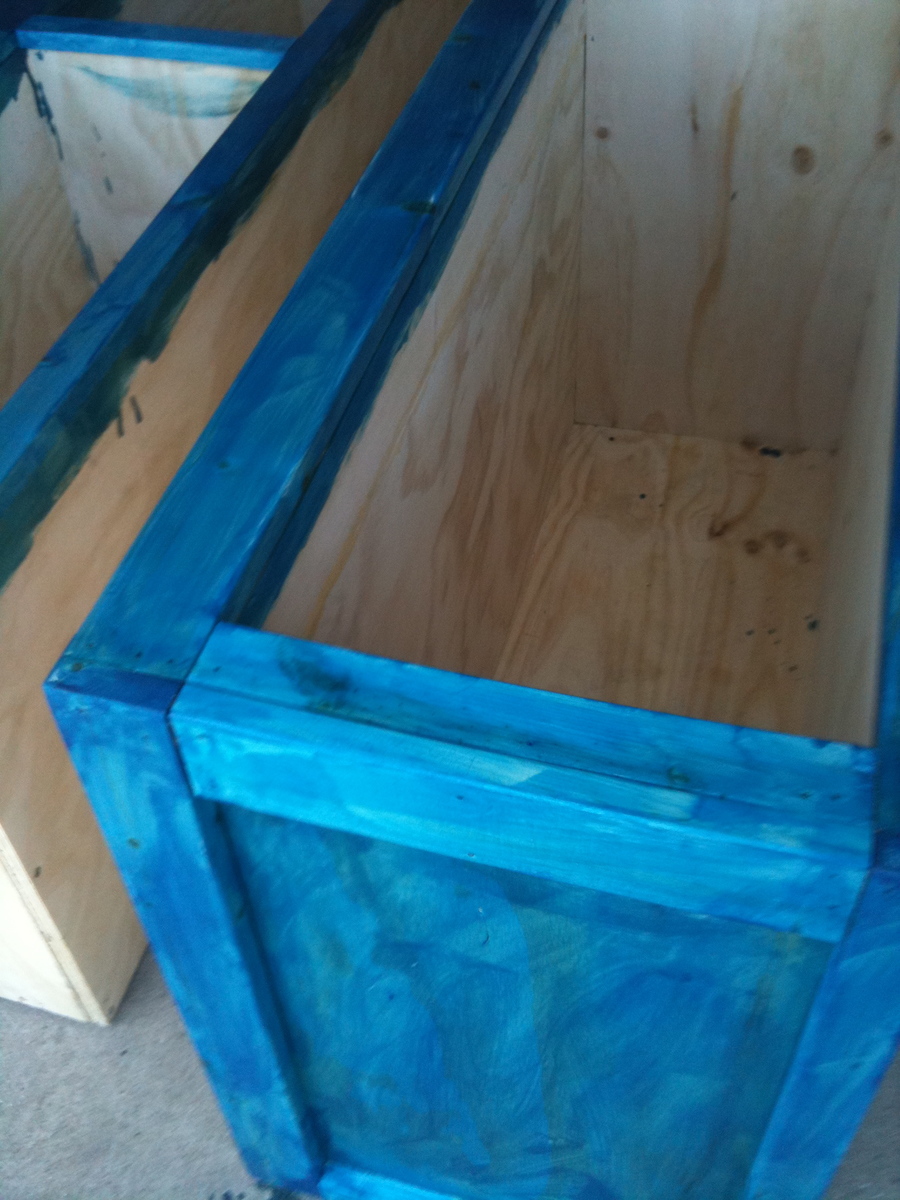
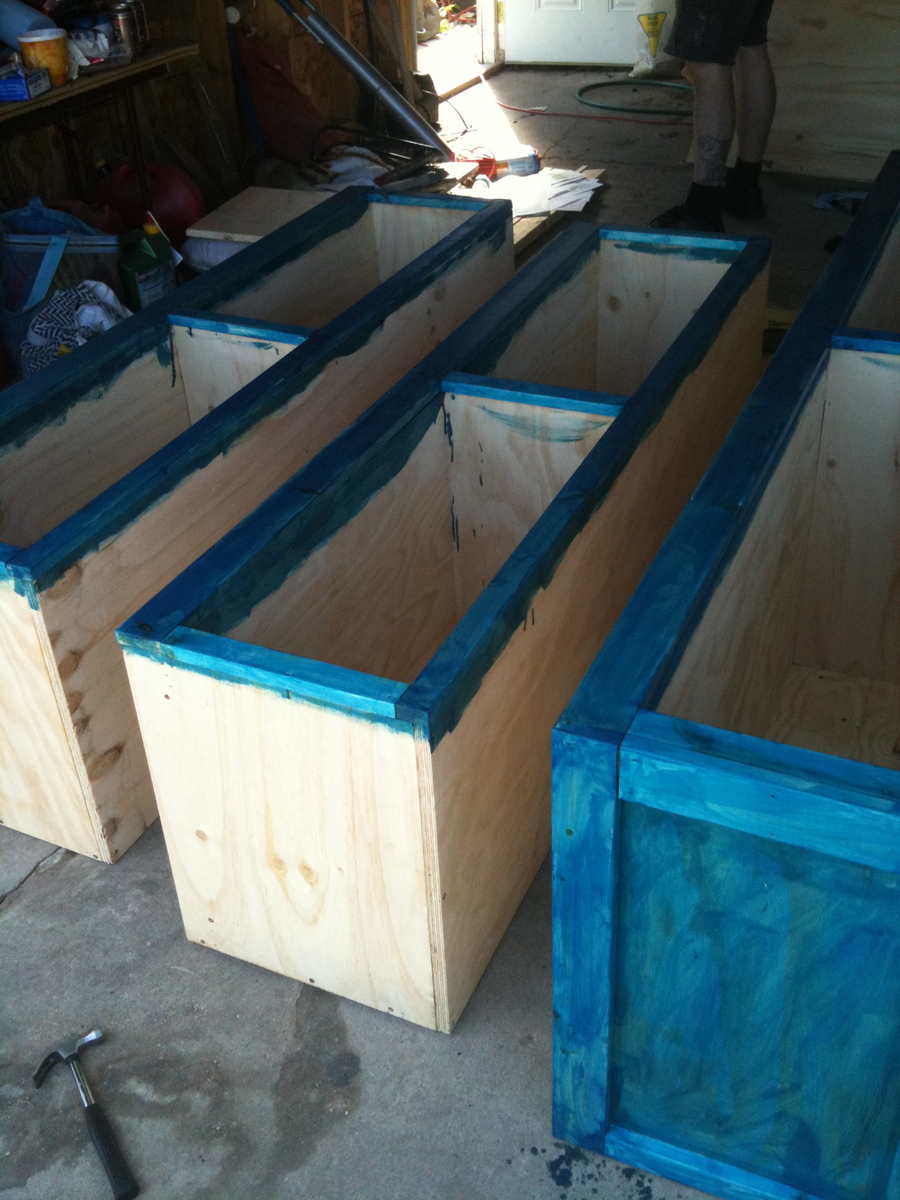
King-size stratton storage bed
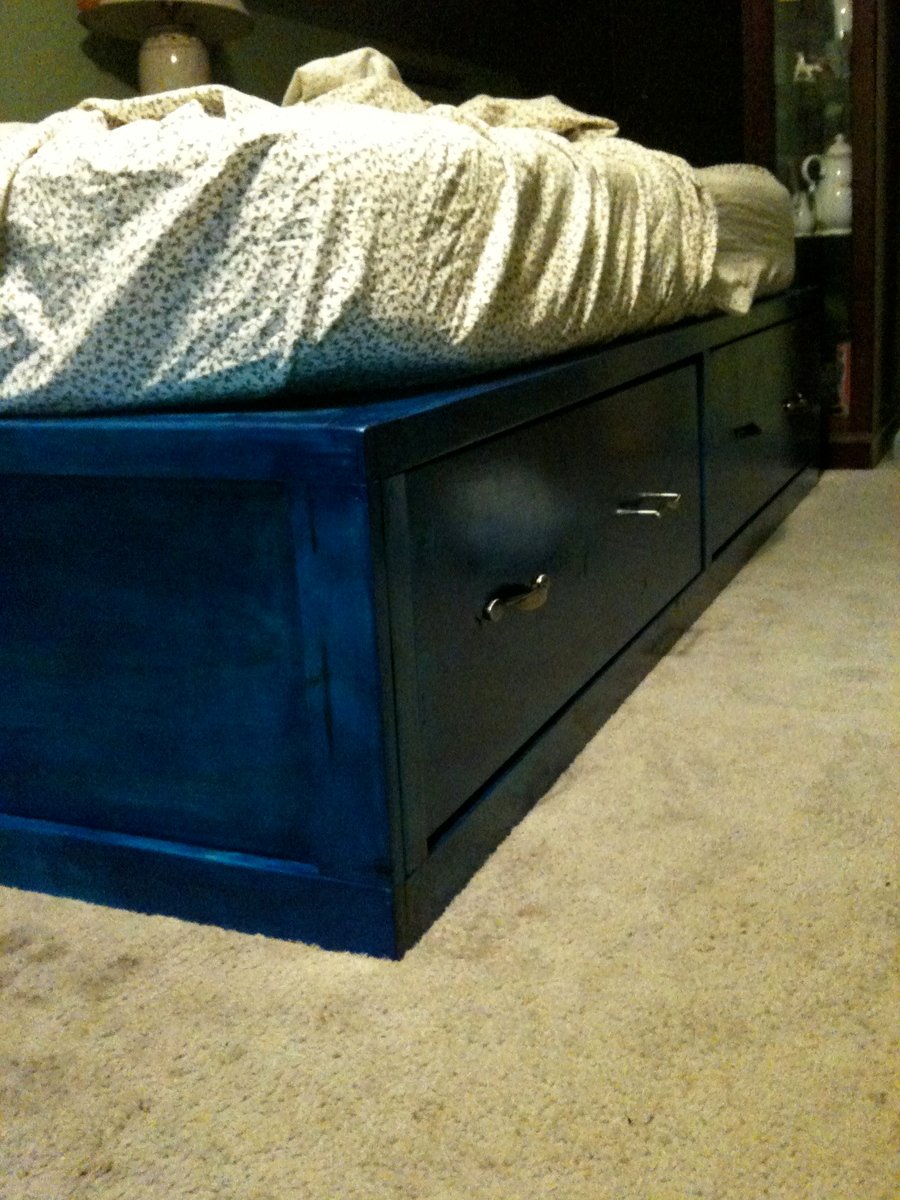
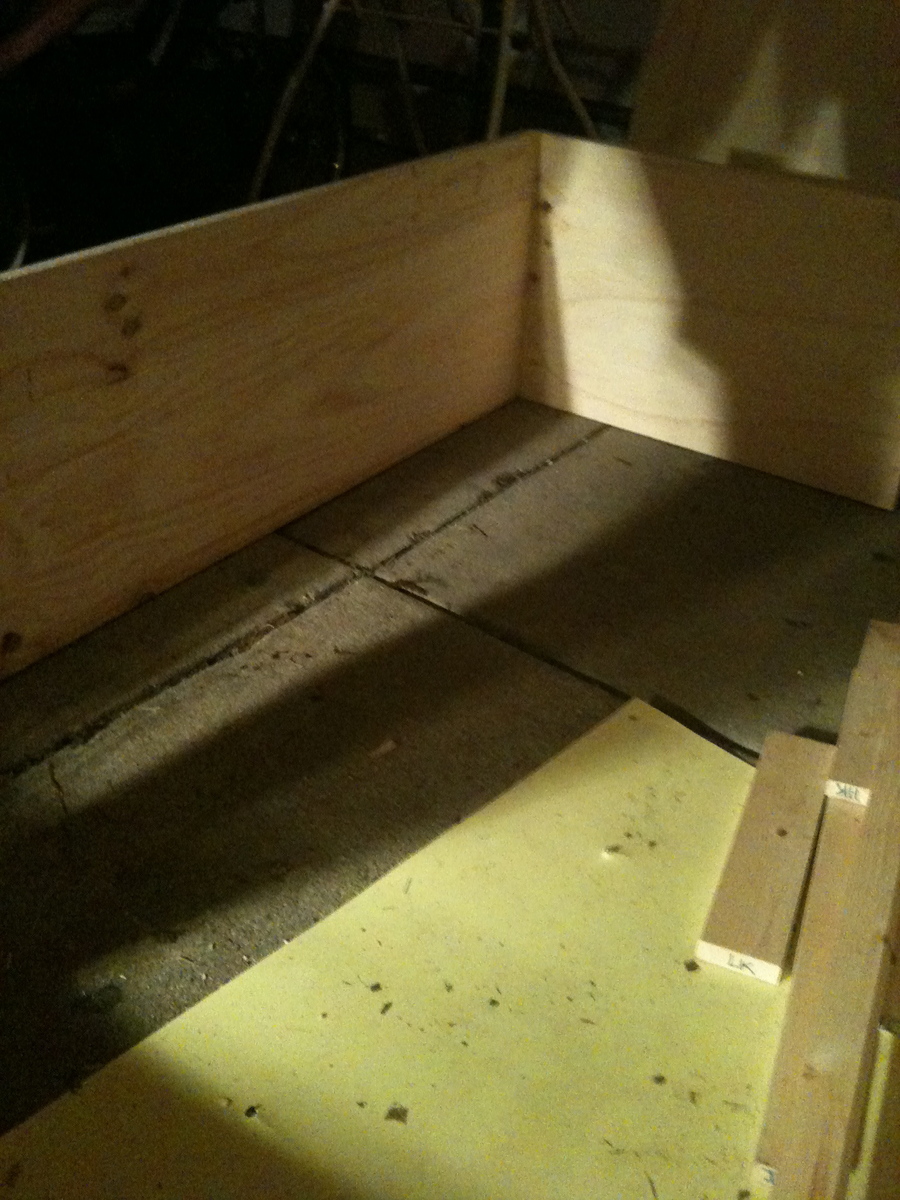
This was our first time building furniture. We built our new bed over the course of four days. We don't own any power saws so opted to give the cut list to our local hardware store who only charged us about $50 for all the cuts.
Day one consisted of picking up all the lumber, sorting into the three sections and labeling all the pieces. Day two was the longest day, lots of drilling and measuring and screwing and gluing and even the first two coats of shellac. On the third day we built the drawers, and finished coating everything with shellac. The last day was the installation of the drawer hardware, including the slides.
We're quite happy with the quality of our work, and appreciate the directions and plans. Though we aren't fine furniture makers, and probably none of our corners are 100% square, we finished in the time we thought, pretty close to budget, and with the satisfaction of doing it ourselves.


Built from Plan(s)
Estimated Cost
$600
Estimated Time Investment
Weekend Project (10-20 Hours)
Finish Used
shellac dyed a bright, happy blue.
Recommended Skill Level
Starter Project
Adirondack chairs

I've made 4 of these awesome chairs. The first two I did the same as the plans called for, and also made the stools to go along with them. Then I seen where someone had made the arms larger and added an extra board along the bottom to give it a more finished look, so I did the same and love these even better. Thank you for the plans.
Debora Cadene,
Atikokan, Ontario
Estimated Time Investment
Day Project (6-9 Hours)
Finish Used
I used stain to finish them along with lots of sanding for a smooth finish.
Recommended Skill Level
Beginner
My Ultimate Changing Table !!

Built it for our recently arrived baby !

Built from Plan(s)
Estimated Time Investment
Weekend Project (10-20 Hours)
Finish Used
Primer/Undercoat followed by Satinwood.
Recommended Skill Level
Beginner
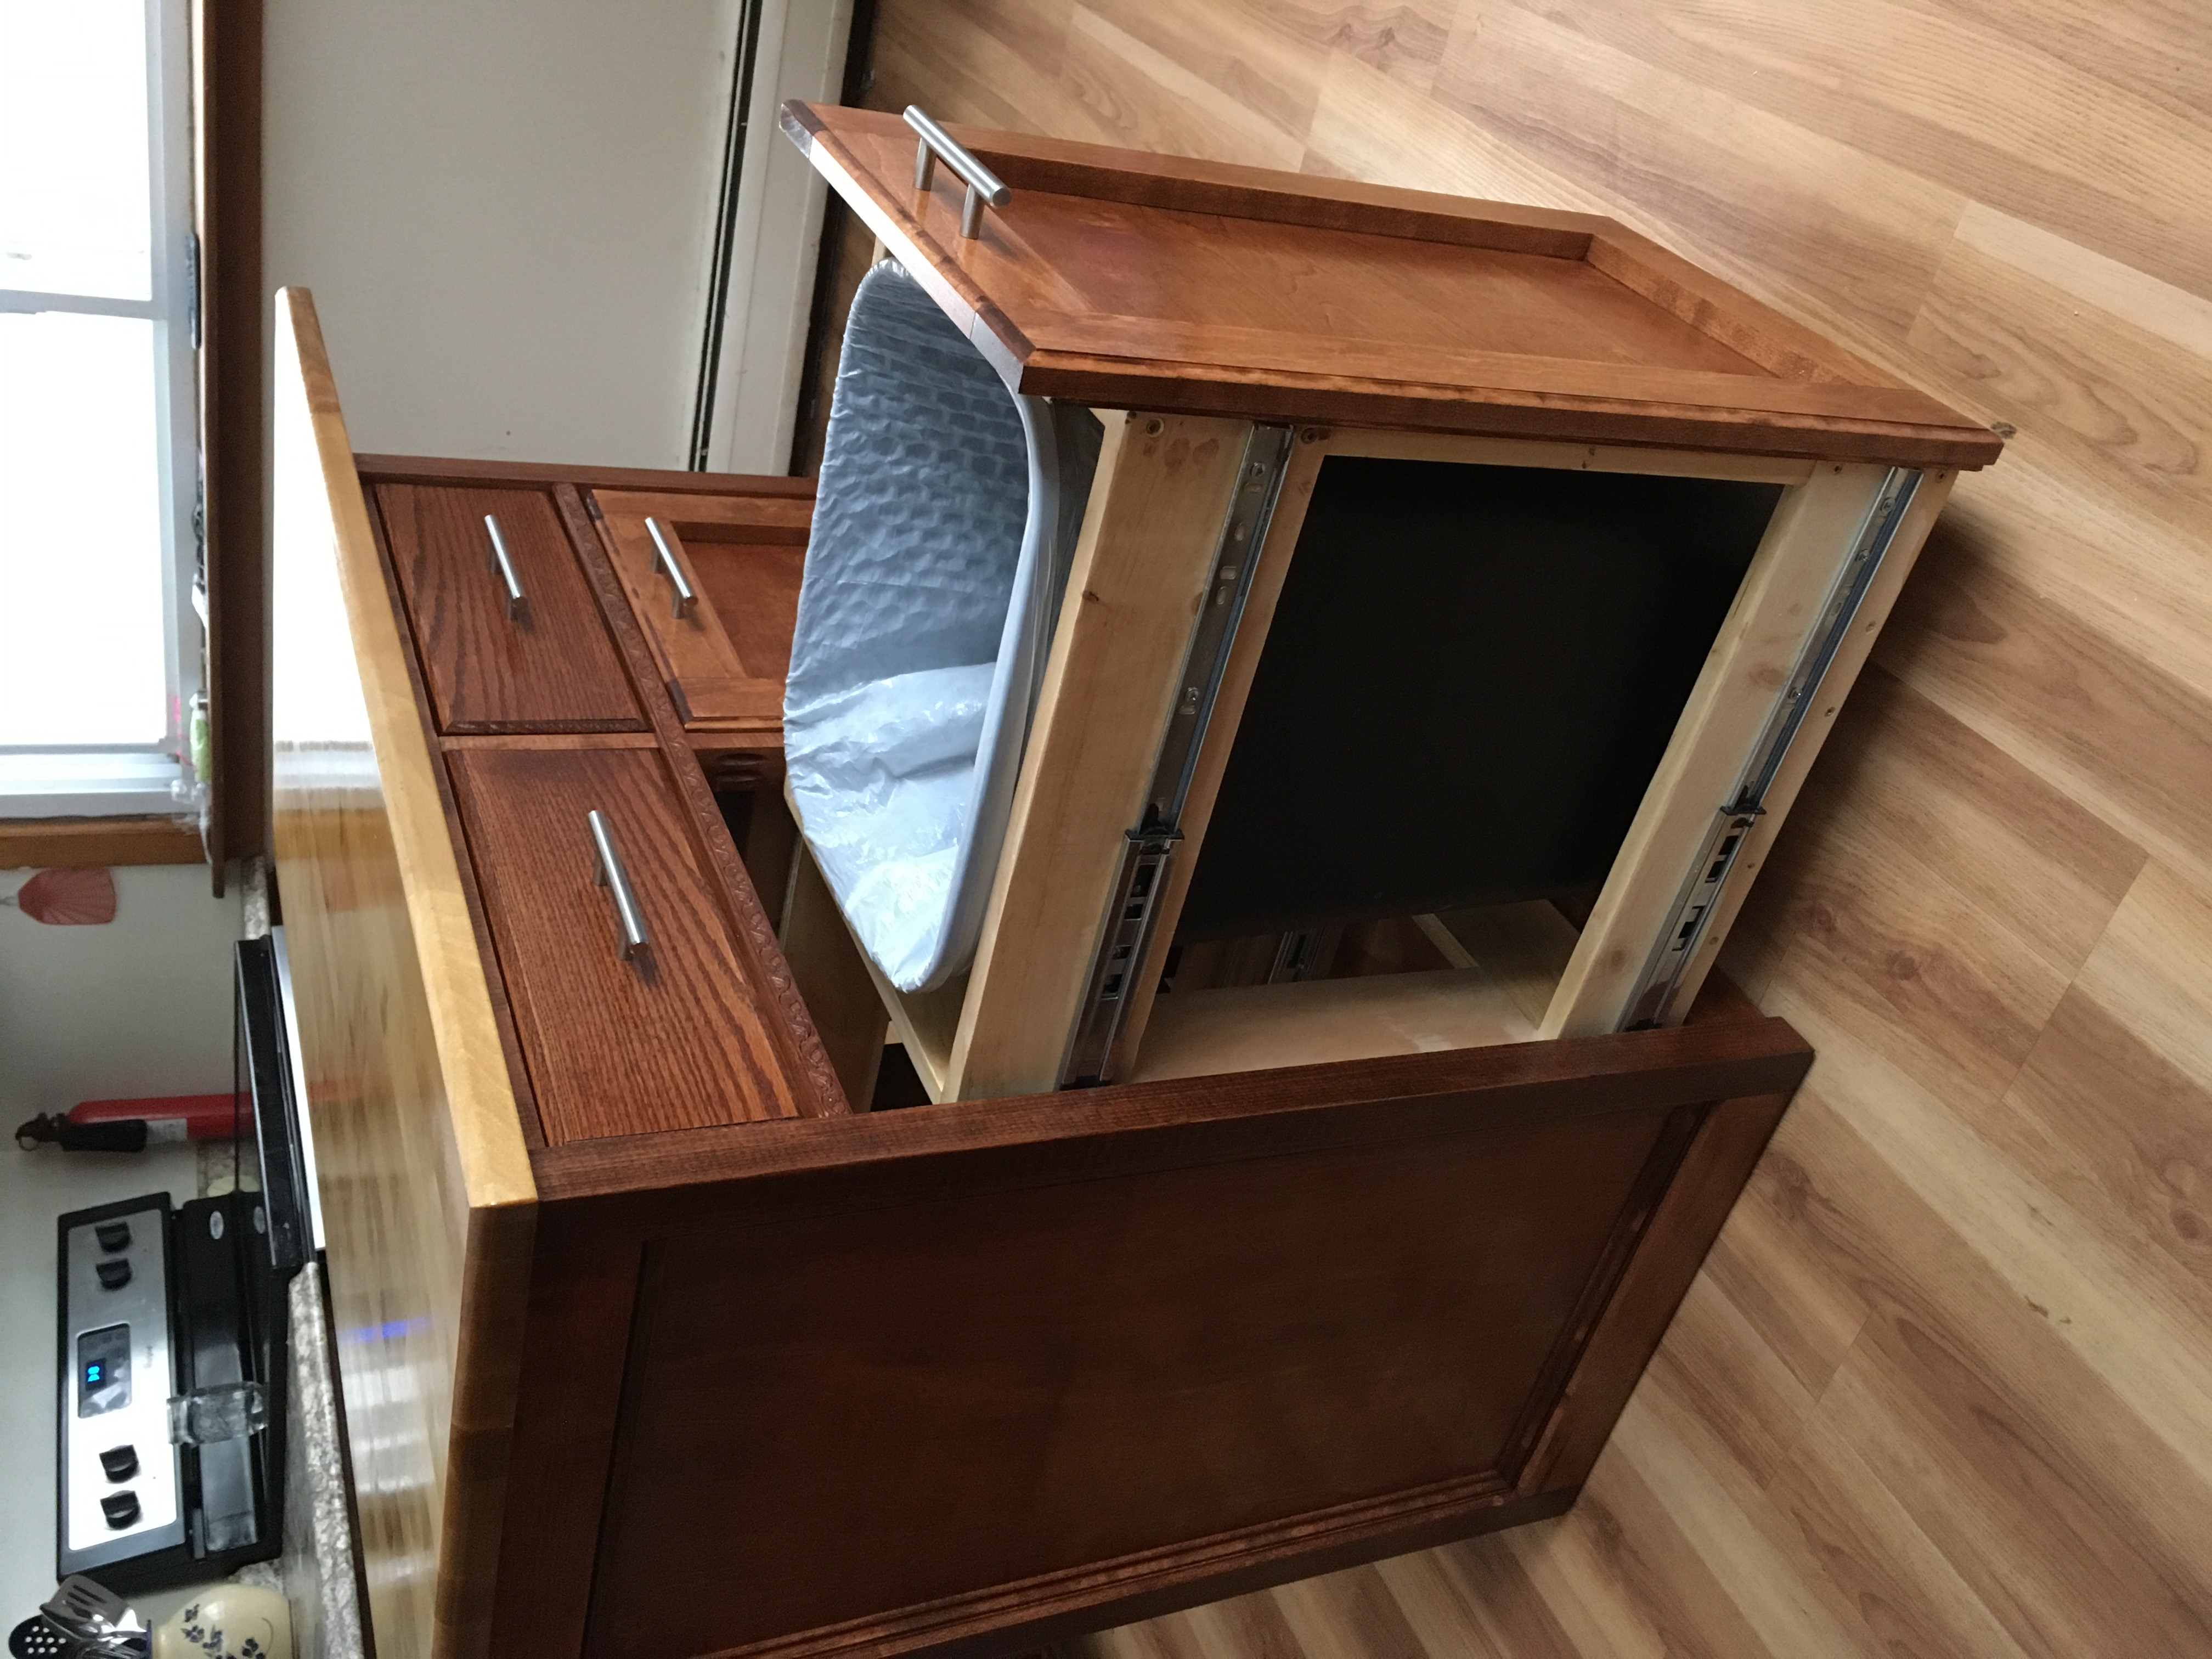
Recycling and Garbage Cabinet
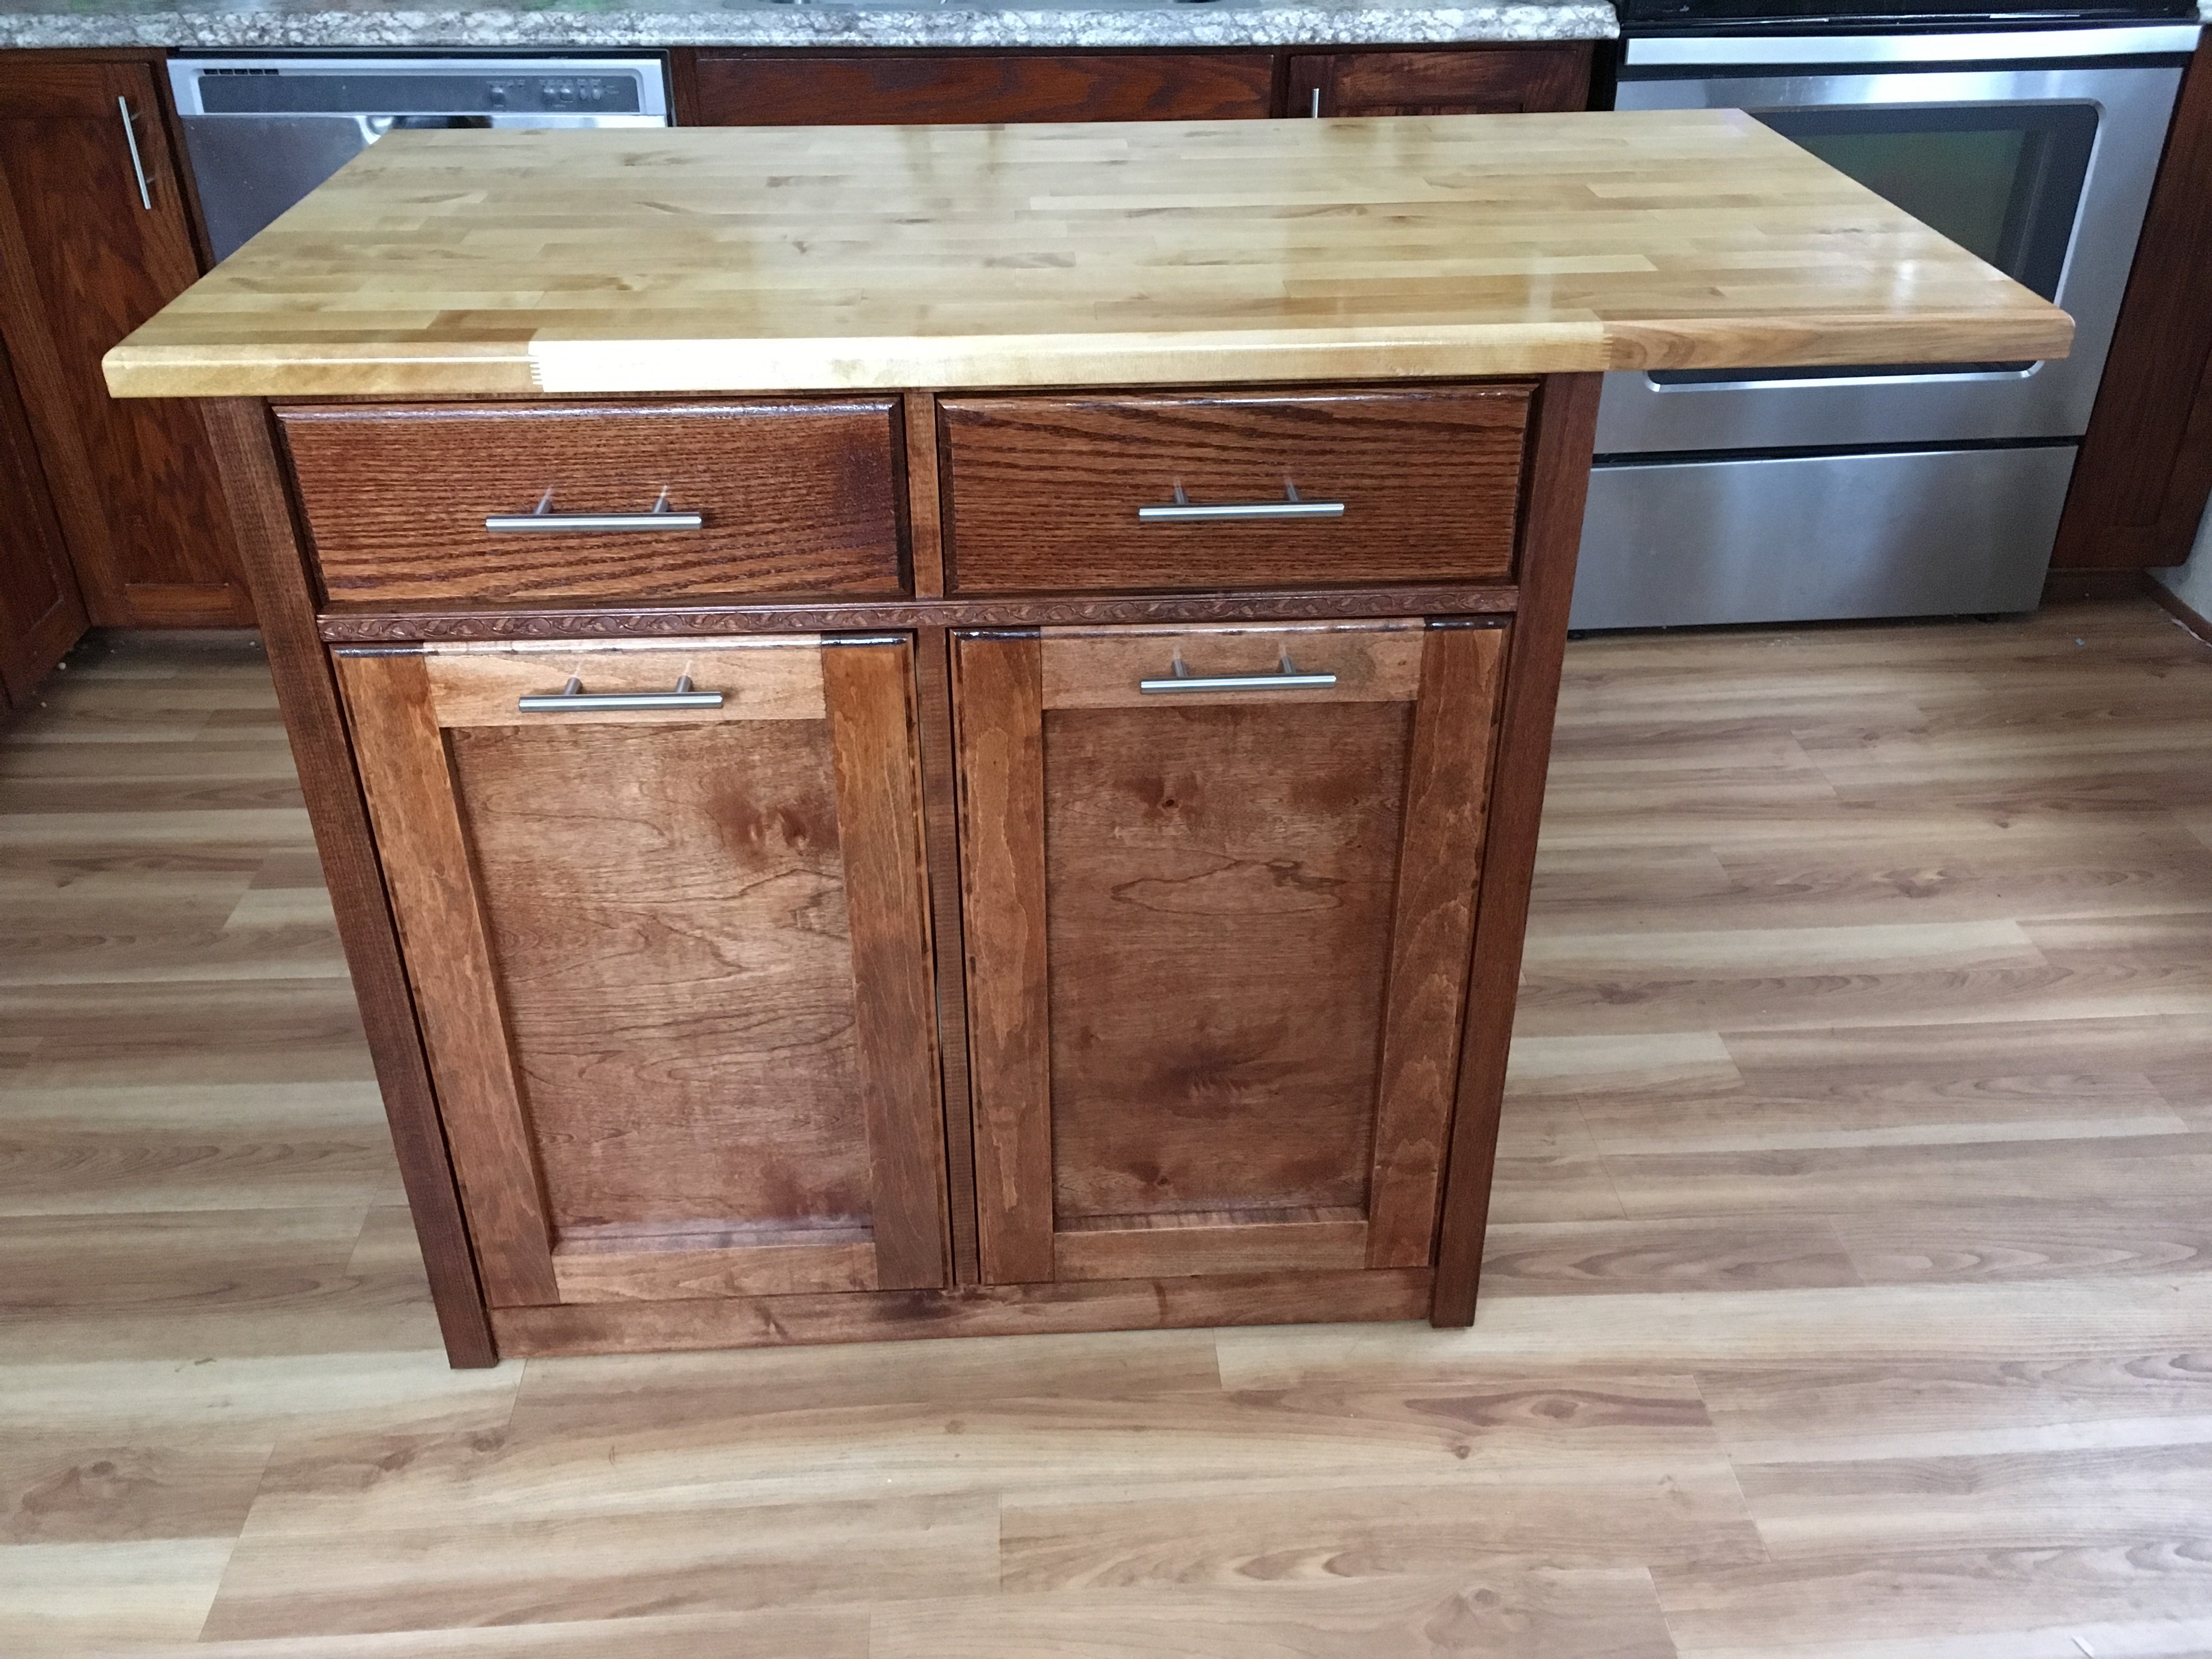
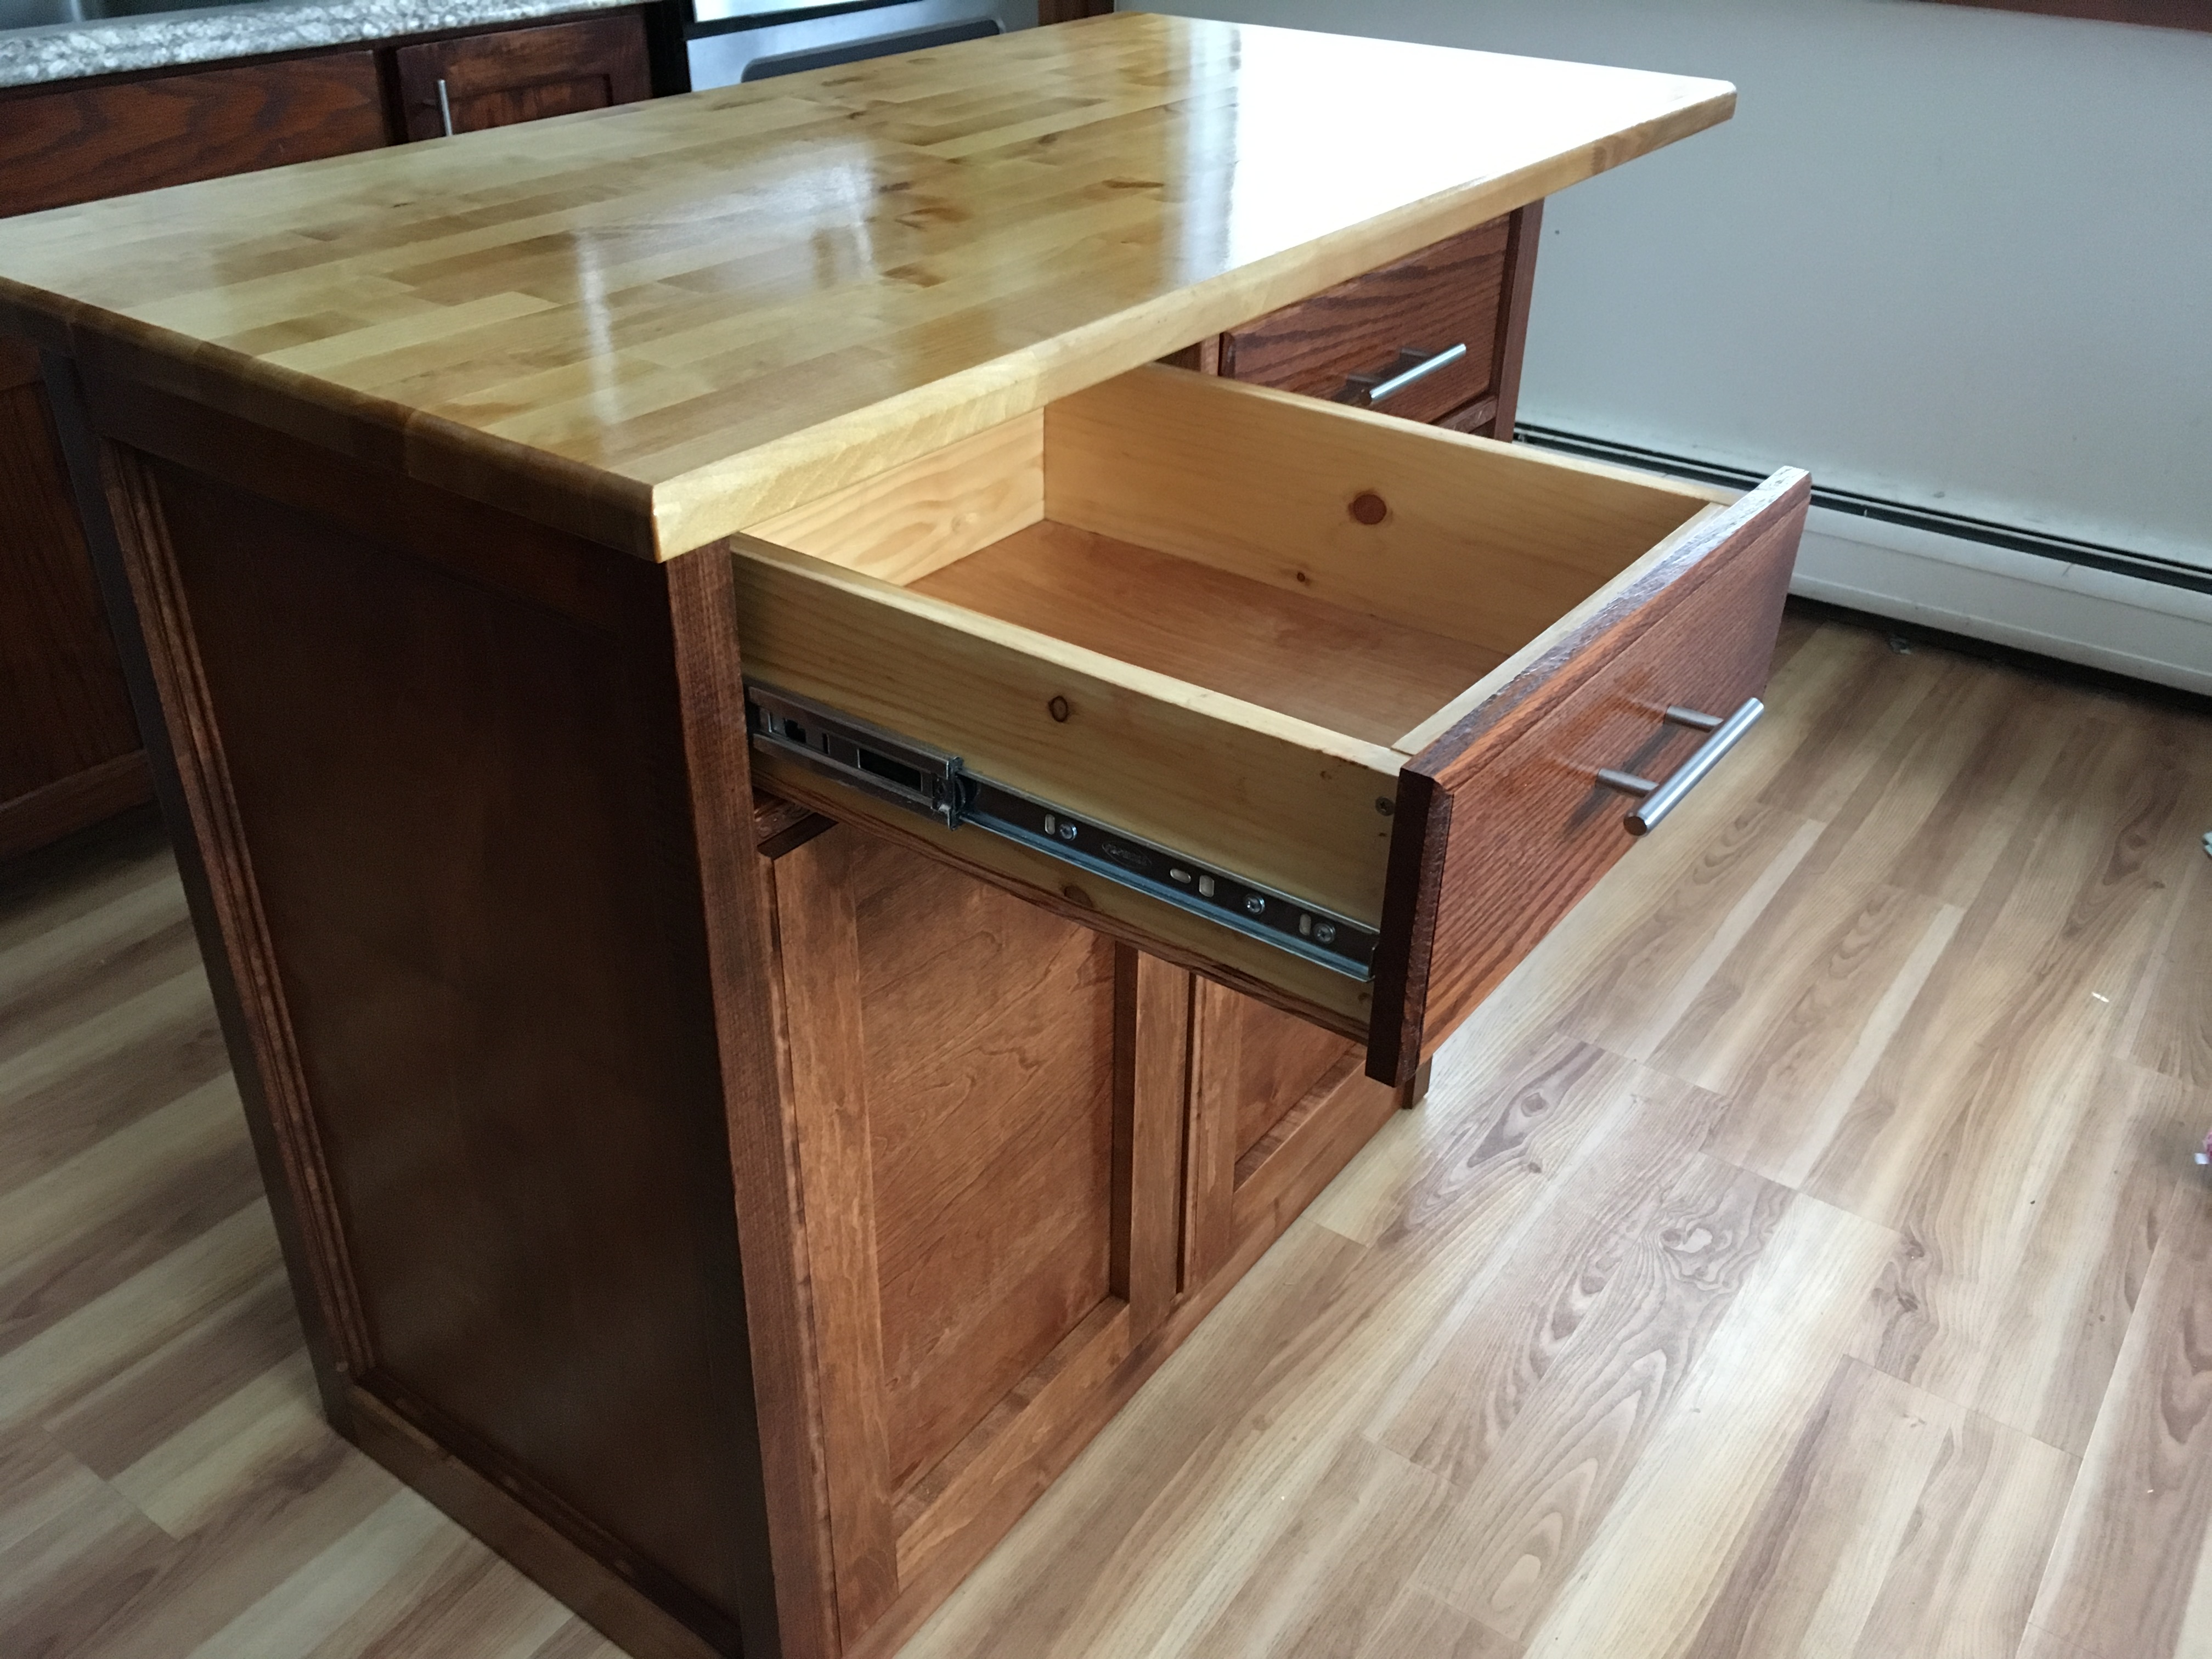
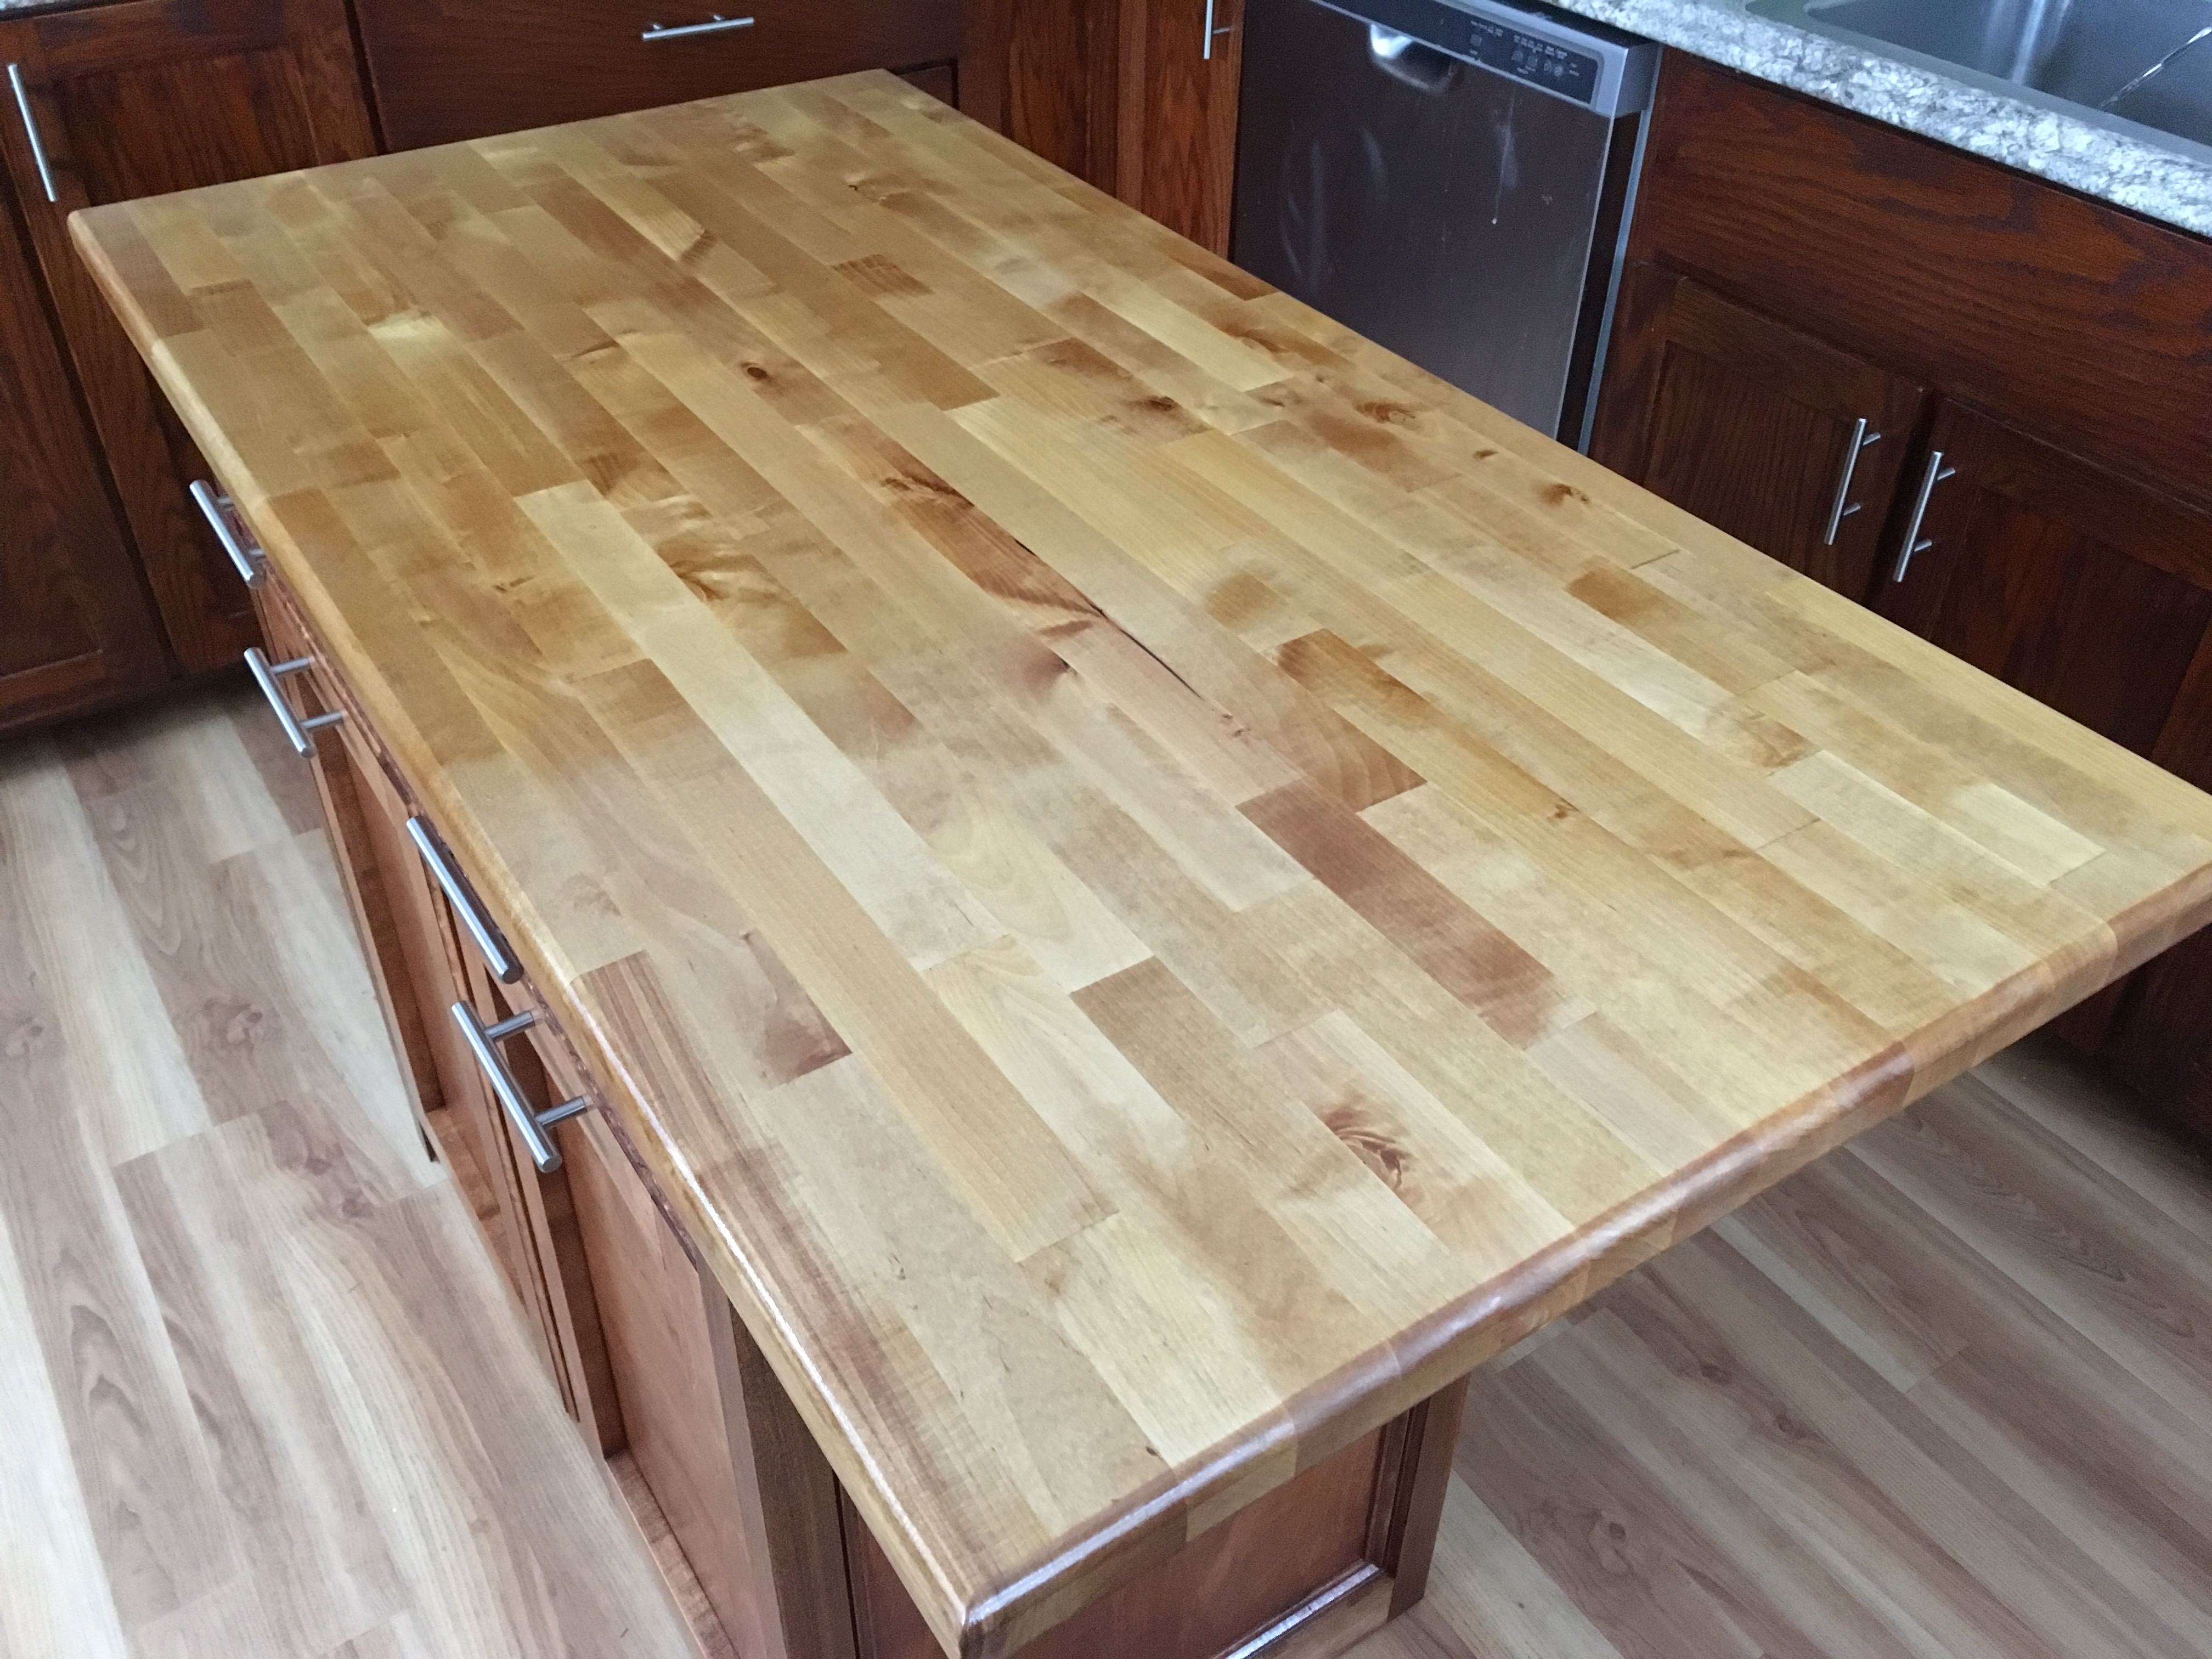
We needed a place for our garbage/recycling bins that would look nice and was inaccessible to our dogs. I decided to make two drawers for the bins and two drawers for storage. I found a set of 10 drawer slides on Amazon for around $50. They are heavy duty and full extension. I measured our garbage bins and built to size. The total height of the cabinet is 36" including the countertop. The cabinet width is 35.5" and the depth is 20". The butcher block countertop(25" by 48") was purchased from Home Depot for $98. I only had to do a light sanding, router the edge, and apply a finish. The cabinet will be located along a wall and have room for a counter height chair. This will allow my youngest to have a snack while I work in the kitchen. Although I didn't use a specific plan, I used ideas from several of Ana's designs. Thank you for the inspiration Ana!
Estimated Cost
$300, but I have leftover wood and drawer slides
Estimated Time Investment
Weekend Project (10-20 Hours)
Finish Used
The stain is a mixture of Varathane Traditional Cherry 3X and Minwax English Chestnut.
I used Waterlox sealer/finish VOC compliant on the whole cabinet. For the countertop, I only used the Waterlox. Waterlox is really beautiful, but you will need a respirator mask and plenty of ventilation.
I used Waterlox sealer/finish VOC compliant on the whole cabinet. For the countertop, I only used the Waterlox. Waterlox is really beautiful, but you will need a respirator mask and plenty of ventilation.
Recommended Skill Level
Intermediate
Comments
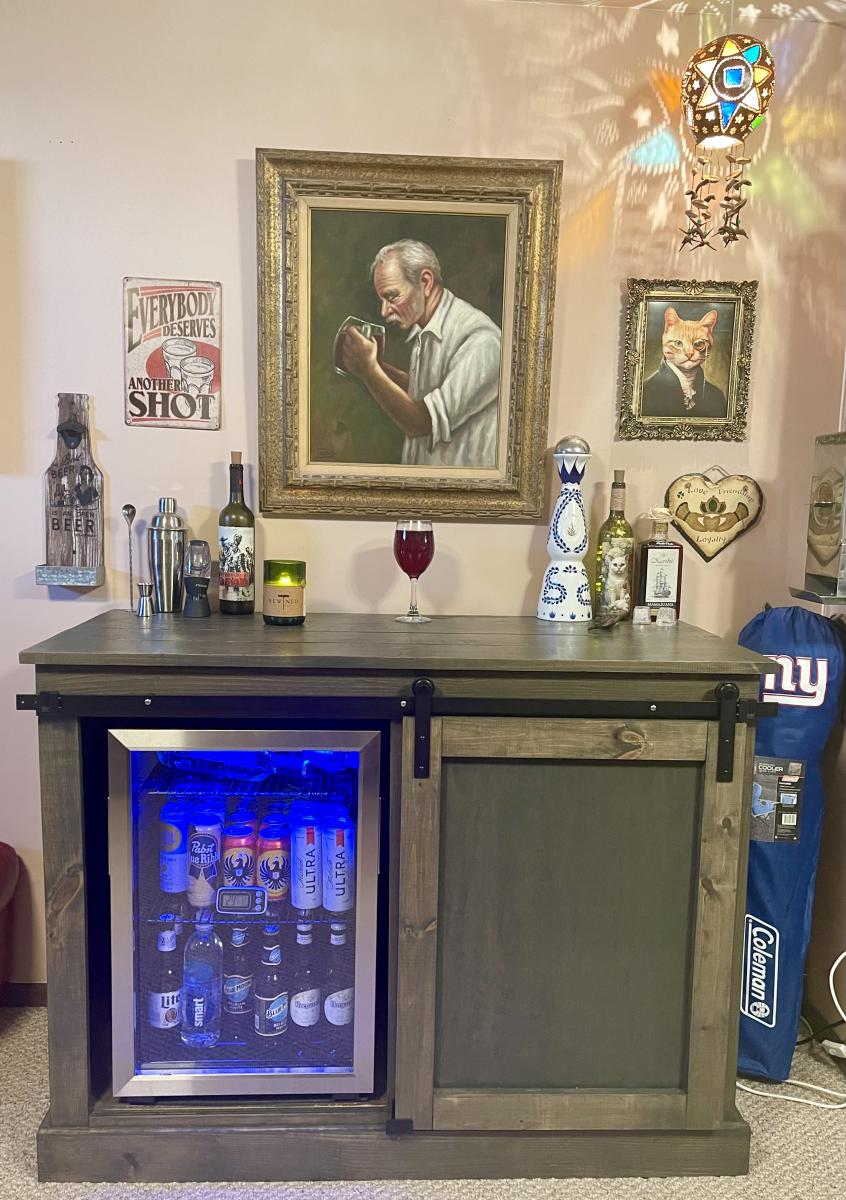
Ana’s West Elm Emerson by Lindsay Watson
Ana’s West Elm Emersen Plan stained in Aged Barrel
Love it. Matches the bar I made
Comments
Sat, 12/03/2022 - 12:23
Stunning pieces!
Better than anything you could buy in a store, love the finish choice! Thanks for sharing.
Super Simple Lid and Pot Rack
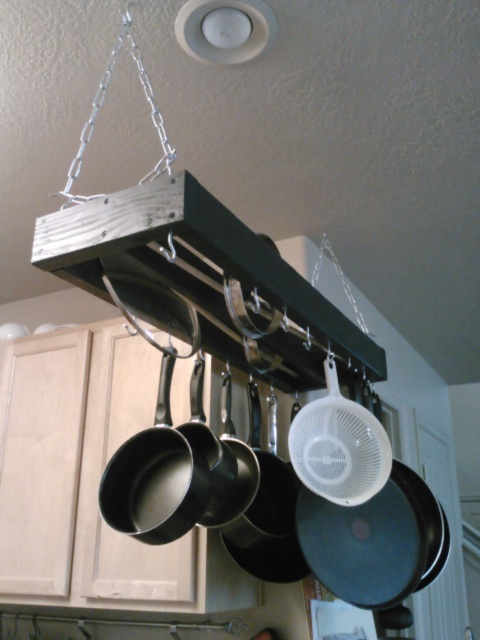
Super Duper Easy
Built in 2 hours including time to change outfits on my daughters' poly-pockets, feed the baby dinner, and pick up kindergarten carpool.
and yes, I did it all on my kitchen table.
I was trying to find plans for a pot-rack that also holds the LIDS!!! By the time I reviewed half a dozen designs that didn't work, I had thought of one myself that works brilliantly. I can reach and store the lids from the ground (yes I'm short) as easily as I can the pots. I hung mine over the kitchen sink so it doubles as a pot/lid drying rack as well.
If you want details on steps I took, materials used, or mistakes I made, message me.
Happy building!
Estimated Cost
$20
Estimated Time Investment
An Hour or Two (0-2 Hours)
Finish Used
Whatever. I just painted with interior semi-gloss tinted to match my table.
Recommended Skill Level
Starter Project
Christmas card frame
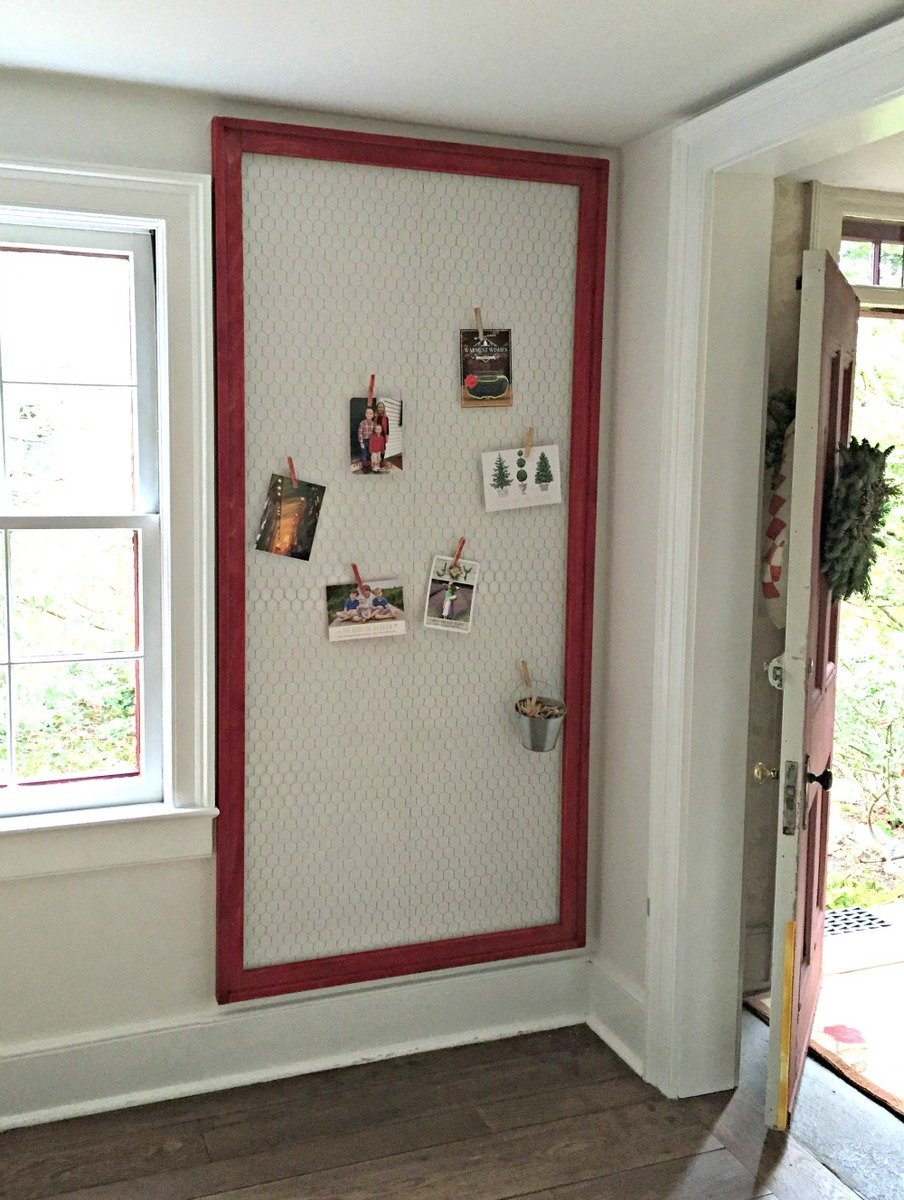
Modified Ana's plans to omit the chalkboard and make larger. Measures 75"h x 36"wide. All 1x2s, cuts are 2 @ 75", 2 @ 34 1/2", 2 @ 73 1/2", 2 @ 31 1/2".
Built from Plan(s)
Estimated Cost
$20 (4 - 1x2x10)
Estimated Time Investment
An Hour or Two (0-2 Hours)
Finish Used
The Real Milk Paint Co. flag red, dark wax
Recommended Skill Level
Starter Project