Pickle Washed X Table
![](/sites/default/files/image_1146.jpg)
Rustic X Console table. I extended the size to 96 inches to fill a wall in the kitchen.
I went with a butcher block table top, 48x120”. Rostered the edges with a chamfer bit. I didn’t use the 45 braces Otis plenty sturdy. It would come through the door assembled so it was assembled in place and weighs more than any other piece of furniture we have. It seats 8 adults comfortably.
Thanks, Ana White
My first attempt at one of Ana's beautiful projects, and it turned out better than I (and my wife) could have imagined. I made this for our 14th anniversary as we have not had a bed during that time. I used Jacobean colored stain, which I wasn't sure of, but as luck would have it, a neighbor who is a professional painter drove by and stopped to check it out. He offered to lacquer it in a satin finish for free!!! and it made a world of difference. I have received several comments on how it looks showroom quality. My wife is very happy. Only problem is she now wants the Farmhouse nightstand and a matching dresser. Looks like I have many more weekends worth of work ahead of me. Wouldn't have it any other way though. Had a blast!
Farmhouse bed!!!
My wife wanted an entry way bench that would fit the baskets for a cube storage shelf units. Each box is 11 1/2 square and accomidates a 10 in basket. The bench is 50 inches long and and just shy of 19 inches tall. The depth of the bench is approximately 12 1/2 inches. My wife made the cushion for the top and we purchased the baskets from Lowes.
My husband and I actually made four of these little bbq’s for our grandchildren and also for our own backyard. They were super fun to do. Pattern was easy to follow. Thank you Anna!
Sun, 12/26/2021 - 17:33
You get the number one grandparents award, that is awesome!
Thank you for sharing:)
This was my first project from a list of many...so simple, it was perfect for getting started after a long winter's rest.
Thank you Ana for the plan! I really wanted the floating shelves from Pottery Barn, but they were super pricey. I searched out the fancy hardware that PB uses to mount them and it would have cost as much for the mounting hardware alone than to buy them finished from Pottery Barn.
These shelves were an easy solution for the same look, without the hassle of having to build a sleeve to fit over cleats like other more seamless designs.
For my ledges, I chose to use 1x3s instead of 1x4s for the rear and base of the ledges. I didn't want them to protrude from the wall as far, nor did I want the rear of the ledges to be as visible (I'm wierded out by the contrast of the thick, dark line behind the pics. I would have chosen 1x2s for the back, but I didn't think it would be sturdy enough and it might be a little trickier to drill. I measured them to be a little smaller than the length of my sofa and they turned out just right. I built them in an hour or two and brought them in and stained them on my kitchen counter ( placed waxed paper underneath). It was February and too cold to do outside.
The best advice I have is to be really choosy about the lumber you buy. The "top choice," as they call it, should be renamed "crappiest choice." I guess that's what you get for cheap pine, right!
It fit just right for my budget and it was worth sifting through to make sure I wasn't getting a piece that was warped or twisted. I live in an old house and I'm sure the walls aren't exactly even (as you can see in the pic, the floor even slants a little to the right) but one of my ledges is not fully flush against the wall on one side because the board bows out a little (or maybe my wall bows in?).
Whatever. I'm thrilled with the look and love how I can display so many pics at one time. I'm thinking I want to put at least 4 pictures in each frame, and rotate them out seasonally. That way my display will go with the season. Yep, I'm a genius like that, hehe.
Used the plans for the twin bed, just added the difference in mattress size to the measurements. Pretty simple really. Used a cam lock centered above the door and a sawtooth picture hanger on the inside as a locking mechanism.
Tue, 09/30/2014 - 14:16
Hello,
I have been scowering the internet... I too would like to have my murphy bed raised off of the ground and be a full size murphy bed. But everytime I try to do "adjustments" and get "creative" it ends in disaster. I am better at following instructions. Is there anyway that you could give me the exact measurements for your fullsize bed and let me know how it is that you propped the bed up at the end?
Thank you.
Thu, 06/18/2020 - 20:22
I would also love the exact measurements for a double...is there a copy of the plan for that?
thank you
I've looked around for a crib for my son who is very manly, and also has a baby doll. All I could find were pink or purple or floral cribs which led me to the Internet in search of Plans to build my own. I found your site and love the crib that you built for Olivia. This is our manly version that my son and I completed today. Thank you!
My version of Modern Farmhouse Bed. Let me know if you have any questions.
I made this farnhouse bed from the plans I found on Ana’s site.
I made this using the single locker plans and modifying them for the size I needed to fit the landing wall at the top of my stairs. I created this for my boys' backpacks and jackets. I used pine for the sides and shelves and I used some cedar planks that I already had for the back.
I used a white stain for the sides and shelves and stained the cedar back darker to match the dark baskets I found.
I love how this turned out, and I love how easy it was to make!
Weekend swing project
Tue, 05/07/2019 - 10:42
We don't currently have this plan available, although I'd be happy to draw it with the author's permission.
I have linked a few plans above that could be used to create this plan. Just make sure you bury the arbor uprights underground on concrete pier posts or similar (like building a fence)
I finally have order in my garage! I built a mobile lumber rack using plans from the Rogue Engineer. My husband and I knocked out this project one Sunday afternoon. It can store a huge load of lumber and best of all, it’s portable. We are very, very pleased with the final project! Storing all our lumber on the rack has freed up a great deal of space in our garage.
Sun, 06/21/2015 - 16:07
I made one of these about a month ago after seeing it on the Rogue Engineer's website and just love it. It's exactly what we needed since we are always having to move things around in the garage. You did a great job.
Sun, 06/21/2015 - 16:08
I made one of these about a month ago after seeing it on the Rogue Engineer's website and just love it. It's exactly what we needed since we are always having to move things around in the garage. You did a great job.
Based bar cupboard on kitchen carcass plans and then made the bar front as I went . The kitchen cupboard plans were easy to follow and I was really pleased with the results. This was a real hit at Christmas a really good base for mixing and even better folks brought bottles with them !!
My Husband built this rack using Ana's plans and made a few changes to put his own spin on it. Love this site, great way to get inspired and gain the confidence to actually START projects. She breaks things down in such a simple and easy to understand way.
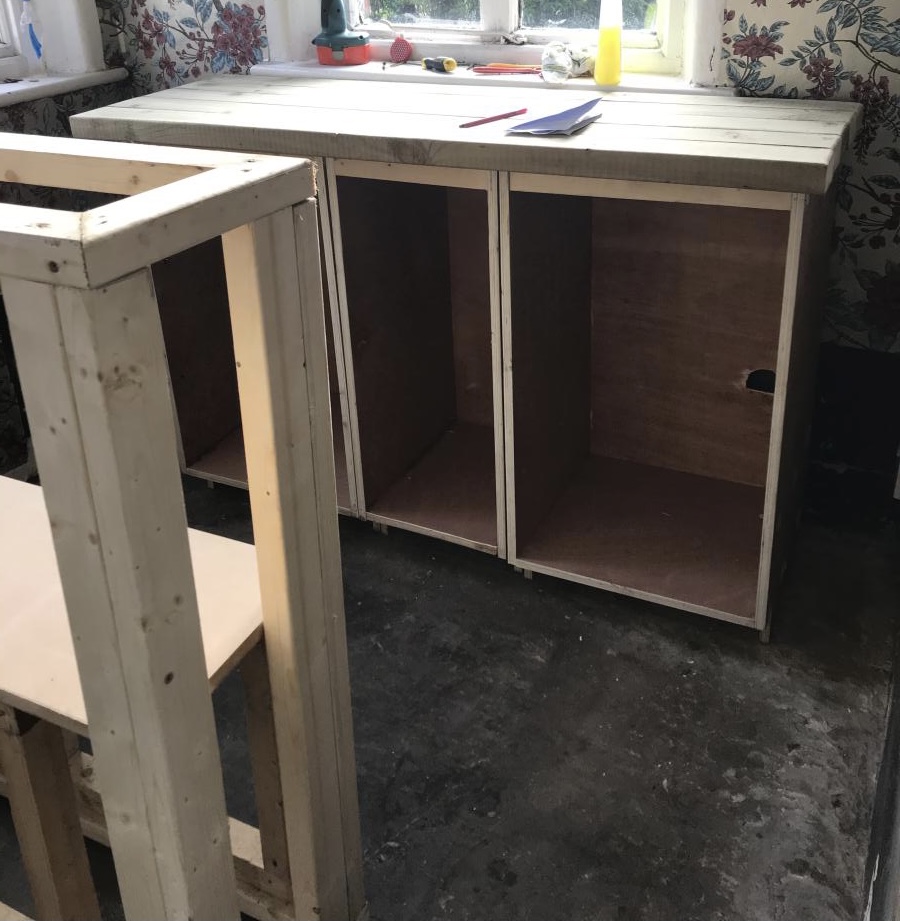
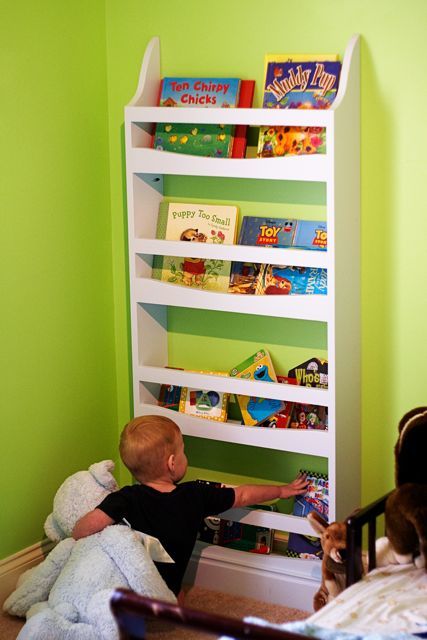
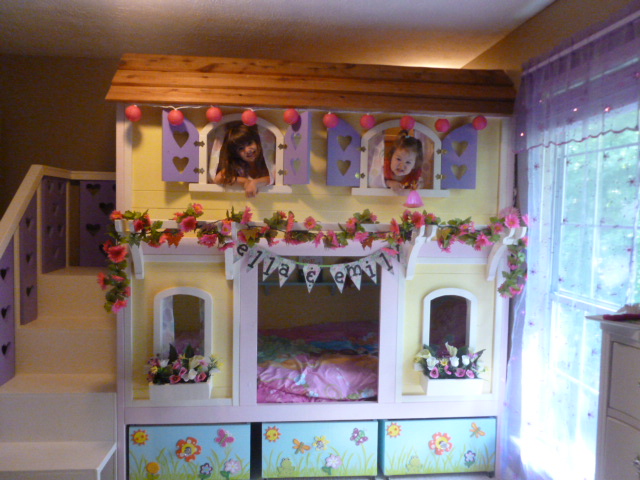
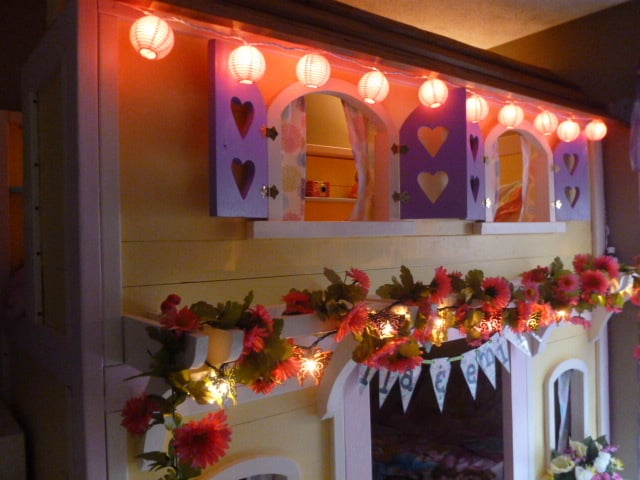
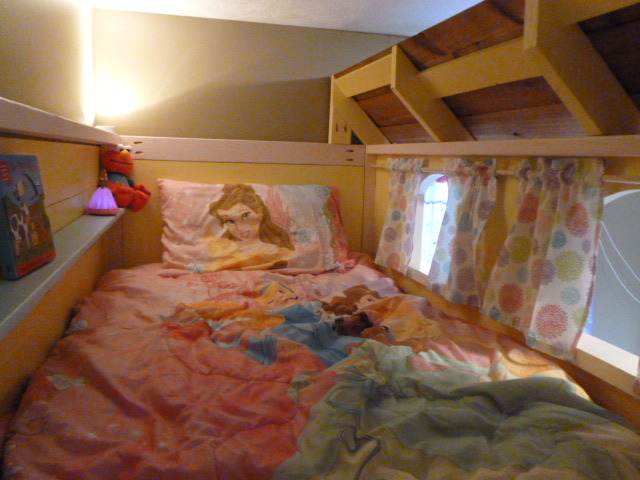
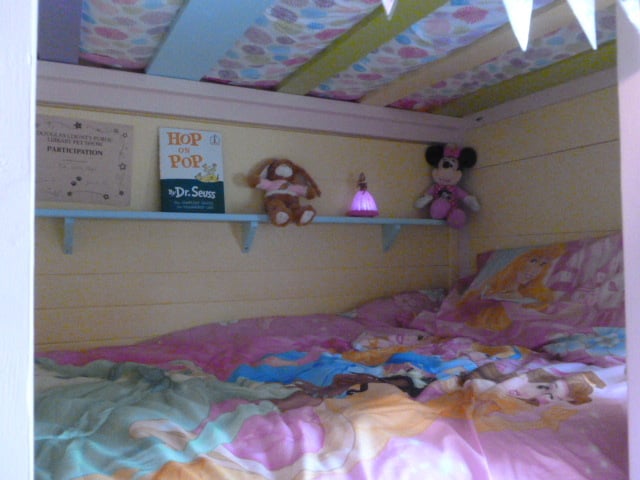
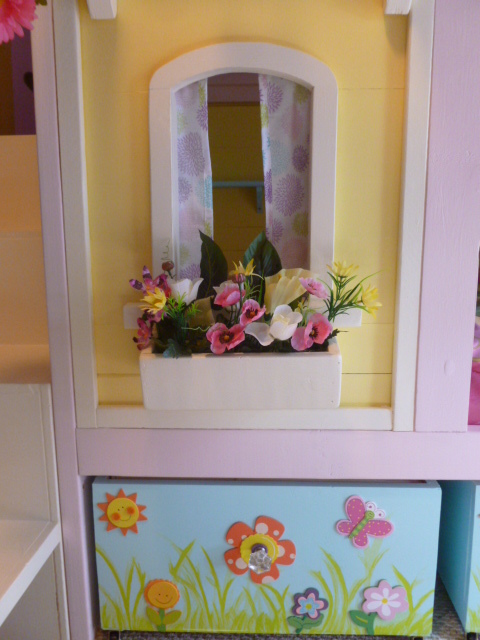
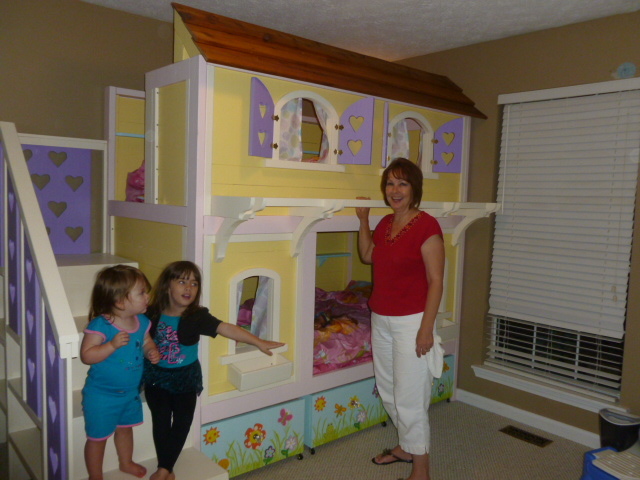
This was my first ever project. Prior to this, I had used a hammer and drill, so I learned ALOT here. Thank you so much, Jenny for your wonderful detailed plans. You are just awesome. I'm convinced that if this had been designed by a man and the instructions detailed by a man, I would have never been able to do this for my granddaughters. My husband helped with the painting and whenever I needed extra hands and muscles, and I didn't do anything on moving day. The whole family pitched in to move it to their house and set it up. My oldest son helped me with the roof rafters, since I had a bit of a problem figuring those out, but other than that, I managed quite nicely with such wonderful instructions. I learned how to use all the necessary power tools, too! I changed the width of the stairs to 24 inches, rounded off the shelves, and added lights for reading, which can be regulated with a timer we purchased. Ella and Emily are very excited and absolutely love their room, now.
It was fun to challenge myself with this project. Again, thank you Jenny, and thanks Ana for your wonderful website and inspirations! You can see more uploaded pictures on my facebook page (I sited Ana's web page and Jenny's for appropriate credit). Just look me up (Deanna Carter in Georgia USA) on facebook and send me a friend request.
Sun, 07/07/2013 - 17:37
Thank you all. Jenny, I told everyone it was because you said I could do it. A little bit of encouragement goes a long way. Hmmmm. Next Project? I would love to do so many things that I see on both web sites, but I imagine I will have to do at least 2 more bunk bed sets, since we have grandsons, Noah and Elijah who will be old enough for a set in a little while, and another grandson (Samuel) who will need a loft bed in a few years. I think I may use the same basic plan, but modify it to create a medival castle for the loft bed and a saloon bed for Noah and Elijah. Our oldest son is excited about Noah and Elijah's bed so he has already sketched the saloon bed and wants to do the building on that, but I hope I get to help. I REALLY enjoy this kind of work. Thanks again for offering your plan and inspiration.
In reply to Next Project? by deannac51
Fri, 07/19/2013 - 00:56
I'm so glad you have fallen in love with building! ...and now the project list just keeps on growing. I look forward to seeing your projects. There have been a few boy style versions of this bed that are awesome. I am currently pregnant and we recently found out we're having a boy; I just know a cowboy bed will be in my future! For some reason, beds seem to be a constant on my project list!
Sat, 07/20/2013 - 11:17
Now, THAT is exciting news! Congratulations on your new adventure of becoming a mommy to a son. Our children and grandchildren are our best projects! It is the most difficult one but most rewarding, though. Enjoy every minute. The time passes so quickly.
Sun, 08/11/2013 - 20:25
I don't know off hand what specific yellow it is, because my daughter has it at her house. She is using the same paints to color coordinate an accessory item for their room. I will try to get the name of it this week. OK?
Sat, 09/28/2013 - 11:22
Deanna, this is gorgeous! I showed my husband Jenny's plans & I think we'll be giving it a go for our girls in a few months (when our youngest is ready to transition out of the crib). Your style and paint choices are spot on to what I'd like to do. I searched for you on Facebook to see more photos but couldn't find ya! Maybe you can add me if you're still a member? My name is Erin Ens (California).
Mon, 03/17/2014 - 11:21
This is so gorgeous! I love the yellow! Do you happen to have the PDF copy of the instructions? I cannot open the one provided on the main page? If you could email them to me I would greatly appreciate it!! [email protected]
Mon, 03/17/2014 - 11:21
This is so gorgeous! I love the yellow! Do you happen to have the PDF copy of the instructions? I cannot open the one provided on the main page? If you could email them to me I would greatly appreciate it!! [email protected]
I am so happy with my work.. It has turned out perfect. I love them.
In reply to Cute paint job by CSaintD
Wed, 12/30/2015 - 04:25
Thank you for your kind words and I am so excited that you took time to leave me a reply.