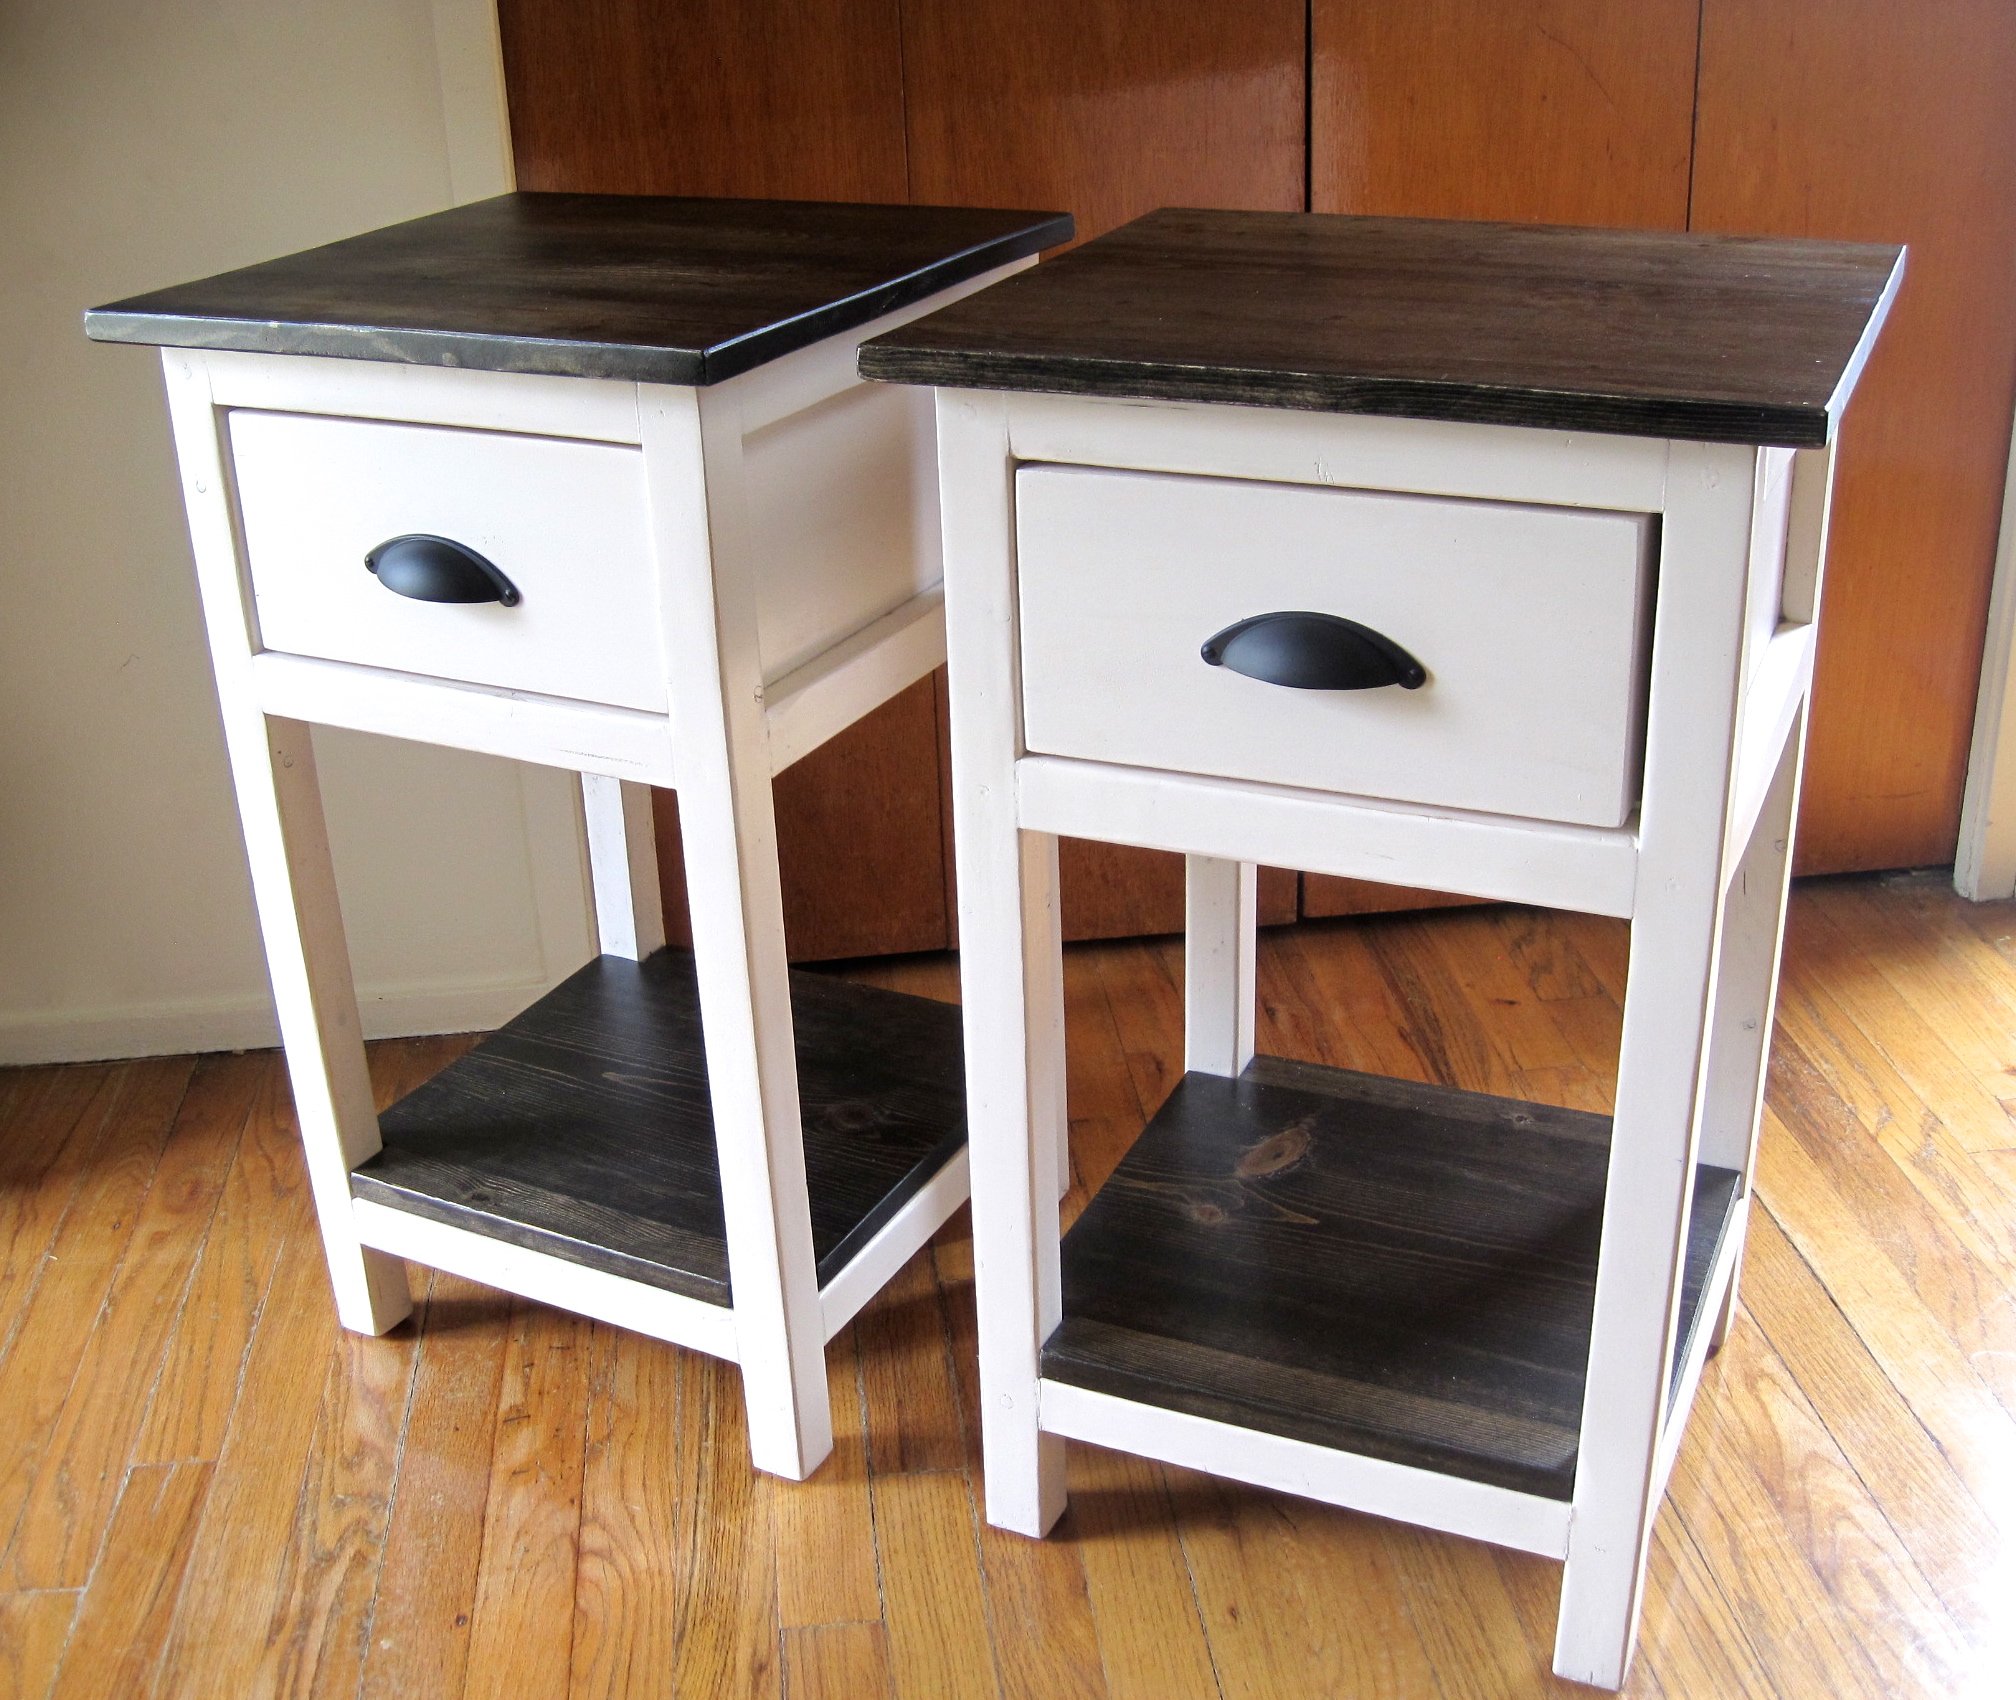
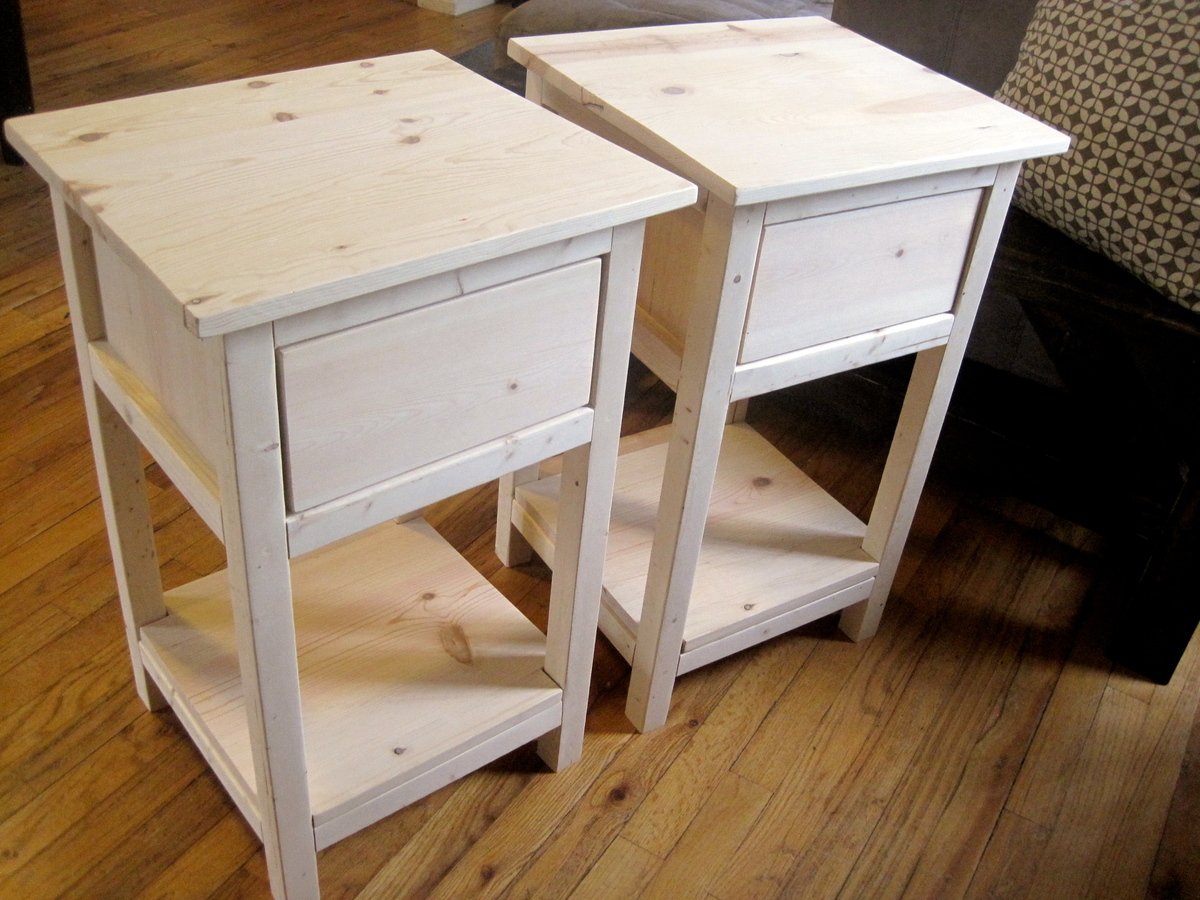
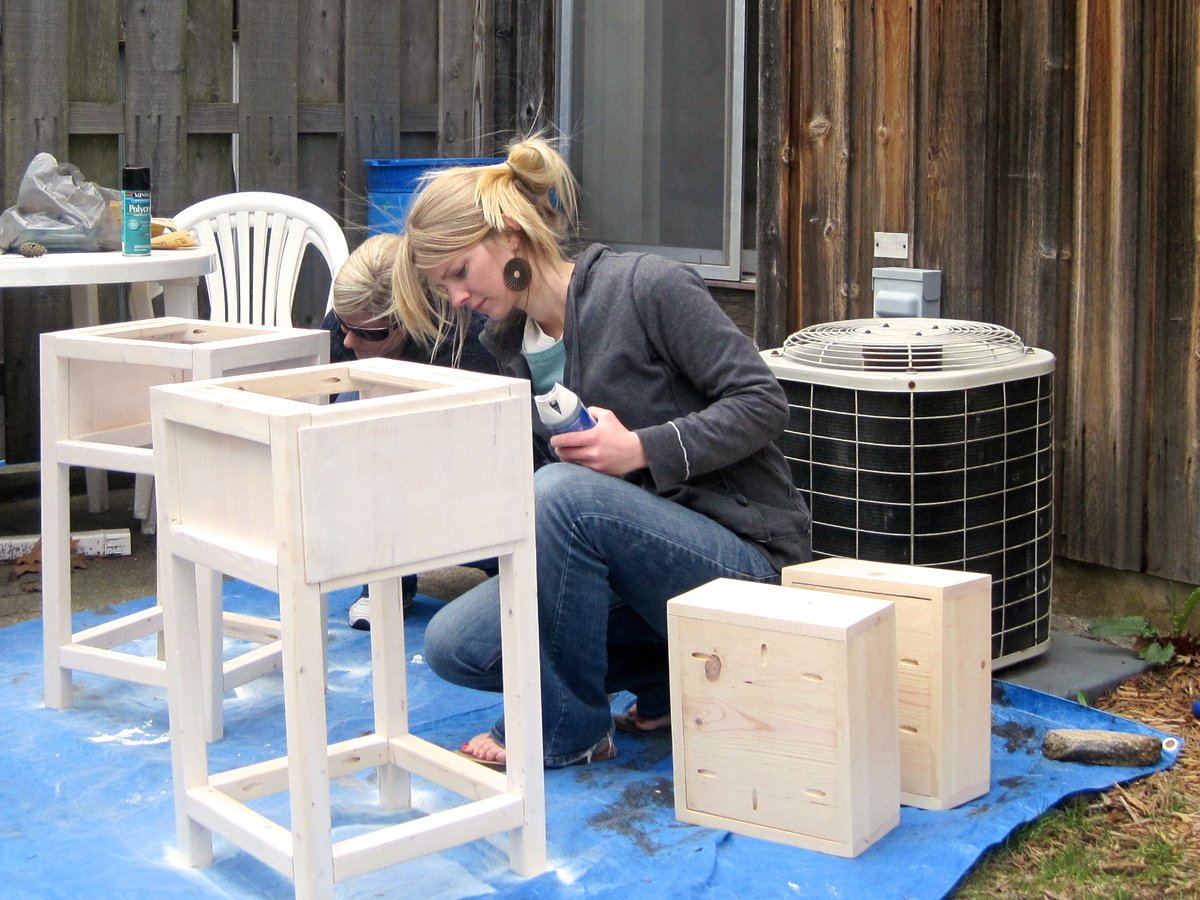
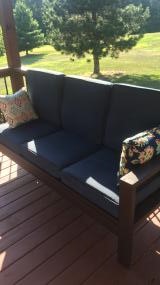
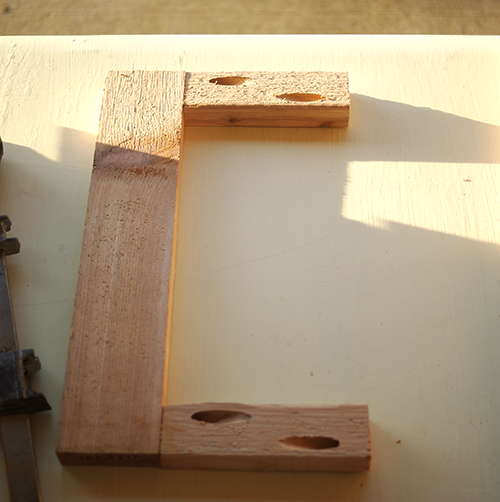
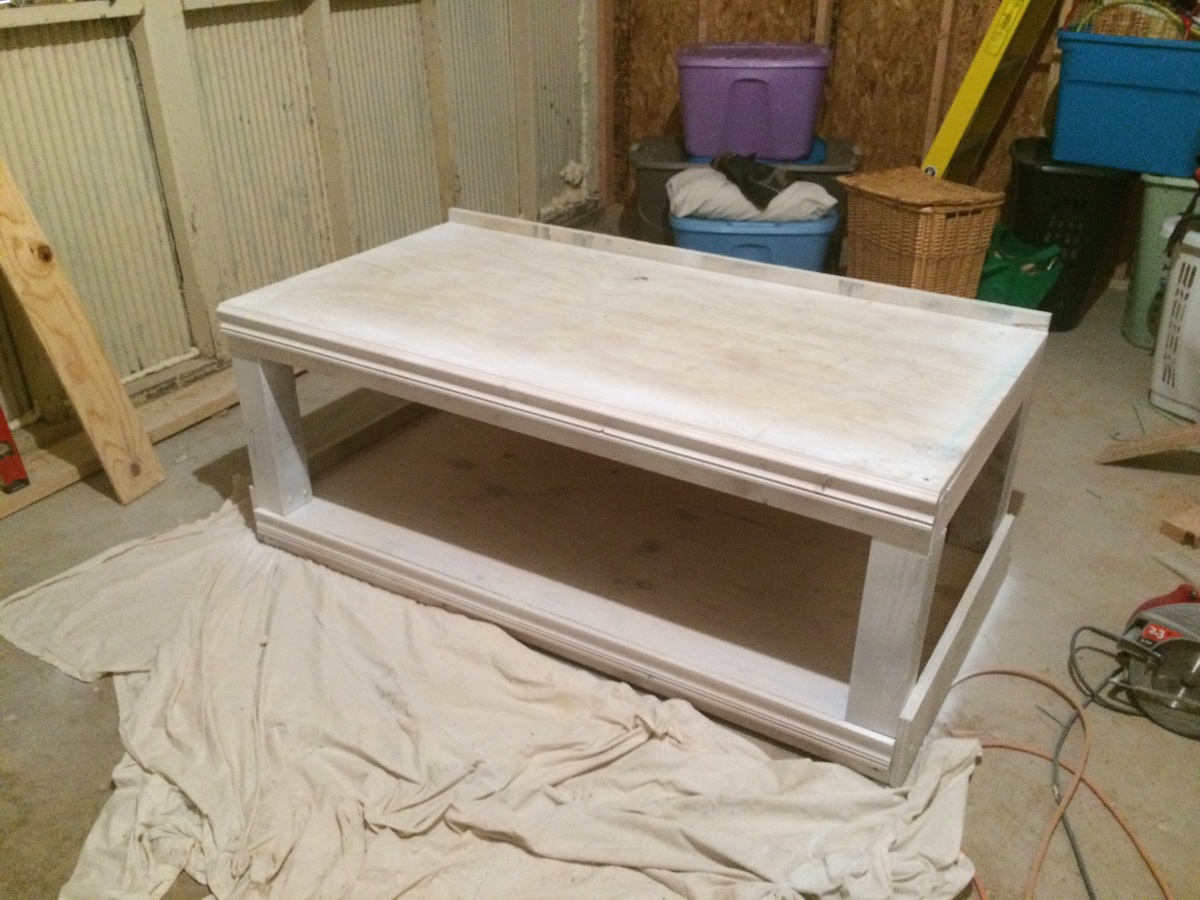
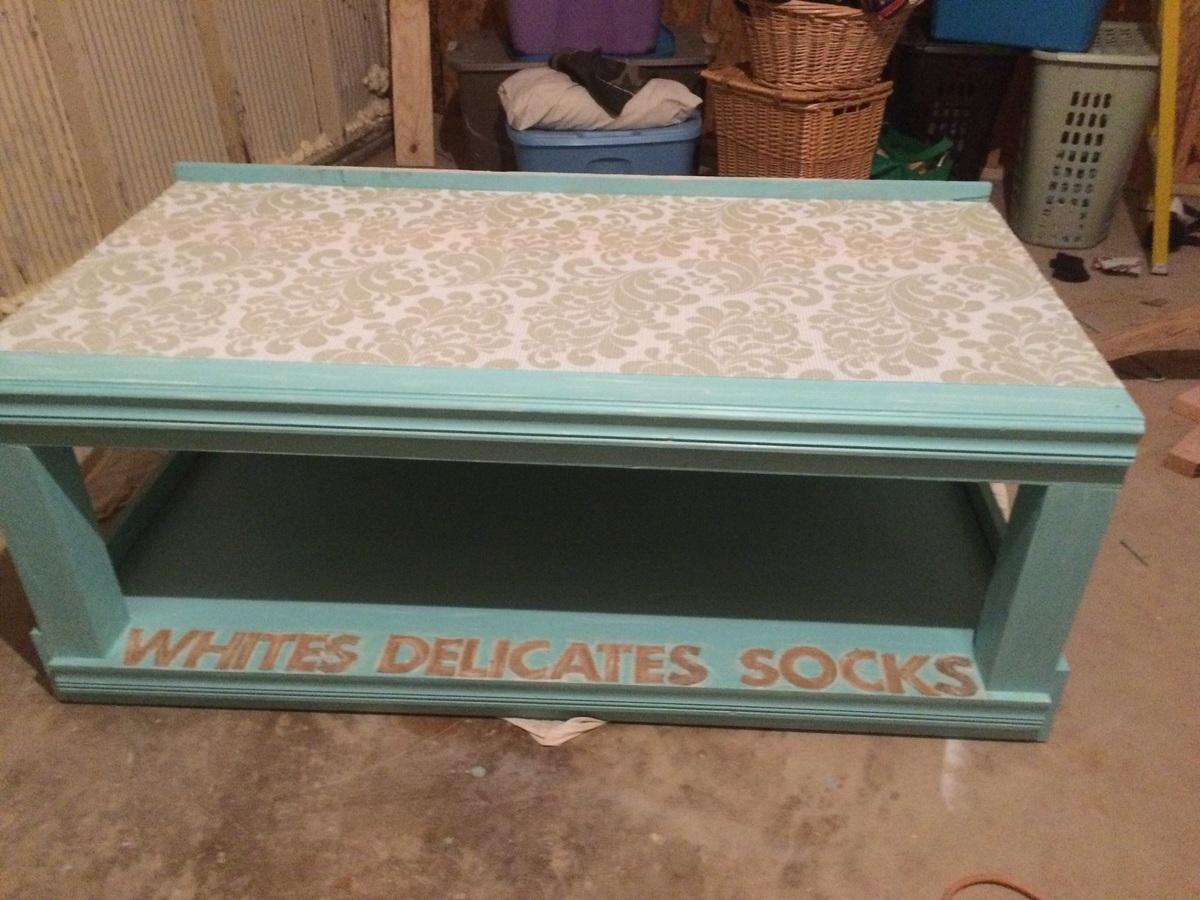
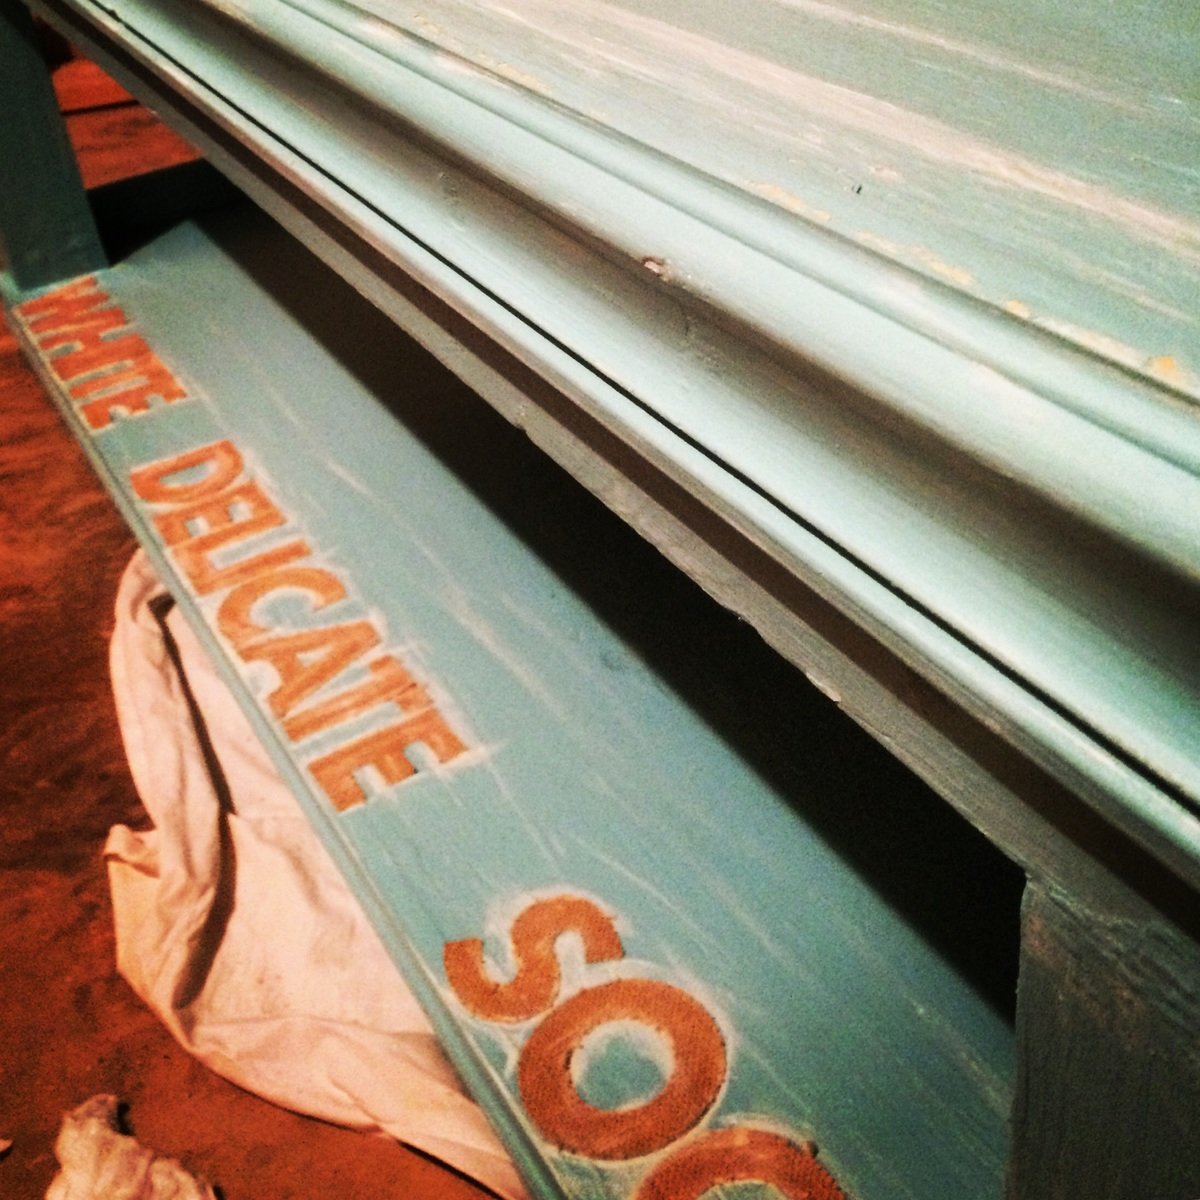
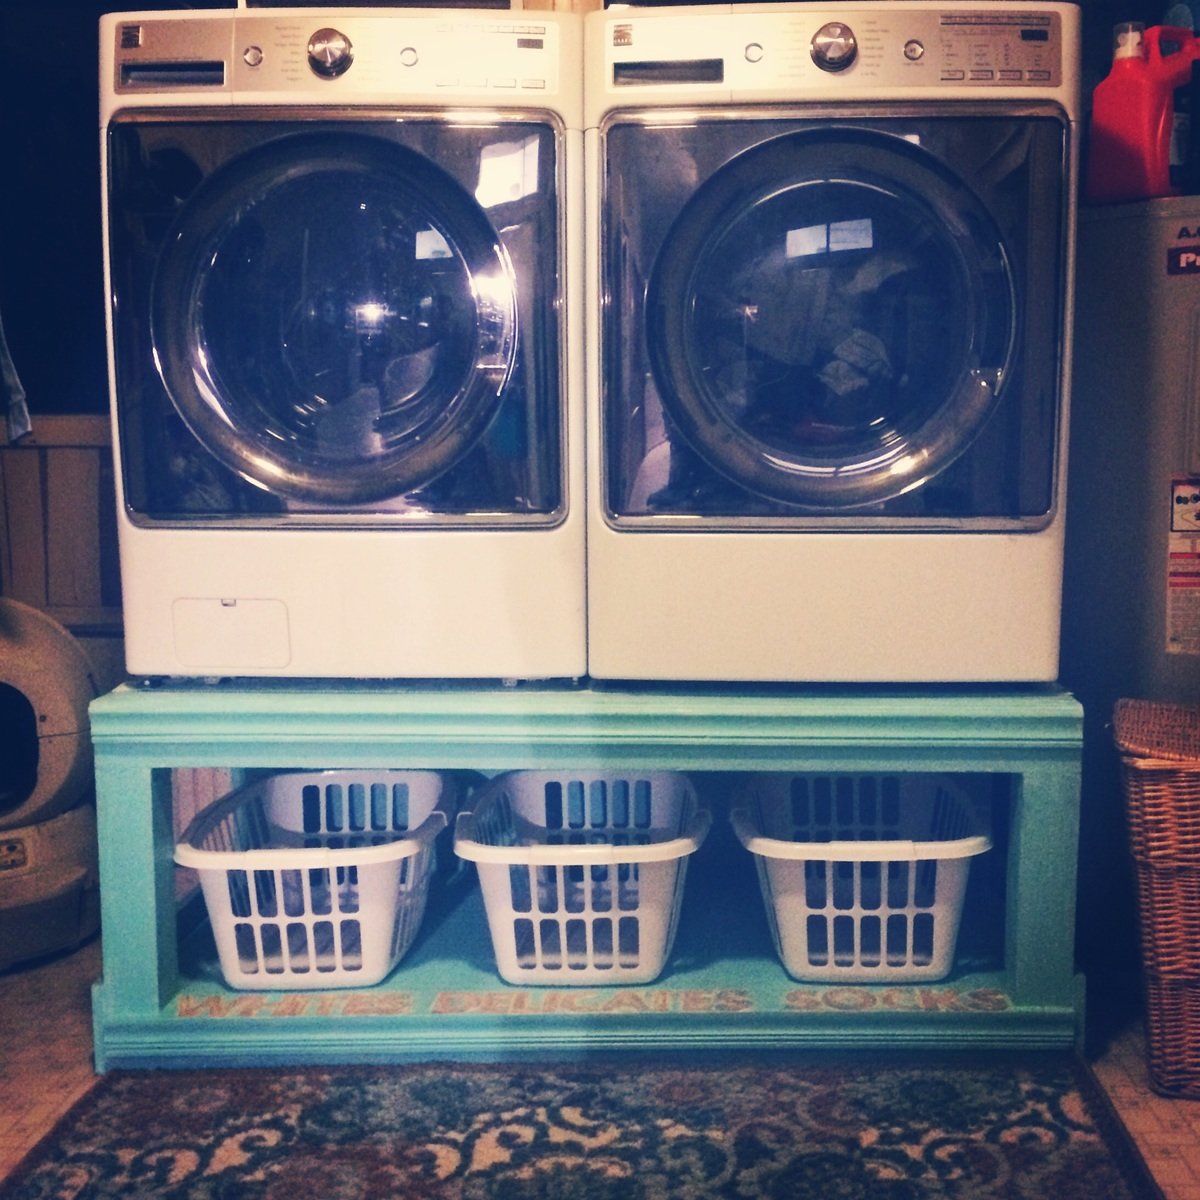
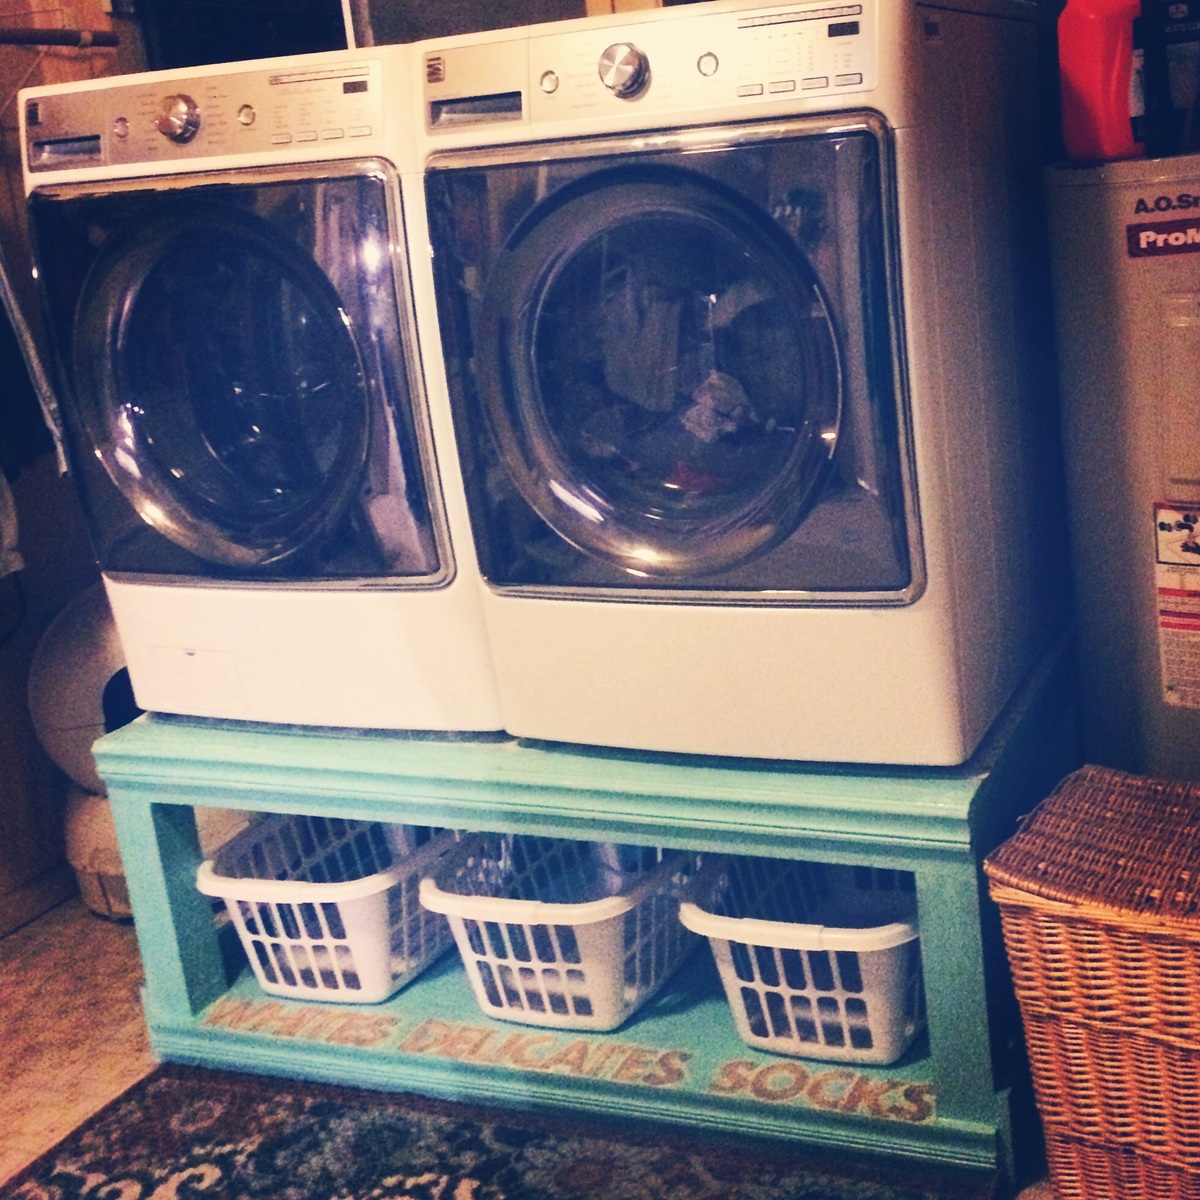
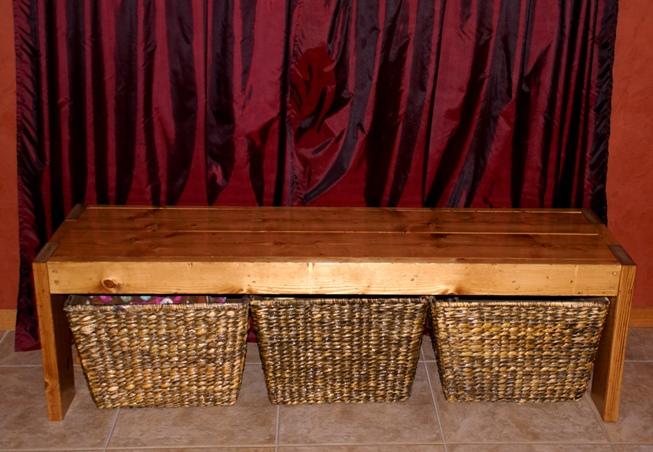
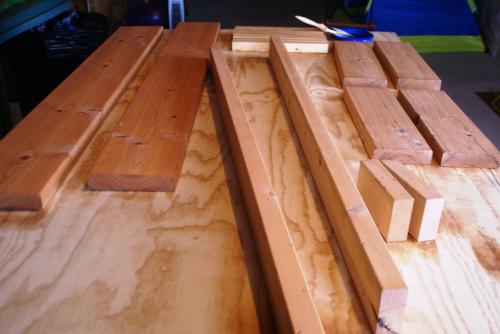
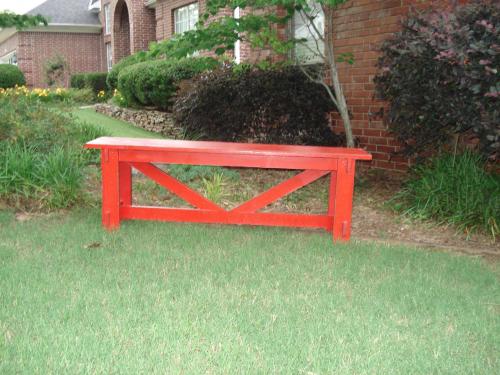
Outdoor Bench
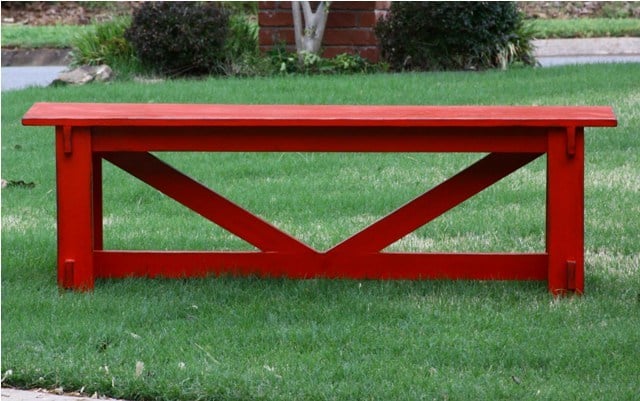
This was my very first project I tackled from Ana's site. I wanted to see if I could do it, so started with something easy. I think it turned out great and looks great in our flower bed in front of our house.
Built from Plan(s)
Estimated Time Investment
Weekend Project (10-20 Hours)
Finish Used
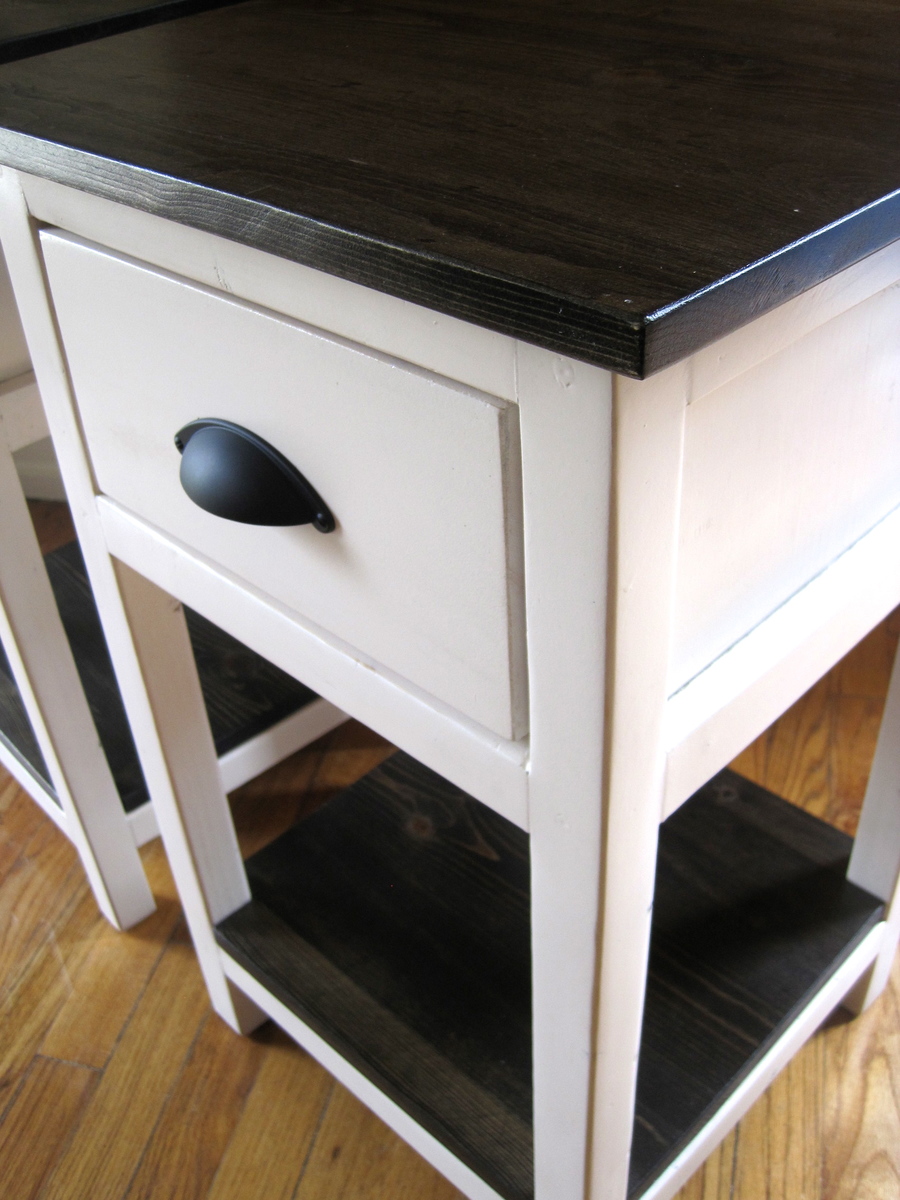
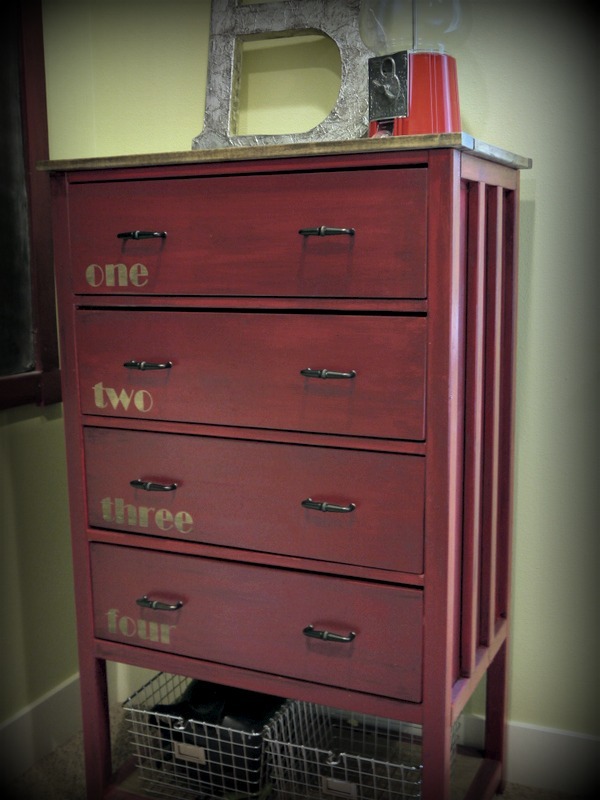
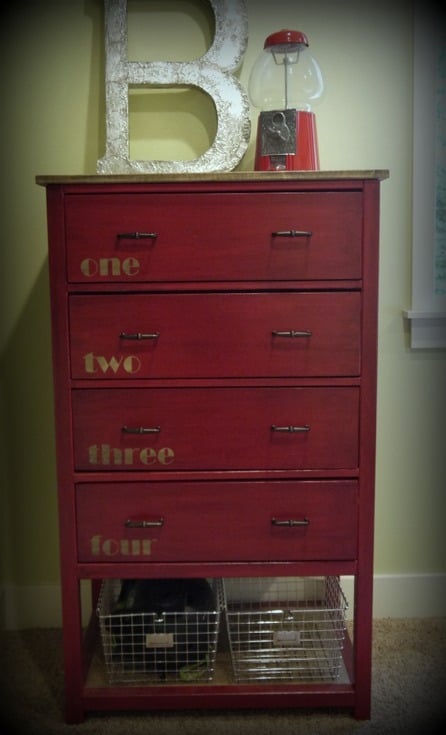
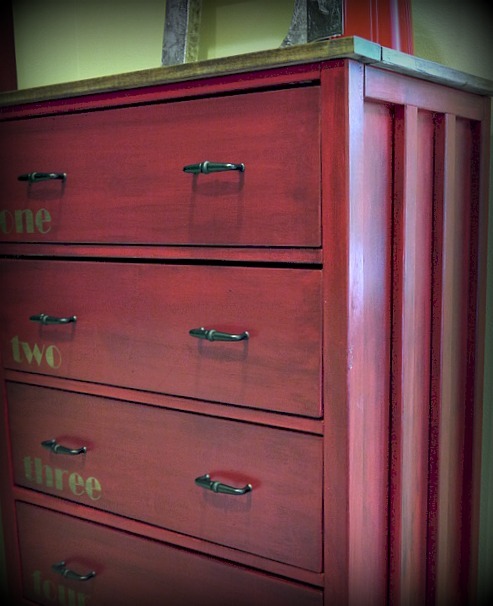
I primed it, painted it red then sanded it down in spots and rubbed stain to give it aged look.
Recommended Skill Level
Starter Project