X console
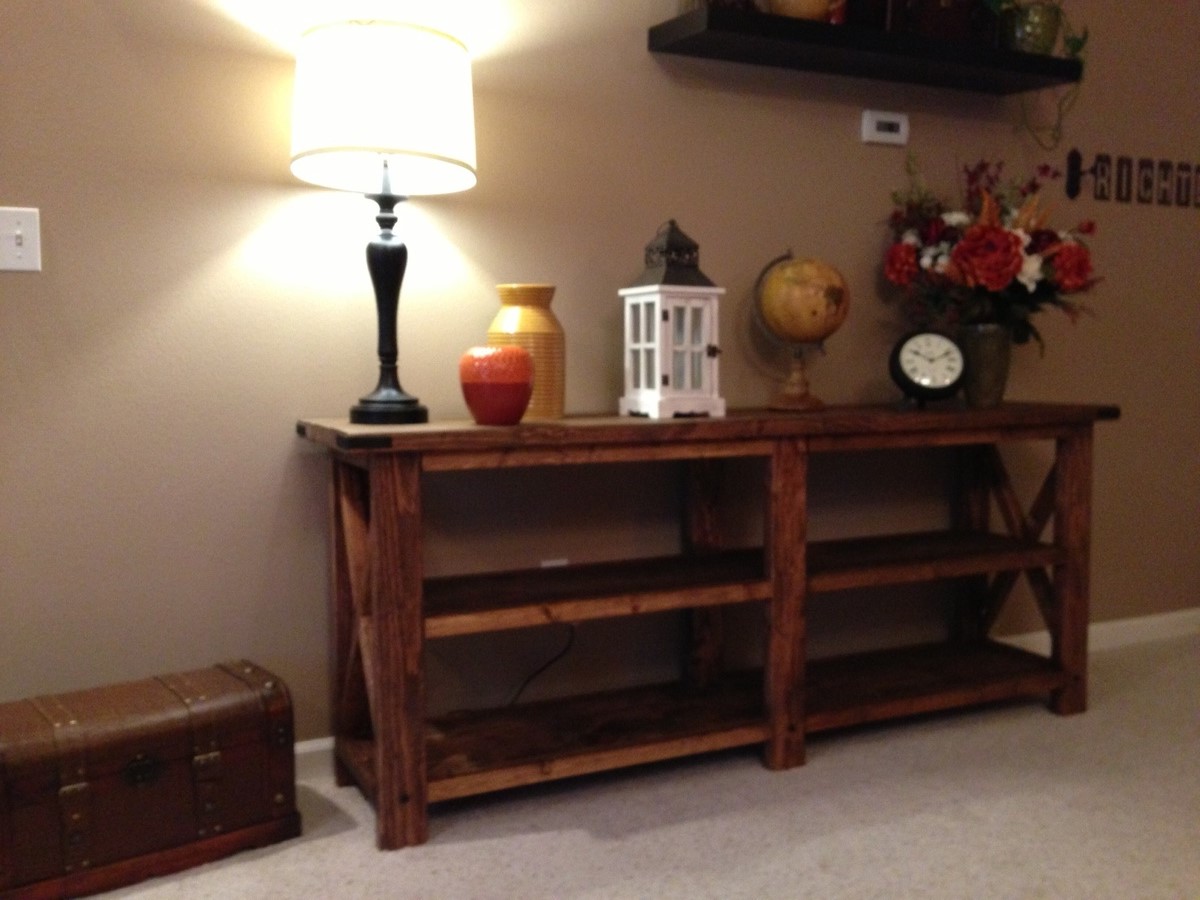
X- console

Built from Plan(s)
Estimated Time Investment
Weekend Project (10-20 Hours)
Recommended Skill Level
Intermediate
X- console
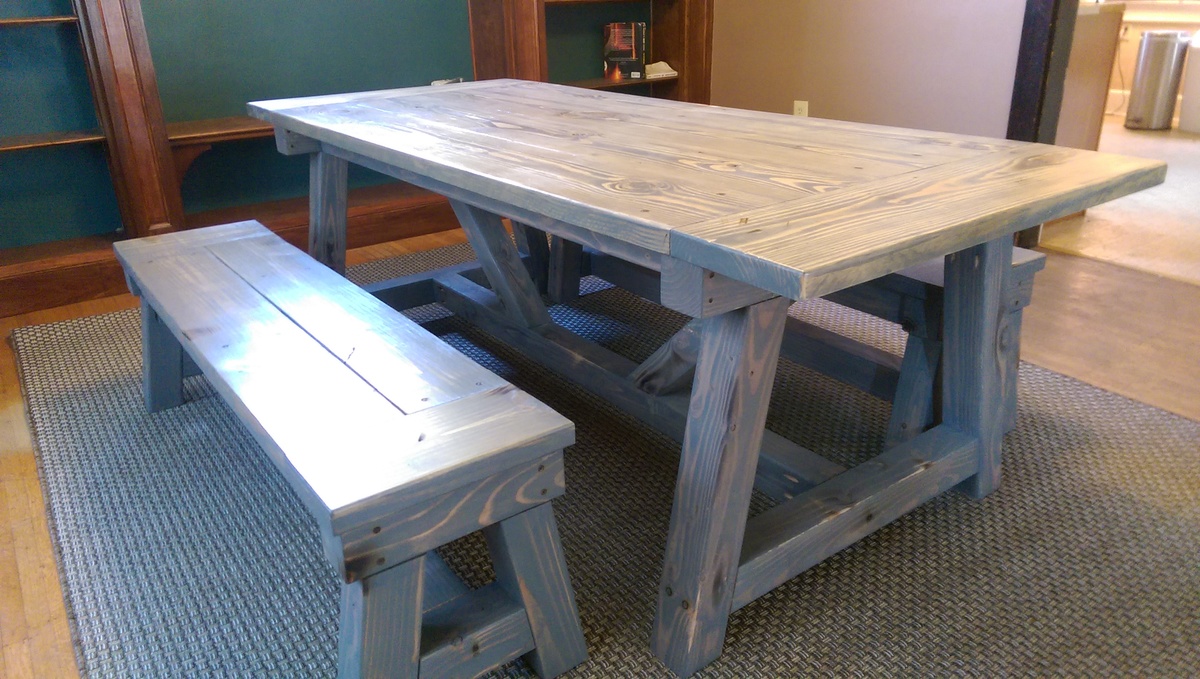
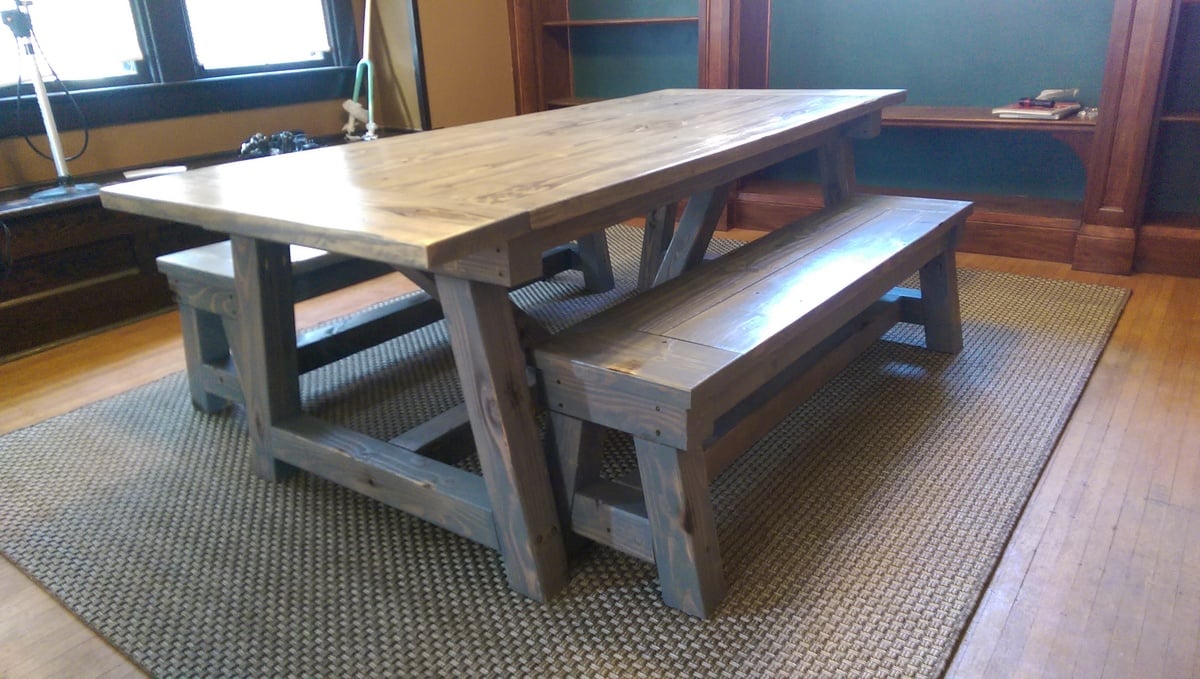
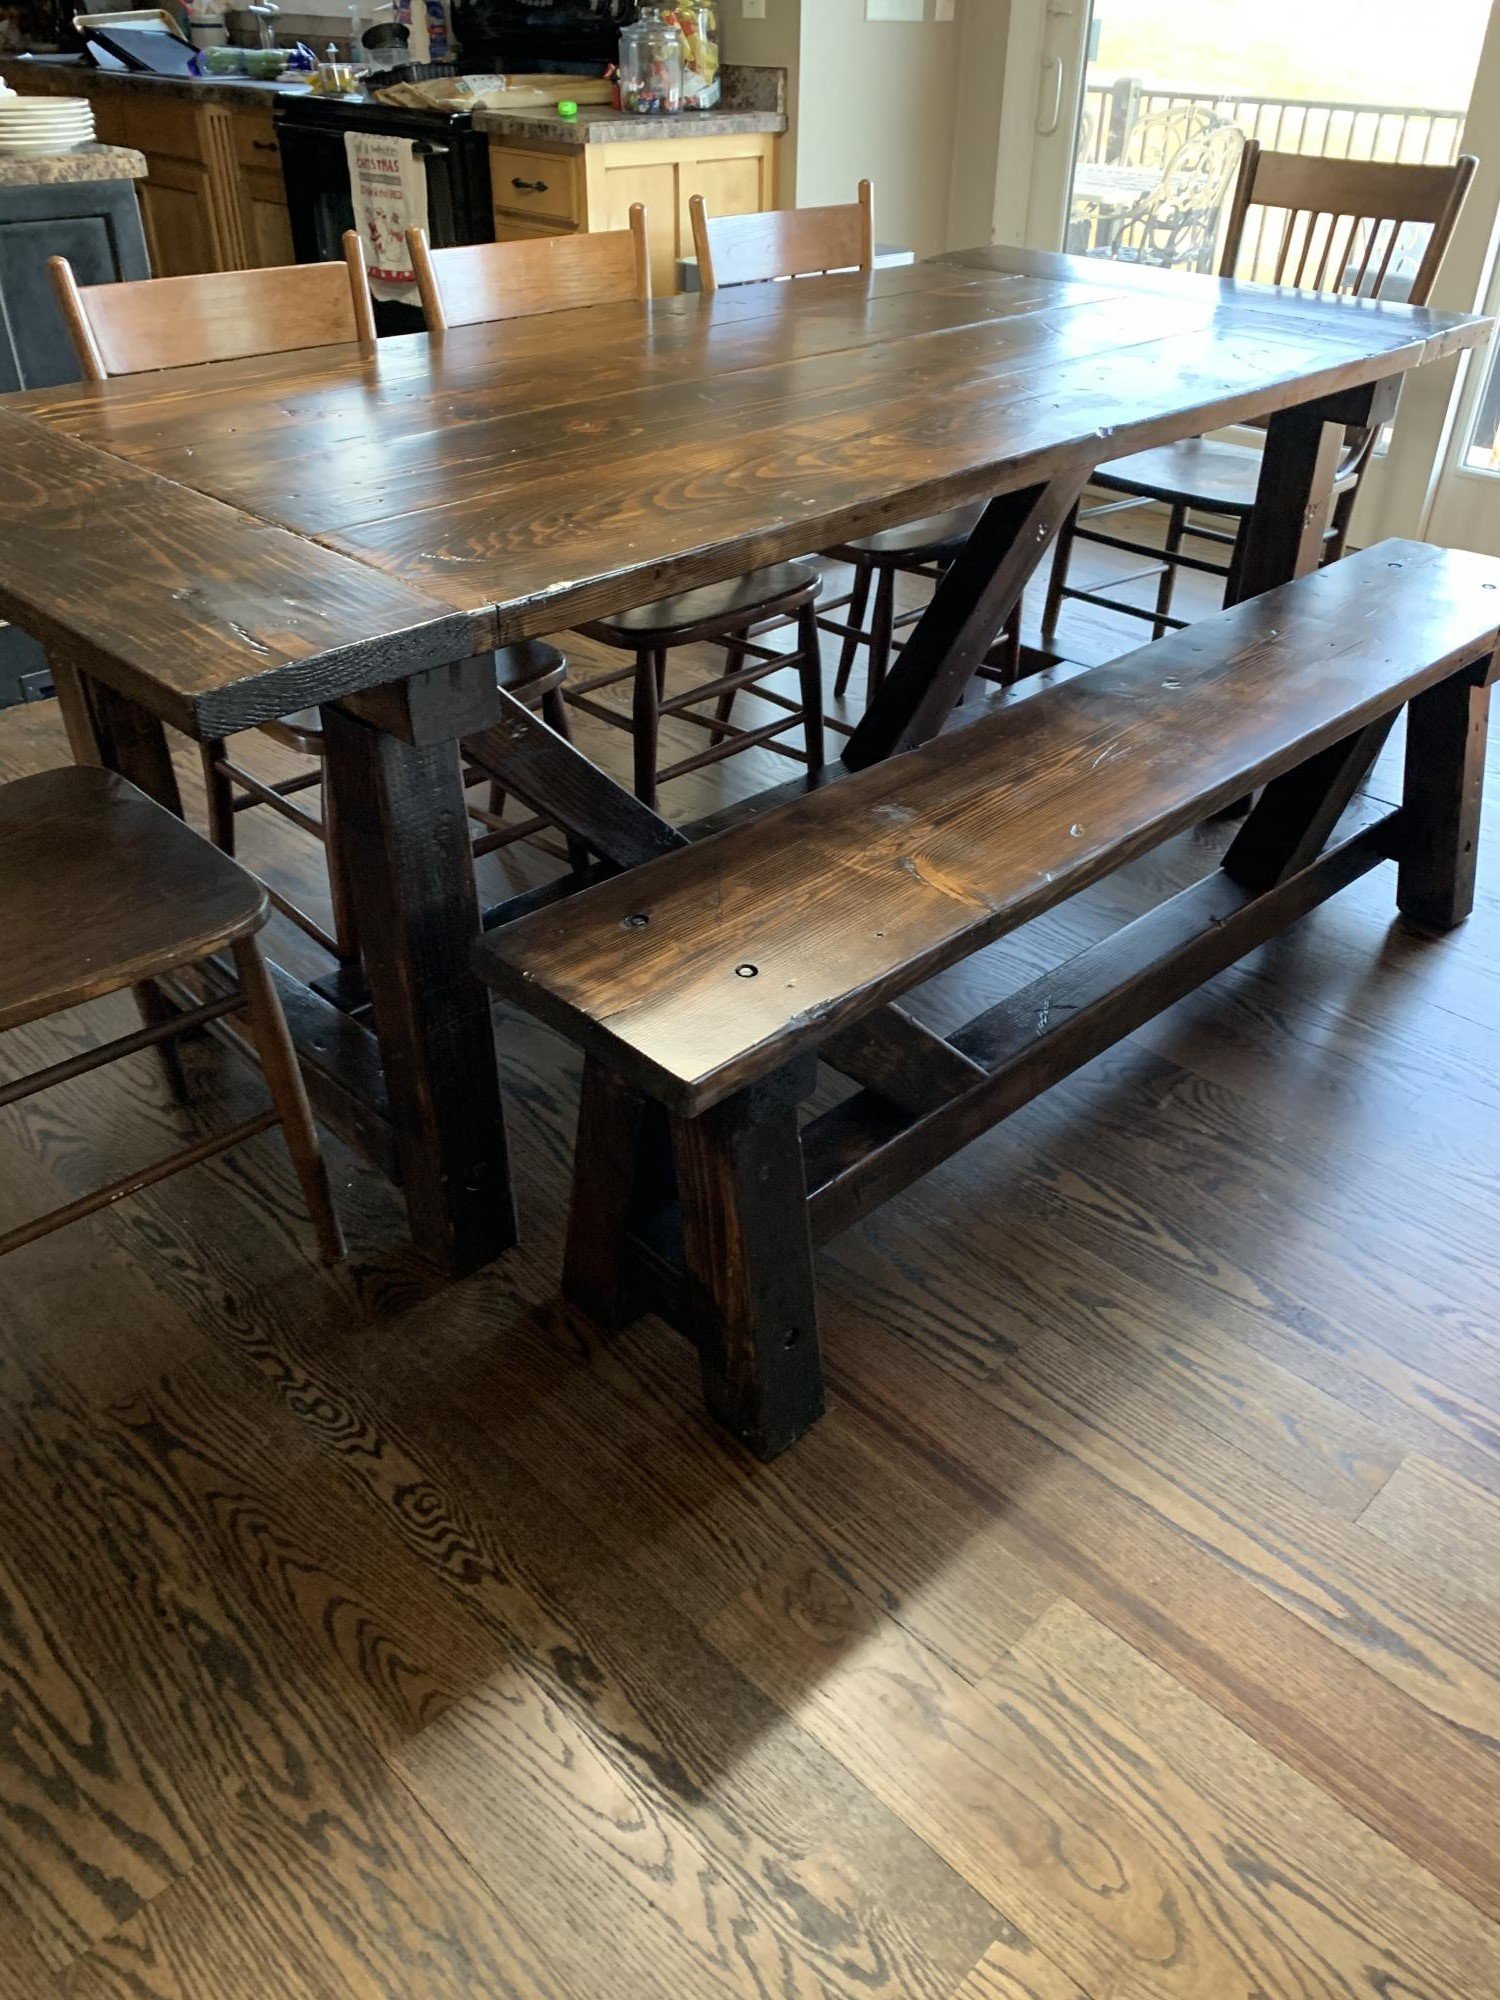
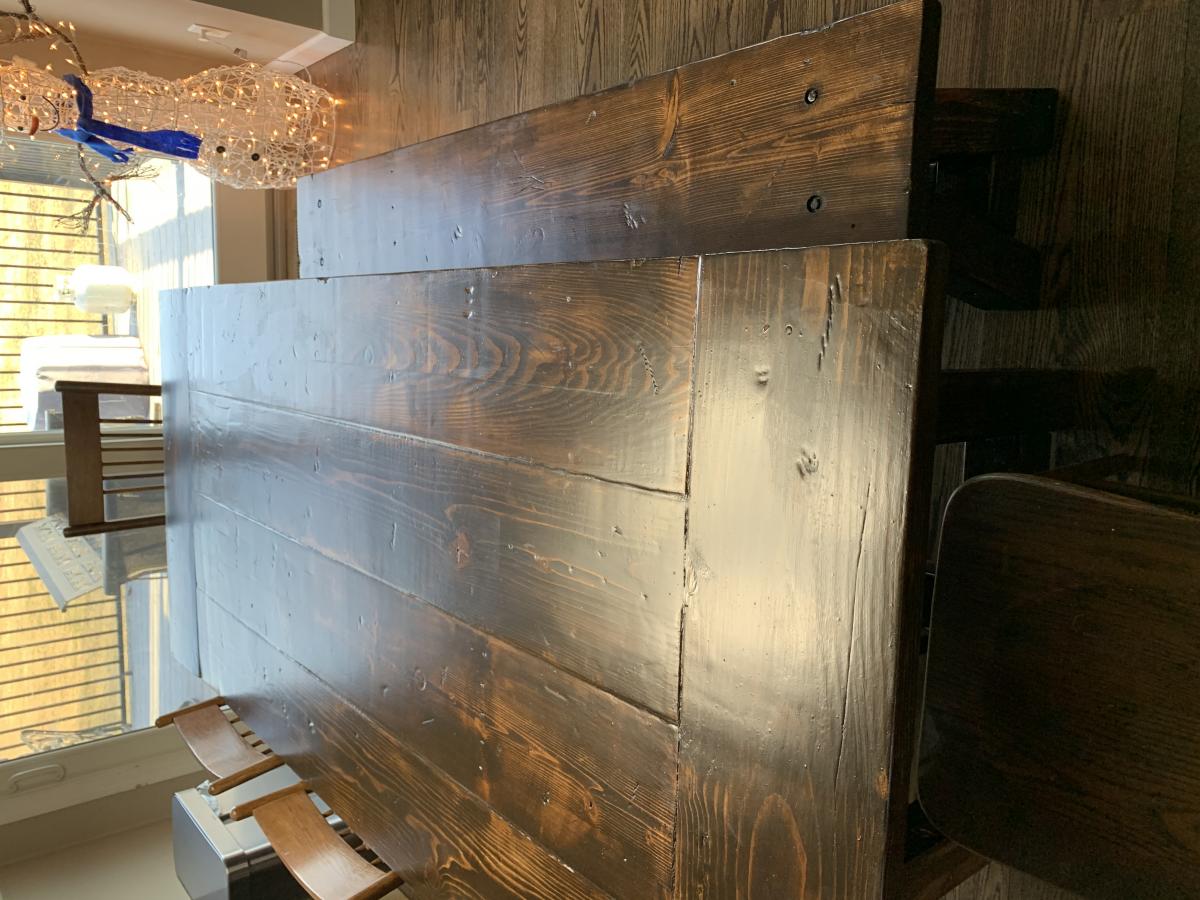
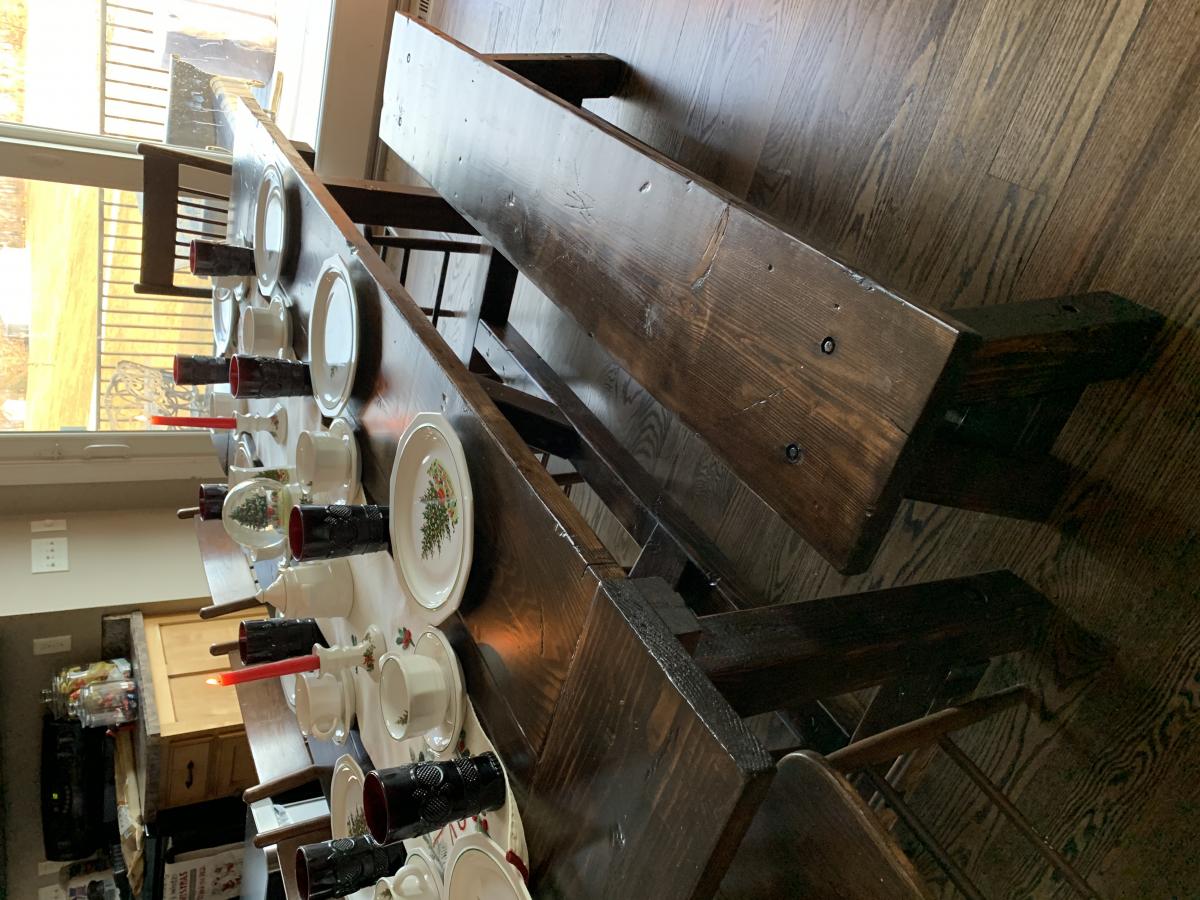
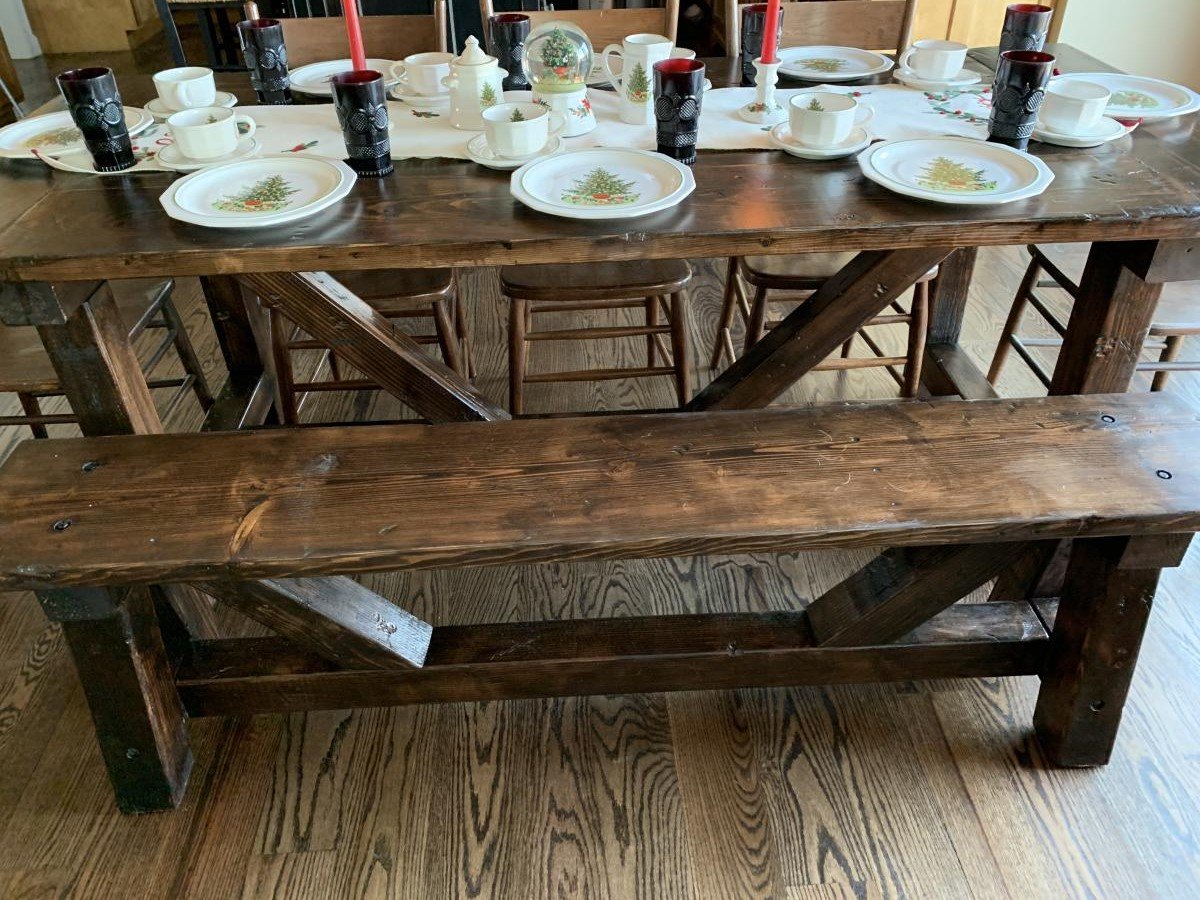
4x4 Truss beam dinner table with matching benches. Benches are modified to fit under table to save on space when not needed. This table is large and in charge and demanded a large space to fit in. Luckily my friend had plently of space in his home to fit this table!
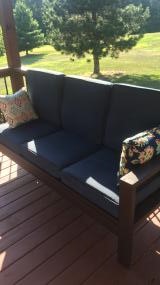
We've been wanting to tackle some outdoor furniture for a while and finally took advantage of a coupon to get a bunch of outdoor cushions. With a big mound of cushions taking up space, we had to force ourselves to get to it. We spent more time talking about cushion and stain colors then it actually took to cut and screw it together. This is a great solid project to start with. Don't be intimidated by it. We can't wait to start on some chairs to go with it.
This is my first bathroom cabinet. I'm a beginner in this carpentry thing. And using the plans to create the Cabinet I was able to do it
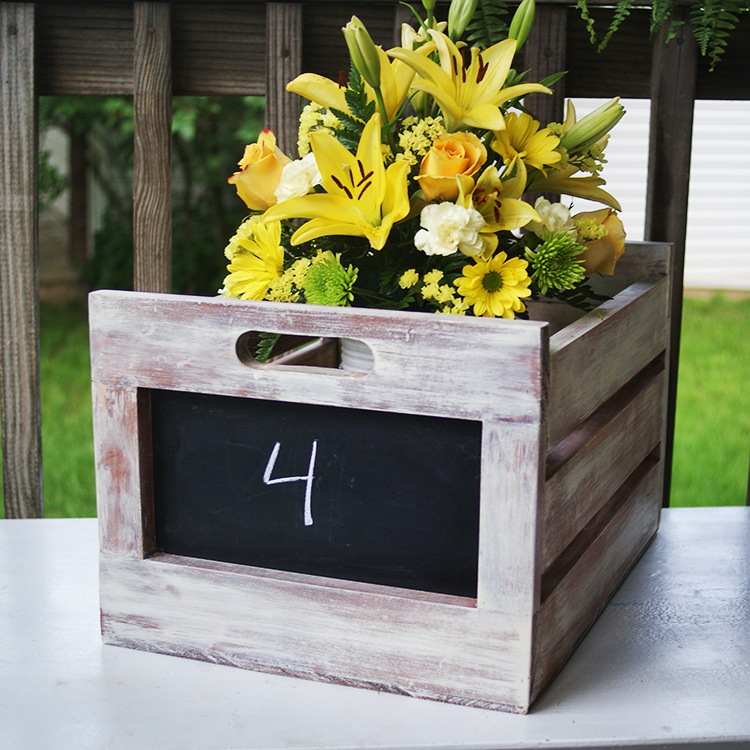
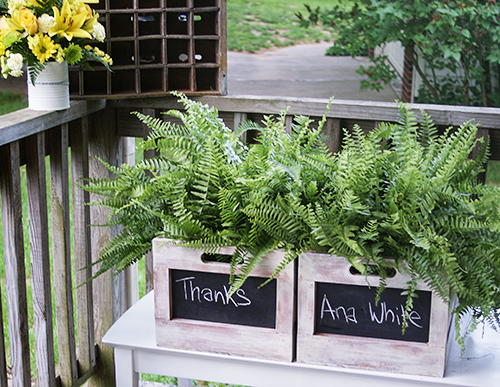
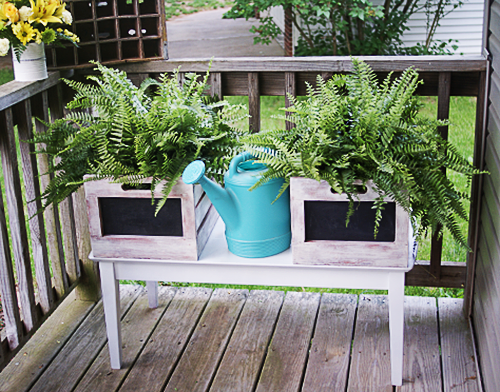
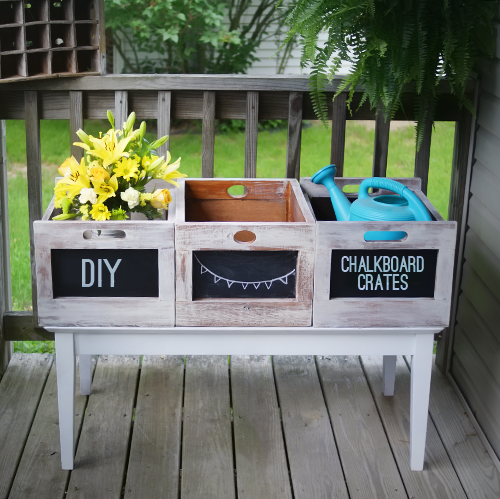
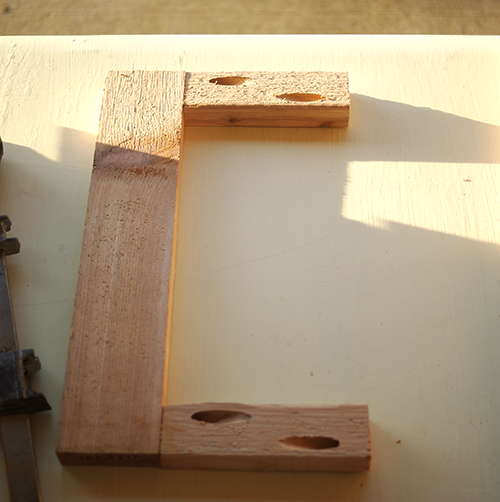
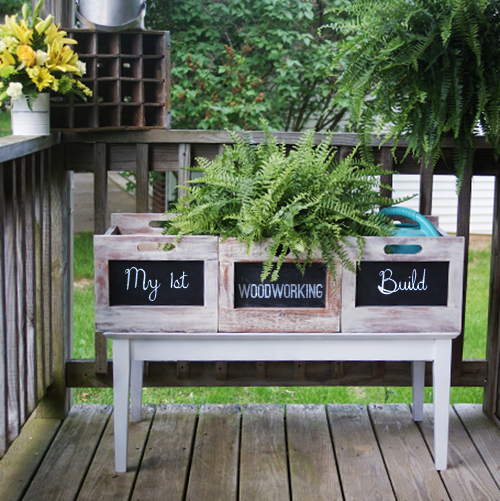
I made 3 crates using Ana Whites Chalkboard Produce Crate plan. It was my first woodworking project, was totally doable, and has created a monster. The middle crate in the photos was the first one, and I added extra 1x3s on the sides because I thought I didn't want the gaps between the side boards. Changed my mind for the second 2. I wanted a chippy finish so I stained with glaze and burnt umber by Golden, followed by a topcoat of dry brushed Titan Buff. I sealed with CeCe Caldwell Aging Wax.

Thu, 08/29/2013 - 18:29
These are beautiful. :) You did a fantastic job!
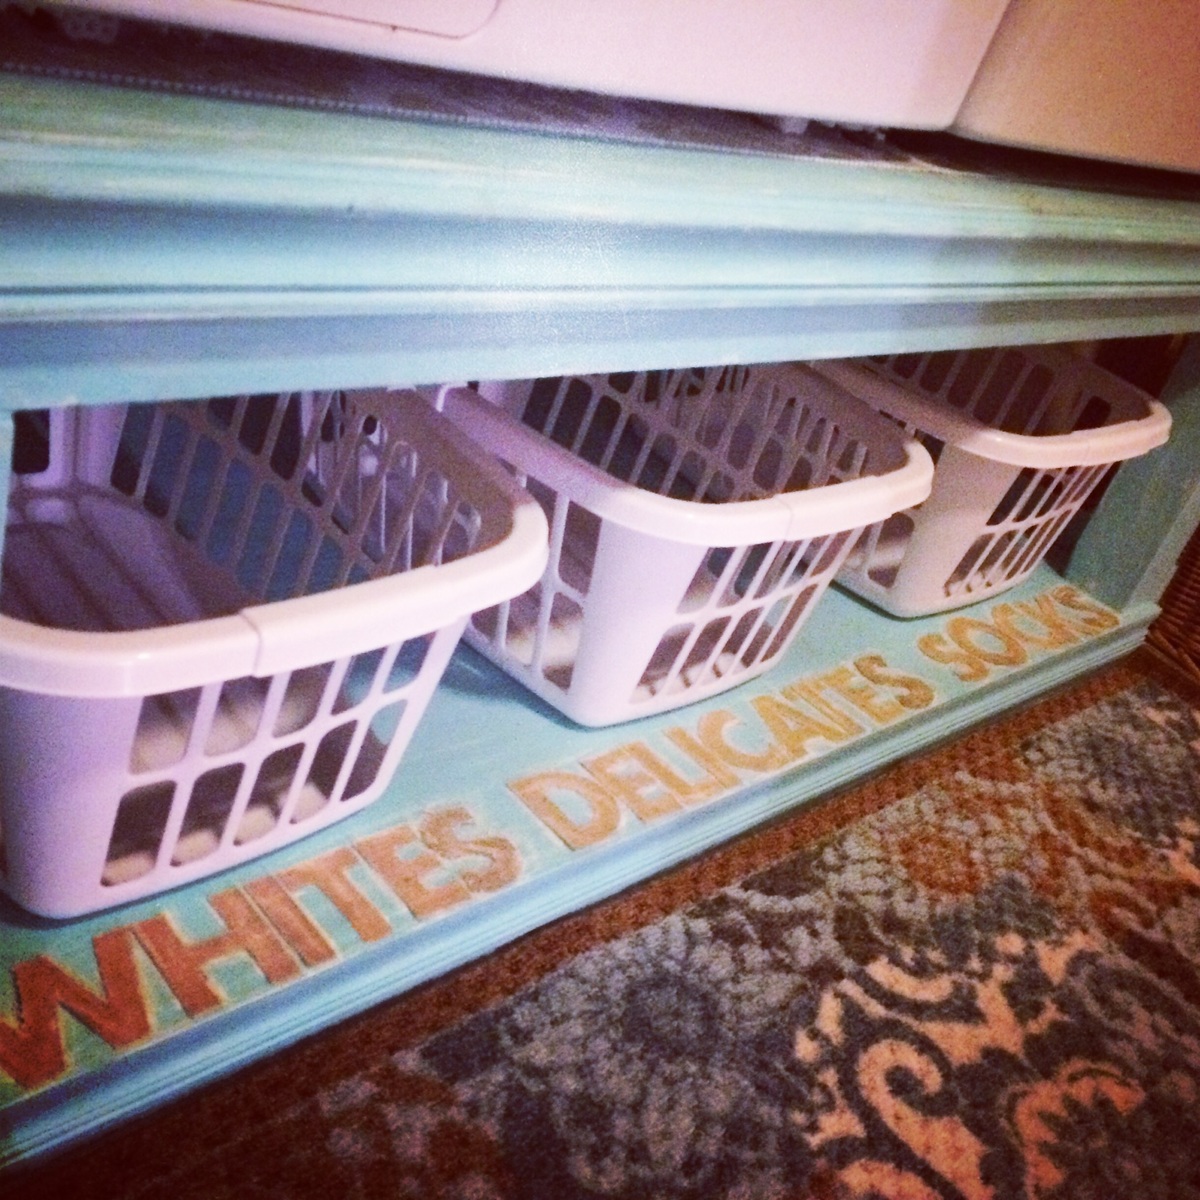
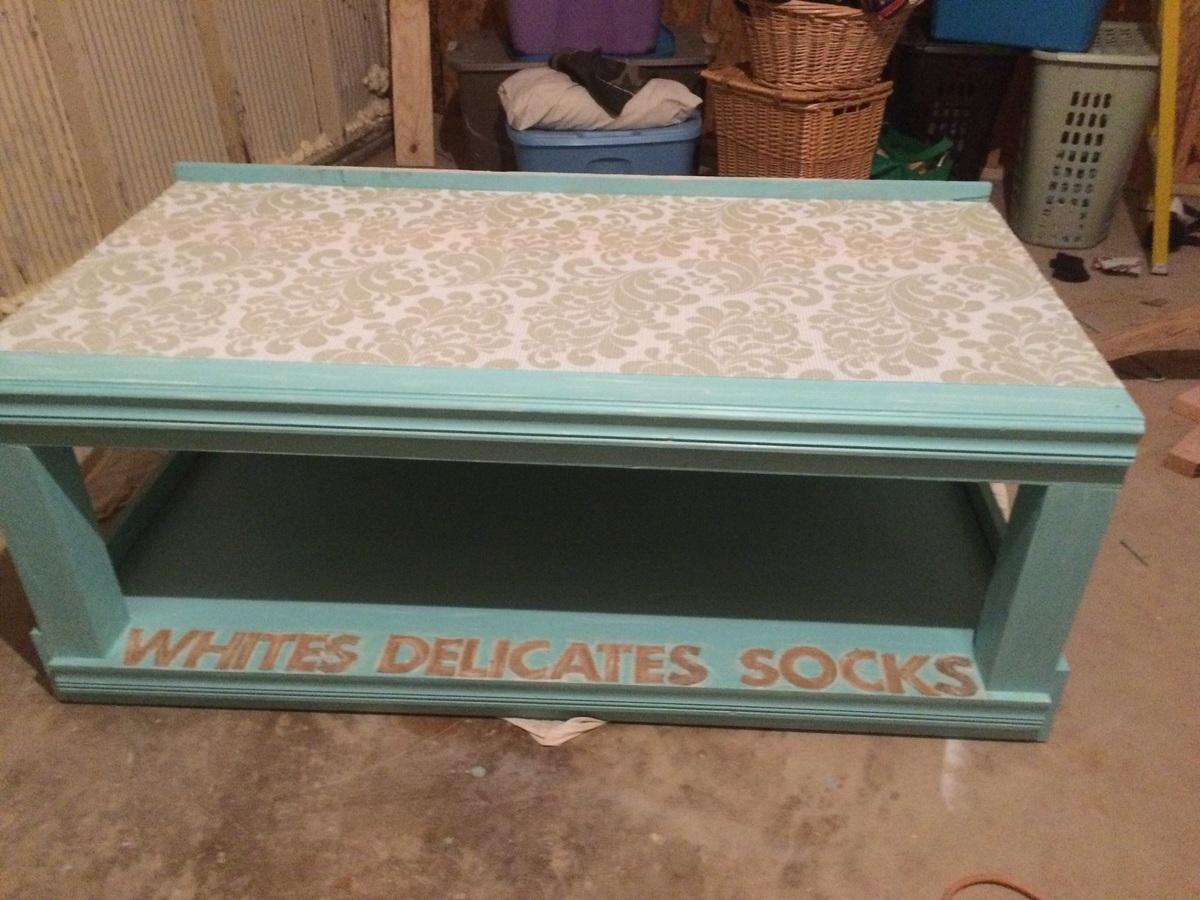
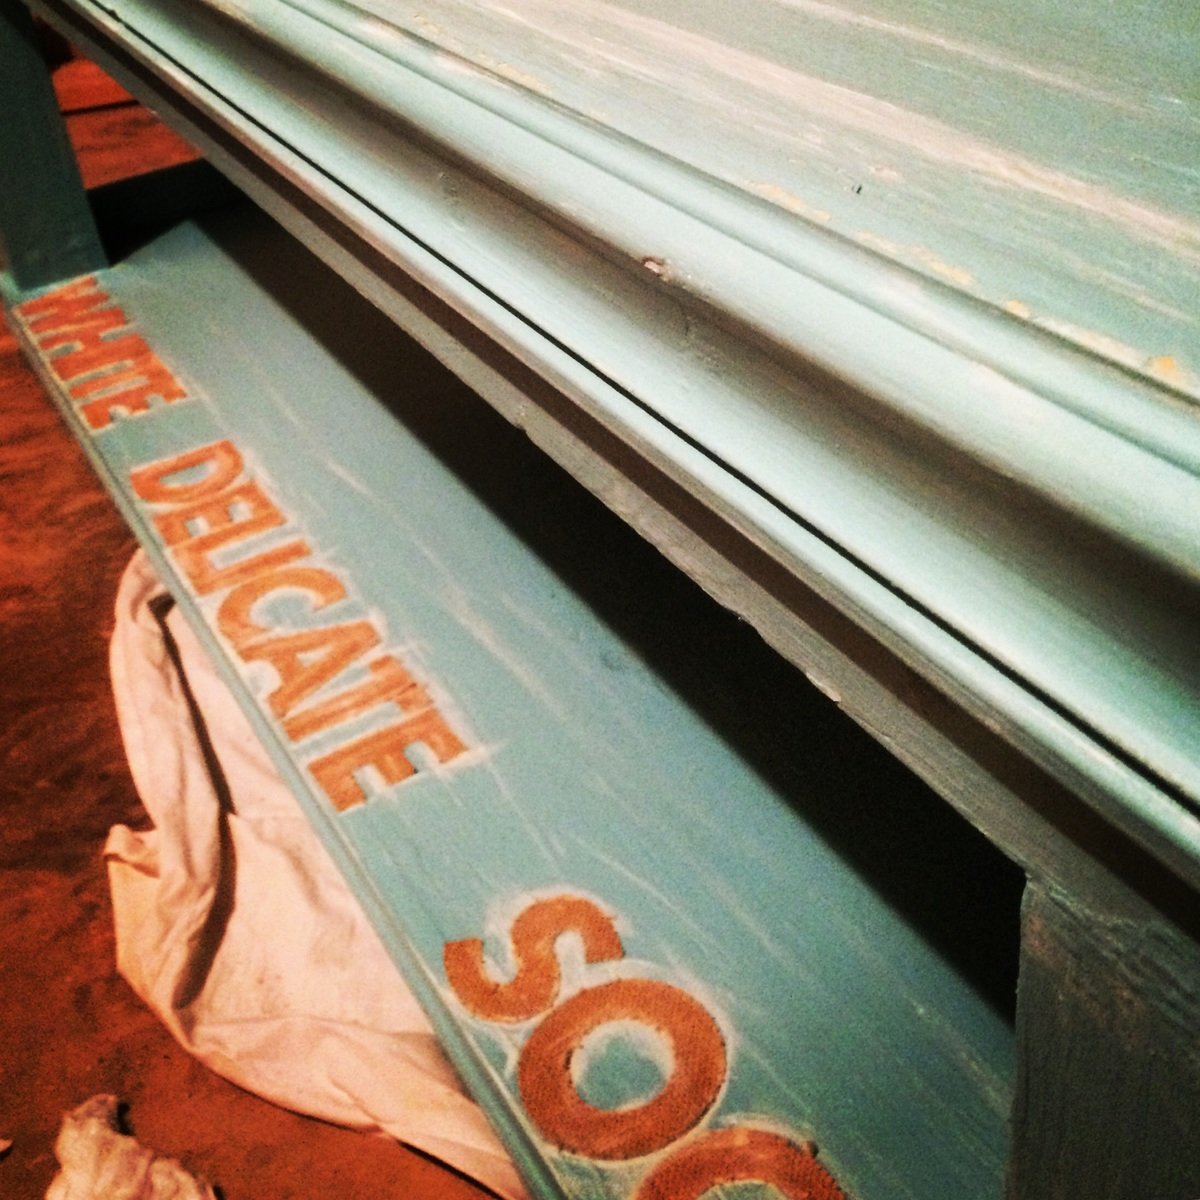
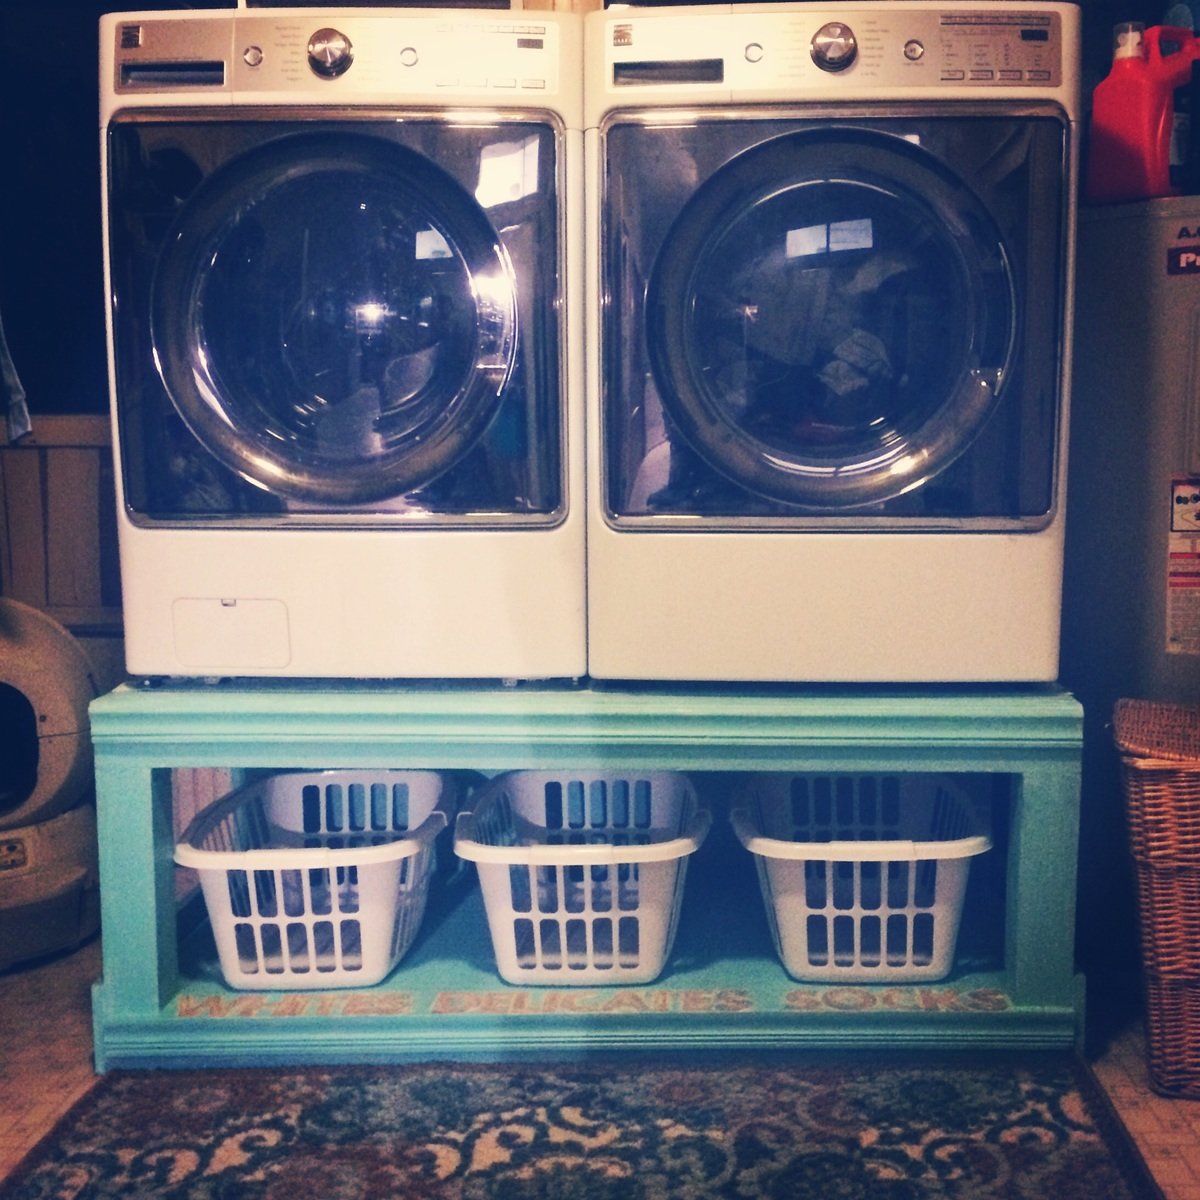
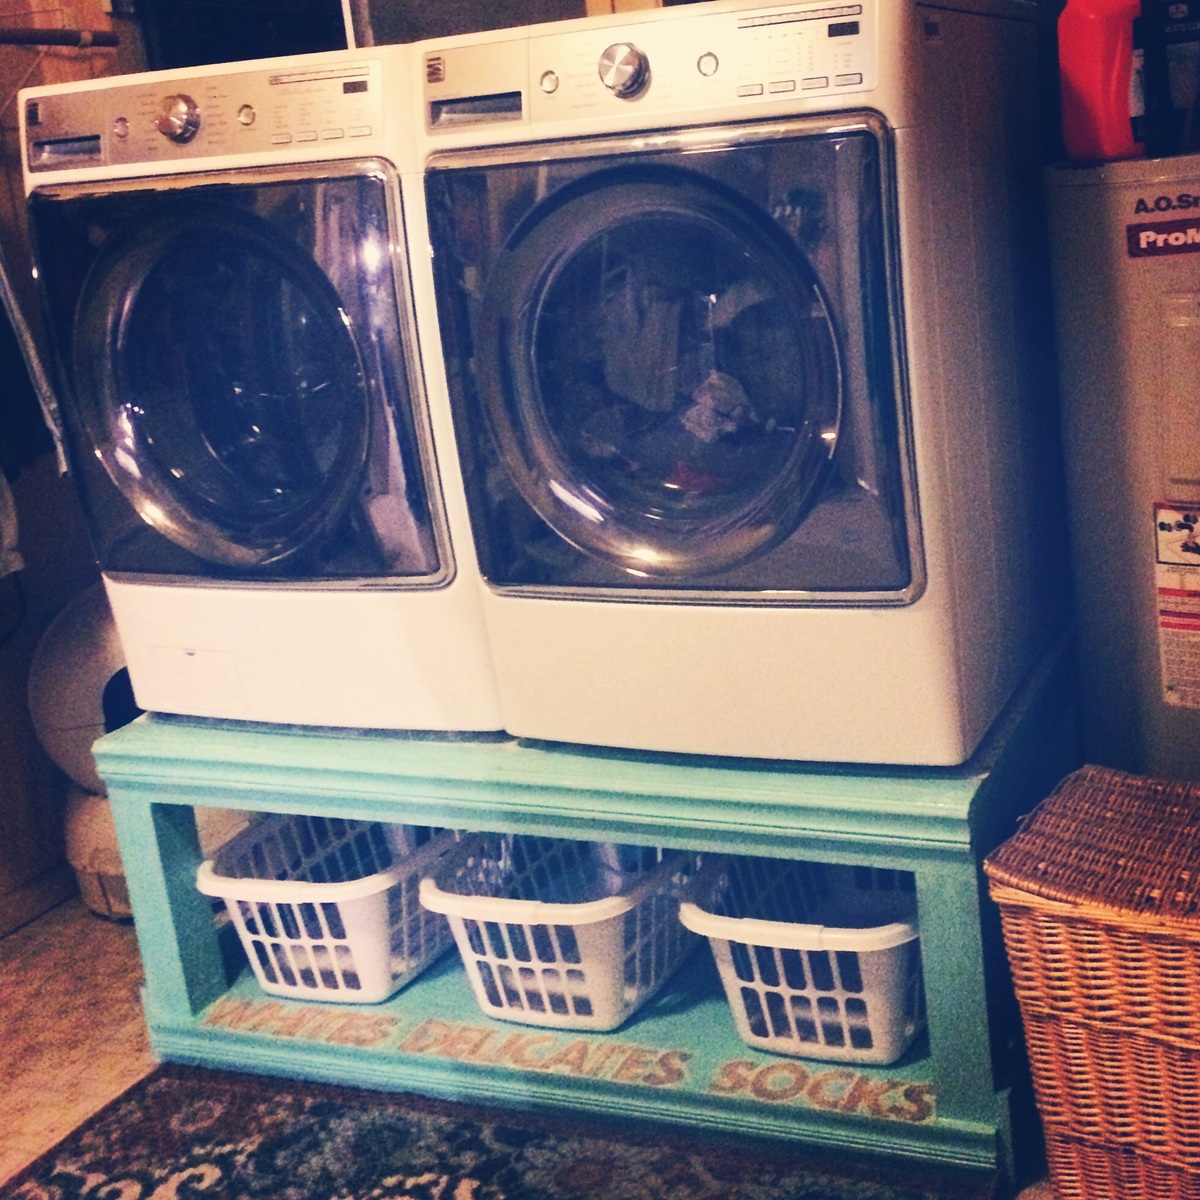
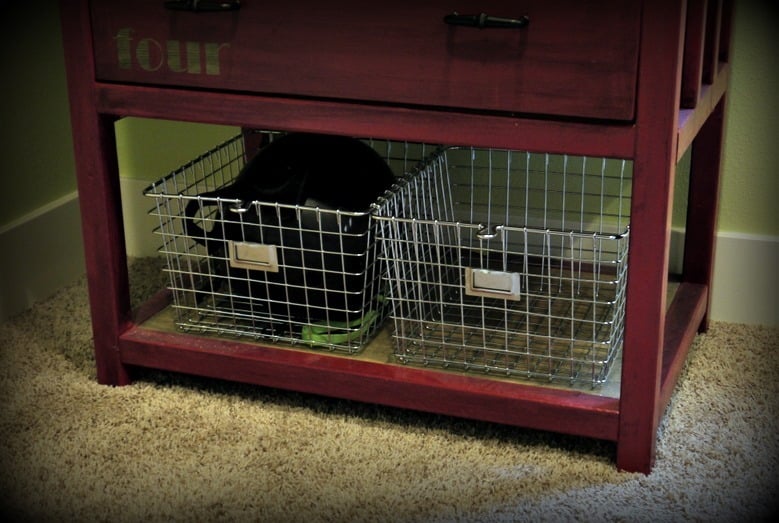
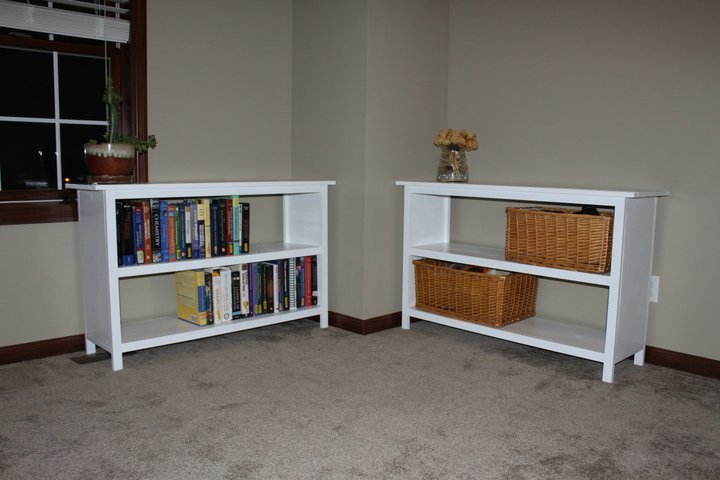
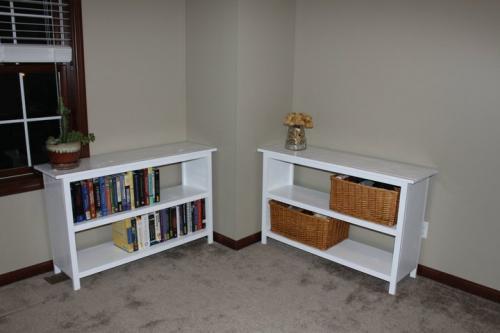
My best friend and I built these Easter weekend with very little husband intervention. I then painted and finished them and installed them with my husbands help. The main modification we made was to figure out the angle to cut the posts in order to adjust for the slope of my laundry room, which is a converted porch on a 1912 craftsman. It was not easy, but we jumped for joy when we tested it out and it was level! We decided to use plywood scraps on the side and back for more support and to keep laundry from falling behind the washer. I had the chair raiI trim from another project, so I used that along with a healthy dose of wood filler. I absolutely LOVE how it turned out...now I just need to find cuter baskets.
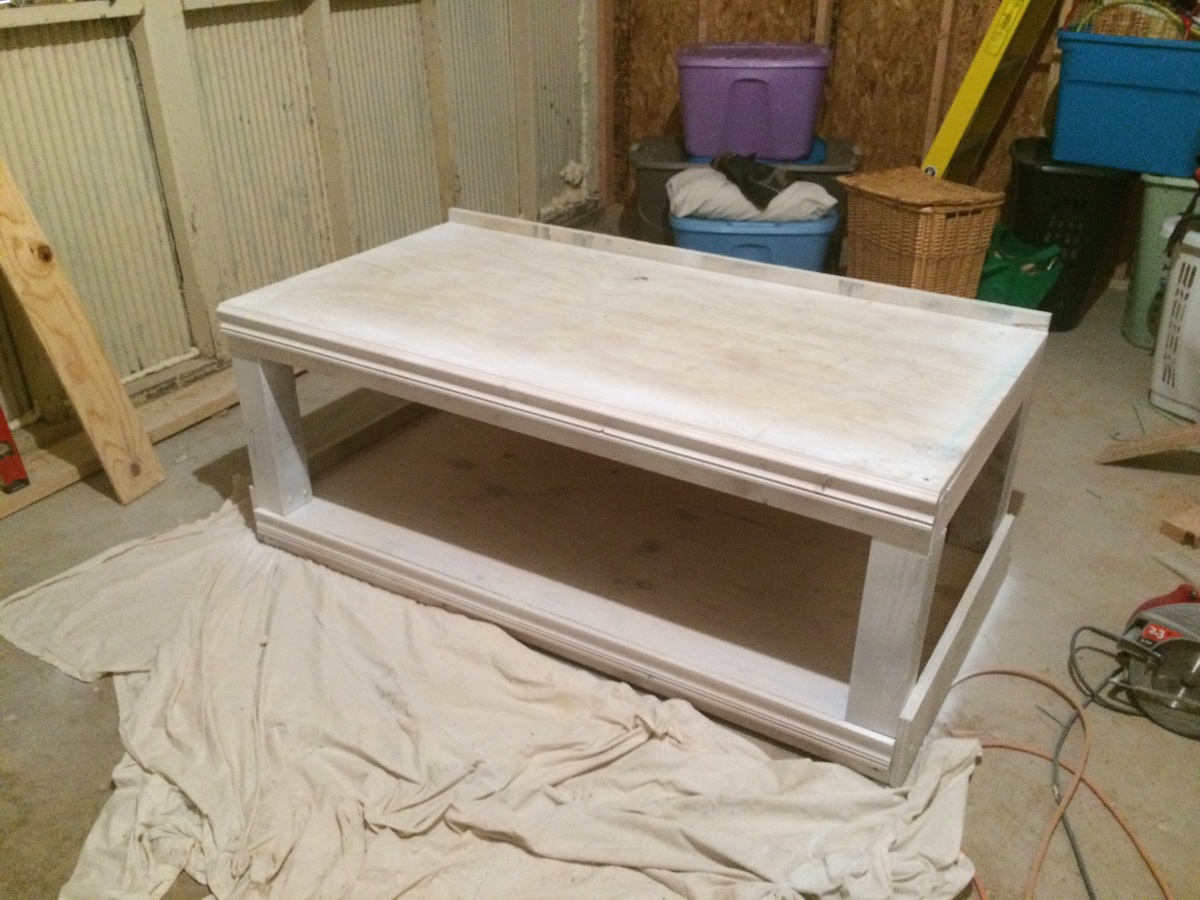

I love this site! This is my second build. I started this project one weekend and came back to it to finish. Unfortunately, two of the boards bowed by the time I got back to it the next weekend; so, I added imperfections of mine own and give it a rustic look!


Easy, fast and affordable garage shelving!
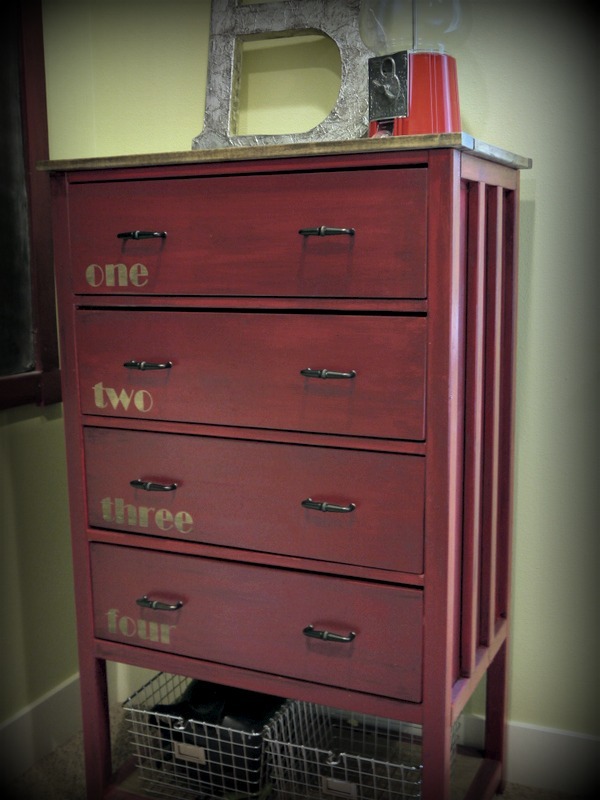
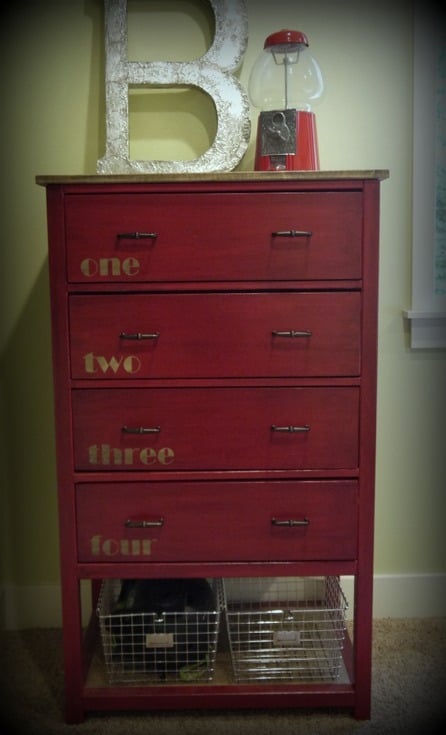
This was my first project with drawers, and I learned through sad experience how important it is to have ULTRA straight boards to begin with! I am grateful for things like itty-bitty washers to help correct things that aren't quite straight enough. More info on my blog!
Mon, 10/21/2013 - 10:47
I had to use Full Extension slides instead of regular euros because of the seam for the drawer bottom being right in the middle of the mounting holes. Now my drawers are not quite mounting the correct way. I have learned a lot of painful lessons on this one. Man.

Built this for my wife from warehouse floors from the Mare Island Naval Station. 150 plus year old planks. Doug Fir. Hope it will become a family heirloom!
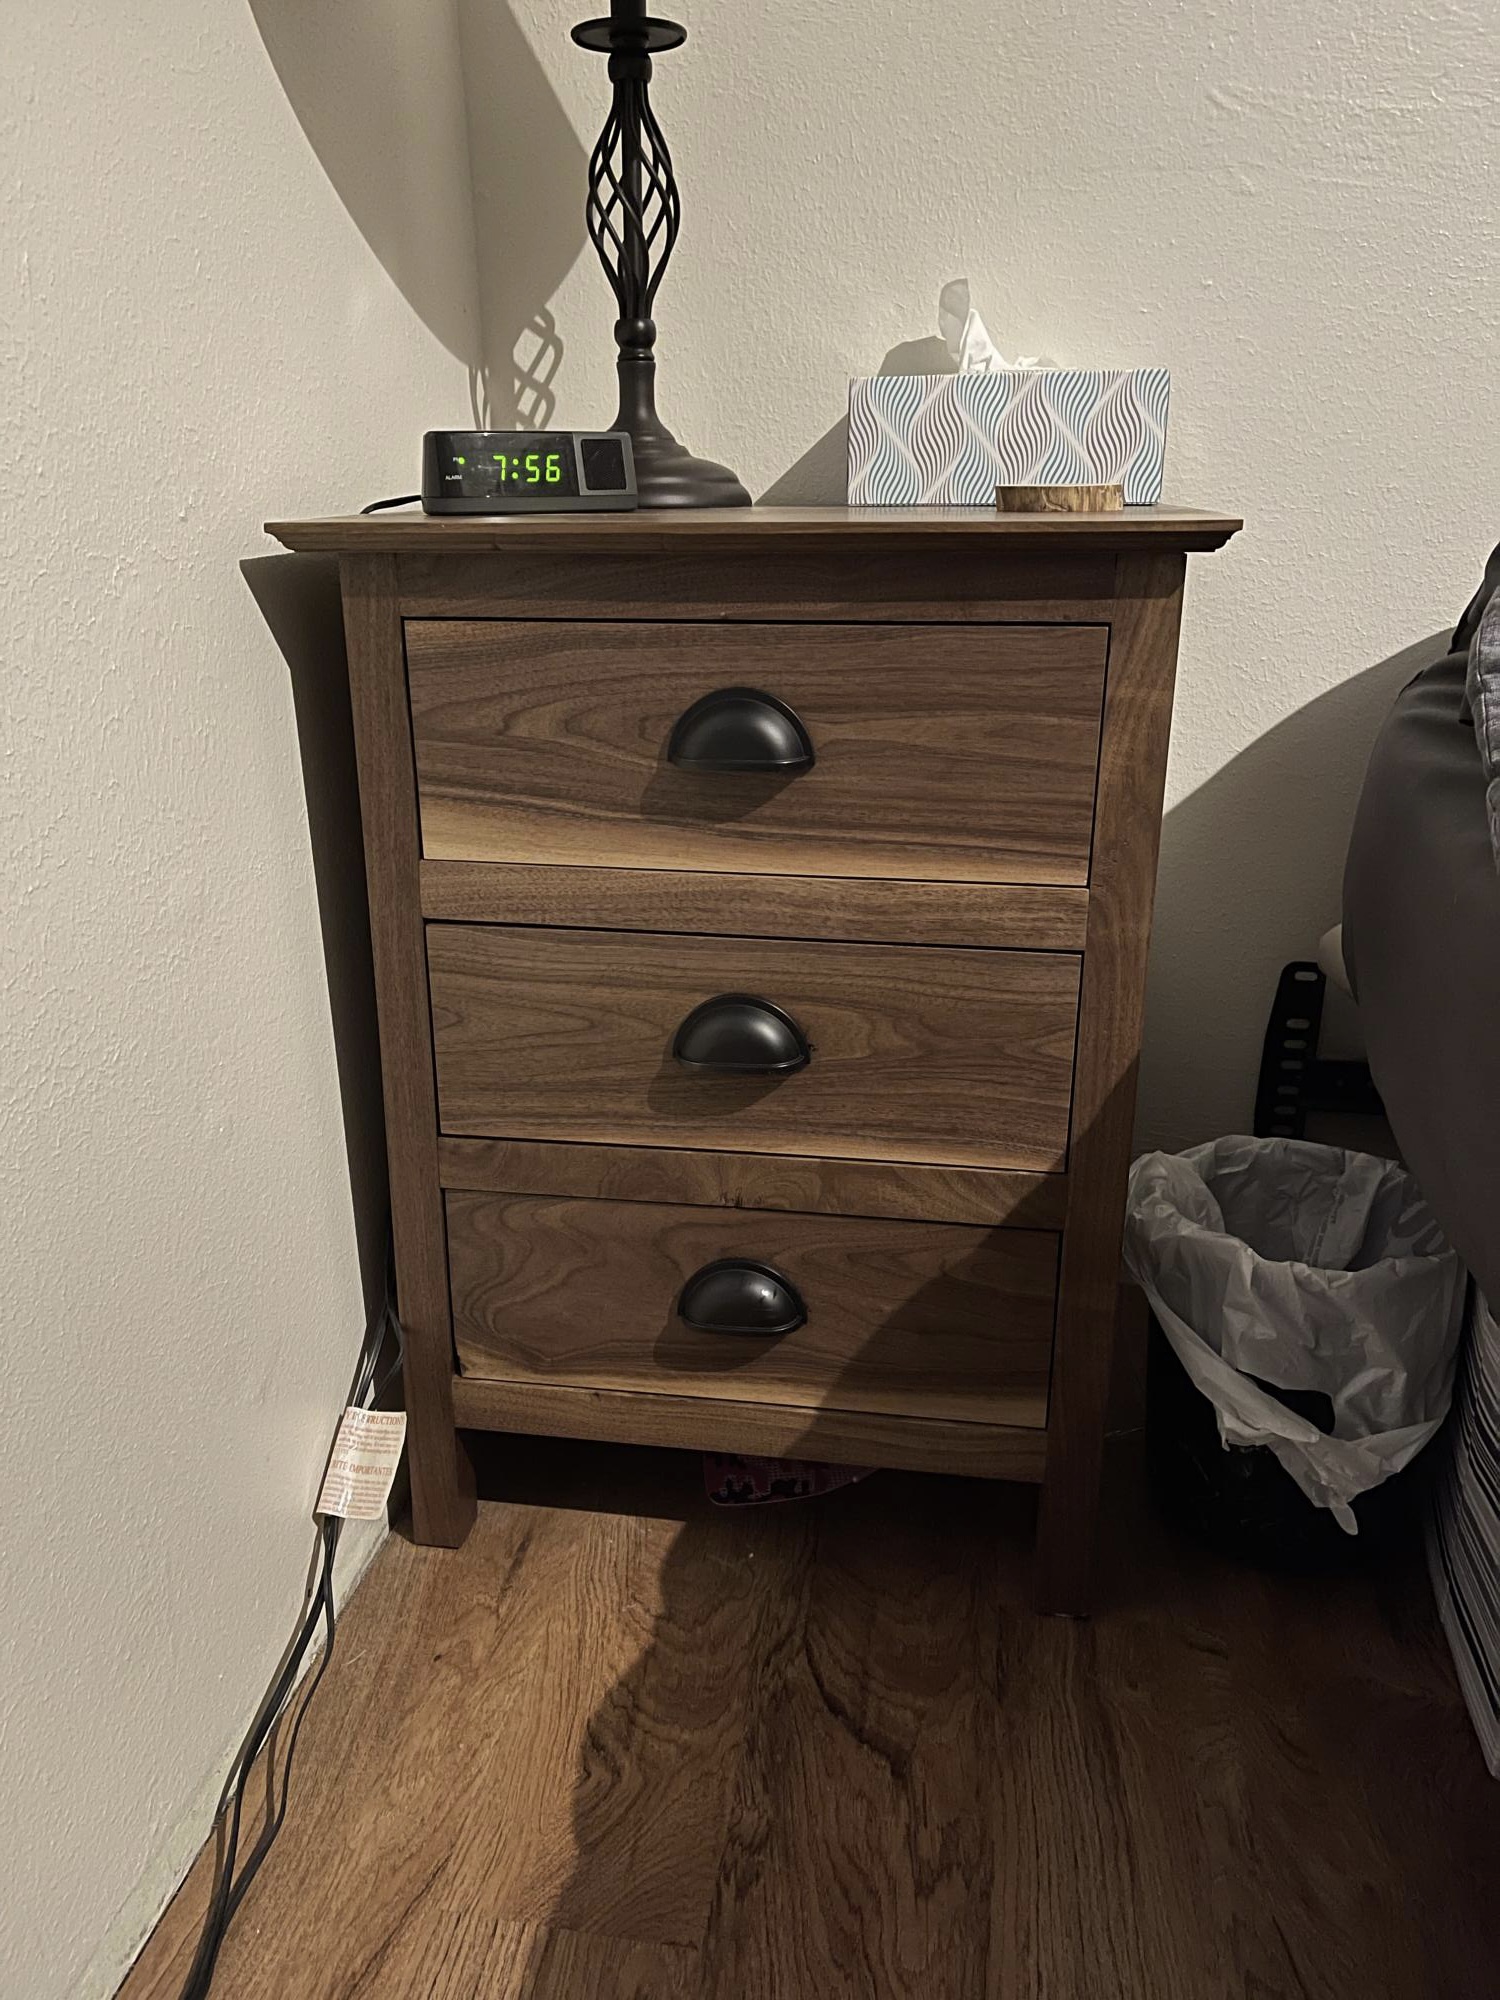
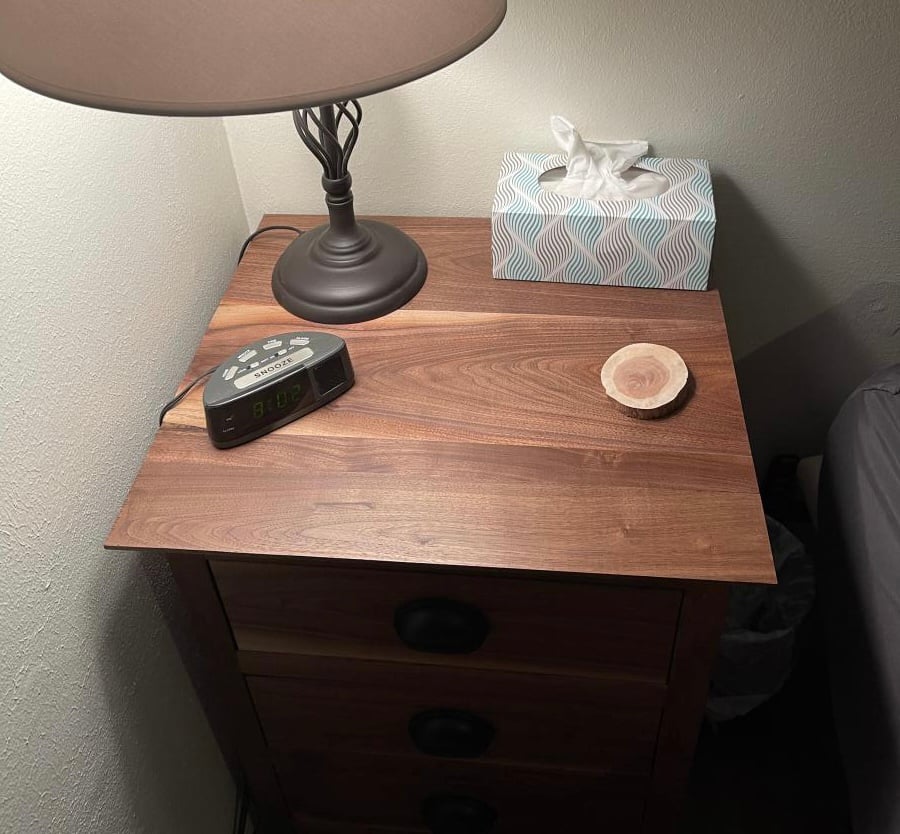
We made this out of walnut we milled a couple years ago. We didn’t stain just used Dixie Bell Gatorhide to seal it with. Not sure why the pictures turned sideways when they uploaded.

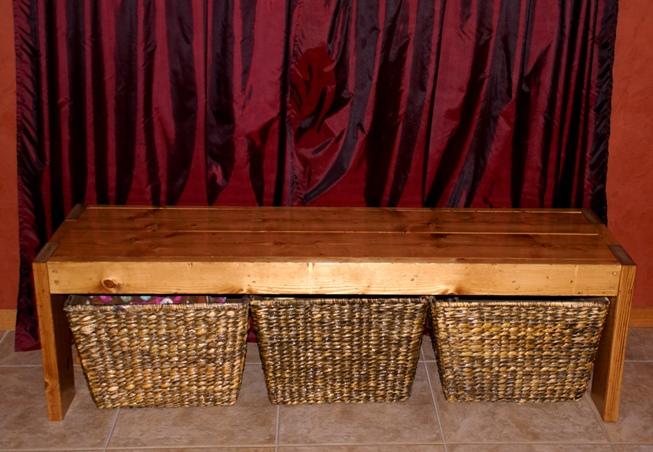
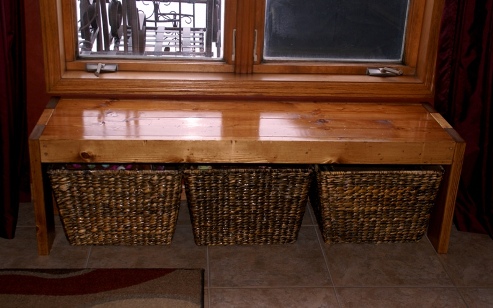
I have been wanting a bench for this space for years. I adapted the plans to fit the baskets I was already using. I used 2x8s to make the seat deeper. Final dimensions are 60" wide by 17.5 deep by 18" high.
My actual cut list:
2 - 2x4 by 57" front and back apron
4 - 2x6 by 18" legs
2 - 2x8 by 57" seat
6 - 2x2 by 14.5" seat supports
2 - 2x4 by 6.5" side spacer between legs
I used a Kreg jig for the first time to attach the support pieces to the side aprons. I used the same hollow made by the Kreg to add a few screws through the support pieces into the top.

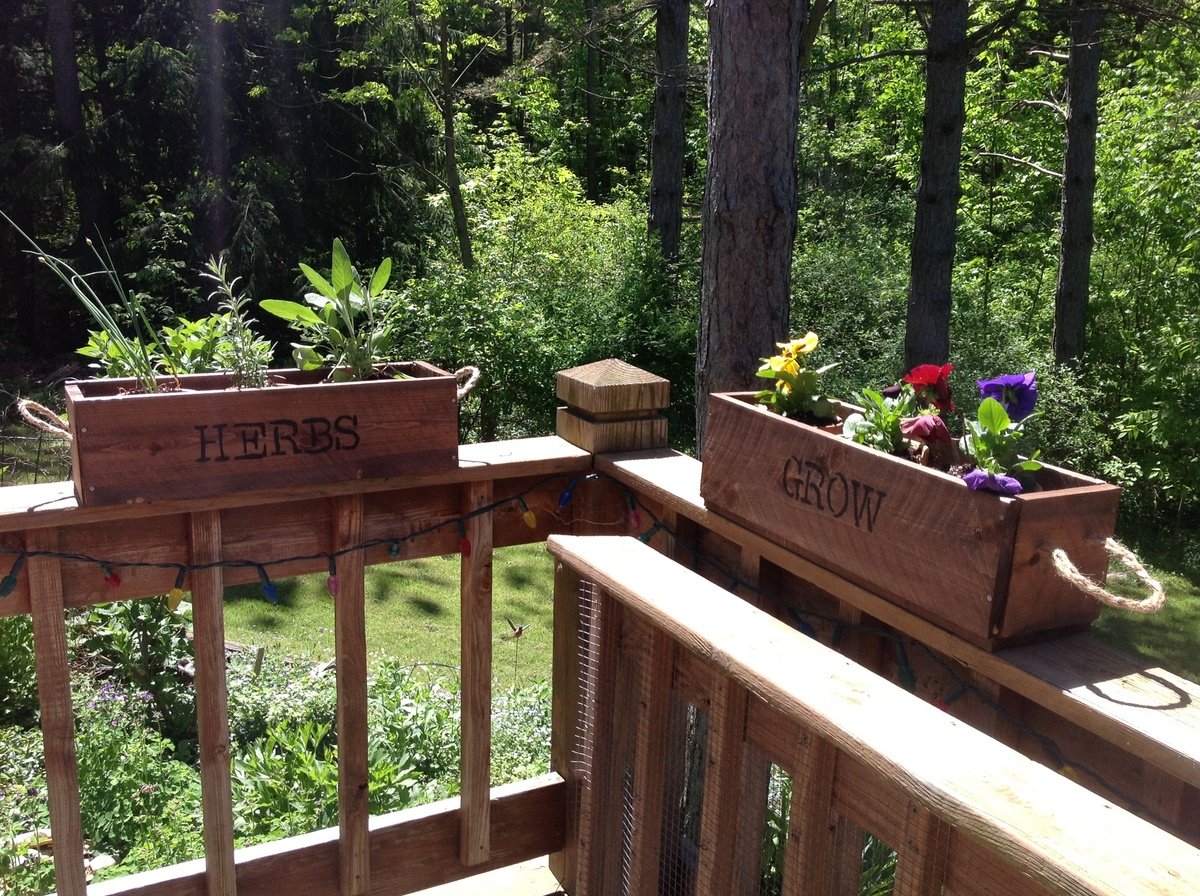
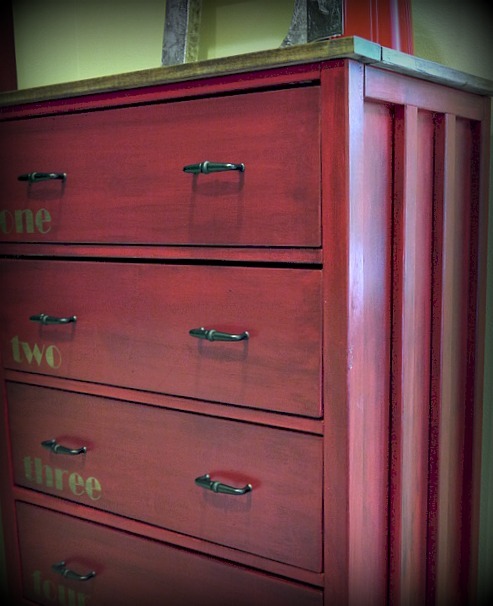
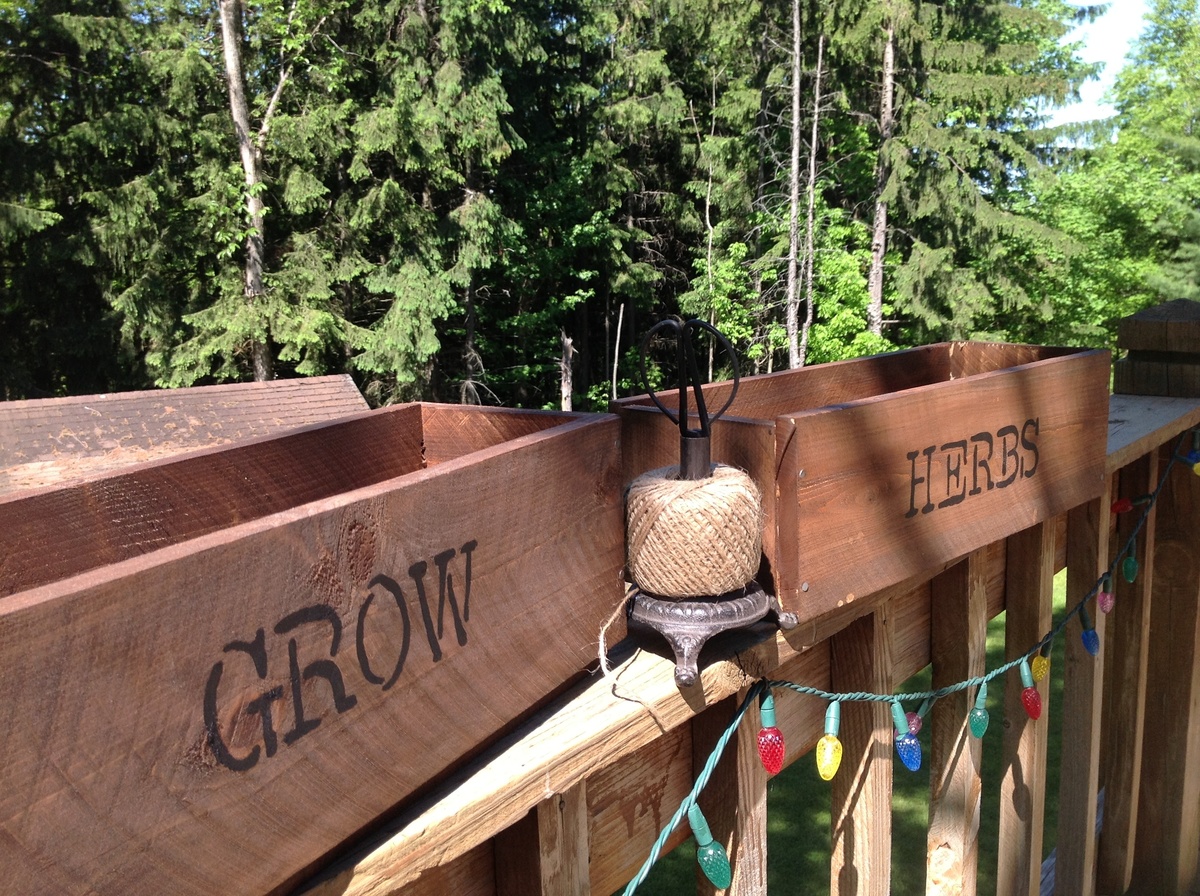
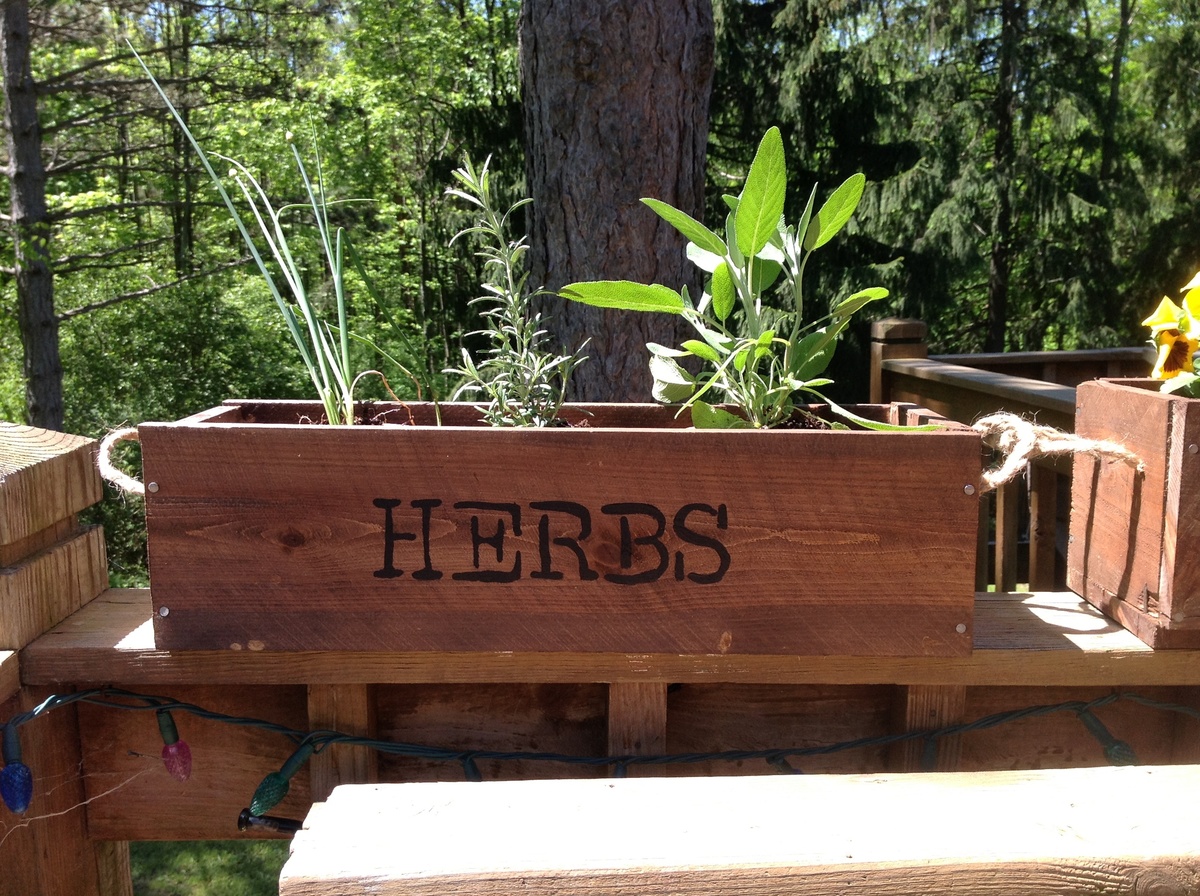
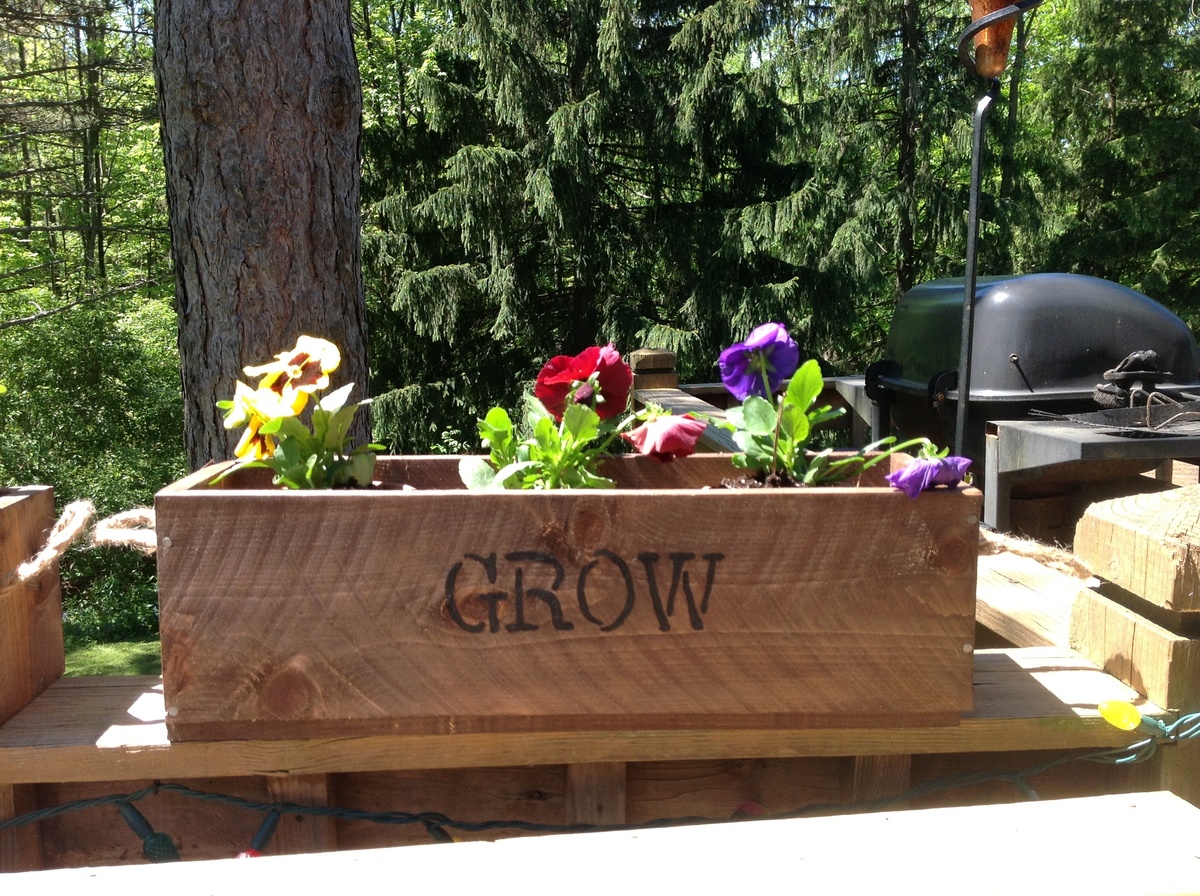
My very first woodworking project. I learned a lot. Most importantly, to watch my cuts more carefully. Also, a good stain and stencil dress up anything. I used braided jute for handles and love them!

Sun, 05/26/2013 - 22:47
I love your herb and flower planters! Now I'm inspired to do some up for my deck as well! Nice job!

This project allows your creativity to flow. It's a woodworking and art DIY project. These storage benches for children are inspired by my youth when I played with wooden alphabet blocks. It's the perfect accompaniment for this Alphabet Blocks Inspired Chalkboard Play Table.
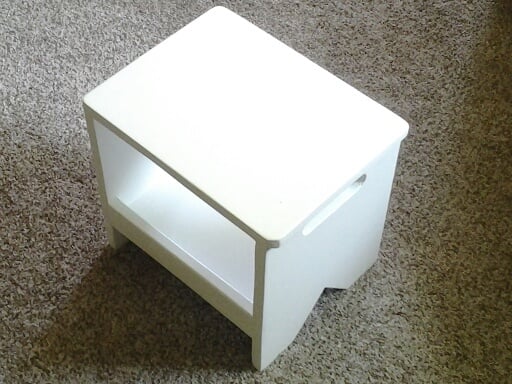
I built this bench for my niece on her birthday. It as easy and fun to build. My niece and everybody at the party loved it.
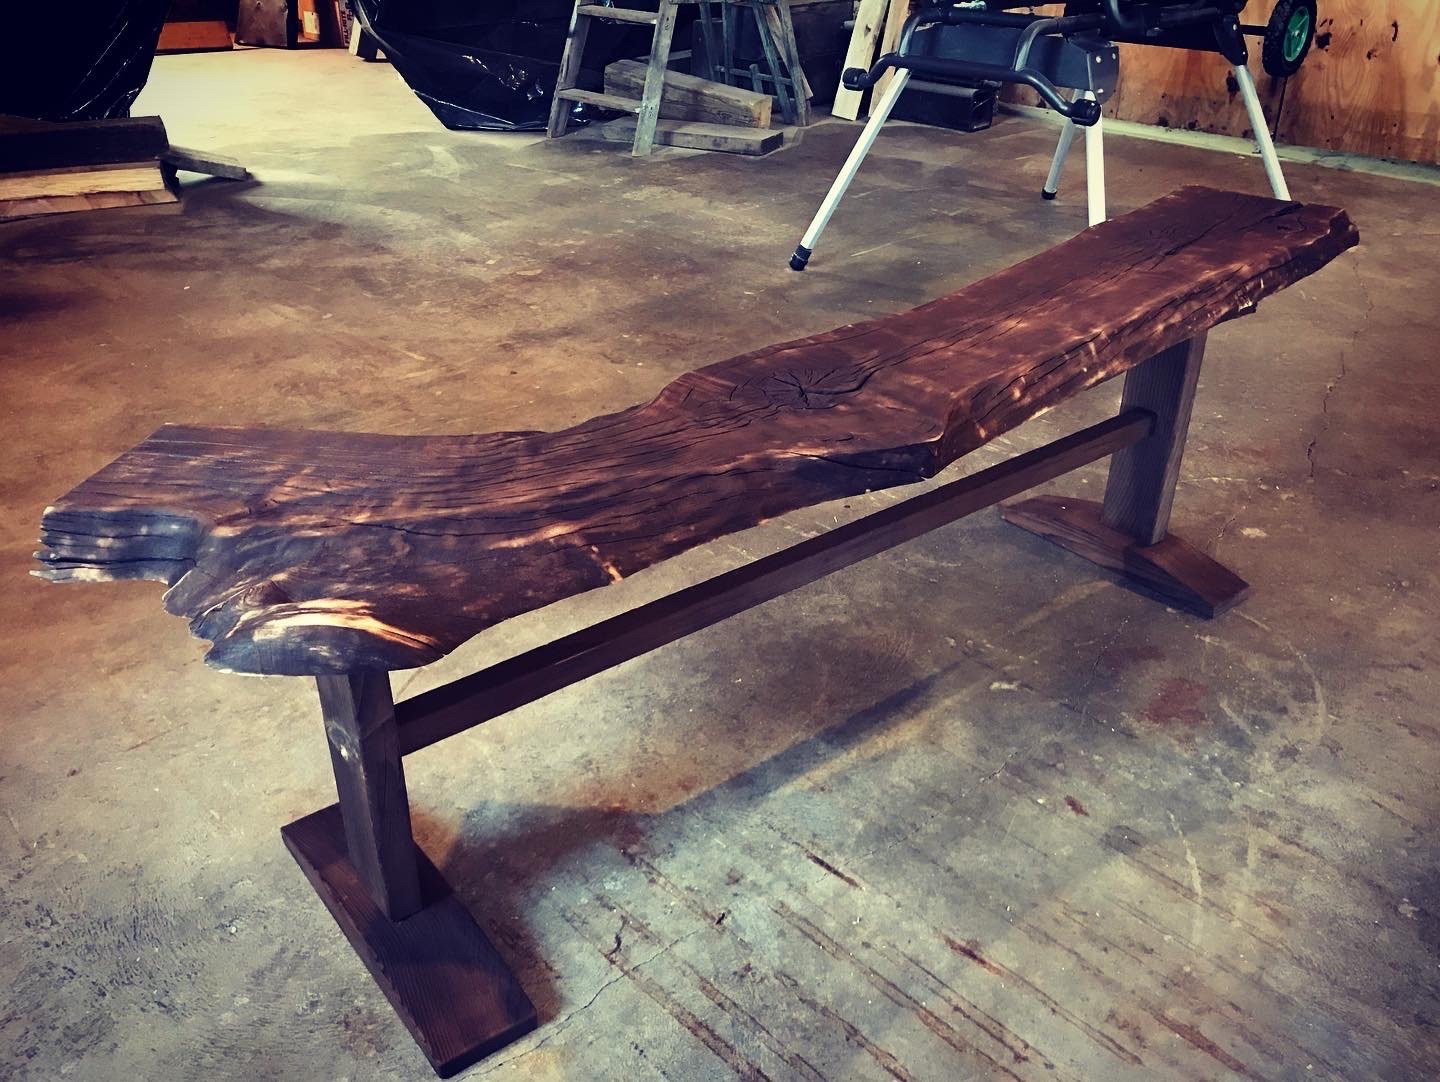
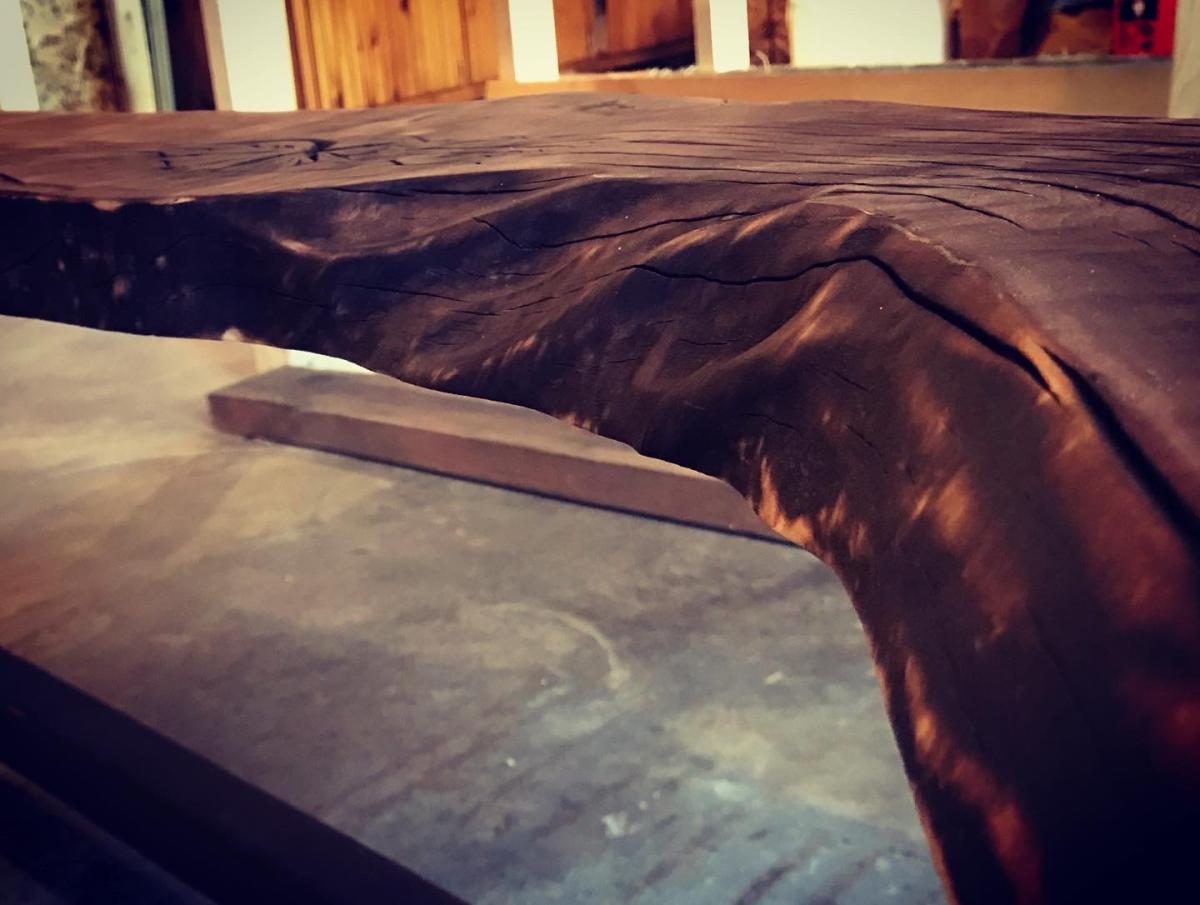
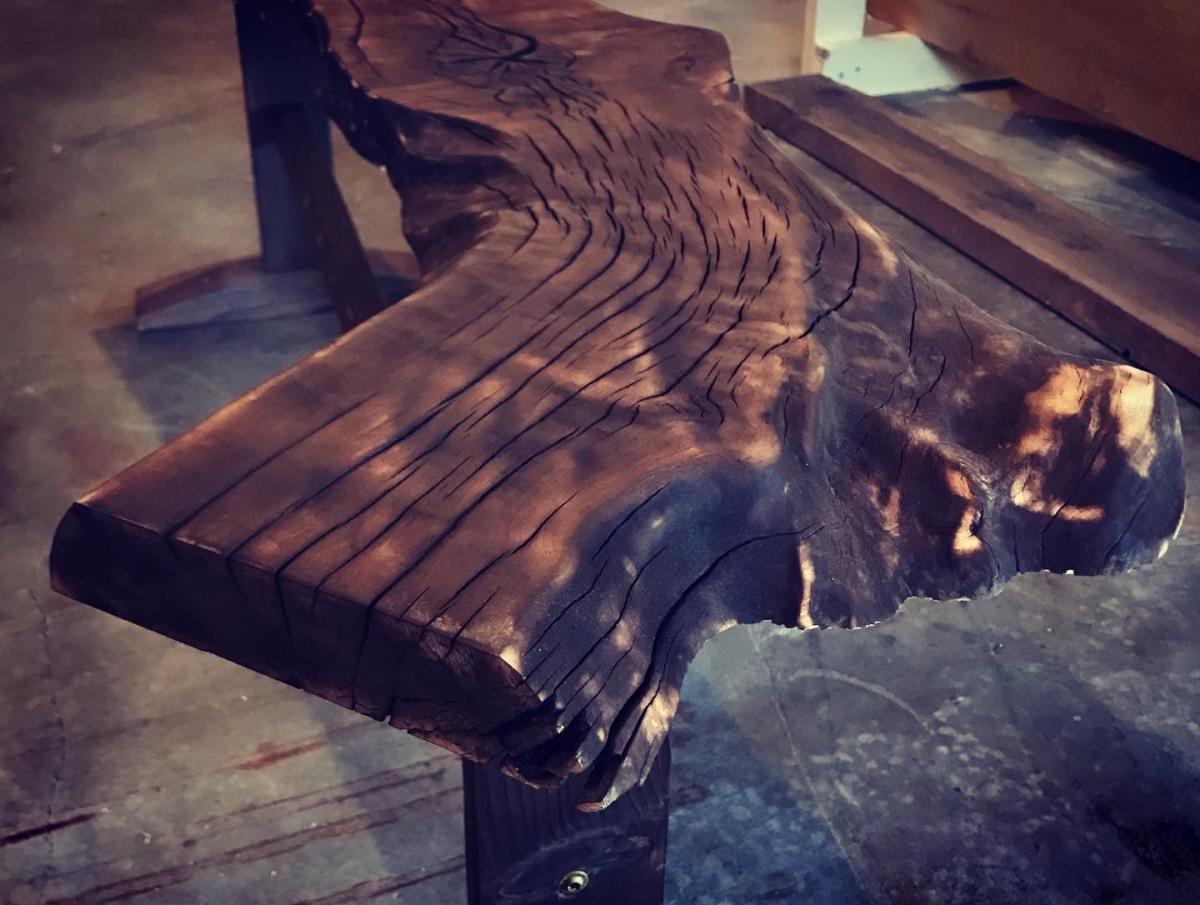
I found this oak character slab at a local lumber yard and fell in love with it. I loved it so much I bought a second one. After torching the slab using the Shou Sugi Ban method, I scraped away the charred surface and used tung oil to complete the finish. I added two more coats of tung oil allowing at least 24 hours in between each coat. The legs are made from rough cut pine from the same lumber yard (these guys take good care of me!). I also used the same charring method on the legs and feet along with tung oil. Check out all the detail and character of the edges! This bench could easily be used as a coffee table. It is approximately 6 feet long and 30 inches tall.
This was my first build, and it went really well. My dad helped me to cut the wood, and I was able to completely assemble, prime, and paint them by myself in the basement.
I decided not to use MDF, instead I used plywood, I think they turned out to be quite sturdy.
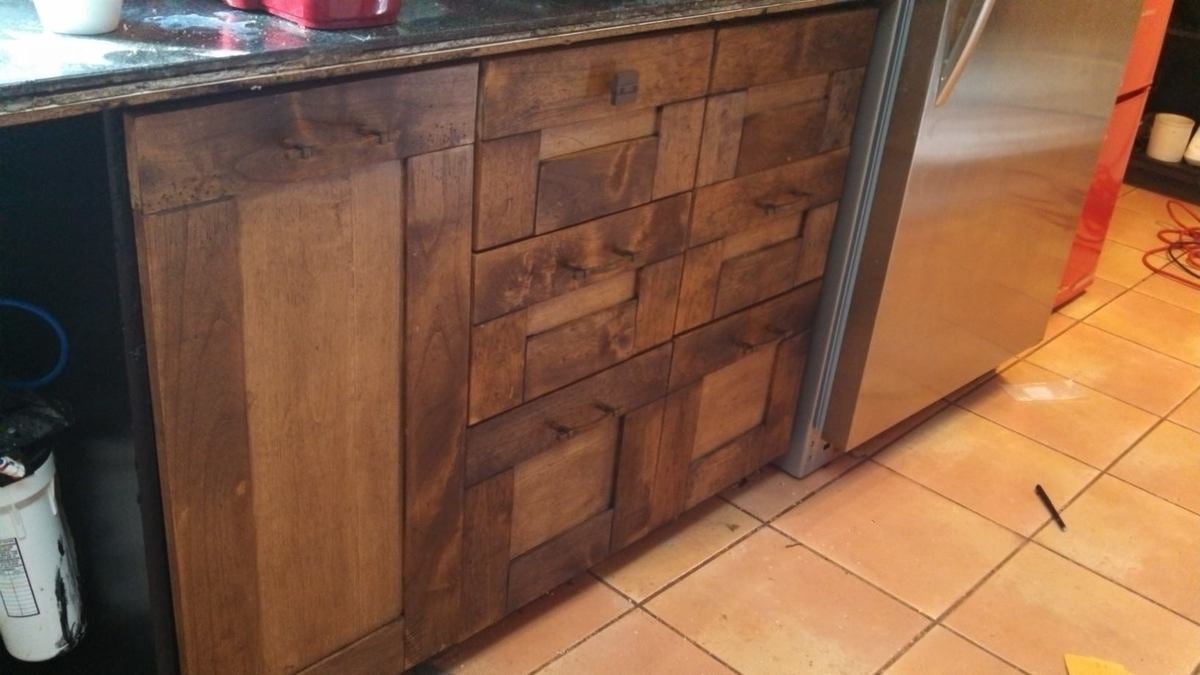
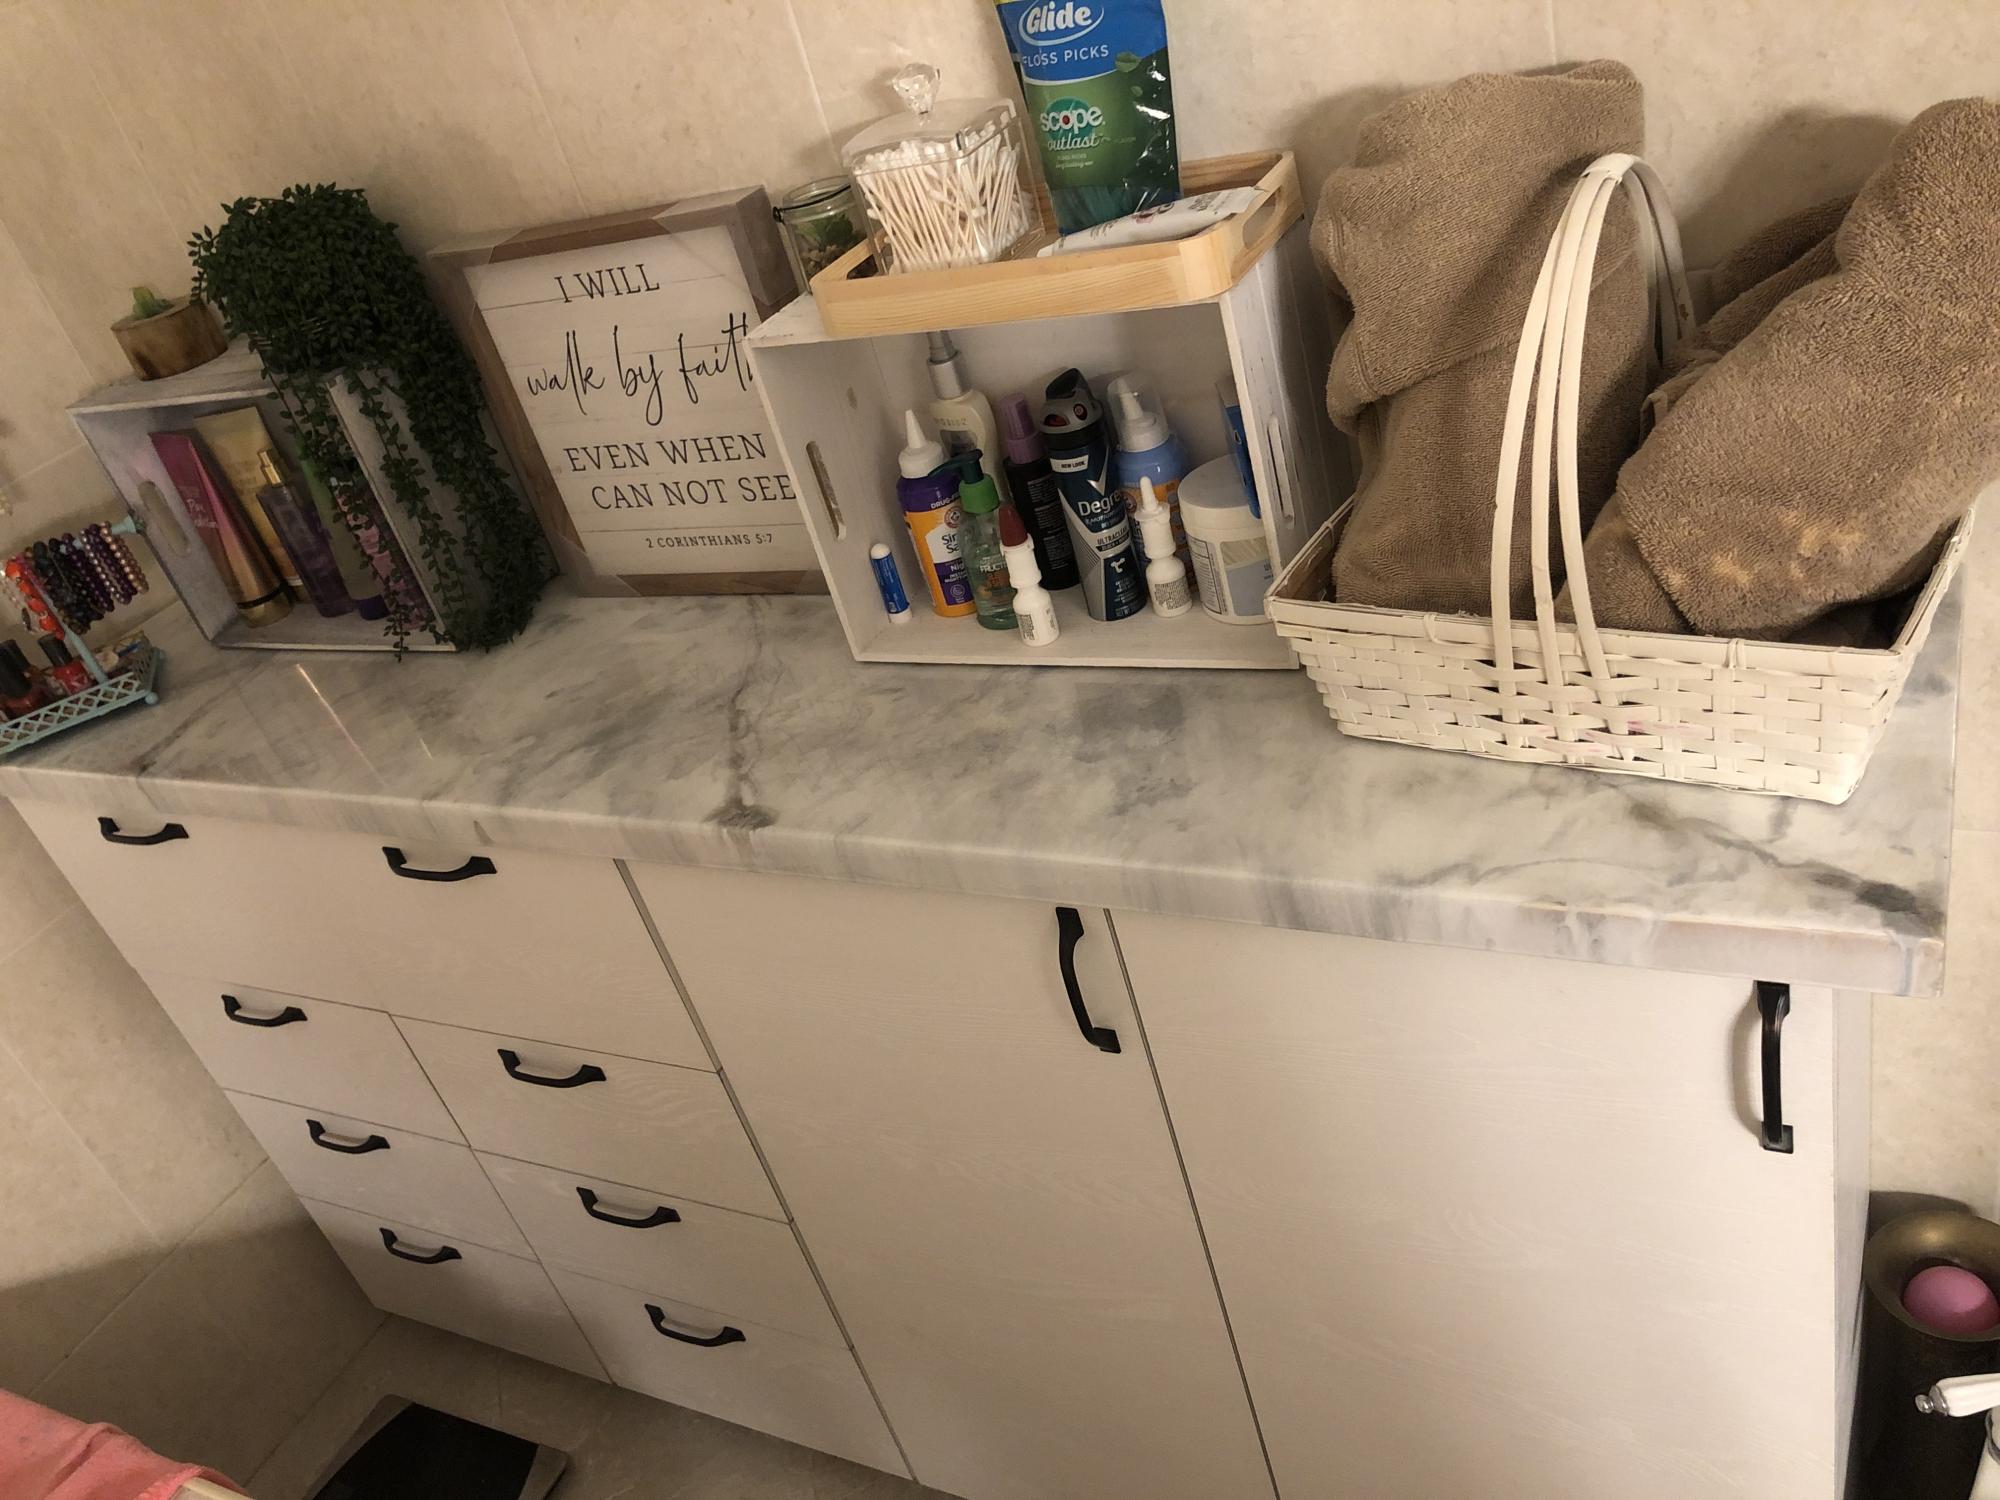
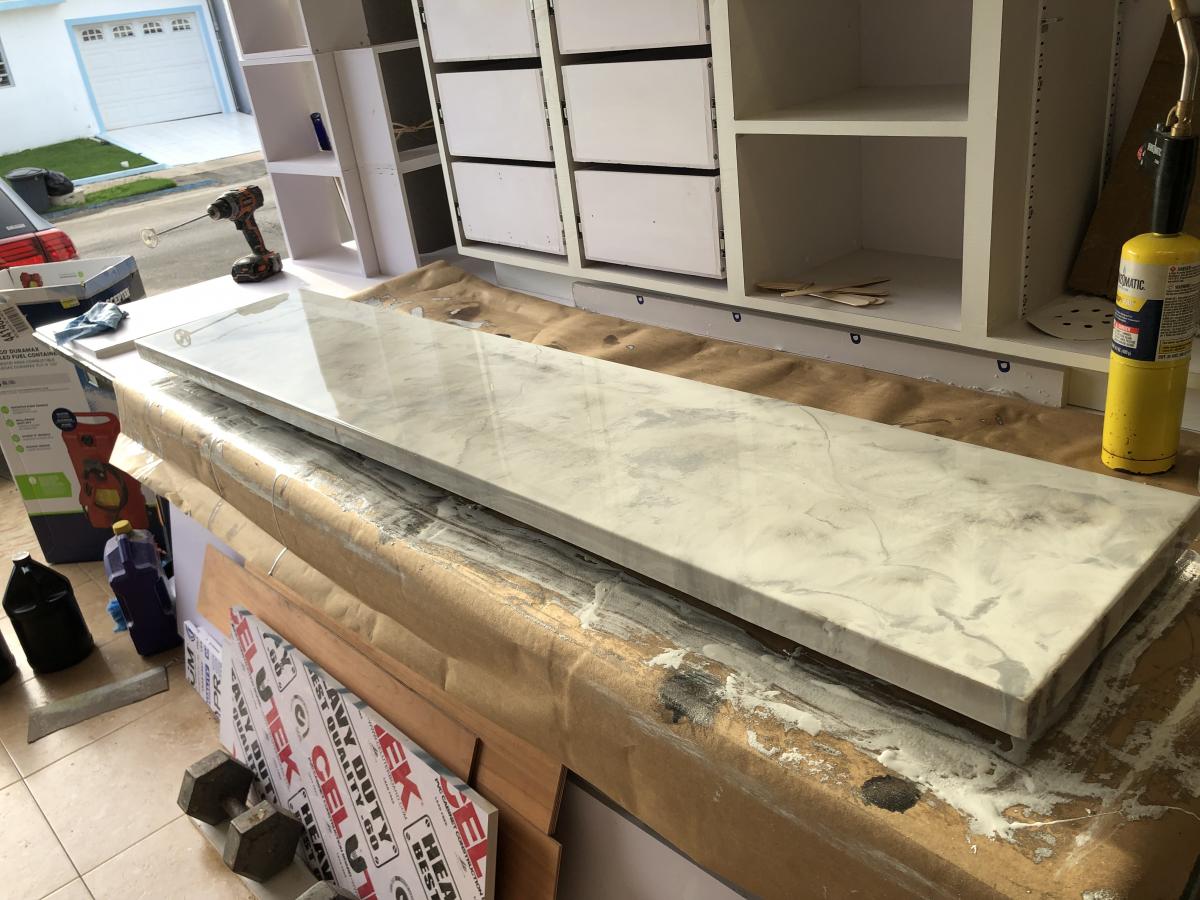
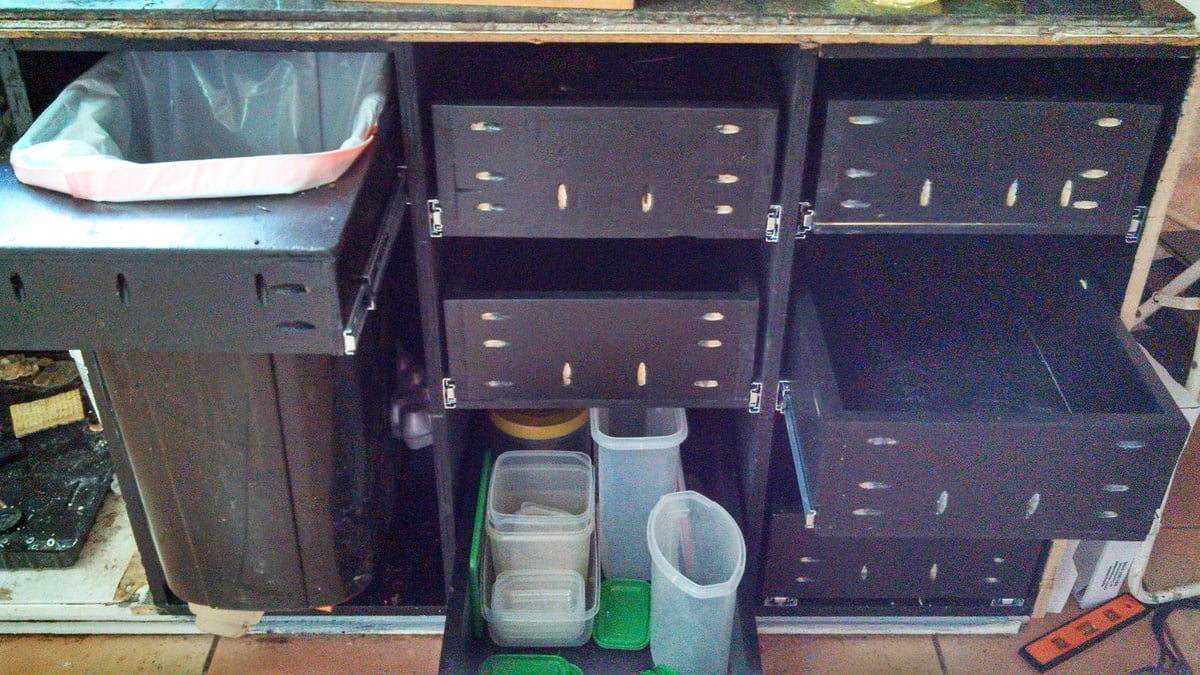
These are the original cabinets that were built with the house in 1971. They had small drawers at the top and 2 shelves. They weren't very efficient storage. I pulled everything out of the cabinet, pulled off the facing (euro-style) and restructured them to have full size pull out trash and 6 nice large heavy duty drawers. The drawer fronts I made from alder wood based on a design I saw online.

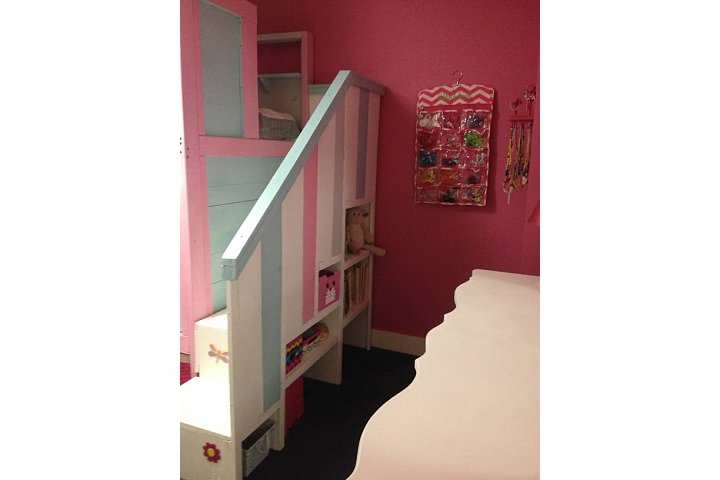
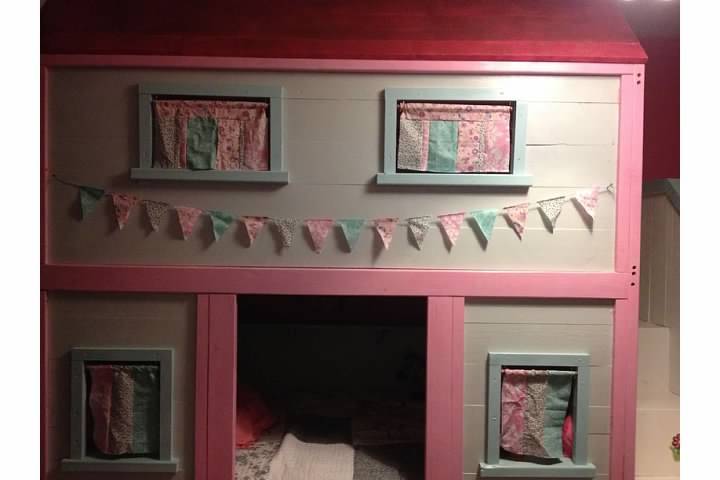
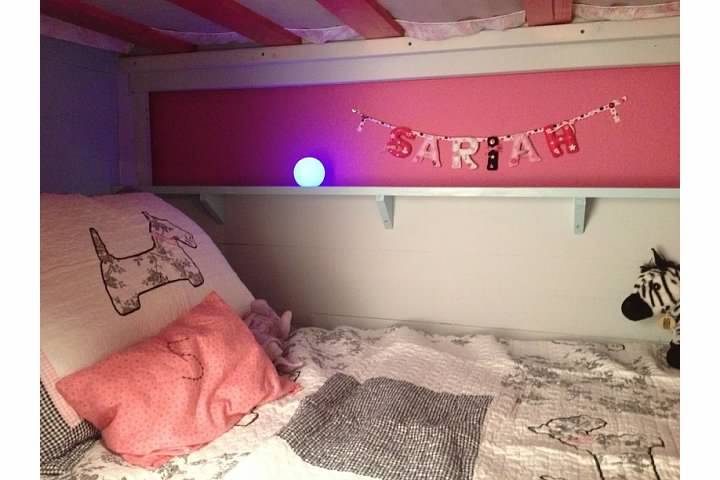
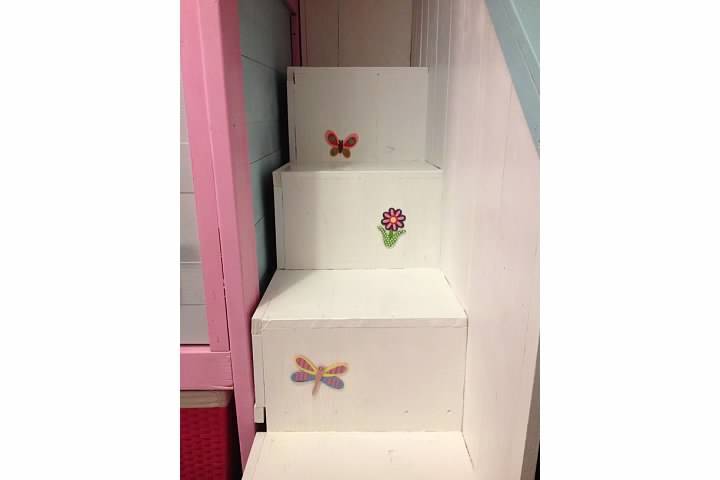
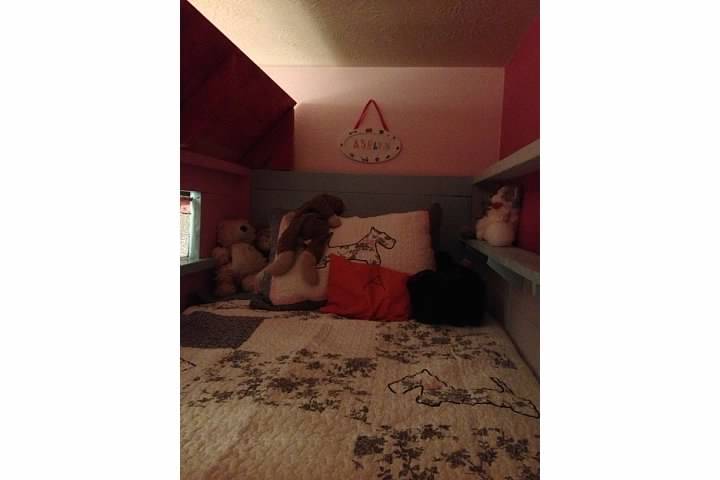
We built this bunk bed for our daughters (age 3 and 4) and they LOVE it! We are so happy with it.
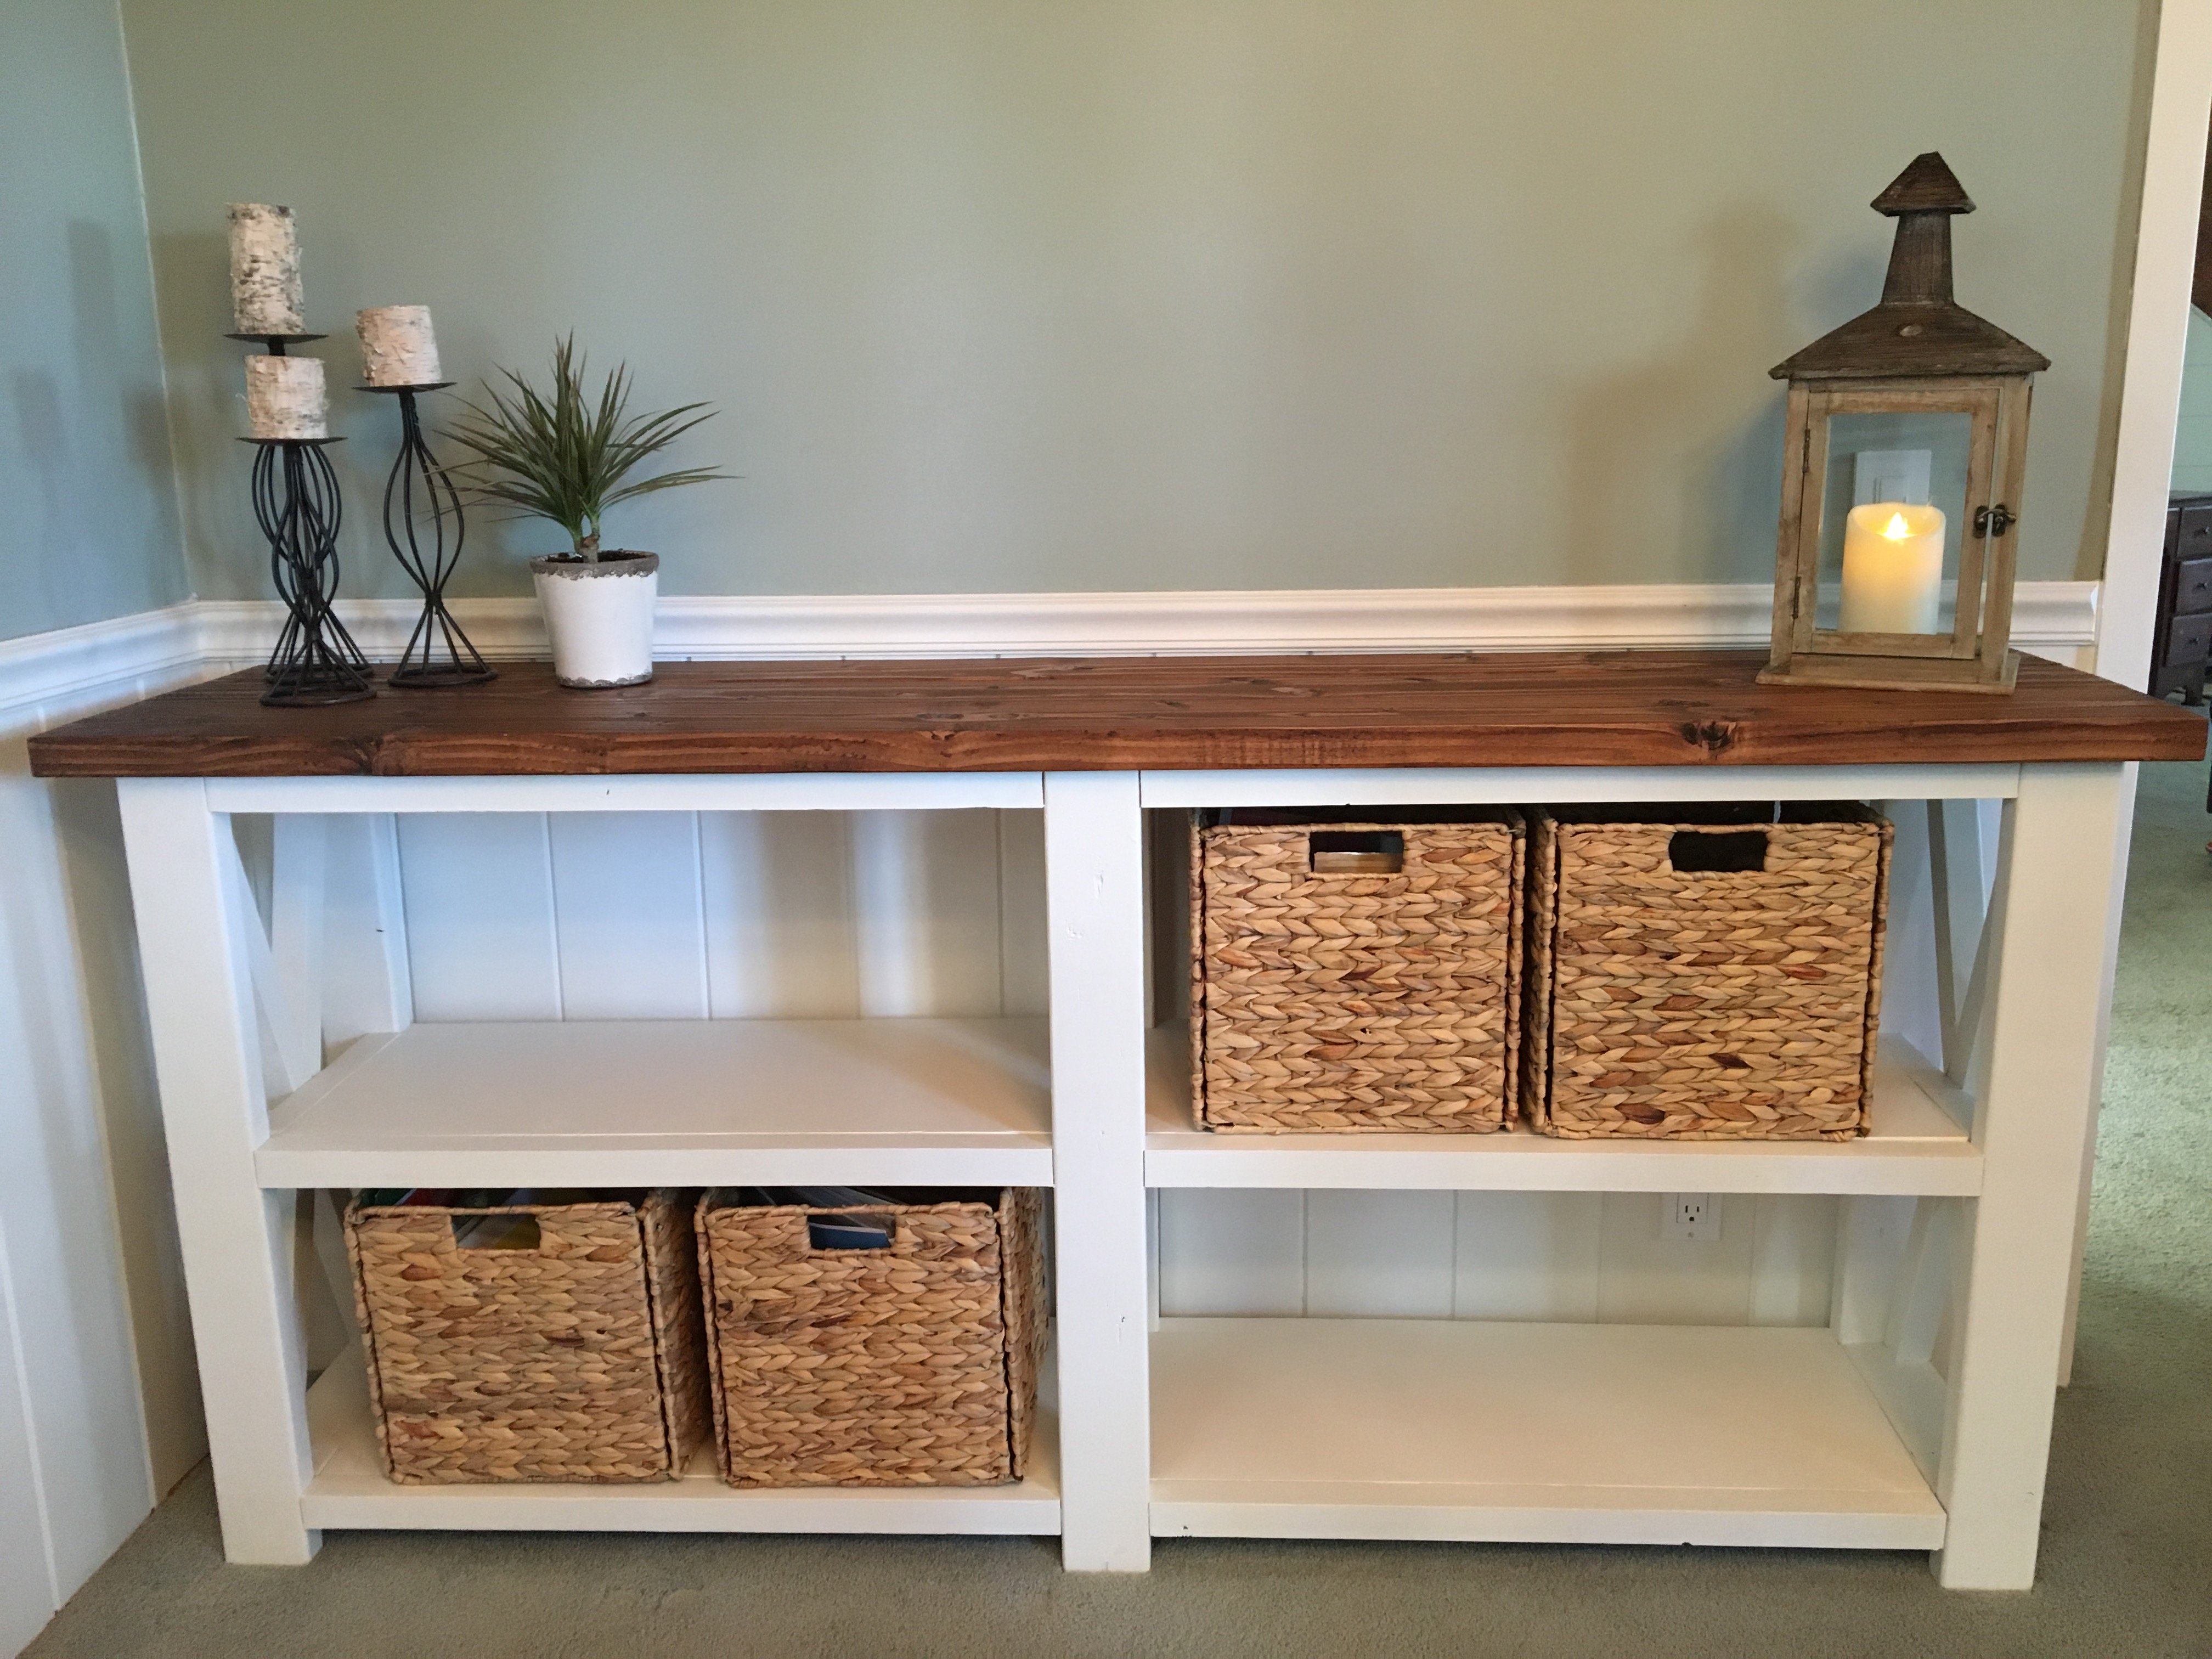
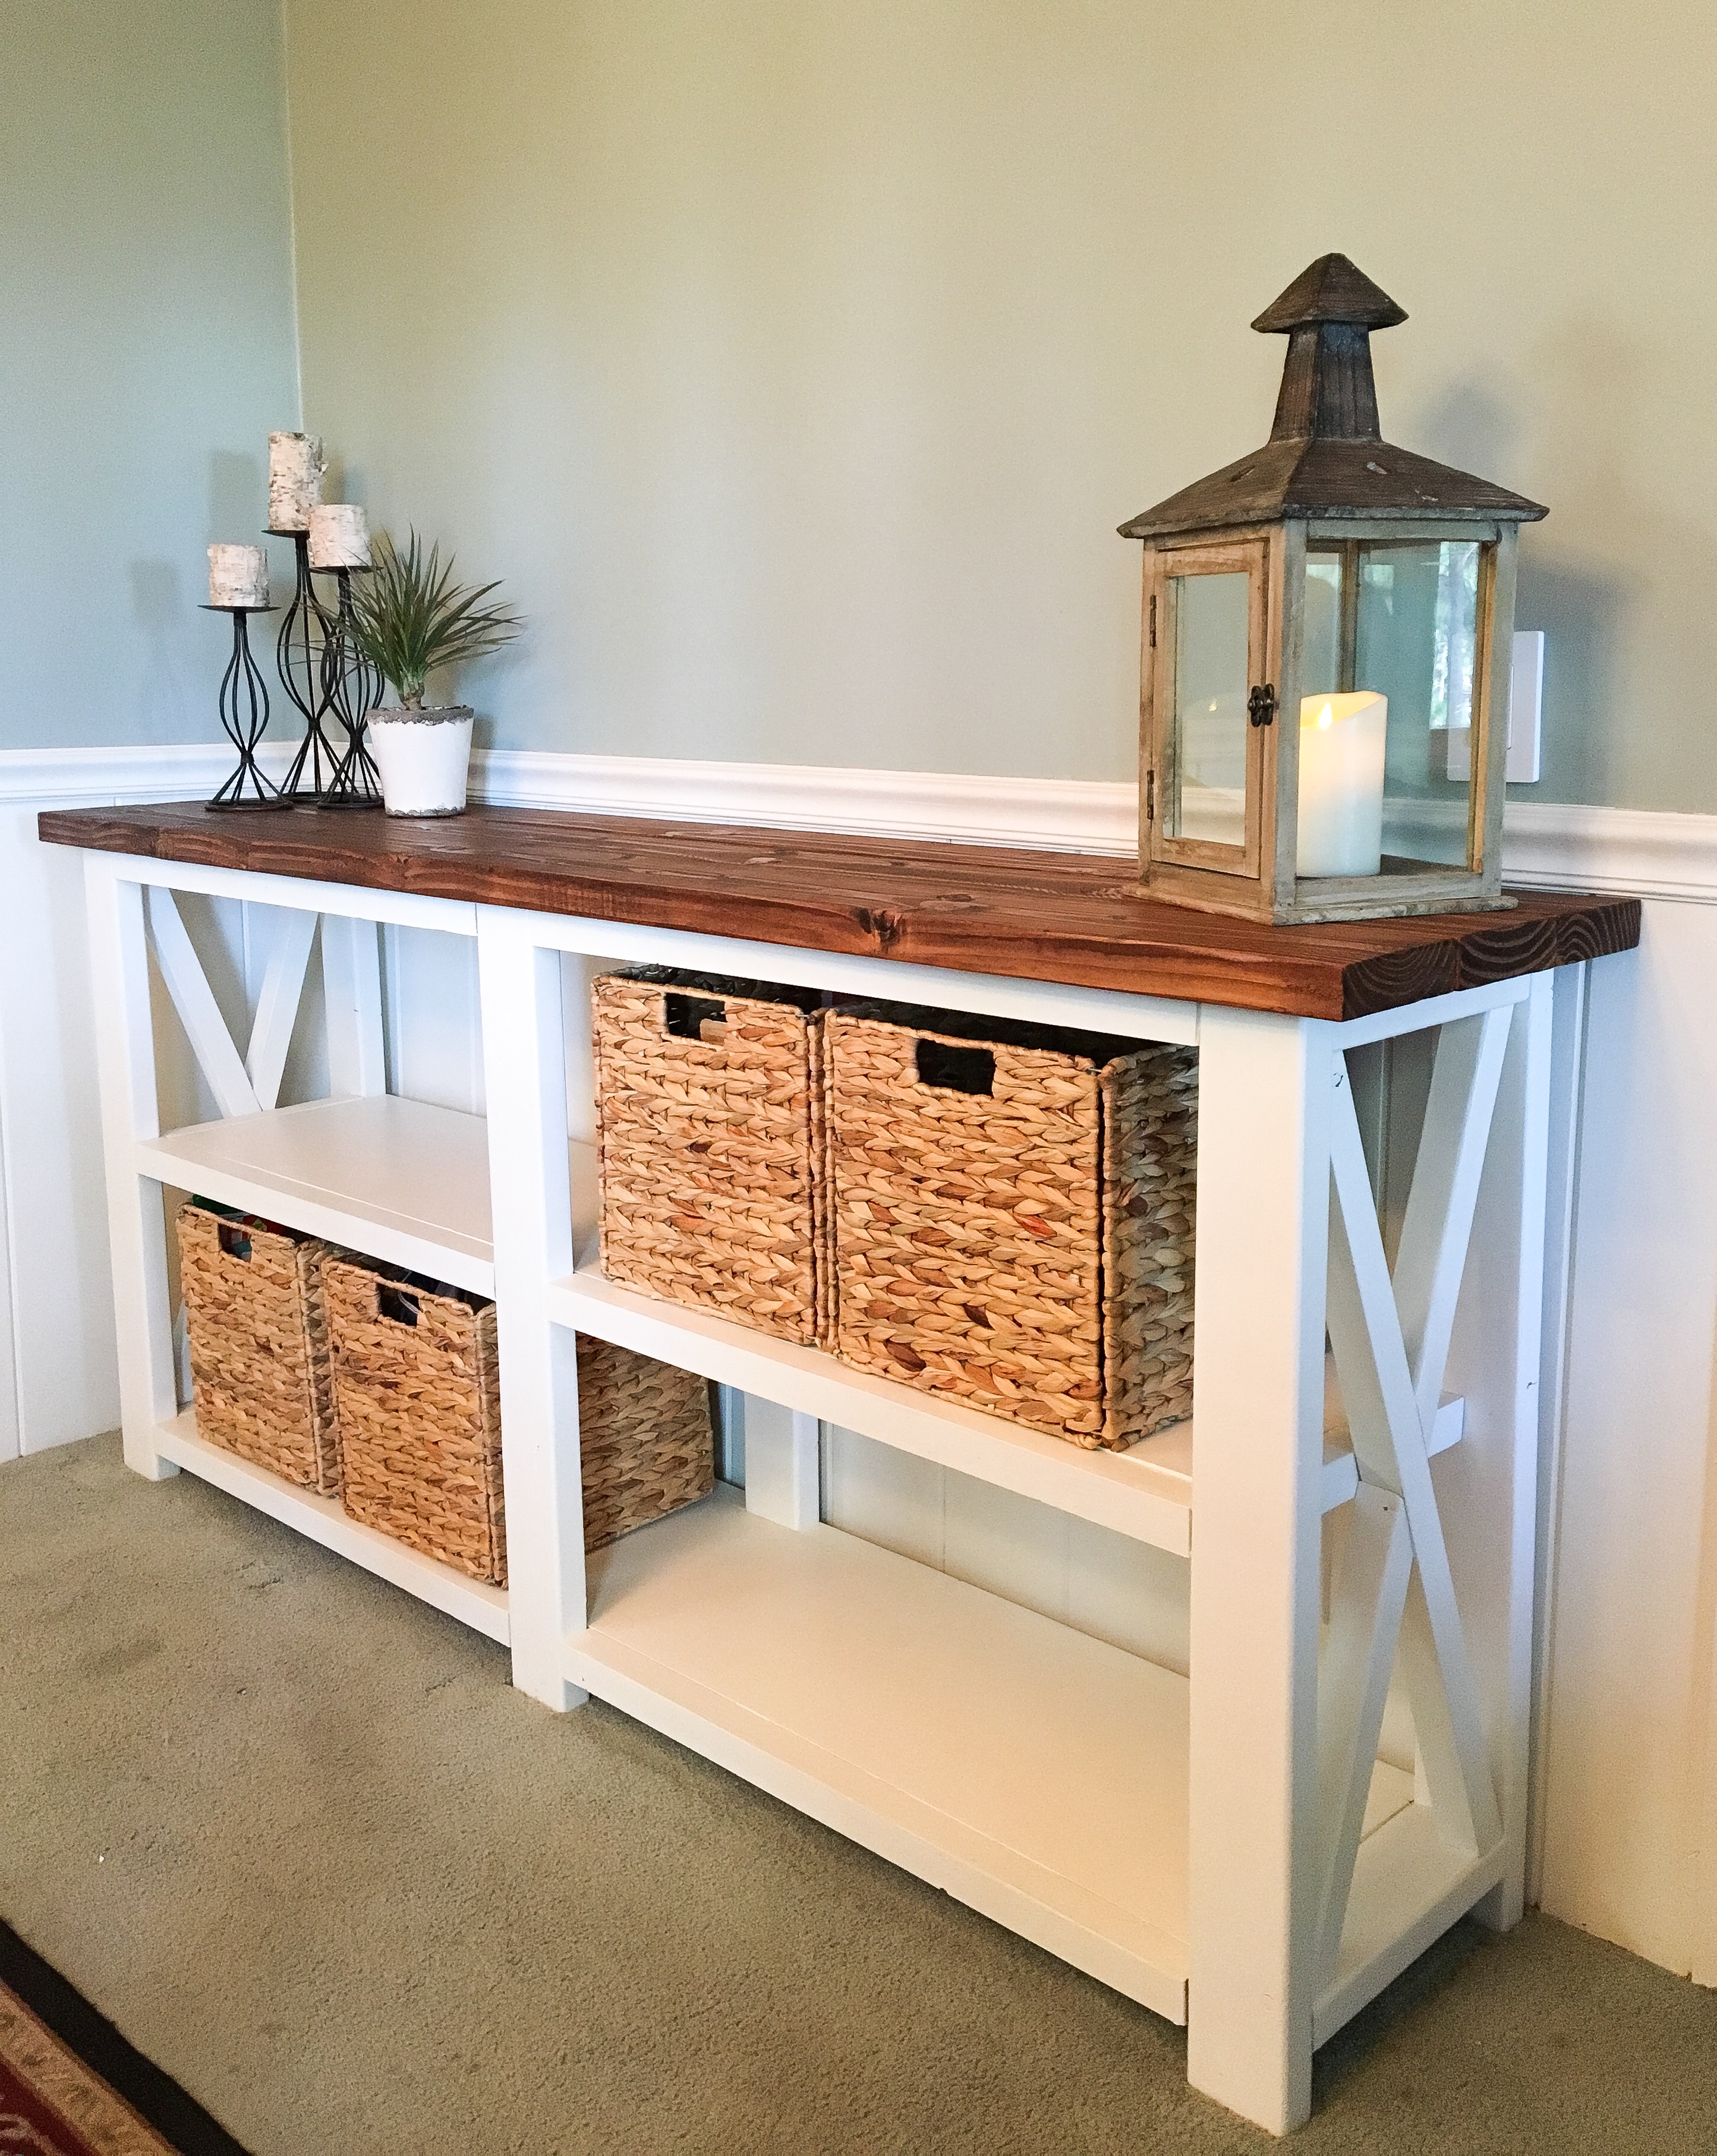
I made this all by myself, using a borrowed R3 kreg jig. It took me about four days, working several hours a day, in between babysitting sessions when the grandparents had my kids. I'm proud of how it turned out. I planned to put a back and solid sides on it because I need it to function as a bookshelf for the kids' books, but I couldn't figure out how to attach my panels and in the end I liked the airyness of the X sides.
I modified the plan I got from this site to better fit the size we wanted (a bit longer) and to fit the style we wanted (without angled picnic table style legs). Sorry pics are sideways or upside down. They weren't on my end...


Comments
Novice builder
Sat, 05/18/2013 - 05:23
My first Ana White build.
My first Ana White build. After this one,mi was hooked. I built the matching coffee and end tables too! I'll post those pics soon.