Community Brag Posts
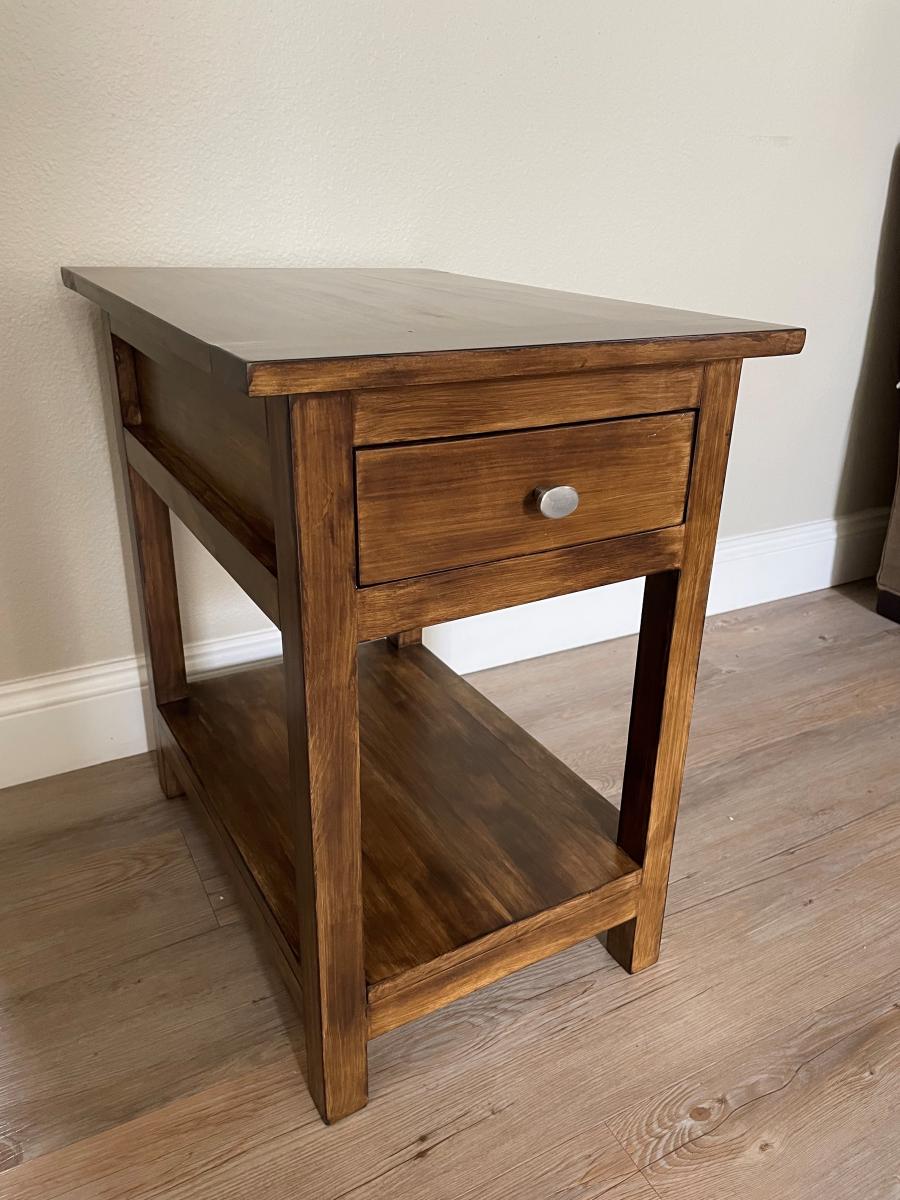
Bedside Table--Rotated :)
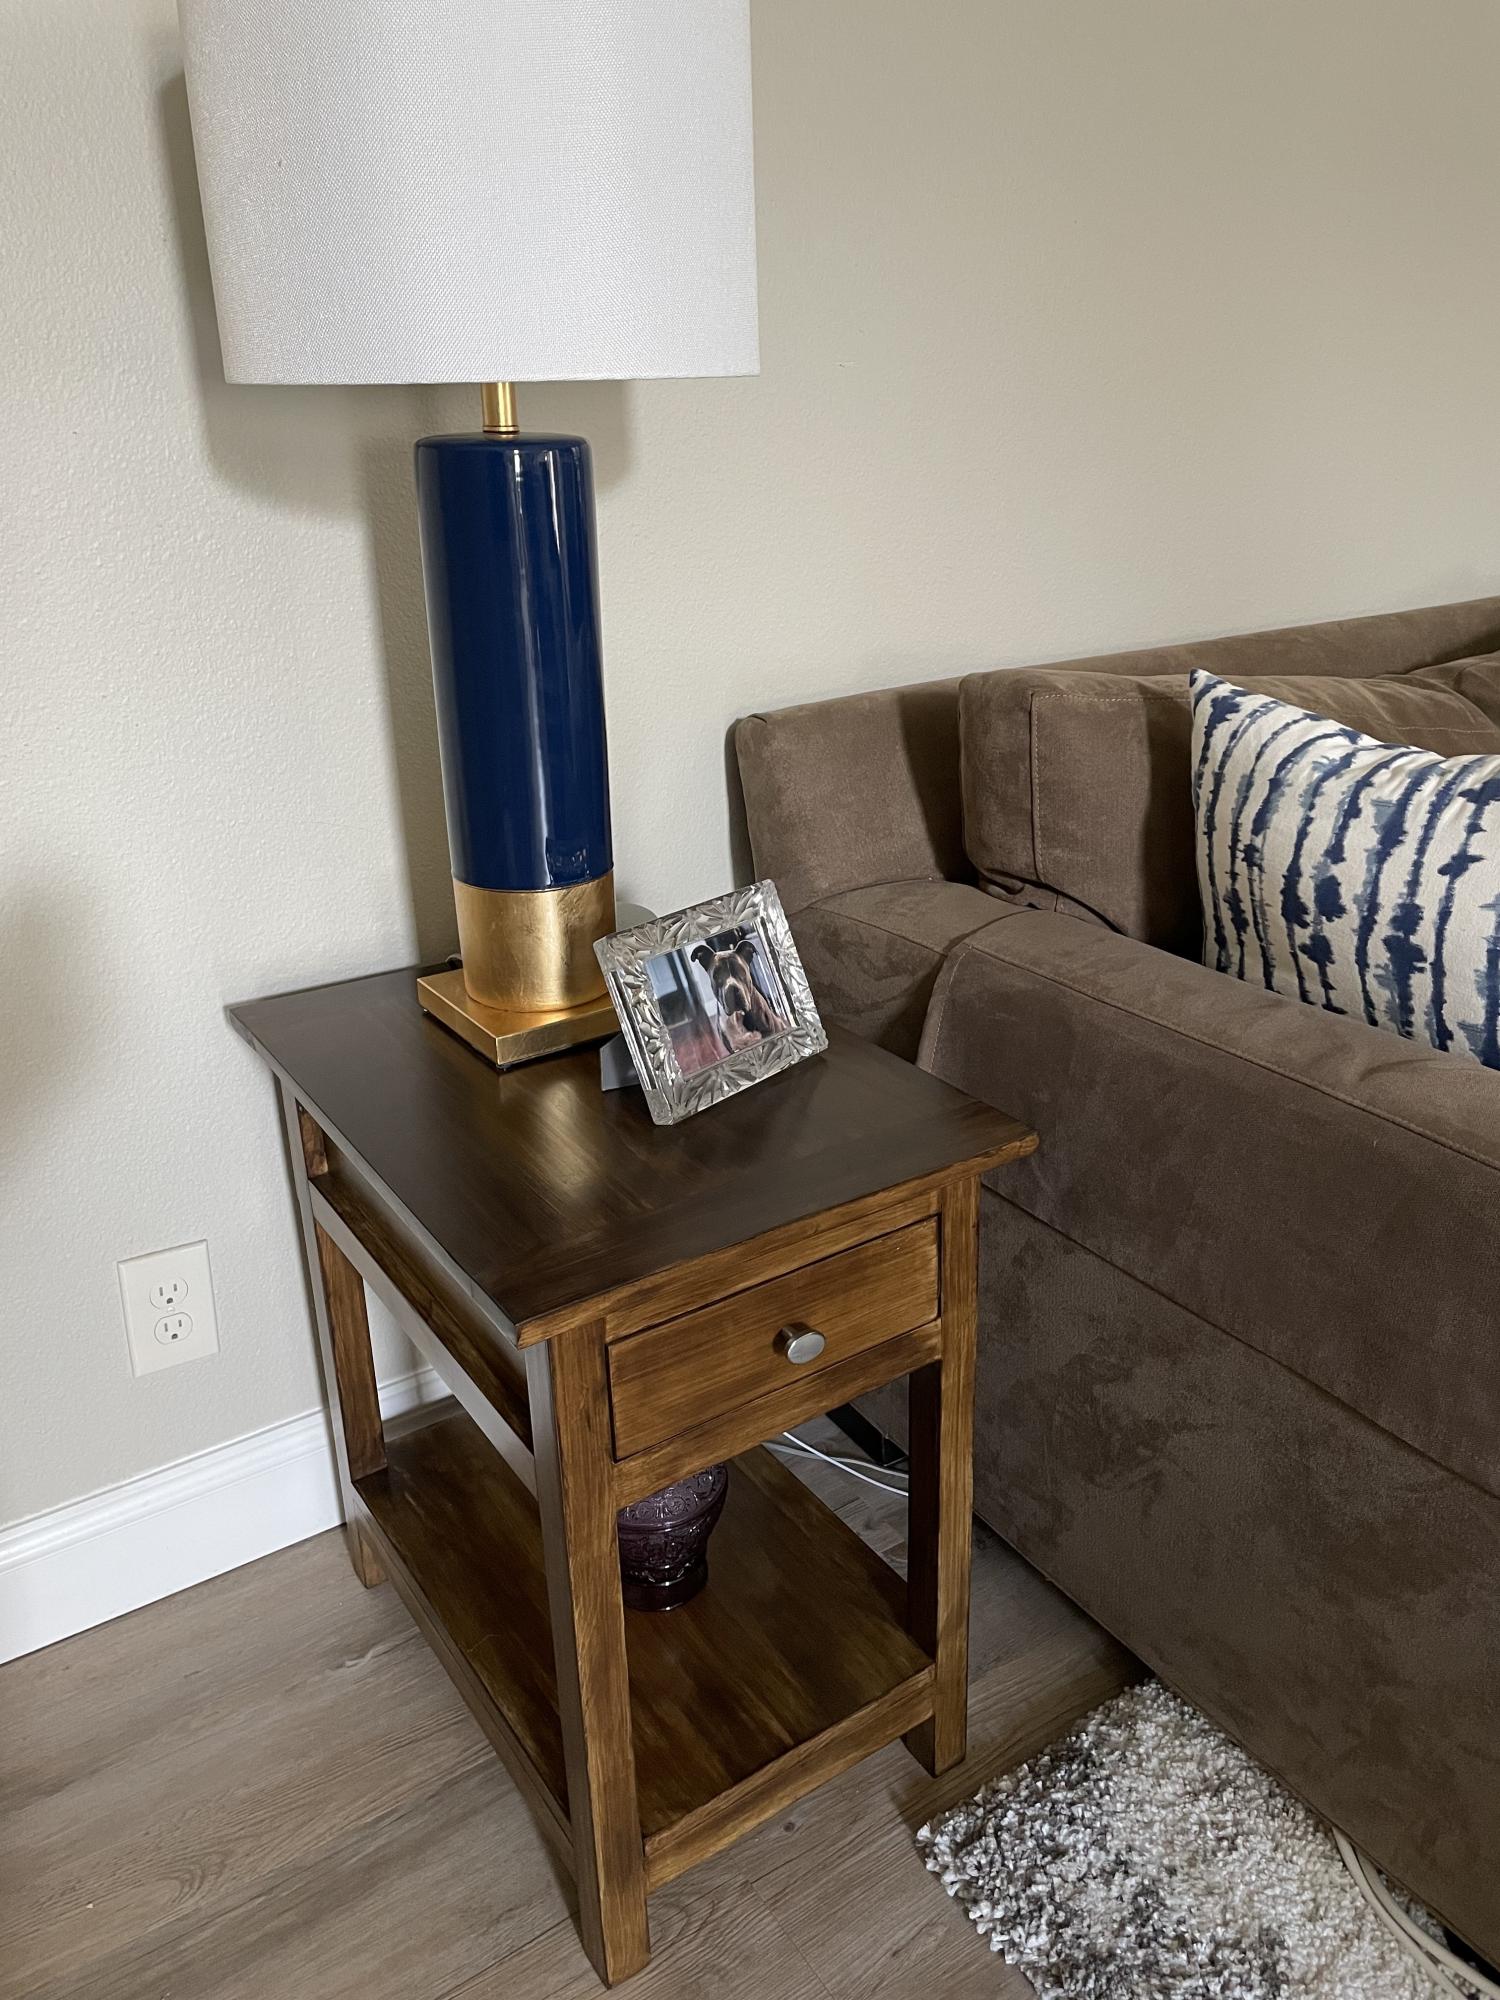
I needed a side table and liked the Farmhouse Bedside plan. It took some thinking and calculating, but I modified and rotated the layout. Pocketholes are now my best friends! Unfortunately staining this piece was a challenge. It may be re-stained or even painted in the future. Thank you for the plans and inspiration, Ana. :)
Built from Plan(s)
Comments
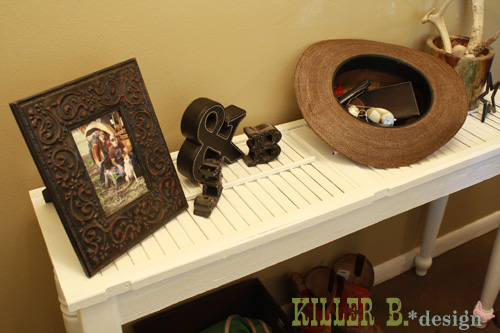
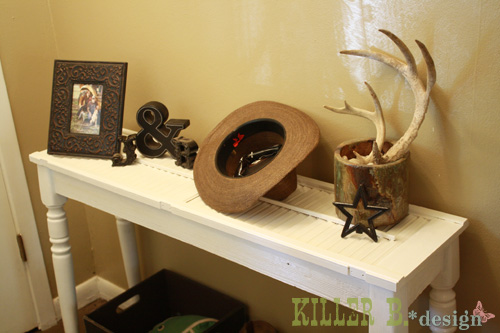
Shutter Entry Table
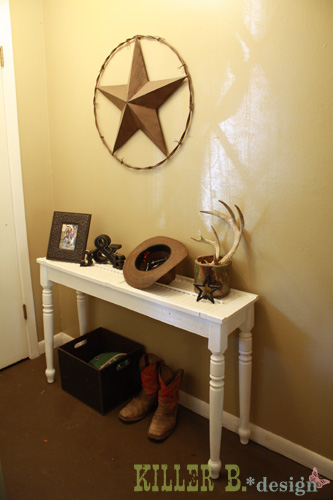
Inspired by a photo online and Ana's cheap and easy console table, I decided to make an entry table out of salvaged materials. I found a shutter at a thrift store for $5 to make the top, rescued some legs from an old kitchen table left on the side of the road, and some leftover barnwood from my rustic cooler project. I used the Kreg jig to put it all together, and now have a simple, rustic table that's the perfect size for my entryway!

Built from Plan(s)
Estimated Time Investment
An Hour or Two (0-2 Hours)
Finish Used
3 coats semi-gloss white latex
Recommended Skill Level
Beginner
Comments

Sat, 06/18/2011 - 12:52
Lady you crack me up! Next
Lady you crack me up! Next time let's try to not get ripped off by the crabby thrift store woman and find even cheaper things to repurpose!!
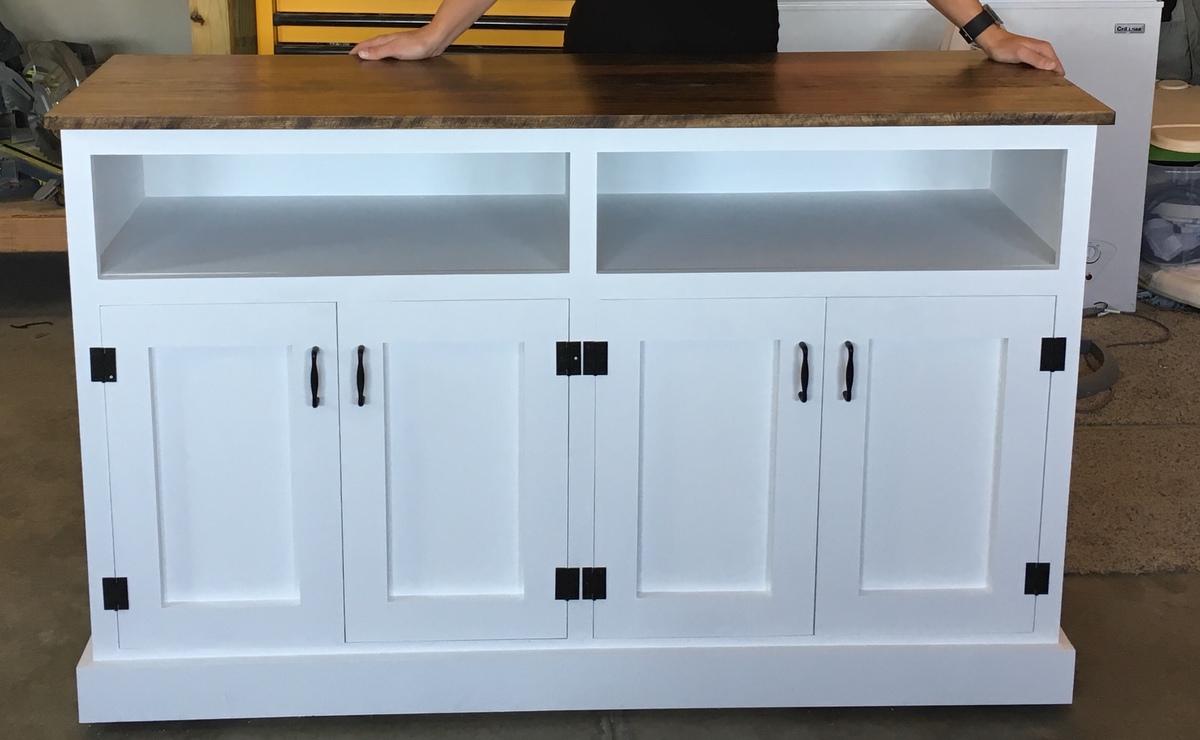
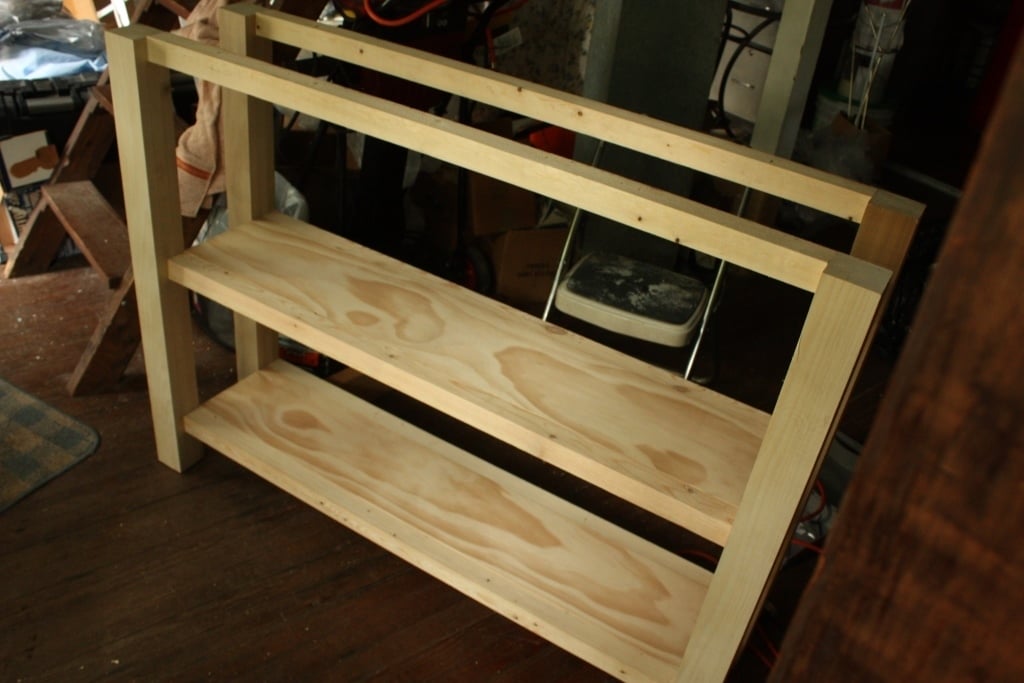
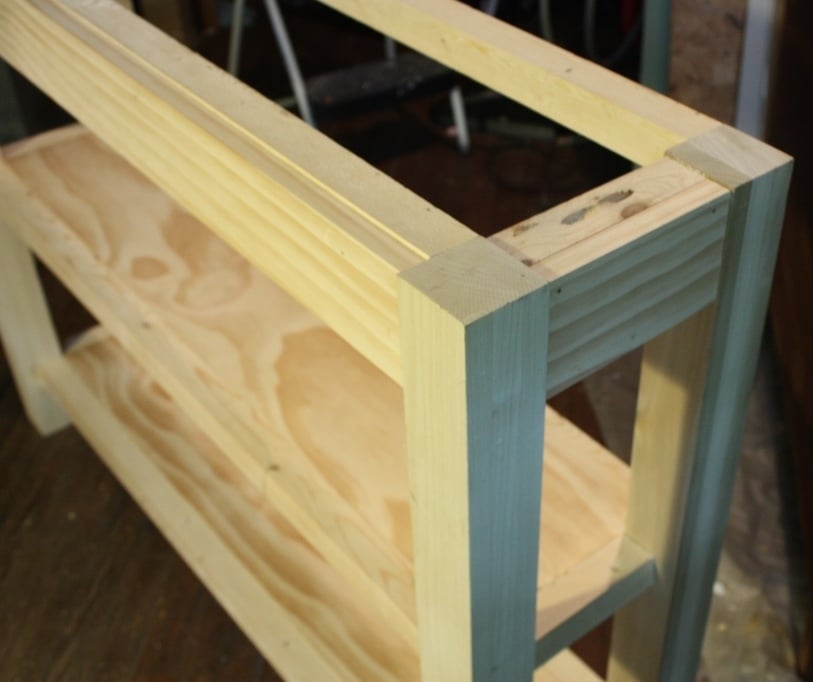
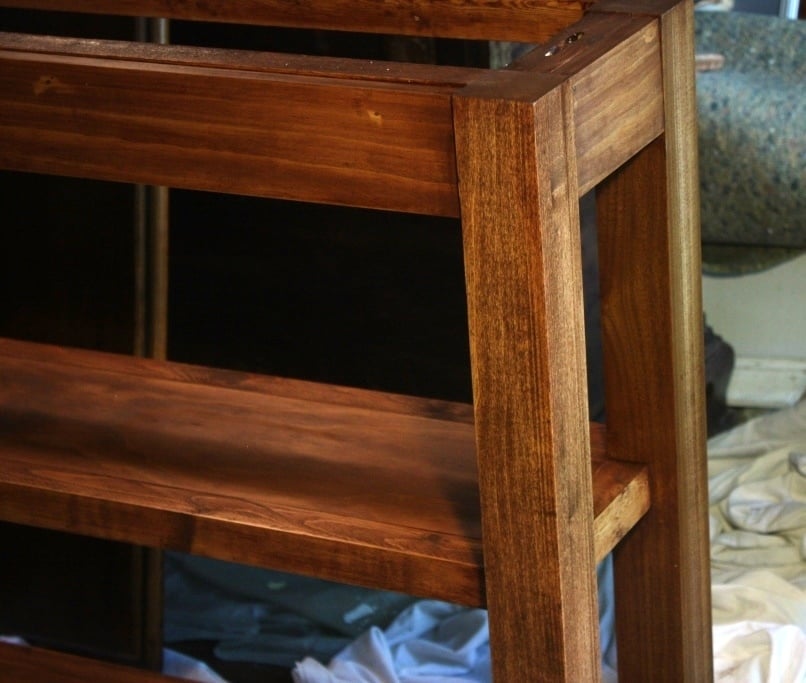
Creating a Kitchen Island
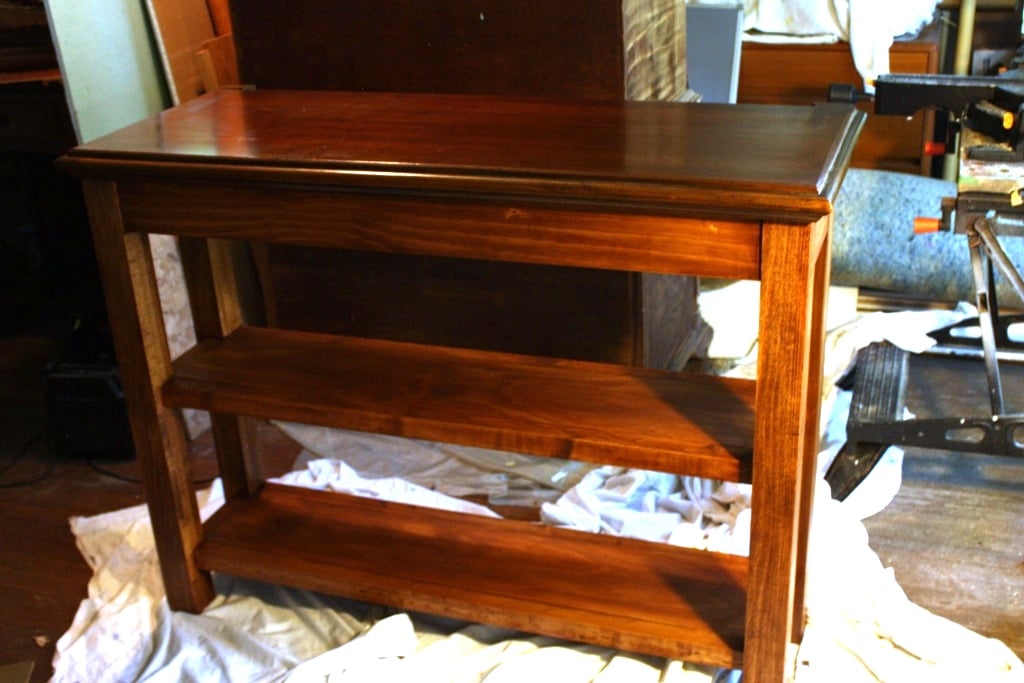
I made these shelves to connect to a vintage sideboard that with a new granite top will become our kitchen island. Since the sideboard was dark and highly carved I wanted something chunky, sturdy and with a bit of style. Use links in the original post for all the building details.

Built from Plan(s)
Estimated Cost
Less than $100 (not including new tools we purchased)
Estimated Time Investment
Week Long Project (20 Hours or More)
Finish Used
Minwax English Chestnut over Minwax Prestain Wood Conditioner. After the stain was totally dry, I waxed with tinted Briwax.
Recommended Skill Level
Beginner
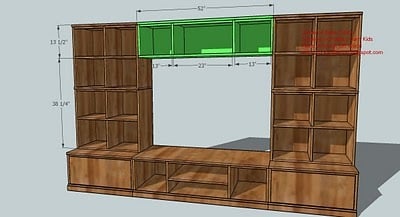
Storage console designed by a 5 year old
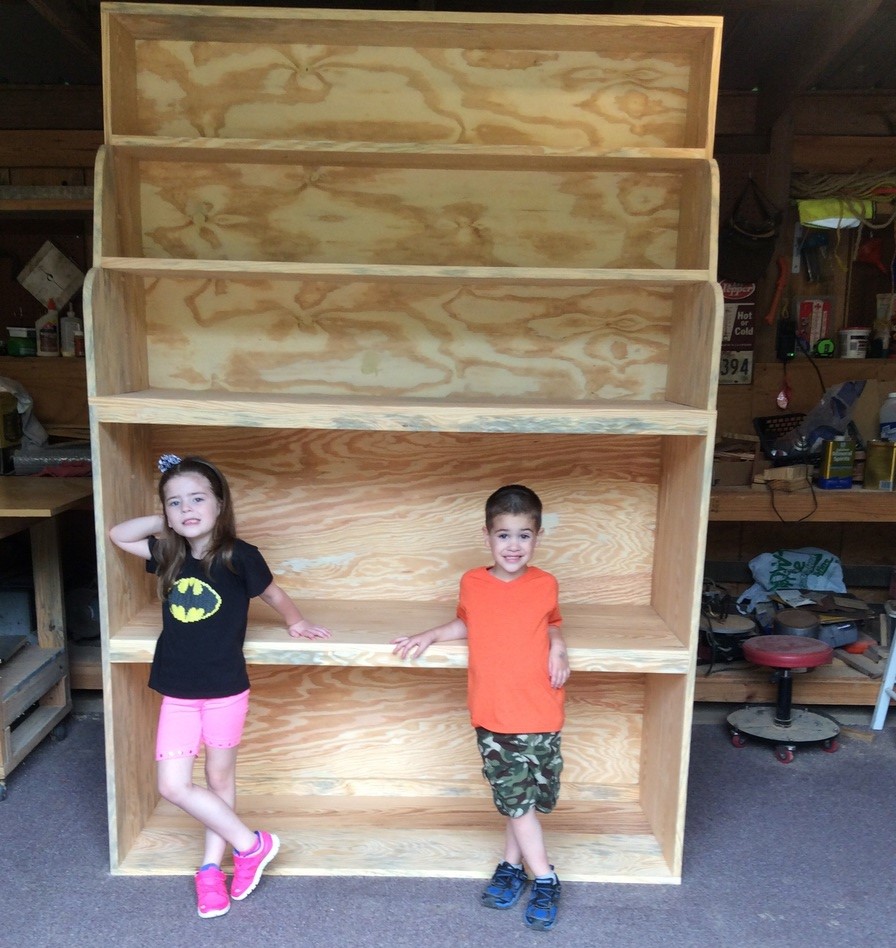
Last year I built a "Cara Storage Console" and matching bookcase for my 12 year old granddaughter. Her 5 year old sister decided she needed one too, but a little bigger so she could store all her "ponies" on it. She and her mother planned it all out over a period of a few weeks and what ended up being built was 5' wide and 7'3" tall. It is 20" deep. Anna's plan was scaled up a bit and then had to be broken down in to two sections, upper and lower, so it could be brought in to the house. The sides and shelves are all 1x12 pine boards put together with glue and Kreg screws. The back took most of 2 sheets of 1/4" plywood. 1x2's were added for support under the front and back of the shelves.
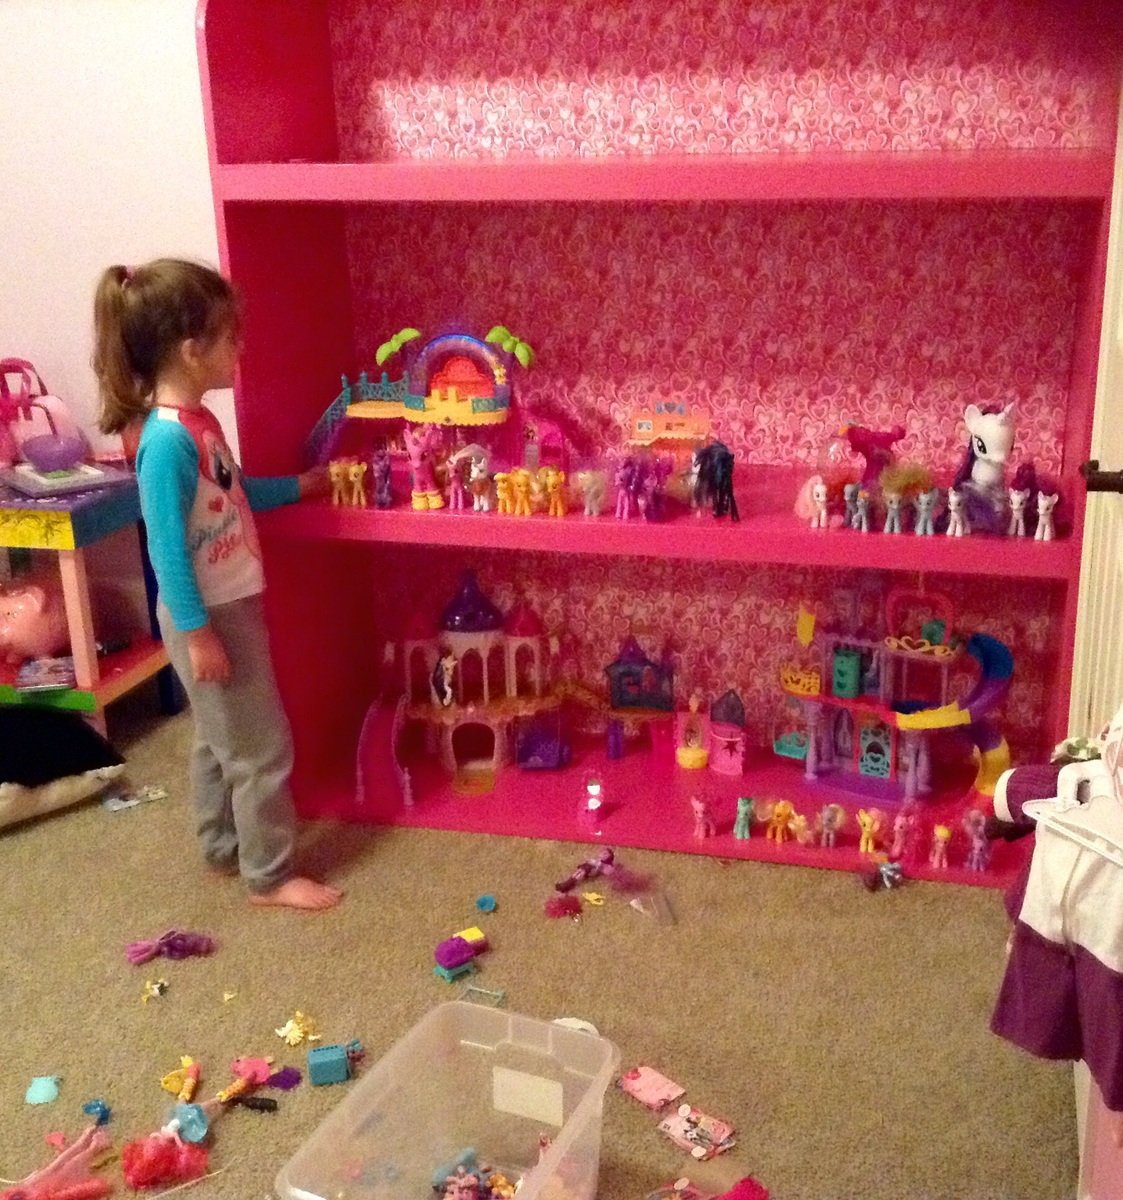
Fortunately her other grandmother is really good at painting, so it was given a couple coats of semigloss pink along with pink heart wall paper. The grandbaby and her little brother started loading it up before Granny could even finish the sides.
The good part is that all her toys will fit on these shelves. The bad part is she won't pick up all her toys and put them on these shelves.
Built from Plan(s)
Estimated Time Investment
Week Long Project (20 Hours or More)
Finish Used
Semigloss paint, pink. Pink heart wall paper.
Recommended Skill Level
Intermediate
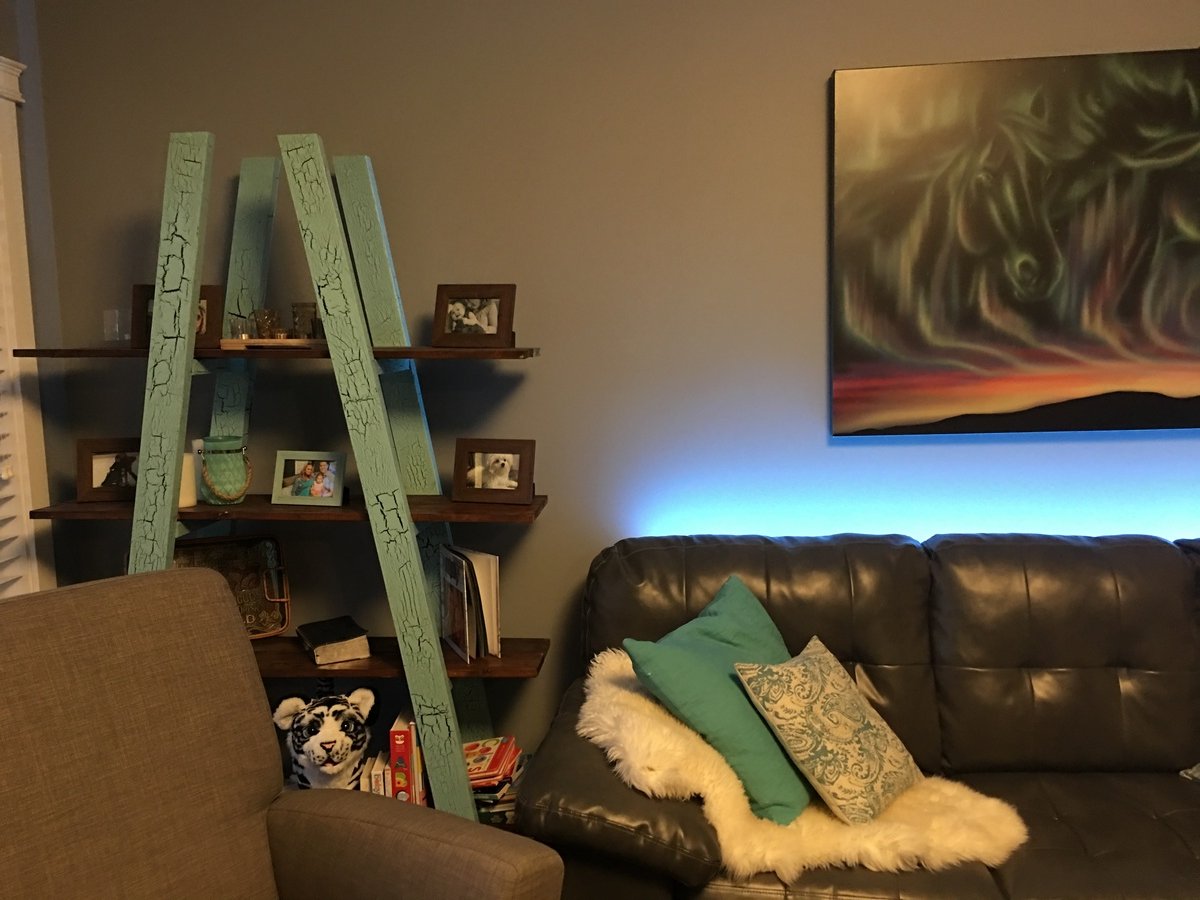
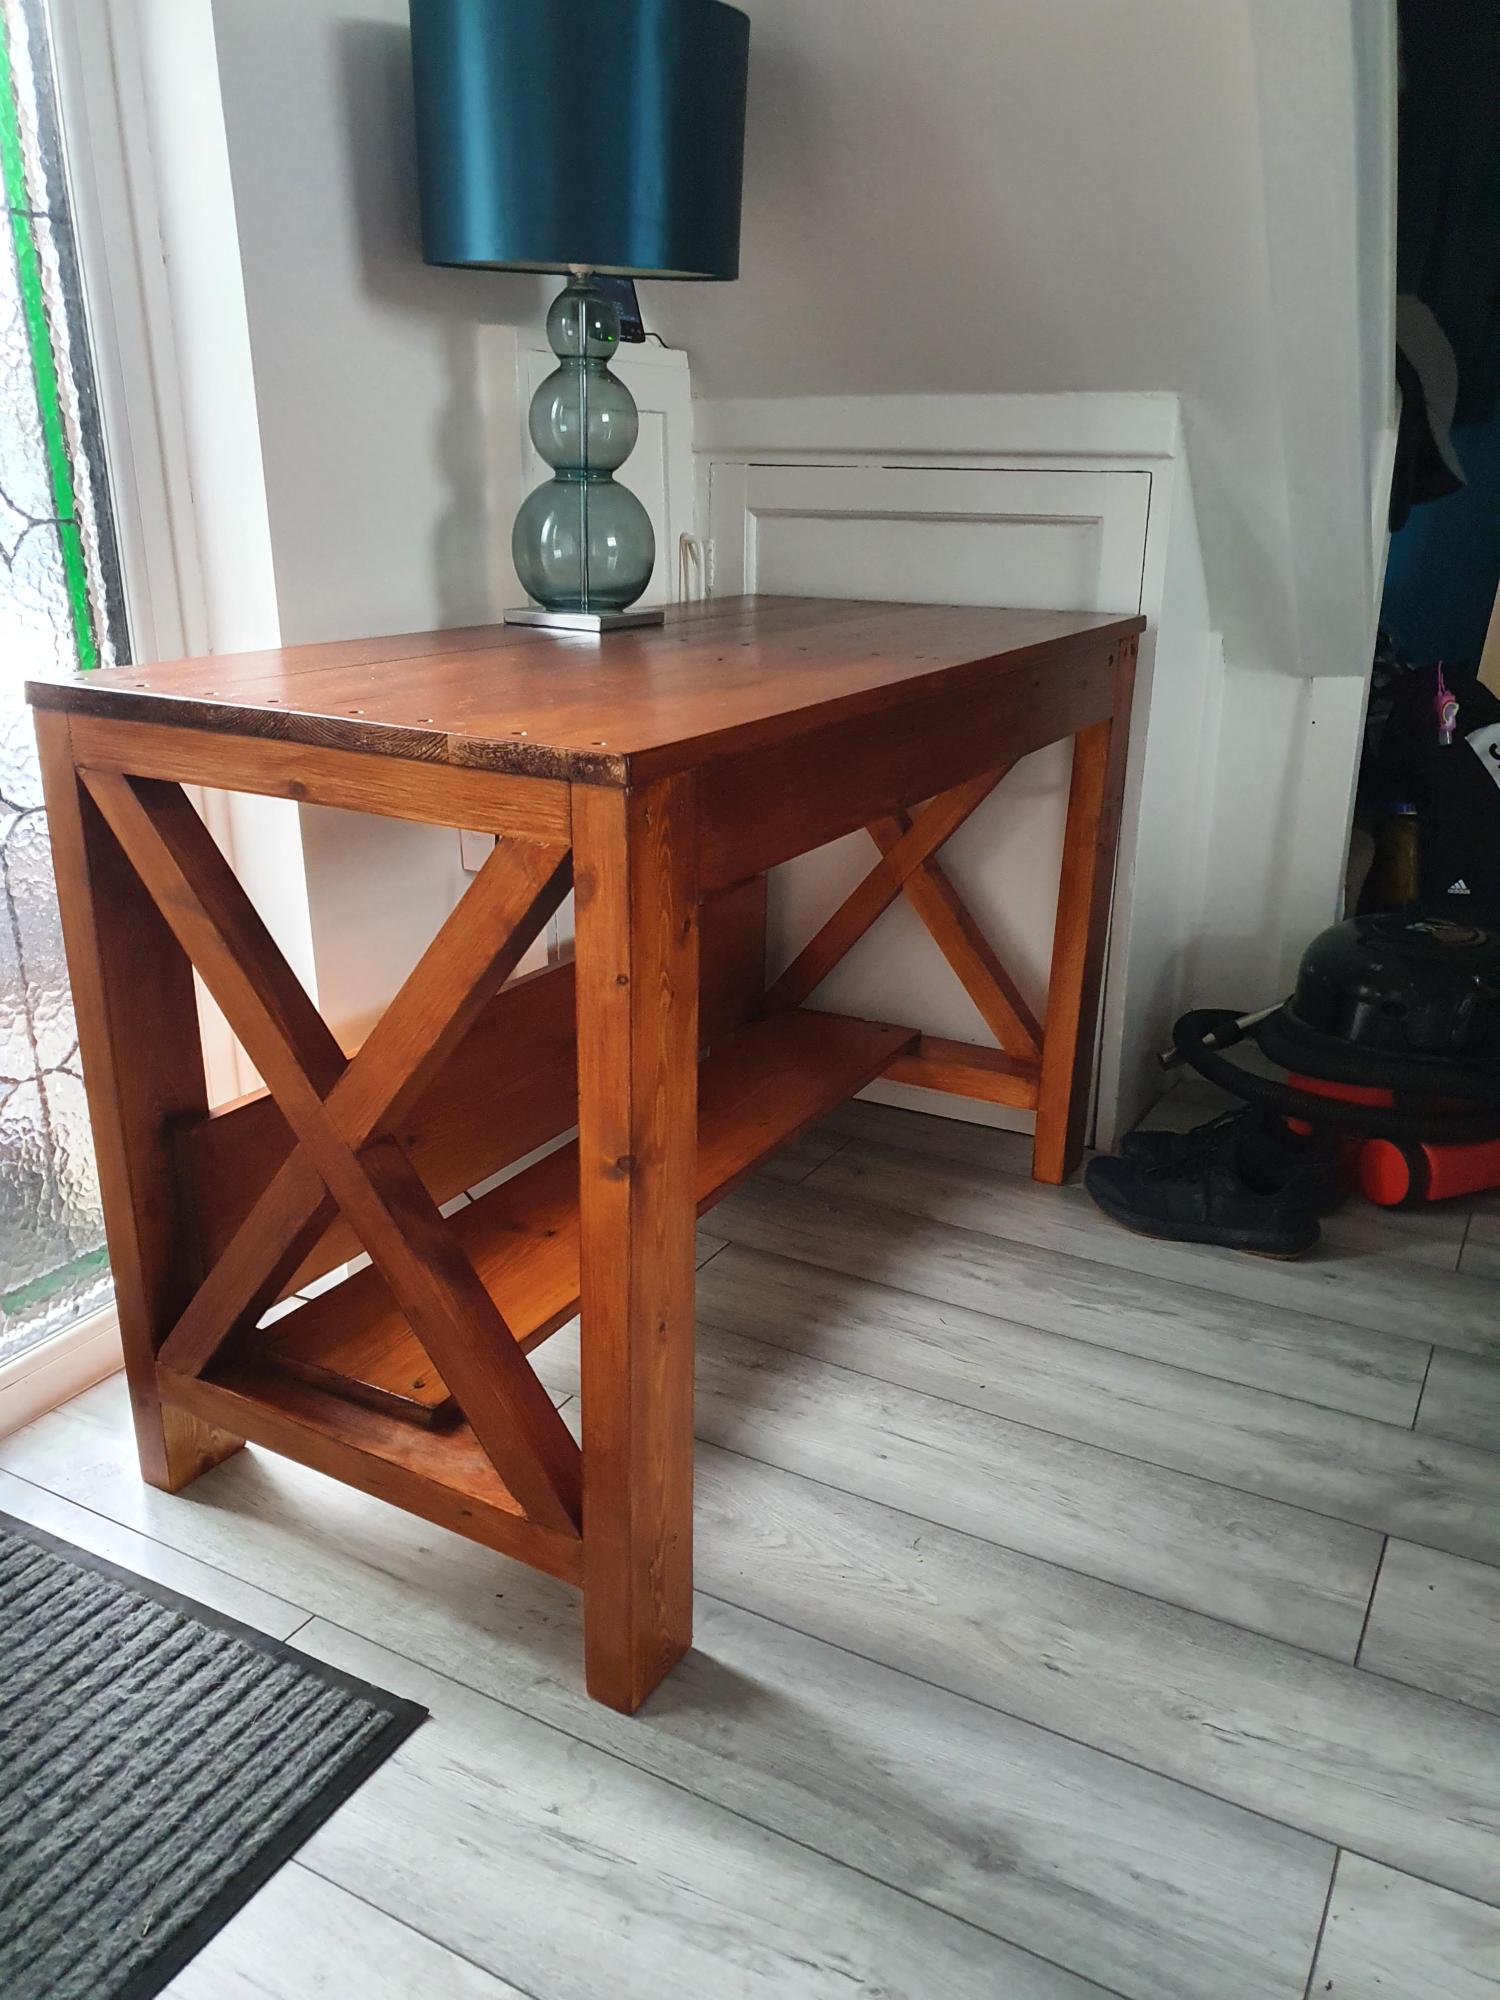
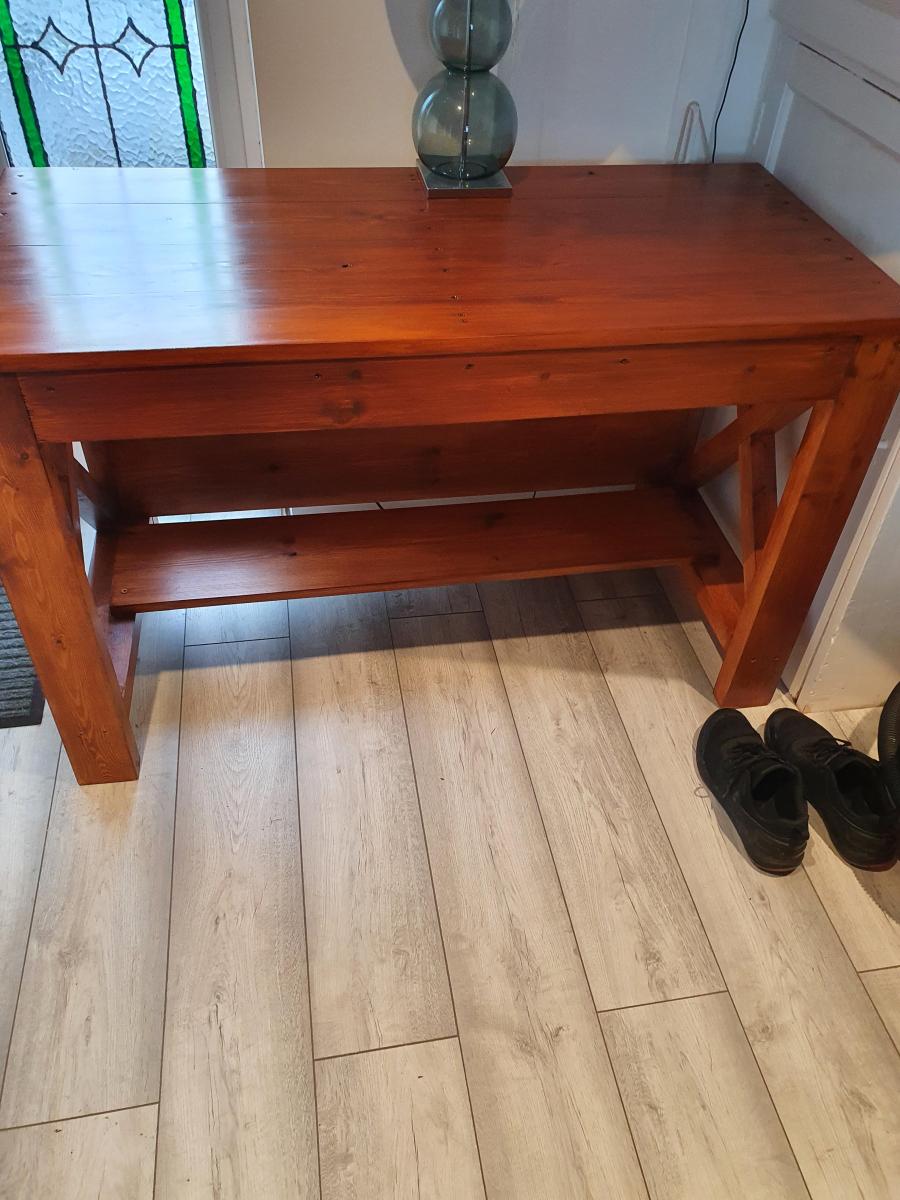
Accent truss bookshelf
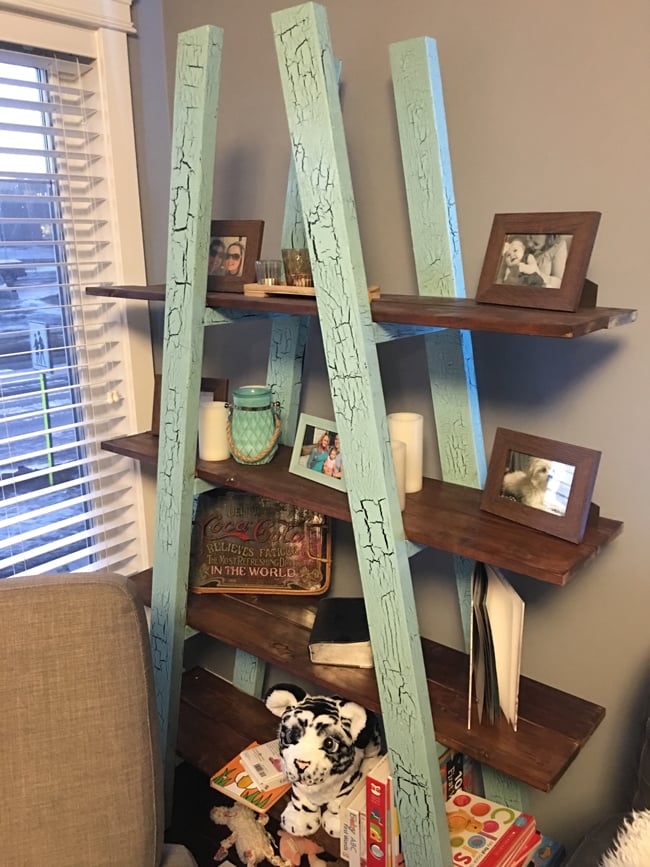
We needed to fill the corner in the house, wasn’t sure what project to do forever! We liked the look of the rustic furnitures and decided to go forward with this truss shelf design.
We used a crackle paint with a black base and turquoise top layer and finished the wood planks with a pickling solution to weather the wood.
Let me know what you think.
Maldonado thanks for the prints for this awesome design!
Built from Plan(s)
Estimated Cost
80
Estimated Time Investment
Day Project (6-9 Hours)
Finish Used
Black tea to add Tannin
Crackled paint
Vinager and steel wool solution
Crackled paint
Vinager and steel wool solution
Recommended Skill Level
Beginner
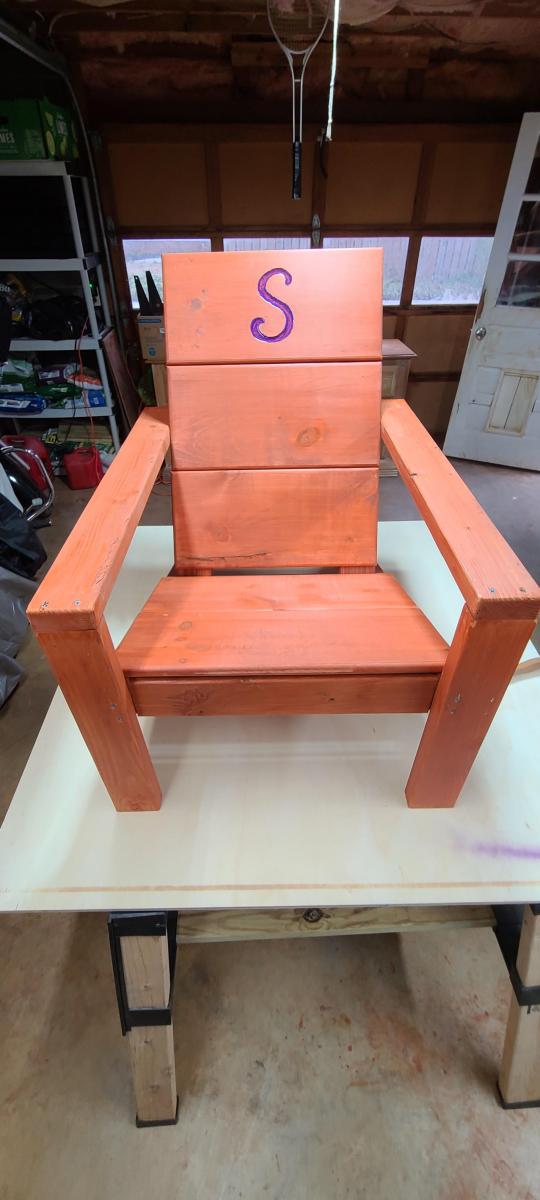
Modern Adirondack
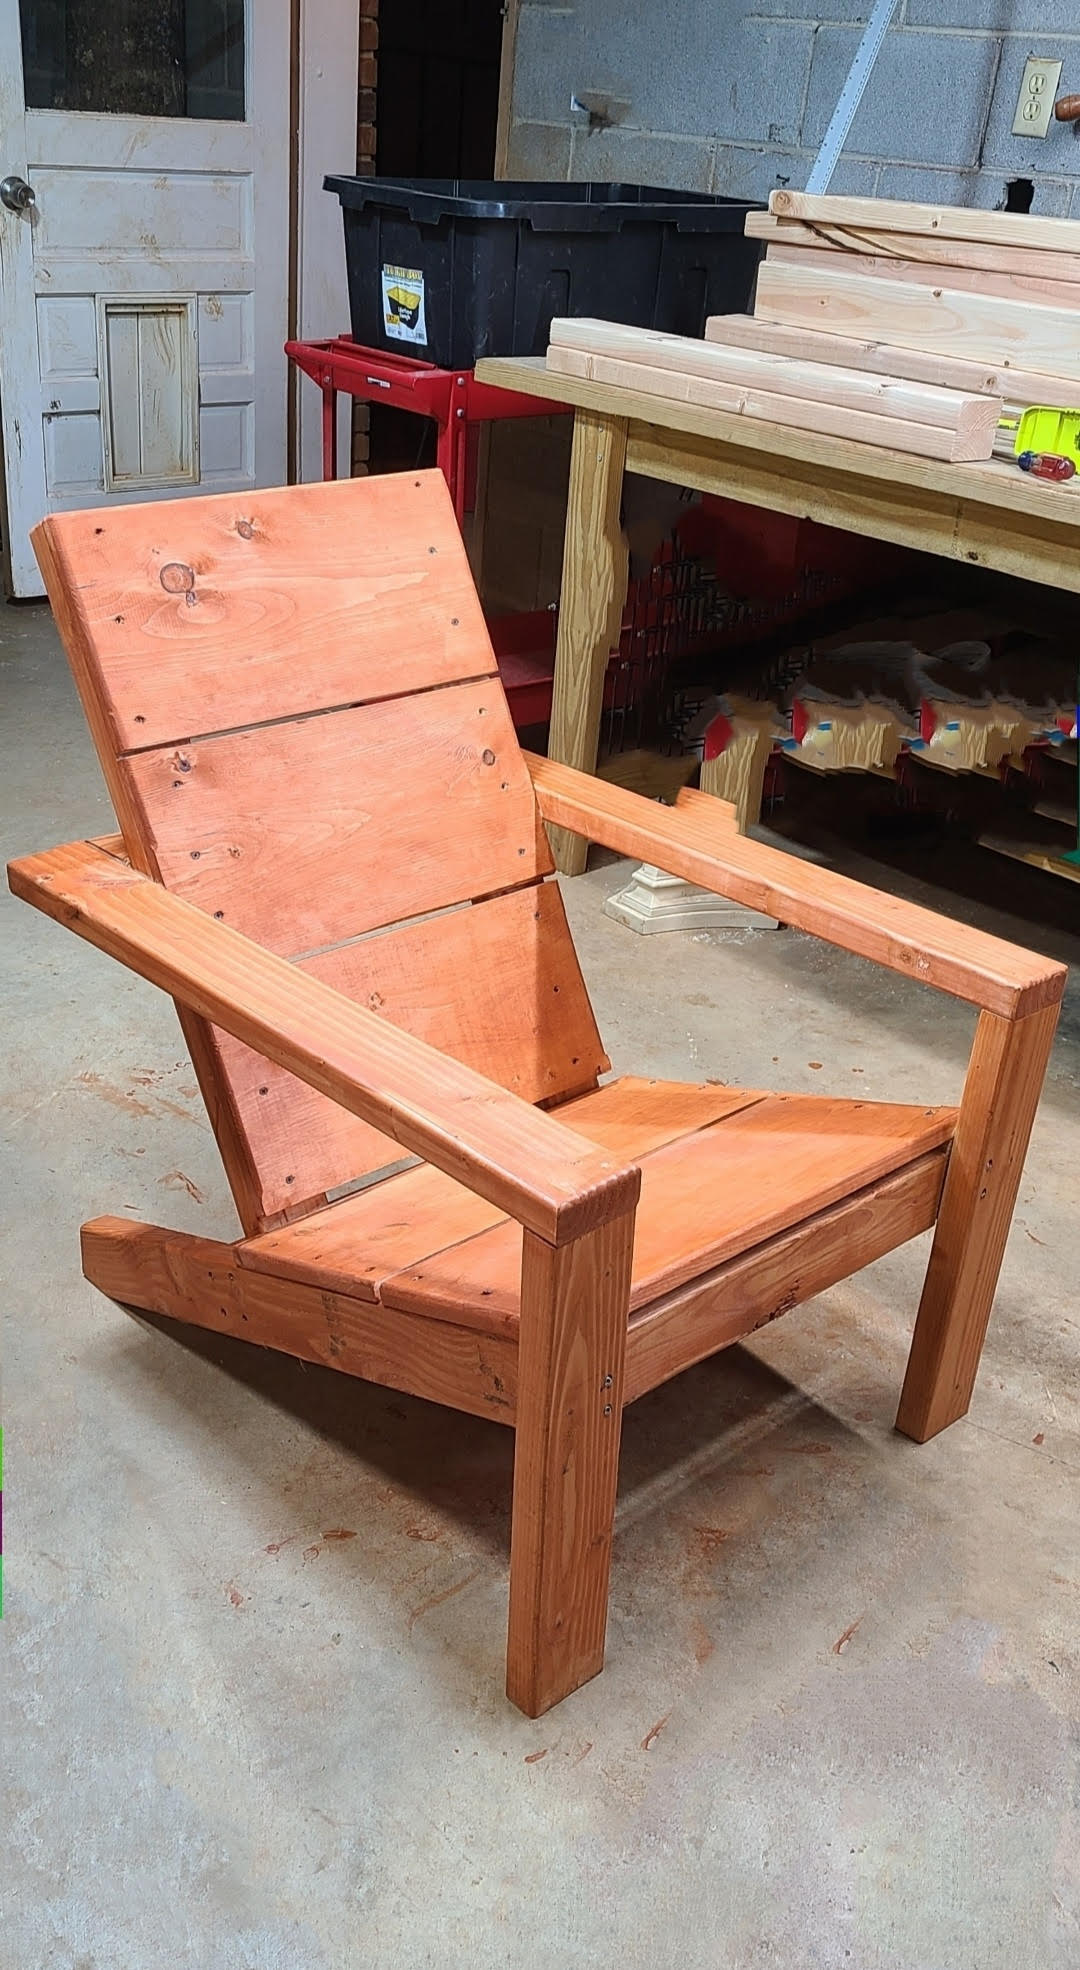
I made these for my BFF to sit outside by her alpacas...
She loves them!
Built from Plan(s)
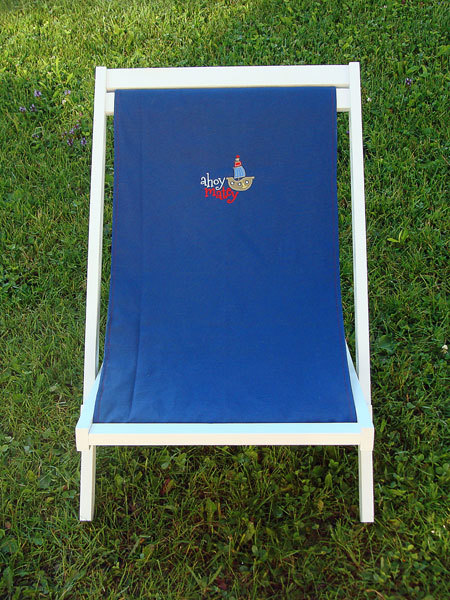
Beach Chair
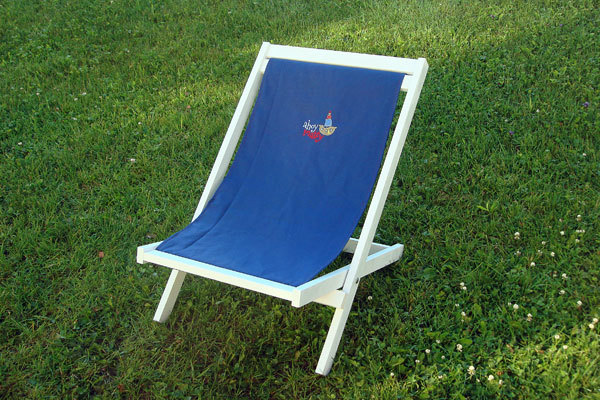
I knew I had to make this the first time I saw the plans! It was super easy to make, I will definitely be making more of these. :)
I used duck cloth for the sling and embroidered a nautical design on the front.
Estimated Cost
$15
Estimated Time Investment
Afternoon Project (3-6 Hours)
Finish Used
Spray primer, Rustoleum Painter's Touch-Semi-gloss White
Recommended Skill Level
Starter Project


Our Homeschool Shelves
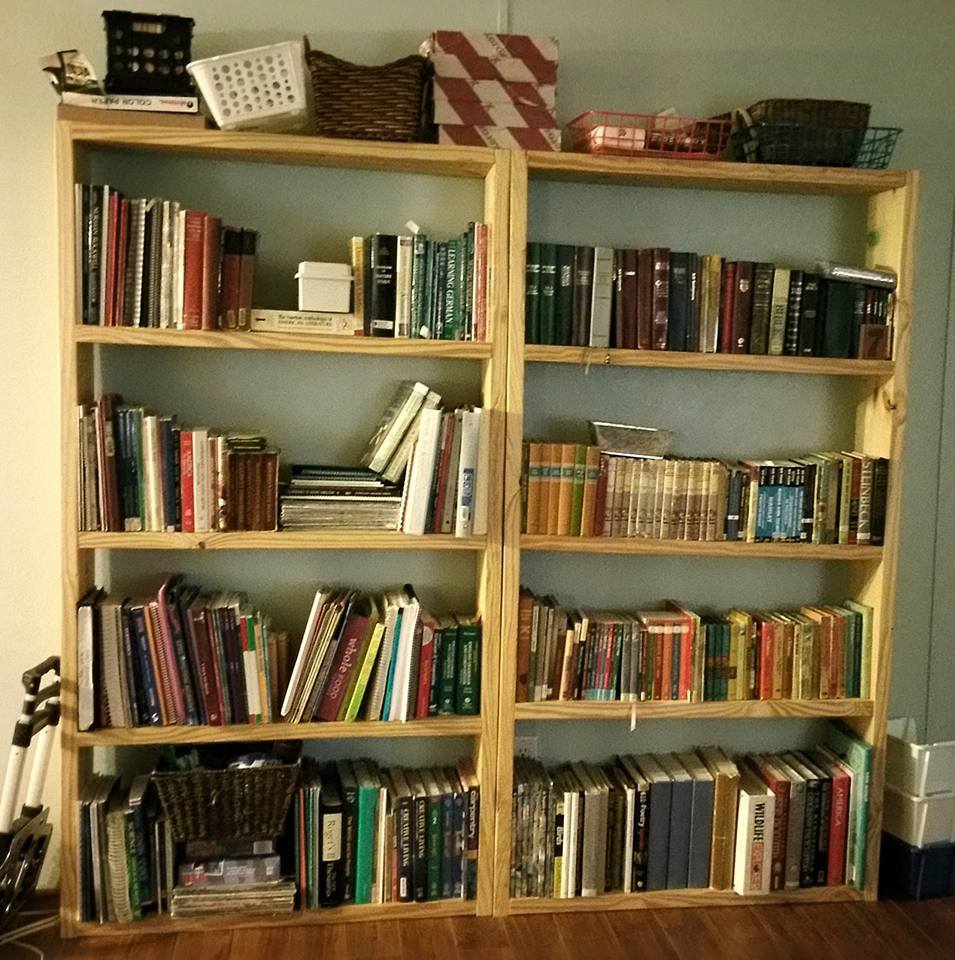
These were my first two Ana-powered pieces. They're not perfect, but I love them! We altered the size a bit since the 10" lumber was a bit more affordable than the 12"
I was too tired after building them to paint them, so "rustic" it is!
Built from Plan(s)
Estimated Cost
$50 each
Estimated Time Investment
Afternoon Project (3-6 Hours)
Recommended Skill Level
Starter Project
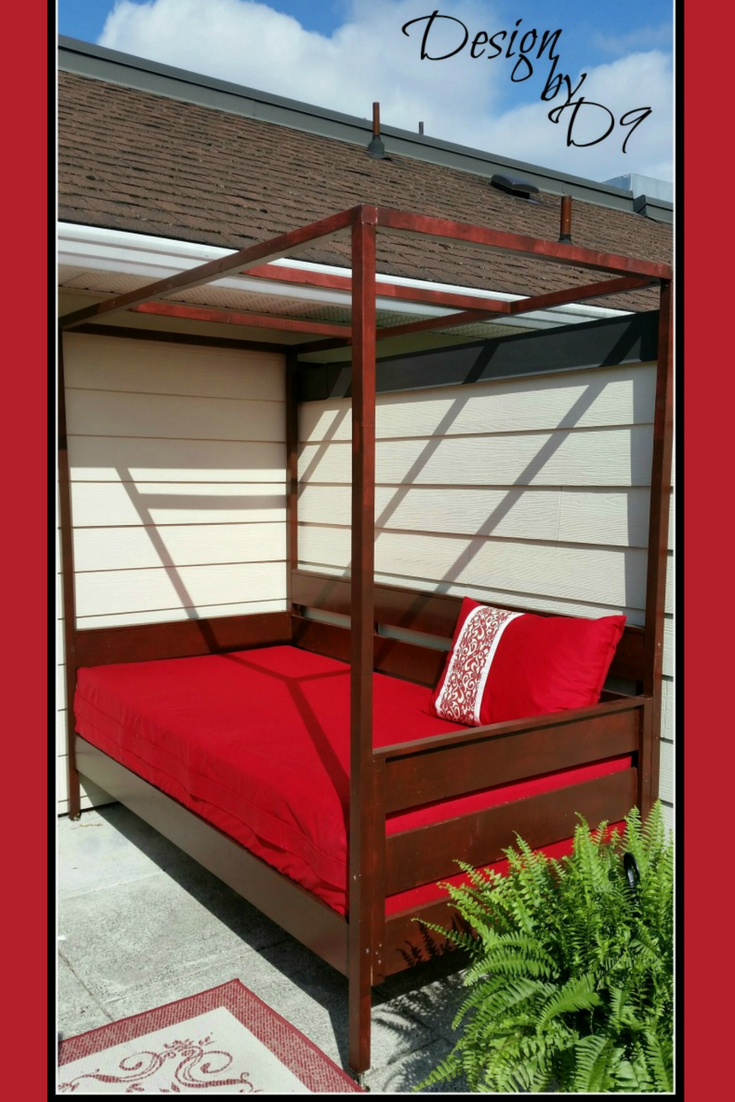
Outdoor Daybed with Canopy
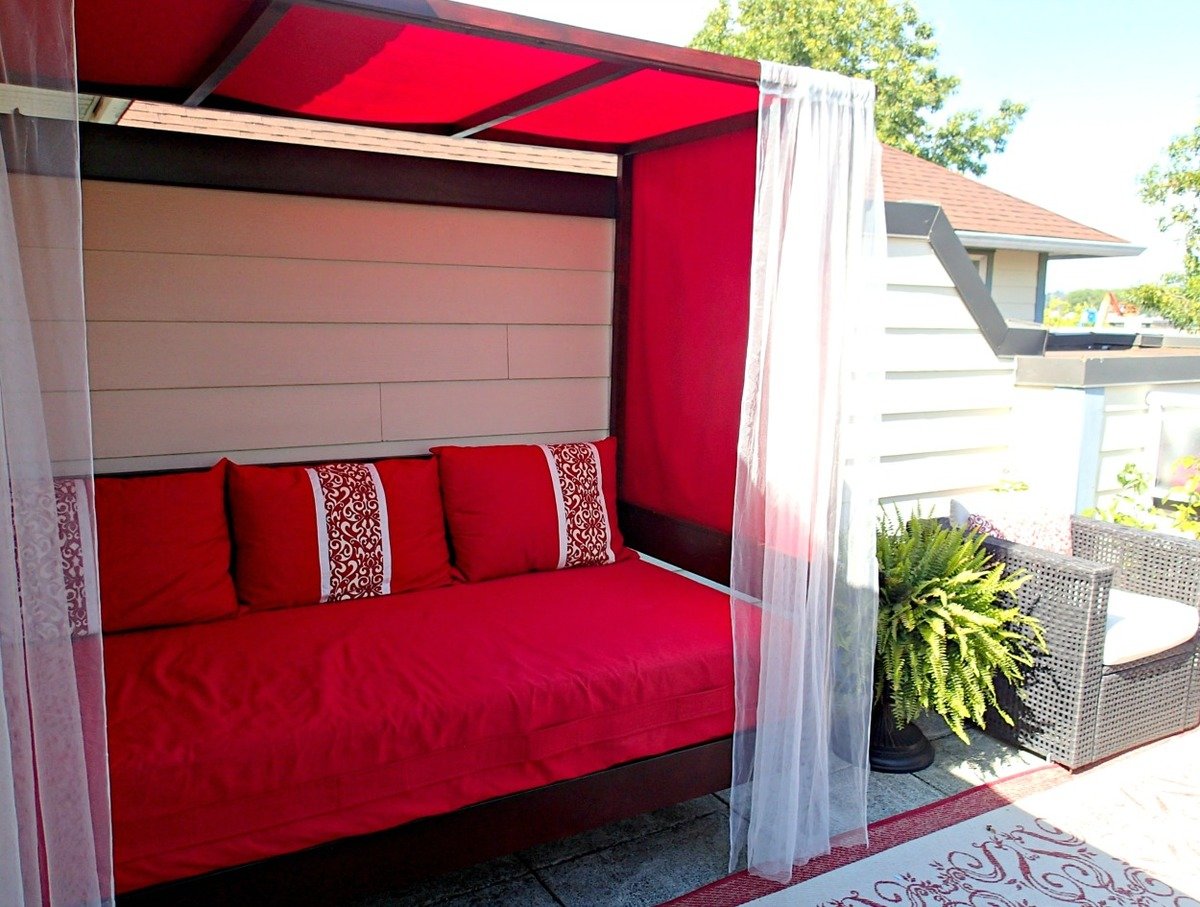
I used Ana's outdoor daybed with canopy pattern to make this awsome daybed. I made a cover and matching pillows.
Built from Plan(s)
Estimated Cost
$250 (Cdn)
Estimated Time Investment
Weekend Project (10-20 Hours)
Finish Used
Behr paint
Recommended Skill Level
Beginner

Pottery Barn Inspired Dresser

I drew up the plan and built it with my sister. The drawers are fake, all of them are swing doors. Even though it's not perfect, I think it turned out great given that we built it in my sister's small city apartment.
Estimated Cost
$200
Estimated Time Investment
Week Long Project (20 Hours or More)
Finish Used
Two coats of paint and polyurethane.
Recommended Skill Level
Starter Project
Comments
Sun, 06/26/2011 - 18:39
Thank you!!
Thank you!! I used 1X3's for the beadboard, so the whole thing is very heavy! :)
In reply to Nice Job by Ryver (not verified)
Mon, 07/04/2011 - 19:57
Thank you! And sorry, I
Thank you! And sorry, I doodled the plan on a piece of paper and didn't get to do it properly in google sketch :p I aso wanted to do the drawers, but the last time I made drawers it was a lot of work, and between the budget and lack of space/tools, a faux drawer face was an easier option. I would love to build this again with proper tools, and when I do, I will make sure to upload the plan! Thanks again!
Modern Farmhouse Bed
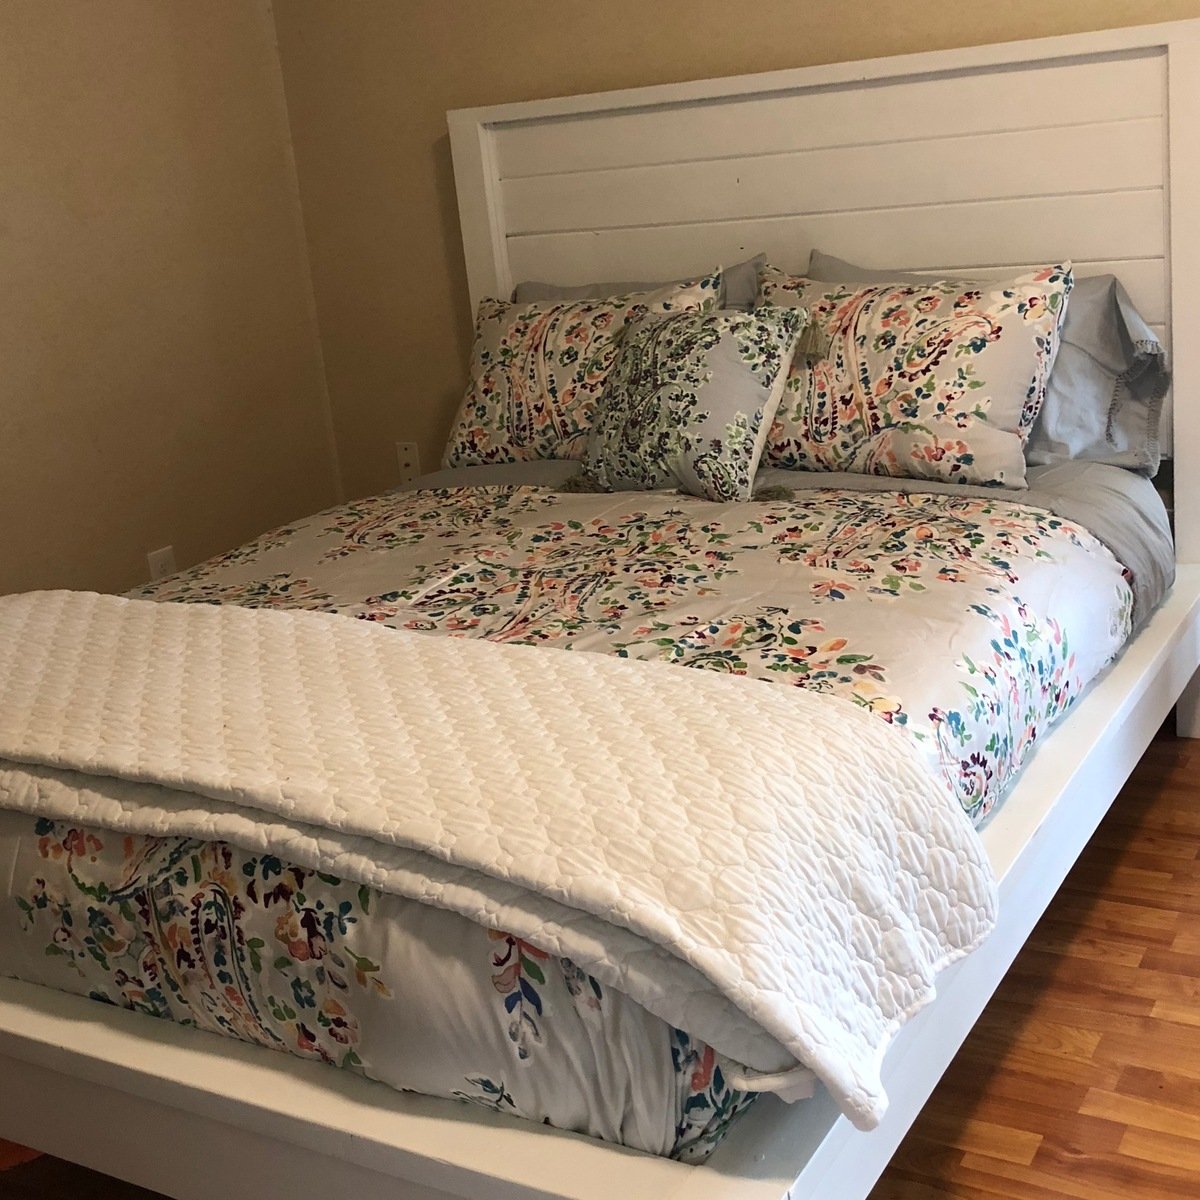
I wish I could get a better picture, but the bed is in an odd-shaped space and I can't back up enough to get a full picture. We used Fusion Mineral Paint to finish it. I love that paint, no need to prime OR add a protective finish! After it fully cured, this paint is so durable, and marks easily wash off.
This was our first build ever, and the plans were very easy to follow. We had it built in one day, and painted in the next. Definitely gave us confidence to continue on to other projects!
Built from Plan(s)
Estimated Cost
$100 in wood, $40 in paint
Estimated Time Investment
Weekend Project (10-20 Hours)
Finish Used
Fusion Mineral Paint in "Picket Fence"
Recommended Skill Level
Beginner
Outdoor Sofa
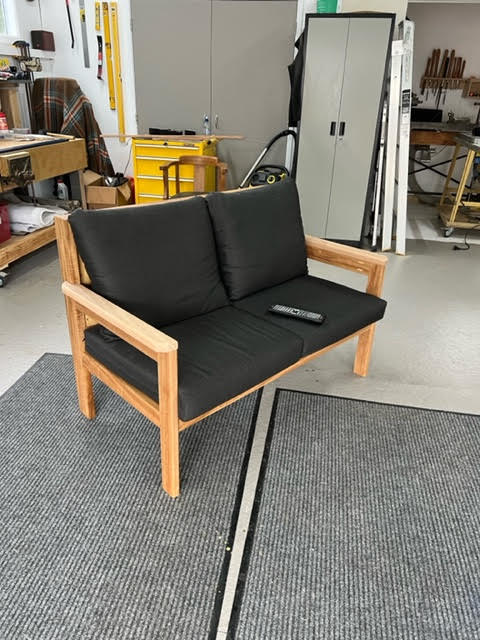
Two seater couch inspired by your web site . I have altered the design a little and added an ottoman . Built from Australian Eucalypt . Nicknamed Blackbutt Gum . It’s a hardwood but finishes very nice , sanded with 240 grit , varnished with marine grade diluted 10% with turps . Look forward to your weekly plans they inspire me to build projects and give me lots of ideas .
by Richard
Northland
New Zealand
Built from Plan(s)
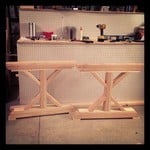
x table and benches

Good plans and easy to follow directions.
Built from Plan(s)
Estimated Cost
$110
Estimated Time Investment
Afternoon Project (3-6 Hours)
Finish Used
None yet.
Recommended Skill Level
Beginner
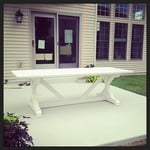
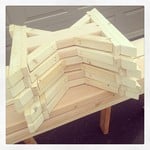
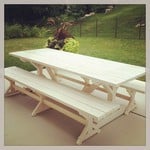
Fancy X Farmhouse Table and Benches
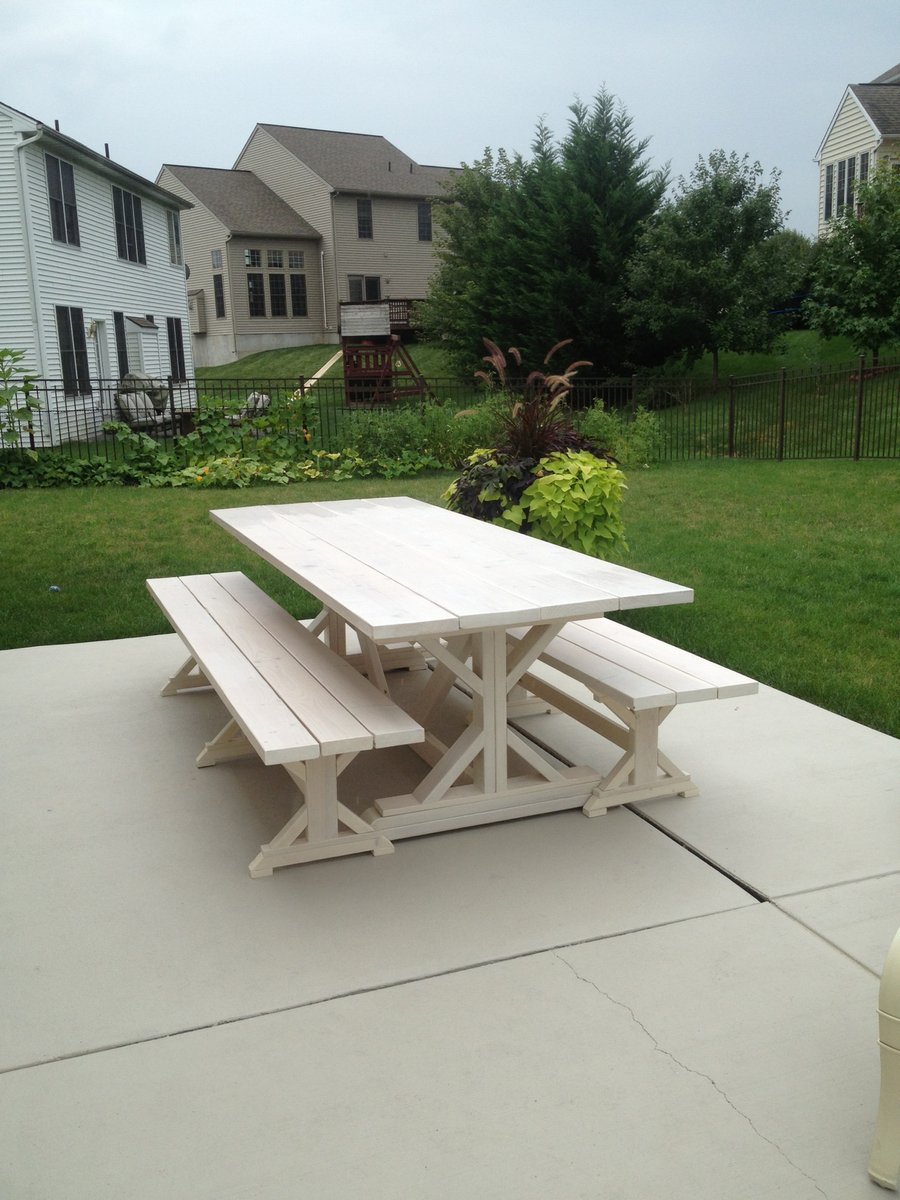
I LOVE my new patio table and benches. They came out great, and I hope they hold up for several years with the waterproofing stain I used.
Built from Plan(s)
Estimated Time Investment
Week Long Project (20 Hours or More)
Finish Used
Behr Waterproofing Stain in semitransparent Navajo White
Recommended Skill Level
Intermediate
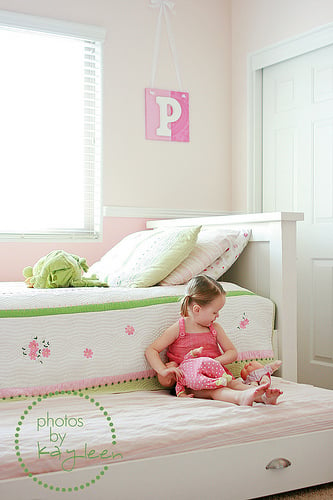
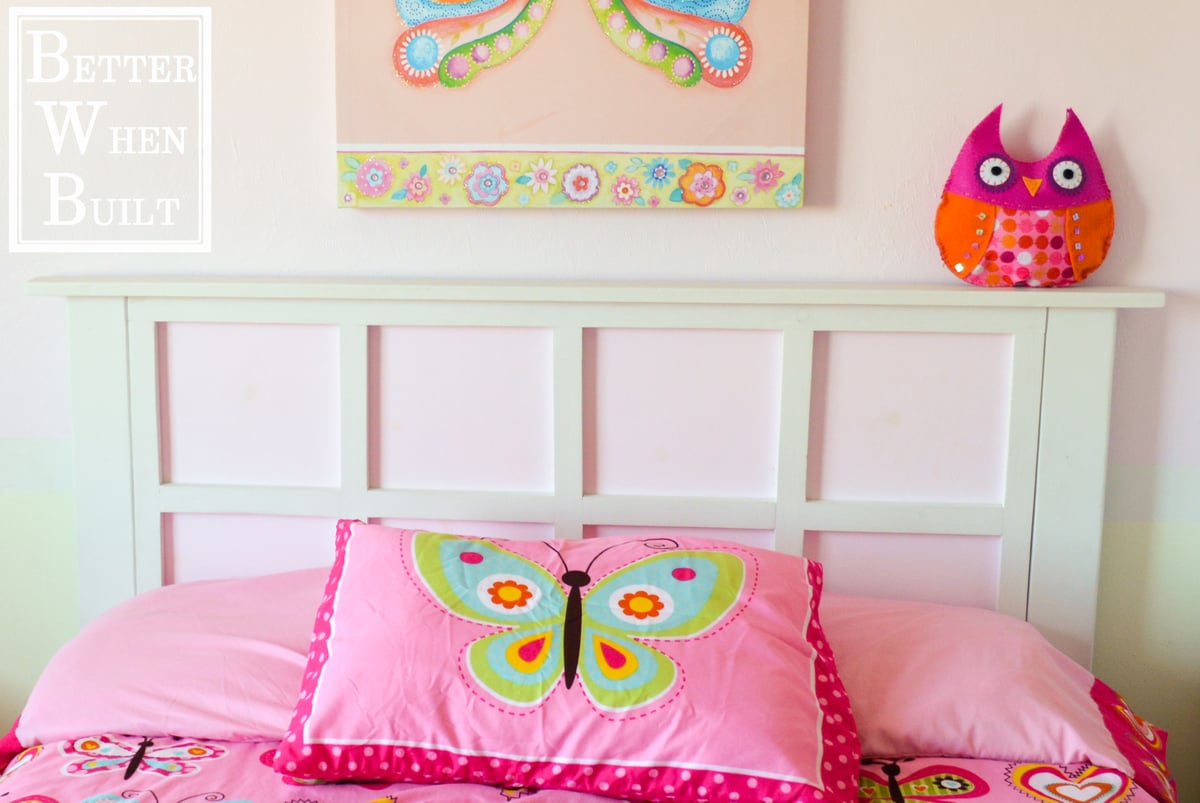
Storage Bed
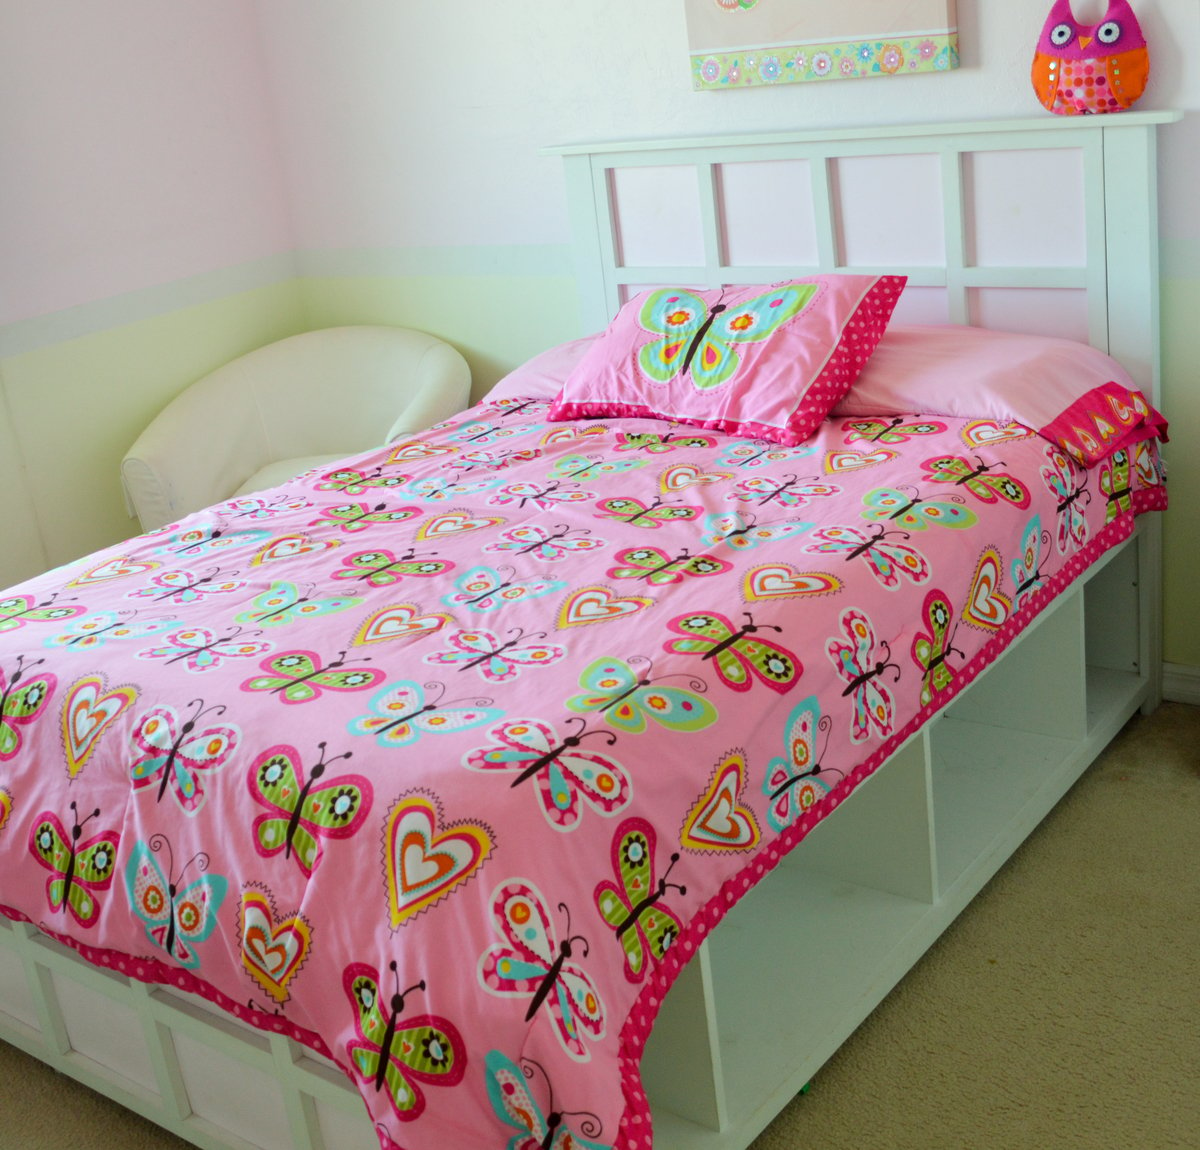
My daughter needed a new bed and I really liked Ana's Hailey Storage Bed plans. I adjusted Ana's plans to fit a full size bed and I also made a different headboard and footboard. To see how I made the headboard and footboard follow the links below:
Built from Plan(s)
Estimated Time Investment
Weekend Project (10-20 Hours)
Recommended Skill Level
Beginner
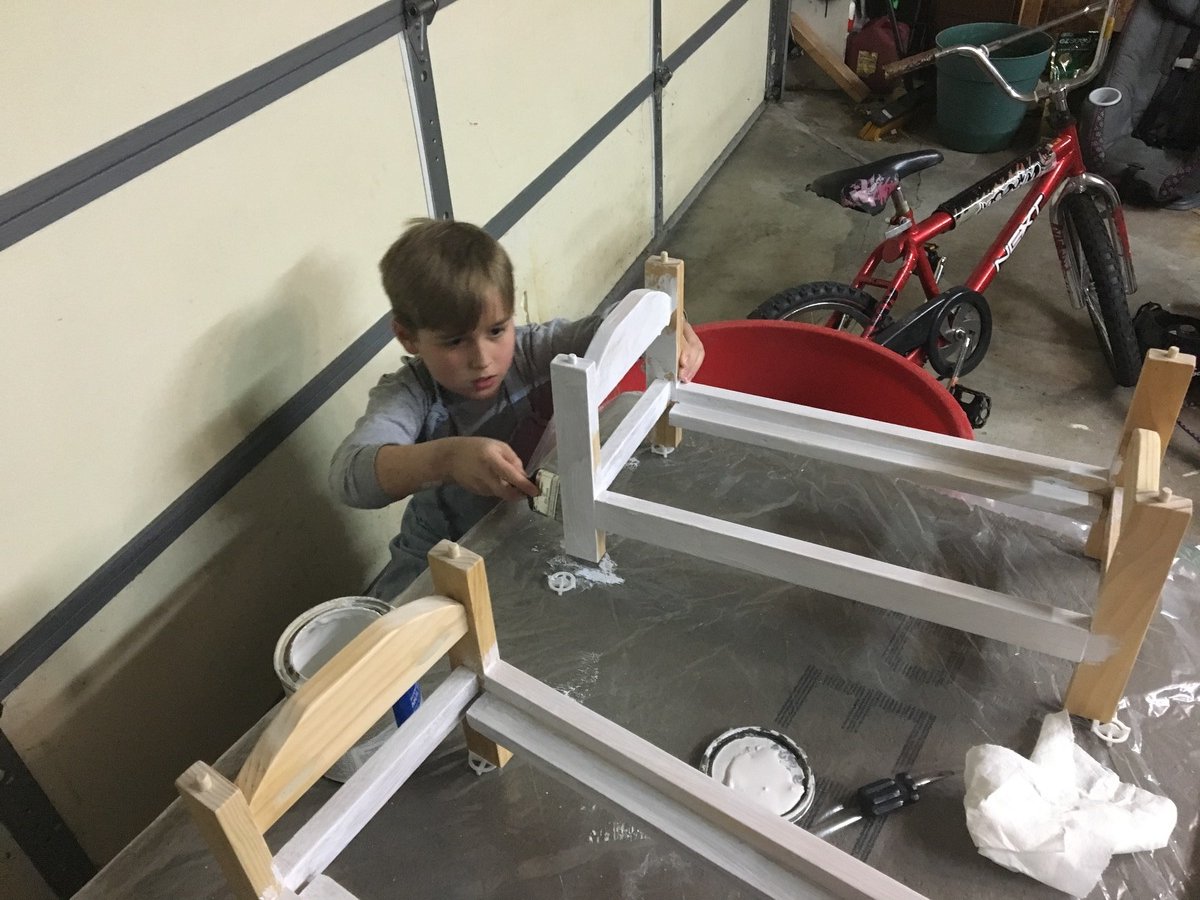
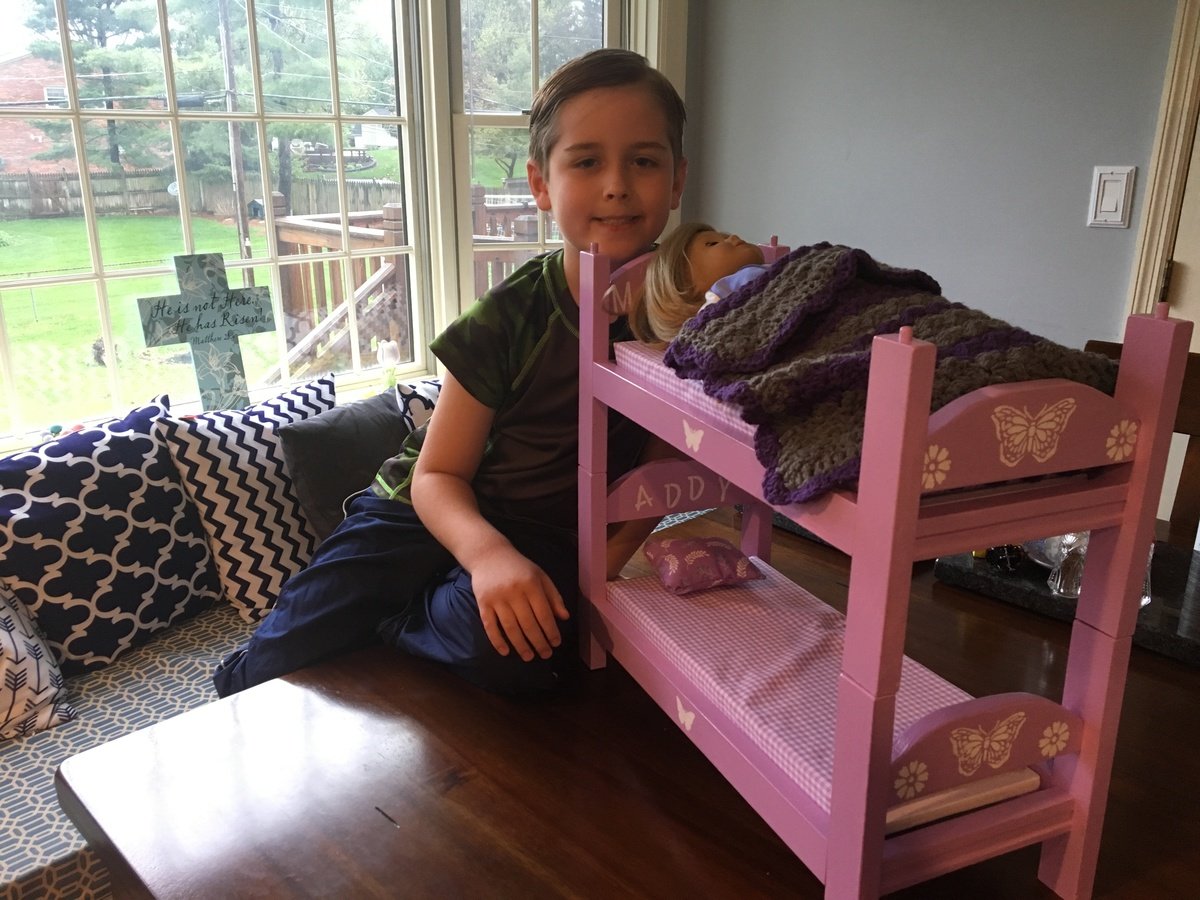
Bunkable Doll Beds
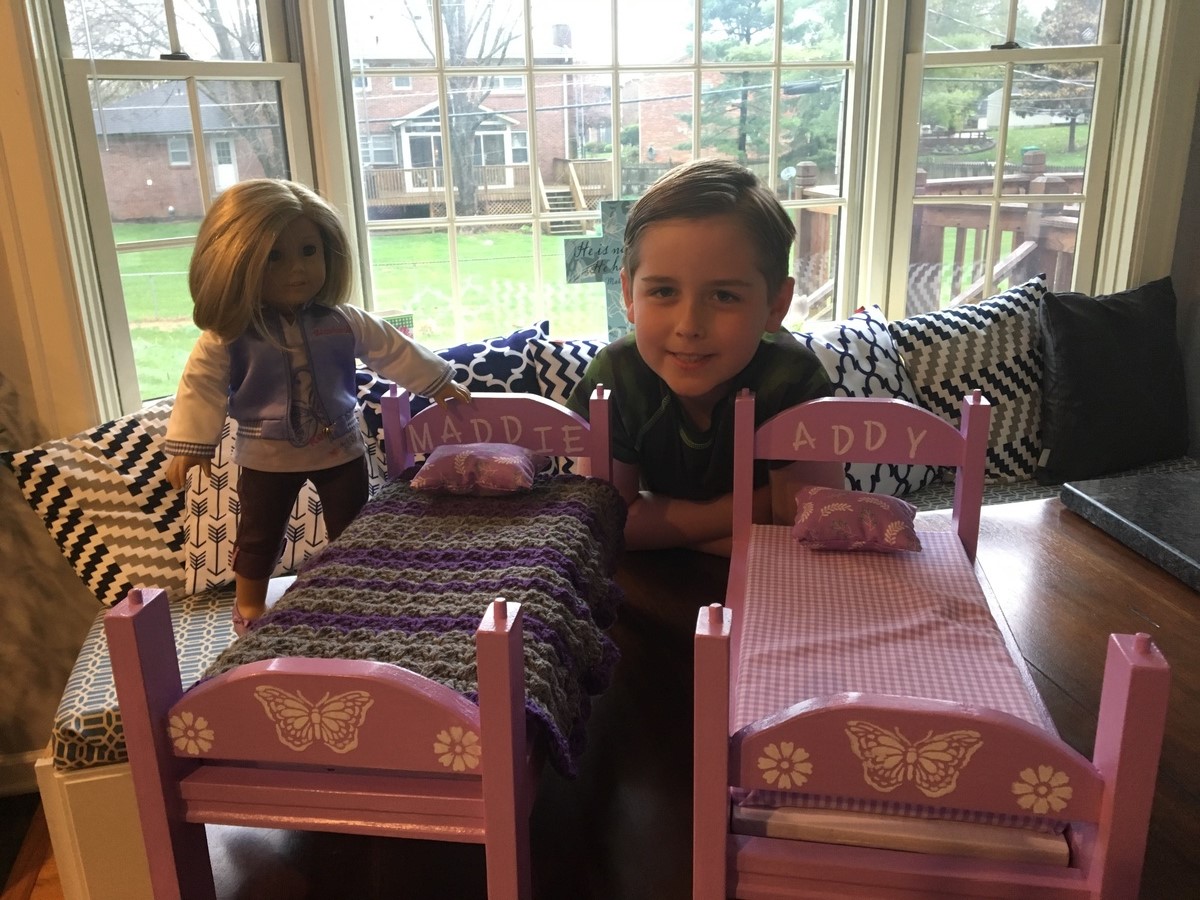
My son and I made these beds for a couple of his friends. We made them so that if they were ever together, they could bunk them up for their dolls. I had a great time working with him and incorporating his ideas into the project. He is very excited to give them the doll beds. http://www.ana-white.com/2012/12/plans/kid039s-kit-doll-bed
Built from Plan(s)
Estimated Cost
$10 each
Estimated Time Investment
Day Project (6-9 Hours)
Finish Used
Paint and Poly
Recommended Skill Level
Starter Project
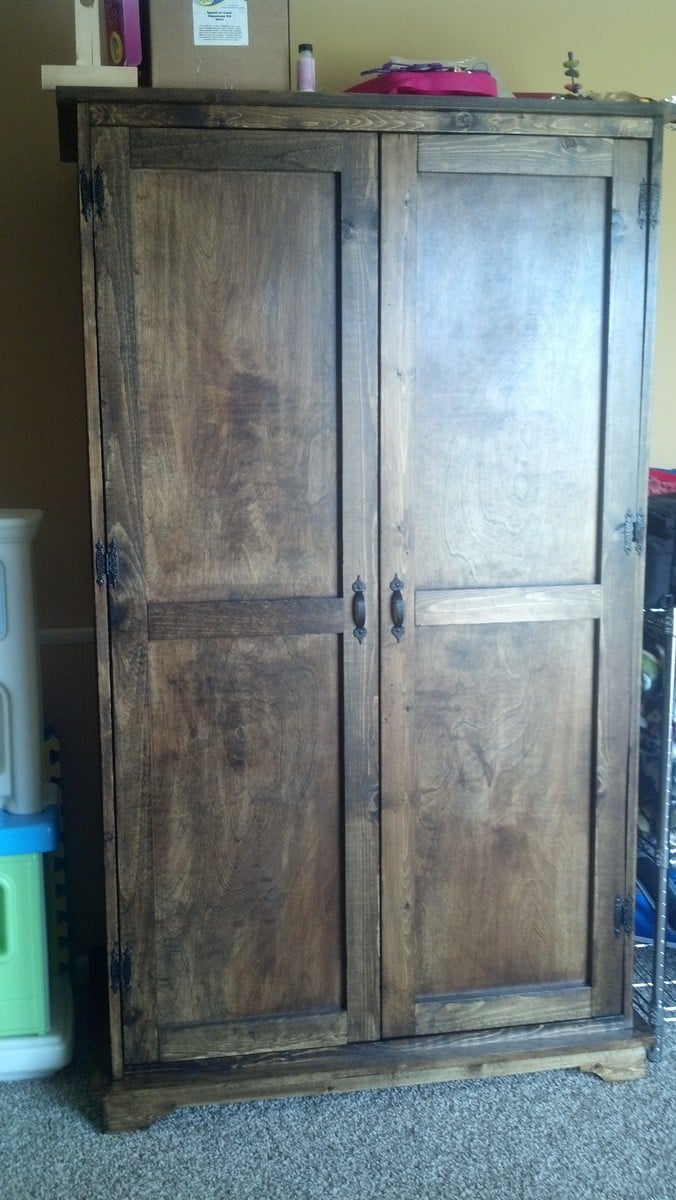
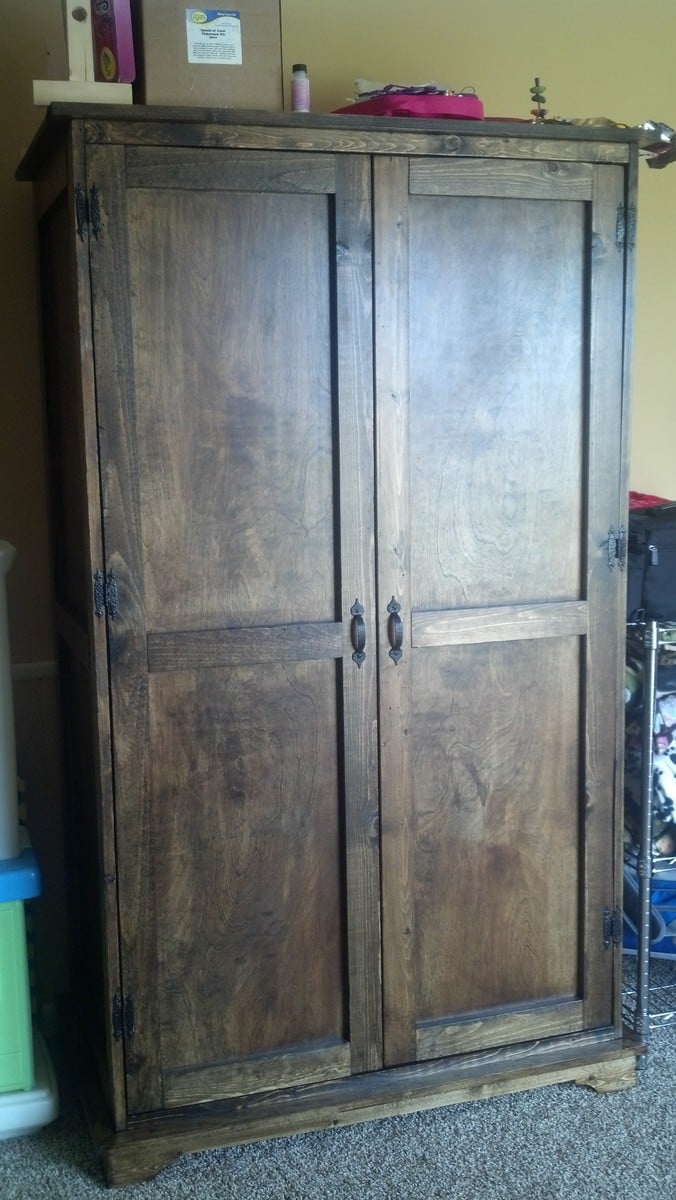
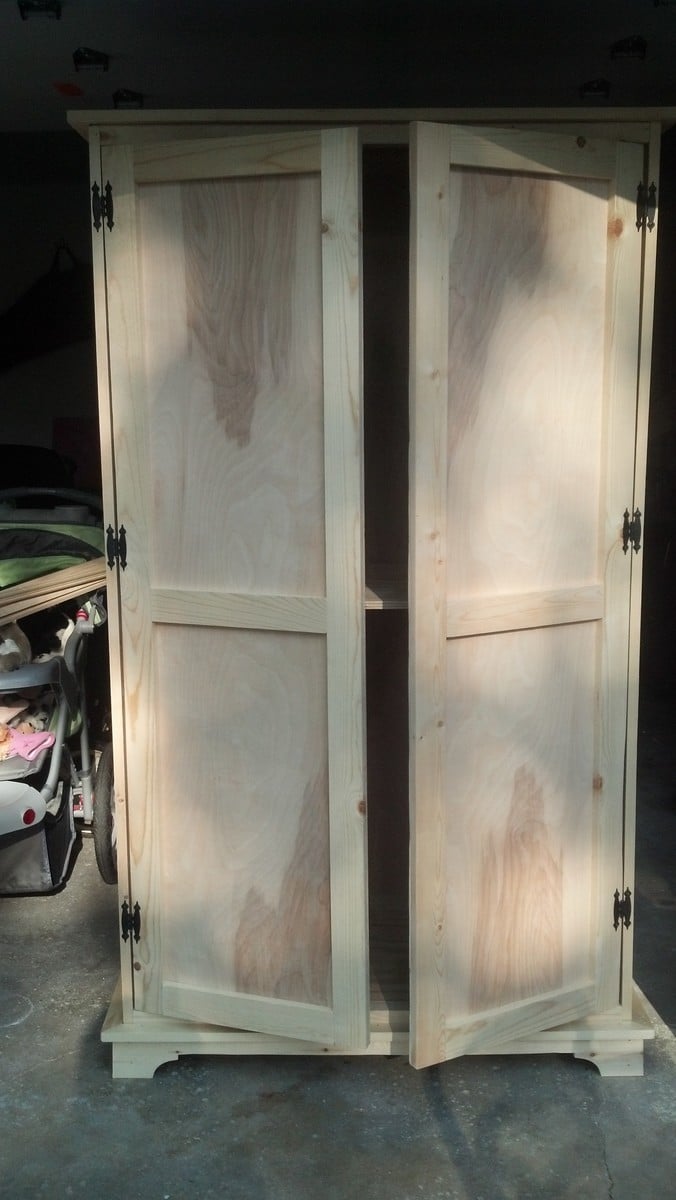
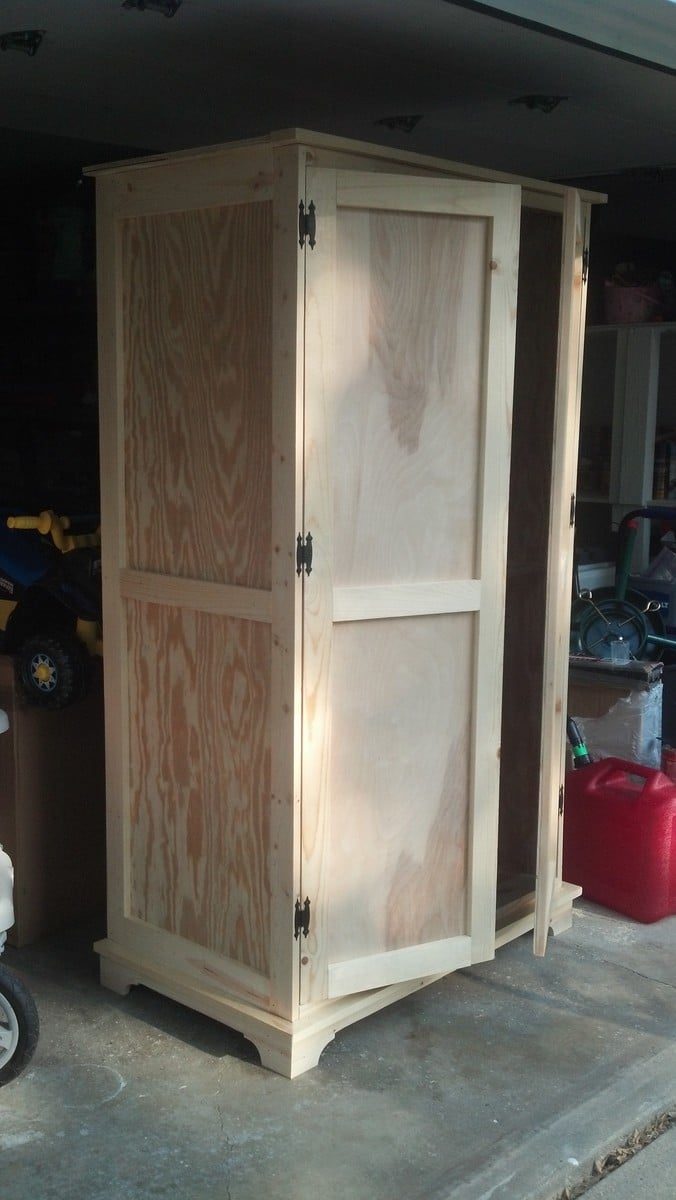
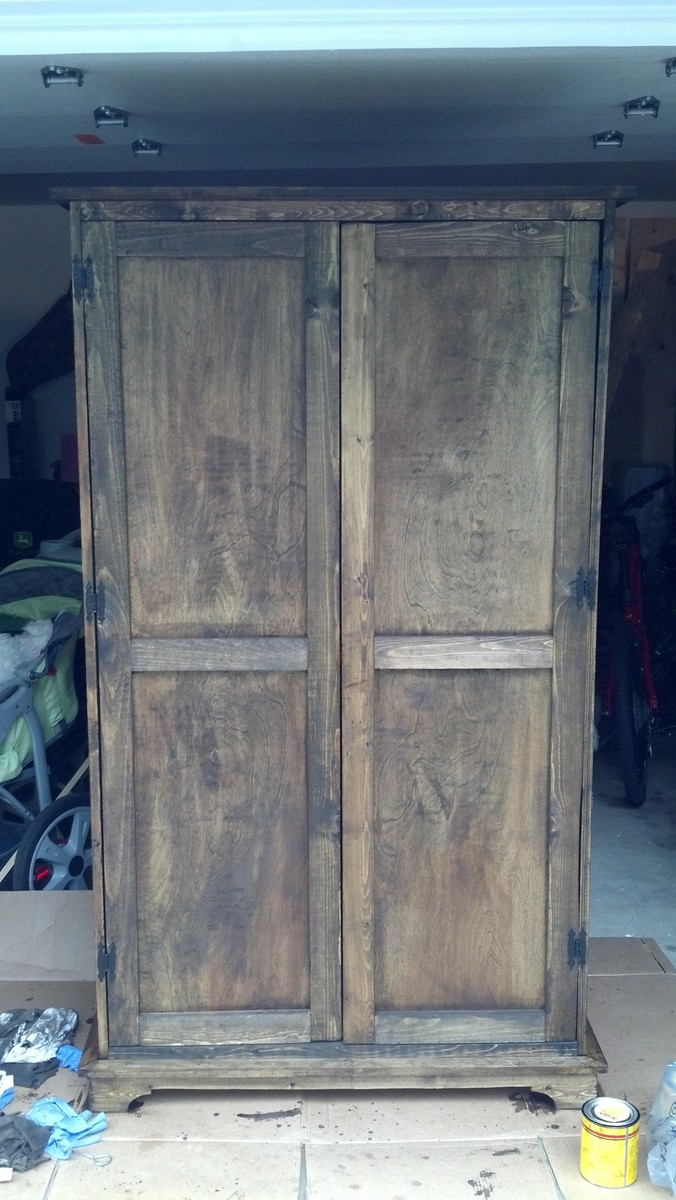
Toy Armoire
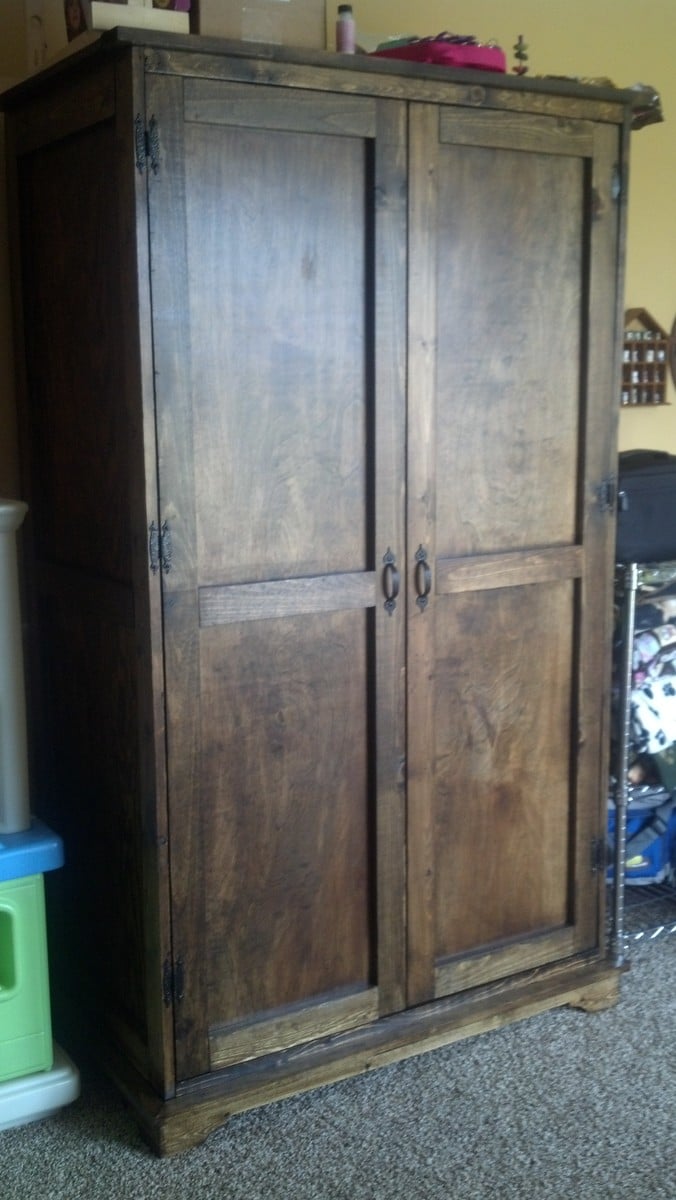
I adjusted the height of the armoire to 72 inches. It was a little tricky getting the doors to hang straight. I blame the new driveway; we just moved into a new house with a sloped driveway (our old one was super flat). I got the hardware at Lowe's. I also added a block of wood at the top, on the inside, to mount the door catches. I mounted them on the top and bottom on both doors, so four catches total. That really helped with the way the doors looked when closed.
Built from Plan(s)
Estimated Cost
$100
Estimated Time Investment
Weekend Project (10-20 Hours)
Finish Used
I used Minwax Dark Walnut with Minwax Satin Polyurethane. Two coats of each.
Recommended Skill Level
Intermediate