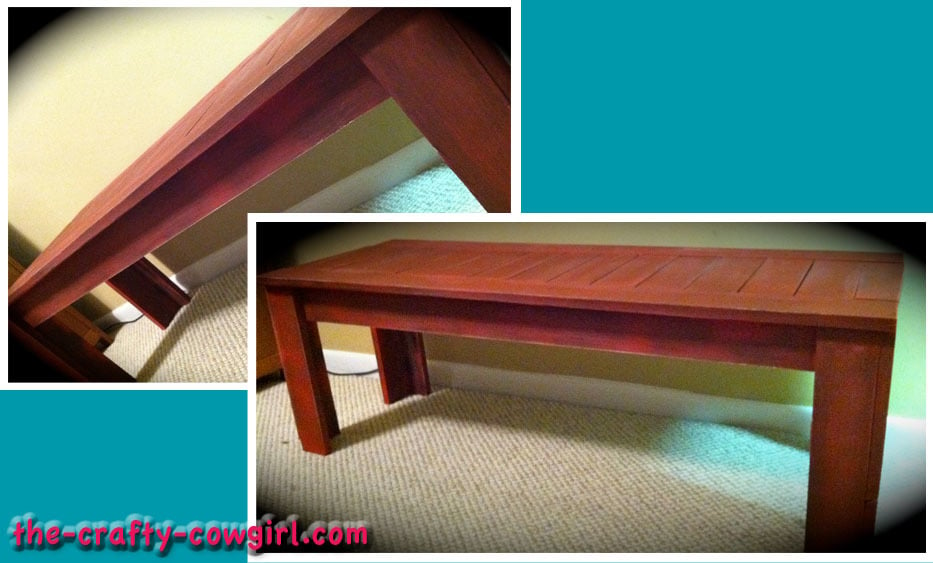
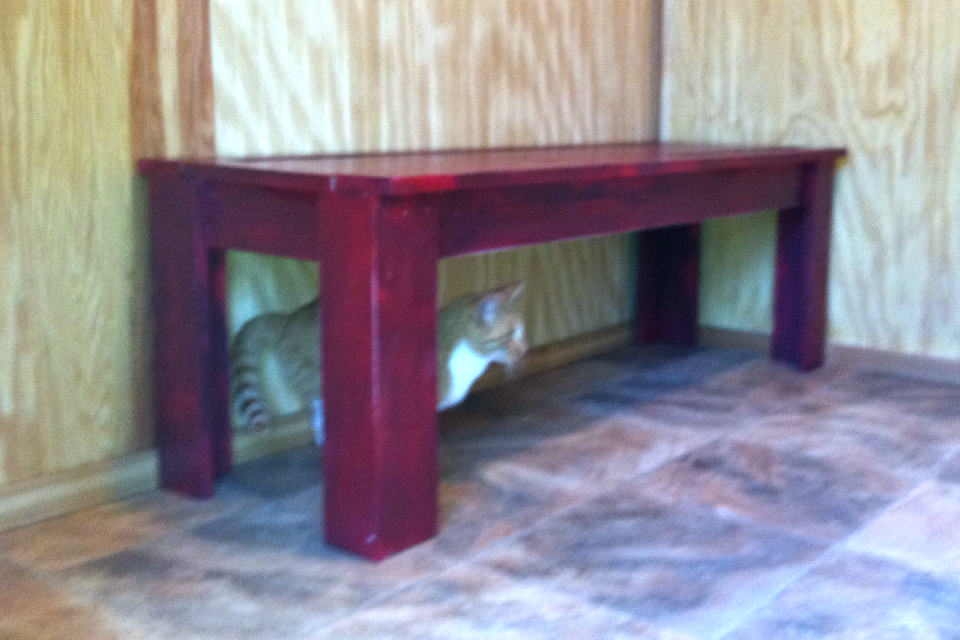
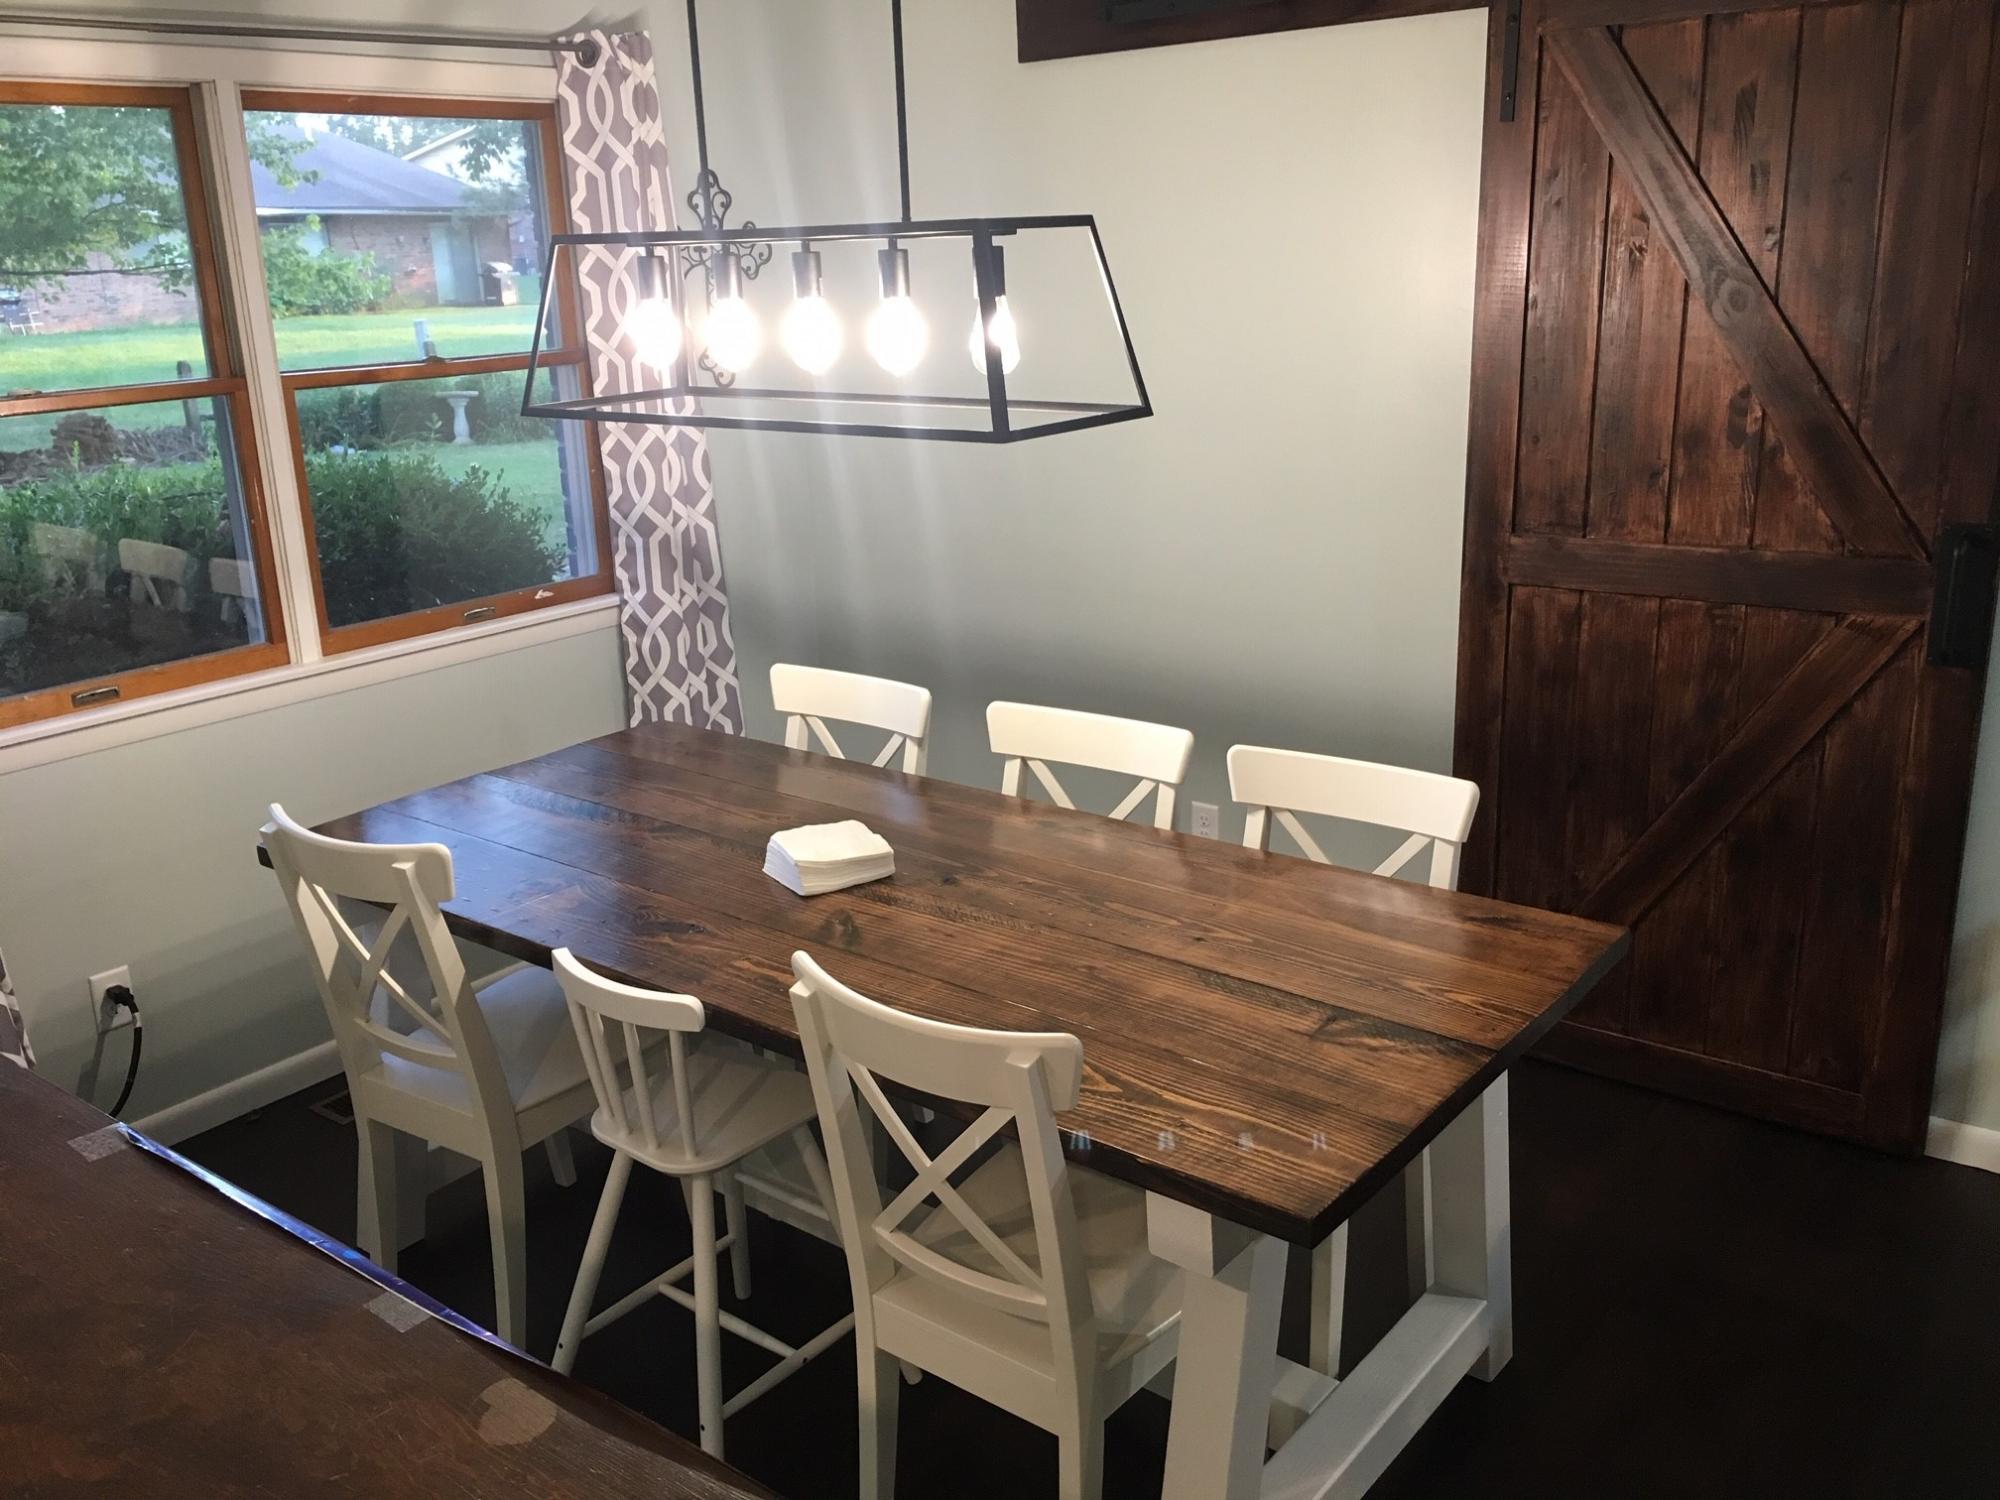
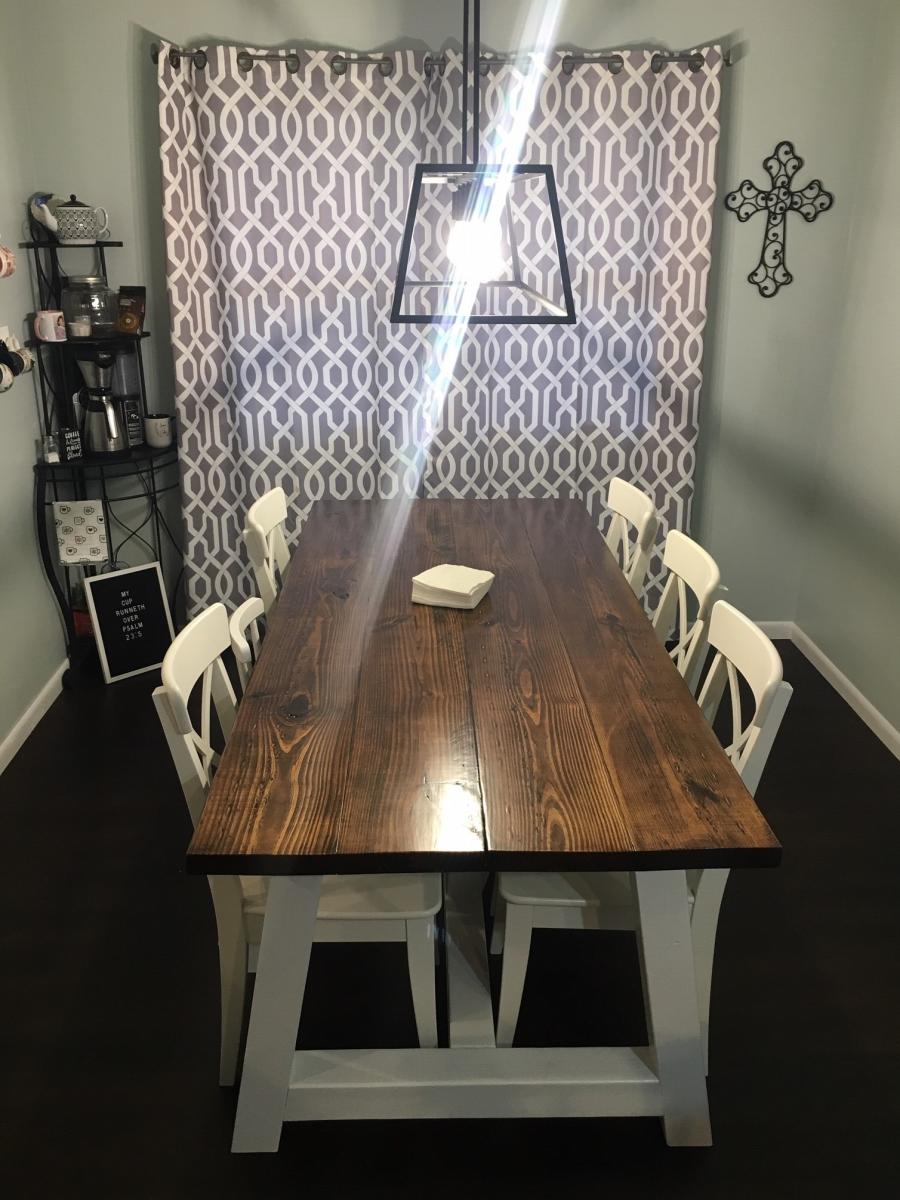
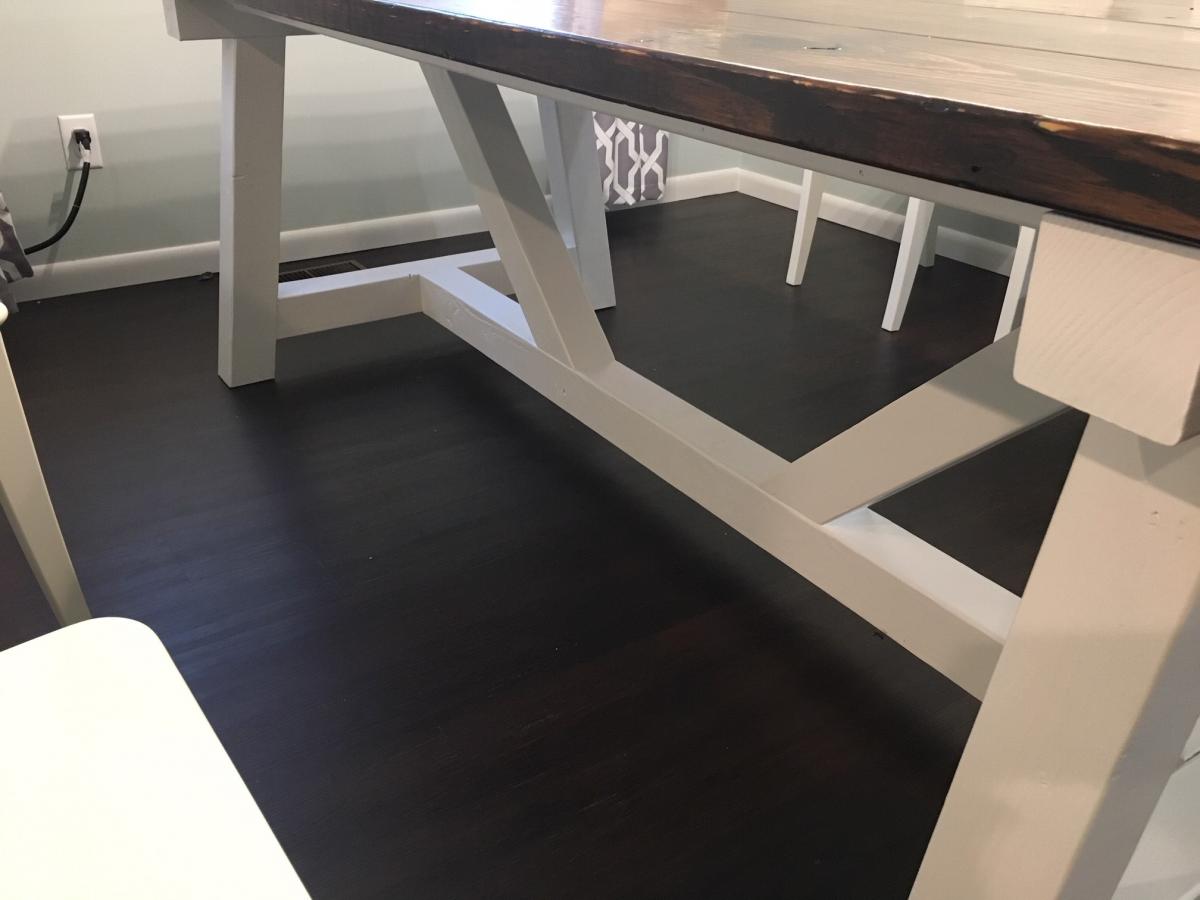
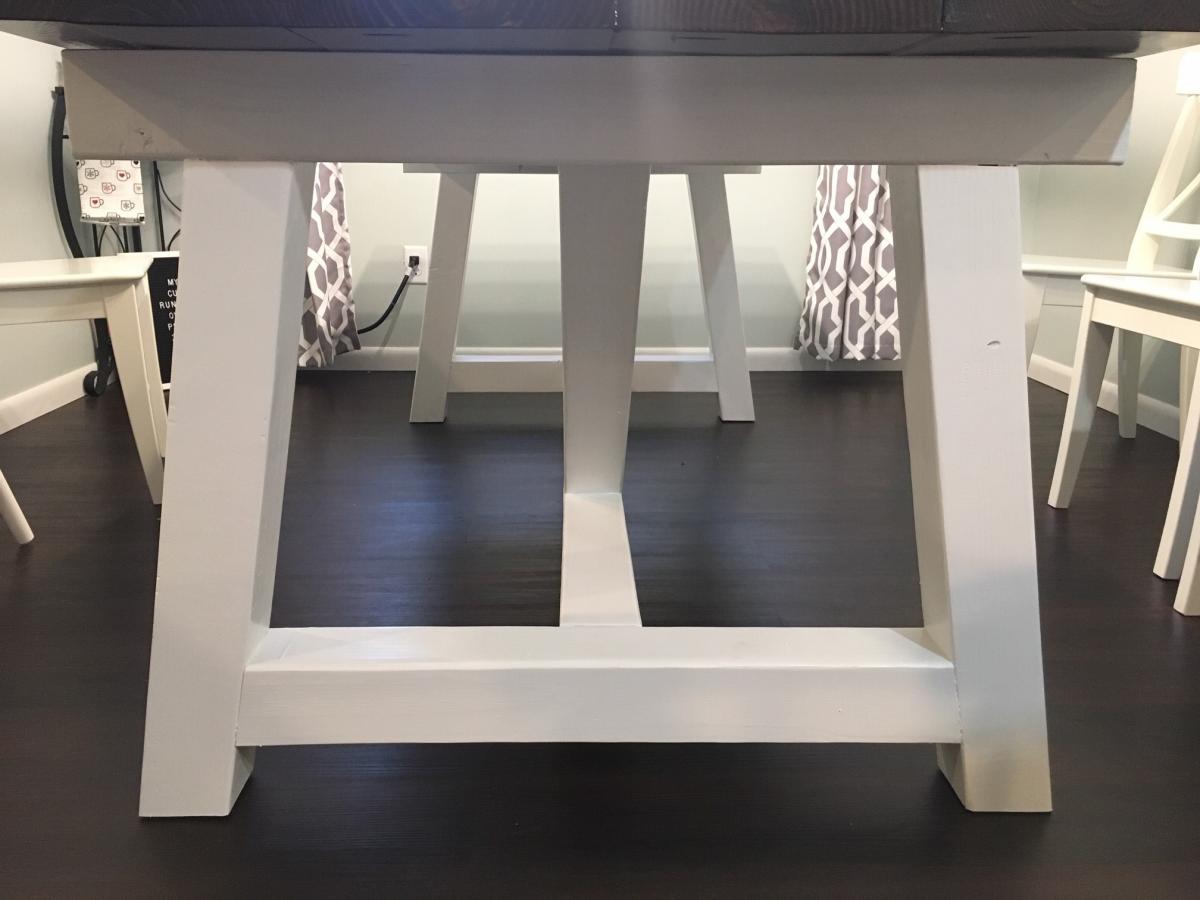
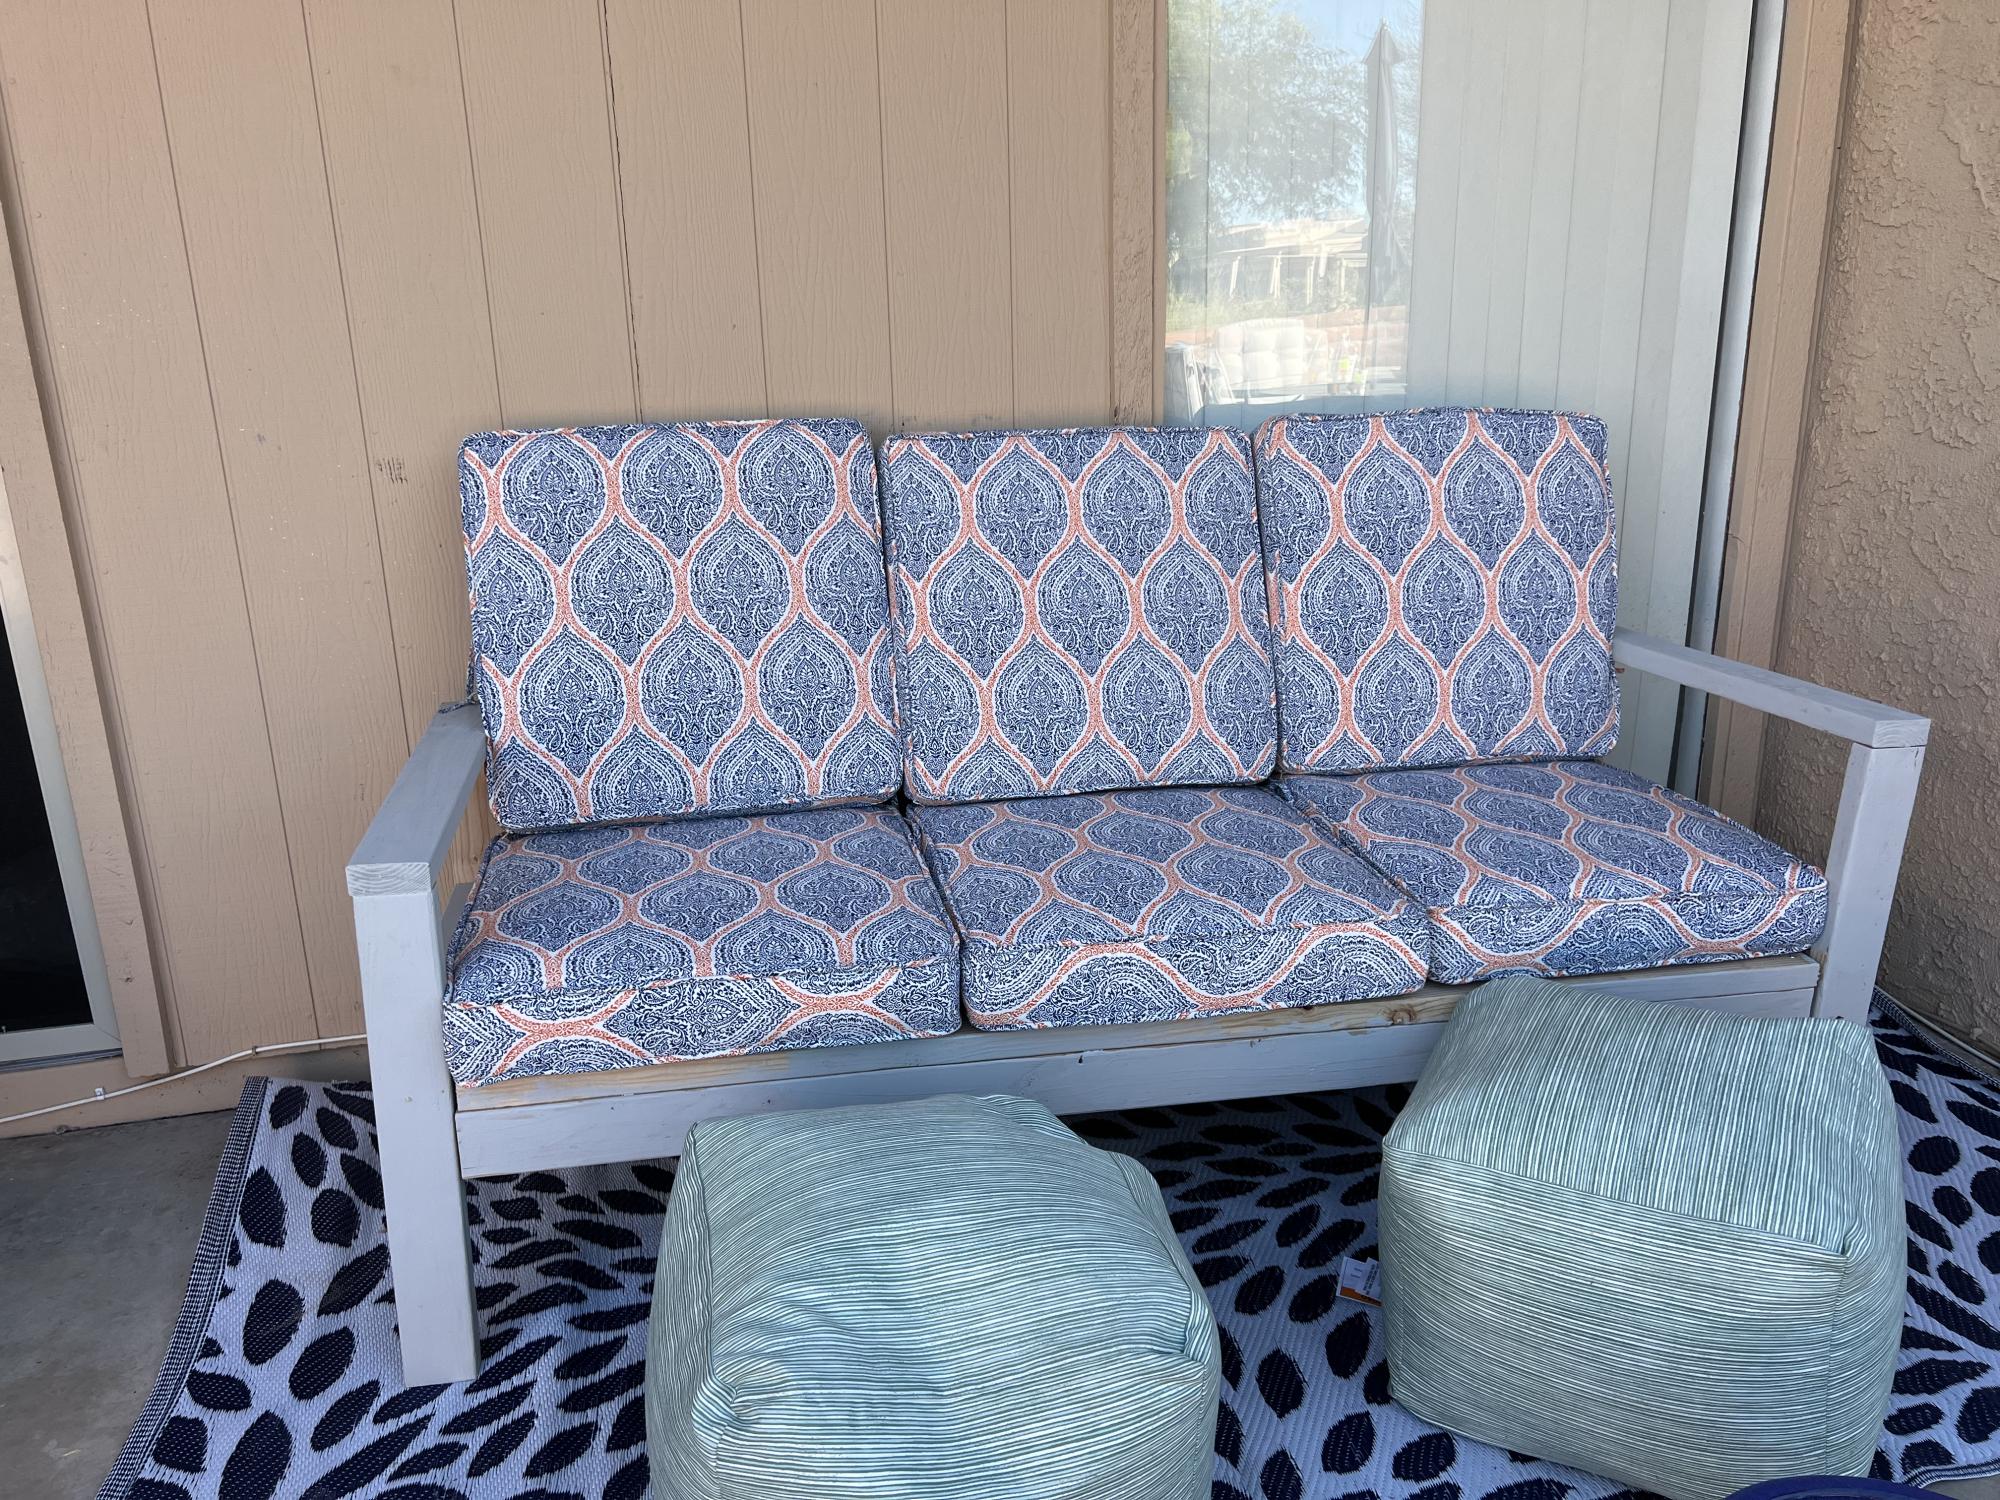
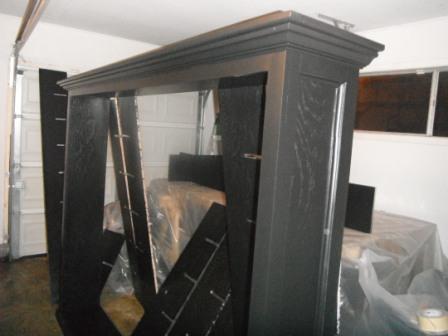
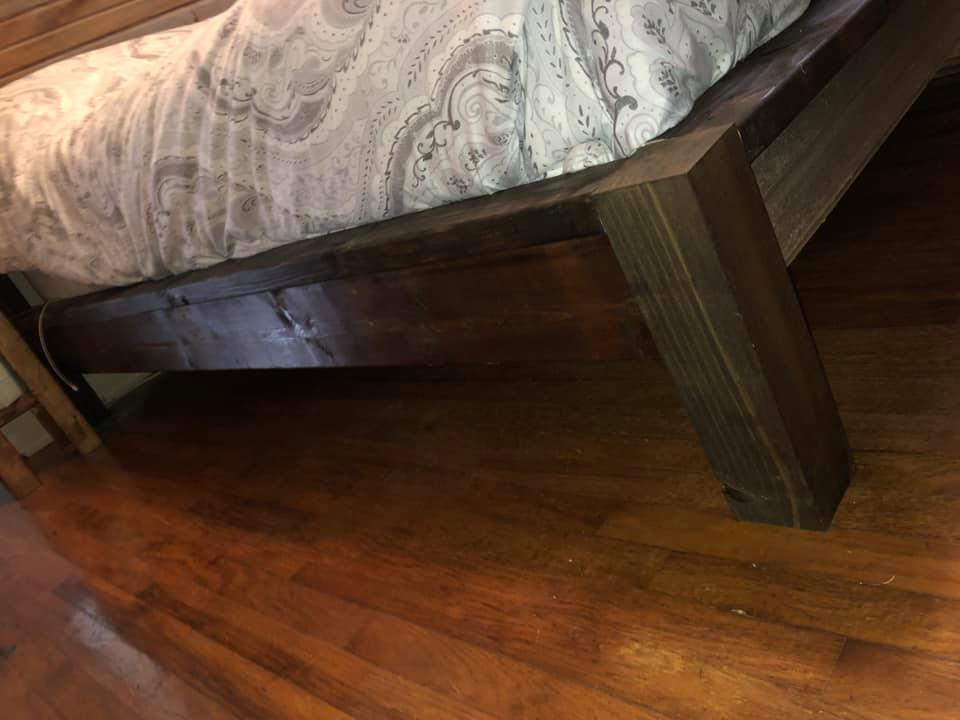
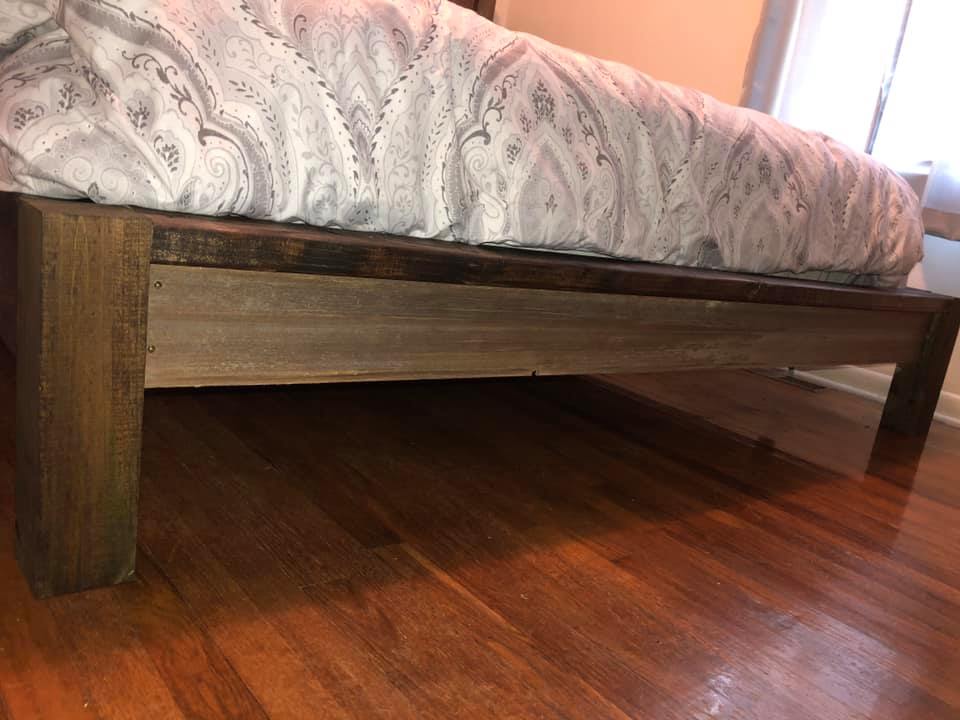
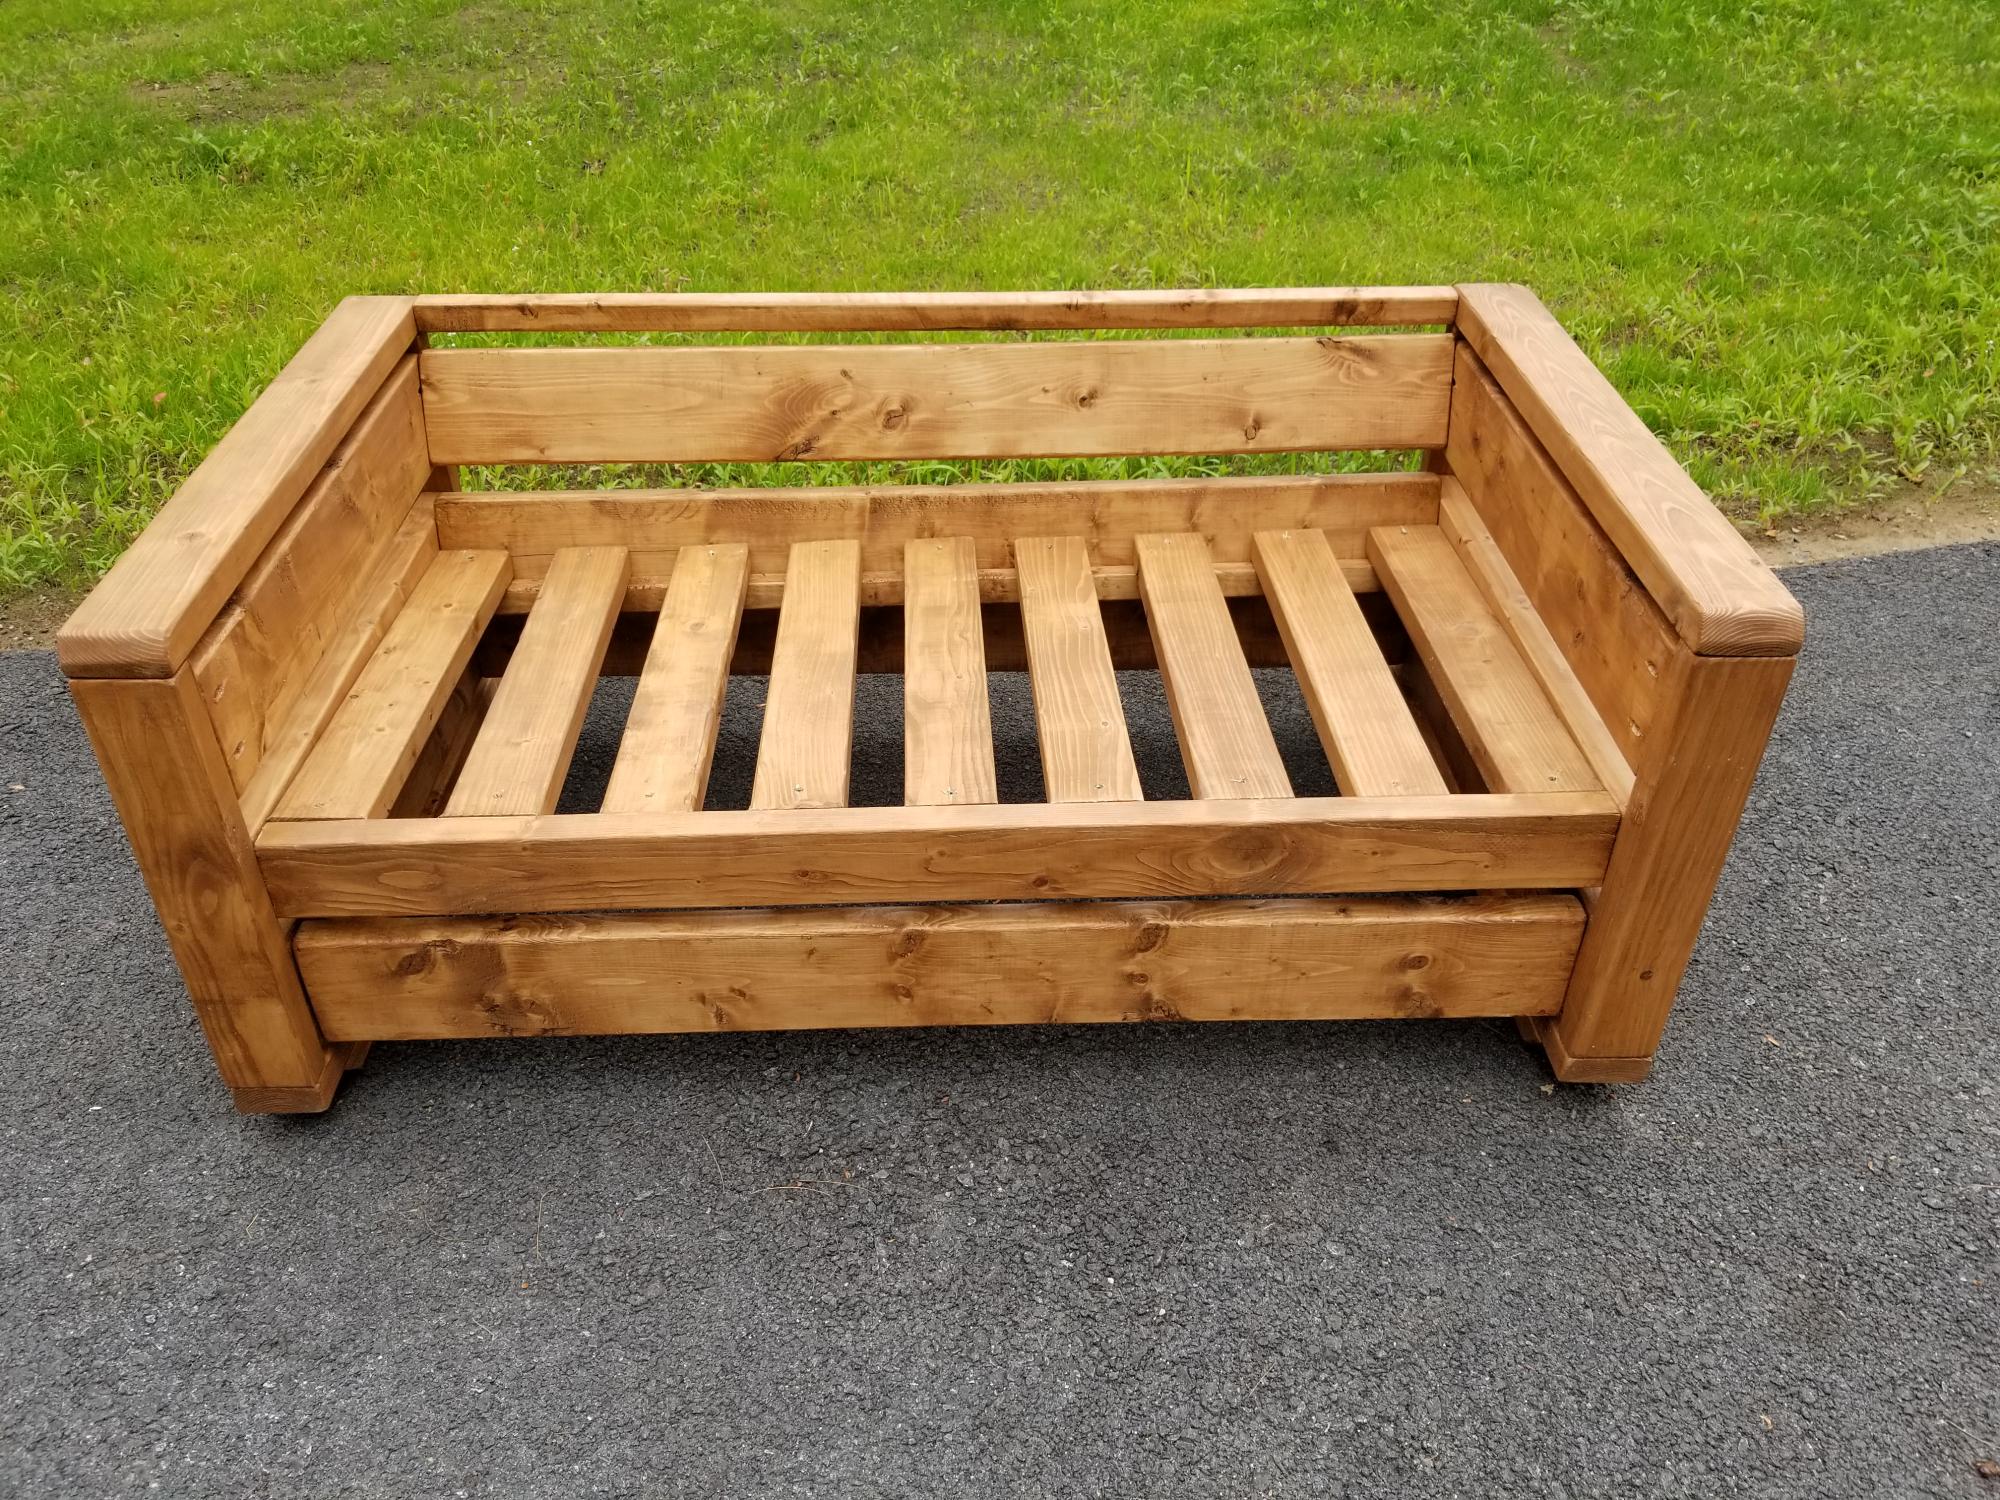
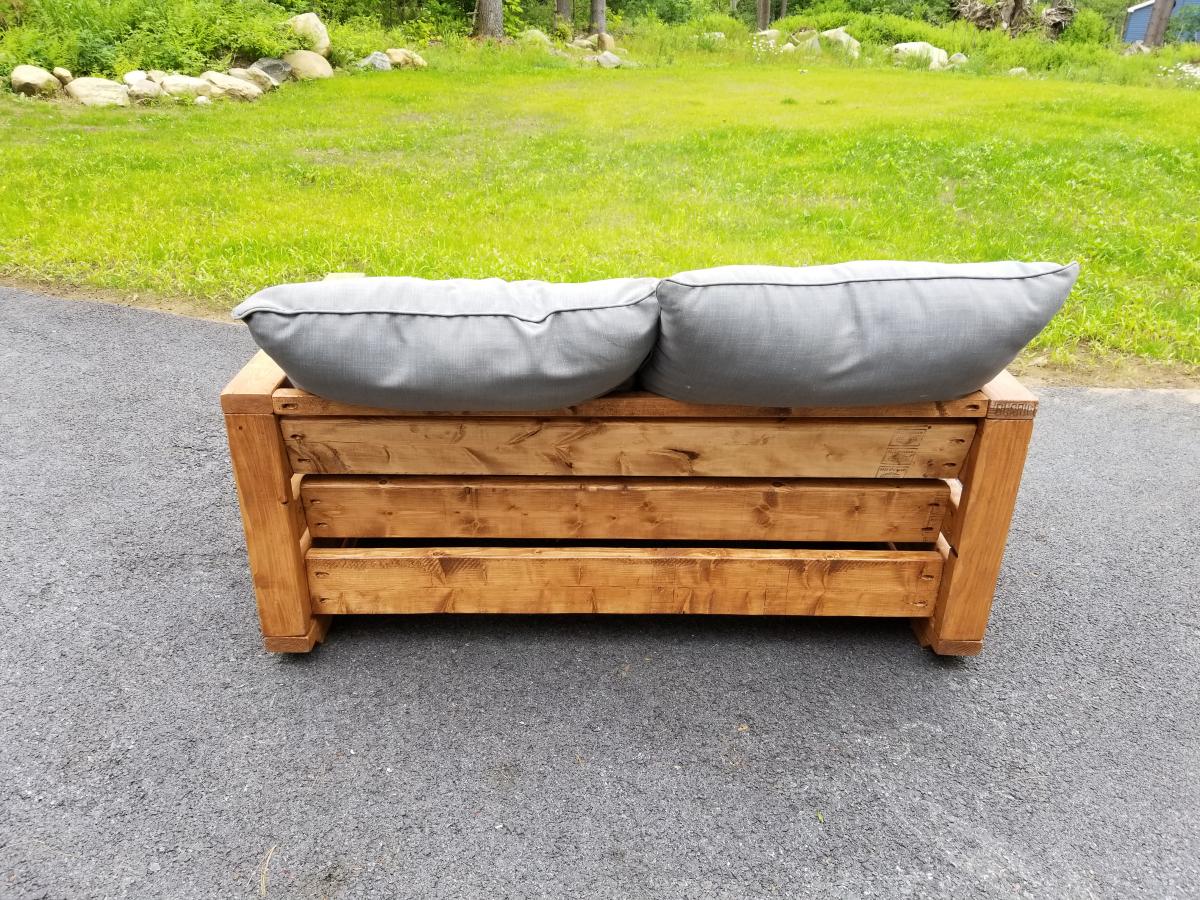
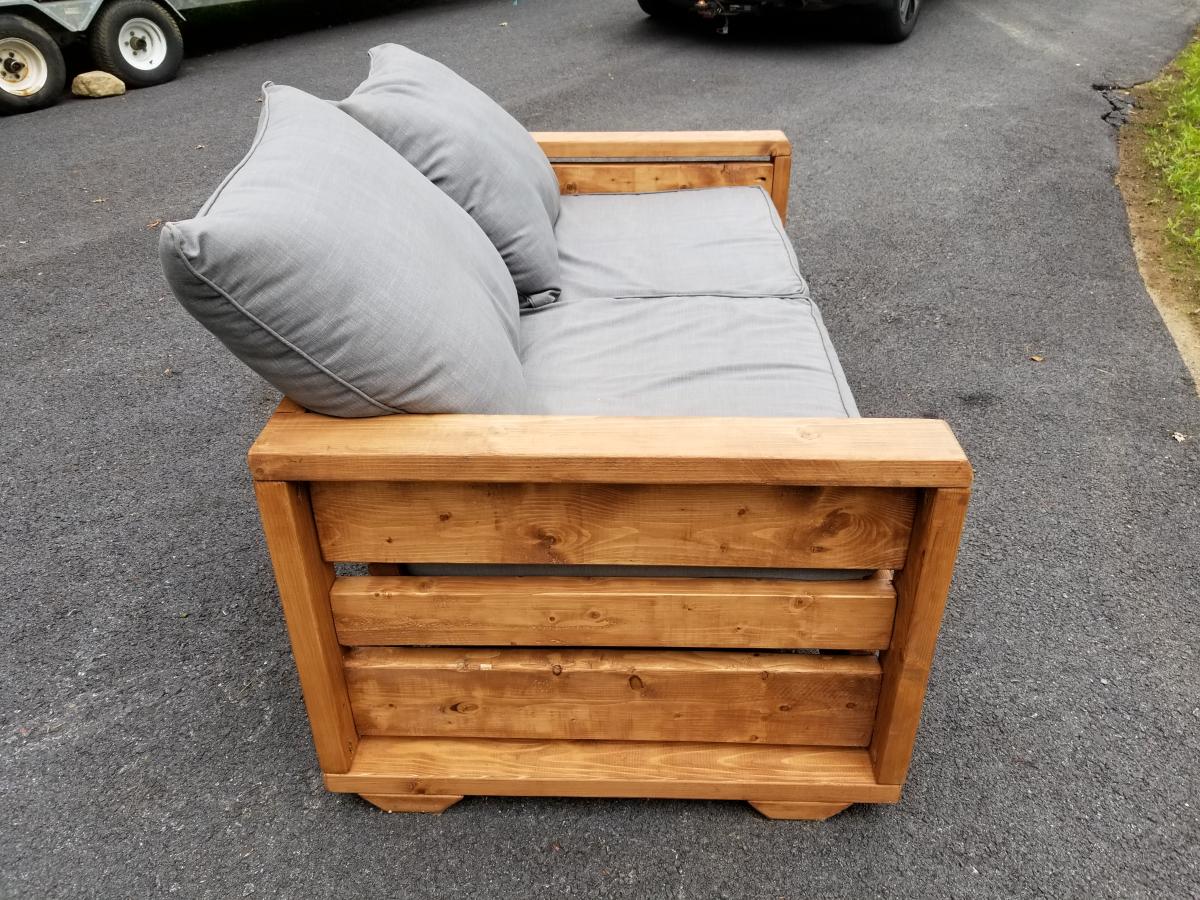
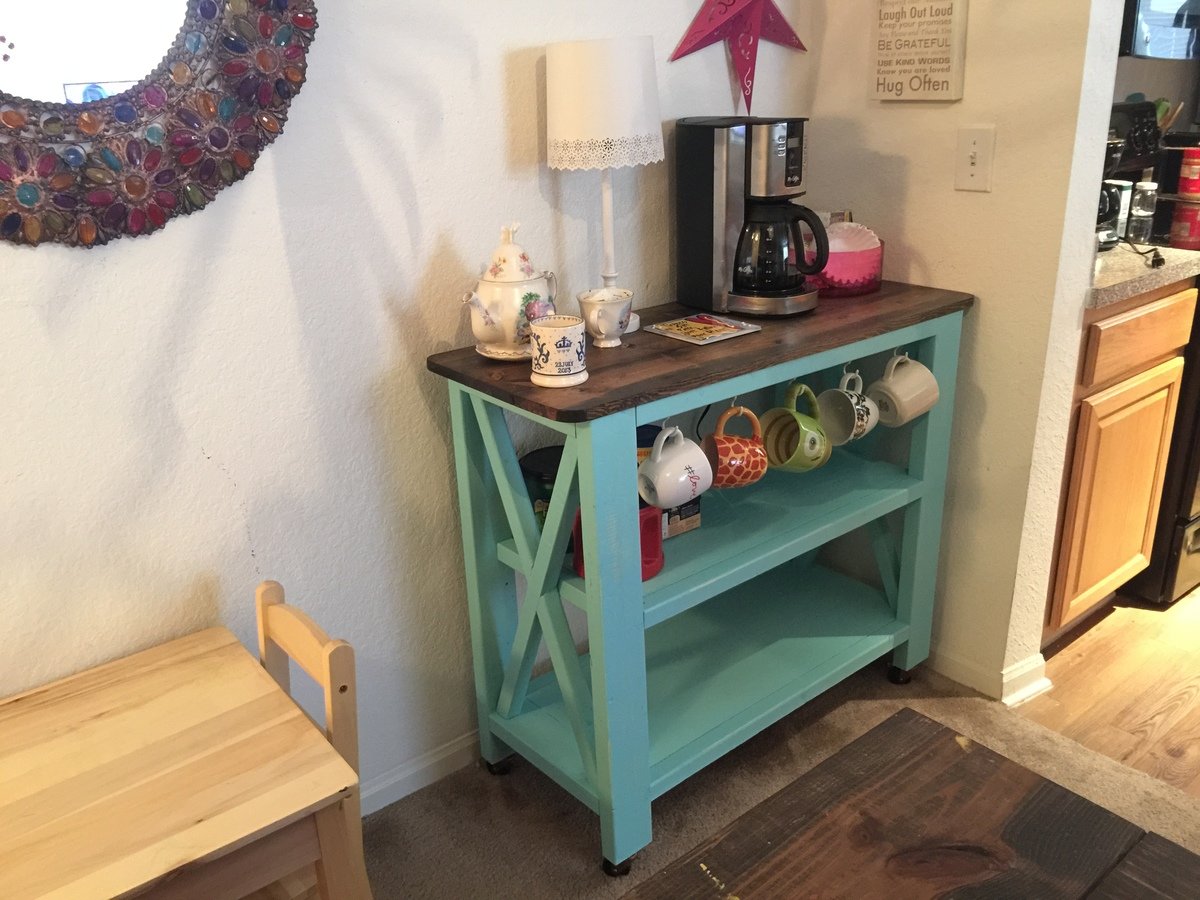
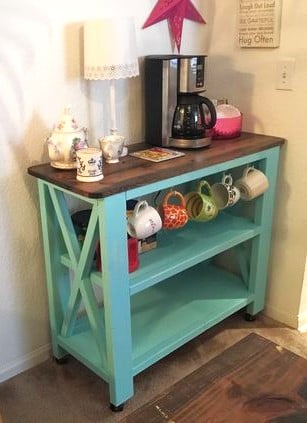
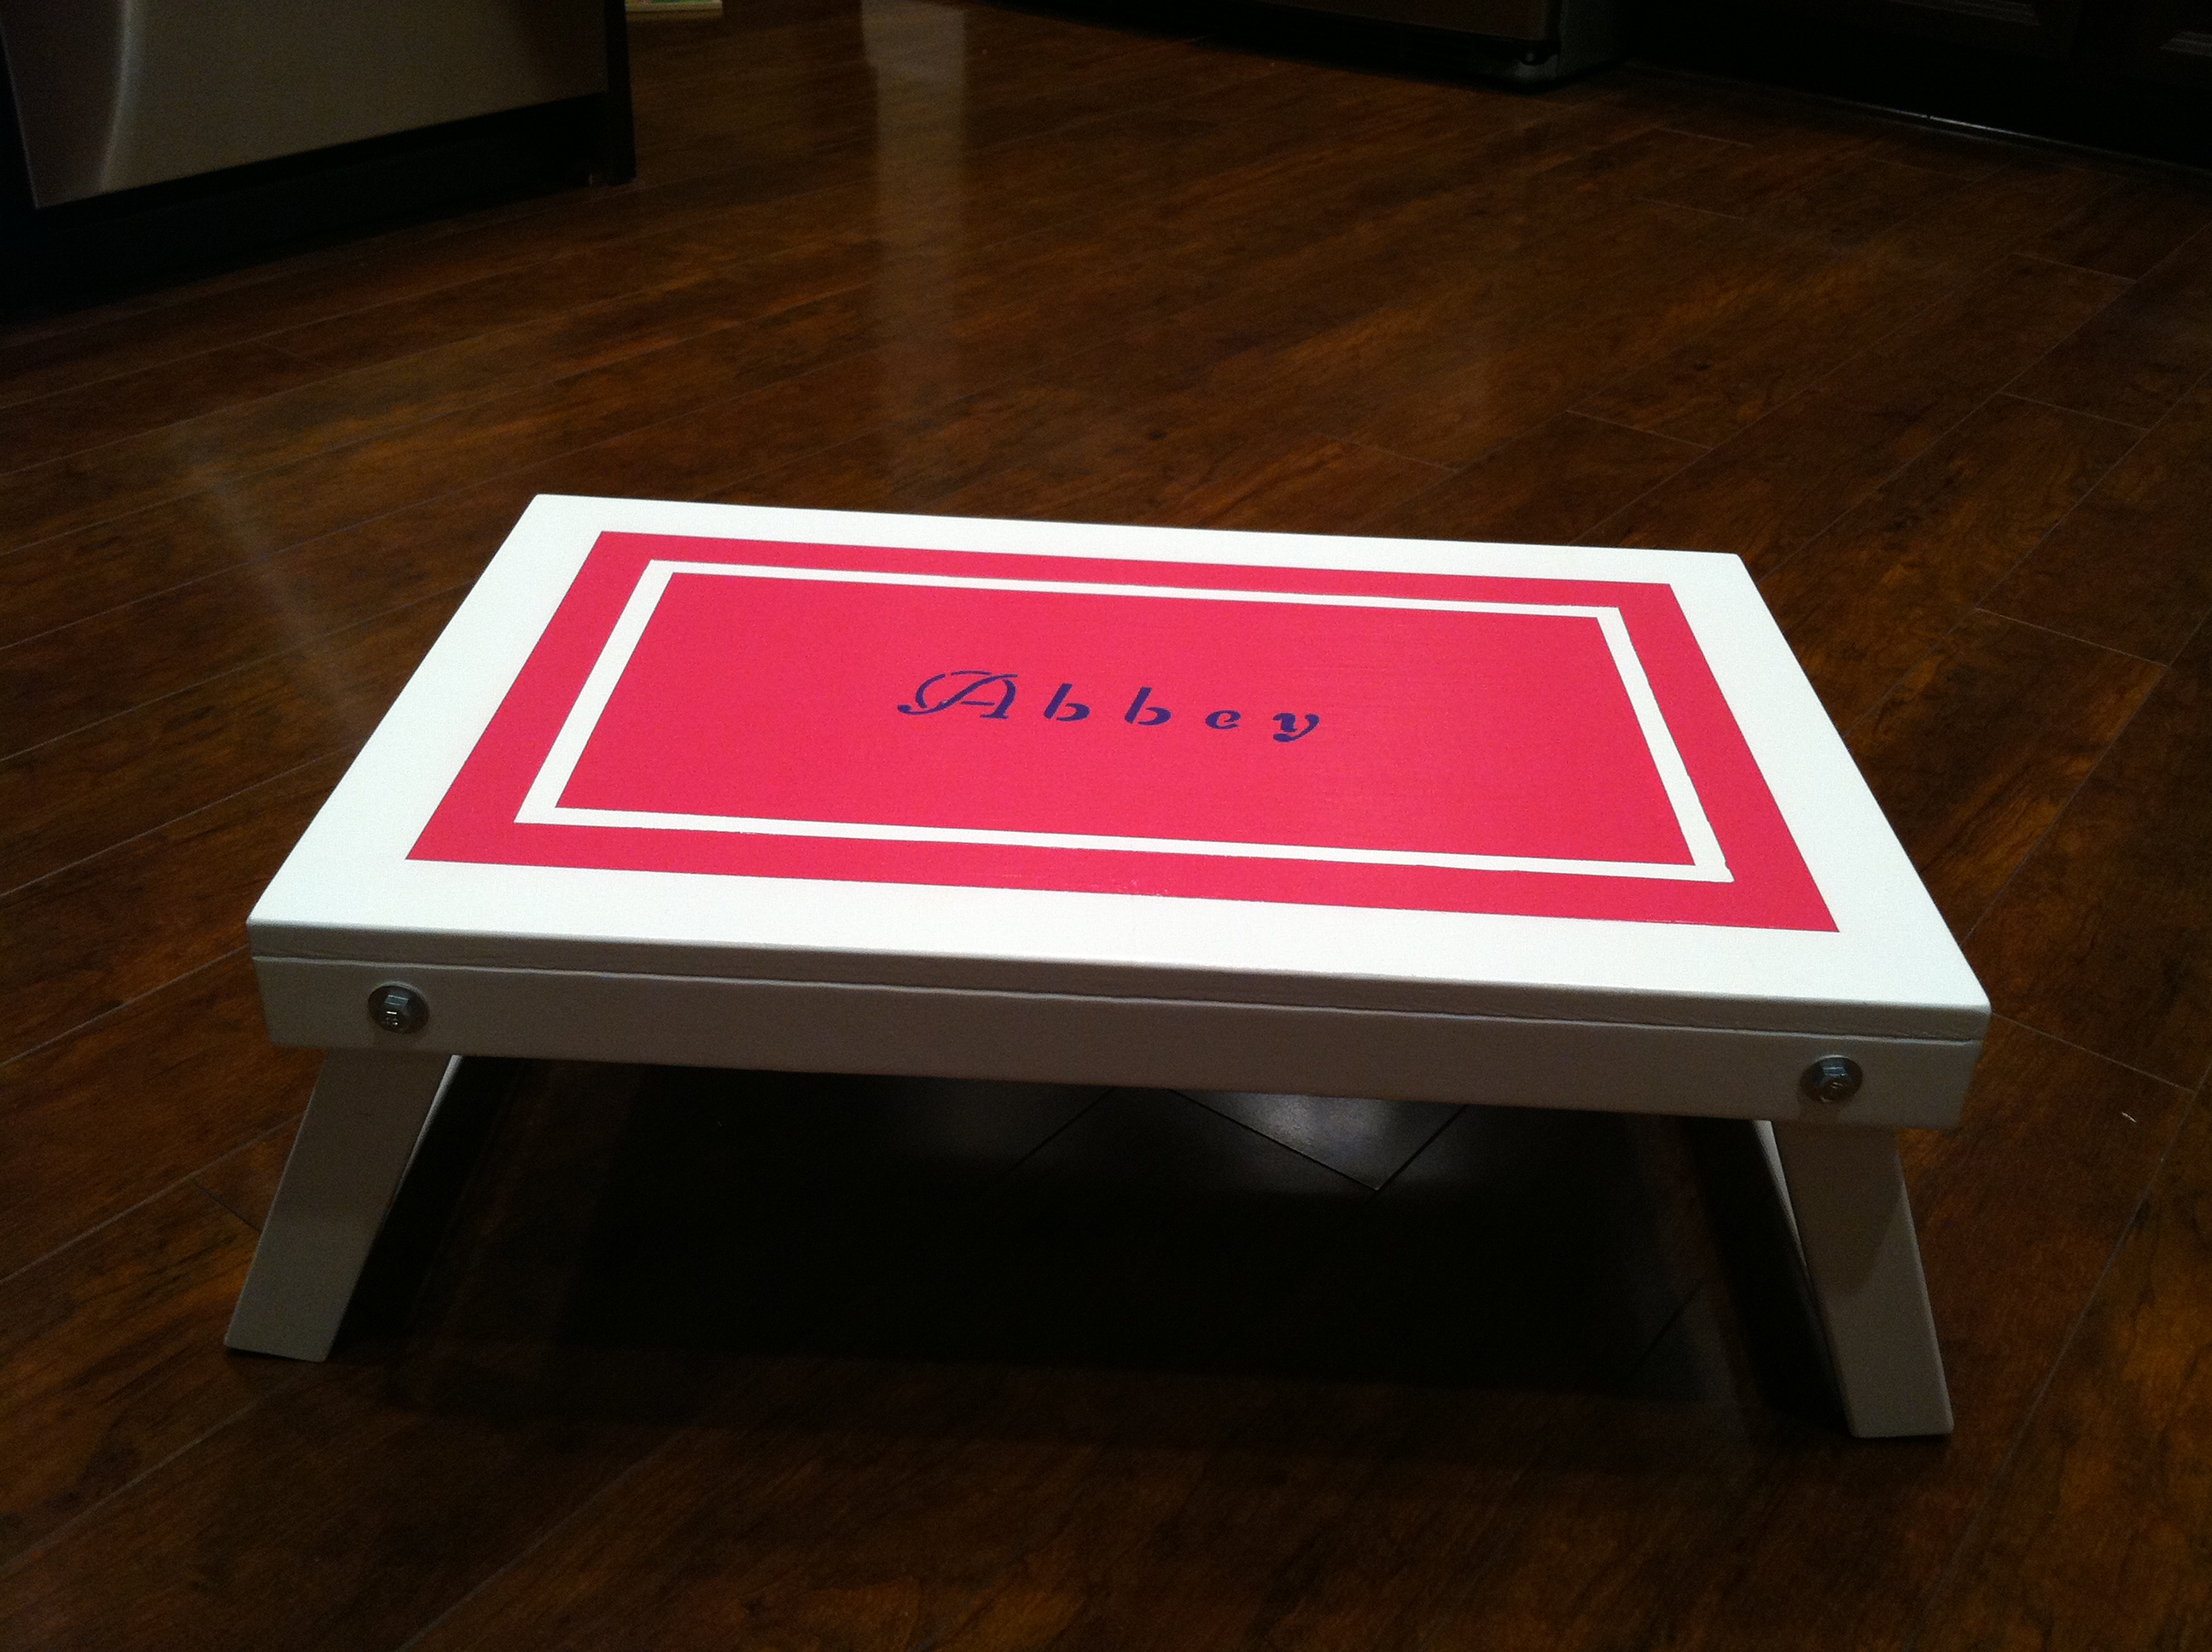
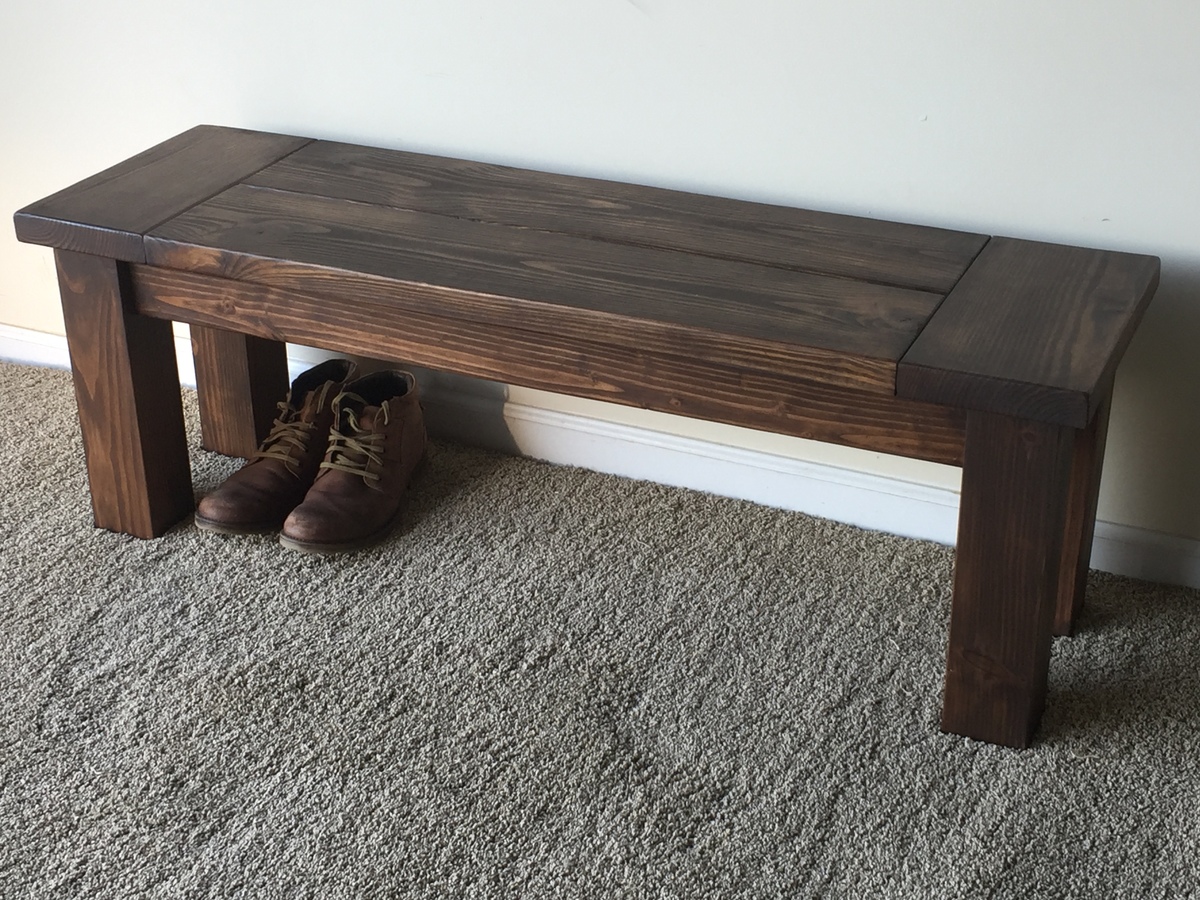
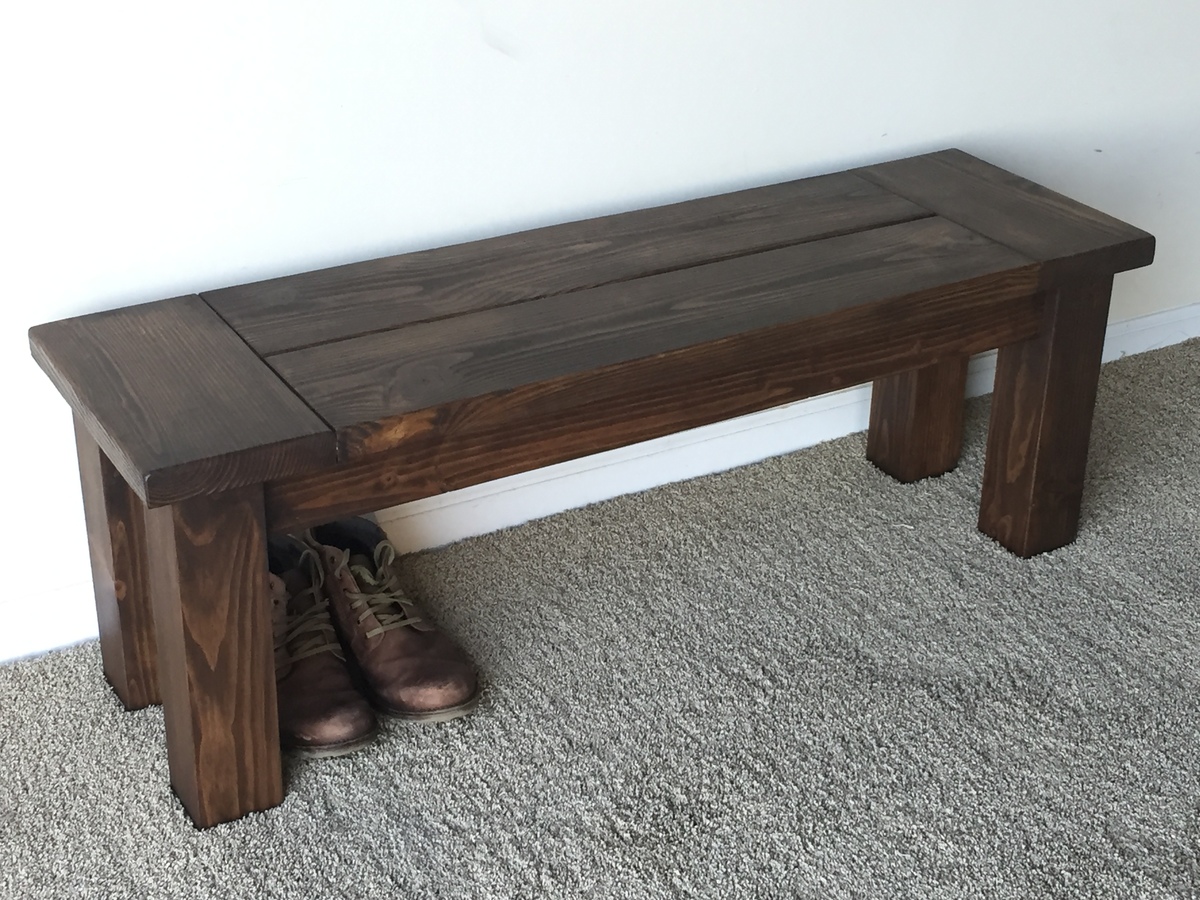
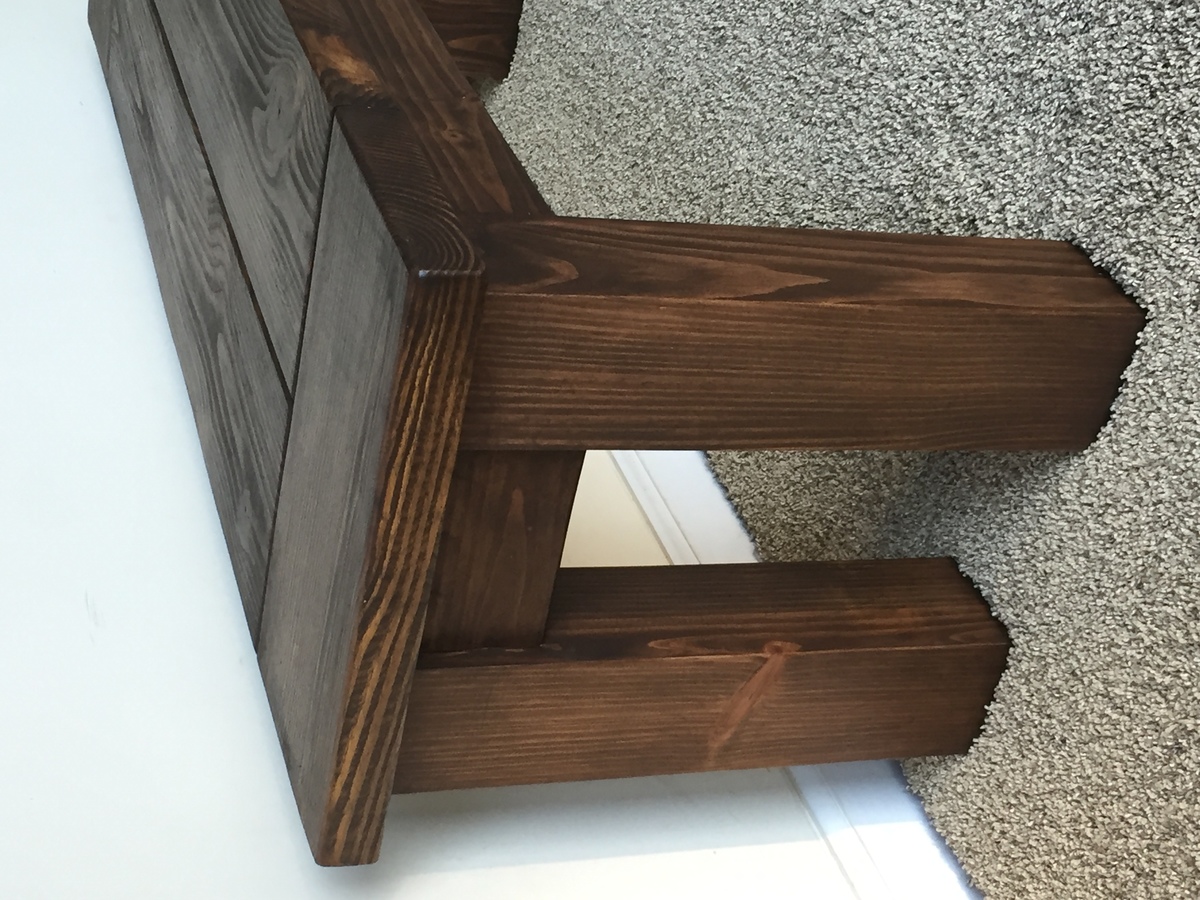
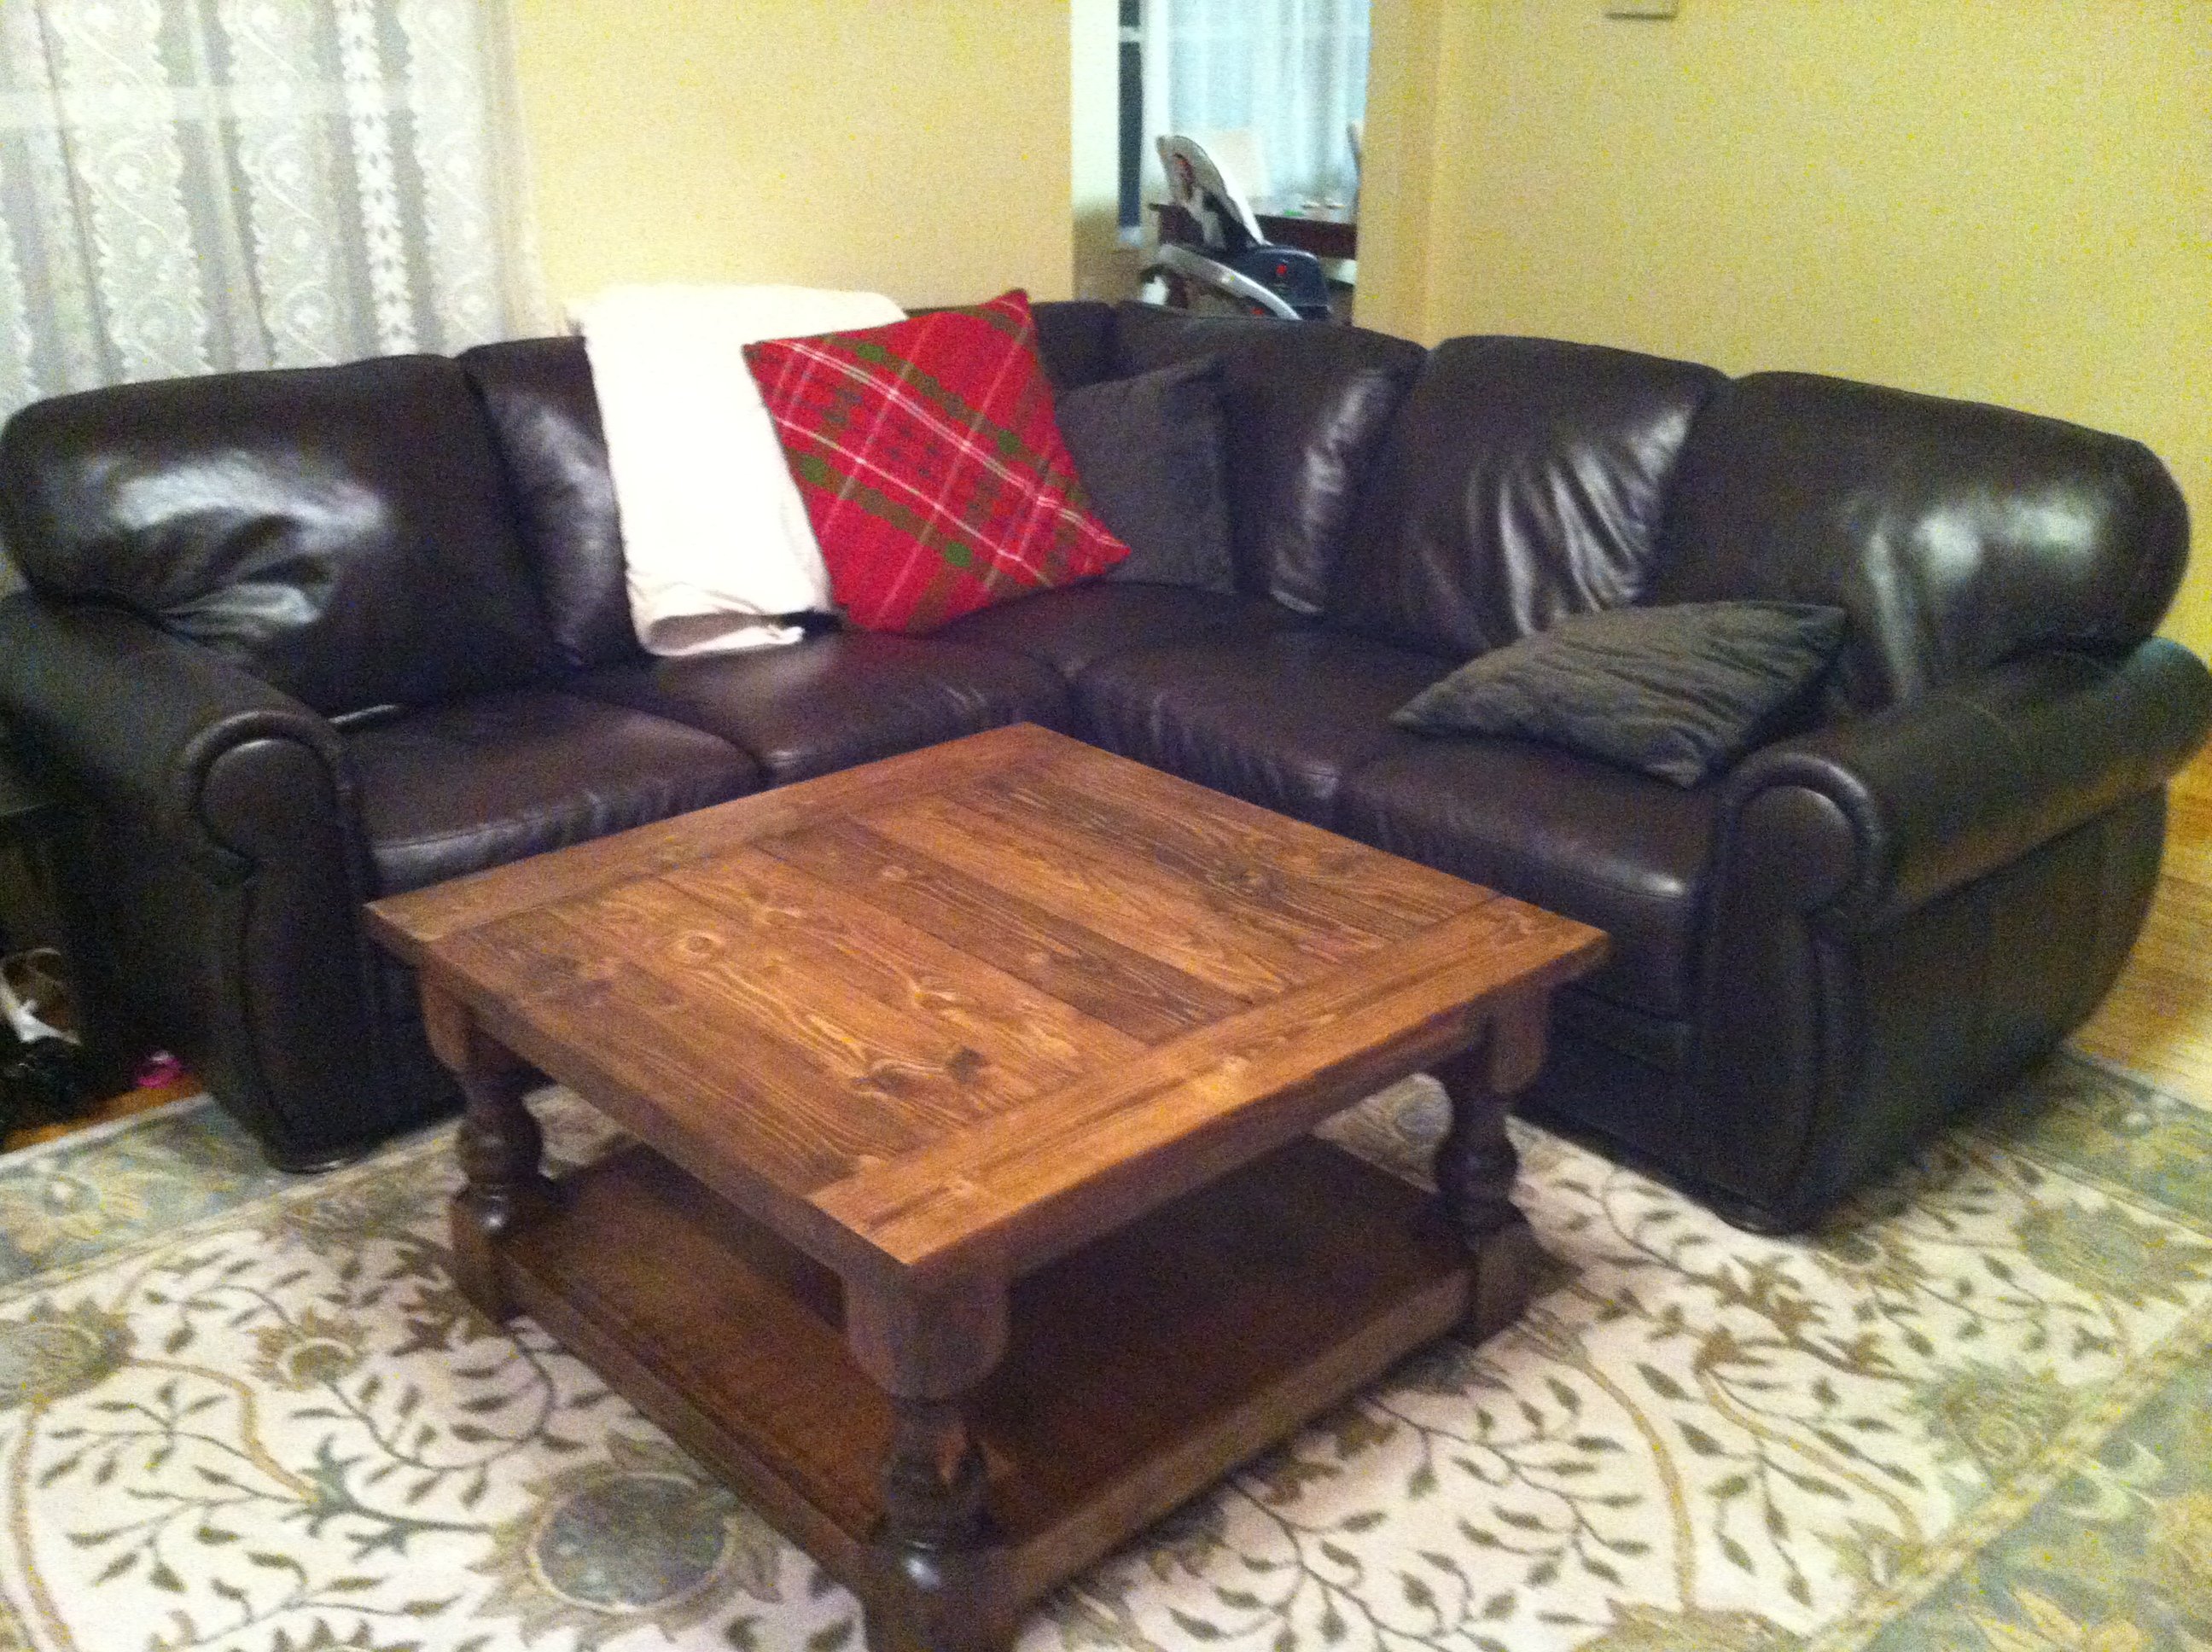
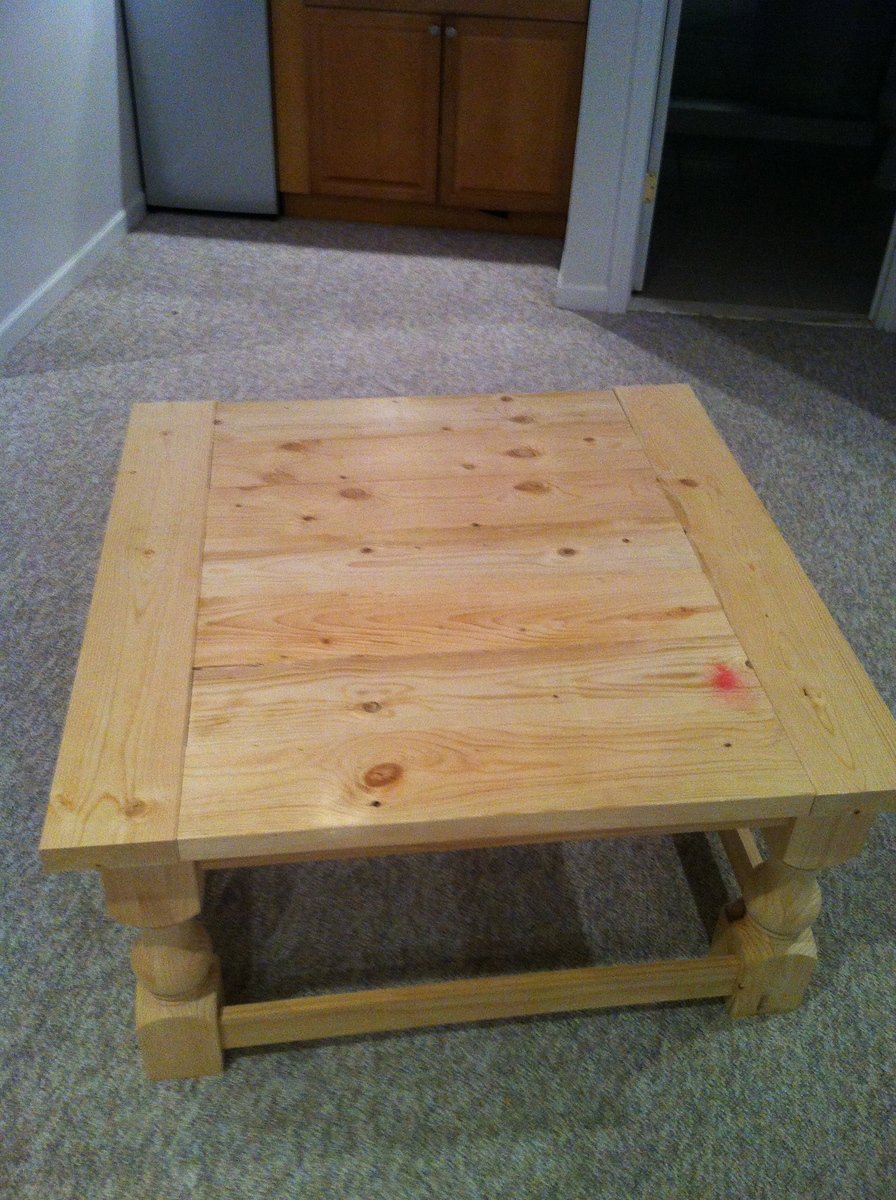
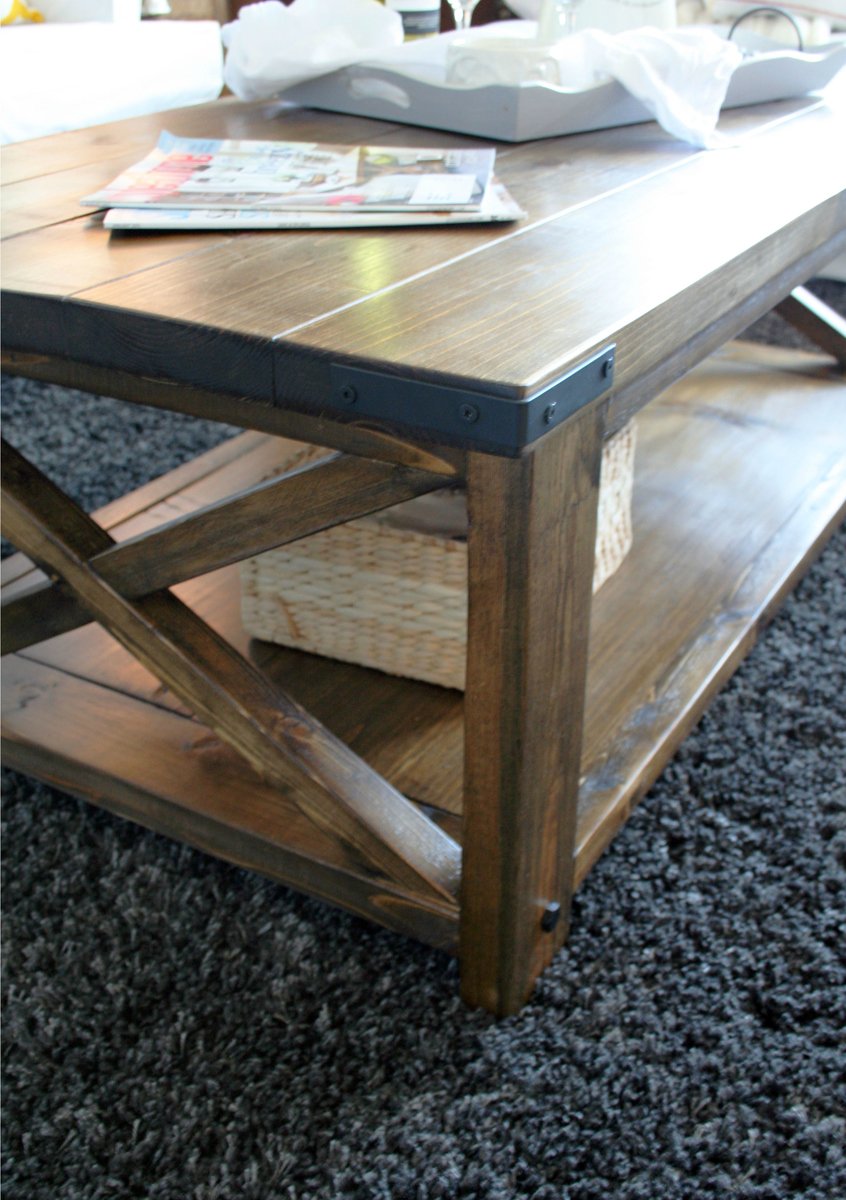
Simple Outdoor Bench
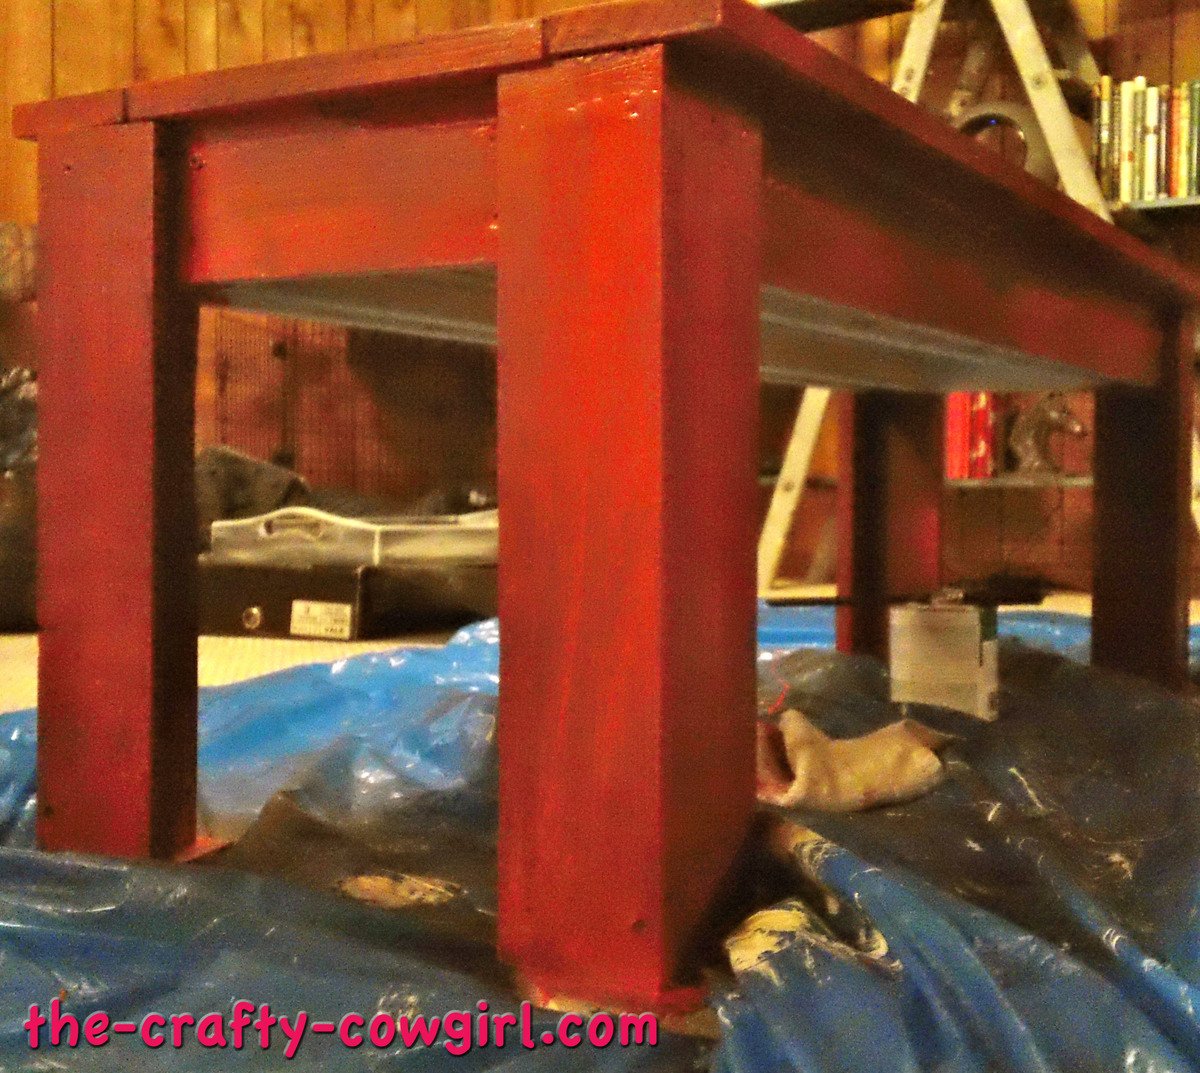
Very easy plan to follow! This was my first project and also my first time to use power tools. I made a few mistakes, but learned from them all and was very pleased with/proud of the bench!
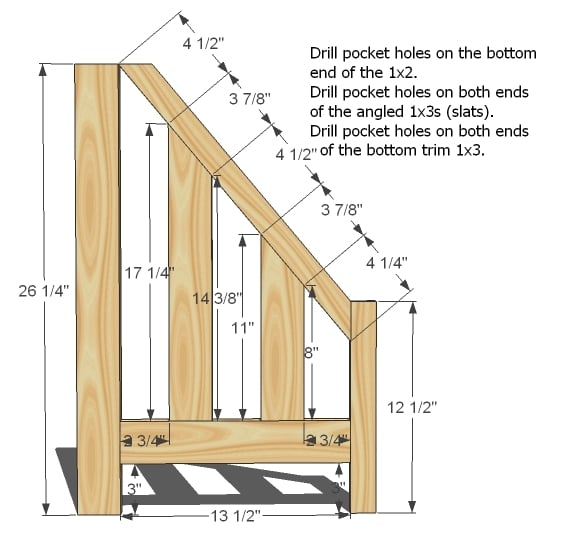
Built from Plan(s)
Estimated Cost
$25
Estimated Time Investment
Afternoon Project (3-6 Hours)
Finish Used
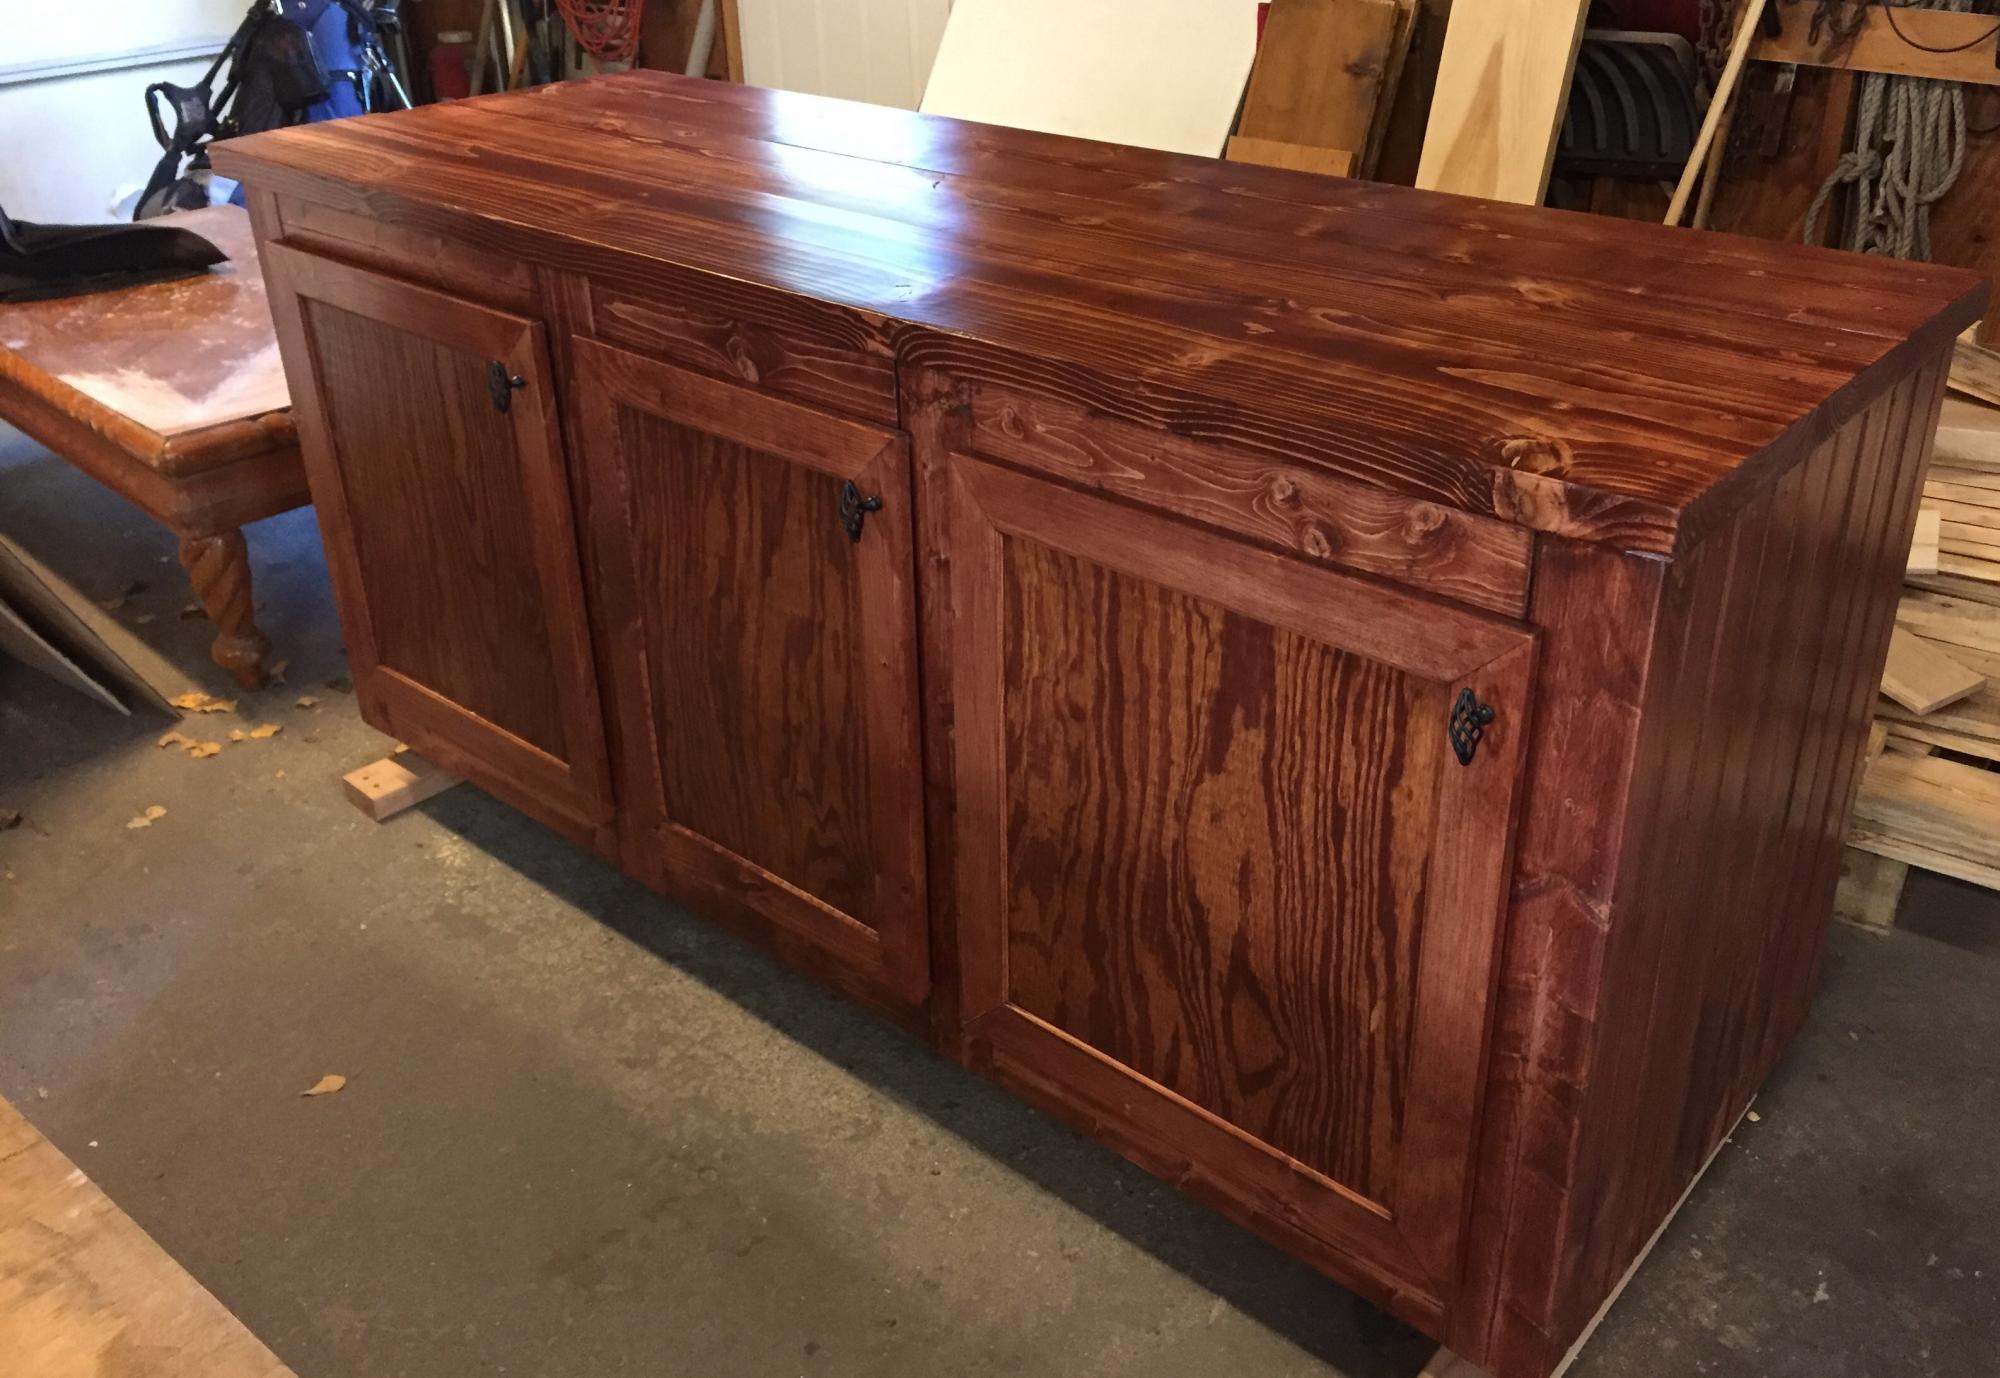
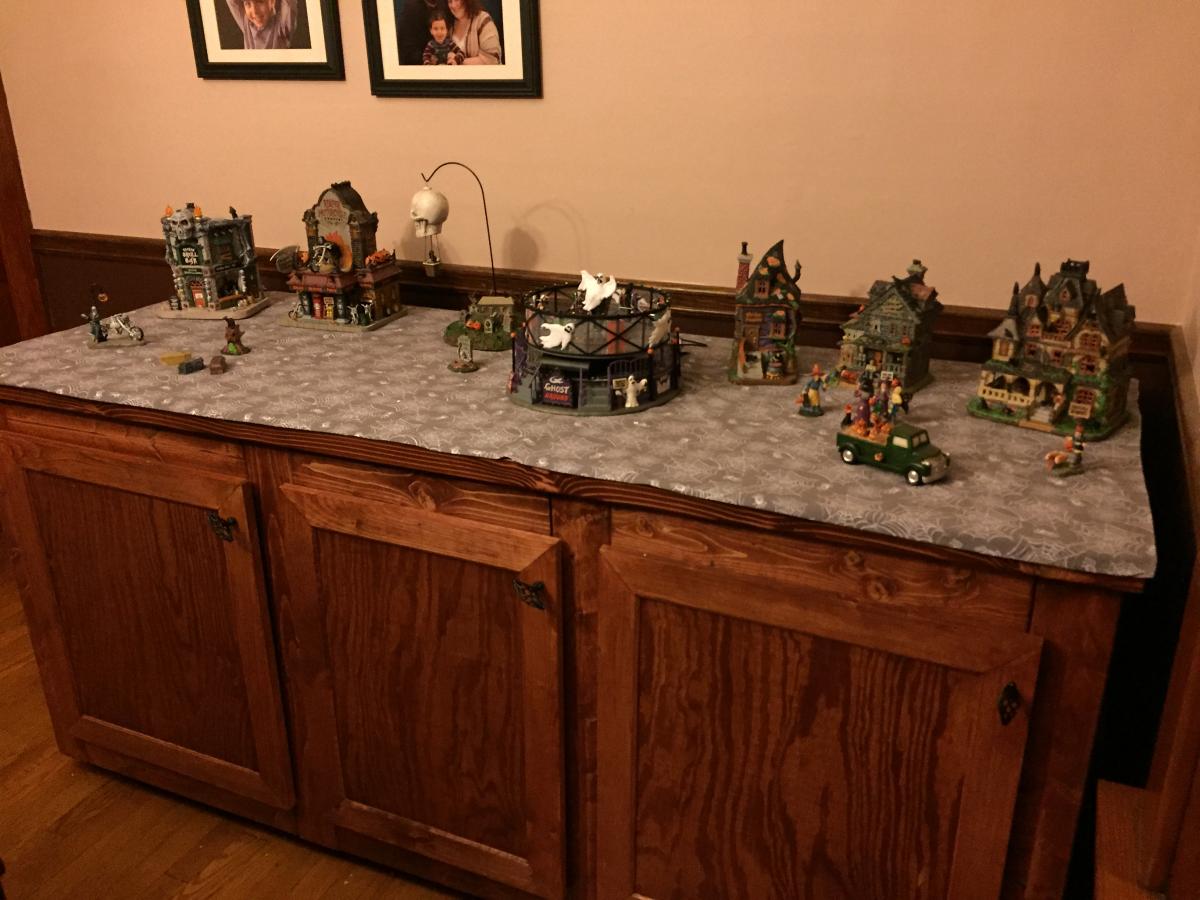
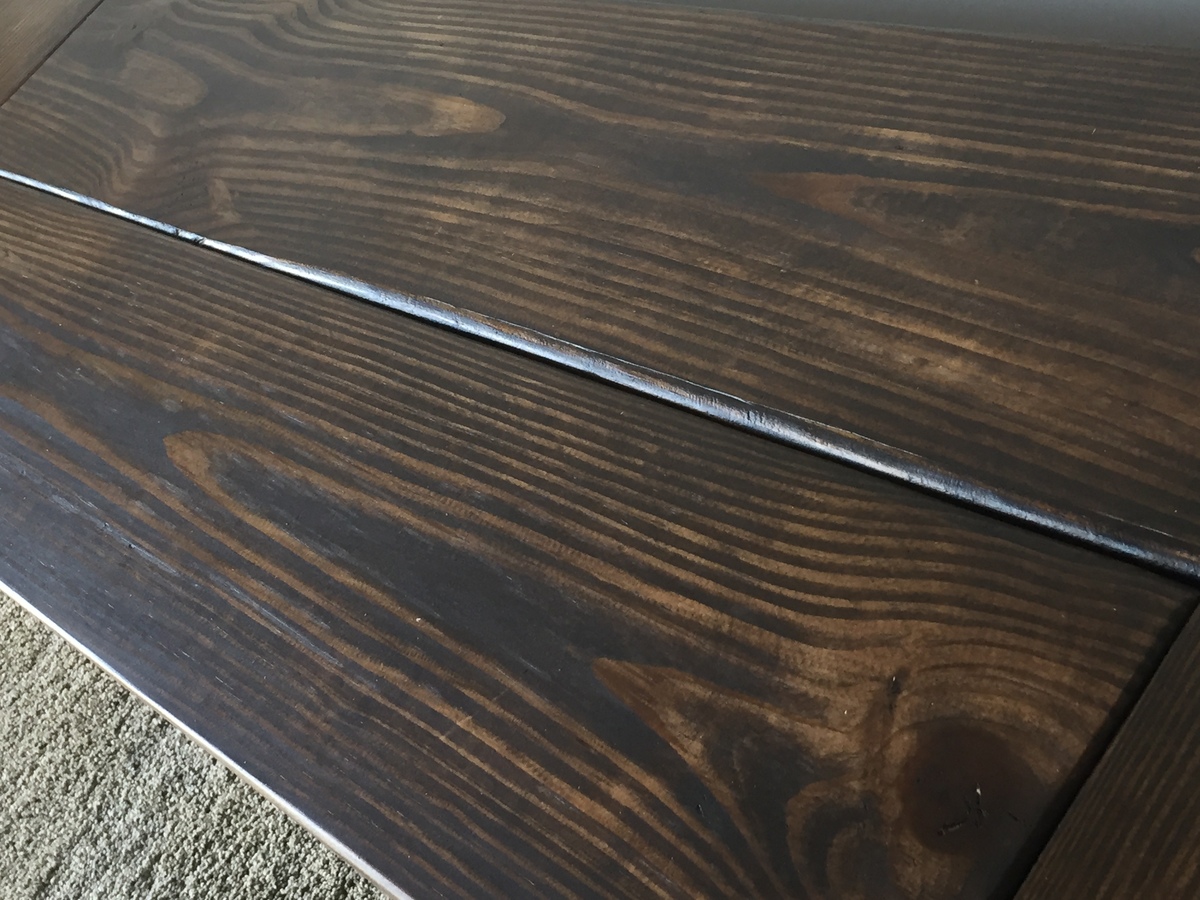
Make sure you paint it before you put it together (one of the mistakes I made was to not do this!)!!! Spray paint camo brown and dry brush several coats of red on top. Distress/age with sand block on corners.
Recommended Skill Level
Starter Project


Comments
Martha Jones DW
Tue, 01/24/2012 - 20:00
1st Time Made
Your bench came out nice.
In reply to 1st Time Made by Martha Jones DW
The-Crafty-Cowgirl
Sat, 01/28/2012 - 18:32
Thanks!
Thanks! There were several little mistakes I made but I'm going to go ahead and just use the excuse that it adds character! Learned a lot that I'll be able to apply to my future projects.