Awesome
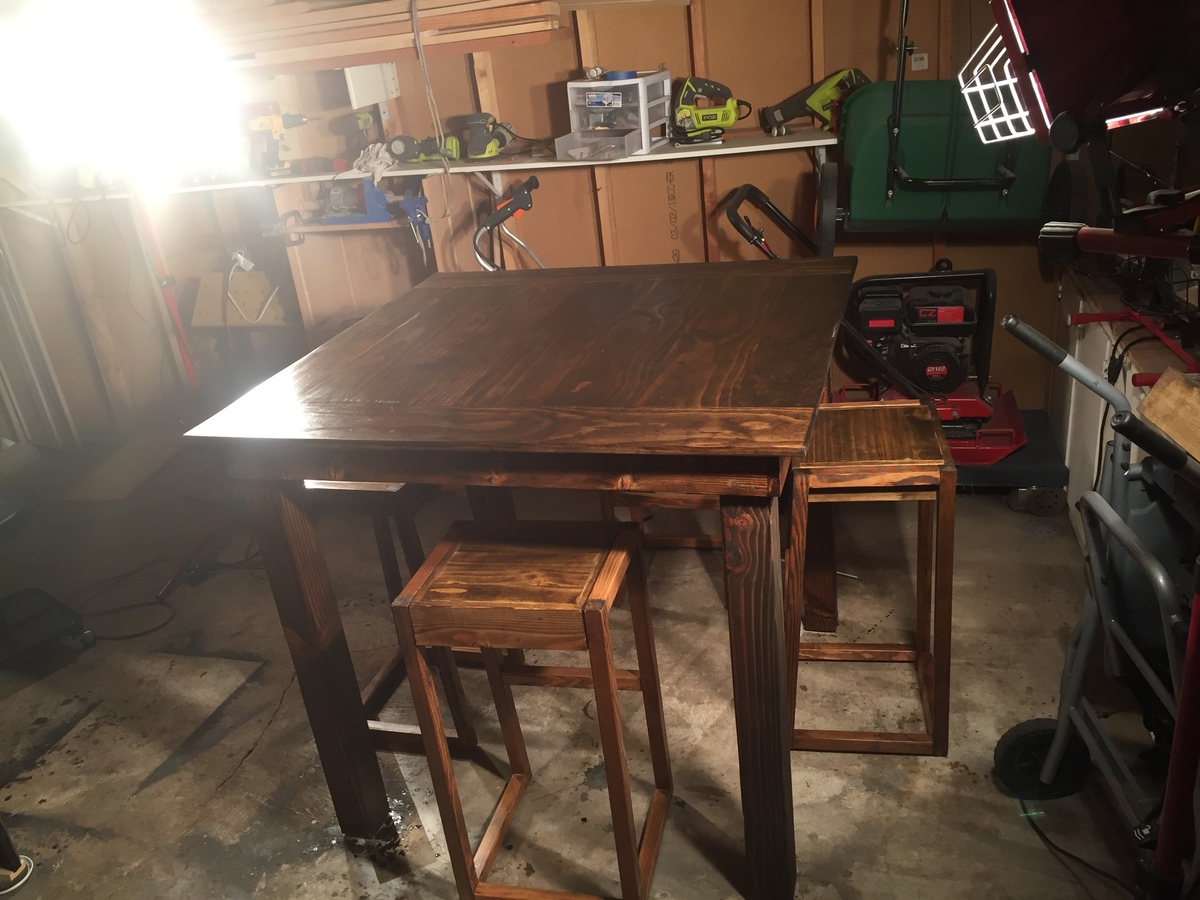
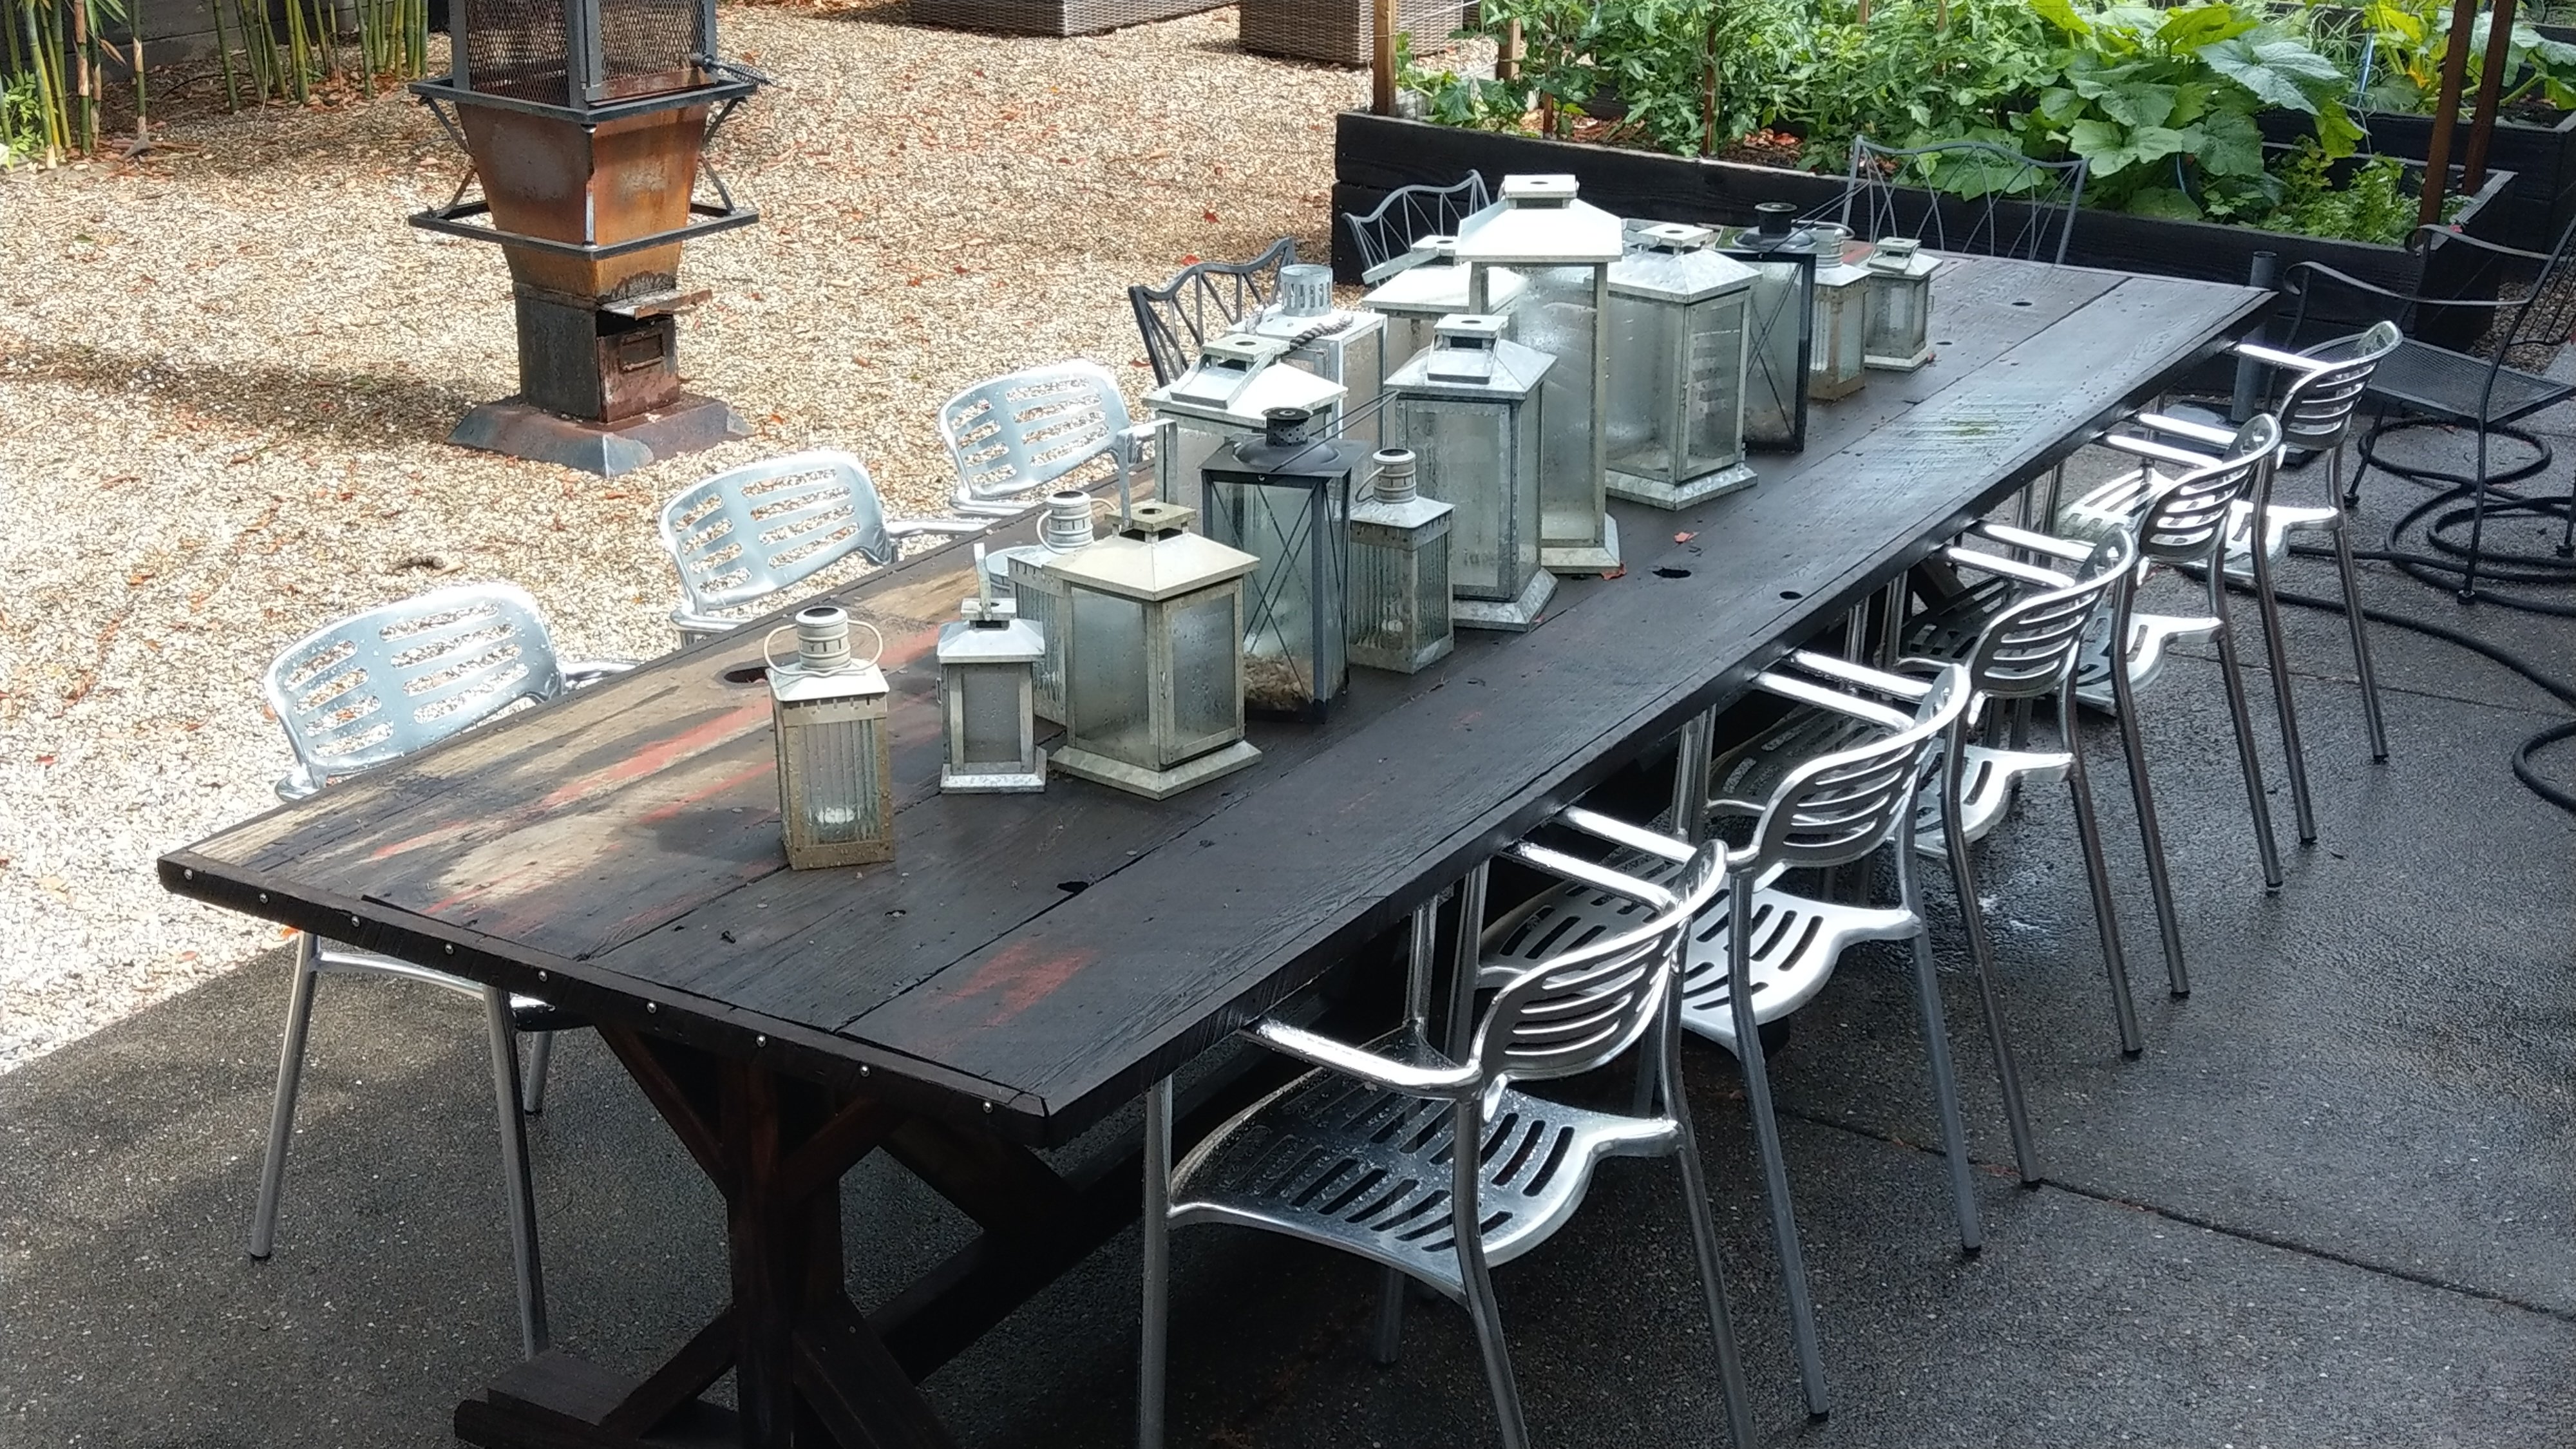
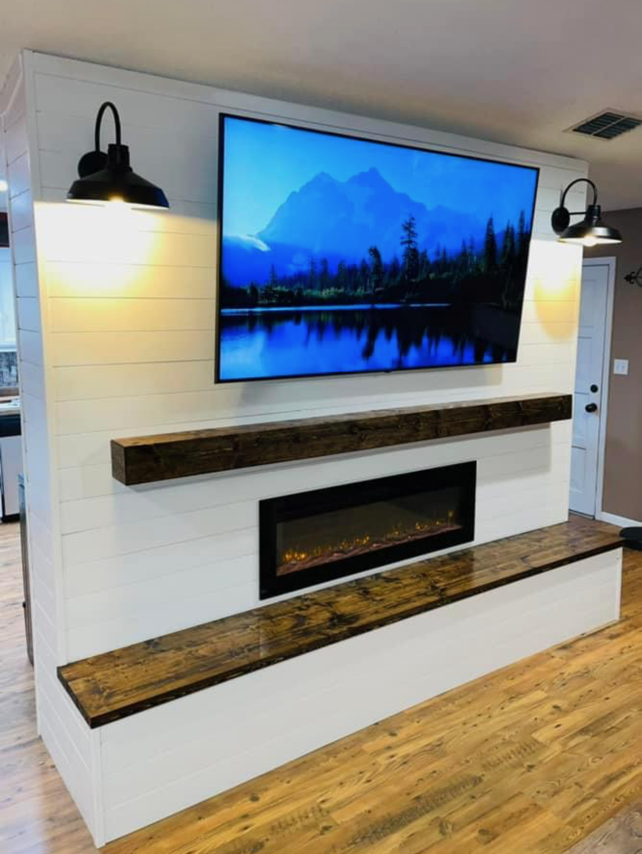
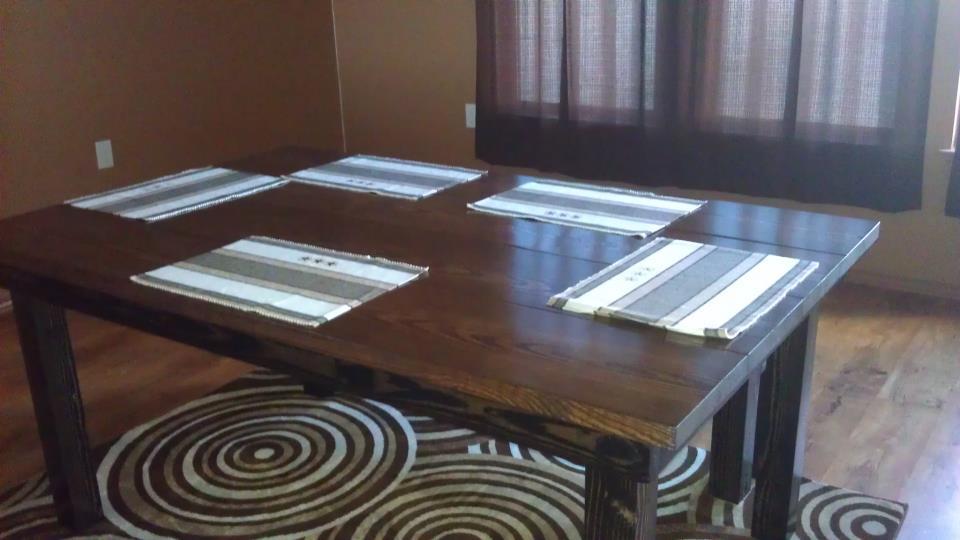
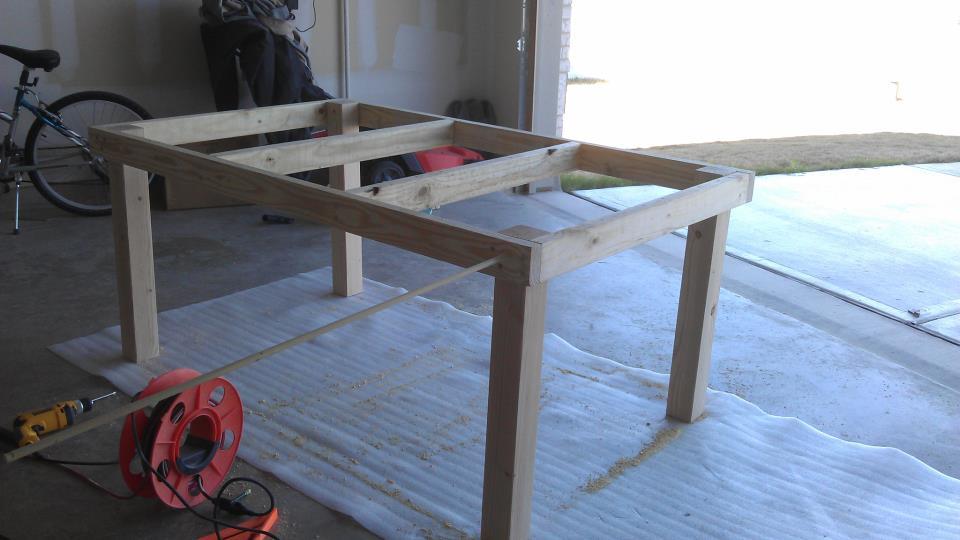
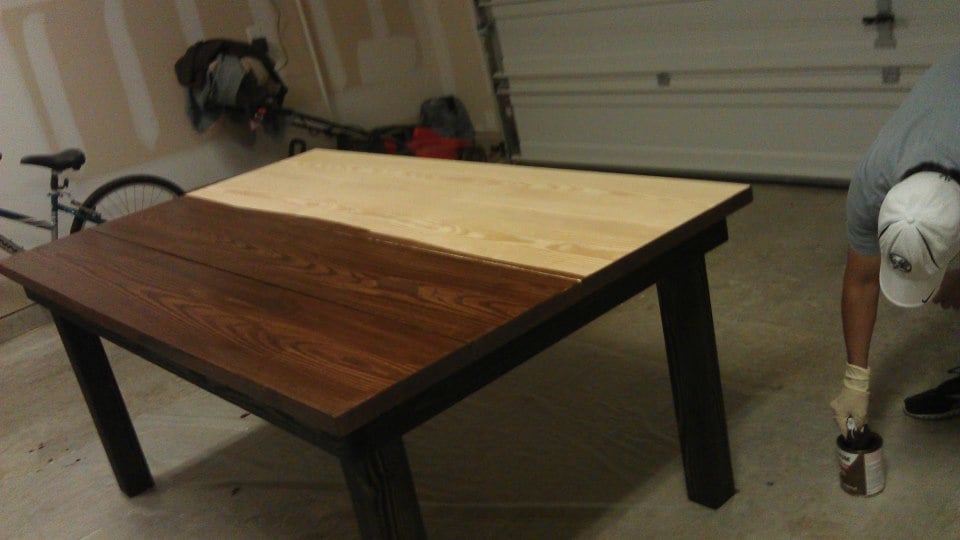
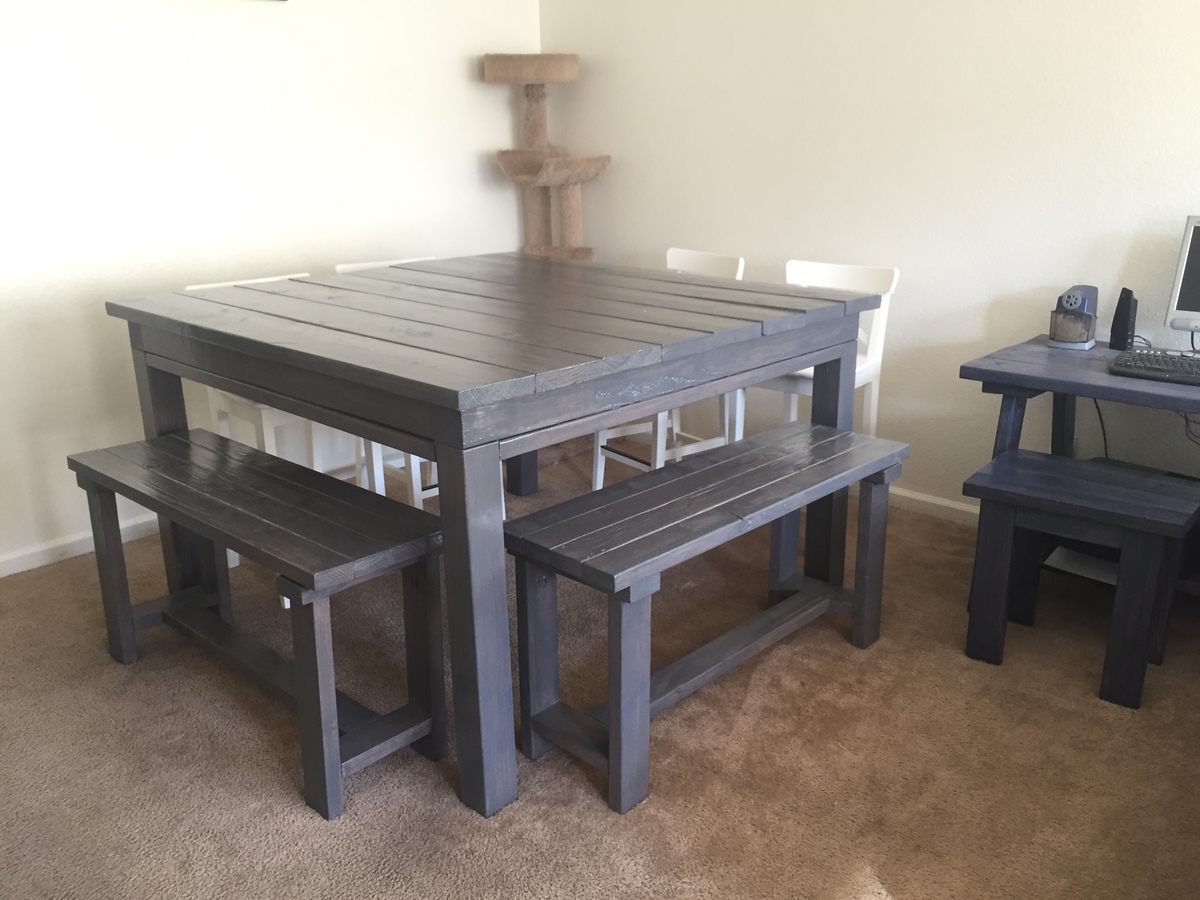
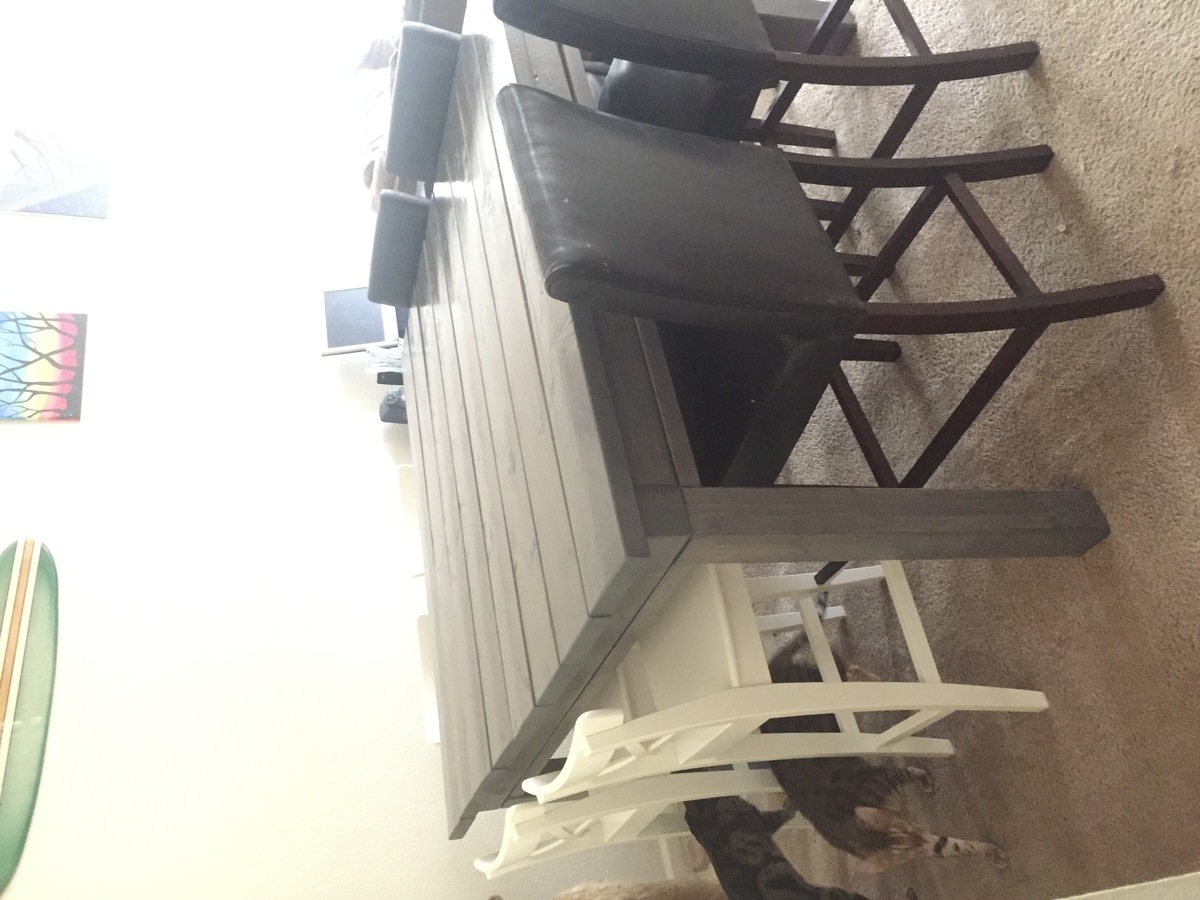
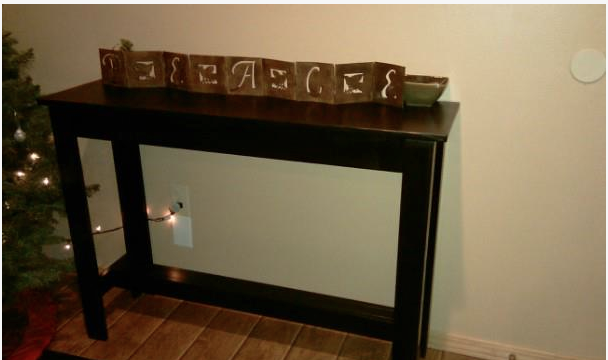
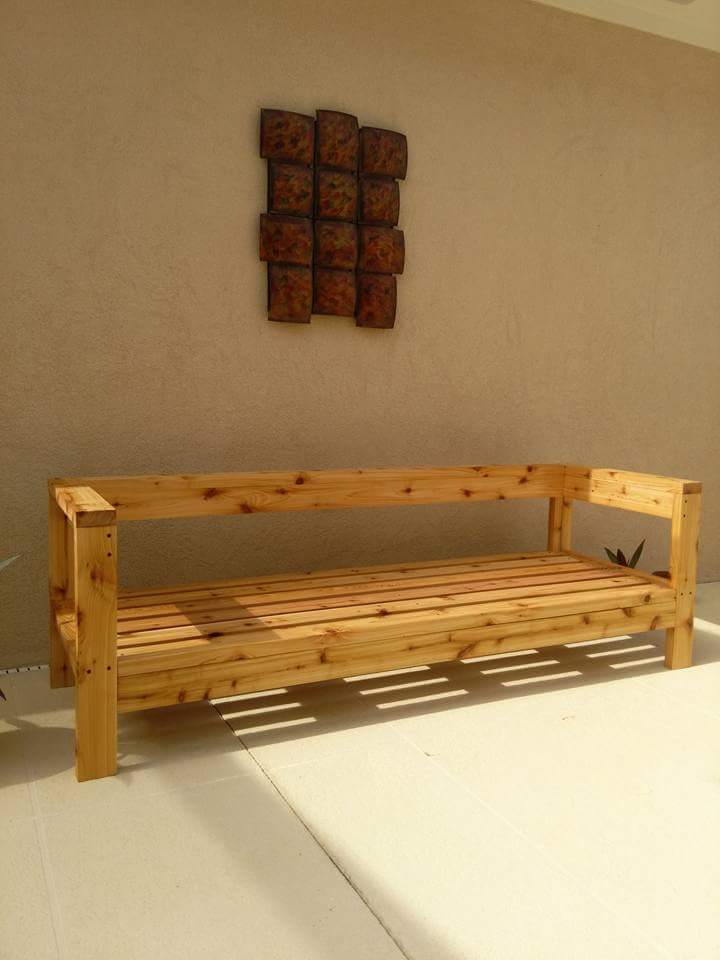
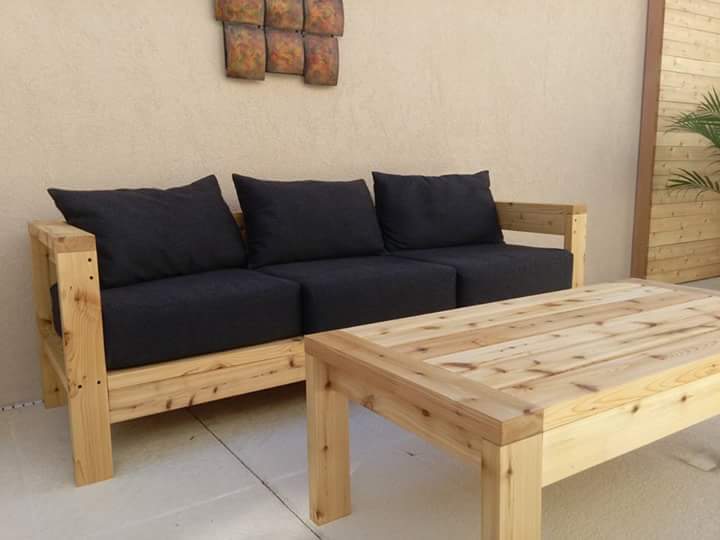
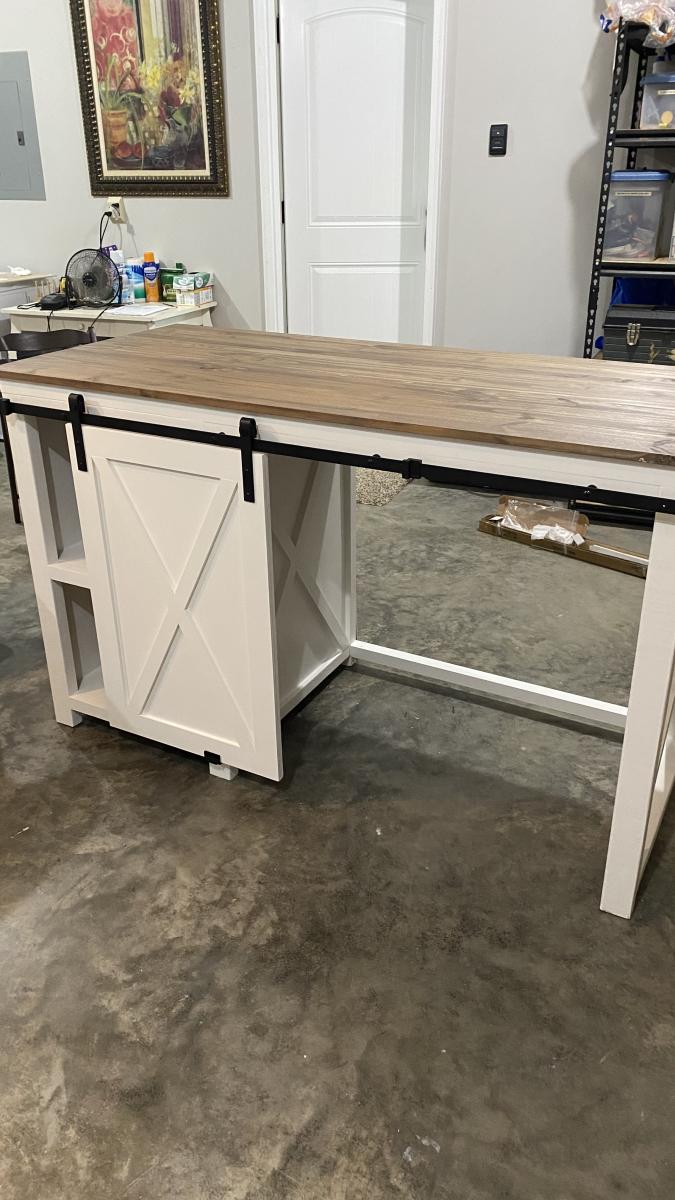
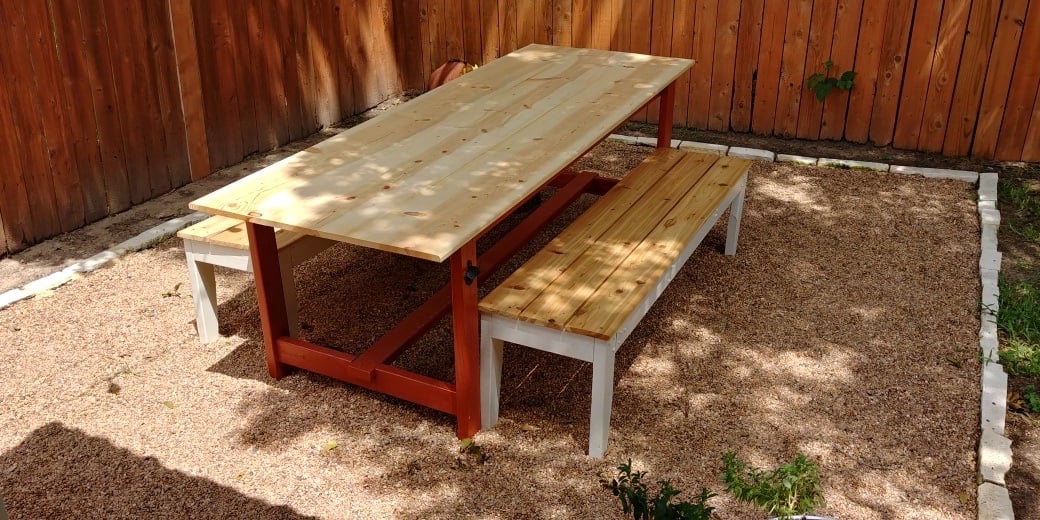
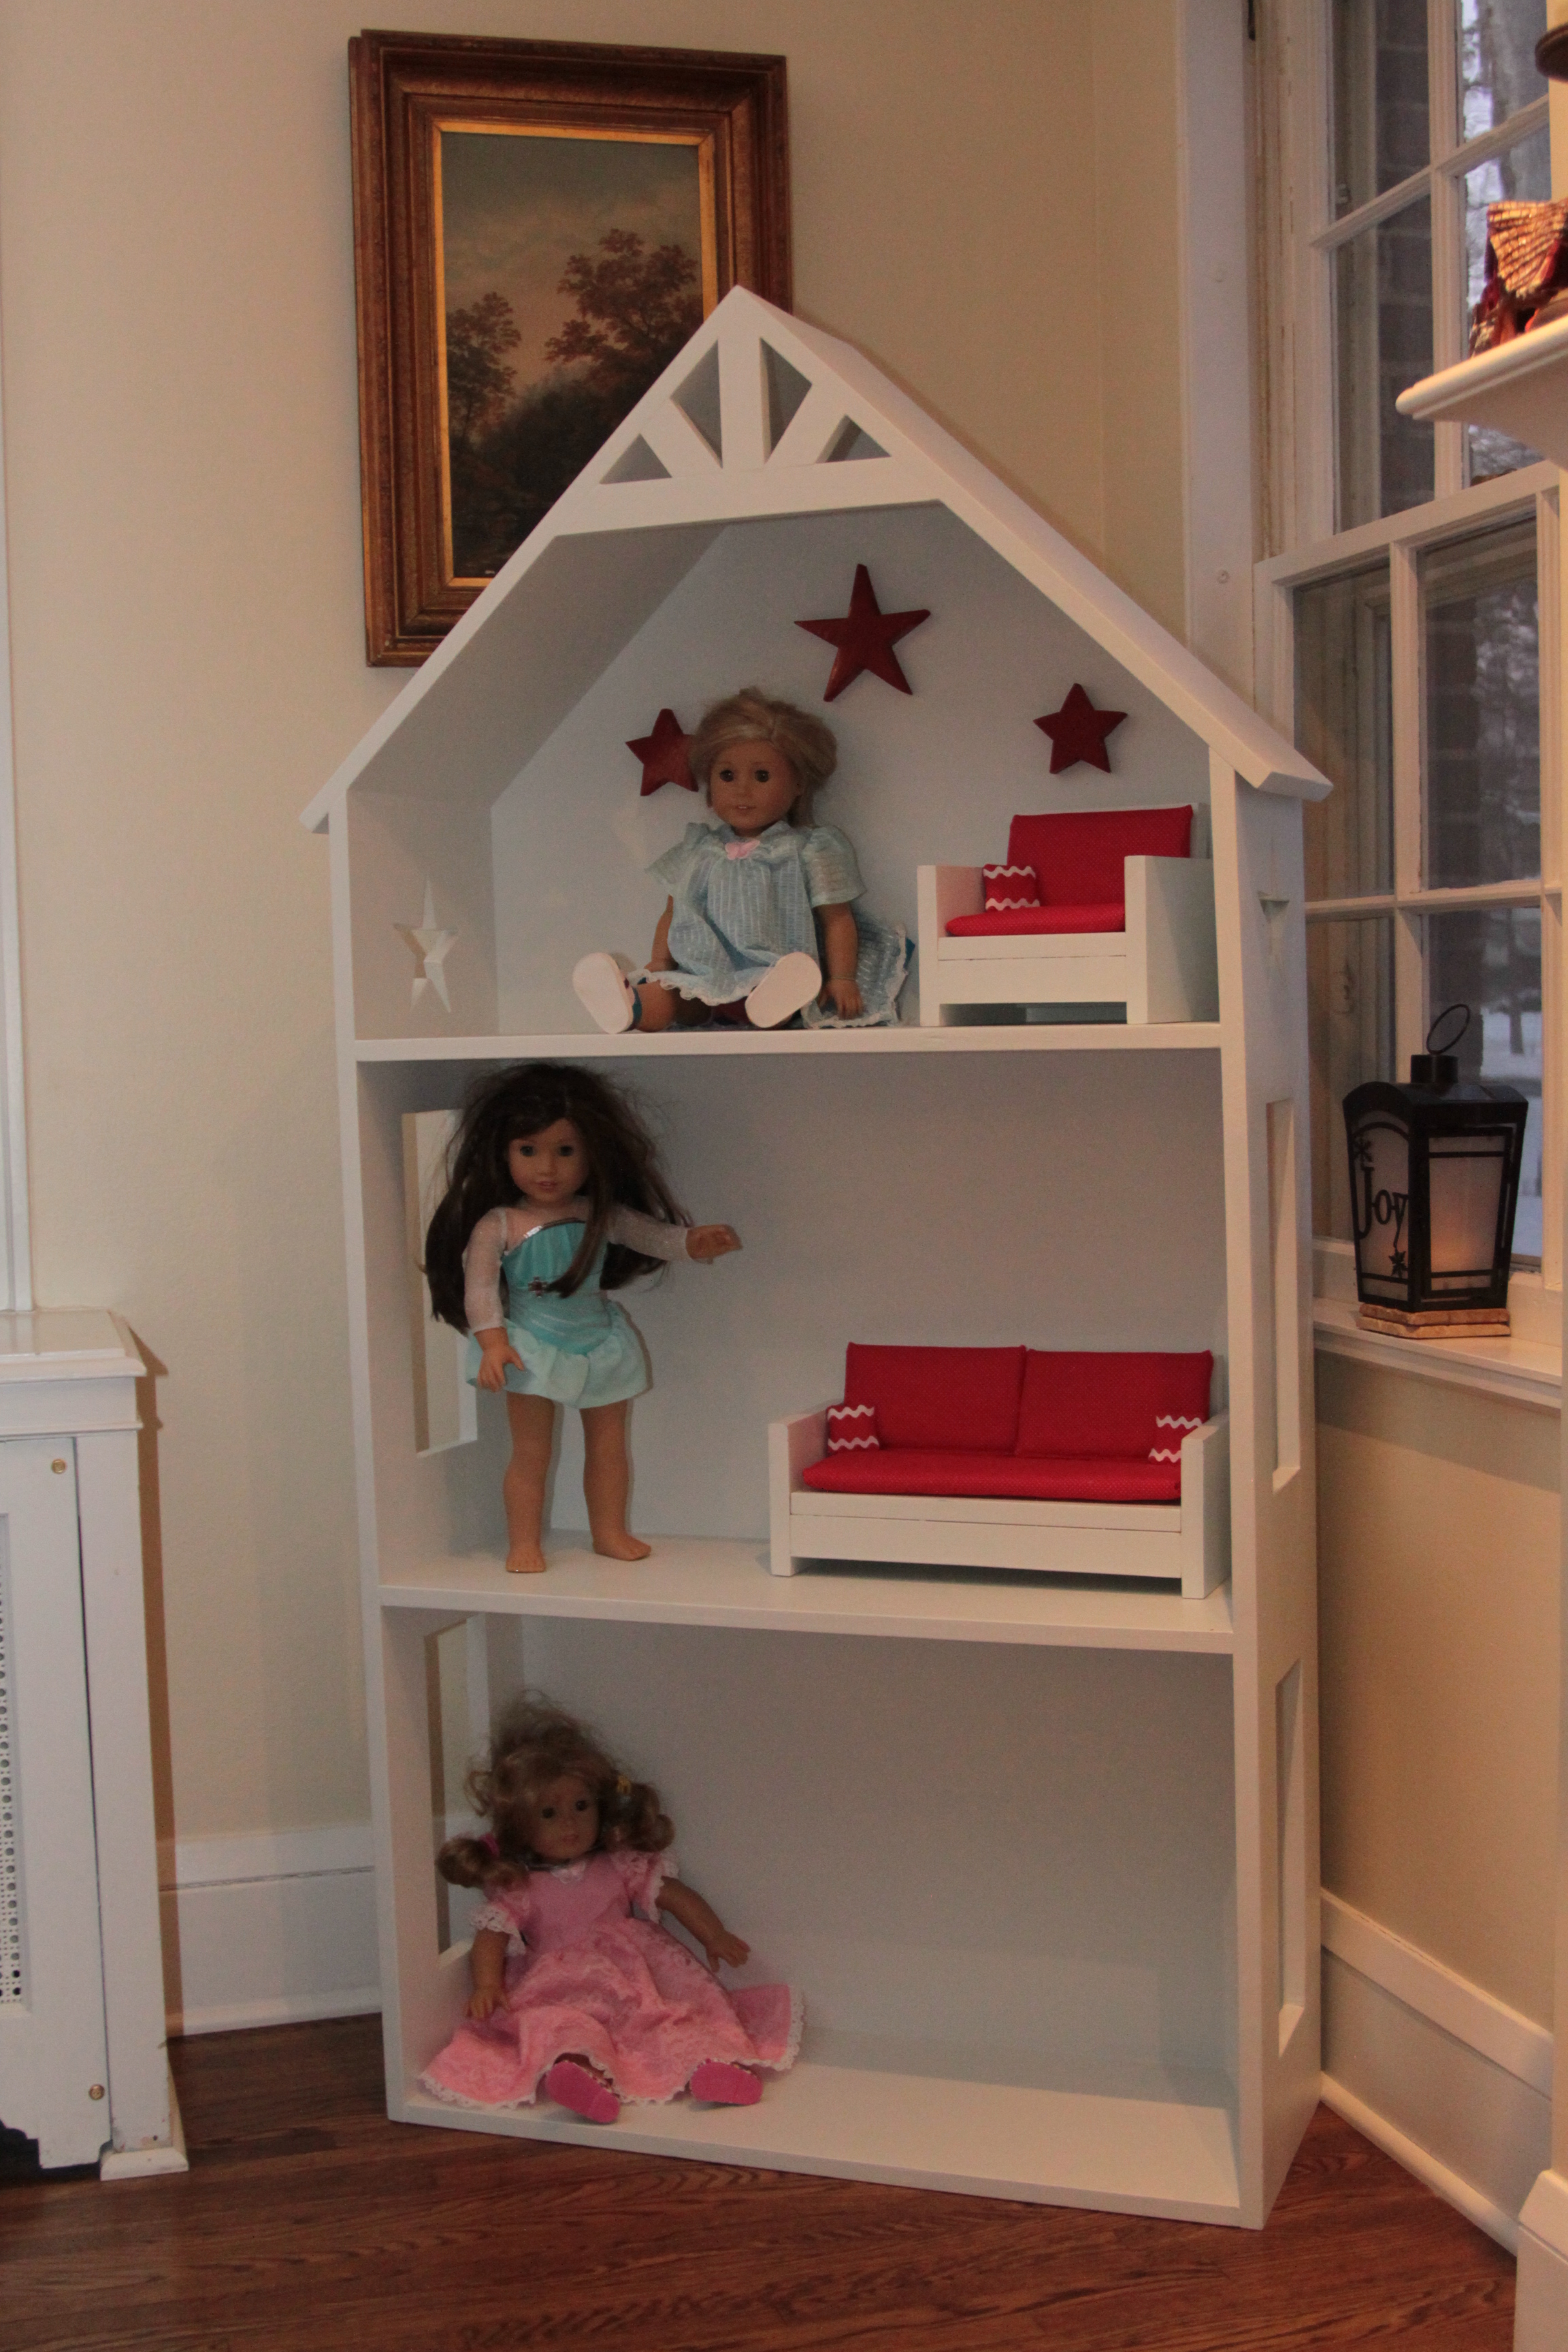
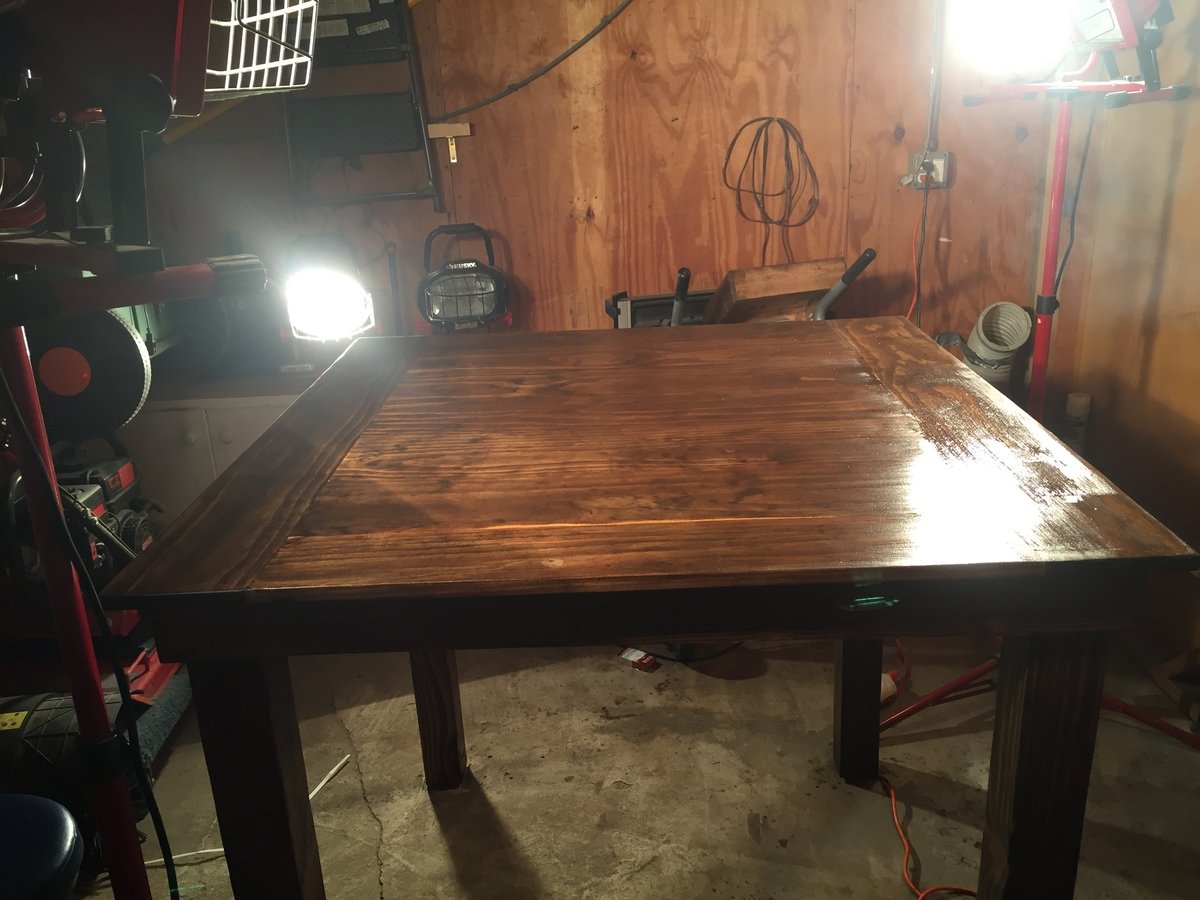
This was a lot of fun. Altered it to make it 44" x 44". 4 seater
Built from Plan(s)
Estimated Cost
$70.00
Estimated Time Investment
Afternoon Project (3-6 Hours)
Finish Used
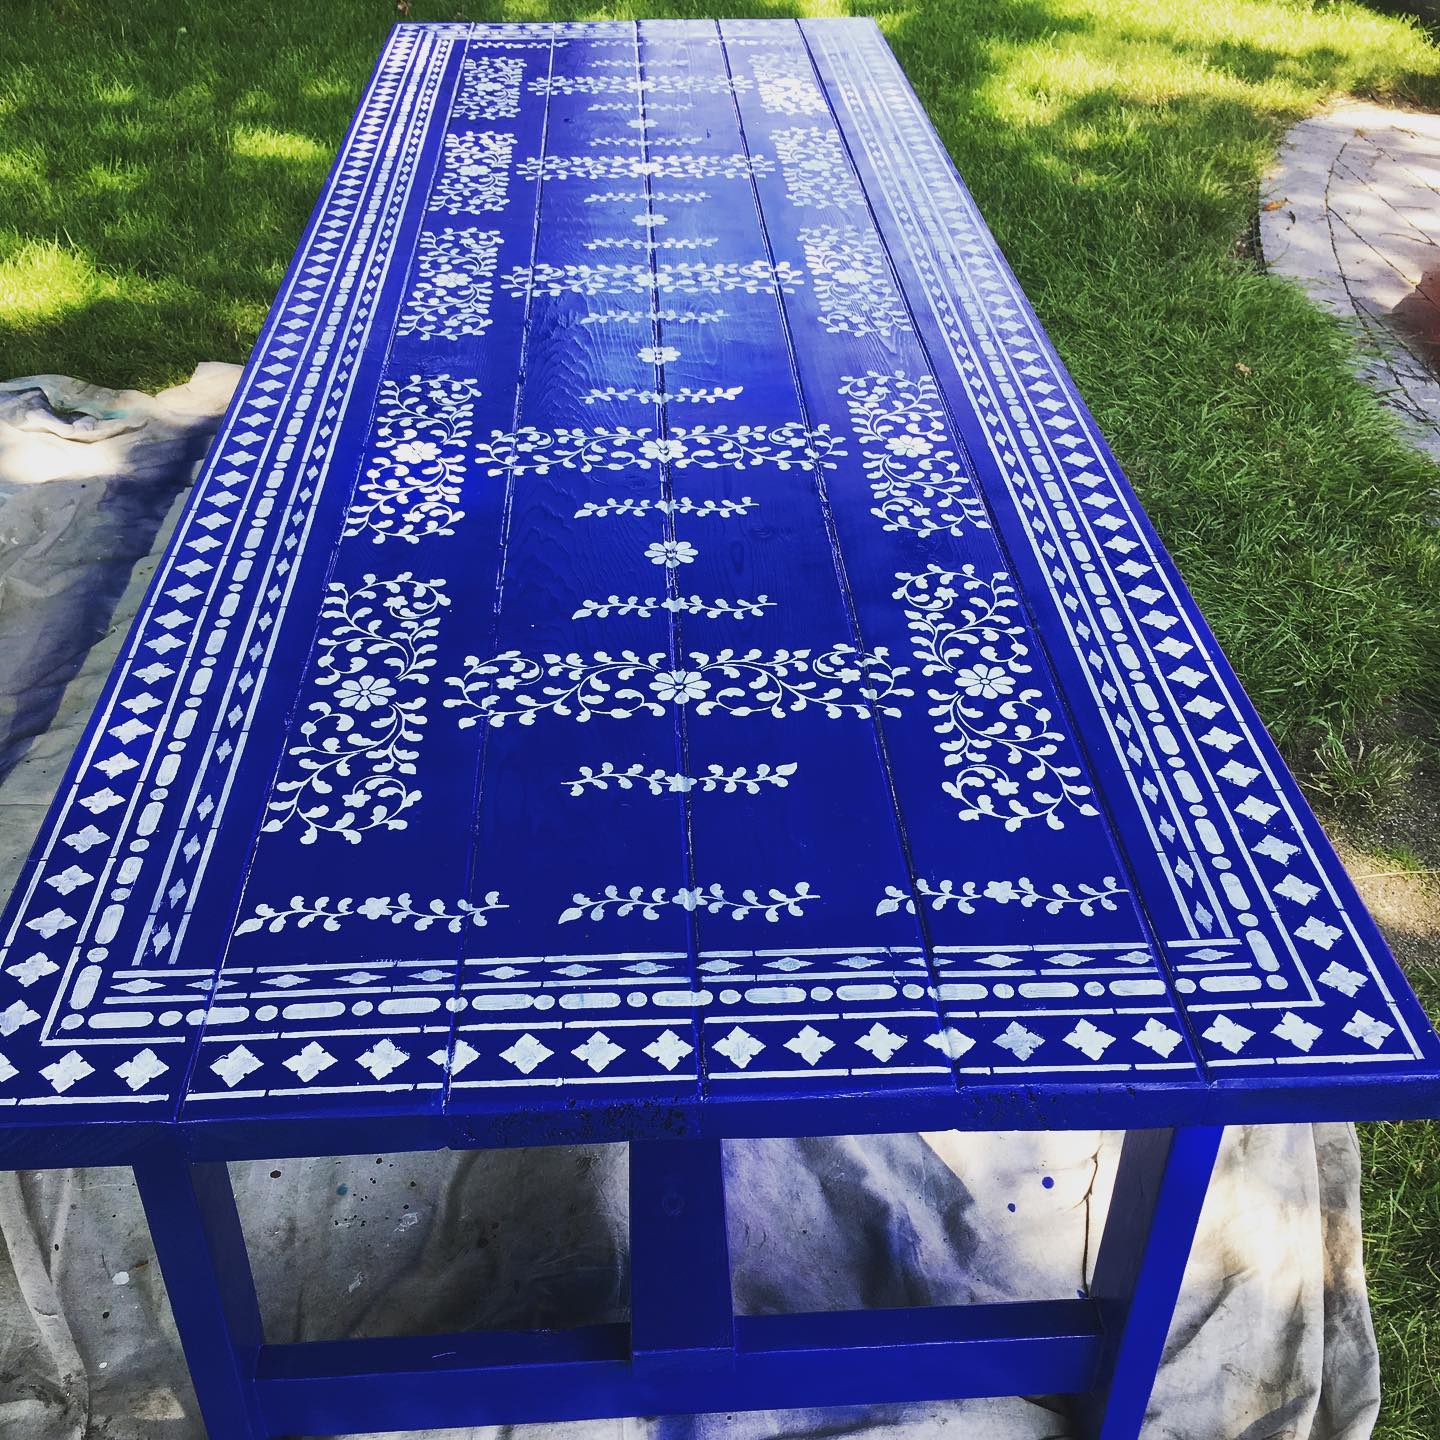
Red mohagany stain and gloss finish
Recommended Skill Level
Beginner