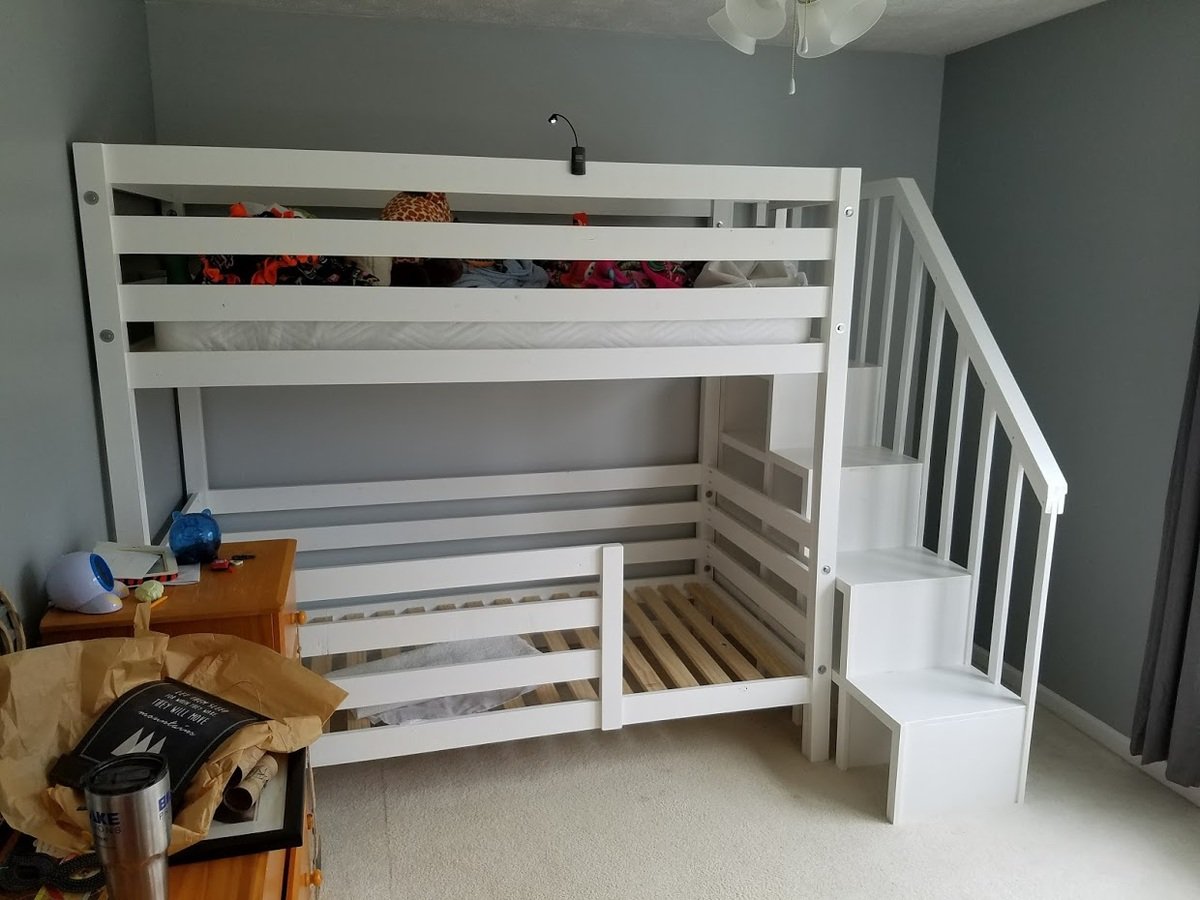
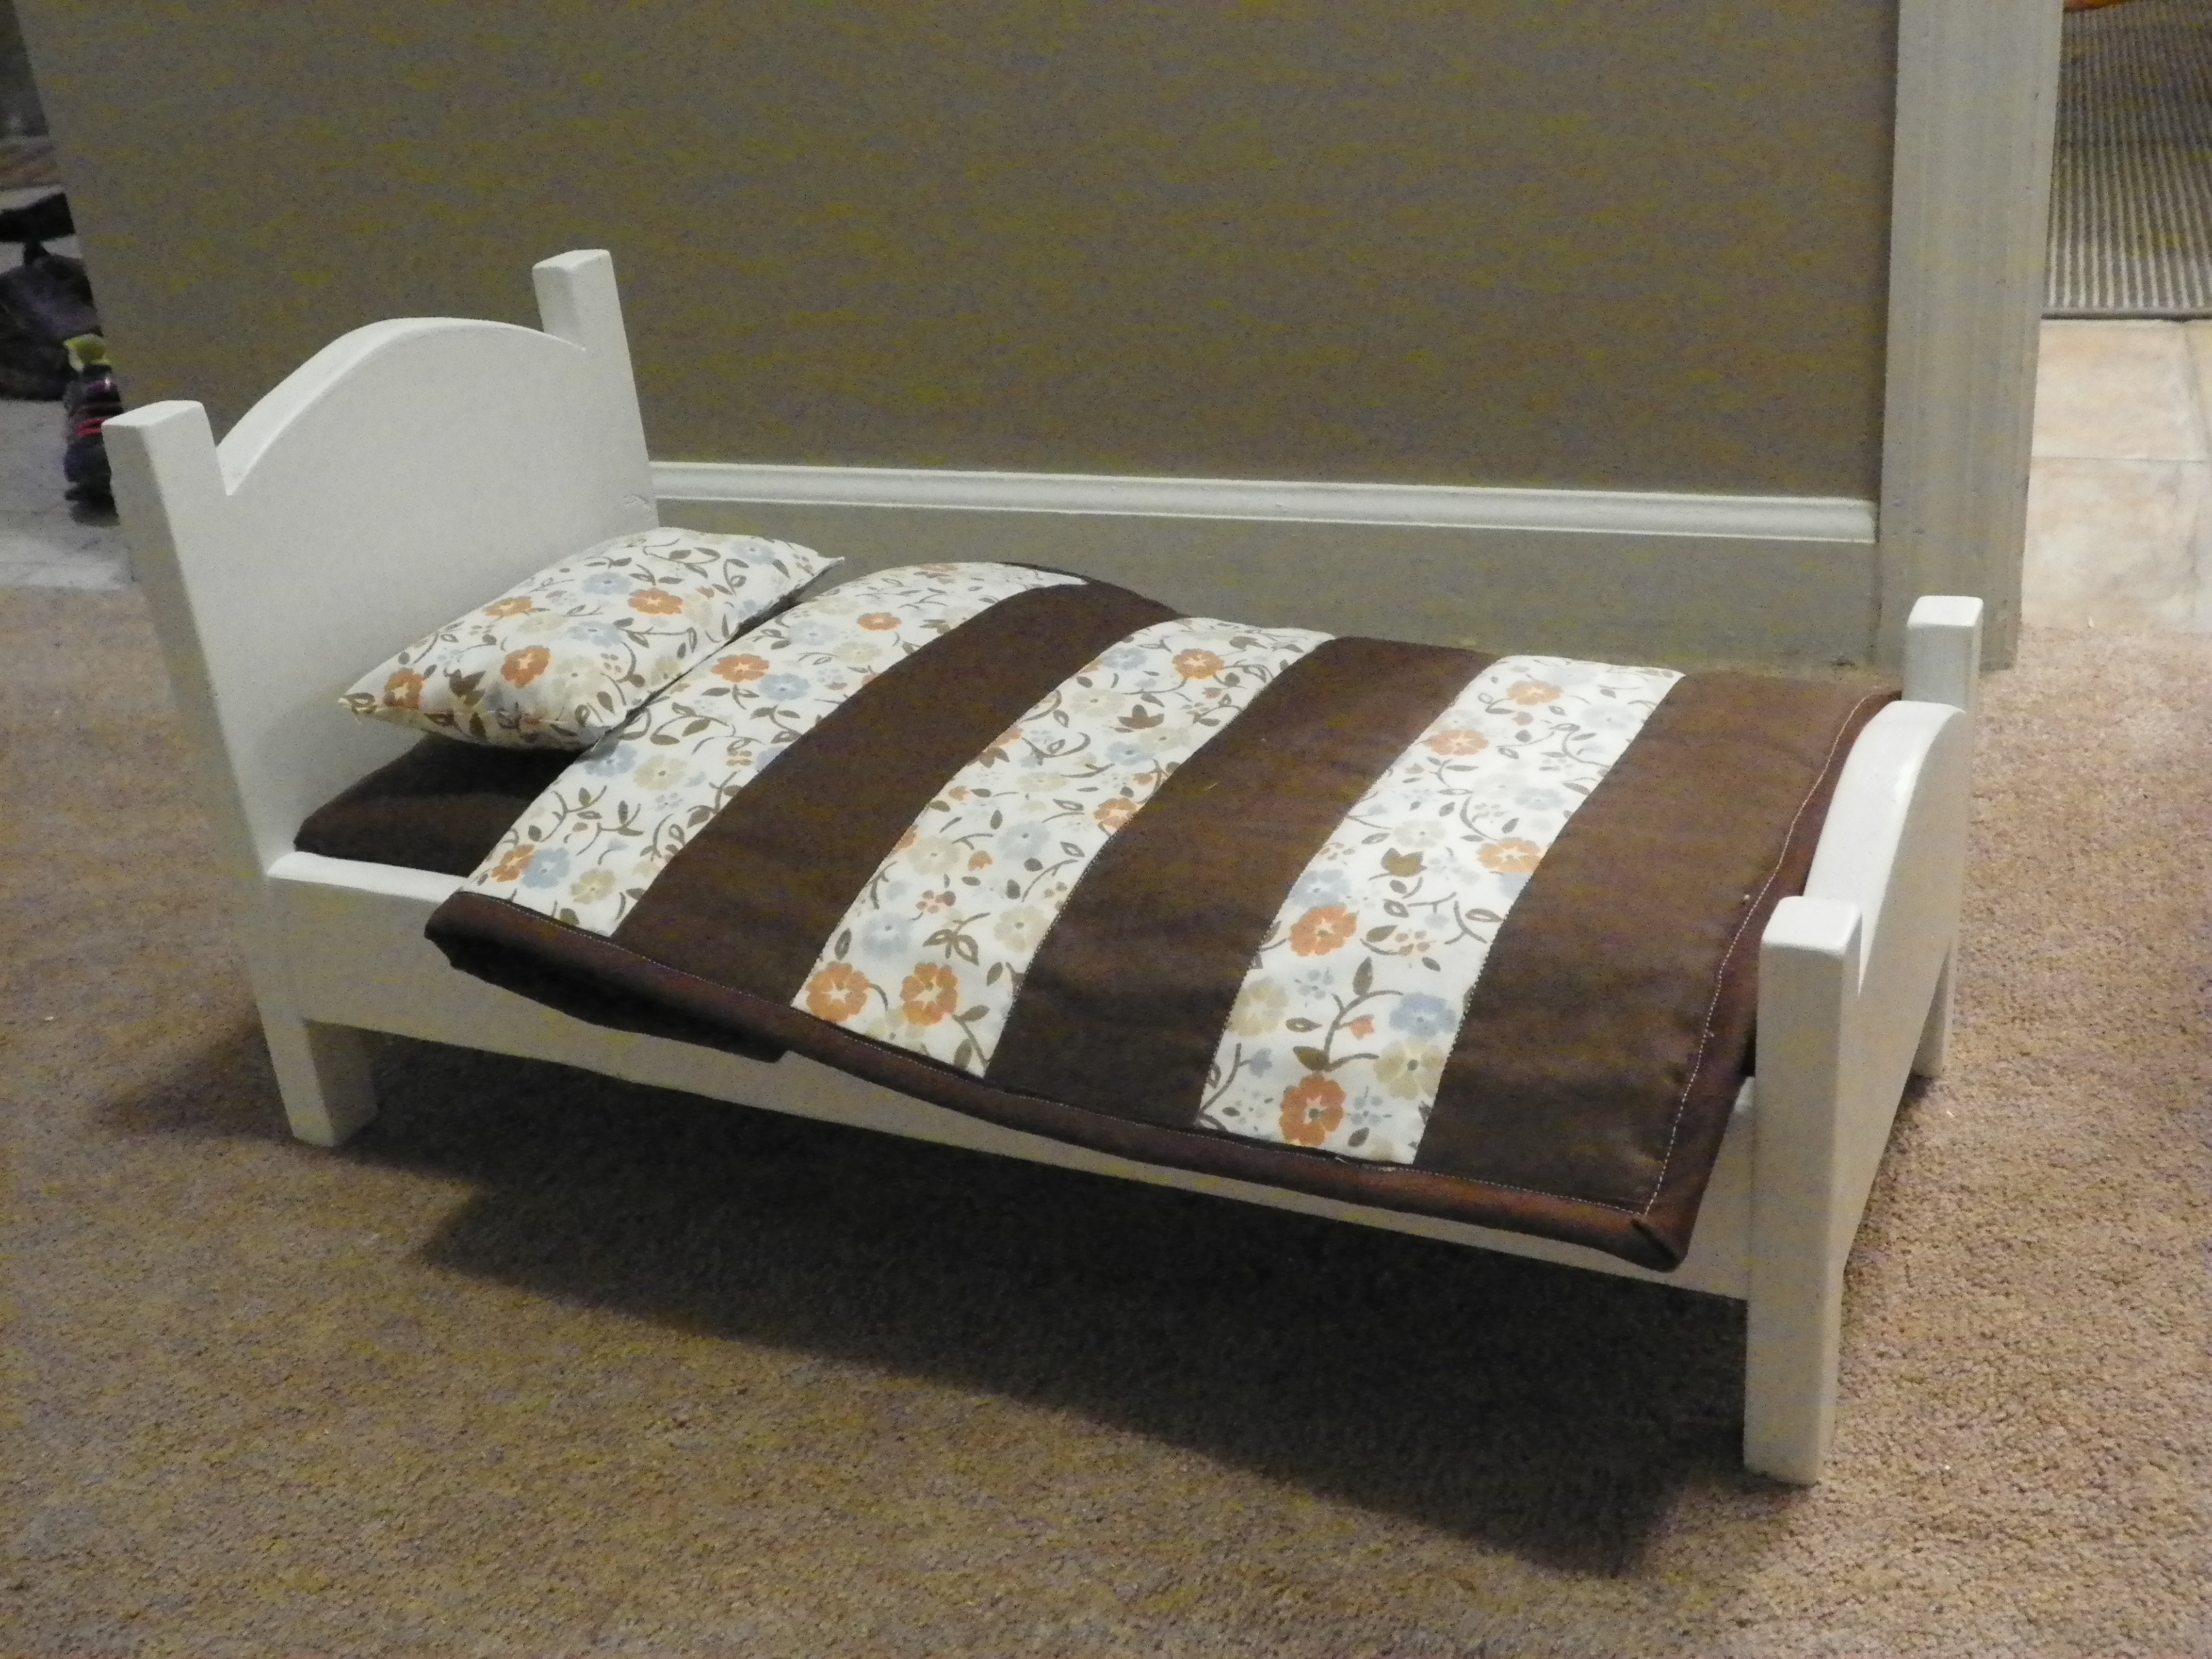
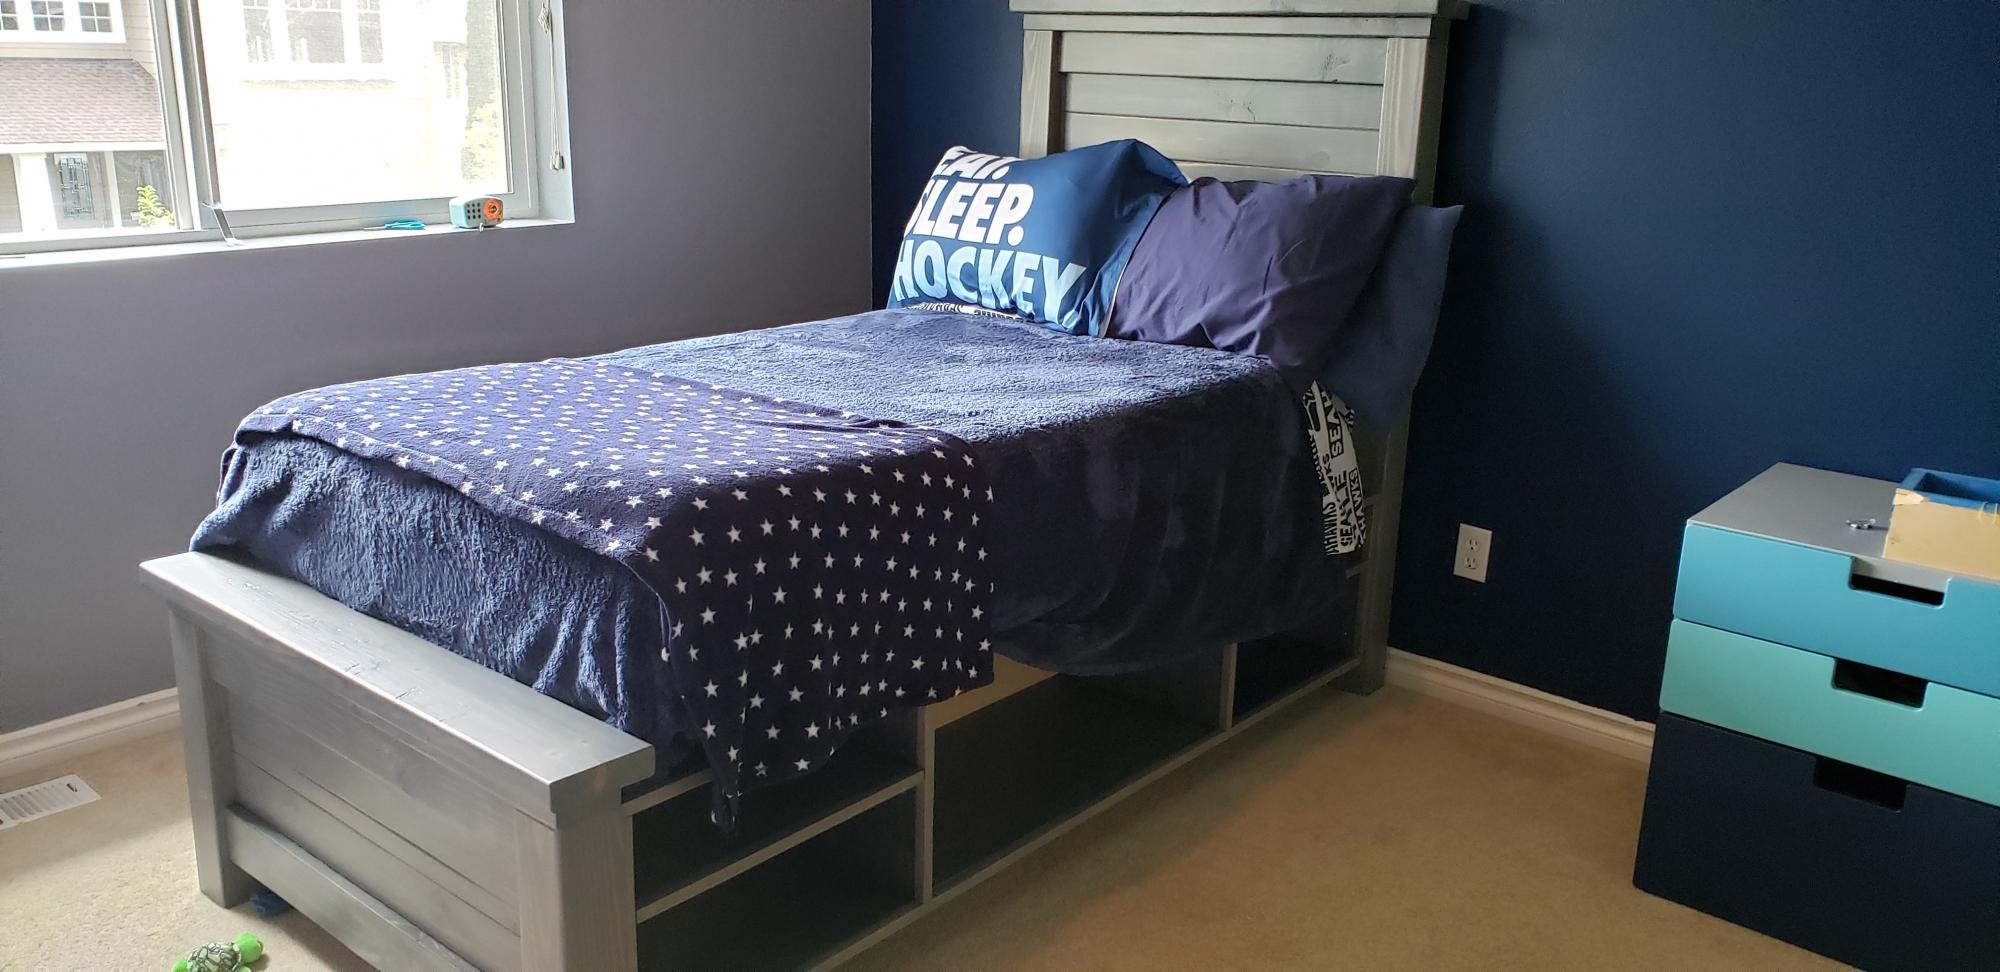
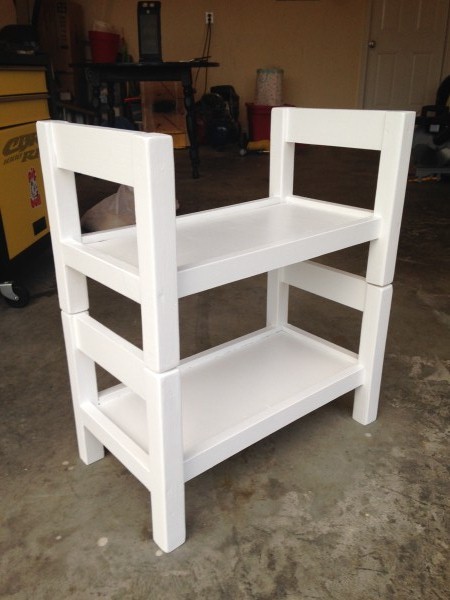
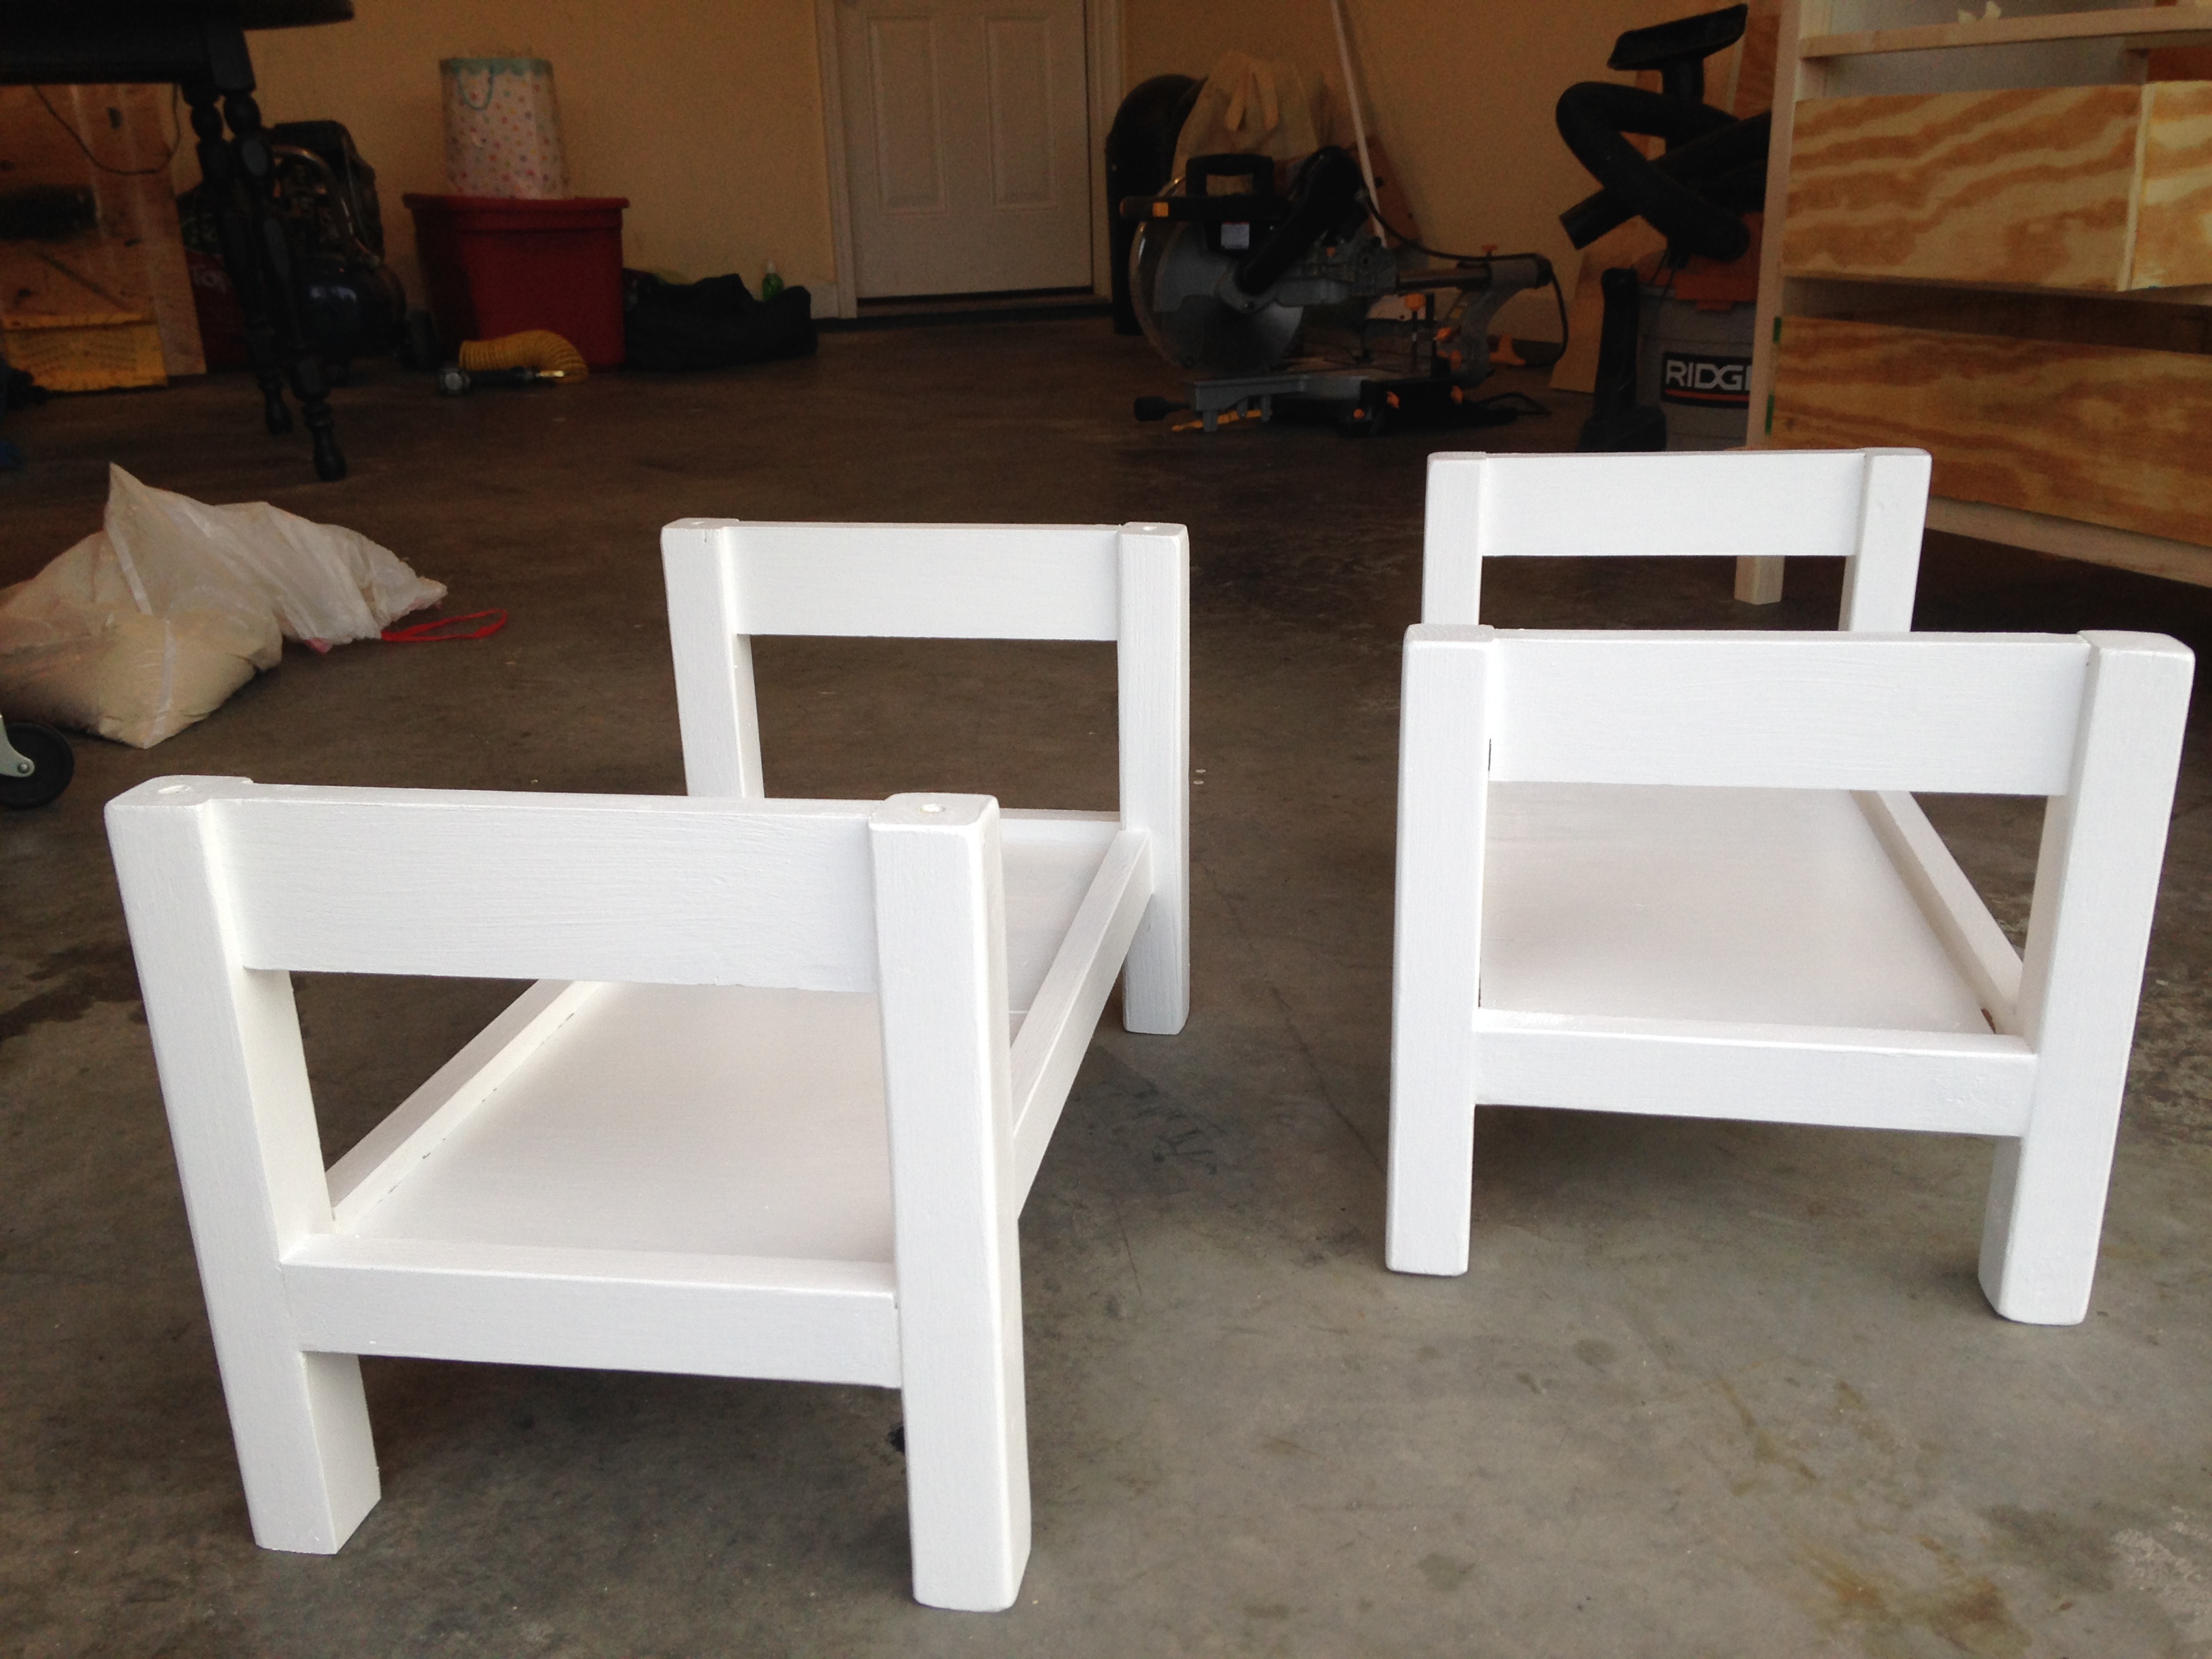
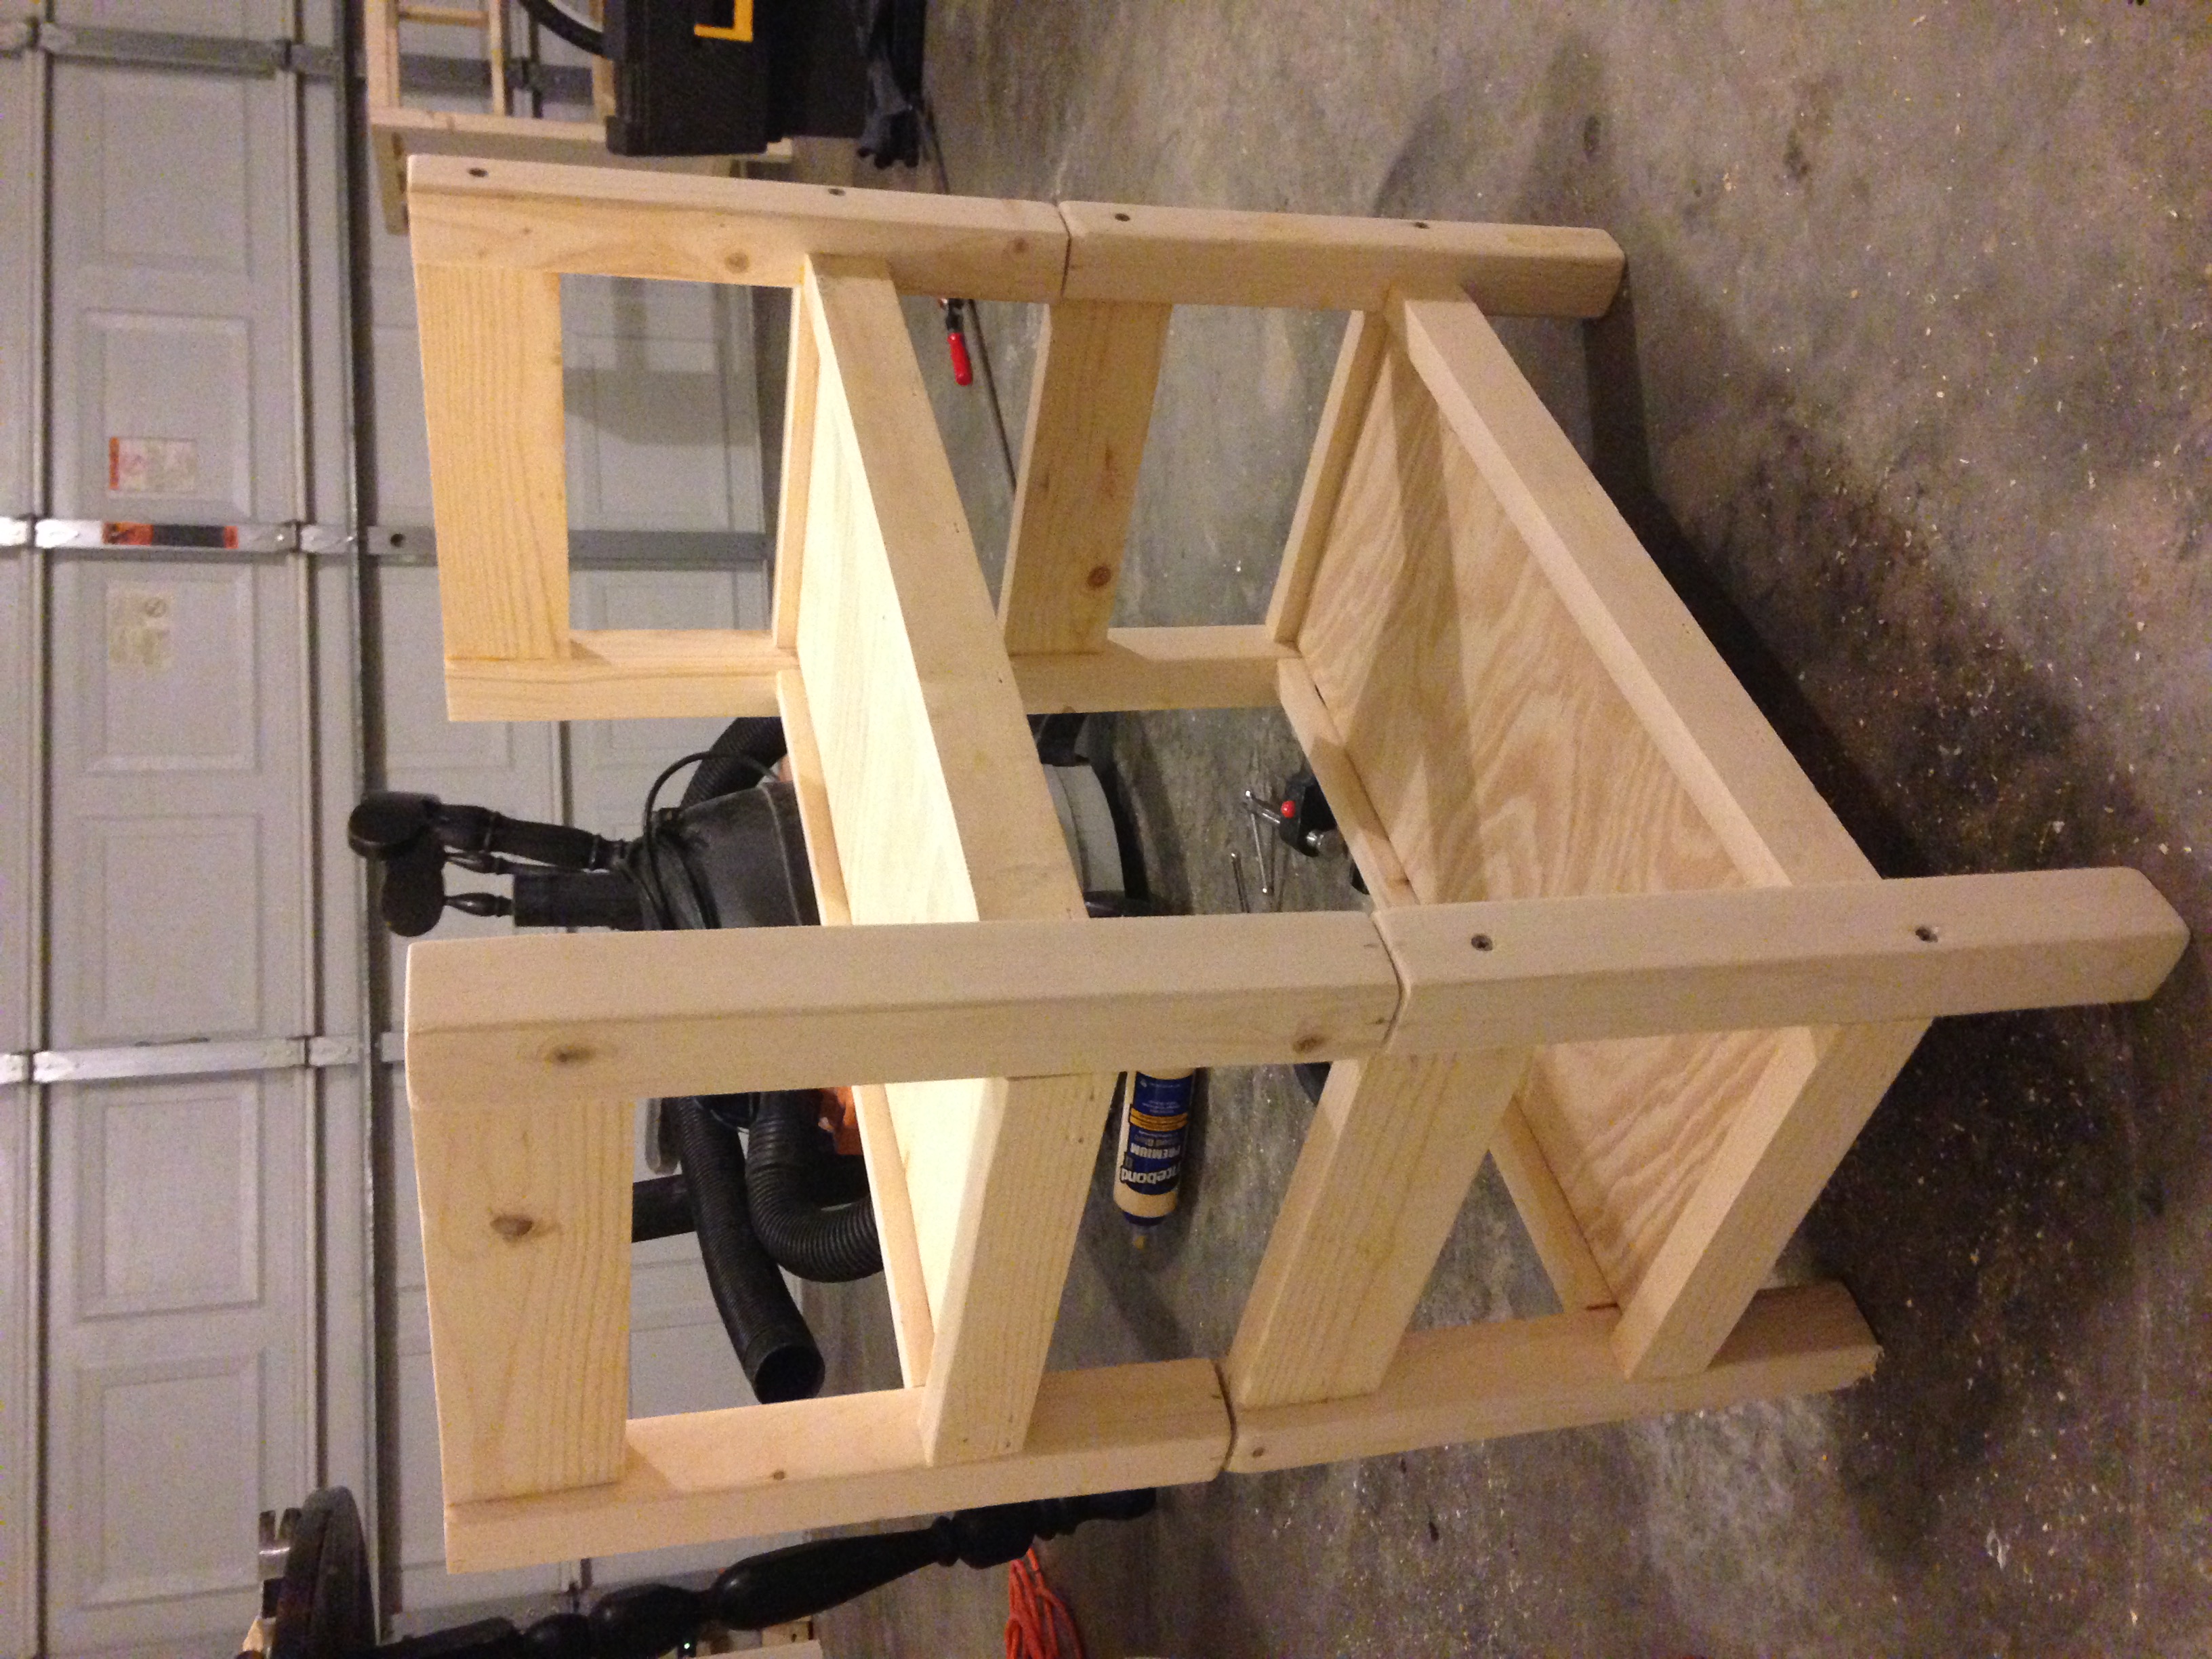
Farmhouse Toddler Bed
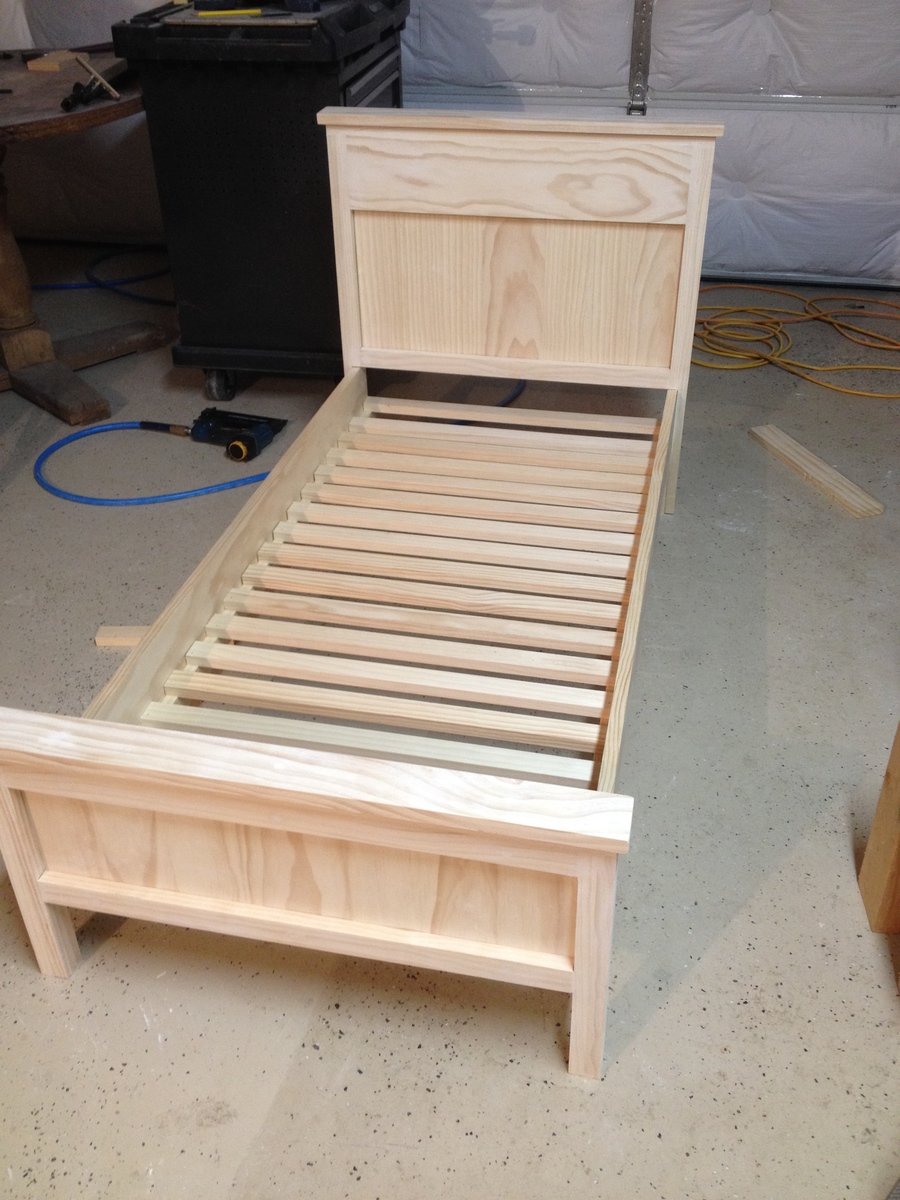
We saw the Farmhouse Toddler Bed on pintrest and fell in love with it! Our sons room is rustic so it was perfect. We printed out the plans and my husband said they were perfect and very easy to follow.
Built from Plan(s)
Estimated Cost
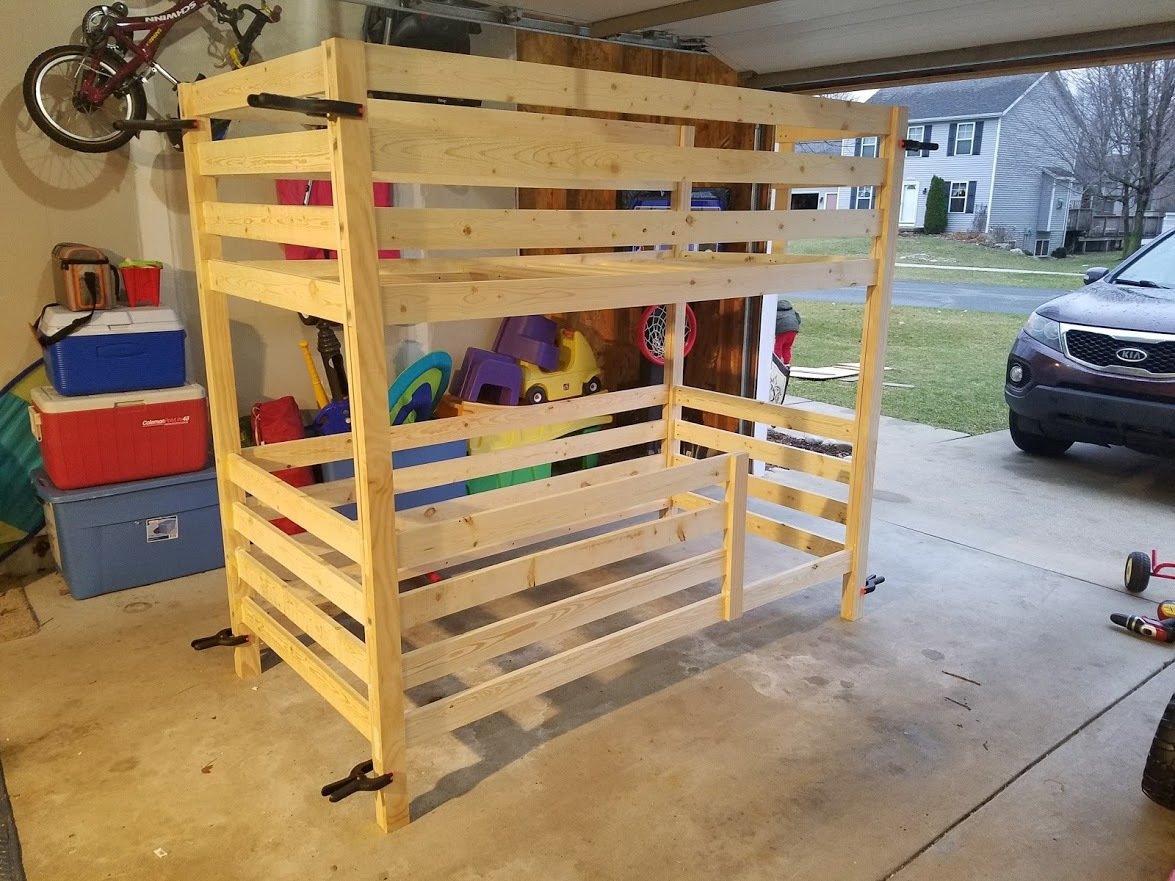
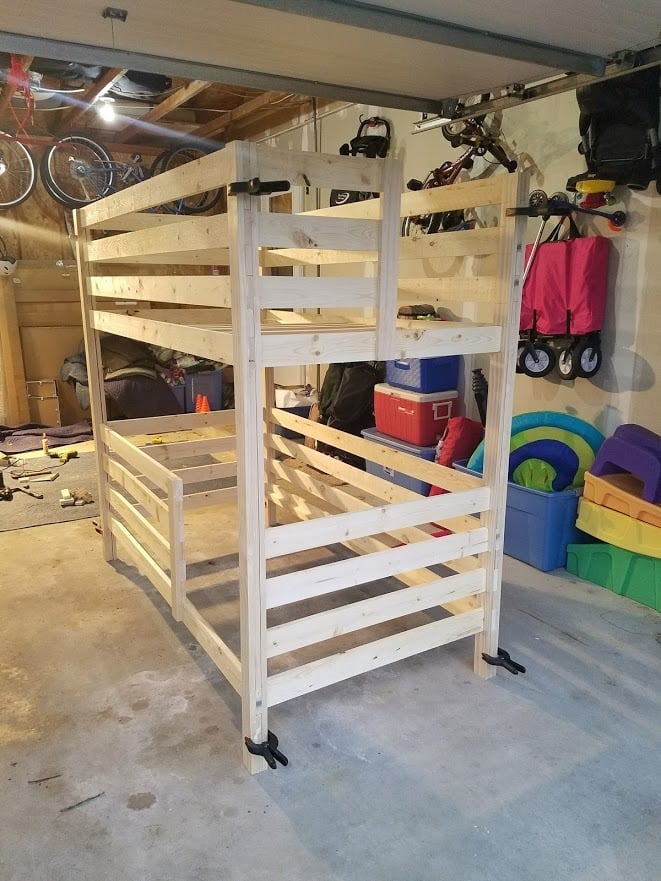
$140. We chose pine due to two children needing this bed. We have a 2yr old that will use it and then a newborn after him!
Estimated Time Investment
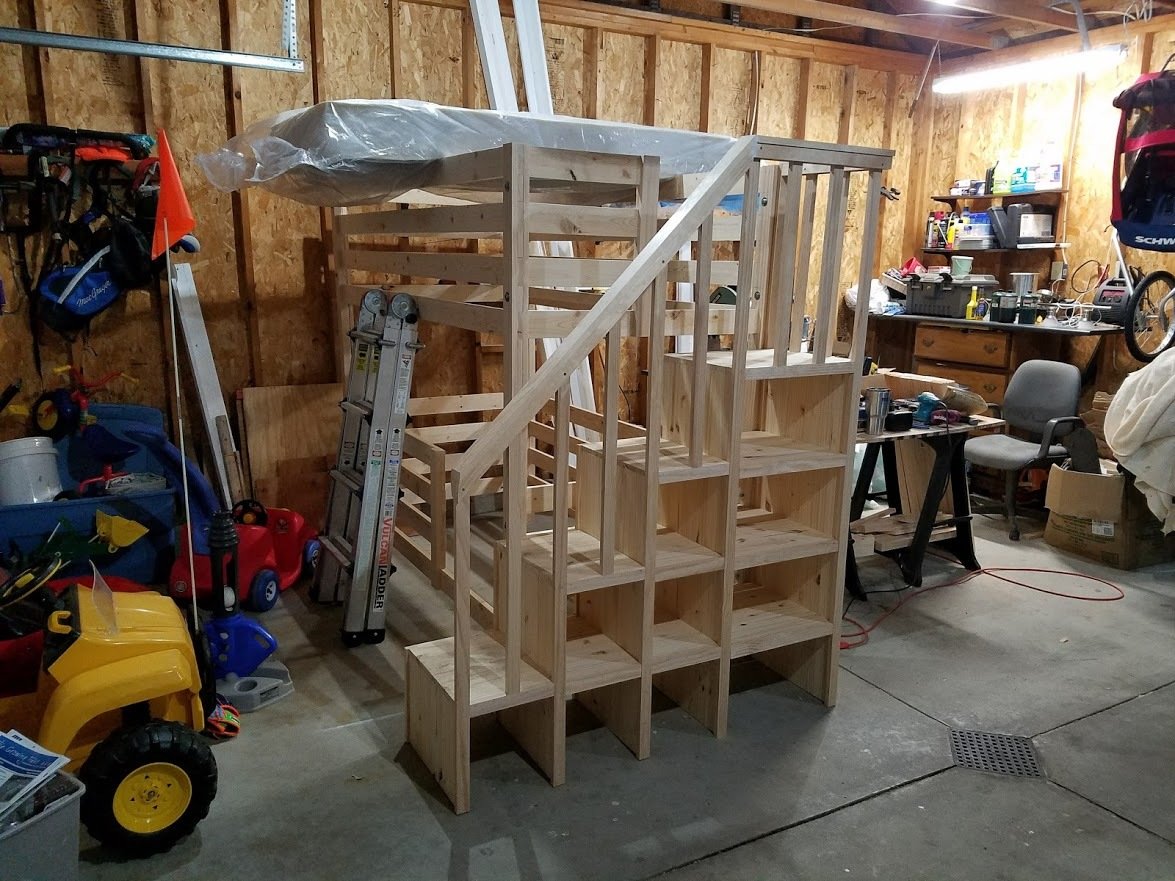
Weekend Project (10-20 Hours)
Finish Used
I stained it.
Recommended Skill Level
Beginner