Community Brag Posts

Mud Room in the Kitchen

This winter brought gloves, snow boots and snow pants spread throughout my kitchen. This mama was going insane. Storage before was one hook per child at their height and 4 hooks for mom and dad with a pile of coats and shoes at the bottom. It took me about 3 days to complete while the kids were on Christmas break, which is pretty amazing :) This project was pretty easy once I got the hang of the Kreg Jig. The only issue I ran into was our corner wall is not square which gave me a gigantic headache.

Thank you Ana for these plans!
From a mama who is a little less insane, Tonya in Kansas

Estimated Time Investment
Day Project (6-9 Hours)
Finish Used
primed with Kilz and painted 2 coats of semi-gloss with Behr Sorcerer.
Recommended Skill Level
Beginner

A Toolcart for my tools

Submitted by Saladin on Wed, 10/15/2014 - 08:25

I am a hobby woodworker having a PhD in computer science; quite the combination I wonder. To my advantage, before start working I usually build the project in software like Google Sketchup etc. This gives me the precise picture and dimensions of the different components of project.

I usually work in my backyard of house which is used for variety of purposes. I so happens that whenever I was working, I used to go inside the house each time to fetch the tool I forgot. Big trouble!

To rid myself of this problem, I built me a toolcart to my liking. It has cabinets, drawers and of course shelves. It also serves me a second table to put my tools on during working. Alas, I do not have the amazing kreg jig so it took me more time than usual to build this. Anyhow feel free to comment.


Estimated Cost
$ 40-50
Estimated Time Investment
Day Project (6-9 Hours)
Recommended Skill Level
Intermediate

Comments

abwd2c

Wed, 10/15/2014 - 09:08

Could you upload the google sketchup for this.  Very interested in your plans, especially your layout on the drawers and locking mechanism.  

Coffee Table <3

Submitted by Anonymous (not verified) on Tue, 01/24/2017 - 19:34

This was my husbands first real piece. He changed the dimensions to fit our area better. It turned out fantastic and I am in love!! 

Estimated Cost
350
Estimated Time Investment
Day Project (6-9 Hours)
Recommended Skill Level
Beginner

Texas Bench

Submitted by MrG915 on Thu, 10/15/2020 - 18:09

Saw this was done by modifying the Woven Back Bench so I decided to give it a go. Added center 2x4 for support under the 1x4 slats. To make this bench modified the woven back bench shopping list to the following.

2-2x4 Studs
3-2x2x8
2-1x4x8
1-1x2x8
1-1x3x8
1-1x16x6 edge glue board.

Cut list was modified:

4-2x2 @ 16”
3-2x4@16”
2-2x4@37”
3-2x2@37”
2-1x3@19 1/4”
1-1x16@32”

All other instructions were followed from the woven back bench.

Built from Plan(s)
Estimated Cost
100
Estimated Time Investment
Day Project (6-9 Hours)
Finish Used
Mahogany Timber Oil transparent
Recommended Skill Level
Intermediate

My photo gallery wall!

Submitted by katejensen on Tue, 01/01/2013 - 18:00

I did 4 shelves spaced 18 inches and made with 12ft long pieces cut in half. The total for my project was $26. I already had the stain and tools on hand.

Estimated Cost
$26
Estimated Time Investment
Afternoon Project (3-6 Hours)
Finish Used
stain
Recommended Skill Level
Intermediate

Comments

Farmhouse Doll Bed and Nightstand

Submitted by Tiarra on Sun, 10/19/2014 - 11:39

I had so much fun with this! I followed the plans exactly and made up the nightstand as I went along.


Estimated Cost
$25
Estimated Time Investment
Afternoon Project (3-6 Hours)
Finish Used
Made my own chalk paint with a sample size of parchment by Behr mixed with calcium carbonate, sealed with water based poly. Stain is Kona.
Recommended Skill Level
Starter Project

Comments

JoanneS

Sun, 10/19/2014 - 15:25

Oh, this is super cute!  Love the stained trim and that little nightstand is darling!

Modern desk

Submitted by Anonymous (not verified) on Fri, 01/27/2017 - 20:09

I have used 1/2 inch thick plywood, 2x3 instead of 2x2, and 1x3. I don't have any miter saw or table saw. I used hand saw (comes with miter box) and circular saw to cut all the materials. It isn't perfect but I like it.

Recommended Skill Level
Beginner

Camp Loft Bed with Stairs

Used the Camp Loft Bed with Stairs plans but put the extra heights on the legs. The girls love it

Estimated Time Investment
Weekend Project (10-20 Hours)
Finish Used
Let my daughter pick the colors.
Recommended Skill Level
Beginner

Comments

Tidy Up End Tables

Submitted by miki0225 on Thu, 01/03/2013 - 04:07

This was my first ever building project and I love it! I made 2 for my living room and have since made a few more things. Thanks Ana for an amazing website!

Built from Plan(s)
Estimated Time Investment
Afternoon Project (3-6 Hours)
Finish Used
Spray paint and polyurethane.
Recommended Skill Level
Starter Project

Beachy Cupboard

This is my second project.  I sanded, primed, painted, sanded to distress the paint, then stained the whole thing just long enough for the stain to soak in to the sanded spots (5 minutes or less), then wiped it off. 

Built from Plan(s)
Estimated Cost
100-150
Estimated Time Investment
Weekend Project (10-20 Hours)
Finish Used
Finished with hand rubbed finishing wax.
Recommended Skill Level
Beginner

Pottery barn dresser and media stand

Submitted by roguejeda on Tue, 01/31/2017 - 20:12

Pottery barn inspired tv media center and matching dresser.

Estimated Cost
450.00
Estimated Time Investment
Week Long Project (20 Hours or More)
Finish Used
Paint
Recommended Skill Level
Intermediate

Tryde Coffee Table

Submitted by joshlimo on Fri, 01/04/2013 - 08:22

I built this without the current plans with the pocket holes in the bottom. I also made the width a little smaller, by 2 boards. This is very sturdy, my daughter uses it as a platform to perform all the time. I have even stood on it many times. Plus, it can be used as a bench if needed.

I used a darker stain on it and roughed up some of the edges a bit.

Estimated Cost
$50
Estimated Time Investment
Afternoon Project (3-6 Hours)
Finish Used
Dark stain
Recommended Skill Level
Starter Project

A lot of fun to build.

Submitted by Wayde on Sat, 01/05/2013 - 22:58

My eldest daughter contact me to show me the standard doll bunk bed on this site. I decided then that I was going to build one for Christmas for my 6 year old, since she loves to play with her American GIrl dolls. Before I got to it, she ended up drawing a name for Secret Santa gifts with her gymnastics team. I got the idea to build my first bed for the girl who's name she drew, therefore, I'd learn what to and not to do first, since I'll be building my daughters in Oak and not the pine that I would build this one out of. I talked with her mother to see if she played with dolls and she confirmed that she had 3 American Girl dolls that she adores.

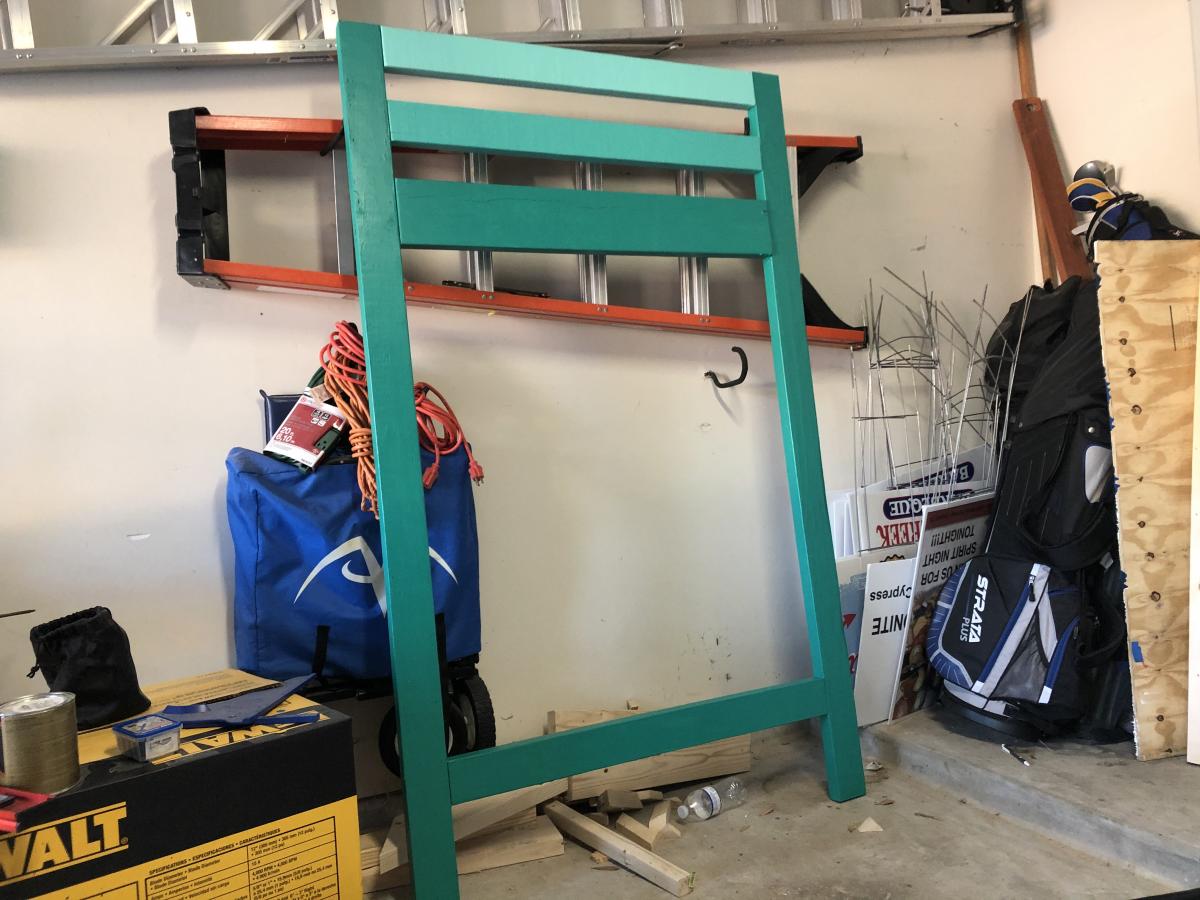
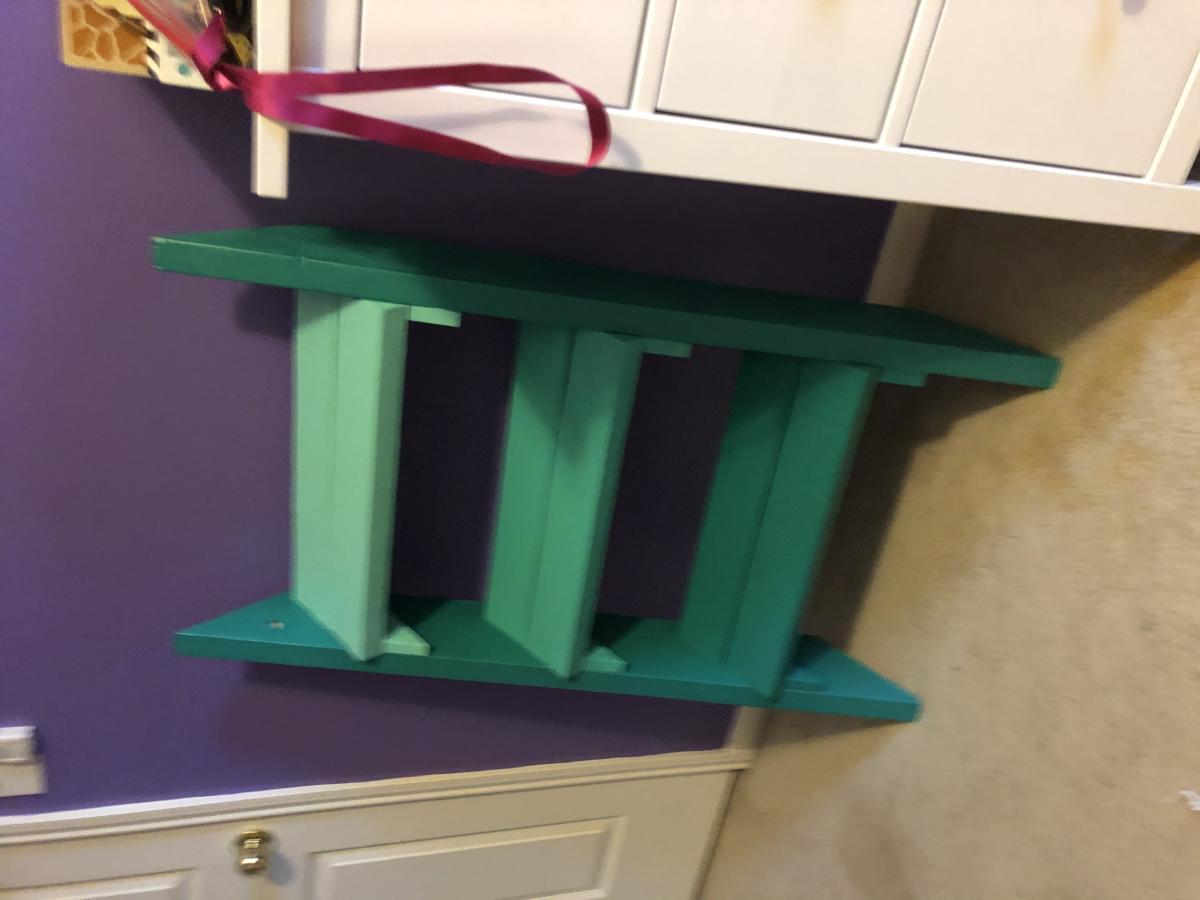
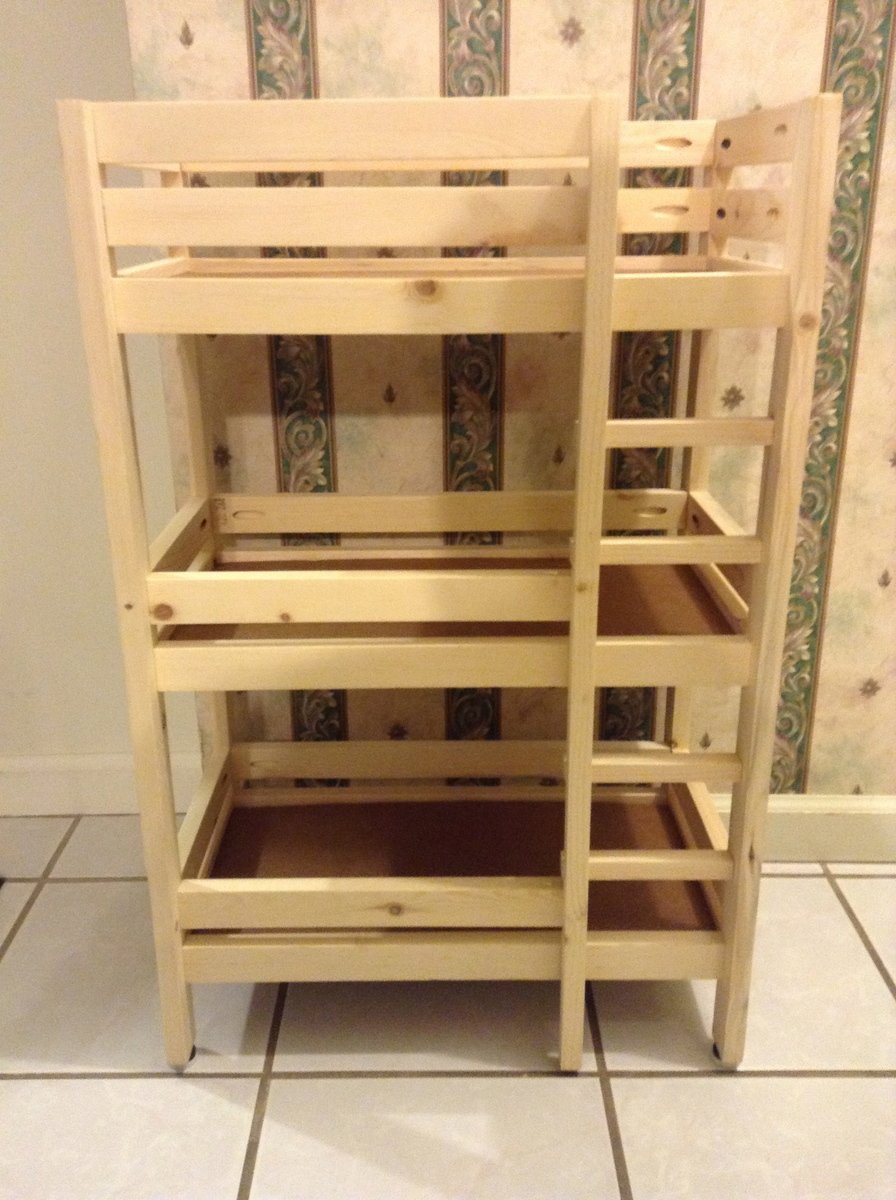
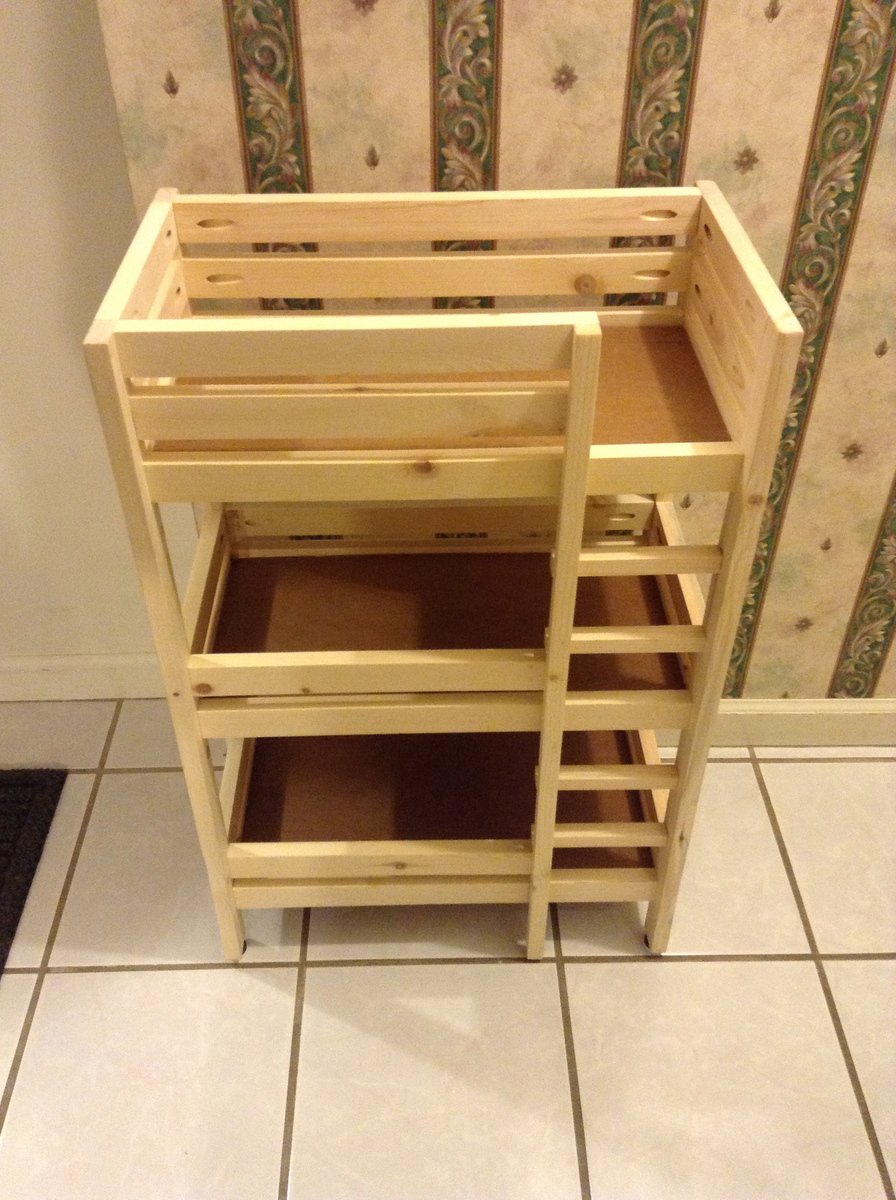
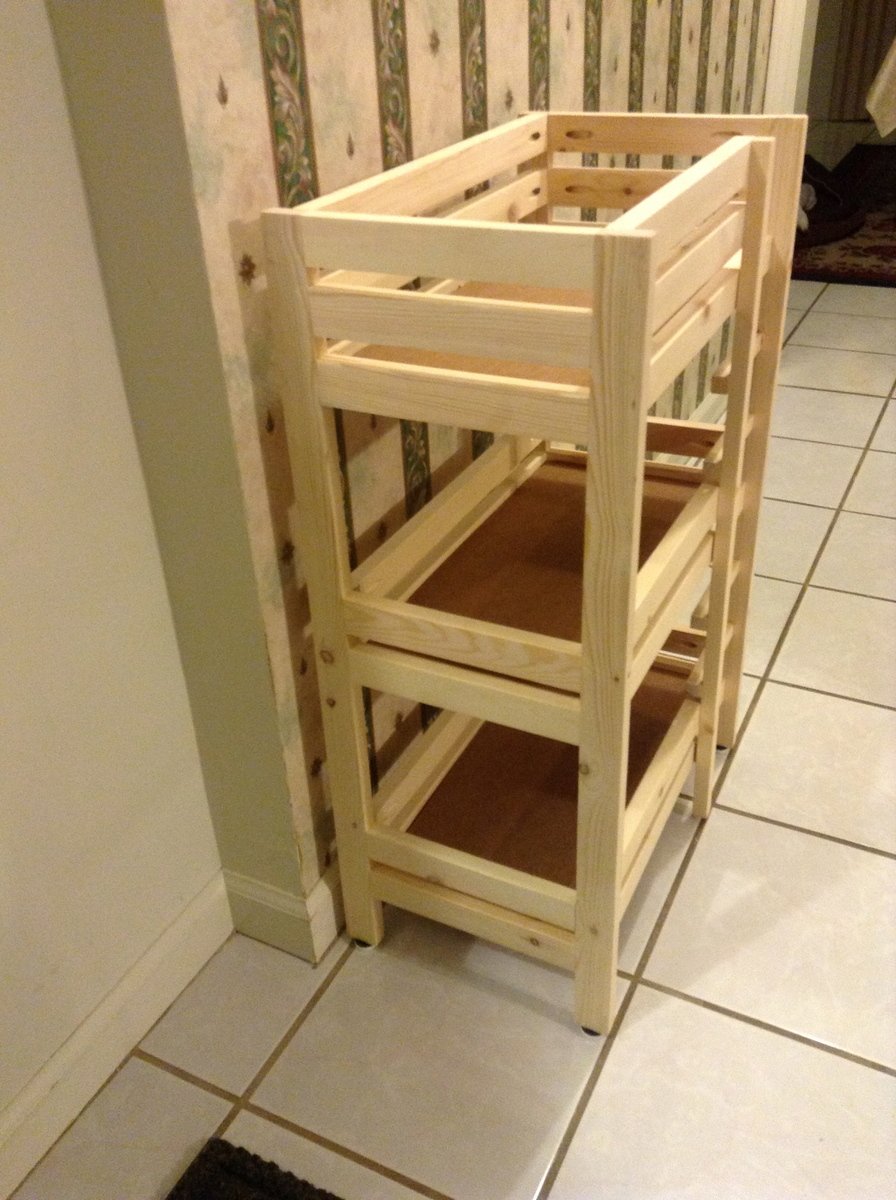
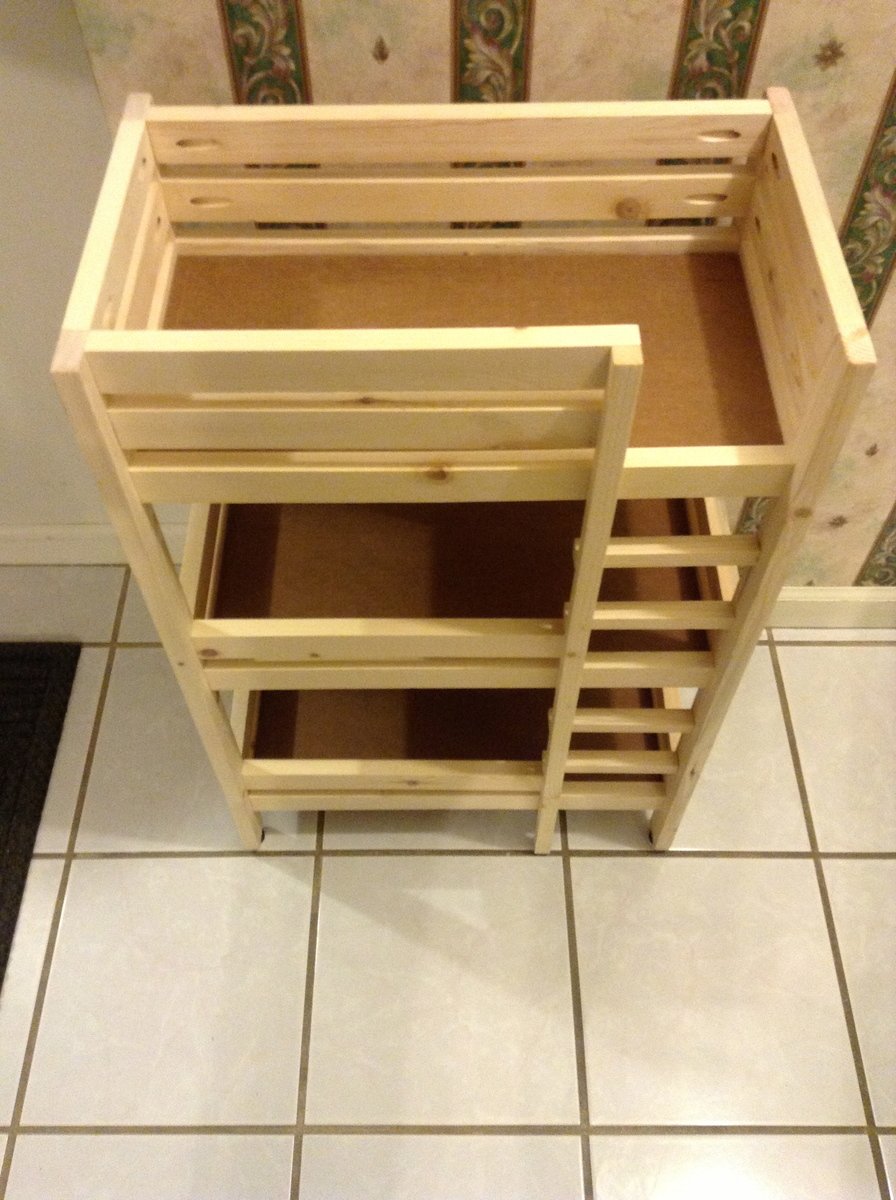
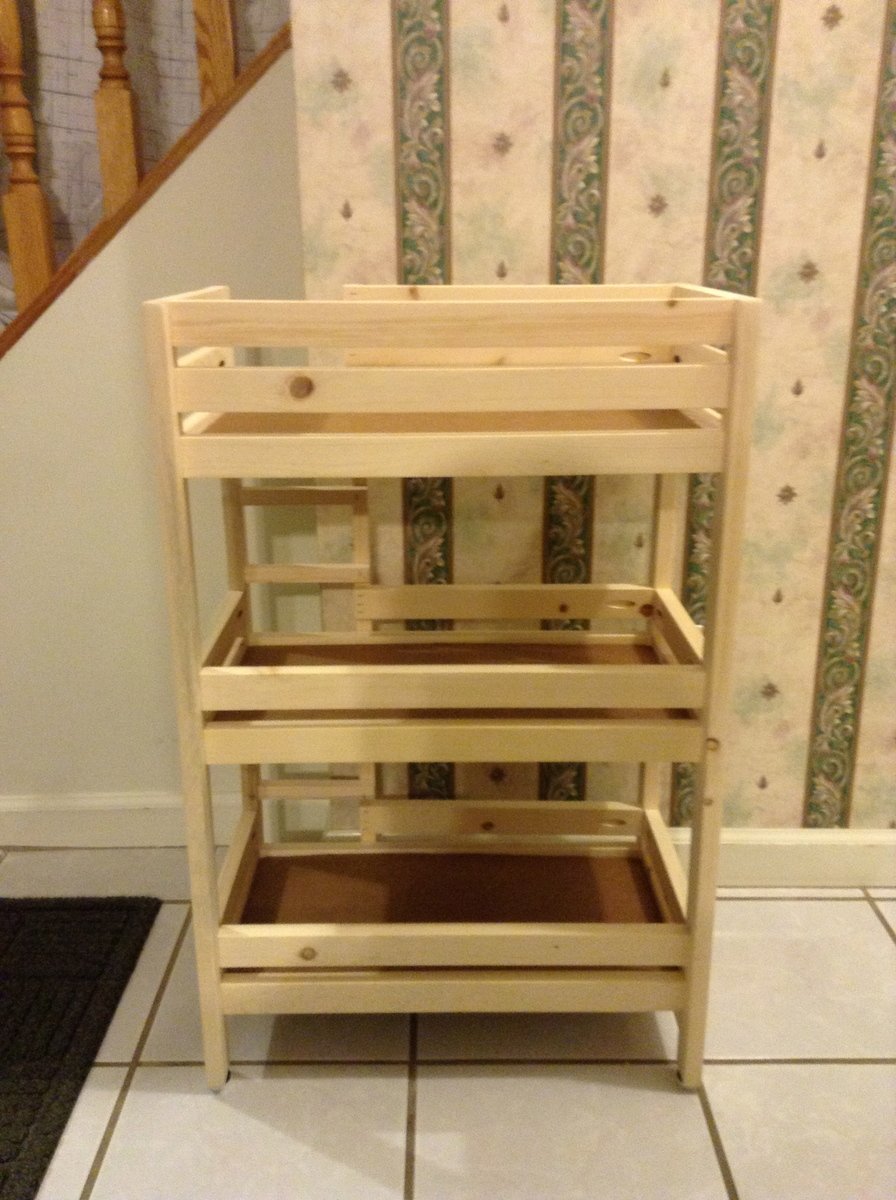
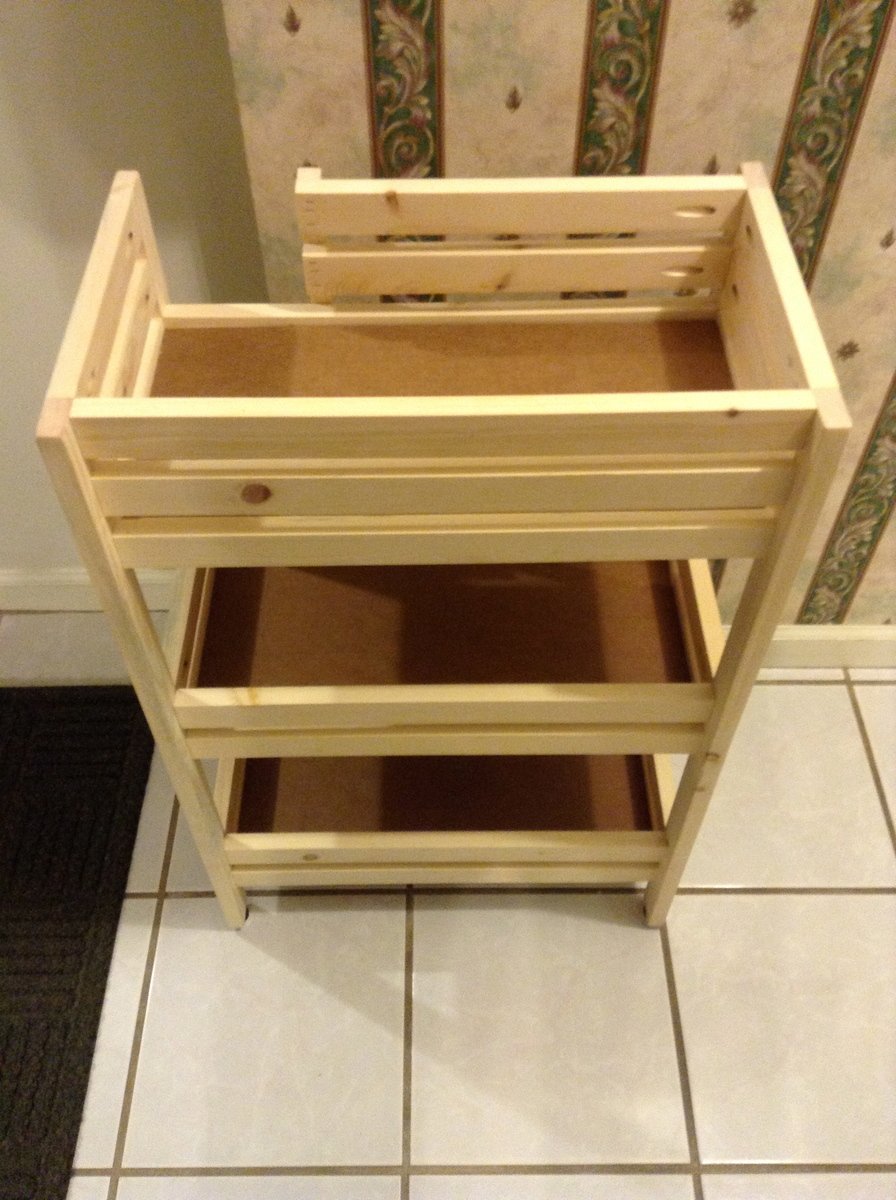
You'll also notice that we added another level, since she has three dolls, and you can't leave on without a place to sleep. It was quite easy to add the extra level by measuring the distance between the first and second and then adding that onto to second. In the pictures you can see that I added metal feet to each leg, and that made the bottom of the ladder sit a little above the floor by that same distance. I think that I'll start the ladder on my next one at the bottom rung of the lower bed, and not leave that piece at the bottom.

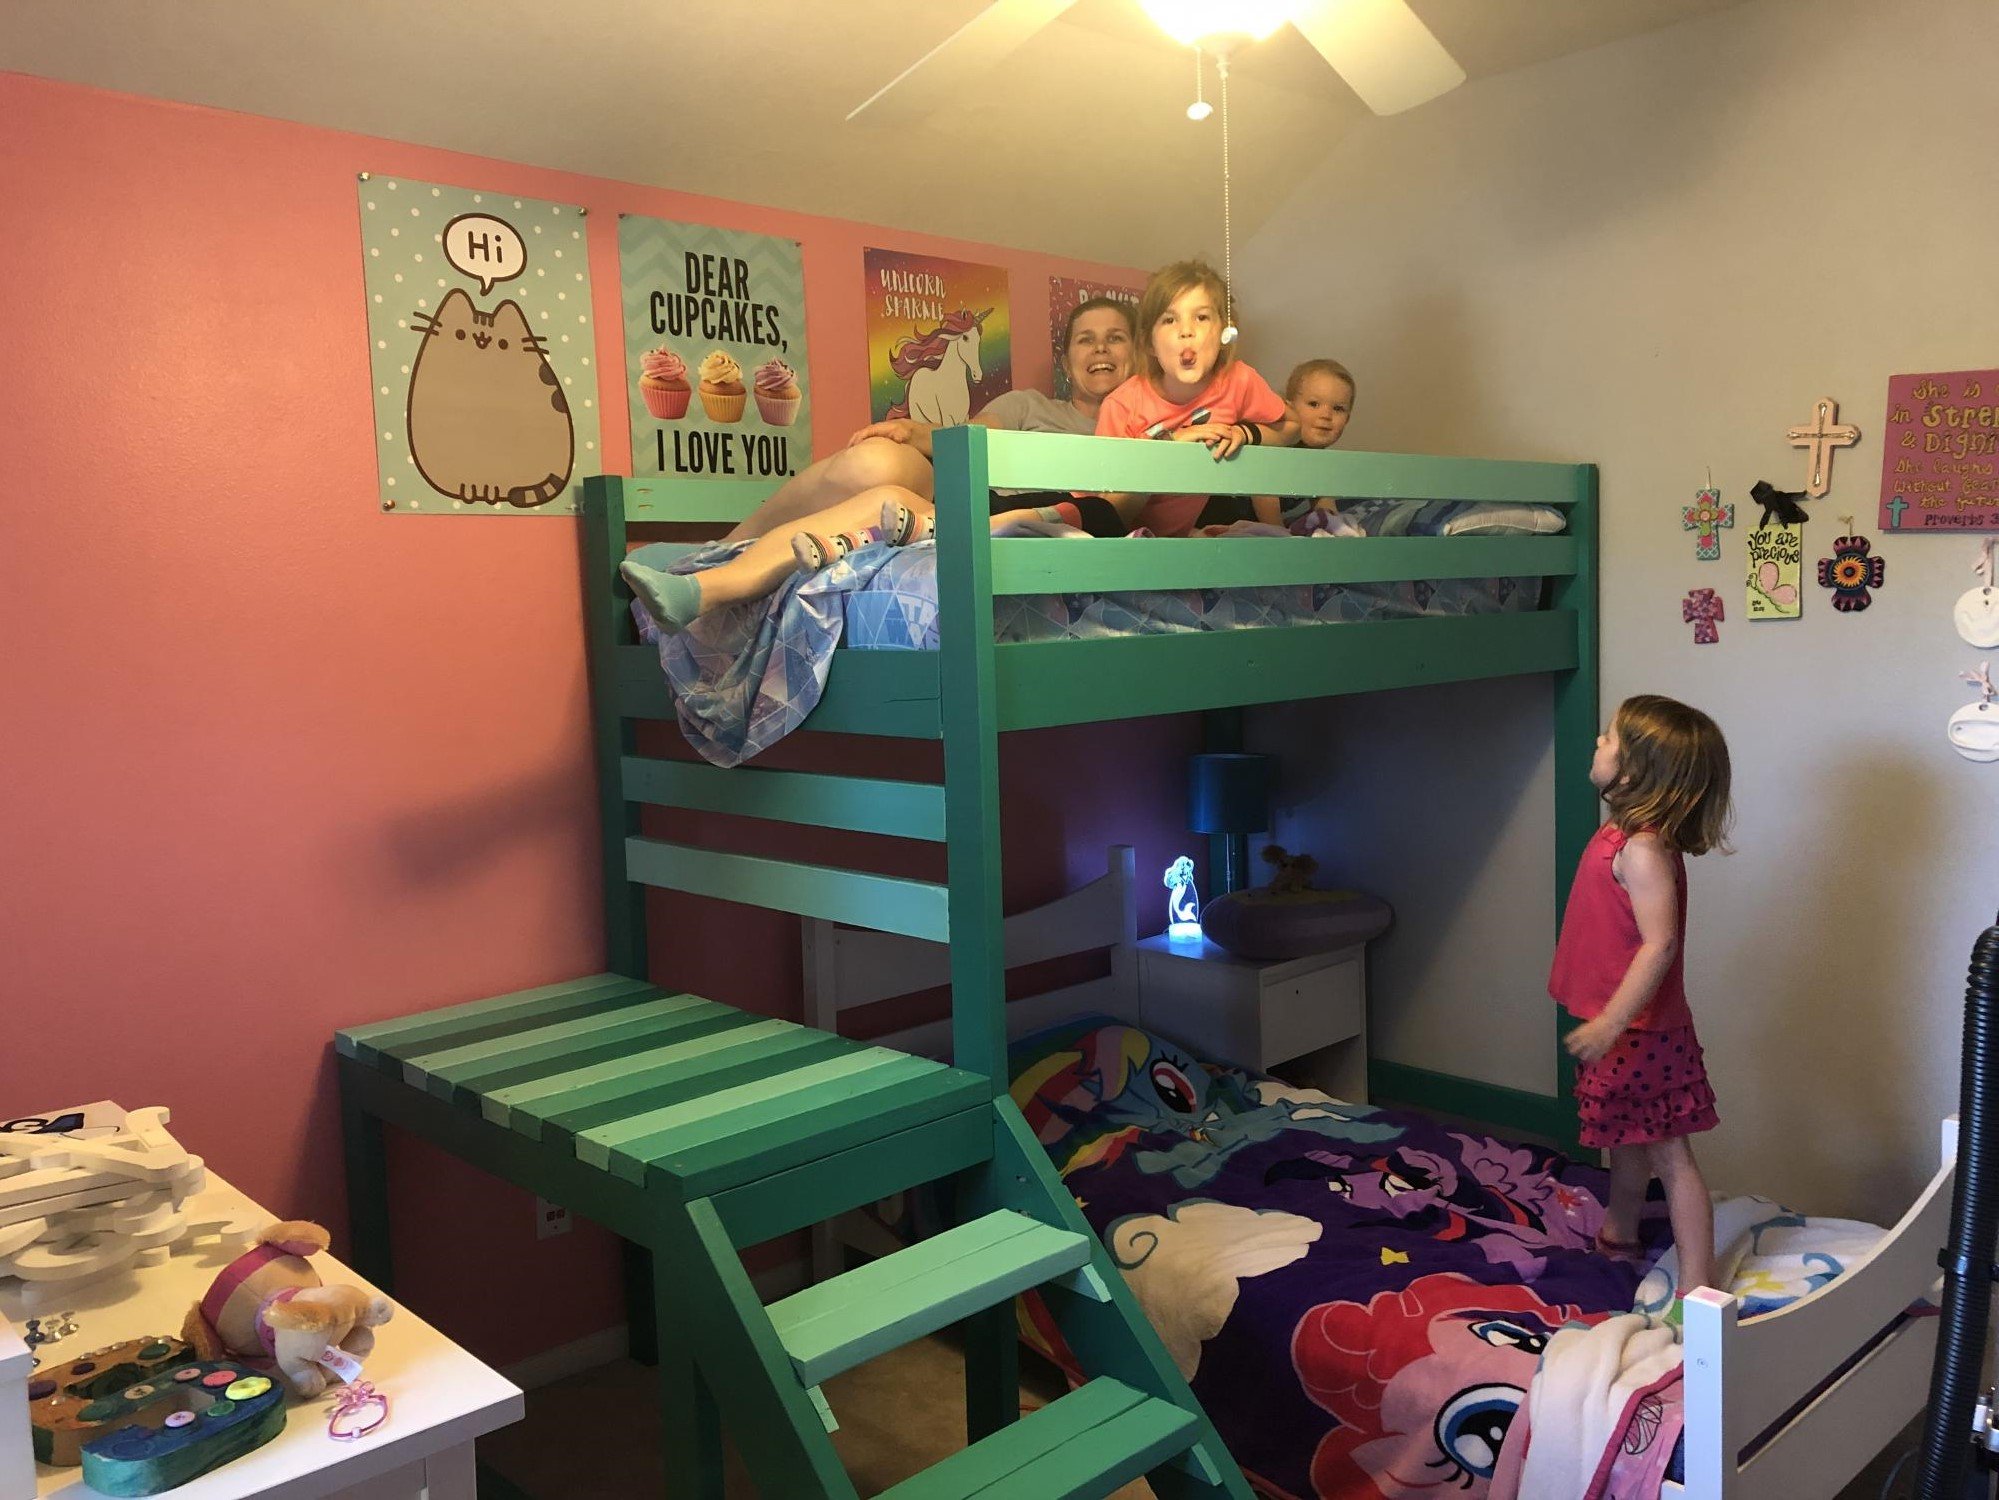
Needless to say, the little girl was beside herself when she opened the wrapping paper. My daughter learned a lesson on how much more fun it is to give, especially after all of the work, than to receive. Before the party, all she could do was say, "I can't wait to see her face when she opens this." I asked her about it when she came home today, and she said that she must have thanked her a hundred times throughout the night, as it was a sleepover at the gym.

I wish that I had taken pictures along the way, but I didn't. I will however, when I build the next one for my daughter.

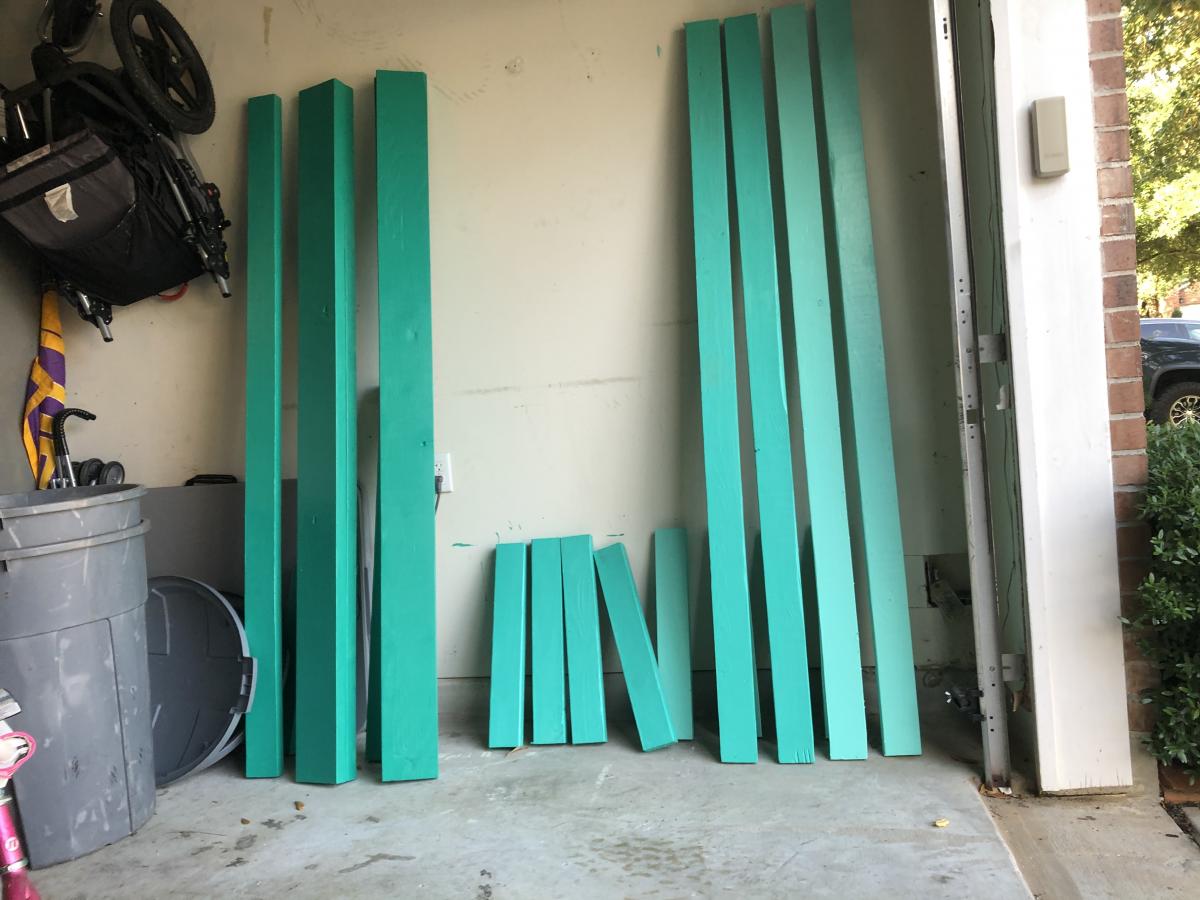
It cost me just over $20 to build. I needed 7 - 8' 1x2's. I used a nice piece of cardboard for the floor of each bed. I found it at Sam's club while shopping. They had it between something that was stacked on a pallet, and whatever it was was gone. I asked the manager if I could have it and he was happy to be rid of it. It's not your standard cardboard, but has a double wall. At a width of just over 9", it's very sturdy and especially cheap. The feet were bought at Walmart for $1.57. I glued each connection, even though they were held together by pocket hole screws. With one pocket hole screw per piece, it had the ability to swivel on that screw. I learned that Kreg, the maker of the pocket hole jig has come up with a mini jig, which allows double pocket holes to be drilled into a piece of wood just 1" wide. I asked and received one for Christmas. My daughters will feature the new holes and therefore, I won't be glueing it.

Hope you have as much fun building it as I did with my daughter.

Estimated Cost
$20
Estimated Time Investment
Afternoon Project (3-6 Hours)
Finish Used
Sanded smooth but no finish.
Recommended Skill Level
Beginner

fancy x farmhouse table from sinker cypress

Submitted by ashmass on Tue, 10/28/2014 - 08:07

Built this table 11 feet long with live edge sinker cypress. Hand rubbed 12 coats of tung oil, then finished with Waterlox satin.

Estimated Cost
600
Estimated Time Investment
Week Long Project (20 Hours or More)
Finish Used
outdoor dining
Recommended Skill Level
Intermediate

Comments

ashmass

Wed, 10/29/2014 - 08:26

Thanks! Took me two months to get the finish right. I love the look of sinker cypress. I'm building an indoor dining table from sinker pecky cypress, should be pretty nice

Light Wash Sideboard

Inspired by the RH Salvaged Wood Panel Sideboard. No measurement adjustments to deviate from the Planked Wood Sideboard plan.

Built from Plan(s)
Estimated Cost
375
Estimated Time Investment
Weekend Project (10-20 Hours)
Finish Used
General Finish Milk Paint (color: Linen) custom wash. Finished with a glaze in Van Dyke Brown.
Recommended Skill Level
Intermediate

Comments

Reclaimed wood easy kitchen island

Submitted by Liz325 on Mon, 01/07/2013 - 21:59

One of my first projects, but really worth the time and effort. It helps so much with space in the kitchen and I learned a lot in the process. It's really sturdy and was a pretty easy build. Most of the time was spent staining and nailing the slats.

Built from Plan(s)
Estimated Cost
$25
Estimated Time Investment
Week Long Project (20 Hours or More)
Finish Used
Gunstock and Golden oak stain on the slats on top and semi-gloss white on base. Finished with 2+ coats of Poly.
Recommended Skill Level
Beginner

36" sink base cabinet

Submitted by Lanelle on Sat, 11/01/2014 - 21:54

A 36" sink base is the center, flanked by two 18" cabinets made by modifying the 21" base cabinet plan.

Estimated Time Investment
Weekend Project (10-20 Hours)
Recommended Skill Level
Intermediate

Comments

King Size Farmhouse

Submitted by Anonymous (not verified) on Thu, 02/09/2017 - 08:56

Here are some of the more structual photos to help people along the way. 

I did the head board and foot board using the directions. I used 2 4.5 inch screws on each 4x4 post to secure the 4x4s to the head board. 

I used 2 4.5 inch screws to secure the head board to the frame. 

I used some brackets I had lying around to secure the footboard to the frame. 

I used 0.5 inch partical board to put on top of the frame I put the joists down 0.5 below the side rails so the partical board would sit down and inside. 

I used 2x6 boards for the frame with deck brackets to secure it. 

I used left over wood from the 4x4 to be cut 10inch each and 2x6 study 3 of those 4x4 to lift the frame up.

for the fourth raiser I used left over wood from the 2x10. 

I primed the wood and painted white. 

Hopefully these pictures help. 

All said and done it was close to 500-600 to build. I did this in Canada where materials can be a little pricier. 

Estimated Cost
500-600 in Canada
Estimated Time Investment
Weekend Project (10-20 Hours)
Finish Used
primer and white paint, no finish
Recommended Skill Level
Intermediate

My attempt

Submitted by Anonymous (not verified) on Tue, 11/03/2020 - 19:18

Couldn't find anything that would fit my area and this seemed to work out perfect. Almost done with the other side. I will post pic of finished products.

Comments

Single Drawer Console Table

Submitted by efmolly on Wed, 01/09/2013 - 09:25

This is a basic console table, aside from the drawer. This was my first time attempting drawer, and it wasn't too bad. The top I put together from a piece of 1x8 and 1x4's using my Kreg jig. It ended up being a bit long, so I trimmed the breadboard ends down a couple inches. For the base I used reclaimed table legs and 1x6's for the aprons. To make the drawer opening, I simply cut out a rectangular hole slightly larger than my drawer box out of the front apron. The drawer box I built out of 1x3's and 1/4in plywood and then attached a piece of 1x4 for the face. Since it was a small drawer, I didn't want to purchase drawer slides for it. I pocket holed some 1x4 stretchers, going from the front to back of the table on either side of the drawer opening. I then screwed a strip of 1x1 to the drawer box horizontally, lined it up to the stretchers and screwed another 1x1 to the stretcher. So basically, I made my own sides using 1x1. I added a bin pull and was done. I feature a few other projects like this on my blog http://pneumaticaddict.blogspot.com .

Estimated Cost
$40
Estimated Time Investment
Day Project (6-9 Hours)
Finish Used
The top is stained with 'Walnut' oil-based stain from Minwax, then glazed with a dark chocolate glaze. The base is a creamy white, latex paint glazed with the same chocolate glaze. The whole piece is finished with 2 coats of Polyacrylic in Satin.
Recommended Skill Level
Intermediate