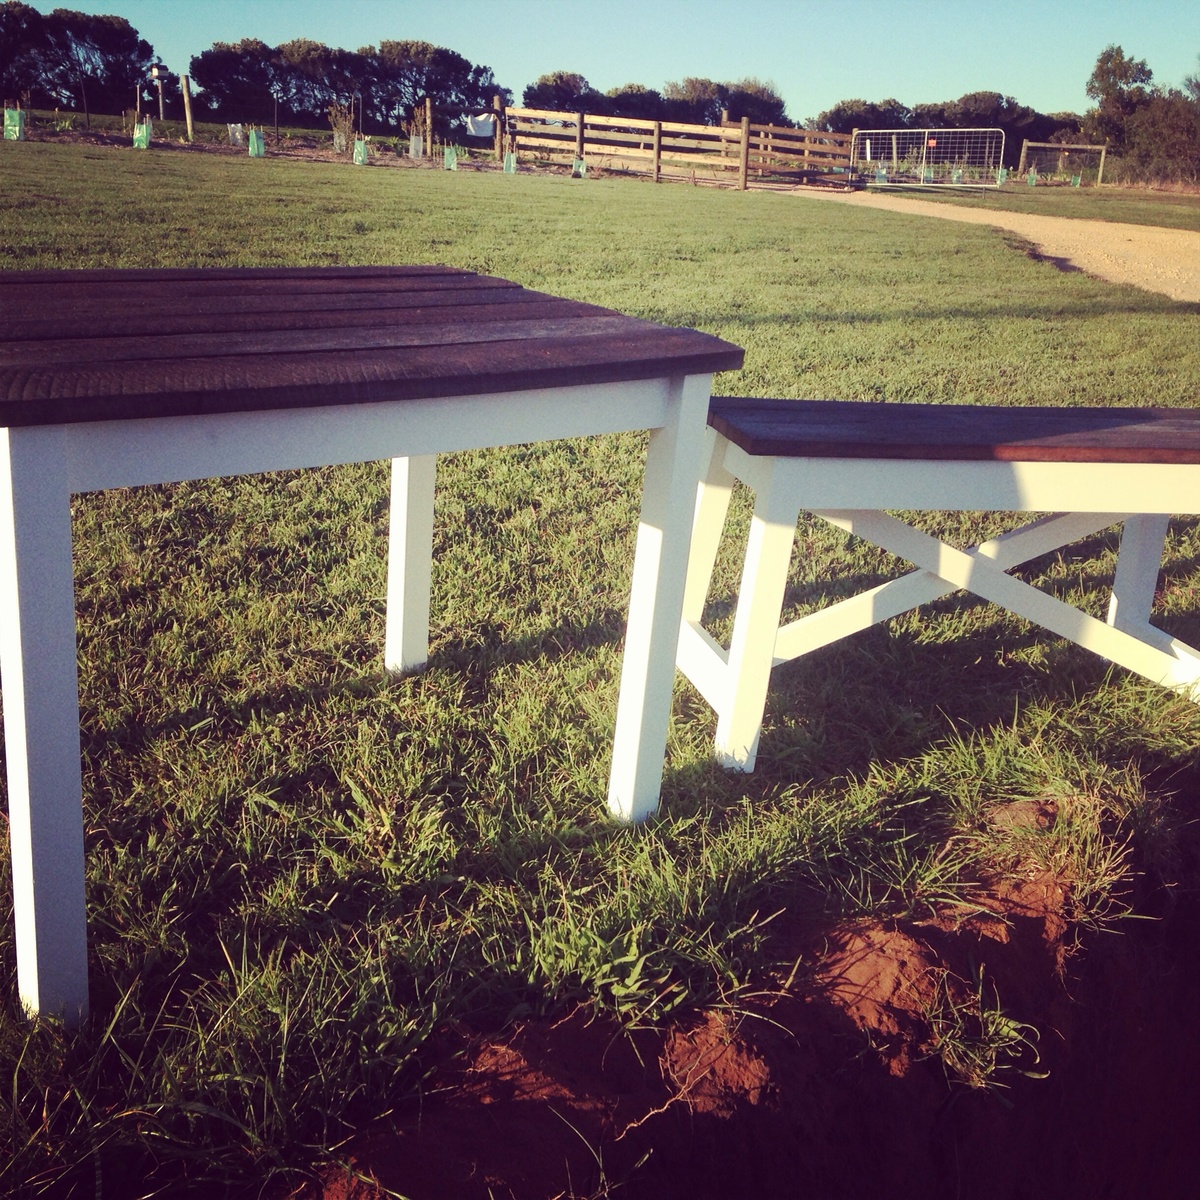
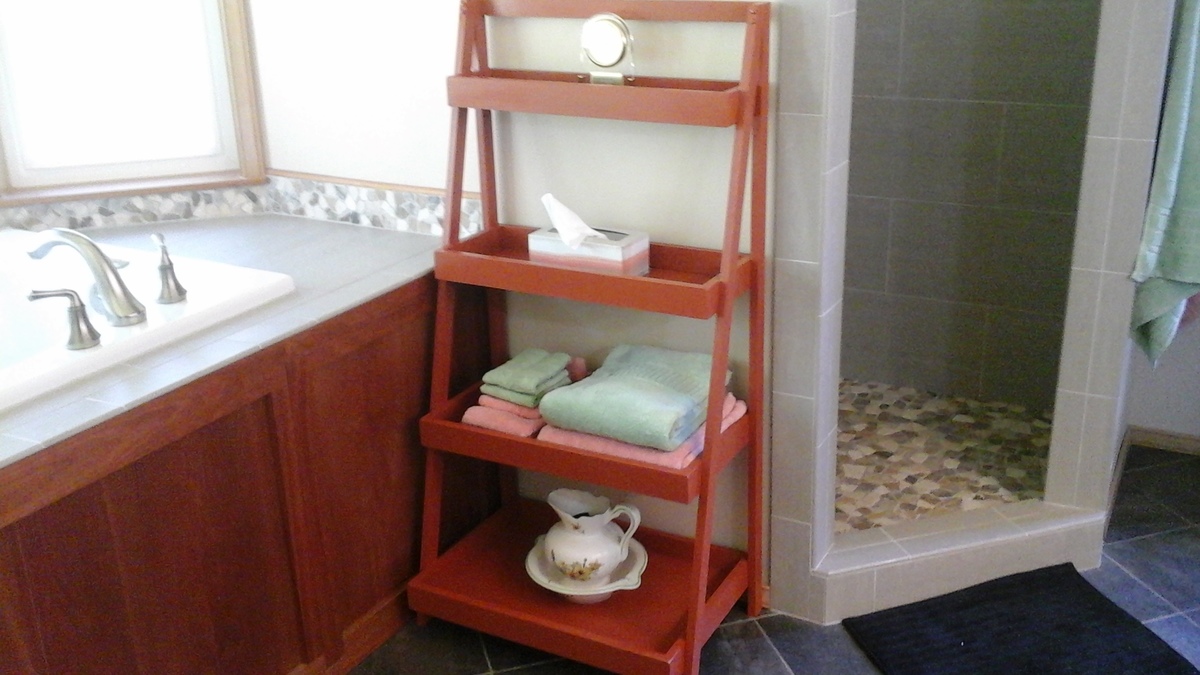
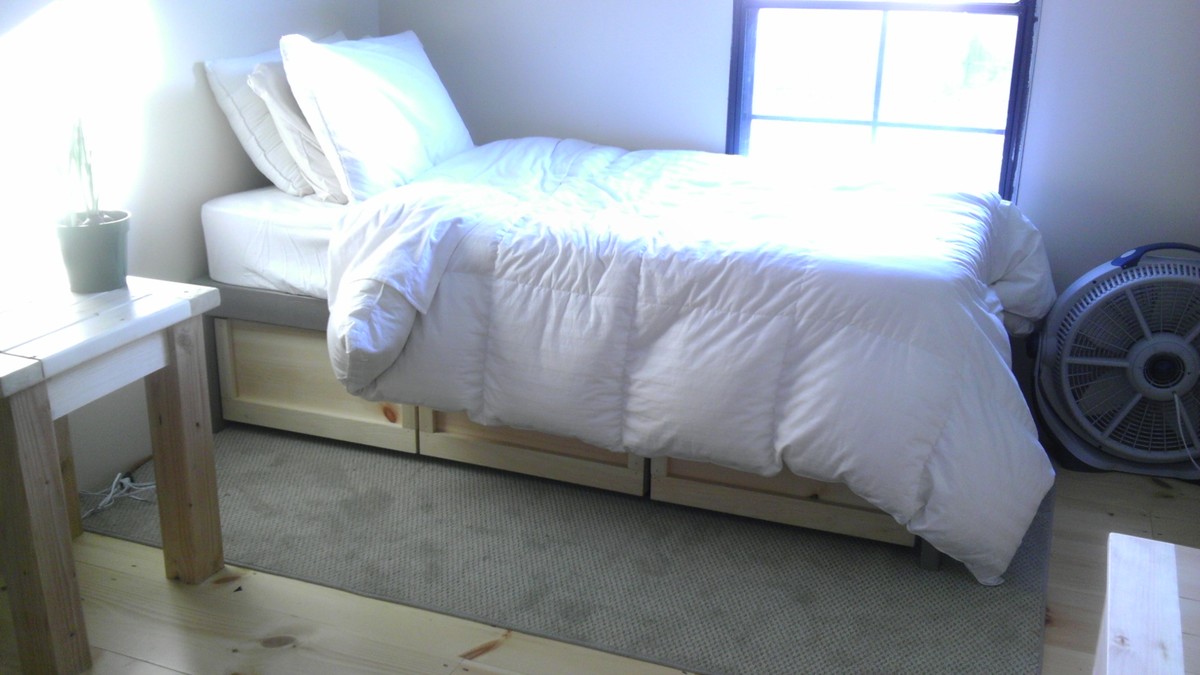
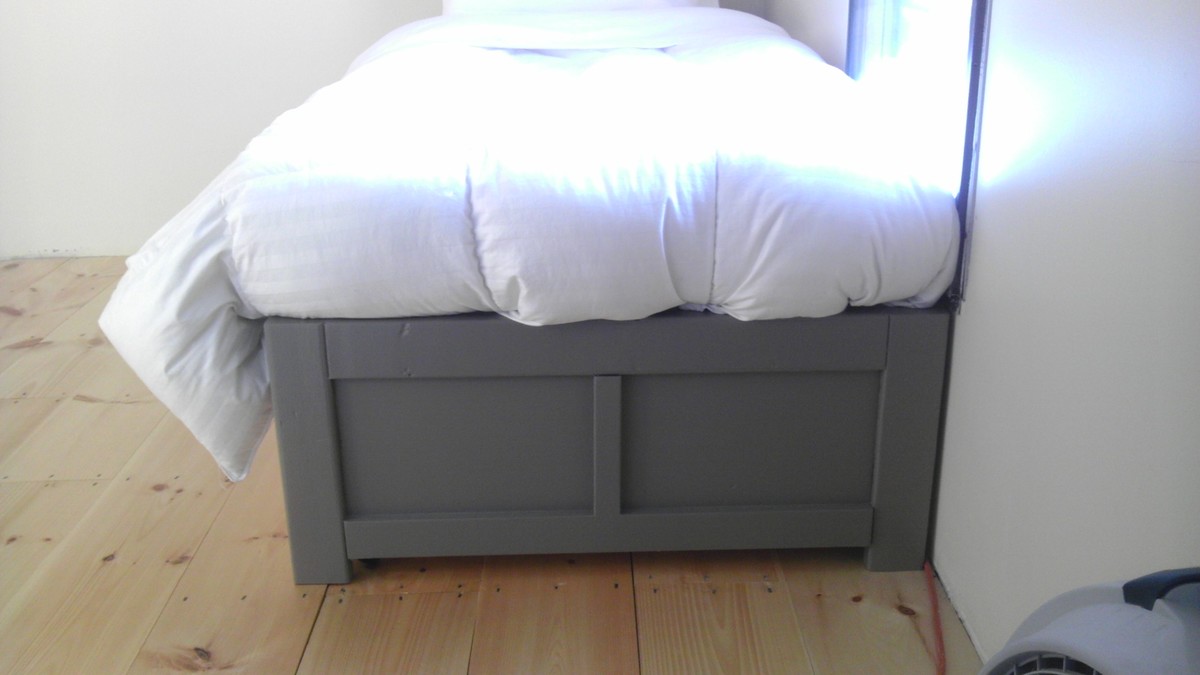
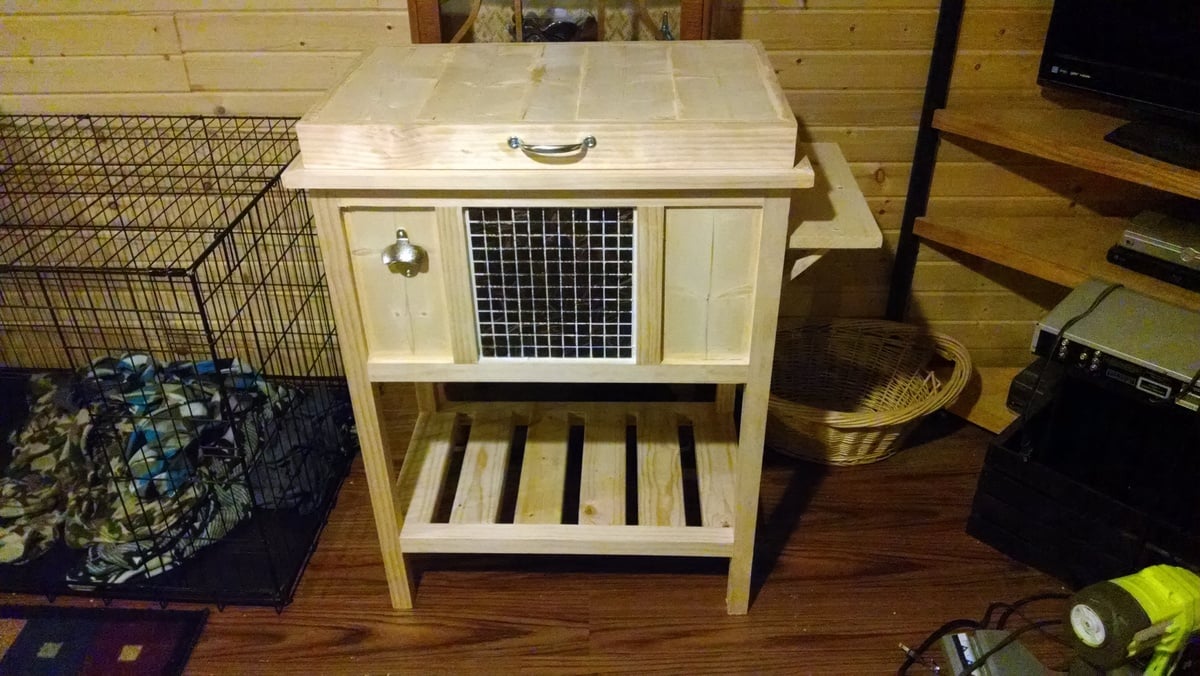
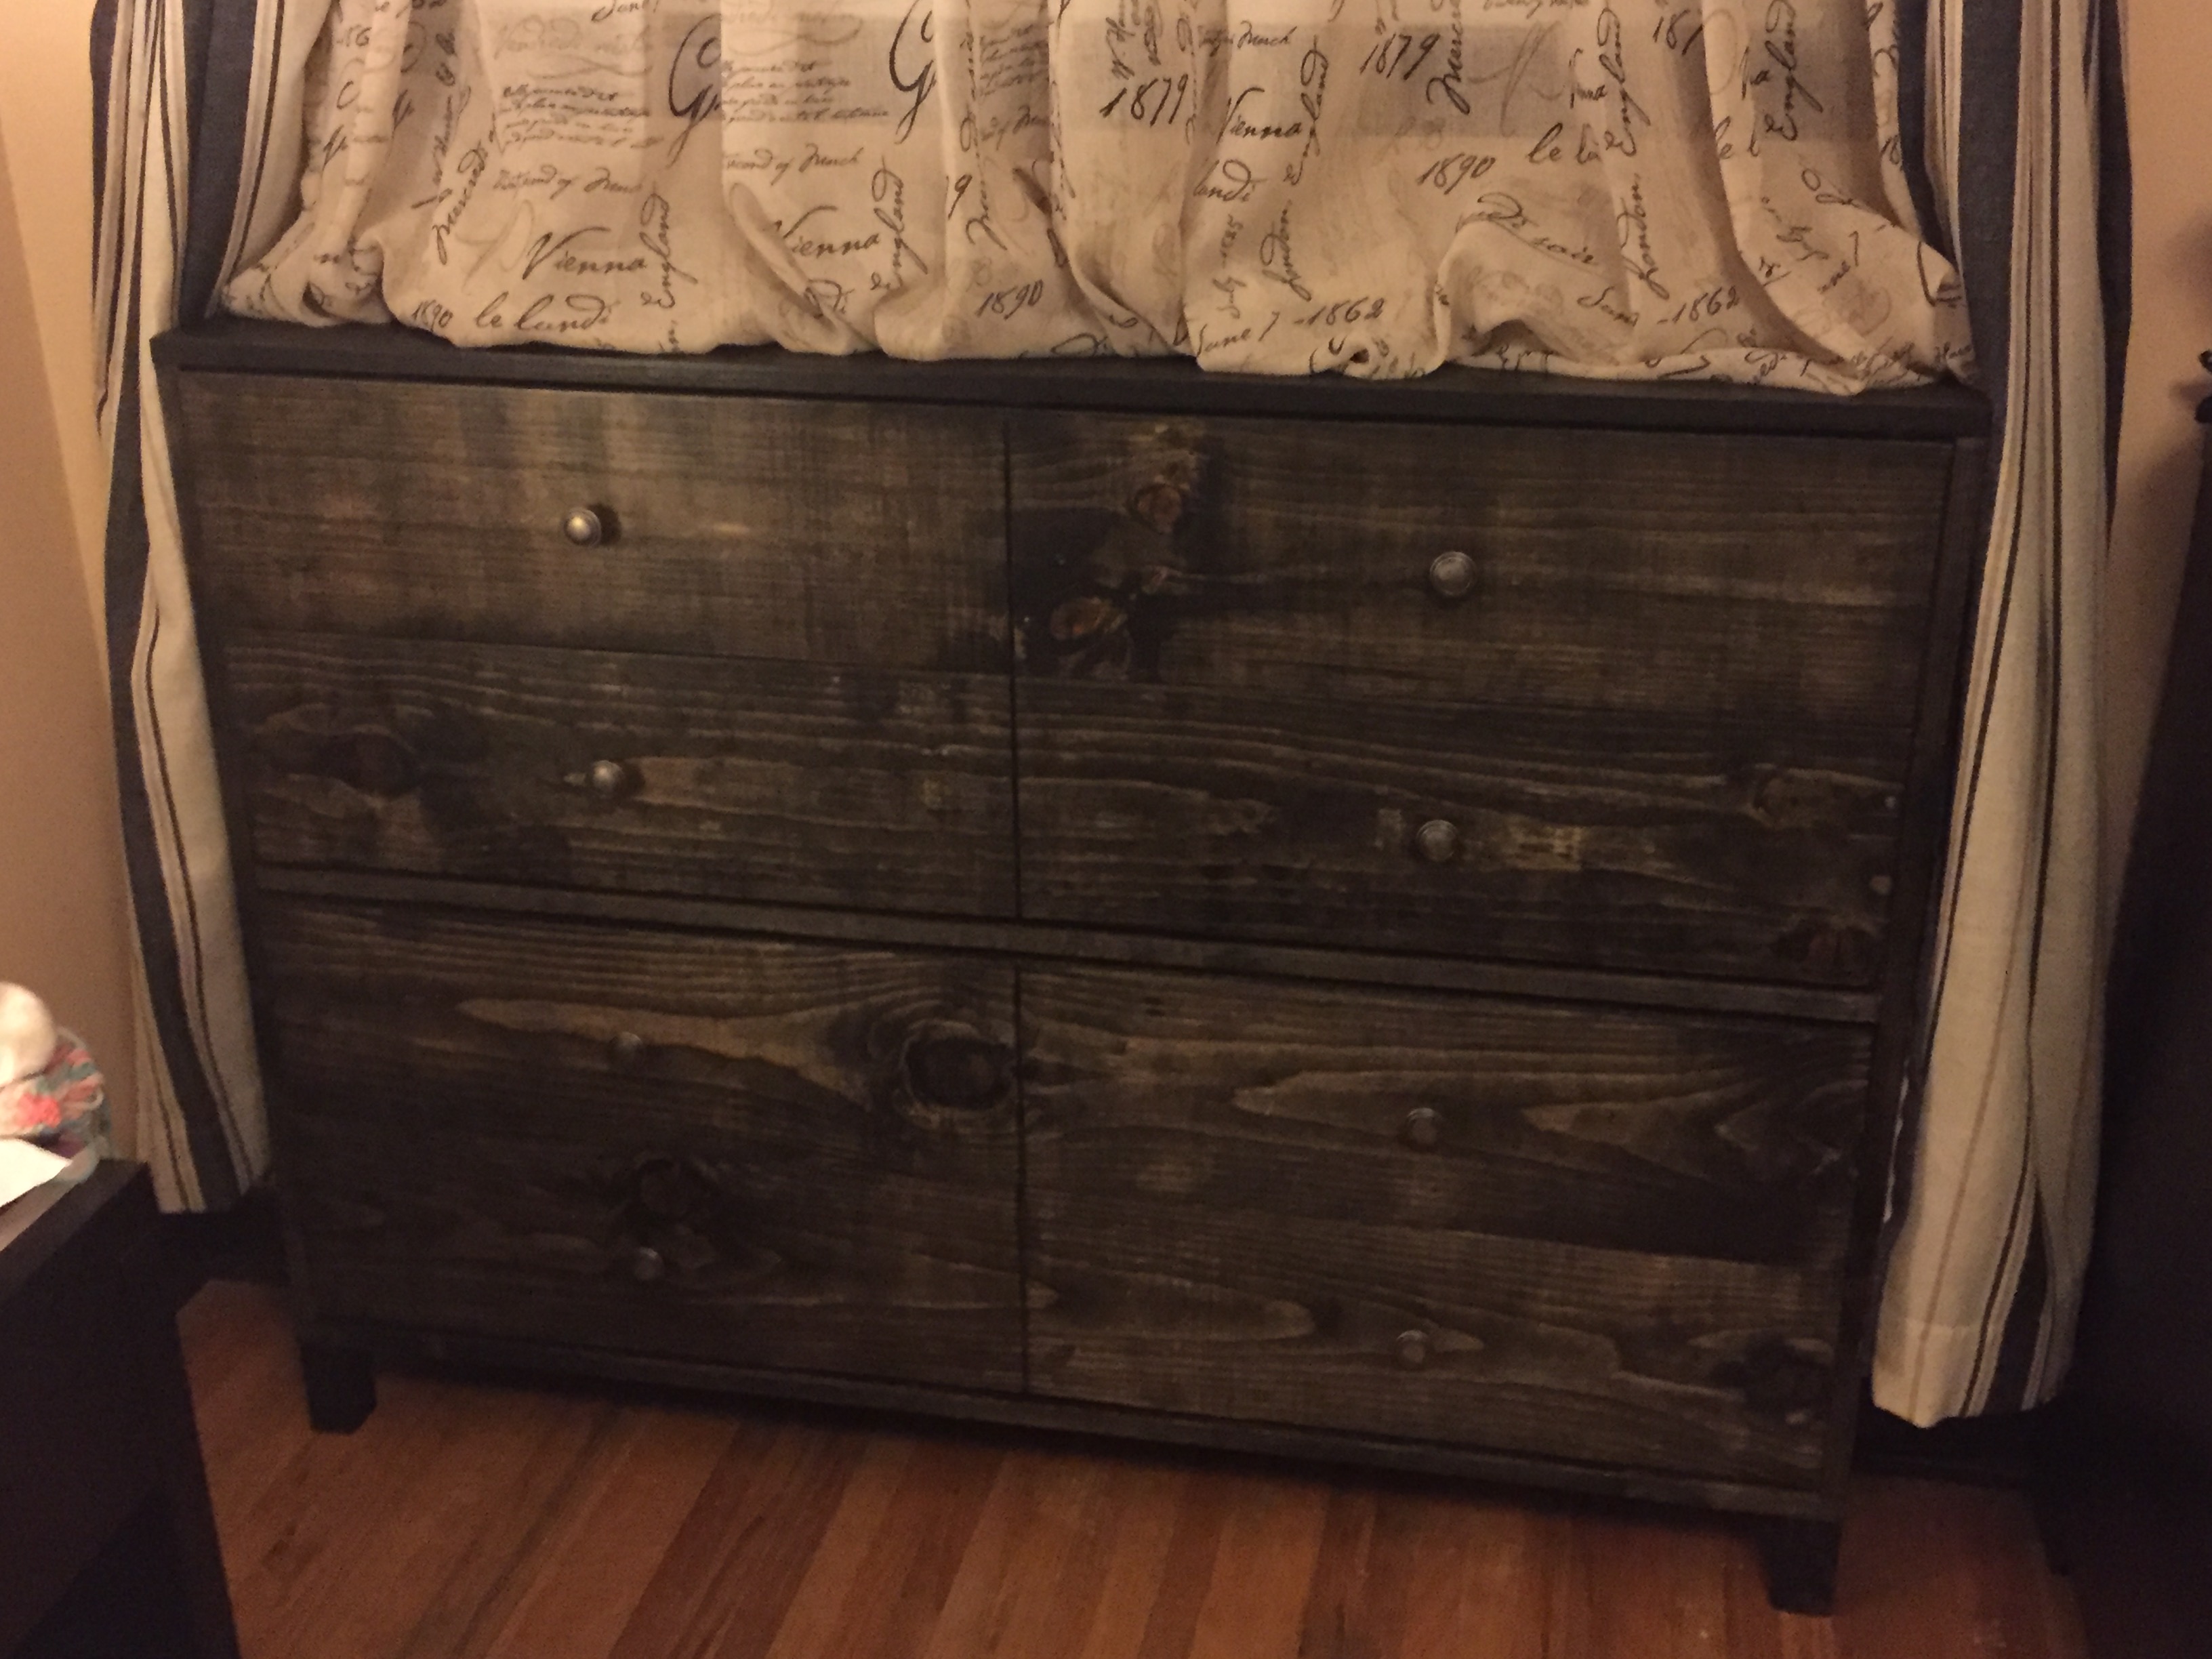
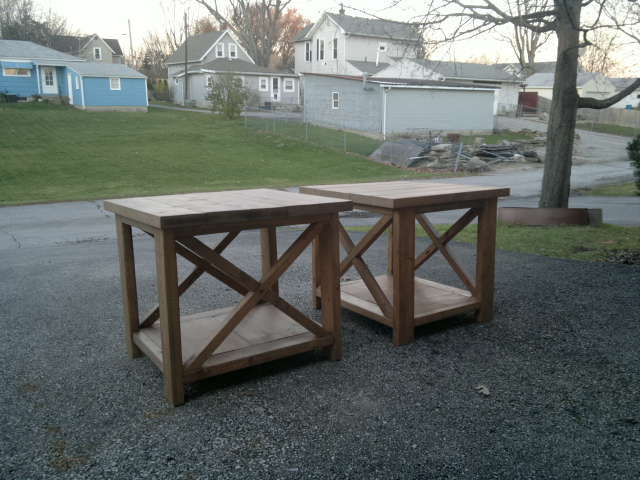
Community Brag Posts

Rustic X End Table

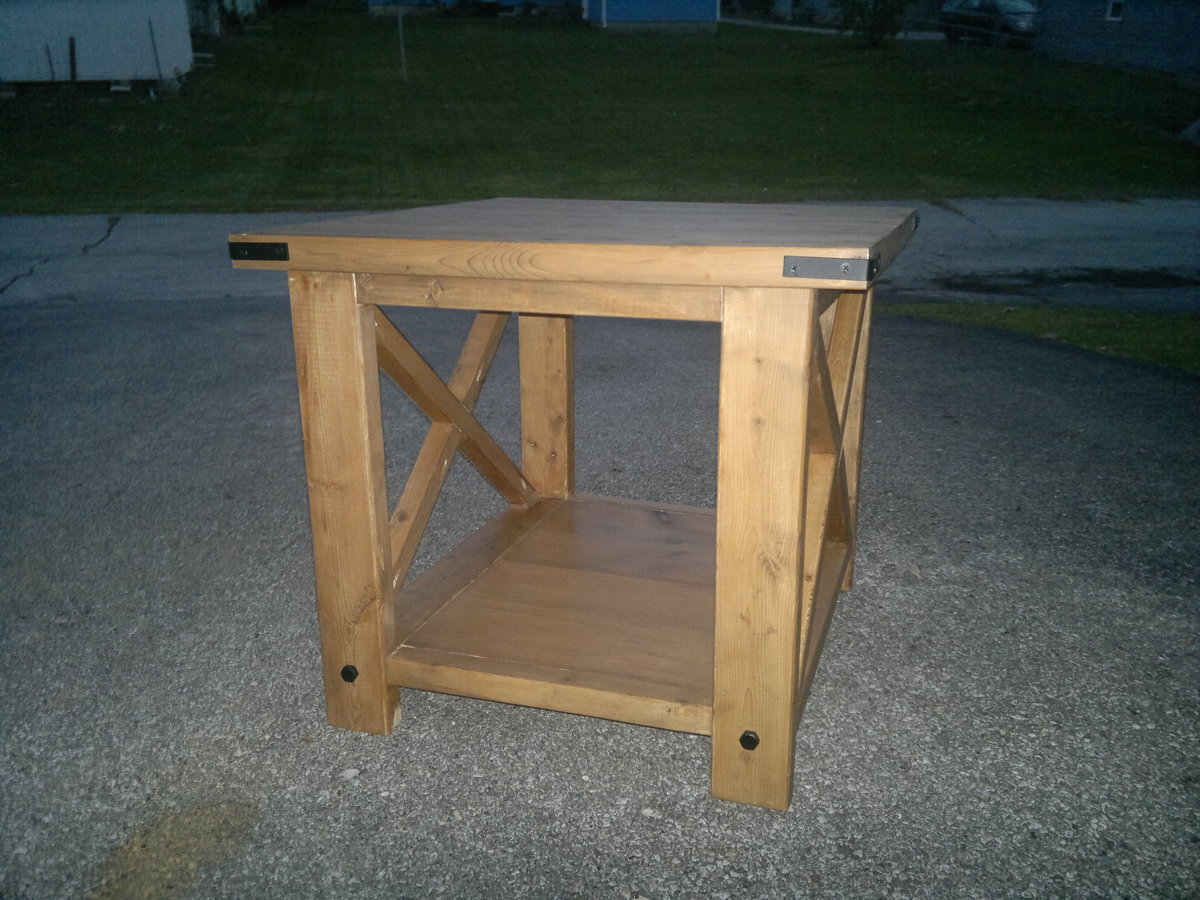
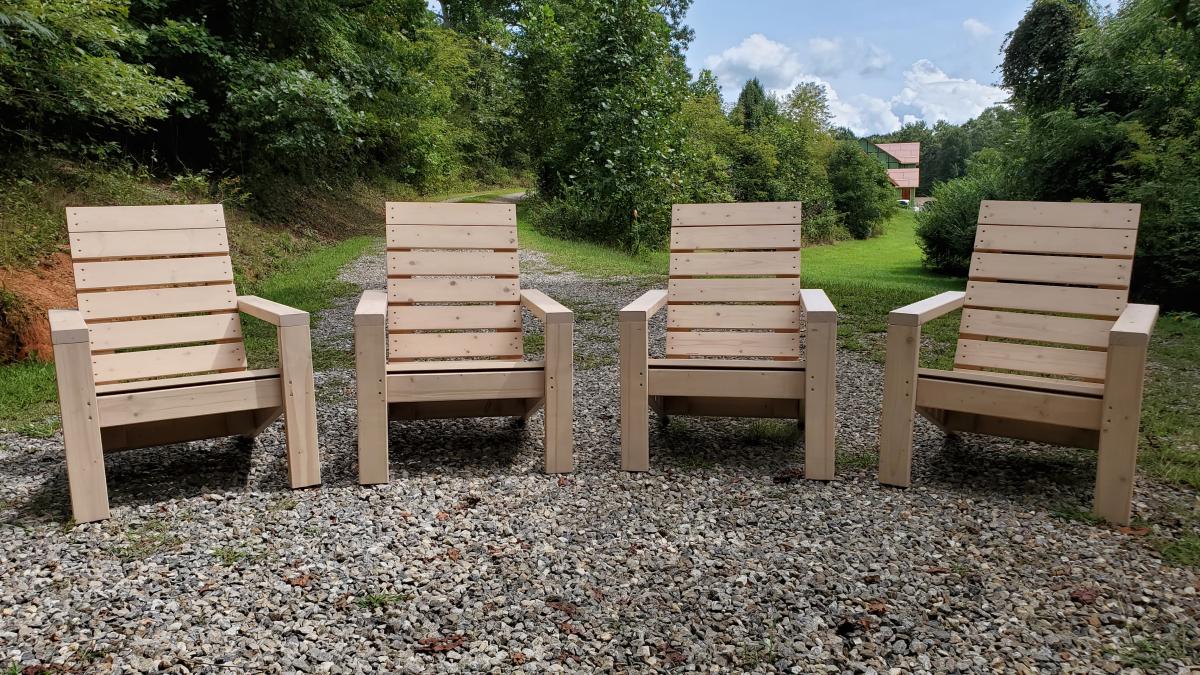
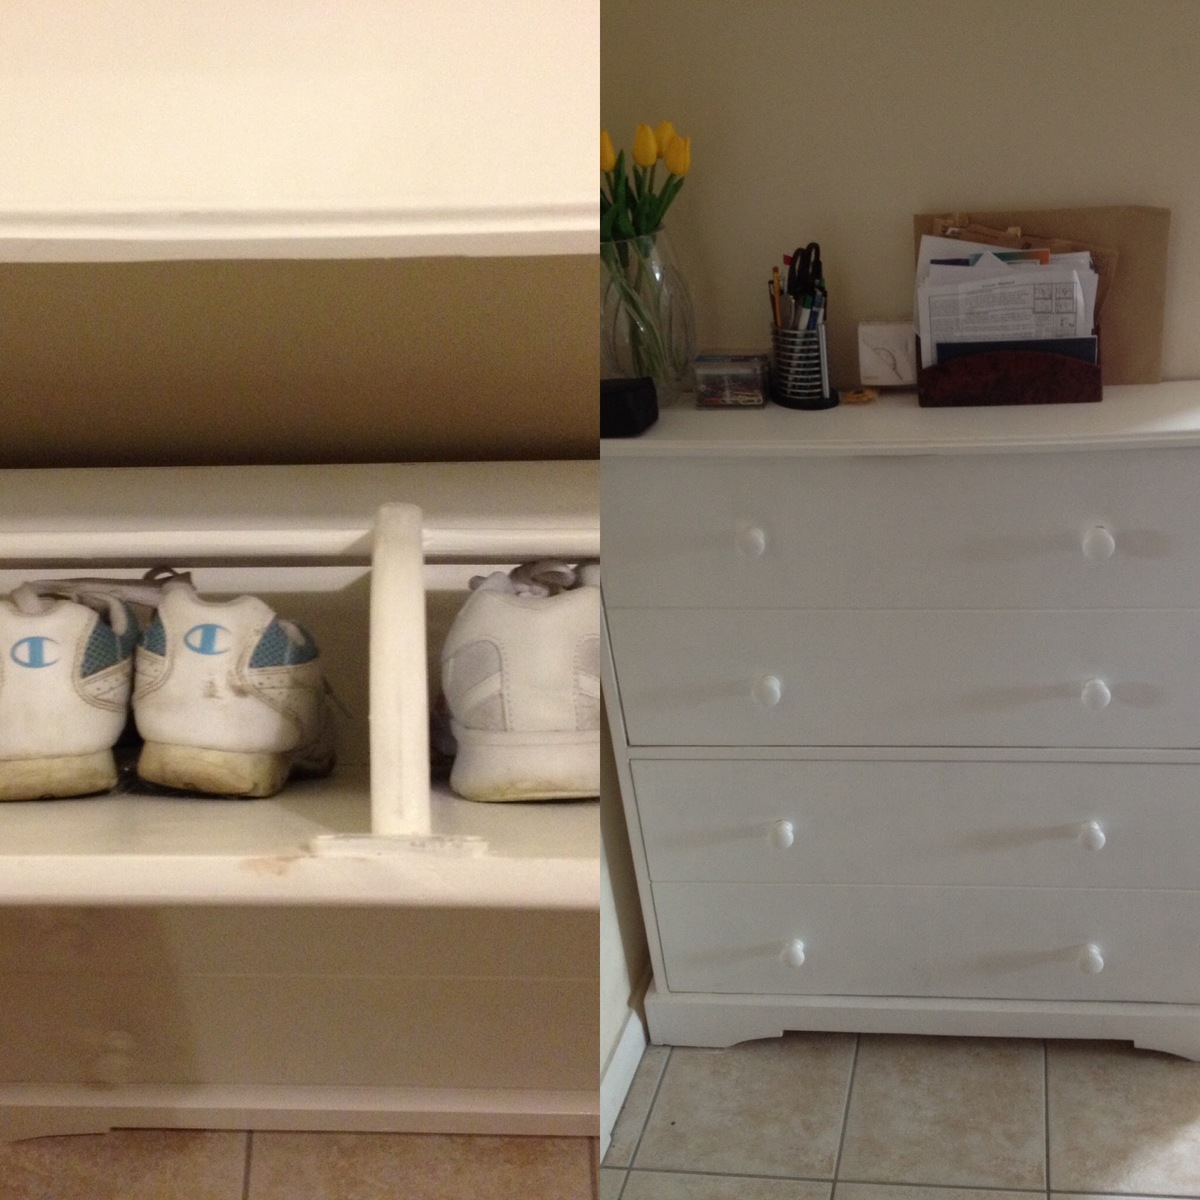
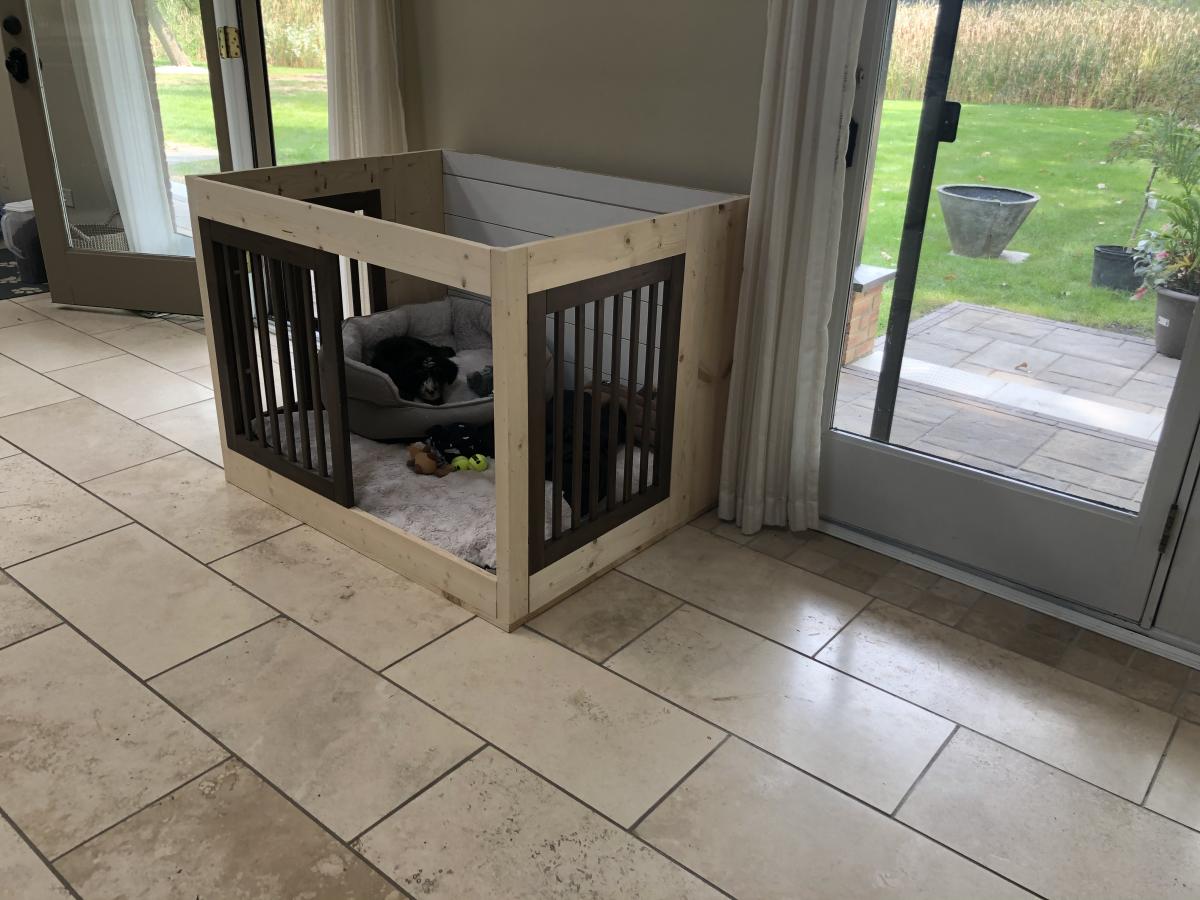
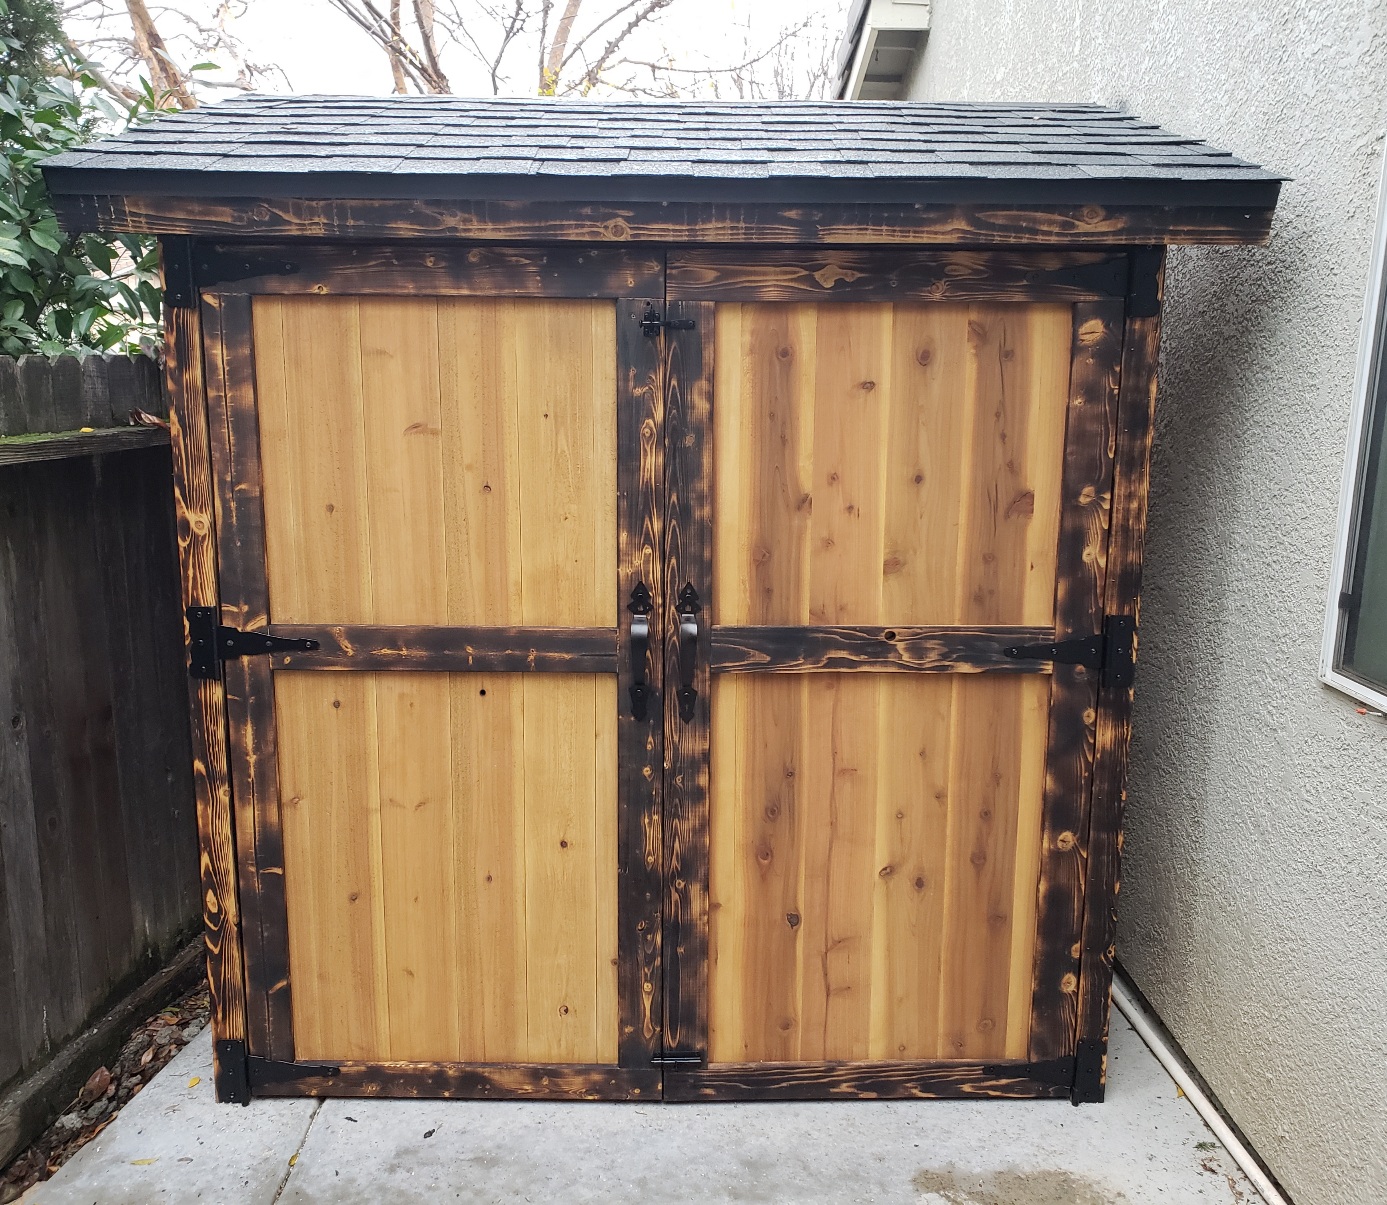
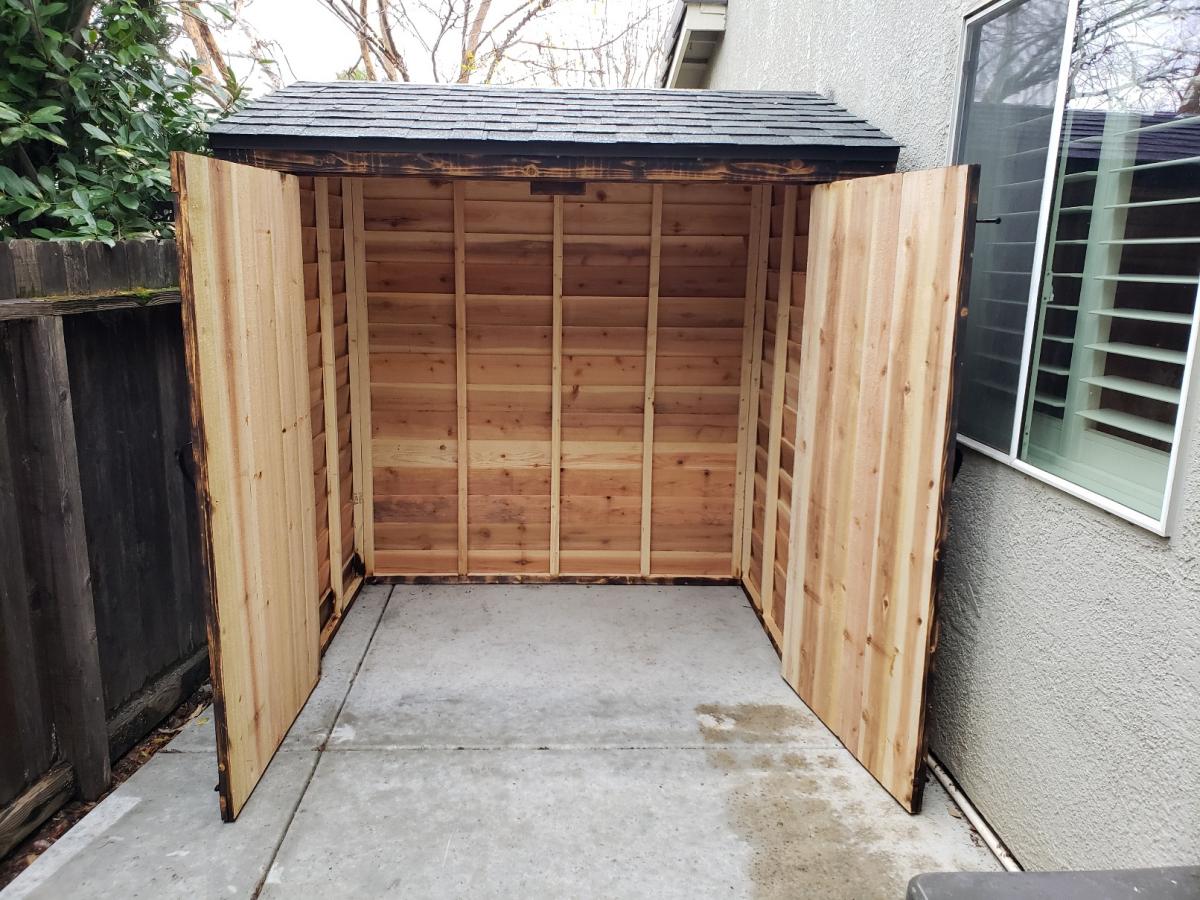
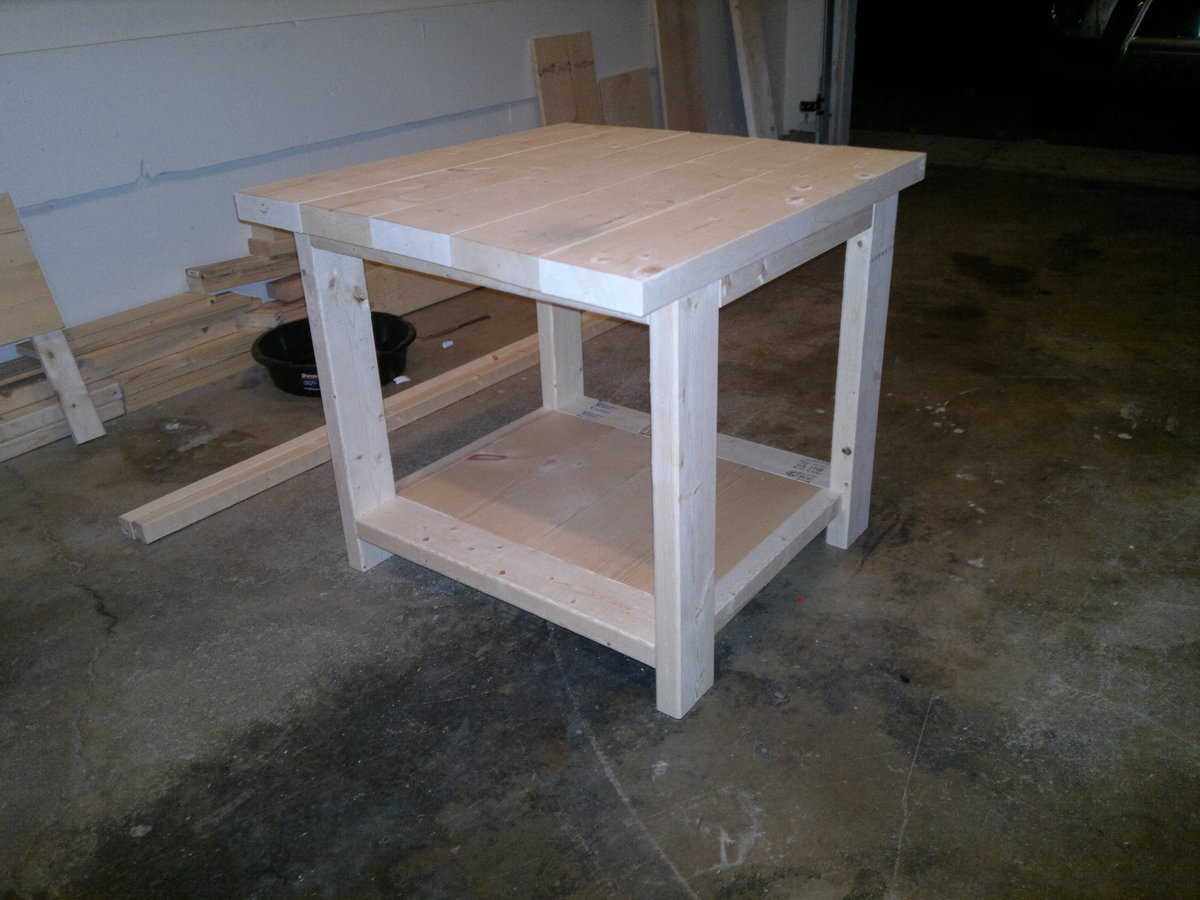
This project took several months of off and on work but I am very happy with the results. Followed the plans on this website to the T and they were great. Got the wood from the local lowes and the hardware from Ace Hardware. Used the Kreg Jig pocket hole system to hide the fasteners which makes a big difference. I also used flat black spray paint for the hardware.

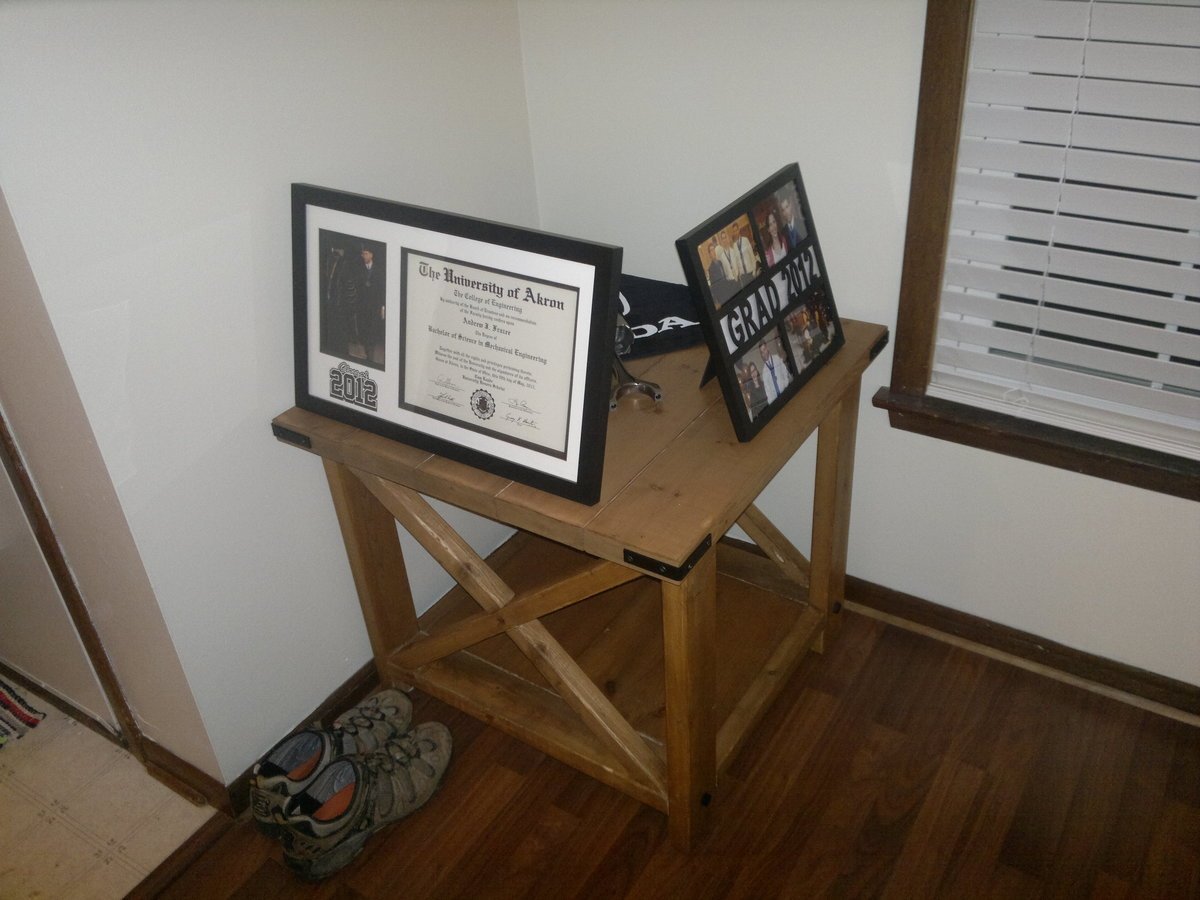
I loved the rustic look that this project was finished with so I did the same. The stain was great, really easy to make and stains really well. I covered the stain with the recommended wax which gives it a really nice shine and is very smooth.

Huge thanks to this website!

Estimated Time Investment
Week Long Project (20 Hours or More)
Finish Used
"Hillary's oxidized finish"
Recommended Skill Level
Beginner

First Major Furniture Project

Submitted by dfraley22 on Tue, 09/16/2014 - 11:57

This was my first major furniture project. My daughter wanted a changing table and this looked like it would be a good choice.I made a few modifications; it's a little taller as my daughter and her husband are on the tall side, I also added a small rail to keep the changing pad from sliding off. Overall it was a great learning experience. I have built several outdoor pens and small houses for our chickens, but this was my first attempt at a piece of furniture. I think it turned out well, and my daughter and her husband are happy with it (and that is what matters).Of course I see the mistakes but I learned from them and now know what to do (or not to do) next time.  Plans are great, easy to follow ....thank you ANA!! Can't wait to try another plan.

Built from Plan(s)
Estimated Cost
about $150
Estimated Time Investment
Weekend Project (10-20 Hours)
Finish Used
Rustoleum - American Walnut, Weathered Gray, Wheat, Willow with a top of American Walnut, and Carrigton. 3 coats of polycrylic, and the frame is HGTV Home Cream from Sherwin Williams.
Recommended Skill Level
Intermediate

Half sized grandly sliding barn doof console

Submitted by Anonymous (not verified) on Thu, 01/05/2017 - 20:04

Built by Sarah Ashley Allen on Instagram

Built from Plan(s)
Recommended Skill Level
Intermediate

Comments

2x4 Modern Adirondack chairs

Submitted by Pavelsfarm on Tue, 09/15/2020 - 20:47

In March of this year, I was furloughed due to COVID-19. Like most people, I looked for something to do while hoping my employer would bring me back to work. I found your site and it has been a lifesaver. What started out as completing projects for our home, turned into extra income to pull through these tough times. I've really come to enjoy wood working and have built things I never thought I could have before. I modified this plan to use 1x4s for the seat and back because I couldn't find any decent 1x10s at the time. I then scaled everything down for the kid's chair.

Estimated Time Investment
Day Project (6-9 Hours)
Finish Used
The first picture is raw. The second picture I used Behr Semi-transparent sealant and deck stain in Rose Beige.

Comments

Shoe Dresser

Submitted by Pauline M on Sun, 01/08/2017 - 05:02

This was perfect for my hall as it doubled up as a hall stand too. Love it.

Built from Plan(s)
Estimated Cost
€60
Estimated Time Investment
Weekend Project (10-20 Hours)
Finish Used
Satin wood barley white
Recommended Skill Level
Advanced

Miter Saw Cart

Submitted by ivyfamily5 on Sat, 09/19/2020 - 13:49

I love this Miter Saw Cart. The plans were easy to follow and tweak to work with what I had on hand. I love all of Ana White's plans, passion, and inspiration. Happy Building!

Built from Plan(s)
Estimated Time Investment
Afternoon Project (3-6 Hours)
Finish Used
I left it raw, but I might paint it later. I also plan to add a Stop Block to it soon.
Recommended Skill Level
Beginner

Comments

Modified version for kitchen

Submitted by komyghods on Tue, 12/11/2012 - 15:49

My wife desperately needed a storage solution for her baking supplies in the kitchen. I came across Hillary's Locker Cabinet on Ana White's website, which gave me some good direction. I modified the plans a little to increase the storage space my wife needed. In one weekend my friend Robert and I built this kitchen cubby storage solution that organizes all the clutter, looks great, and doesn't take up a lot of room (6'x4.5'x1').

Thanks for the idea and wonderful resource!

Estimated Cost
$175
Estimated Time Investment
Weekend Project (10-20 Hours)
Finish Used
Varathane Sunbleached Stain
Recommended Skill Level
Intermediate

Comments

My first furniture!

This was my first attempt at furniture. My husband helped a little but I did most of the work. Worked out beautiful, an excellent birthday pressie for my daughter. Started cutting wood  one afternoon, and finished painting and assembling the following afternoon (had a birthday cake to bake otherwise it would have been finished earlier). I used recycled timber for tops, the rest of the wood cost $50, so guessing Australian timber is way more expensive than USA. Bought Kreg jig specially for this project. Pocket joins give an excellent strong join. Had trouble getting crosses on bench correct, required many rescaling a to get right. Also had a wonky table because I screwed to the recycled timber top (some of that wood is warped) so fixed with a choc under two legs. Very pleased with result, look forward to my next project!

Estimated Cost
$50 not including table and bench top. Got my wood from Masters.
Estimated Time Investment
Afternoon Project (3-6 Hours)
Finish Used
House paint on base and Danish oil on top
Recommended Skill Level
Starter Project

Coffee and end table

Submitted by Anonymous (not verified) on Sun, 09/20/2020 - 19:35

Love how these end tables turned out. The wood came from a maple tree and cut from my father’s sawmill, made for my daughter. They are stained gray.

Estimated Time Investment
Weekend Project (10-20 Hours)
Finish Used
Stain
Recommended Skill Level
Intermediate

Comments

Double Leaning Shelf

Submitted by The6greers on Mon, 12/17/2012 - 11:14

This was my second Ana White project but the first from her new book.
It started out being 2 separate shelving units but once in the space they need to be modified to fit between the windows. I just removed the one side leg and screwed the shelves to the other unit.
the bottom shelf is perfect to house my 12x12 scrapbooks!

Built from Plan(s)
Estimated Time Investment
Weekend Project (10-20 Hours)
Finish Used
Painted
Recommended Skill Level
Intermediate

farm table

Submitted by Anonymous (not verified) on Tue, 01/10/2017 - 20:42

This is our version of the farm house table. Flat white base with a grey finish on top to give it a coastal farmhouse theme. 

Estimated Time Investment
Week Long Project (20 Hours or More)
Recommended Skill Level
Beginner

Dog Crate

Submitted by lwinchip on Wed, 09/23/2020 - 12:06

Custom dog crate built using pieces of a dog gate for the front and sides. Door and back of the crate are shiplap.

Estimated Cost
150
Estimated Time Investment
Day Project (6-9 Hours)
Finish Used
Chalk paint and walnut stain
Recommended Skill Level
Intermediate

Comments

Farmhouse Bed =)

I have been bugging my husband for a month to help me build this bed - he builds houses for a living, so the last thing he wasn't to do with his time off is deal with more saws and drills!

But, when it came to making Christmas lists this year, all I asked for was his time to help me with the bed... guilt trip!

So, Friday after work we went to Blue Store to pick out lumber - He thought rough cut lumber would be THE WORST THING IN THE WORLD, or at least he acted like it... so we got what we had to out of framing lumber, and the rest was premium white wood. We were lucky enough to find 4x4 fir posts too!

All in all, we spent about 5 hours making the bed (little did hubs know, he would thoroughly enjoy building furniture, and now explores this website for new projects!) and I used BM Antique white to finish. I wanted to try Ana's method of sanding edges and using stain pen, but I really do love the bed in just white. Still needs a poly coat, but that will have to wait until after Christmas!

Completed just in time for Christmas company!

The only suggestion I would make is when putting the top 2x6 on the footboard, make the back edge (closest to mattress) flush with the 2x4 below.... We centered it, and the mattress fits too snug to easily adjust blankets and sheets!

Estimated Cost
$200 in lumber
Estimated Time Investment
Afternoon Project (3-6 Hours)
Finish Used
Benjamin Moore Antique White
Recommended Skill Level
Beginner

Painter's Ladder

Submitted by Smokeydog on Tue, 09/30/2014 - 07:54

My wife saw a painter's ladder shelf at IKEA and wanted one for our master bathroom.   I showed her the shelf on Ana's site and she liked that one much more.  So ... a few hours later we had our  new shelf and my wife couldn't  be more pleased.

Estimated Cost
40.00
Estimated Time Investment
Day Project (6-9 Hours)
Finish Used
Satin spray paint with primer
Recommended Skill Level
Beginner

workbench miter saw and storage space

Submitted by wharry on Sat, 01/14/2017 - 17:17

This took me forever to do even with the plans and I still had to rig it cause I just couldn't get it square.  Im working on that but I'm very new at wood working and took this project on but I absolutely love it. This really cleared up my shed and space combined with extra tables to work on.  I got to use it for the first time today and it was awesome.  I think everyone should have one of these !!!


Recommended Skill Level
Beginner

Small Cedar Shed

Submitted by Honeyb65 on Sat, 09/26/2020 - 10:23

I built this using Ana's Small Cedar Shed plans. It was a fun and surprisingly easy build!

Estimated Cost
$250
Estimated Time Investment
Week Long Project (20 Hours or More)
Finish Used
I burnt the pine (shou sugi ban technique) and finished the whole exterior with Cabot Stain semi transparent finish in ochre.
Recommended Skill Level
Intermediate

Comments

Daybed with Storage Drawers on Caster Wheels

Submitted by Nate on Tue, 08/13/2019 - 10:38

This was one of the first projects I've ever built, so I would put it at a beginner level. It's a great, sturdy bed, very simple. The drawers are huge, which is surprising, since you don't realize how much space you gain when you add the drawers until you see how much they store. Thought I'd fill in details that worked for me that I had to figure out. As the plan says, the drawers are on caster wheels and slide directly on the floor, so make sure you have an area rug down if it's going to be on bare wood (especially pine, like this one is on). As another reviewer said, use 2" caster wheels, 12 total. This gives it the right height on a wood floor. You can get those in bulk at a home improvement store. I would recommend a slat system and not just a piece of plywood for under the mattress, as I was warned bacteria and mold can grow when the mattress is not given a way to vent. You can see in the picture, I had a bunch of 2x4 scraps and simply made a slat system out of that. I pocket holed the slats into the front of the bed, so no screws would be showing. I only finished the sides that would ever show, so the entire back of the drawers and bed itself are unfinished. I like the look of the drawers without handles, and they are just as easy to pull out without them. The drawers can get off track easily when being pulled in and out, so be careful when you use them. Otherwise, no problems with the drawers. I used wood glue and cheap drywall screws to attach the drawer bottoms (plywood) to the drawers. If you want to put anything of any serious weight in these drawers, really consider supporting the middle of the drawers on the bottom with some 1x2s or 1x3s, as it is a bit weak in the middle of the drawers. One more thing: I noticed standard dimensions vary slightly between finishing wood (1x12s, 1x2s, etc) and structural wood (2x4 studs), so keep that into account. Things were not flush because the finish wood was scaled larger than the structural wood. This bed is all about the storage underneath, which is great.

Estimated Time Investment
Weekend Project (10-20 Hours)
Finish Used
I used an oil-based primer, let it dry (it takes days to dry), then added latex-based paint on top. The drawers have one coat of polyurethane.
Recommended Skill Level
Beginner

Comments

Awesome shoe dresser

Submitted by Tbacks on Tue, 01/17/2017 - 06:47

I gave up my closet for a bathroom remodel last year...totally worth it. Since then my shoes have been stored in a pile next to my bed.  So happy I found this wonderful pattern.  I love my new shoe dresser!!  Thank you Ana!!

Built from Plan(s)
Estimated Cost
Approximately $65
Estimated Time Investment
Weekend Project (10-20 Hours)
Finish Used
Ebony minwax wood finish. Finishing wax to finish it off.
Recommended Skill Level
Intermediate

Benchmark Octagon Table

Submitted by Michaerutm on Sat, 10/03/2020 - 14:23

I took this on thinking it would be a great addition to my home. And I was not disappointed. I am just getting back into building things. My only training was high school shop back in the Stone Age. Lol But it was a challenge that I think I did well with. Thank you Ana for the inspiration and instructions.

Estimated Cost
$130
Estimated Time Investment
Week Long Project (20 Hours or More)
Finish Used
Minwax red oak and Minwax clear oil based polyurethane
Recommended Skill Level
Intermediate