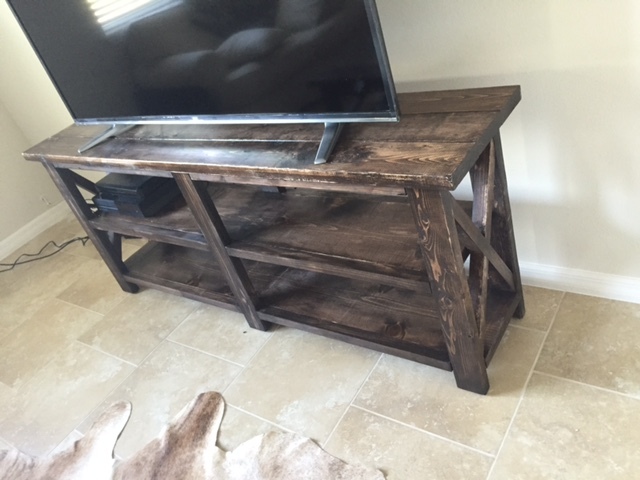
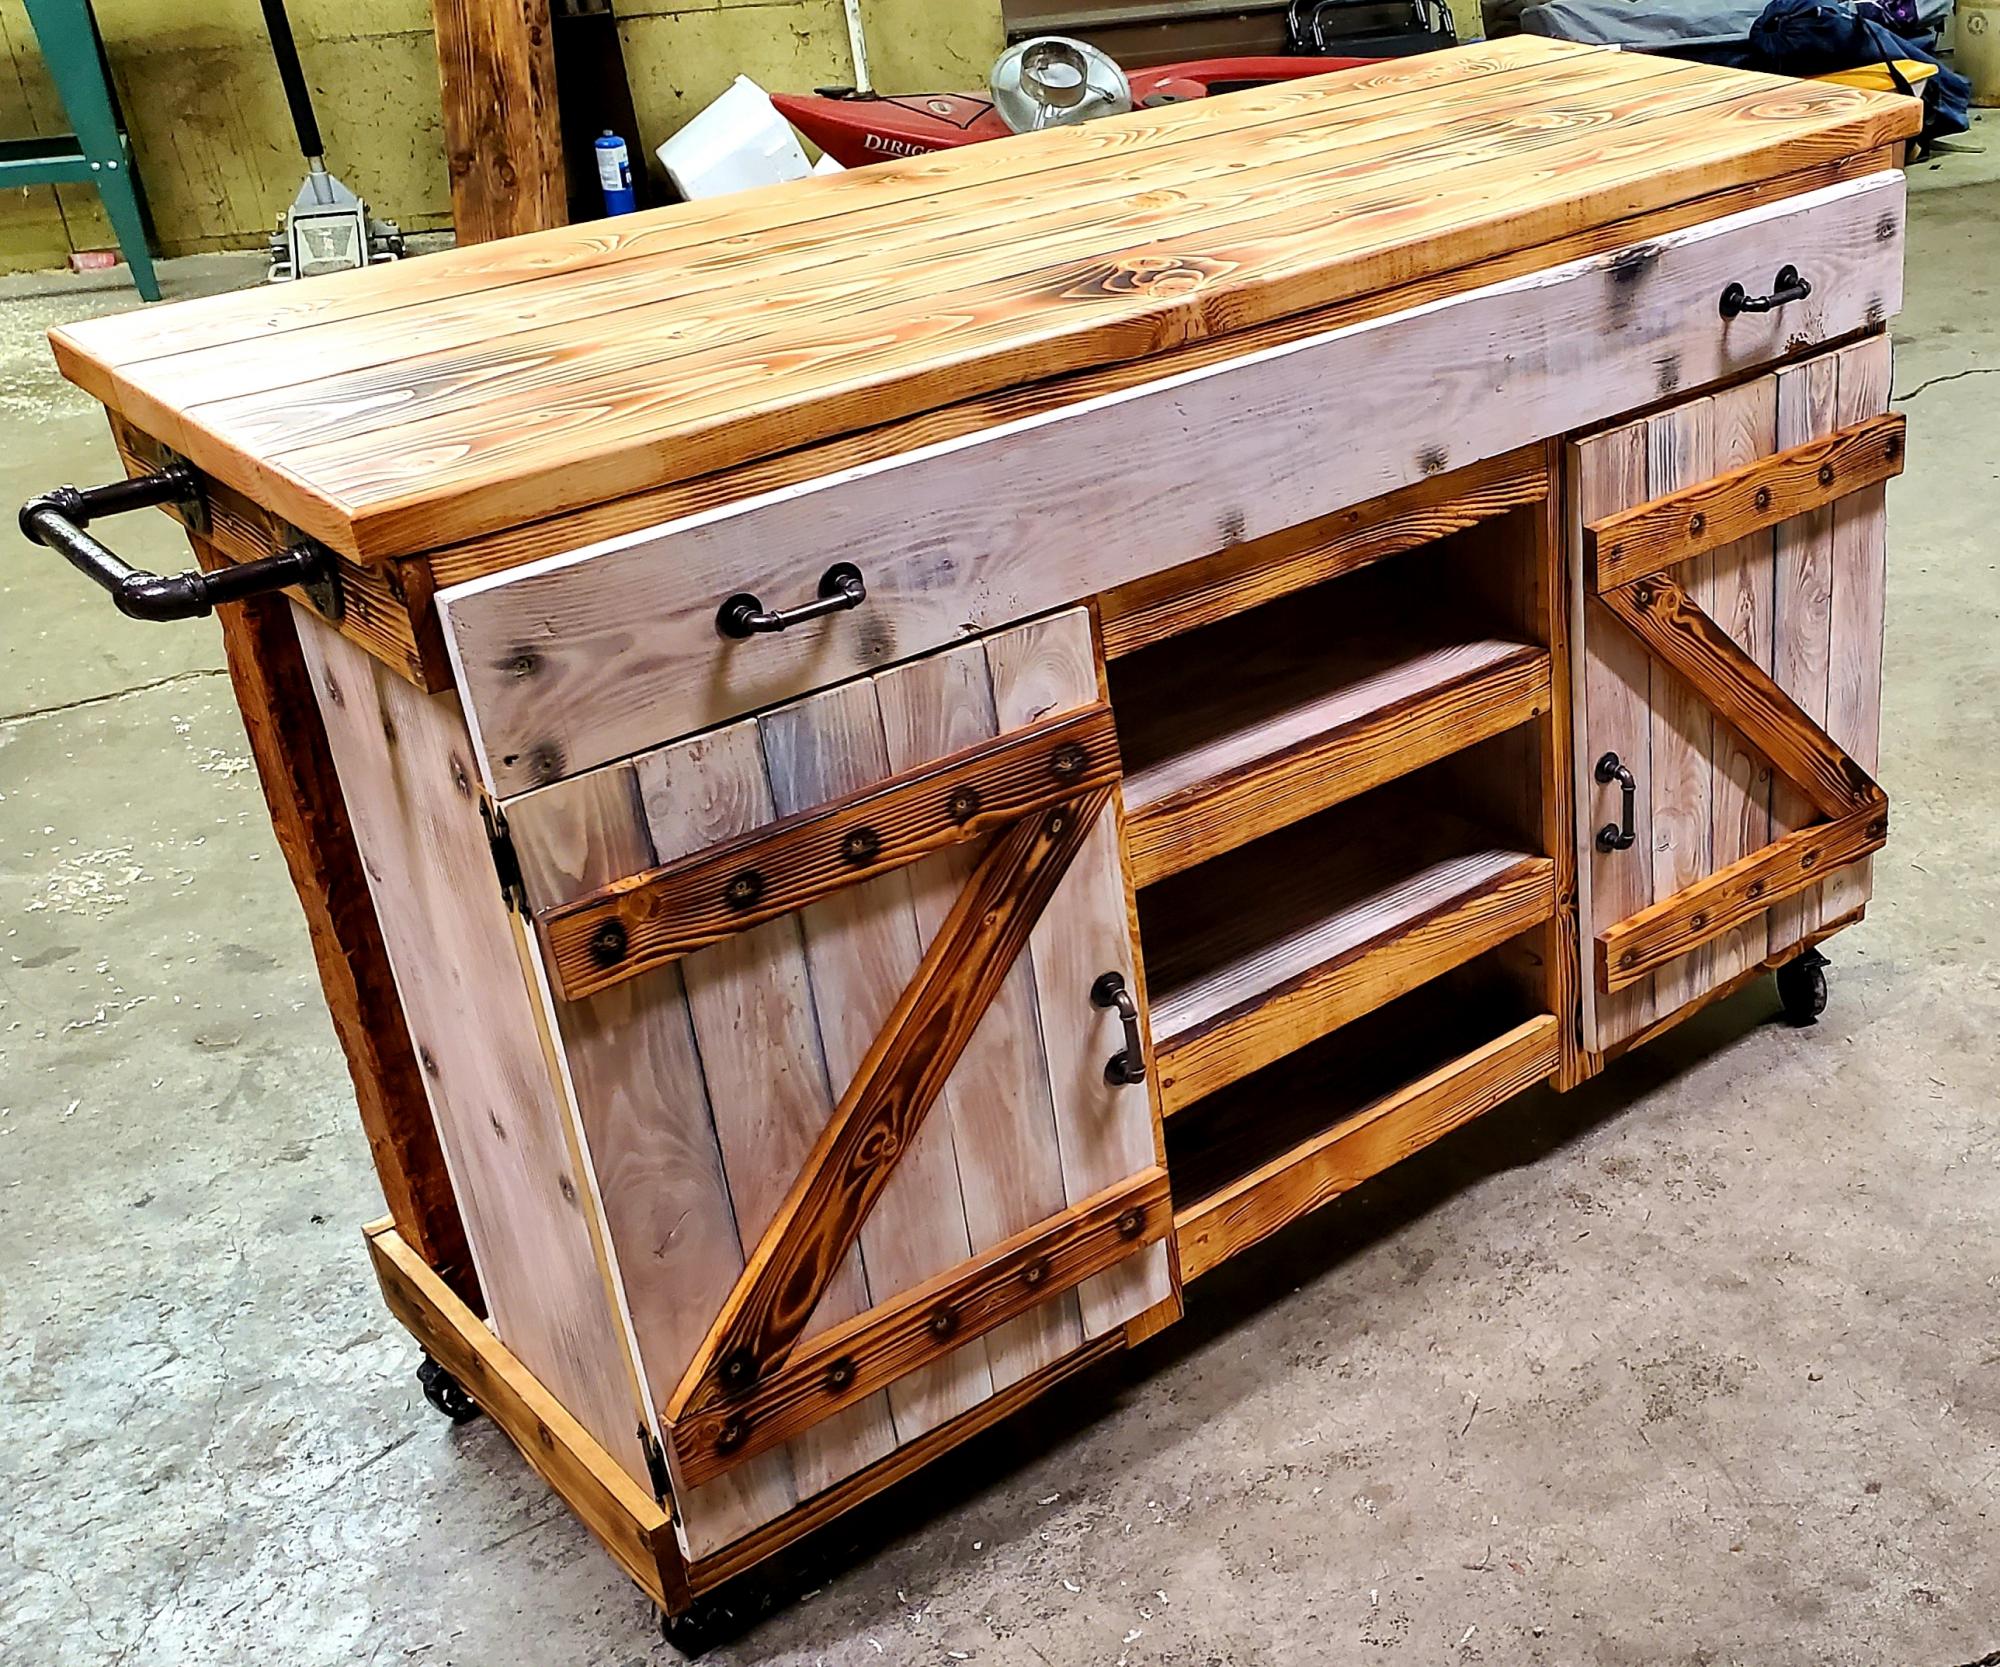
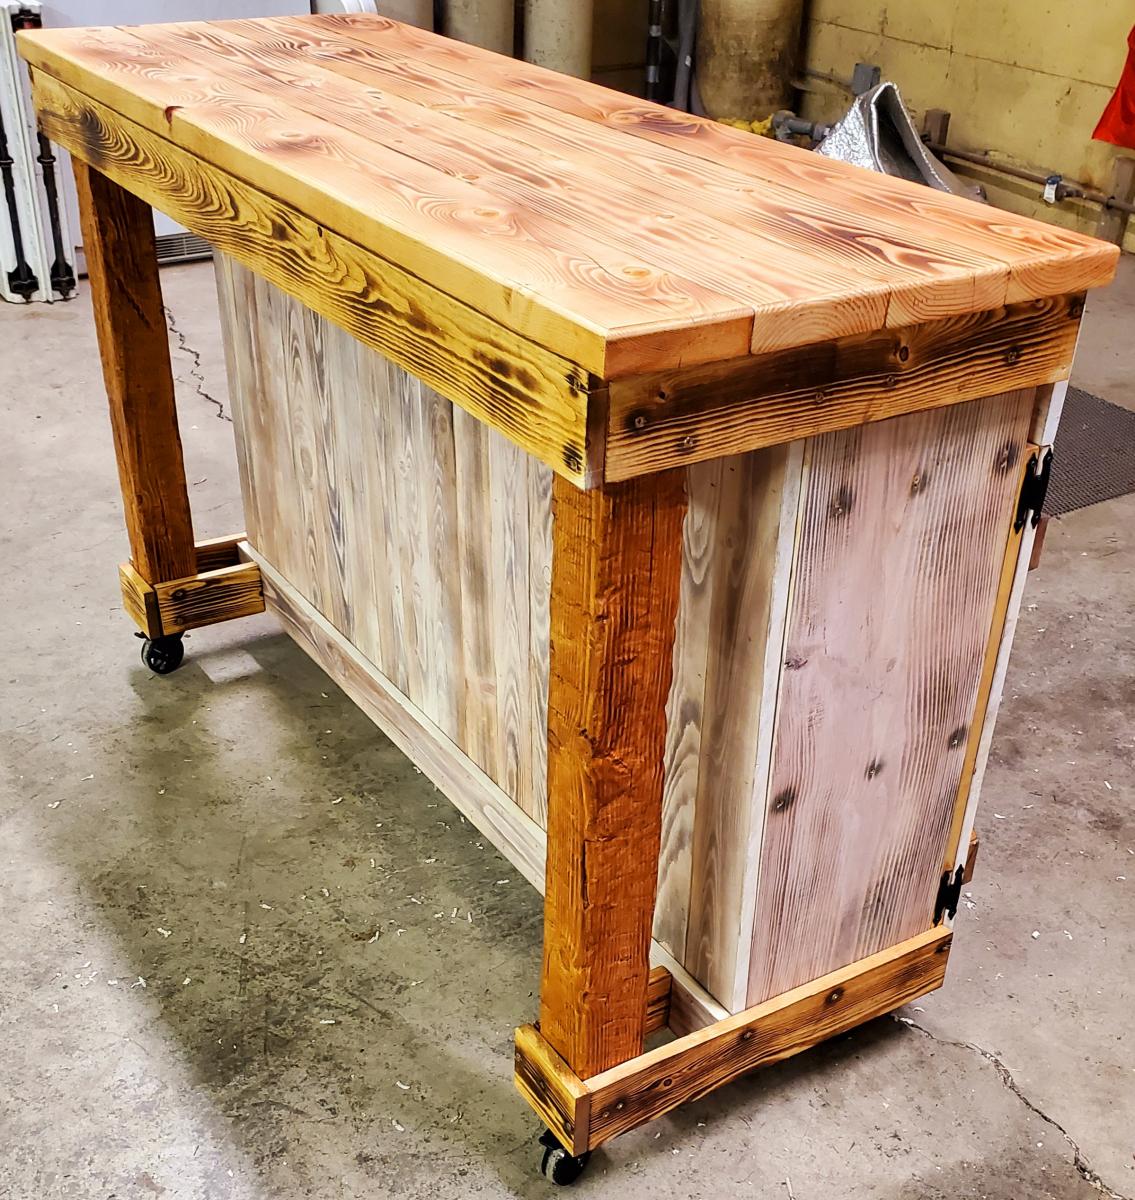
Benchmark Media Tower
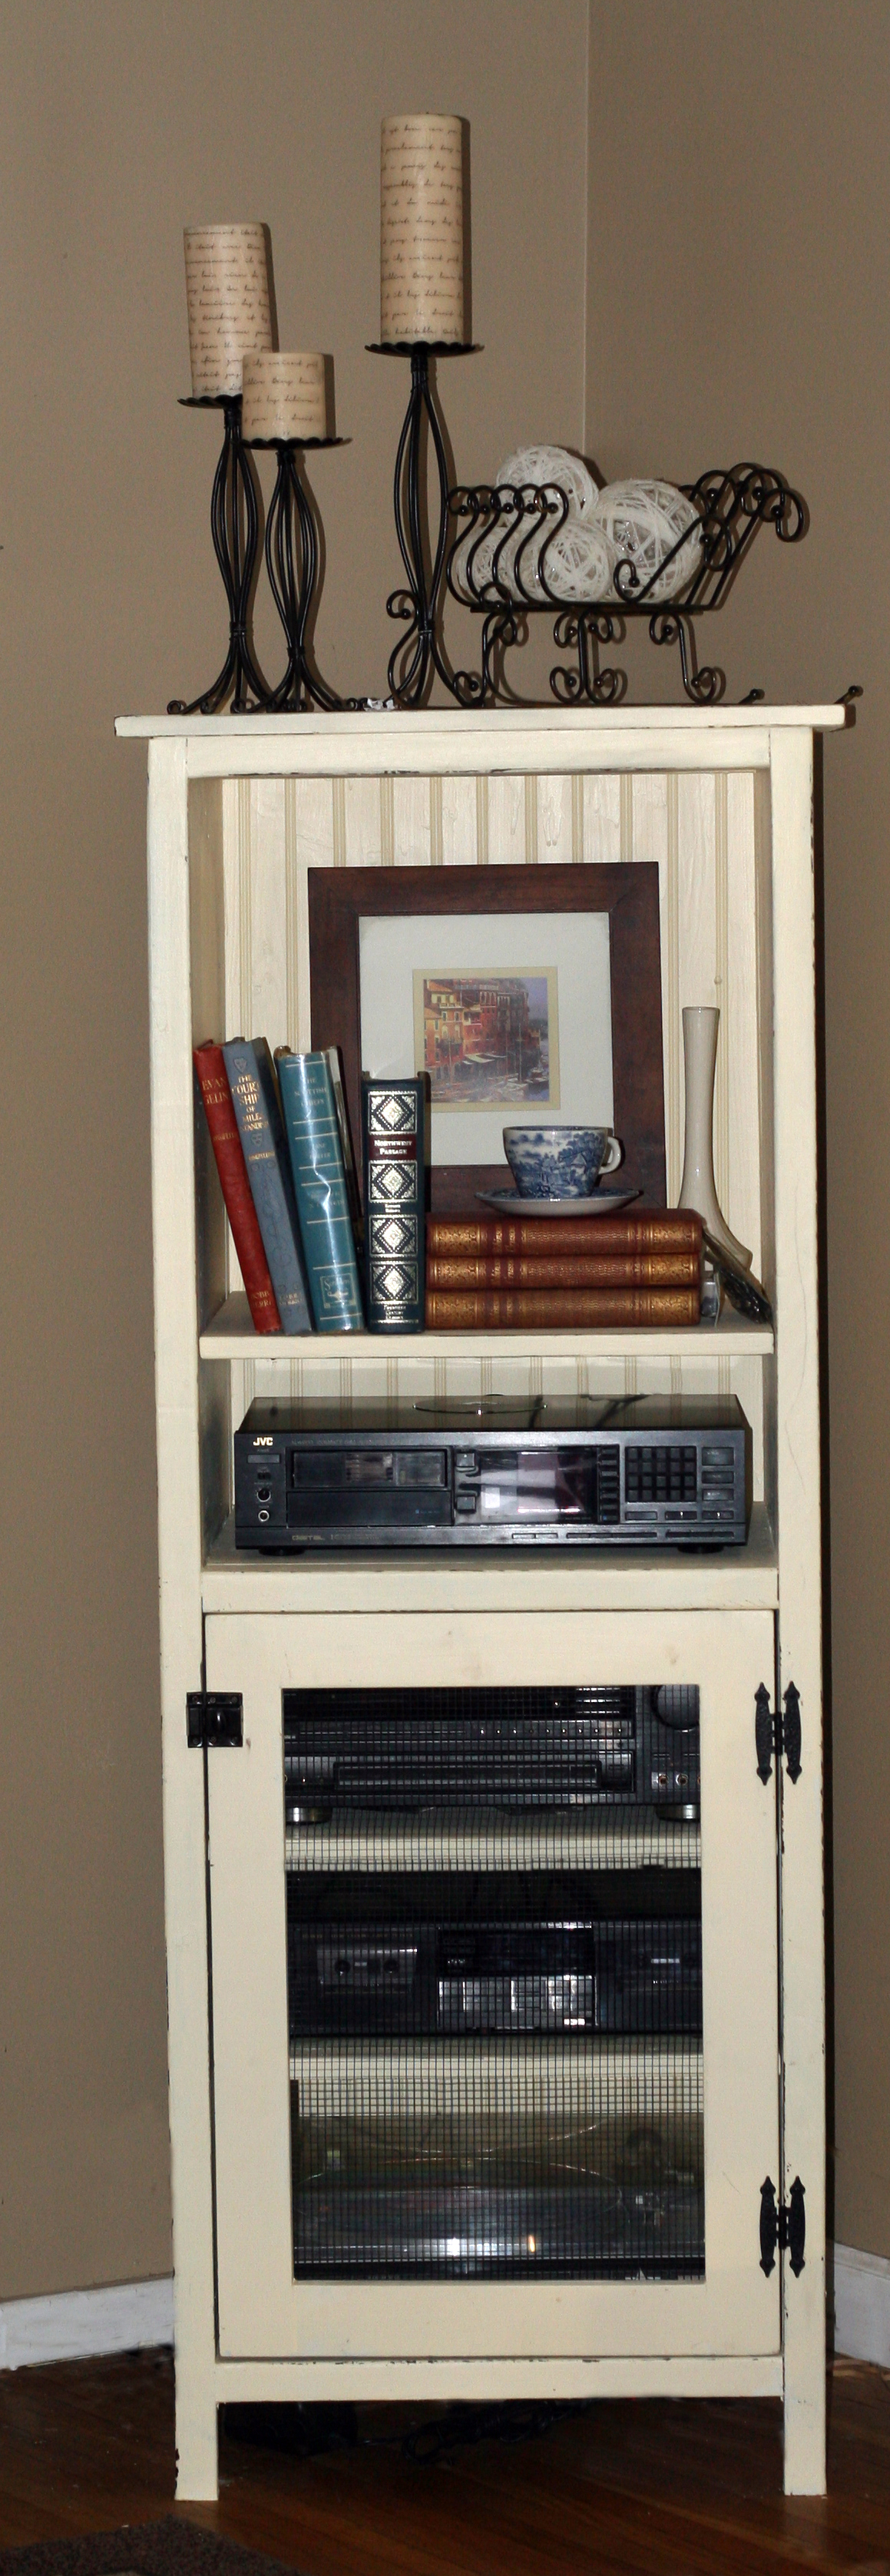
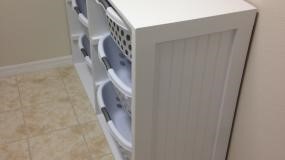
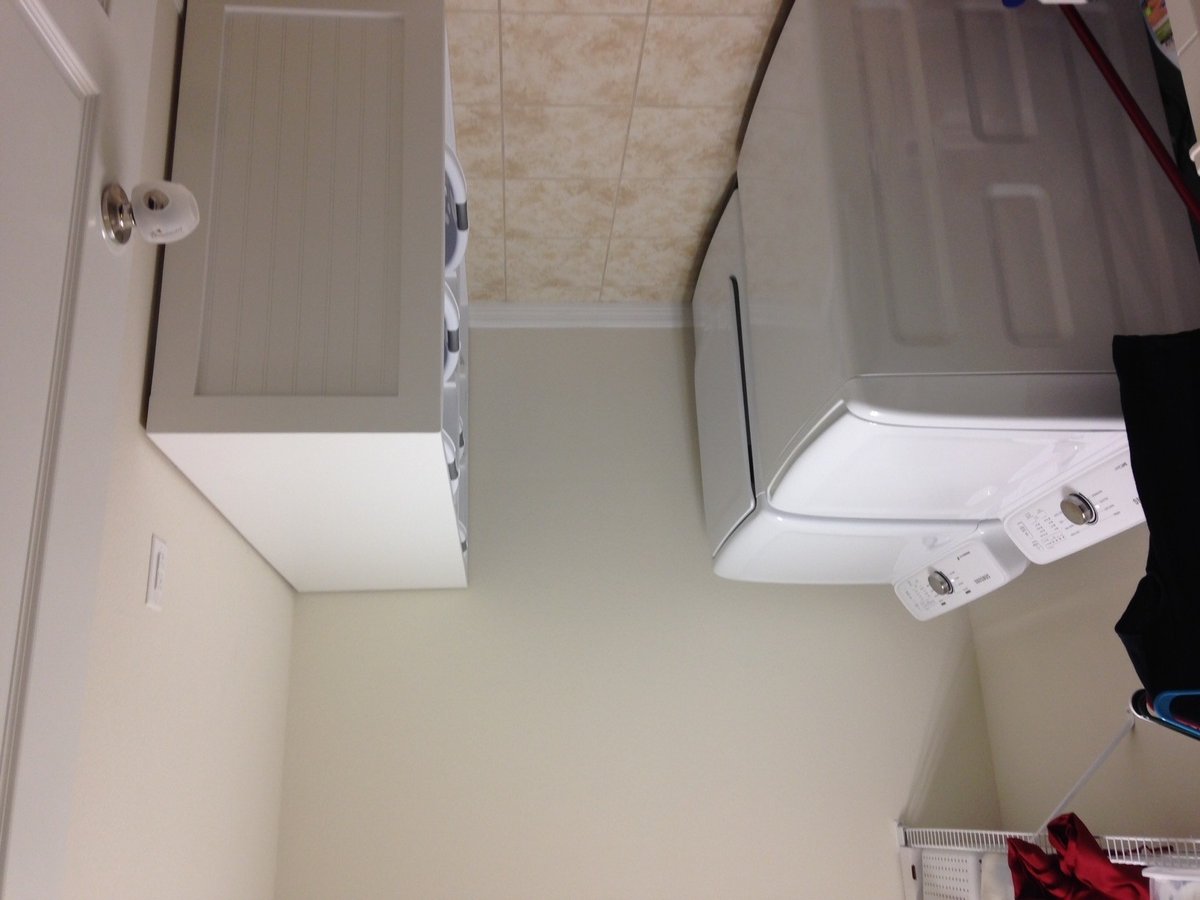
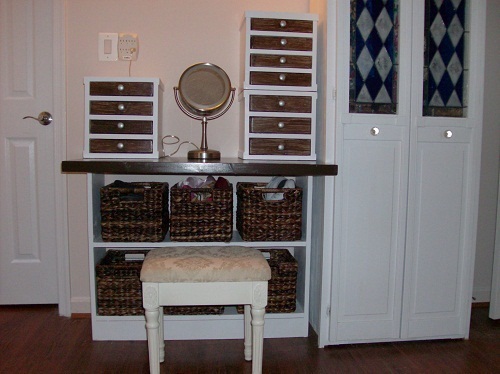
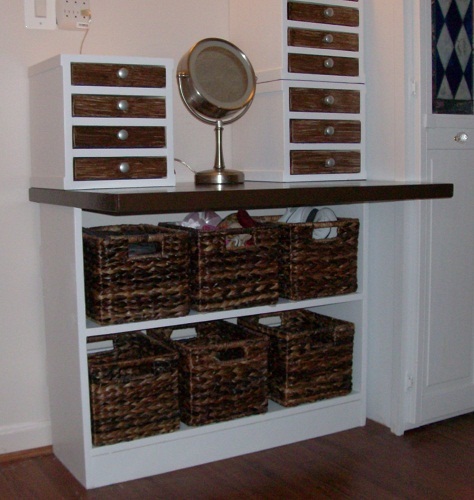
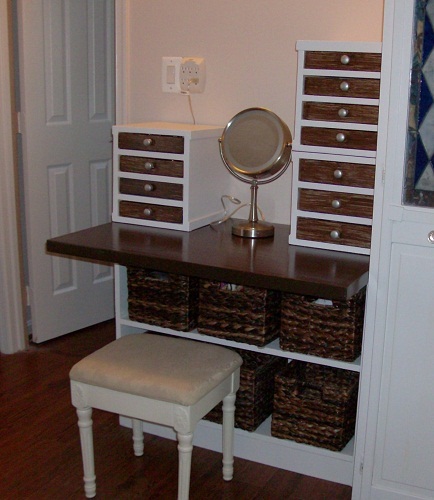
I modified the tower by making it a little wider so my husband's stereo components would fit. I used hardware cloth in the door for a more rustic look.
Built from Plan(s)
Estimated Cost
$50
Estimated Time Investment
Day Project (6-9 Hours)
Finish Used
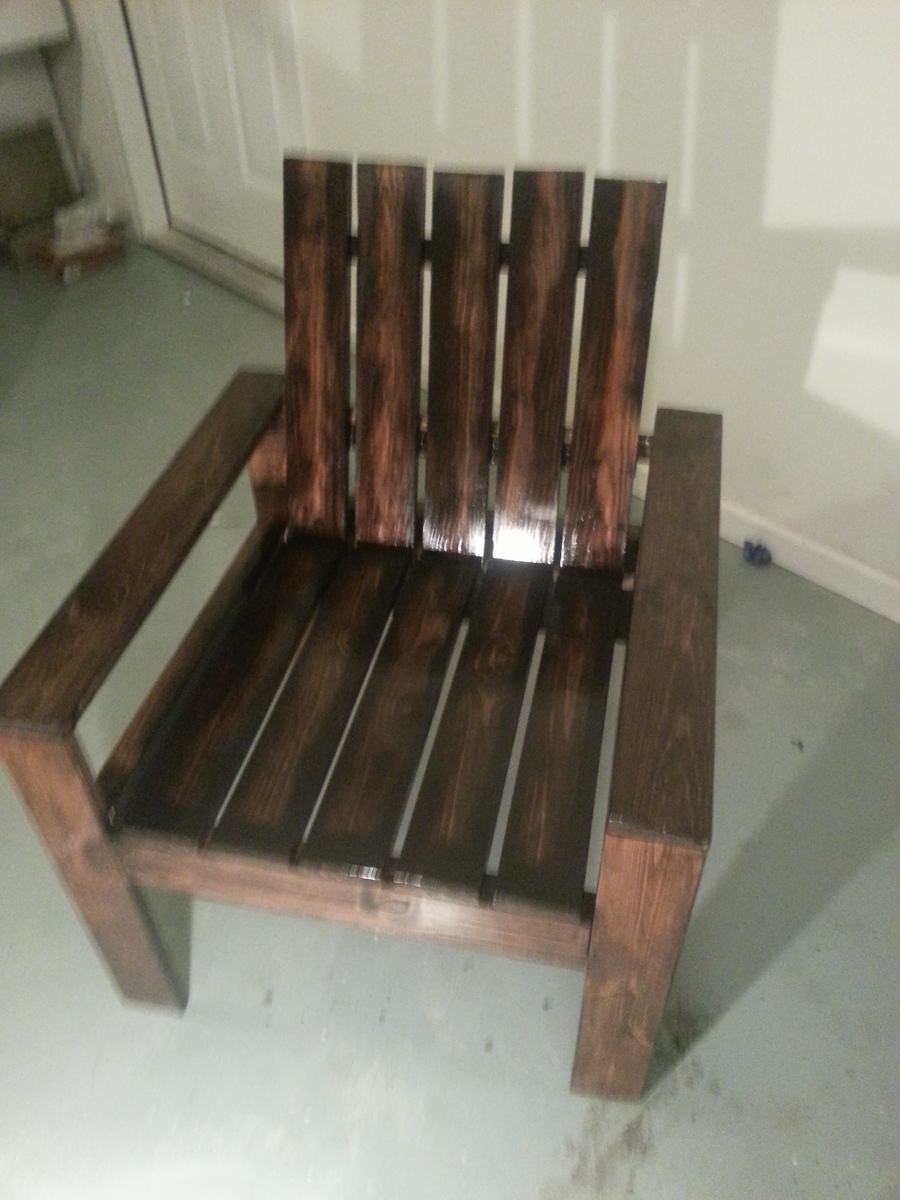
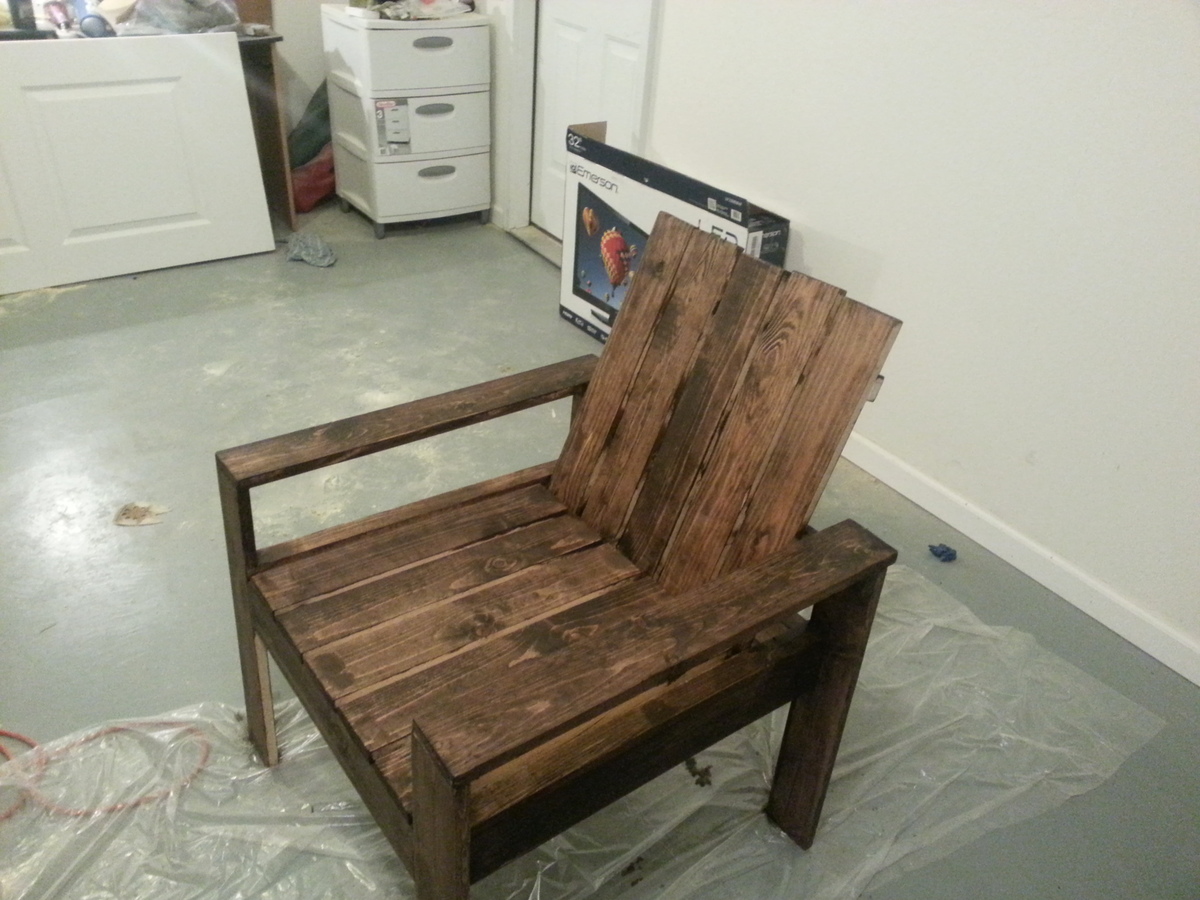
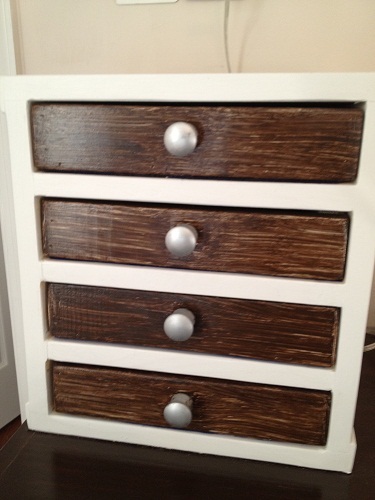
Latex enamel distressed finish. I stained the edges with a dark stain, rubbed wax on them and then painted. When the paint was dry, it rubbed off of the areas I had waxed, letting the dark stain show through for a distressed look.
Recommended Skill Level
Beginner