Simple, Strong Workbench
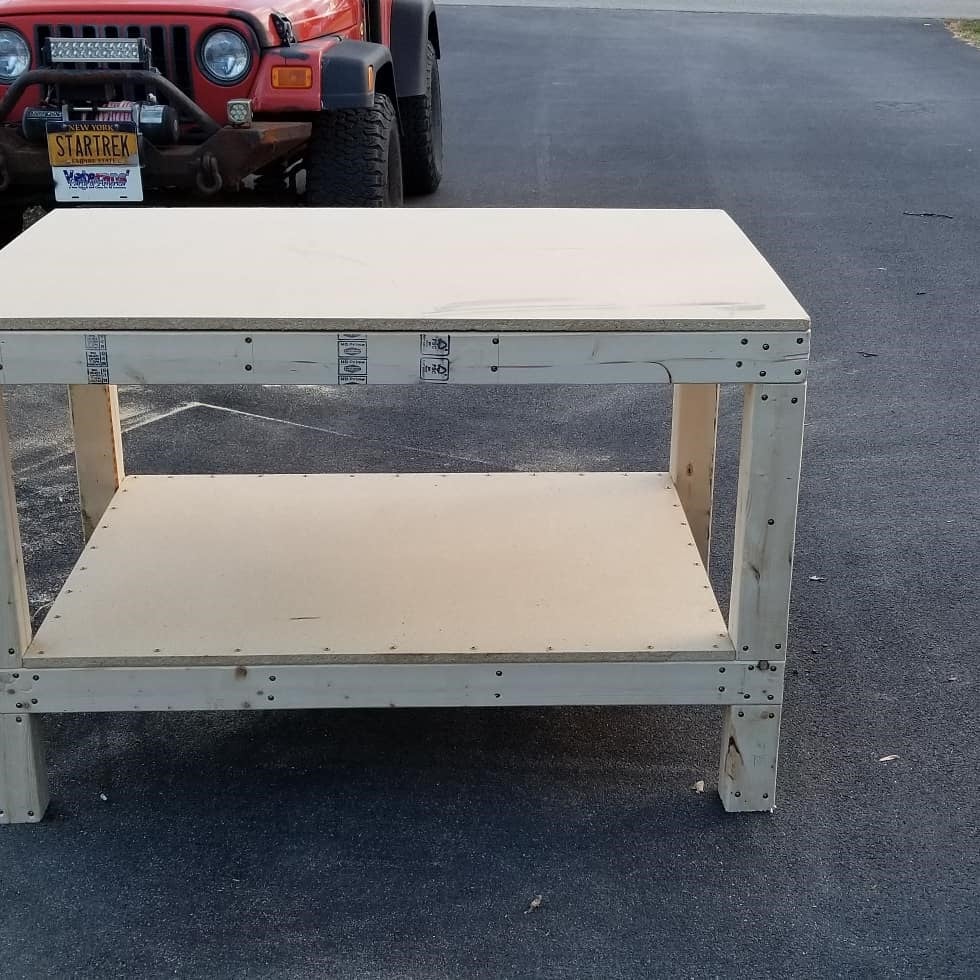
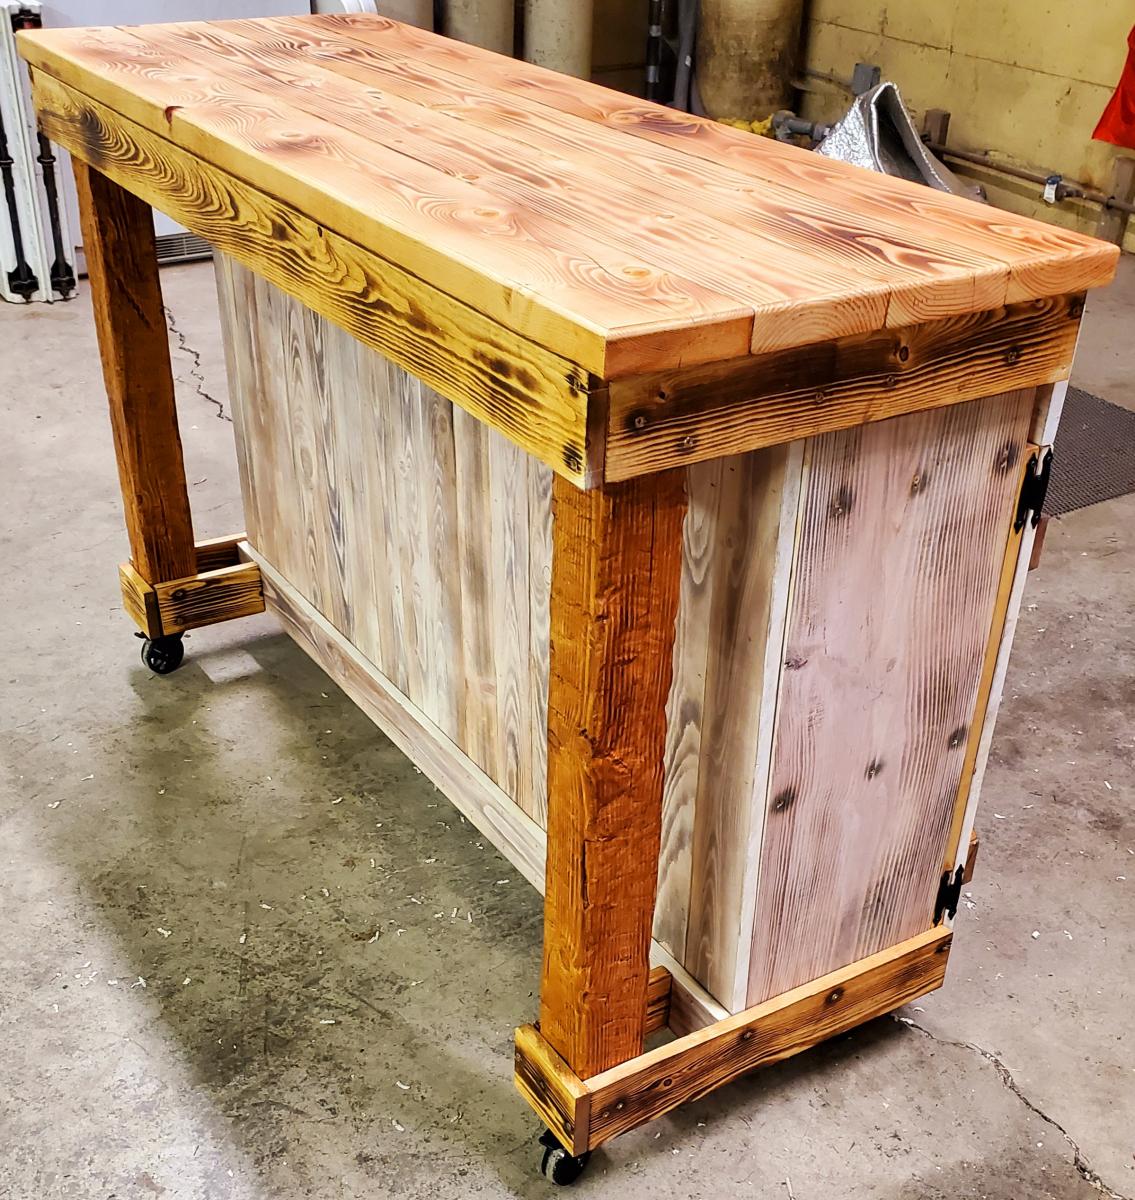
Built this for my garage shop in a day. Added a cutout for my Kreg Pocket Hole Jig, a power strip and casters for ease of movement.
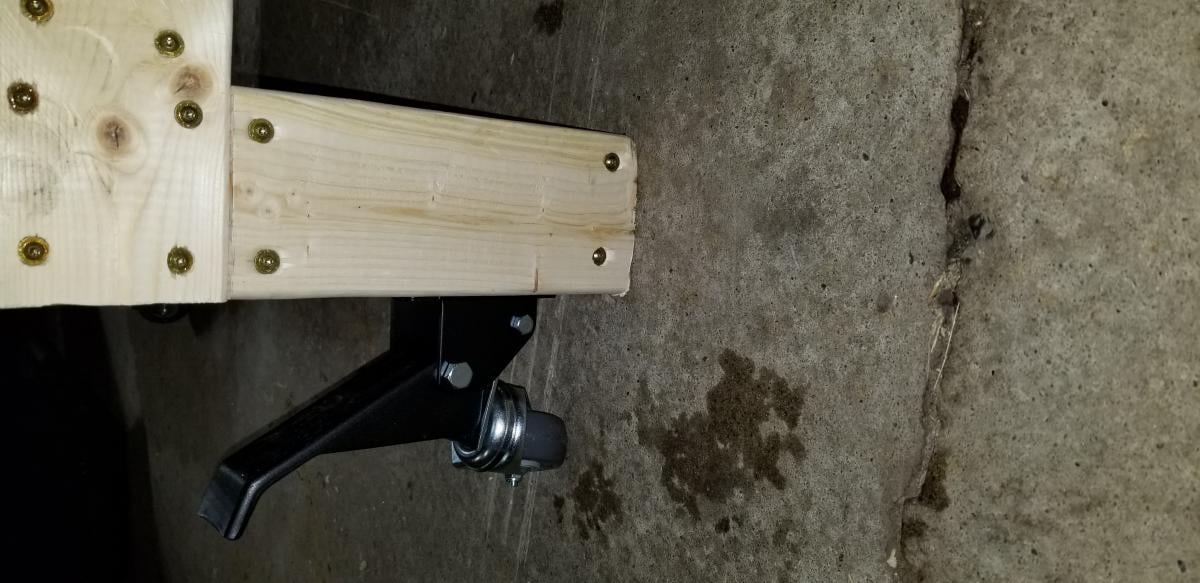
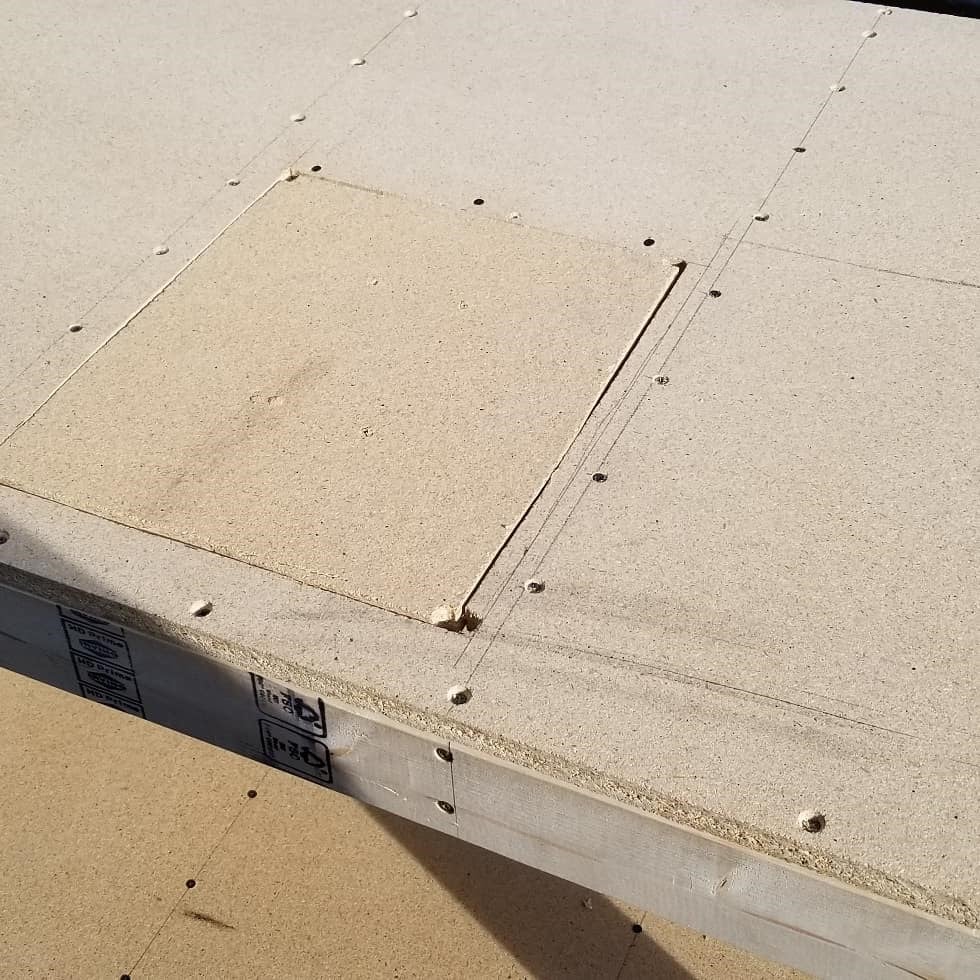
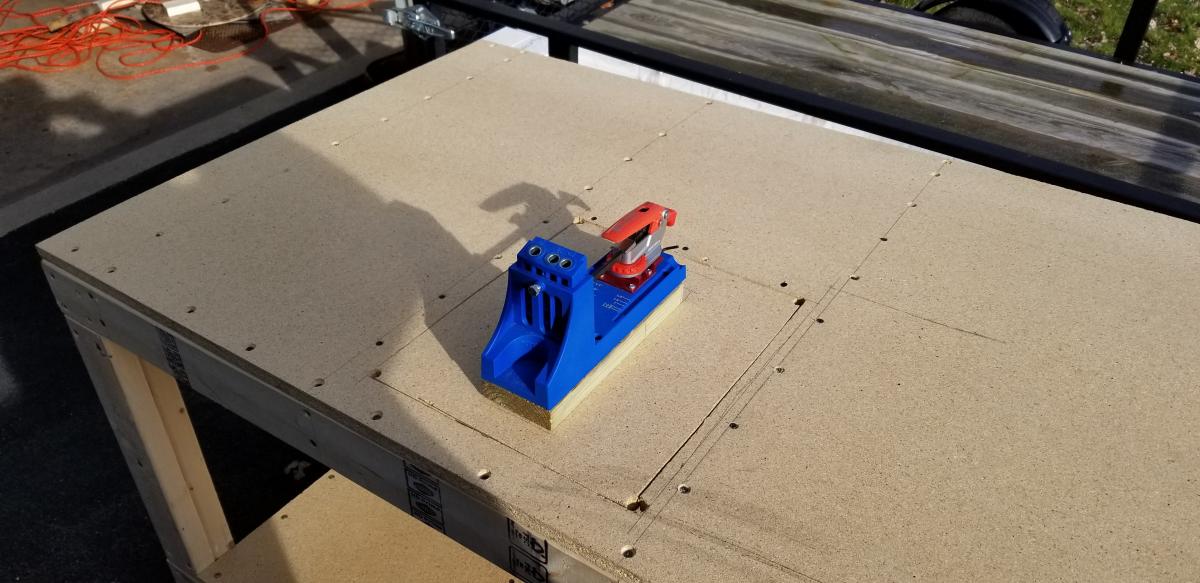


Built this for my garage shop in a day. Added a cutout for my Kreg Pocket Hole Jig, a power strip and casters for ease of movement.


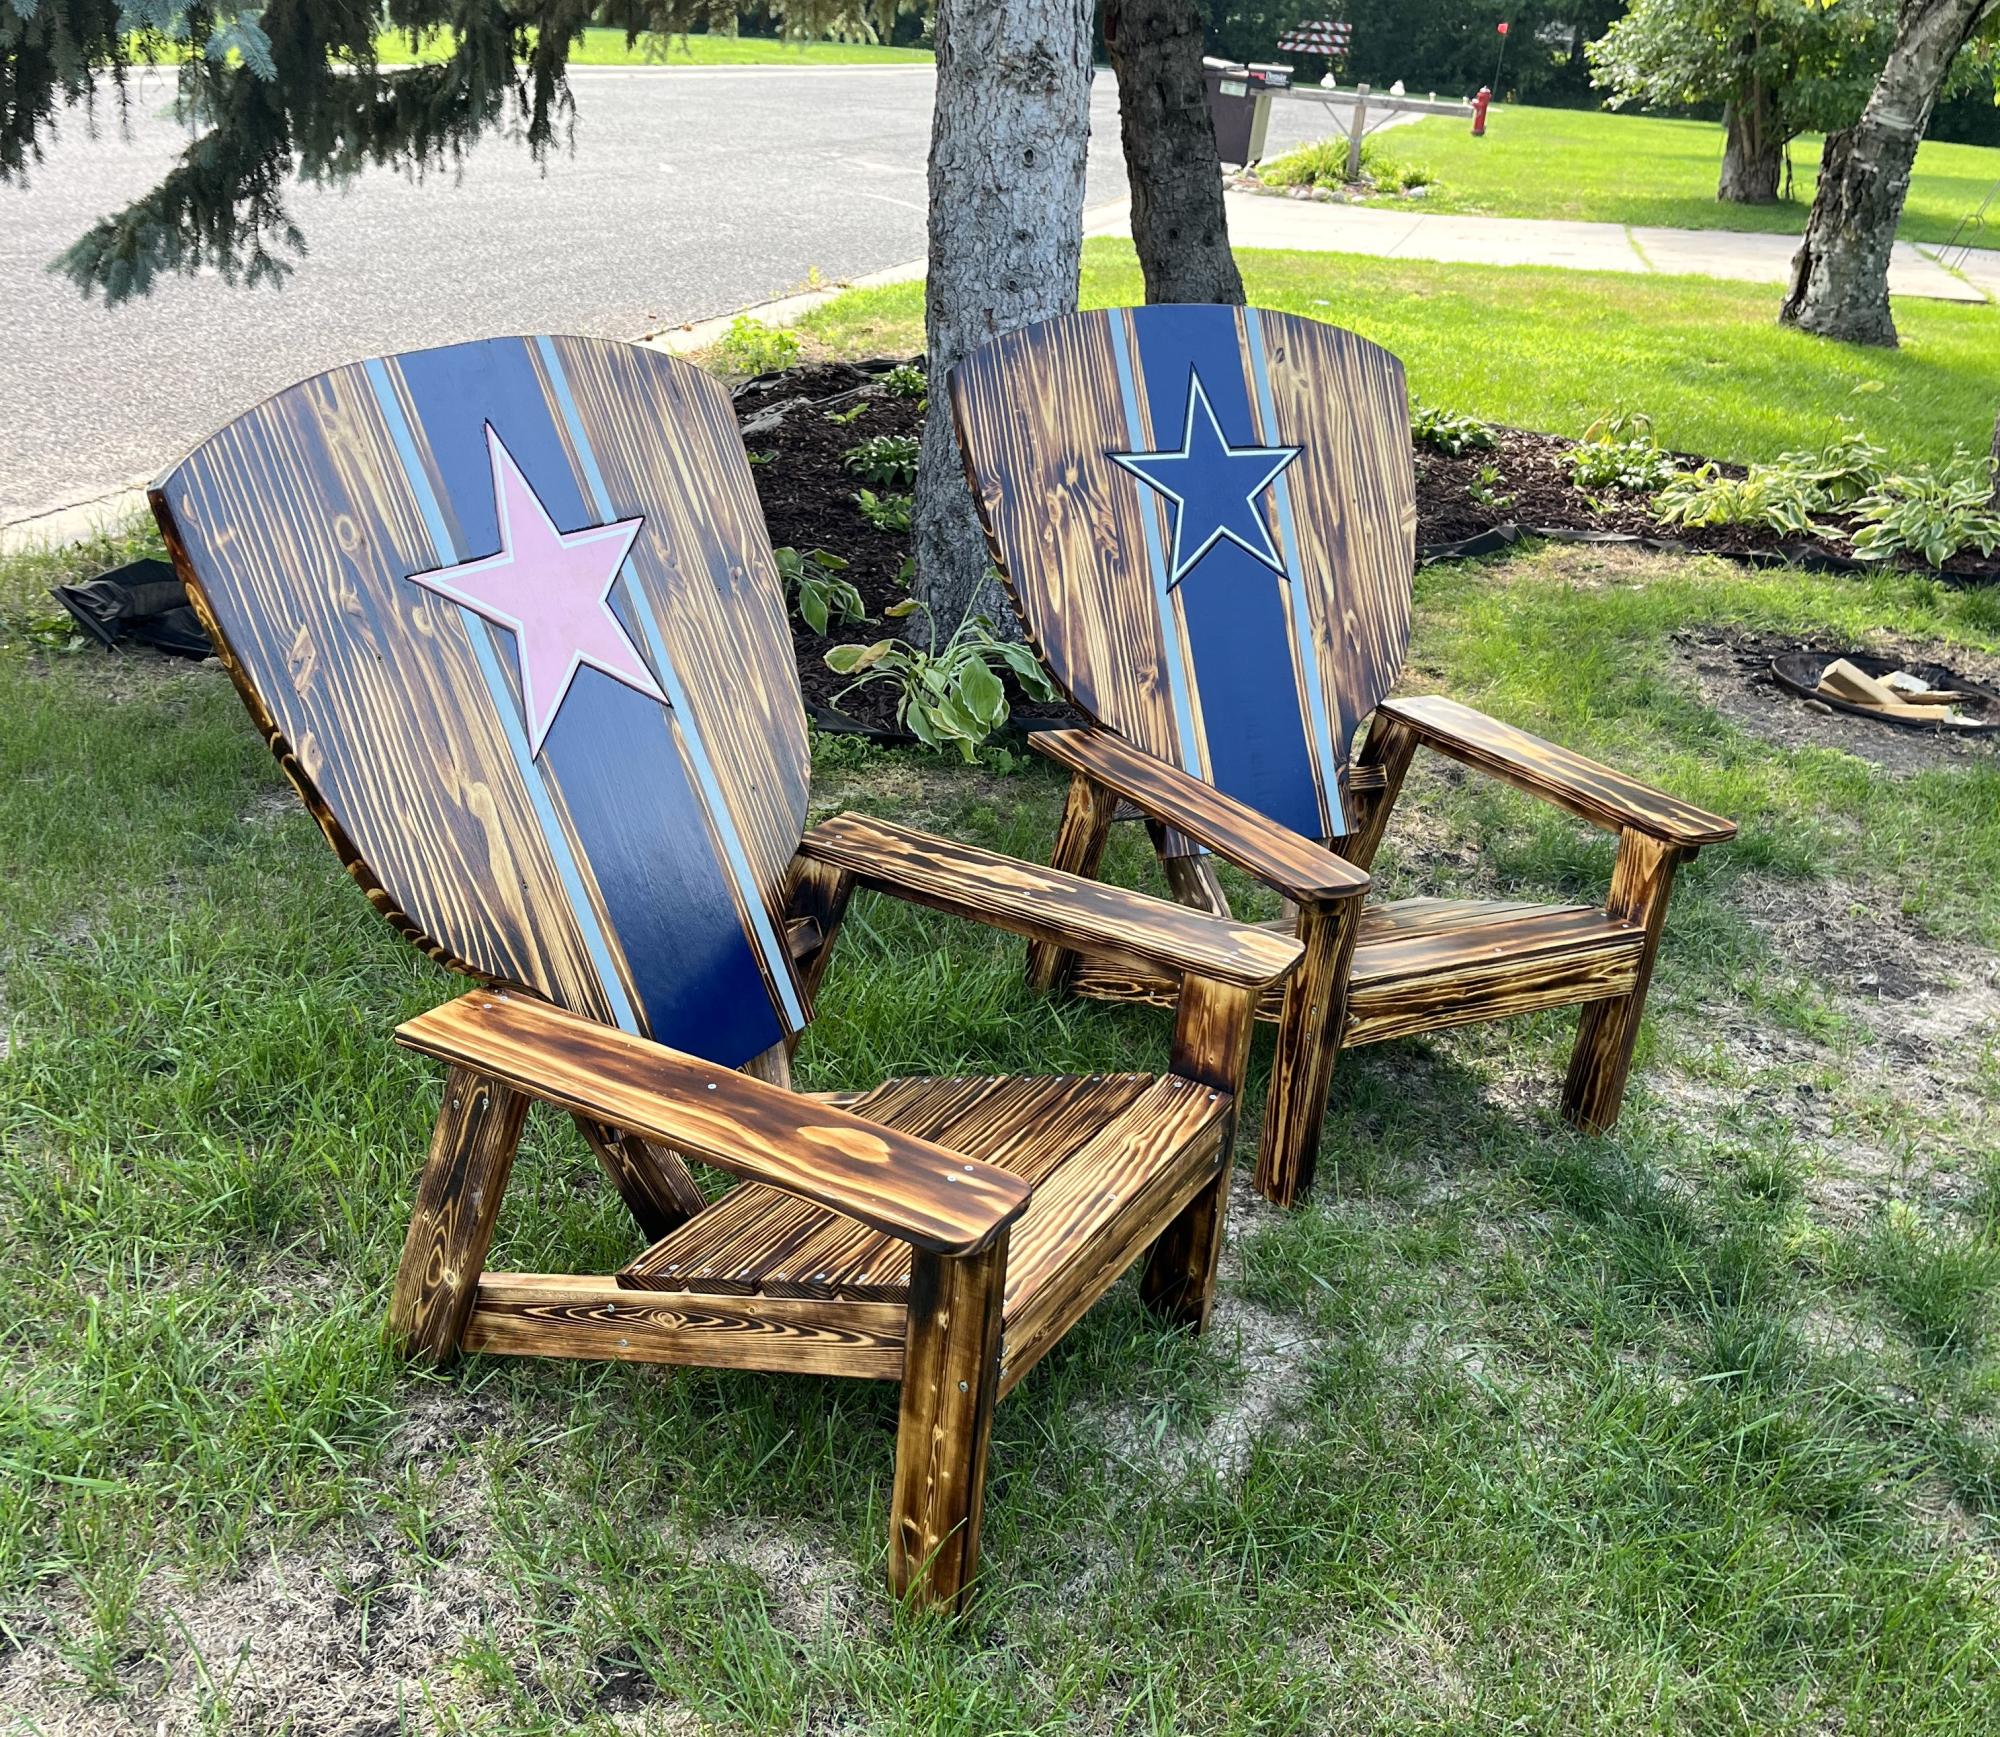
I used these plans and did a little modification!!!!
BP3
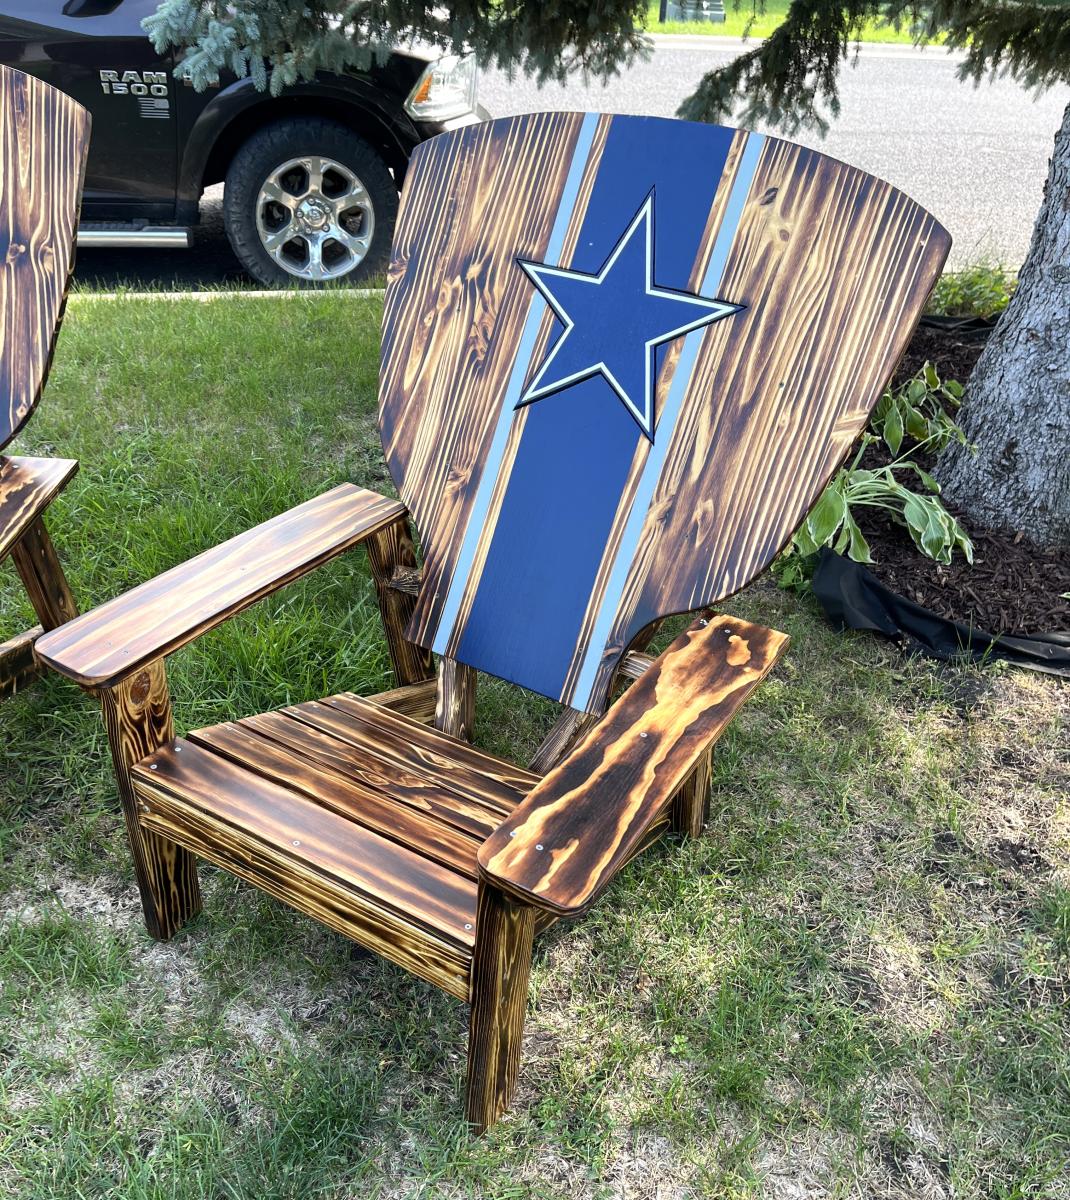
I recently refinished an antique oak dresser. It originally had a mirror attached to it but it was long gone by the time I bought it. My wife asked me to take an old mirror from another dresser and to build a new mirror to hang above the newly refinished dresser. I wanted this new mirror to look as if it came with the dresser which was built in the early 1900s.
The front of the mirror frame was built using red oak 1" x 6" stock. I did rip it to measure 4" wide. The mirror is 38" x 24" so I designed the frame so that a 1" lip was available to adhere the mirror to the mirror frame. The corners of the mirror were mitered at 45 degrees. I attached the corners of the mirror frame together using 1 1/4" pocket hole screws.
My next step was to flip the frame over. I then used red oak 1/2" X 6" stock which I ripped so that a 1" lip was available for the mirror. I did not miter this and I attached this using wood glue and 1" finishing nails.
I then used red oak 1/4" x 2" stock and made a frame for the outside of the mirror. This was mitered. I attached it using wood glue and 1" finishing nails. I did set the nails and fill the holes with stainable wood filler.
I then did all my sanding using 120, 220, 320, and 400 grit sandpapers. I rounded the edges a bit.
The appliques were then attached using wood glue and a few 1" finishing nails. I did set the nails and used stainable wood filler.
My next step was applying two coats of gel stain. I then applied 3 coats of fast drying polyurethane. I did some minor sanding between coats.
I then attached the mirror to the frame using mirror adhesive. Next the backing from the old mirror was cut to fit down covering the mirror within the lip. This was secured using "points". Finally the back was covered using paper and double sided tape. A 200 lb. mirror hanger was then attached. It actually contained a bubble level on the hanger. I purchased this at Hobby Lobby.
Sat, 03/31/2012 - 10:38
Lovely!
Would like to see pics of the process though. I am a visual learner and have a hard time figuring out instructions without illustrations.
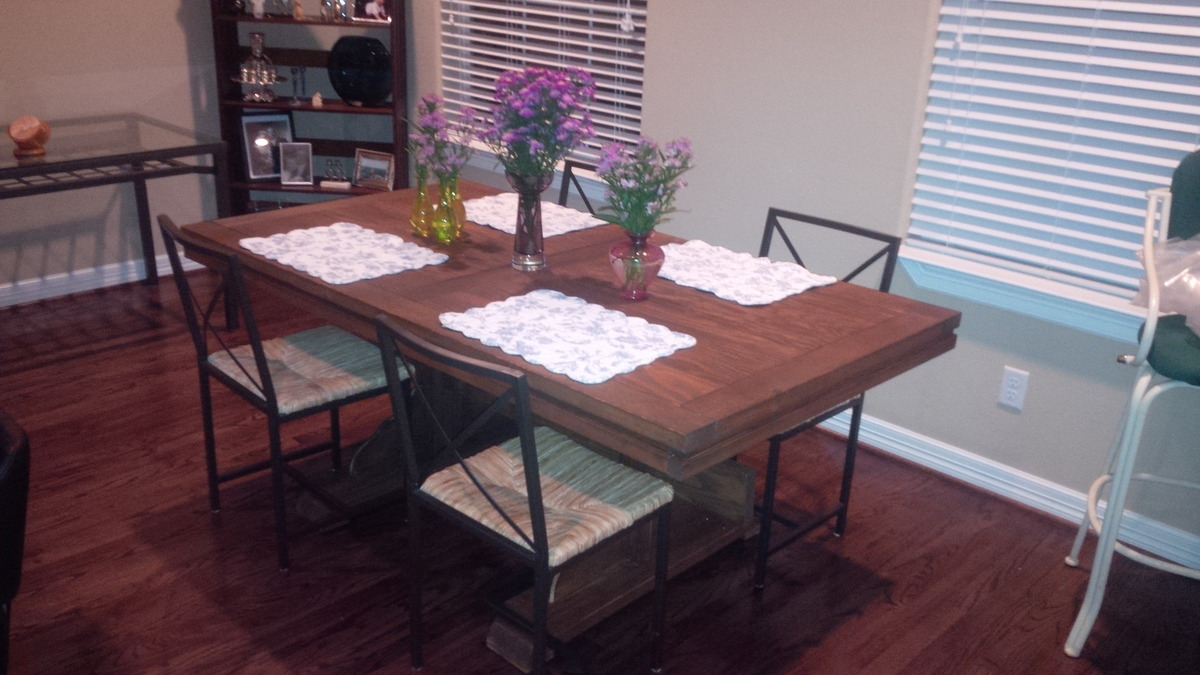
This is my first project. My wife decided I needed a hobby...and she needed a table :)
I used the Triple Pedestal Farmhouse Table plans, but modified it to fit our kitchen.
Had some issues with pocket screws coming through on the 1x boards on the top, so be careful with that.

Our version of Anas' Kitchen Prep Cart .... We are in Australia which means we pretty much work by metric.. so the handyman of the house converted all measurements and we used what recycled timber, screws, hinges etc that we had on hand. The making of this all came about as handyman of the house brought home a chunk of timber offcut and I was thinking.. what can we do with this?? lol
This has been such a popular post this season, so I had to give it a try. I was worried that the angles wouldn't match up but it turned out wonderful. I think a beginner woodworker could build this if they had a miter saw and good measuring skills.
Thanks for a terrific plan!
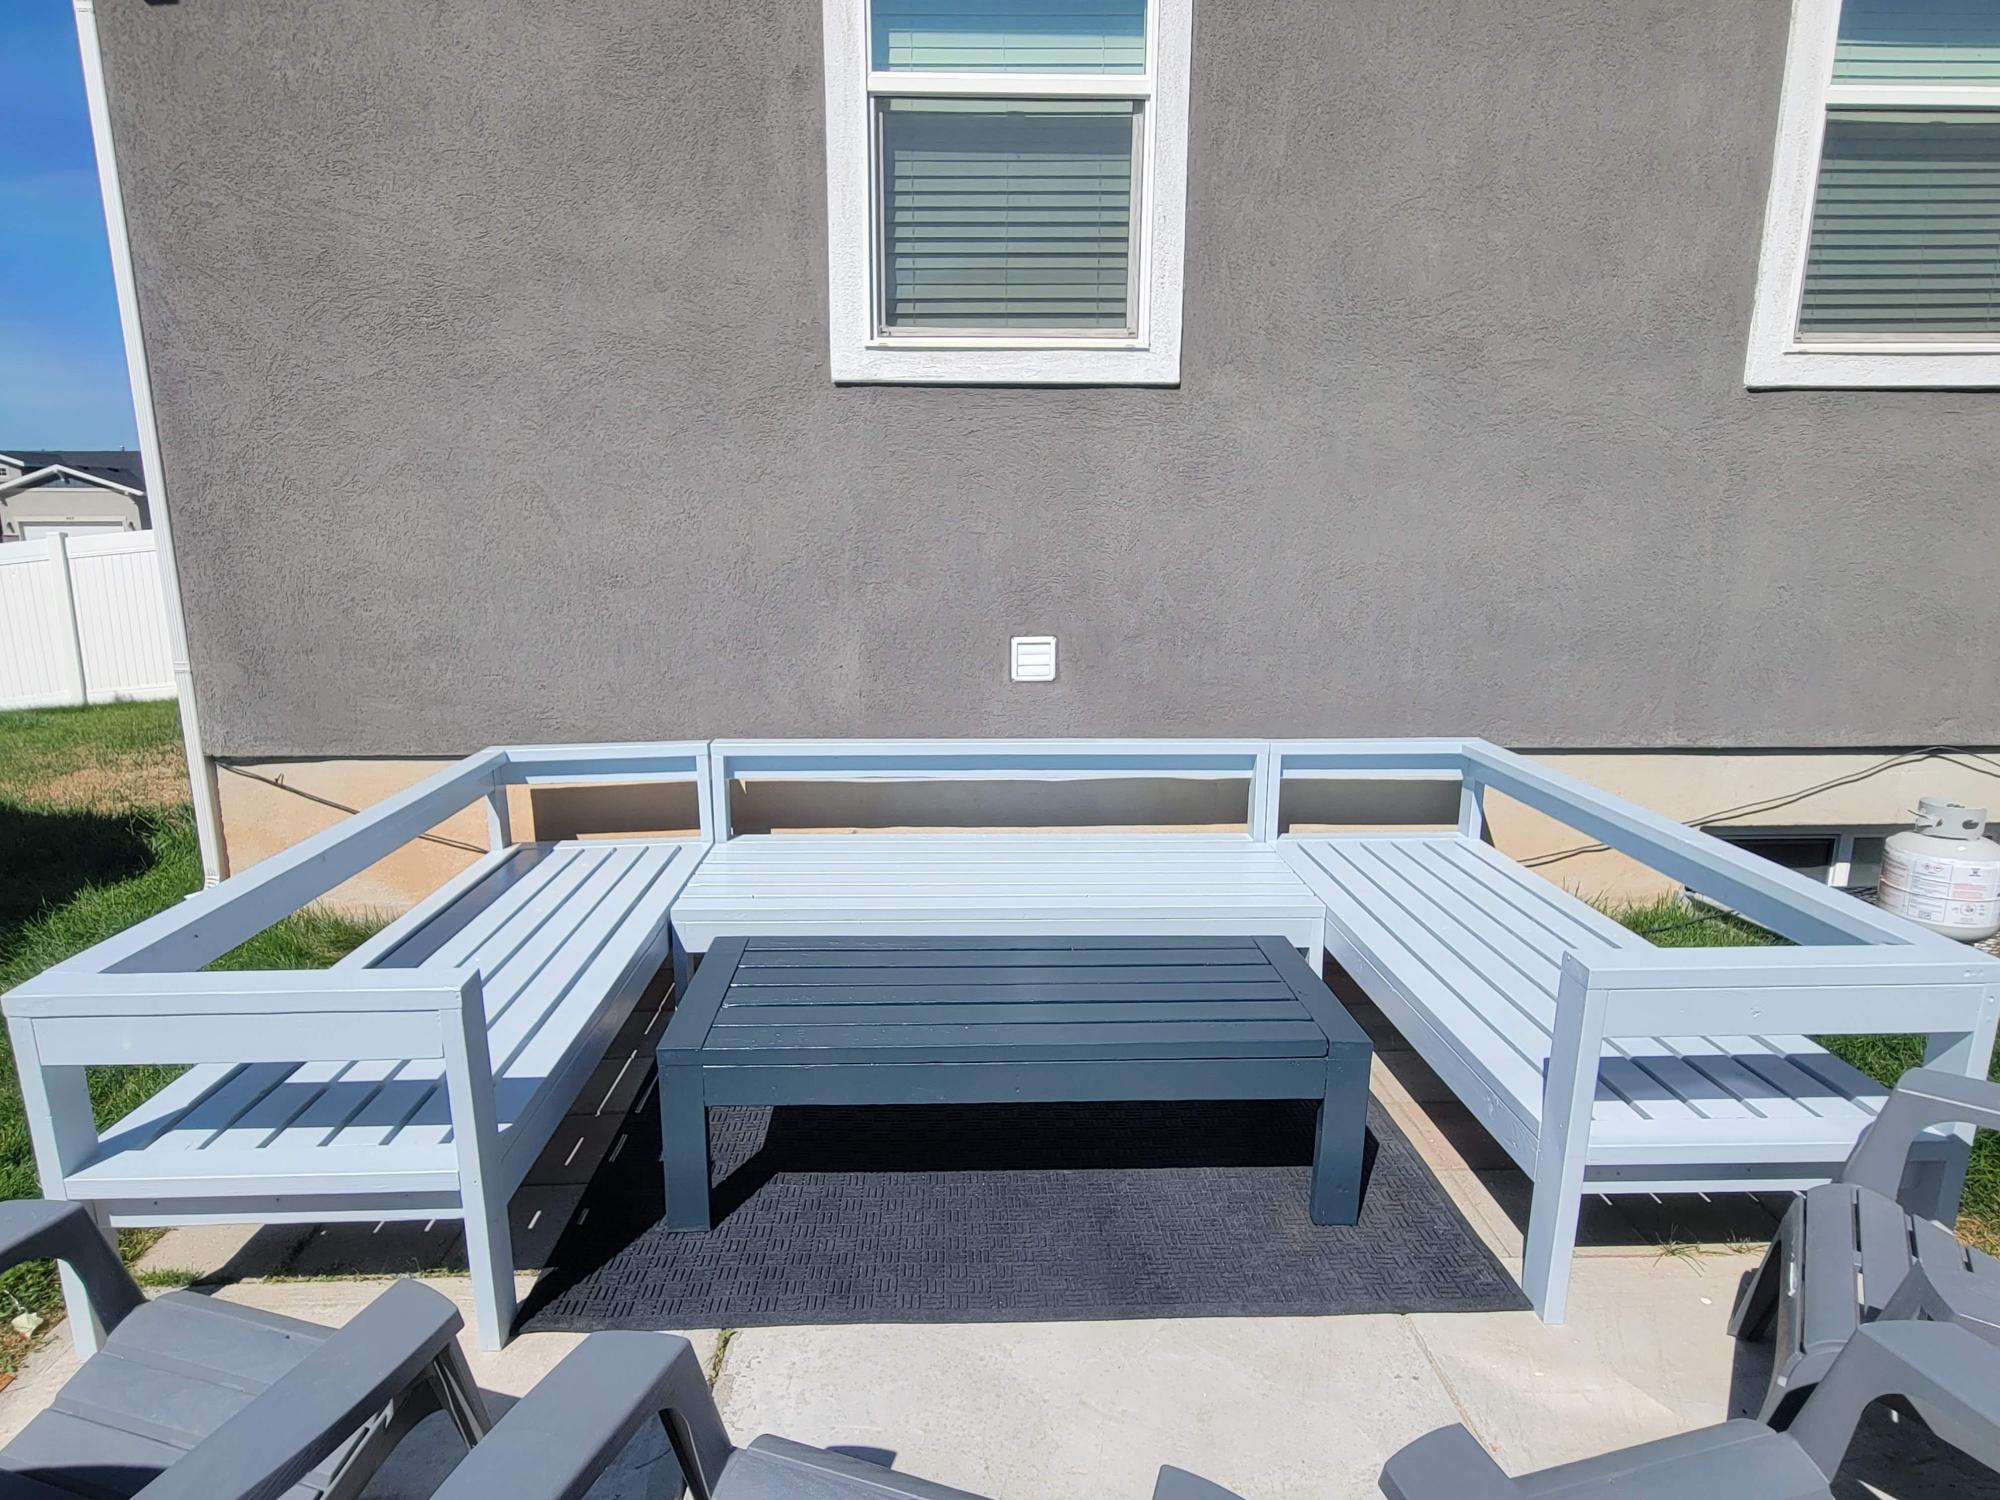
Outdoor sectional and coffee table
by Stephanie
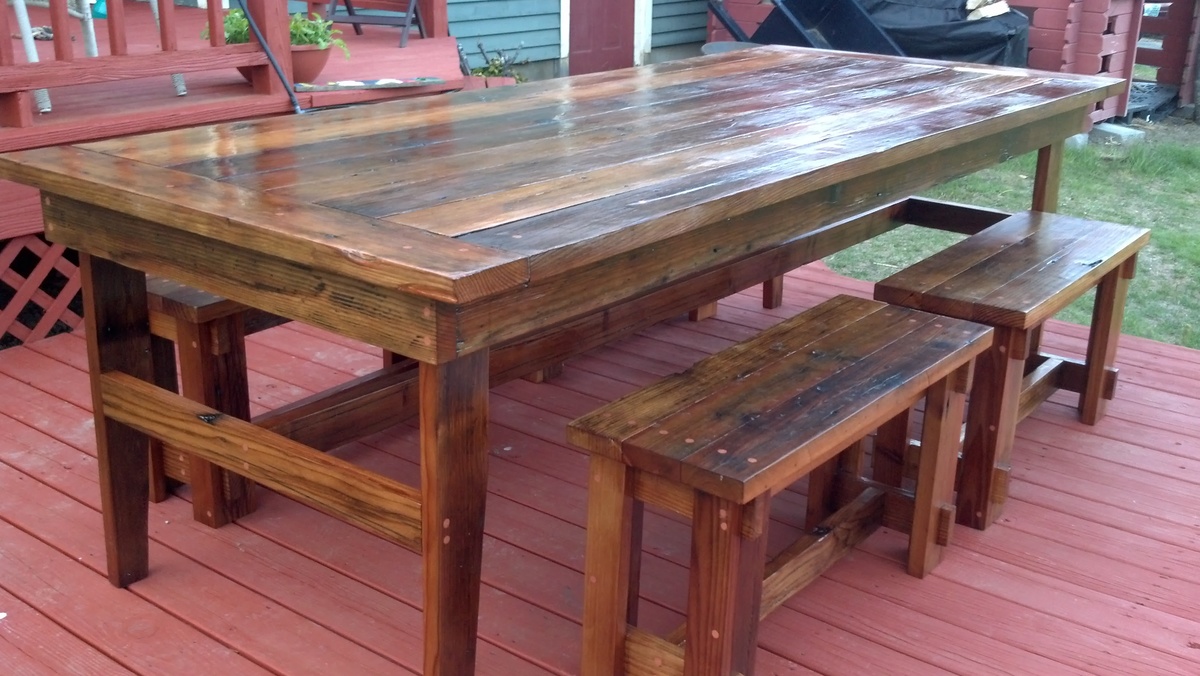
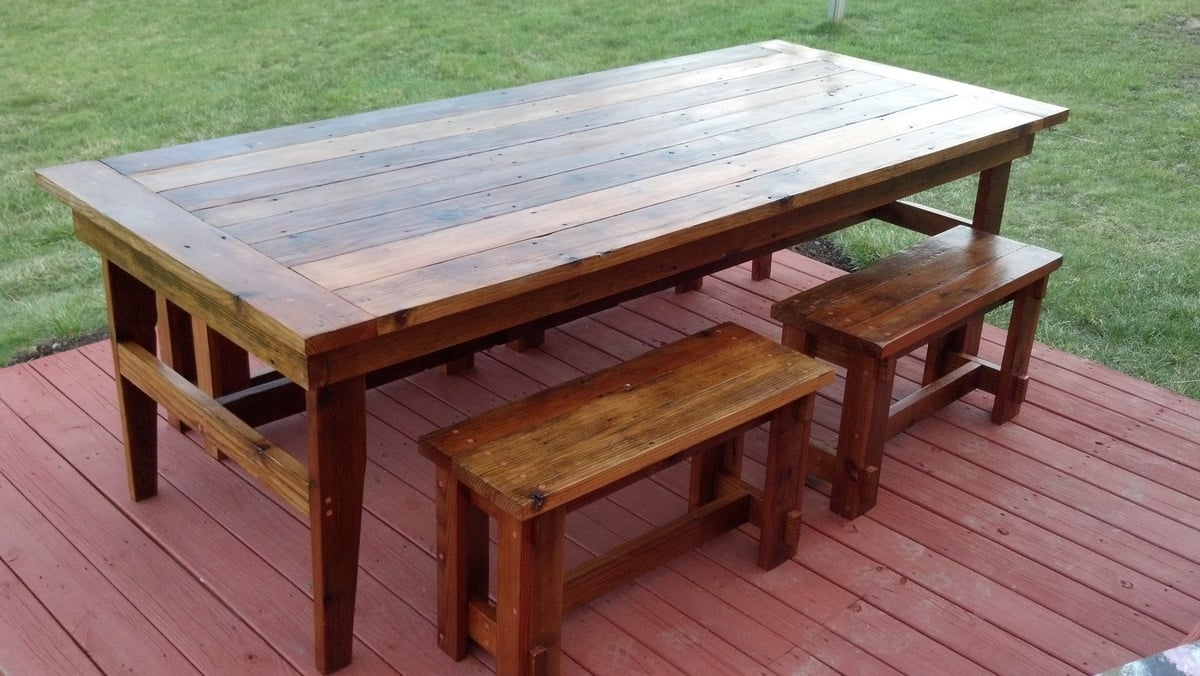
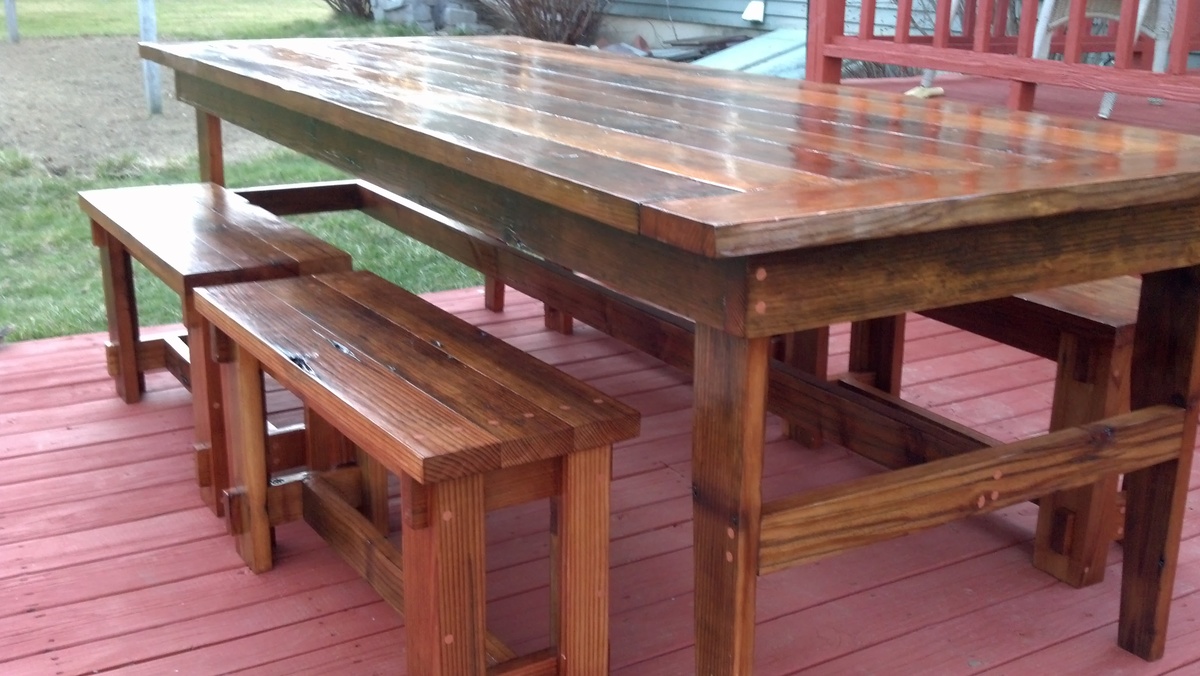
This was a first time woodworking project for me. I used salvaged redwood 2x8's from a friend's deck. The table measures.96"x41" and the benches are 34"x12". I used the plans for a Rustic Table and Rustic X Bench. Of course I had to modify them due to the wood I had available and I also wanted to add the breadboards to the table.
I modified the tower by making it a little wider so my husband's stereo components would fit. I used hardware cloth in the door for a more rustic look.
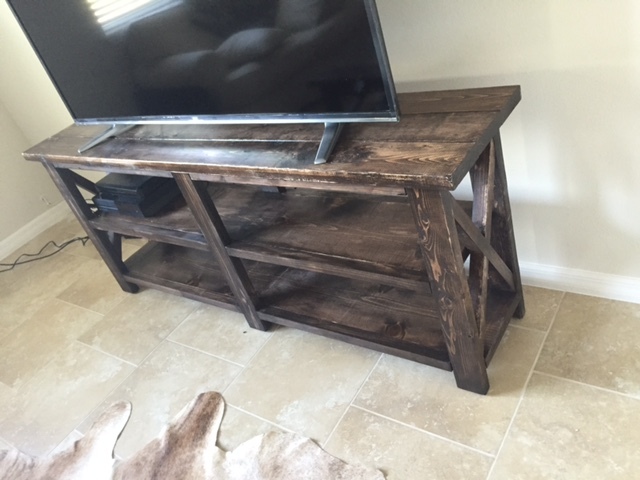
My take on the Rustic X Console

Plans with accompanying video were just perfect and we built two holders in a few hours. Stained with 2 coats of Minwax Cherry and applied Minwax Finishing Paste as topcoat. My wife created a template for the 3 part circle wood section and used a scroll saw for the cuts. We will be building more sets of the wine holders as gifts for family and friends.


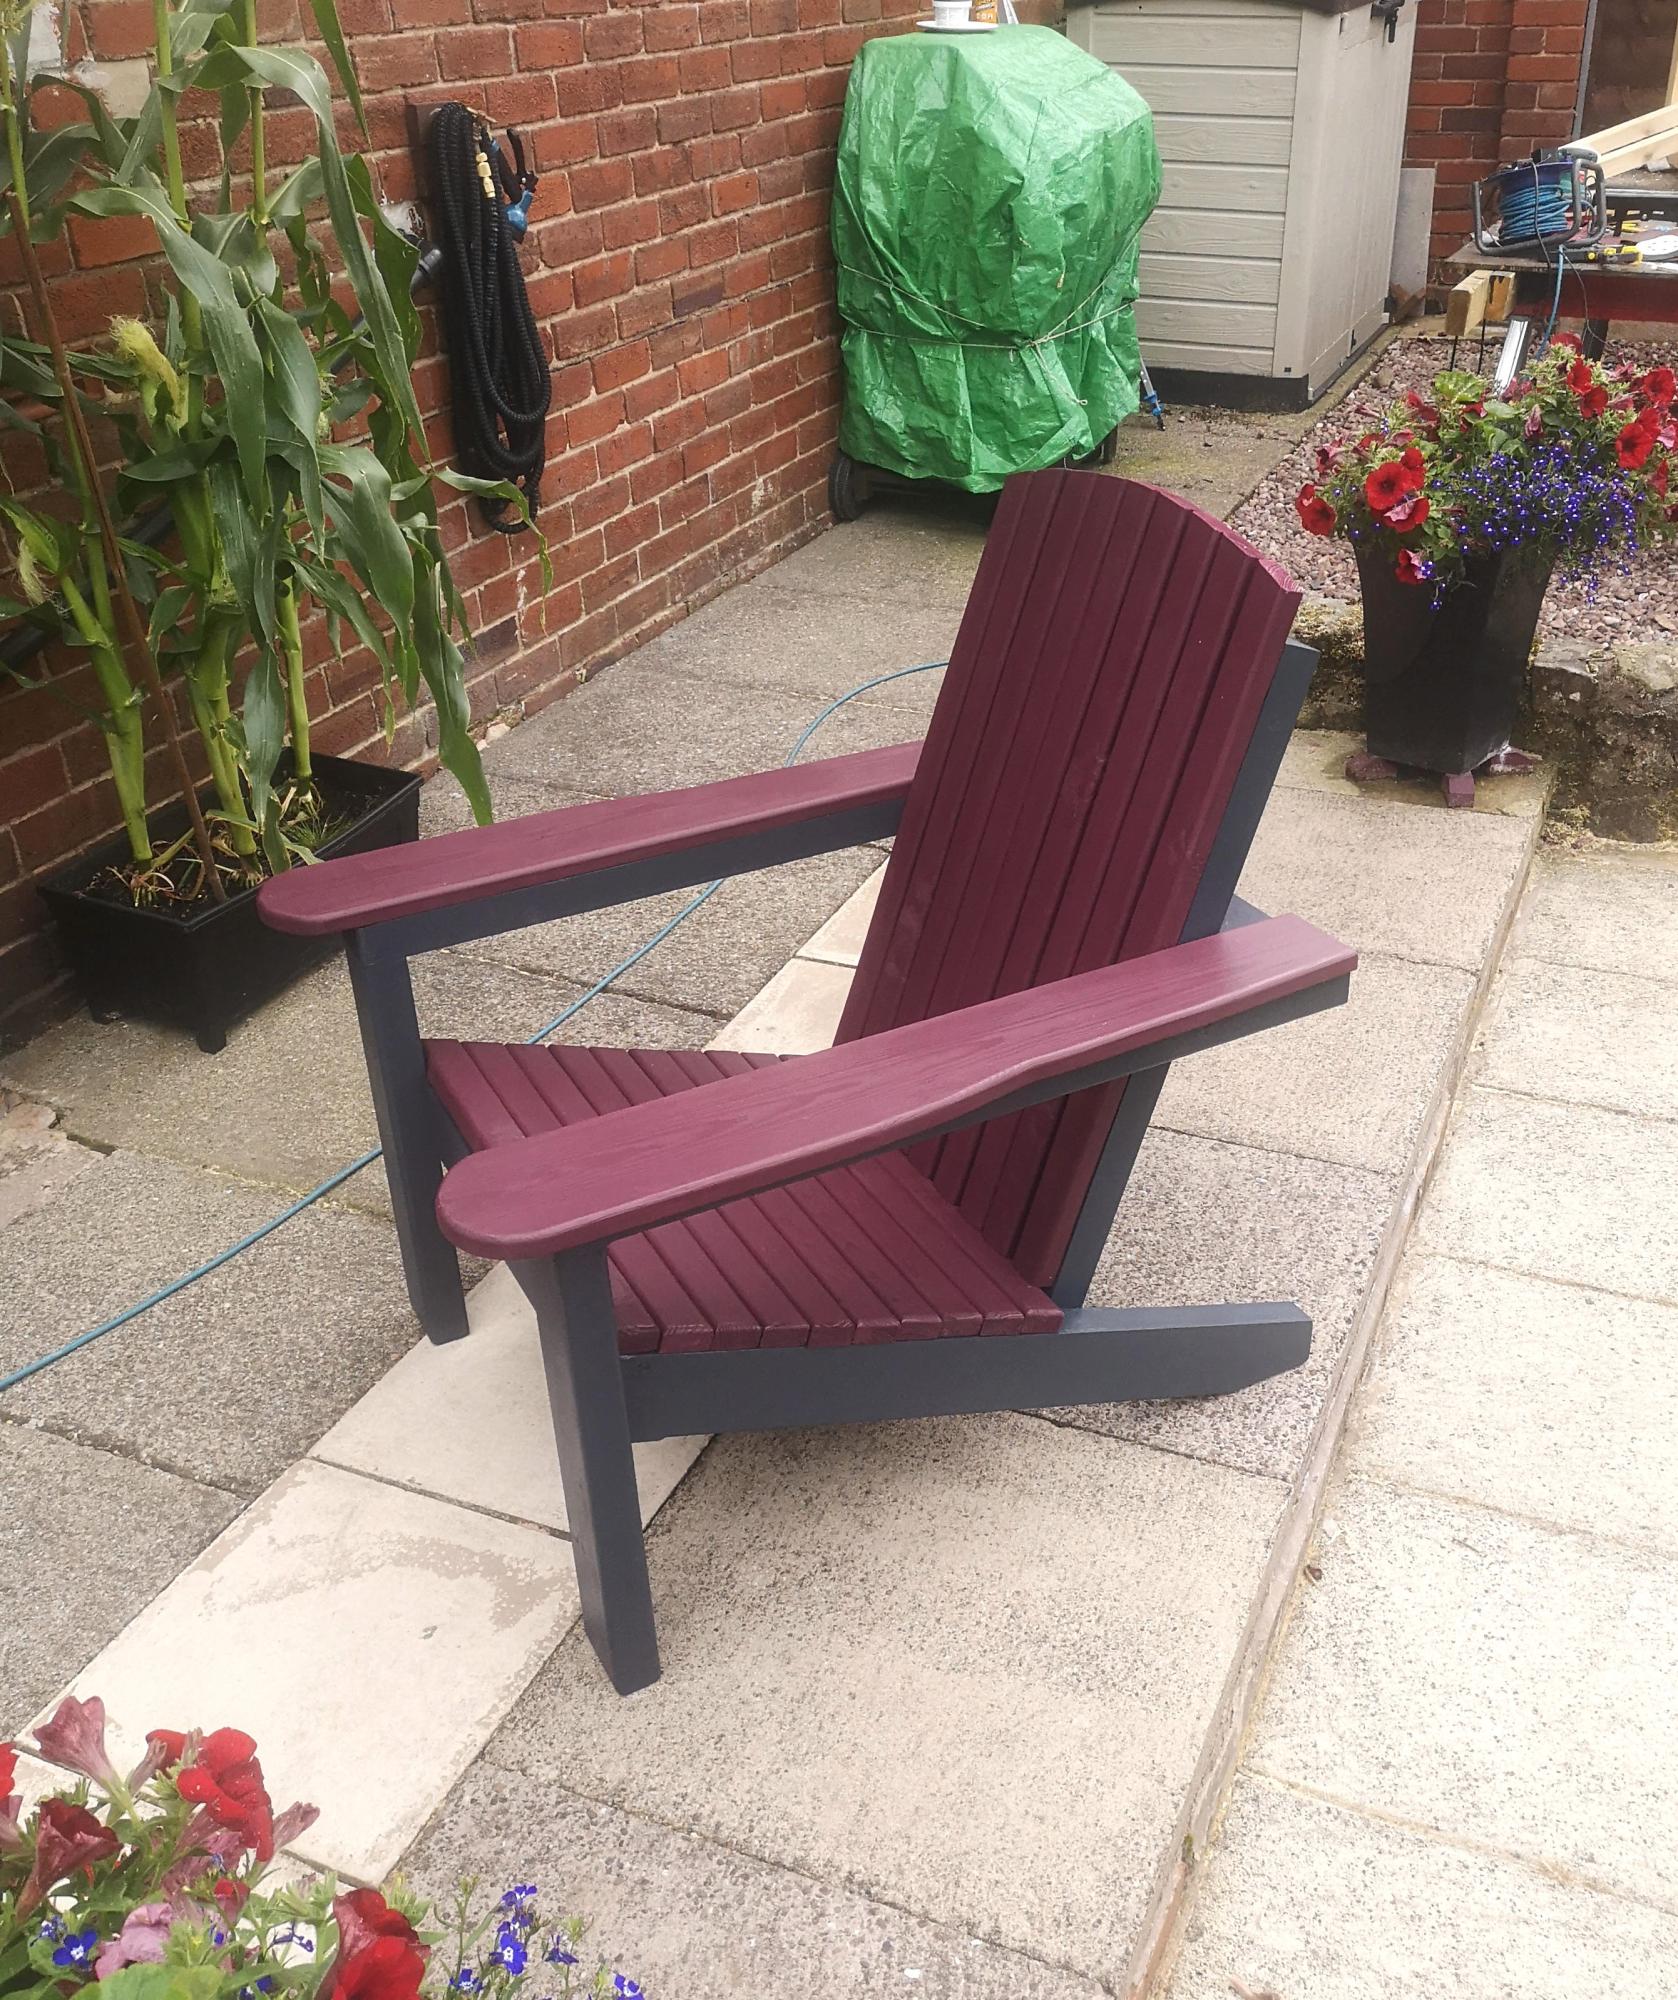
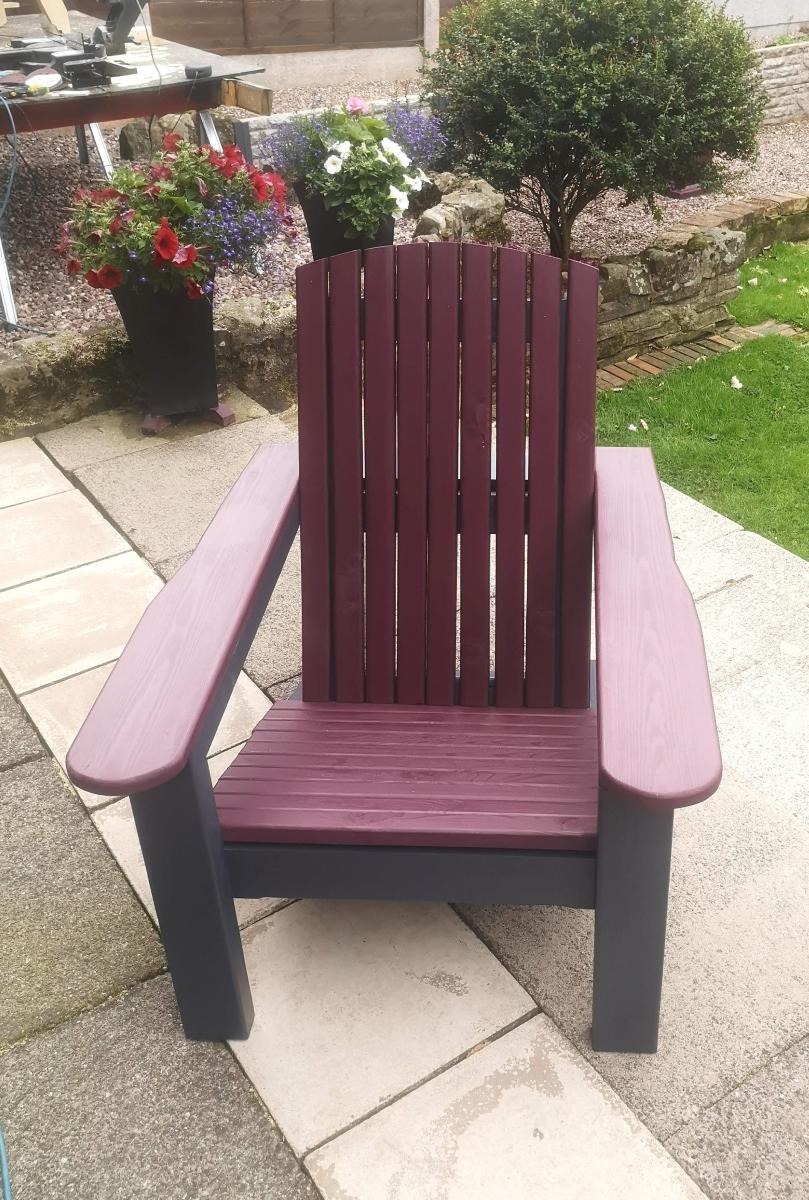
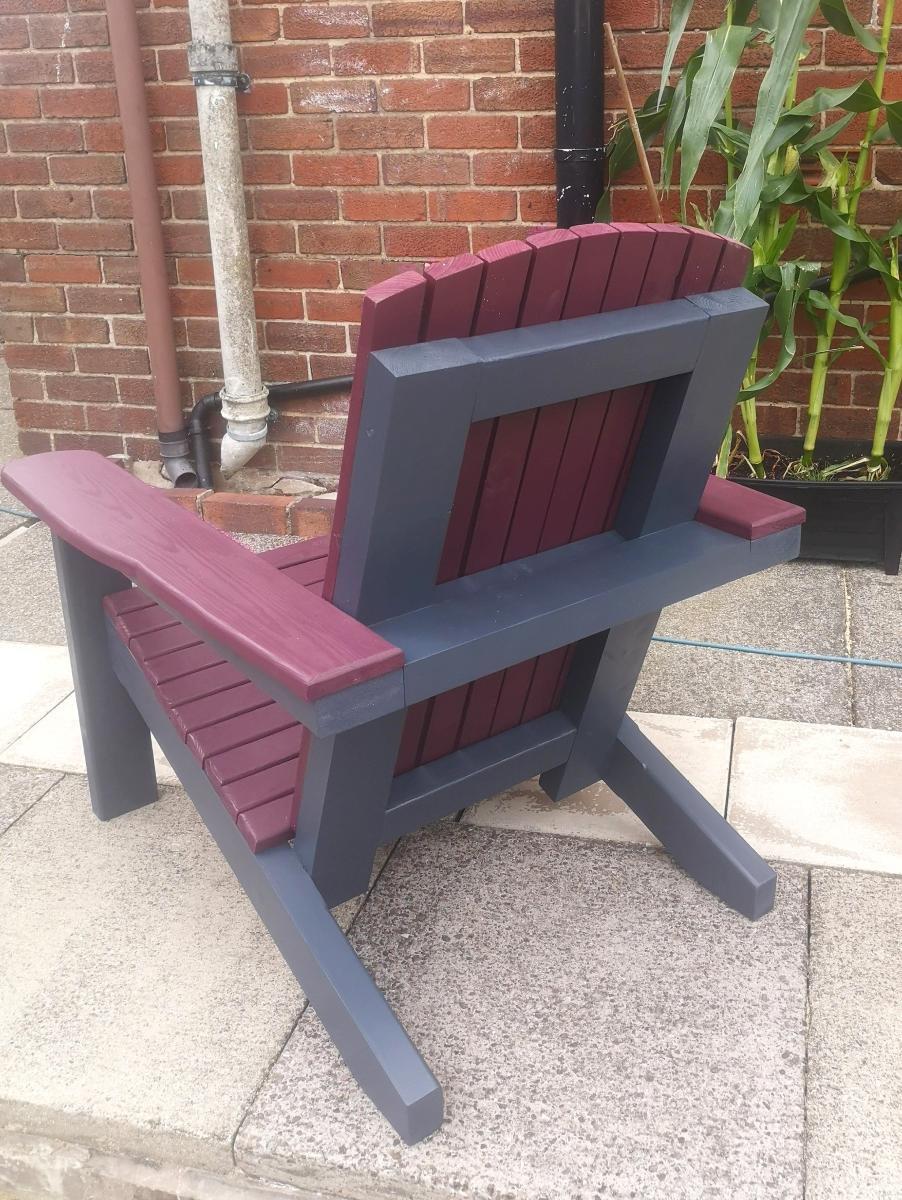
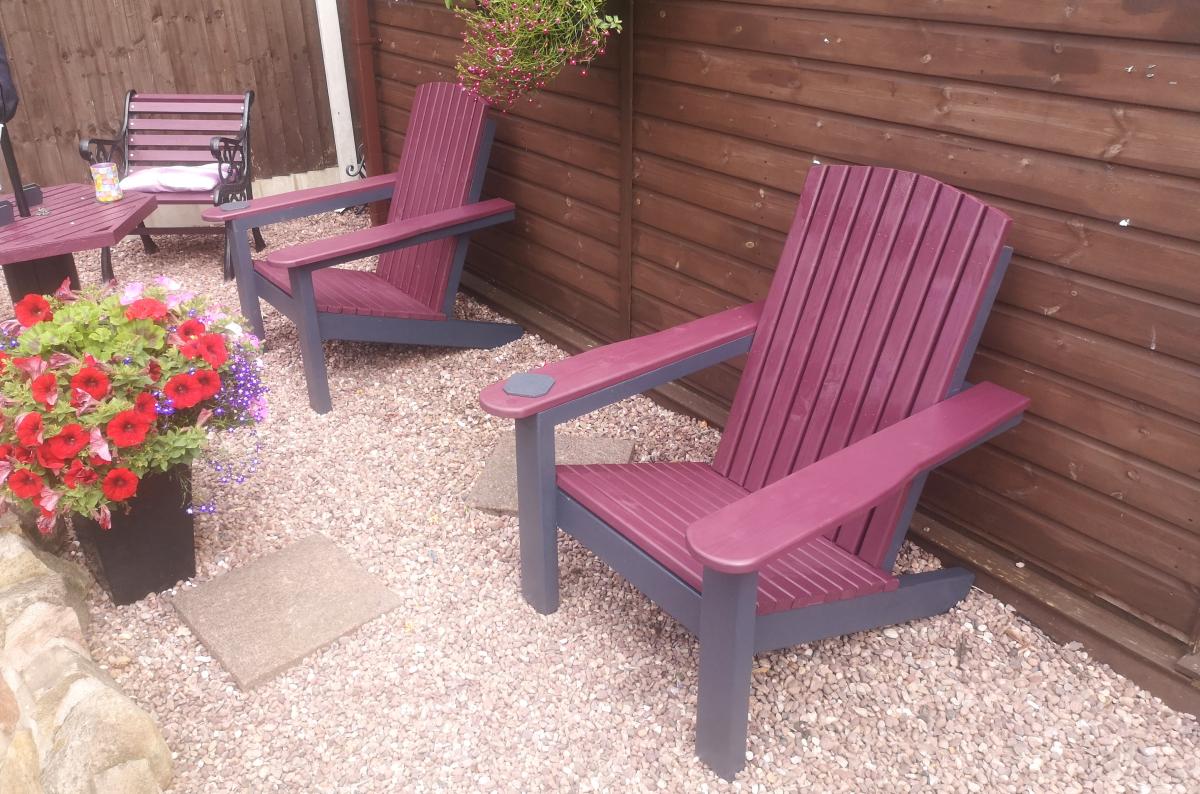
Hello Ana
Just a quick e mail to say how pleased I am with your chair plans , I did add a few extras hope you don't mind.
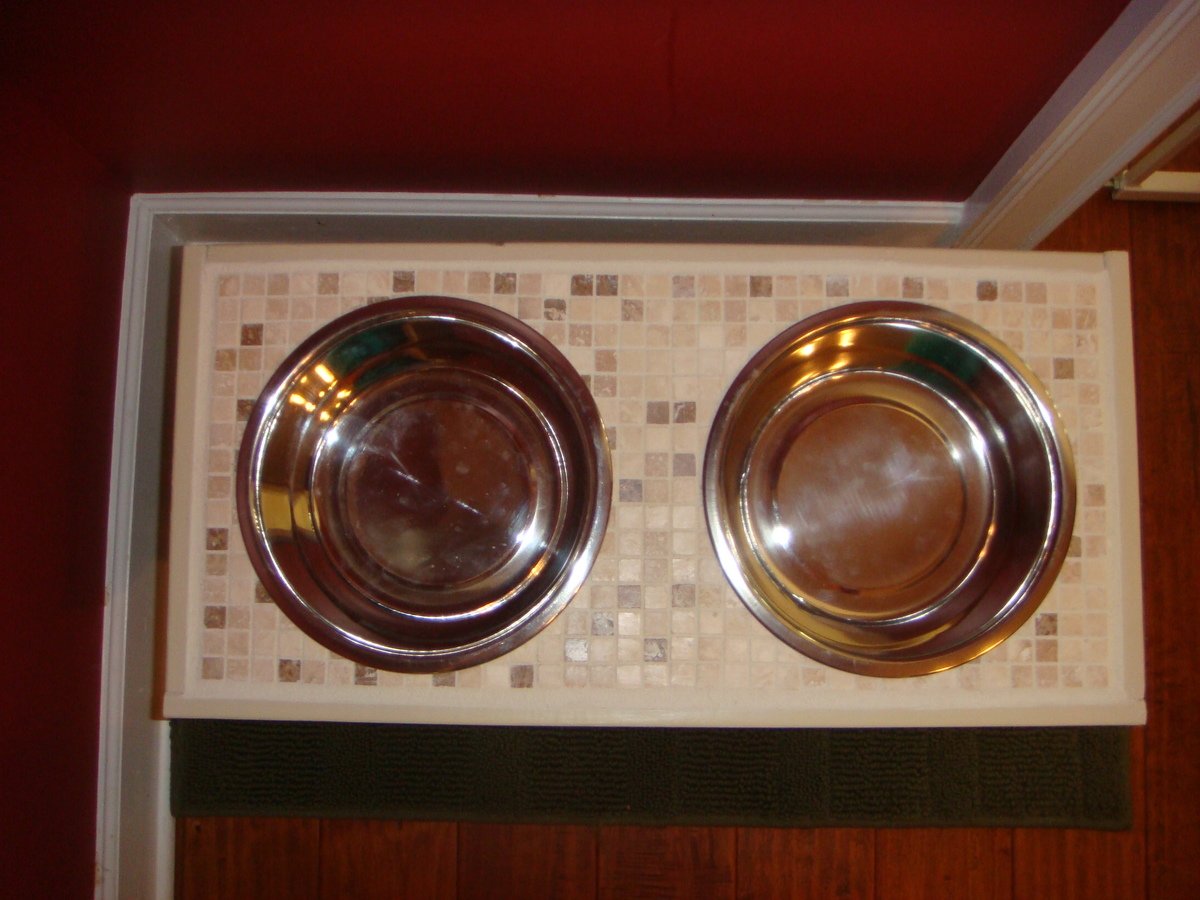
Modified the single bowl raised pet feeder for two bowls.
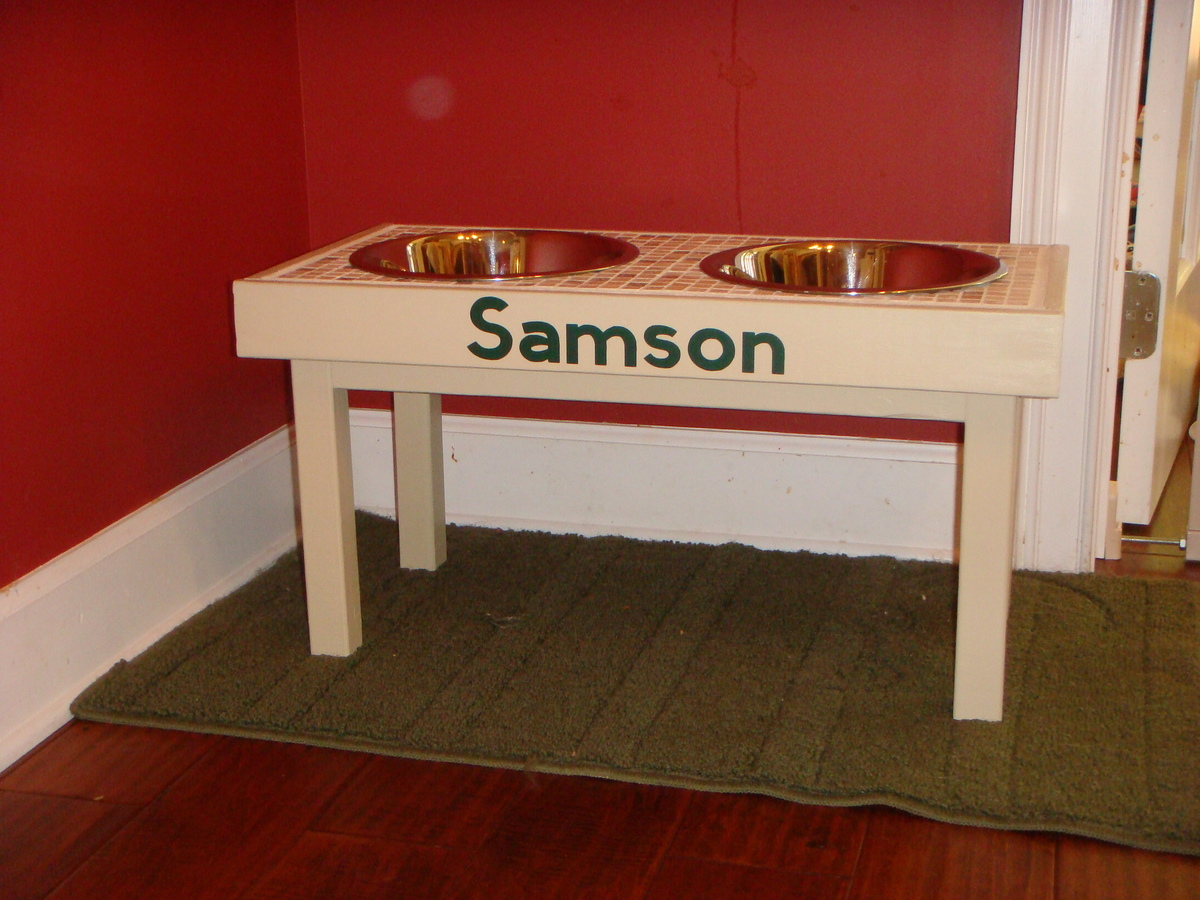
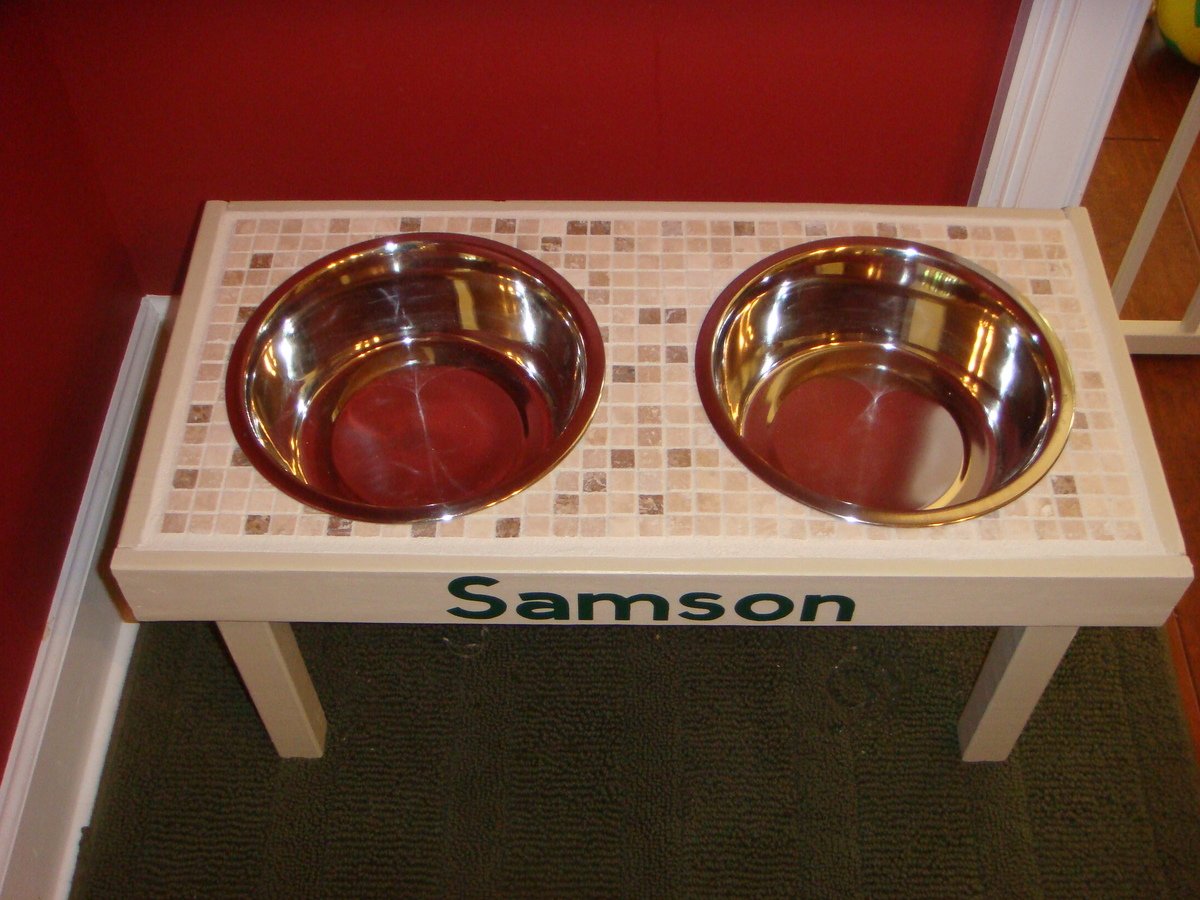
Let me tell you how happy I am that I have found this site.. This is my second project from this site that I have completed, but definitely not my last ( just haven't "bragged" about the first one yet) But any who....THANK YOU ANA FOR ALL YOU DO!!!
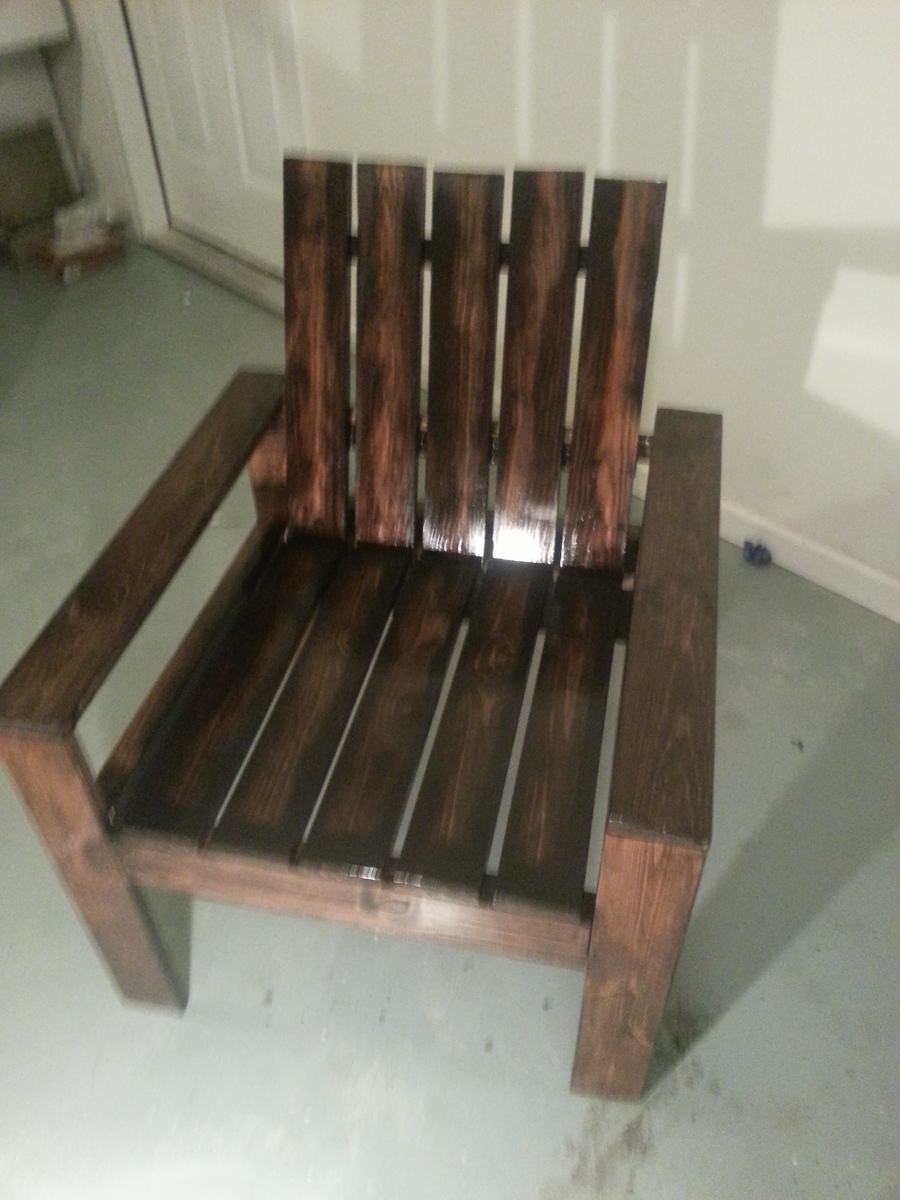
So I recently bought my first home and since then I wanted to make it MINE.. I always find my self glued to pinterest always looking for something to make or get into. That's when I came across this site and my mind started filling up with ideas and things I wanted to do for my house. When I first moved into my home it was during the summer time, and I didn't have any patio furniture and didn't have the finances to buy any. I know that summer is now right around the corner and I wanted to enjoy my back yard this year and be able to sit outside. Well.. I have found the answer to the problem. Why not build one... And o yea.. for $45.. Wow.. cant beat that.. So I have now completed my first Patio chair.. All I have to do now is Just build the love seat and couch and ill be all completed and set for summer.
The project was not difficult at all.. The only thing I alter was the back tie in, which was suggested in the comments that its better inside the chair then out.. Other than that.. follow the plans and it will be easy and wont cost more than expected.
Enjoy
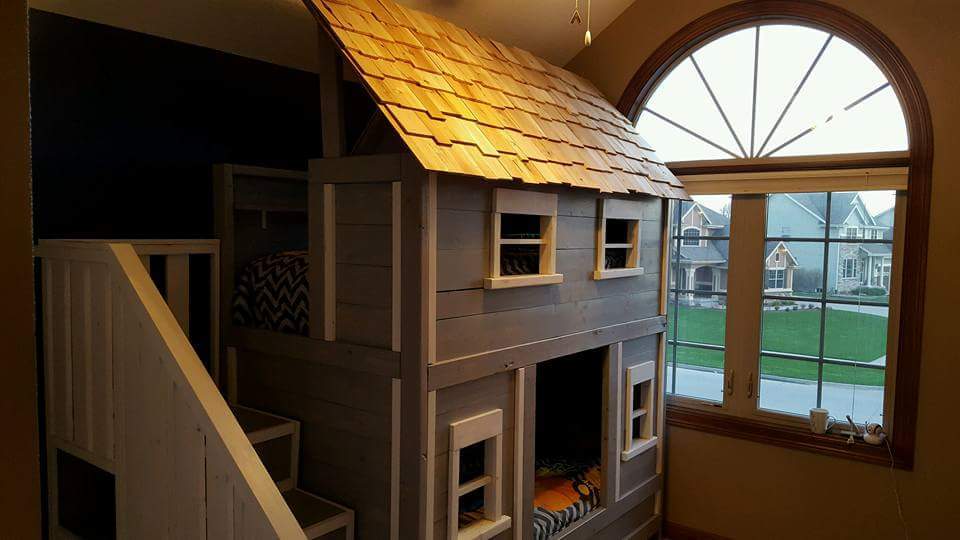
This took a lot of time. Many nights and weekends. We used a grey stain and poly for the planks and white paint and poly for the trim. I had to remove the under bed storage because the mattresses we bought were very thick so it was modified a little. Also I added some additional support to each side with another 2x4 because I felt it wasn't sturdy enough with just one support on the stair side. I also included a full roof with cedar shingles so that one of my twin boys doesn't jump out. They are 3 year old maniacs.
Thu, 04/14/2016 - 20:40
I love the cedar shakes on the roof, what a cool looking bed!
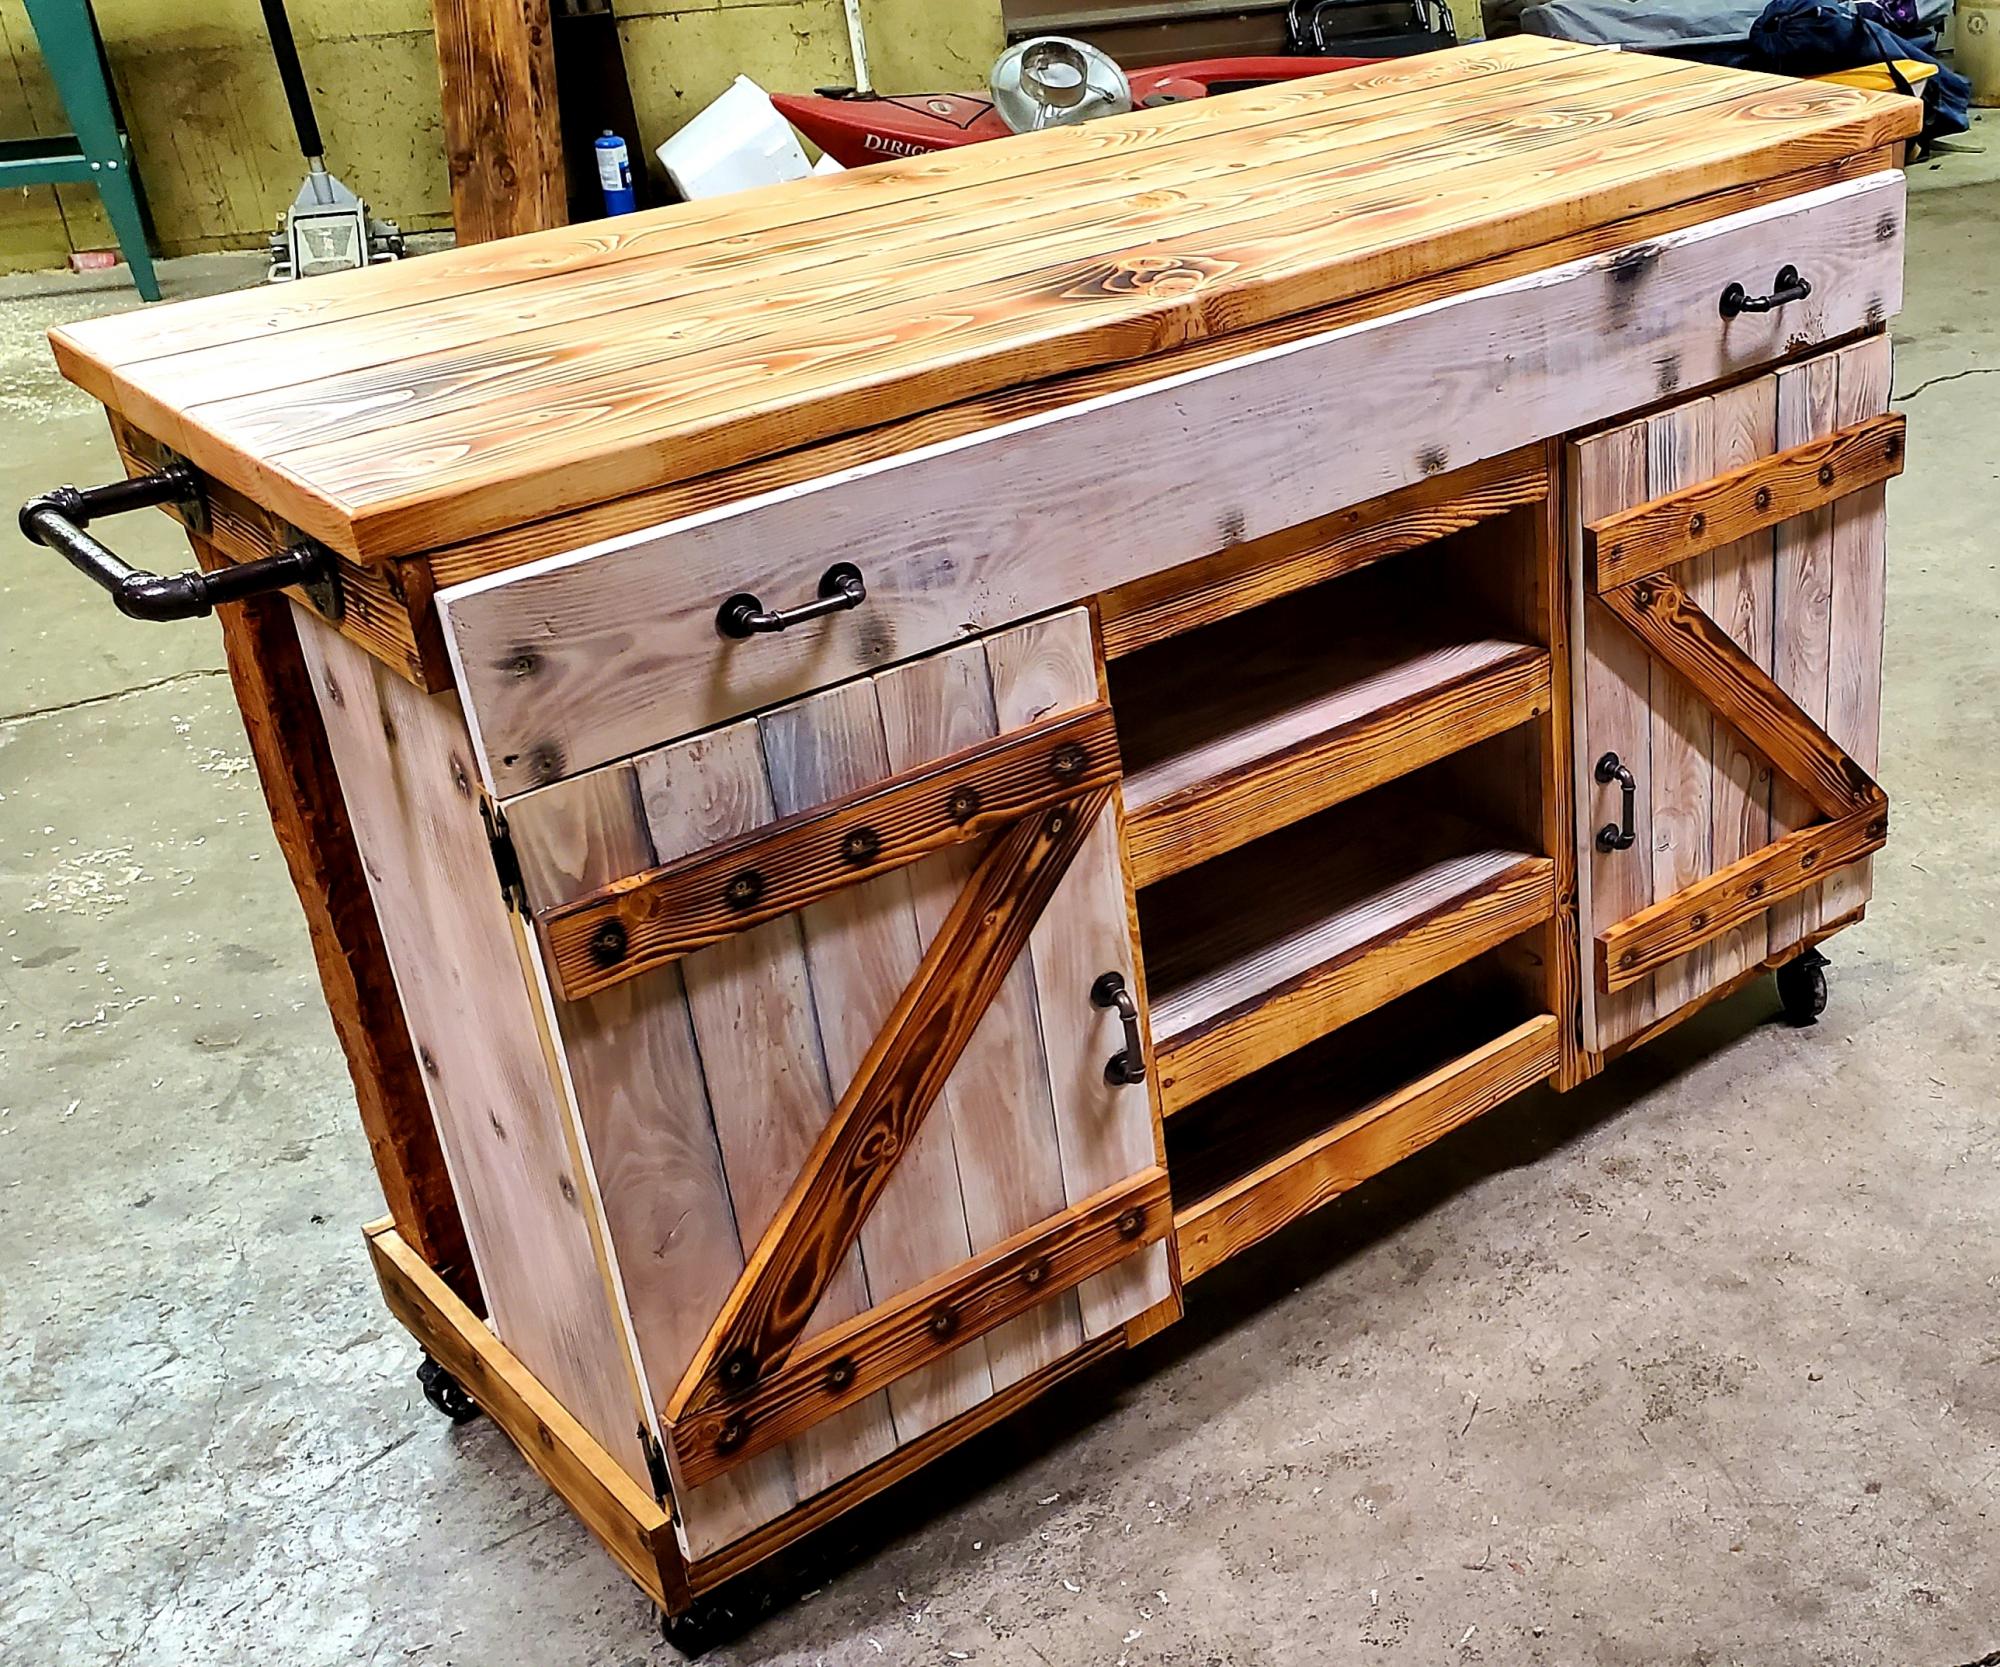
My wife wanted/needed a kitchen island for more storage and prep space. After seeing the prices online of nice kitchen islands, I decided to take the time to make her this one. I would mark this as advanced due to the numerous cuts, joinery techniques, and sheer prep time it took. The build was a success as on Christmas morning once she saw this she cried out of joy! It took the better part of a month because I Hand Hewed with an axe the legs, the whitewash finish is of my own design(a 6 step process), all pieces were sanded, finished, and distressed before assembly. For the butcher block, I used Anna's rustic-x coffee table top design- I only wish I had a jointer so I could have the slabs flush, but I did plane and sand all the way from 80 grit to 240 grit to create a smooth finish. Then all pieces were treated with multiple coats and buffings of citrus wood wax.

I built this play horse barn for my daughter. She loves to play with toy horses. It is 33 x 28 Has a removable hay loft, Stales with working doors and drop down hay loft doors. Hinged on both roof sections for easy play. Lots of love and effort went into making this. I hope you enjoy.
charliemugler@instagram


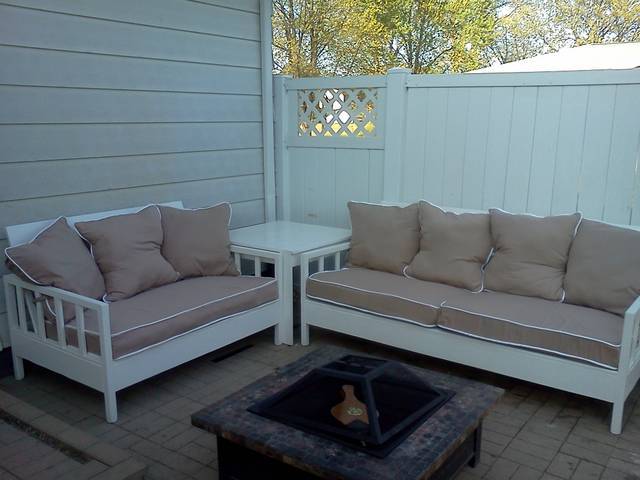
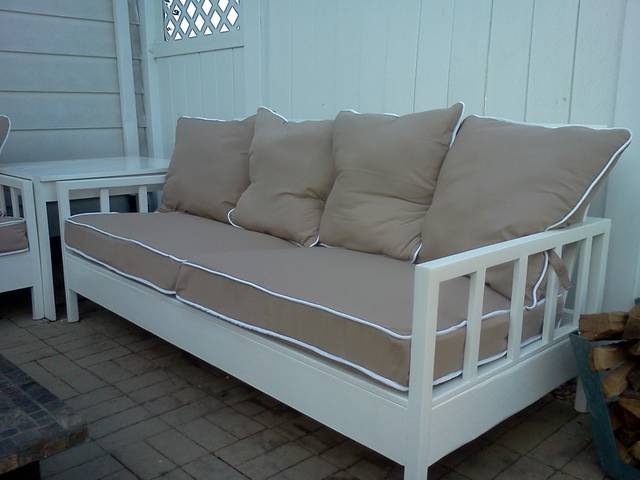
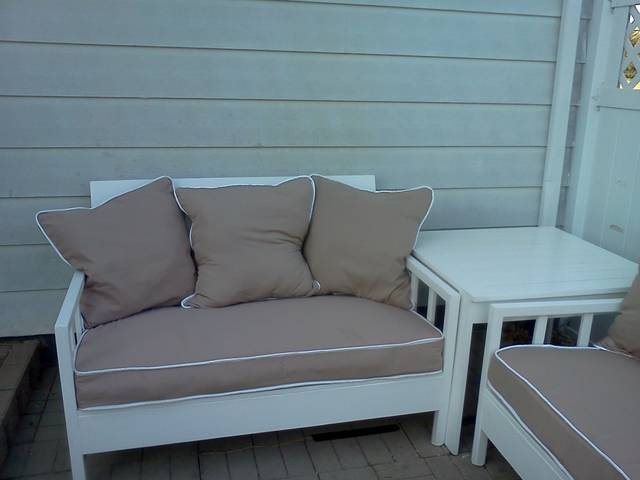
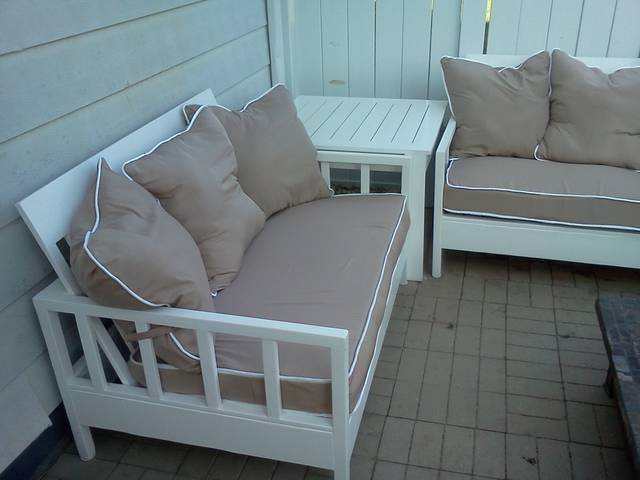
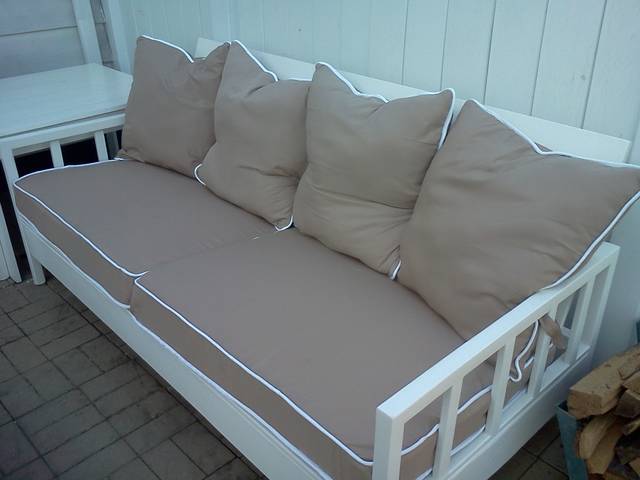
I built this set from the plans of the Simple white outdoor sofa. I did make a few changes to meet my needs. My original idea was to make 2 sofas but after doing some measuring I realized a loveseat would be better so I just took about 24" off of the length. I also did add slats to the arms, just to give it a different look. I found this project to be pretty easy with the plans that are provided and I used the link that is attached to the page for sew mama sew to make all of the cushions! I built the side table from the plans for the Ottoman or Accent Table for Simple Modern Outdoor Sectional although I made the table larger width wise (24 x 24) to fit nicely between the sofa and loveseat.
The only thing I would do a bit differently if I were to build it again would be to use a slightly better grade wood so I would have to use less wood filler and sand less ( That is what took the most time ) otherwise this could have been finished in half the time it took me. This is a great project that really transformed my back patio!
Mon, 04/09/2012 - 19:29
Fantastic job. It looks nice enough to be "inside furniture". I love the slatted arms, too.
I'm in total agreement with you about using a better grade of wood for some of my projects. For the time it takes to make the "cheap" wood paintable (forget staining it with all the filler and glue marks), it is so worth it for me to spend a bit more and have a finished product that looks so much better and took much less time!
Again, I love your finished project! Great job.
Mon, 04/09/2012 - 19:58
Are you concerned about using pine for outdoor use? I would like to do the same but I am not sure how to protect the wood from the elements here in Wisconsin. Any ideas would help
Tue, 04/10/2012 - 05:37
Thanks so much for the compliments! I have used pine in other outdoor projects and have found that if you use a good quality exterior paint they are protected enough to endure the weather. I live in Illinois so I know what you mean about the elements but so far they have made it through just fine :) just use 2 coats of paint and make sure all of the exposed pine is covered with the paint. I also put plastic protectors under all of the feet so that no water will be absorbed that way. Good luck!
Mon, 08/26/2013 - 14:06
So I need new furniture inside the house and your photo has convinced me to build these for my living room. I've got a smaller home (670 sq/f) so it's a challenge to find furniture that fits- two loveseats of this design would fit well in our space. Beautiful job, well done, and thanks for the push I needed to get started.
Fri, 11/08/2013 - 06:11
Hello!!
I am so inspired I am going to build the same sofa!! How did you attach the slats in the side arms?
Thanks,
Kelly
Fri, 11/08/2013 - 07:29
Hi,
To attach the side slats I countersunk long thin wood screws to the top and bottom rails. I put one screw at the top and bottom of each slat then filled the holes with wood filler. To be honest, if I were to do it again I would definately have used a Kreg (which Anna recommends for most projects) because it would have been a lot less time consuming. The sanding of the wood filled holes took a long time to get filled and sanded just right so there was no sign of the holes. Good luck!!!
Sun, 11/10/2013 - 05:10
Thank you! I hope to have side arm slats installed tomorrow. I am going to 'frame' the slats with 1x2's and then insert the framed set into the arm. :-) we'll see how it goes.
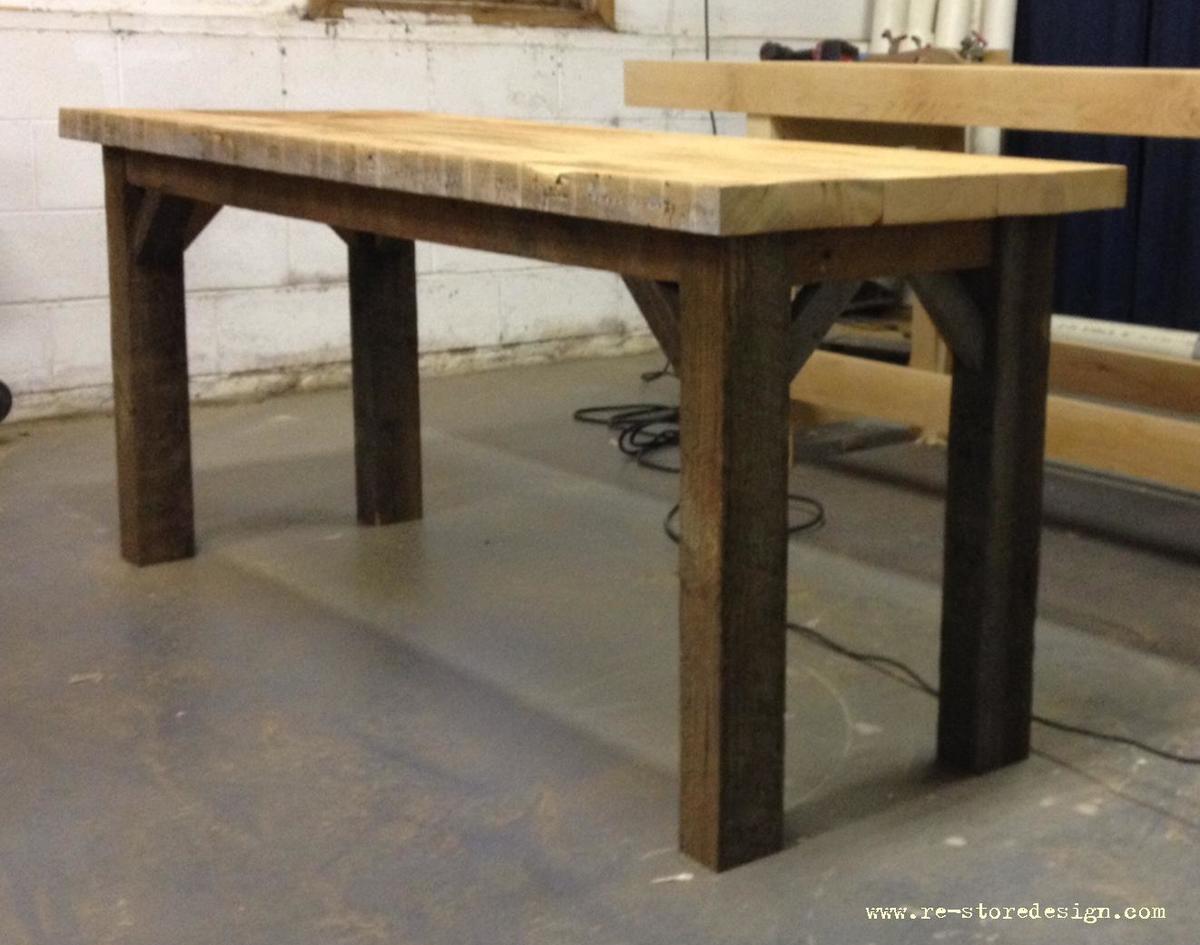
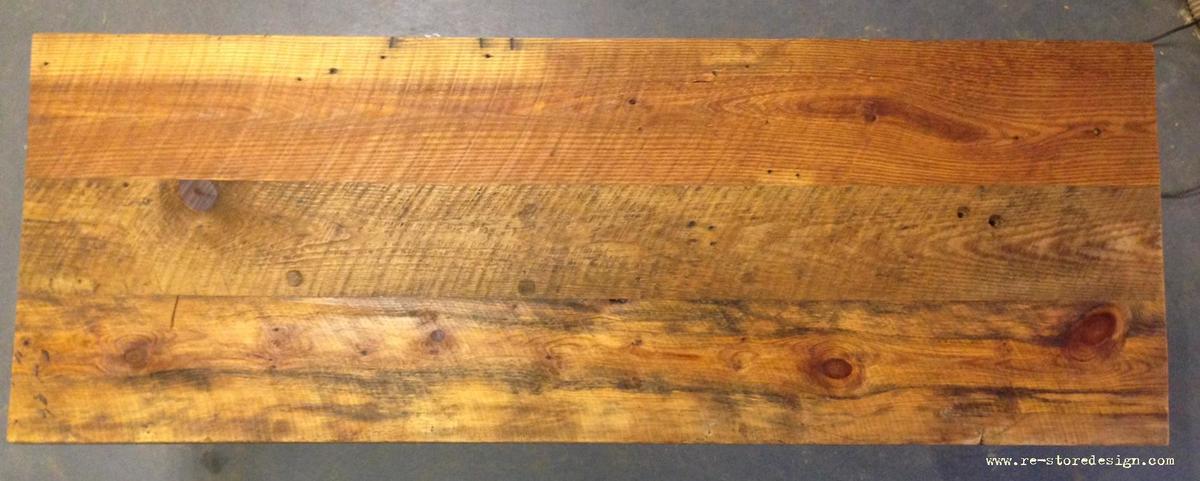
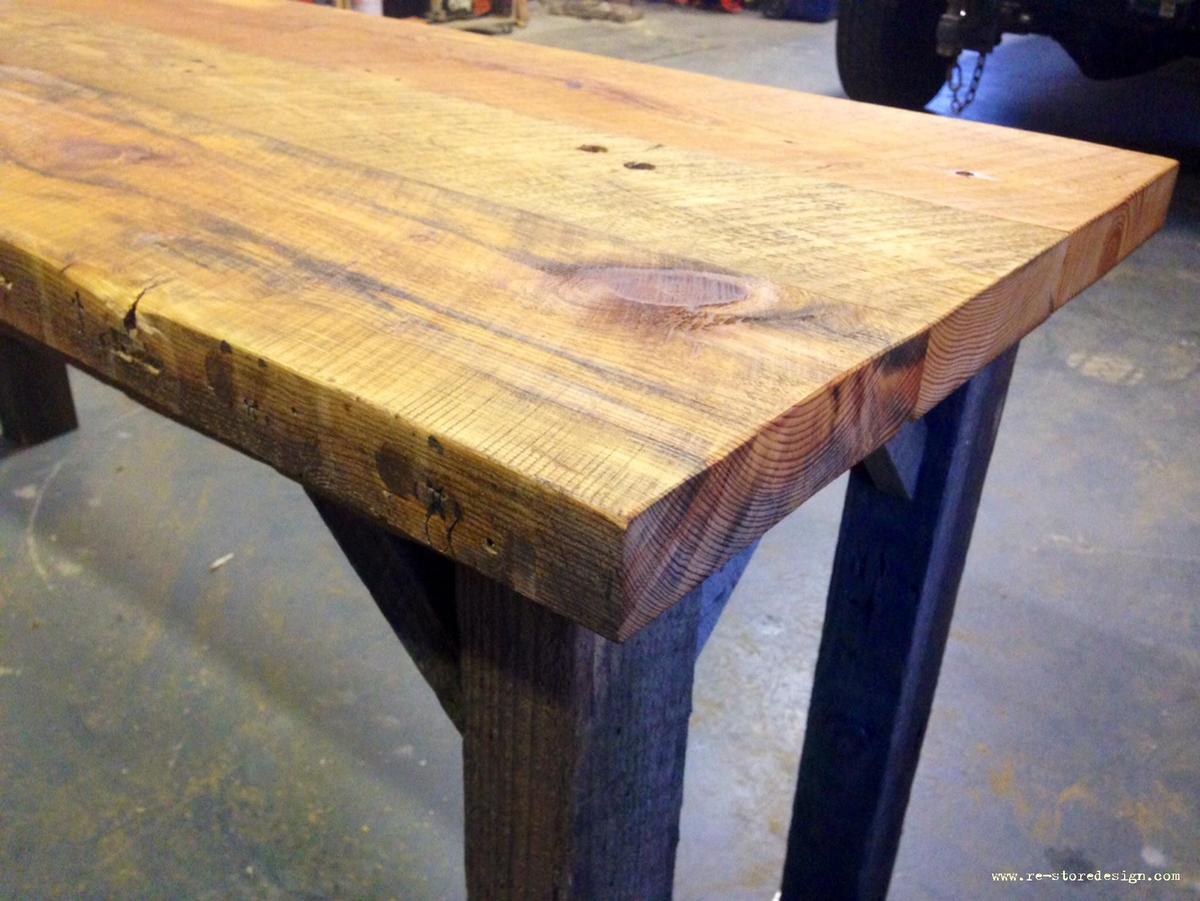
I have used the farm table plan many many times! My customers always love the classic look the table offers. I decided to switch it up a bit by adding 45 degree angle support brackets to the legs. So far the look has been a hit!
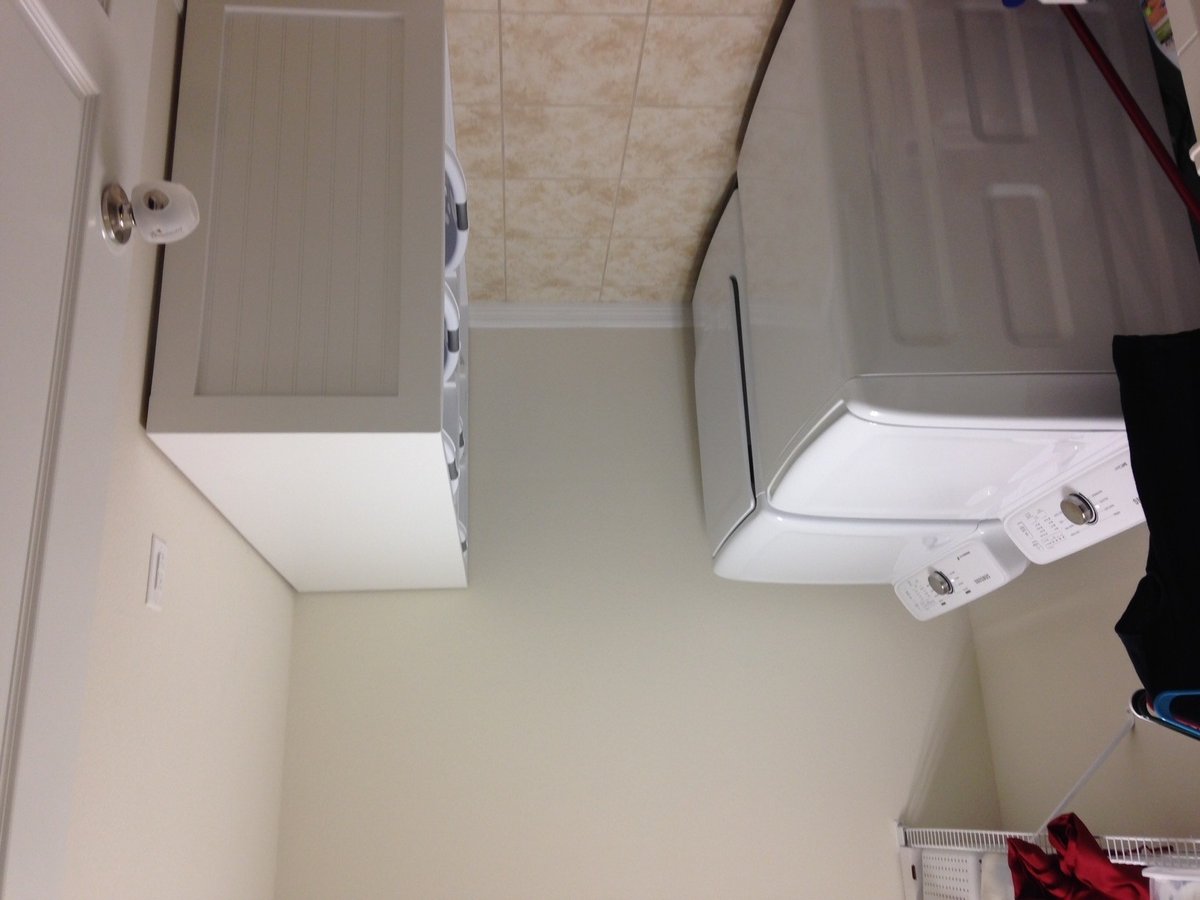
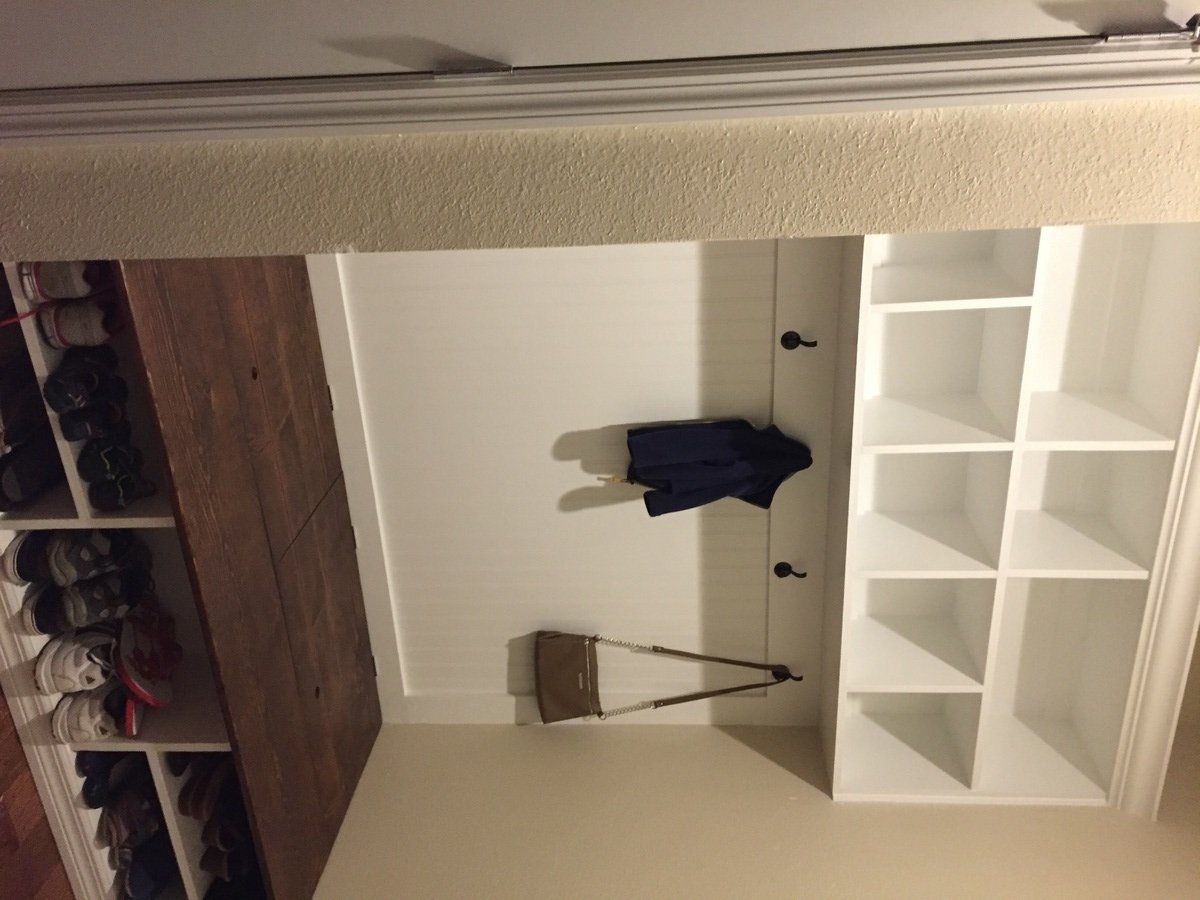
Took the plans from the laundry dresser and adjusted them so it would hold 6 laundry baskets. My wife wanted a counter she could throw the clothes on and fold right there so this worked well for our needs. Added some trim to the end to match the shoe bench we built in our drop zone right outside laundry room.
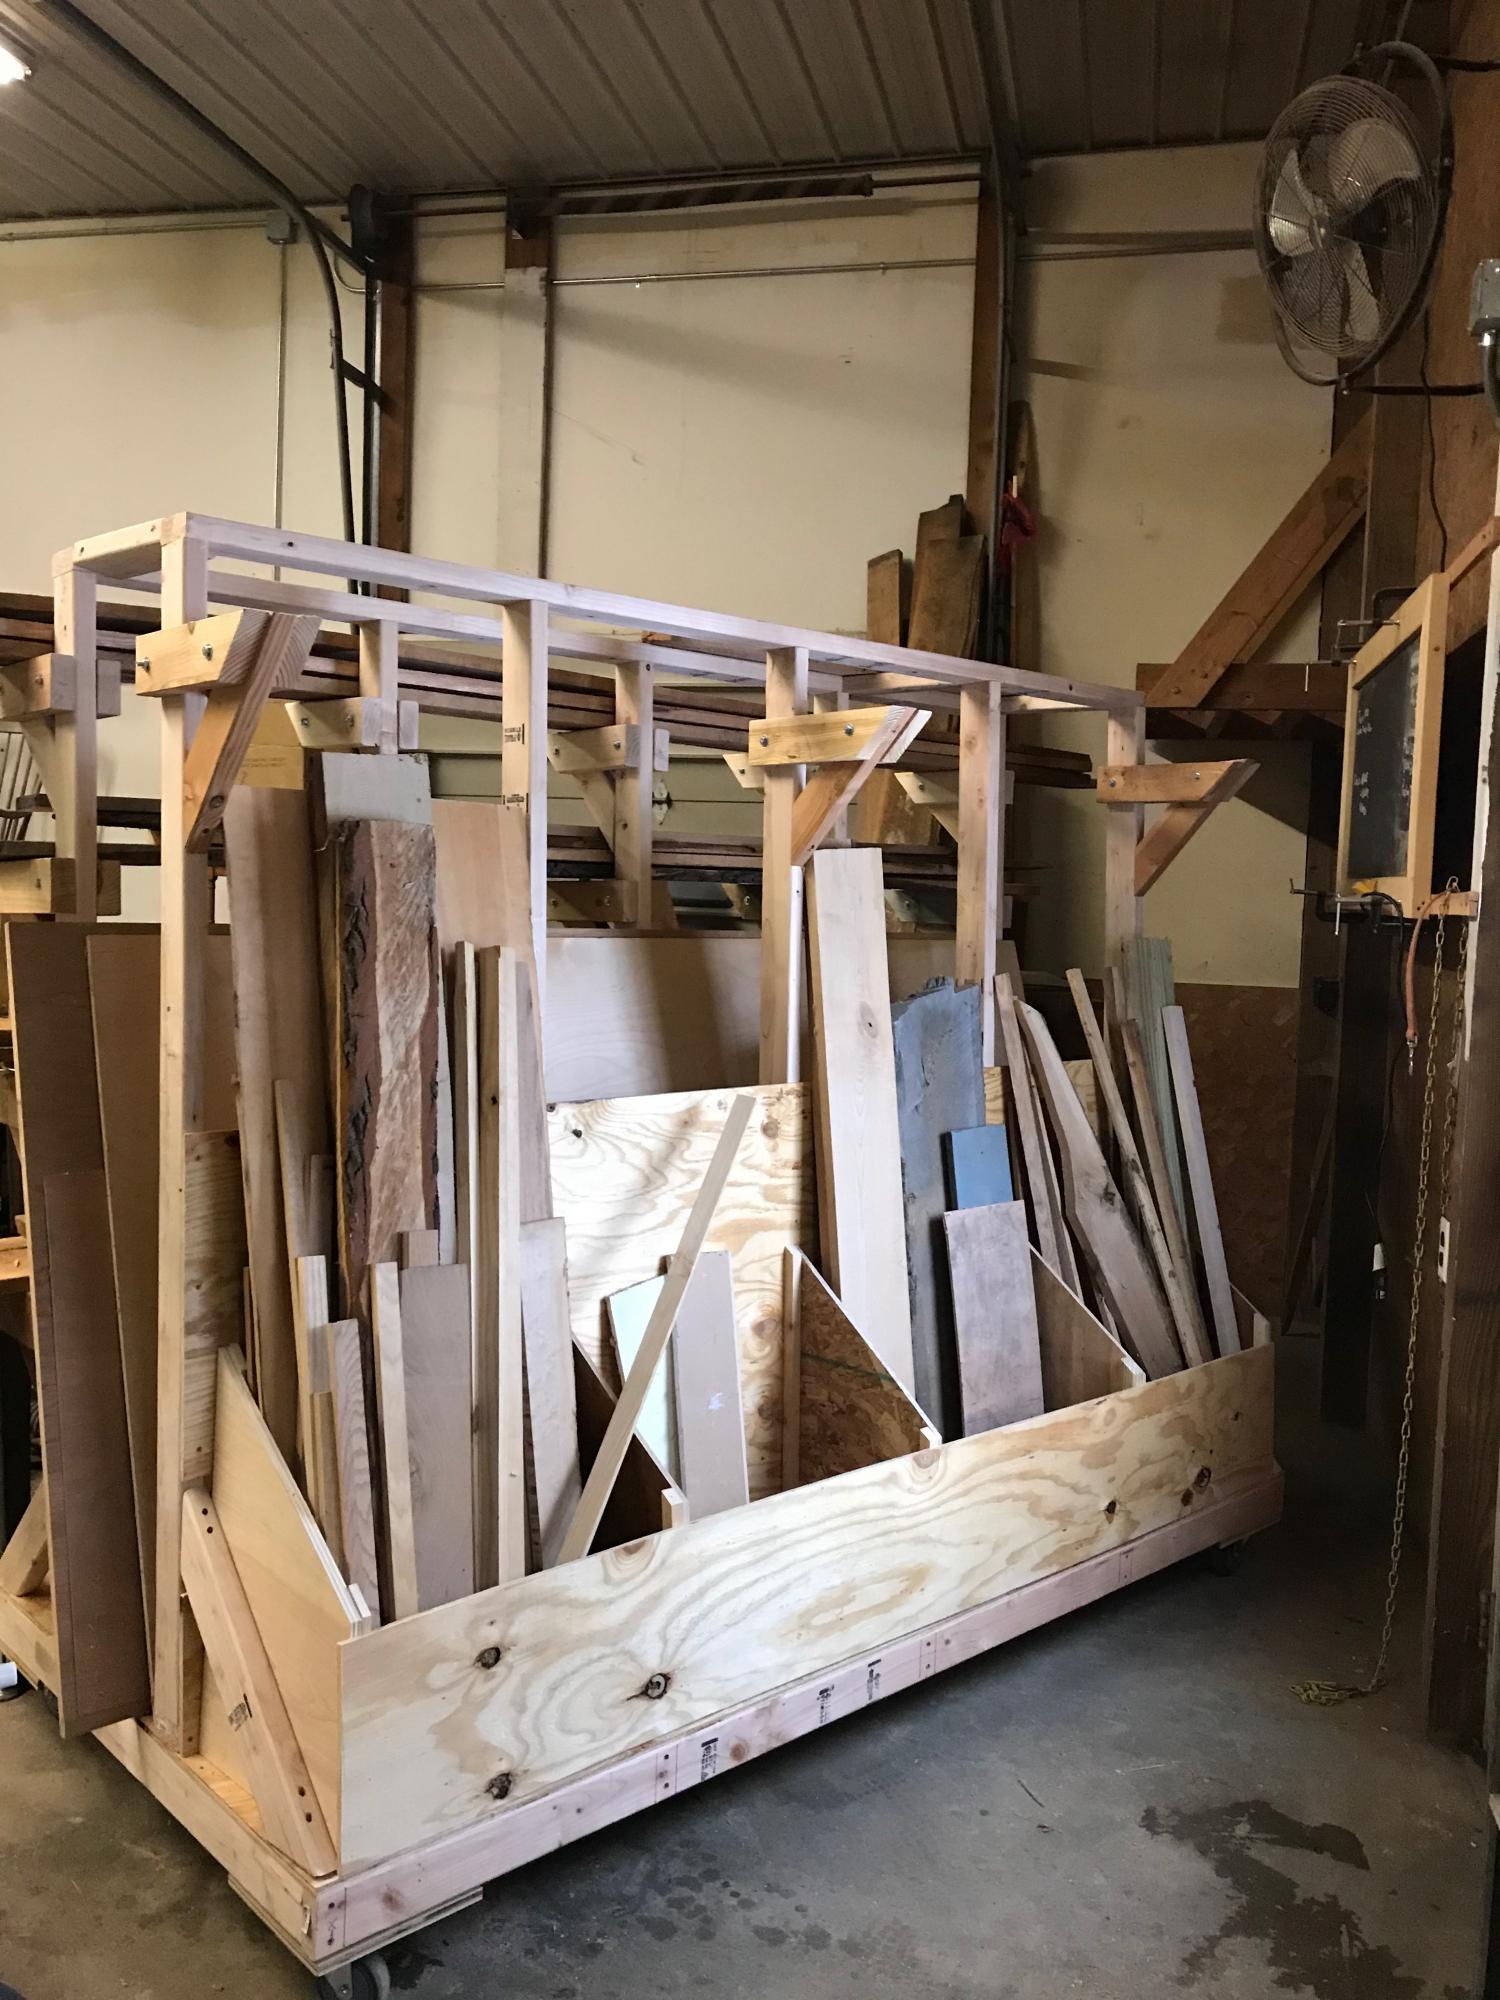
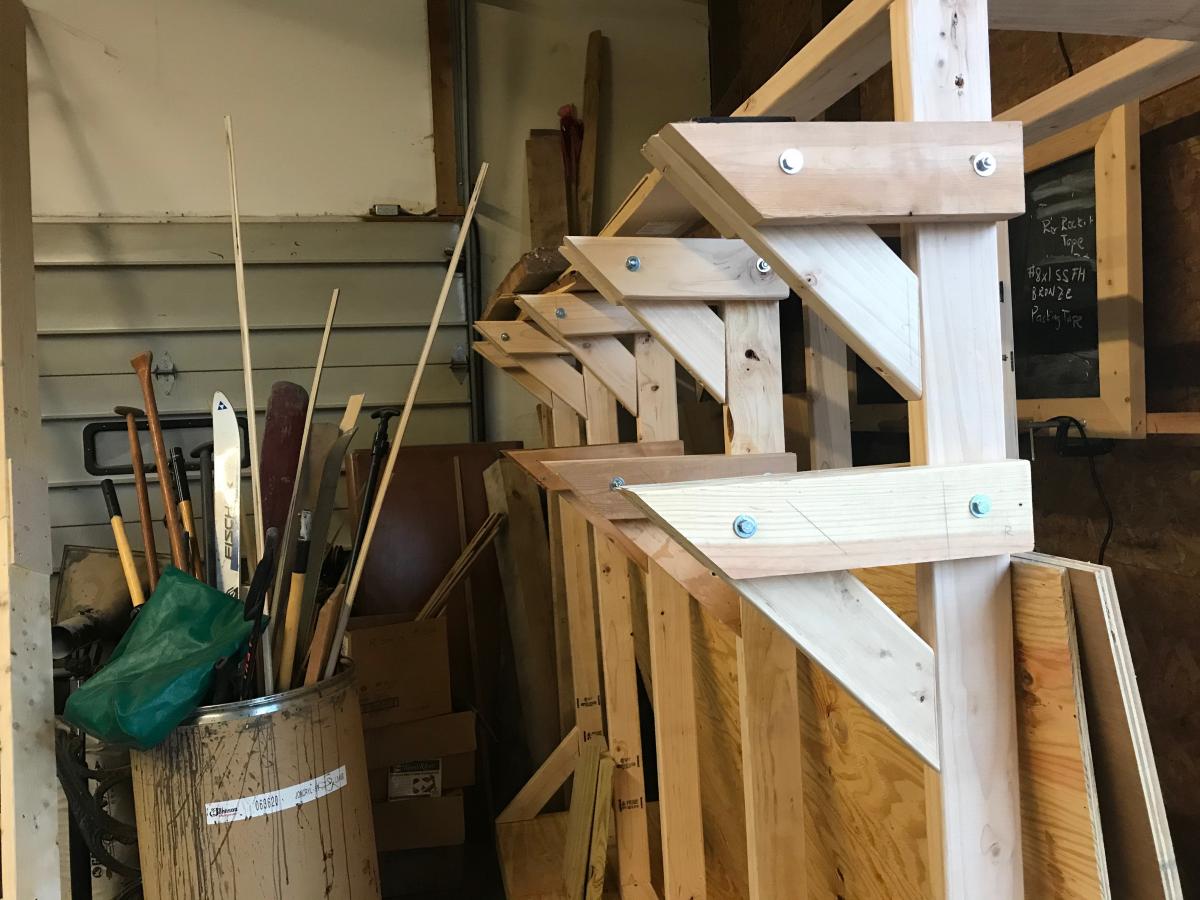
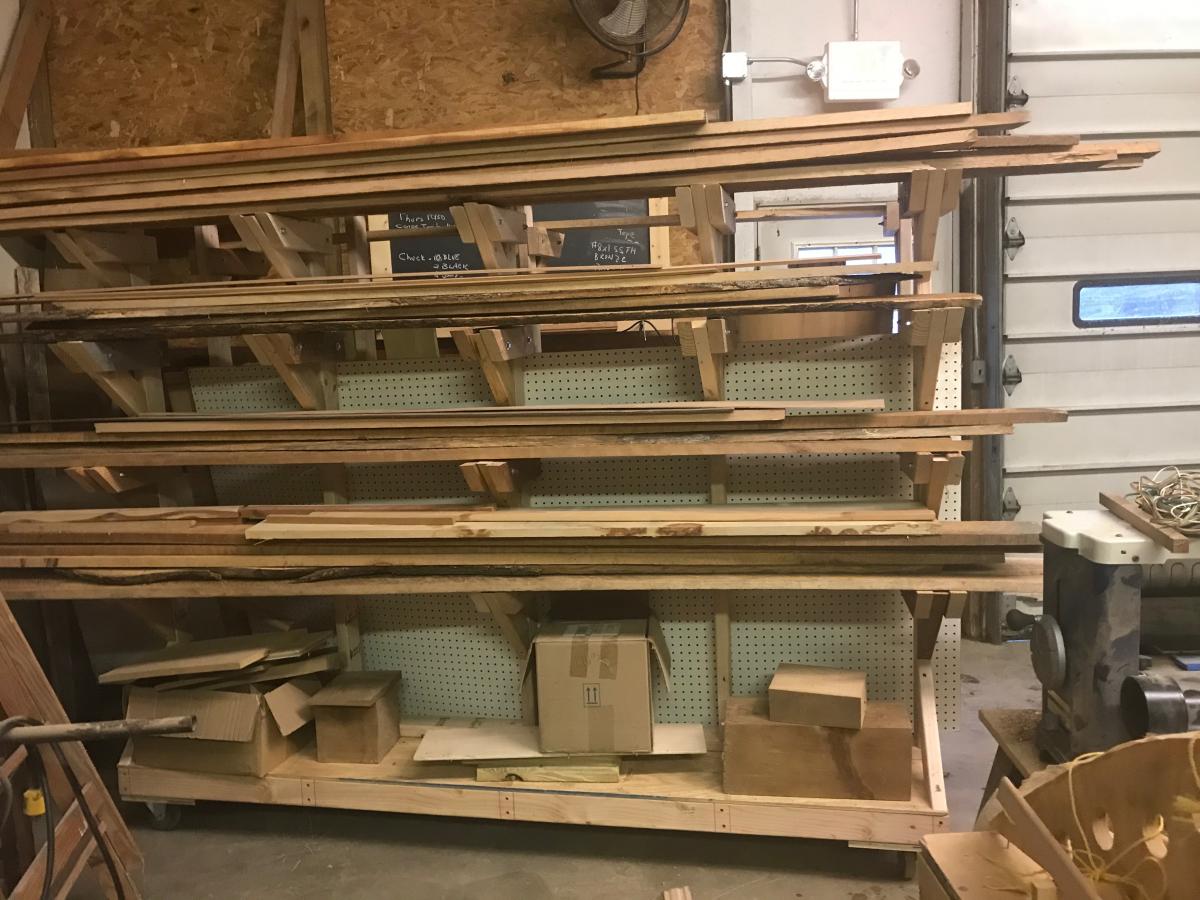
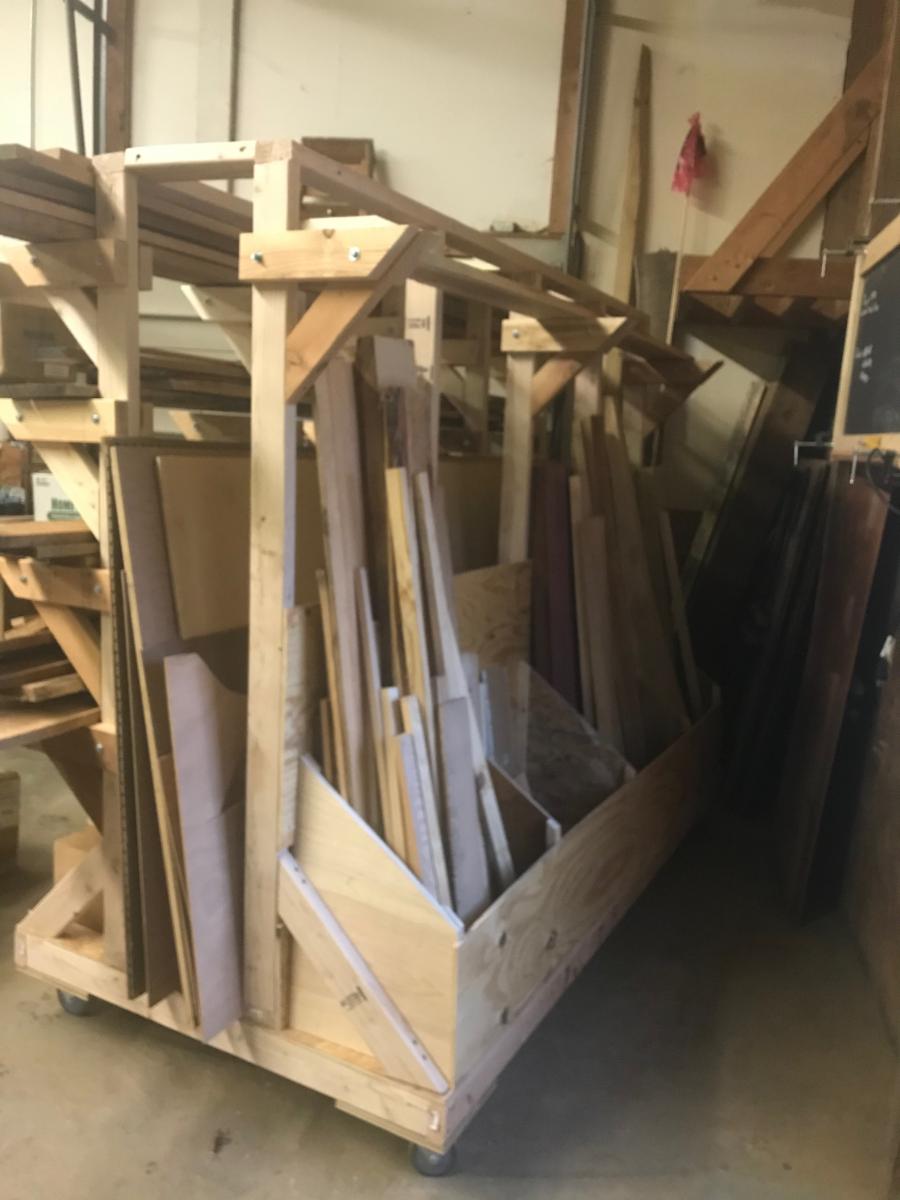
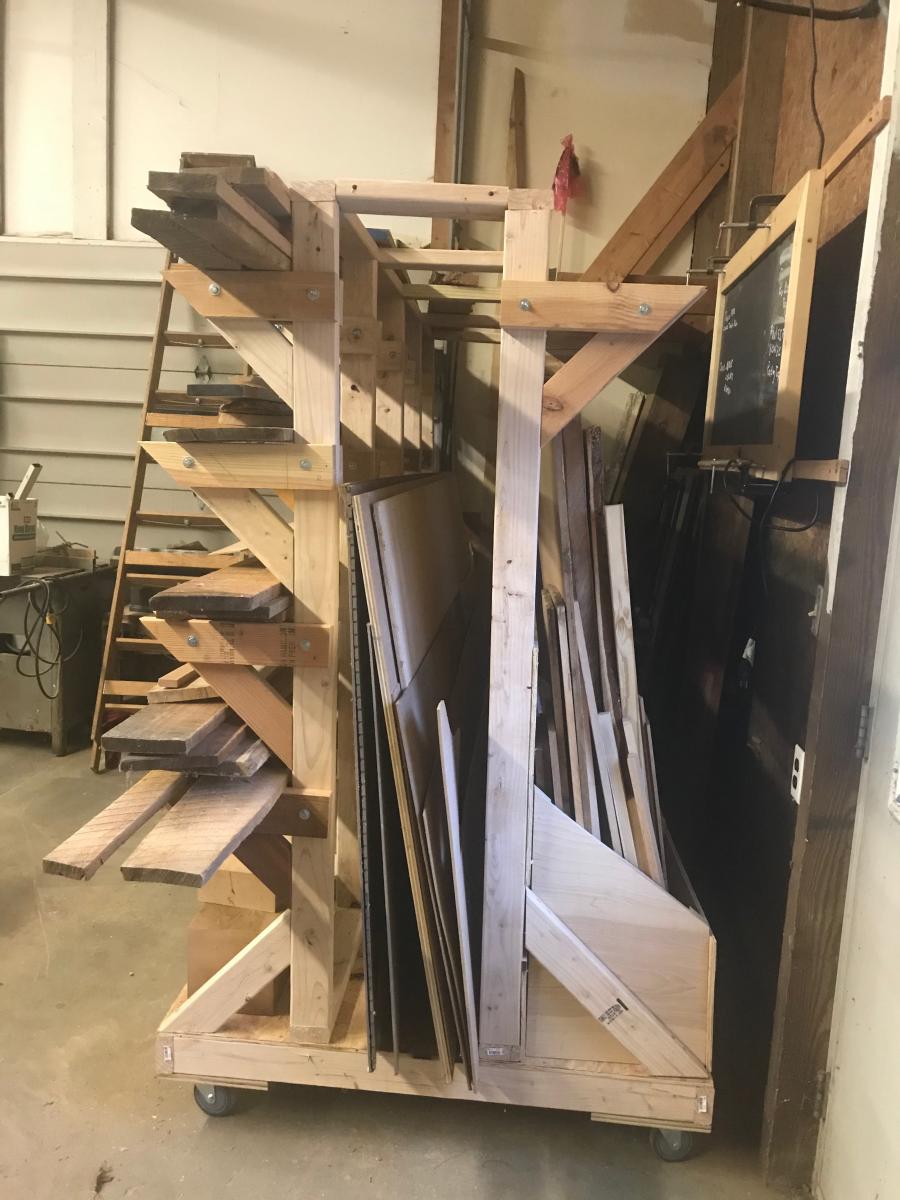
I followed the plans for the wood storage rack pretty closely. The shelf brackets made from 2x4's are quite sturdy. The entire rack is easy to move around on the 4 inch casters. This project took about 4 days to build and was well worth the time and money. All my wood is in one place now- sheets, long boards and short boards. Everything is easy to find and my shop is a lot neater, now.
