Extra large shoe bench
![](/sites/default/files/4467E9C7-B5D1-4EC9-B47C-B4A423A63C33.jpeg)
The plans for this bench fit out mudroom perfectly! All ready for winter now with the boot storage in back ☺️
Made with an ikea pallet and some other stuff.
After reading the comments, we decided to do the hinged learning tower, but took one dad's suggestion and used vertical legs on the non-ladder sides, too. We felt like it would be sturdier and would put less stress on the hinges. My son is much safer than he was on our step stool. He calls this tower his castle.
Fri, 01/20/2012 - 17:53
Okay, I have to ask... Why the hat? If you're gonna be naked, why bother with the hat? lol
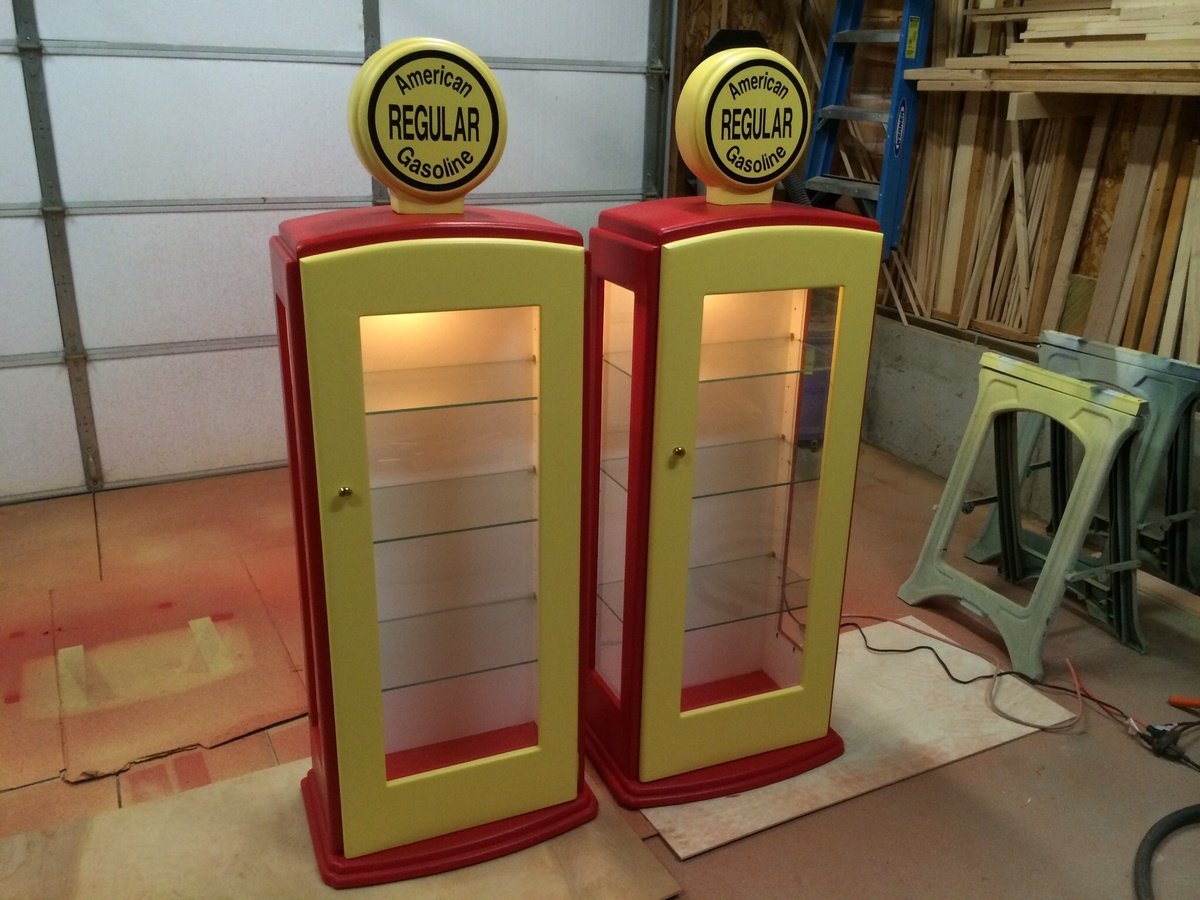
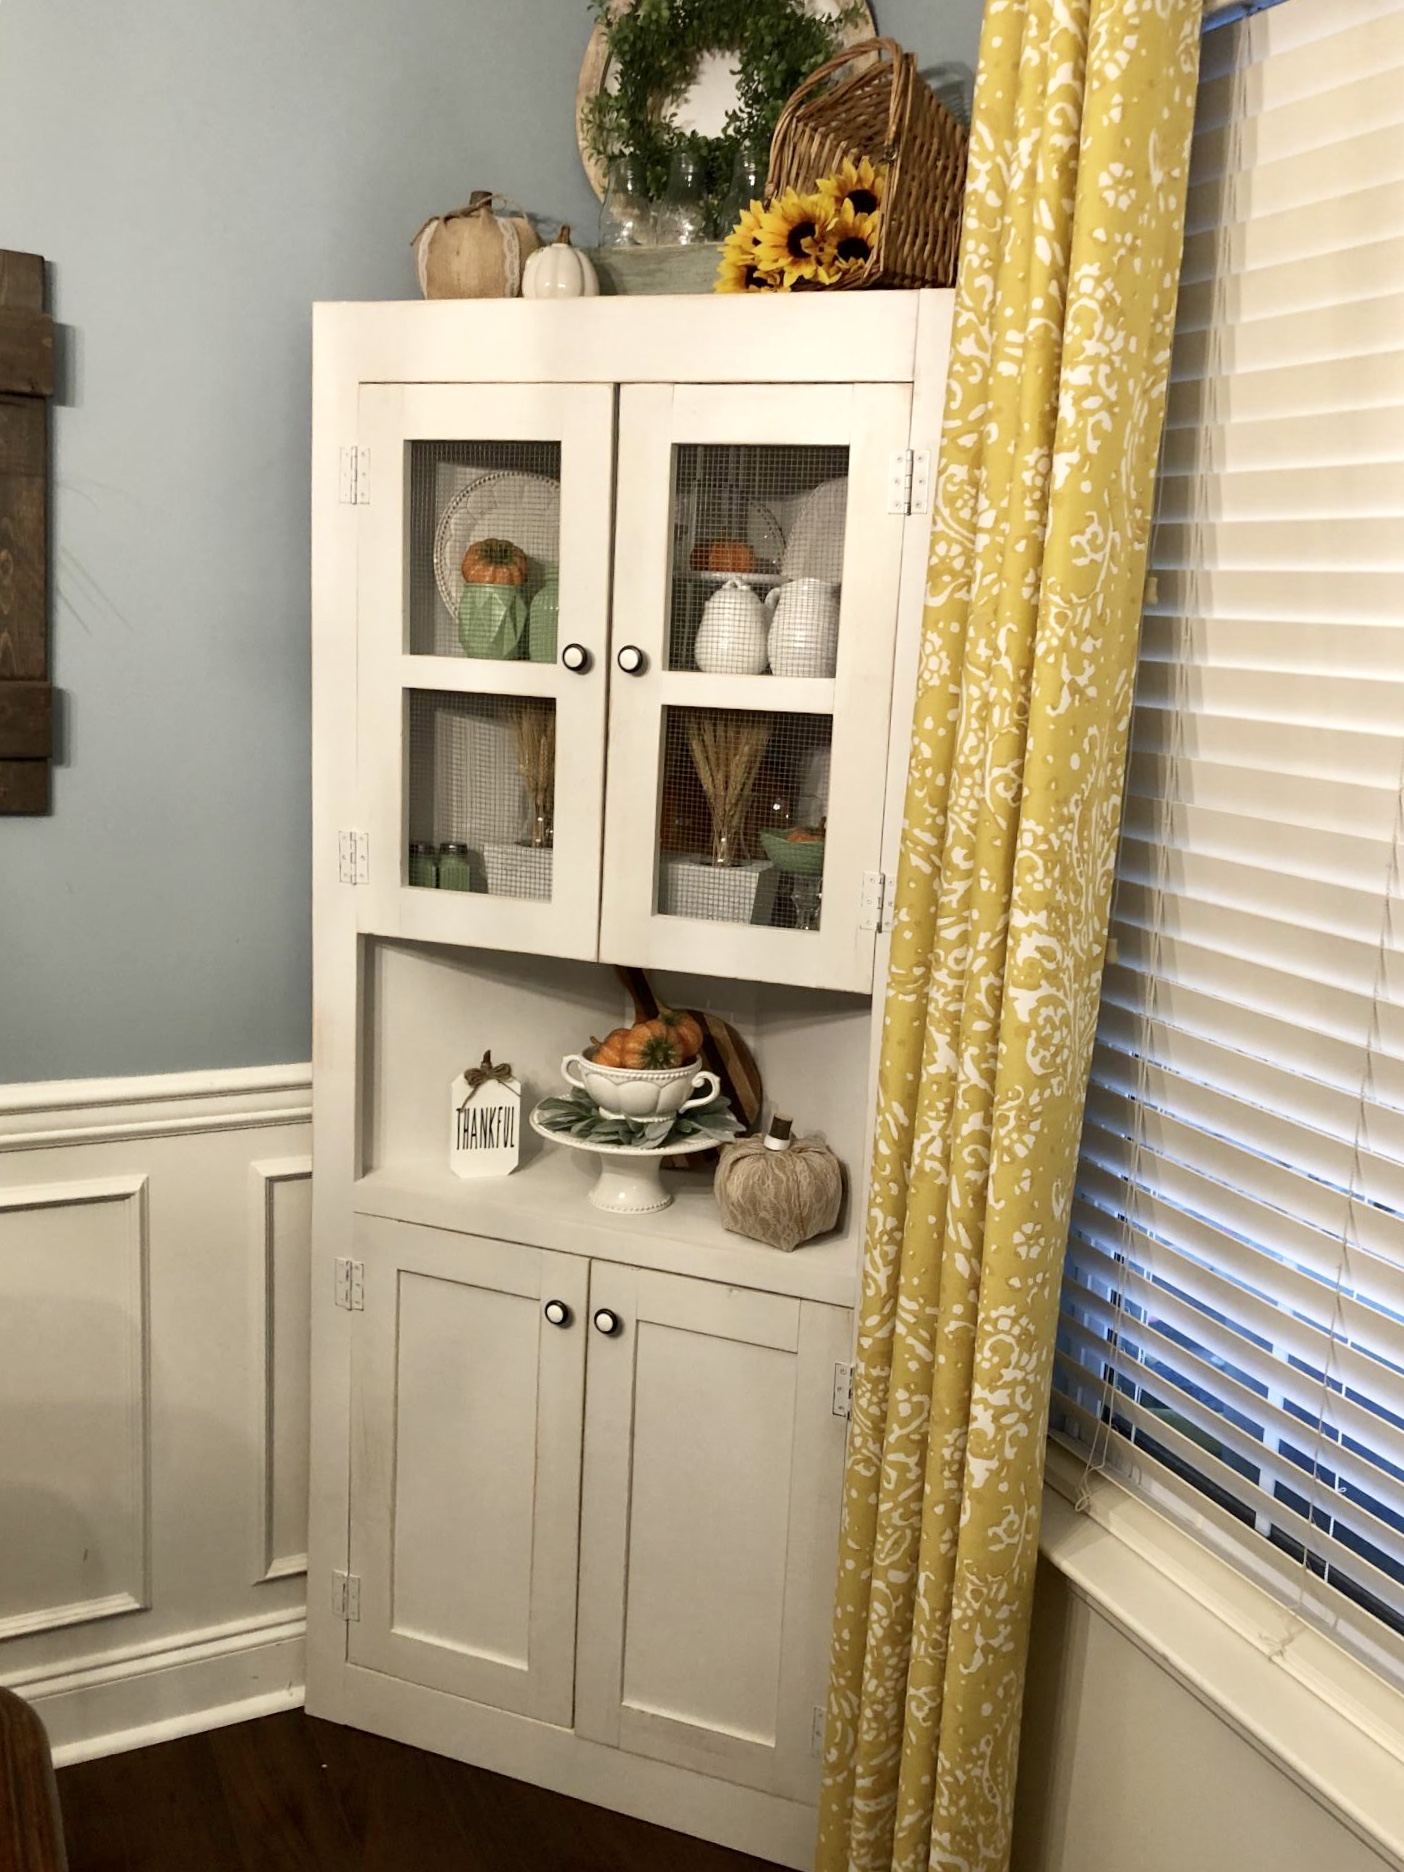
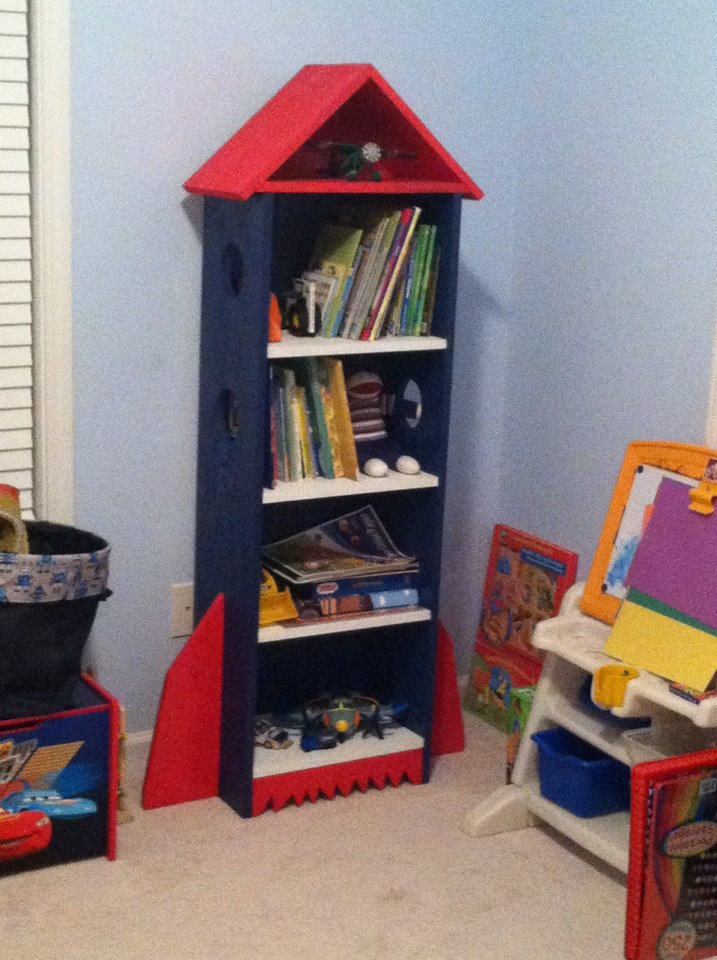
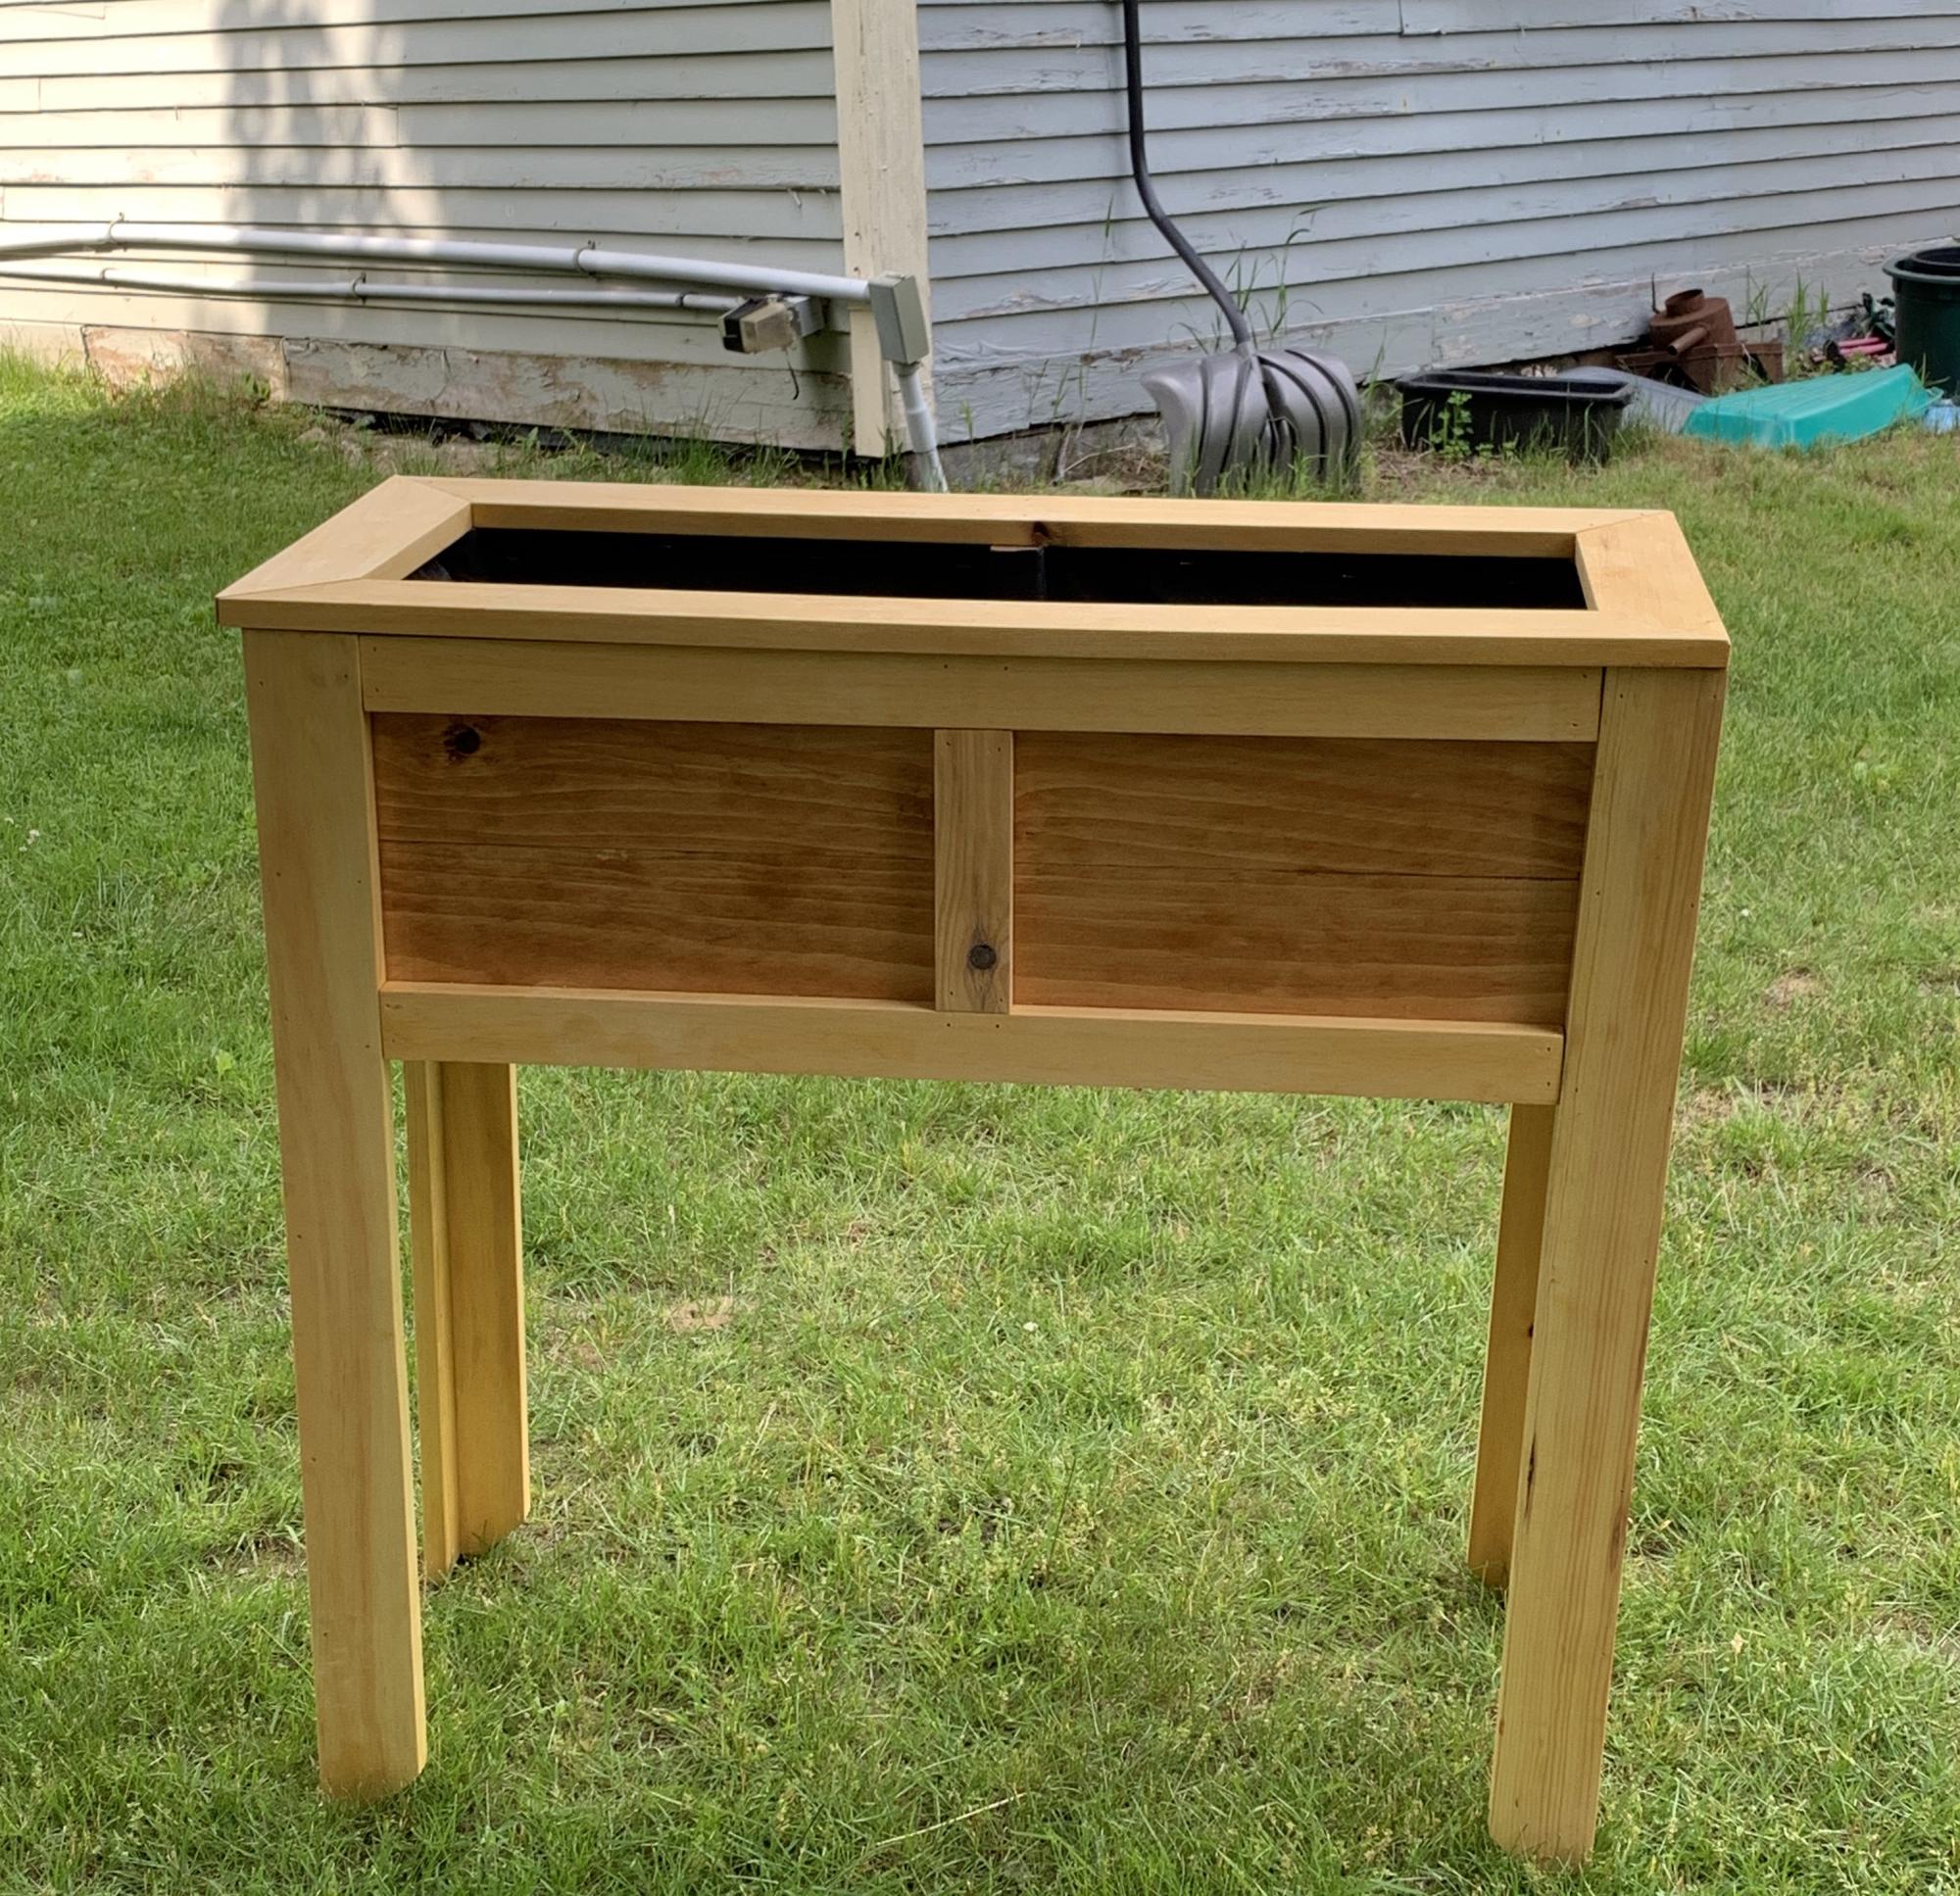
This is a small storage shed project I did to replace an old dilapidated plastic one that was falling apart and leaking. It was a fun on and off week long project.
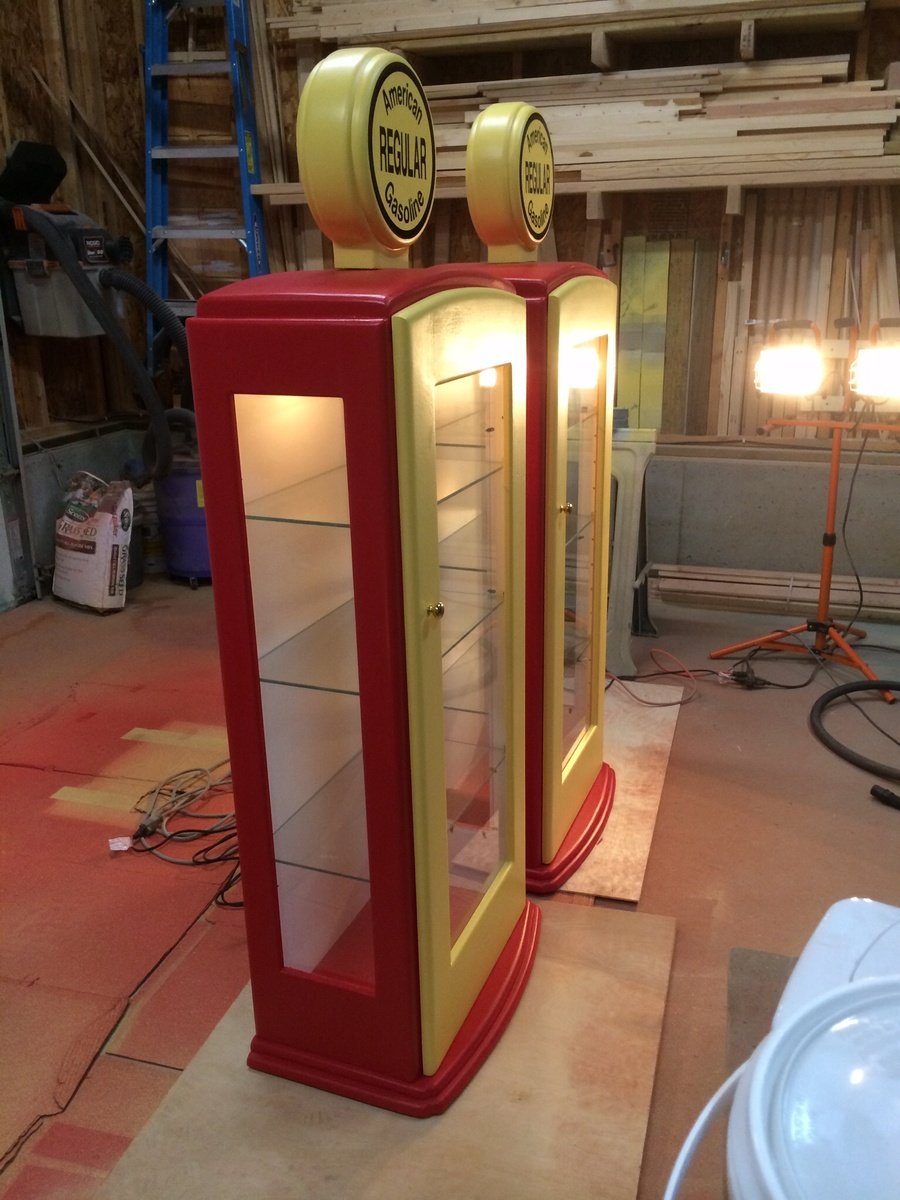
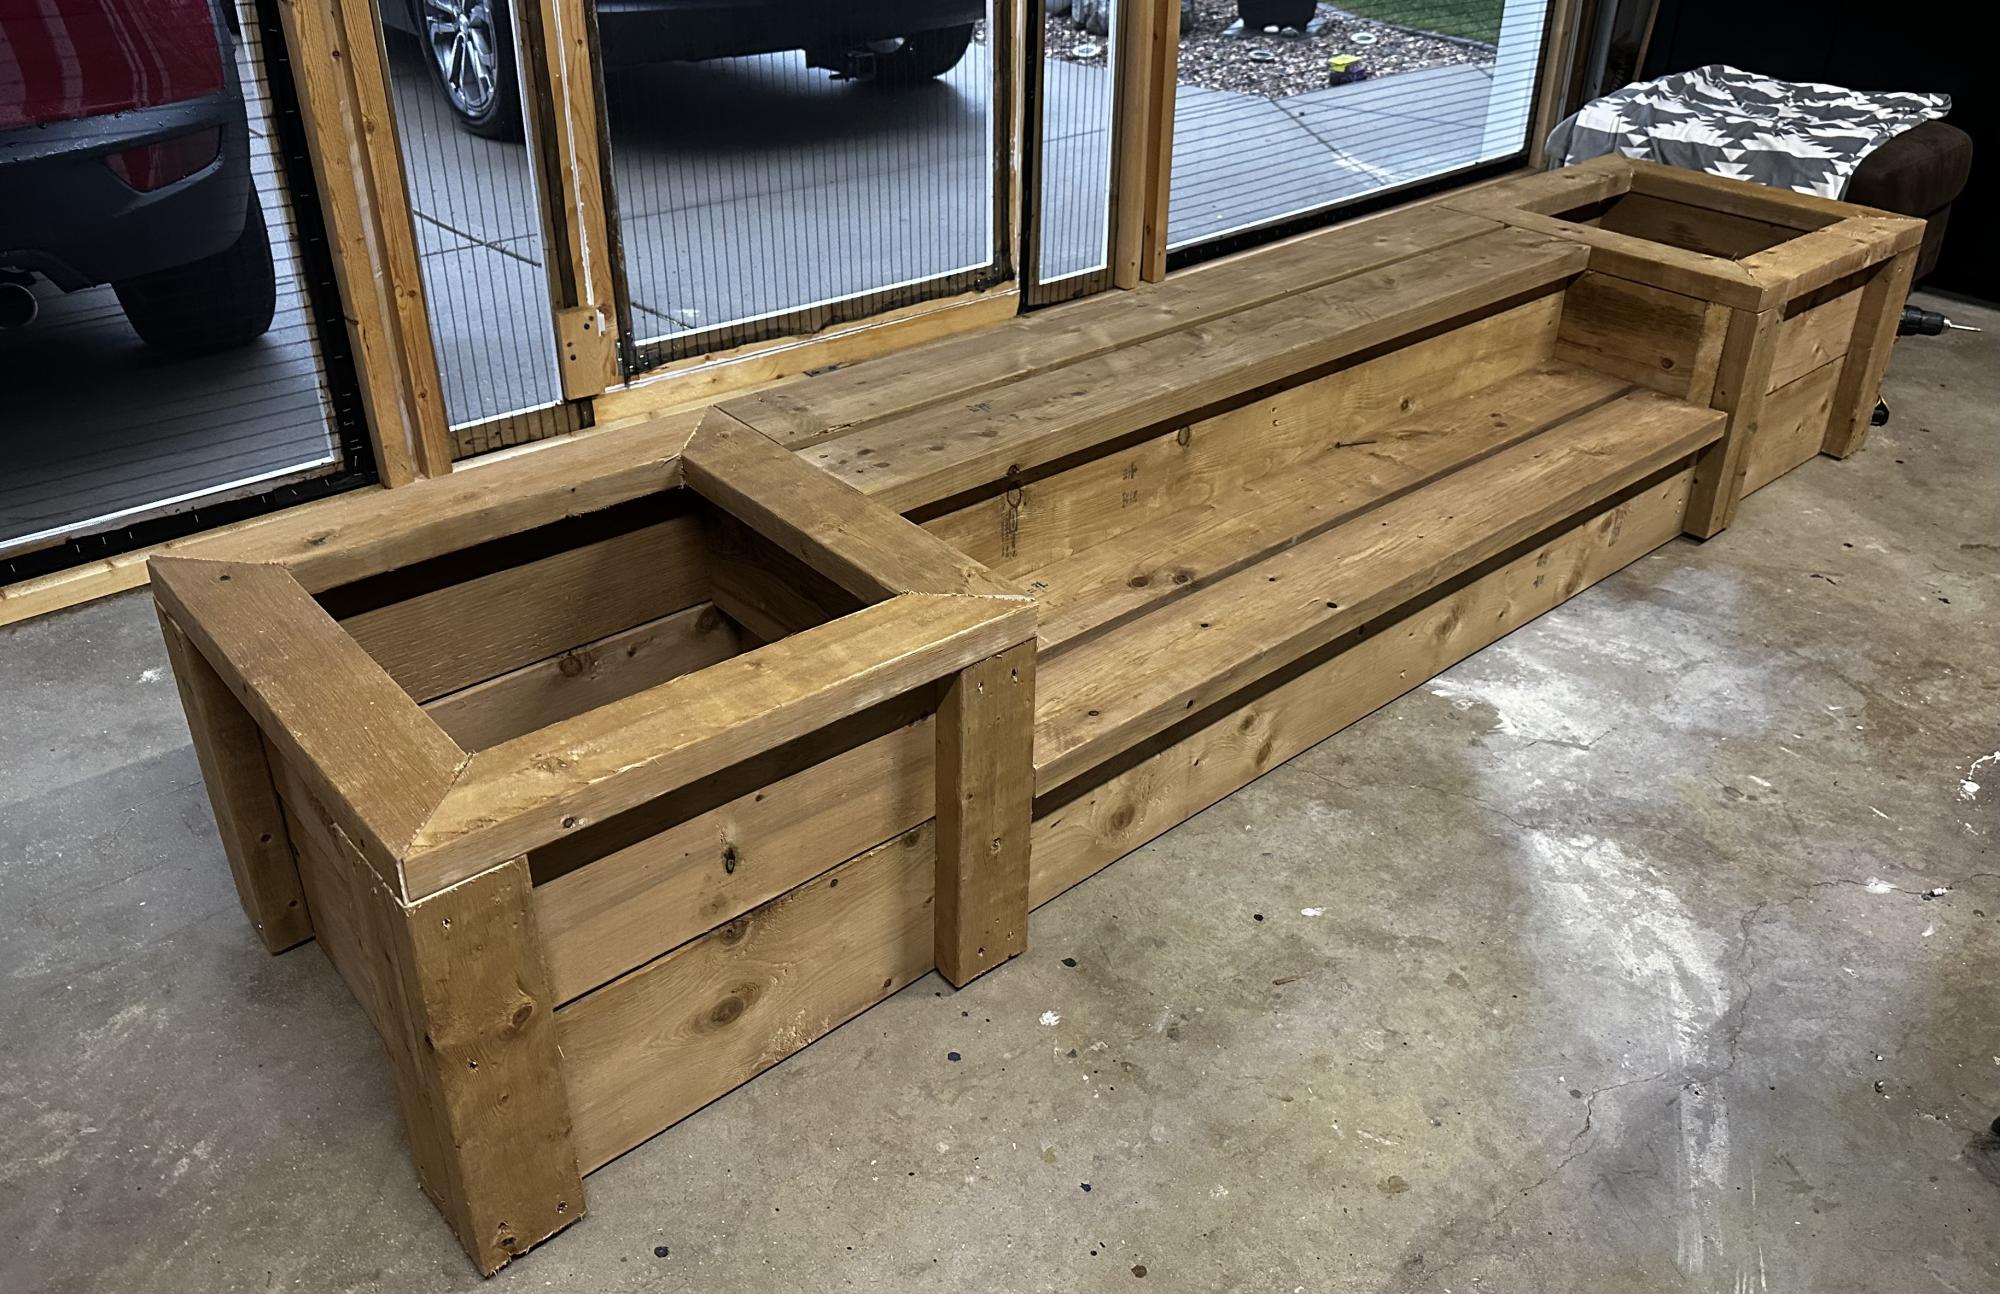
Total cost of wood and material was around $200.00. All cuts can be done using a circular saw however I used a table and miter saw for simplicity and speed. The basic joinery for the frame is glued hardwood dowels (1/4" and 3/8") however you can use pocket screws or simply glue joints (screws for the 1x2 trim as they will move). All of the trim was hand cut using my pull saw because, well, it's just so much easier cutting 1X2's by hand than running back and forth to the miter saw each time.
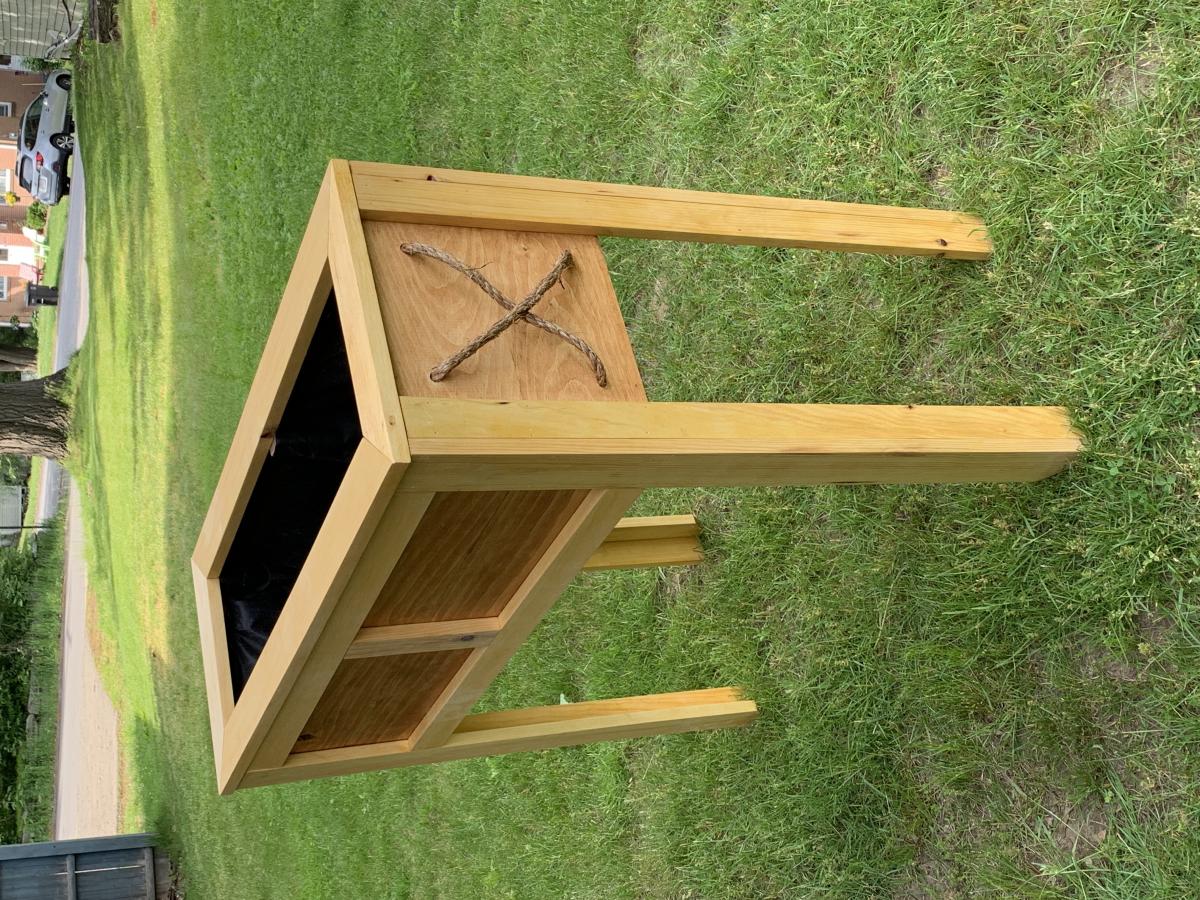
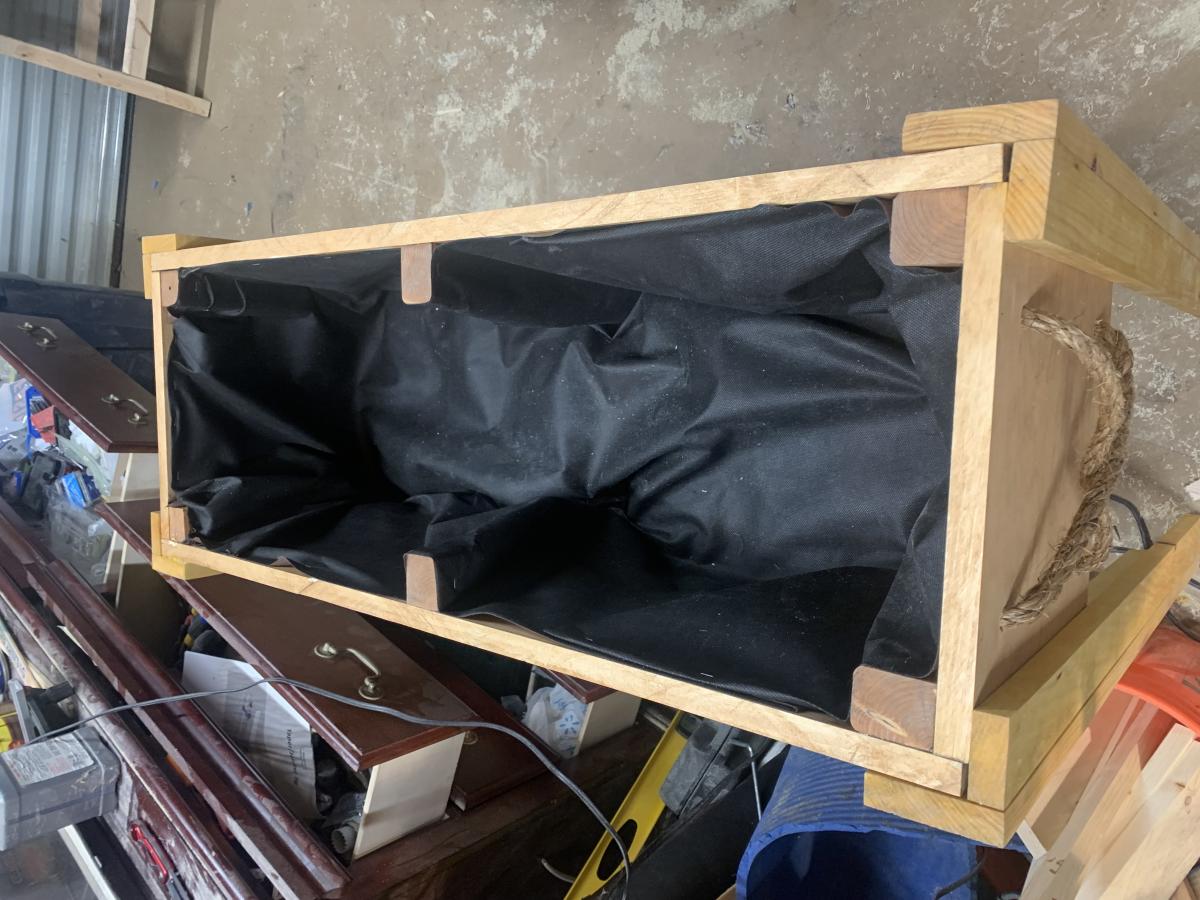
A good rule of thumb, be prepared to use a weatherproof sealant on all cracks and openings that might let water in prior to finishing. For a finish I am just using two coats of outdoor primer and 2 coats of outdoor paint. I may end up brushing on a coat of water sealant (Thompson's) along the bottom half to prevent the skirt from soaking up any water.
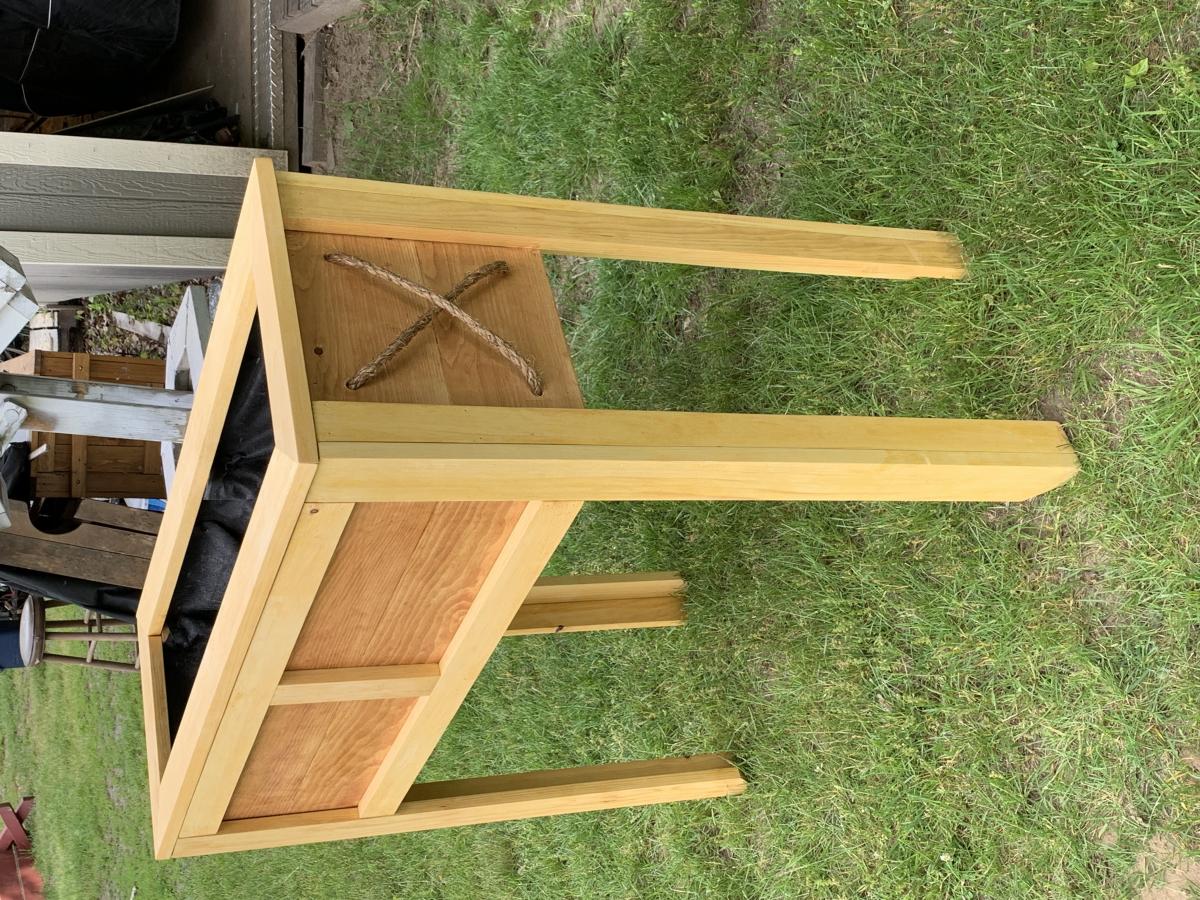
Overall dimensions are approx. 7' tall X 3' wide X 22" deep with a total of four shelves and a small attic you can use for whatever you like.
The whole build is documented by pictures and text upon request, just send me an email if interested. Enjoy :)
This was a really fun project. I wasn't able to build it int time for the WWFC donation but suggest everyone do it this year (2016) around November.
Modified Grady barndoor console into a coffee bar with chalkboard upper piece
Wed, 11/18/2020 - 19:01
This piece was built by my hisband Mo Coomer. Our little shop is called Rugged Cross Custom Designs. It states submitted by anonymous.
These were inspired from a few different projects of Ana’s, great fun to build and have transformed our patio area
This is my 3rd build from Ana’s site. I built the dream Dollhouse with my daughter. She loves it! I would recommend taping off a section the size of the finished doll house to get a feel for the size. I knew it would be big, but wow it is huge. Fist thing she did was climb inside.
My 3 year old daughter helped when she could. She applied wood glue with a foam brush, painted the bottom and checked all the board walls and floors with a level.
I did not do the stairs, I did not think my daughter would play with them; I also wanted to keep the floor space. I still need to finish putting the wall paper up & add the casters. My dad got me 1 ½ trim for crown molding from the habitat for humanity store. He is also looking for caters there as well. Next time he come to visit are we are going to install it. With the crazy snow in Washington it might be a while.
I used a cheap primer that really mad the paint worse, but like my mom said I can always remodel it later.
I the supplies were close to $75, the new saw blade, Kreg Jig Jr., and other misc. to stock my shop a lot more.
Thank you Ana for such a great plan!
Becca
Theses cabinets were built for a customer from plans they had found online. The hardware was ordered with the plans for an extra expense and the glass was made to order. Hope you enjoy them thanks for looking.
Wanted a corner cabinet for awhile and found Ana’s plans!! So easy and love my cabinet❤️
This was my first time doing a big project like this . Thank you for the plan for this.
Thu, 06/15/2023 - 09:19
These look awesome, can't wait to see them all in place and filled up! Thanks for sharing.
Super easy chair for the little people in your life.
I followed the plan exactly. The only thing different is that I added decorative trim.
I am a beginner and this was fairly easy. The only part I had trouble with is when I went to attach the back panel to the bench. It didn't quite line up. However, once I started screwing it down, it got better.
This (so far) is my best creation yet! I had previously made a bed for my son but my joinery skills were not up to par so it didn't make it. After re-evaluating his room I realized he was lacking on space so we needed to ditch the dresser. So glad I ran across this plan on Ana's website!
Since I was ditching the dresser in his room I needed to make sure the drawers were deep (25"x18"x10.5"). I once again ran into some issues where I was not paying full attention to the instructions and ordered side-sliding drawer slides instead of under mounting ones. So I had to alter the plan a tad bit. Not to mention my drawer openings were not completely square so I added some door trim and beadboard to the face and let it cover the imperfection. I must say it was well played!
I didn't have all the tools needed right away so as I got to different parts of the project I bought so many tools!!!
I used the Farmhouse Bed in the King size as an inspiration for this bed. I added a few things and tweaked the plan to make it my own. The cost of this bed was quite high due to the type of wood that I used, but can be made much cheaper with a softer, cheaper kind of wood and still look just as beautiful!
Fri, 10/04/2019 - 11:06
This bed is one of the most beautiful I've ever seen! I'm amazed!
Easy beginner project.
Mon, 02/06/2012 - 12:17
Absolutely awesome! Love all the extra details you added!
I was looking for a useful, cool, easy project I could make for my coworkers this holiday season. I stumbled on the DIY Cupcake Stand and thought it would make a perfect Christmas gift!
I made ten of them, so to keep the project affordable I opted to use an edge forming bit on my router instead of using molding.
To complete the gift, I'm planning to include jar of homemade cupcake mix and some cupcake liners :)
Thank you for the idea/plan!
Mon, 12/16/2013 - 23:22
What a lovely idea for gifts for your friends, so much time gone into each one :)
In reply to What a lovely idea for gifts by Mandymoochops
Tue, 12/17/2013 - 16:24
Hope they like 'em :) I like to give useful gifts... I think these are useful and attractive.
I changed up a few things. Instead of plywood I used 1X6 lumber and joined it with pocket holes to make the sides, top/bottom, and shelf. I made the shelf one piece and added the dividers for supports. For the doors I cut down 1x4s to 1/4 inch thickness and glued them together. Then cut down 1x3 to 1/2 inch for the trim. I just didn't like the plywood look. But I like the plank look. The doors were a bear. I should have used bigger hinges. They were a learning experience for next time.
Modern farmhouse bed frame highlighted with epoxy highlights along the side rails. This is a super sturdy bed. Which is simple to build the hardest part was being patient with the epoxy.
38lx37hx15w Rope decoration doubles as handles. Color is in Cabot oil stains (Sunlit Walnut & Sundrenched Oak.
- Built by James P
Mon, 06/26/2023 - 13:16
Love the rope detail, thanks so much for sharing you awesome design!
Comments
Ana White
Wed, 10/02/2019 - 09:29
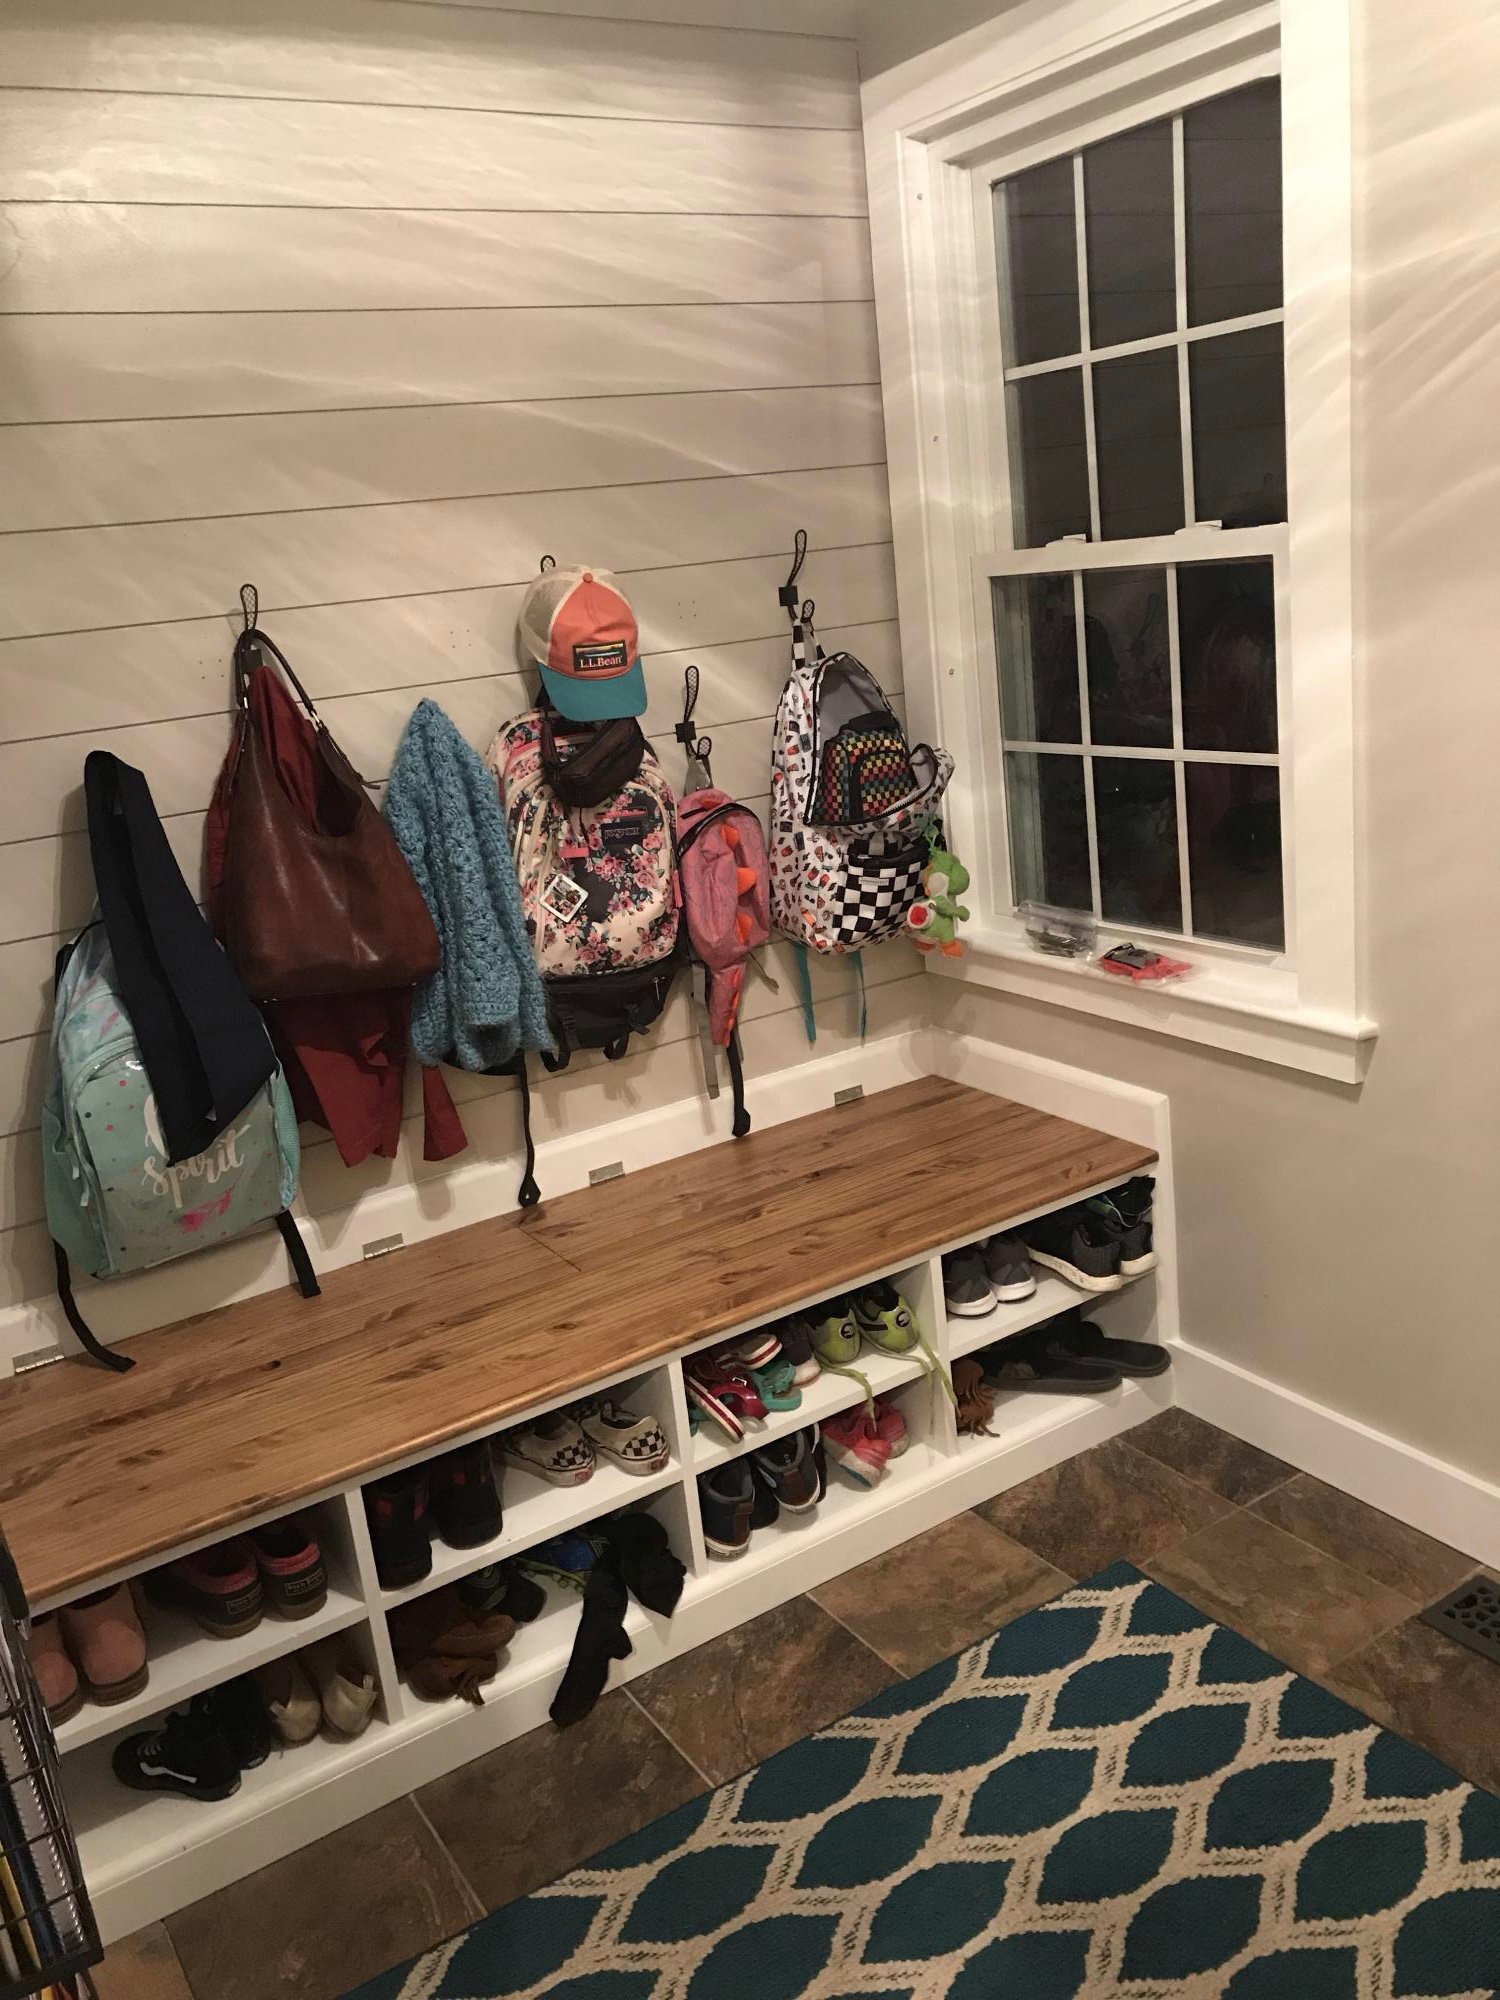
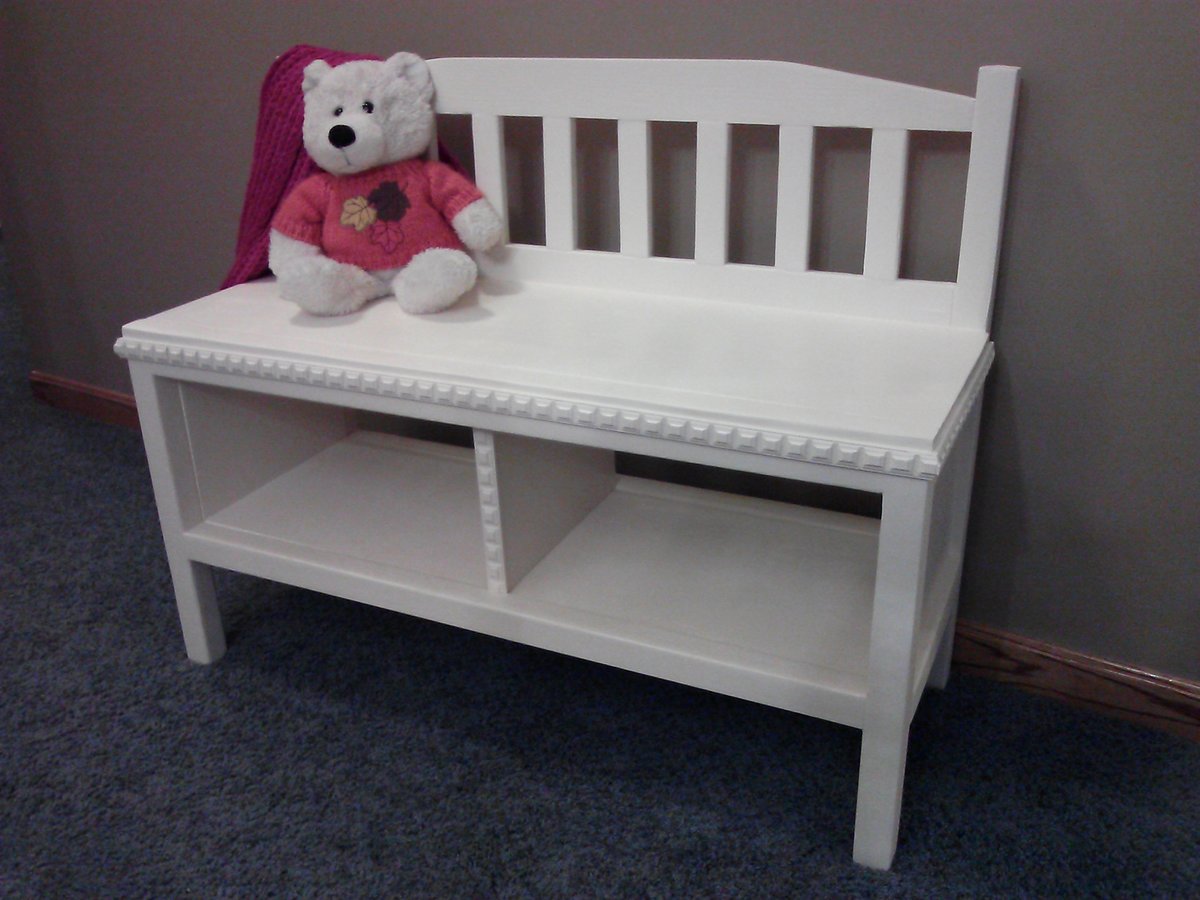
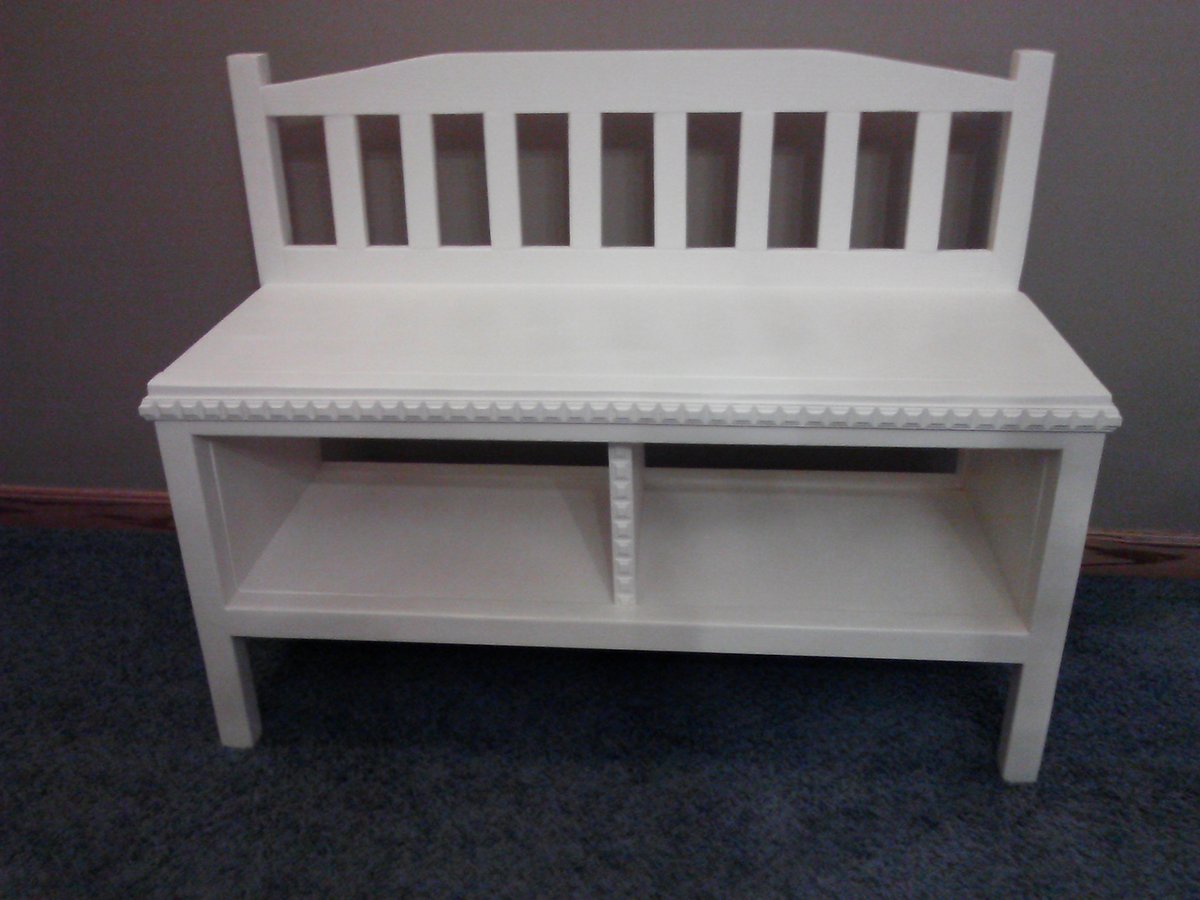
We love this shoe bench!!! …
We love this shoe bench!!! So much storage, great job!