Community Brag Posts
Little Helper Tower for my naked chef
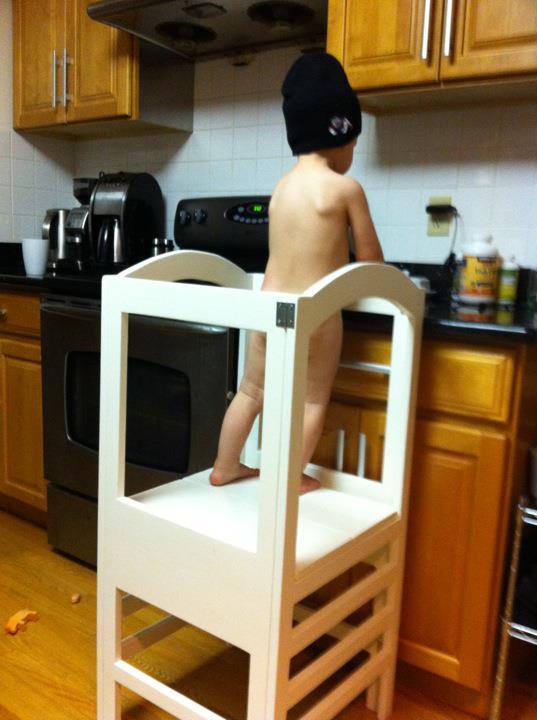
After reading the comments, we decided to do the hinged learning tower, but took one dad's suggestion and used vertical legs on the non-ladder sides, too. We felt like it would be sturdier and would put less stress on the hinges. My son is much safer than he was on our step stool. He calls this tower his castle.
Built from Plan(s)
Estimated Time Investment
Week Long Project (20 Hours or More)
Finish Used
Paint, which took the majority of the 20+ hours. We're also sanding fanatics. Actual construction took very little time.
Recommended Skill Level
Beginner
Comments
Fri, 01/20/2012 - 17:53
Okay, I have to ask... Why
Okay, I have to ask... Why the hat? If you're gonna be naked, why bother with the hat? lol
Outdoor Storage Shed
This is a small storage shed project I did to replace an old dilapidated plastic one that was falling apart and leaking. It was a fun on and off week long project.
Total cost of wood and material was around $200.00. All cuts can be done using a circular saw however I used a table and miter saw for simplicity and speed. The basic joinery for the frame is glued hardwood dowels (1/4" and 3/8") however you can use pocket screws or simply glue joints (screws for the 1x2 trim as they will move). All of the trim was hand cut using my pull saw because, well, it's just so much easier cutting 1X2's by hand than running back and forth to the miter saw each time.
A good rule of thumb, be prepared to use a weatherproof sealant on all cracks and openings that might let water in prior to finishing. For a finish I am just using two coats of outdoor primer and 2 coats of outdoor paint. I may end up brushing on a coat of water sealant (Thompson's) along the bottom half to prevent the skirt from soaking up any water.
Overall dimensions are approx. 7' tall X 3' wide X 22" deep with a total of four shelves and a small attic you can use for whatever you like.
The whole build is documented by pictures and text upon request, just send me an email if interested. Enjoy :)
Estimated Time Investment
Week Long Project (20 Hours or More)
Finish Used
2 coats outdoor primer, 2 coats outdoor paint
Recommended Skill Level
Beginner
Wood Workers Fighting Cancer - KIDS TABLE AND CHAIRS
This was a really fun project. I wasn't able to build it int time for the WWFC donation but suggest everyone do it this year (2016) around November.
Estimated Cost
$50 for 1 sheet of plywood
$15 for 1 can of Polycrylic
$12 for 4 sample size paint (would be cheaper to buy the qt.)
The original plan called for certain hardware
$15 for 1 can of Polycrylic
$12 for 4 sample size paint (would be cheaper to buy the qt.)
The original plan called for certain hardware
Estimated Time Investment
Weekend Project (10-20 Hours)
Finish Used
BEHR Ultra - Adirondack Blue and Timeless Ruby
5 coats of Polycrylic
5 coats of Polycrylic
Recommended Skill Level
Beginner
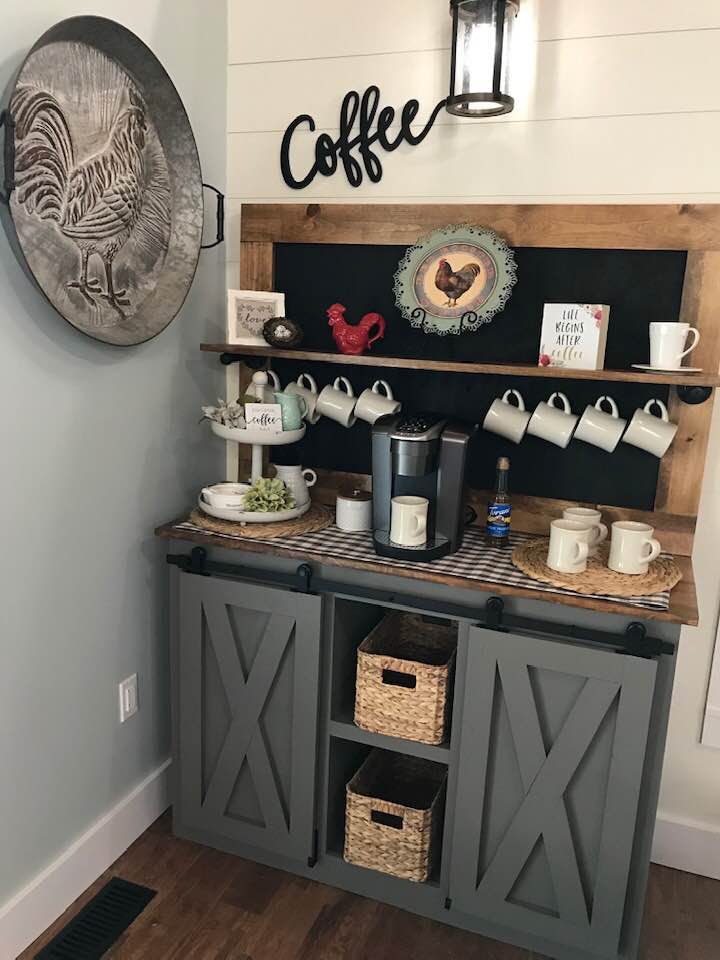
Coffee Bar barn door console
Modified Grady barndoor console into a coffee bar with chalkboard upper piece
Built from Plan(s)
Estimated Cost
200
Estimated Time Investment
Weekend Project (10-20 Hours)
Finish Used
Sherwin Williams Gauntlet Grey paint
Minwax dark oak stain
Chalkboard paint valspar
Minwax dark oak stain
Chalkboard paint valspar
Recommended Skill Level
Intermediate
Comments
Wed, 11/18/2020 - 19:01
Builders info
This piece was built by my hisband Mo Coomer. Our little shop is called Rugged Cross Custom Designs. It states submitted by anonymous.
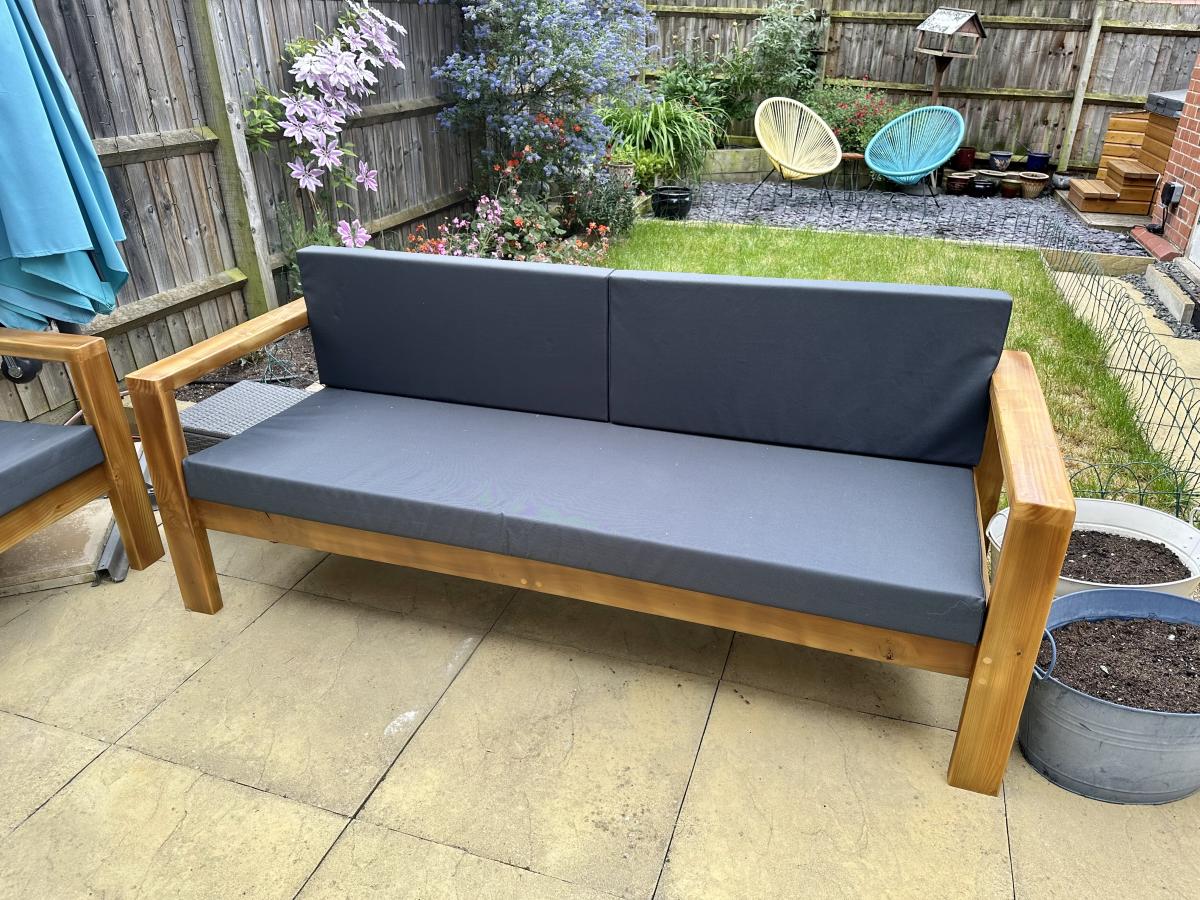
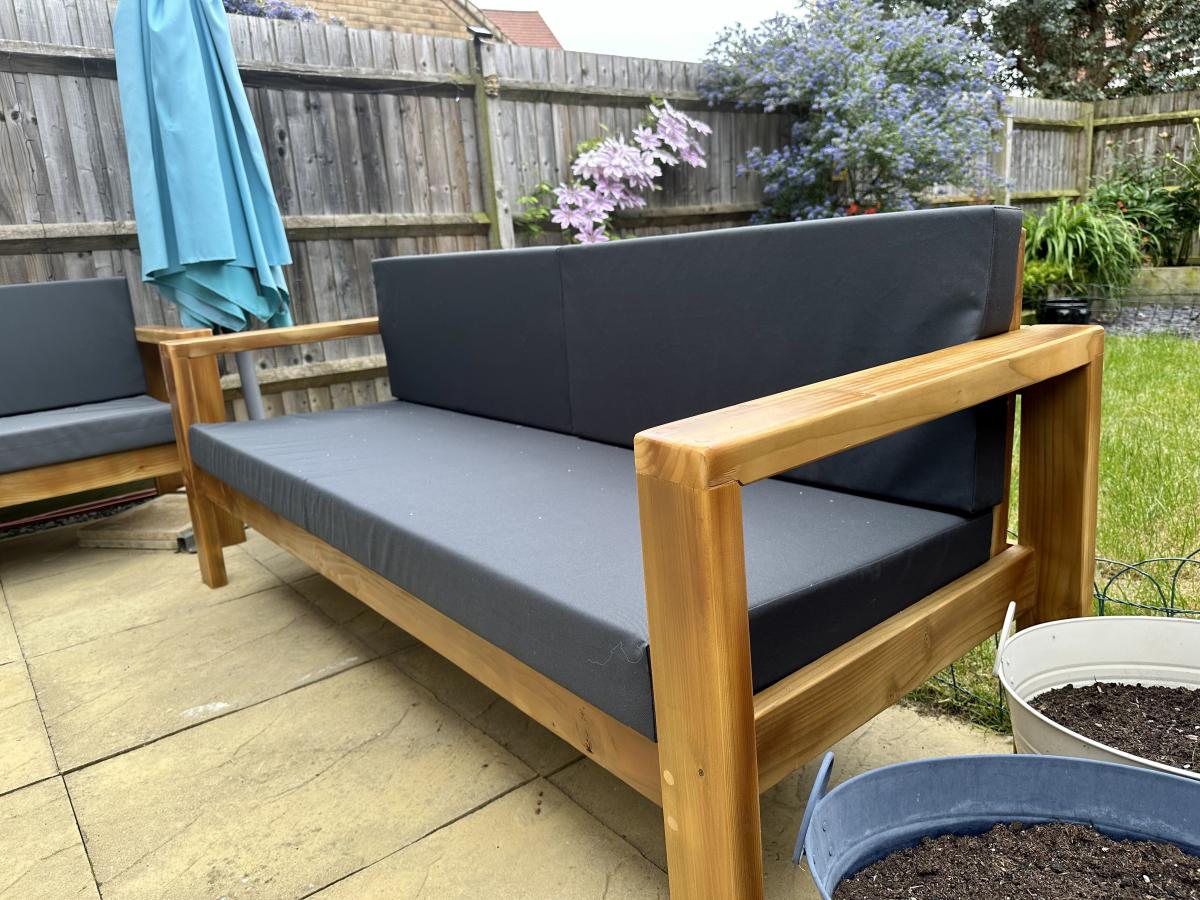
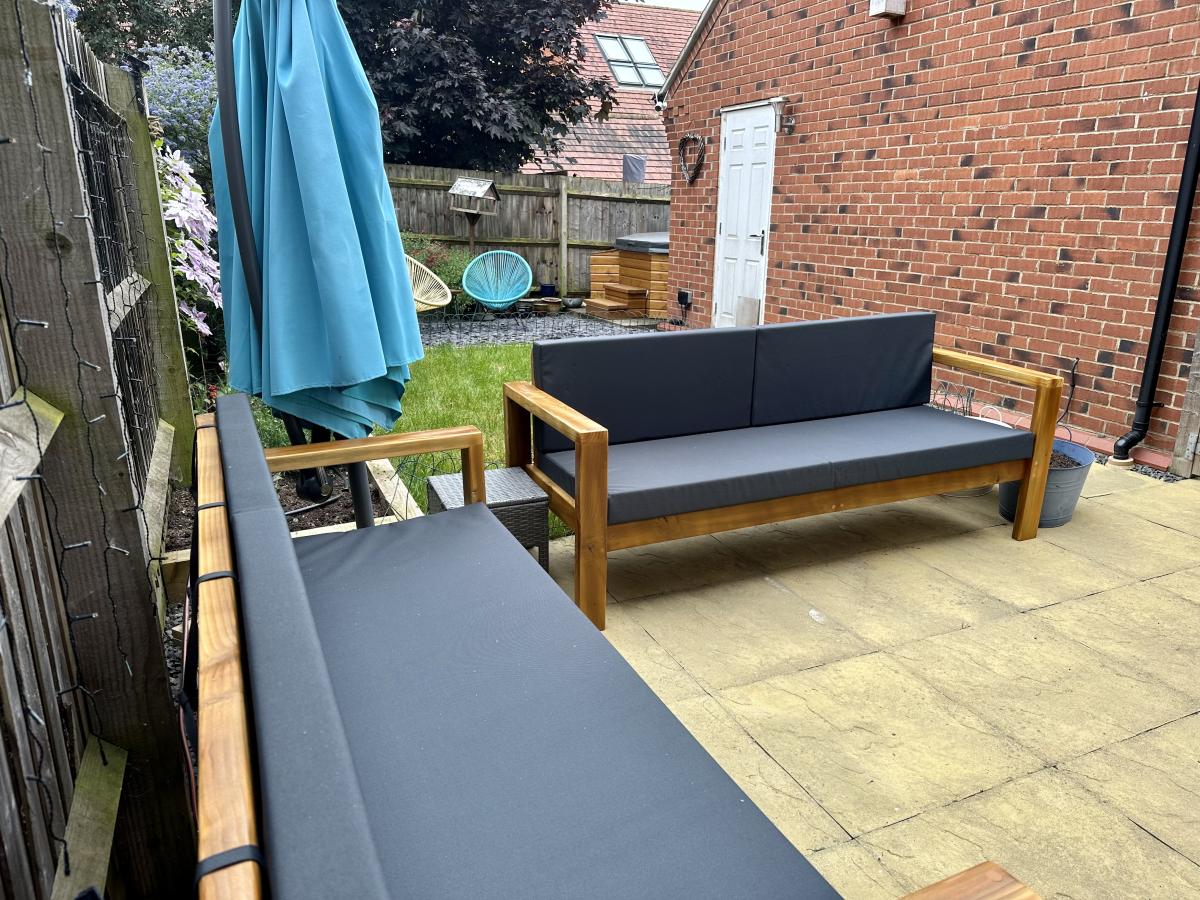
Outdoor sofas
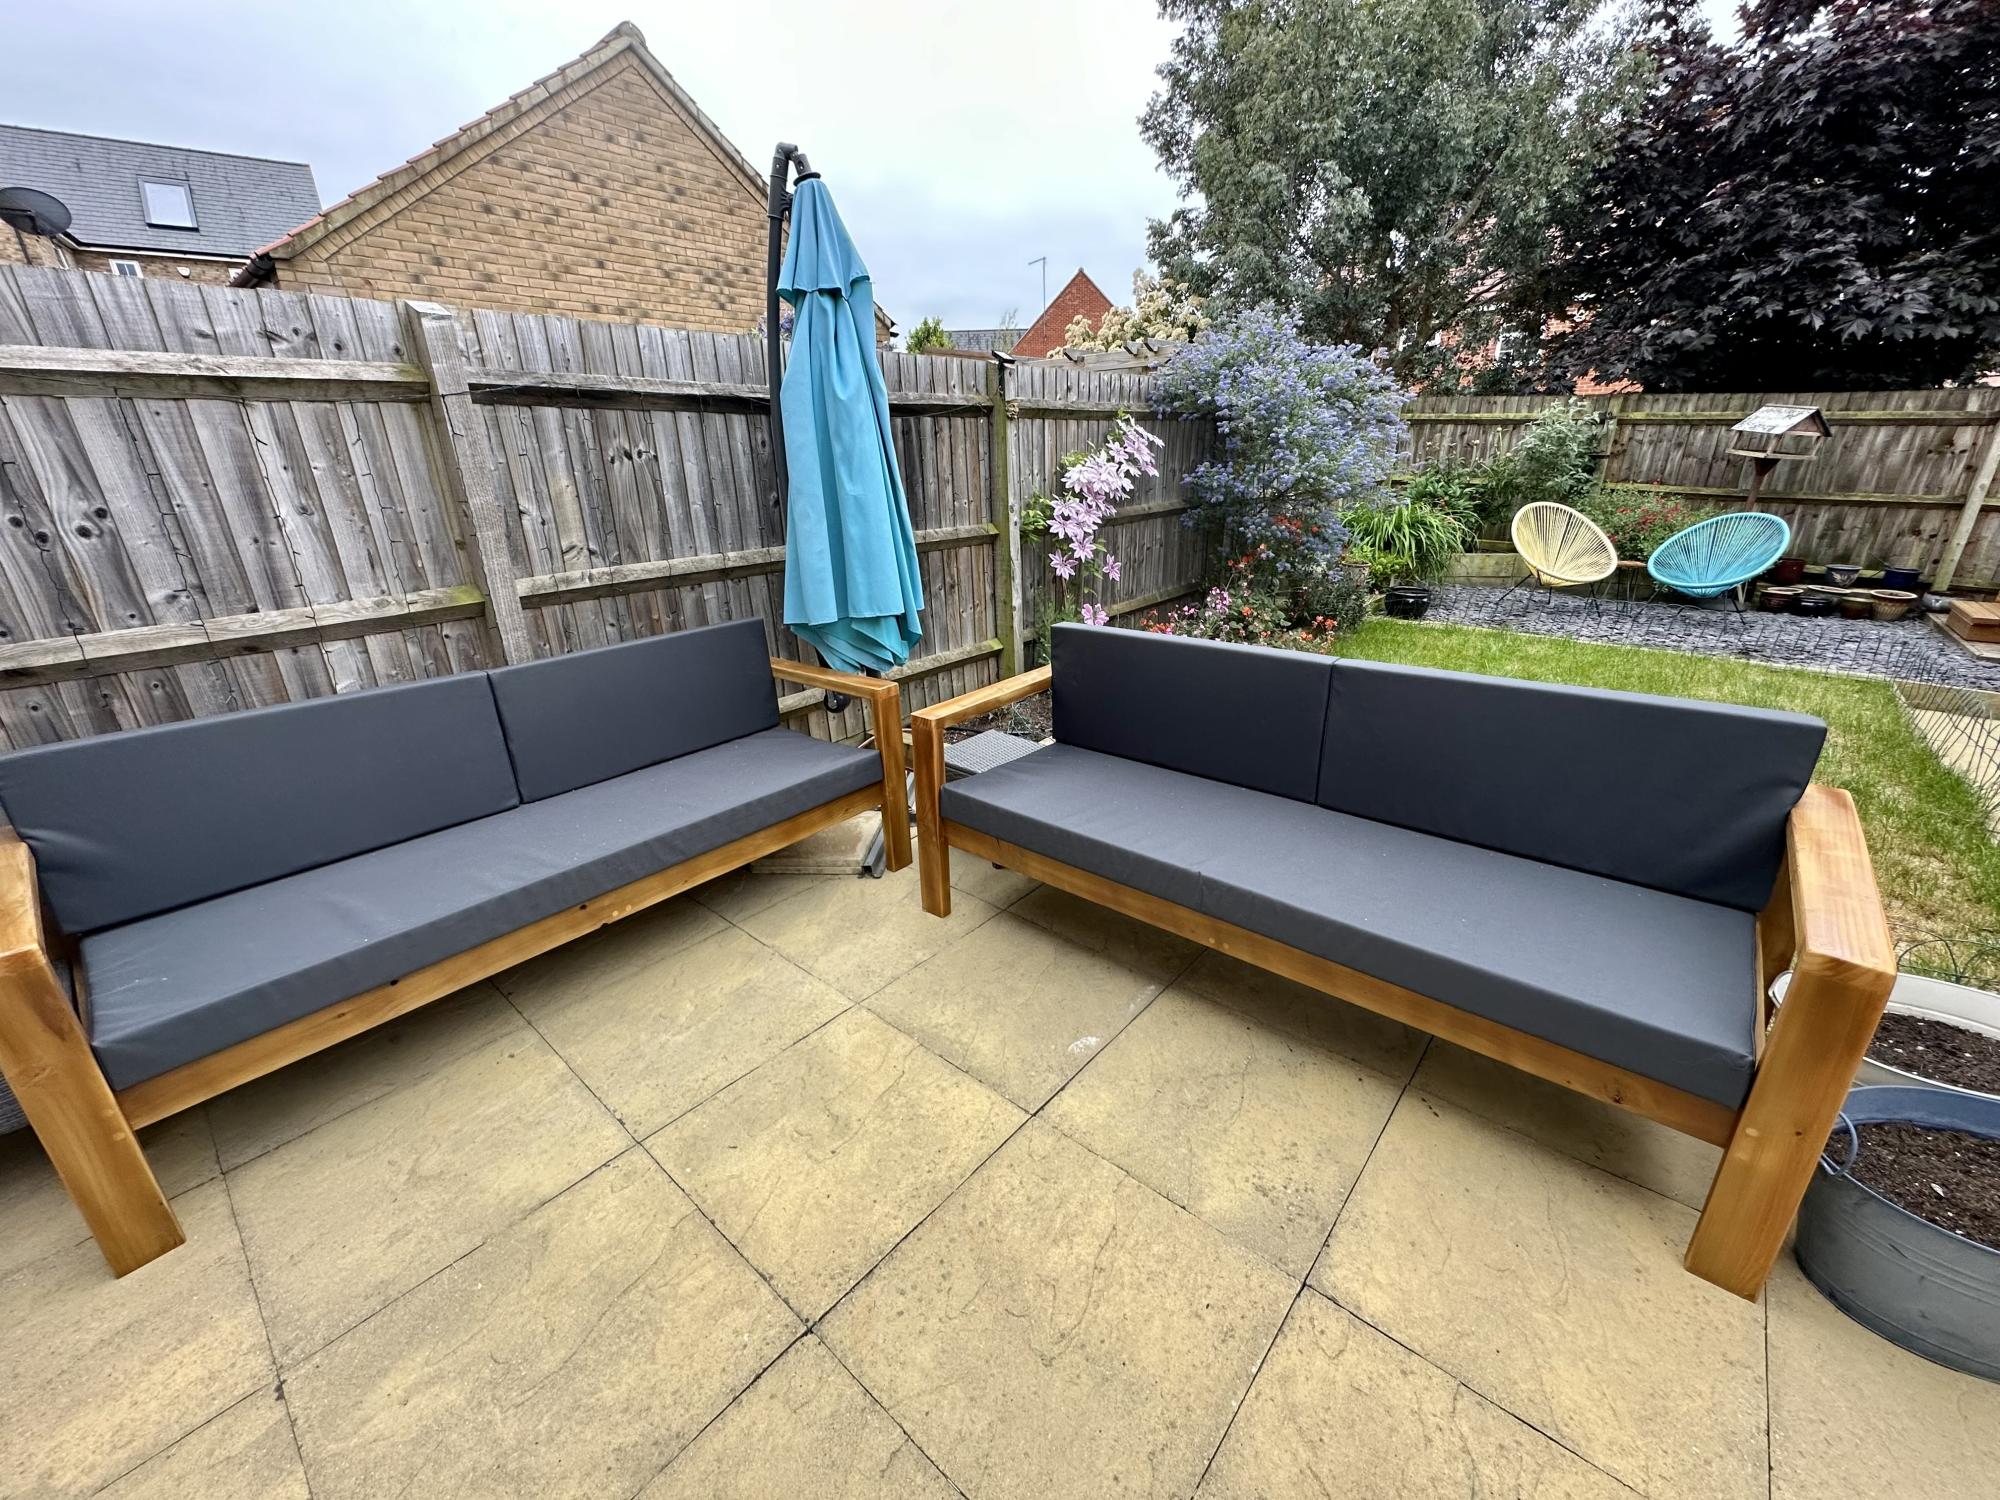
These were inspired from a few different projects of Ana’s, great fun to build and have transformed our patio area
Comments
Dream Dollhouse
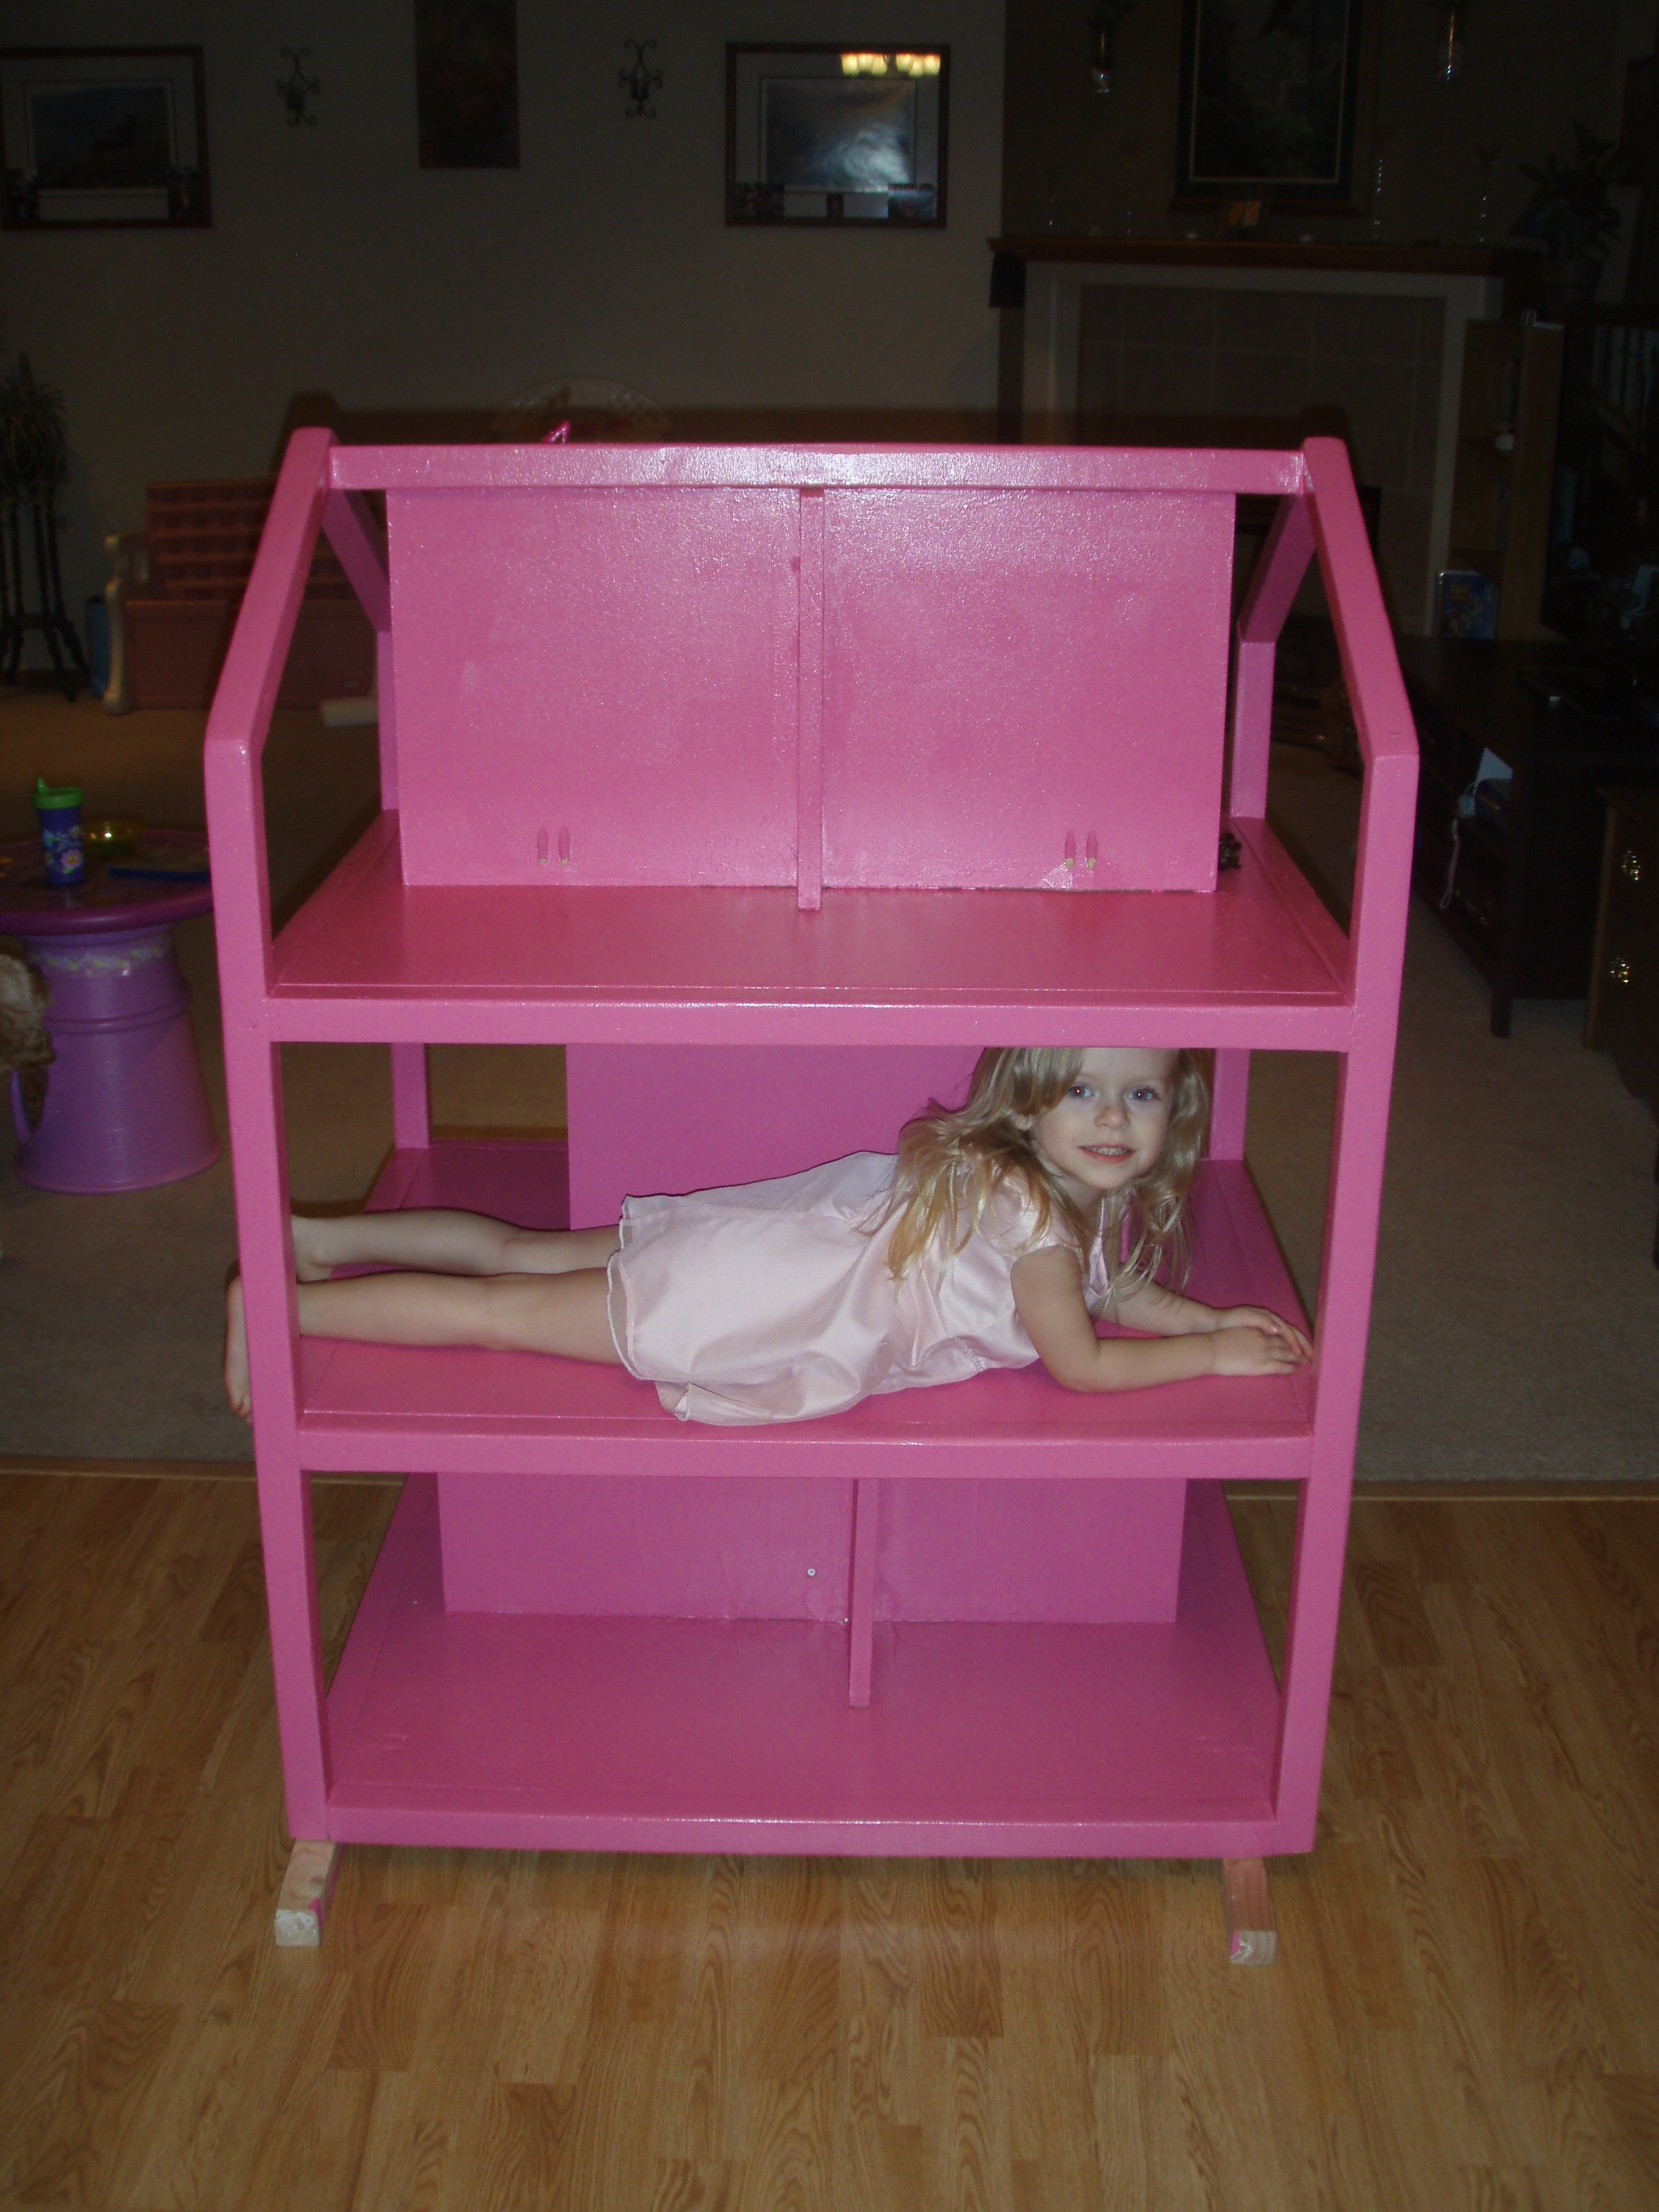
This is my 3rd build from Ana’s site. I built the dream Dollhouse with my daughter. She loves it! I would recommend taping off a section the size of the finished doll house to get a feel for the size. I knew it would be big, but wow it is huge. Fist thing she did was climb inside.
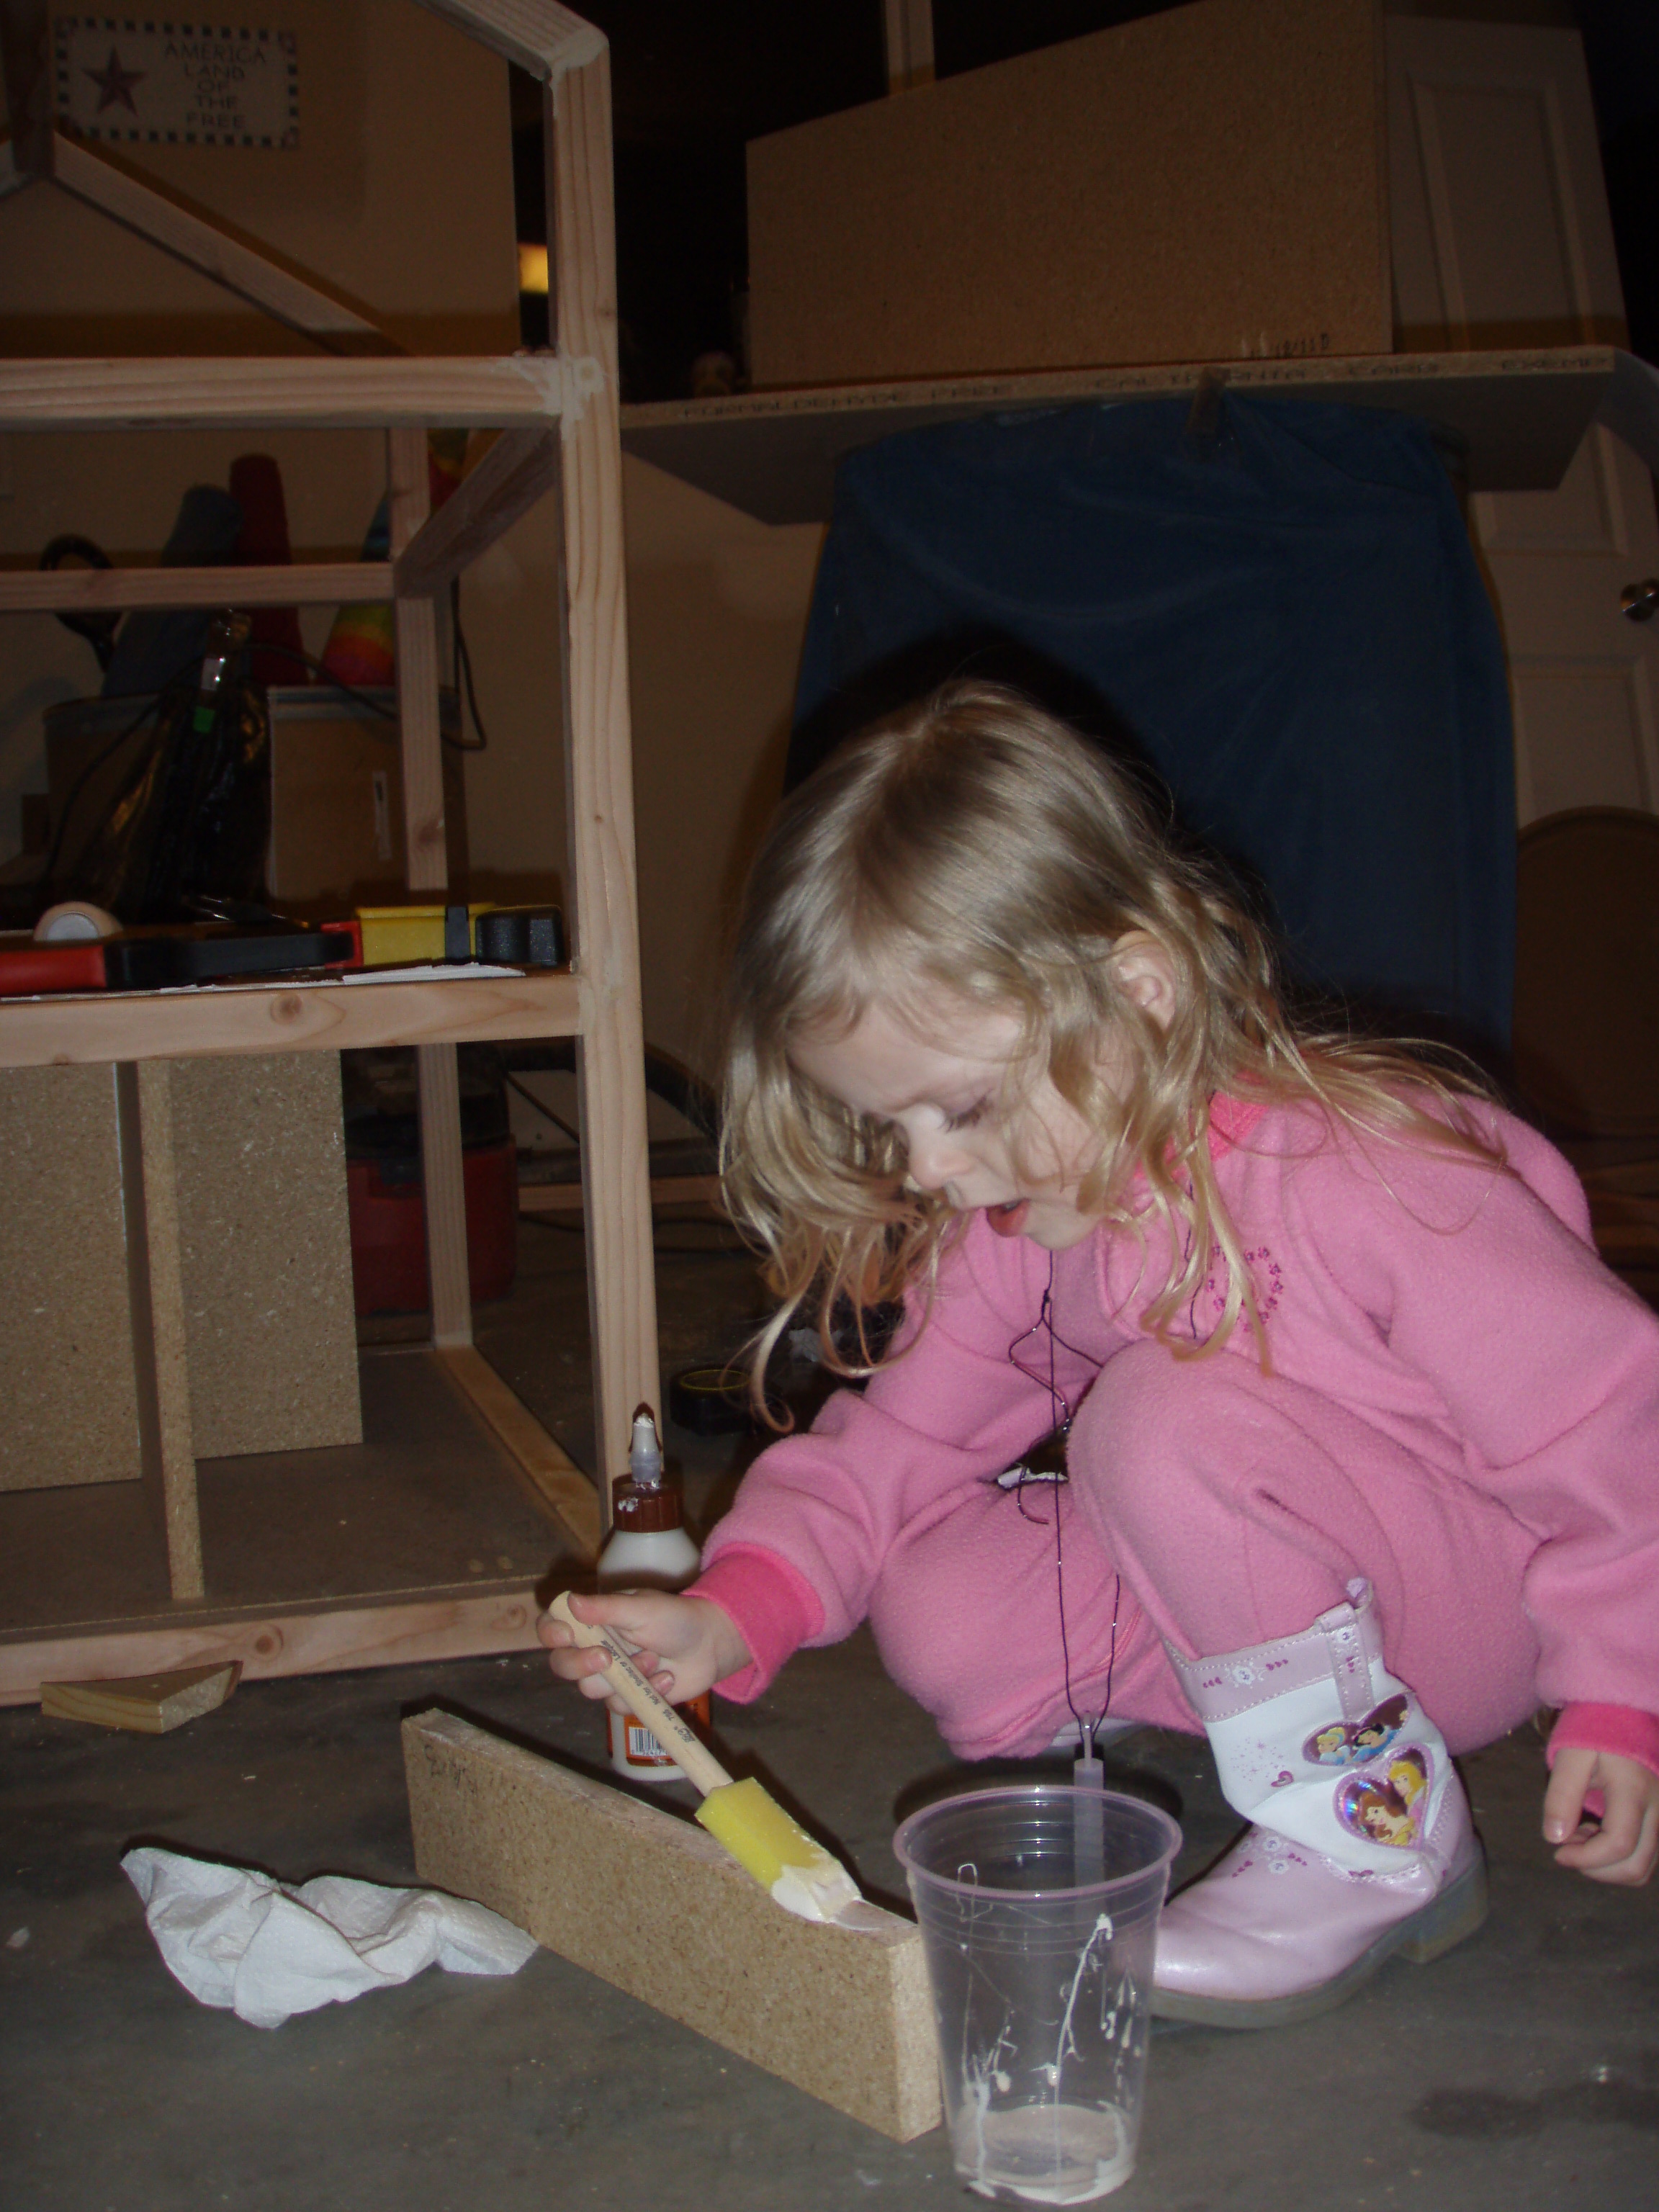
My 3 year old daughter helped when she could. She applied wood glue with a foam brush, painted the bottom and checked all the board walls and floors with a level.
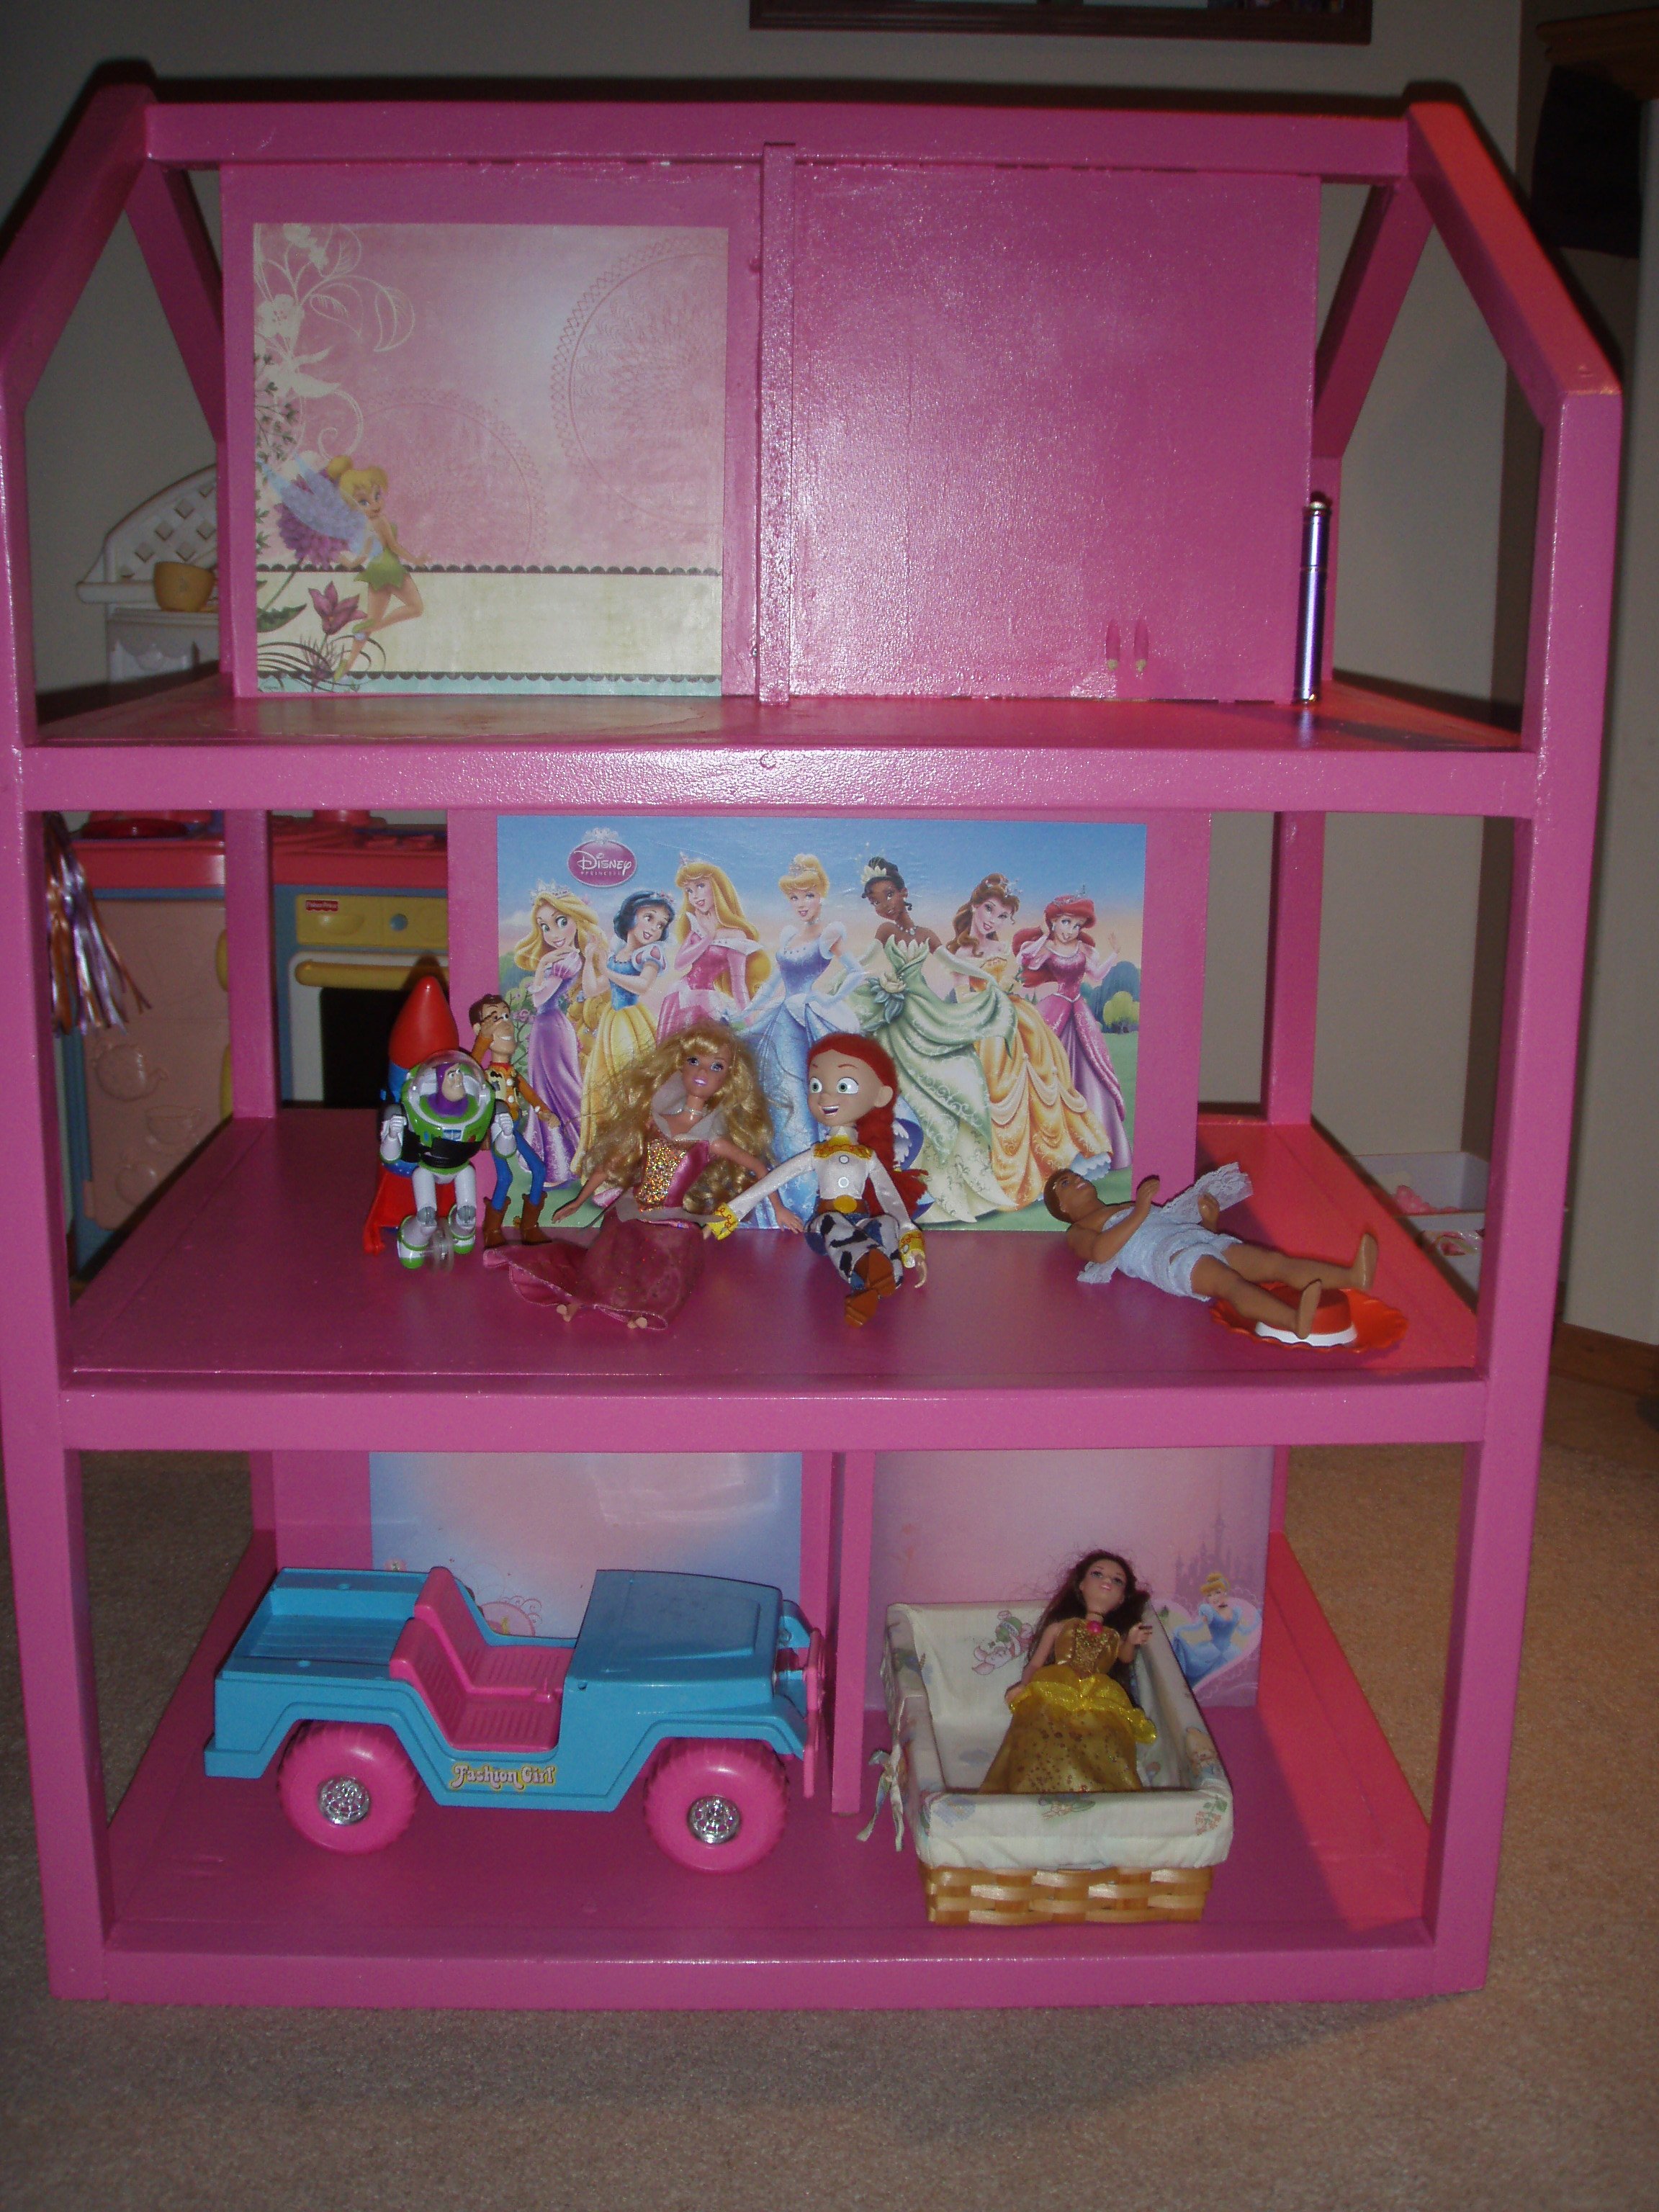
I did not do the stairs, I did not think my daughter would play with them; I also wanted to keep the floor space. I still need to finish putting the wall paper up & add the casters. My dad got me 1 ½ trim for crown molding from the habitat for humanity store. He is also looking for caters there as well. Next time he come to visit are we are going to install it. With the crazy snow in Washington it might be a while.
I used a cheap primer that really mad the paint worse, but like my mom said I can always remodel it later.
I the supplies were close to $75, the new saw blade, Kreg Jig Jr., and other misc. to stock my shop a lot more.
Thank you Ana for such a great plan!
Becca
Built from Plan(s)
Estimated Cost
$75
Estimated Time Investment
Weekend Project (10-20 Hours)
Finish Used
High Gloss Latex, Tink Pink from the Berh Diseny line
Recommended Skill Level
Beginner
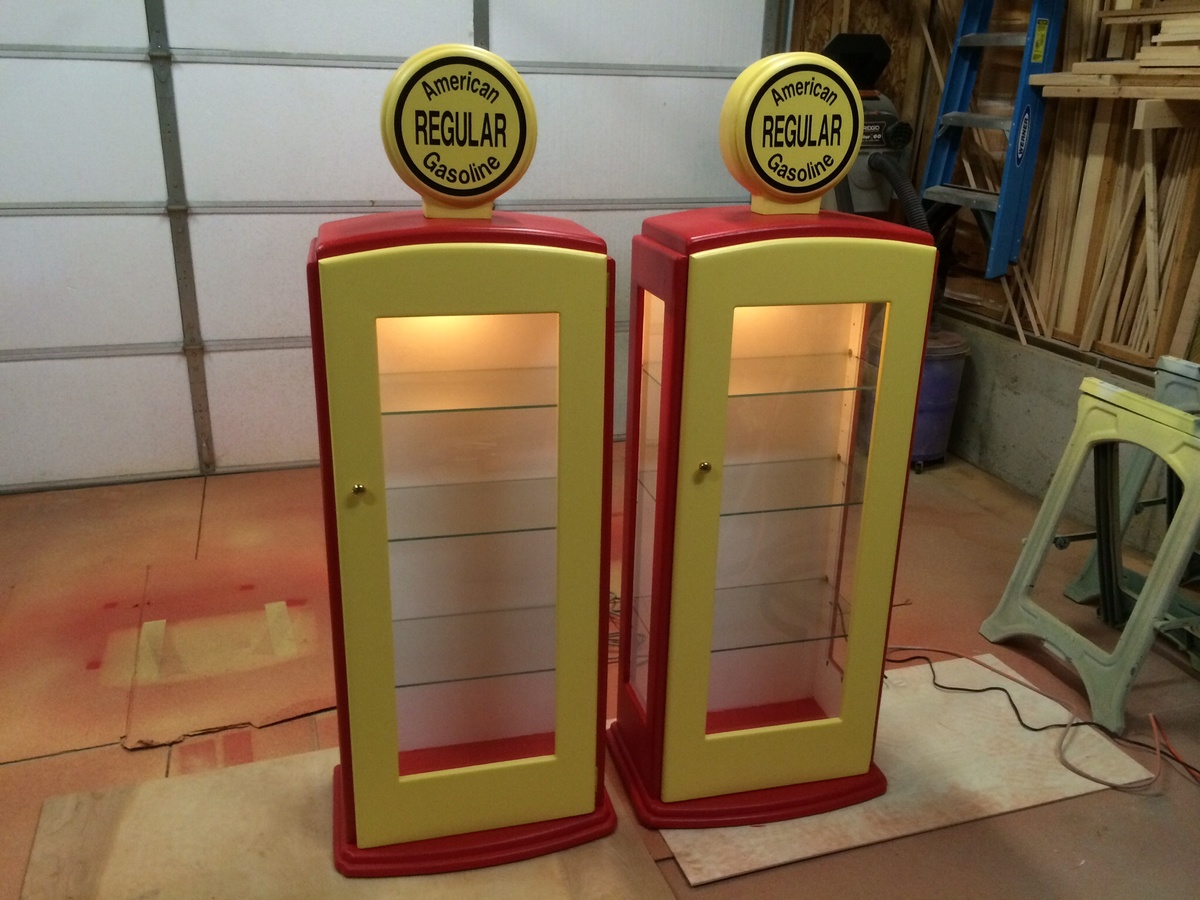
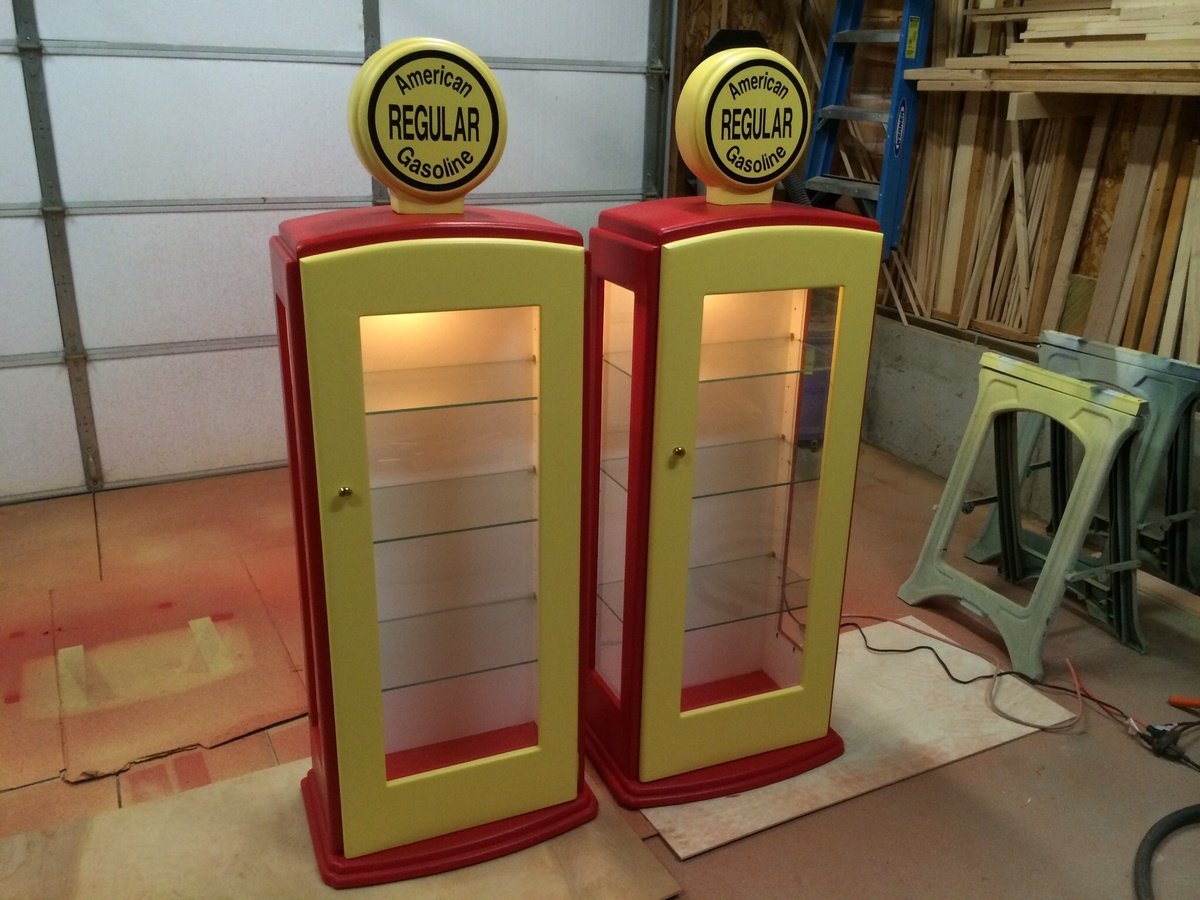
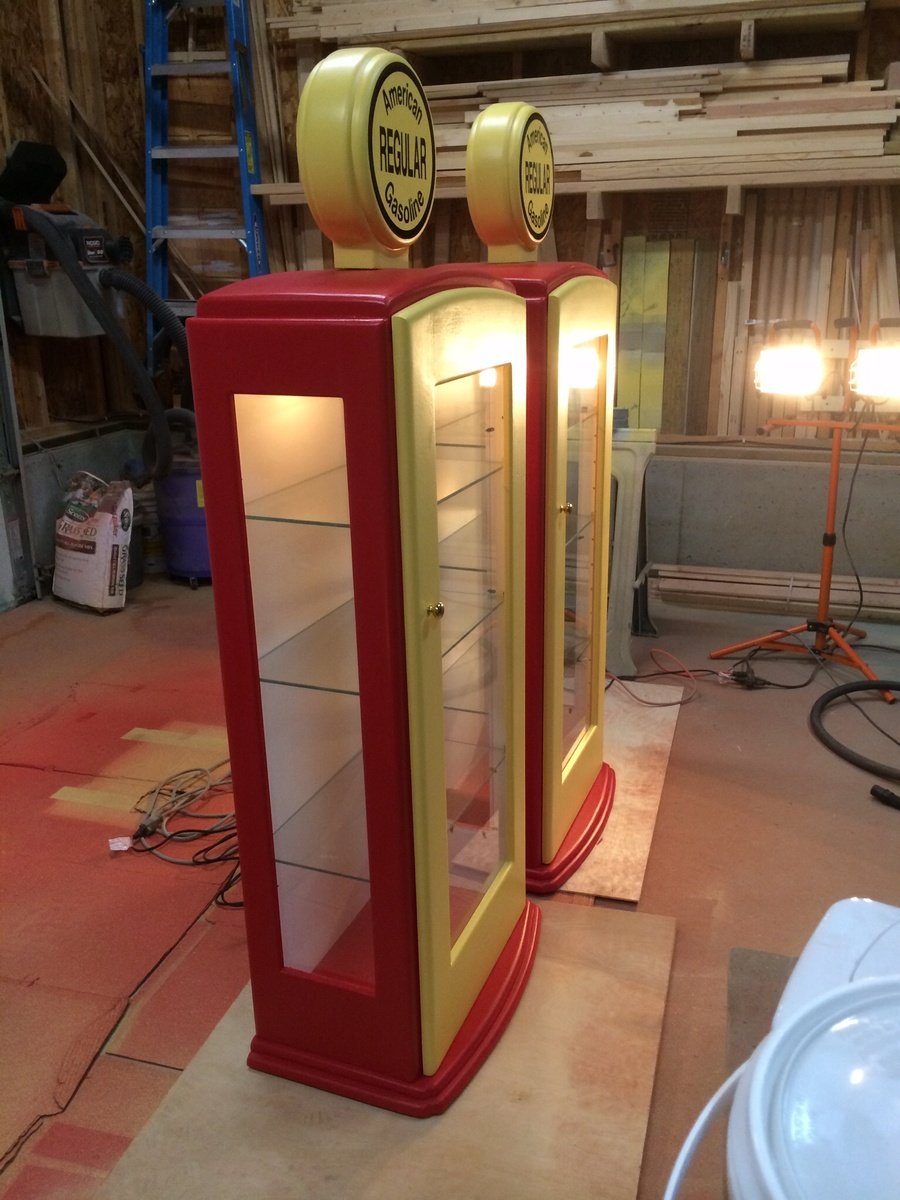
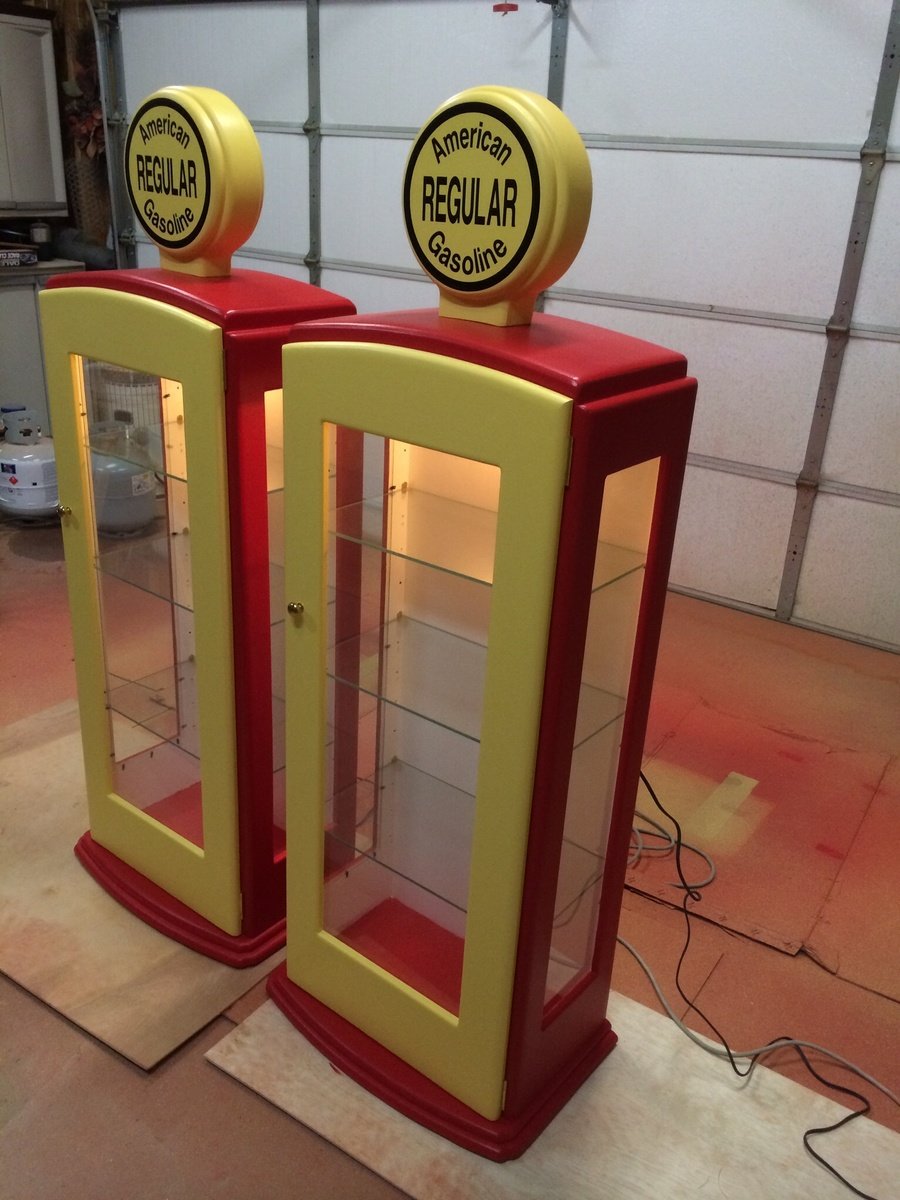
Gas Pump Curio Cabinet

Theses cabinets were built for a customer from plans they had found online. The hardware was ordered with the plans for an extra expense and the glass was made to order. Hope you enjoy them thanks for looking.
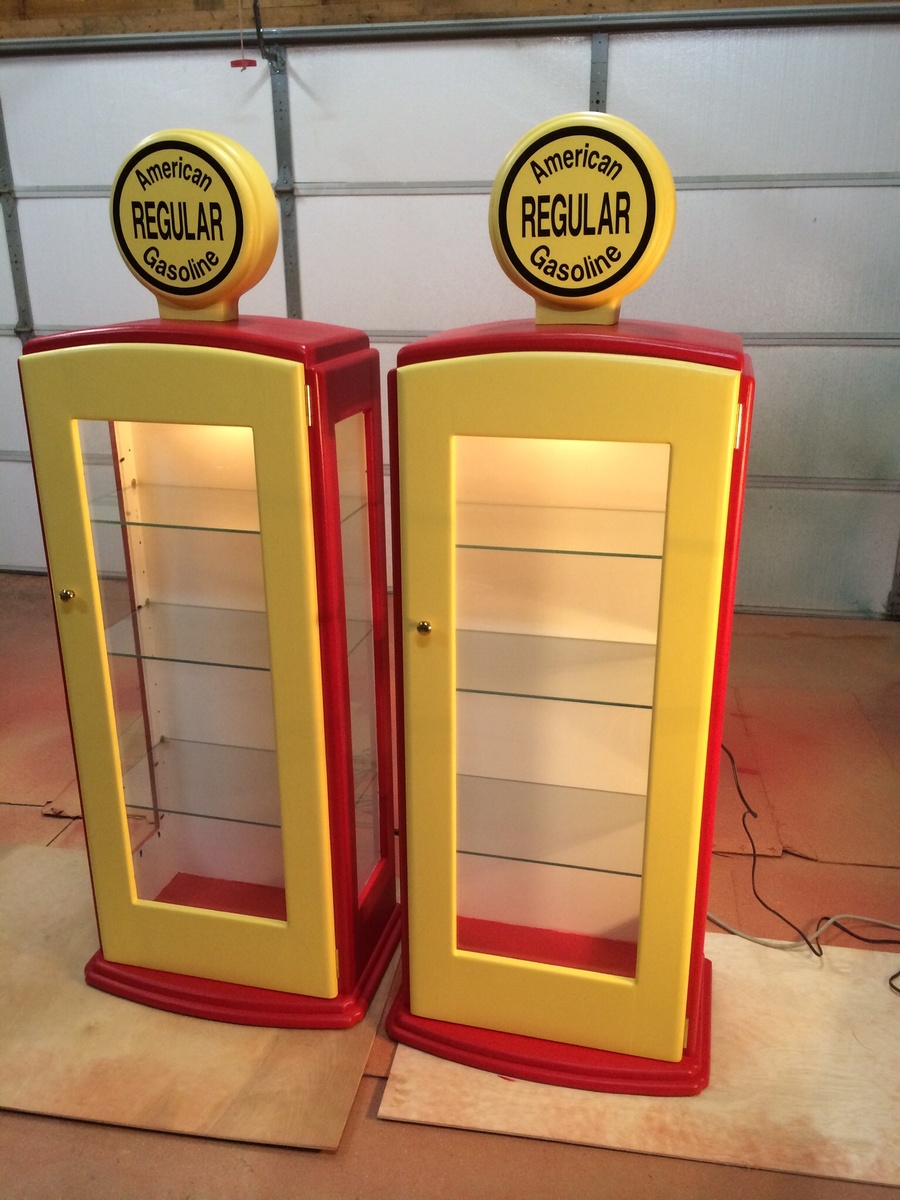
Estimated Cost
$450 for two
Estimated Time Investment
Week Long Project (20 Hours or More)
Finish Used
Latex paint
Recommended Skill Level
Advanced


Corner cabinet
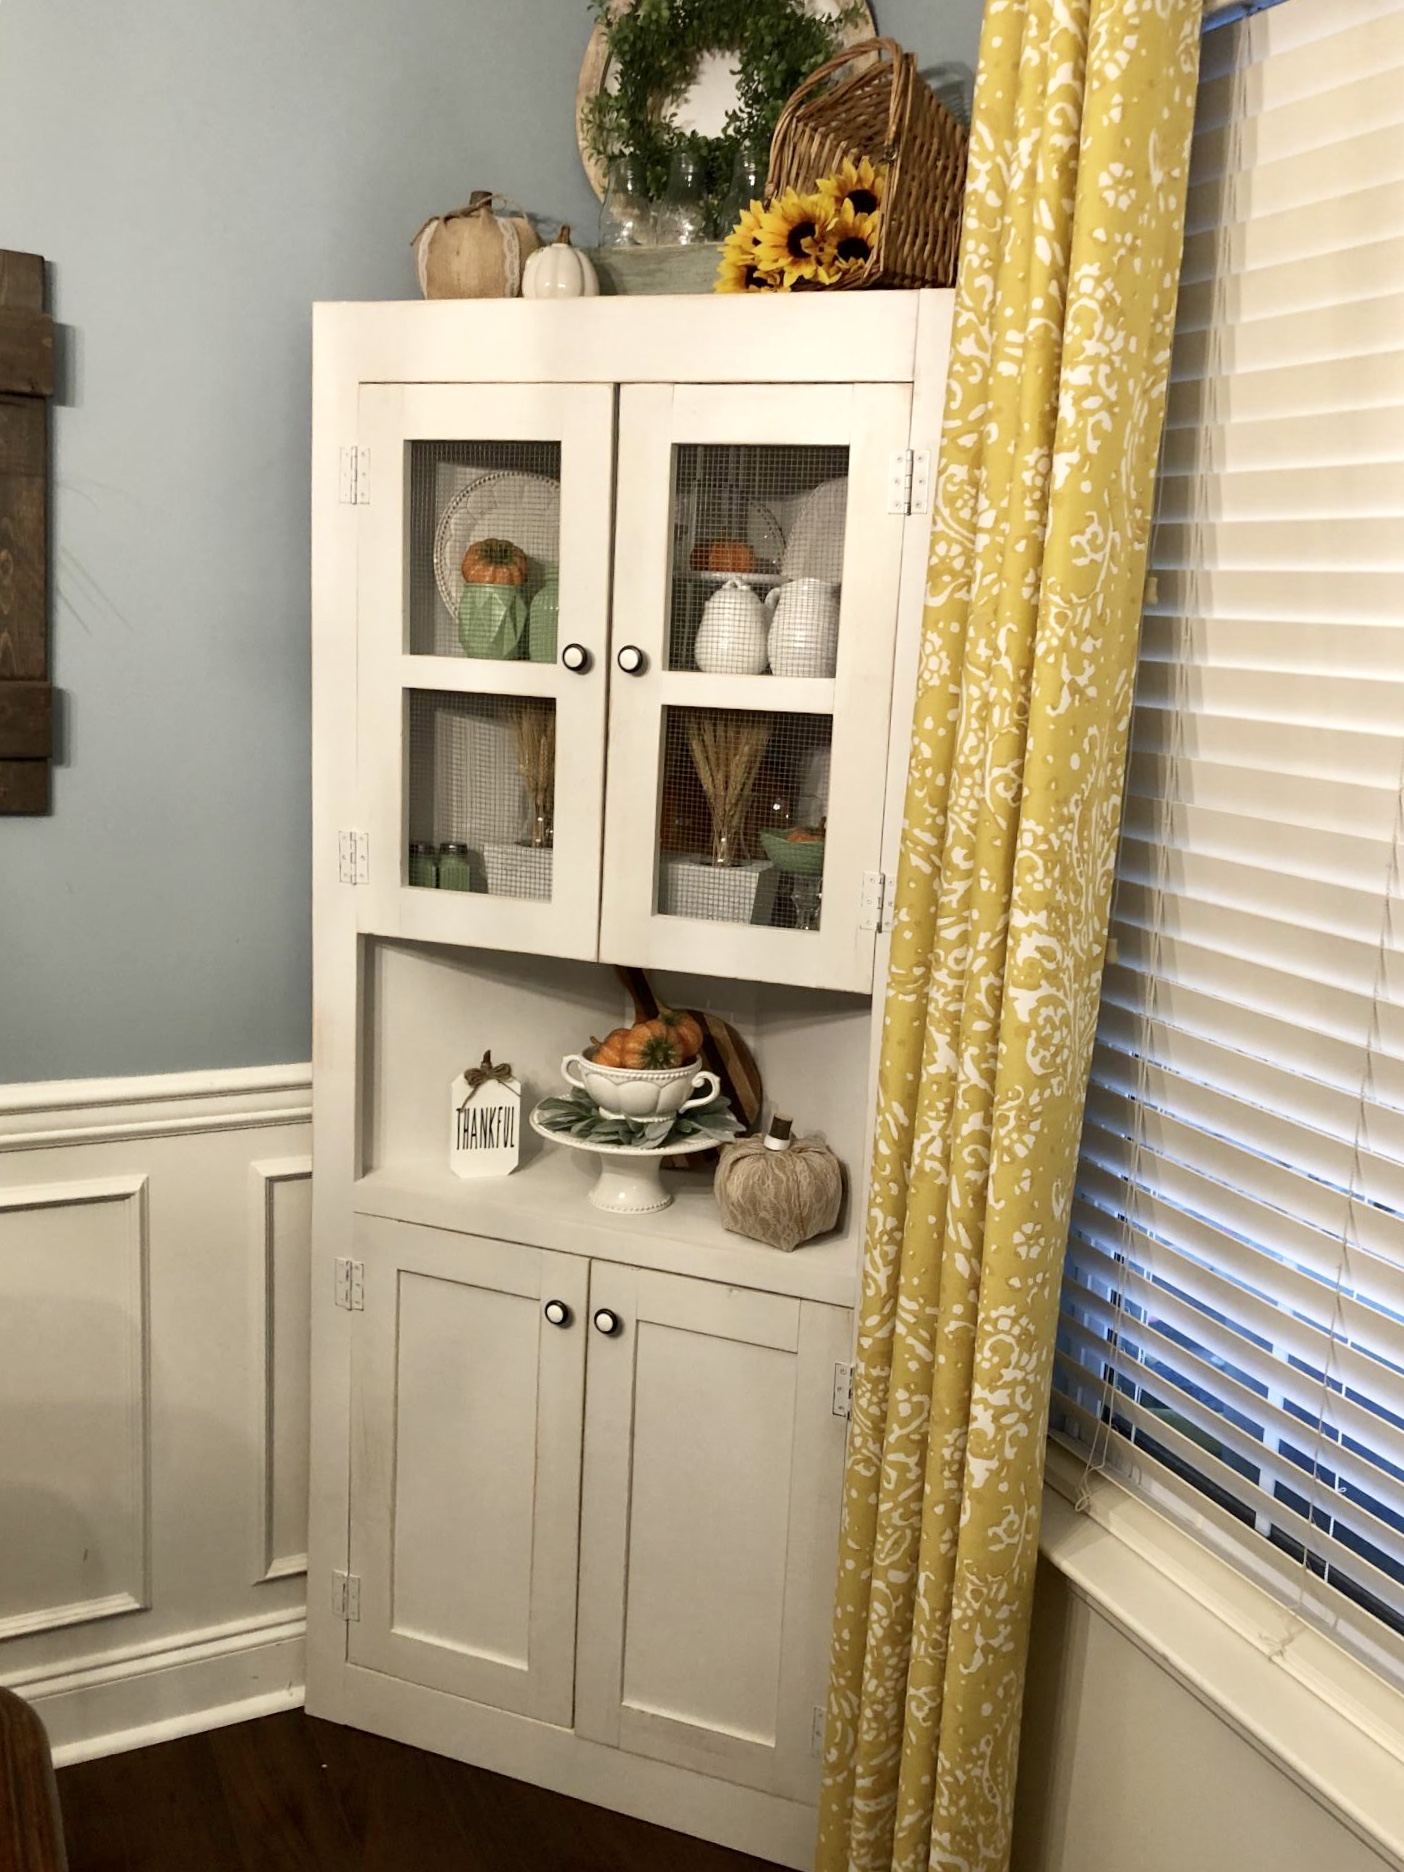
Wanted a corner cabinet for awhile and found Ana’s plans!! So easy and love my cabinet❤️
Built from Plan(s)
Outdoor Planter Steps or Bench
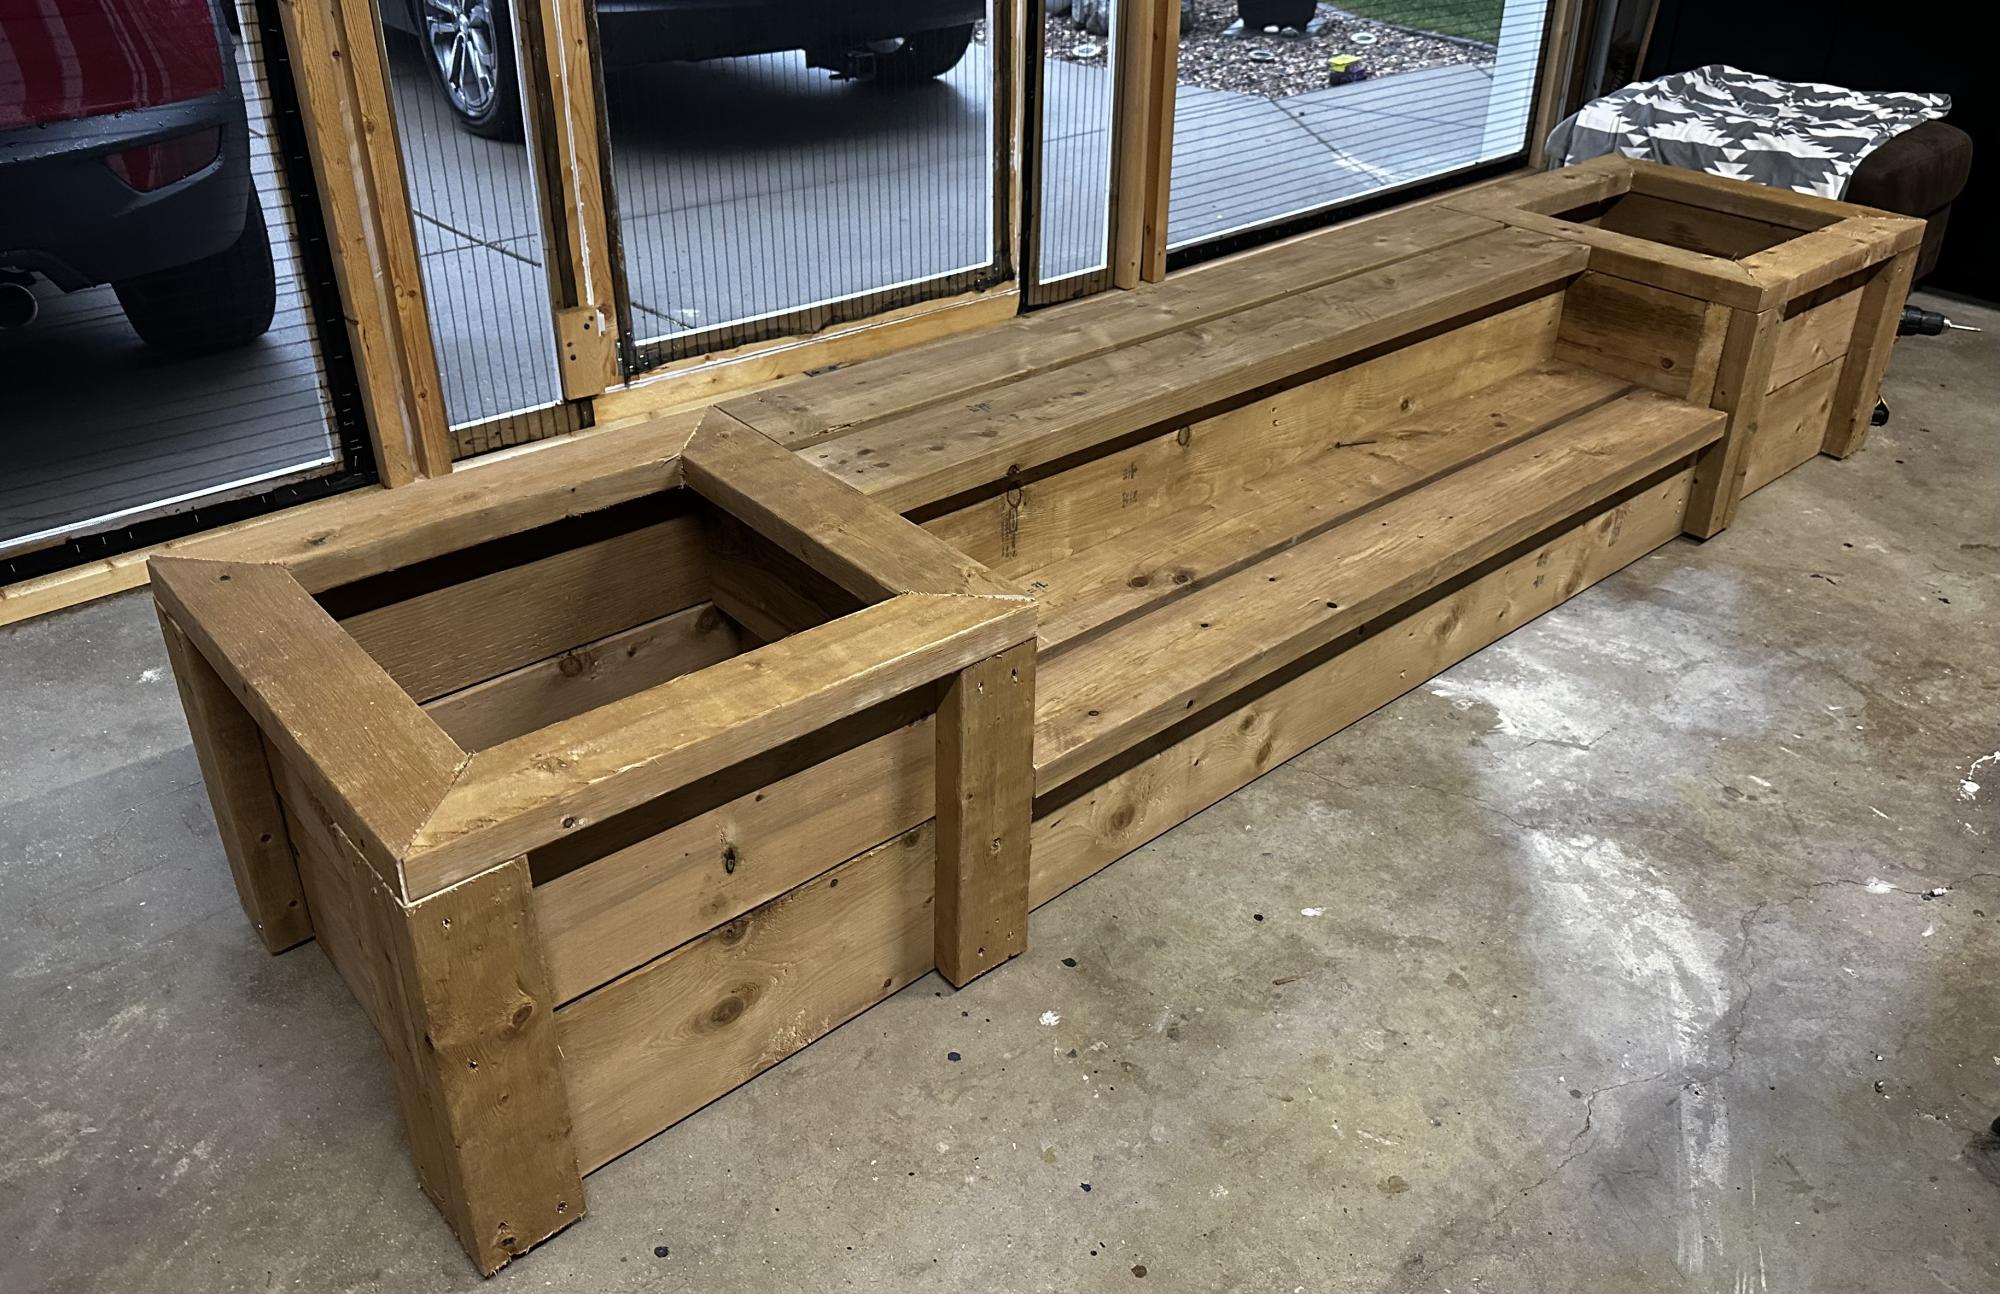
This was my first time doing a big project like this . Thank you for the plan for this.
Built from Plan(s)
Comments
Thu, 06/15/2023 - 09:19
Great planter steps!
These look awesome, can't wait to see them all in place and filled up! Thanks for sharing.
Thumb Chair

Super easy chair for the little people in your life.


Built from Plan(s)
Estimated Cost
$6 + scraps
Estimated Time Investment
Afternoon Project (3-6 Hours)
Finish Used
sanded and painted with valspar paint sample - two samples painted two coats on two chairs and one table
Recommended Skill Level
Beginner
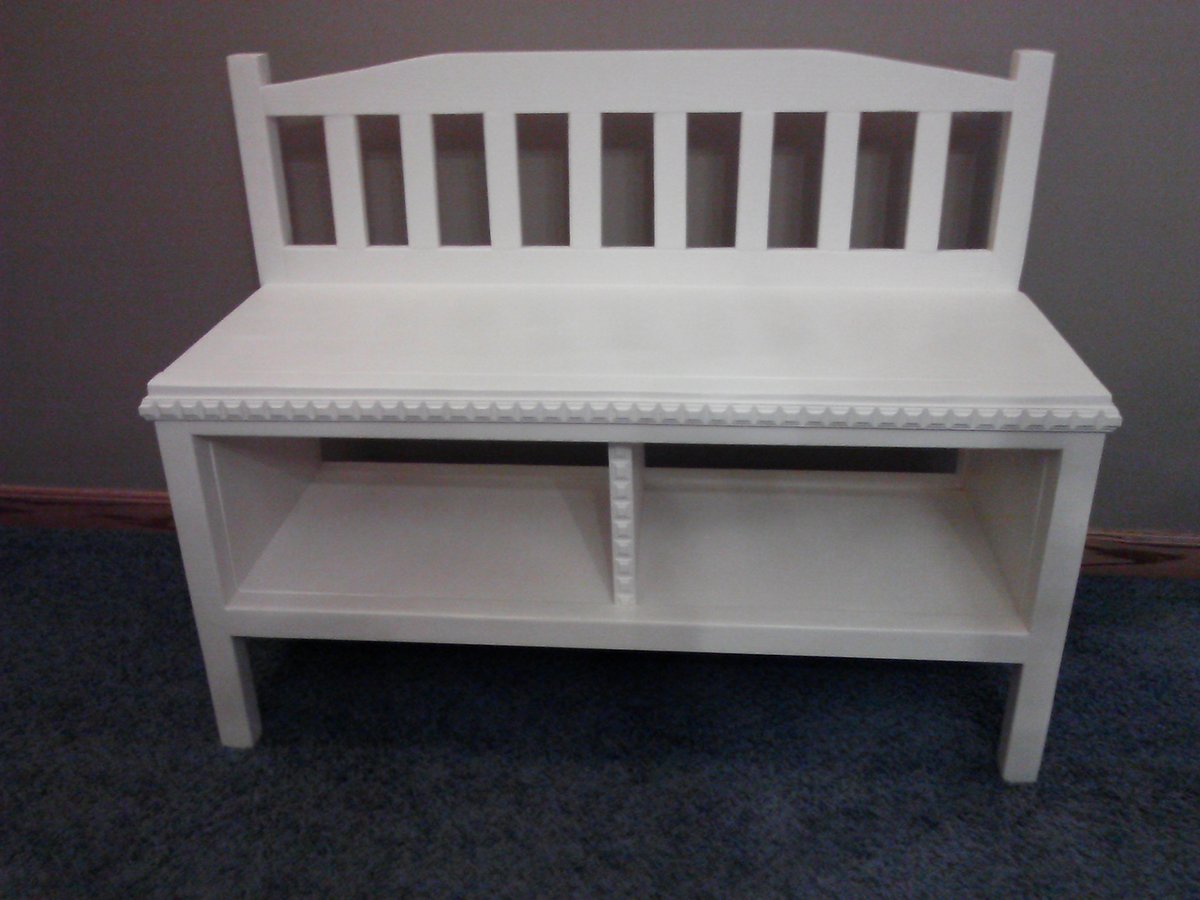
Cottage Bench with Storage Cubbies for Girls' Room
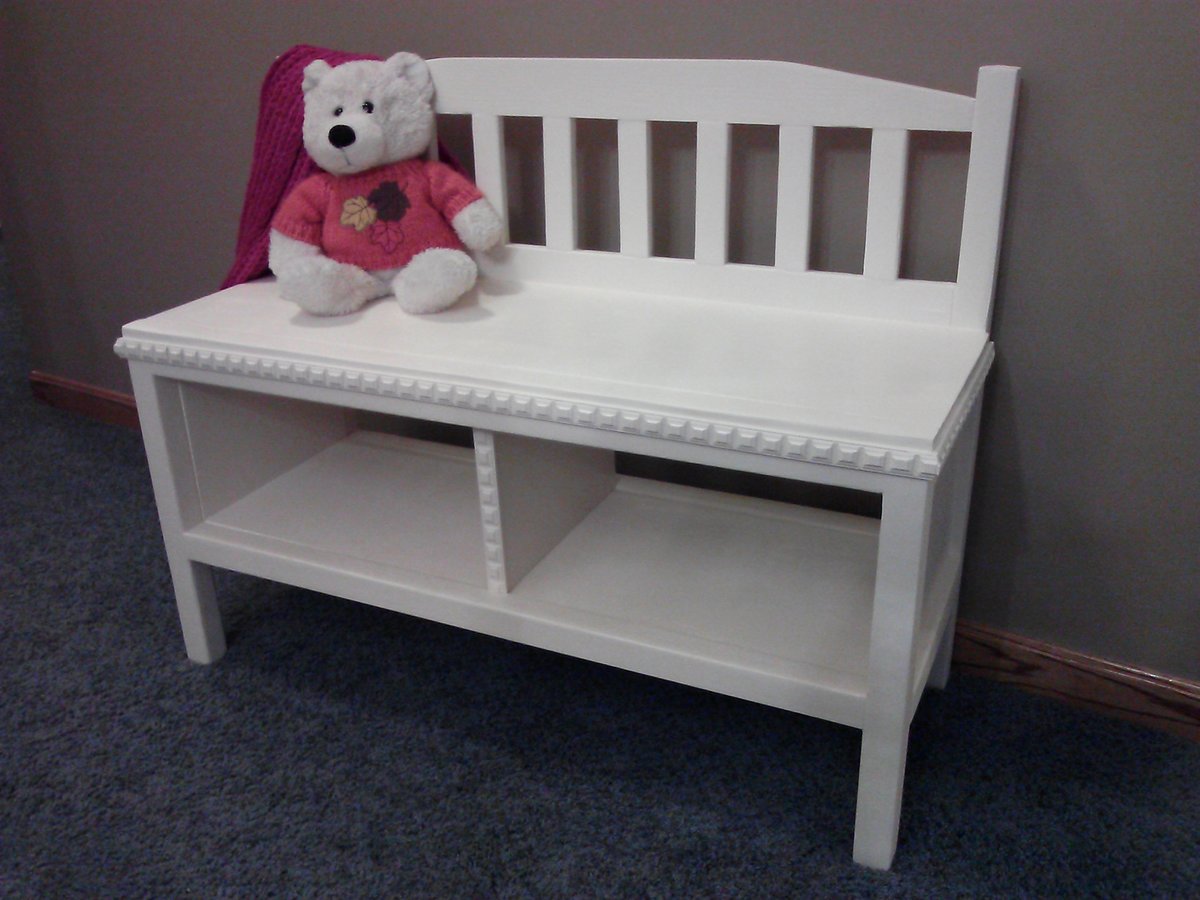
I followed the plan exactly. The only thing different is that I added decorative trim.
I am a beginner and this was fairly easy. The only part I had trouble with is when I went to attach the back panel to the bench. It didn't quite line up. However, once I started screwing it down, it got better.
Built from Plan(s)
Estimated Cost
$35 for lumber and $5 for Sherwin Williams test paint
Estimated Time Investment
Day Project (6-9 Hours)
Finish Used
The color of paint I used is a sort of Antique White that I had color matched. I used Sherwin Williams test paint.
Recommended Skill Level
Beginner
Comments
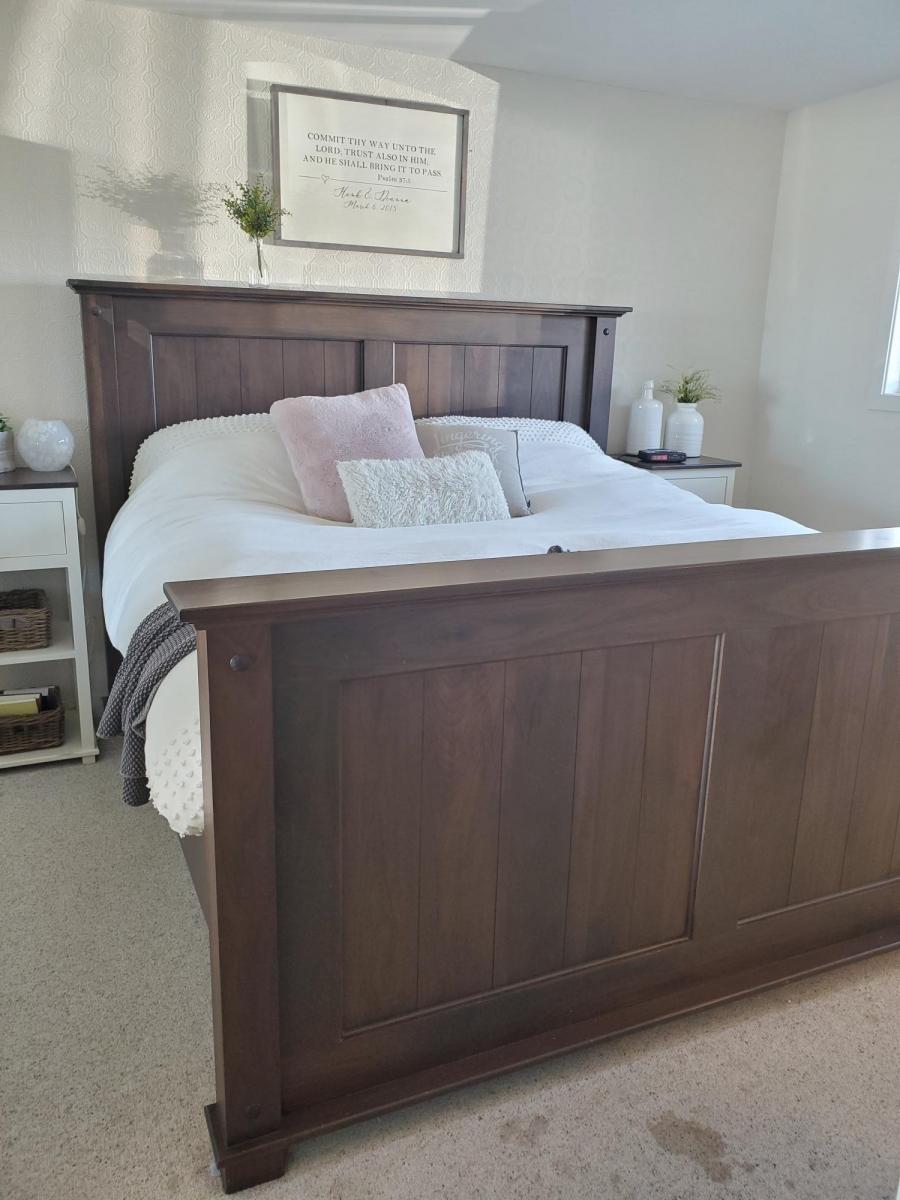
Farmhouse King Bed
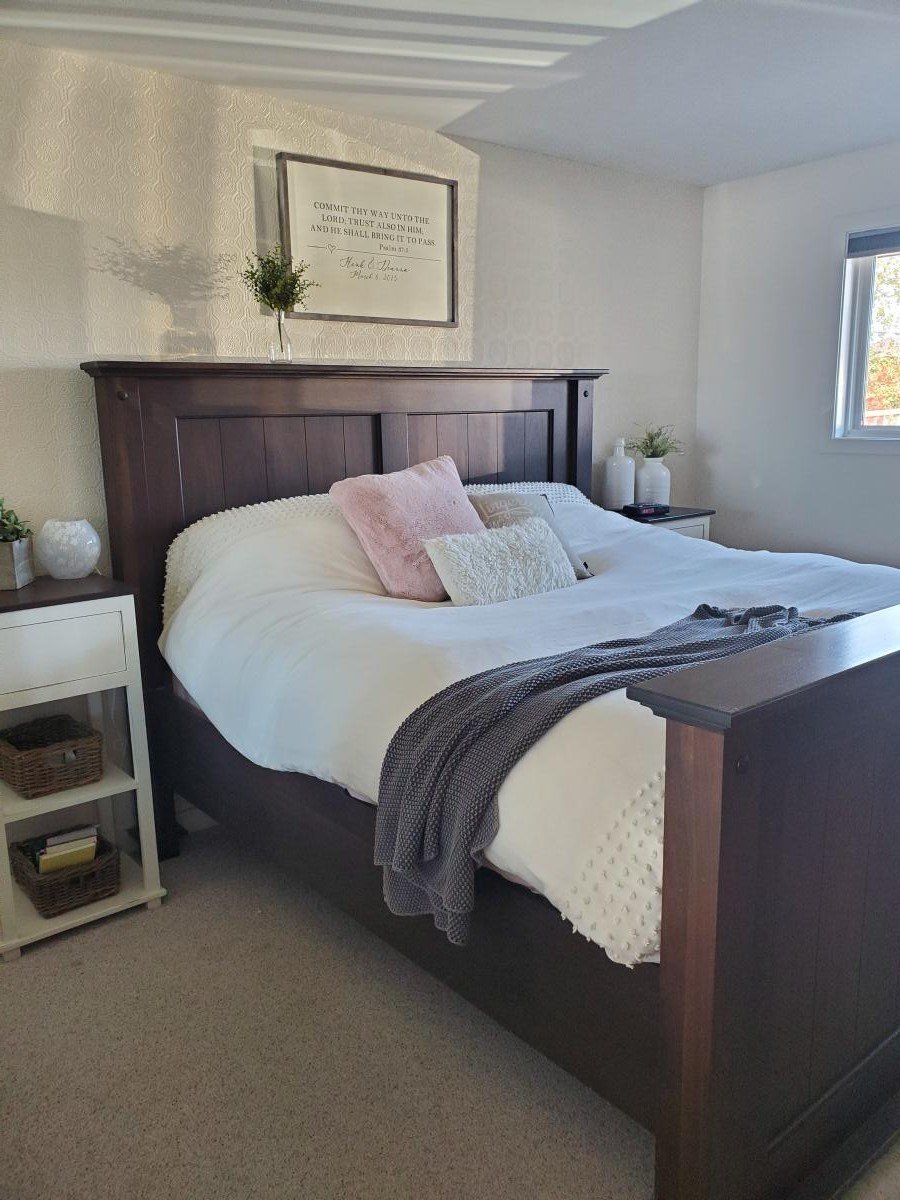
I used the Farmhouse Bed in the King size as an inspiration for this bed. I added a few things and tweaked the plan to make it my own. The cost of this bed was quite high due to the type of wood that I used, but can be made much cheaper with a softer, cheaper kind of wood and still look just as beautiful!
Built from Plan(s)
Estimated Cost
$600
Estimated Time Investment
Weekend Project (10-20 Hours)
Finish Used
I used a soft brown finish and lacquered it. It looks dark due to using walnut which is of course a brown wood.
Recommended Skill Level
Intermediate
Comments

Fri, 10/04/2019 - 11:06
This bed is one of the most…
This bed is one of the most beautiful I've ever seen! I'm amazed!
Rocket book case
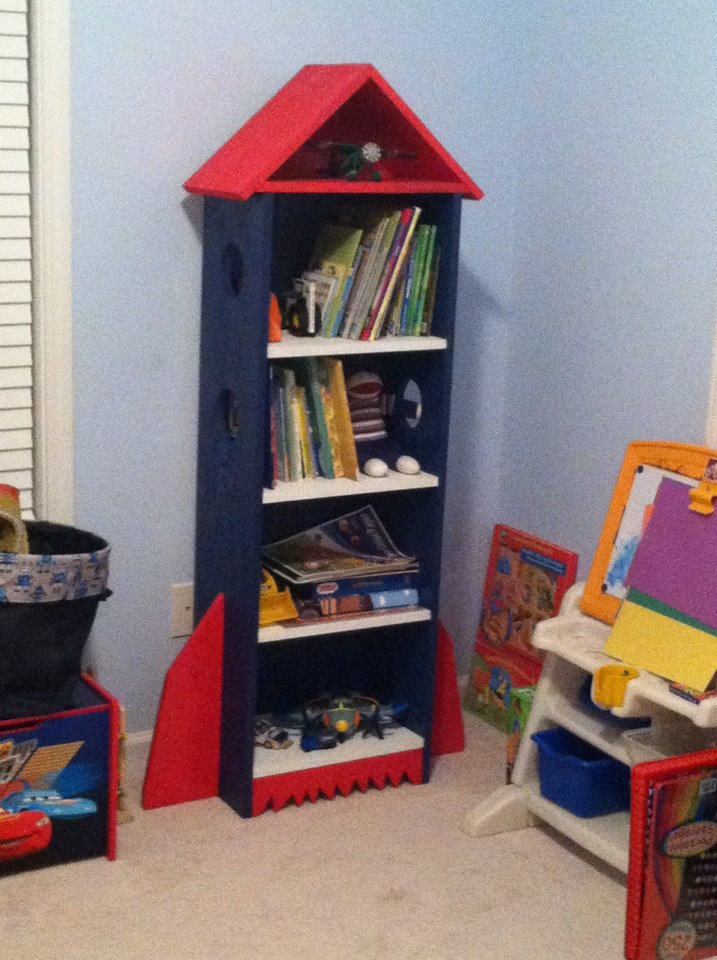
Easy beginner project.
Built from Plan(s)
Estimated Time Investment
Afternoon Project (3-6 Hours)
Finish Used
I like the comment about using the free samples of paint. I read it a little late.
Recommended Skill Level
Beginner
Comments
Mon, 02/06/2012 - 12:17
Absolutely awesome! Love all
Absolutely awesome! Love all the extra details you added!
Cupcake Stands

I was looking for a useful, cool, easy project I could make for my coworkers this holiday season. I stumbled on the DIY Cupcake Stand and thought it would make a perfect Christmas gift!
I made ten of them, so to keep the project affordable I opted to use an edge forming bit on my router instead of using molding.
To complete the gift, I'm planning to include jar of homemade cupcake mix and some cupcake liners :)
Thank you for the idea/plan!


Built from Plan(s)
Estimated Cost
About $50 to make 10 stands
Estimated Time Investment
Weekend Project (10-20 Hours)
Finish Used
The stands were finished with Behr semi-gloss paint in "Candlelight Ivory".
Recommended Skill Level
Beginner
Comments
Mon, 12/16/2013 - 23:22
What a lovely idea for gifts
What a lovely idea for gifts for your friends, so much time gone into each one :)
In reply to What a lovely idea for gifts by Mandymoochops
Tue, 12/17/2013 - 16:24
Thank you!
Hope they like 'em :) I like to give useful gifts... I think these are useful and attractive.
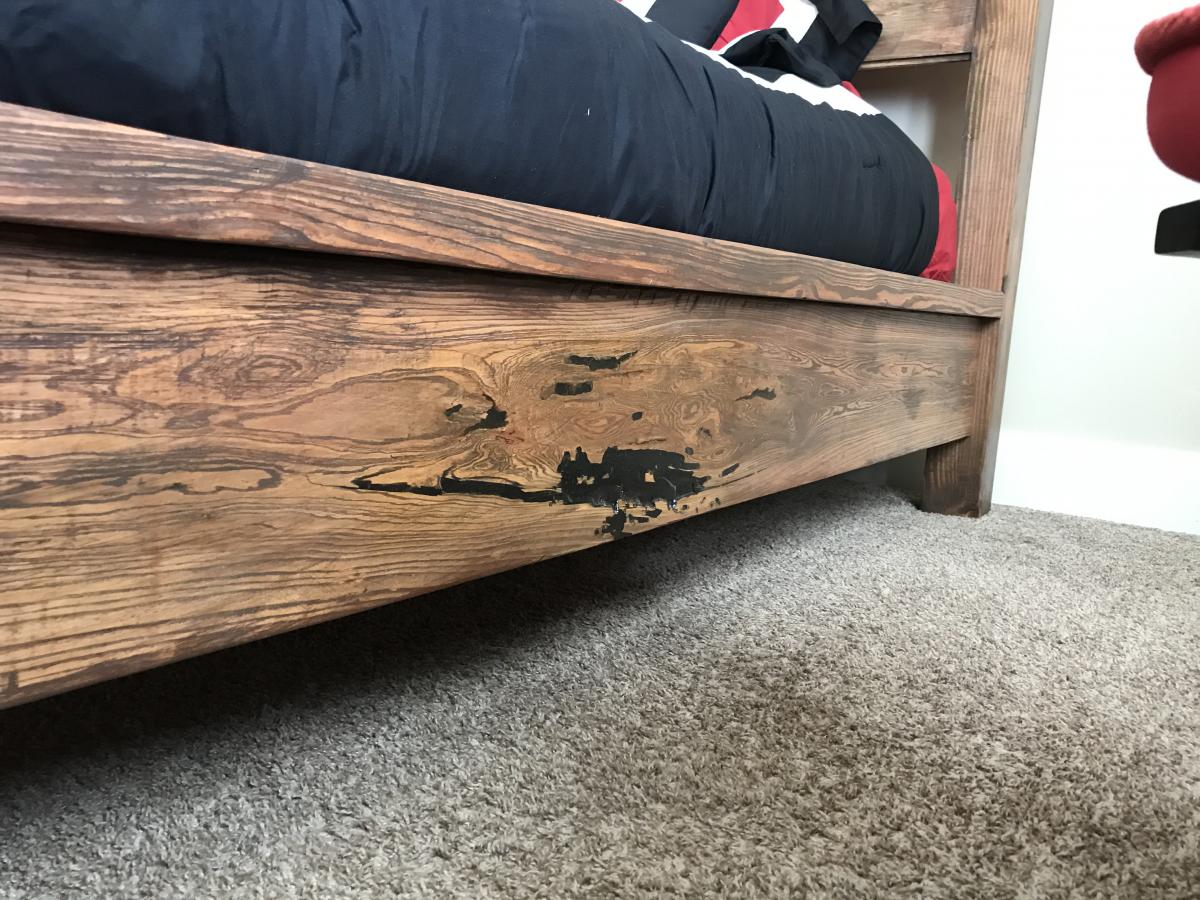
Modern farm bed
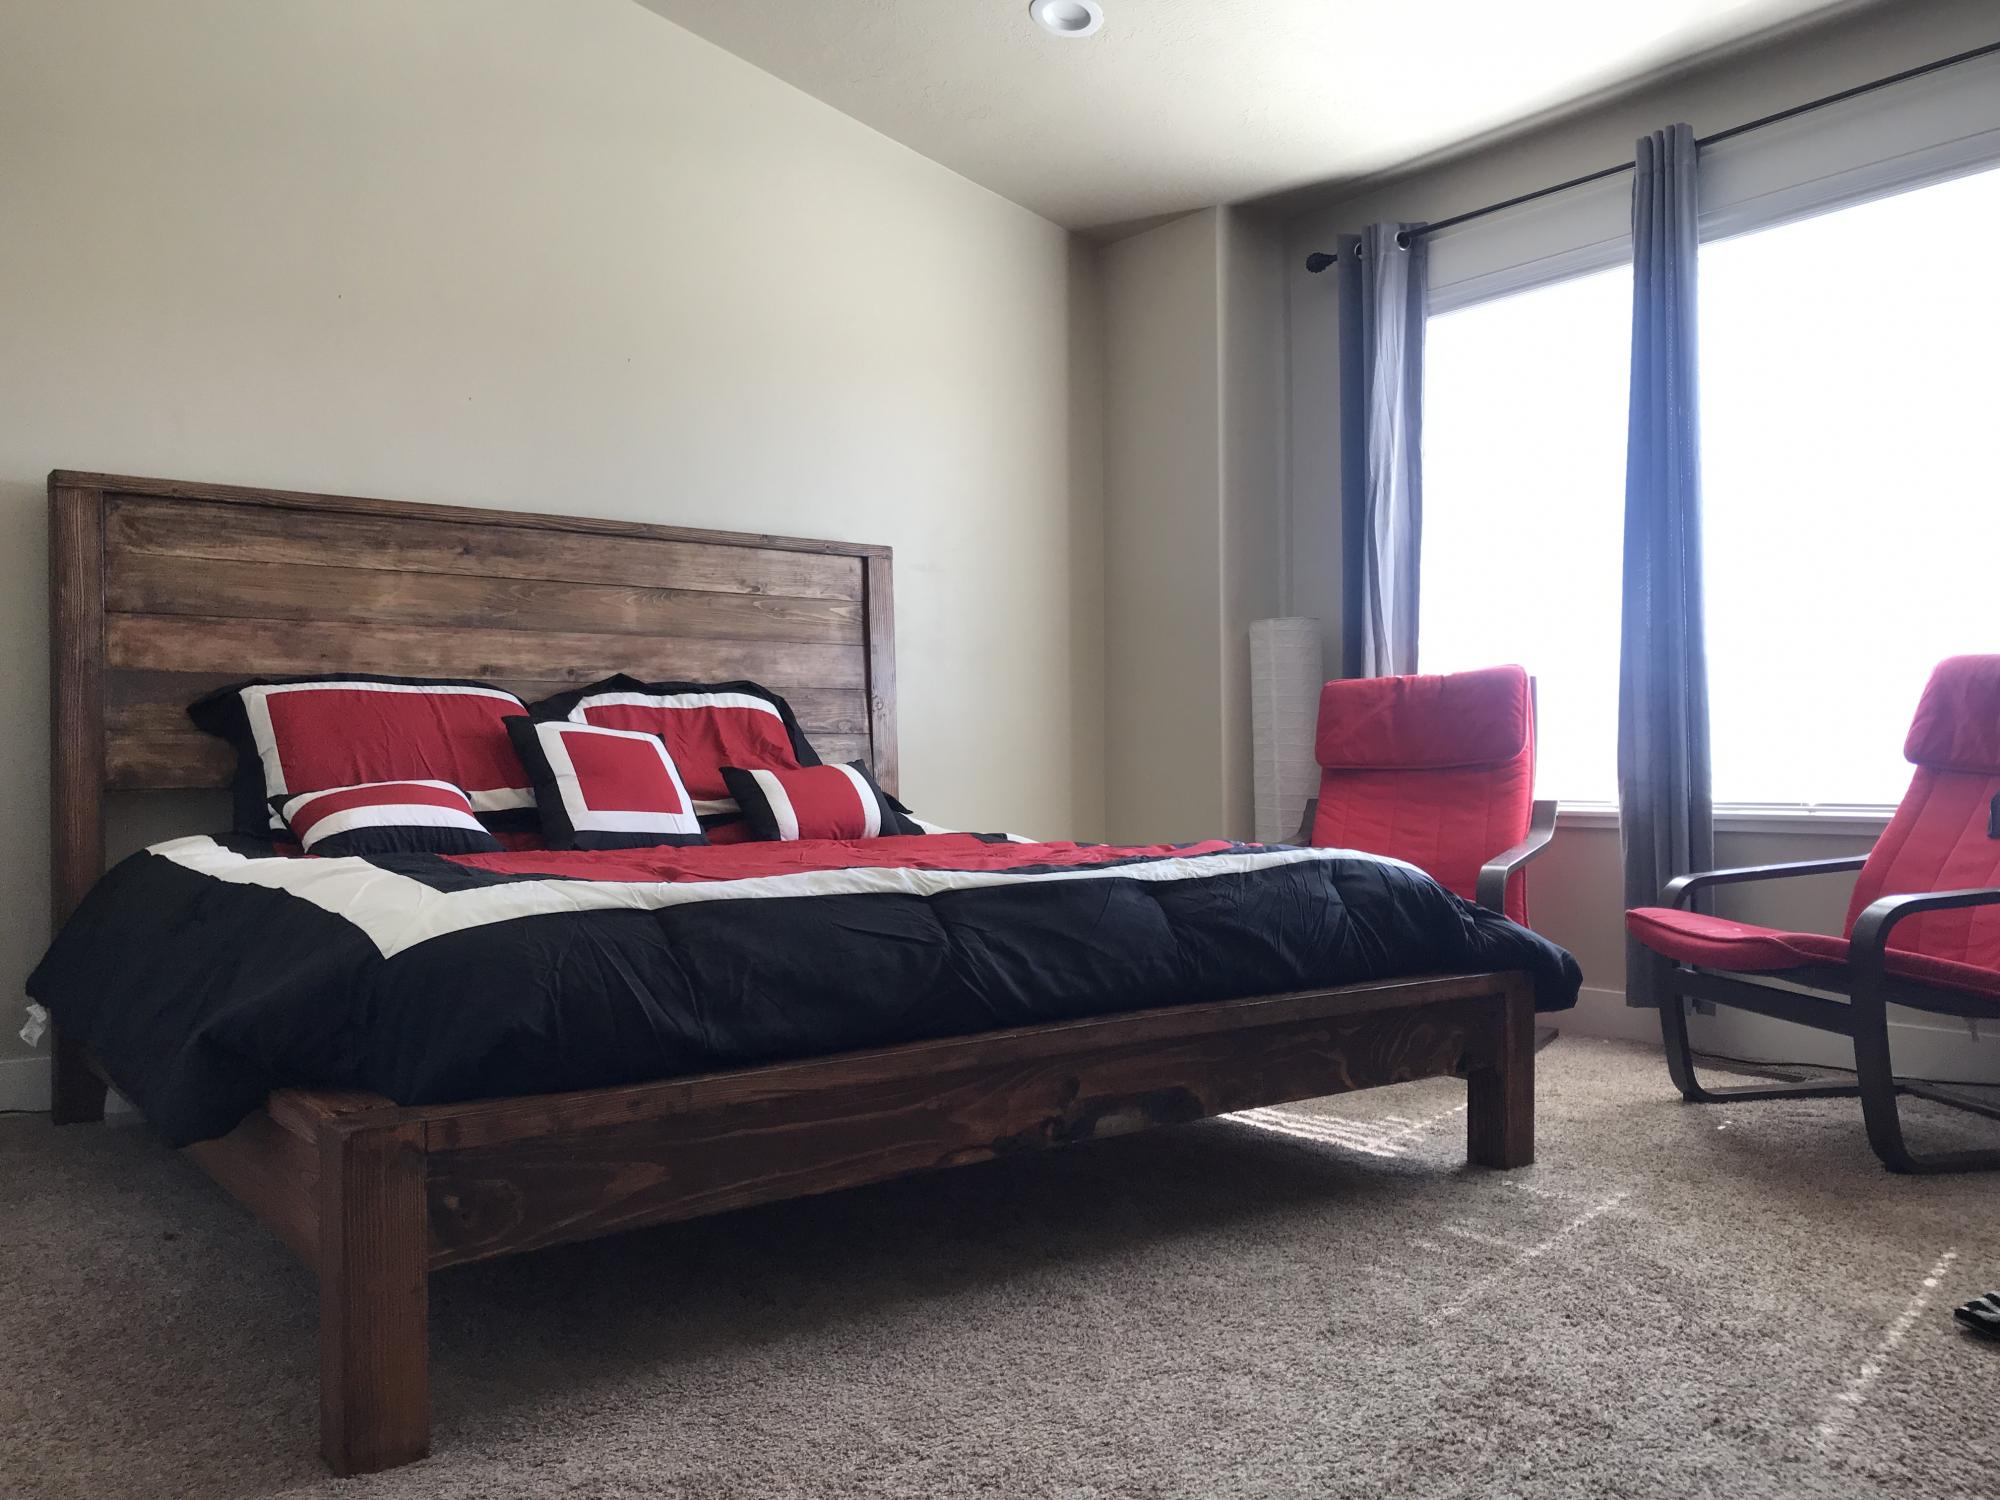
Modern farmhouse bed frame highlighted with epoxy highlights along the side rails. This is a super sturdy bed. Which is simple to build the hardest part was being patient with the epoxy.

Built from Plan(s)
Estimated Cost
$250
Estimated Time Investment
Week Long Project (20 Hours or More)
Finish Used
General finishes arm r seal satin clear with red and black pigment . I layered the black first and then stain it red and touched up with red or black depending on what was lighter. And then used a satin finish polyurethane to protect the staining wood. The epoxy poor are used Black mirror coat by systems three. I then had to clean it up by planing it and then I had sanded it to a 3000 grit.
Recommended Skill Level
Intermediate
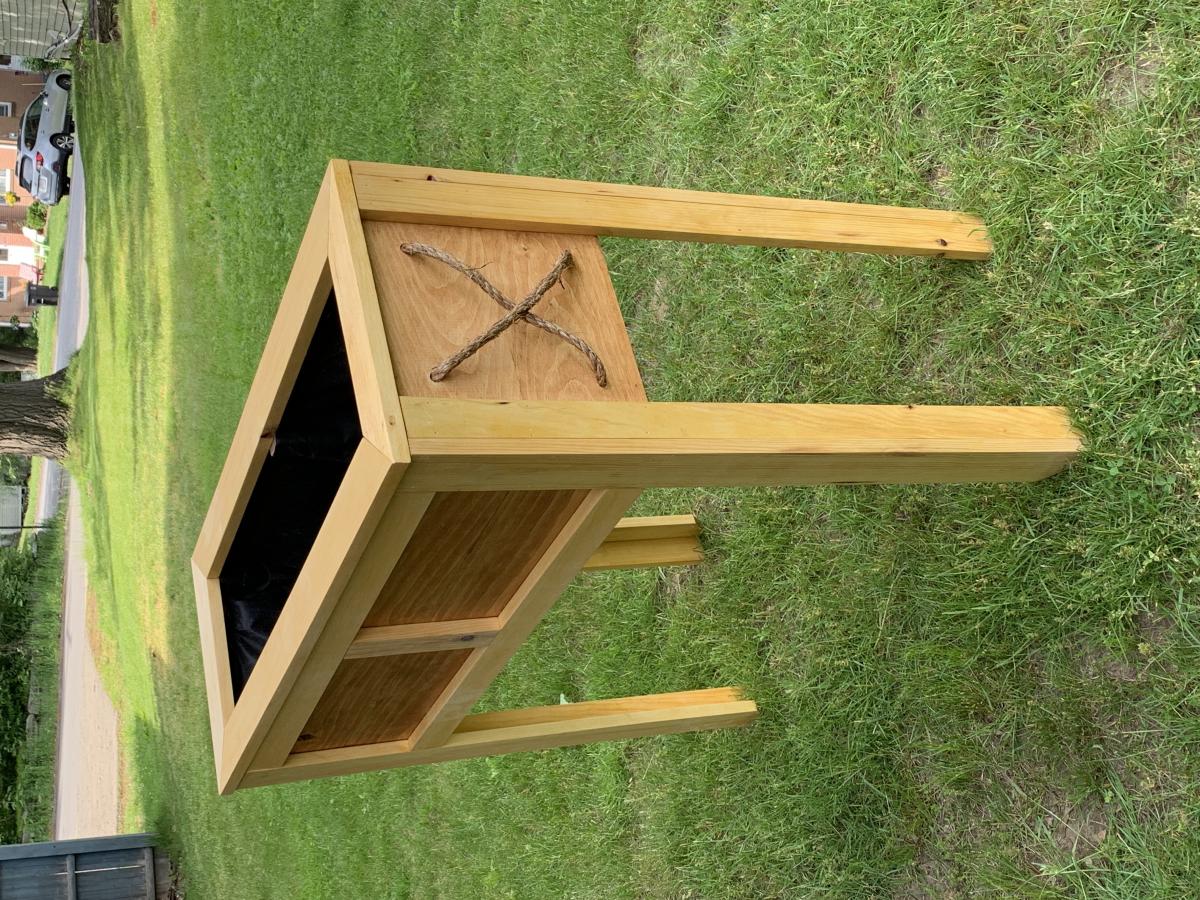
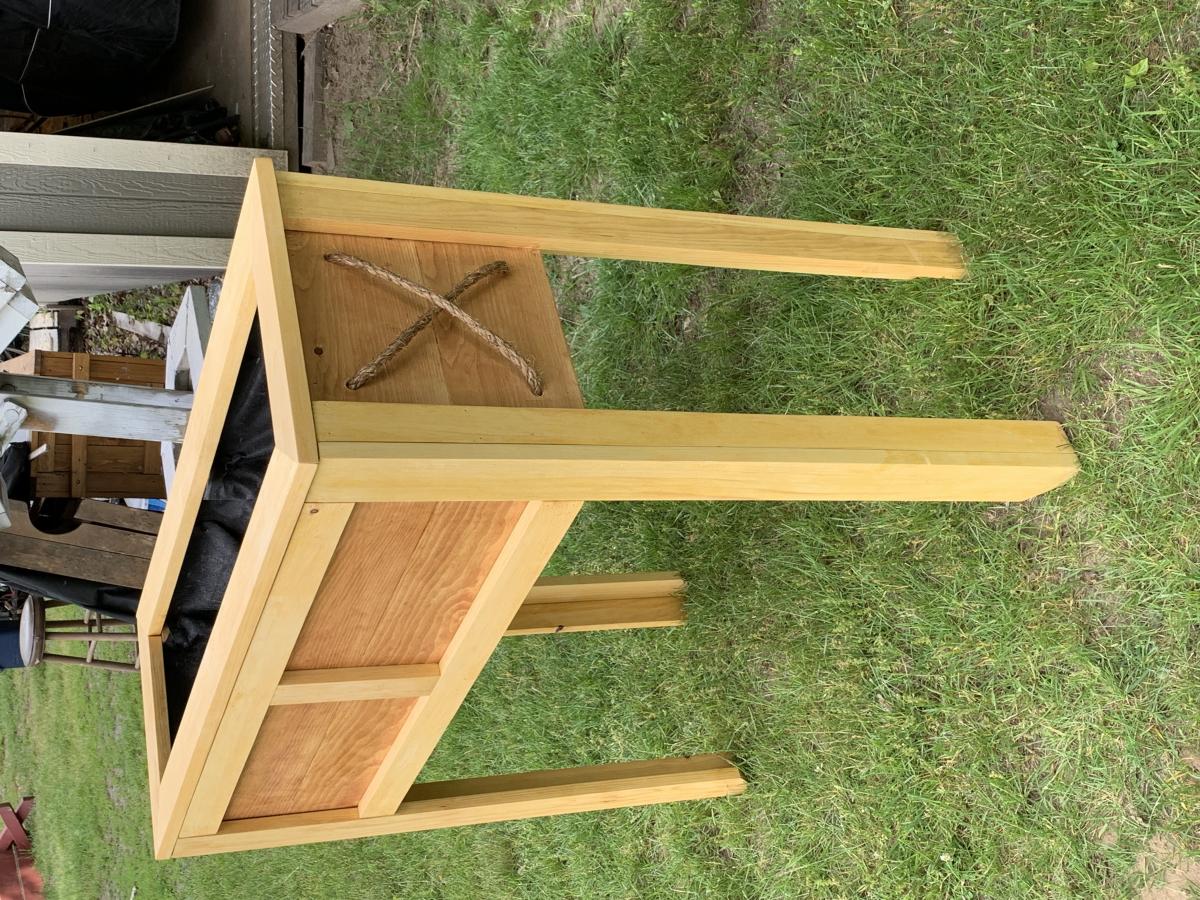
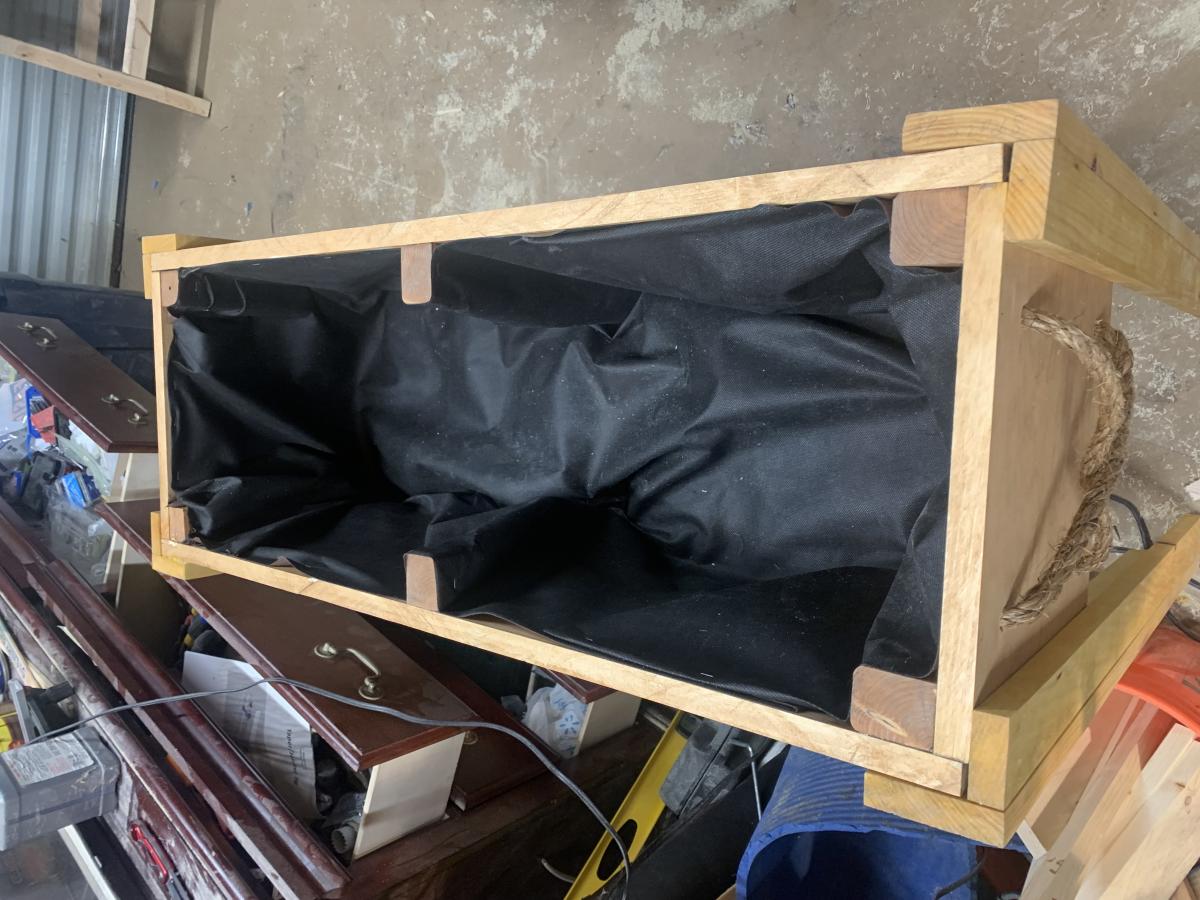
Raised Planter with 1x legs
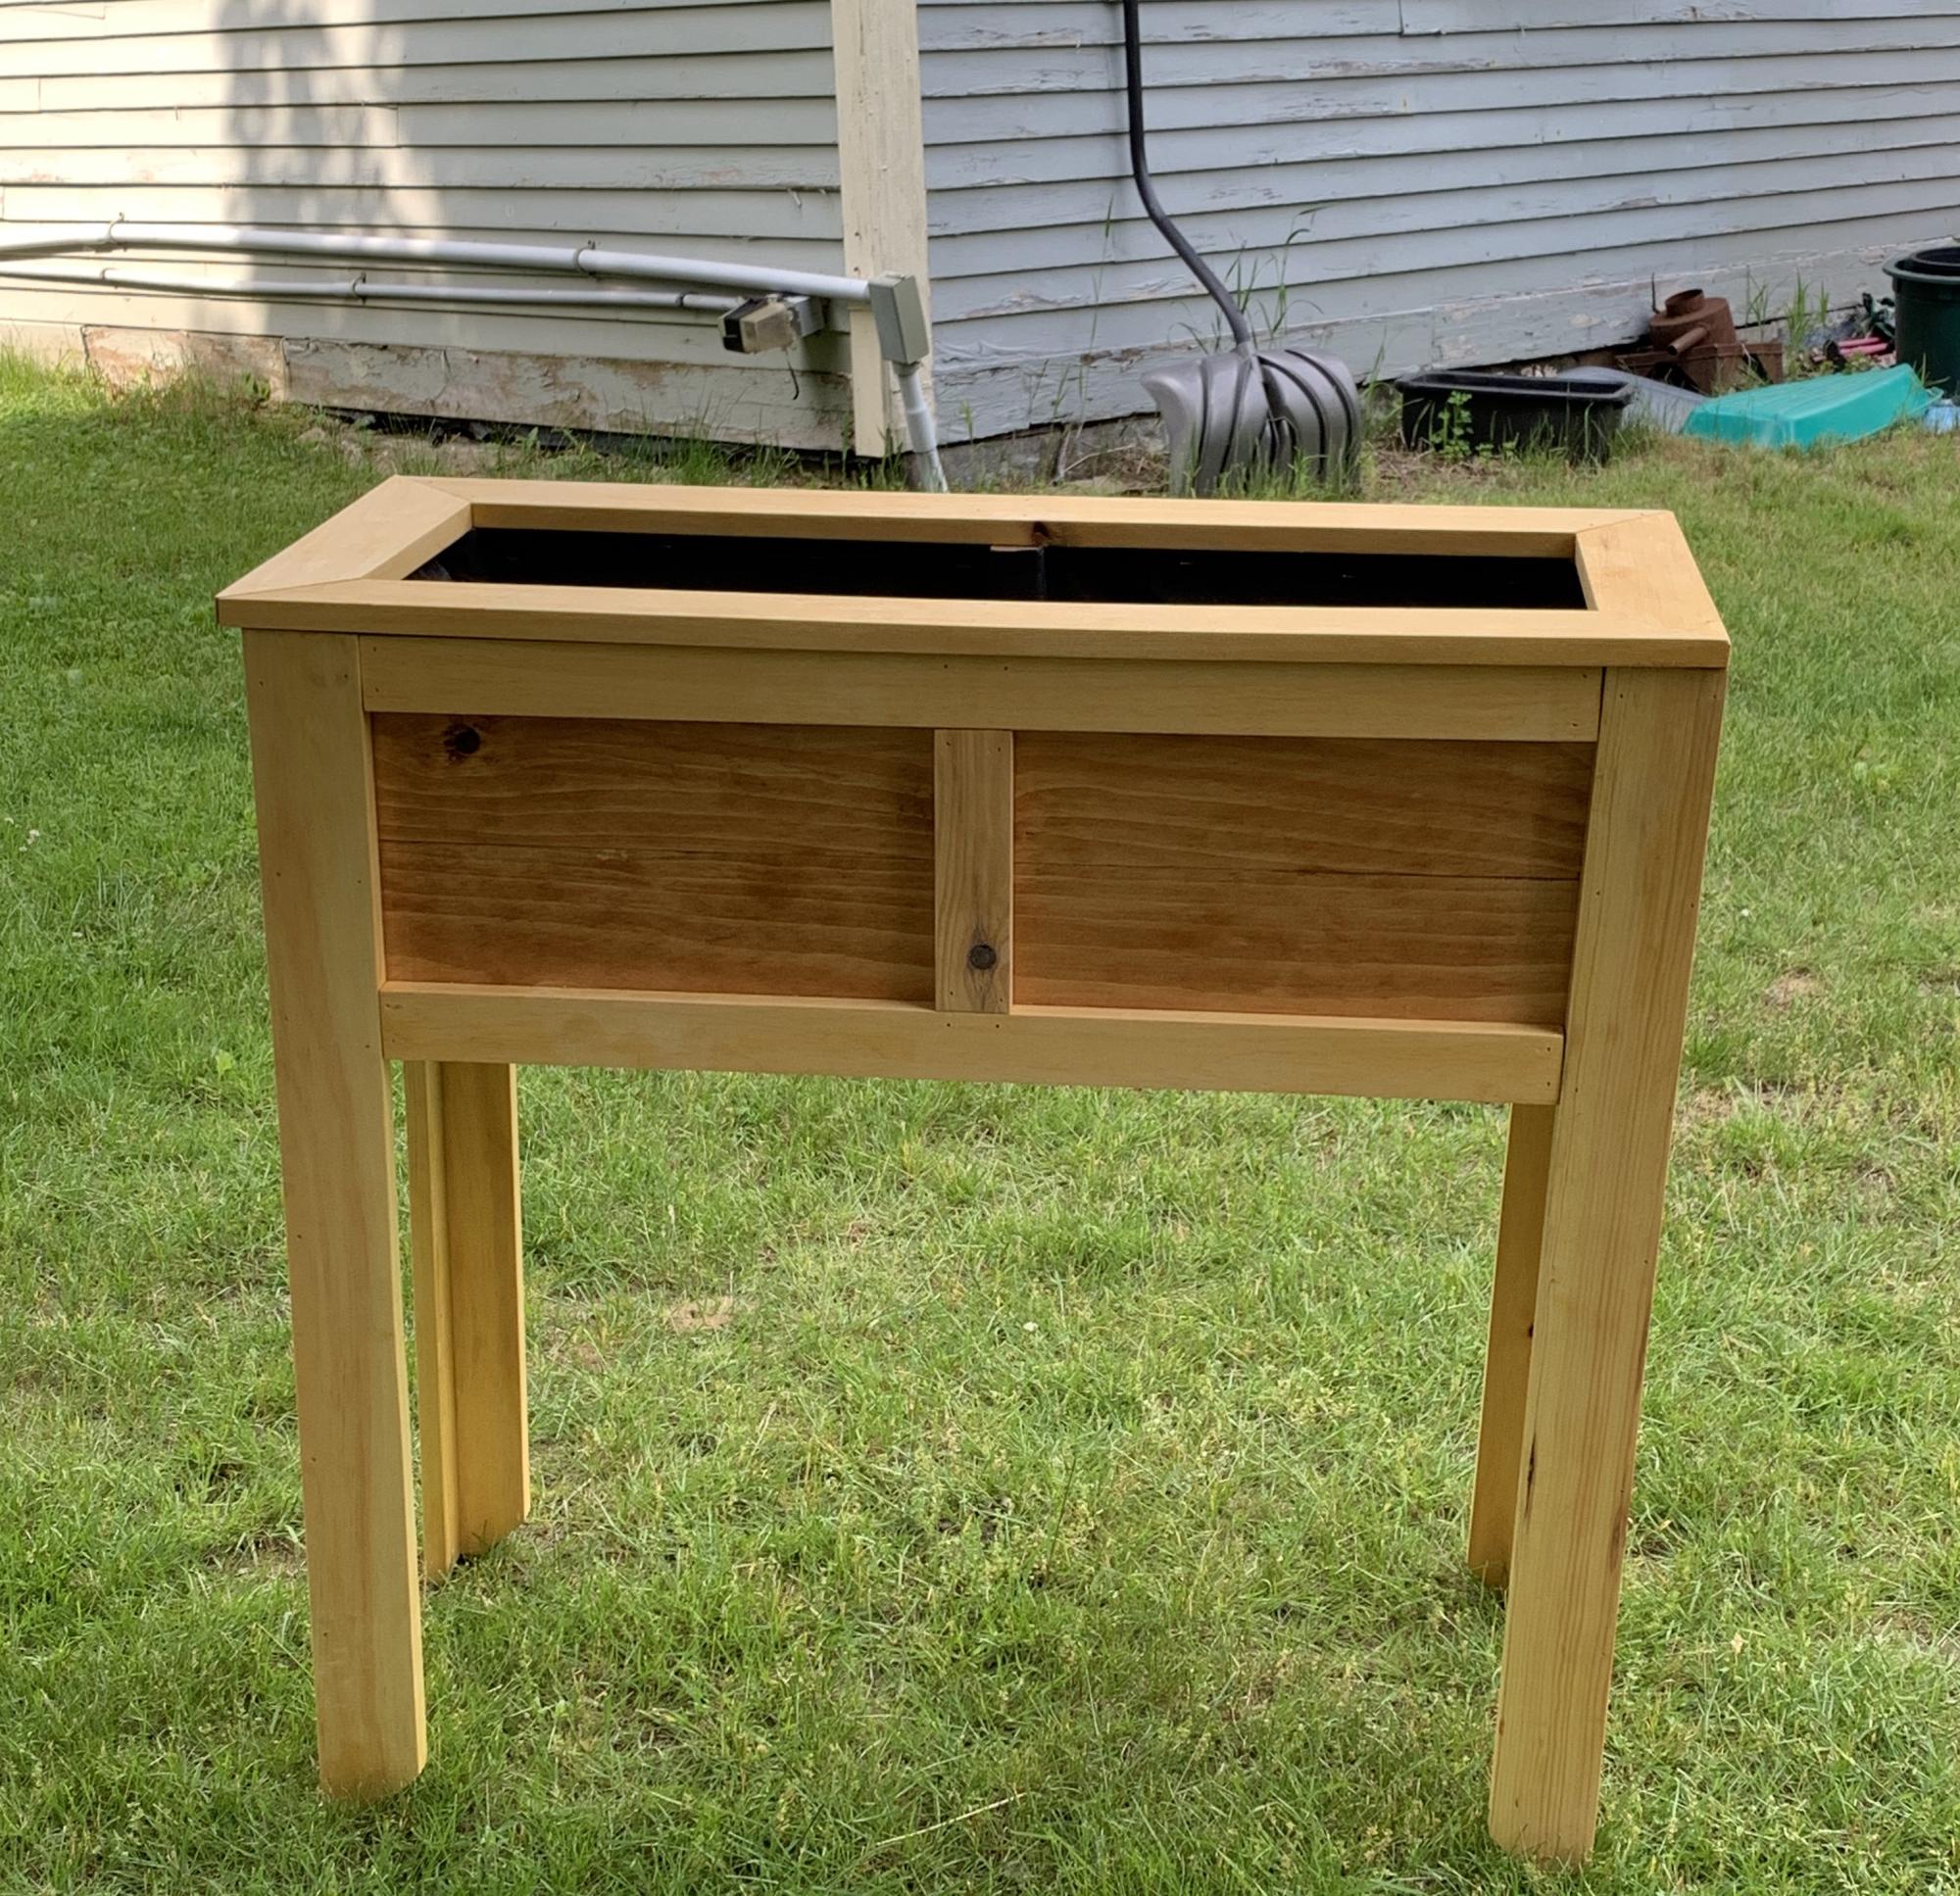
38lx37hx15w Rope decoration doubles as handles. Color is in Cabot oil stains (Sunlit Walnut & Sundrenched Oak.
- Built by James P
Built from Plan(s)
Comments
Mon, 06/26/2023 - 13:16
Beautiful Planter
Love the rope detail, thanks so much for sharing you awesome design!
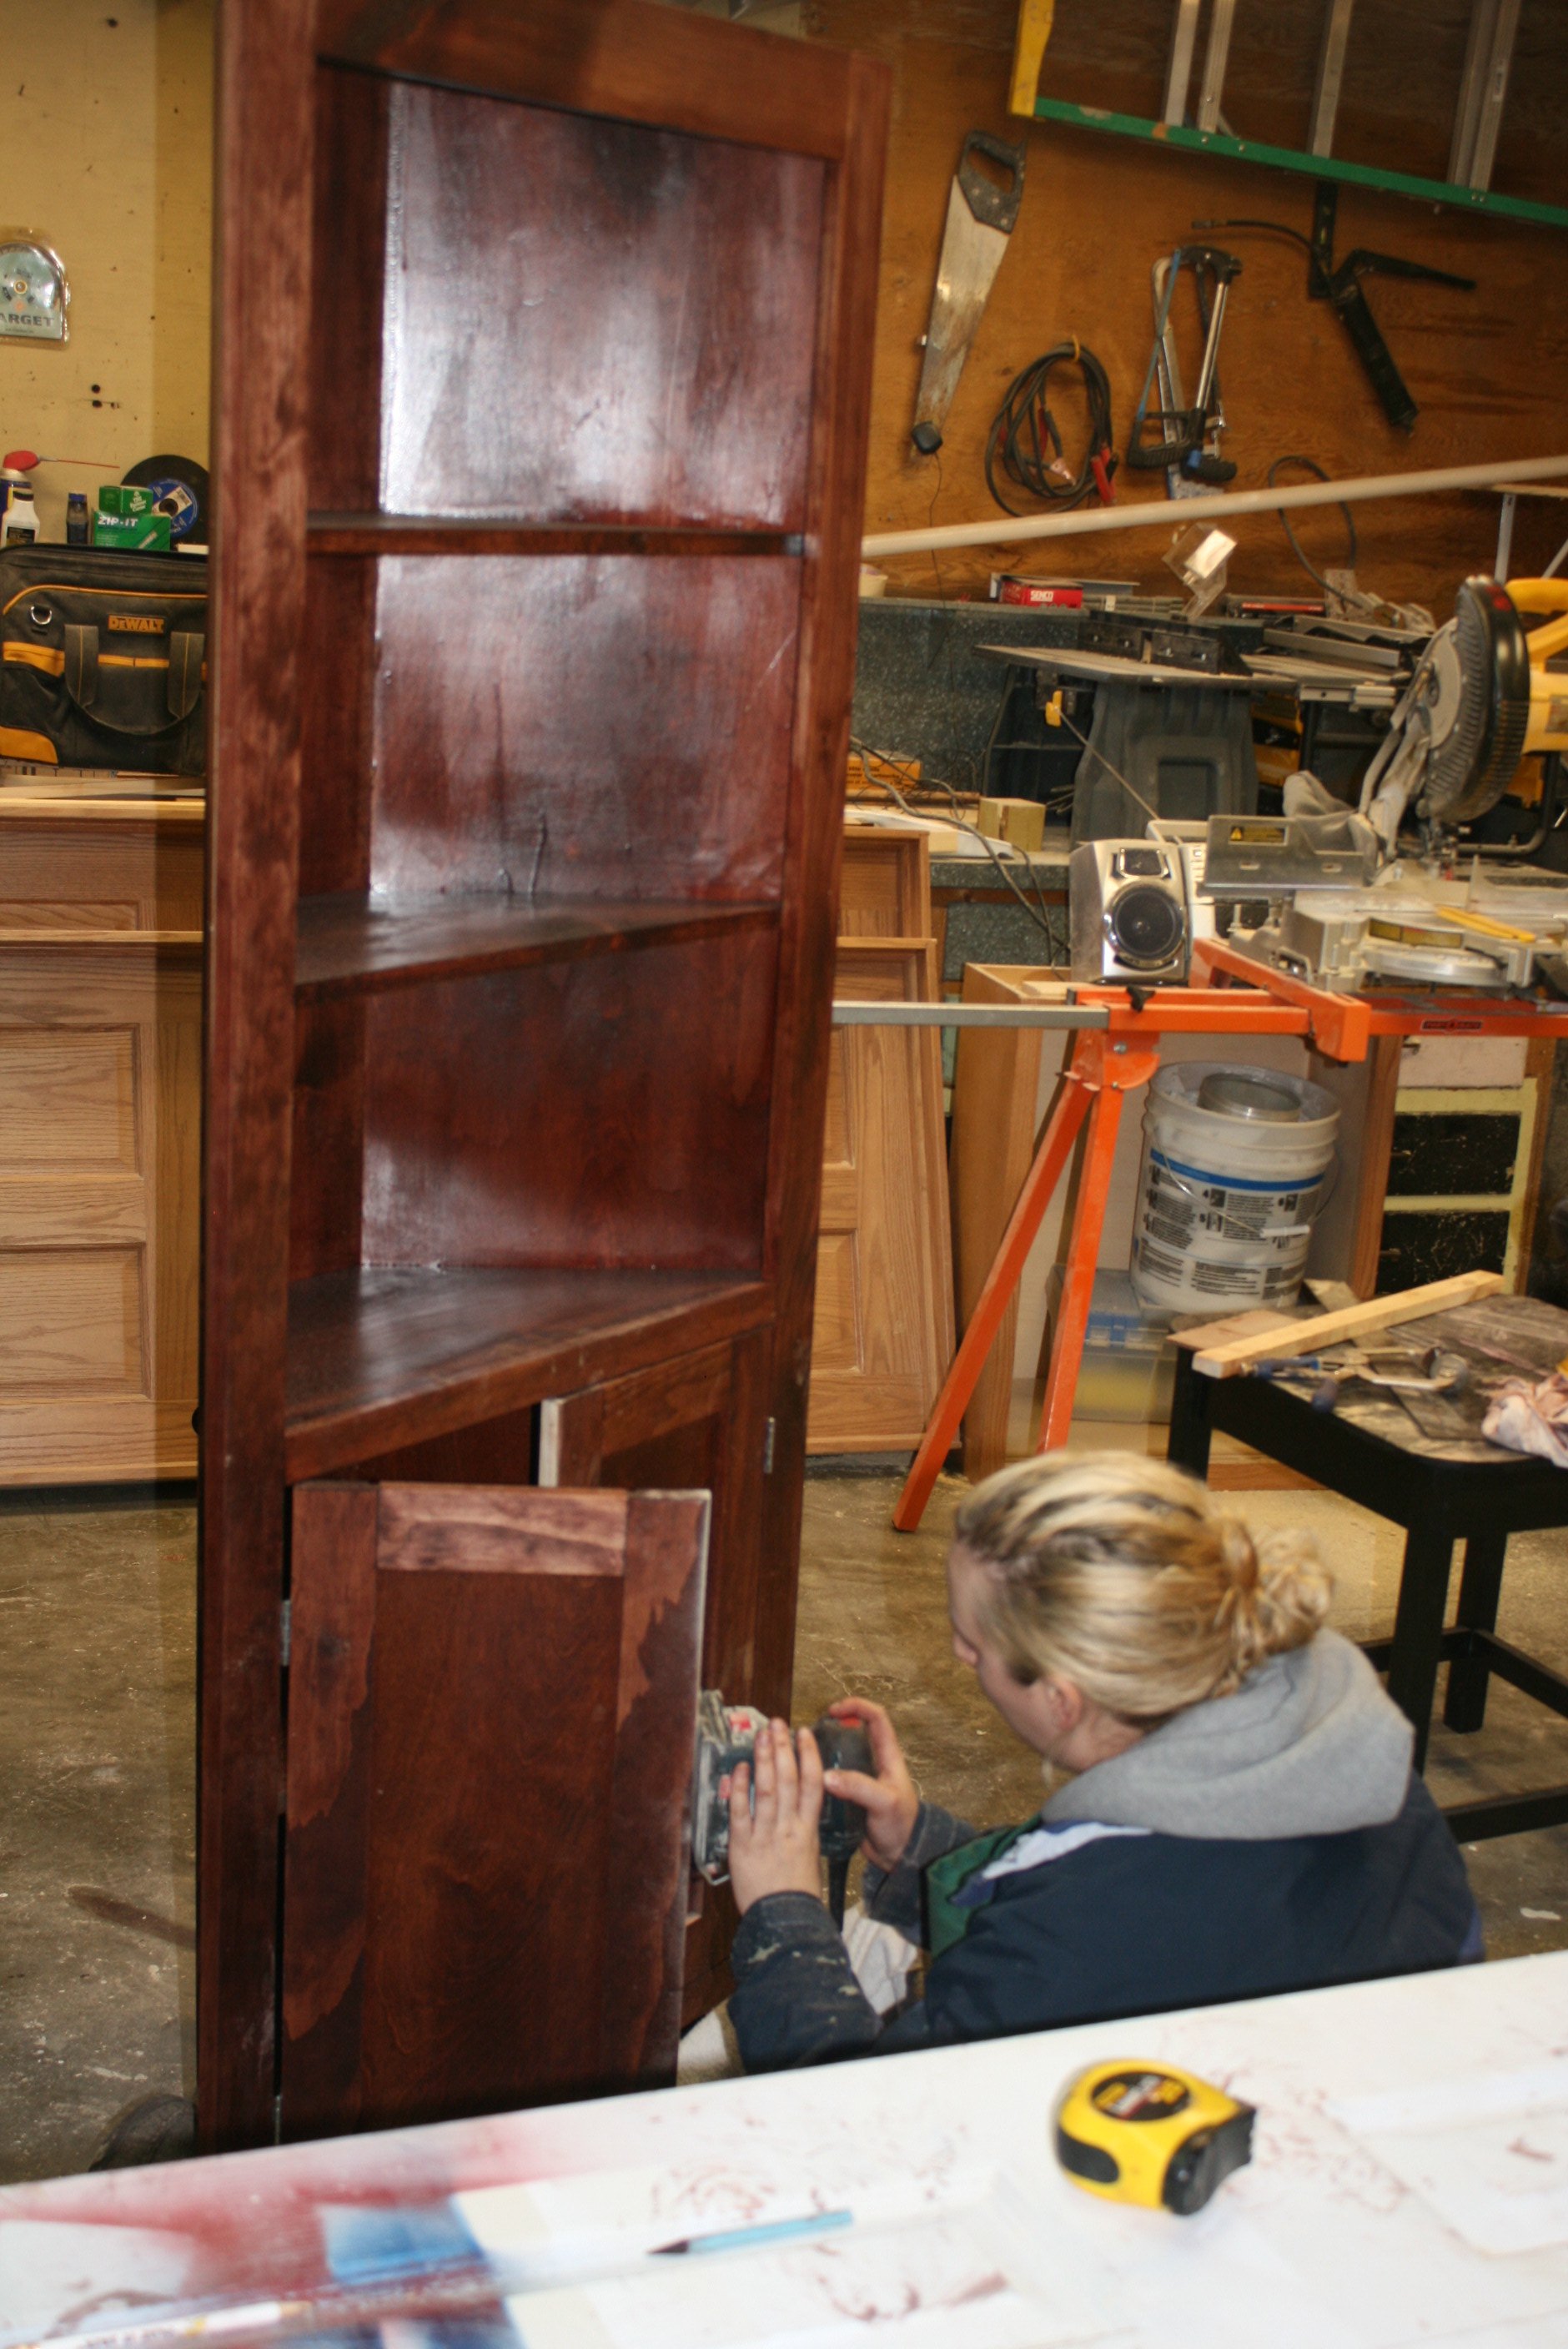
Corner Cupboard Storage

After Christmas I was talking to my cousin, she told me how she now needed storage to hide her new gifts she had received. Of course I wasted no time and told her about Ana's site.
So as we enjoyed lunch she pulled out her handy "smart phone" and began searching for the perfect plan for her needs.
It didn't take long for her to find the plan that suited her needs and we began planning. I got all the materials together and did some presanding so we could get this baby complete in her short weekend visit.
This plan was easy to cut and stain, however assembly was a bit more difficult as the angles made it difficult to get your bits into tighten kreg screws.
We didn’t make the bottom shelf adjustable however made it high enough for the mixer she wished to hide within it.
Other than typical door hanging issues the project turned out beautiful! The bottom cupboard doors even provided enough room for her large mixer and griddle.
Before she took her project home to enjoy she was already planning her next project.
These plans are beautiful, functional and do-able.
Thank you again Ana for making another person’s life’s organized!
Built from Plan(s)
Estimated Time Investment
Weekend Project (10-20 Hours)
Finish Used
varathane-red oak 3 coats
minwax poly
minwax poly
Recommended Skill Level
Intermediate
Comments
Thu, 02/09/2012 - 18:19
Corner Cupboard Storage
You gals are amazing! Can't wait to see the next project.
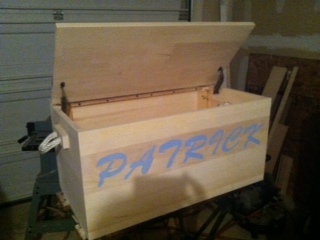
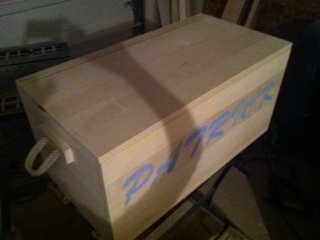
My nephews toy box
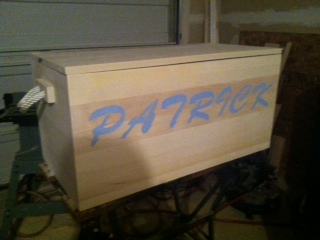
My husband and I built a toy box for our nephew for Christmas. We were able to complete this project in a day and were very satisfied with how it turned out. We used rope for the handles. And for the lid we used a long hinge along with 2 shocks so the lid would not collapse on his little hands. Because the pine was so nice, neither of us wanted to cover it up. :)
Estimated Cost
$120.00
Estimated Time Investment
Day Project (6-9 Hours)
Finish Used
No finish
Recommended Skill Level
Beginner
Rustic X End Table
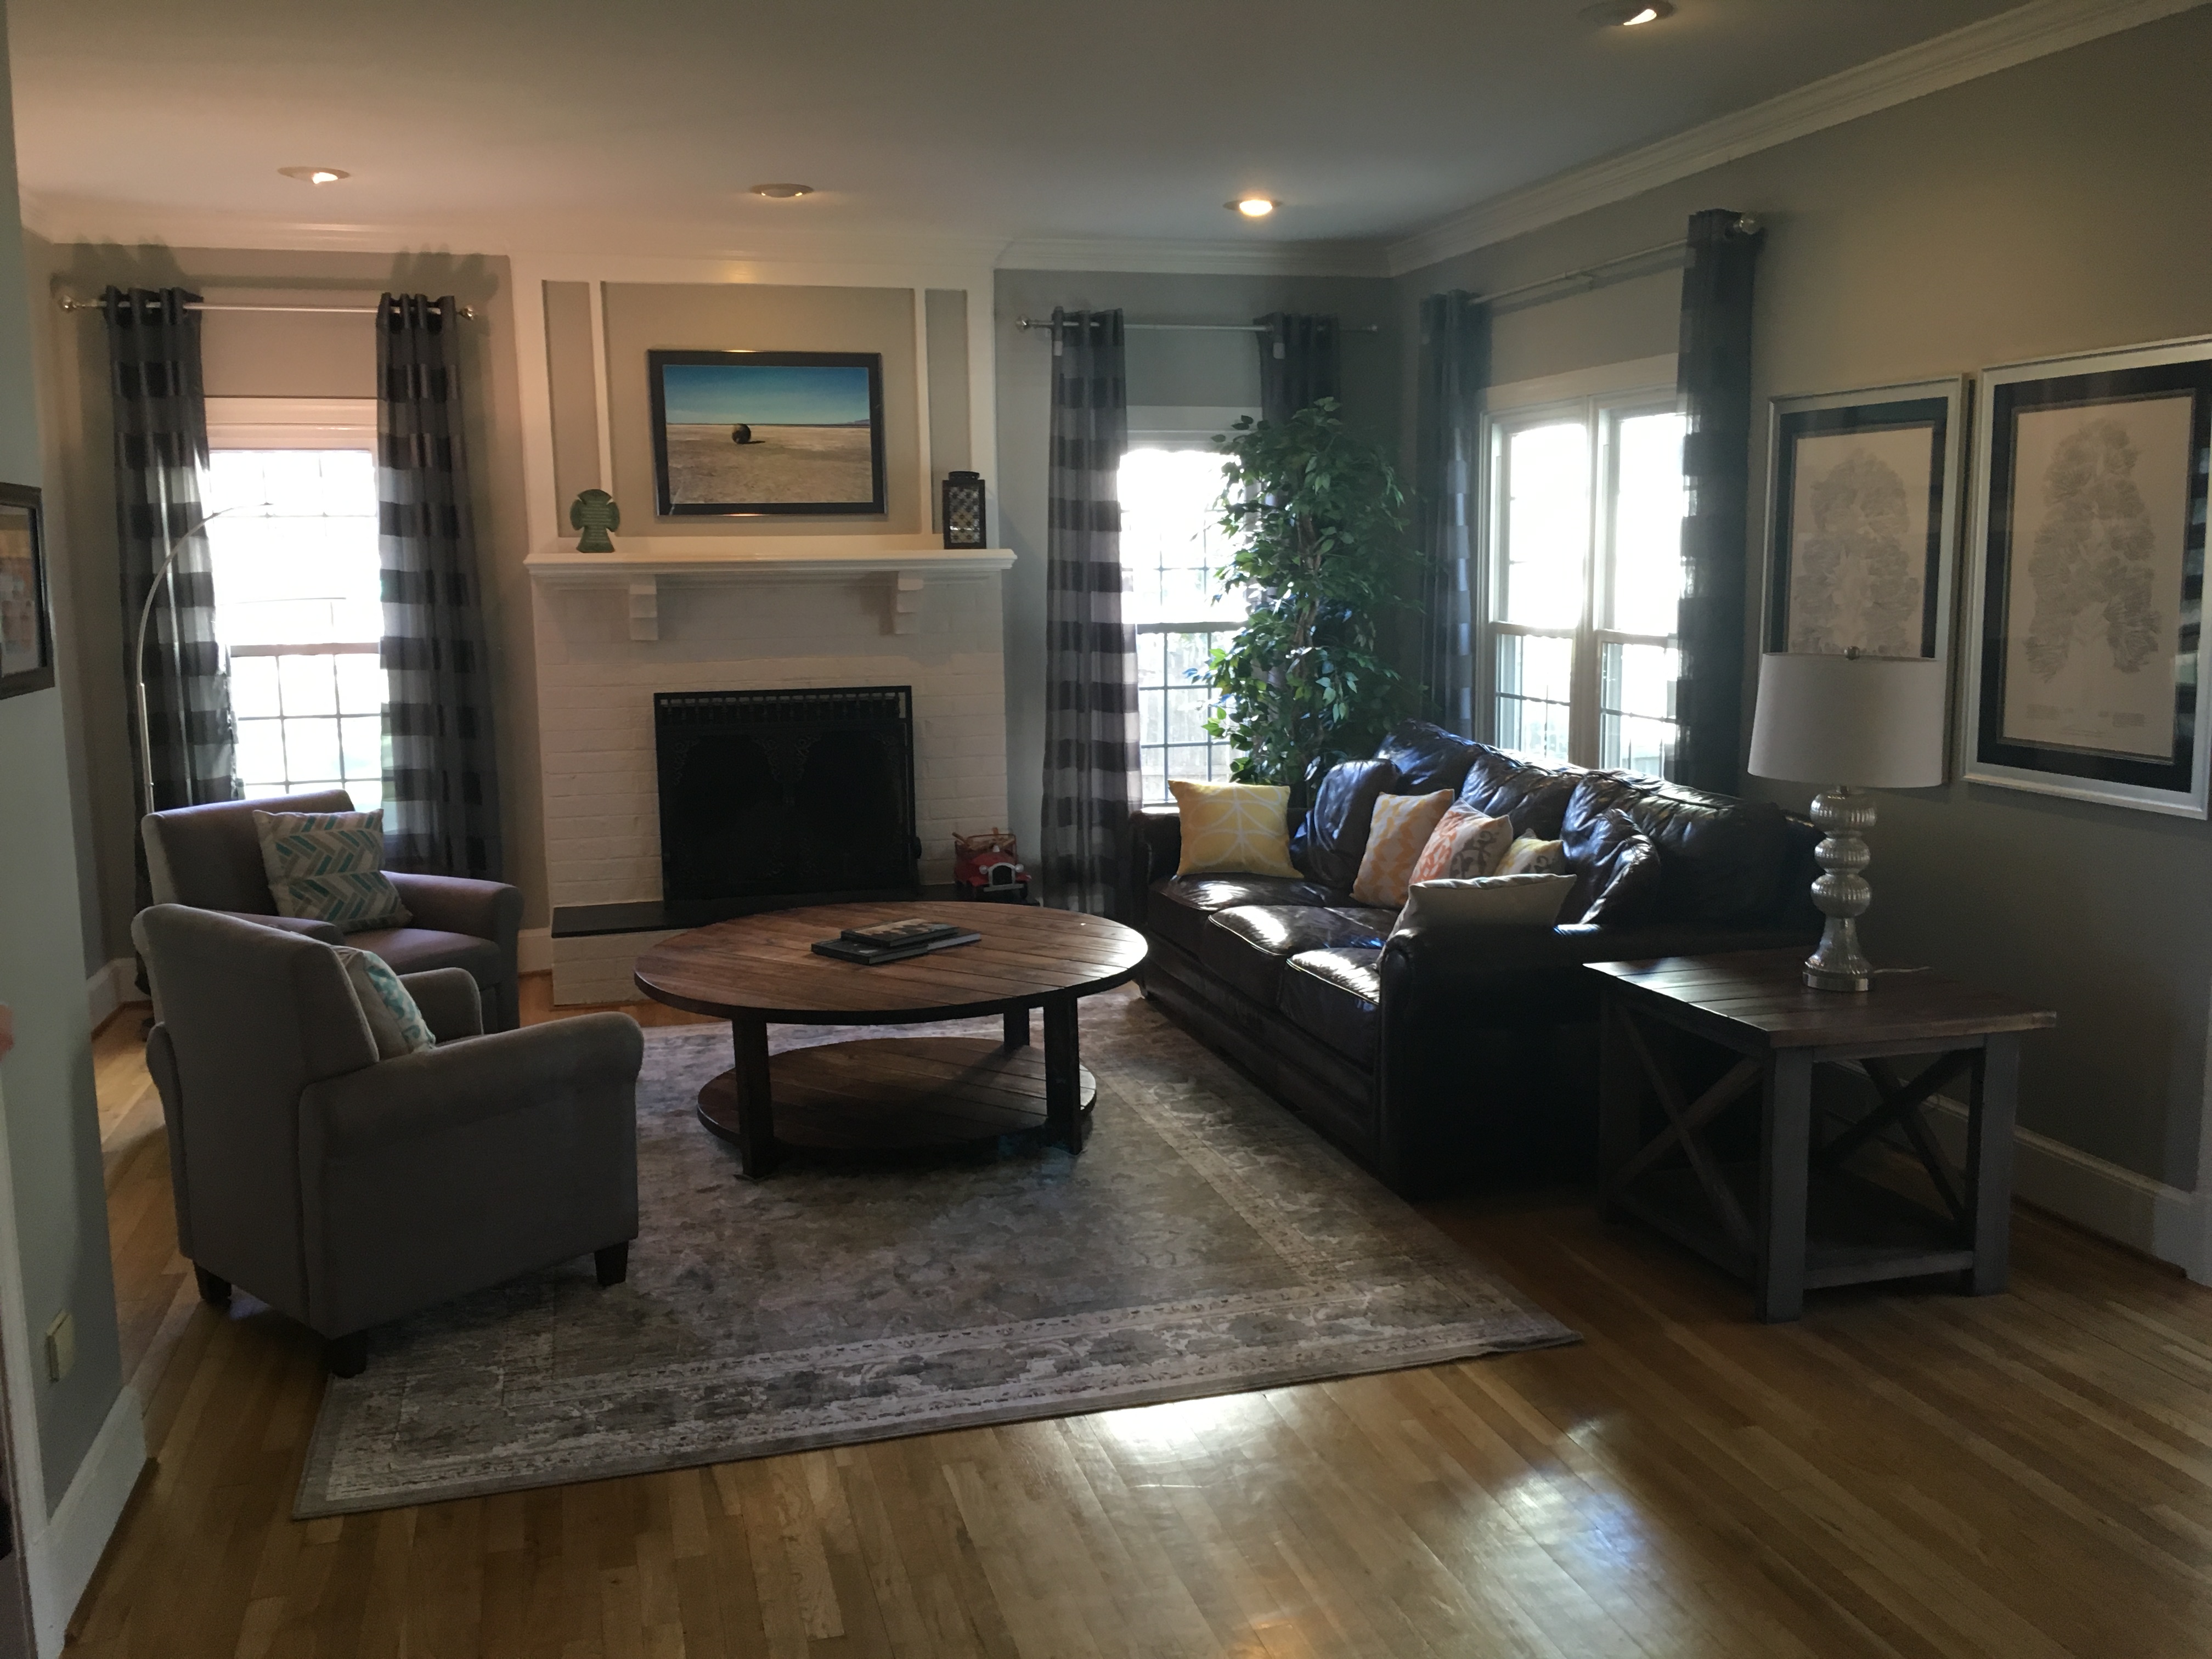
We took on the rustic x table project and used the oxidization process described in the links (black tea then vinegar/steel wool mix). It turned out great! A few things I learned... When using the black tea if the tea runs it makes a difference. I had my wood up against a wall and was painting vertically. It pooled at the bottom, seeping into the wood. Didn't think this was a big deal but when I went to oxidize it you could see where it seeped. I couldn't sand it out without really lightening the wood too much. So, its there as part of my imperfect project. It kind of adds to the rustic look :) I let the vinegar/wool steep for a long time so it was more brown than gray. I ended up liking it (read: i didn't want to redo the whole thing) so I went with it. I really do like it though. I had to sand a lot to get it to lighten up some. We wanted a coffee table too- but something round. So, my husband invented the coffee table you see in the picture. He used the same kind of wood as the rustic x table and we used the same process to finish it. The time estimate mentioned below is just the end table.
Built from Plan(s)
Estimated Time Investment
Weekend Project (10-20 Hours)
Finish Used
Black Tea base
Vinegar/steel wool to oxidize (steeped about 2 weeks)
Lots of sanding
satin poly coat
Vinegar/steel wool to oxidize (steeped about 2 weeks)
Lots of sanding
satin poly coat
Recommended Skill Level
Intermediate
Comments
Ana White Admin
Fri, 06/02/2023 - 13:25
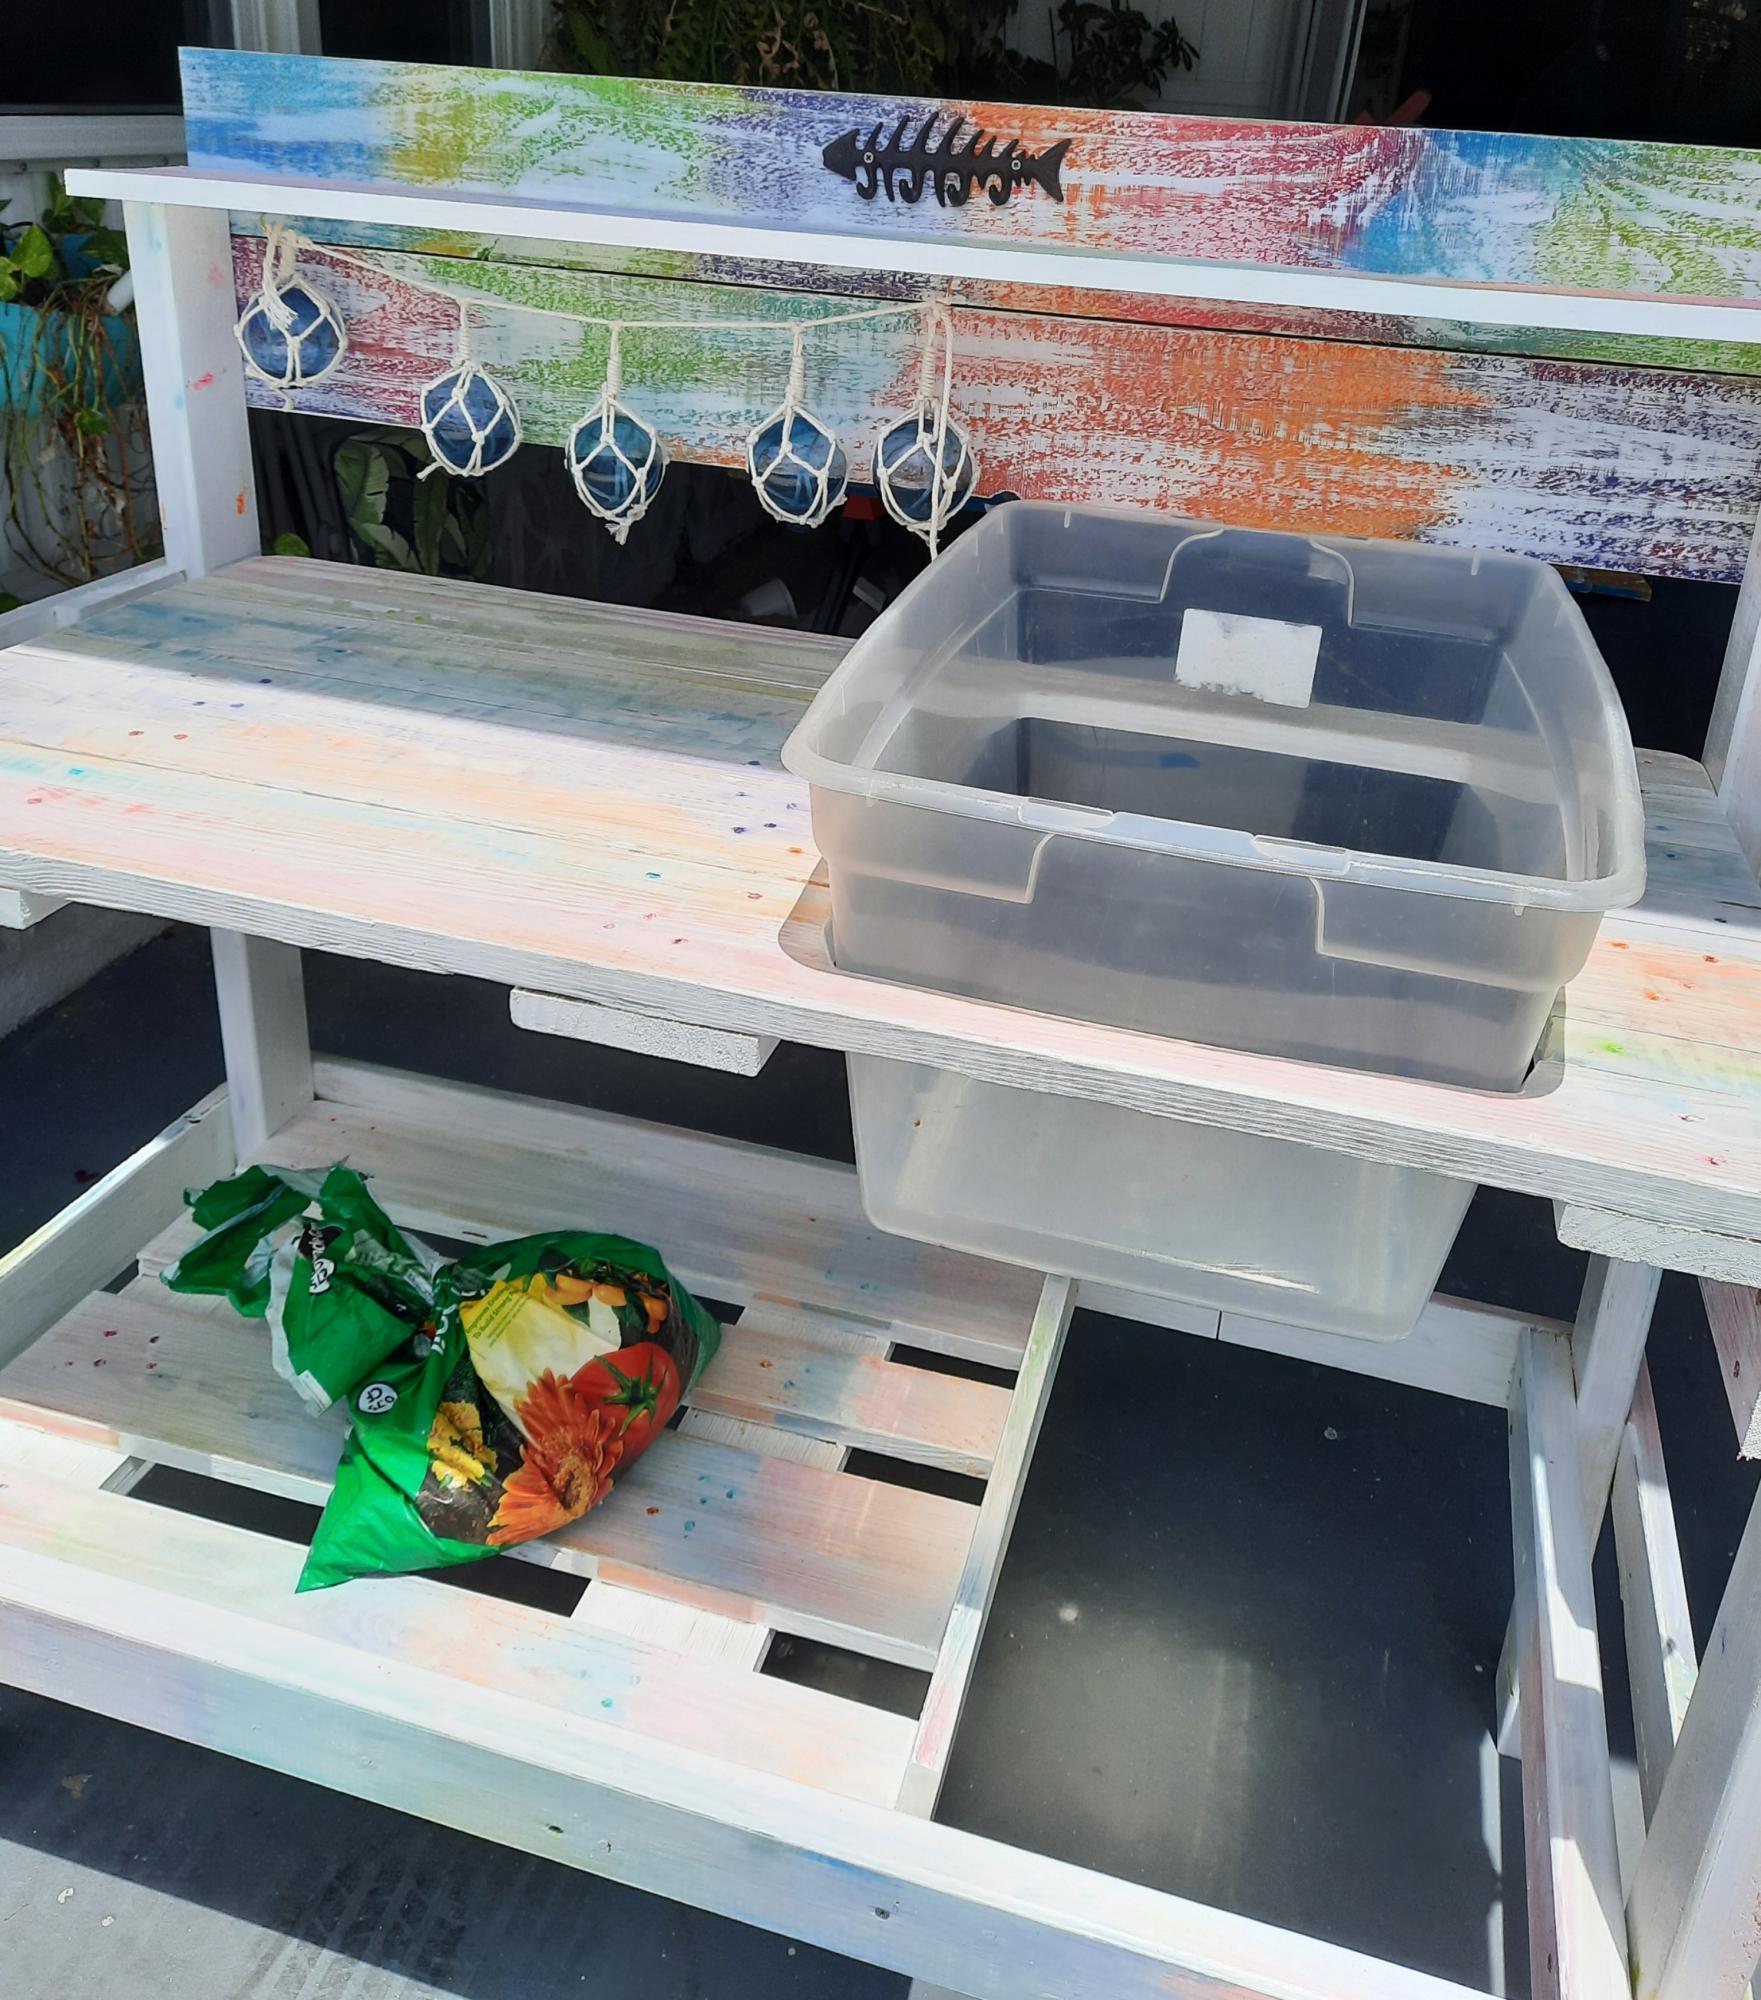
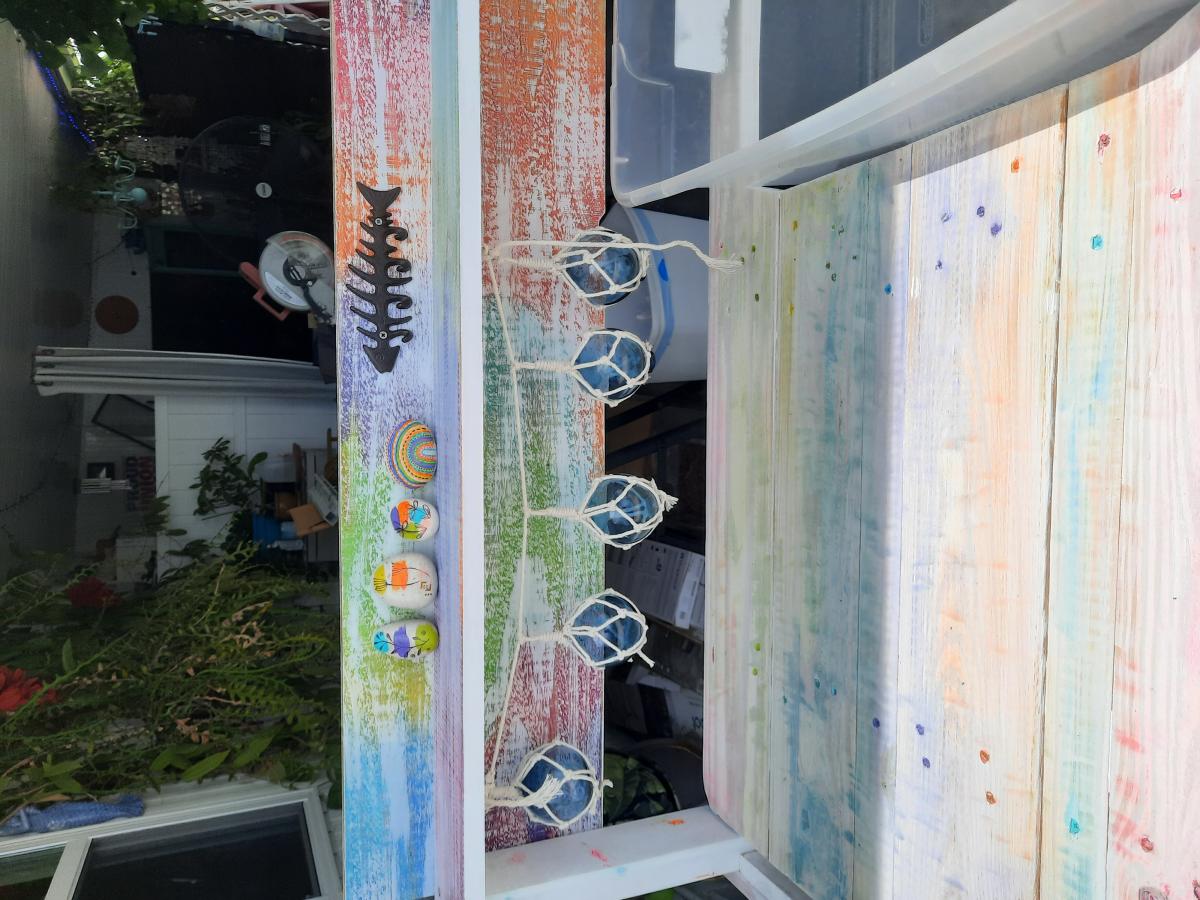
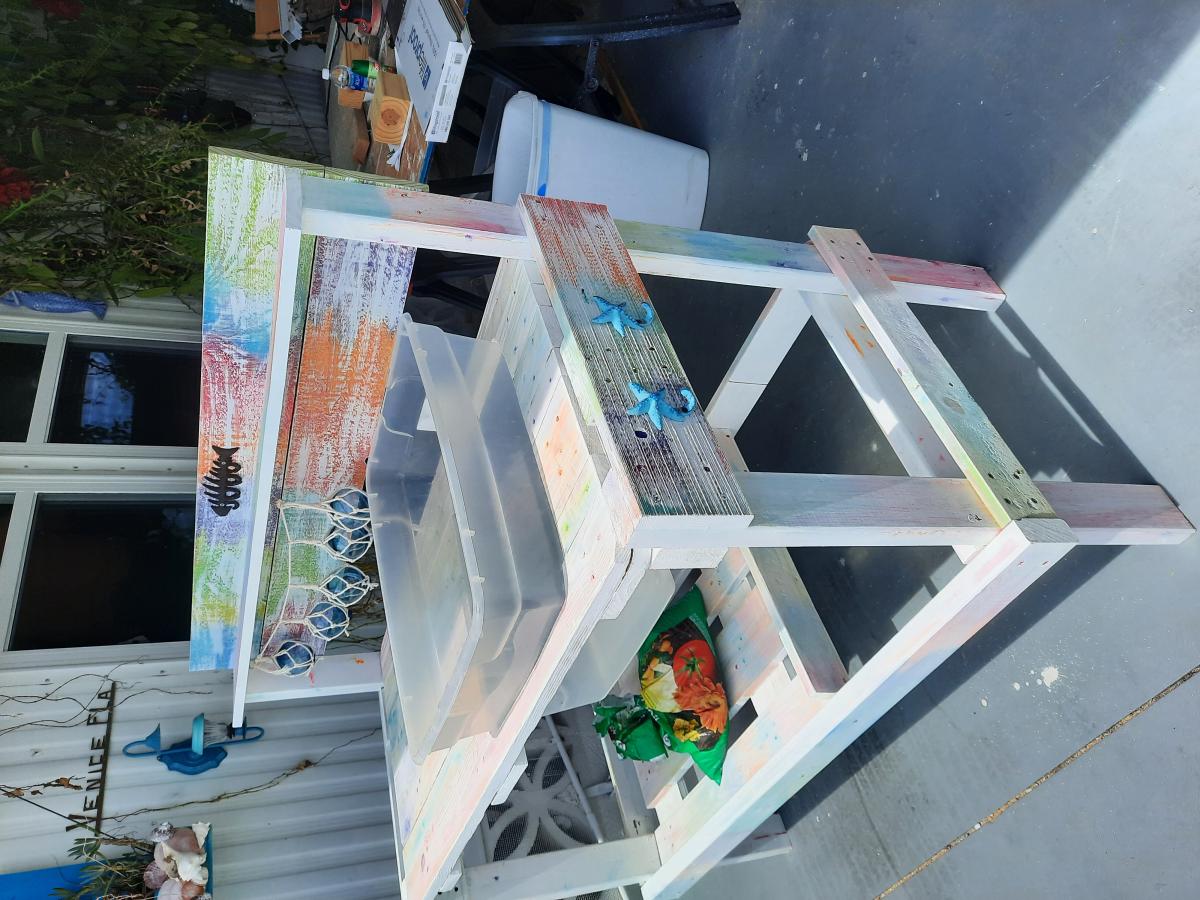
Fun potting bench!
Thanks for sharing, it looks like a great spot to work!