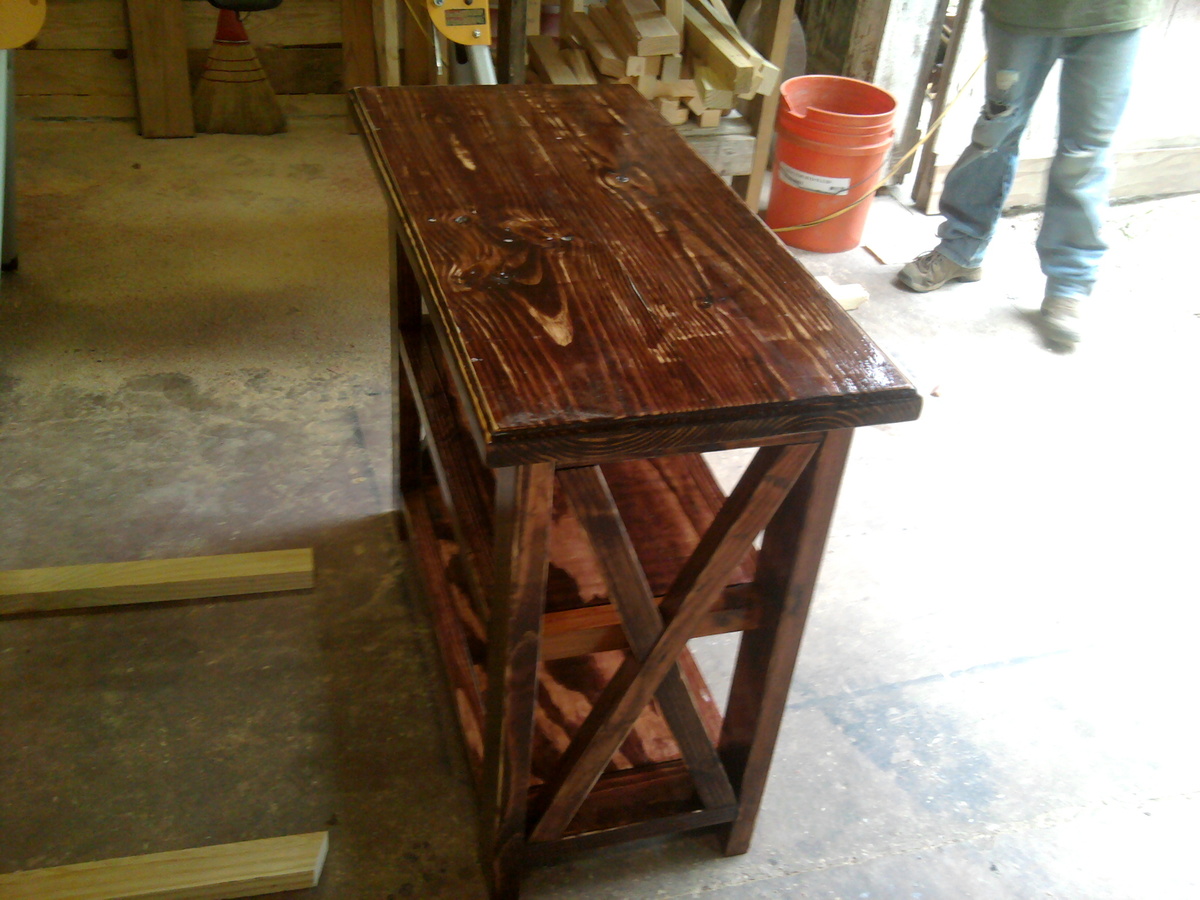
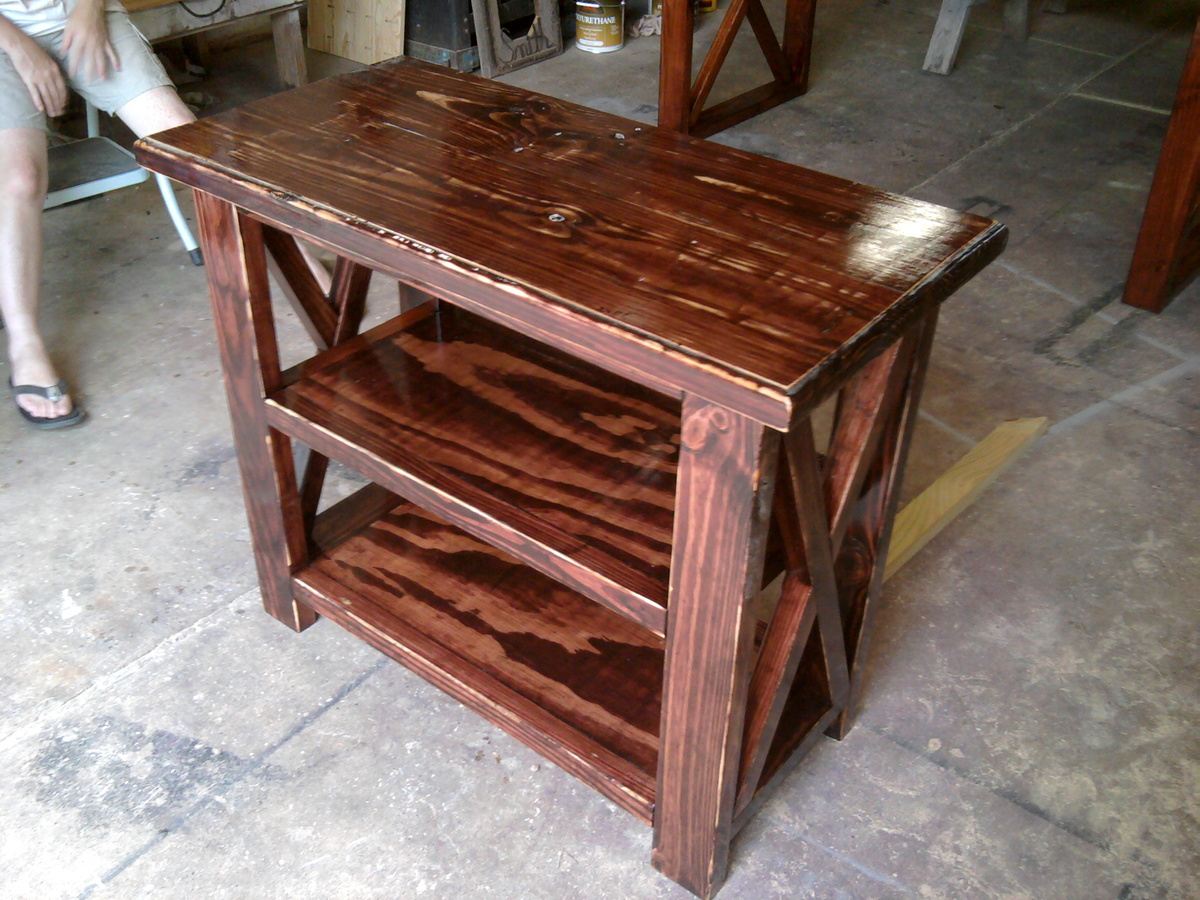
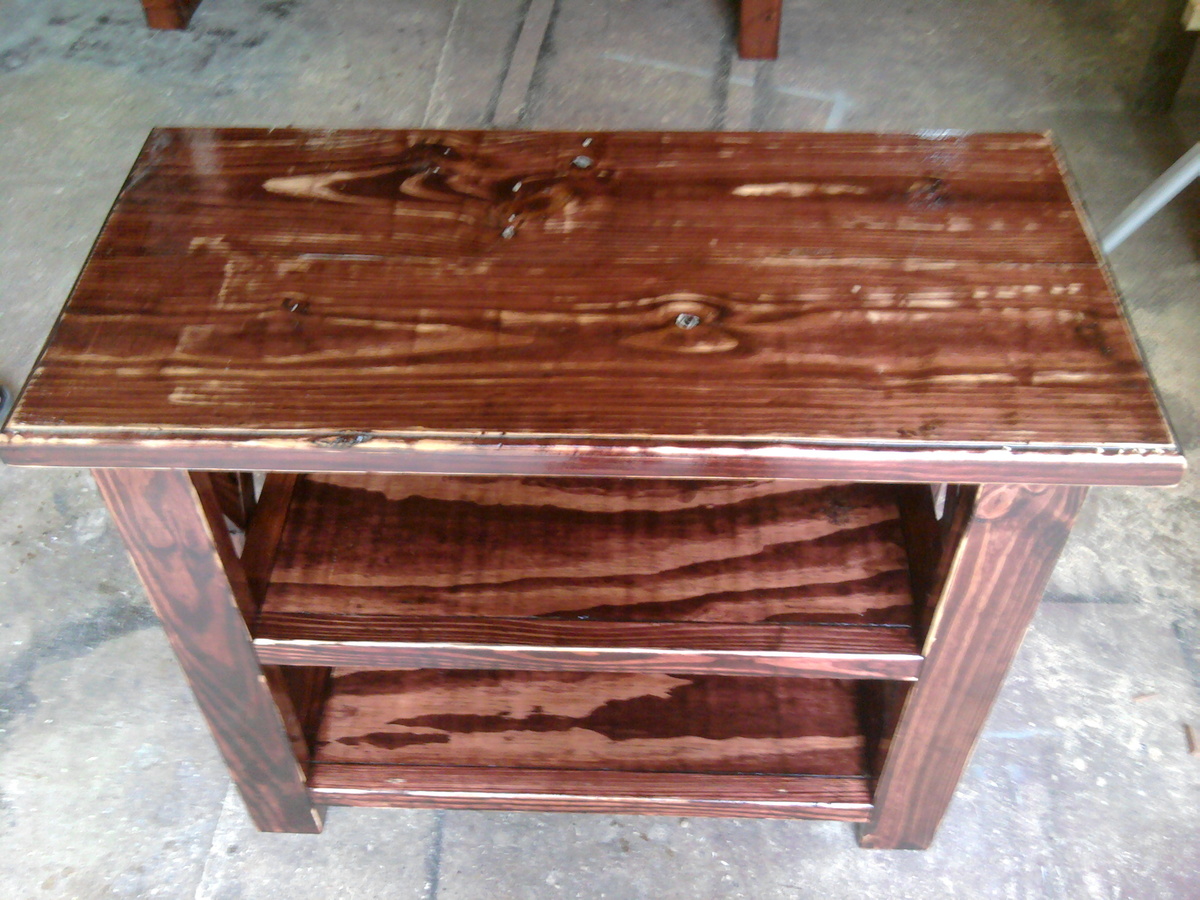
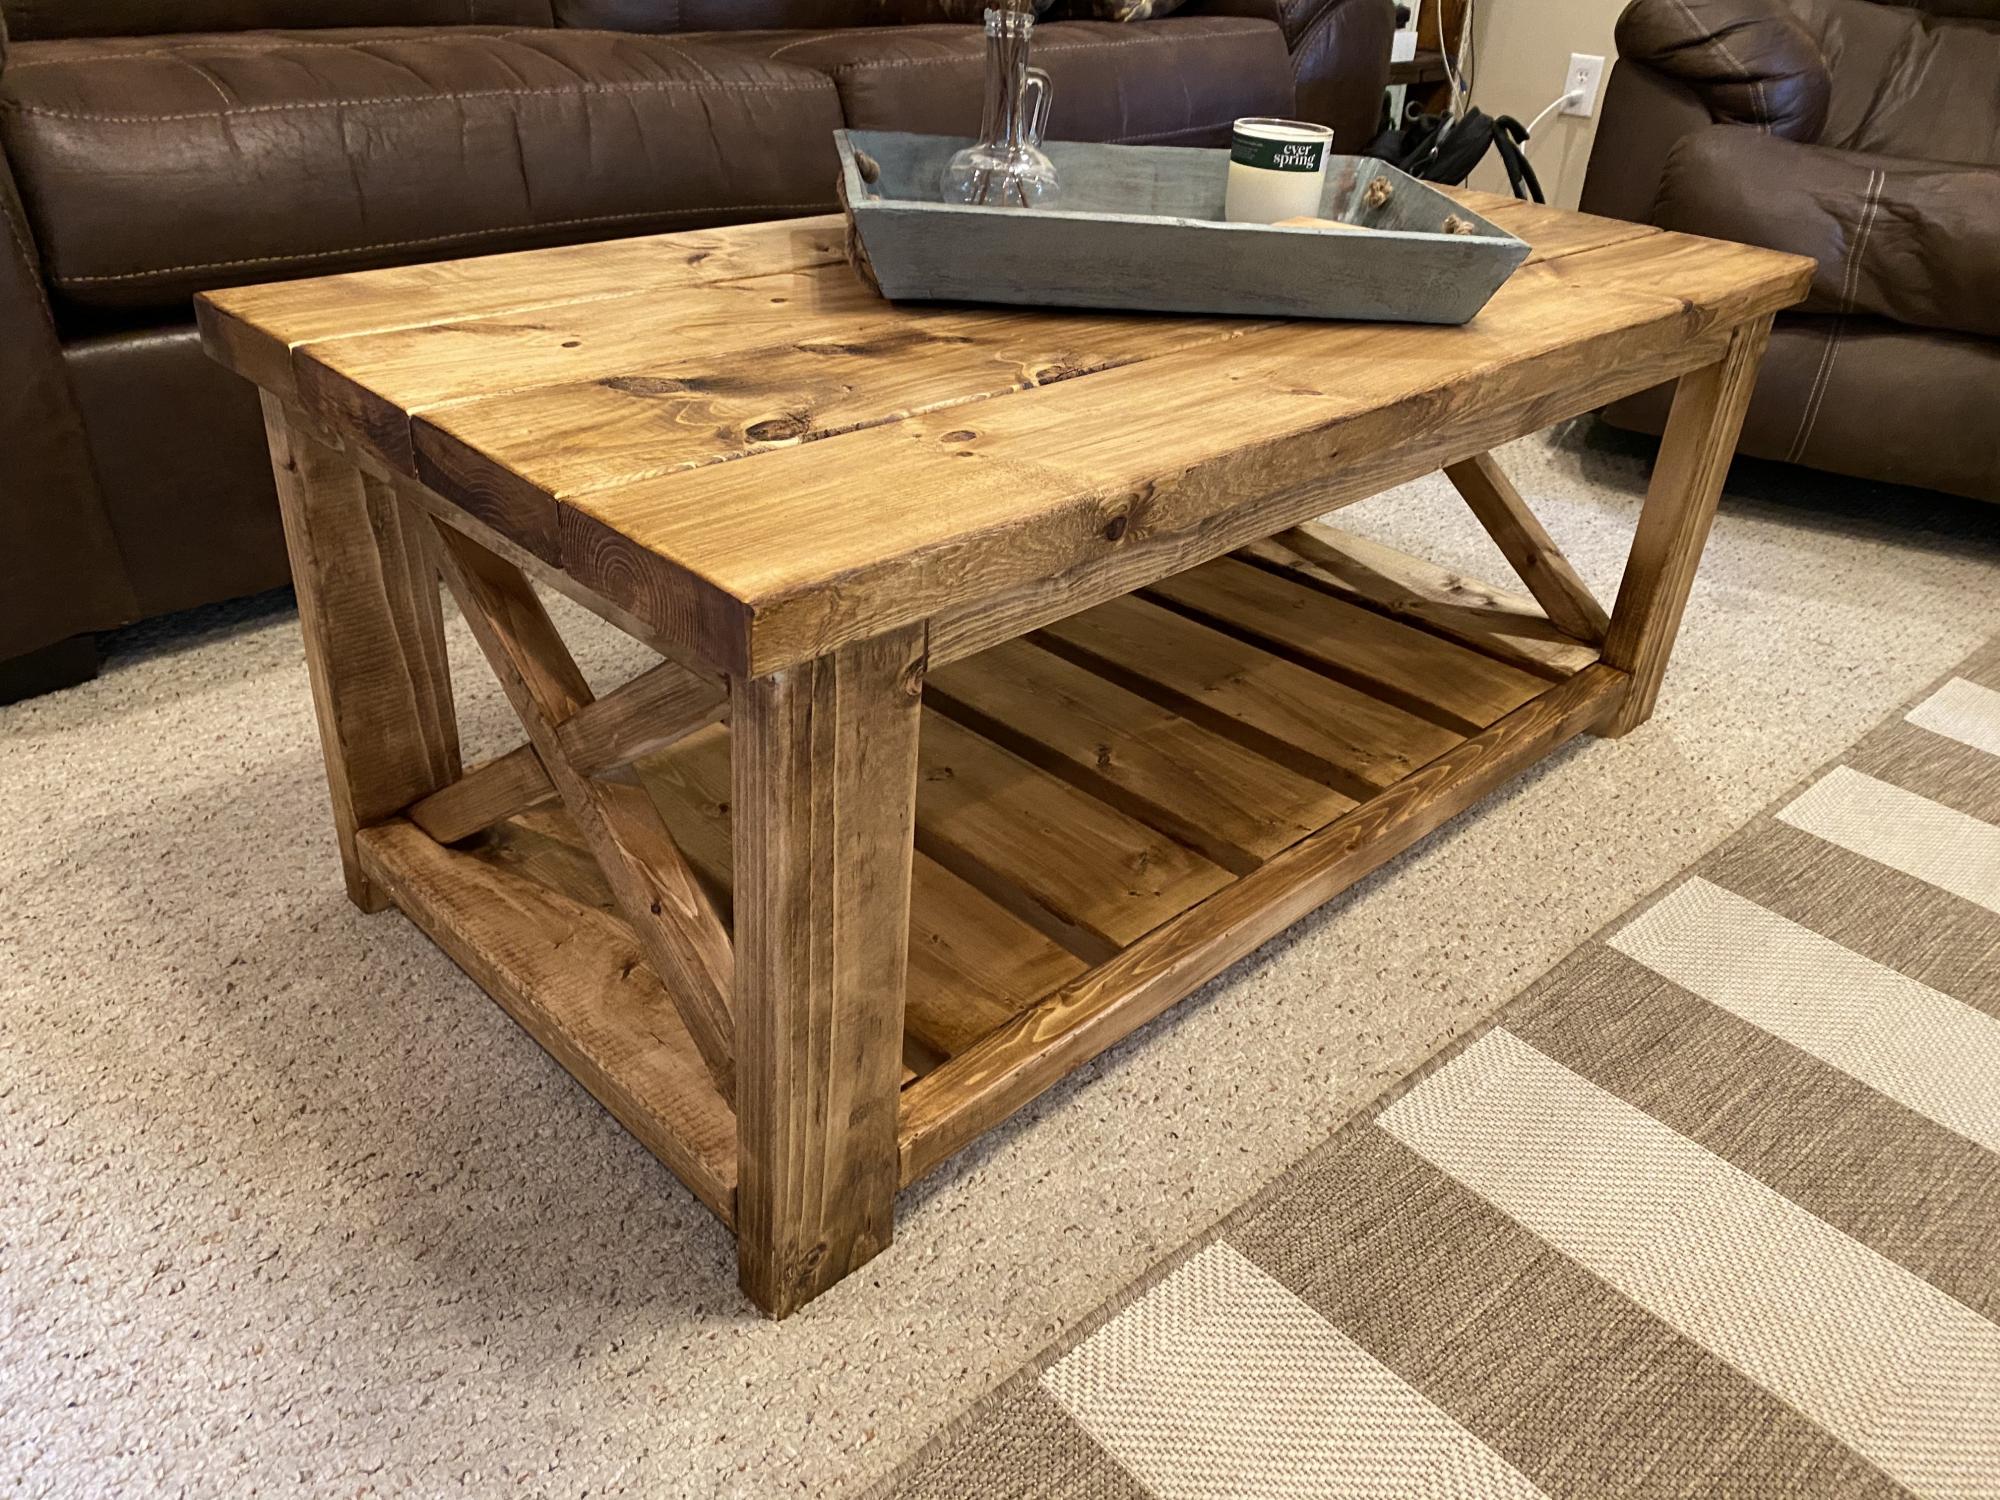
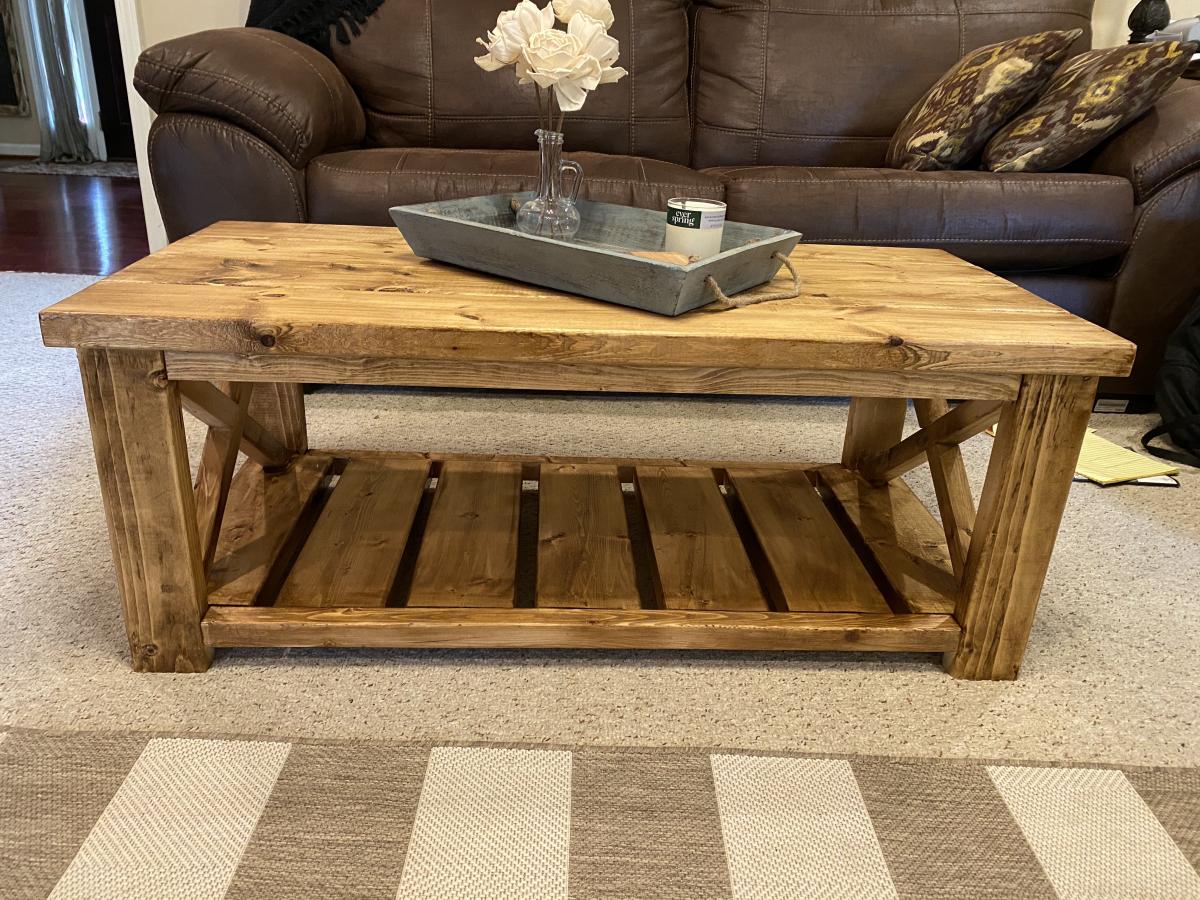
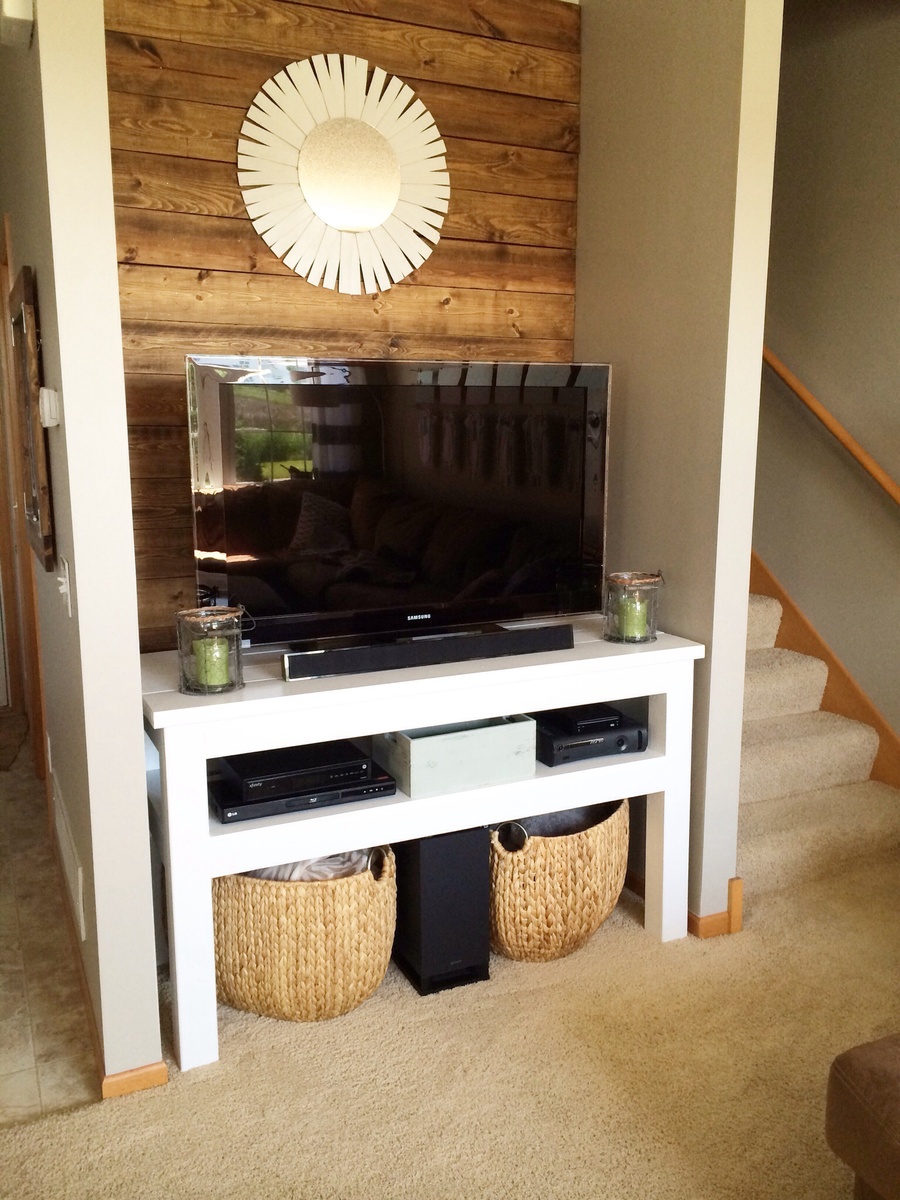
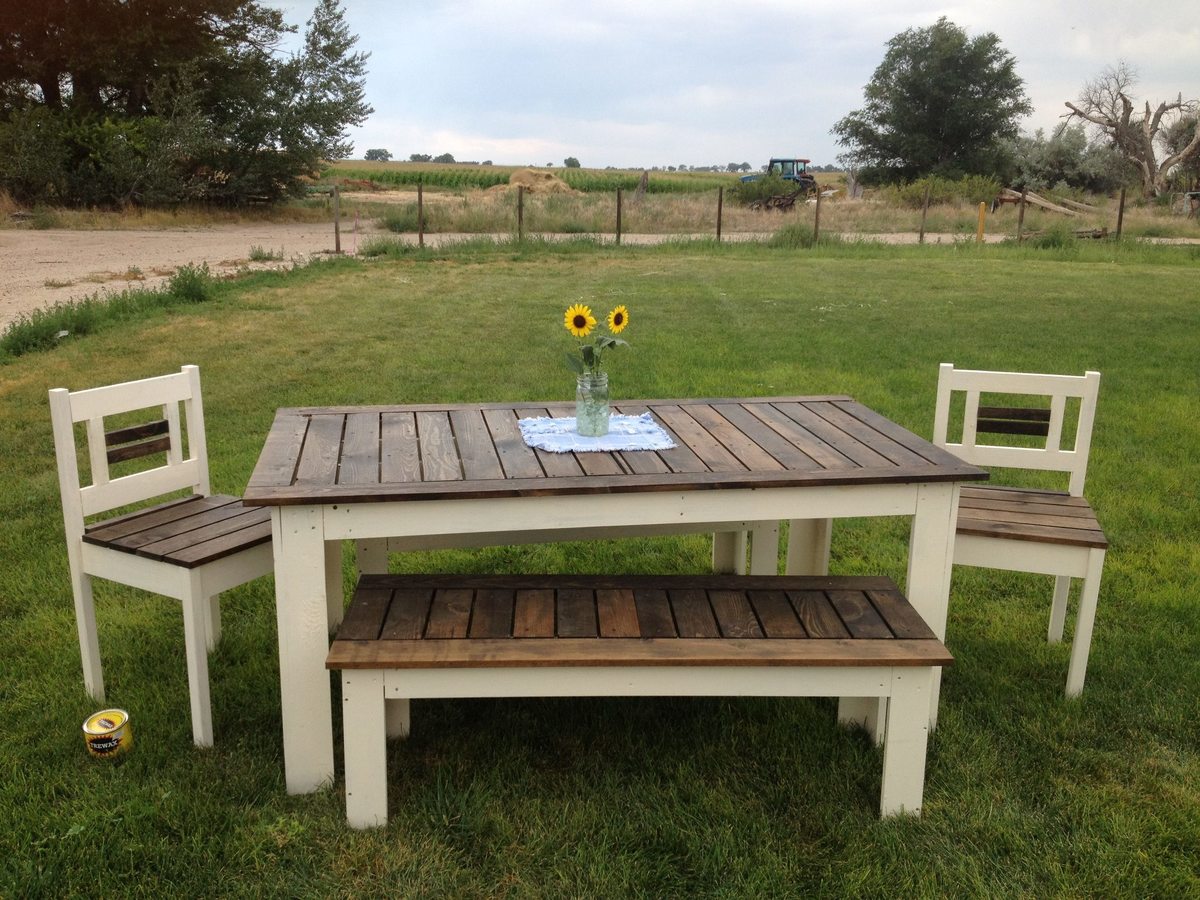
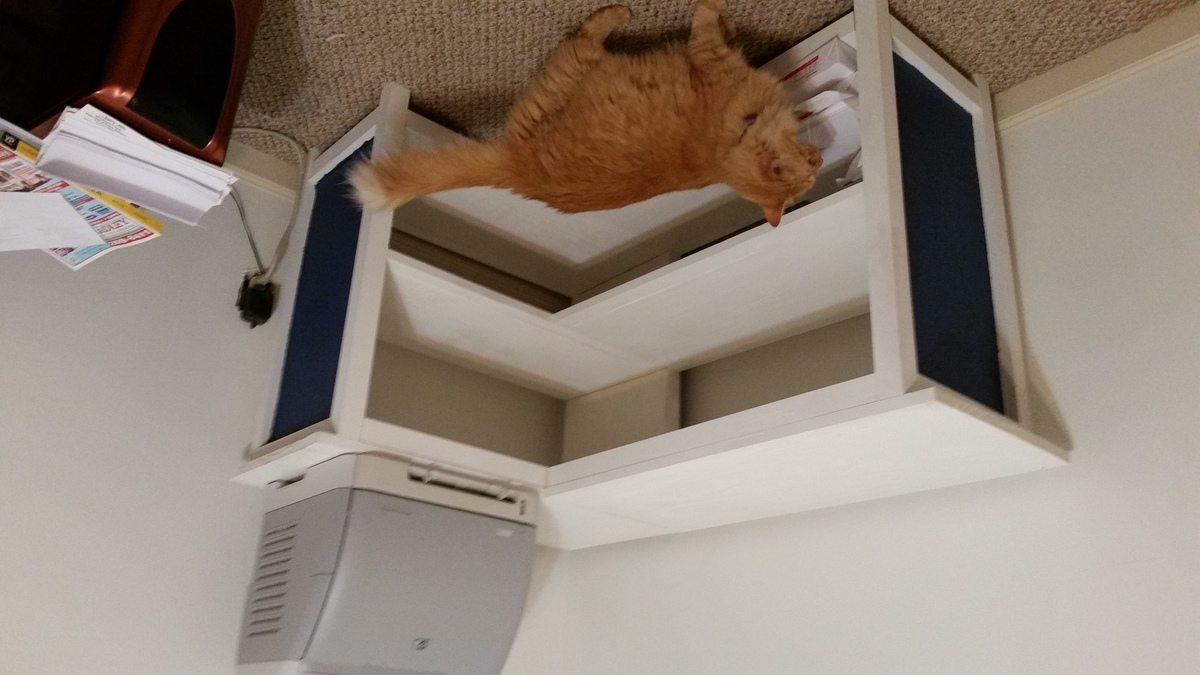
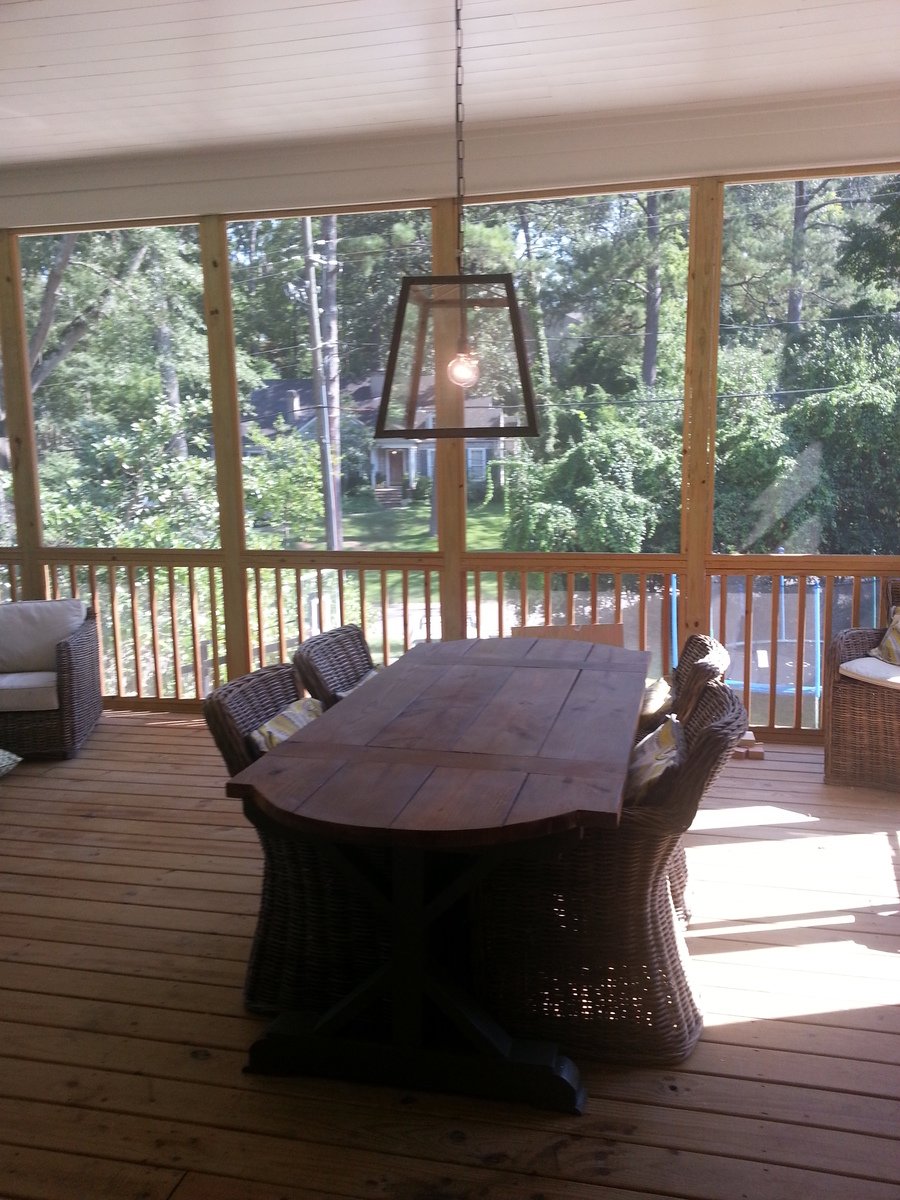
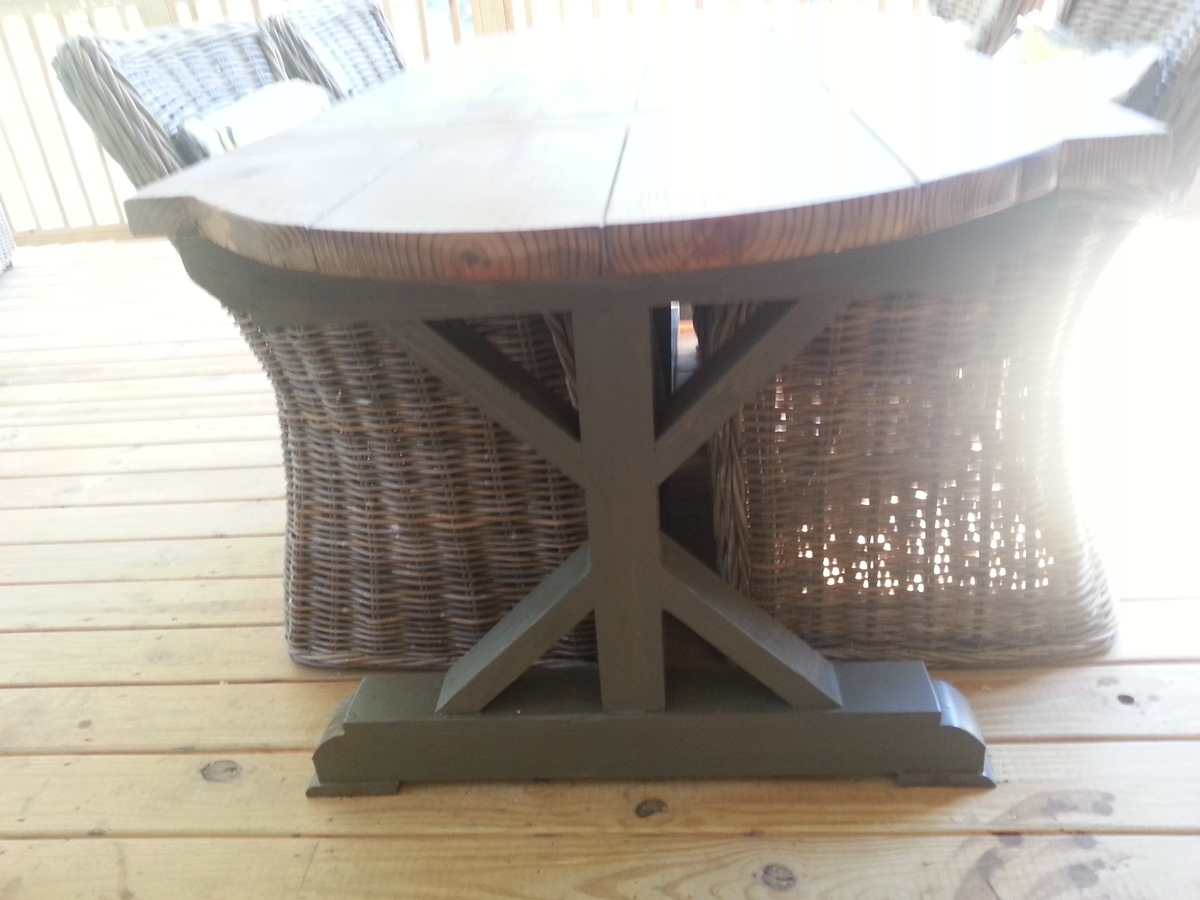
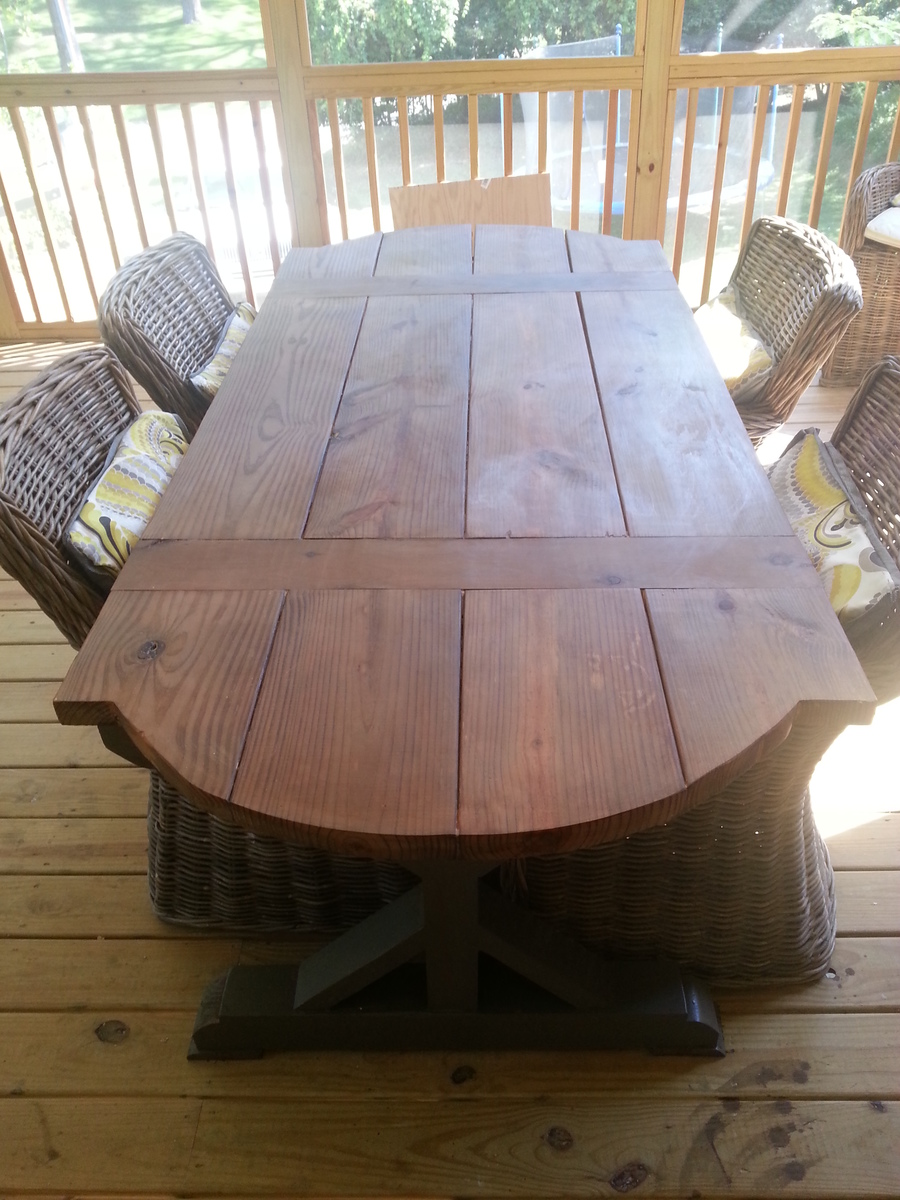
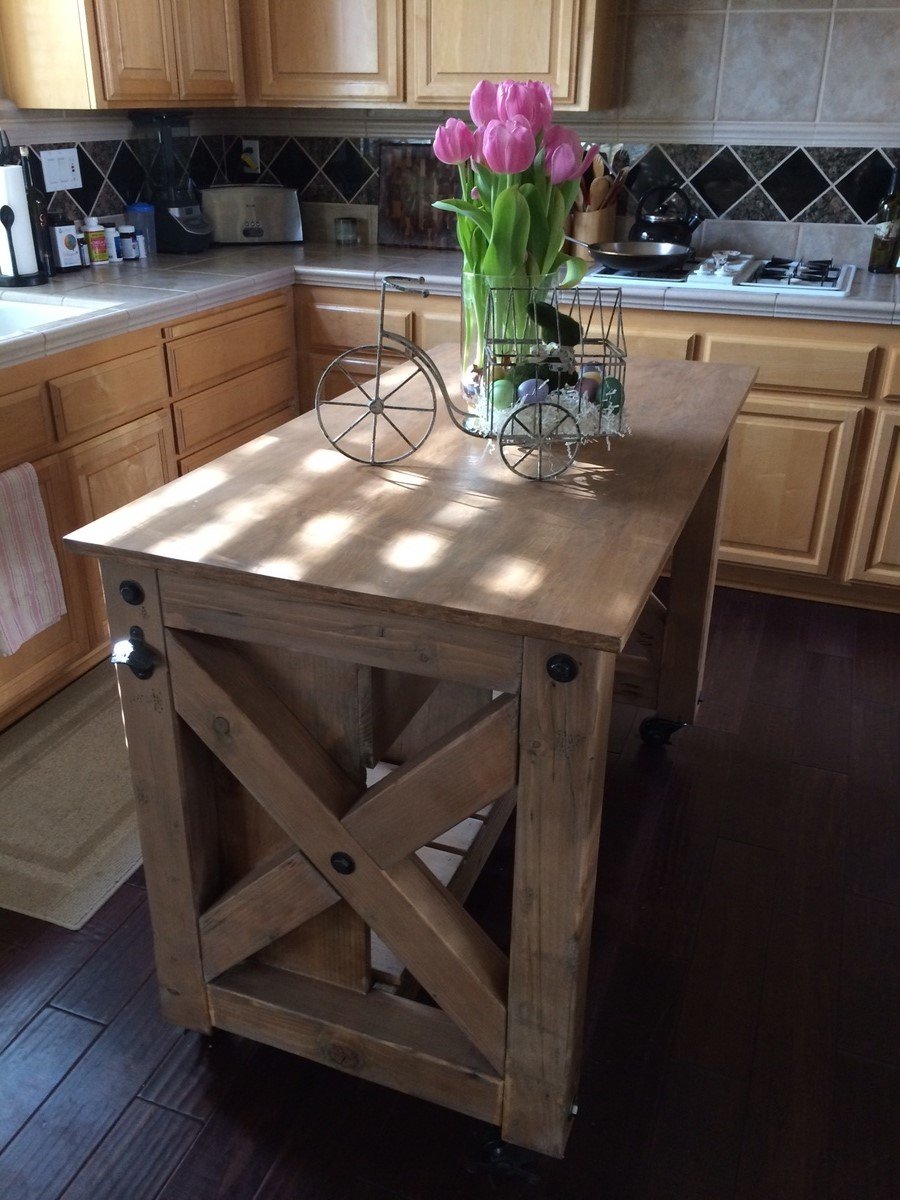
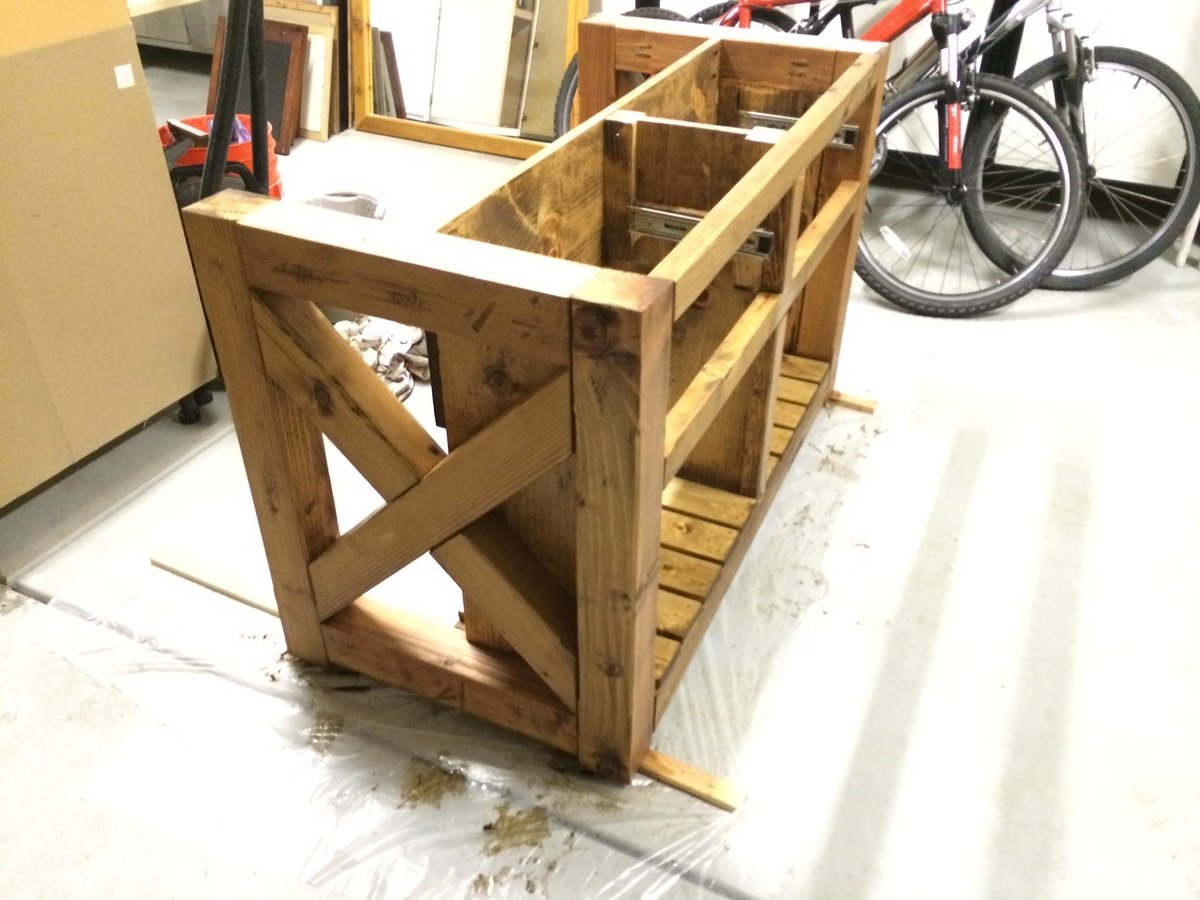
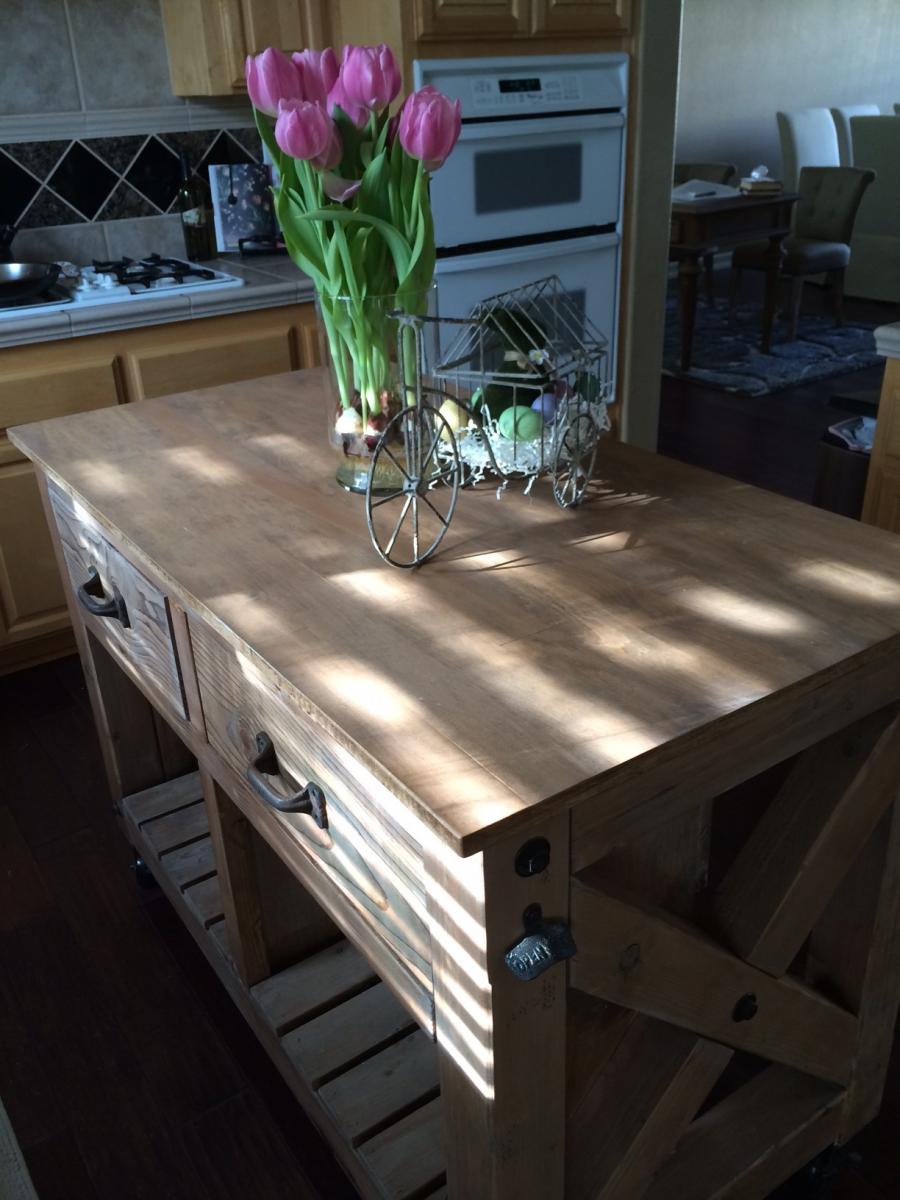
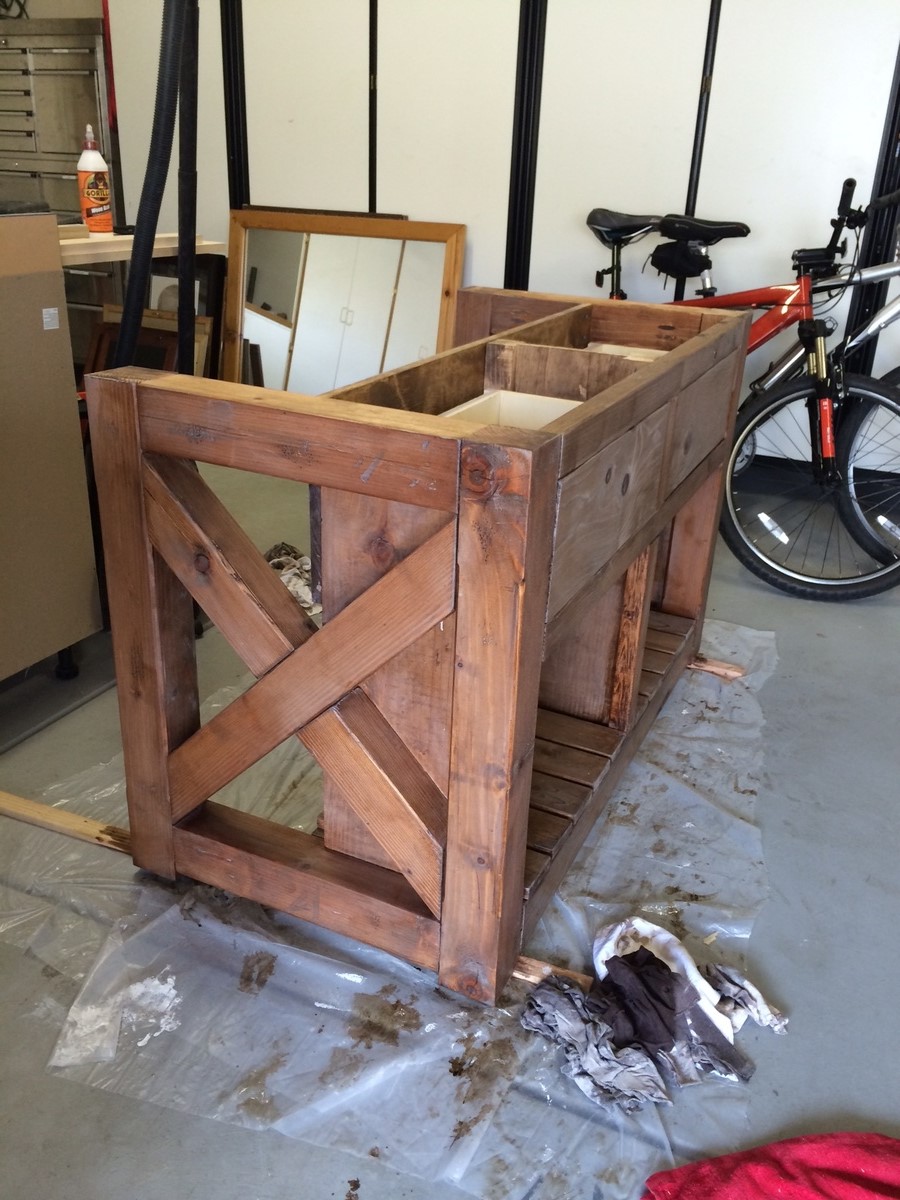
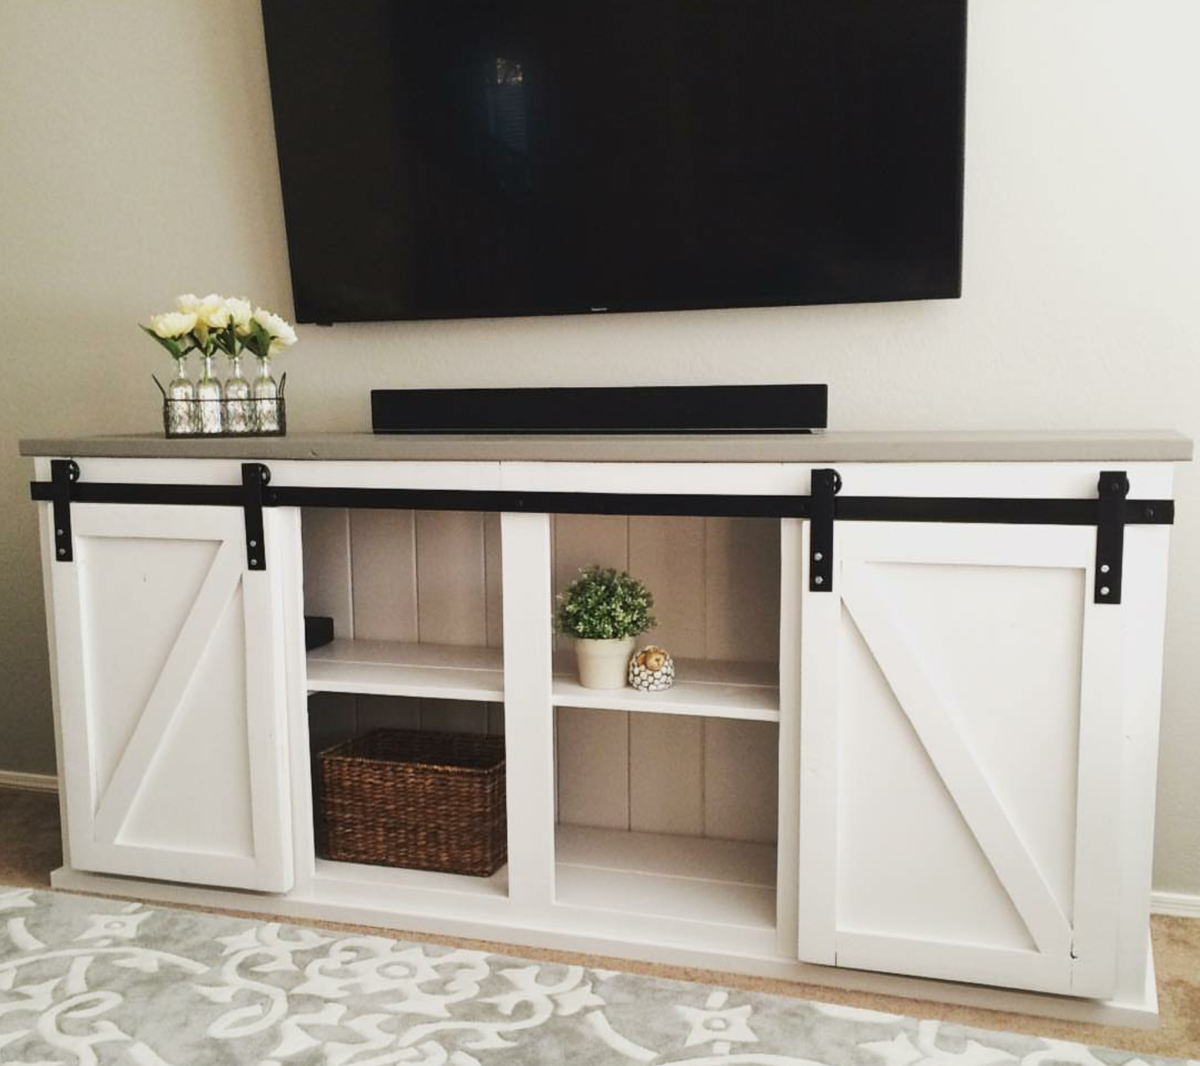
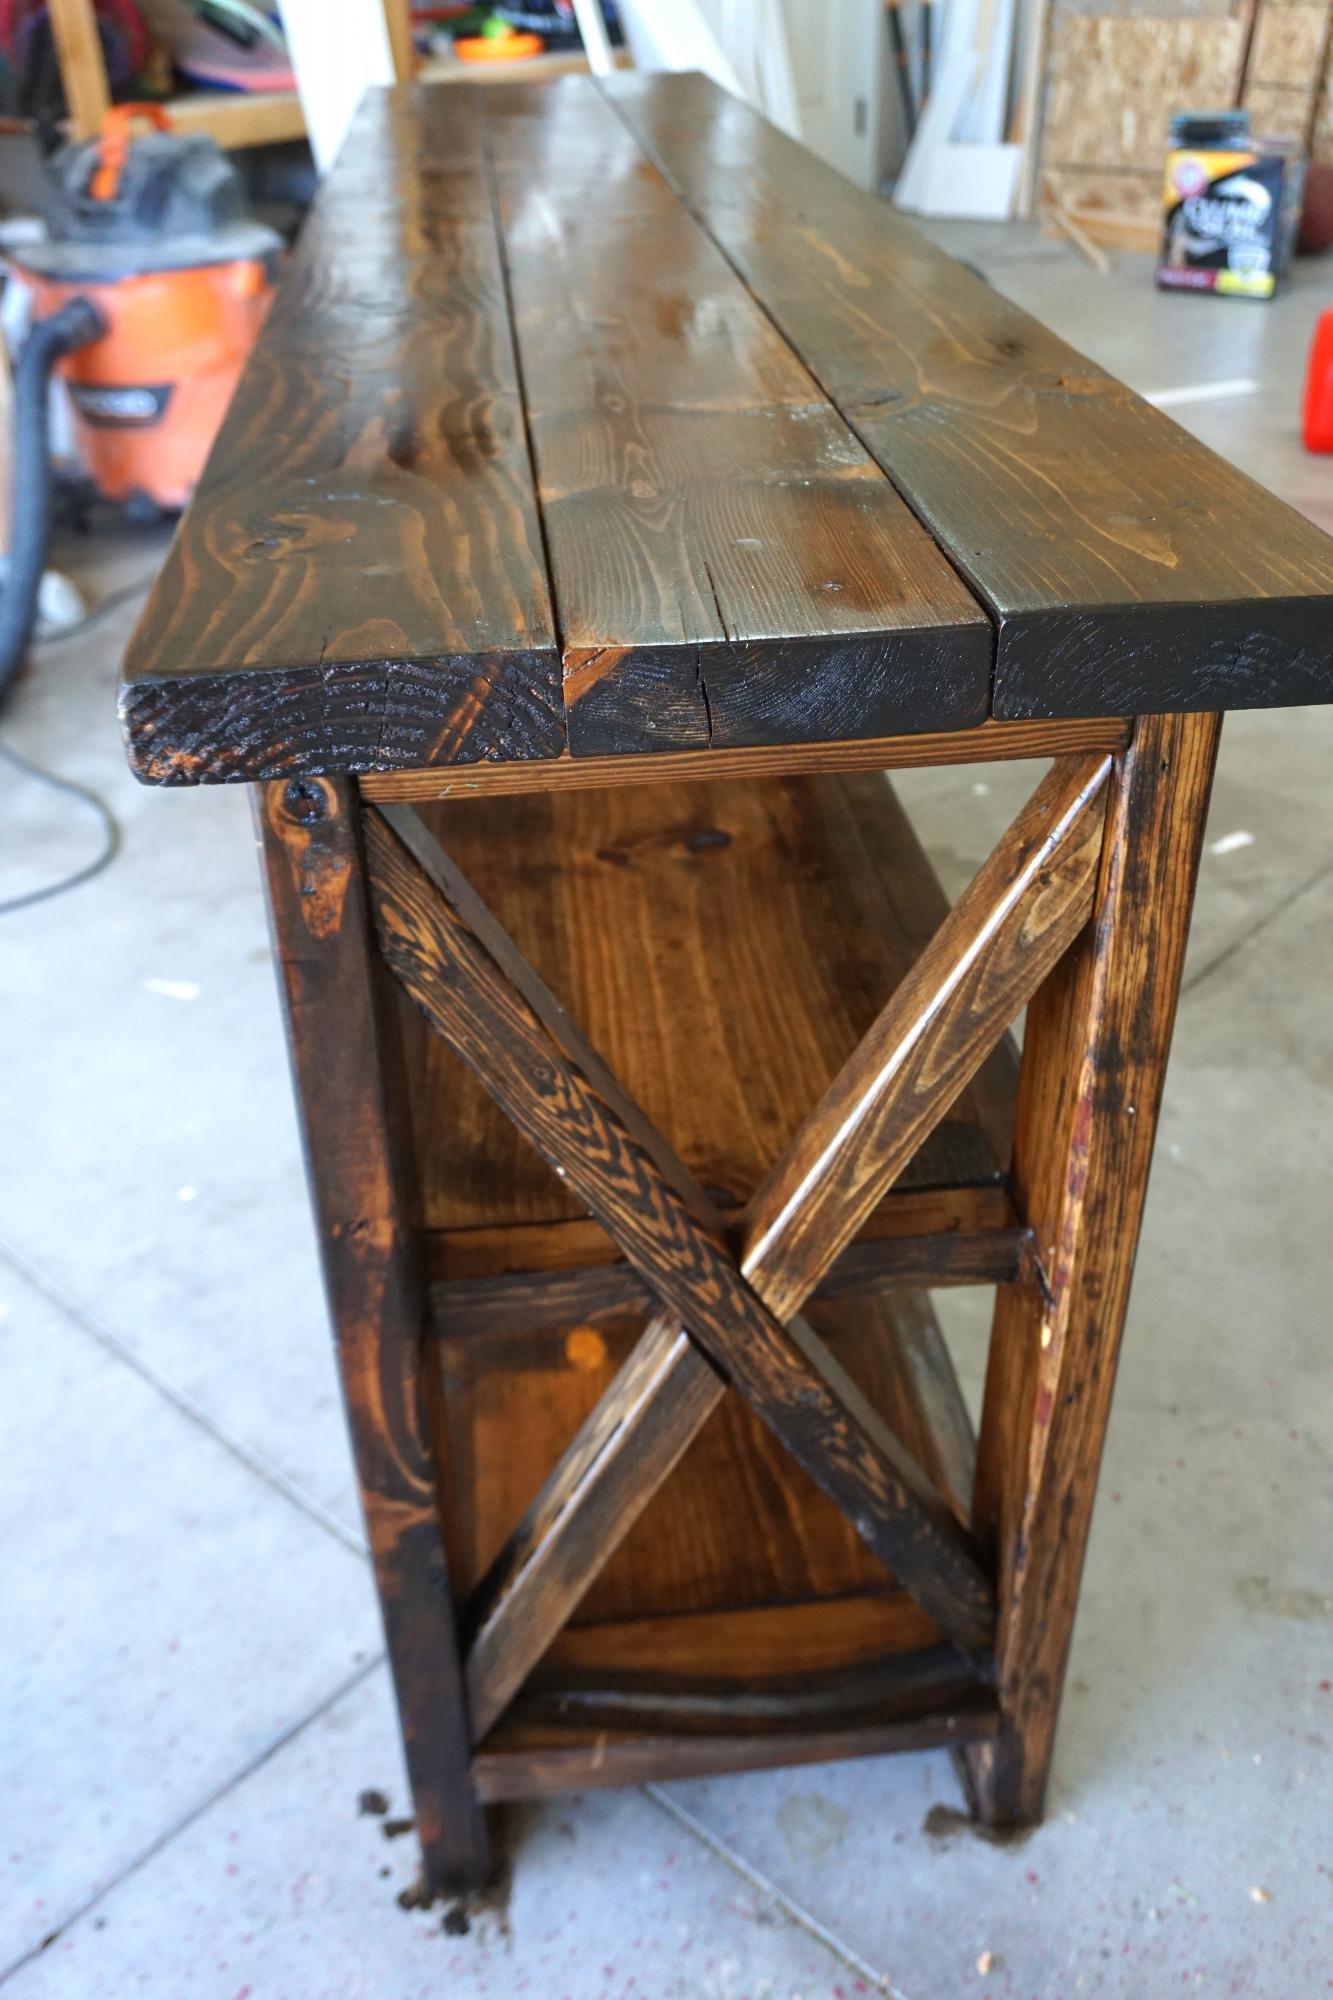
Rustic X Console Table
This is our second time building the Rustic X Console Table. It is such a fun project! I have all the details and more pictures on my blog.
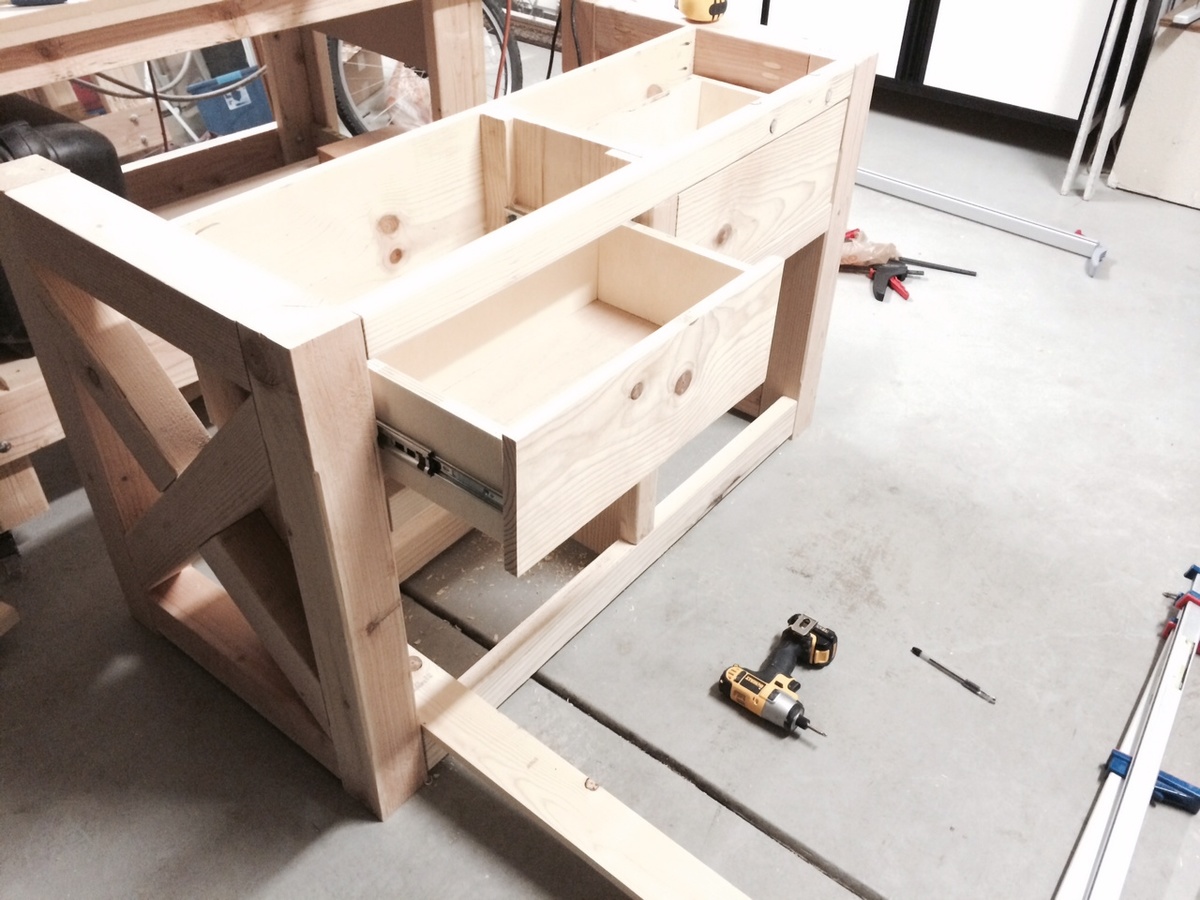
Built from Plan(s)
Estimated Time Investment
Weekend Project (10-20 Hours)
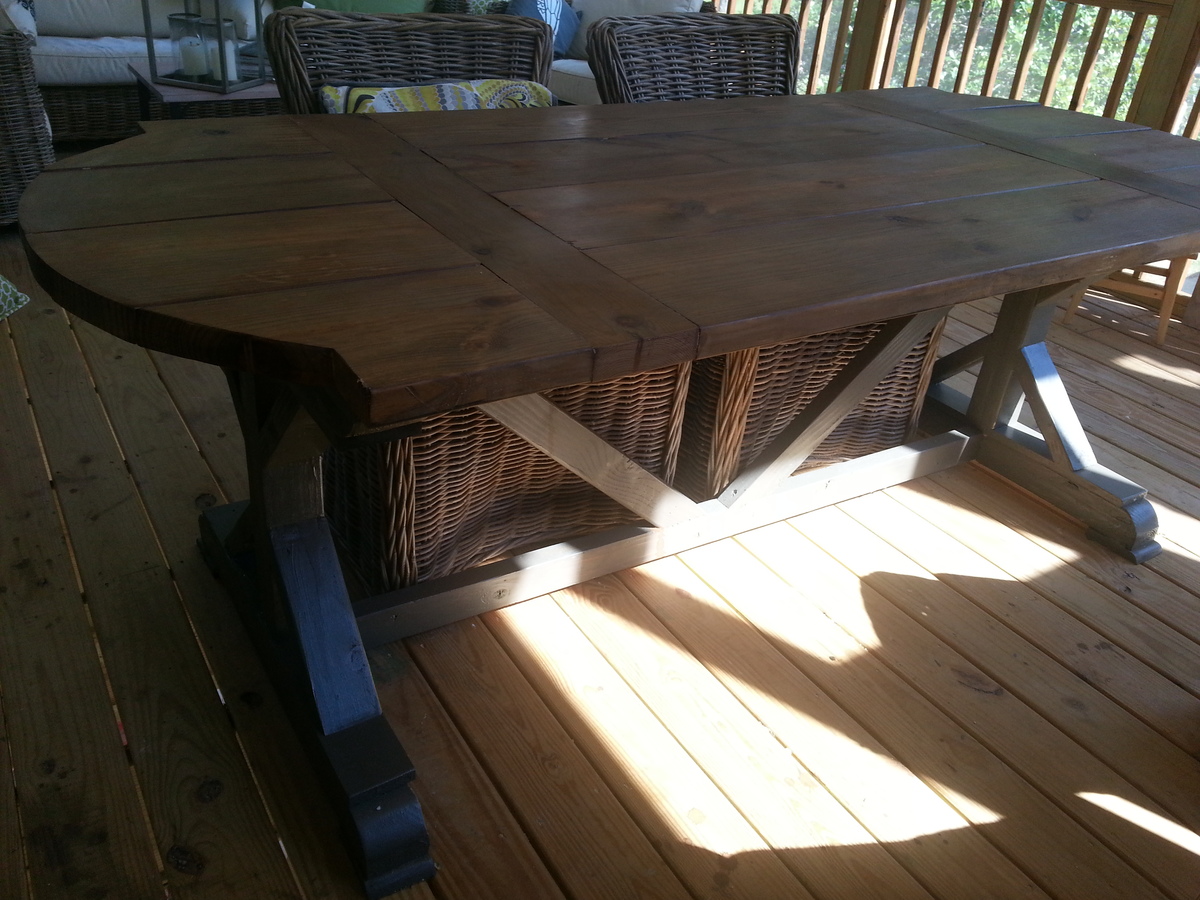
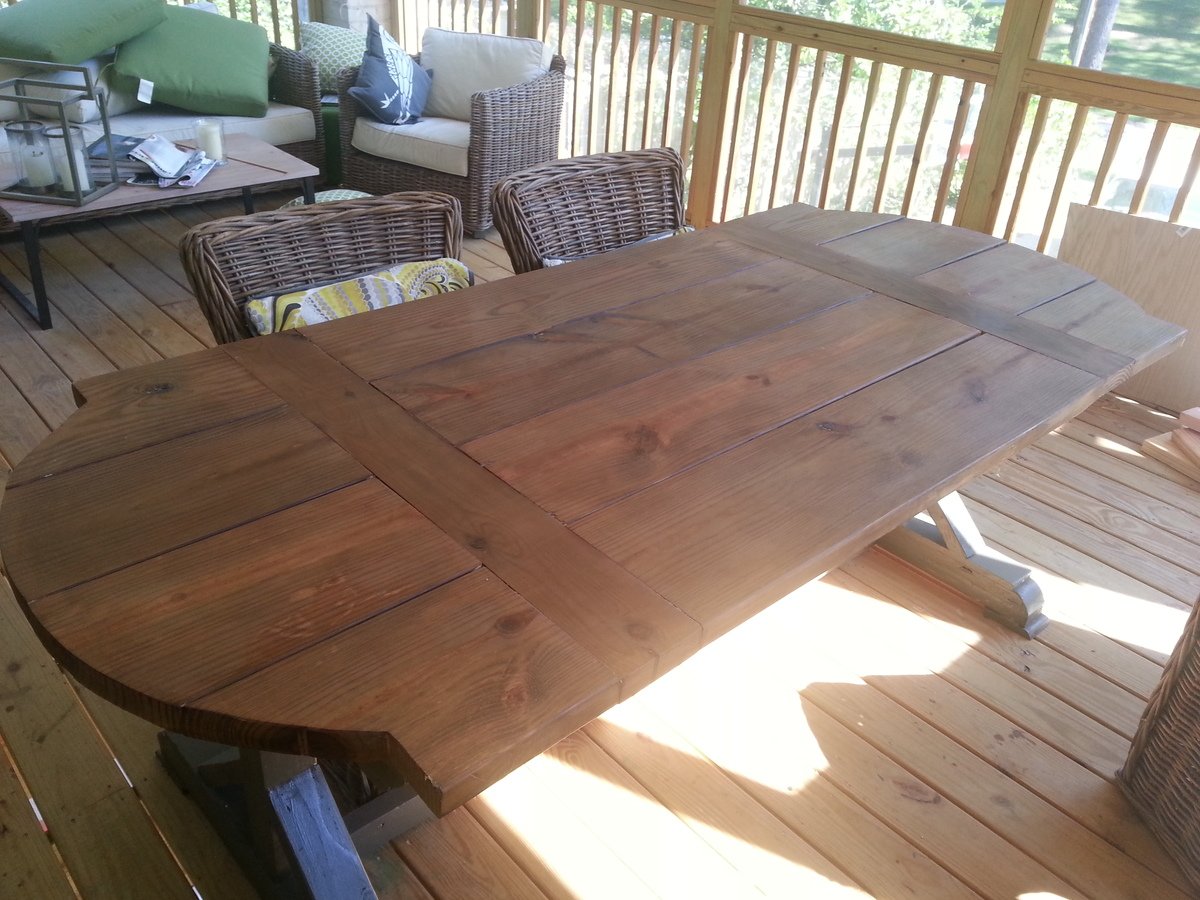
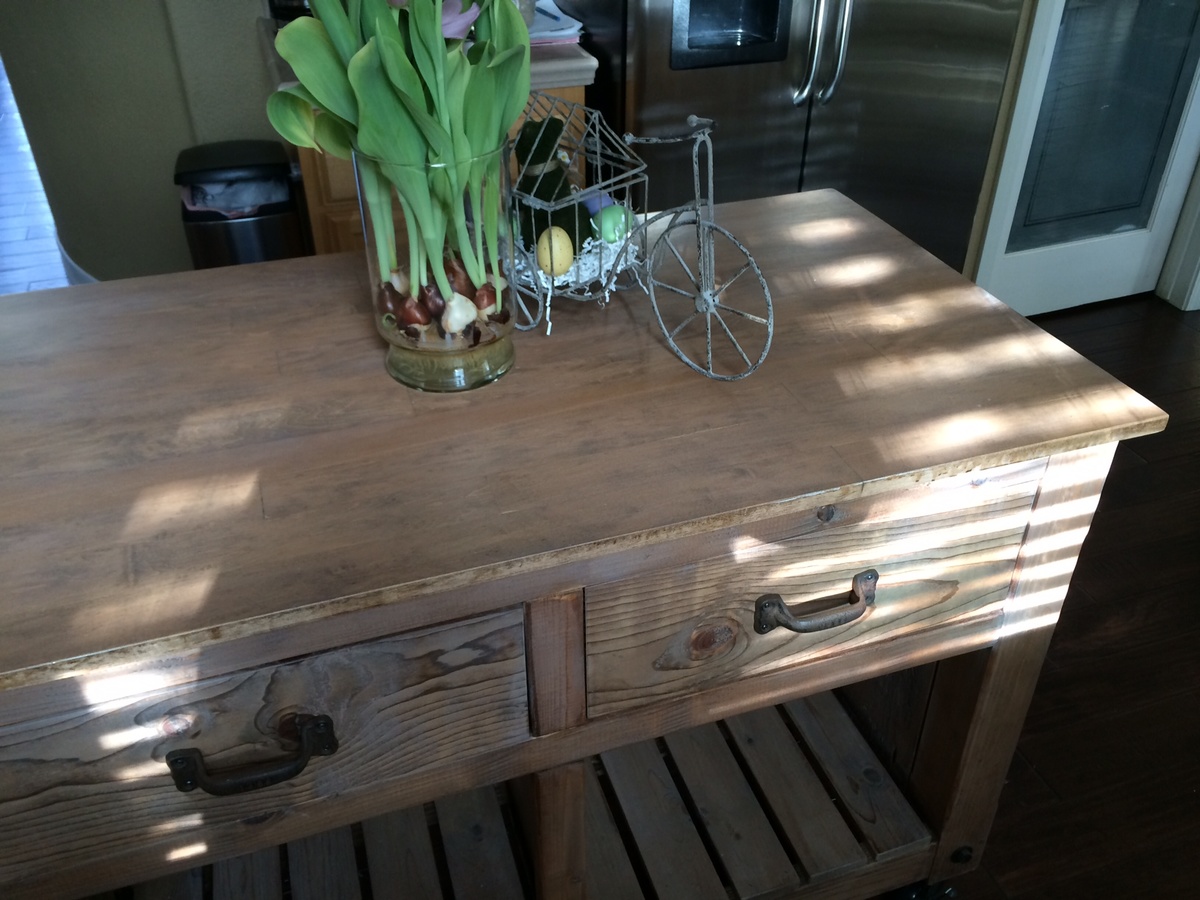
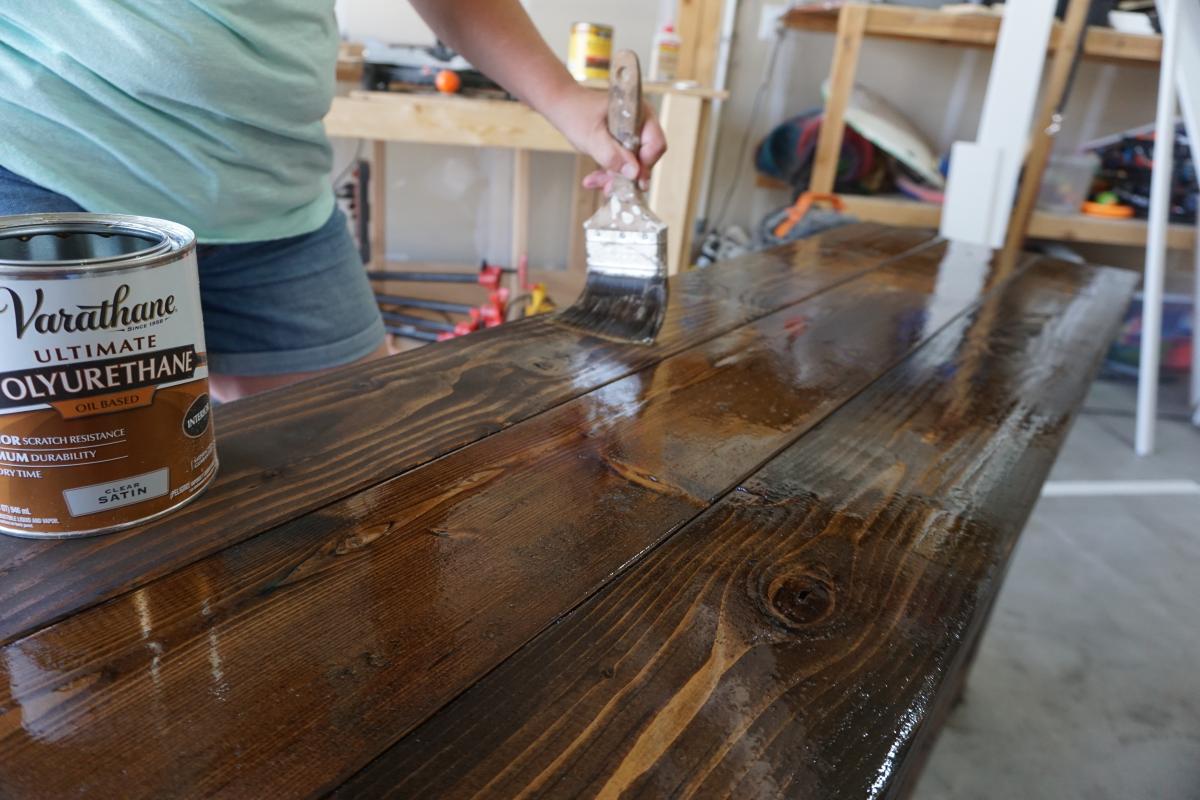
Finish Used
Varathane Dark Walnut
Satin Polyurethane
Satin Polyurethane
Recommended Skill Level
Beginner