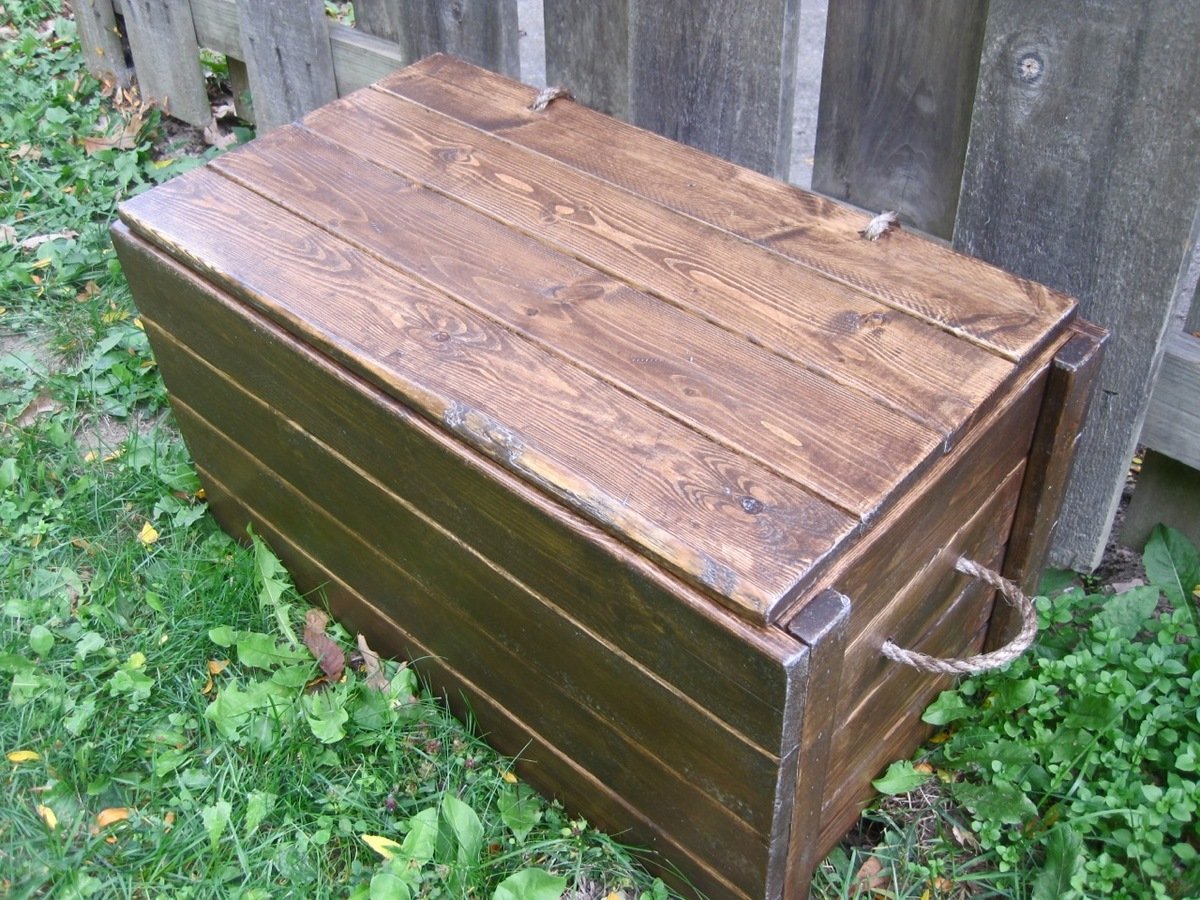
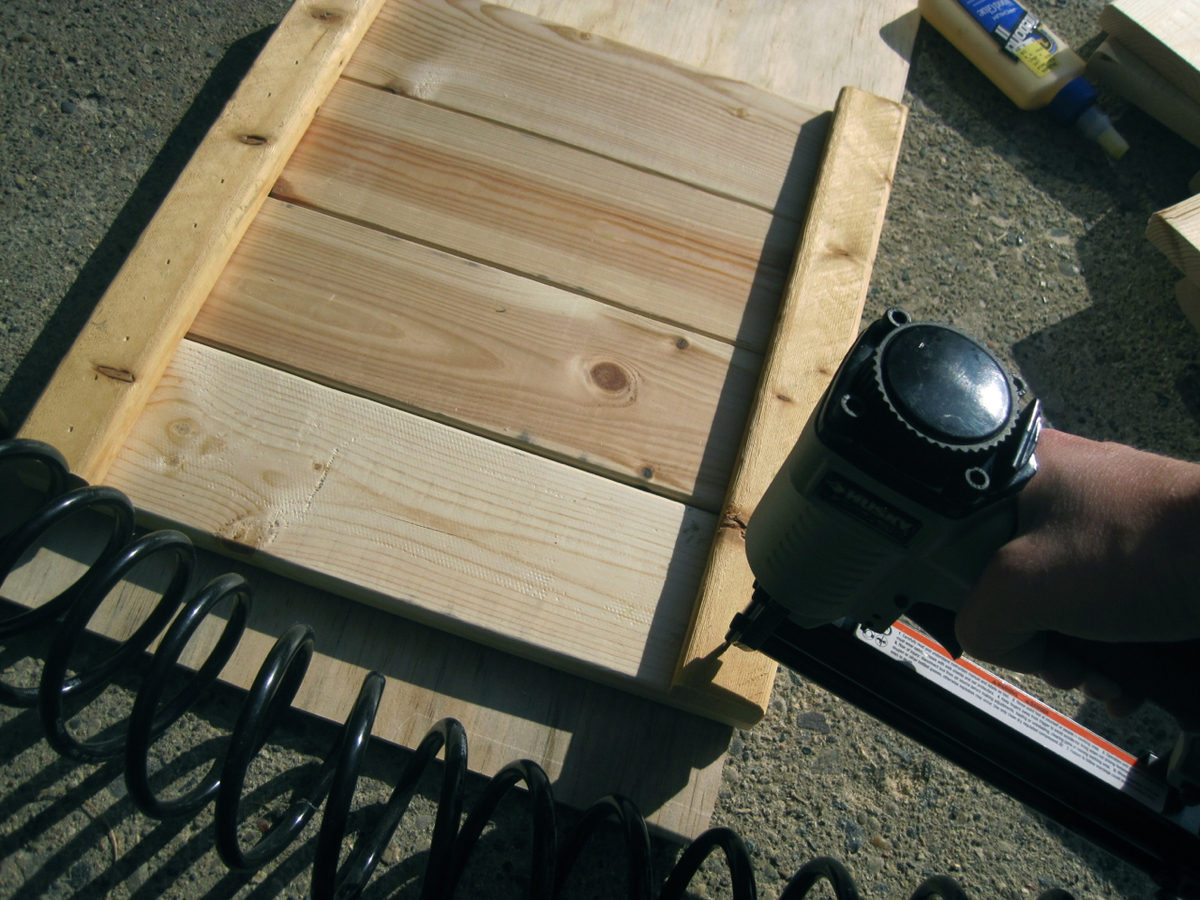
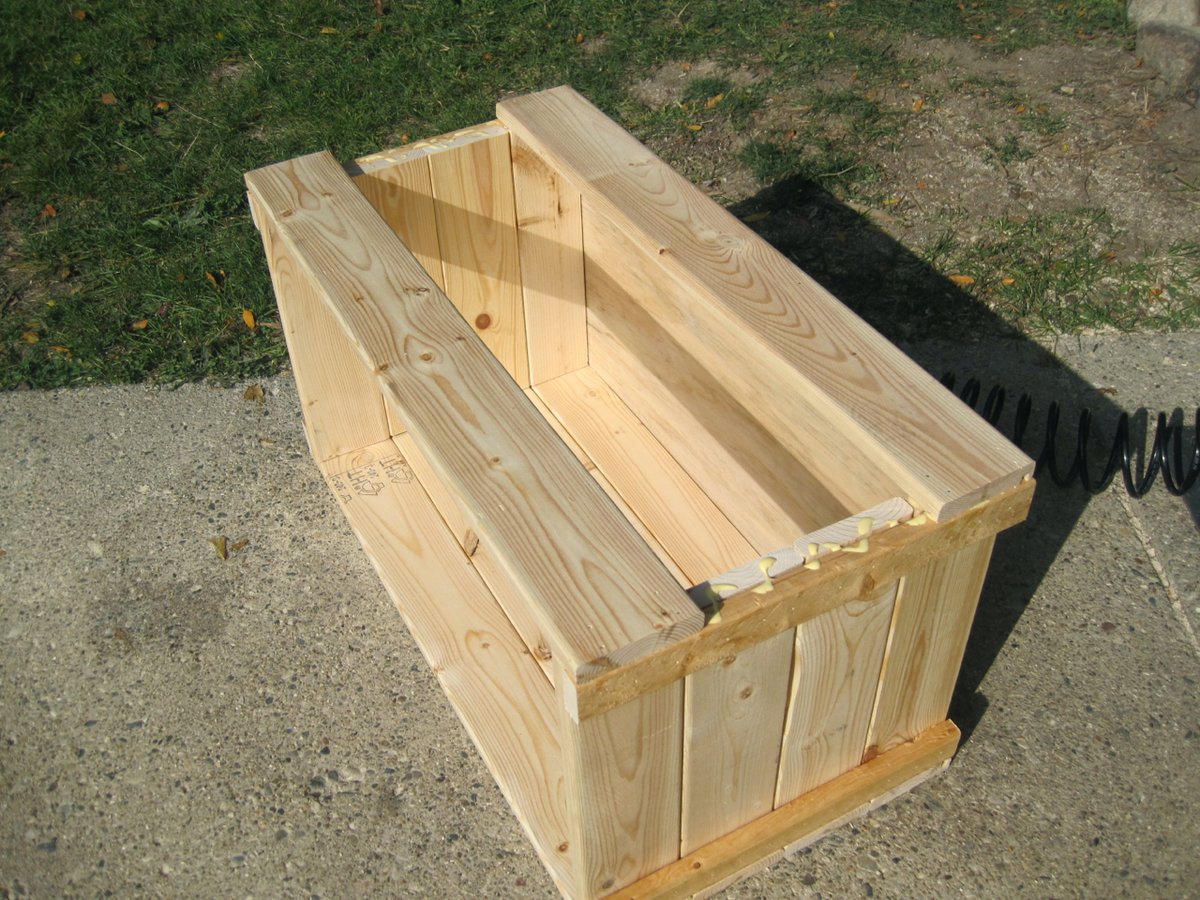
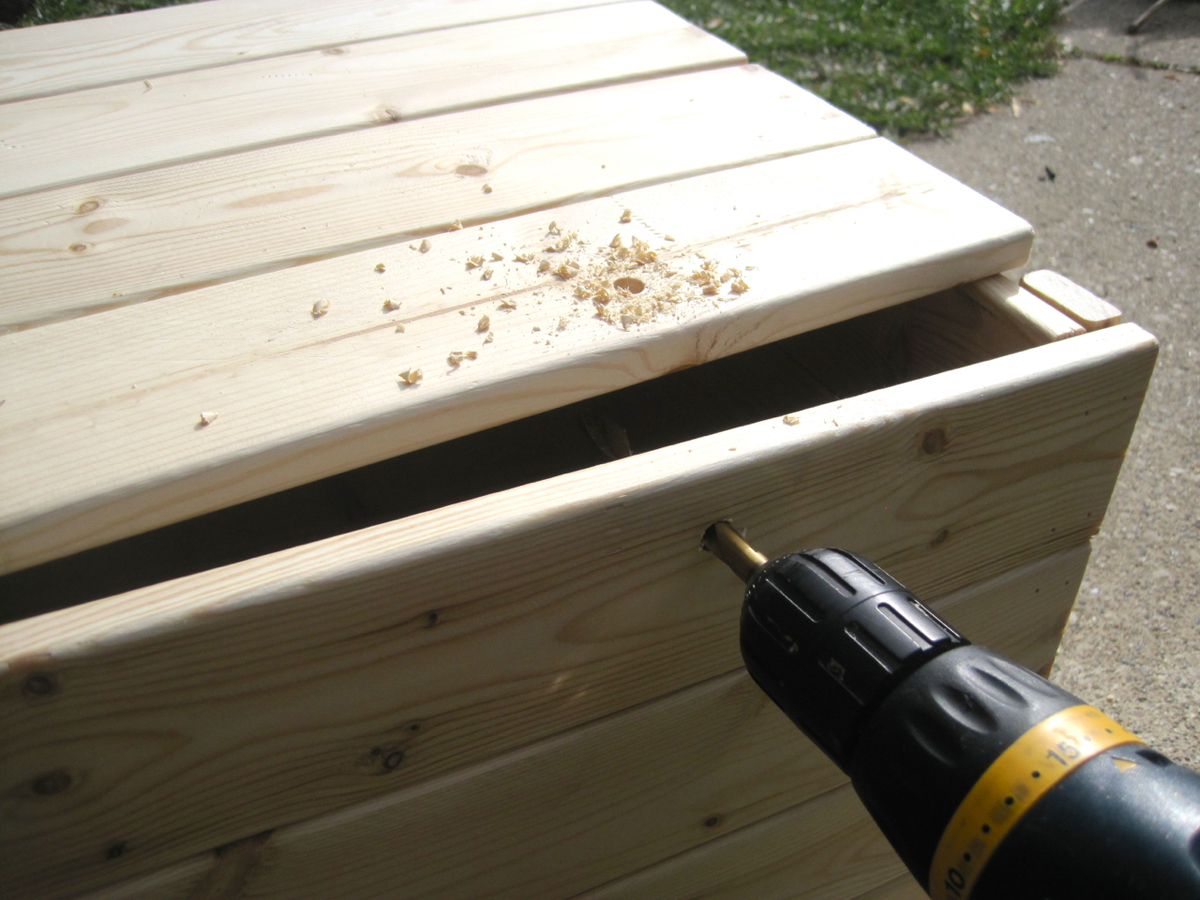
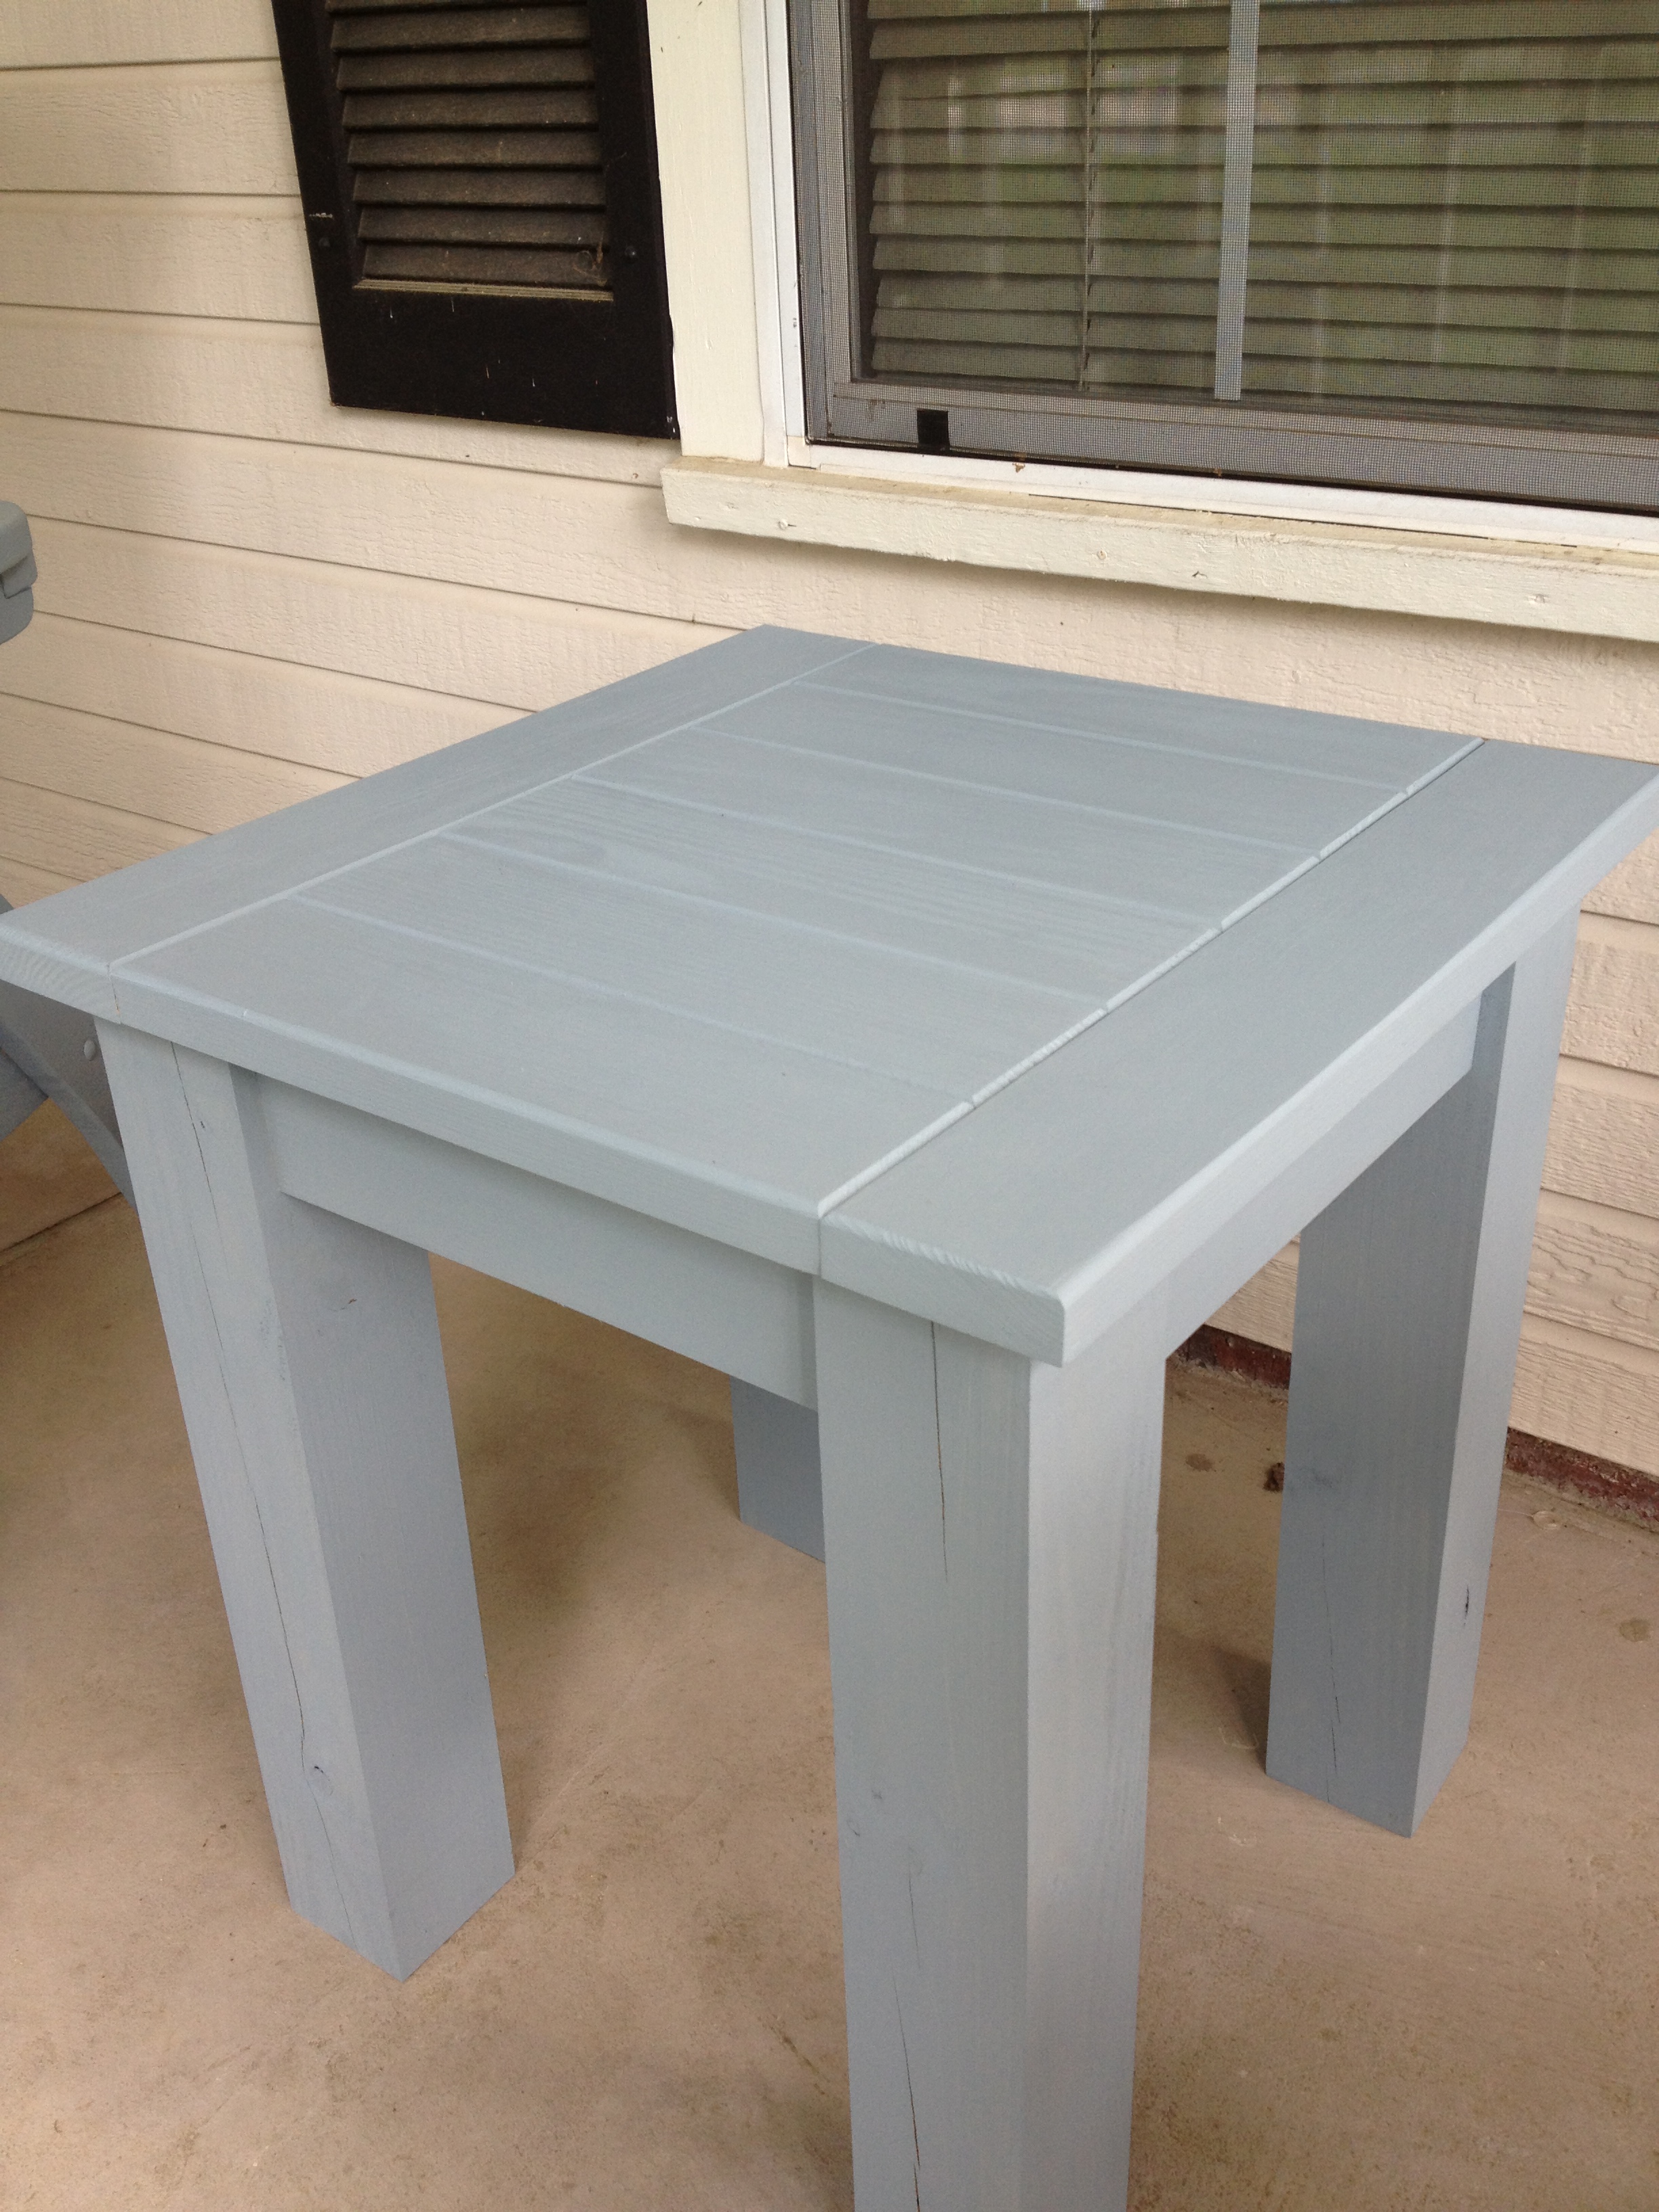
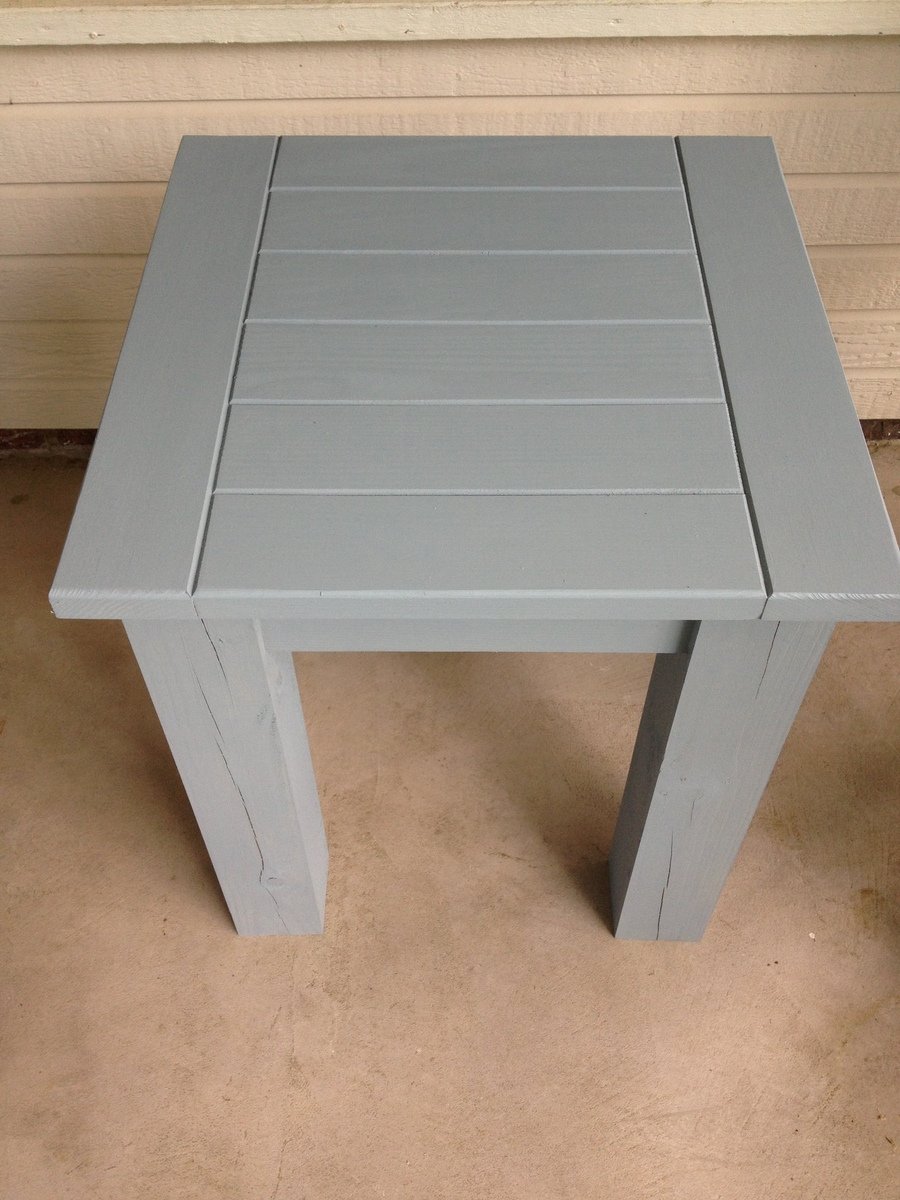
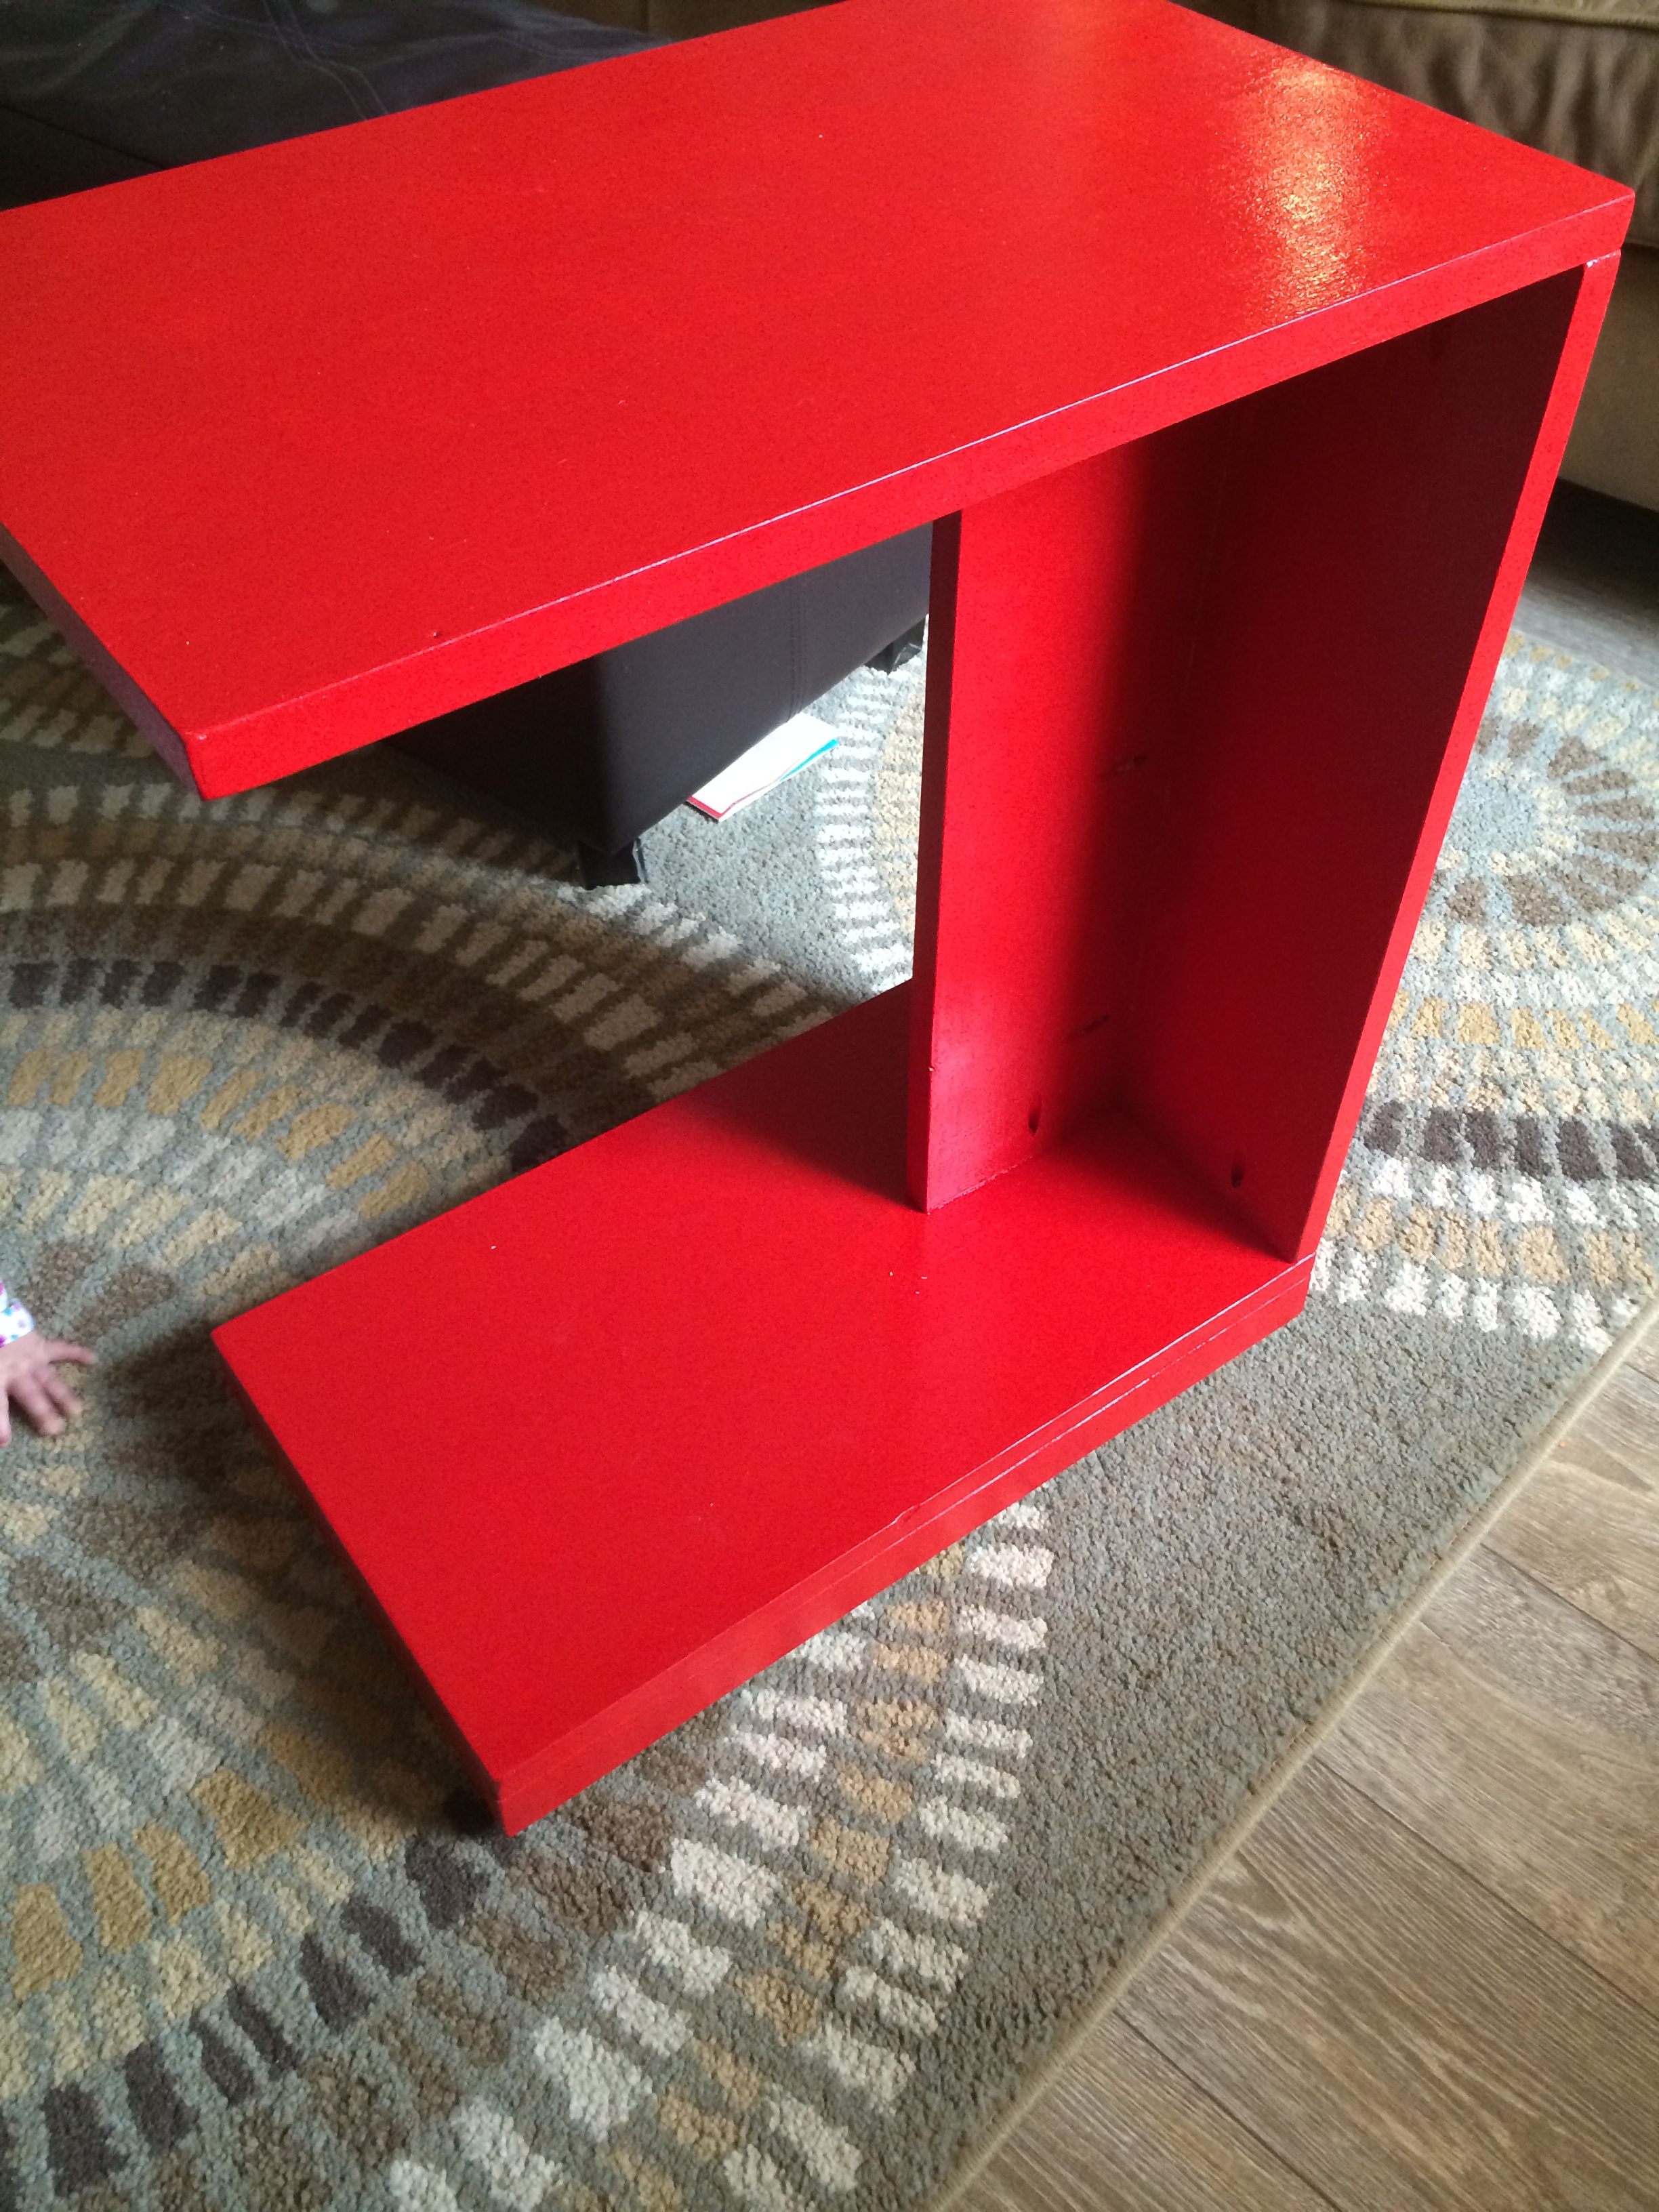
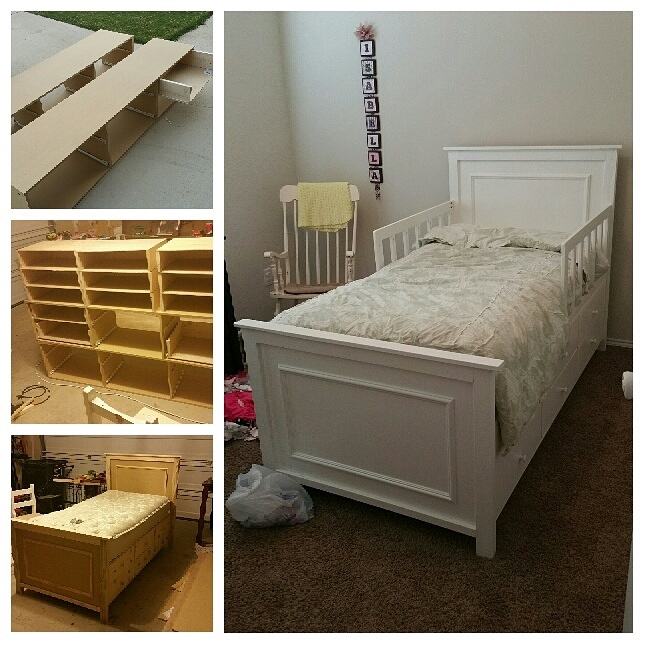
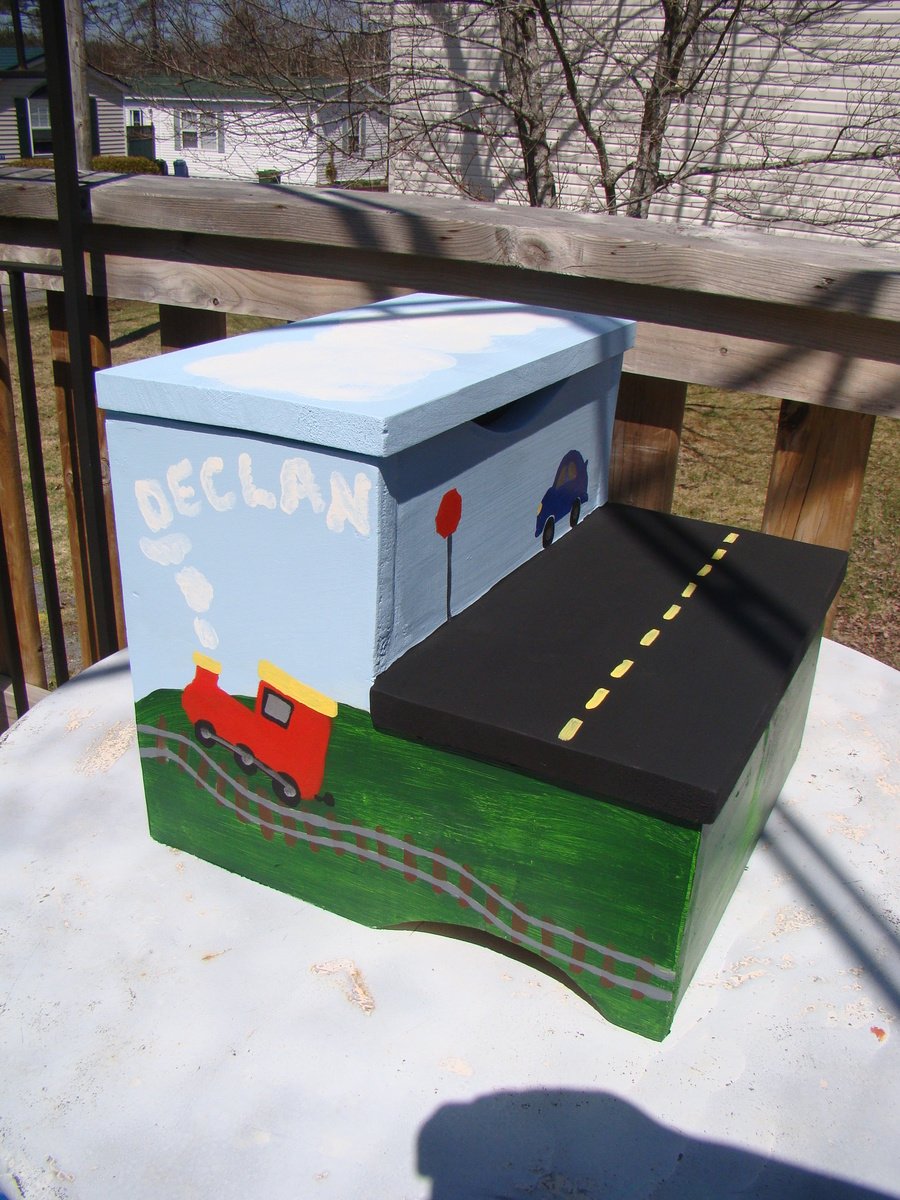
Kids' Storage step stool
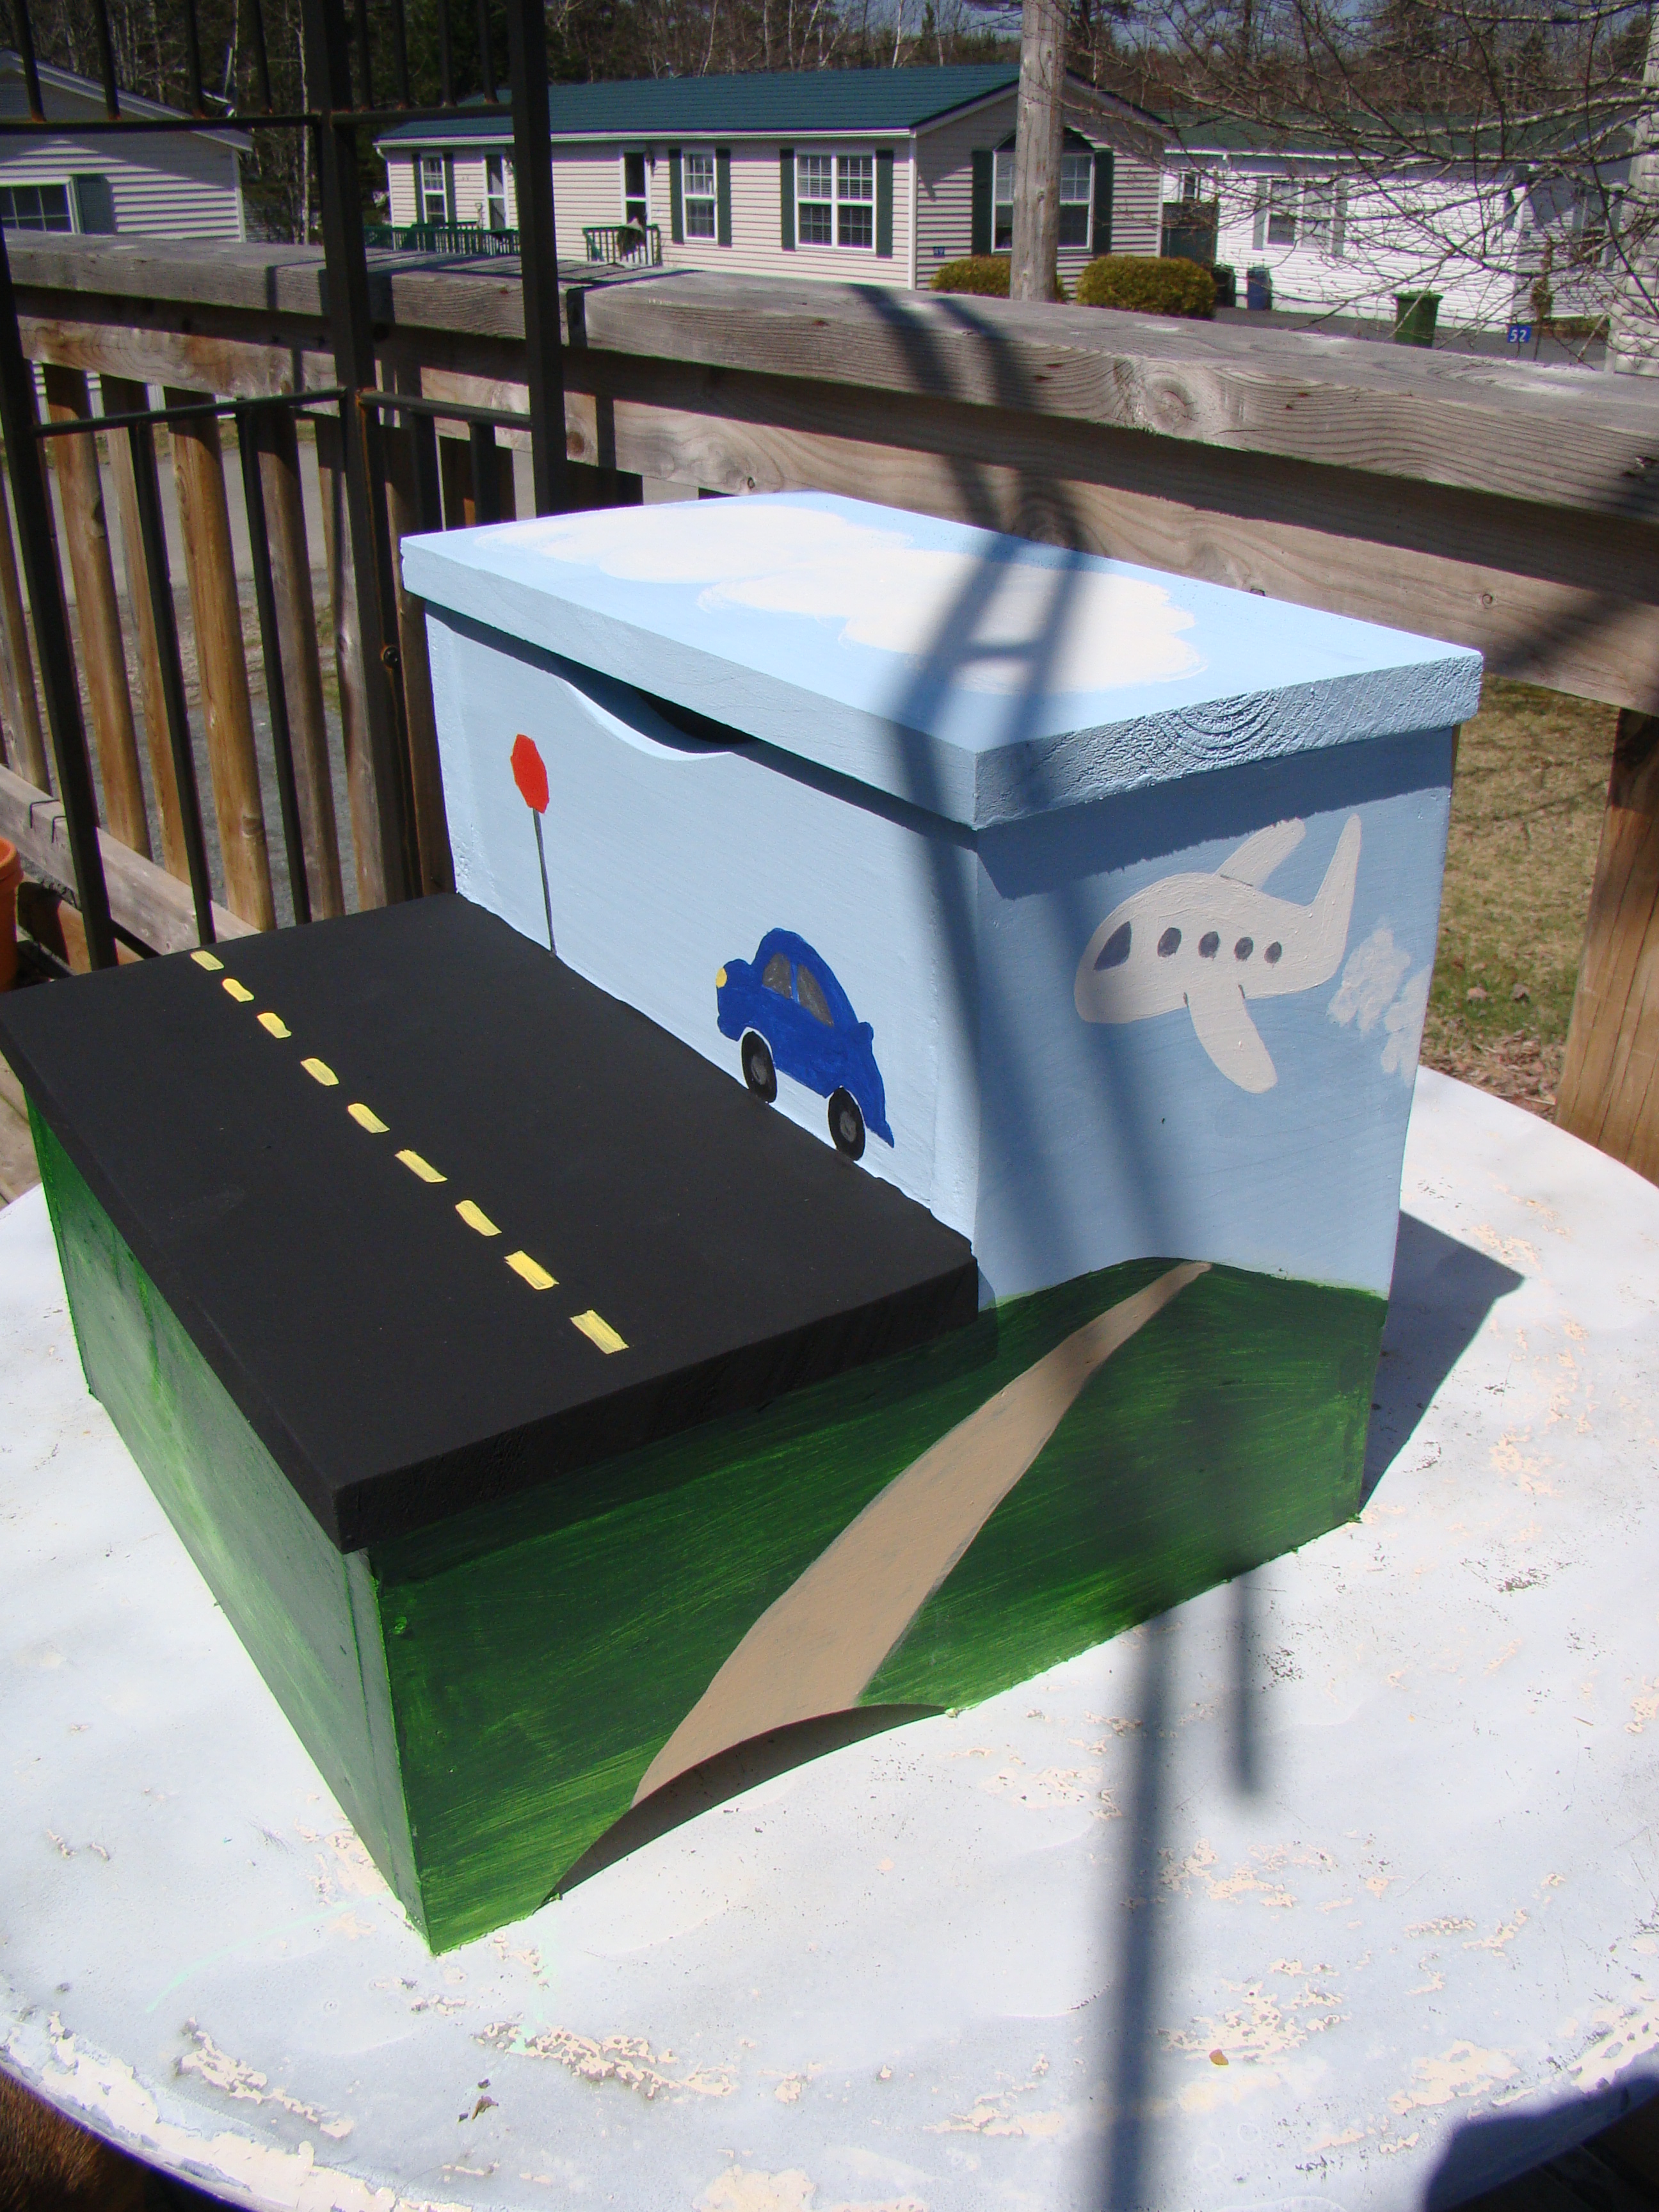
My first project from this site! It was a blast to make, and my 2.5 yr old son can now reach the sink to wash his hands.
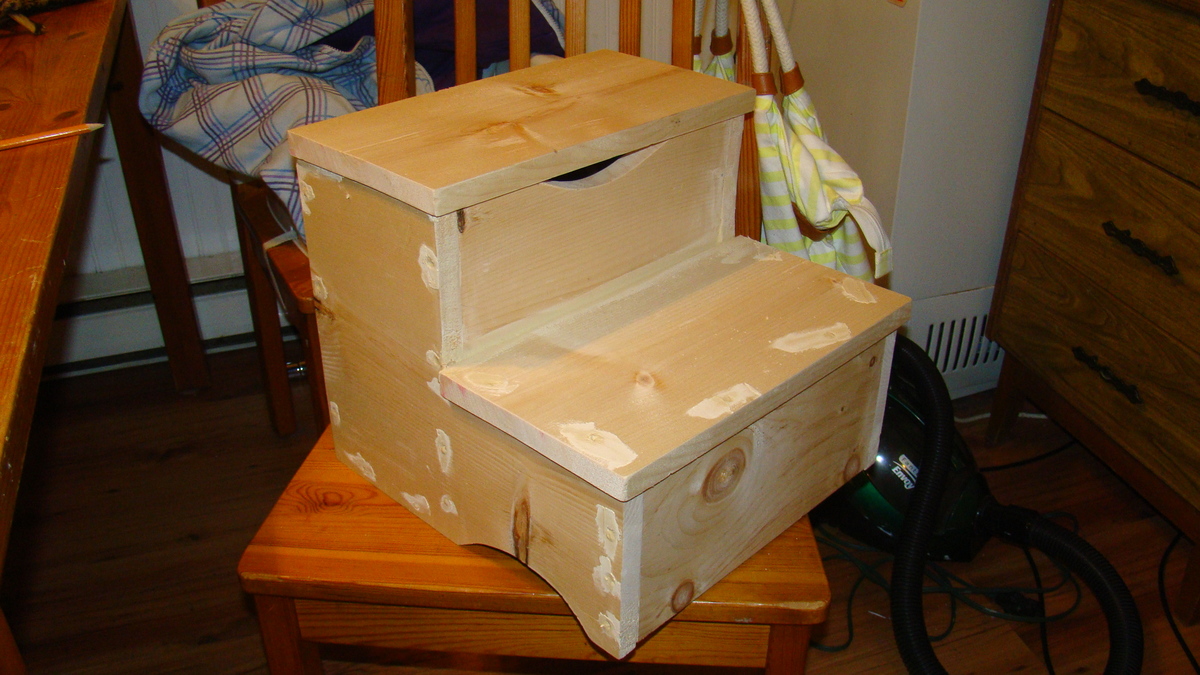
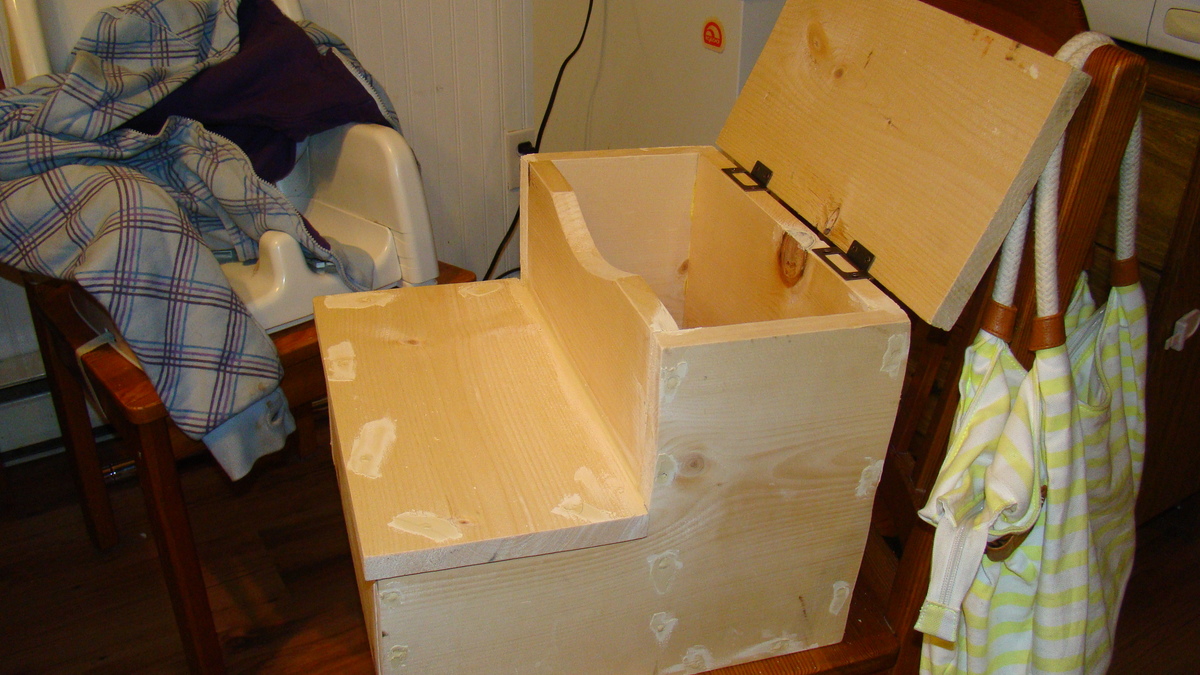
Built from Plan(s)
Estimated Cost
$25 - $30
Estimated Time Investment
Afternoon Project (3-6 Hours)
Finish Used
acrylic tole paints, leftover latex paint from my son's room, polyurethane to seal.
Recommended Skill Level
Beginner