Community Brag Posts
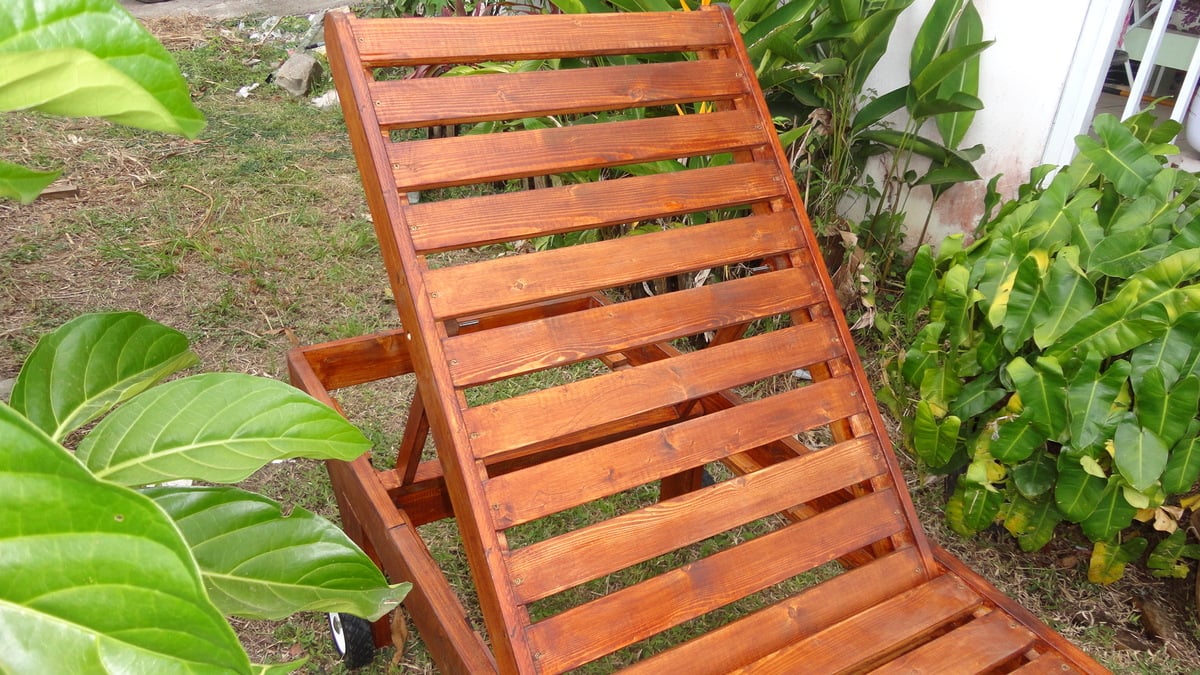
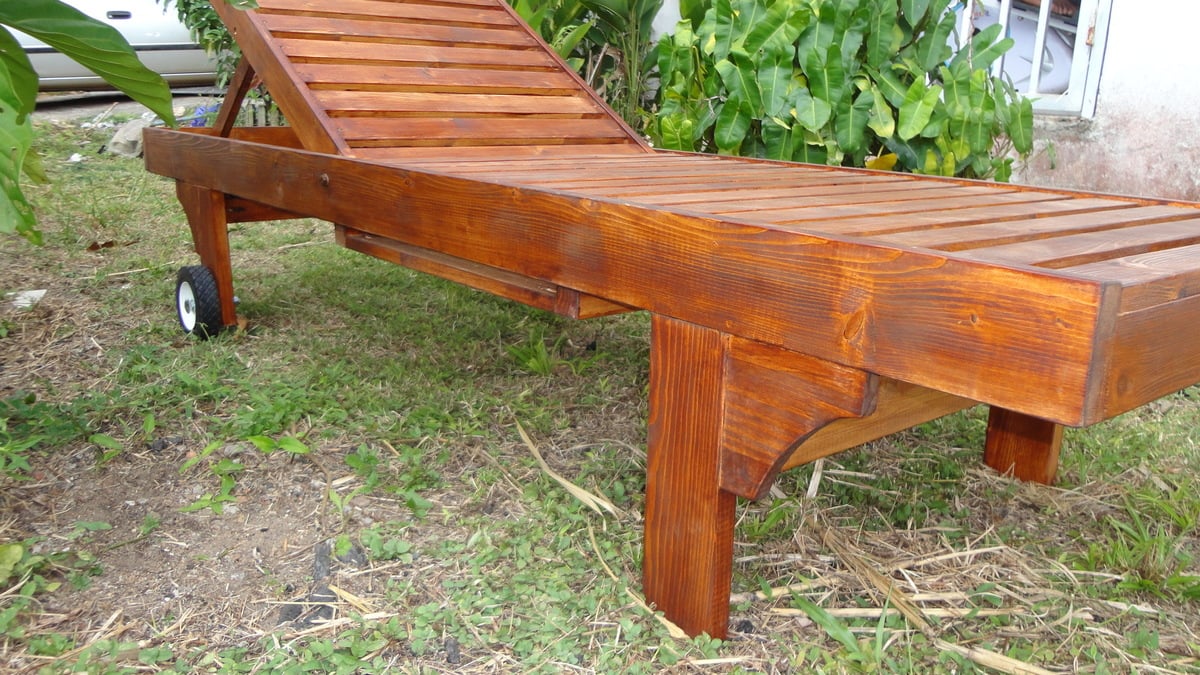
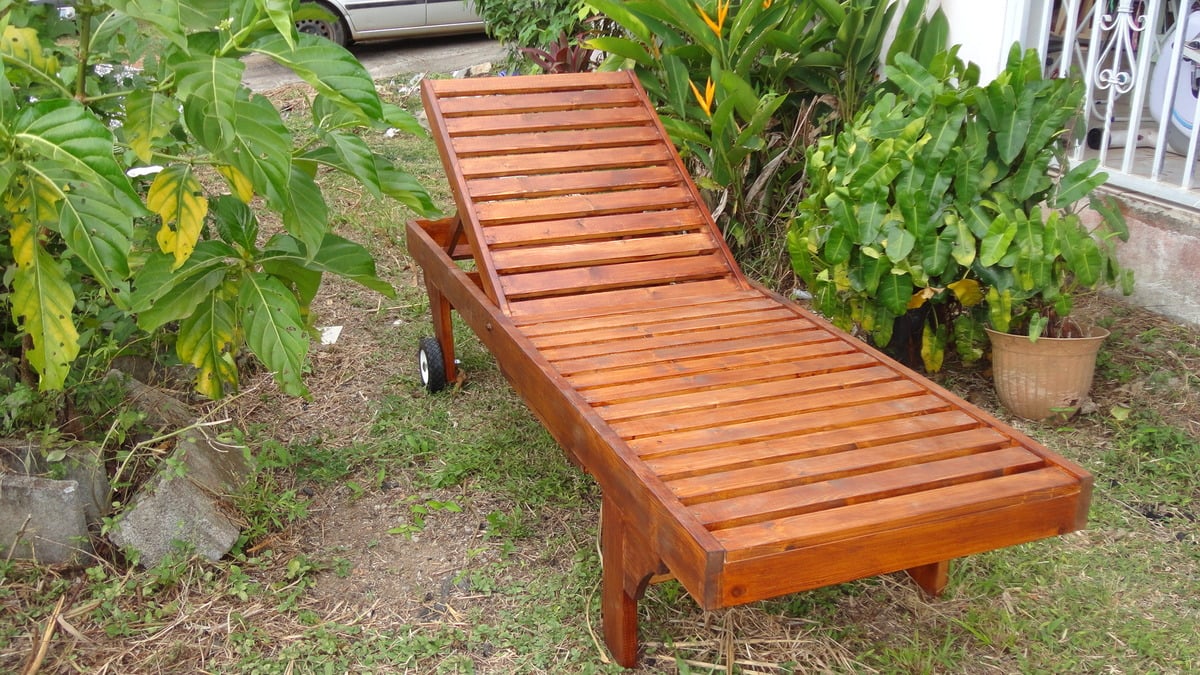
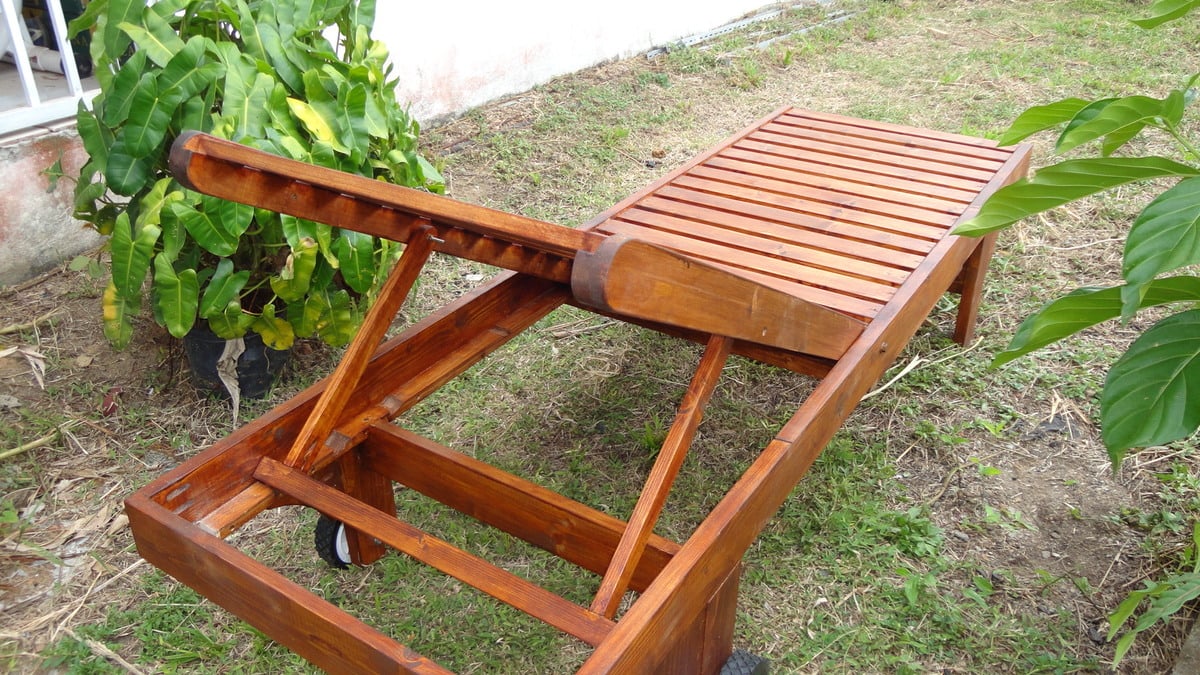
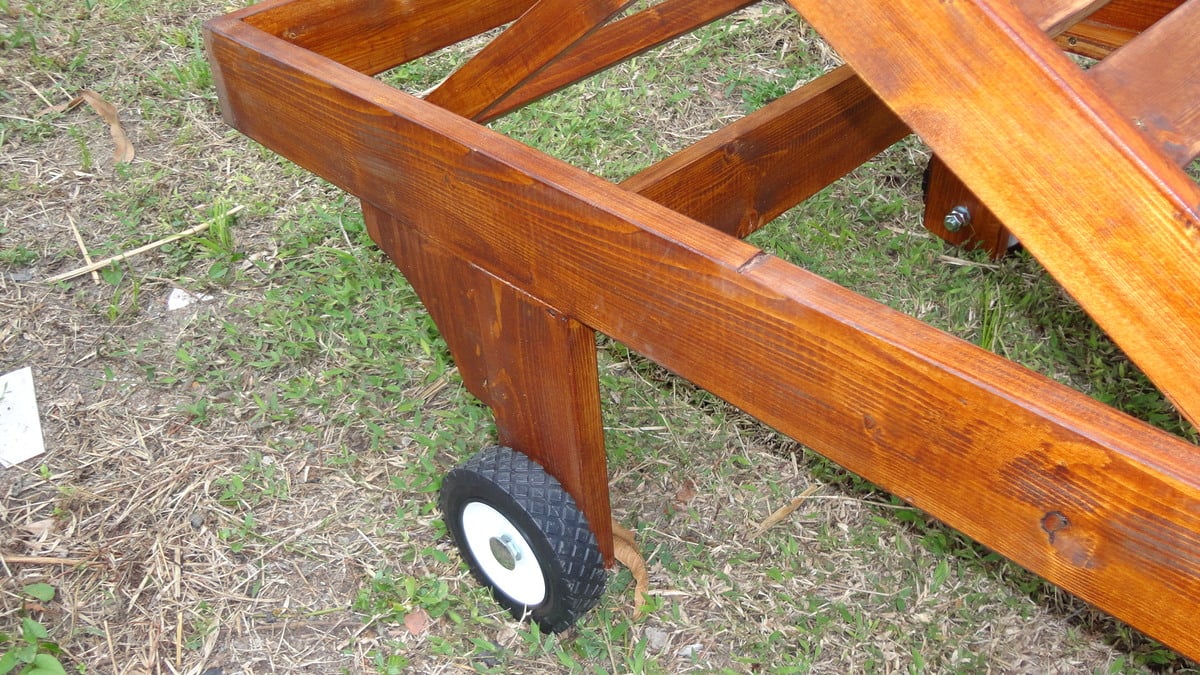
Lounge Chair
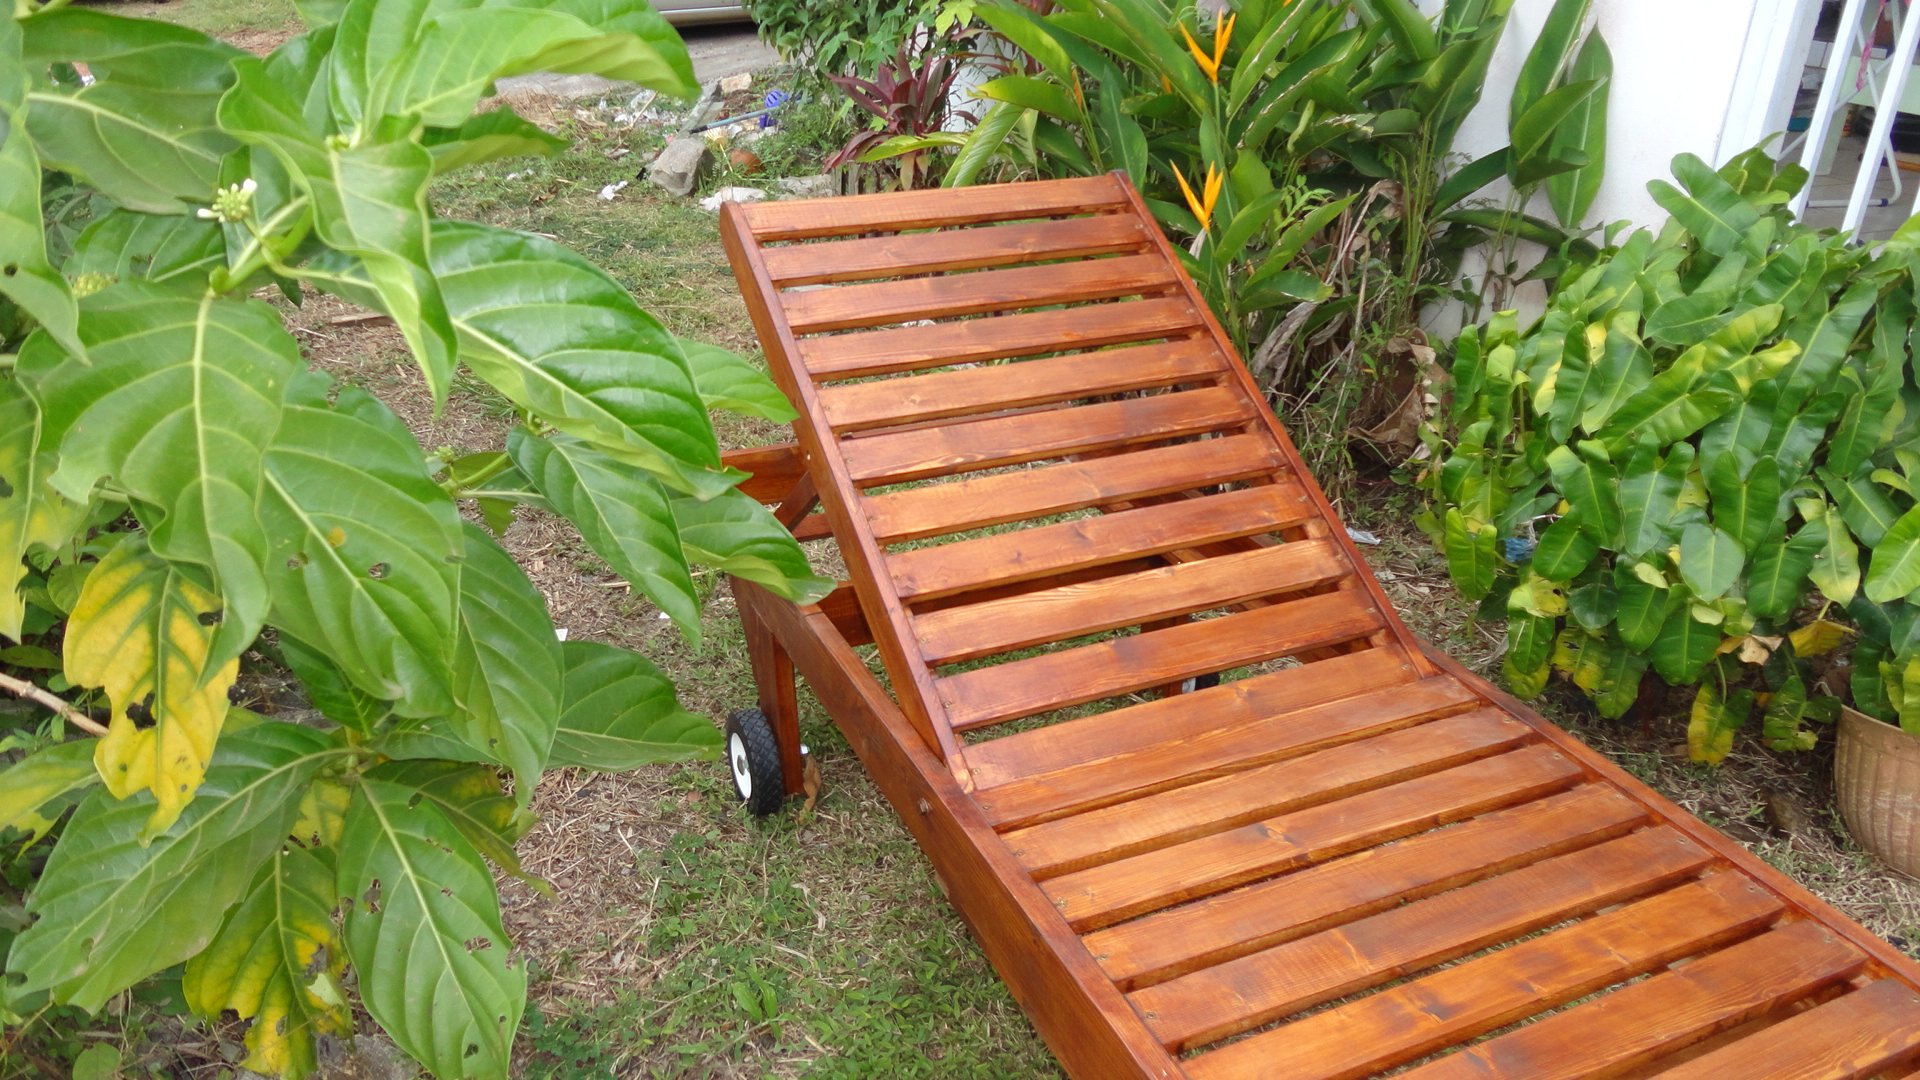
I made this lounge chair from a sketchup file which I found on the Internet; thanks to Ana White site, I discovered the Sketchup software and I learnt to use it. I measured all the elements and thanks to the plans of lounge chairs of the site, I was able to build that.I have to buy some plywood to make the tray and put it under the chair.
It is a present for my mother. I am very happy of the result.
.
Estimated Time Investment
Weekend Project (10-20 Hours)
Finish Used
Teck color lasure, 3 coats
Recommended Skill Level
Beginner
Comments
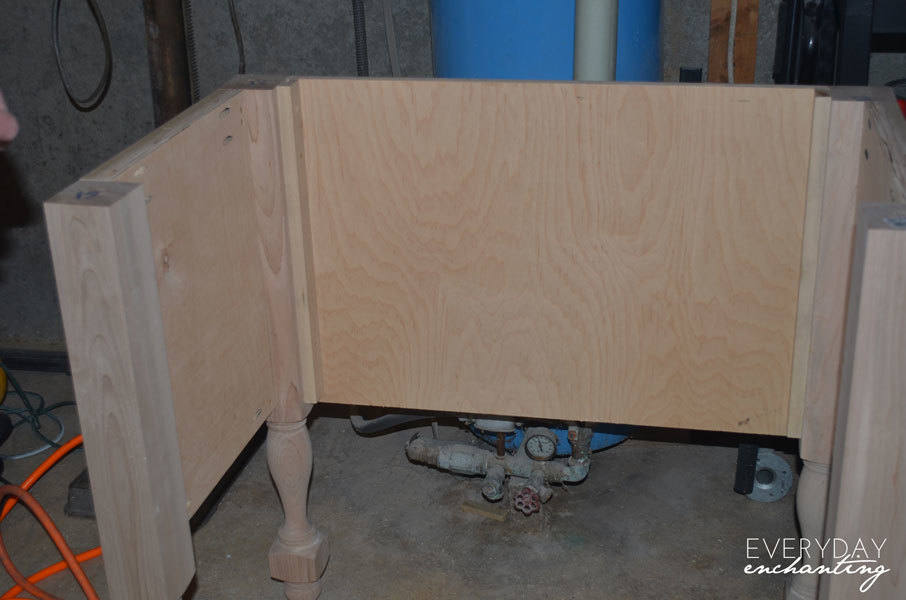
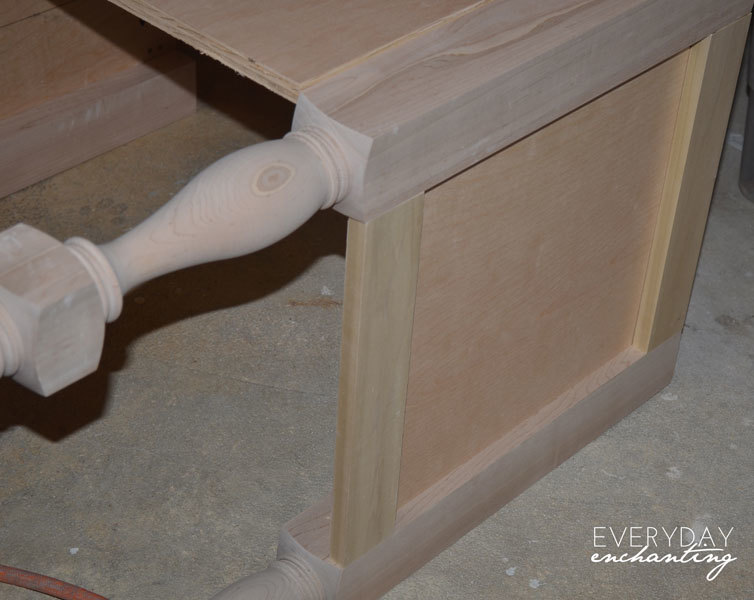
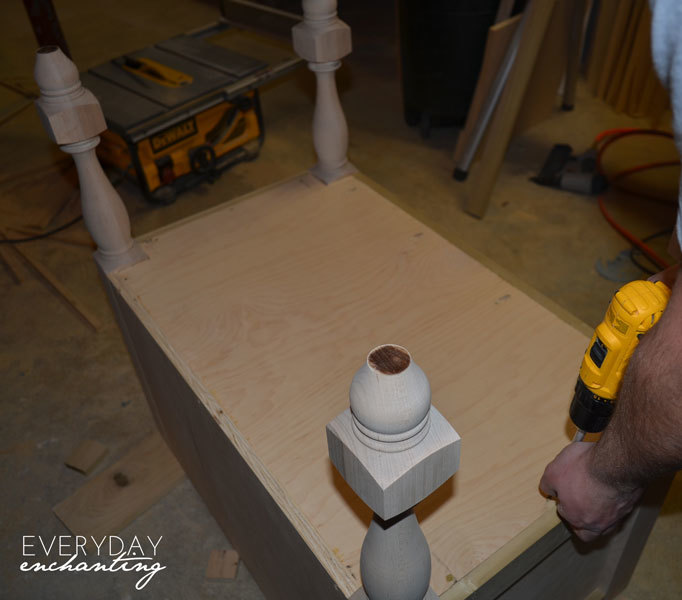
Modified Turned Leg Vanity
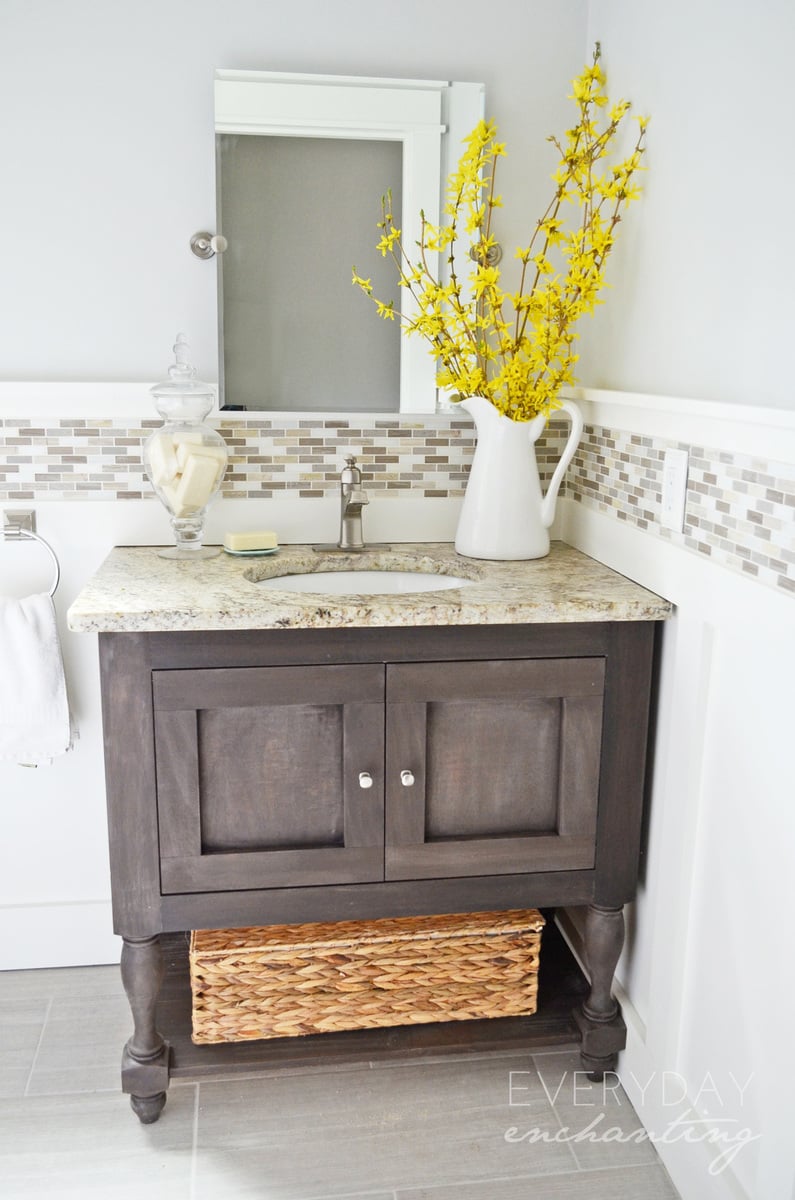
After falling in love with the Newport Vanity from Pottery Barn, I knew we would have to DIY it, since the original was not in our budget. I came across the plans from Ana, and off we went! We modified the plans a bit to fit our existing granite countertop- we didn't have space for the drawers, unfortunately. However, we used our Kreg Jig whenever possible, and it made the project very easy!
http://www.everydayenchanting.com/diy-pottery-barn-inspired-sink-consol…
Built from Plan(s)
Estimated Cost
$100
Estimated Time Investment
Afternoon Project (3-6 Hours)
Finish Used
Minwax Waterbased Wood Stain White Base (tinted Slate at the paint counter) wiped away quickly- a coat of Kona by Rustoleum applied while the slate stain was still wet. Kona was allowed to sit longer.
Recommended Skill Level
Intermediate
Comments


Wed, 11/08/2017 - 05:25
Fair question. Especially
Fair question. Especially when it costs over $25 for Osborne to ship the legs to me via UPS ground.
Loft bed and camp bed
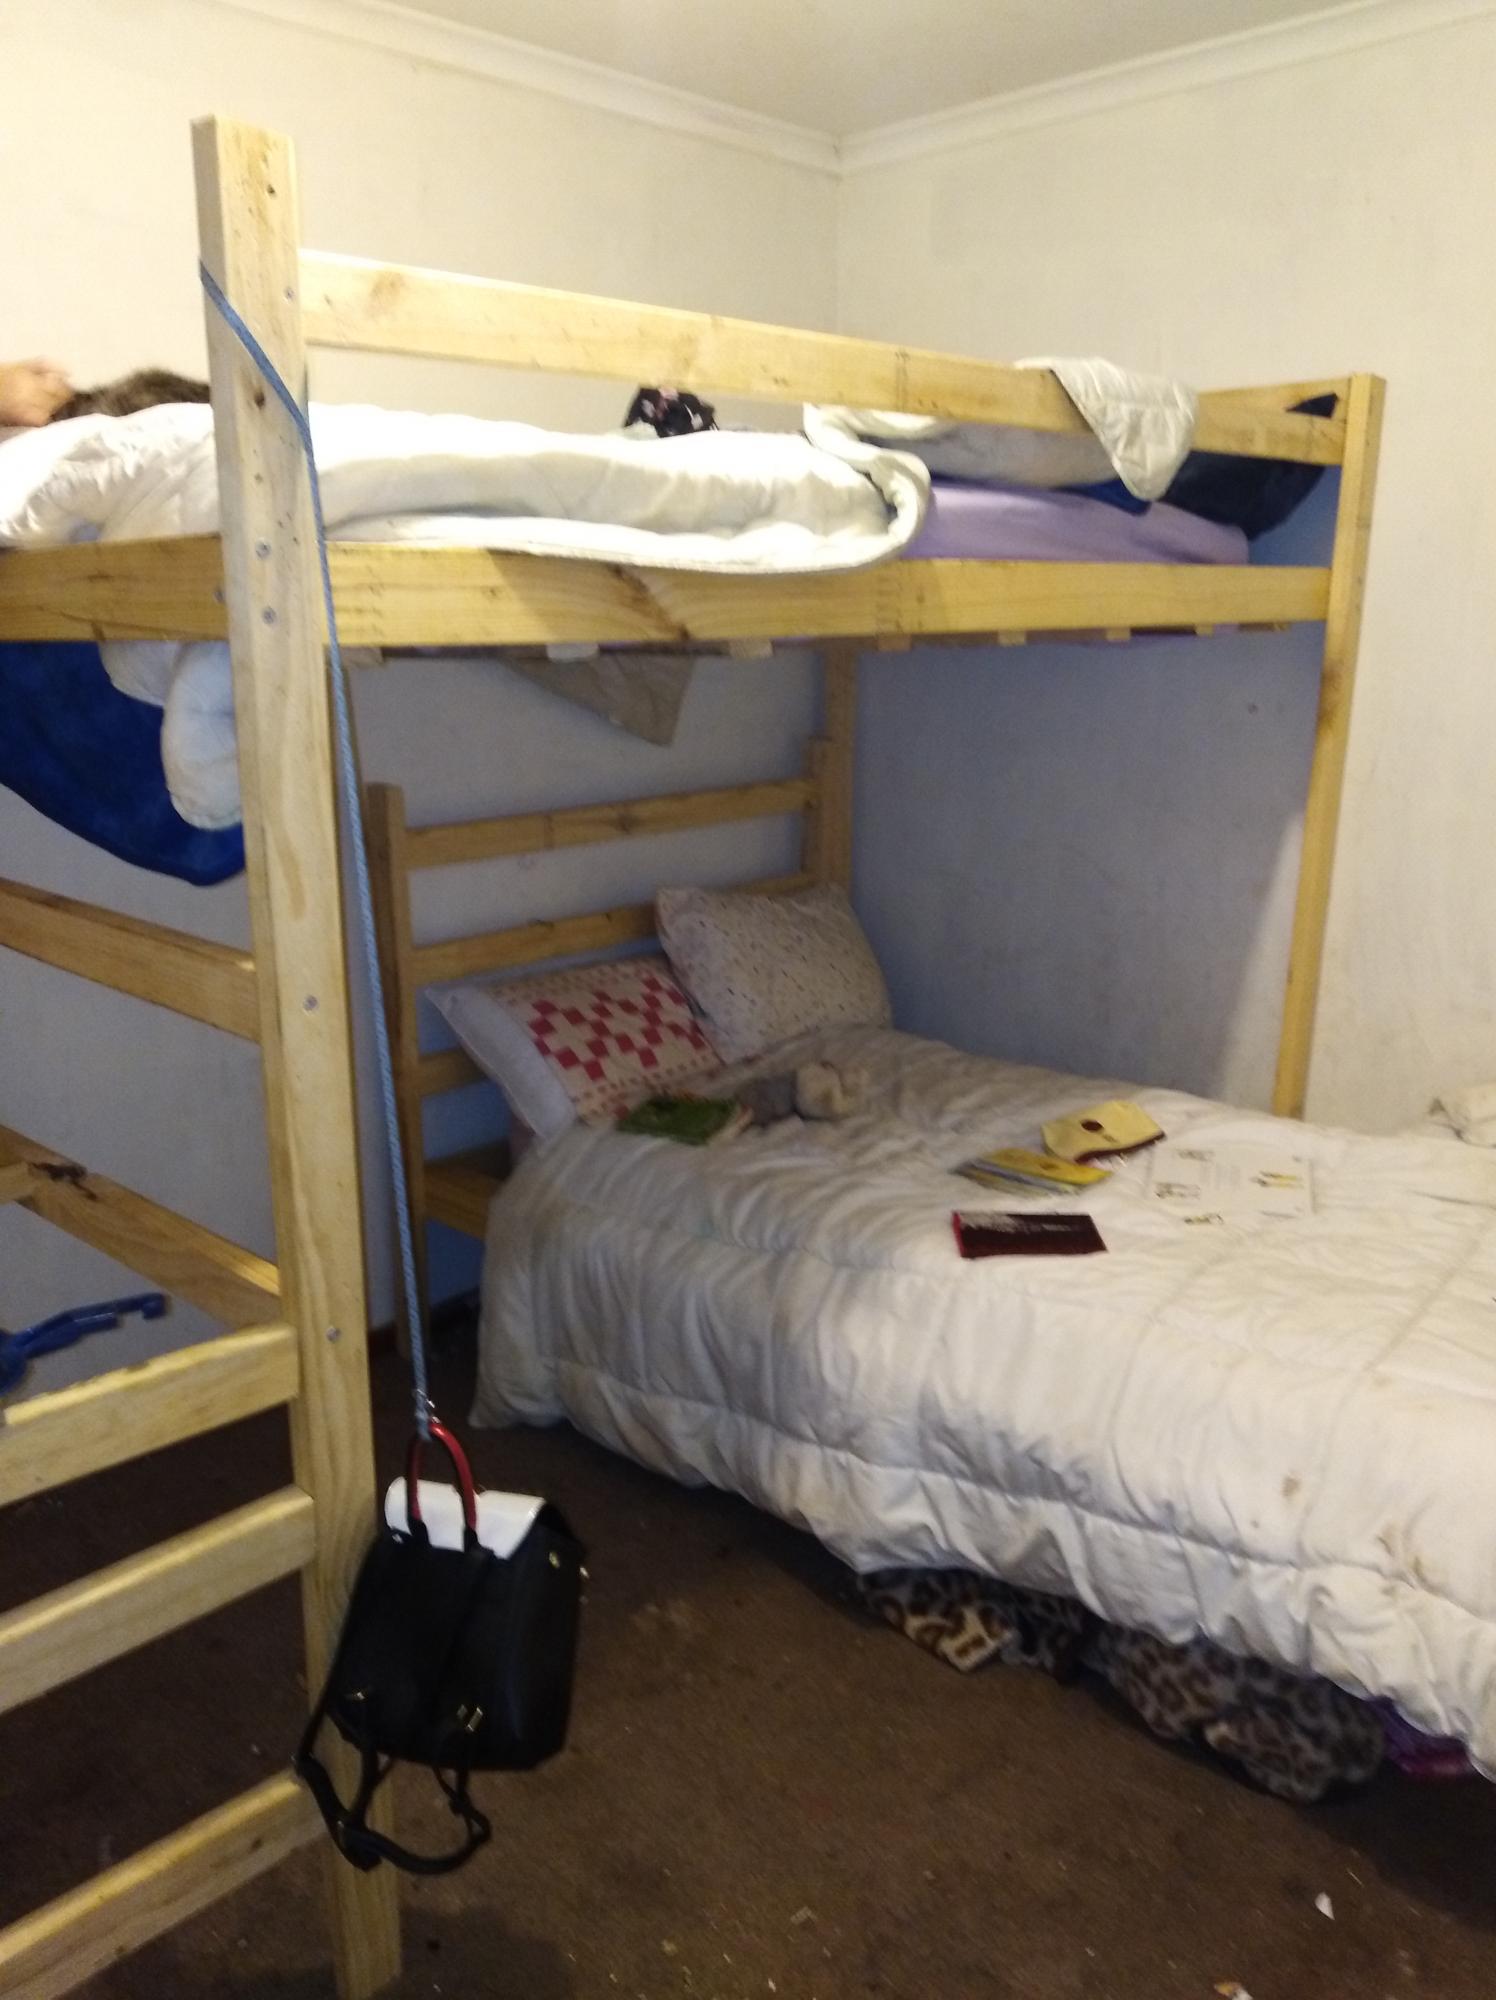
We changed the bed sizes and the height but my 14 yo built these for his sister
Built from Plan(s)
Estimated Cost
$250 aud
Estimated Time Investment
Weekend Project (10-20 Hours)
Recommended Skill Level
Beginner
Rolling Storage Cart
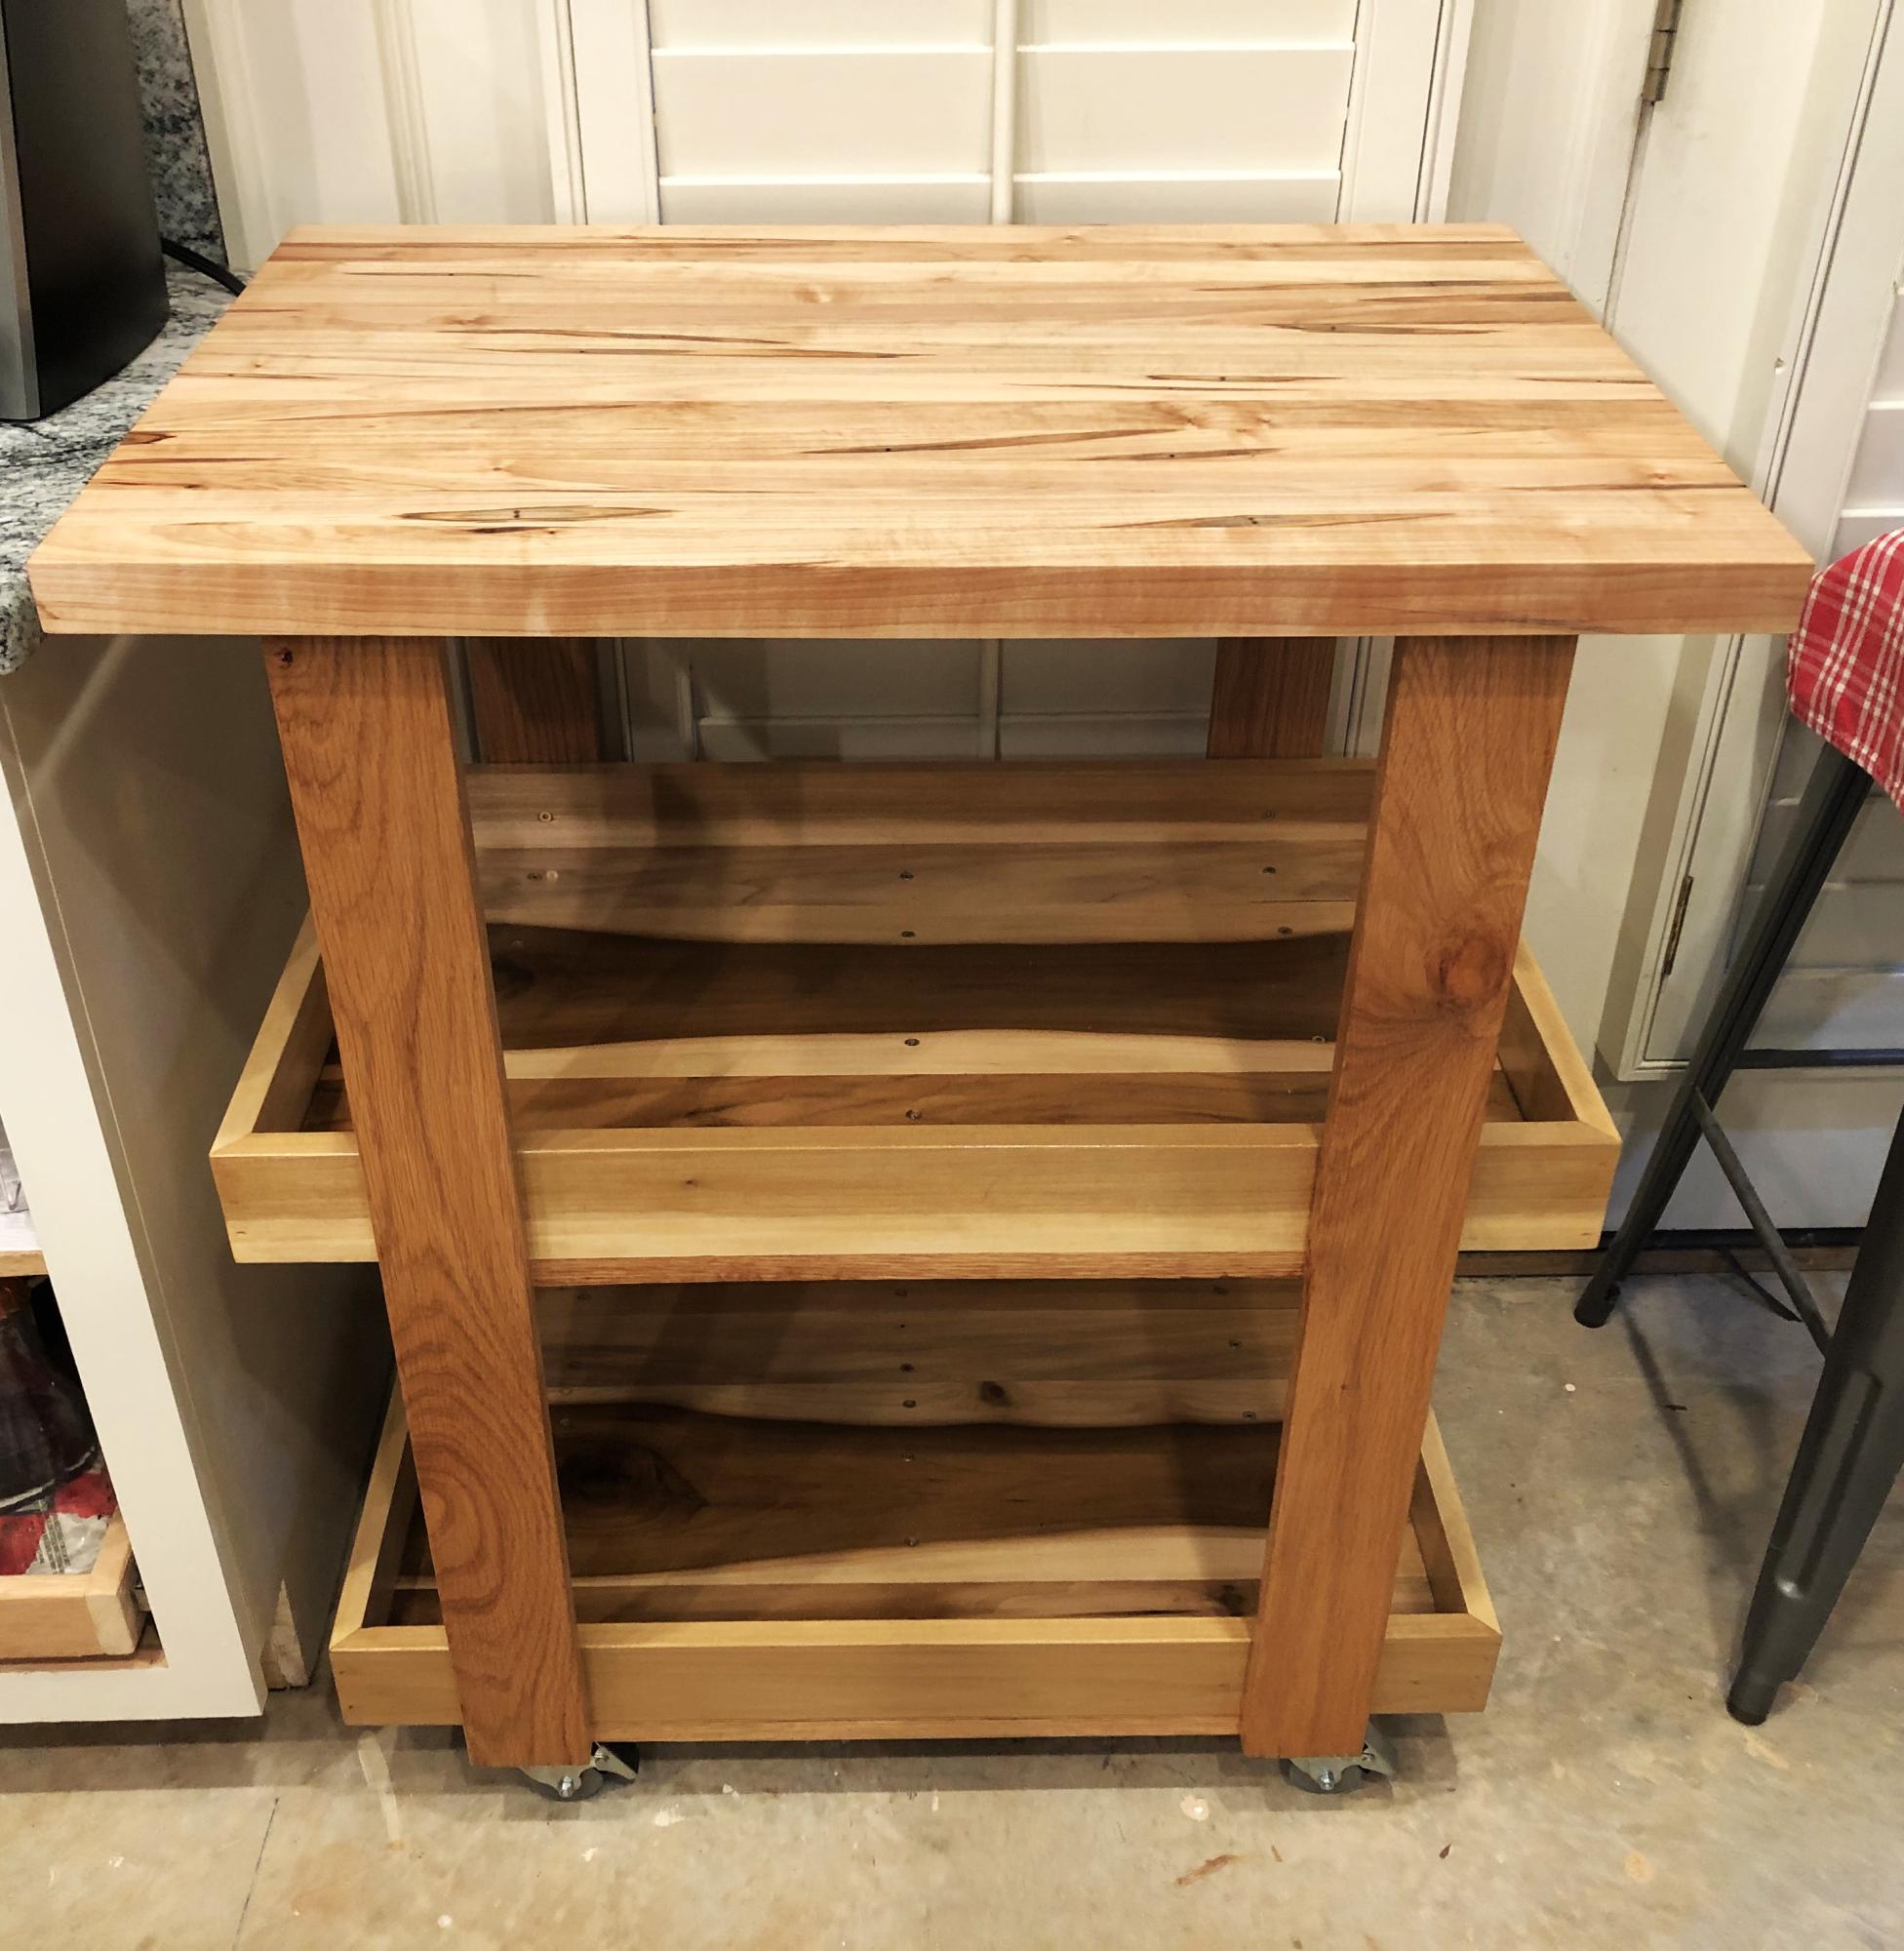
Home Depot Rolling storage cart for our Berkey!
Leon
Built from Plan(s)
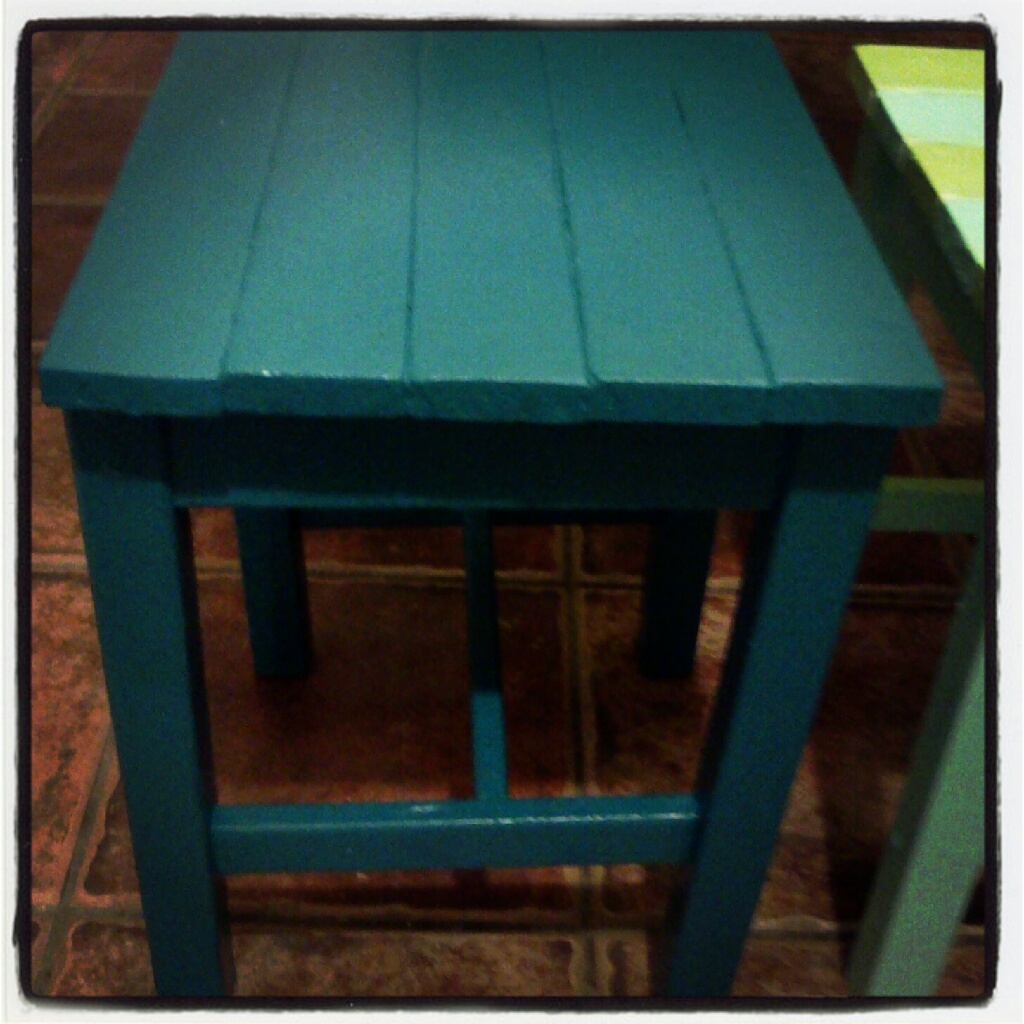
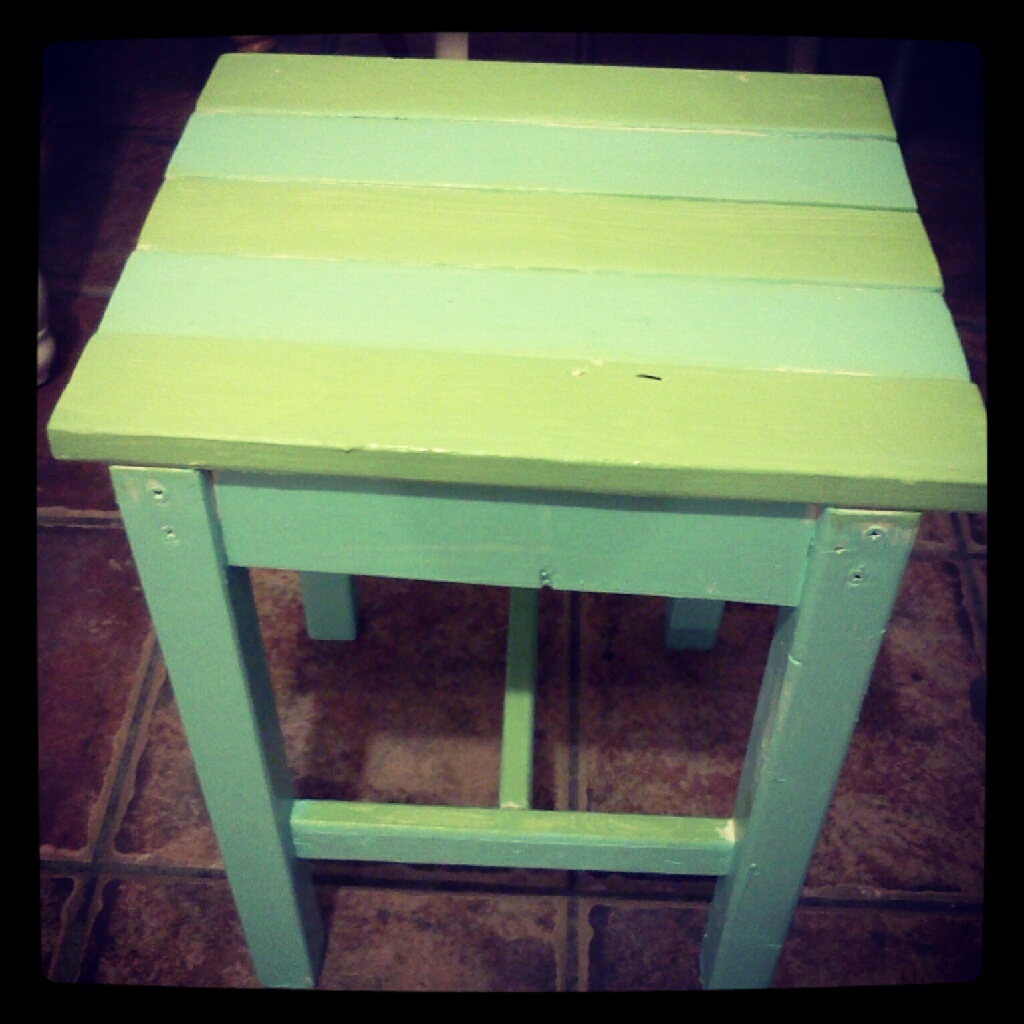
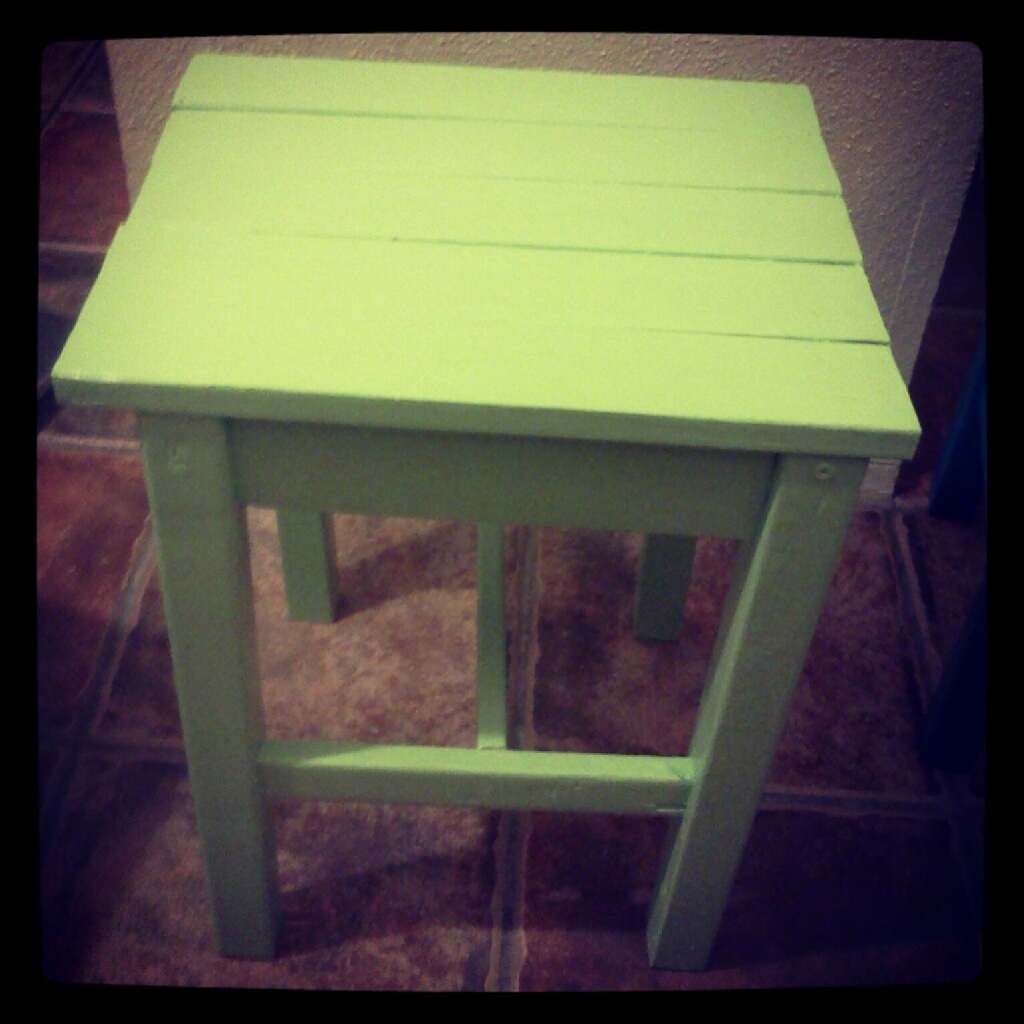
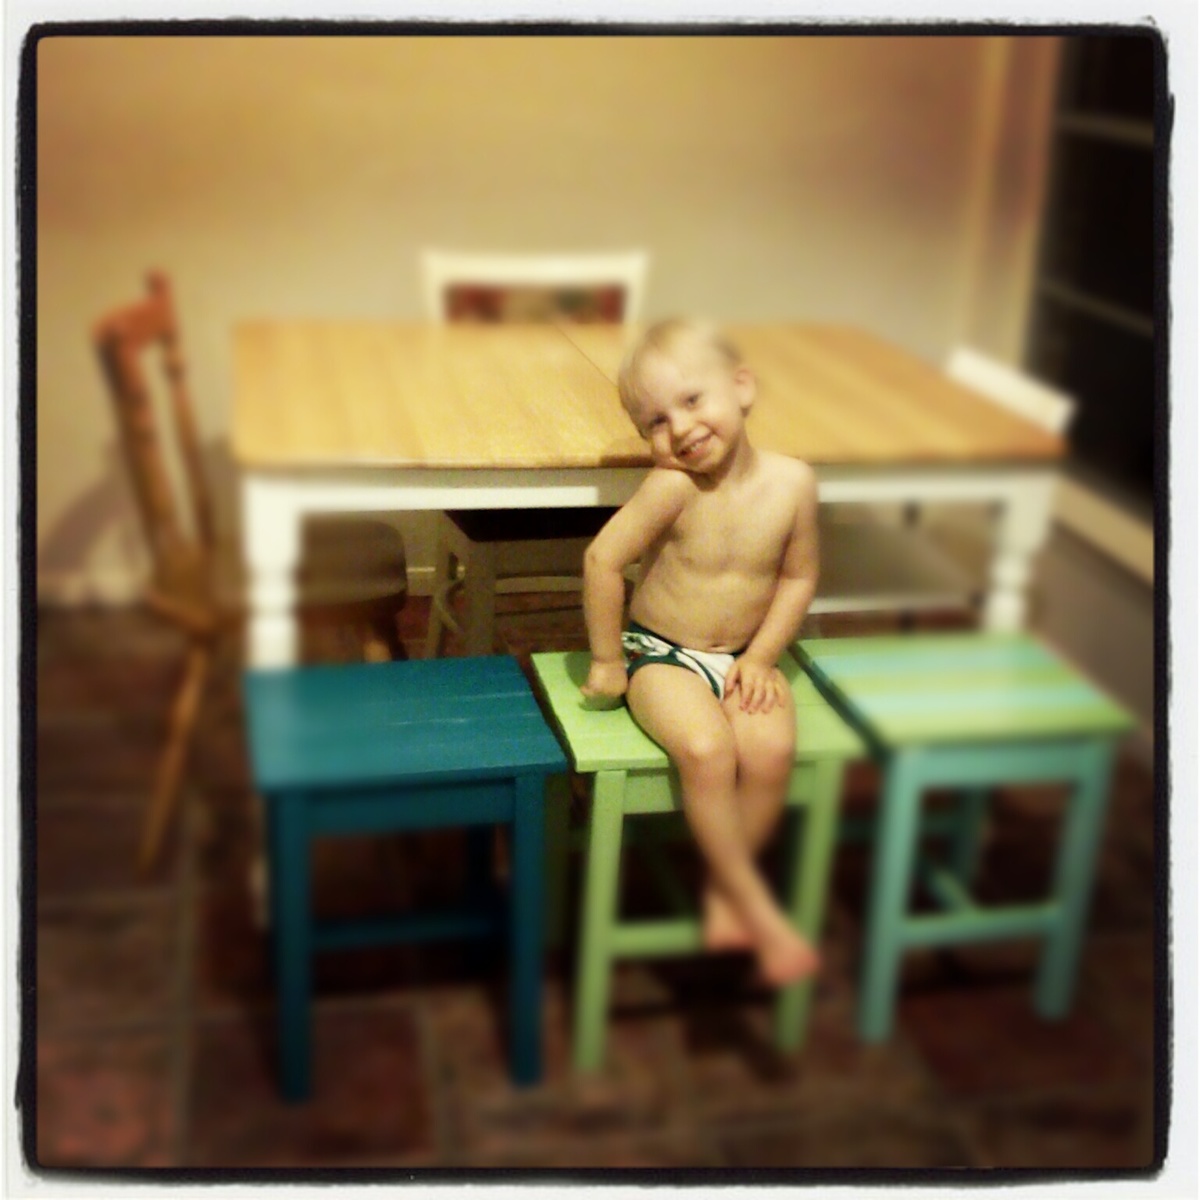
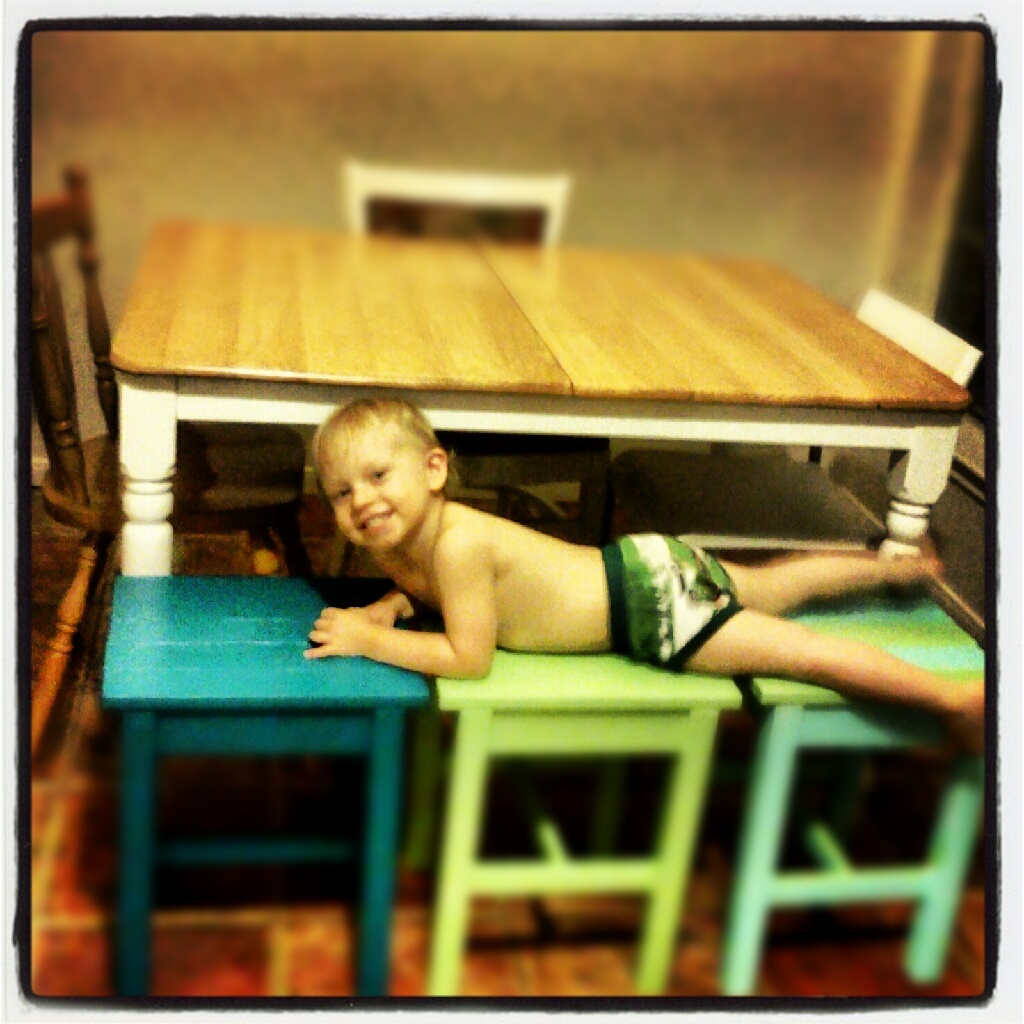
3 Adirondack Stools!
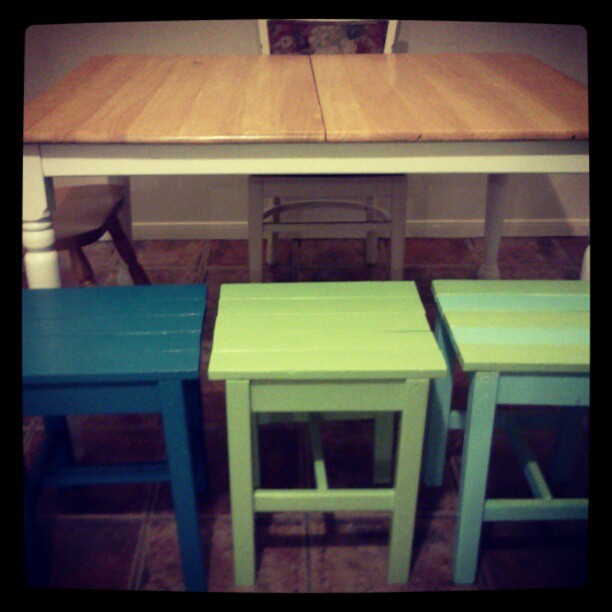
I chose this project as my children's first wood-working project. They are 2,7 and 8 years old. I didn't have a kreg jig. I just pre-drilled holes and used 2 1/2" screws and nails to put it all together. We had a hard time keeping everything square. I wasn't sure if the apron boards lined up in the center or against the edges of the legs. But we finally got it all built Then we primed and painted them.
It cost around $10 for the wood for all 3 stools, $5 for a gallon of oops paint (the light blue paint) and we already had the other 2 colors from previous projects. $7 for a box of screws but we only used a quarter of the box.
Built from Plan(s)
Estimated Cost
$15-20 for 3 stools
Estimated Time Investment
Afternoon Project (3-6 Hours)
Finish Used
paint and kilz (primer), My daughter did a distressed look on hers and multi-colored.
Recommended Skill Level
Beginner
Brookstone Storage twin bed
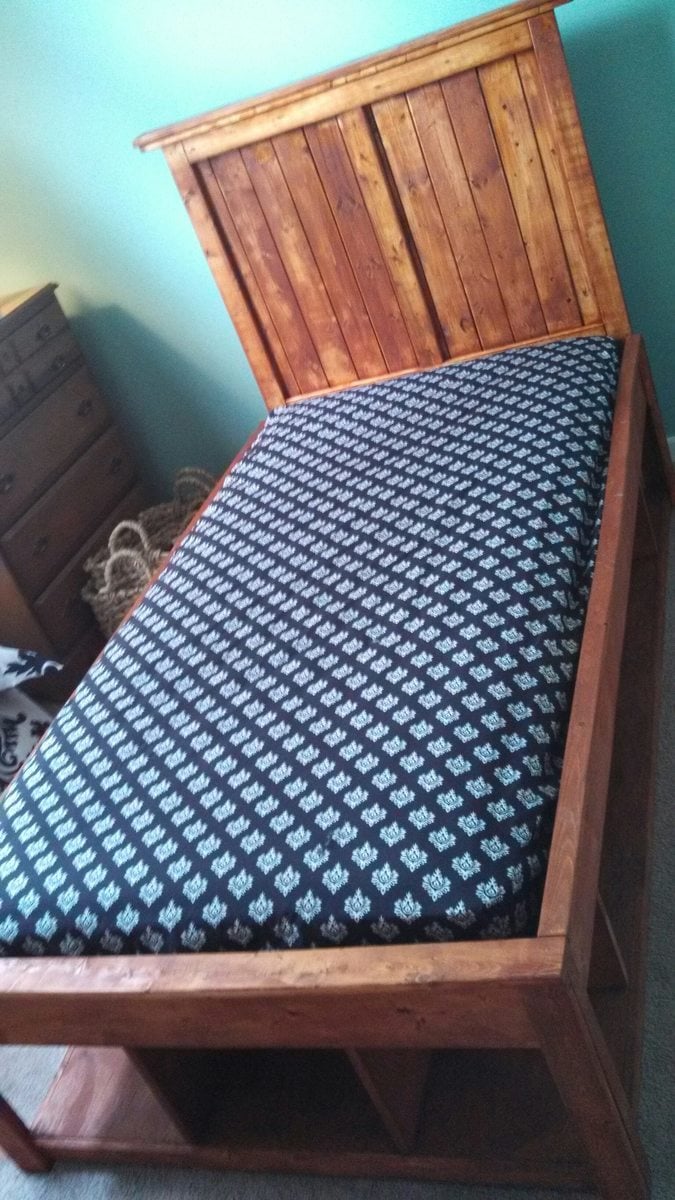
Needed a bed but not a lot of space Pretty simple build. Directions said to use Brad Nailer. Didn't have one at the time, but after the number of small finishing nails I bought one.
Built from Plan(s)
Estimated Cost
75 - 100
Estimated Time Investment
Day Project (6-9 Hours)
Finish Used
Gunstock stain by Minwax
Recommended Skill Level
Beginner
My Outdoor Bar Table
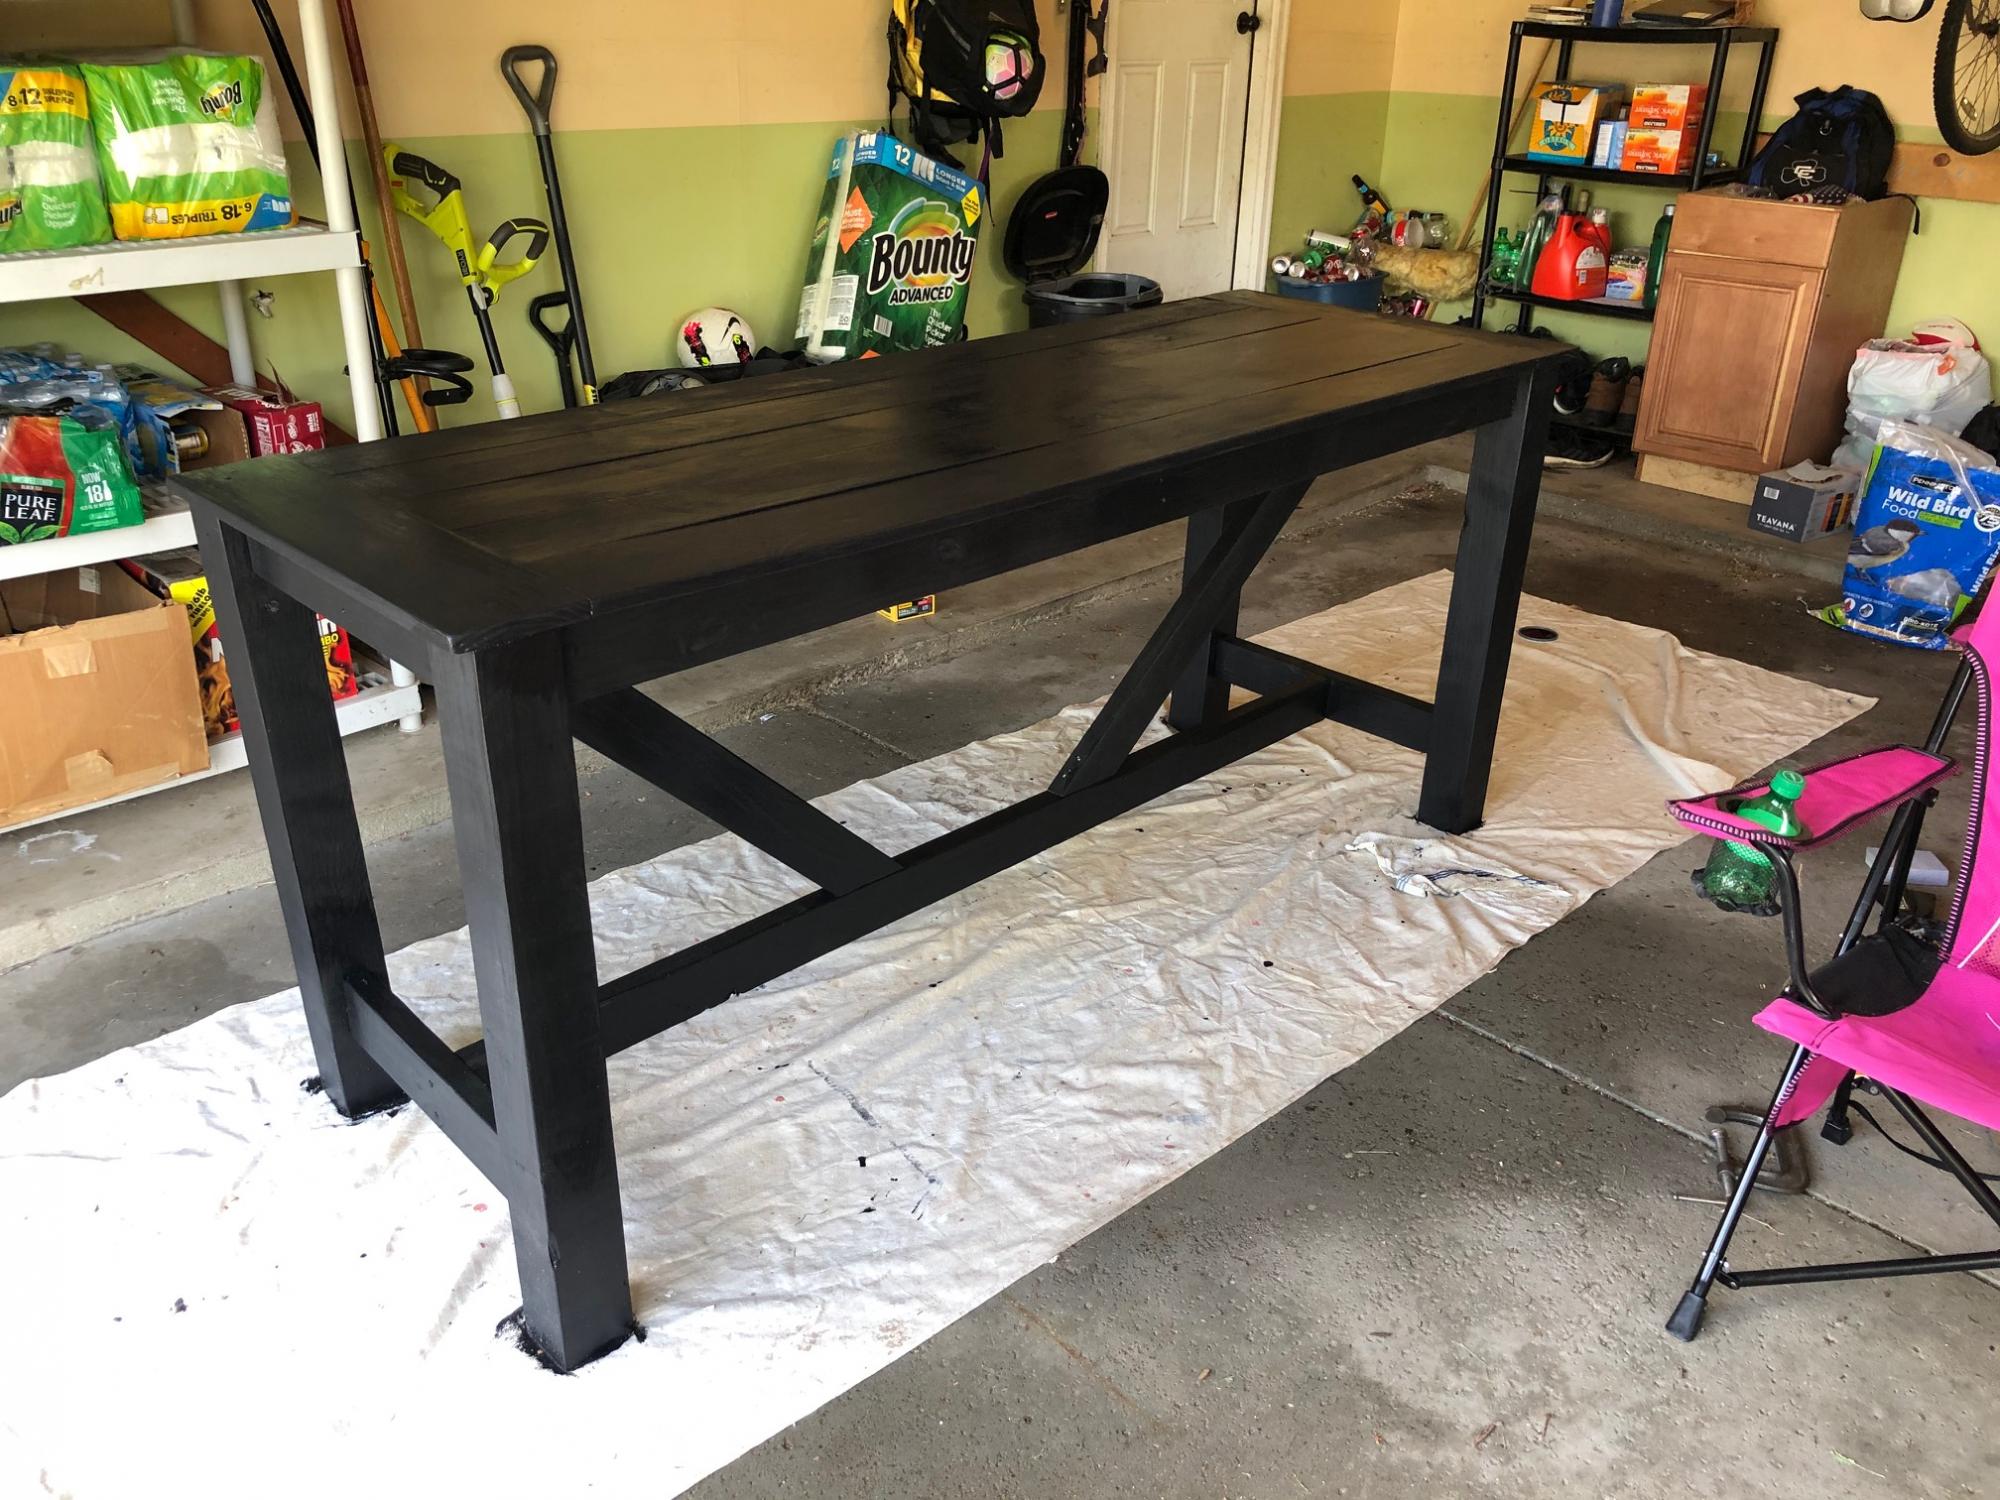
This is my first project, based on your outdoor bar table plan. Great design. I changed the top a little, still needs a little work.
Built from Plan(s)
Estimated Cost
$150
Estimated Time Investment
Weekend Project (10-20 Hours)
Finish Used
Painted with the Limousine Black in the plans.
Recommended Skill Level
Beginner
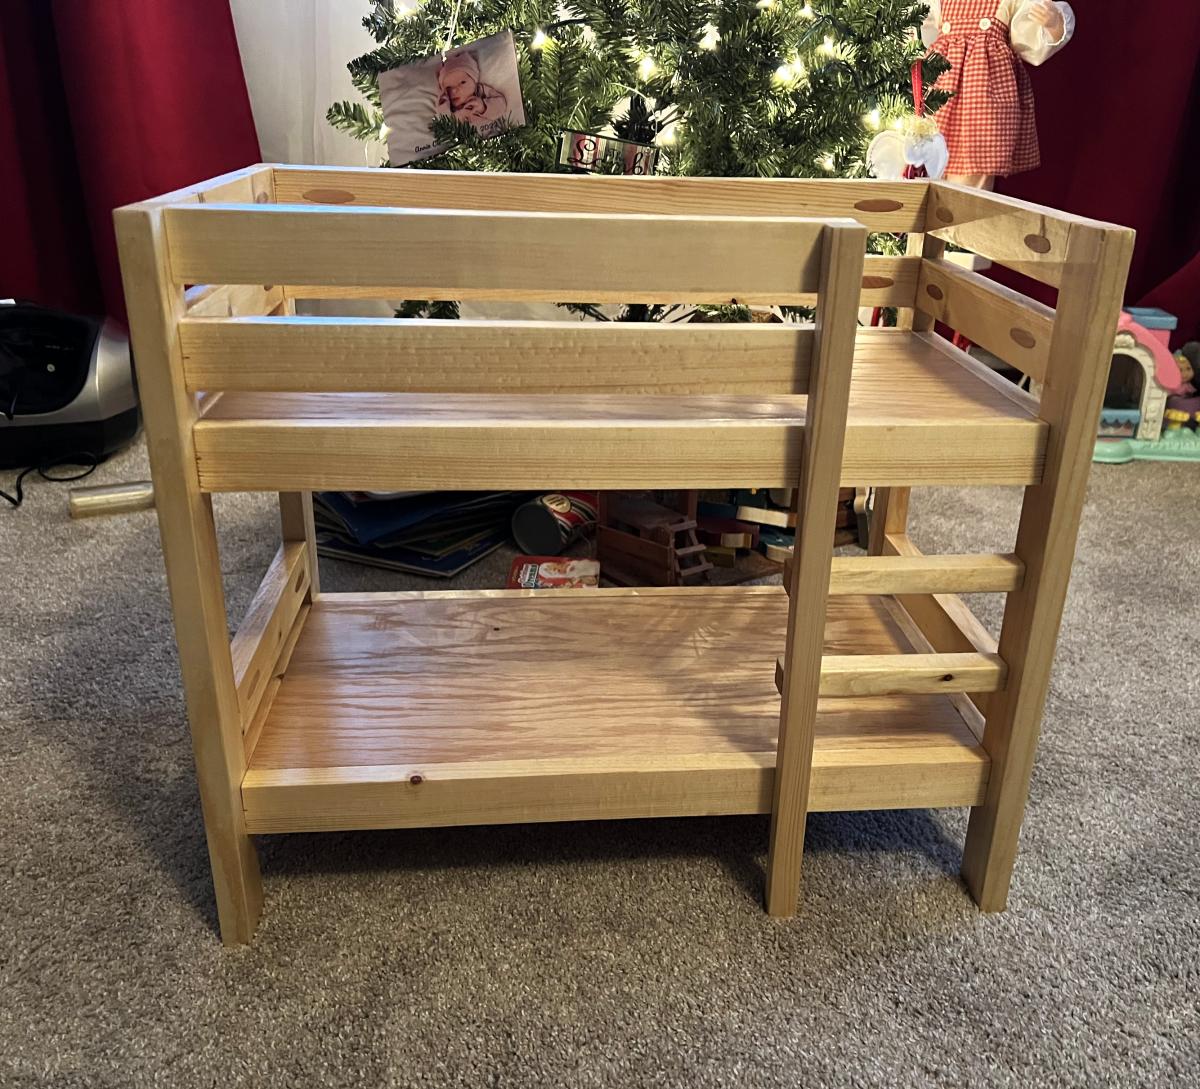
Doll Bunk Beds for the Grands!
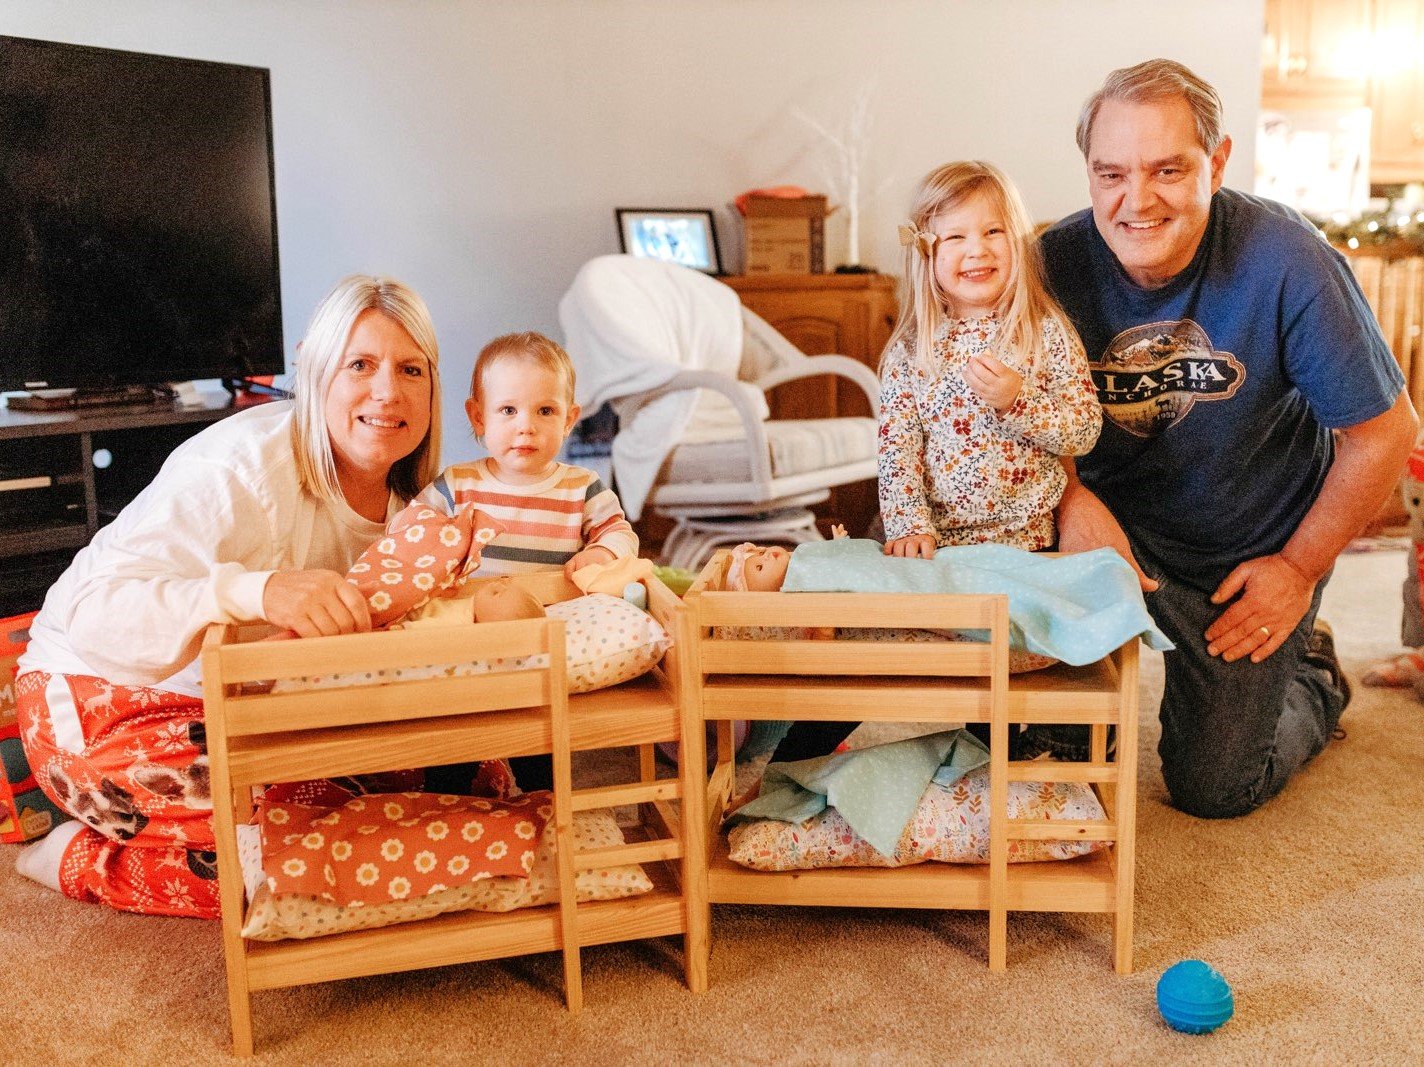
My husband made this doll bunkbeds for our granddaughters for Christmas! They loved them!!
Built from Plan(s)
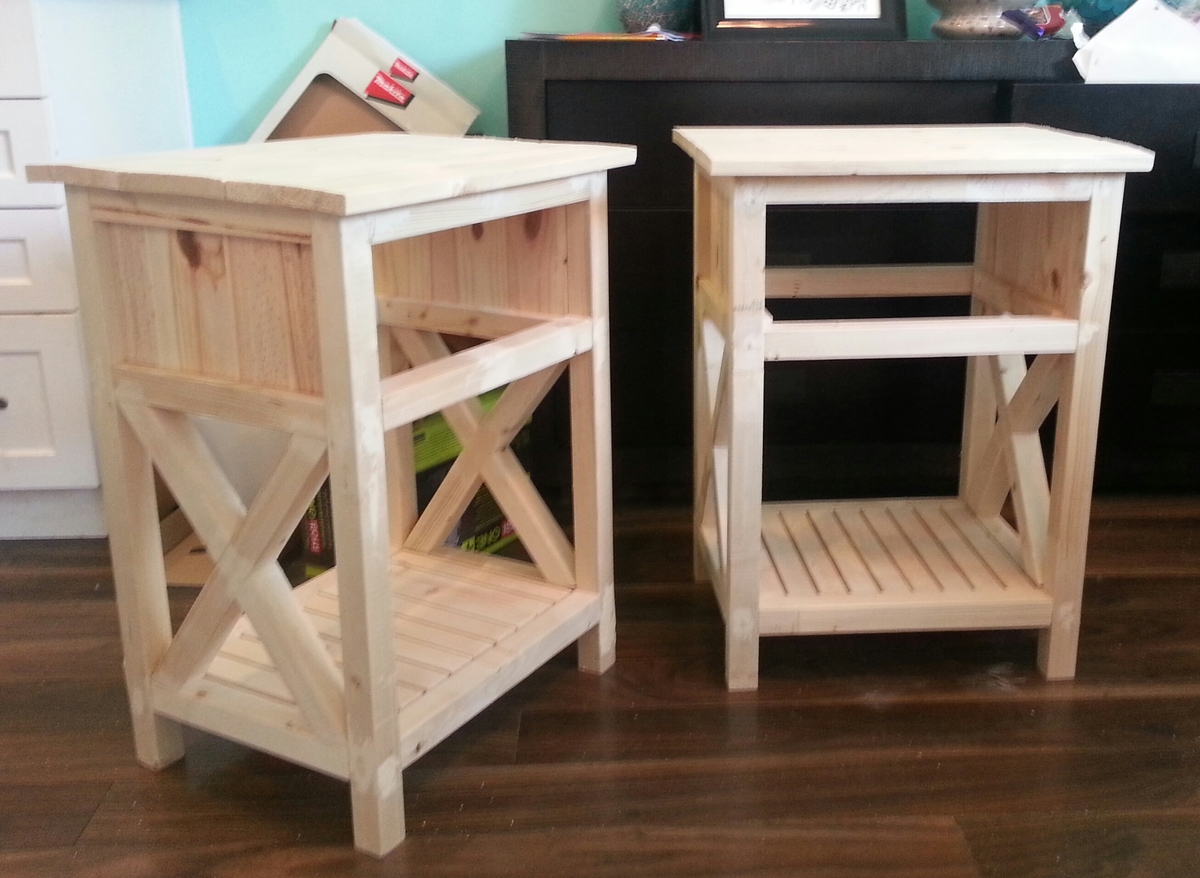
Farmhouse Bedside Table
Second project ive ever made. Made the Farmhouse tables. these were harder to make than the bed I made. I Downsized to 20", dropped the shelf and added the slats, as well as added the Xs on the sides. Still in awe that I made a drawer that works! Fun project. Thanks to Ana for the great plans.
Built from Plan(s)
Estimated Cost
45
Estimated Time Investment
An Hour or Two (0-2 Hours)
Finish Used
White paint. Espresso and Jacobean minwax for top.
Recommended Skill Level
Beginner
Comments
Tue, 05/20/2014 - 20:52
Thanks for the plans. Such an
Thanks for the plans. Such an awesome site. Cant say that enough. Youre awesome!
Rustic TV Stand

I'm calling this a TV stand but it could also be used as a console or side table. It would easily fit behind a couch or be placed in a bedroom for storage. Being "rustic", it was built with simply construction methods from low cost lumber. The total material cost (excluding baskets) was around $50.
Build Plans: http://www.instructables.com/id/Rustic-TV-Stand/
Estimated Cost
$50 (excluding baskets)
Estimated Time Investment
Weekend Project (10-20 Hours)
Finish Used
Black Cherry
Recommended Skill Level
Beginner
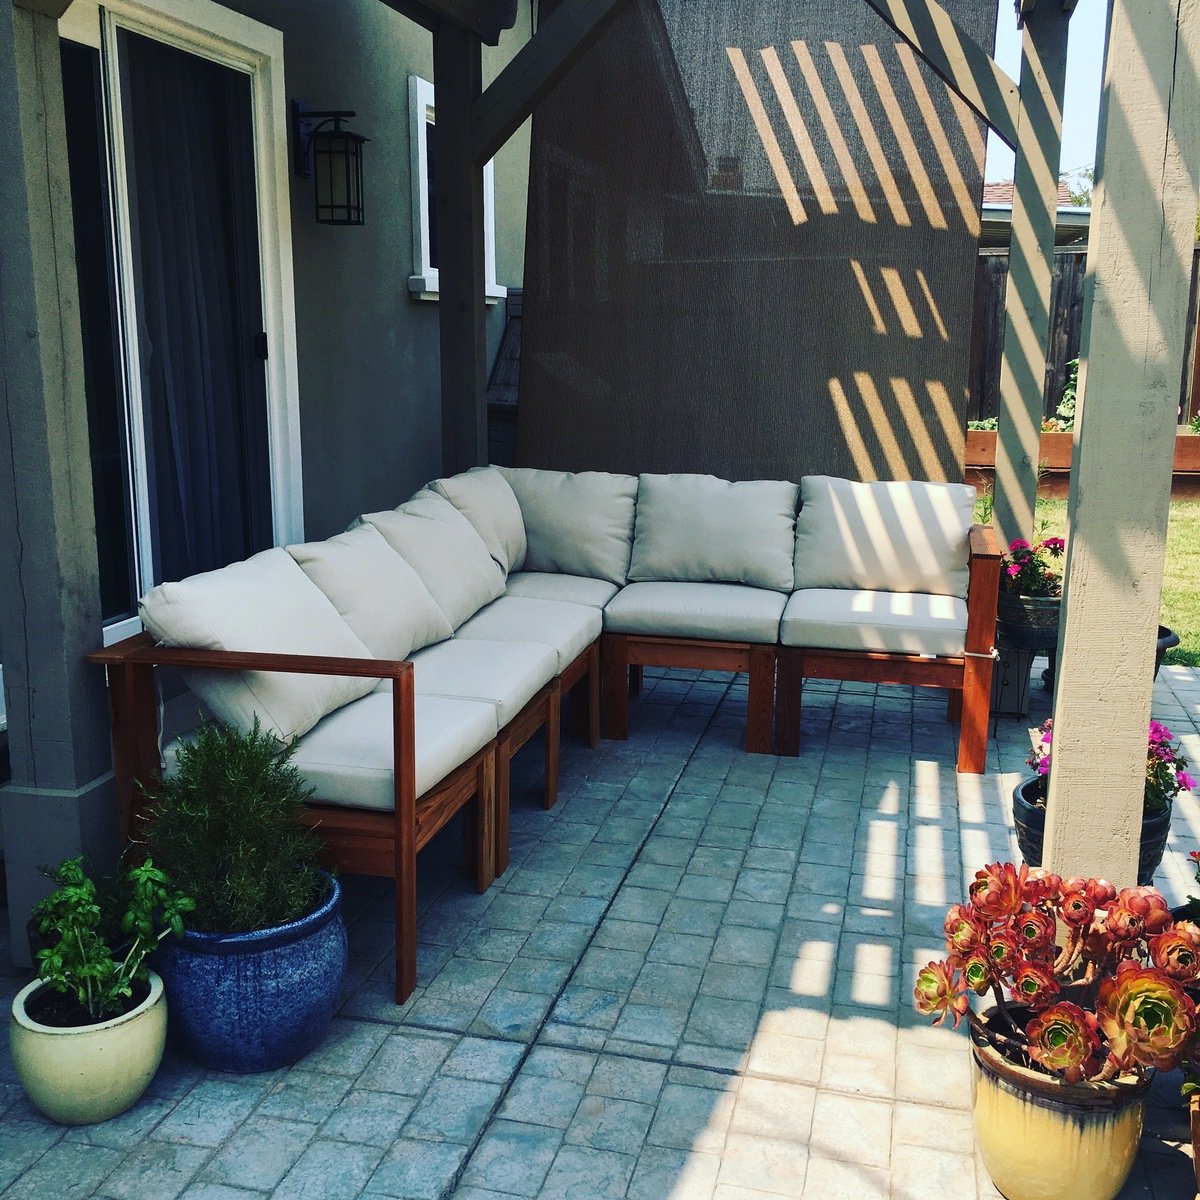
2x4 Sofa w/ Chaise and Coffee Table

Just finished this to make the most of the little good weather we get in the UK. 2x4 sofa with sectional Chaise section and coffee table

Built from Plan(s)
Estimated Cost
£200
Estimated Time Investment
Weekend Project (10-20 Hours)
Finish Used
Natural wood stain
Recommended Skill Level
Beginner
Kids Custom DIY Closet
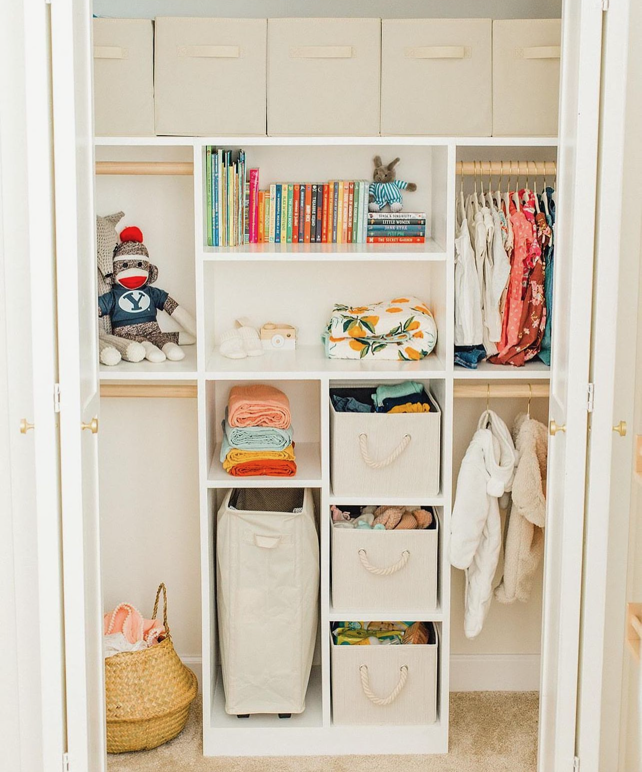
“Just My Size Closet Plan” - Perfect for growing kids and more organization! @thegardnerplace modified the tower to include tucking away the laundry basket, SMART!
Built from Plan(s)
farmhouse king bed

Farmhouse king bed, great design. Cost approx $250.
Estimated Cost
$250
Estimated Time Investment
Weekend Project (10-20 Hours)
Finish Used
maple stain and varnish
Recommended Skill Level
Beginner
Comments
Sideboard & Hutch

My wife loved the sideboard, only did not like the drawers. I just changed the dimensions to accommodate without them. A couple of weeks later she decided she wanted a hutch for the top with glass doors so the items in the center could be visible. This is what I came up with. She stained with Espresso stain and Basil milk paint. Thanks Ana & Hillary for great ideas.


Built from Plan(s)
Estimated Time Investment
Week Long Project (20 Hours or More)
Finish Used
General Finishes Espresso stain and finished with General Finishes Basil milk paint.
Recommended Skill Level
Beginner
Comments
Wed, 07/16/2014 - 02:50
Beautiful!
What were the dimensions that you used to replace the drawers? I prefer it this way. You did a remarkable job. I love the finish, rustic and modern at the same time!!
Extra long 76" floating shelf

I wanted a shelf to extend the entire length of our laundry room. It's 76 inches, so I had to modify the existing plan for one slightly longer shelf instead of three 72 inch ones.
Cut list for 76 inch floating shelf:
2 - 1/4 plywood strips @ 76" x 7 3/4" (top & bottom of shelf)
1 - 1 x 2 @ 76" (front of shelf)
2 - 1 x 2 @ 73" (shelf frame)
4 - 1 x 2 @ 7" (ends of shelf and shelf frame)
6 - 1 x 2 @ 5 1/2" (shelf frame studs)
I was able to build this using scrap 1x2 for the studs and ends. I bought two 8 ft 1x2 pieces and one piece of 1/4 plywood, which I still have a lot left of.
I have children and this was my first time building something on my own, so it took me any spare time I could manage over the course of a week.
I can't wait to build again! Thanks Ana!

Built from Plan(s)
Estimated Cost
$30-40
Estimated Time Investment
Afternoon Project (3-6 Hours)
Finish Used
Behr Ultra Pure White Paint & Primer in One
Recommended Skill Level
Intermediate

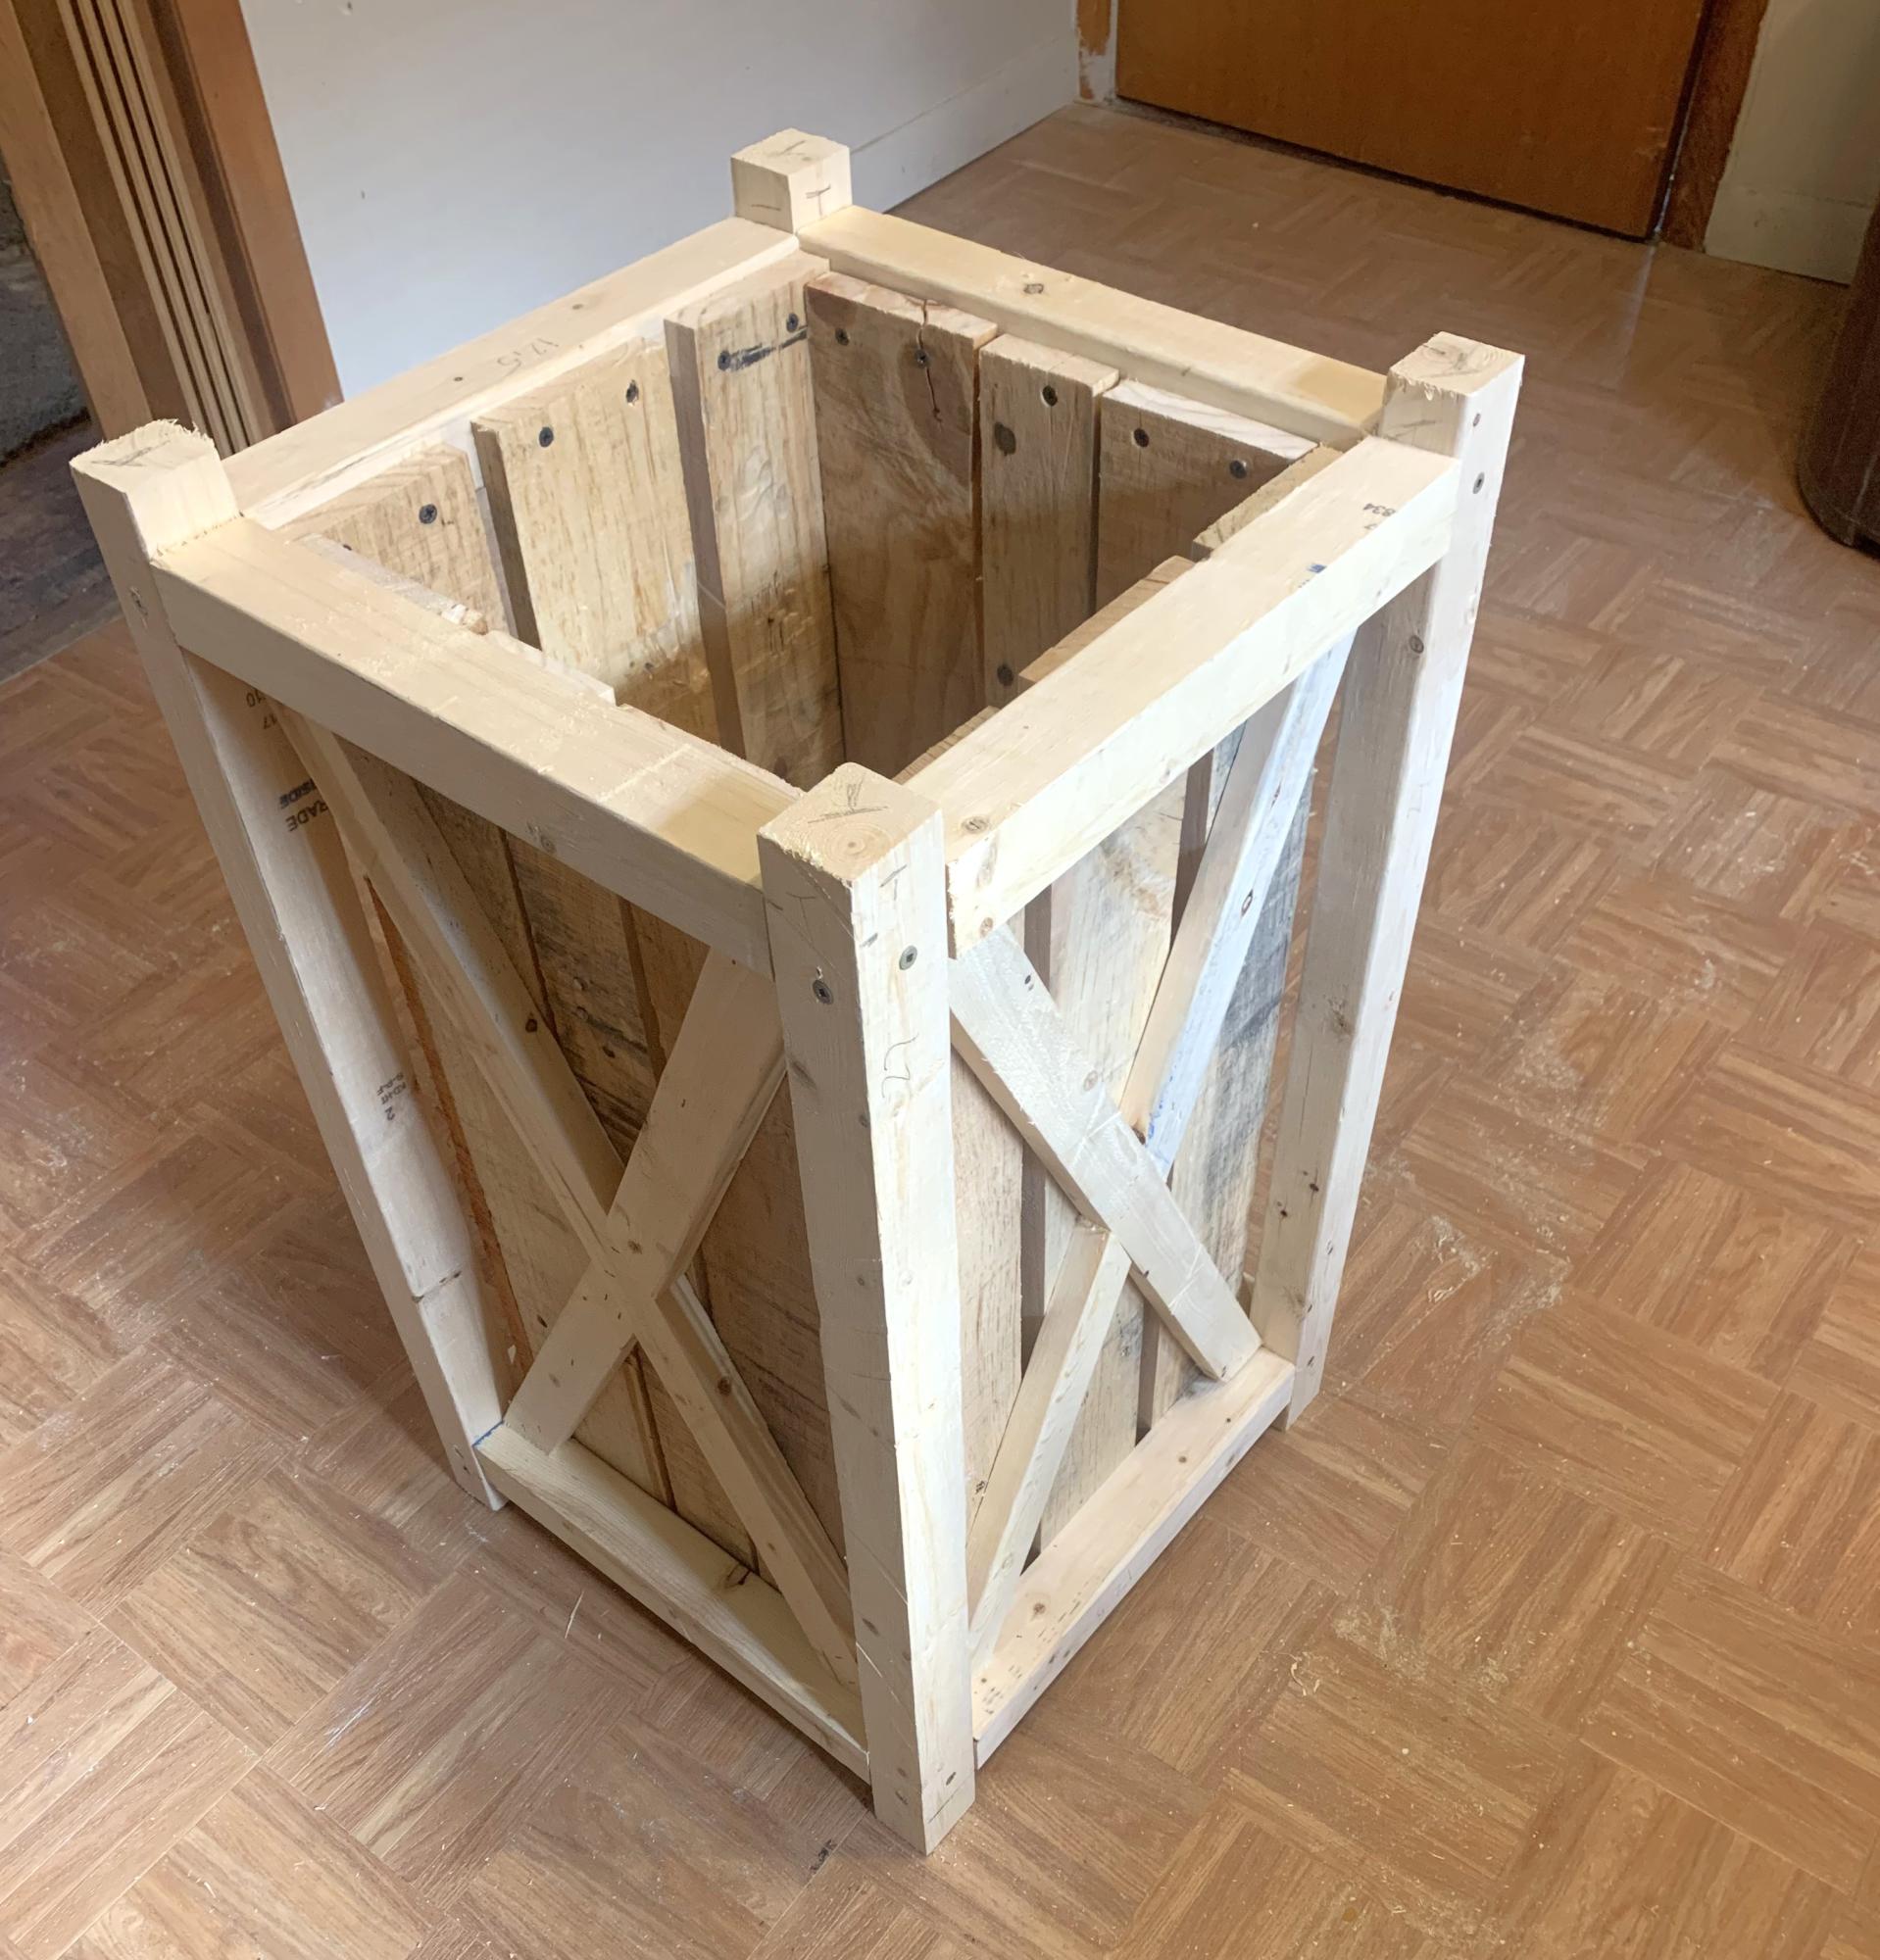
Canned Food Storage
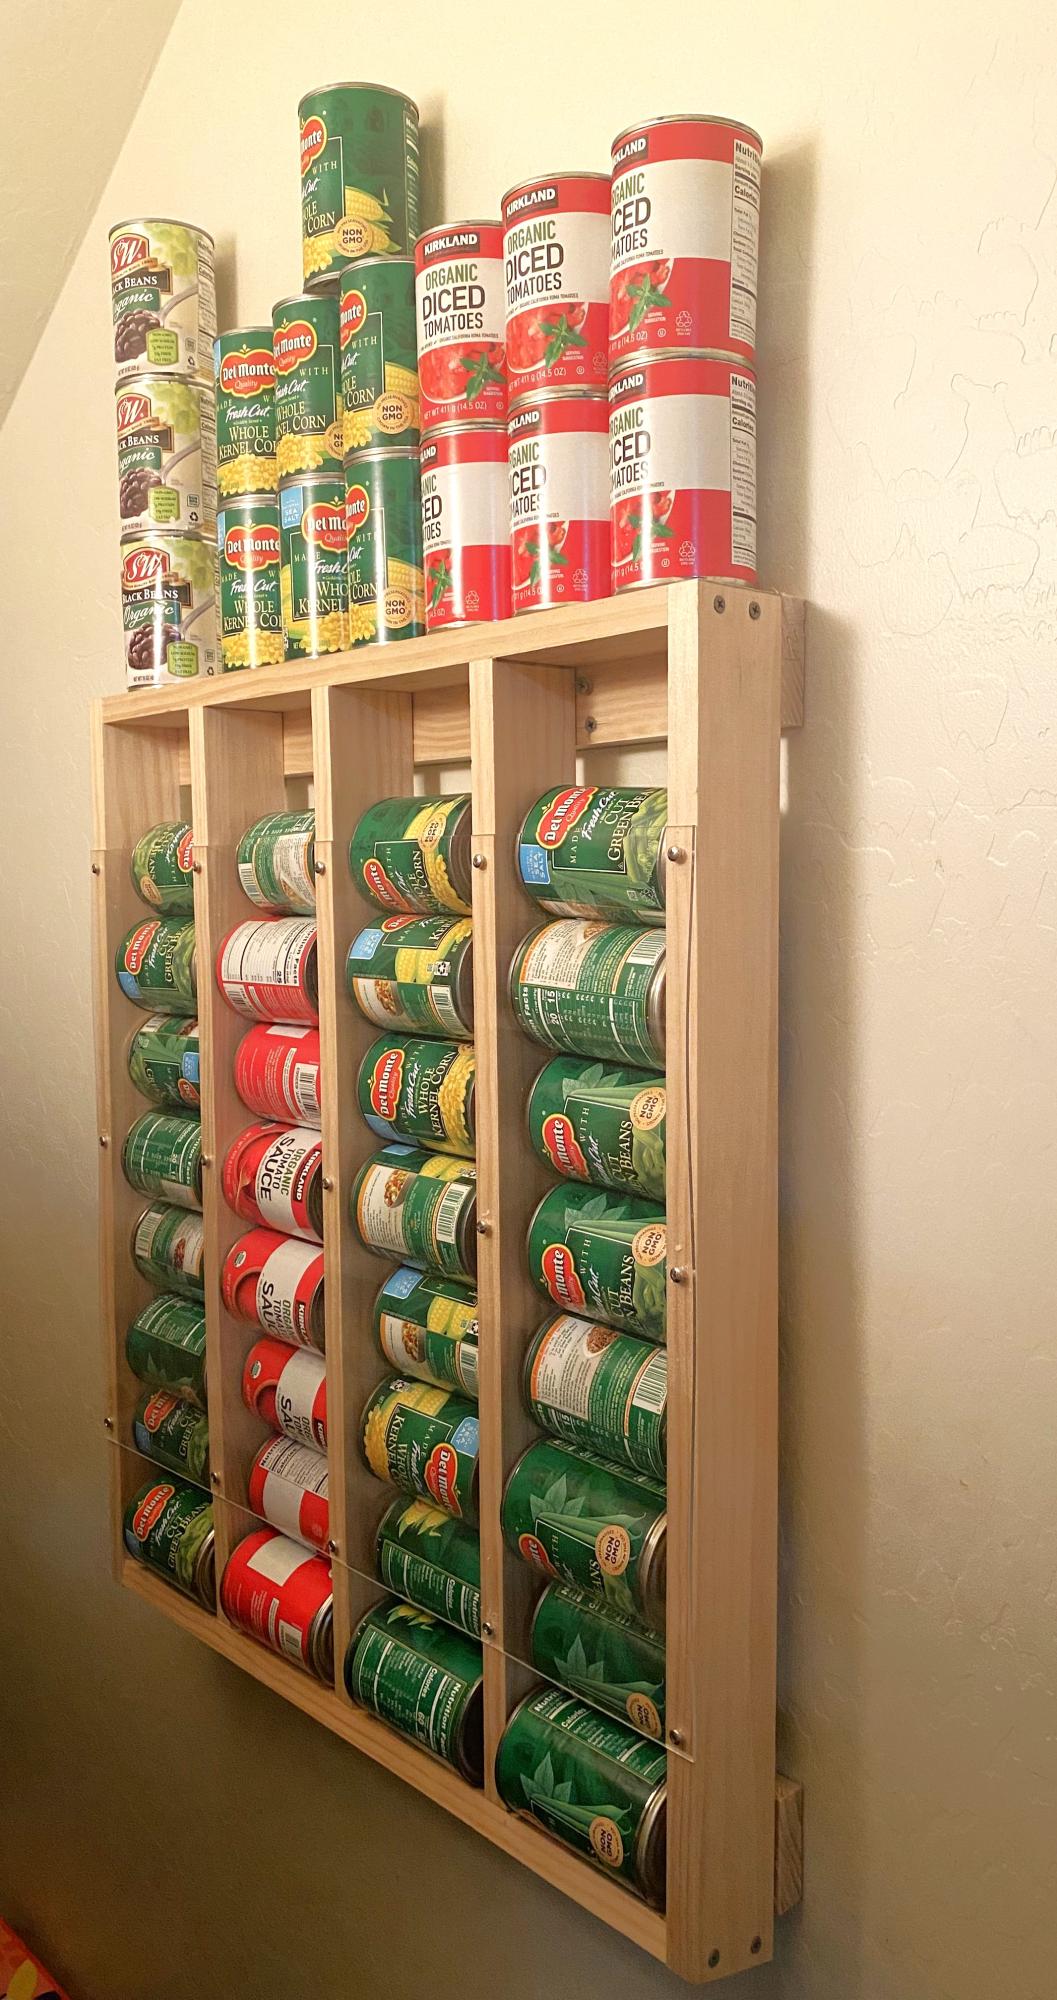
Made this for my dry closet. Super easy to construct and it works perfect. I just wish there was something similar to use for paper towels.
Built from Plan(s)
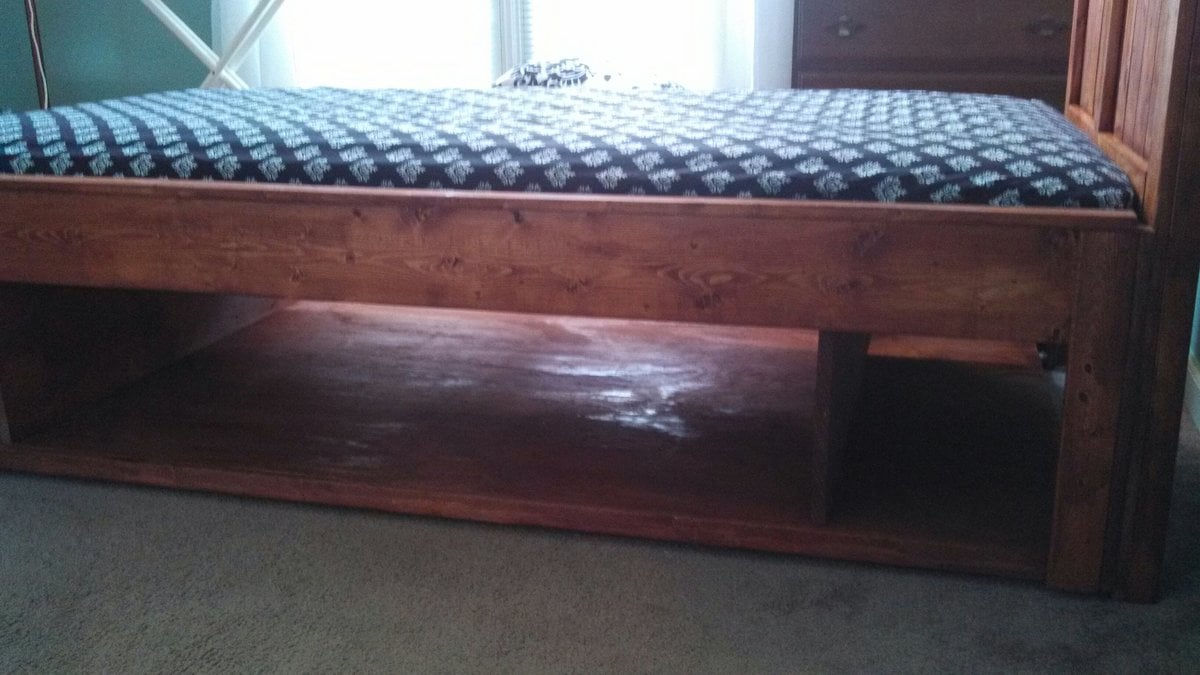
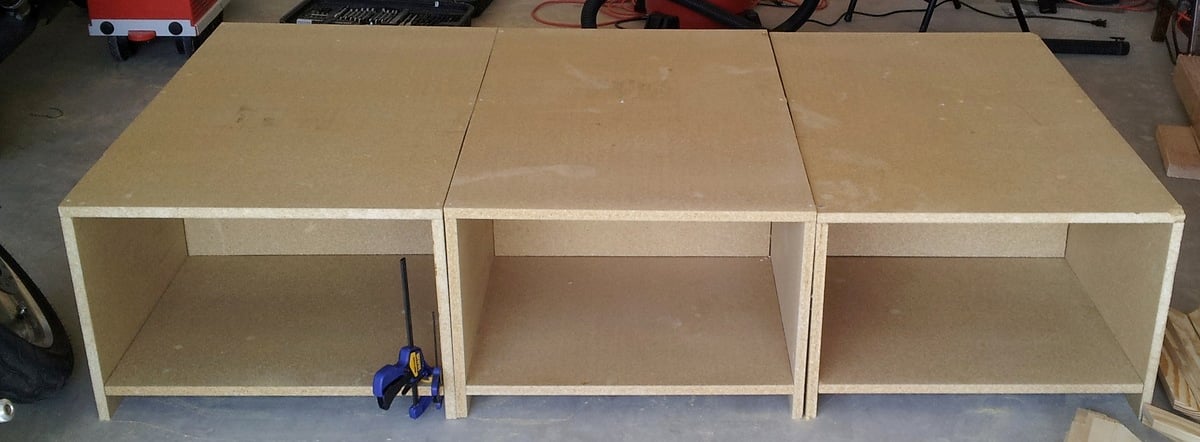
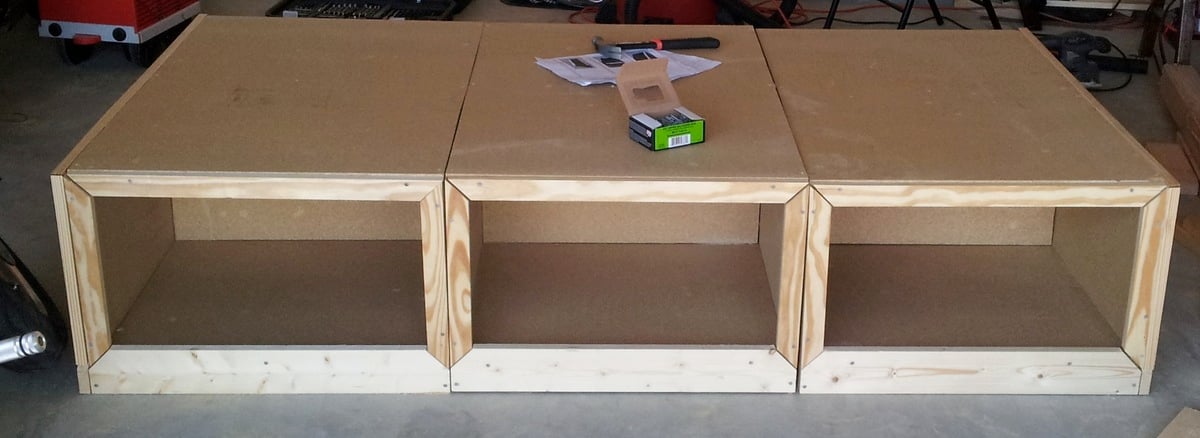
Storage Bed/Bench
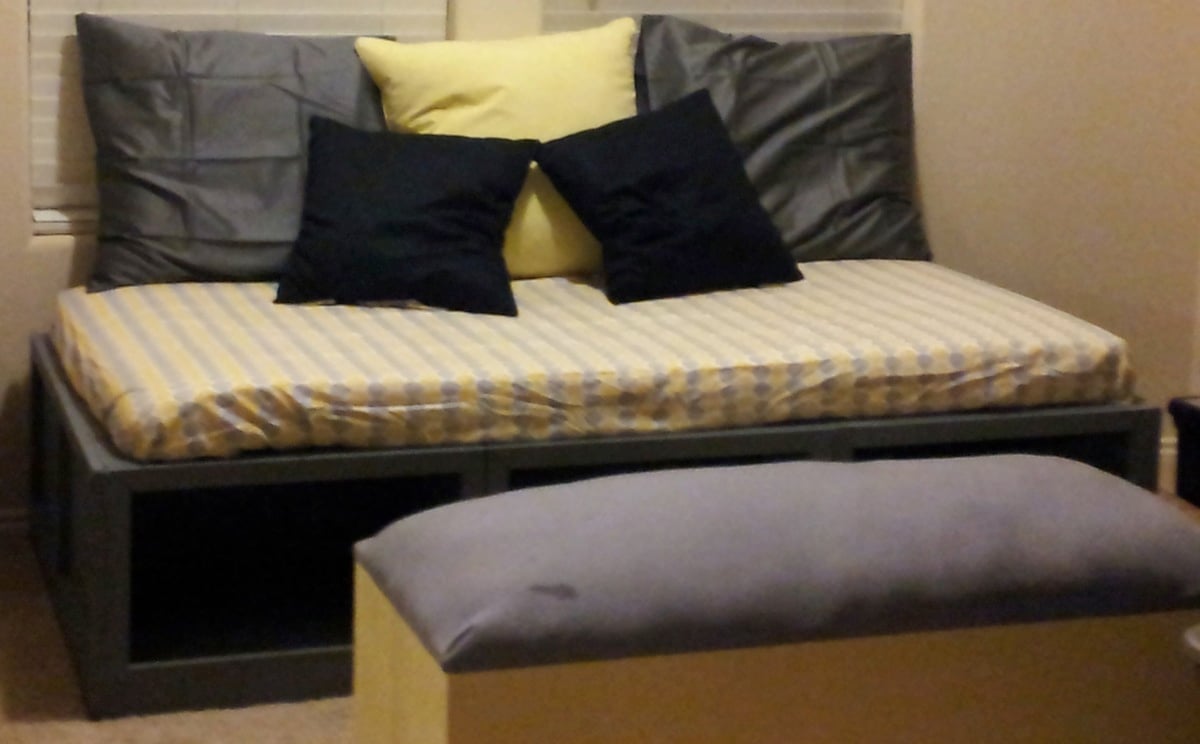
I made this for the sitting area in our master bedroom. I liked it because my wife and I can use it as a bench to sit and read on and also as a bed if we have the whole family over for the holidays and my guest bed and the kids' beds are taken. Overall this was around $100 and it took me two whole days to finish. I worked pretty much all day both days. I would say in total about 16 hours. Measuring and cutting was the largest part of the time. I made the mistake of cutting the trim before I made the boxes and was left with about an extra quarter inch in between most of the trim pieces. I filled this in with sandable paintable caulk and it did the trick. If you have any other questions please let me know. Thanks!

Built from Plan(s)
Estimated Cost
~$100
Estimated Time Investment
Weekend Project (10-20 Hours)
Finish Used
Intergallactic Grey Behr Premium Ultra paint and primer in 1.
Recommended Skill Level
Beginner
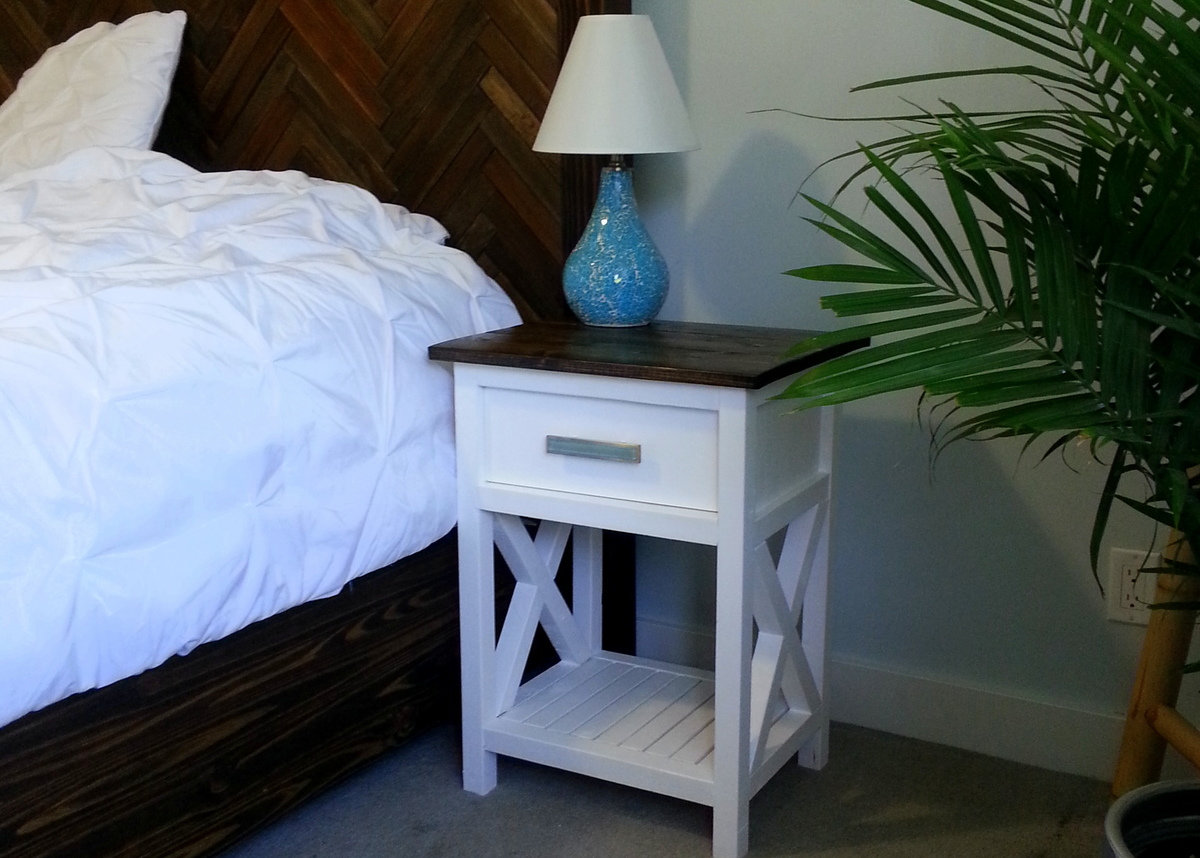
Farmhouse Bedside Table
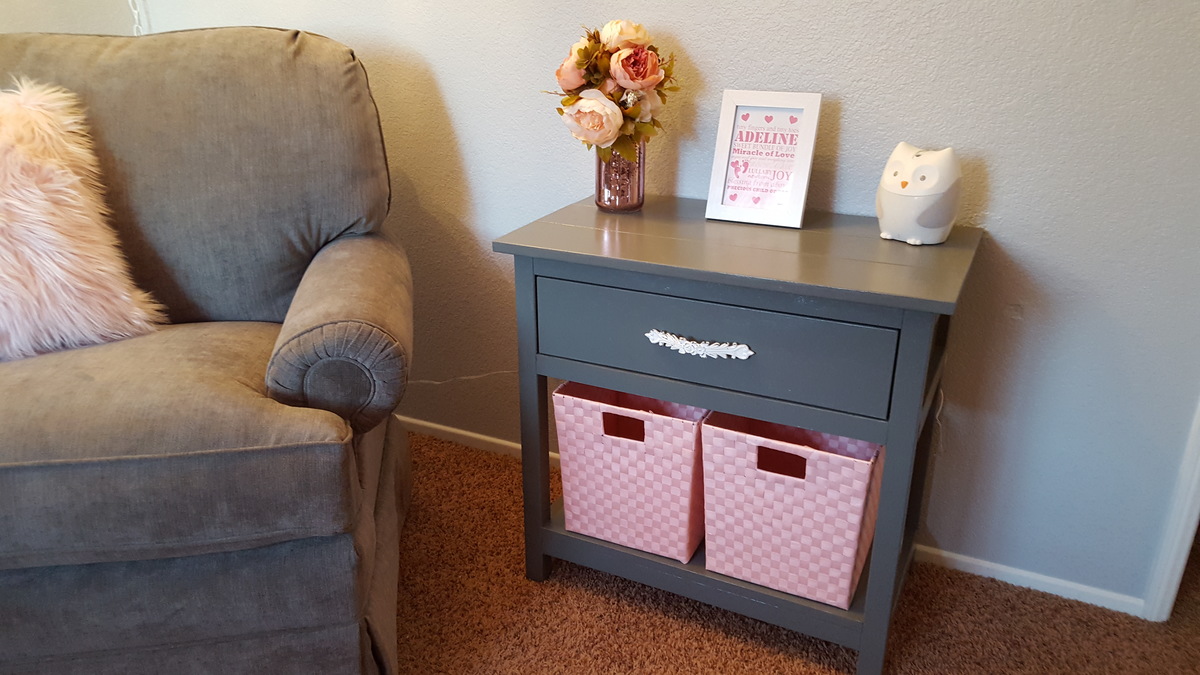
Farmhouse Bedside Table for nursing room.
Built from Plan(s)
Estimated Cost
$30
Estimated Time Investment
Weekend Project (10-20 Hours)
Finish Used
Paint
Recommended Skill Level
Beginner